Dr. Monkeypants
New member
Let me preface this by admitting I have issues that building cars can’t fix. But I keep trying because it’s stupidly fun.
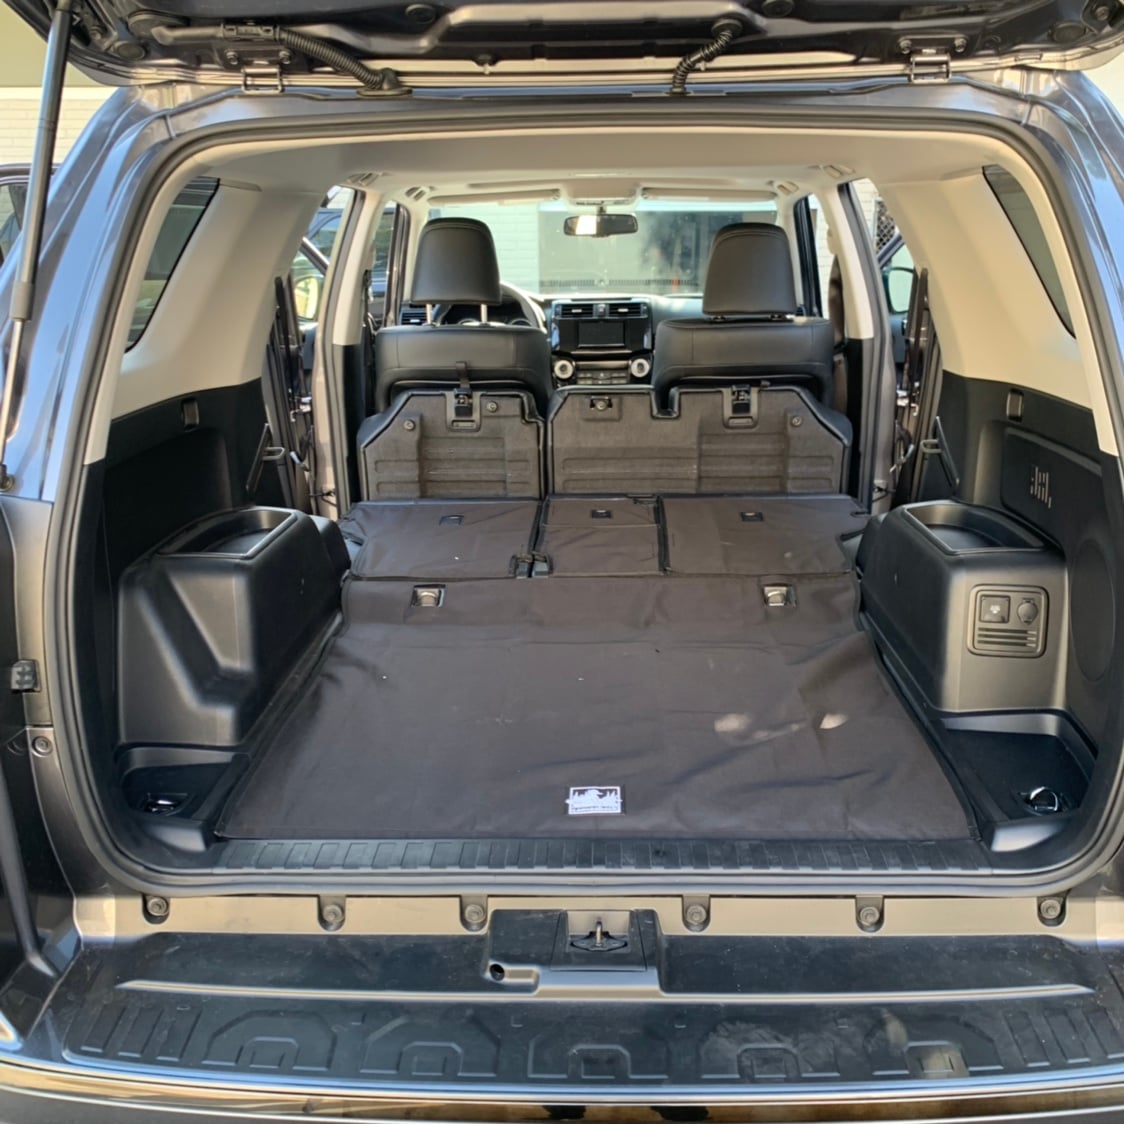
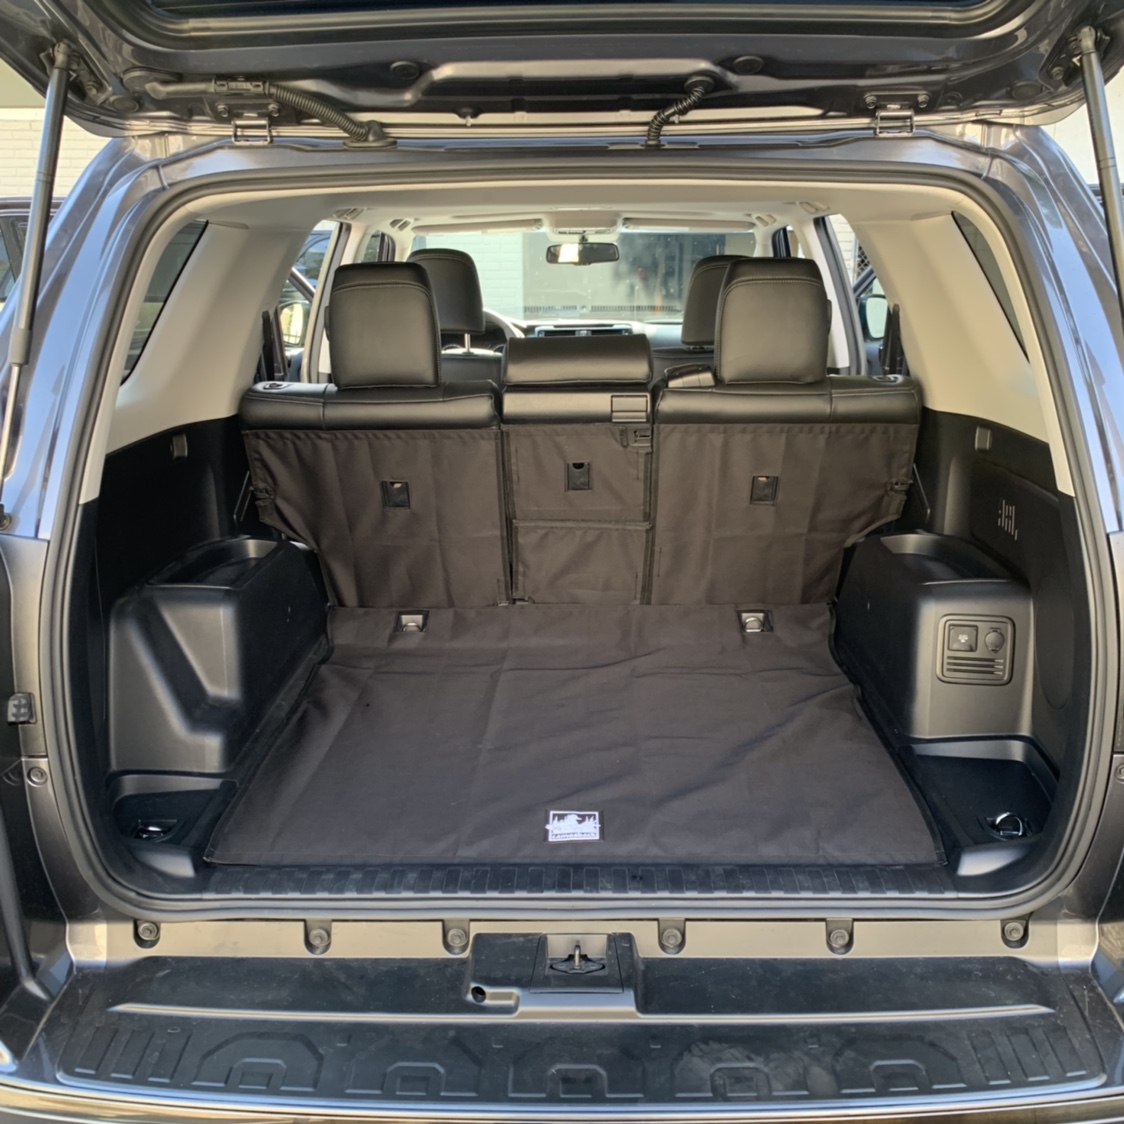
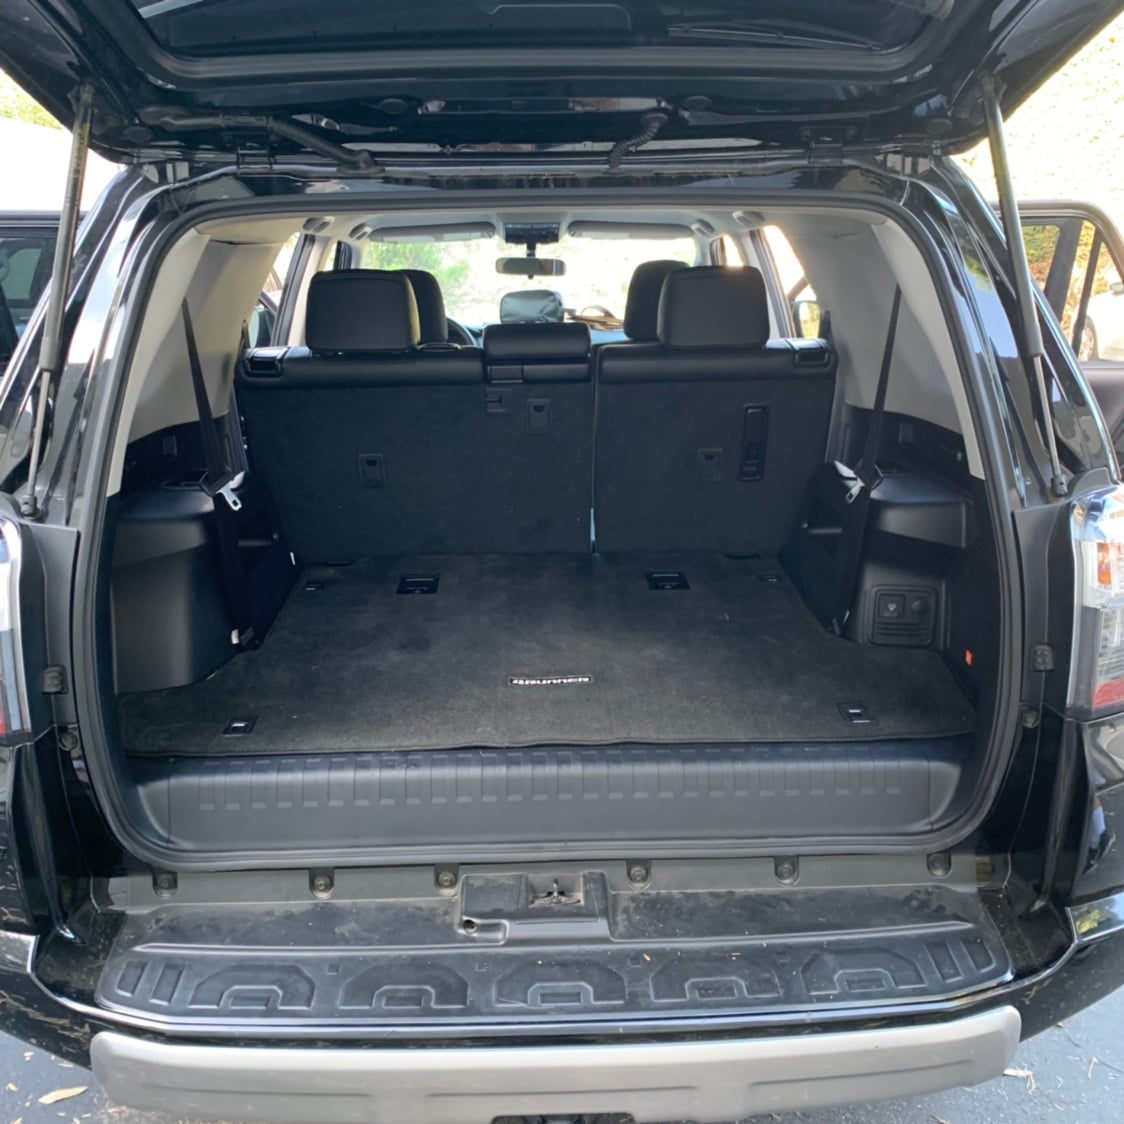
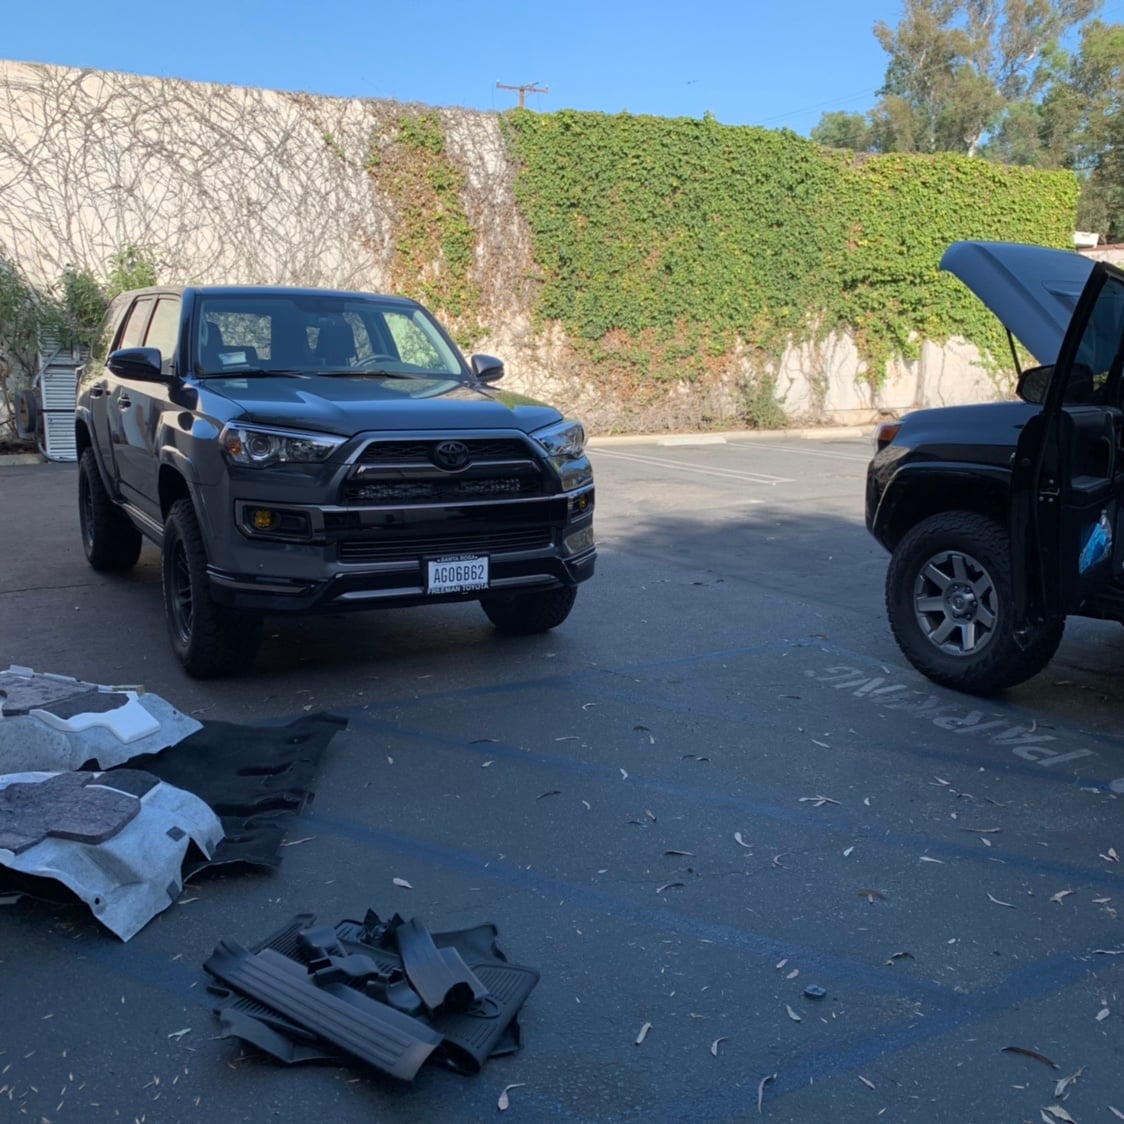
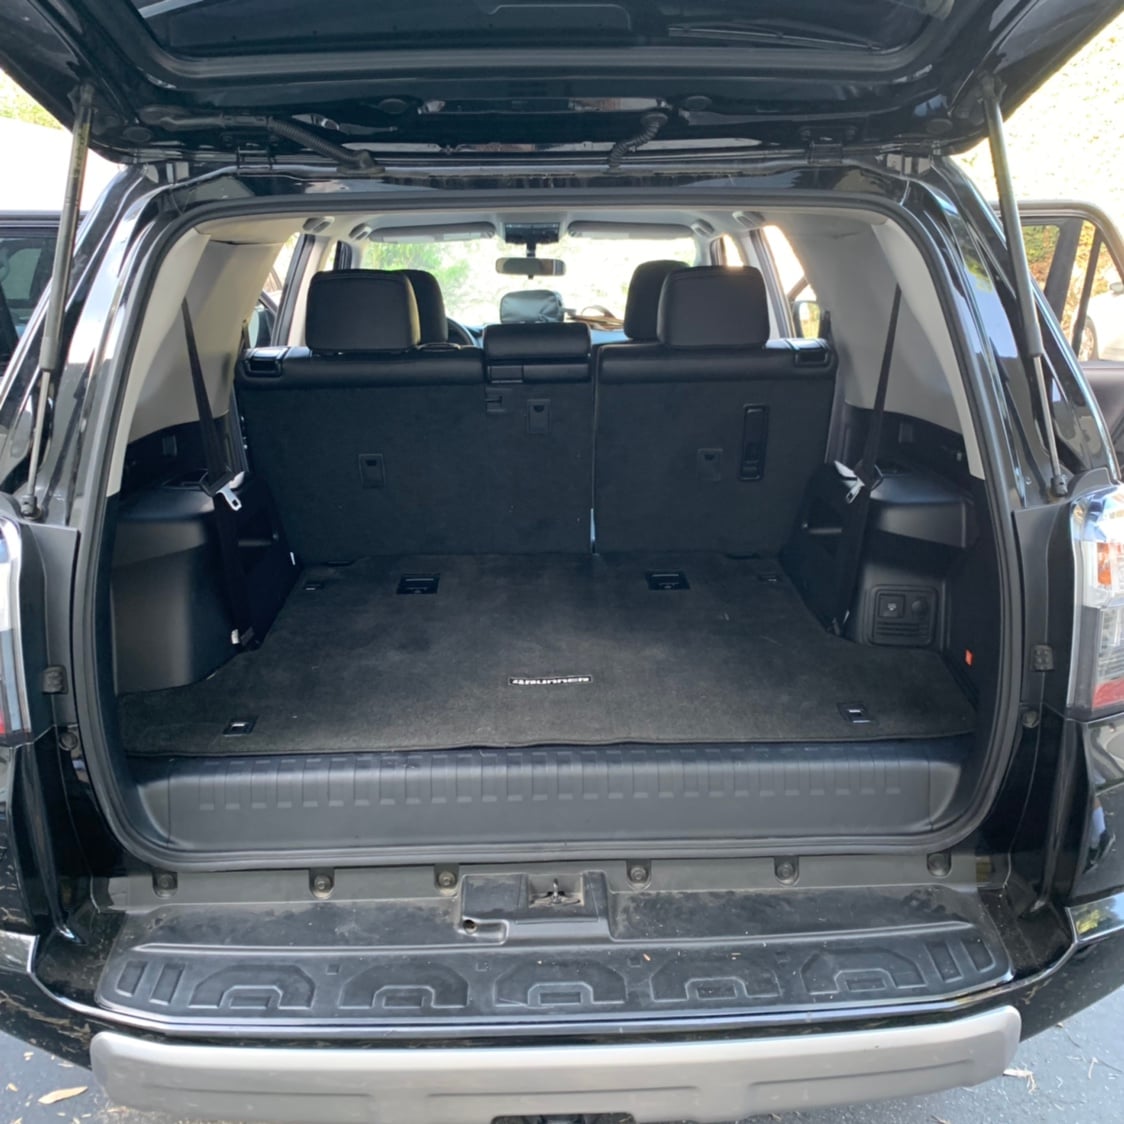
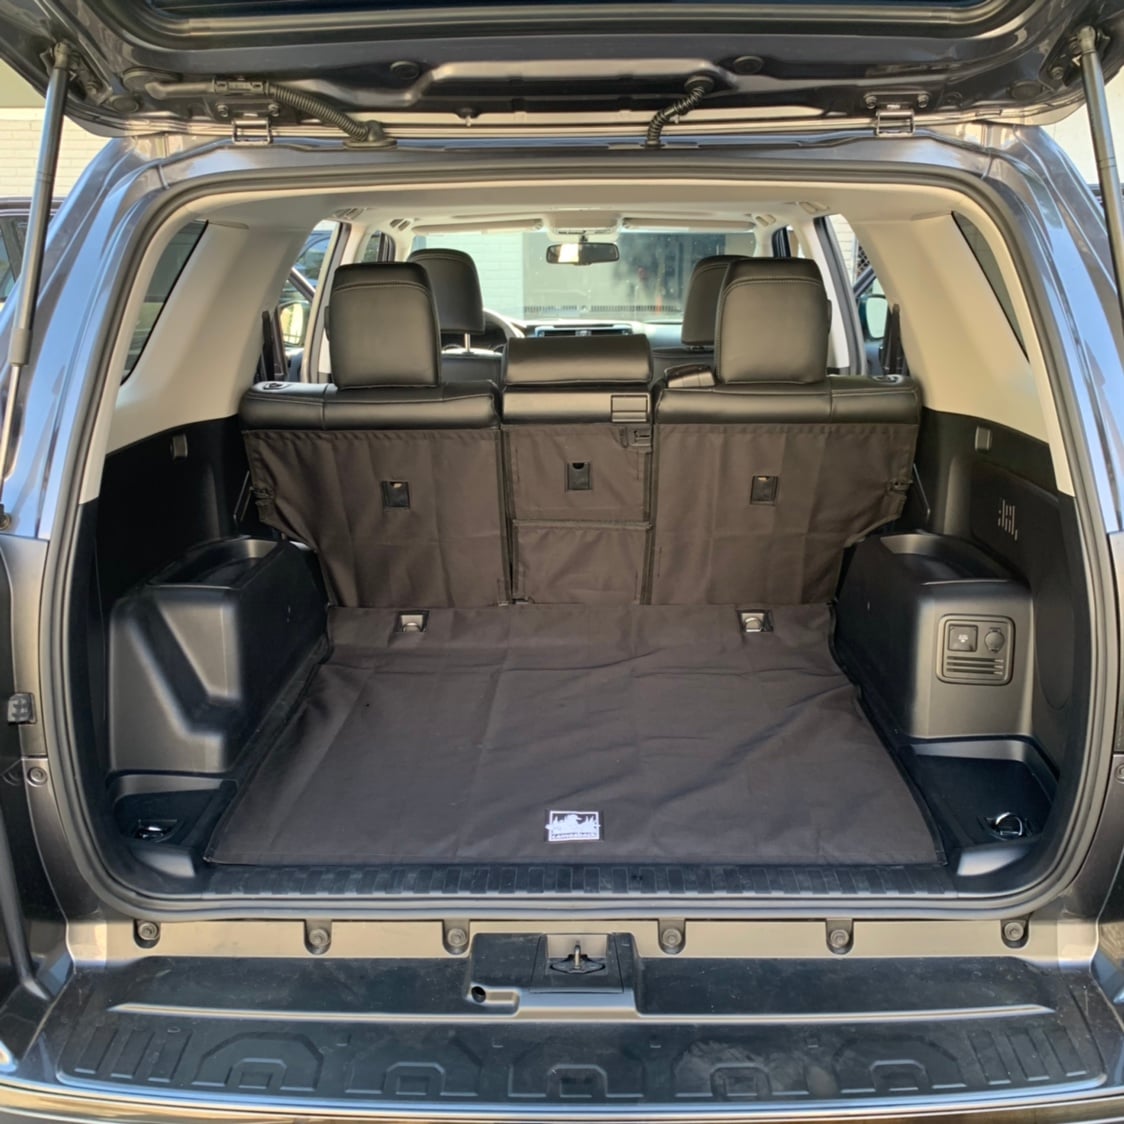
This story begins when I was looking for a new 4Runner back in June. I saw the Nightshade and was in love except they all had third row seats, which was an issue because 1) I don’t have kids and 2) I don’t like five other people enough to cram them all into one car with me. I found one in NorCal that the dealer seemed motivated to move. So, I actually drove up and bought it *after* deciding I’d rip them out, not having any idea how to do it properly. Plus they gave me over $4k off sticker and a more than fair trade-in for a three owner 2015 M3 with a weird engine knock and four curbed wheels, lol.
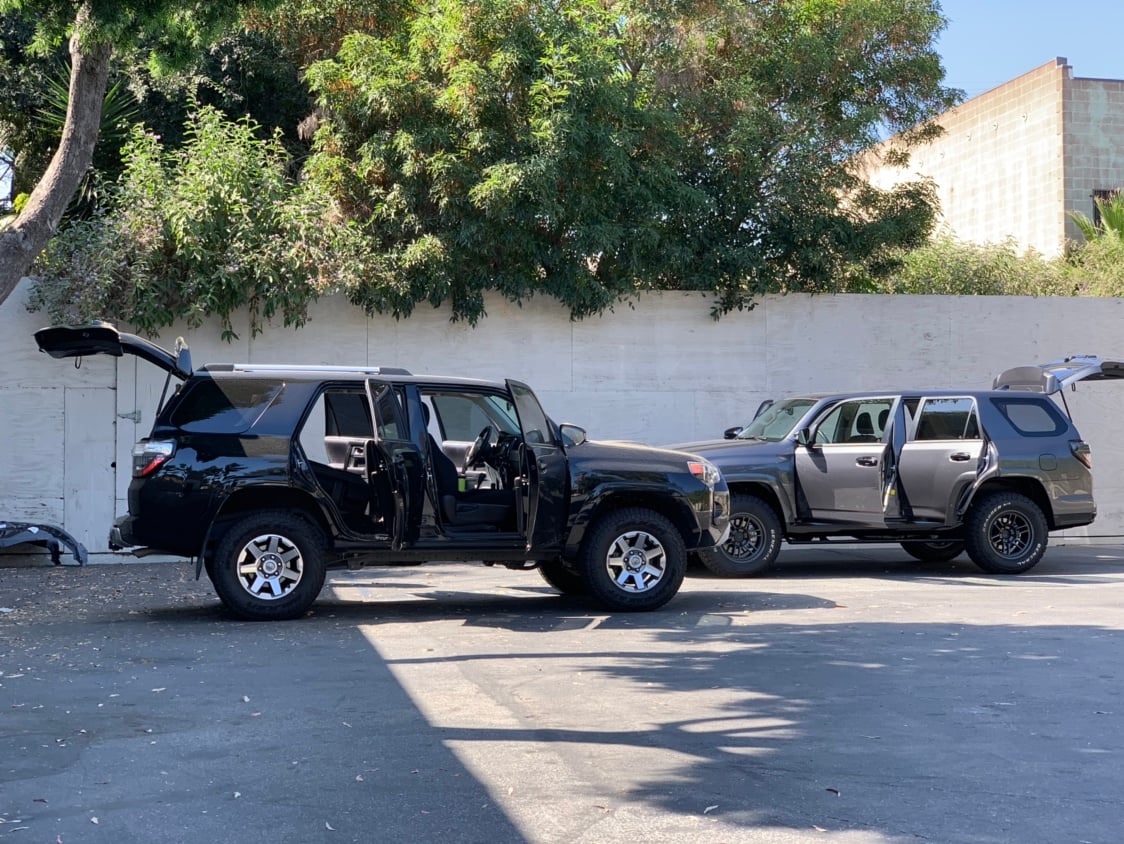
Aaaaaanyway, I posted looking for a Limited to swap with so we could go leather to leather, but that didn’t materialize. I ended up connecting with [MENTION=198699]gdavis1233[/MENTION] who has a two row Trail Premium and a suitably sized family to make the most of a third row and some money to spend to make this happen. More importantly, he was willing to come by my shop so we could do some exploratory disassembly.
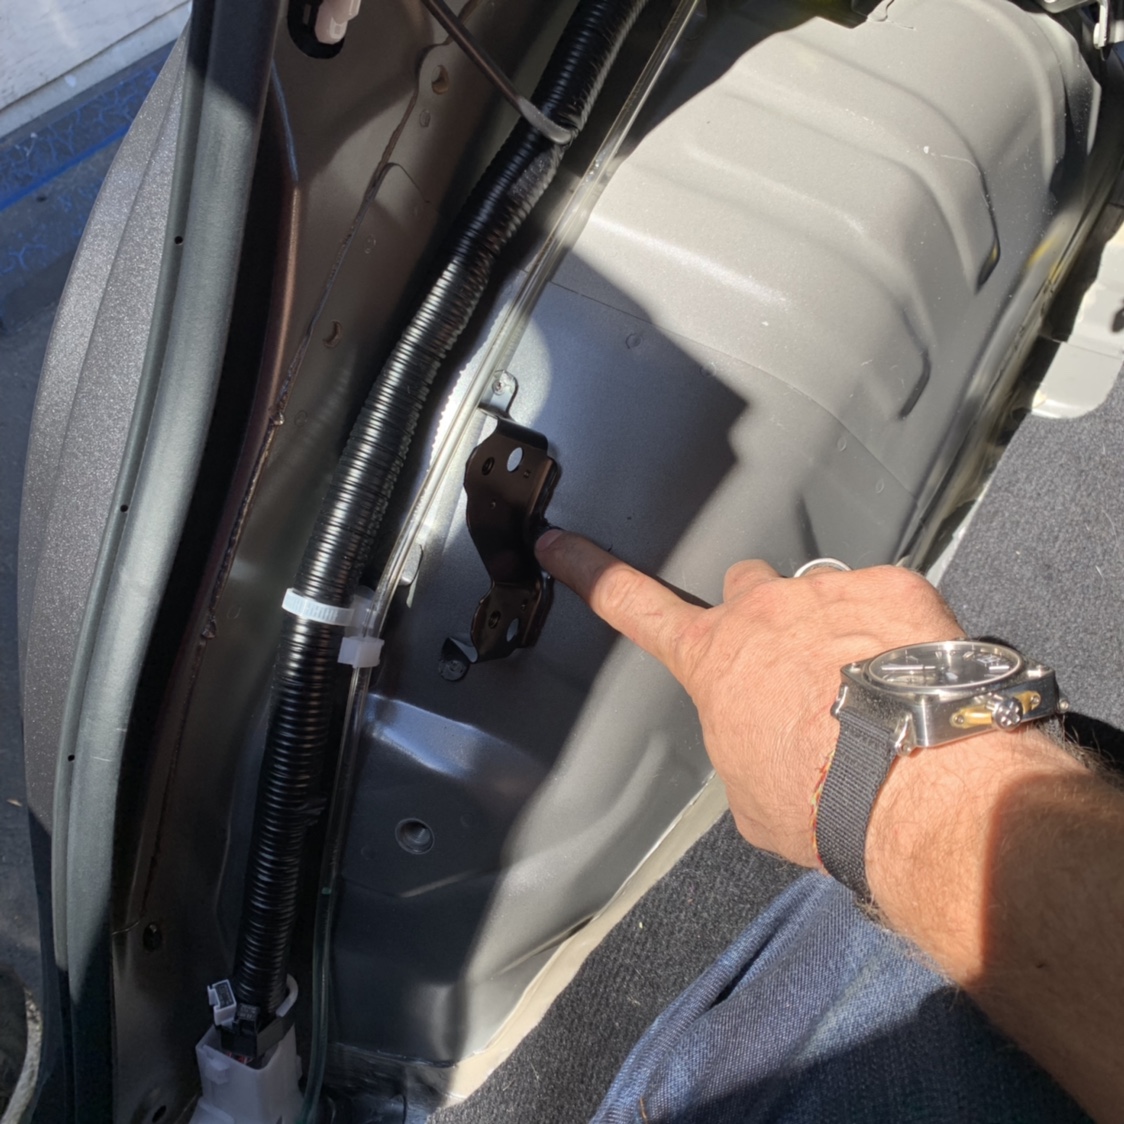
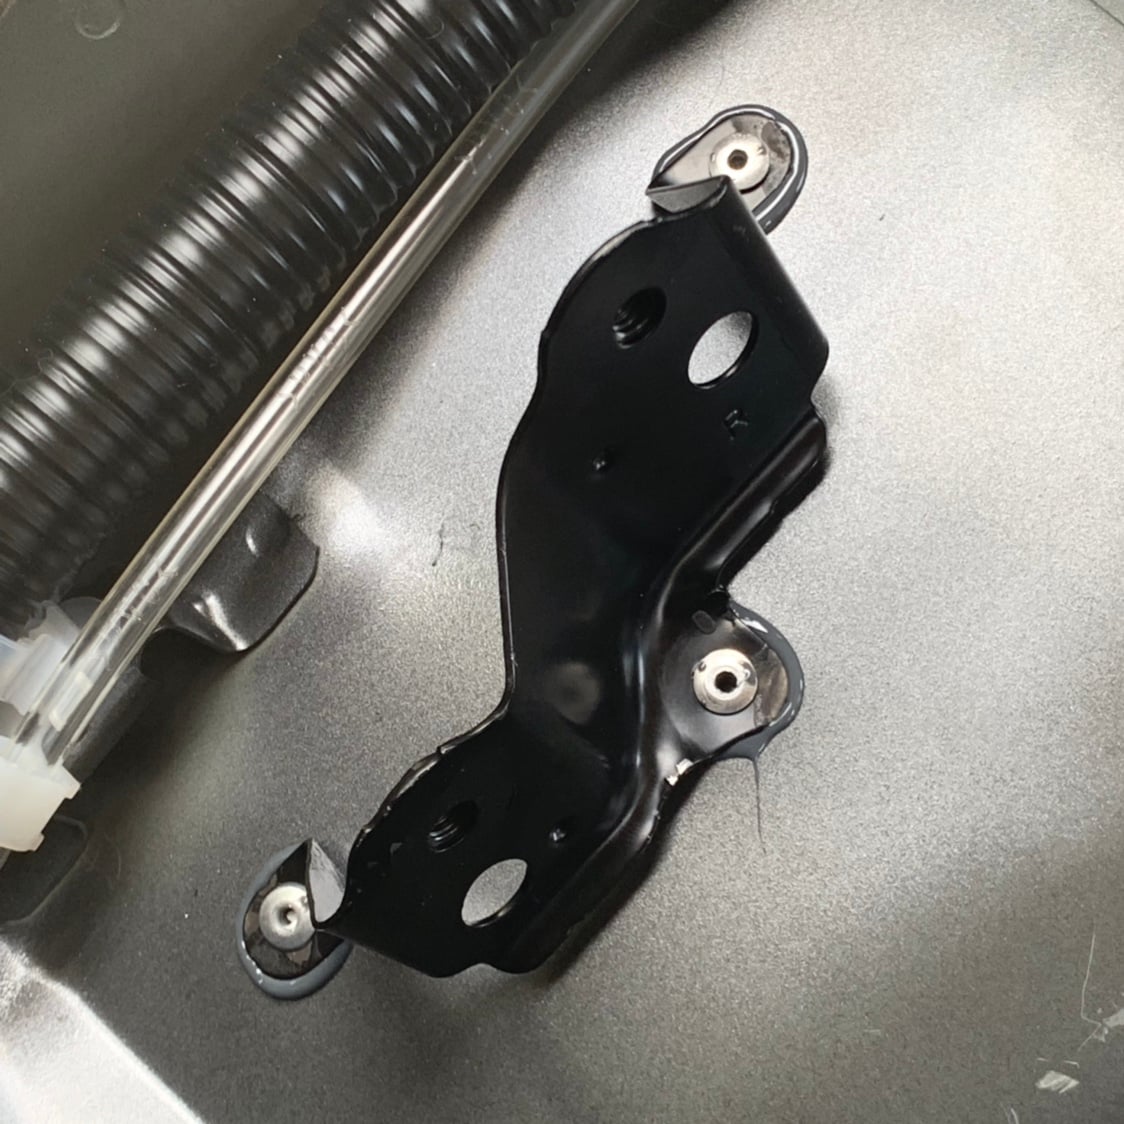
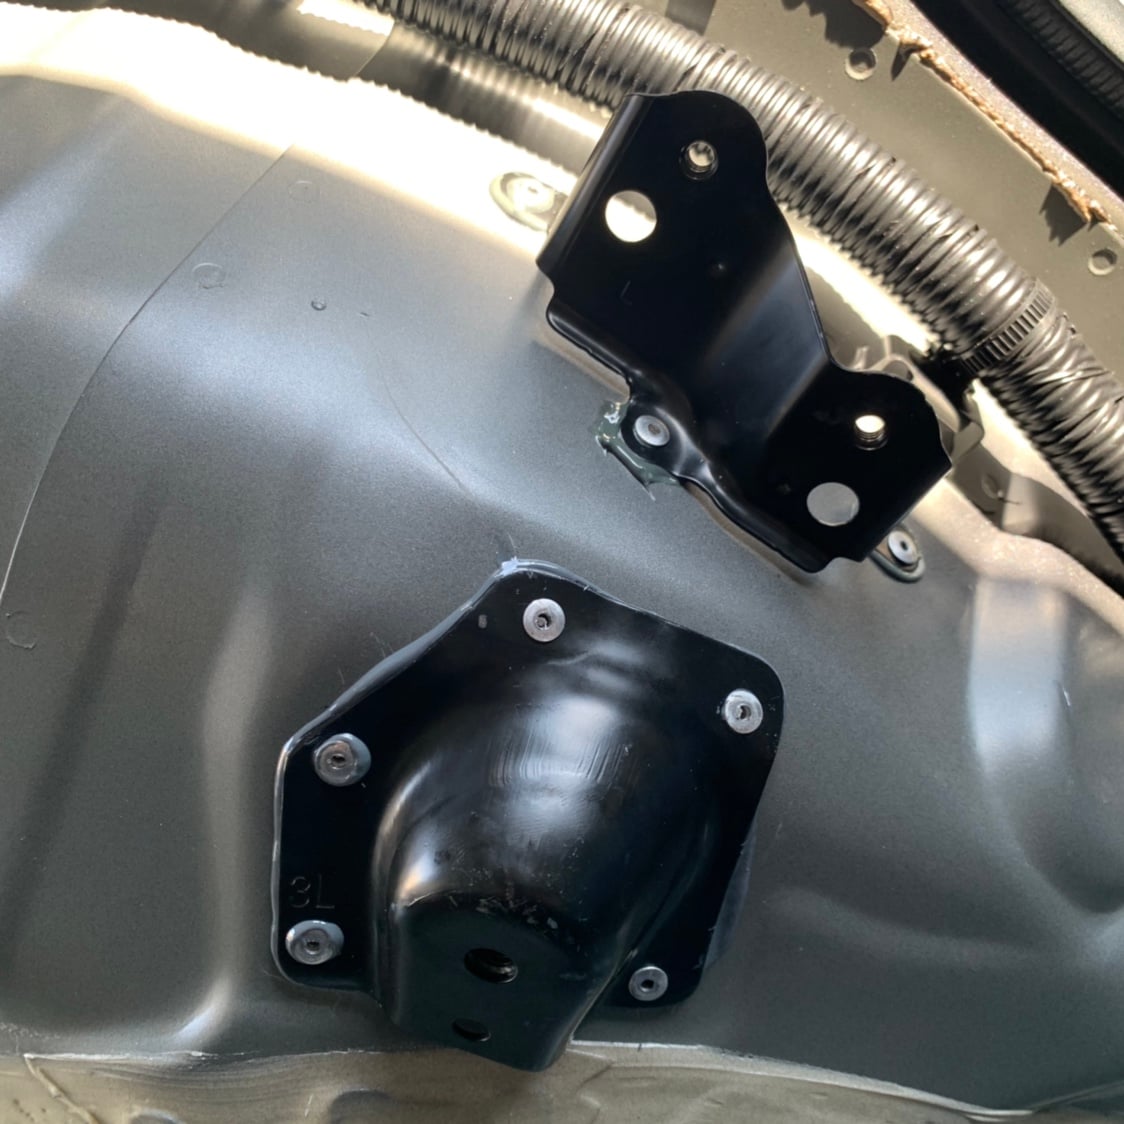
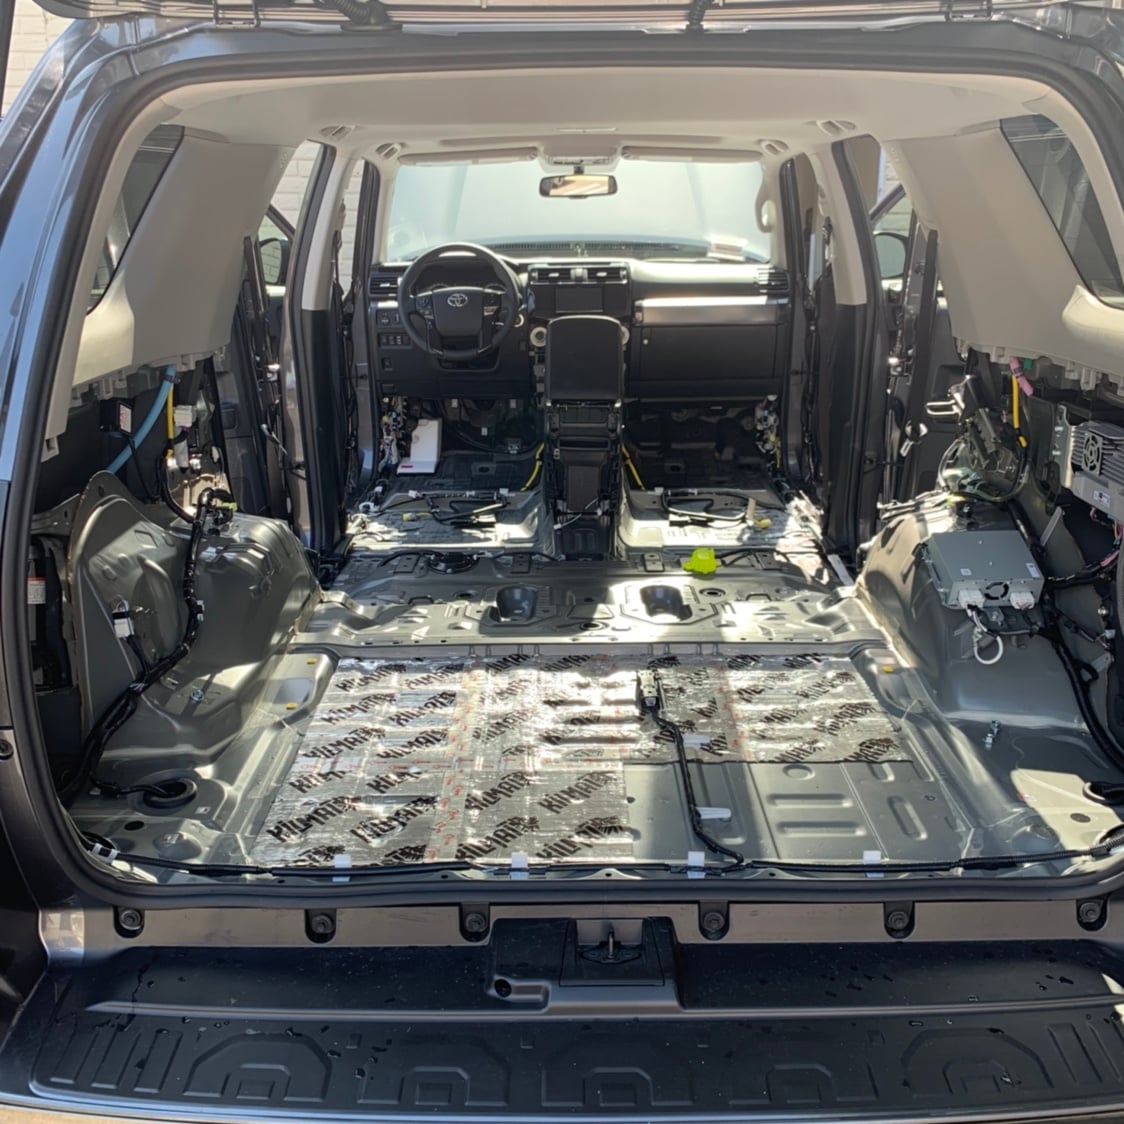
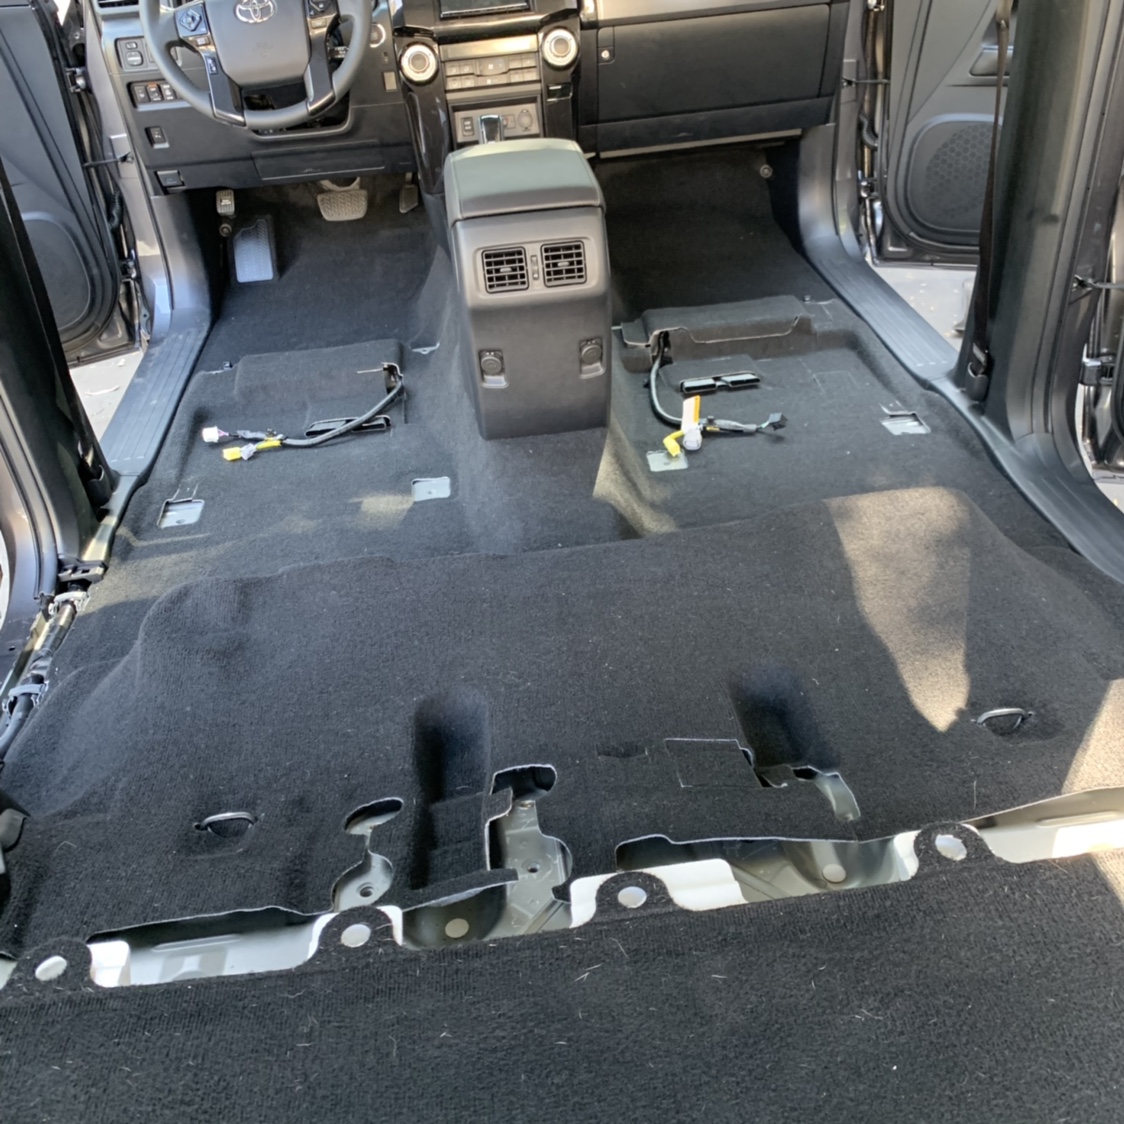
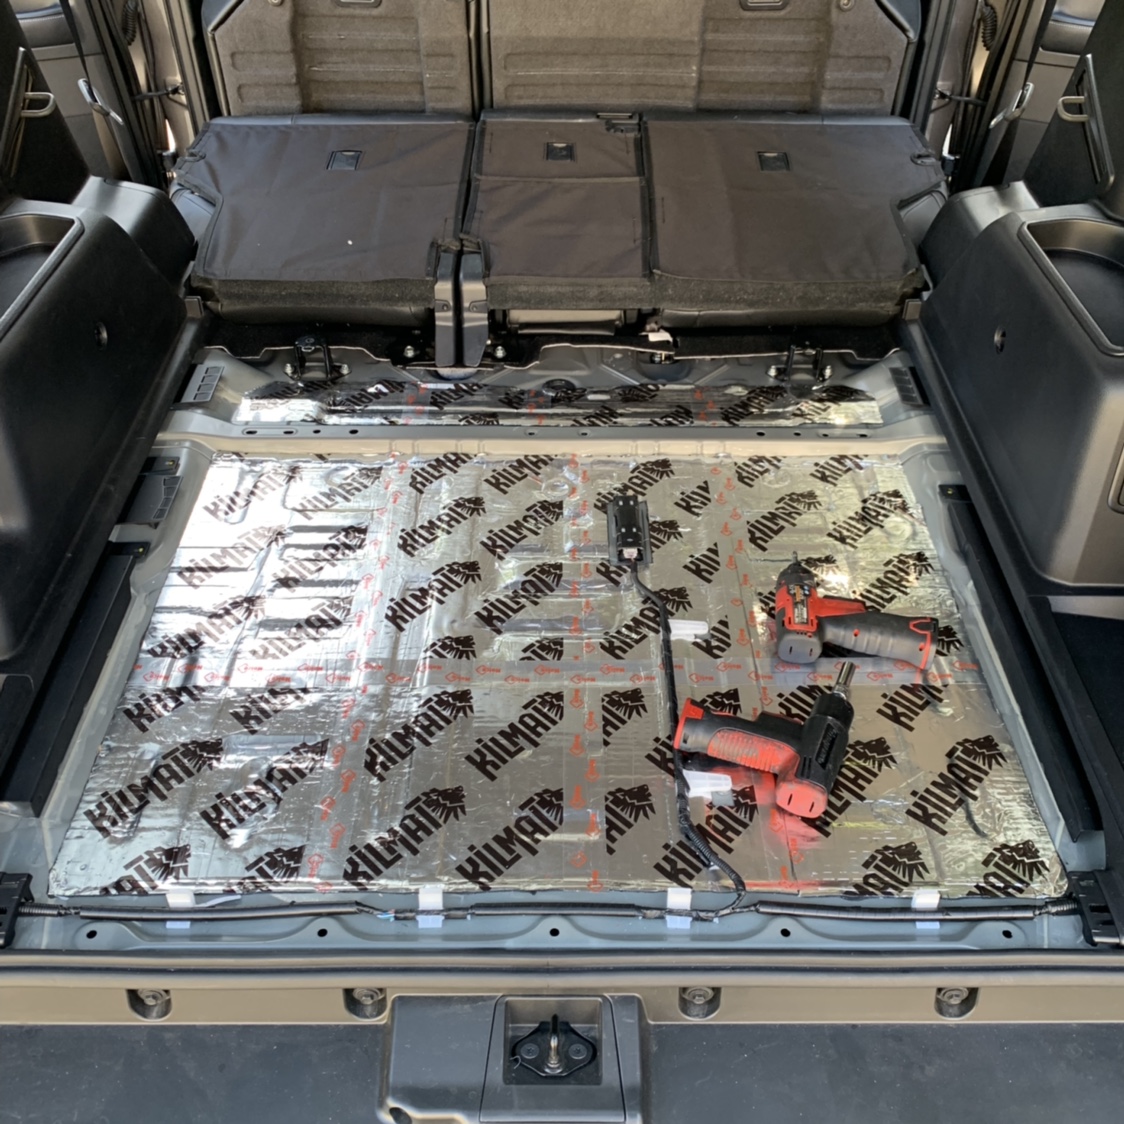
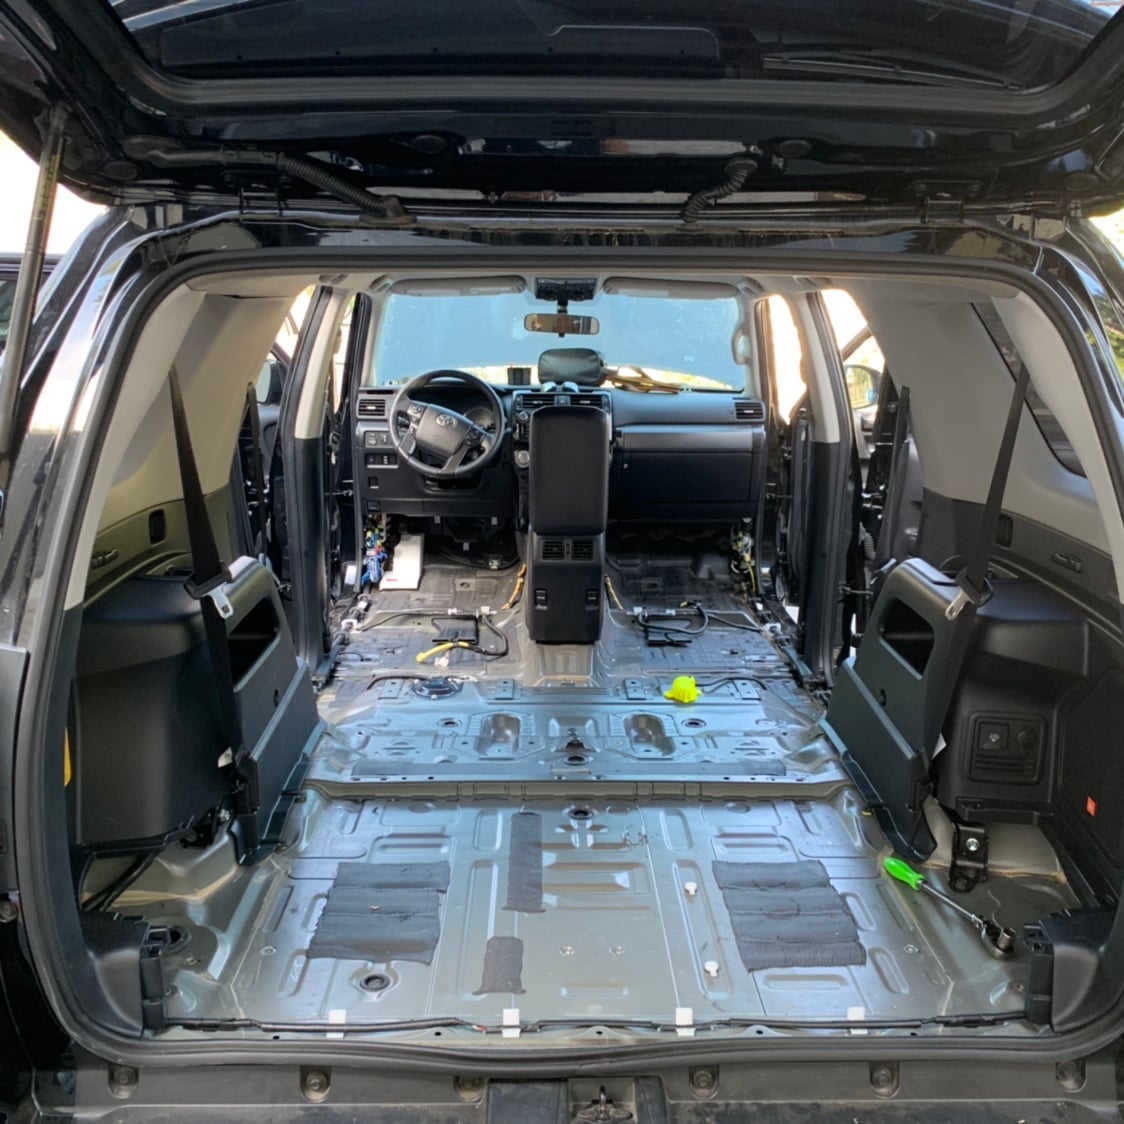
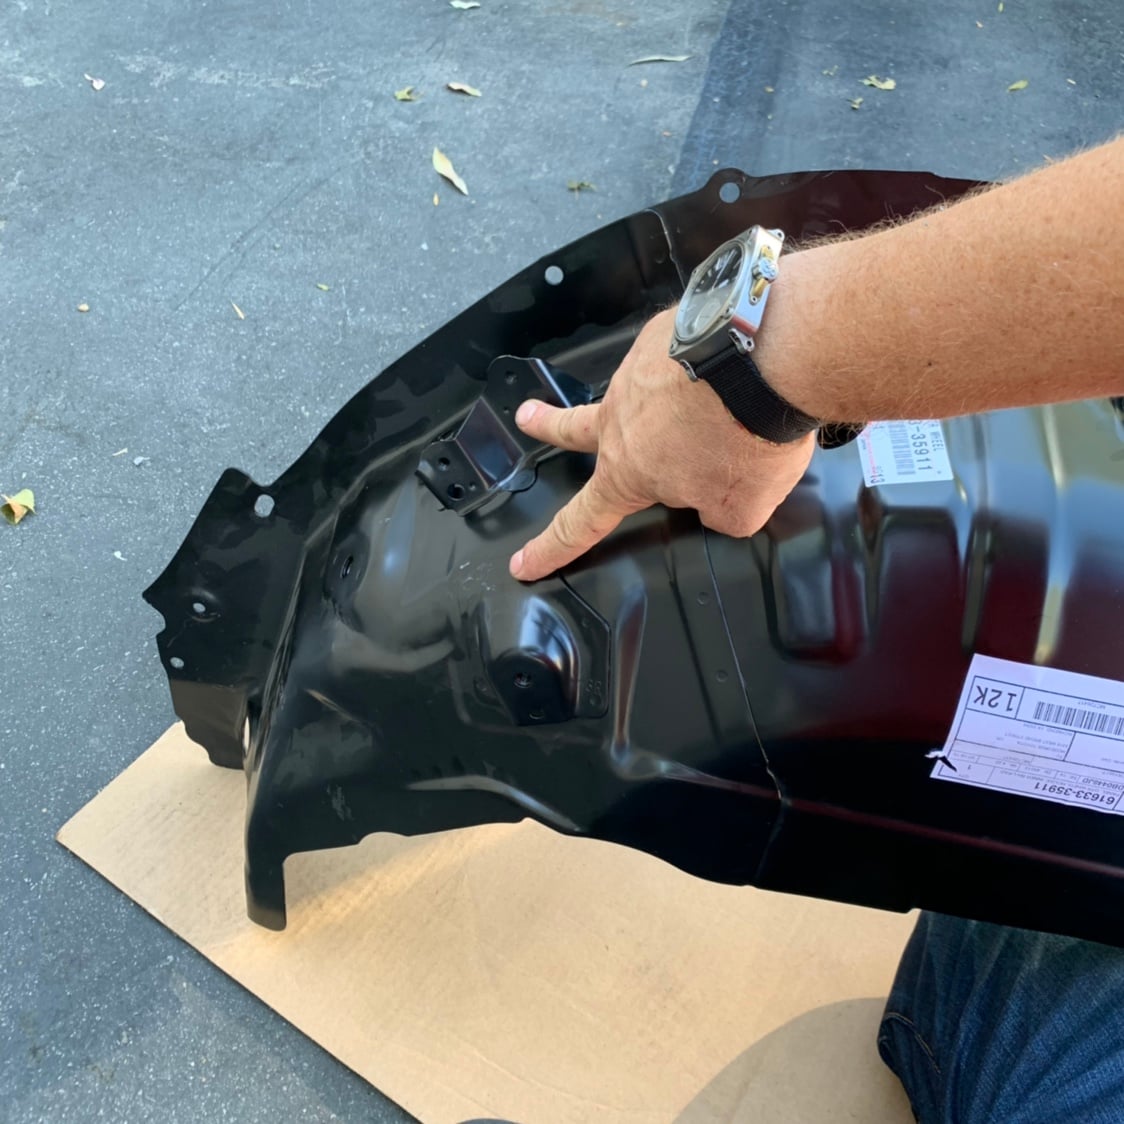
So we did that. And we found there’s about 20 bolt locations that differ from 2 row to 3 row. No big deal. But there’s also these goddamn brackets that the 2 row trucks that the 3 rows don’t:
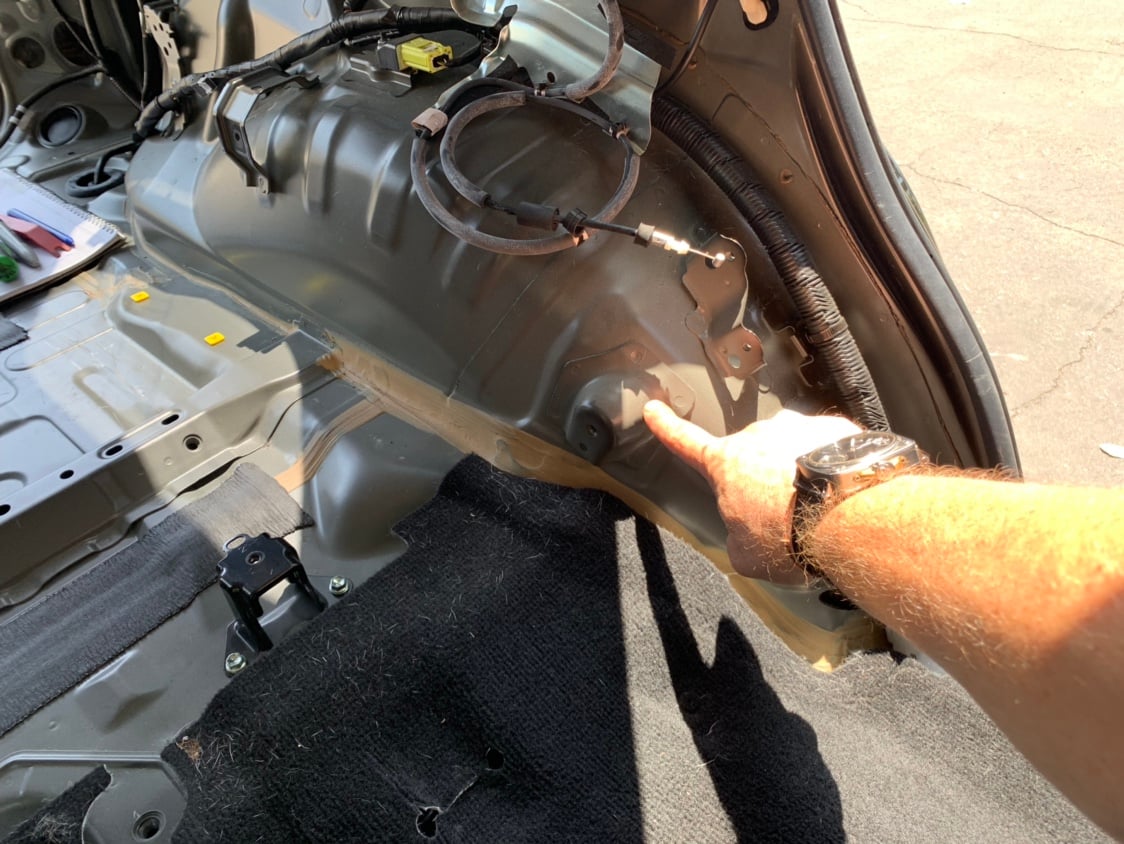
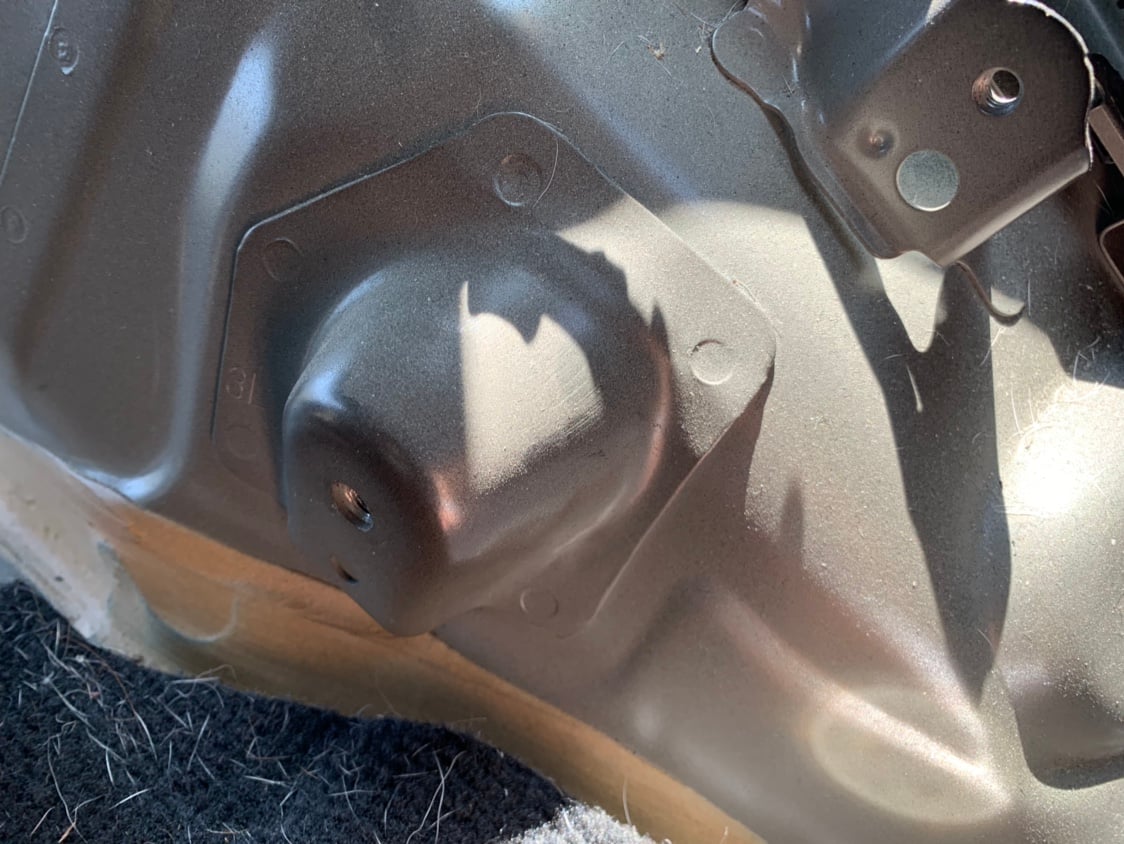
Cogitation occurred. Much of it. Because I wasn’t interested in doing it if I couldn’t pull it off at a factory level. And that meant solving five problems:
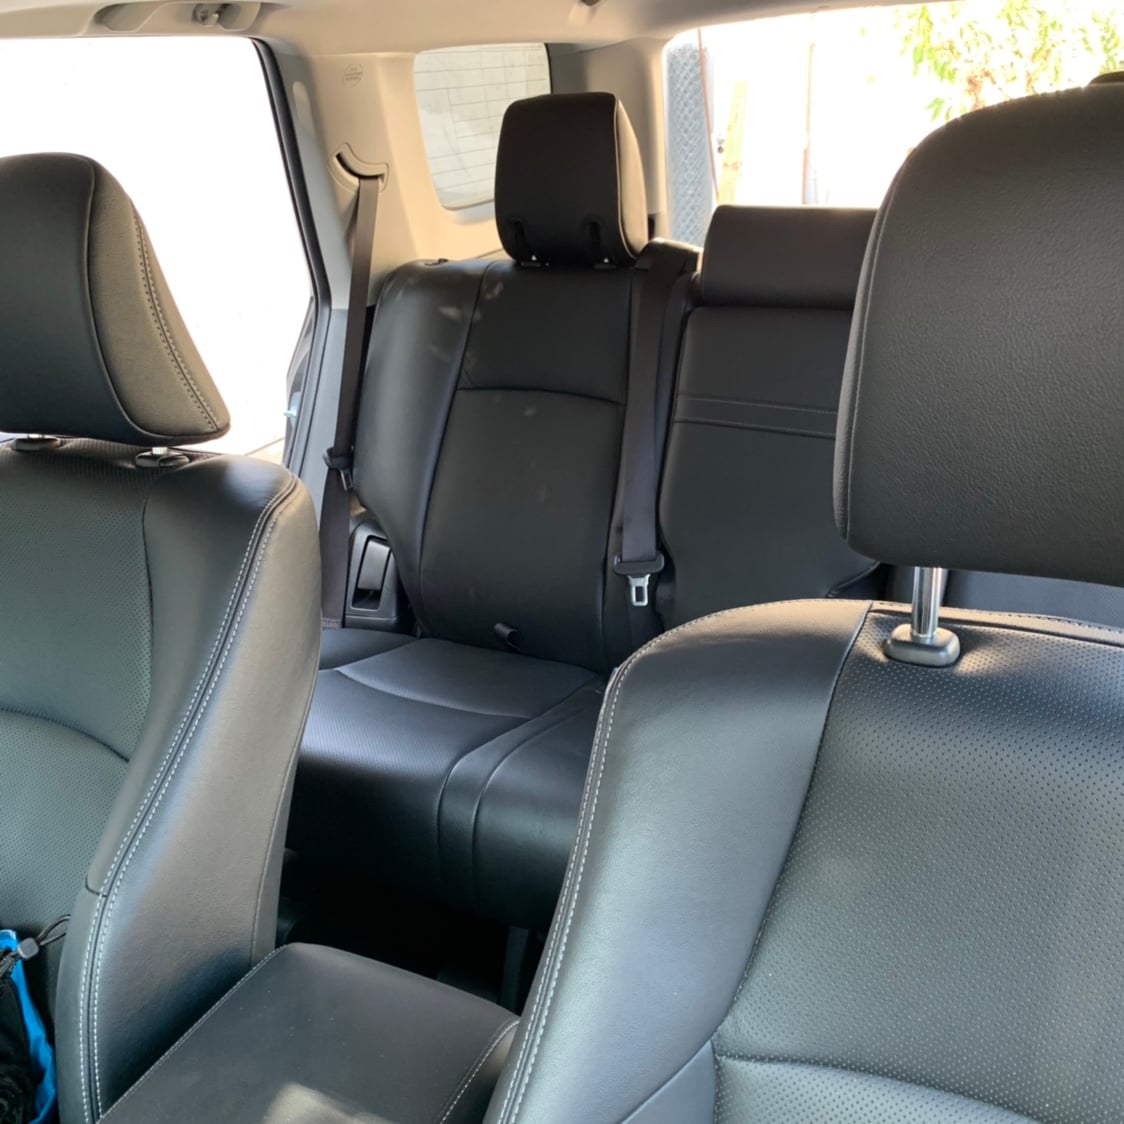
1) reupholstering his 2nd row seats to match mine
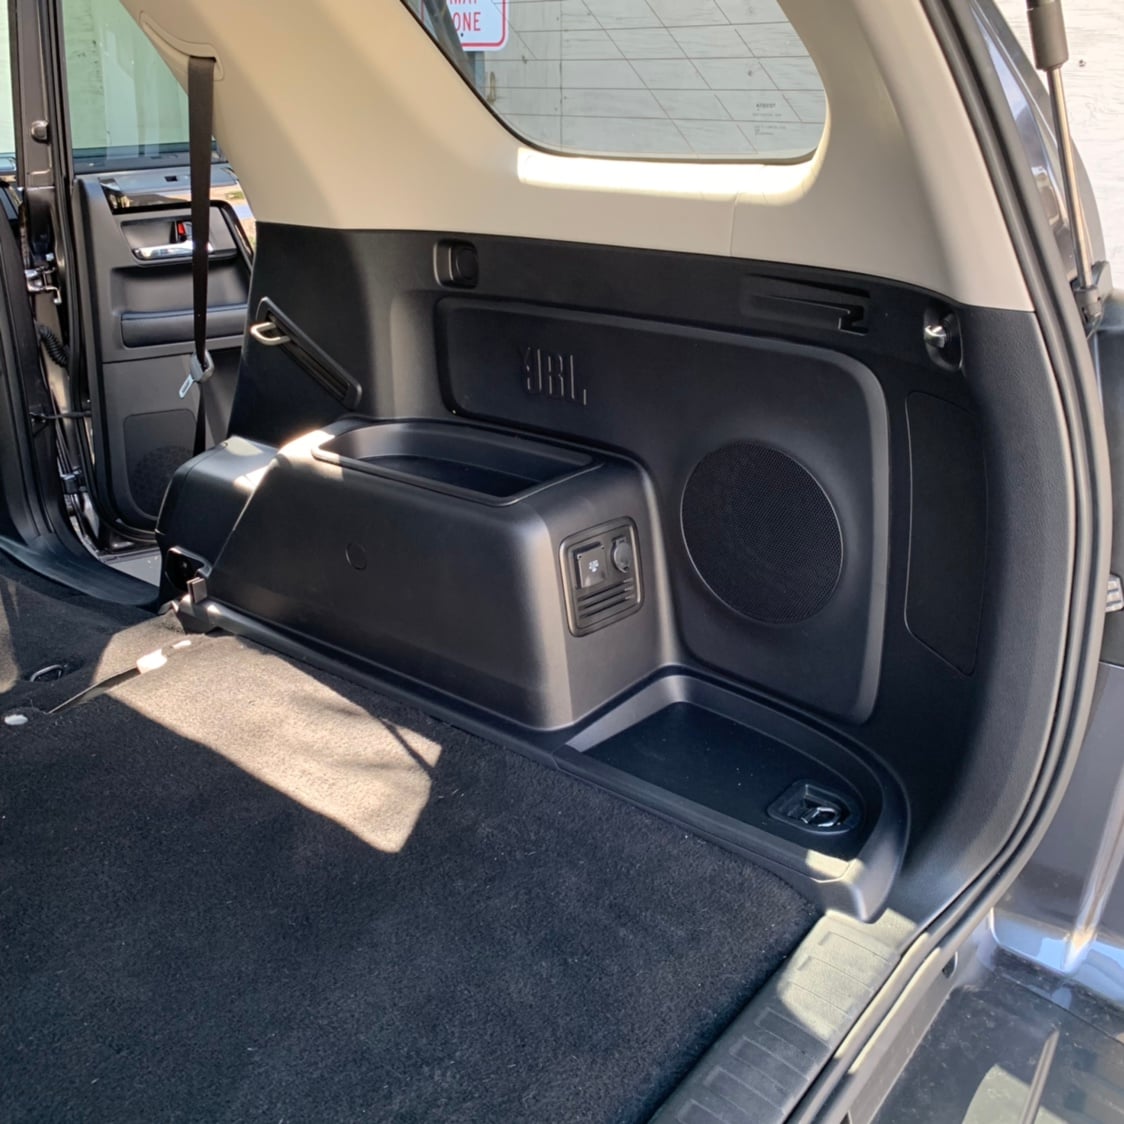
2) sourcing the interior panel for the JBL sound system
3) finding those damn brackets
4) sorting through which bolt holes are there and which are threaded and which I’d have to rivnut
5) how the hell do we make proper upper mounts for the 3rd row seatbelts
#1 and 2 are easy in LA: Just throw money at it and it’ll happen.
So I did.
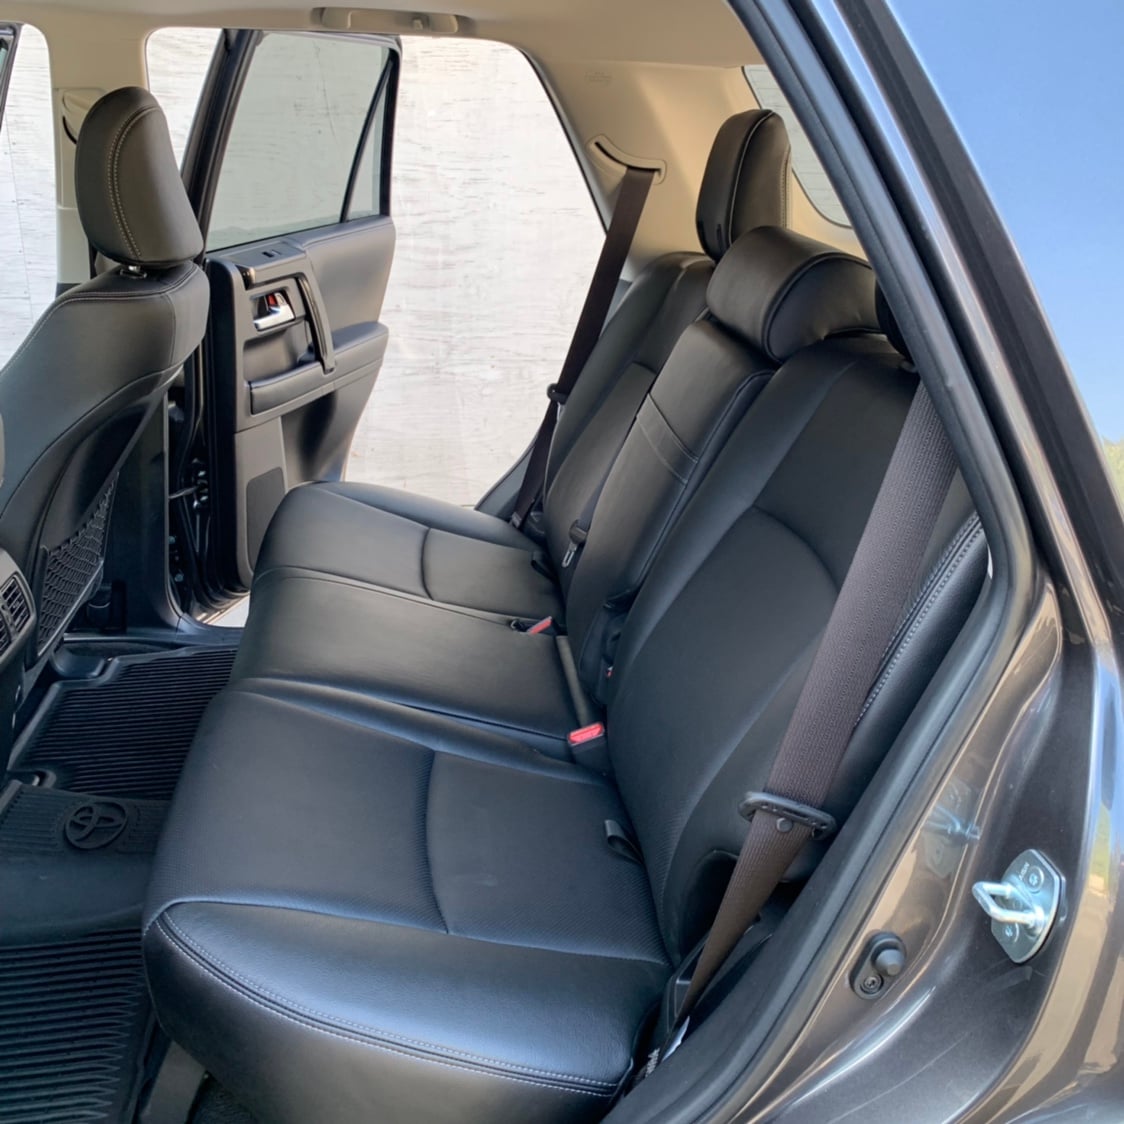
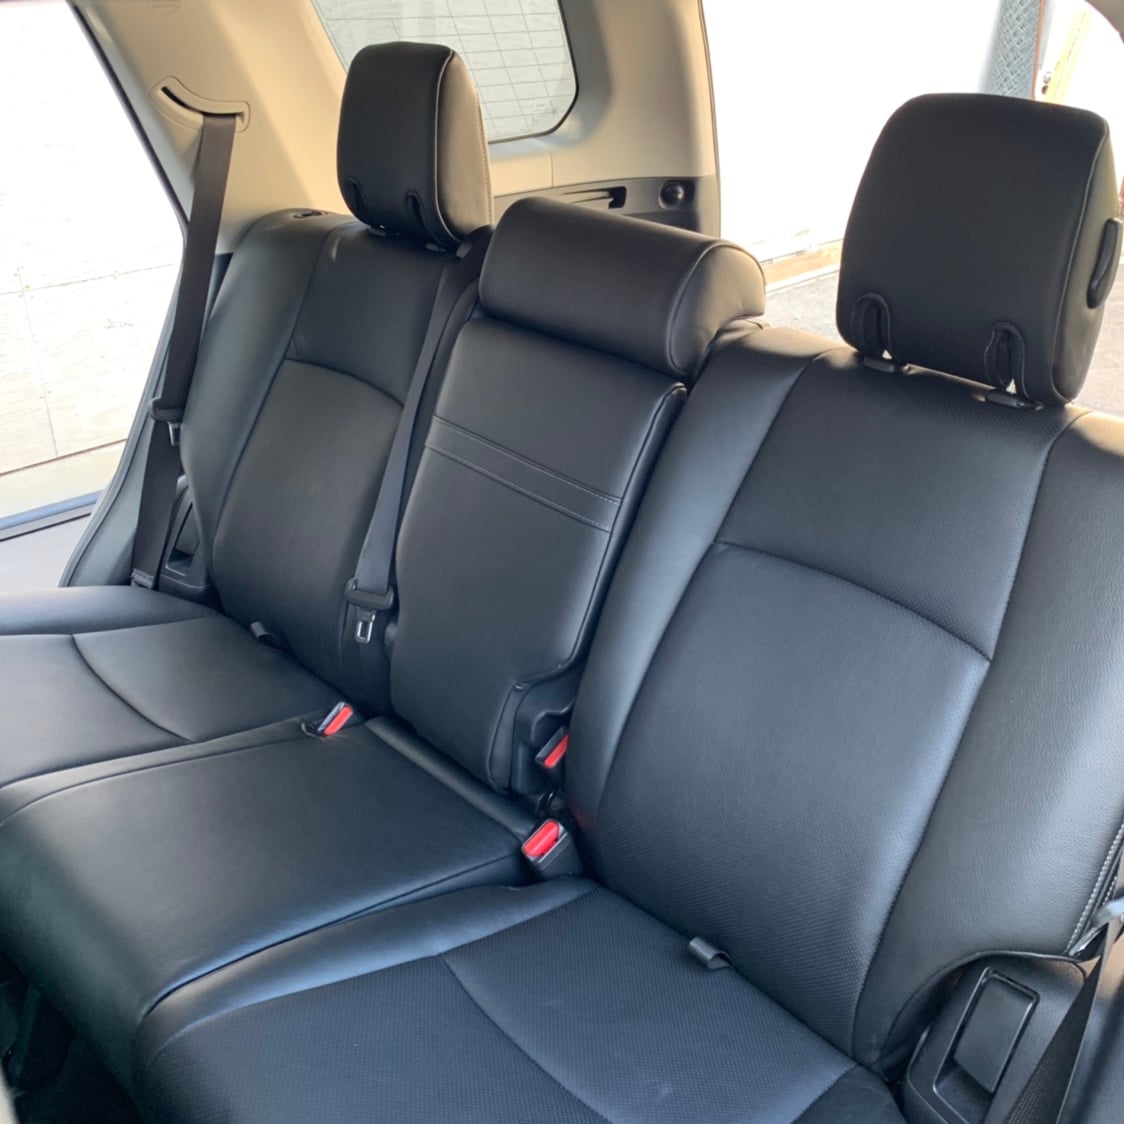
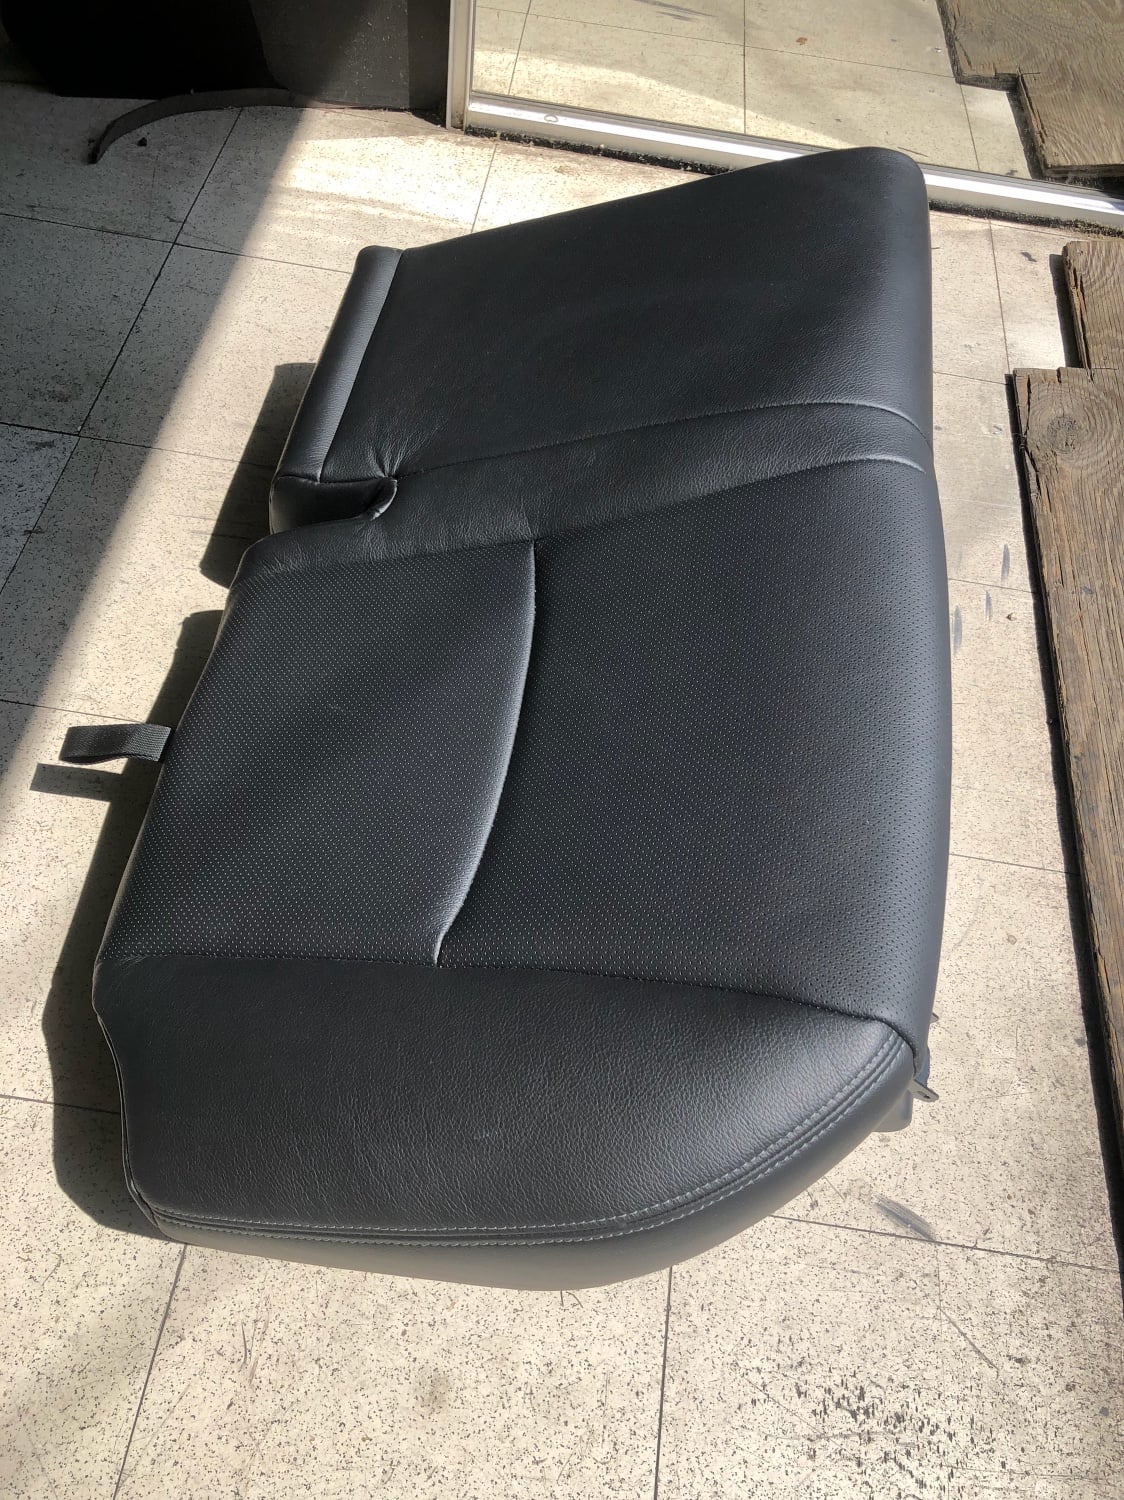
I managed to get my local parts counter to almost match the online price for the inner quarter panel. That was nice. Then I spent a half-day driving around LA to various upholstery shops checking them out. Settled on Bill Dunn on Lincoln after seeing their work. Here’s the first seat cushion they recovered to check fit and finish:
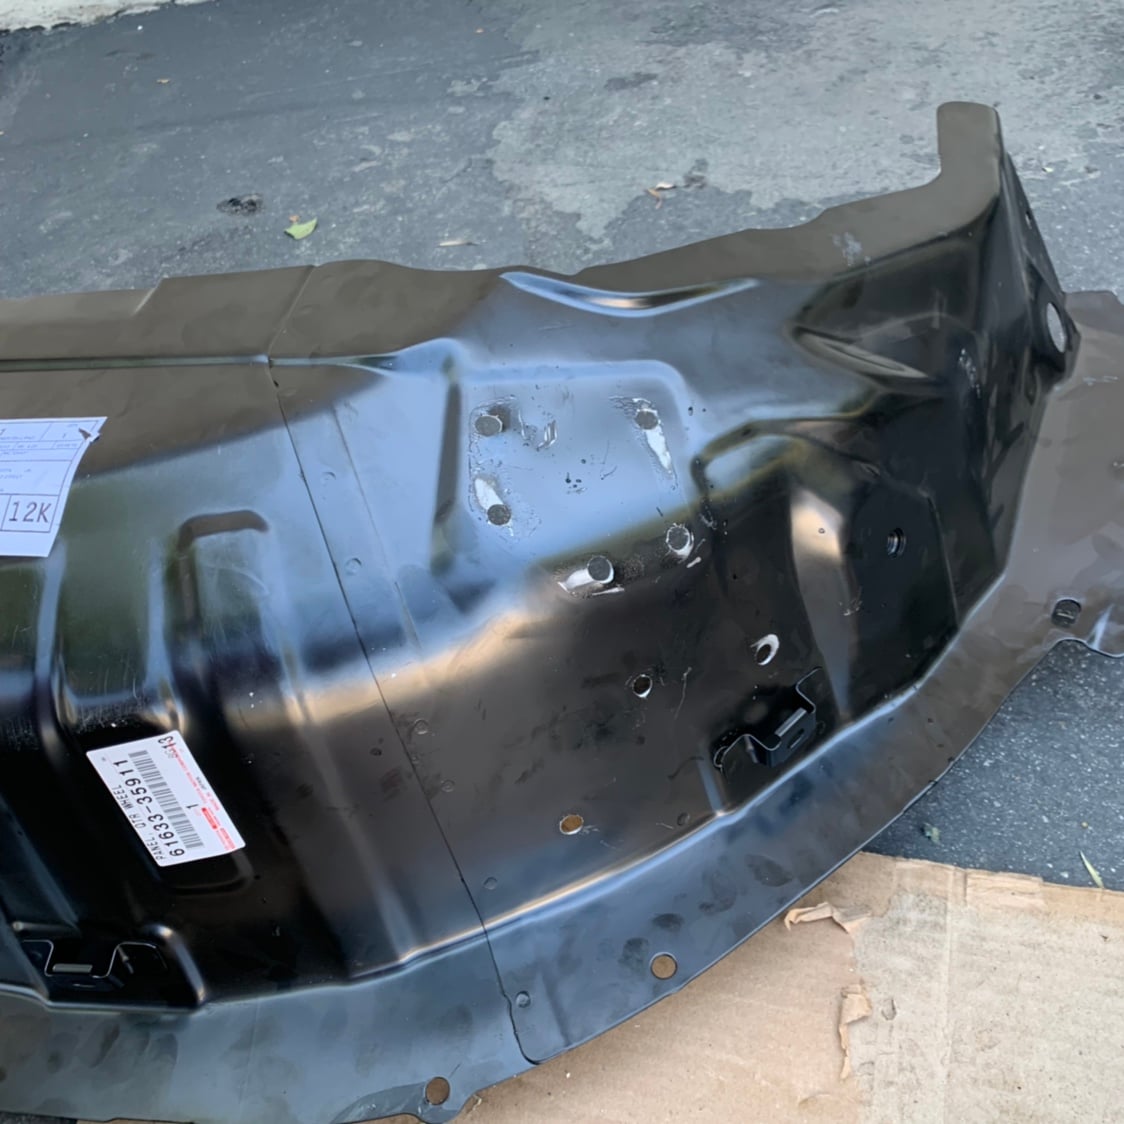
#3 Was a bit more difficult. You can’t just buy the brackets. You have to buy the entire inner wheel arches.
So I did.
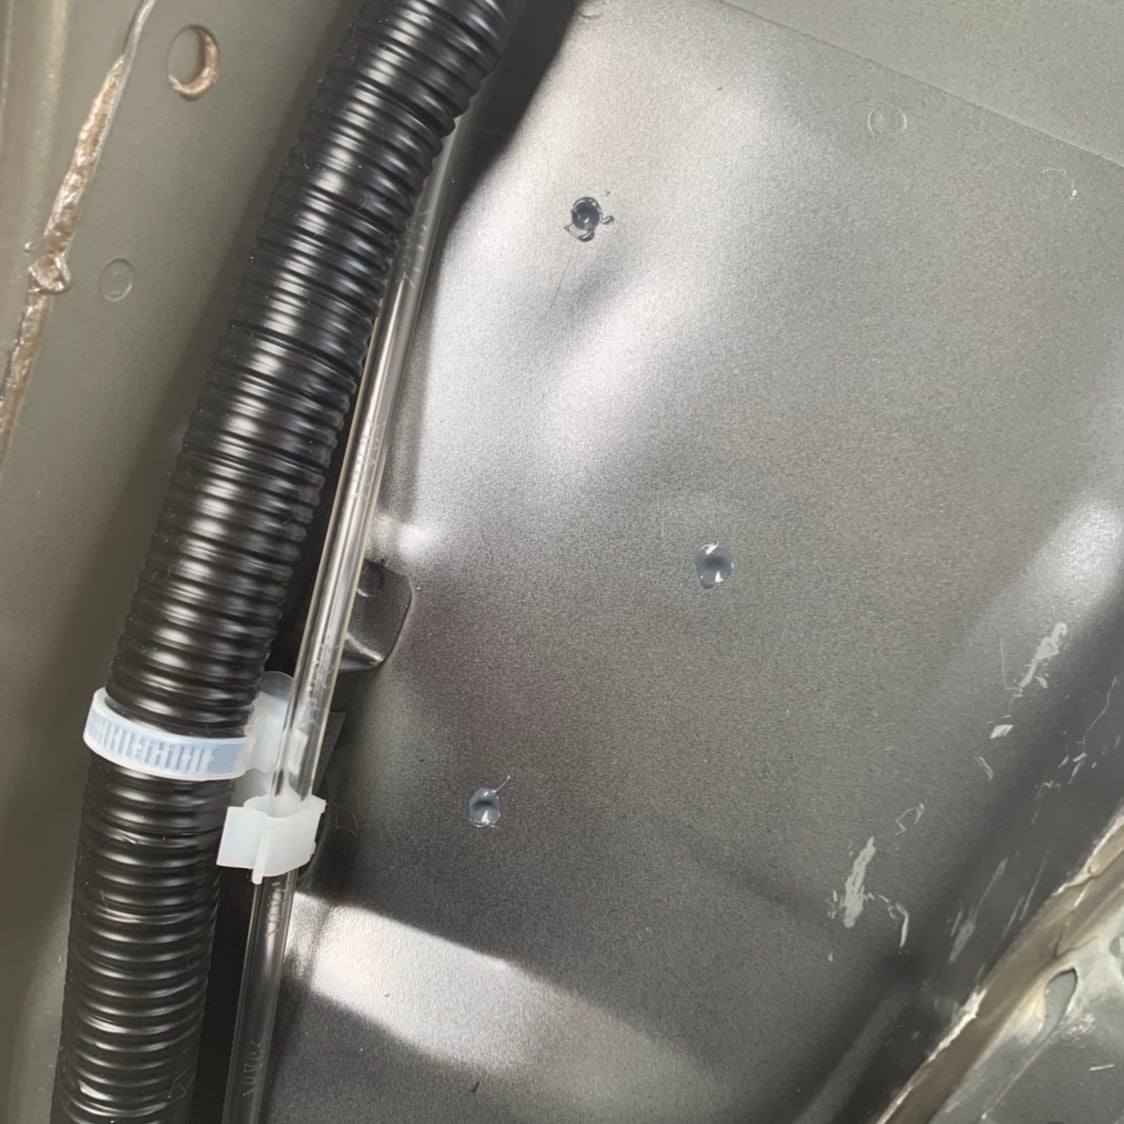
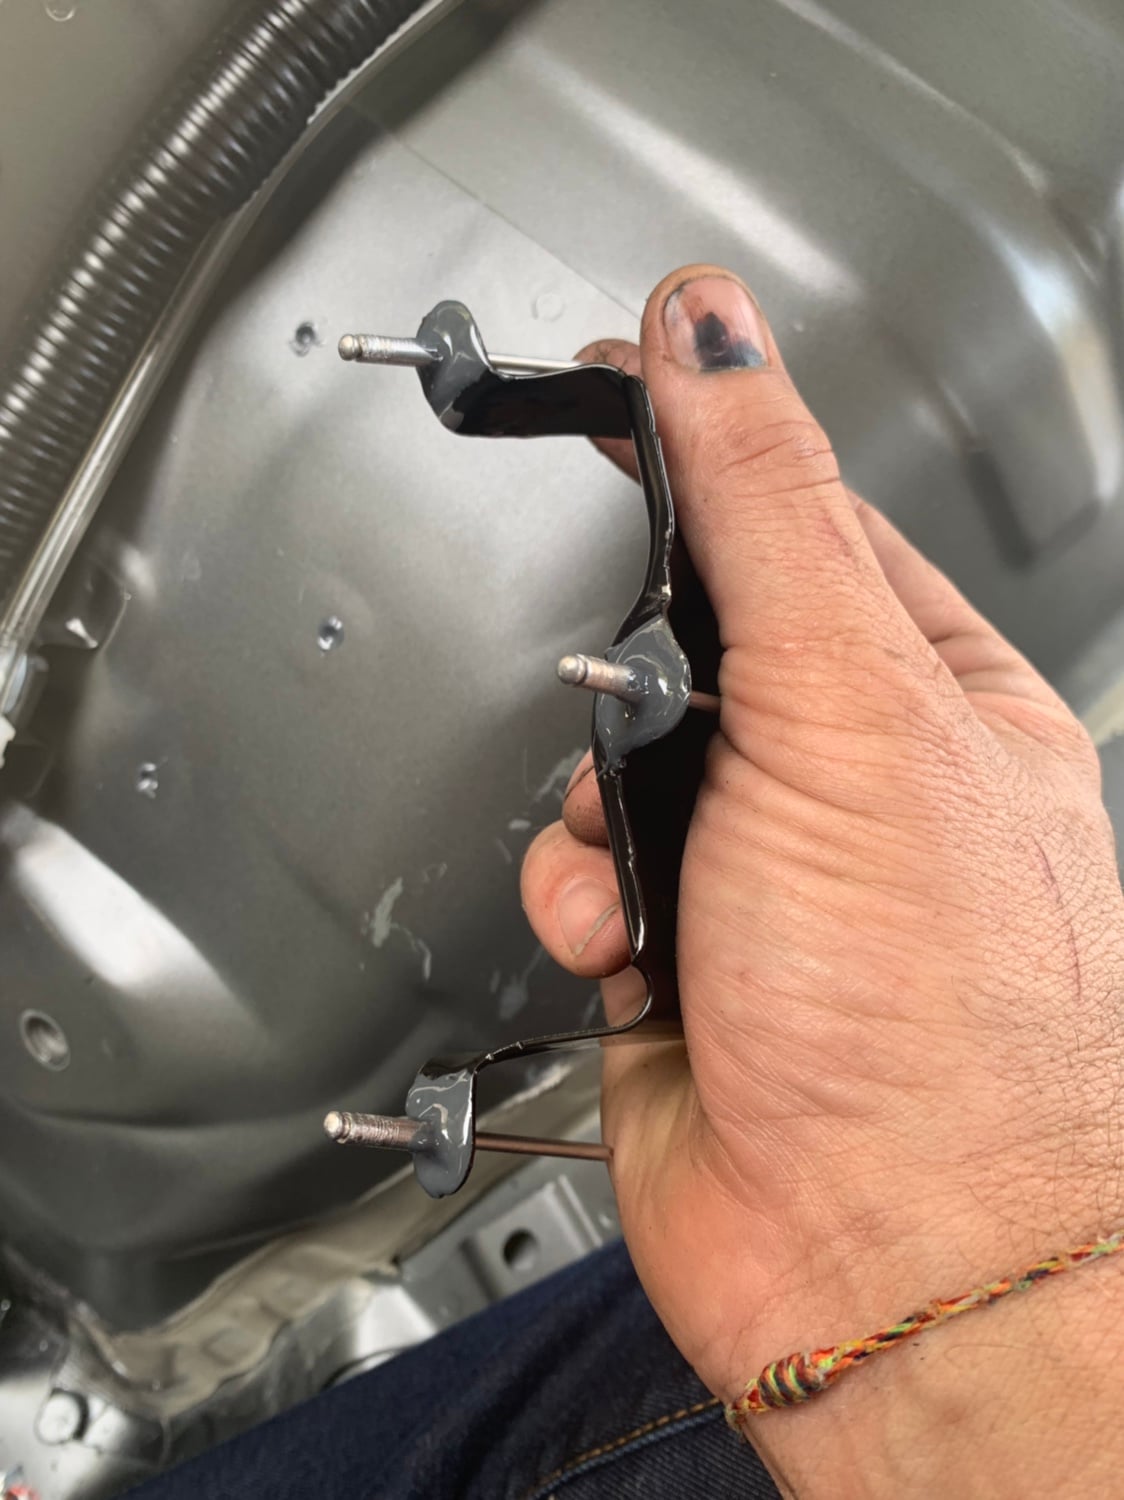
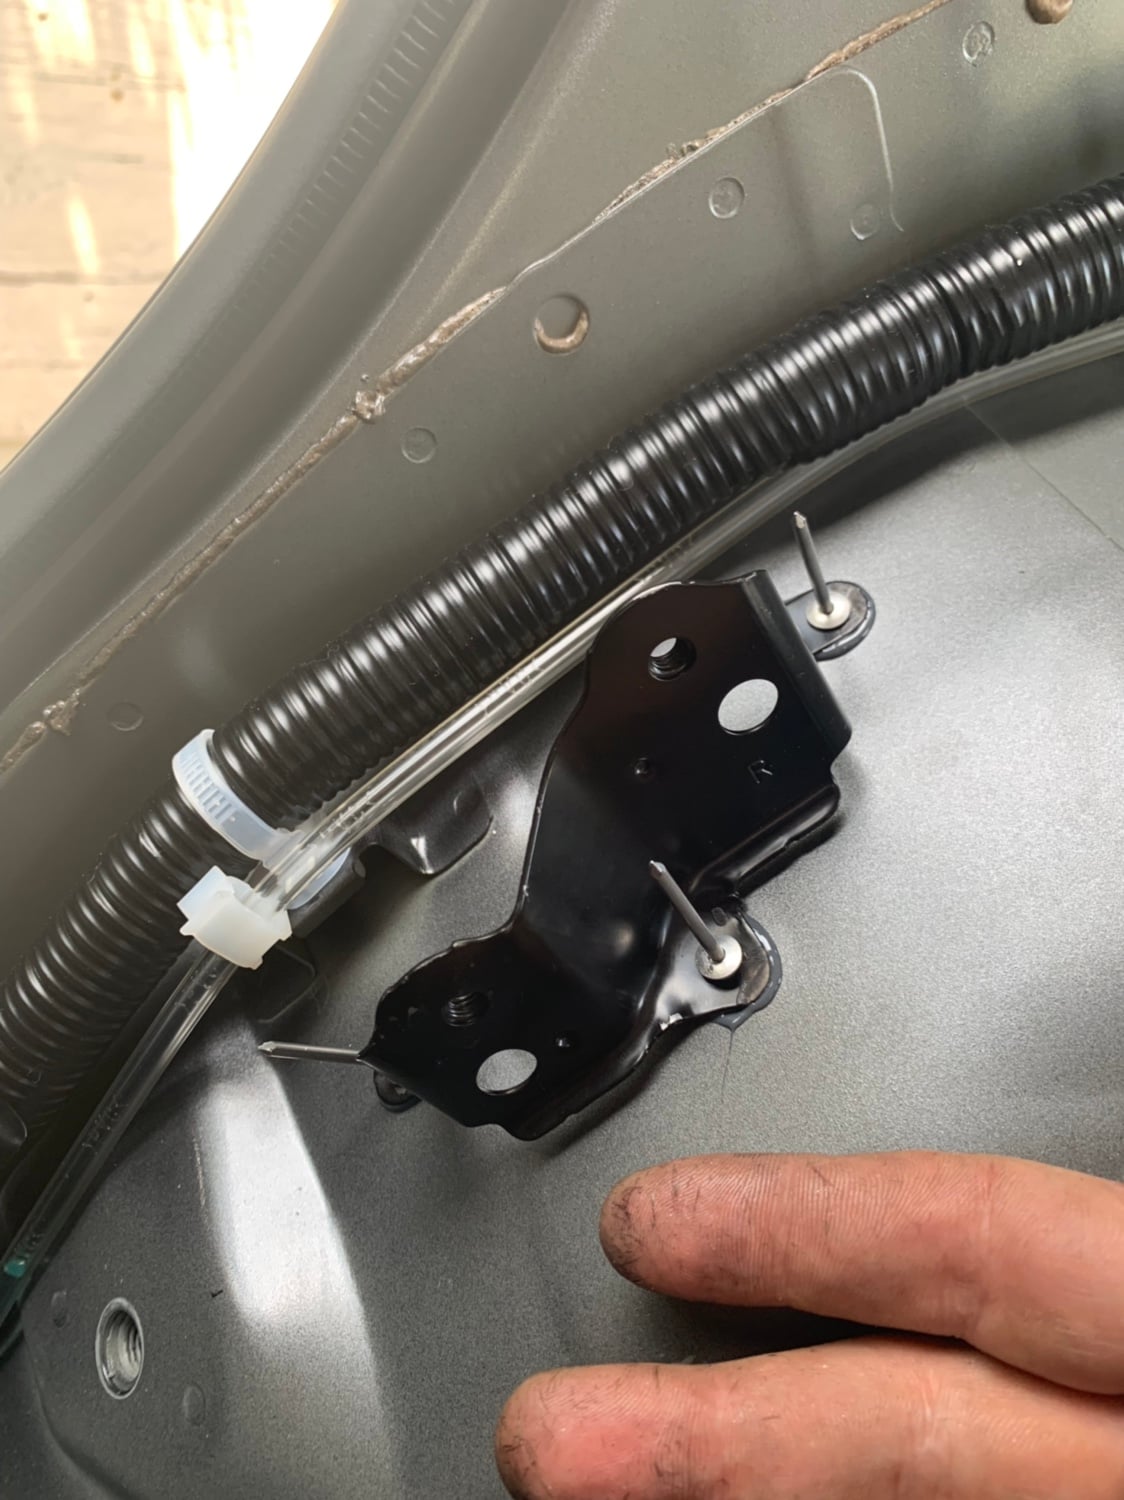
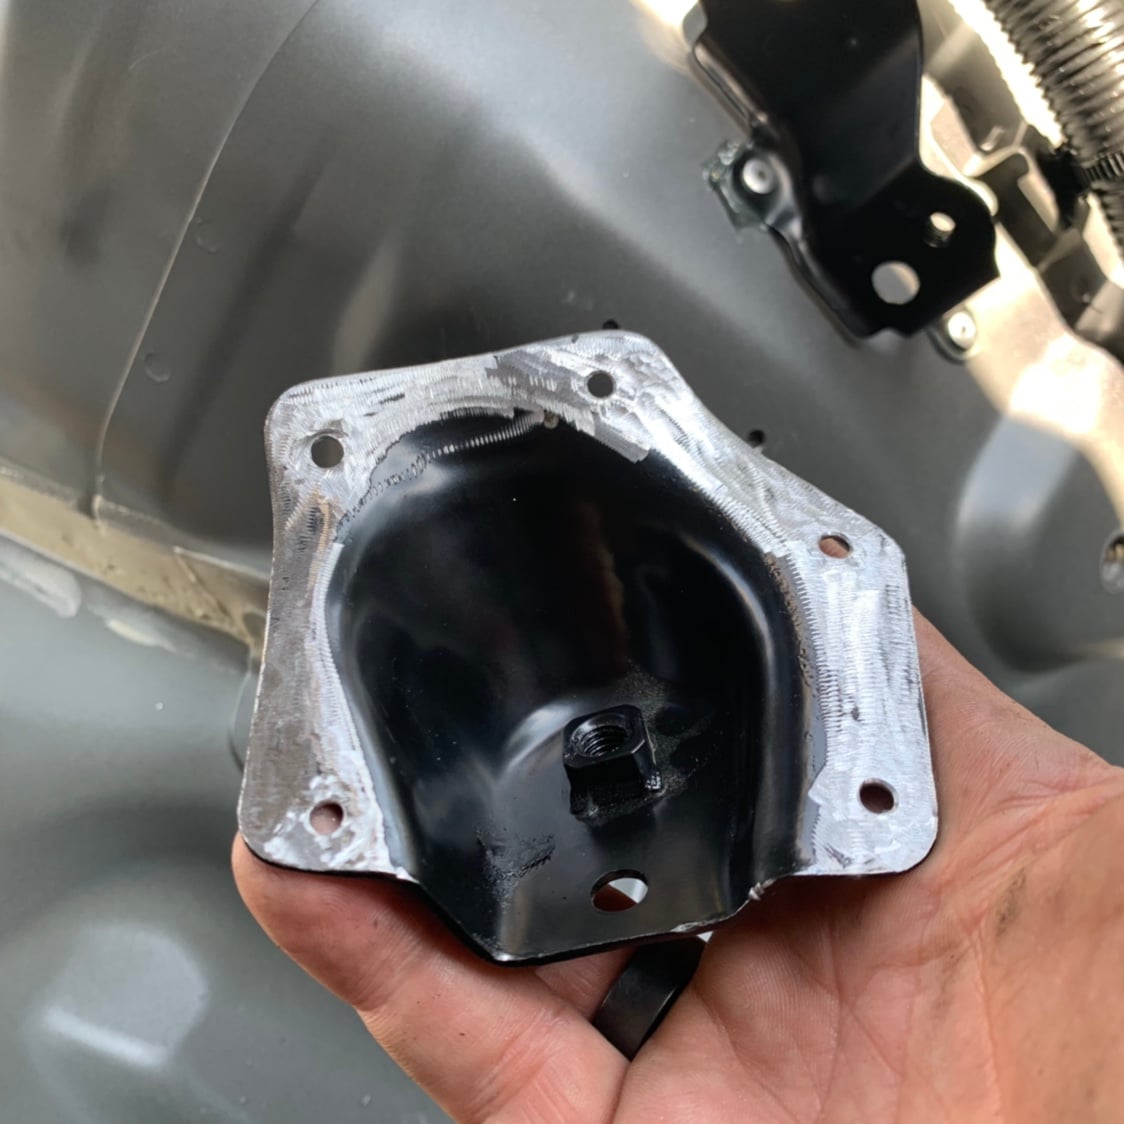
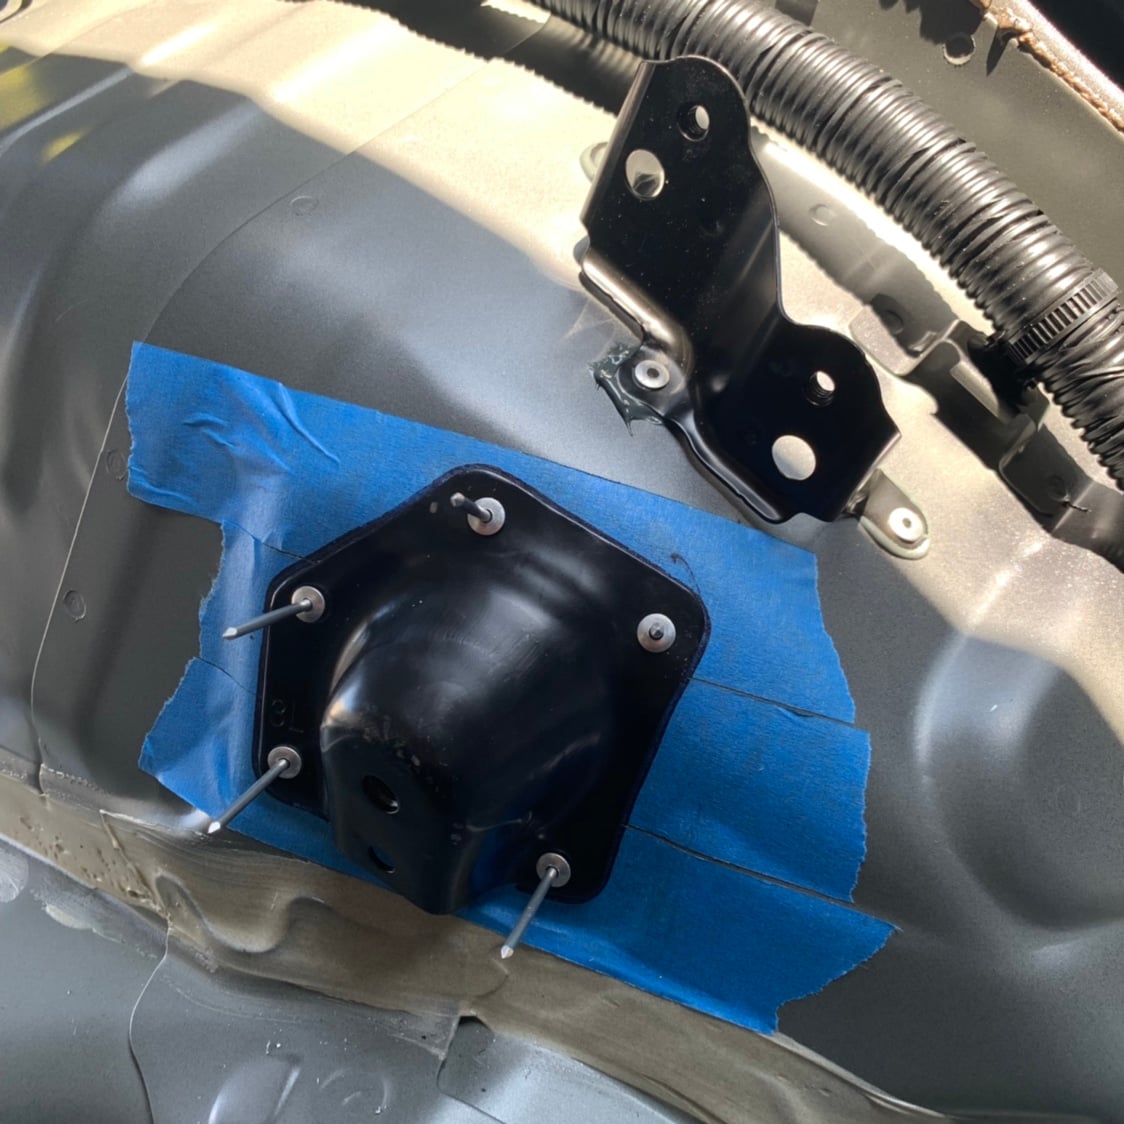
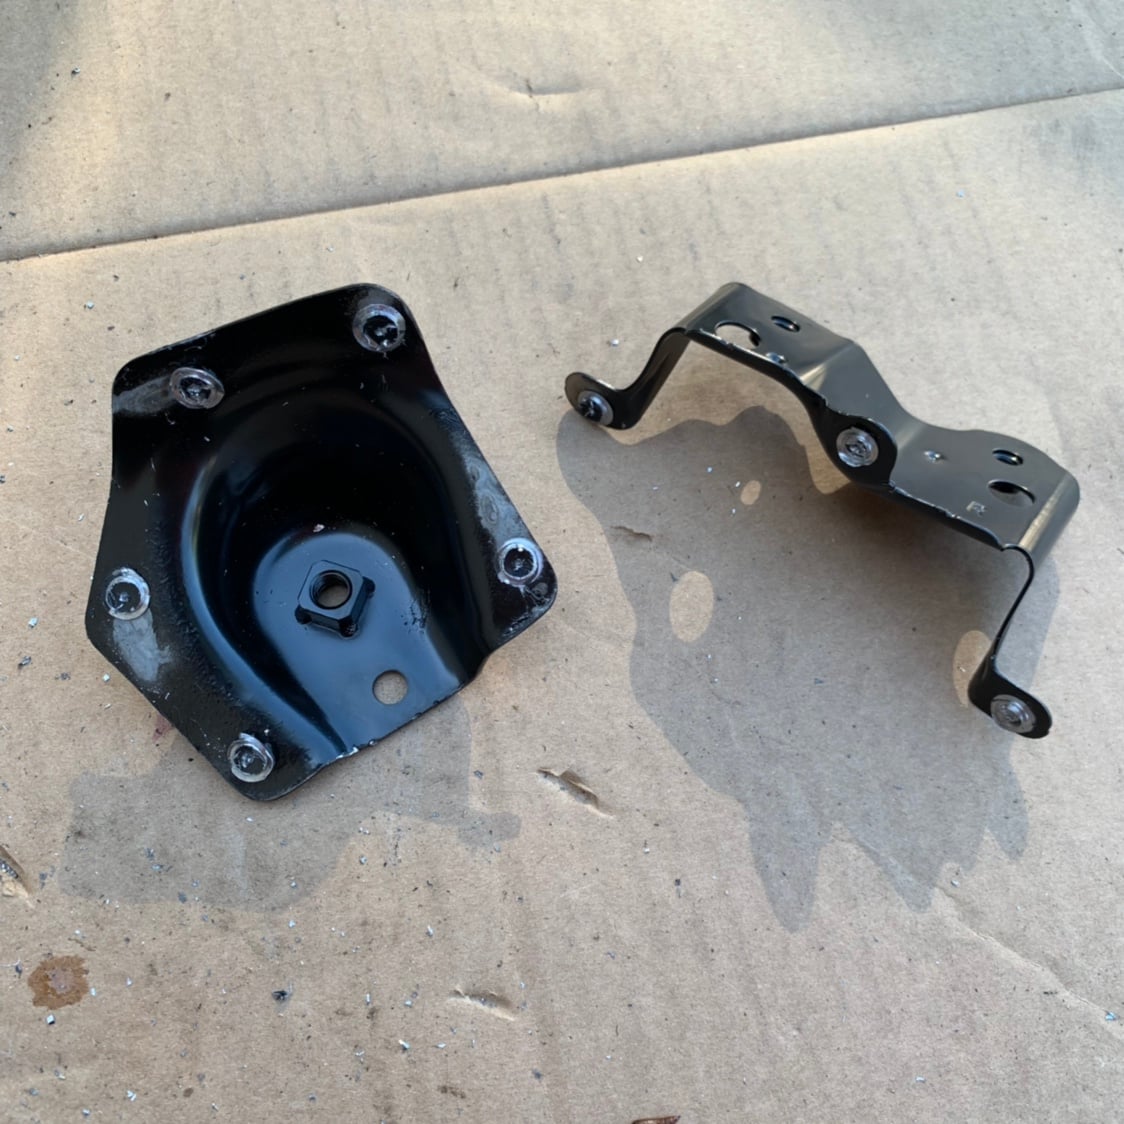
After some measurements, I took a spot weld cutter to them to pull those two brackets off, still undecided on exactly how I’d mount them:
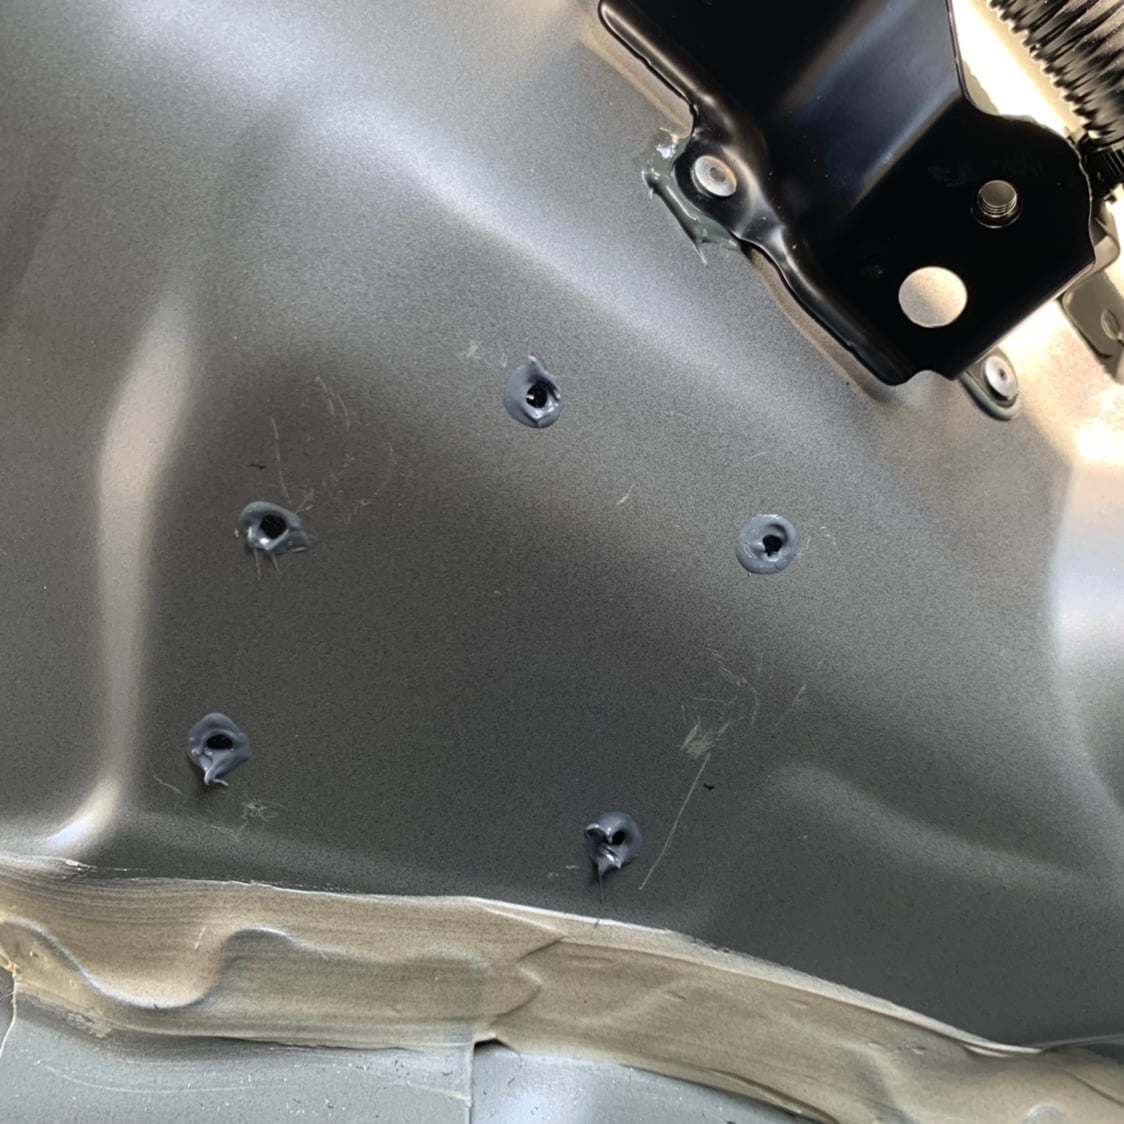
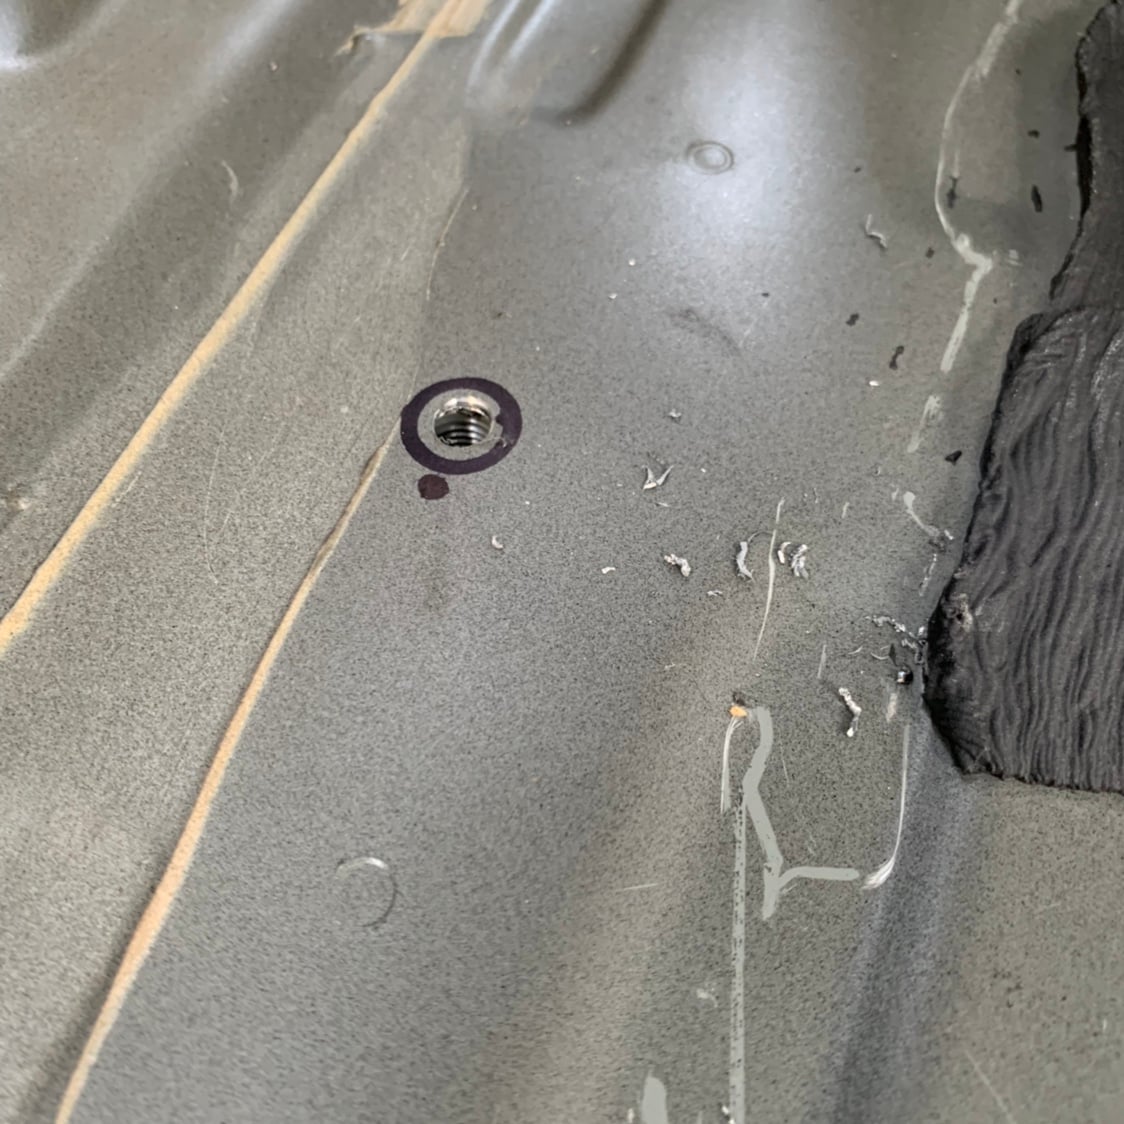
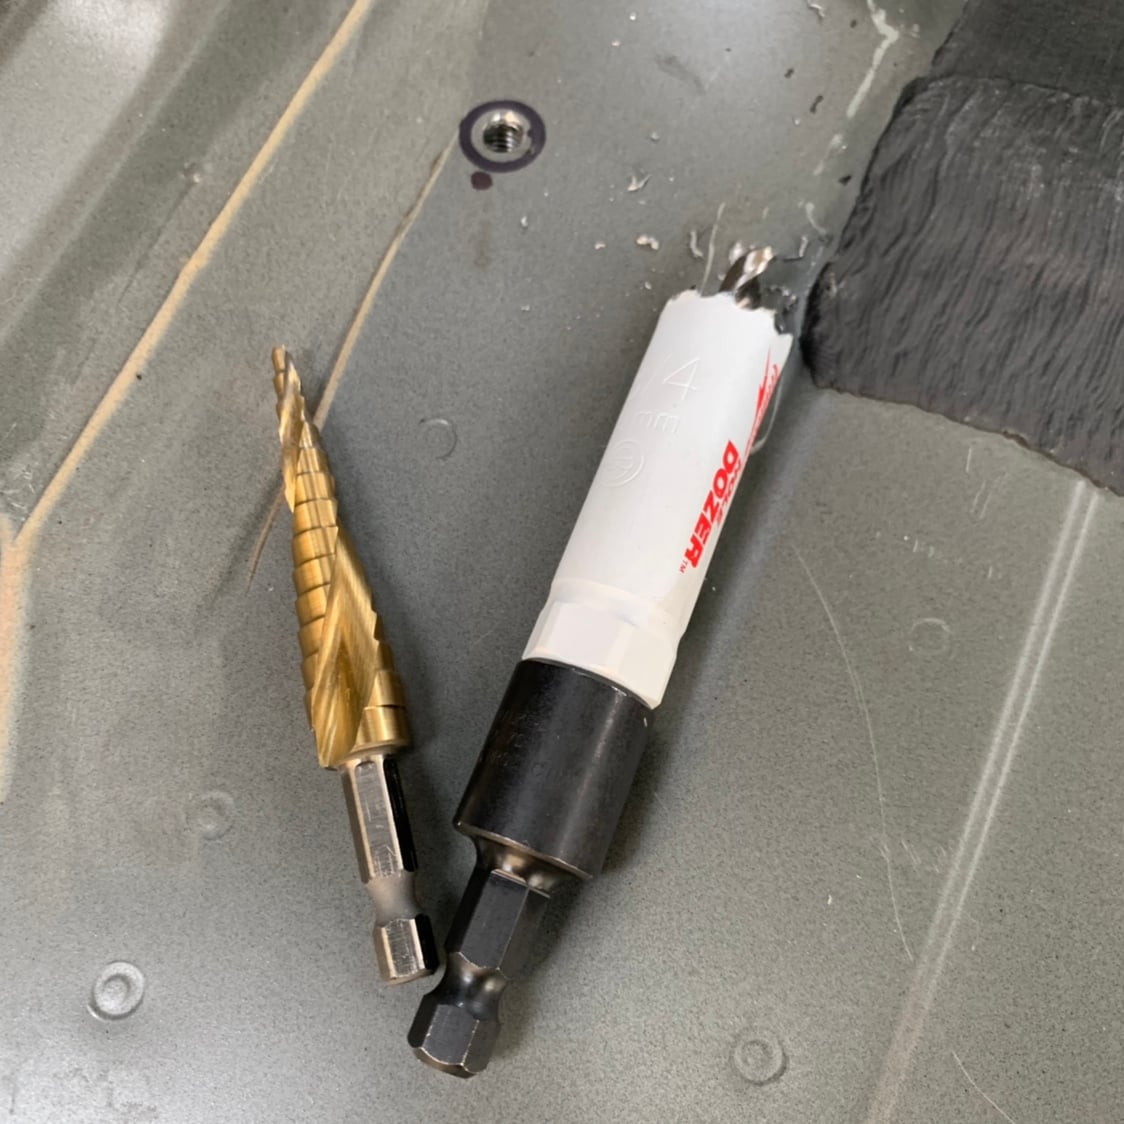
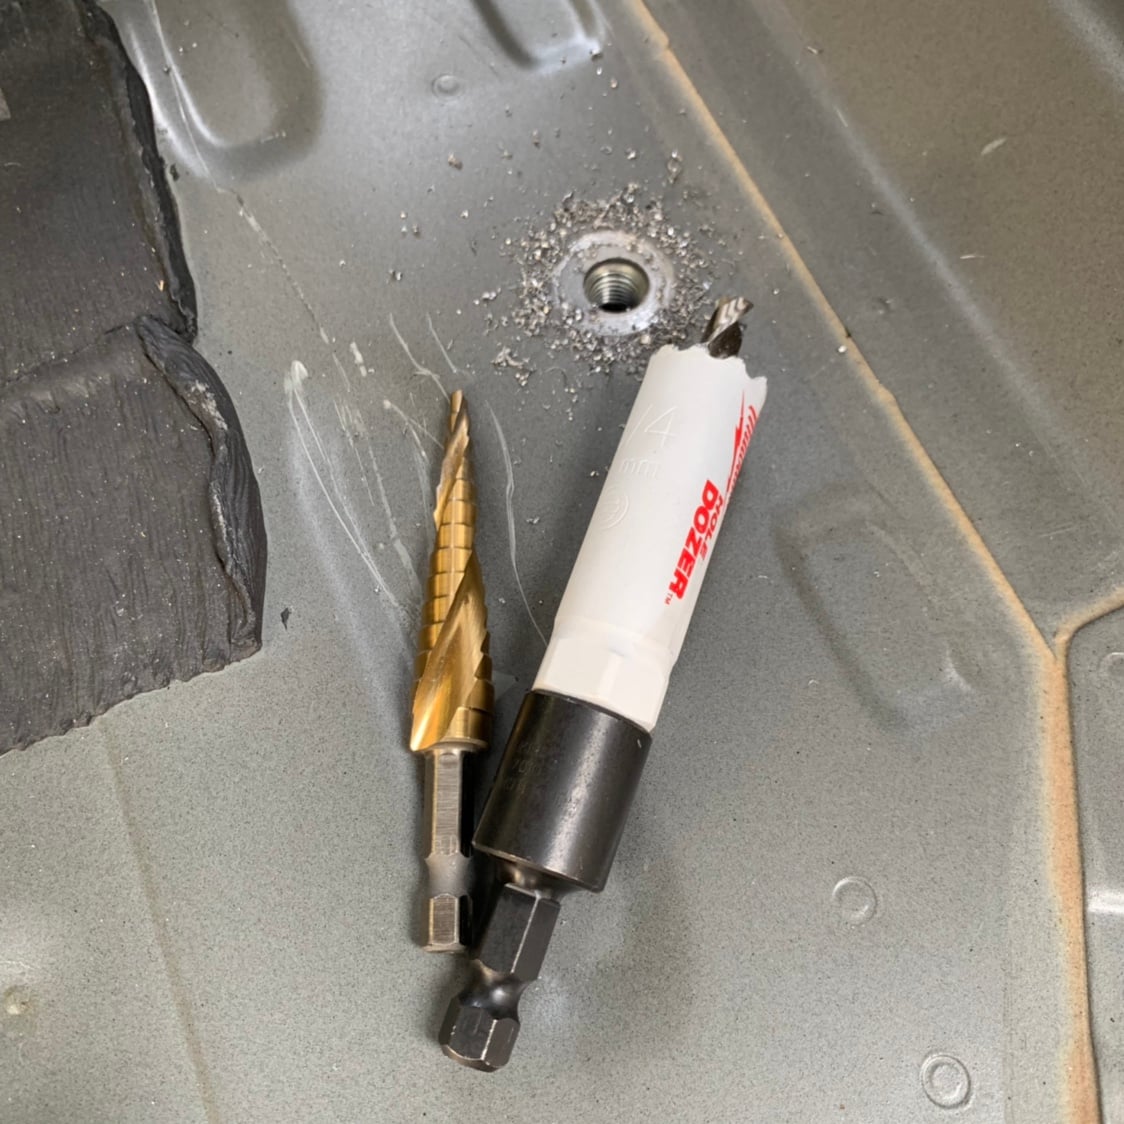
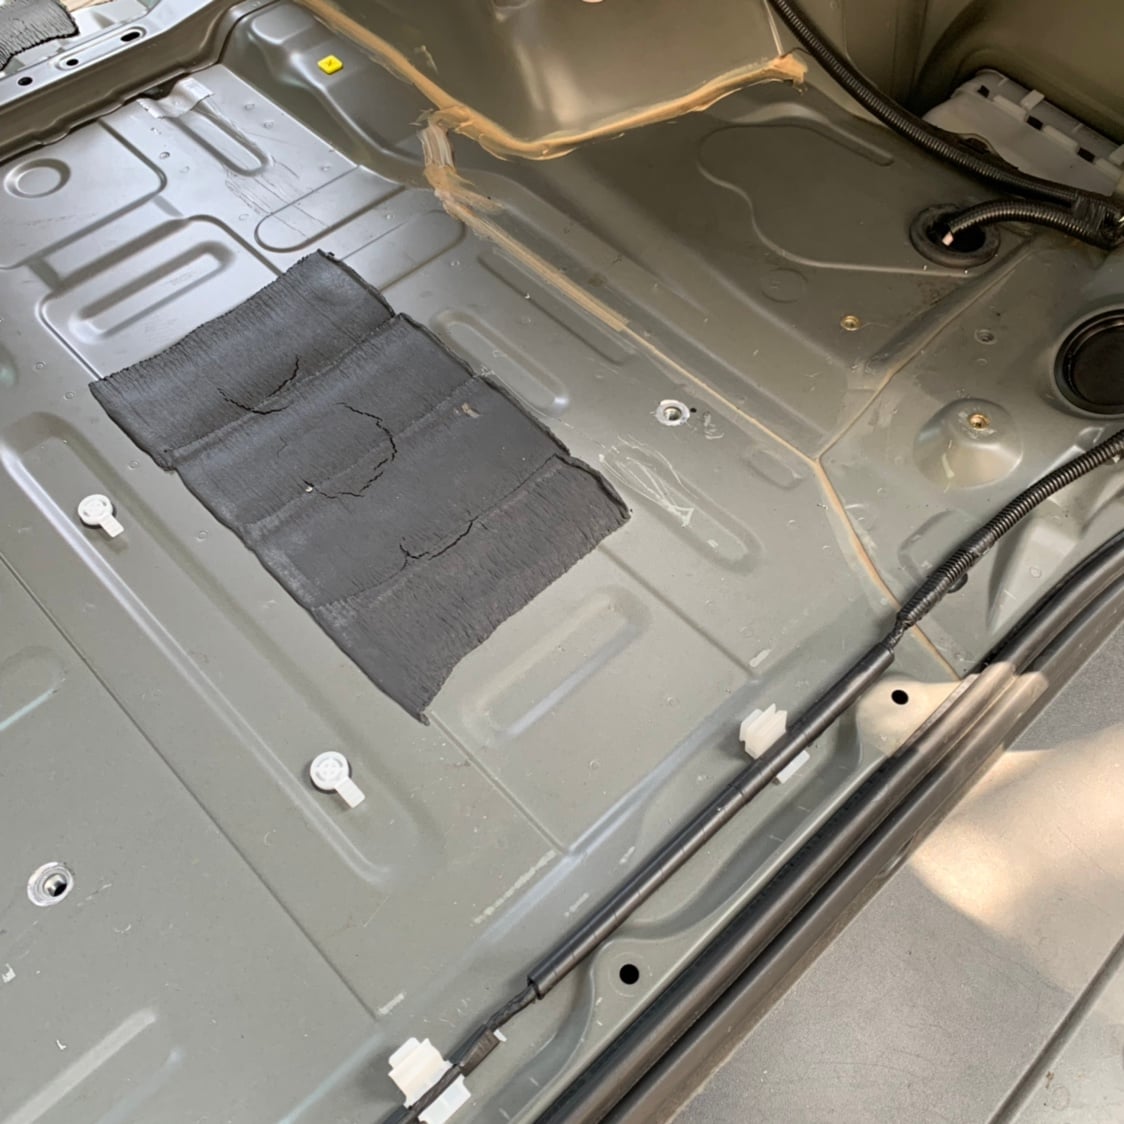
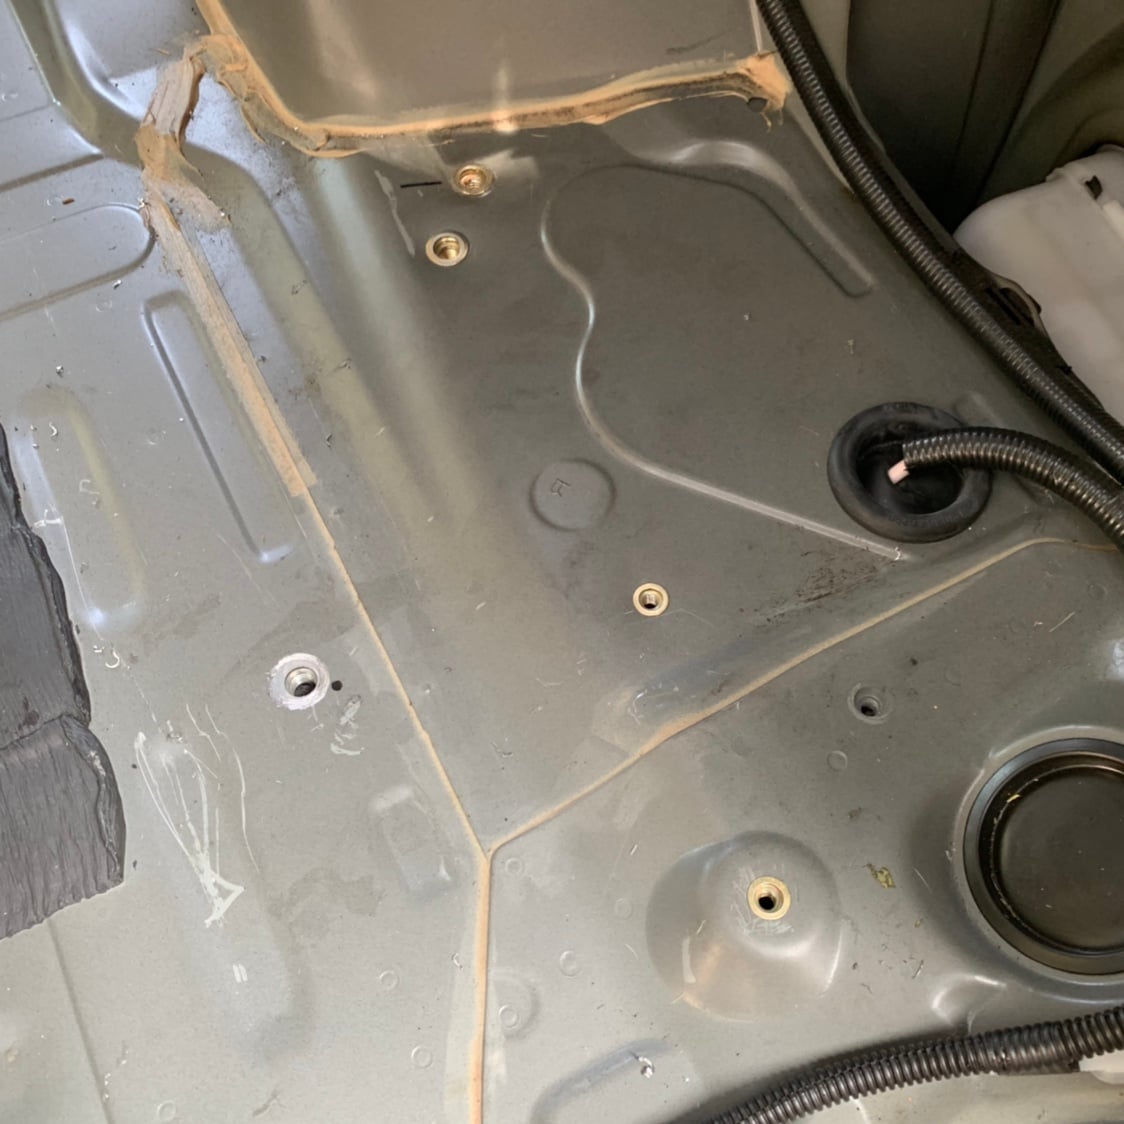
#4 Wasn’t necessarily a big deal. Most of the screws are standard M10 and M6, or so we thought. The damn M10s are 1.25mm pitch instead of the usual 1.5mm and there aren’t steel rivnuts available in 1.25mm pitch. Ok, whatever. We’ll have some of each. I’ll get black screws for the 10x1.5mm so there’s less confusion. We know some of the M10 are there under sheetmetal and some have to be installed. I decided to use a 3/4” holesaw like a spotweld cutter to open up the ones we knew were there and a step drill for the ones that weren’t:
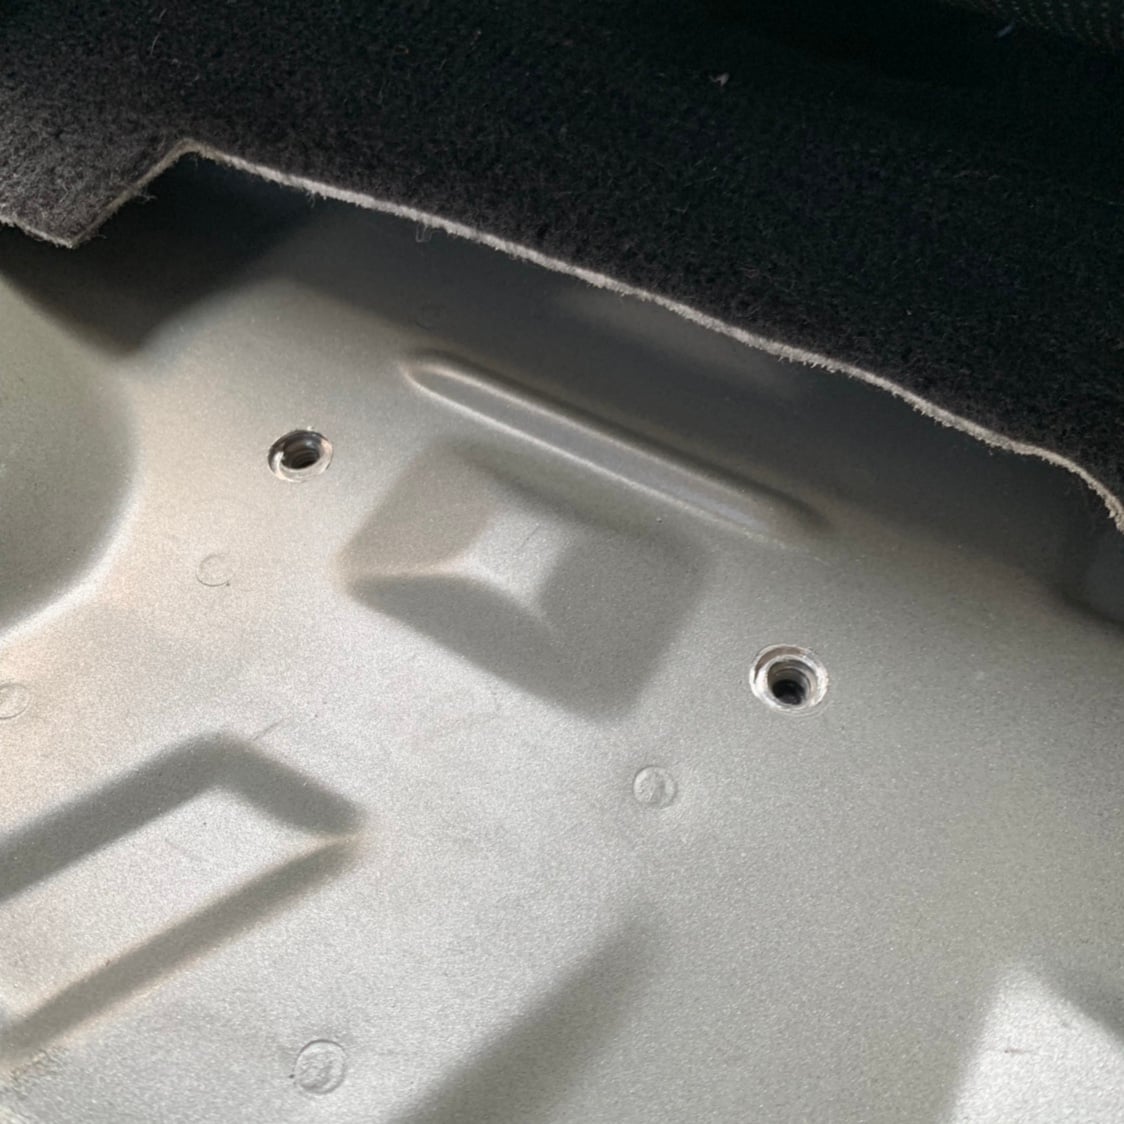
Which brings us to...
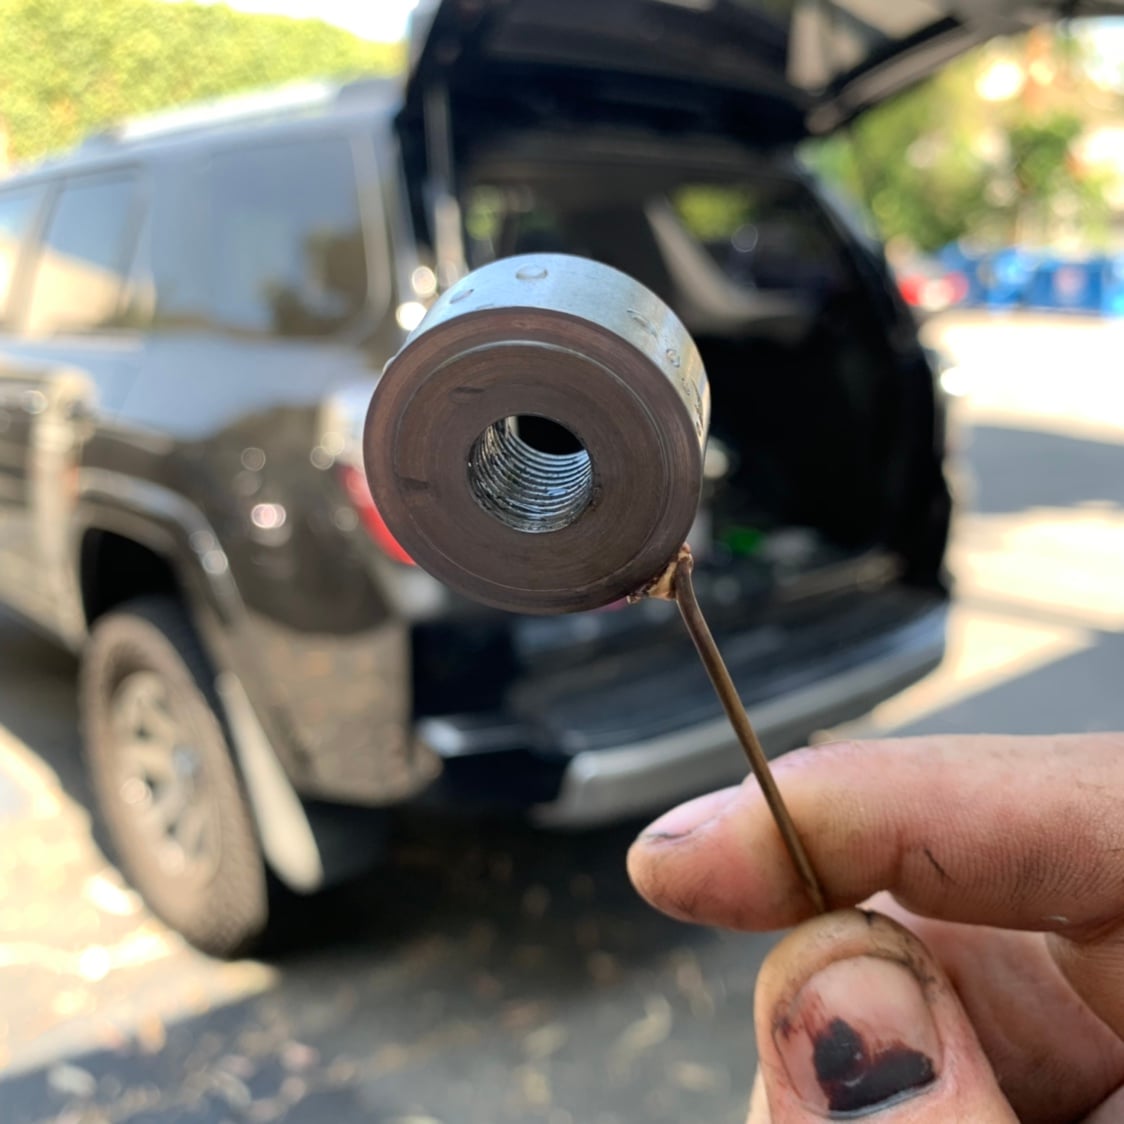
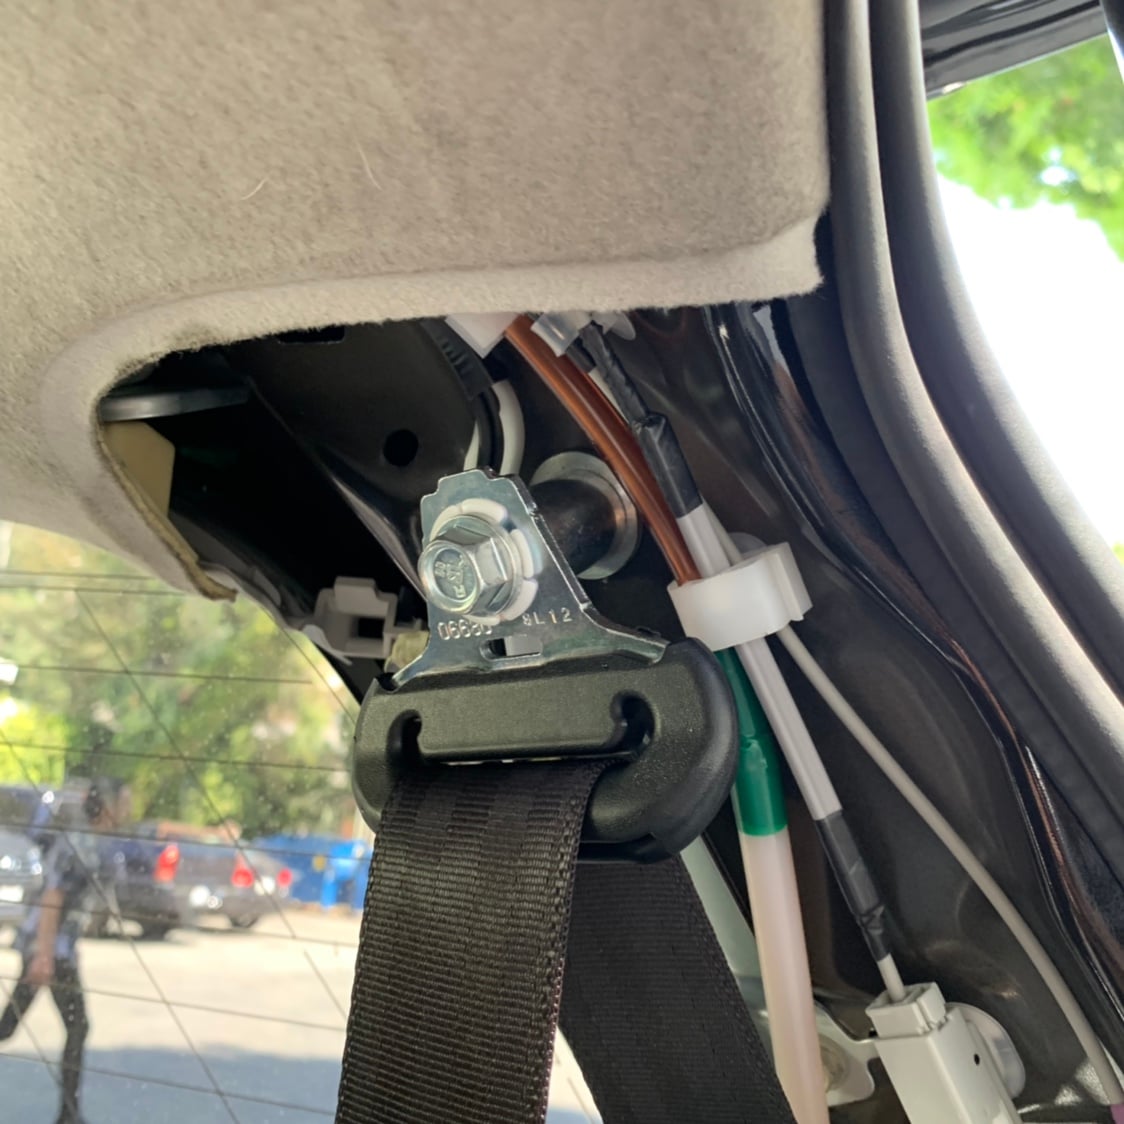
#5 D-pillar Seatbelt anchors. It’s been so long I completely forgot the NHTSA requires any seatbelt anchors to use 7/16-20 screws and couldn’t figure out why half the bolts for the rear seat mounts were 11mm OD... Good thing I had a thread gauge and we realized they were SAE because I definitely don’t have an M11x1.27 tap, lol. I had some ø1.125” stainless bar stock so I made a couple of nuts that would sit behind the panel to anchor the belts. I welded a piece of wire to them so we could fish them into the pillar and somewhat hold them in place while we screwed the anchors to them. Hilarity ensued with the first one, but we made it happen and the second one went in like a charm:
Continued below:
This story begins when I was looking for a new 4Runner back in June. I saw the Nightshade and was in love except they all had third row seats, which was an issue because 1) I don’t have kids and 2) I don’t like five other people enough to cram them all into one car with me. I found one in NorCal that the dealer seemed motivated to move. So, I actually drove up and bought it *after* deciding I’d rip them out, not having any idea how to do it properly. Plus they gave me over $4k off sticker and a more than fair trade-in for a three owner 2015 M3 with a weird engine knock and four curbed wheels, lol.
Aaaaaanyway, I posted looking for a Limited to swap with so we could go leather to leather, but that didn’t materialize. I ended up connecting with [MENTION=198699]gdavis1233[/MENTION] who has a two row Trail Premium and a suitably sized family to make the most of a third row and some money to spend to make this happen. More importantly, he was willing to come by my shop so we could do some exploratory disassembly.
So we did that. And we found there’s about 20 bolt locations that differ from 2 row to 3 row. No big deal. But there’s also these goddamn brackets that the 2 row trucks that the 3 rows don’t:
Cogitation occurred. Much of it. Because I wasn’t interested in doing it if I couldn’t pull it off at a factory level. And that meant solving five problems:
1) reupholstering his 2nd row seats to match mine
2) sourcing the interior panel for the JBL sound system
3) finding those damn brackets
4) sorting through which bolt holes are there and which are threaded and which I’d have to rivnut
5) how the hell do we make proper upper mounts for the 3rd row seatbelts
#1 and 2 are easy in LA: Just throw money at it and it’ll happen.
So I did.
I managed to get my local parts counter to almost match the online price for the inner quarter panel. That was nice. Then I spent a half-day driving around LA to various upholstery shops checking them out. Settled on Bill Dunn on Lincoln after seeing their work. Here’s the first seat cushion they recovered to check fit and finish:
#3 Was a bit more difficult. You can’t just buy the brackets. You have to buy the entire inner wheel arches.
So I did.
After some measurements, I took a spot weld cutter to them to pull those two brackets off, still undecided on exactly how I’d mount them:
#4 Wasn’t necessarily a big deal. Most of the screws are standard M10 and M6, or so we thought. The damn M10s are 1.25mm pitch instead of the usual 1.5mm and there aren’t steel rivnuts available in 1.25mm pitch. Ok, whatever. We’ll have some of each. I’ll get black screws for the 10x1.5mm so there’s less confusion. We know some of the M10 are there under sheetmetal and some have to be installed. I decided to use a 3/4” holesaw like a spotweld cutter to open up the ones we knew were there and a step drill for the ones that weren’t:
Which brings us to...
#5 D-pillar Seatbelt anchors. It’s been so long I completely forgot the NHTSA requires any seatbelt anchors to use 7/16-20 screws and couldn’t figure out why half the bolts for the rear seat mounts were 11mm OD... Good thing I had a thread gauge and we realized they were SAE because I definitely don’t have an M11x1.27 tap, lol. I had some ø1.125” stainless bar stock so I made a couple of nuts that would sit behind the panel to anchor the belts. I welded a piece of wire to them so we could fish them into the pillar and somewhat hold them in place while we screwed the anchors to them. Hilarity ensued with the first one, but we made it happen and the second one went in like a charm:
Continued below:
Last edited: