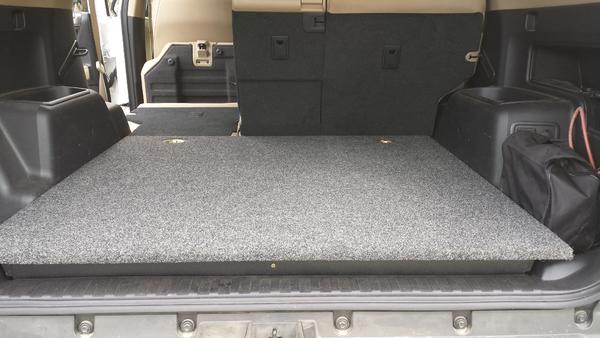
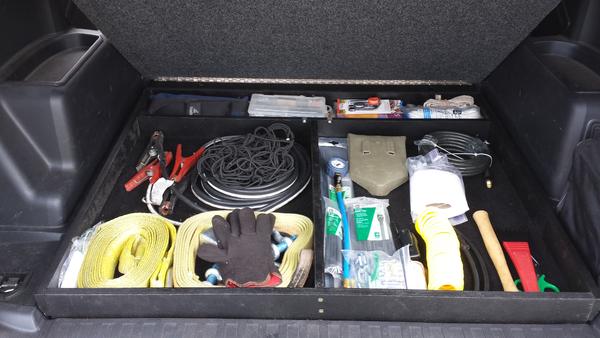
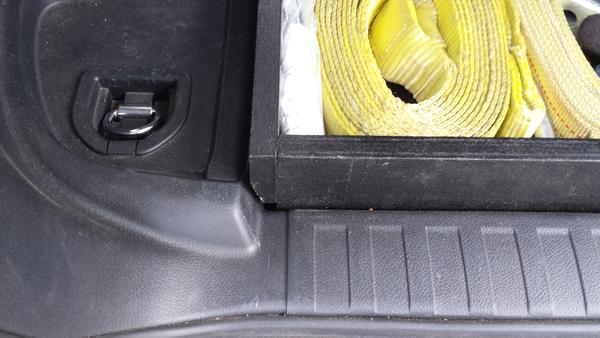
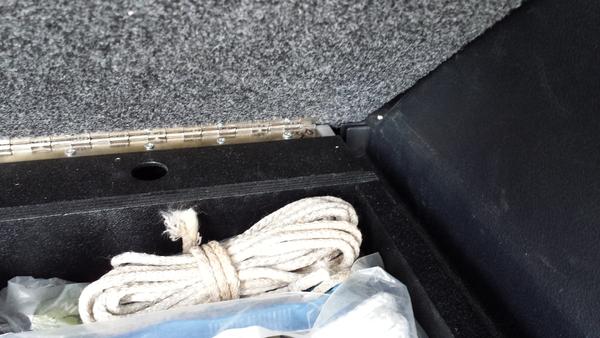
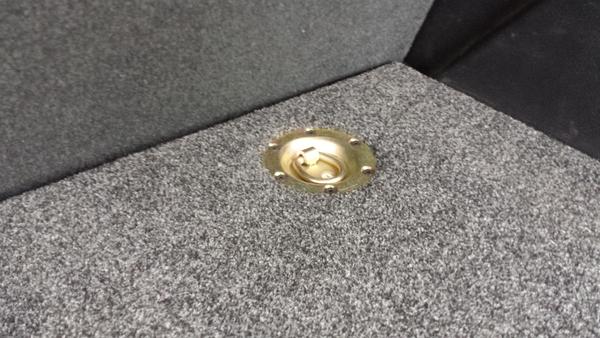
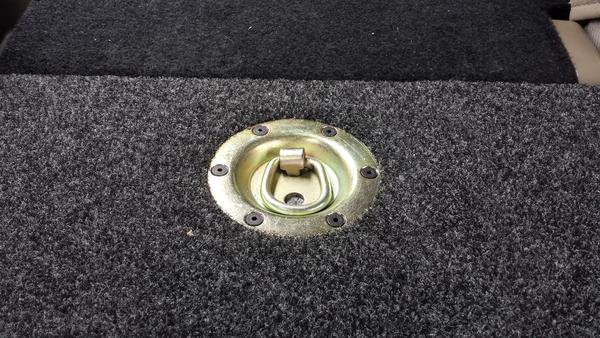
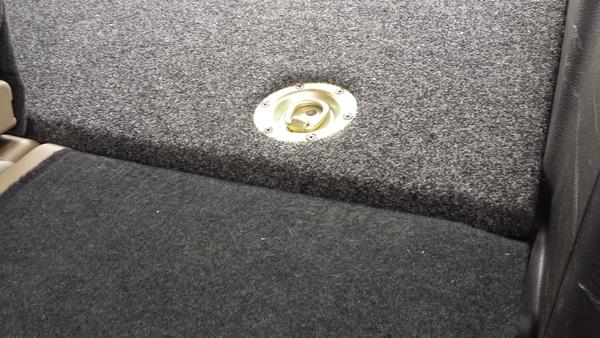
1st step is to remove the front cargo tie-downs, the filler piece they hold down, the rear carpet, the underlying styrofoam, the rear trim piece. a 10mm socket is all I remember using. you should be down to metal.
measure width for aluminum to fit across the cargo hook supports. mark for holes, you will attach the aluminum piece with 6mm bolts. I used 6mm x 25 bolts up through the bottom of the integral nuts in the supports, leaving "studs" sticking up.
I drilled along the axis centerline of the aluminum, but my supports were NOT equally spaced from the ends. measure each hole location individually. or drill twice like I did. the bottom holes were 5/16", the top were 15/16" (as big as my uni-bit will go). I also drilled access holes in the front so I could use my fingers to put the washers and nuts on the studs, inside the 2x2 aluminum.
cut and install the radiant barrier, I used 2 pieces, placed in the bottom of the cargo area. there is a ridge running sideways, only 8 inches or so behind the rear seat backs. I think it is for the 3rd-row seats I do not have. that ridge divides the cargo area into two.
install 2 riv-nuts on the center of the ridge, the holes are predrilled, the 1/4 inserts fit perfectly.
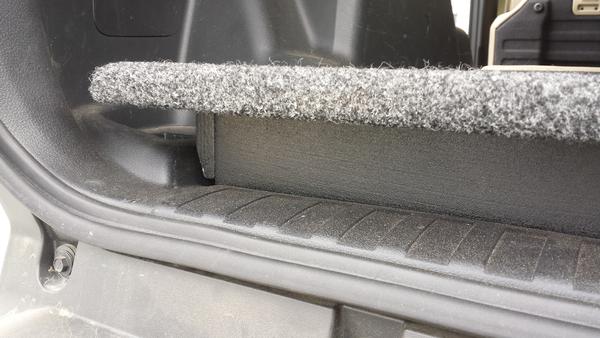
next install the auto carpet, the latex-backed carpet I got was perfect for this, as it was not too stiff, and it conformed to the irregular shape of the cargo area. leave it wide enough to fit under the plastic lining in the interior. it only stuffs under an inch or less each side. leave it long enough to extend to the clips in back, and to cover the supports in the front.
once the carpet is in place, measure how tall the side supports need to be. push down on the carpet when measuring, to simulate a load. measure so the side support tops will be level with the top of the aluminum cross piece. cut the side supports from the 3/4" plywood. my driver's side and passenger side supports were not the same height; one was a tad higher. 1/16" or so. measure yours to be sure.
again, while pressing down on the carpet, measure for the rear piece. use 3/4" plywood.
do the same for the piece that goes along the top of the ridge, you will have to cut away a little from the bottom of the ends, you will understand. mark this piece for holes, to allow 1/4-20 bolts to thread into the riv-nuts underneath. 3/4" plywood.
cut another piece of 3/4 plywood for the piece extending from the middle of the rear piece, to the middle of the piece across the ridge. it was not centered between the 2 bolt holes in the ridge piece, it was offset a tad. part of the metal floor under this piece is stamped down, I used some 2-part epoxy to fill that depression, so the wood piece has 100% support. don't forget the release agent, masking, etc. with the epoxy.
I cut the header piece, the front wood panel up against the aluminum cross piece, from the 12mm birch.
I painted all the wood flat black, then sprayed with the bedliner. the bedliner was a PITA to spray, and I don't like the finish, I would just brush on more enamel next time and skip the bedliner.
(continued)
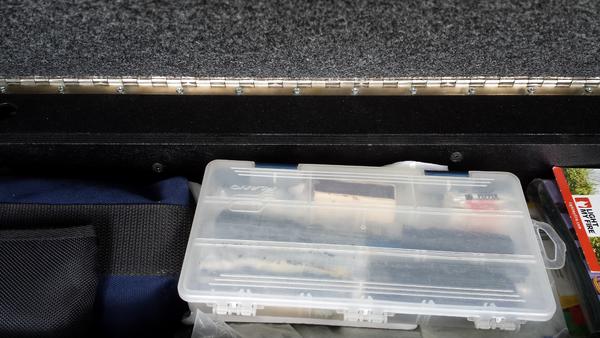
once I cut the deck to width, and set the aluminum cross piece in place, I realized that my plan of putting the piano hinge on the forward edge of the crosspiece would not work. there are 2 plastic bosses, one on either side, for the angled trim panel that was behind the seat backs. the bosses are about an inch forward of the crosspiece. so, I cut a piece of 1" x 1" aluminum angle to mount to the front of the crosspiece. that provided a 1" shelf to attach the piano hinge, putting the hinge pin just beyond the bosses, allowing the deck to pivot up without the front edge hitting the bosses.