RockyrT4R
New member
Ill start off by saying I'm 16 whether that goes for or against me.
You might have seen the thread by my uncle [MENTION=102168]owyheerat[/MENTION] on his dual swing bumper build/shoutout.
I began gaining interest in the bumper after I got my 4runner and realized how cool of a 4runner my uncle had, he built his in our shop(my dads) and that is where mine is being created as well! I loved the look and lines that the bumper has and realized I can make it for waayyyy cheaper than buying one.
I'd also like to give a shoutout to [MENTION=55891]Bandit Runner[/MENTION] The plans he created are AWESOME! He made is very easy to work with and can accommodate most need/wants that one might have for their bumper. The plans included Full Step-By-Step Drawings and if any of you ever played with legos you'd know that "picture plans" make it very easy to make something:thumb3: Also included where VERY detailed written plans I didn't even have to use the written plans because of how easy the "picture plans" made it. He also includes the dimensioned drawings of all parts. Plus all the files needed to get the 3/16" plate cut out precisely on a Plasma Table.
Some things to note:
- I rebuilt the main crossbeam and mounts because I messed up on the first ones.
-I ordered the wrong size nuts (1-1/8") The bolts are 1-1/4"
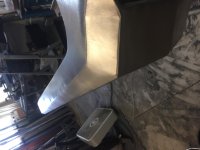
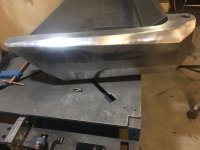
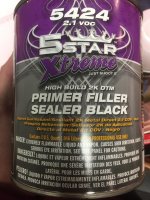
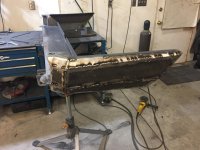
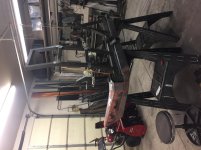
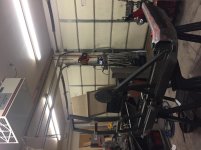
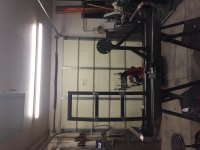
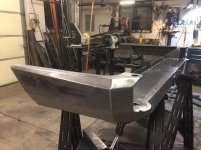
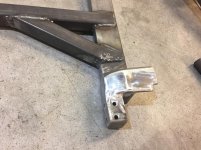
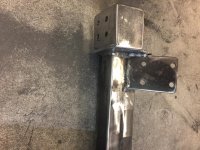
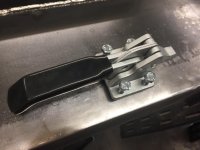
Heres some pictures:
<a href="https://ibb.co/cHbdQR"><img src="https://preview.ibb.co/kzYQ5R/IMG_5977.jpg" alt="IMG_5977" border="0"></a>
<a href="https://ibb.co/jBSSkR"><img src="https://preview.ibb.co/iuJpzm/IMG_6001.jpg" alt="IMG_6001" border="0"></a>
<a href="https://ibb.co/ivxUX6"><img src="https://preview.ibb.co/i3fSKm/IMG_6019.jpg" alt="IMG_6019" border="0"></a>
<a href="https://ibb.co/nH7os6"><img src="https://preview.ibb.co/ivm3QR/IMG_6024.jpg" alt="IMG_6024" border="0"></a>
<a href="https://ibb.co/j94OQR"><img src="https://preview.ibb.co/cgXXKm/IMG_6036.jpg" alt="IMG_6036" border="0"></a>
<a href="https://ibb.co/hauOQR"><img src="https://preview.ibb.co/dEHMC6/IMG_6053.jpg" alt="IMG_6053" border="0"></a>
<a href="https://ibb.co/cjAKzm"><img src="https://preview.ibb.co/h0Xos6/IMG_6066.jpg" alt="IMG_6066" border="0"></a>
I'll add more pictures and stuff as I go!:thumb3:
You might have seen the thread by my uncle [MENTION=102168]owyheerat[/MENTION] on his dual swing bumper build/shoutout.
I began gaining interest in the bumper after I got my 4runner and realized how cool of a 4runner my uncle had, he built his in our shop(my dads) and that is where mine is being created as well! I loved the look and lines that the bumper has and realized I can make it for waayyyy cheaper than buying one.
I'd also like to give a shoutout to [MENTION=55891]Bandit Runner[/MENTION] The plans he created are AWESOME! He made is very easy to work with and can accommodate most need/wants that one might have for their bumper. The plans included Full Step-By-Step Drawings and if any of you ever played with legos you'd know that "picture plans" make it very easy to make something:thumb3: Also included where VERY detailed written plans I didn't even have to use the written plans because of how easy the "picture plans" made it. He also includes the dimensioned drawings of all parts. Plus all the files needed to get the 3/16" plate cut out precisely on a Plasma Table.
Some things to note:
- I rebuilt the main crossbeam and mounts because I messed up on the first ones.
-I ordered the wrong size nuts (1-1/8") The bolts are 1-1/4"
Heres some pictures:
<a href="https://ibb.co/cHbdQR"><img src="https://preview.ibb.co/kzYQ5R/IMG_5977.jpg" alt="IMG_5977" border="0"></a>
<a href="https://ibb.co/jBSSkR"><img src="https://preview.ibb.co/iuJpzm/IMG_6001.jpg" alt="IMG_6001" border="0"></a>
<a href="https://ibb.co/ivxUX6"><img src="https://preview.ibb.co/i3fSKm/IMG_6019.jpg" alt="IMG_6019" border="0"></a>
<a href="https://ibb.co/nH7os6"><img src="https://preview.ibb.co/ivm3QR/IMG_6024.jpg" alt="IMG_6024" border="0"></a>
<a href="https://ibb.co/j94OQR"><img src="https://preview.ibb.co/cgXXKm/IMG_6036.jpg" alt="IMG_6036" border="0"></a>
<a href="https://ibb.co/hauOQR"><img src="https://preview.ibb.co/dEHMC6/IMG_6053.jpg" alt="IMG_6053" border="0"></a>
<a href="https://ibb.co/cjAKzm"><img src="https://preview.ibb.co/h0Xos6/IMG_6066.jpg" alt="IMG_6066" border="0"></a>
I'll add more pictures and stuff as I go!:thumb3:
Last edited: