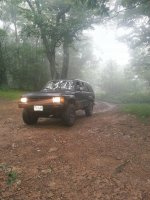
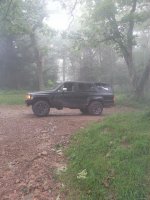
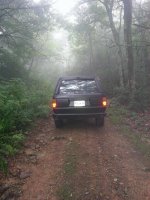
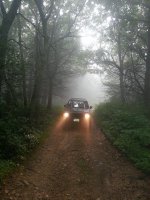
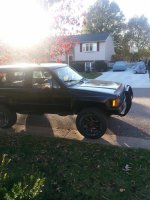
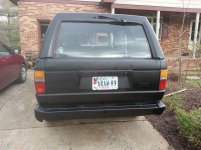
BaseRunners 1989 22RE Build thread

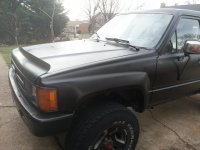
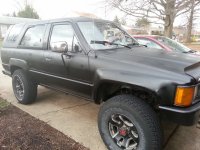
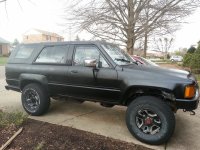
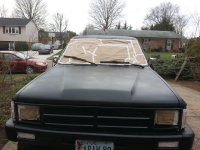
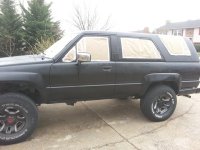
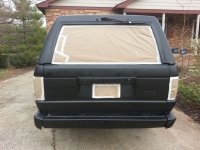
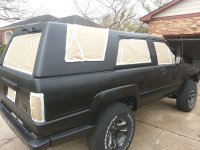
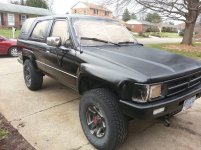
Well I decided to wet sand it with 2000 grit sand paper. I don't have a buffer so I couldn't buff it afterwards, I might have to buy one this weekend. But anywho I wet sanded pretty good and then washed it thoroughly with a sponge for now and the results are, alright! I need to buff and polish it soon so I can be done with it. I plan on wet sanding again tomorrow just to be on the safe side.
 

Attachments

  • rocky1.jpg
    rocky1.jpg
    128.9 KB · Views: 487
  • rocky2.jpg
    rocky2.jpg
    111.1 KB · Views: 406
  • rocky3.jpg
    rocky3.jpg
    111.2 KB · Views: 434
  • rocky4.jpg
    rocky4.jpg
    129.8 KB · Views: 477
Looking at it and looking at those pictures makes me realize I want to do a few more coats of paint, and a few more coats of clear coat. Would yal think thats a good or bad idea? should I just paint over what I already have on there or what? any ideas fellers?
 
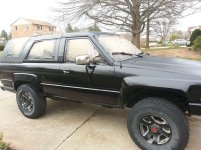
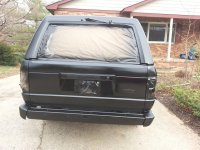
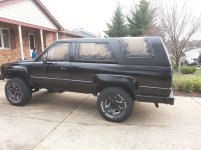
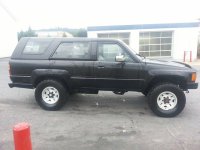
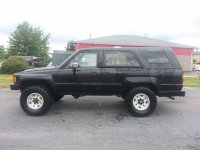
Went to lowes and bought 5 more cans of the paint and 3 cans of that crystal clear coat. Came home and taped everyting up. Then I put on a few more coats of the paint and primer and I noticed how I could see my reflection and how shiny and glossy it was. So I let it dry and it was still pretty glossy and shiny. So I decided not to use the crystal clear coat because it made it dull and color less the last time I used it as you can see in the pics from my previous posts up there^^^ I noticed how the hood isn't as glossy and shiny so tomorrow im gonna have to touch that up. But overall I love how this paint looks. I don't wanna wet sand it because it looks so nice lol. But I will be buffing it because I also bought a buffer :becky: heres some pics.
 

Attachments

  • rocky1.jpg
    rocky1.jpg
    100.5 KB · Views: 406
  • rocky2.jpg
    rocky2.jpg
    86.4 KB · Views: 411
  • rocky3.jpg
    rocky3.jpg
    119.7 KB · Views: 400
  • rocky4.jpg
    rocky4.jpg
    105.8 KB · Views: 388
  • rocky5.jpg
    rocky5.jpg
    134.3 KB · Views: 428
  • rocky6.jpg
    rocky6.jpg
    128.6 KB · Views: 422
  • rocky7.jpg
    rocky7.jpg
    129.5 KB · Views: 397
  • rocky8.jpg
    rocky8.jpg
    122.3 KB · Views: 417
That's not bad for a rattlecan job. I hope mine comes out that good.

Thanks Kevin. Once I touch up the hood and buff and polish it, I'll put more pics up. I'm hoping it will get even shinier and glossier at that point. But man I am relieved now that its just one single color rather then the 3 tone 4 tone bullshit that was on it haha.
 
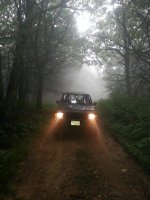
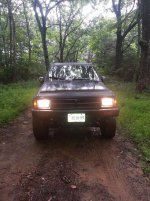
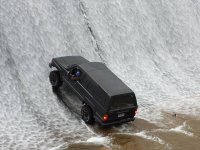
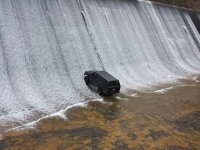
Haven't posted in 5 months?!?! Holy shit haha...well wasup fellers? how yal been? got some pics I wanted to share
 

Attachments

  • rocky3.jpg
    rocky3.jpg
    138.1 KB · Views: 367
  • rocky4.jpg
    rocky4.jpg
    136.8 KB · Views: 325
  • rocky5.jpg
    rocky5.jpg
    133 KB · Views: 335
  • rocky6.jpg
    rocky6.jpg
    136 KB · Views: 335
  • rocky7.jpg
    rocky7.jpg
    130.2 KB · Views: 326
  • rocky8.jpg
    rocky8.jpg
    92.4 KB · Views: 316
  • rocky9.jpg
    rocky9.jpg
    136.9 KB · Views: 327
  • rocky10.jpg
    rocky10.jpg
    136.6 KB · Views: 328
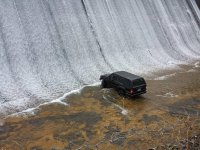
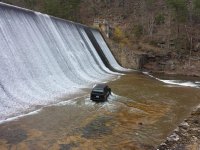
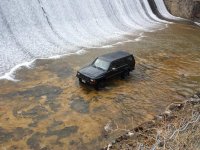
Not at all familiar with it. I live in the Richmond area. The pictures of the dam are awesome and a little scary. Is it a popular spot to drive through?
 
Not at all familiar with it. I live in the Richmond area. The pictures of the dam are awesome and a little scary. Is it a popular spot to drive through?[/QUOTE

Actually you're not supposed to drive through it lol. I was just having a lil fun out there. The scary part is diving up the water, because it looks crazy with all that water coming at you. It's a awesome place to wash your under carriage though lol
 
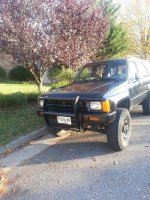
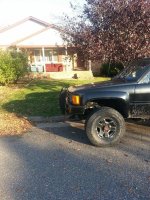
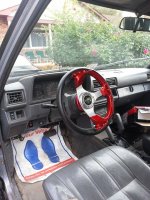
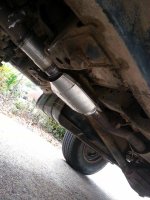
Made some changes to my Runner this past weekend. Got myself a newer smaller steering wheel, a flowmaster cat, and a grill guard!
 

Attachments

  • rocky1.jpg
    rocky1.jpg
    136.5 KB · Views: 254
  • rocky2.jpg
    rocky2.jpg
    136.8 KB · Views: 304
  • rocky3.jpg
    rocky3.jpg
    133.2 KB · Views: 274
  • rocky4.jpg
    rocky4.jpg
    101.3 KB · Views: 270
  • rocky5.jpg
    rocky5.jpg
    114.3 KB · Views: 284
Nice progress. What was the reason for the cat change? I have an '89 too and the oxygen sensor weirdly mounts to the cat instead of the manifold. I think '88's are the same. What did you do with your O2 sensor? Or maybe you have a different engine. Mine's 22RE.
 
Nice progress. What was the reason for the cat change? I have an '89 too and the oxygen sensor weirdly mounts to the cat instead of the manifold. I think '88's are the same. What did you do with your O2 sensor? Or maybe you have a different engine. Mine's 22RE.

Thank you. I also have the 22re engine and its funny you mention the o2 sensor, because I forgot to mention that I changed that as well. When I got my previous cat I forgot to change the o2 sensor. That was a mistake because it ended up killing my cat hence why I had to buy this new one. I had a shop change them both for me because the o2 sensor was almost rusted and welded onto the truck because in 25 years it had never been changed. I get much better gas mileage and power because of these two upgrades.
 
Sooo...they installed the O2 sensor into the manifold? I'm just asking because I can see an exhaust system in my future. The cat thing was stalling me. I guess a competent exhaust shop could weld a bung on a new cat.
 
I just saw on Chuckles thread you are wanting to change to mouse ear mirrors.
They will fit the top holes. If you pull off the interior door panel you will see where the factory made the mirror holes. The inside has an extra section of metal welded on to make it more sturdy. I measured the holes on my 4Runner, the holes on my tow mirrors and the holes on some mouse ear mirrors for a guy a while back and they were all the same measurement. Center to center the holes should be 2 3/4". There's a discussion here:

http://www.yotatech.com/f114/compatible-mirrors-277442/

^^Discussion is about pre 1984 trucks but the measurement on the newer style black plastic is the same. 2 3/4" oc.
 
Last edited:
I just saw on Chuckles thread you are wanting to change to mouse ear mirrors.
They will fit the top holes. If you pull off the interior door panel you will see where the factory made the mirror holes. The inside has an extra section of metal welded on to make it more sturdy. I measured the holes on my 4Runner, the holes on my tow mirrors and the holes on some mouse ear mirrors for a guy a while back and they were all the same measurement. If you want to double check measure your screws center to center and I'll dig out some mirrors to measure. I can't find the pictures with measurements I took.

I can confirm this. I changed from plastic mirrors to tow mirrors and the top holes were identical.
 

Members online

Forum statistics

Threads
278,312
Messages
3,554,087
Members
248,016
Latest member
Advally Service

Trending content

Back
Top