BlackAck's 5th Gen 4Runner thread

97BlackAckCL

Elite Member
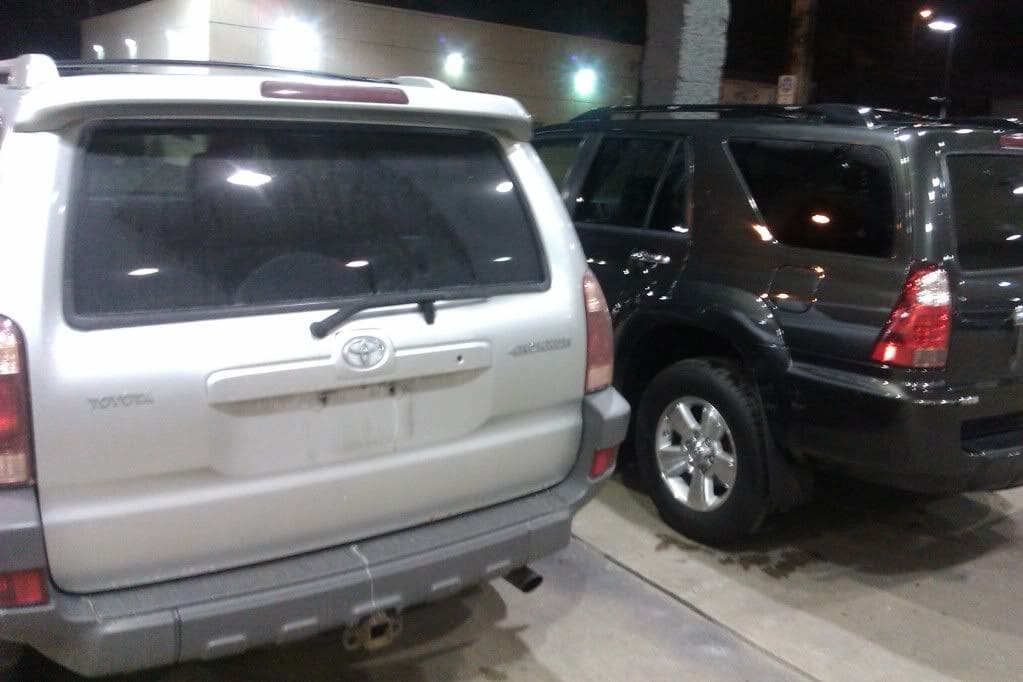
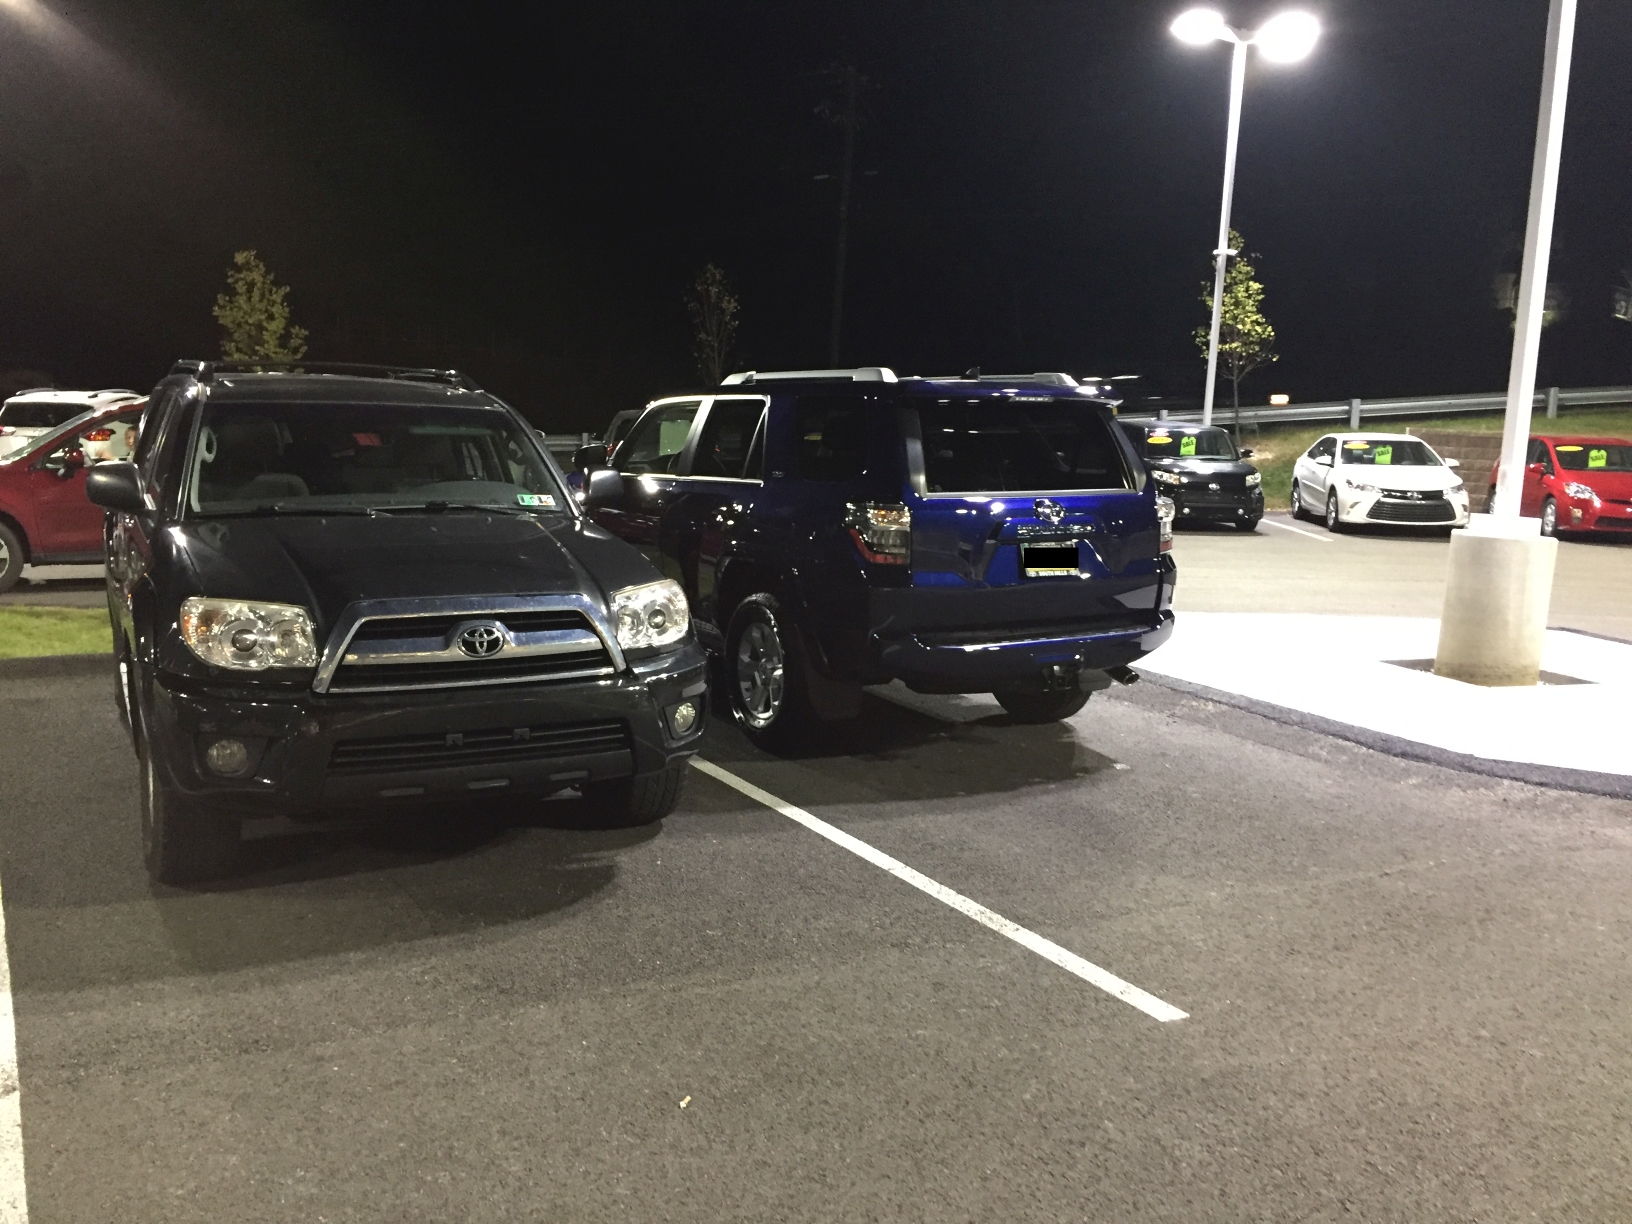
Picked up my 3rd 4Runner back in September 2017, had 2 Fourth gens previously, bought an 03 Sport in 2006 and an 08 SR5 in 2012 and loved them both, but it was time to move up to a newer model. The 2017's were going for the same price as a used 2014 so I decided to buy new. I figured it's about time to start a "build" thread even though I don't plan on lifting or doing crazy off-roading, it's a daily driver and camping vehicle for me, but it's still getting lots of mods to it.

Here's a pic that I snapped at the dealer, I tried to recreate the pic from 2012 when I bought the 08 and traded in my 03.

80-imag0889_3a6c5a62457edfc96603d9ea92634b2134add8b4.jpg


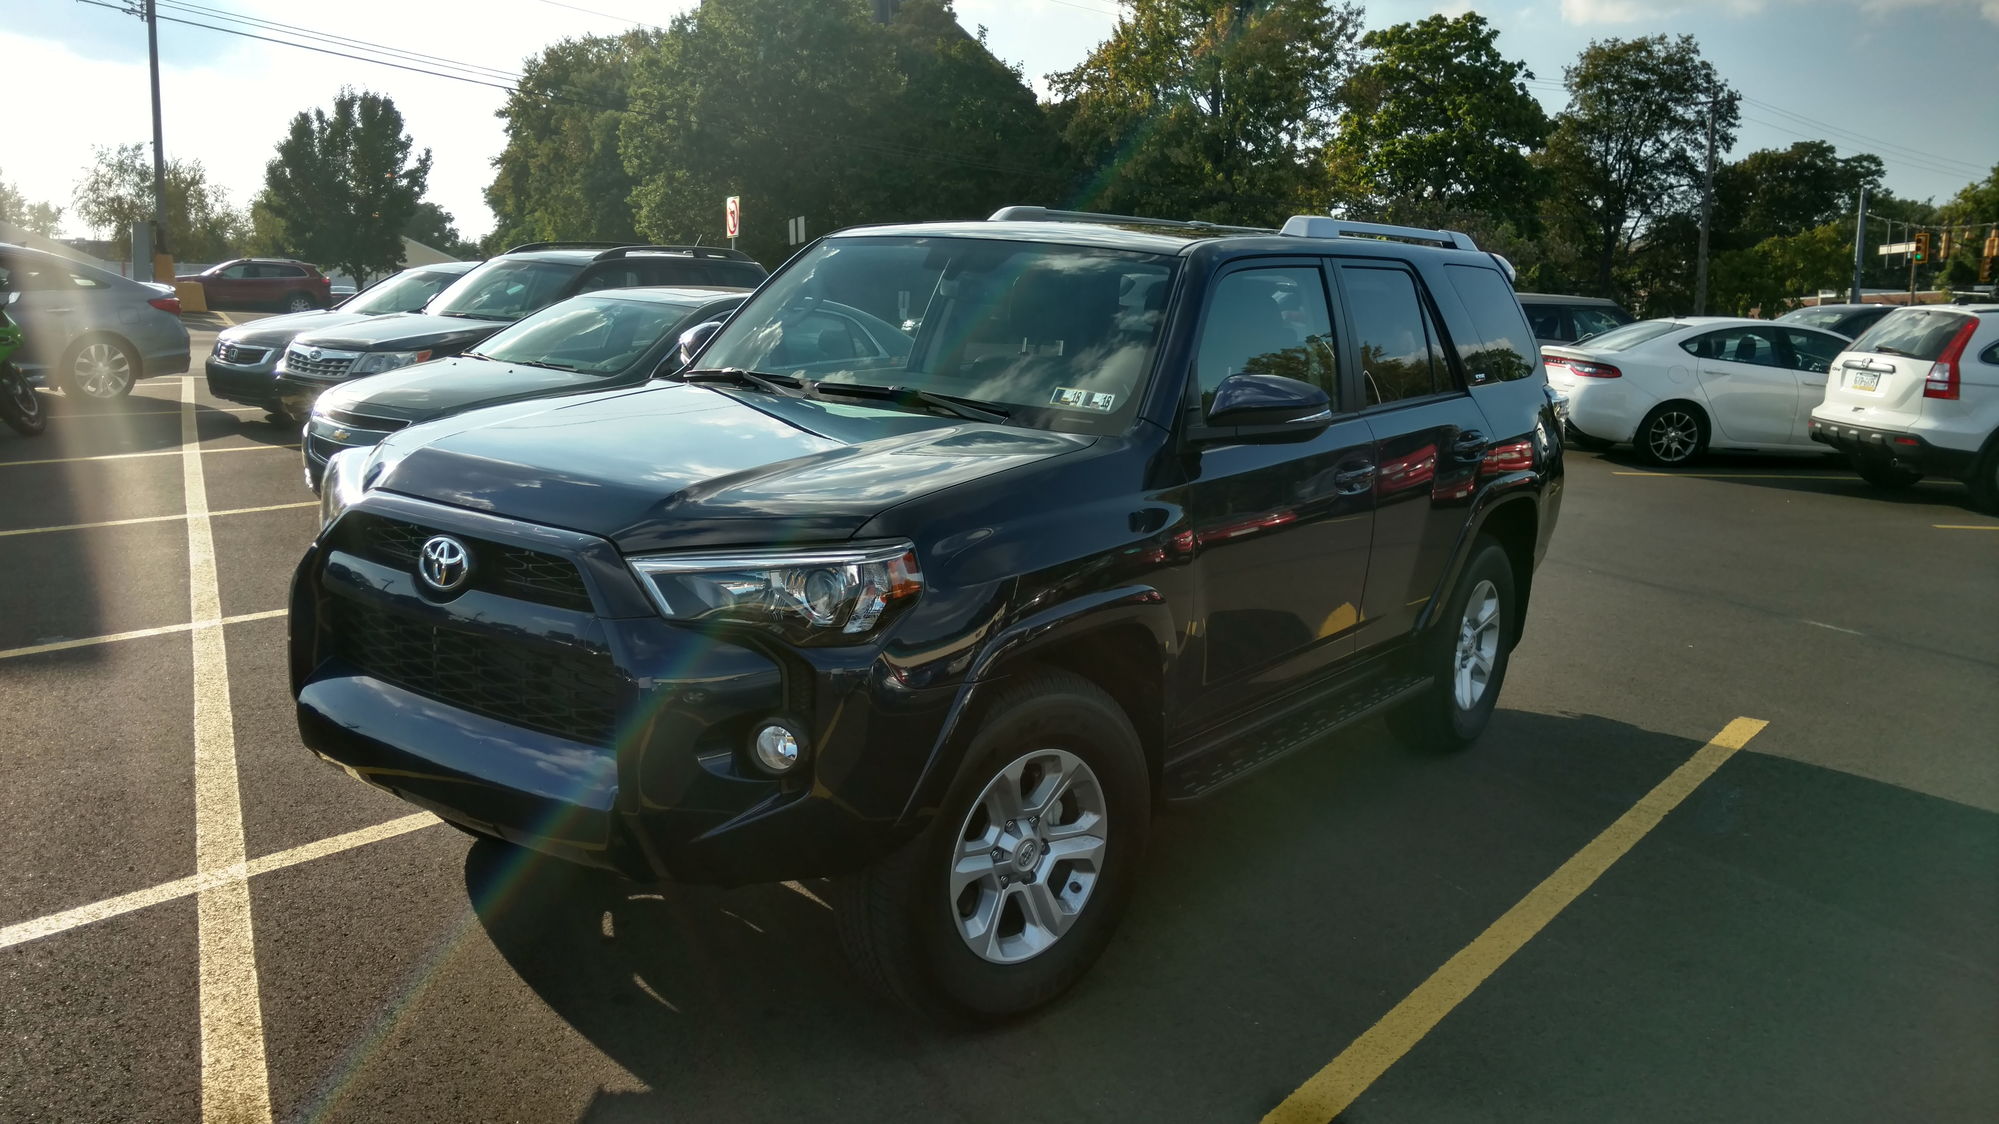
And again, out with the old and in with the new again! My 2017 the day I got her
80-img_0037_9721c49d2027b2213fd3c2c19114cfc7f616f2f5.jpg


And a couple bone stock pics from when I first acquired her

80-img_20170926_165854152_hdr_0563c4a4b1da90a79698868d3e5039e02c610c12.jpg


80-img_20170926_165900215_hdr_3424dea544ab9171e1f1c8ecbcd18496c1d03bc3.jpg


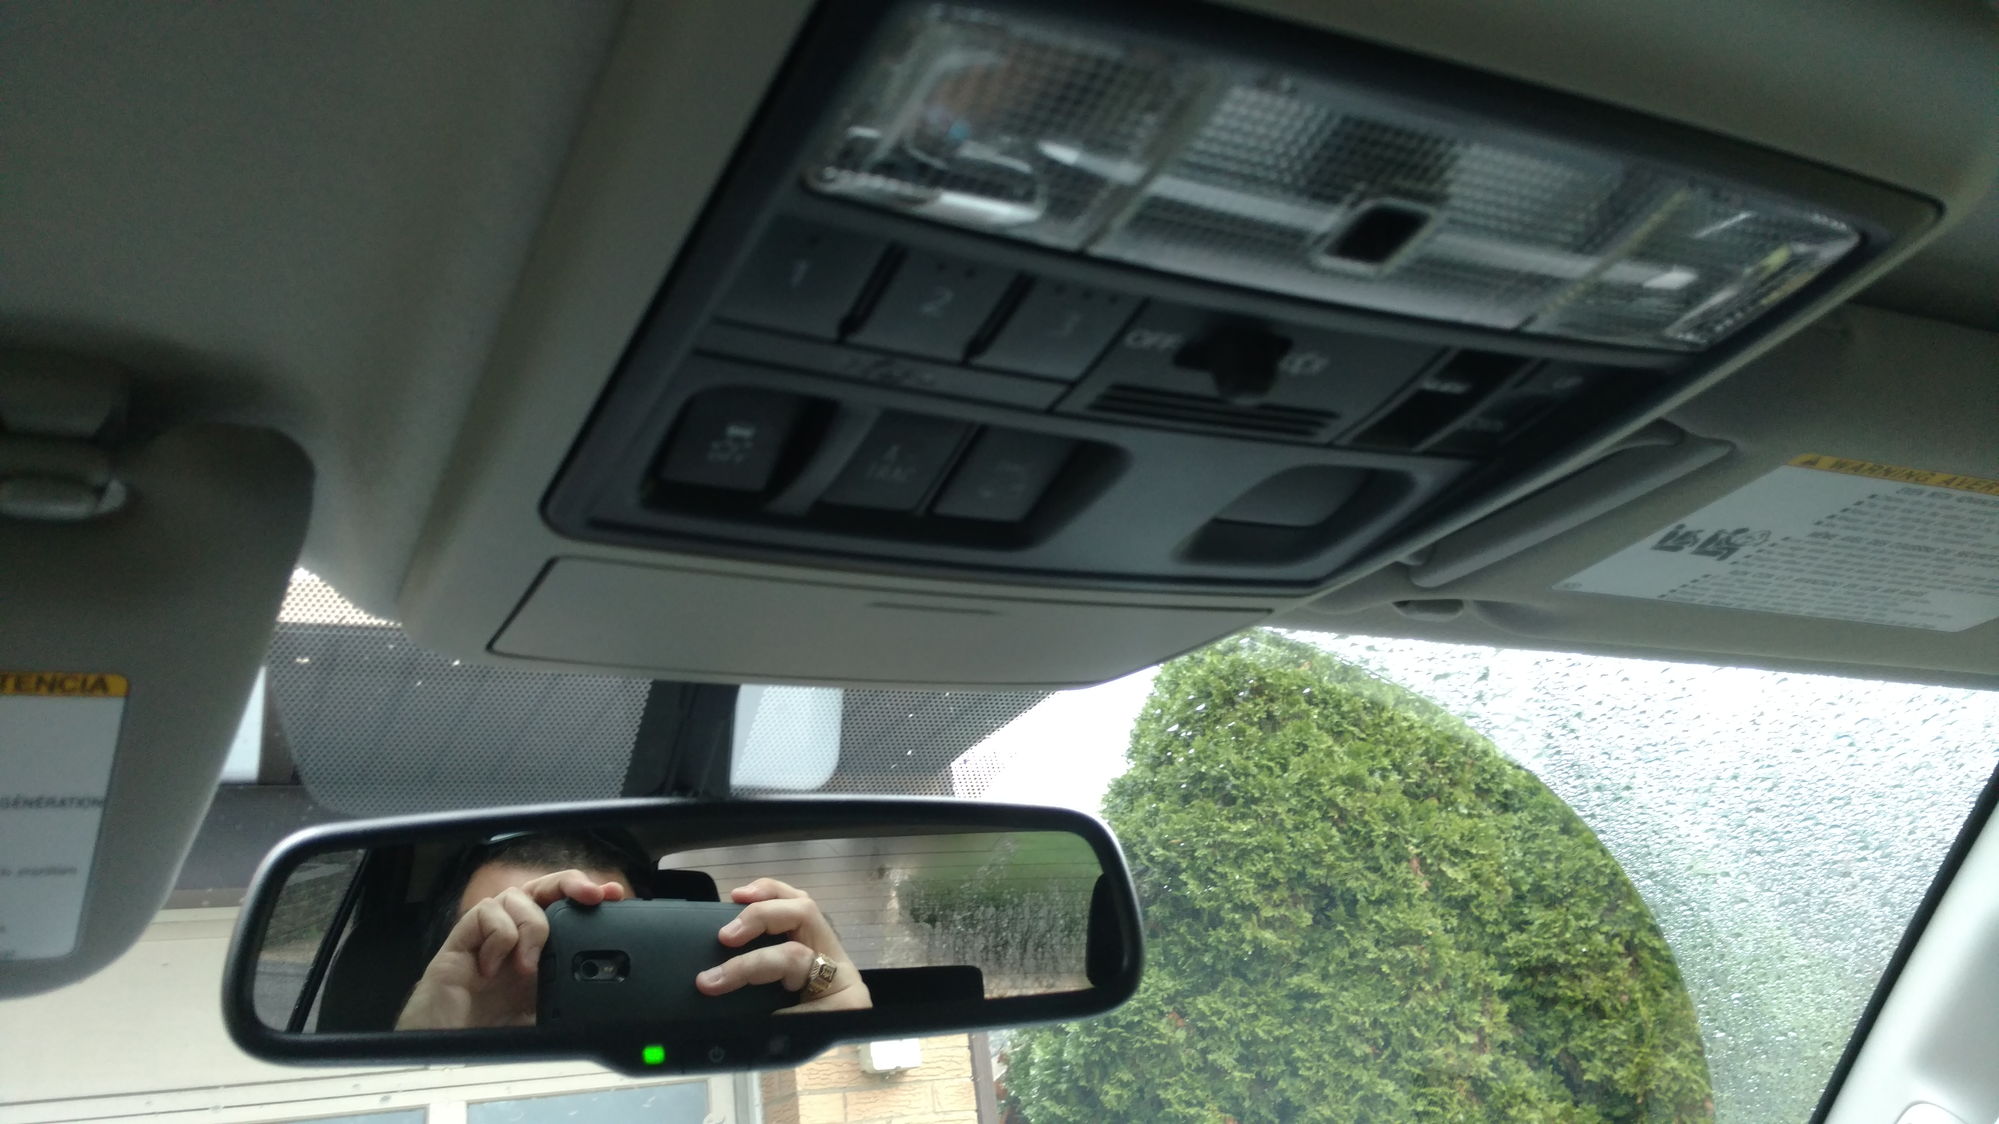
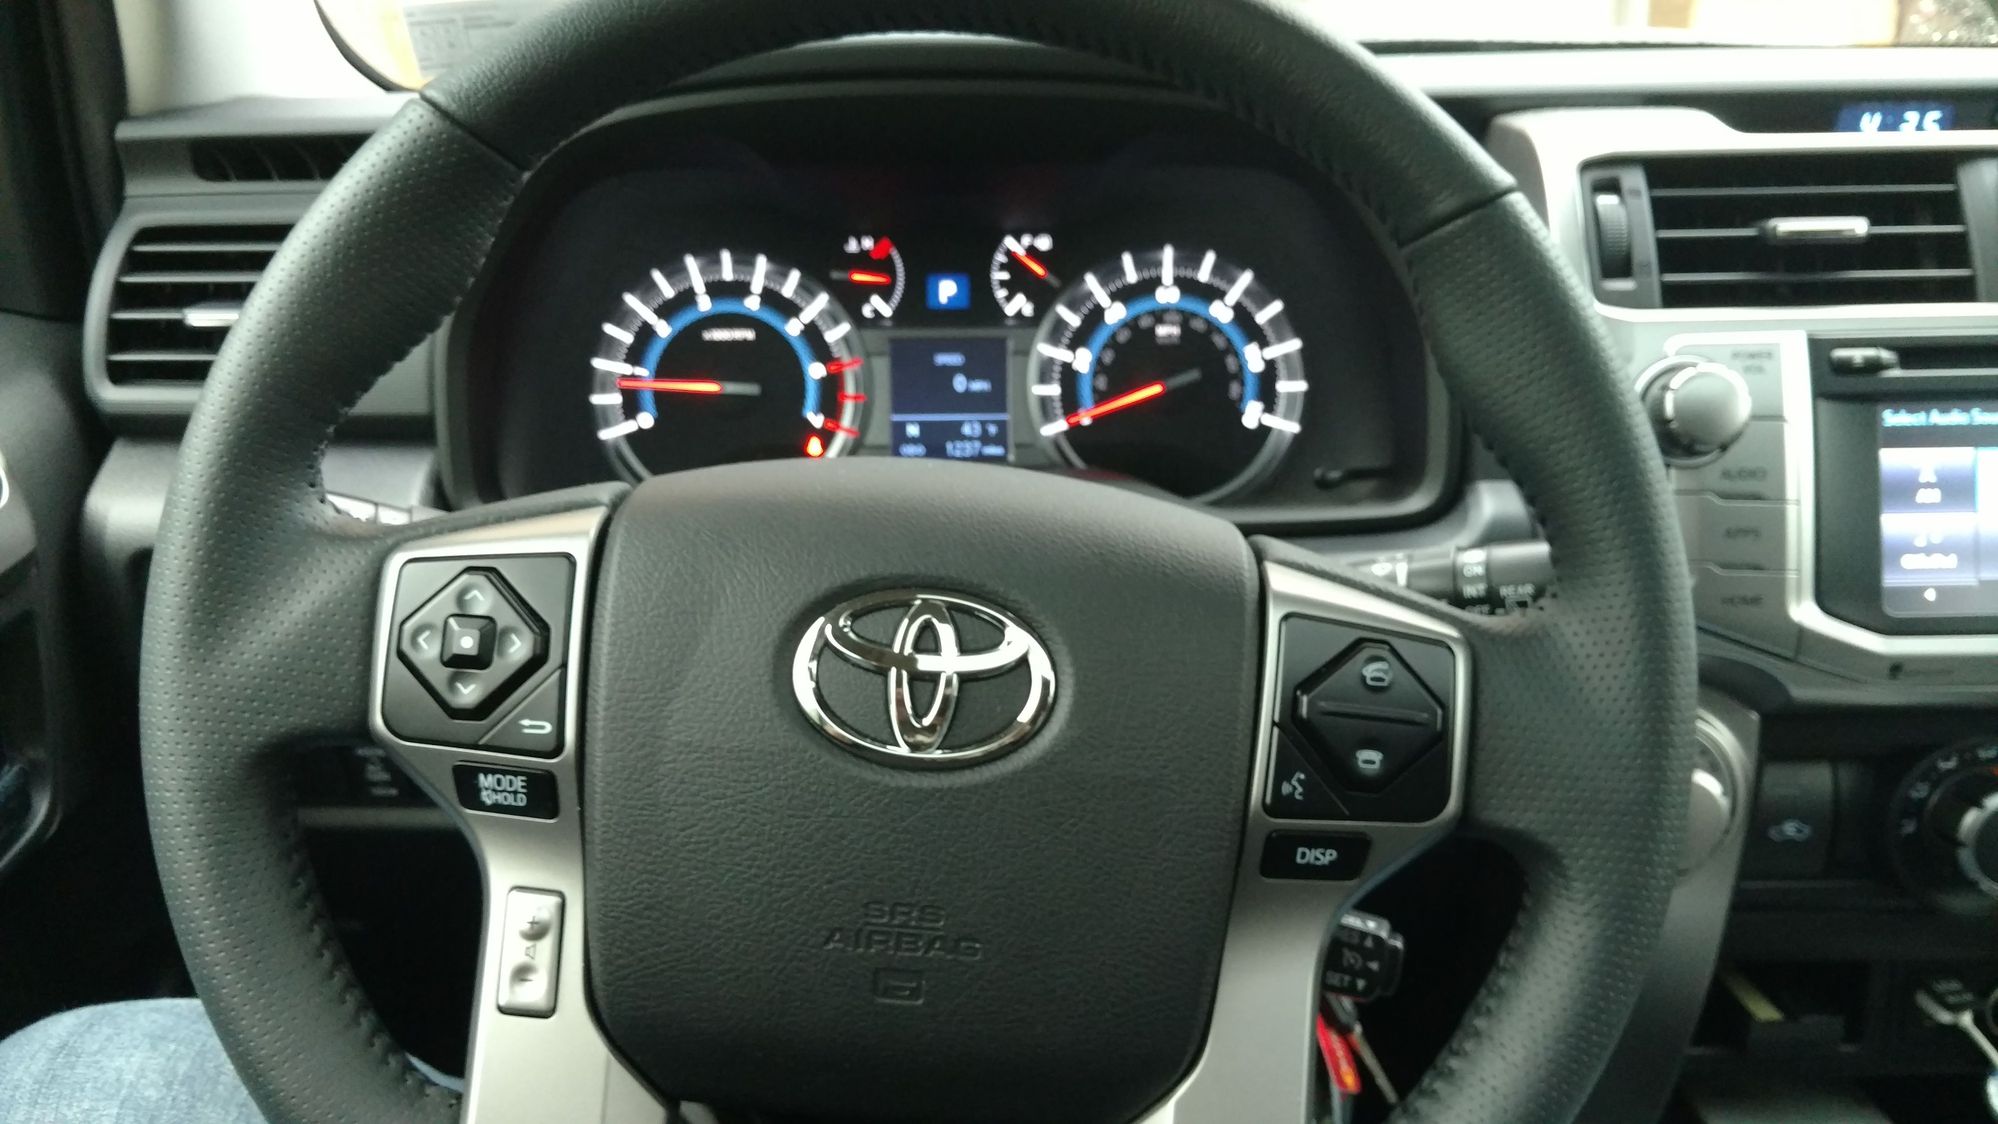
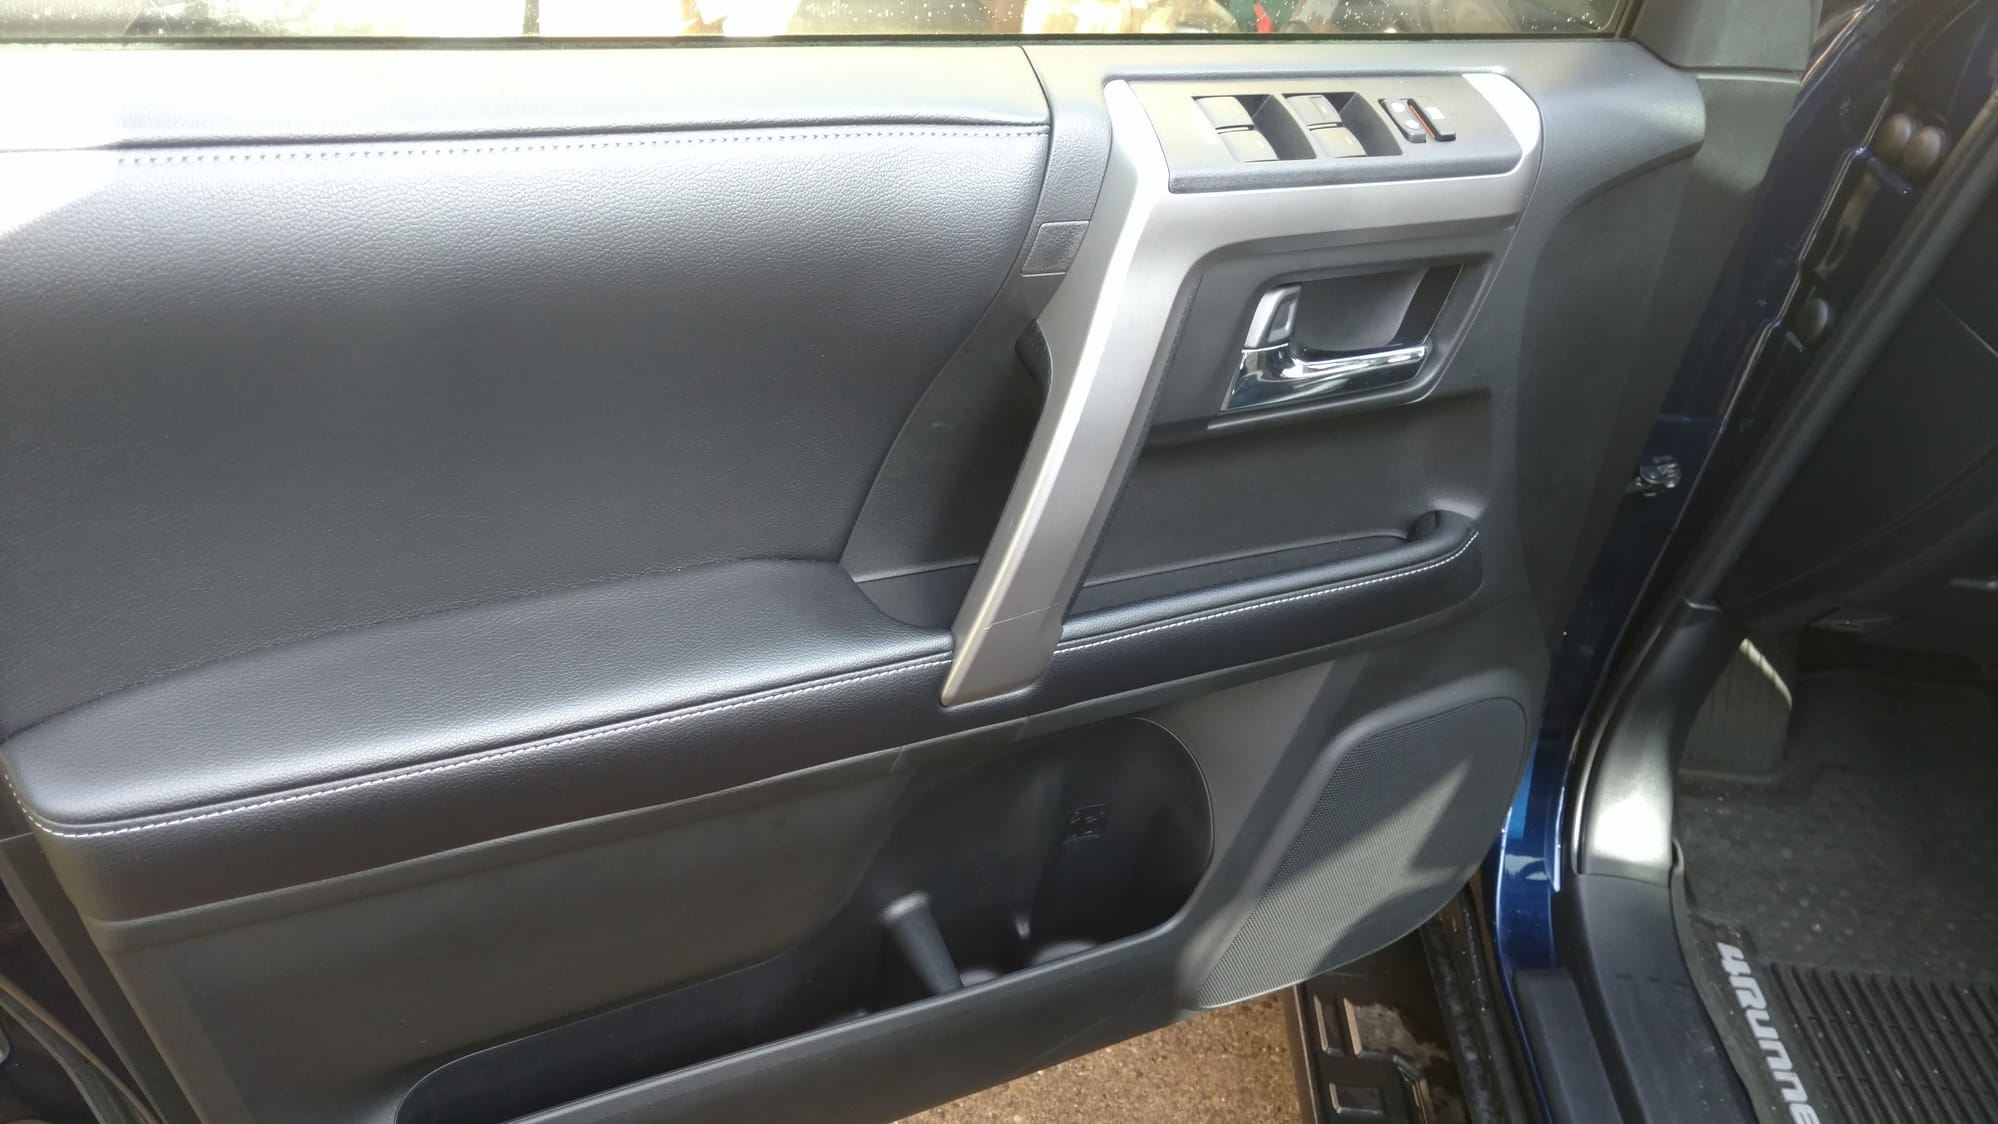
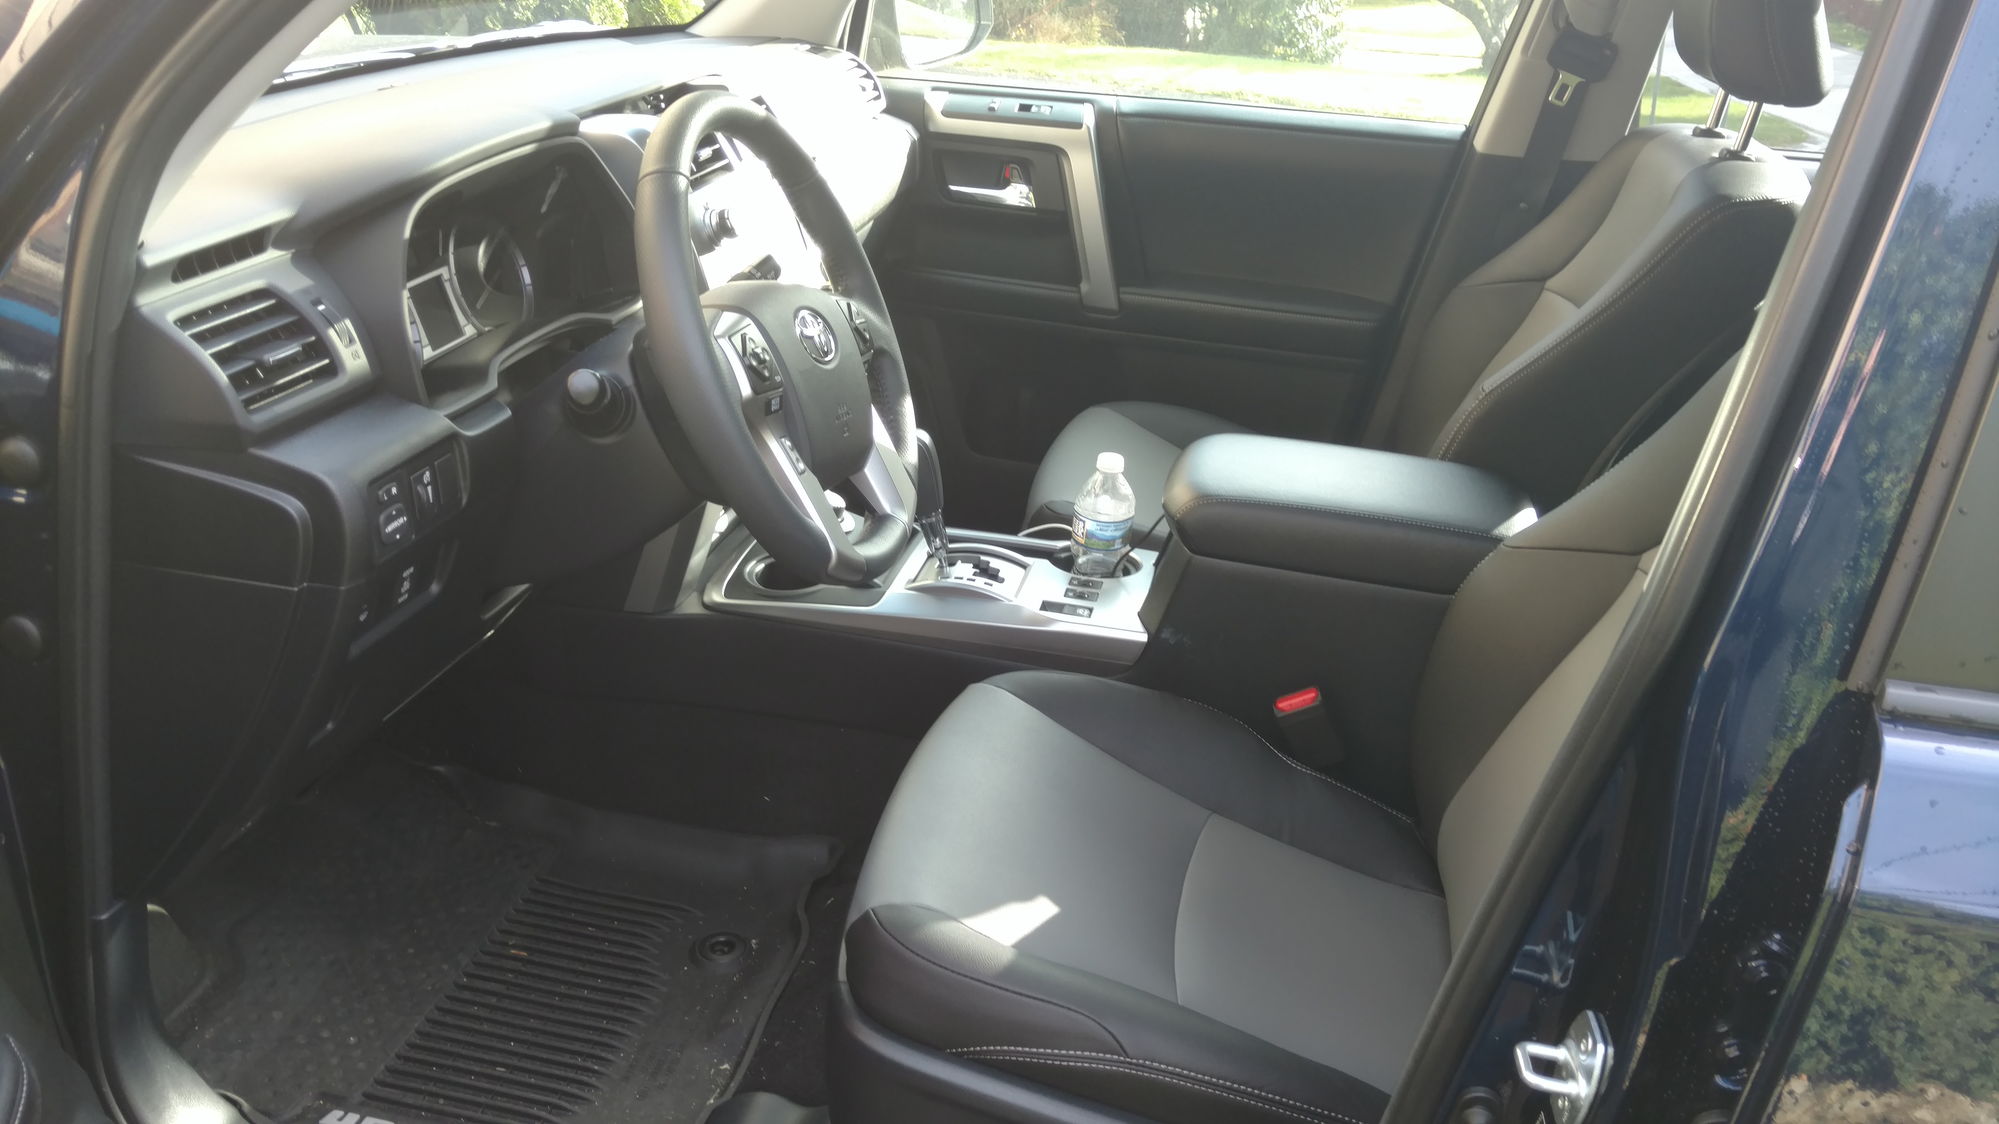
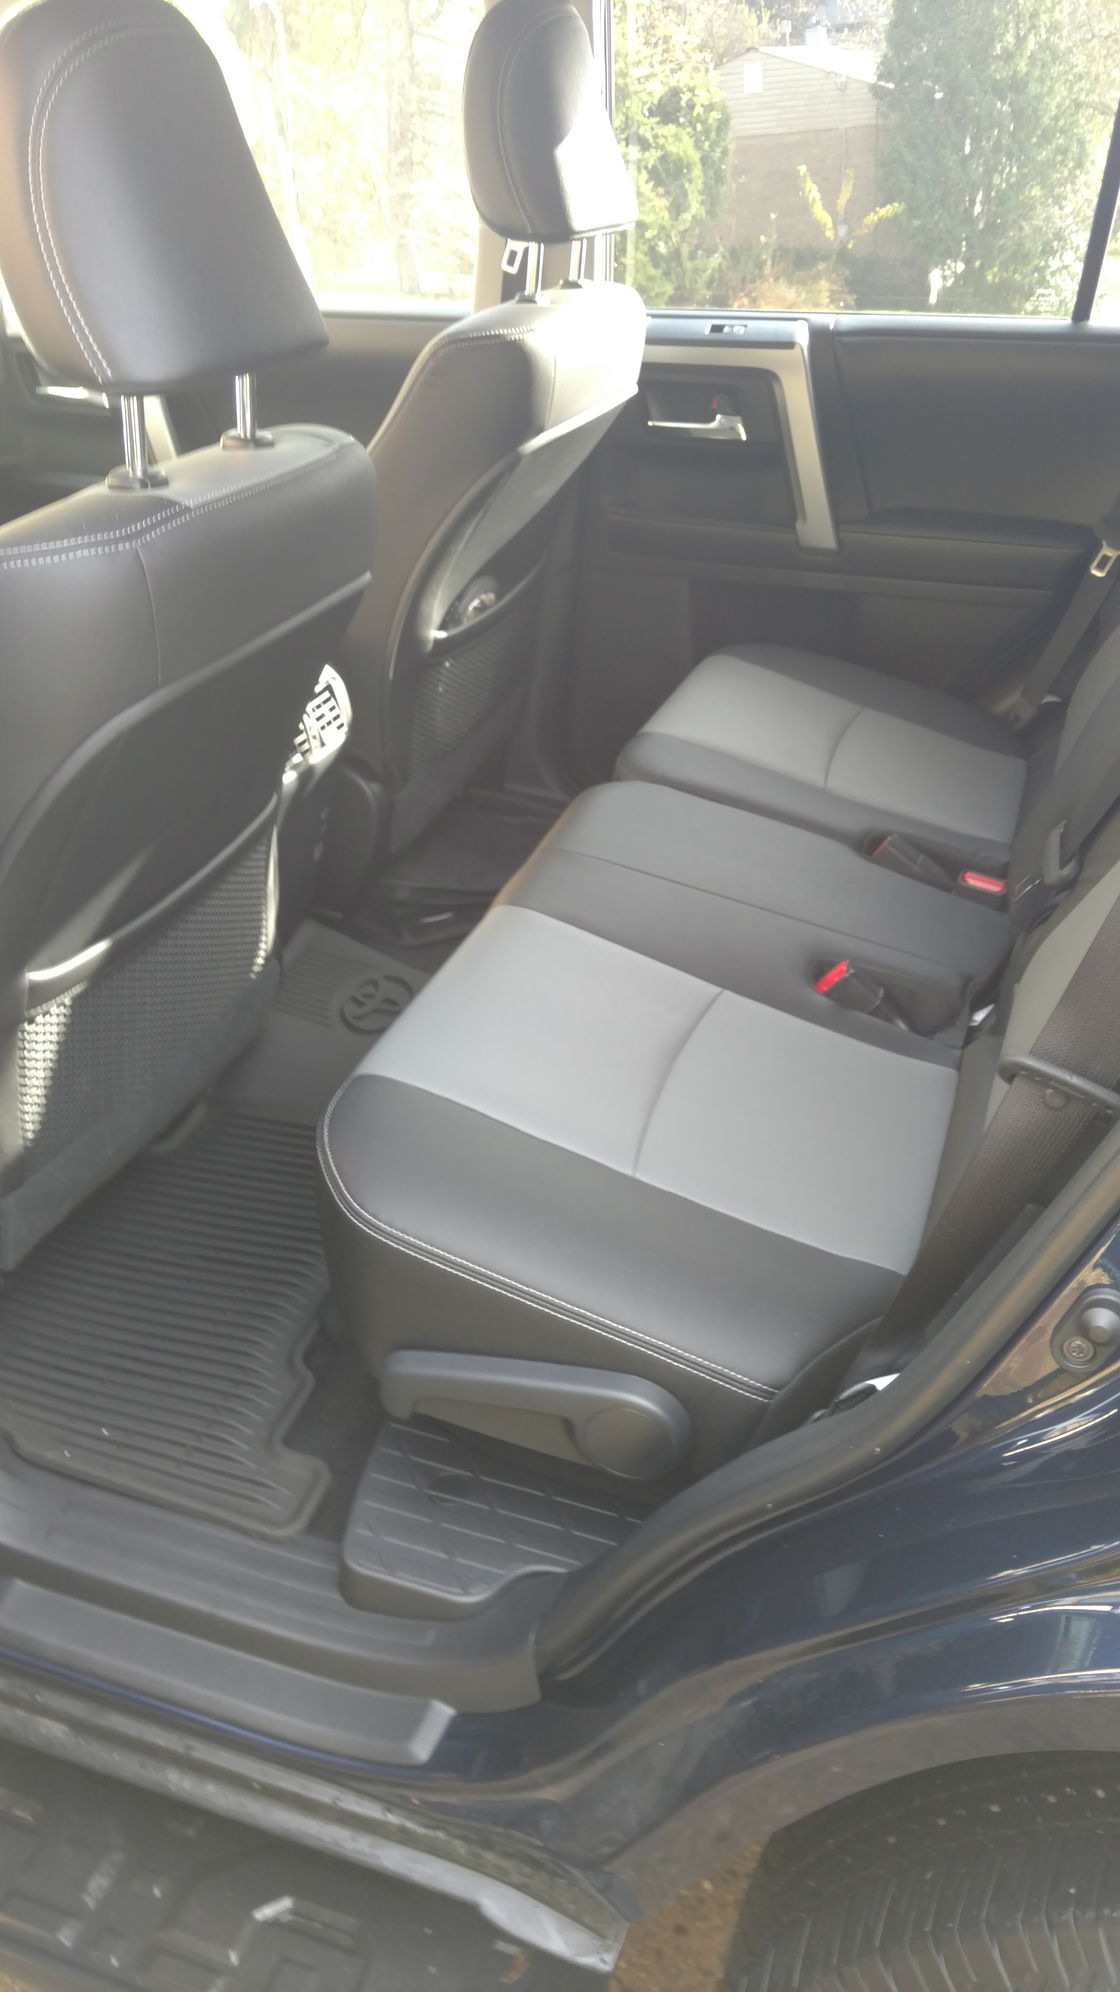
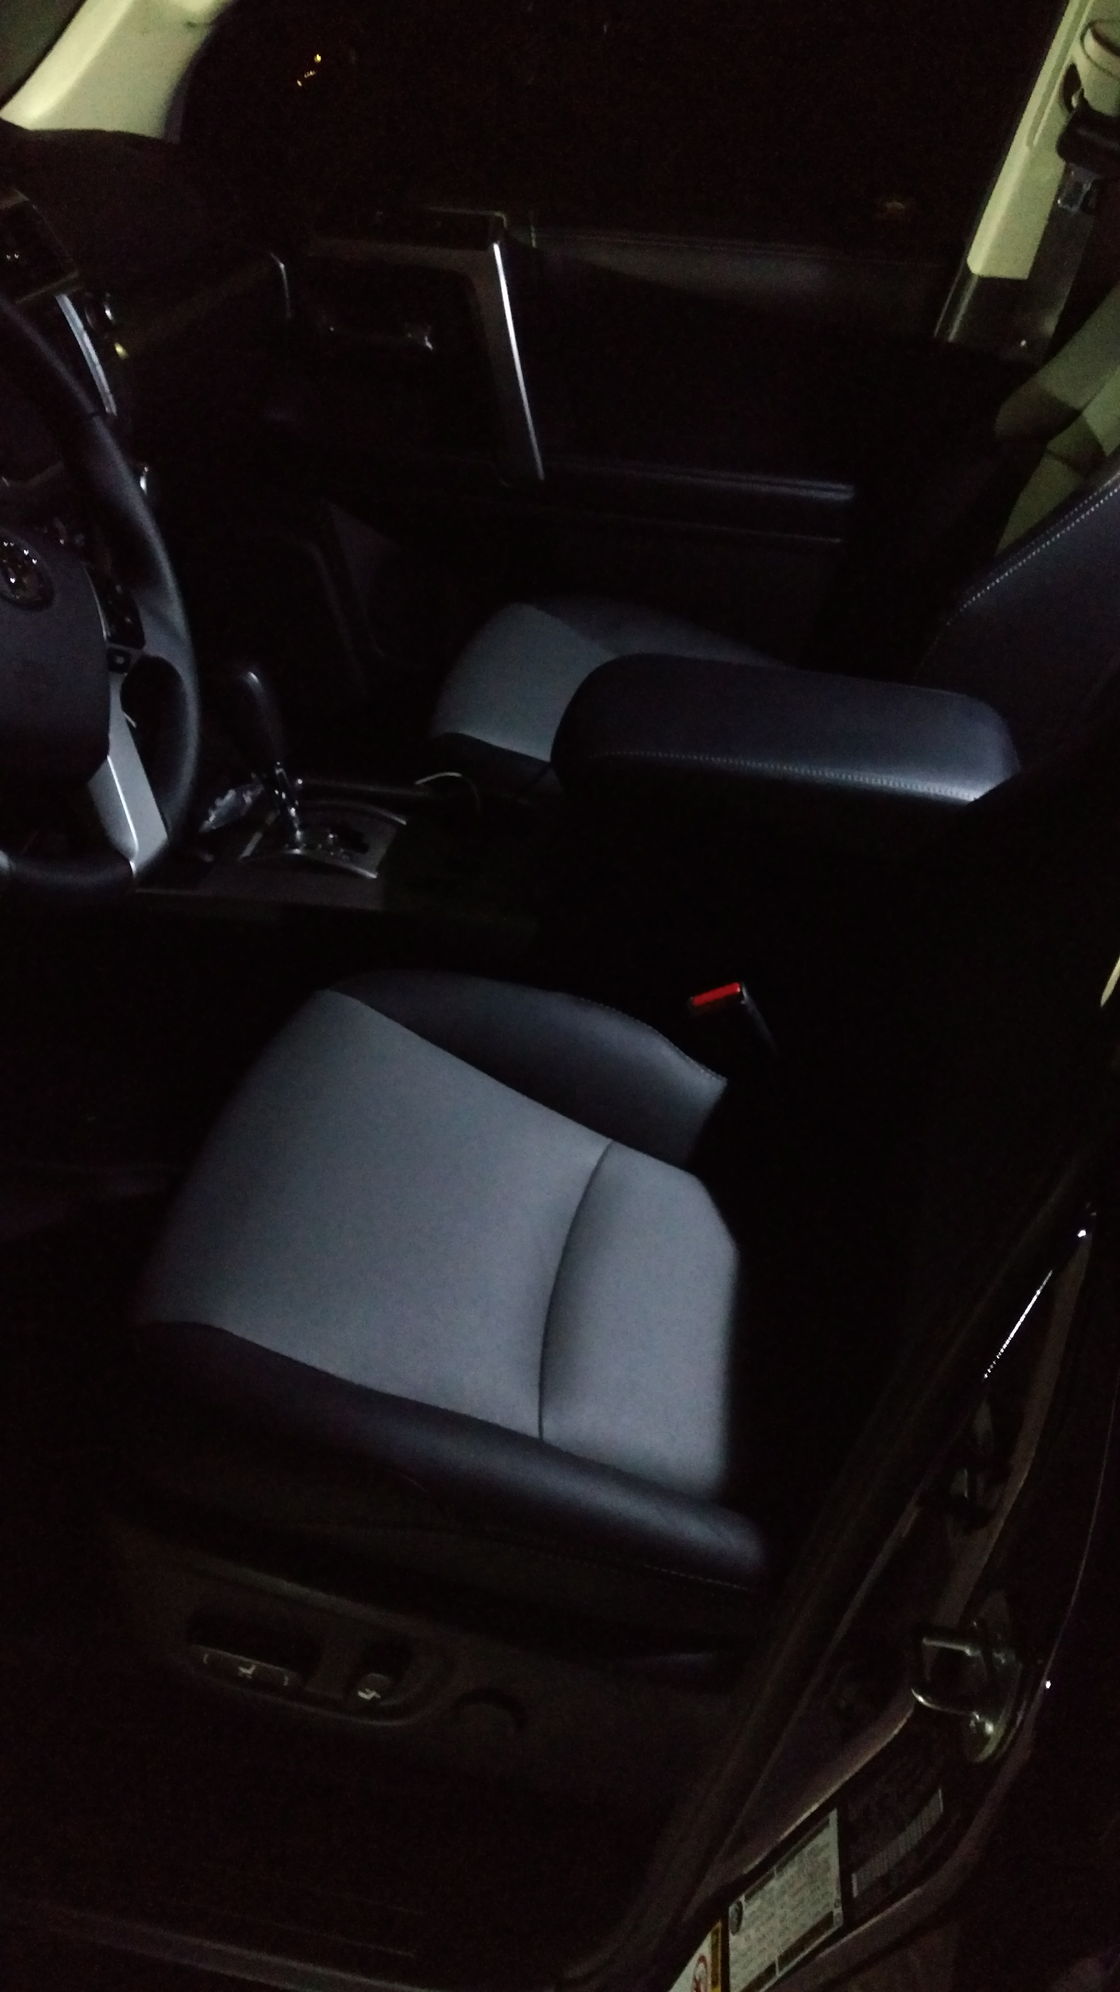
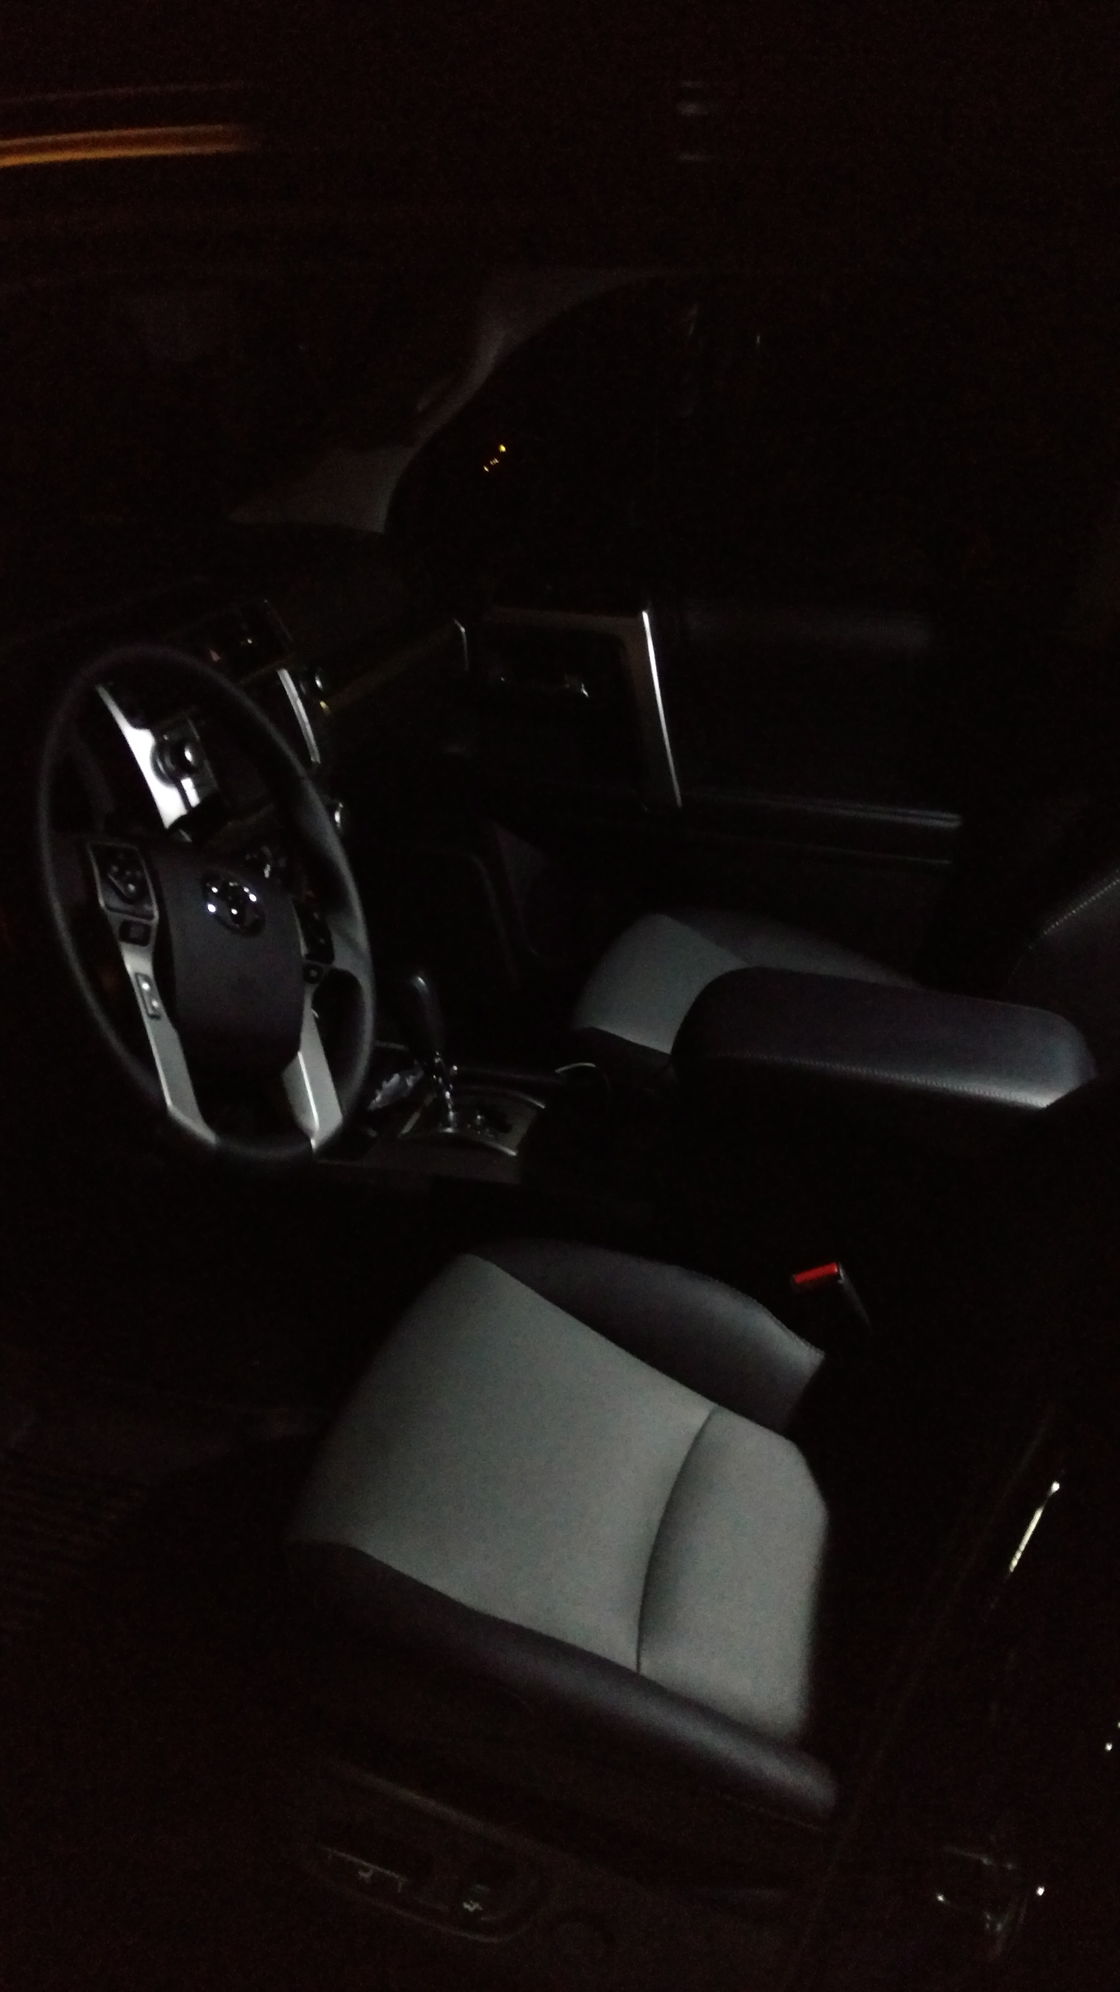
And some interior pics

80-img_20171101_163548099_3faaf1836793f874b97236b327ba8b1670976ed7.jpg


80-img_20171101_163603218_b562738522799dbbd518c1dfd6125d63b29f82fe.jpg


80-img_20171101_163641998_c322fd632e9f2ea8255e086cb096ac80b407ca1f.jpg


80-img_20171102_094240733_43780e846a75cbdd23c7e4557f472909bf67c1b7.jpg


80-img_20171102_094246244_e2b75c9d8238556eee8cbc4f1caad4576b4f5c66.jpg


80-img_20171102_094323593_62642e544c6c591e6c03c5f46b47712fec3701e6.jpg


80-img_20171102_094353370_292cd13c77a8a9499f3b7e4f5b210150c105828d.jpg
 
Last edited:
Register to hide this ad
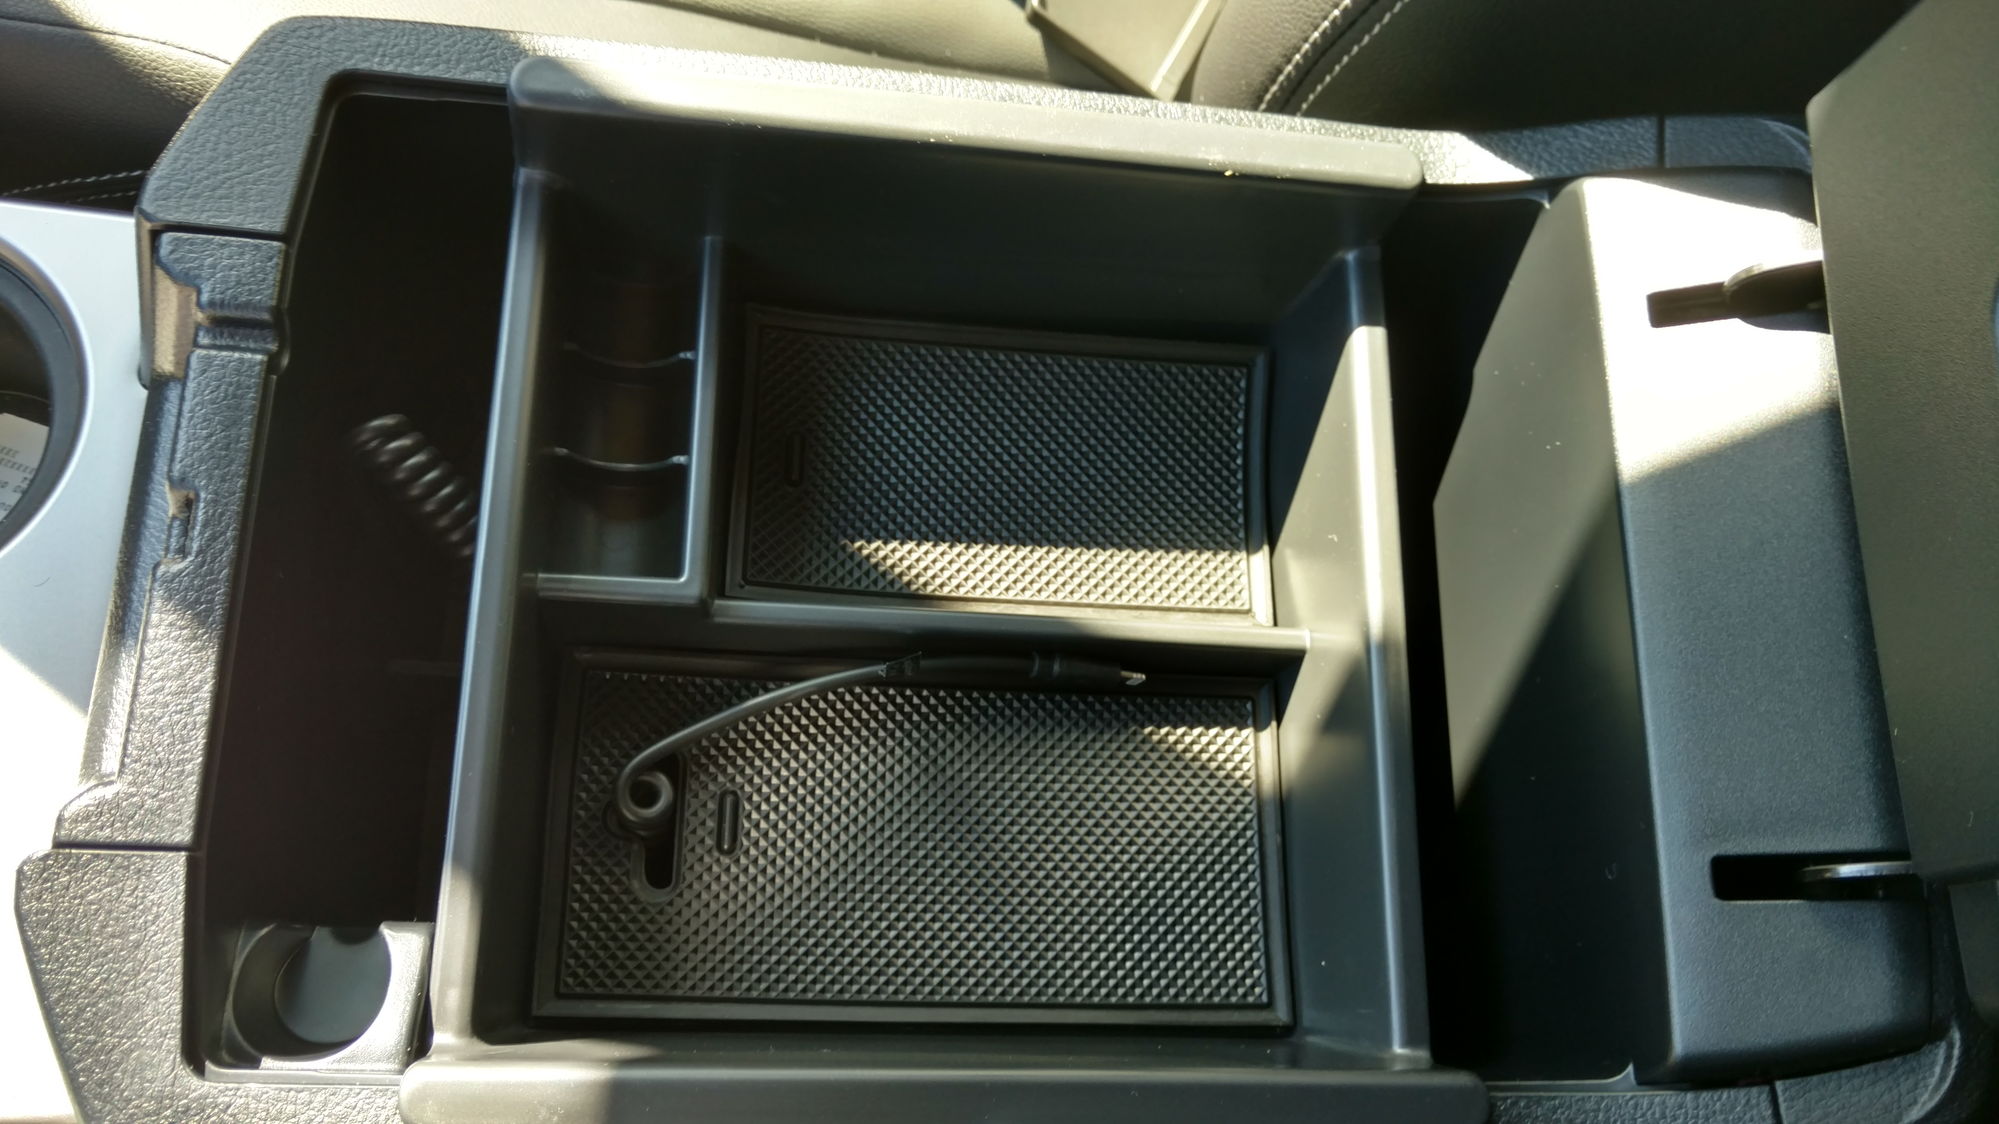
Before I even picked her up at the dealership I was already ordering parts for it, so she didn't stay stock very long. Owned this thing less than a week, already ordered custom brackets to mount my LED bar that I removed from the 08, and I also ordered a OCD console organizer, as well as an armrest storage organizer, the console in this thing is huge, so this will help keeping things nice and orderly.

80-img_20170930_152702530_hdr_d46fe4b54d630b4958932ab53bdefc1c729236ca.jpg


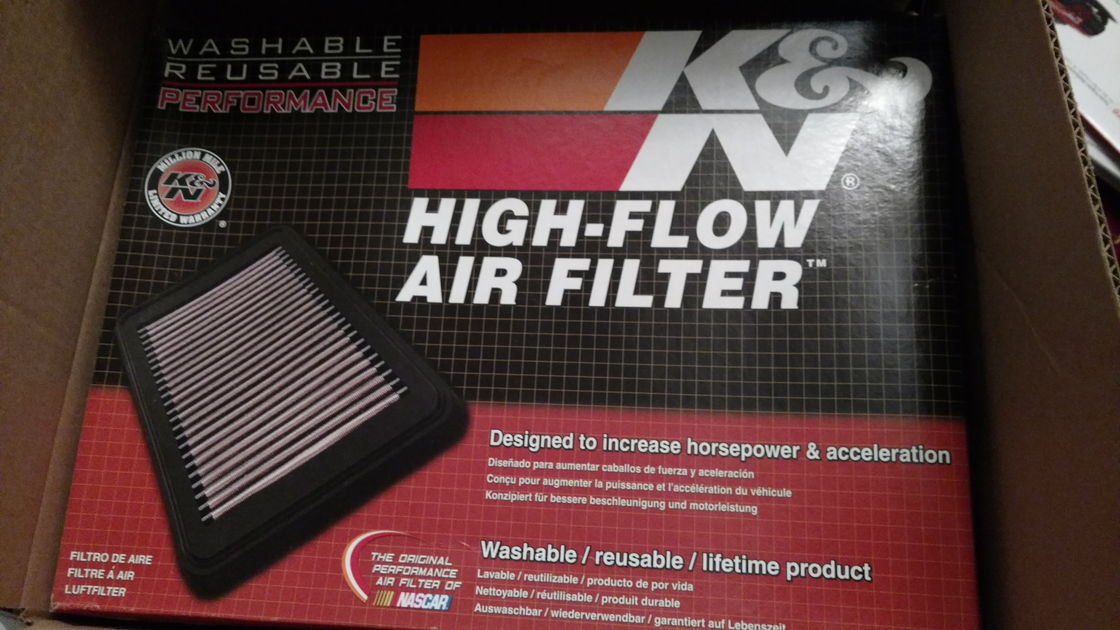
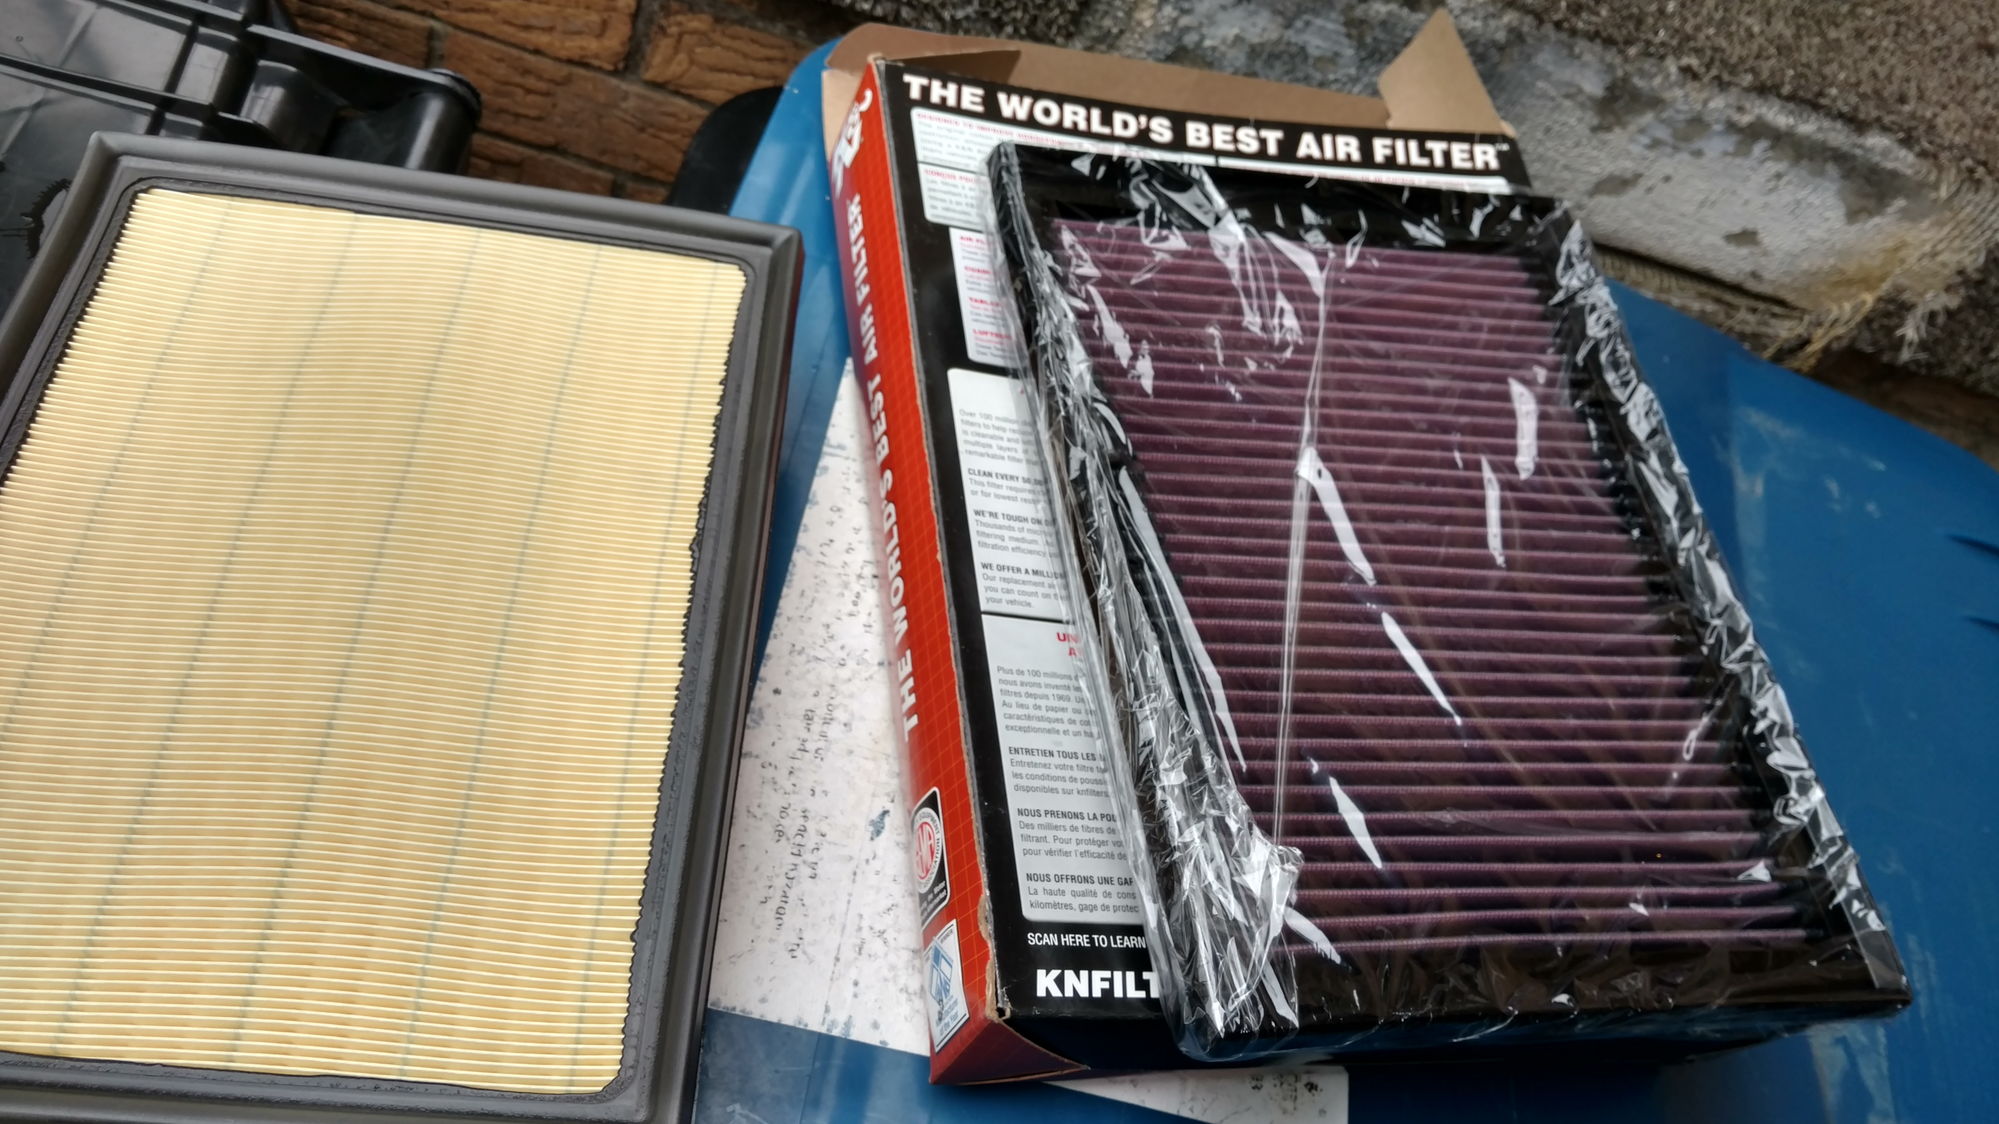
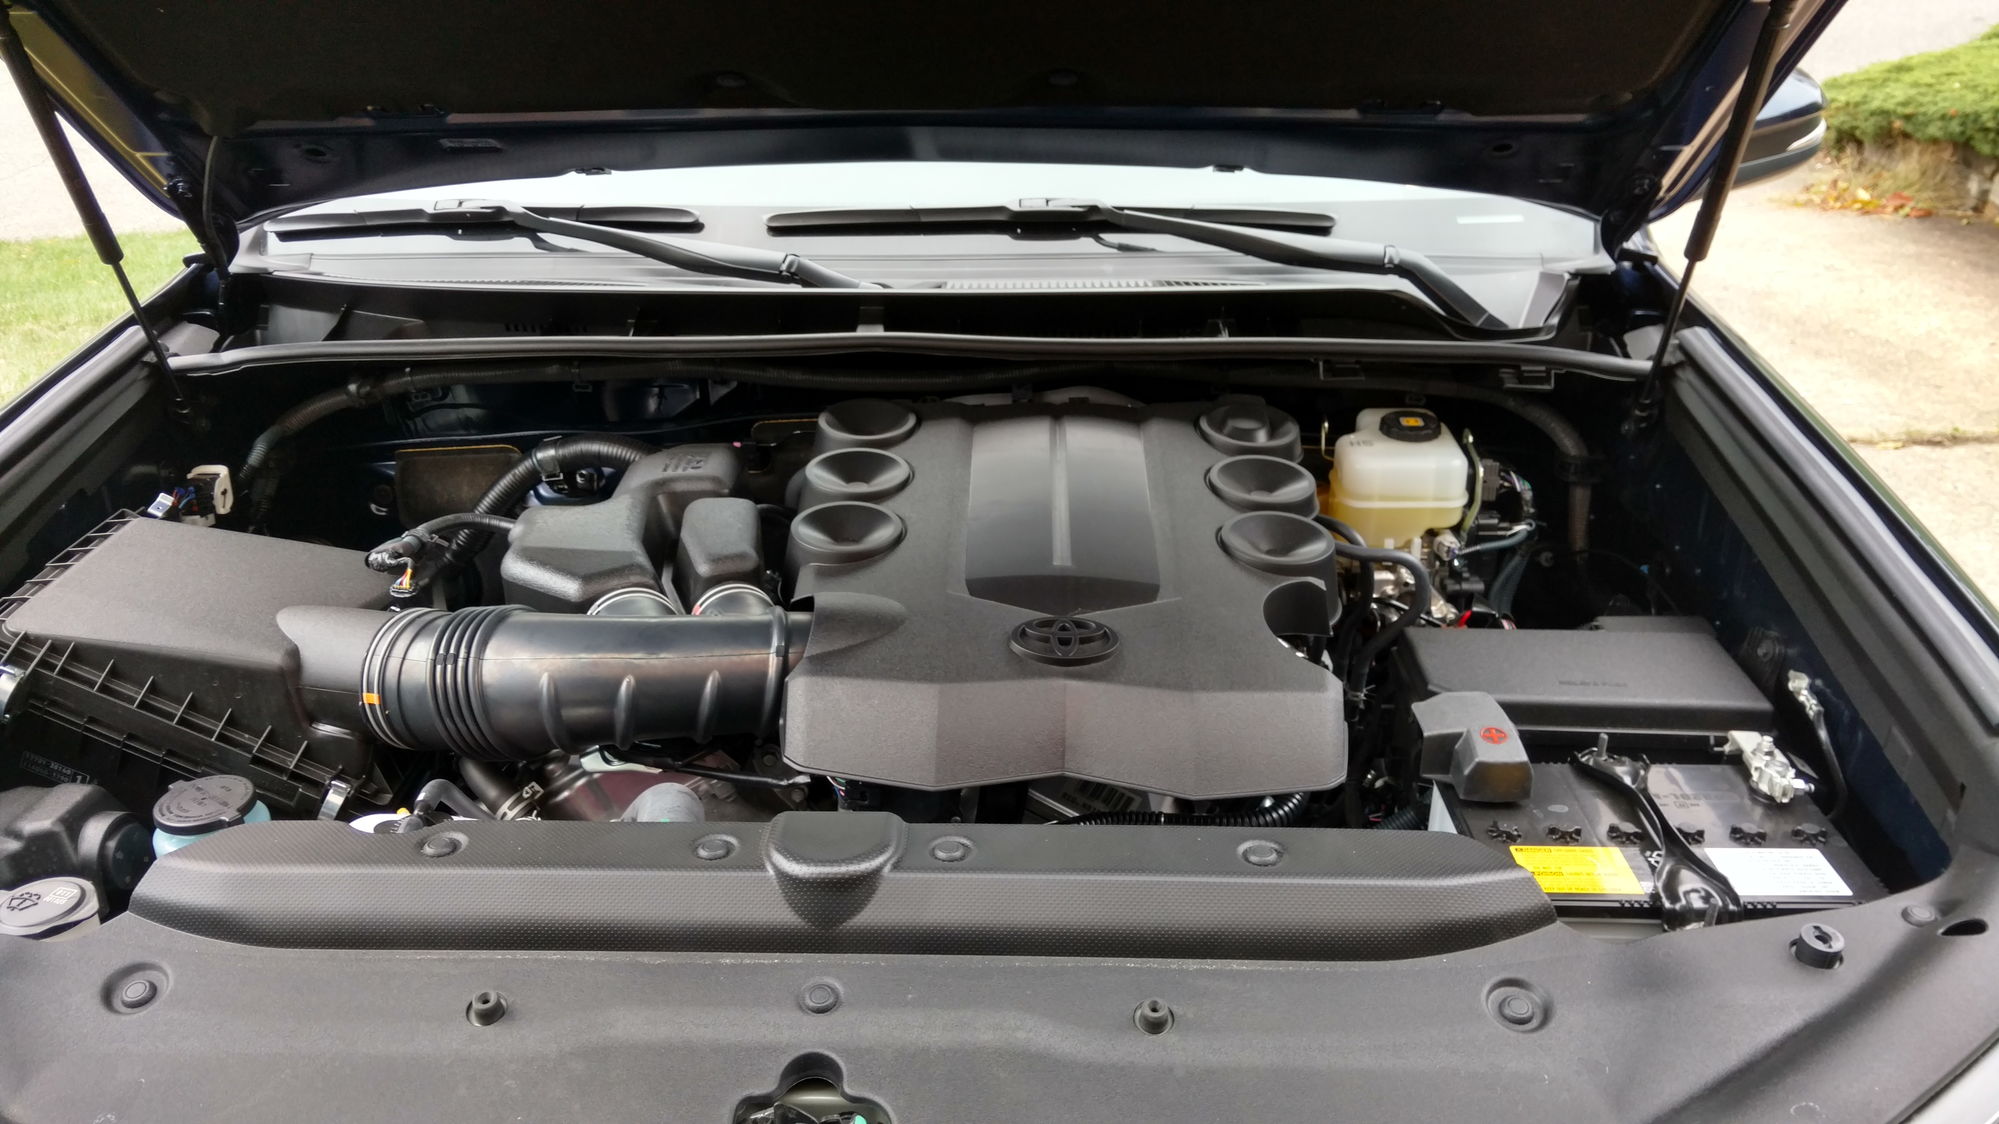
Within a month the modding had begun, since the air filters are different I couldn't transfer my last K&N to this truck I had to bite the bullet and buy a new one.

80-img_20171029_234109241_21c988204735b12e5161b8861a38eaccd737f2c3.jpg


Truck only had 1000 miles on it so the factory one is still brand new, put that away for if/when I ever trade this guy in.

80-img_20171030_153854687_hdr_9e937b5c3a79af4336cbf2249ab6144b7a345308.jpg


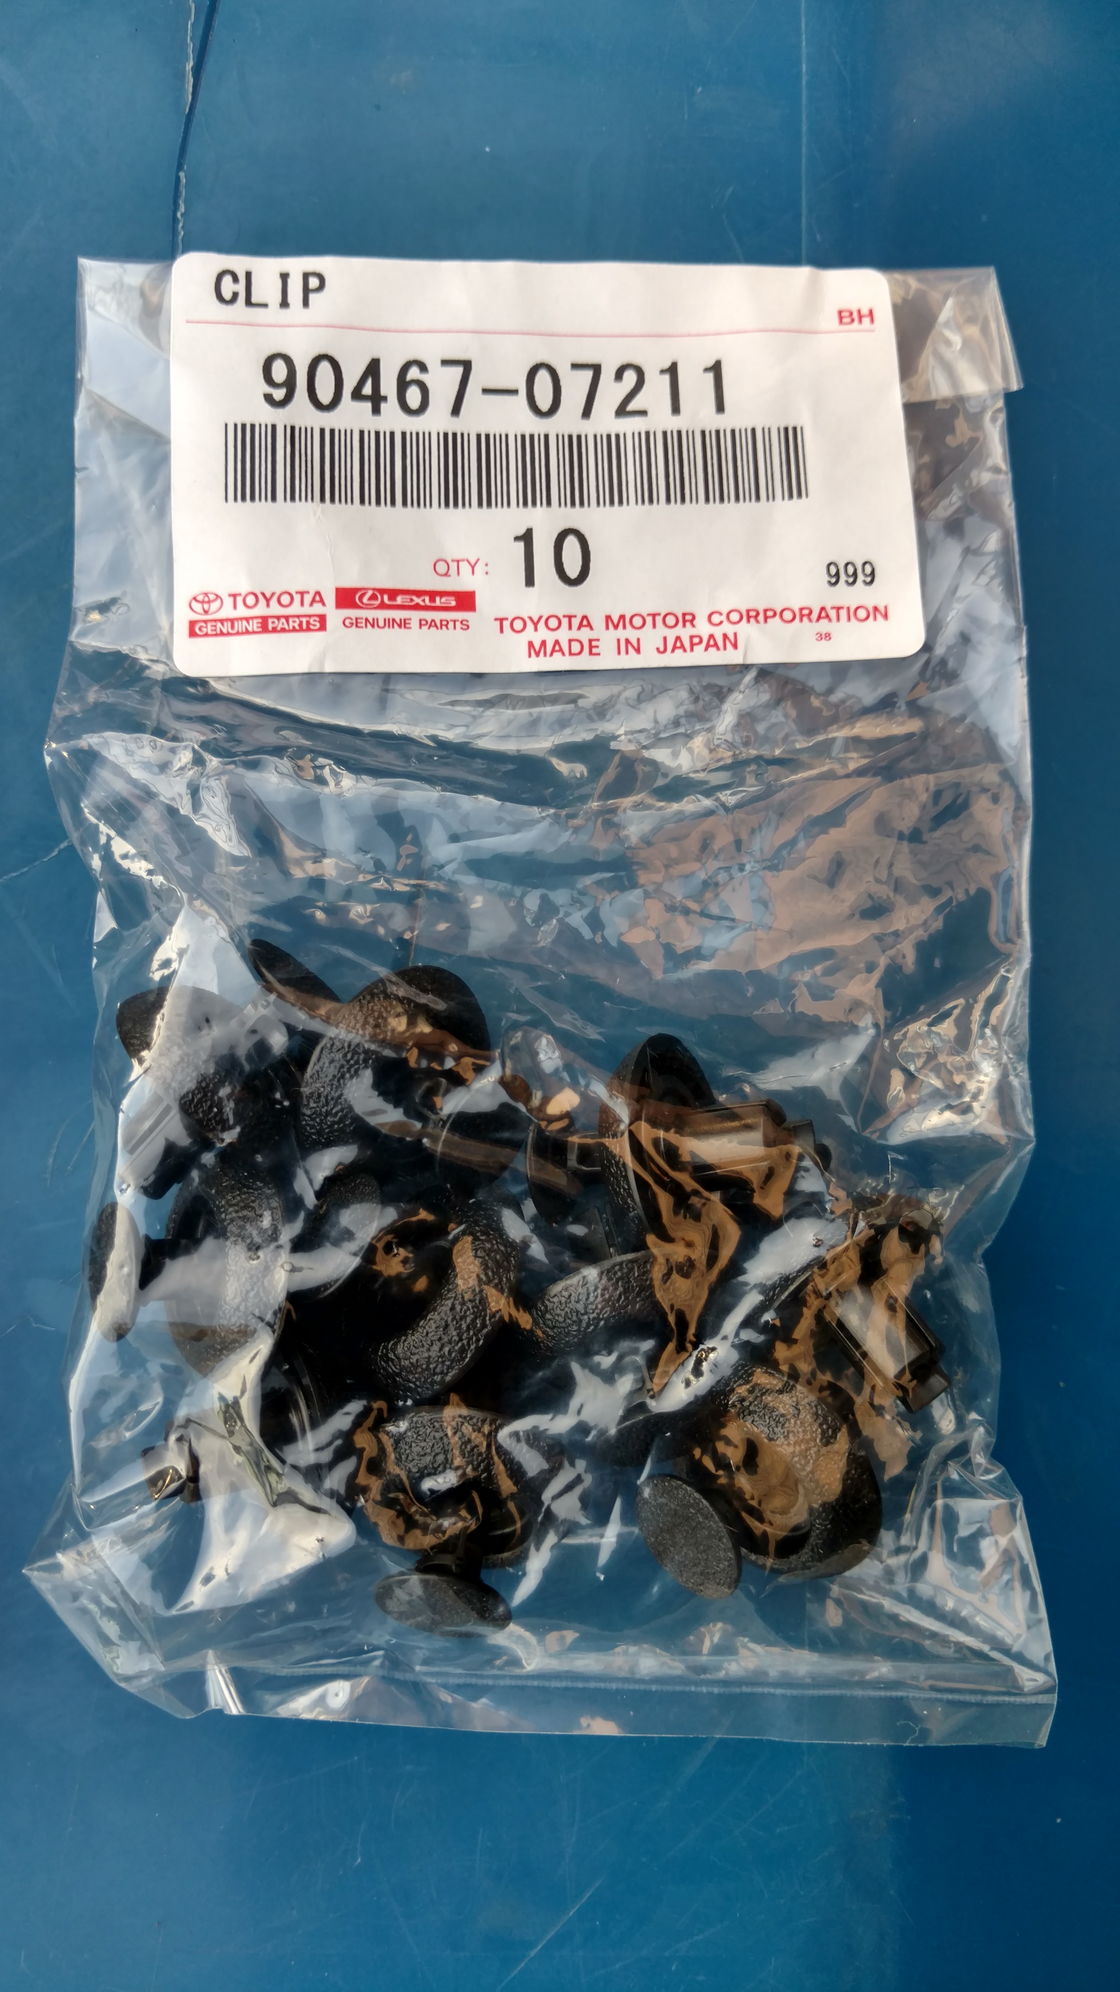
Nice and shiny engine bay, it's weird working on a brand new truck, all the bolts are shiny and silver. It's officially not a brand new truck anymore, because I lost a clip lol

80-img_20171030_152514707_hdr_6d338476c5b99091f0f15990bad860744c870e0a.jpg


Threw in my SilverStar Ultra high beam bulbs from my old truck while I was at it.

80-img_20171030_153231451_hdr_2e6bc3e03617ceba237c4fa6c6c333ef1317e879.jpg


While I was working on the truck more goodies were arriving.

80-img_20171030_160650499_9d8c84861c8ccce5b90565abaf7a0e1176803b2a.jpg


80-img_20171030_160748530_0e97a67eafcbbb5e371ca3fe6e3aeca092d82241.jpg


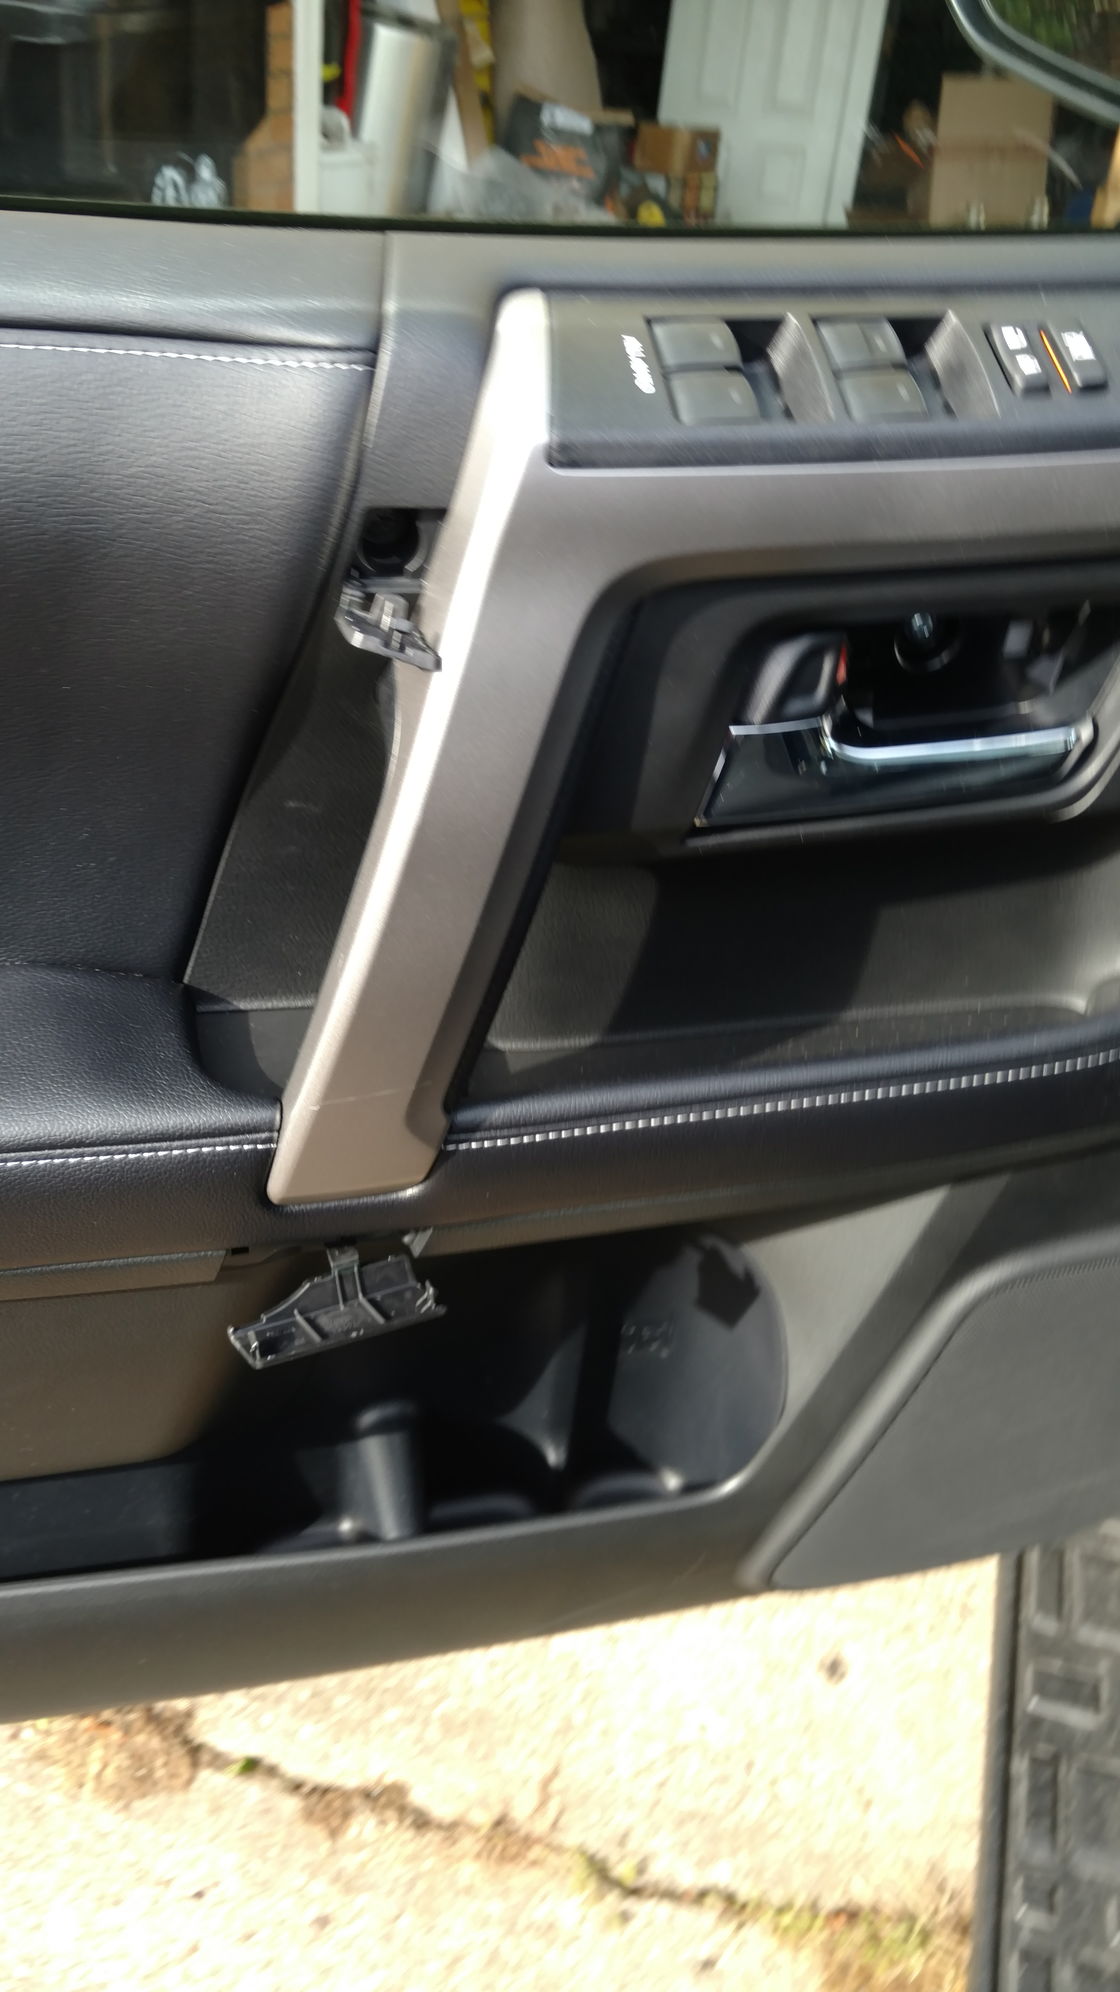
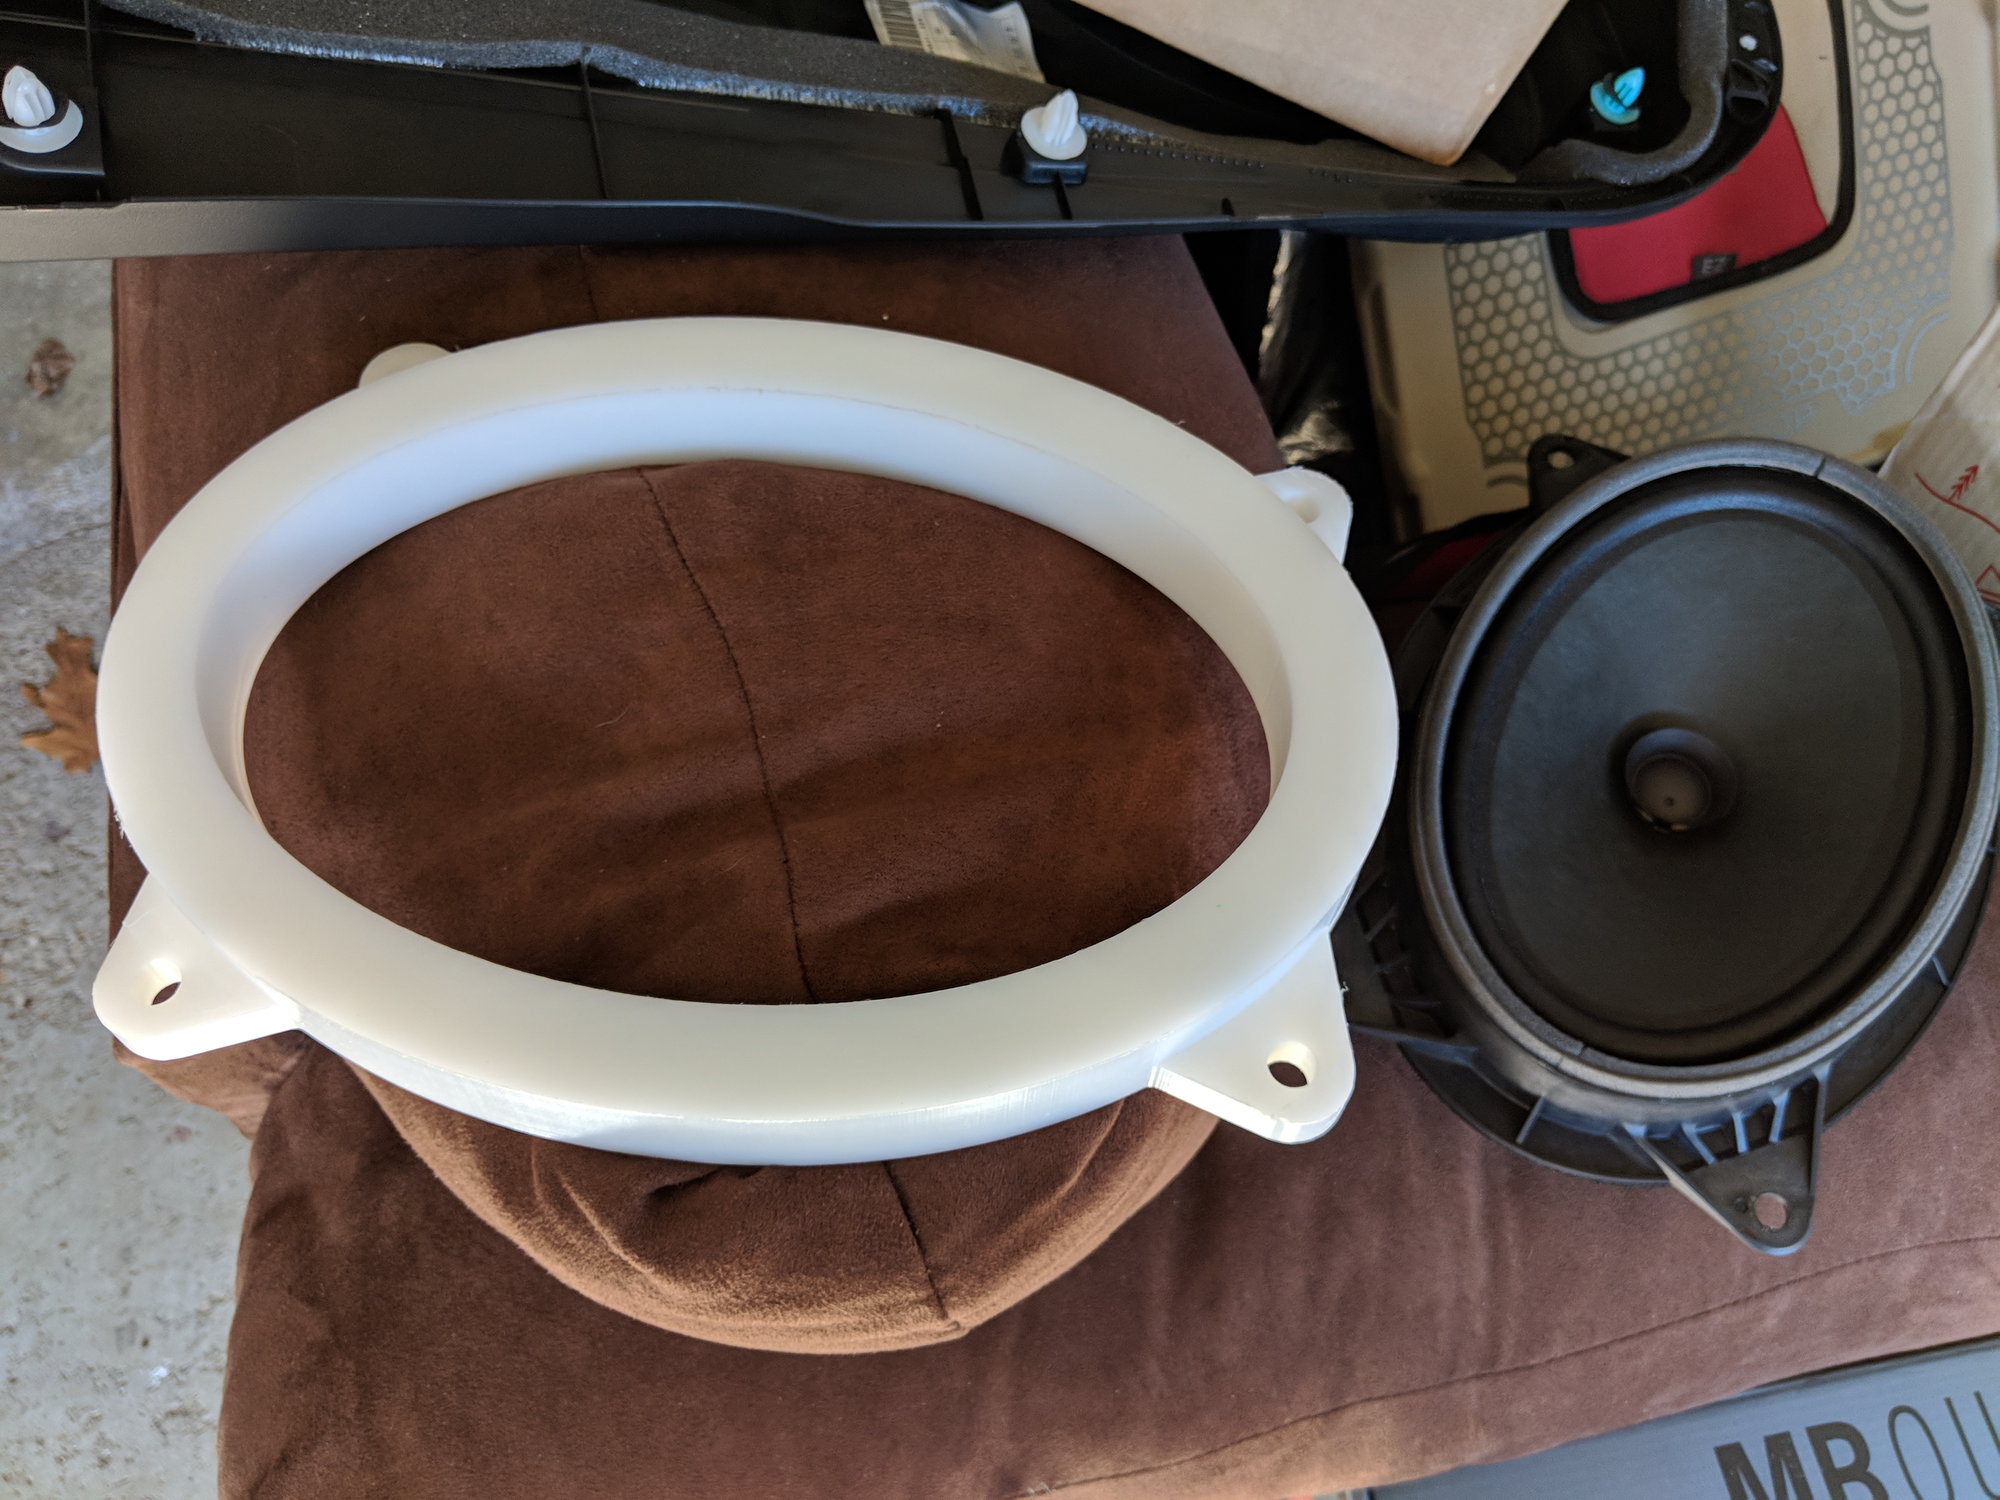
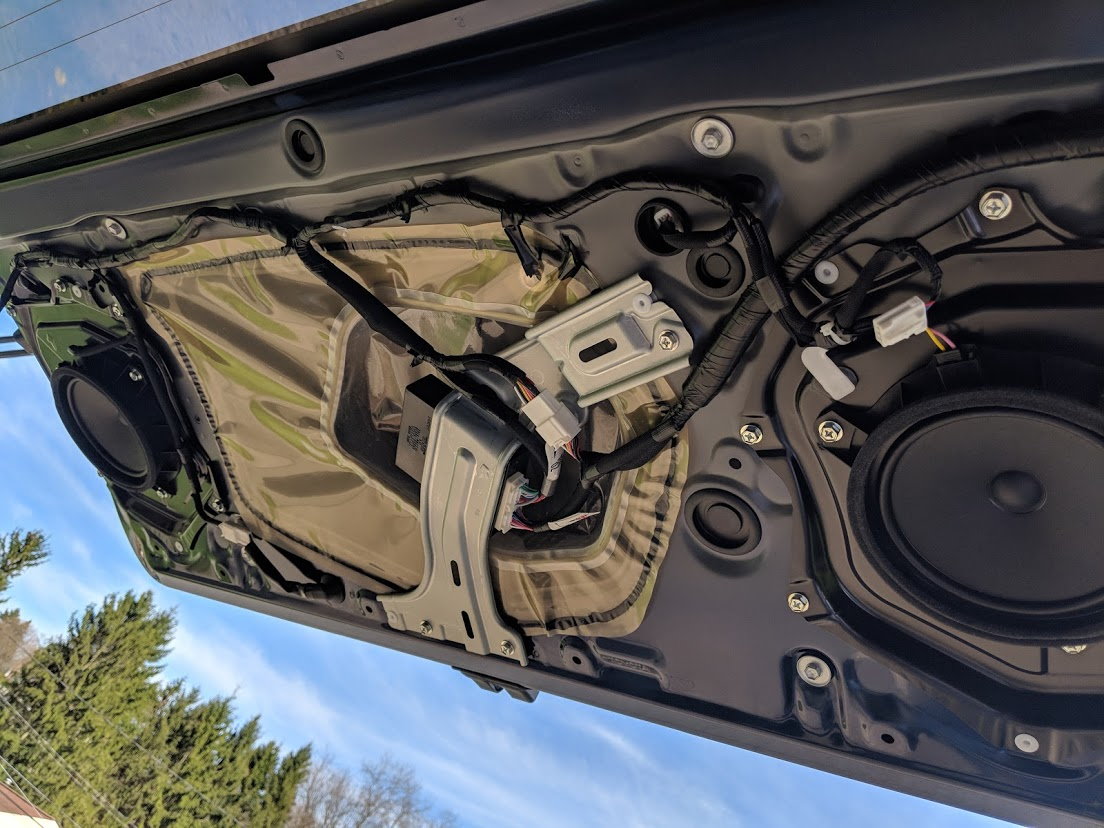
Well I got the door panel off, and was all set to install my 6x9's from my last truck in the doors, only to find out that they changed the screw holes and the adapter bracket that I've had for 2 4Runners will not work on this truck.

80-img_20171102_151722344_797b475562cca0280bffbfd79fc58173a92898f6.jpg


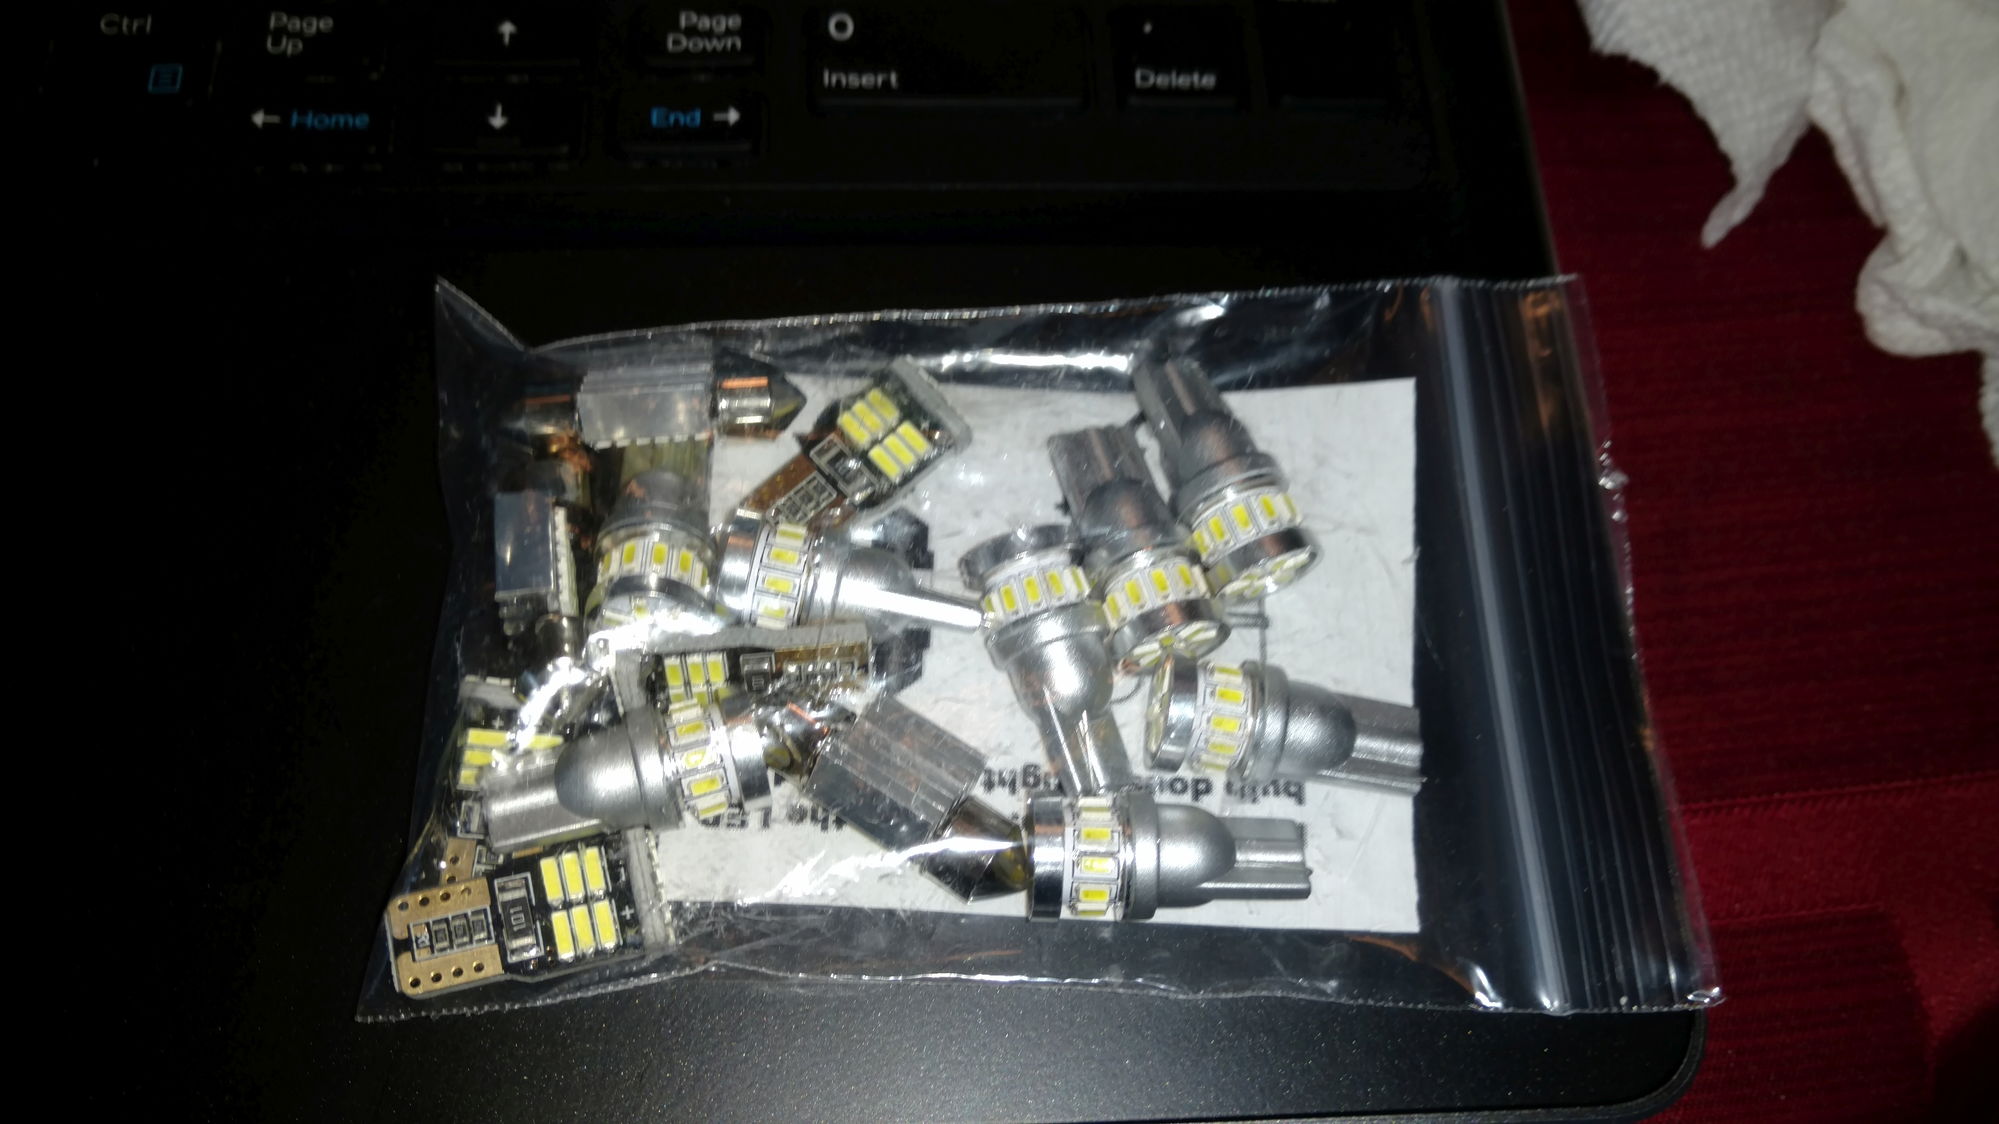
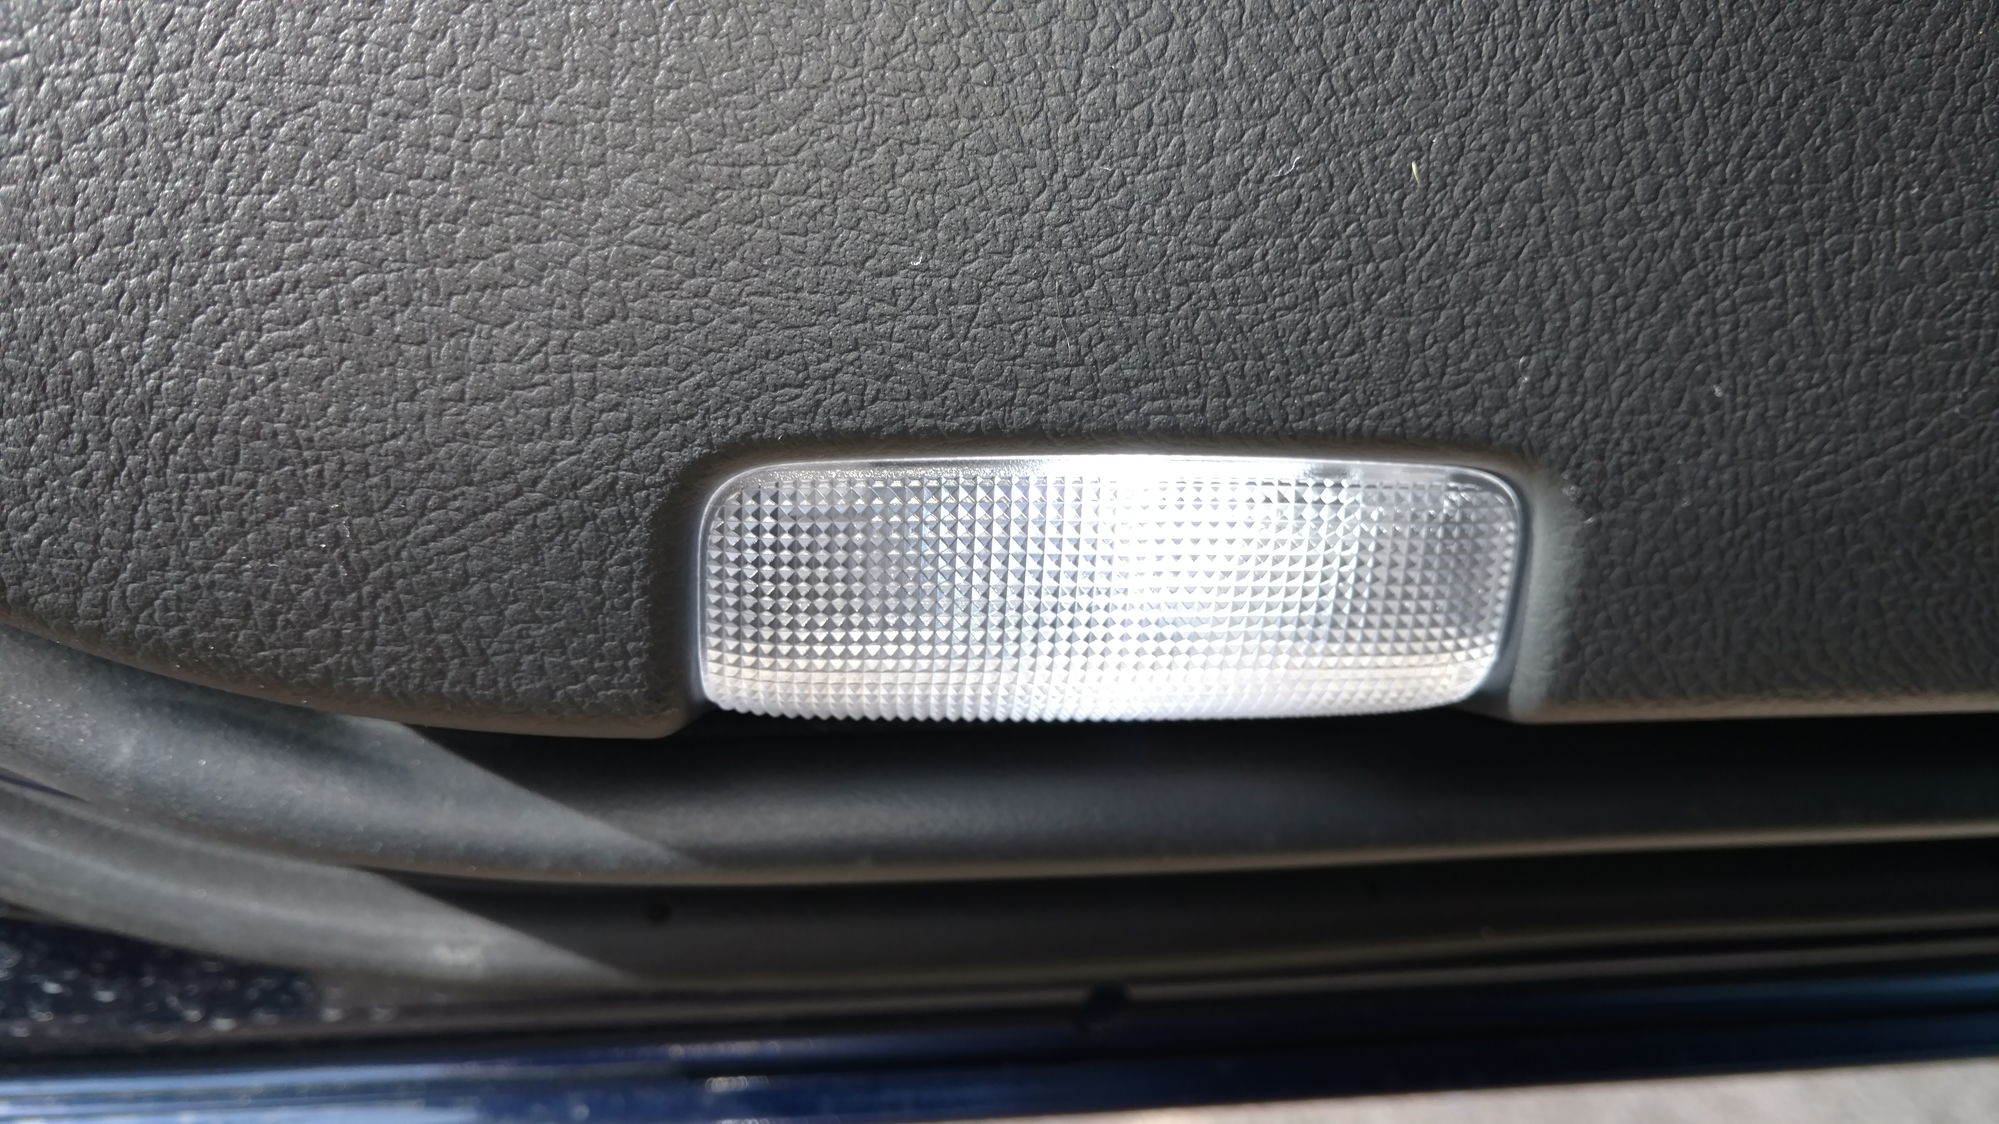
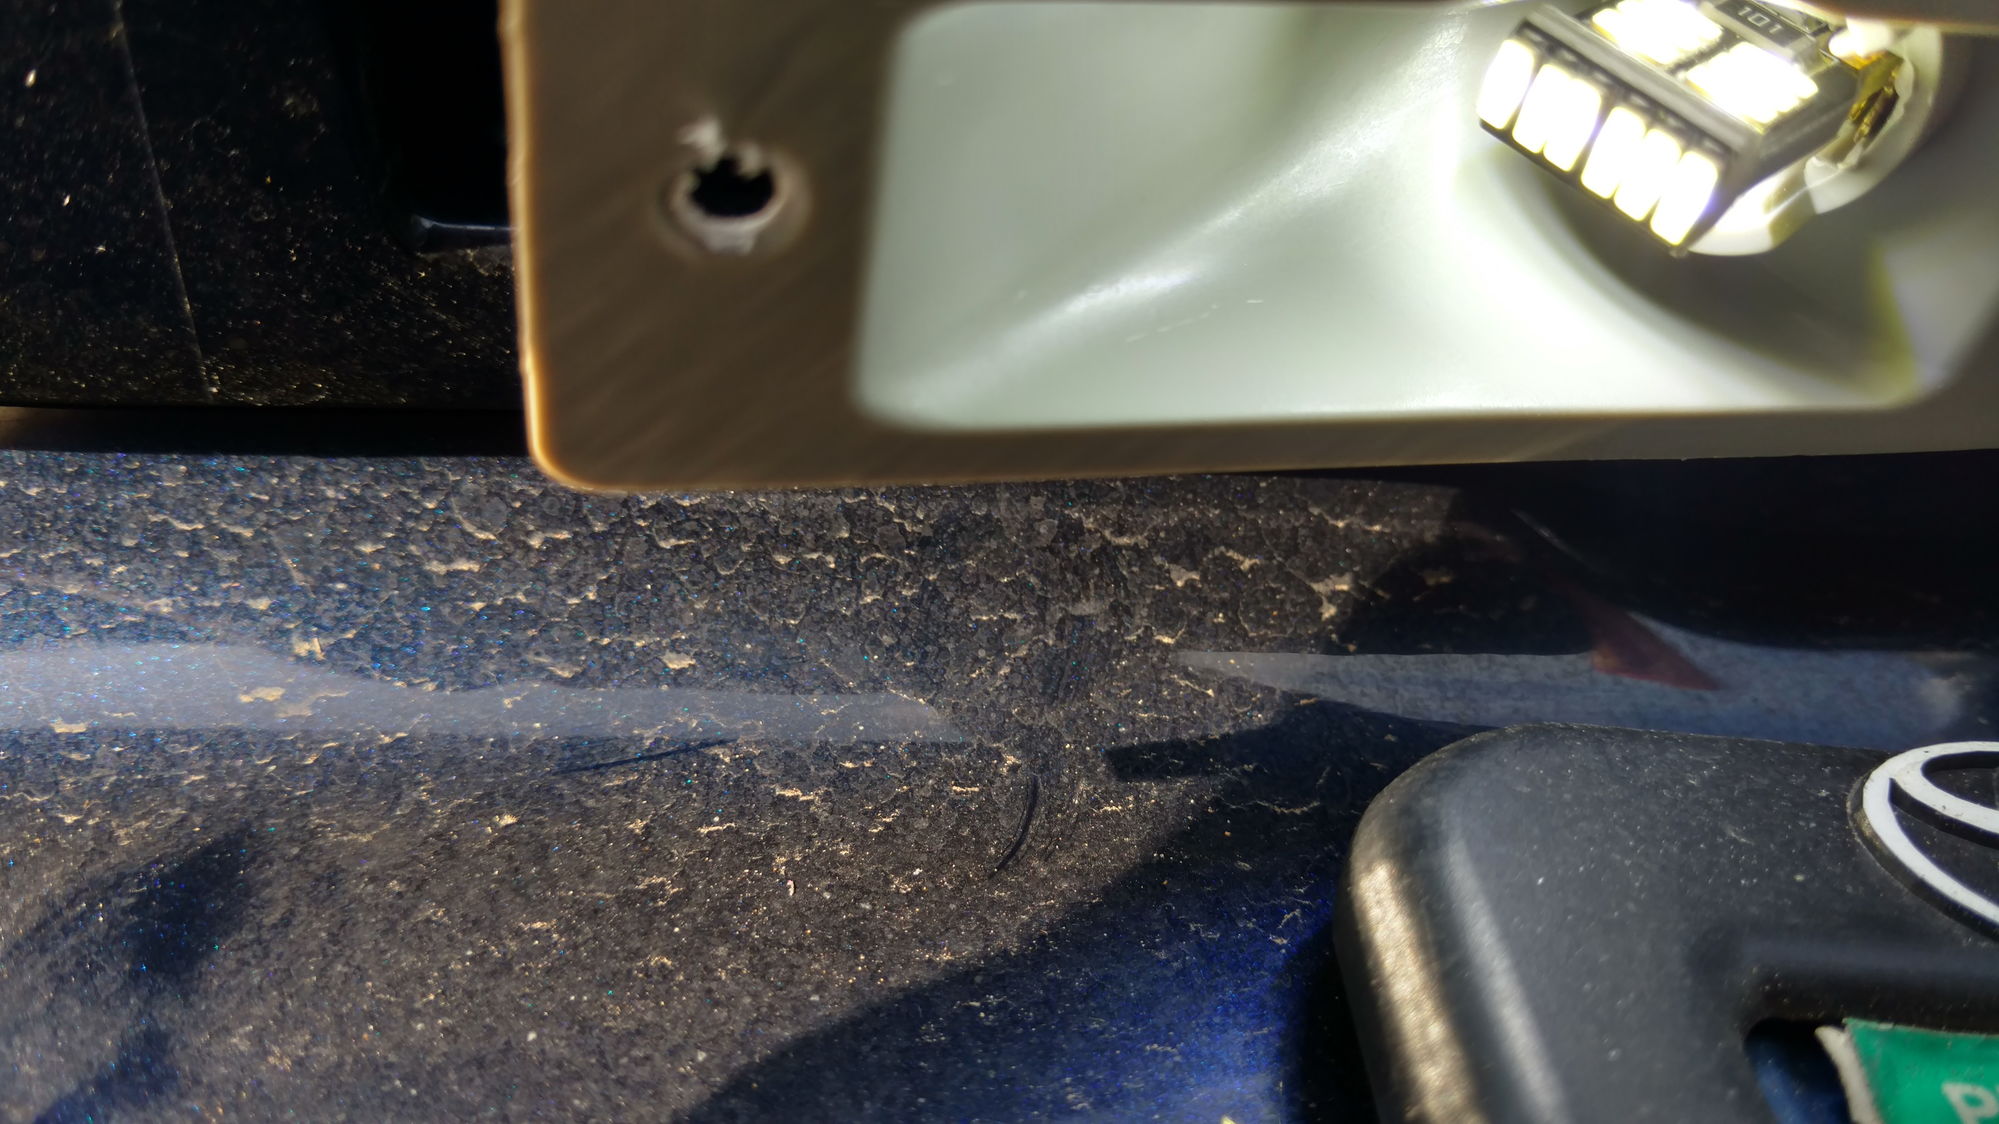
So since it was a nice day and I wanted to get something done I went to work swapping out all of the halogen bulbs with high power bright white SMD led bulbs from FyreFlys

80-img_20171102_154855899_2e6cf1c4a3601b462b92183ad316c65bd045c0af.jpg


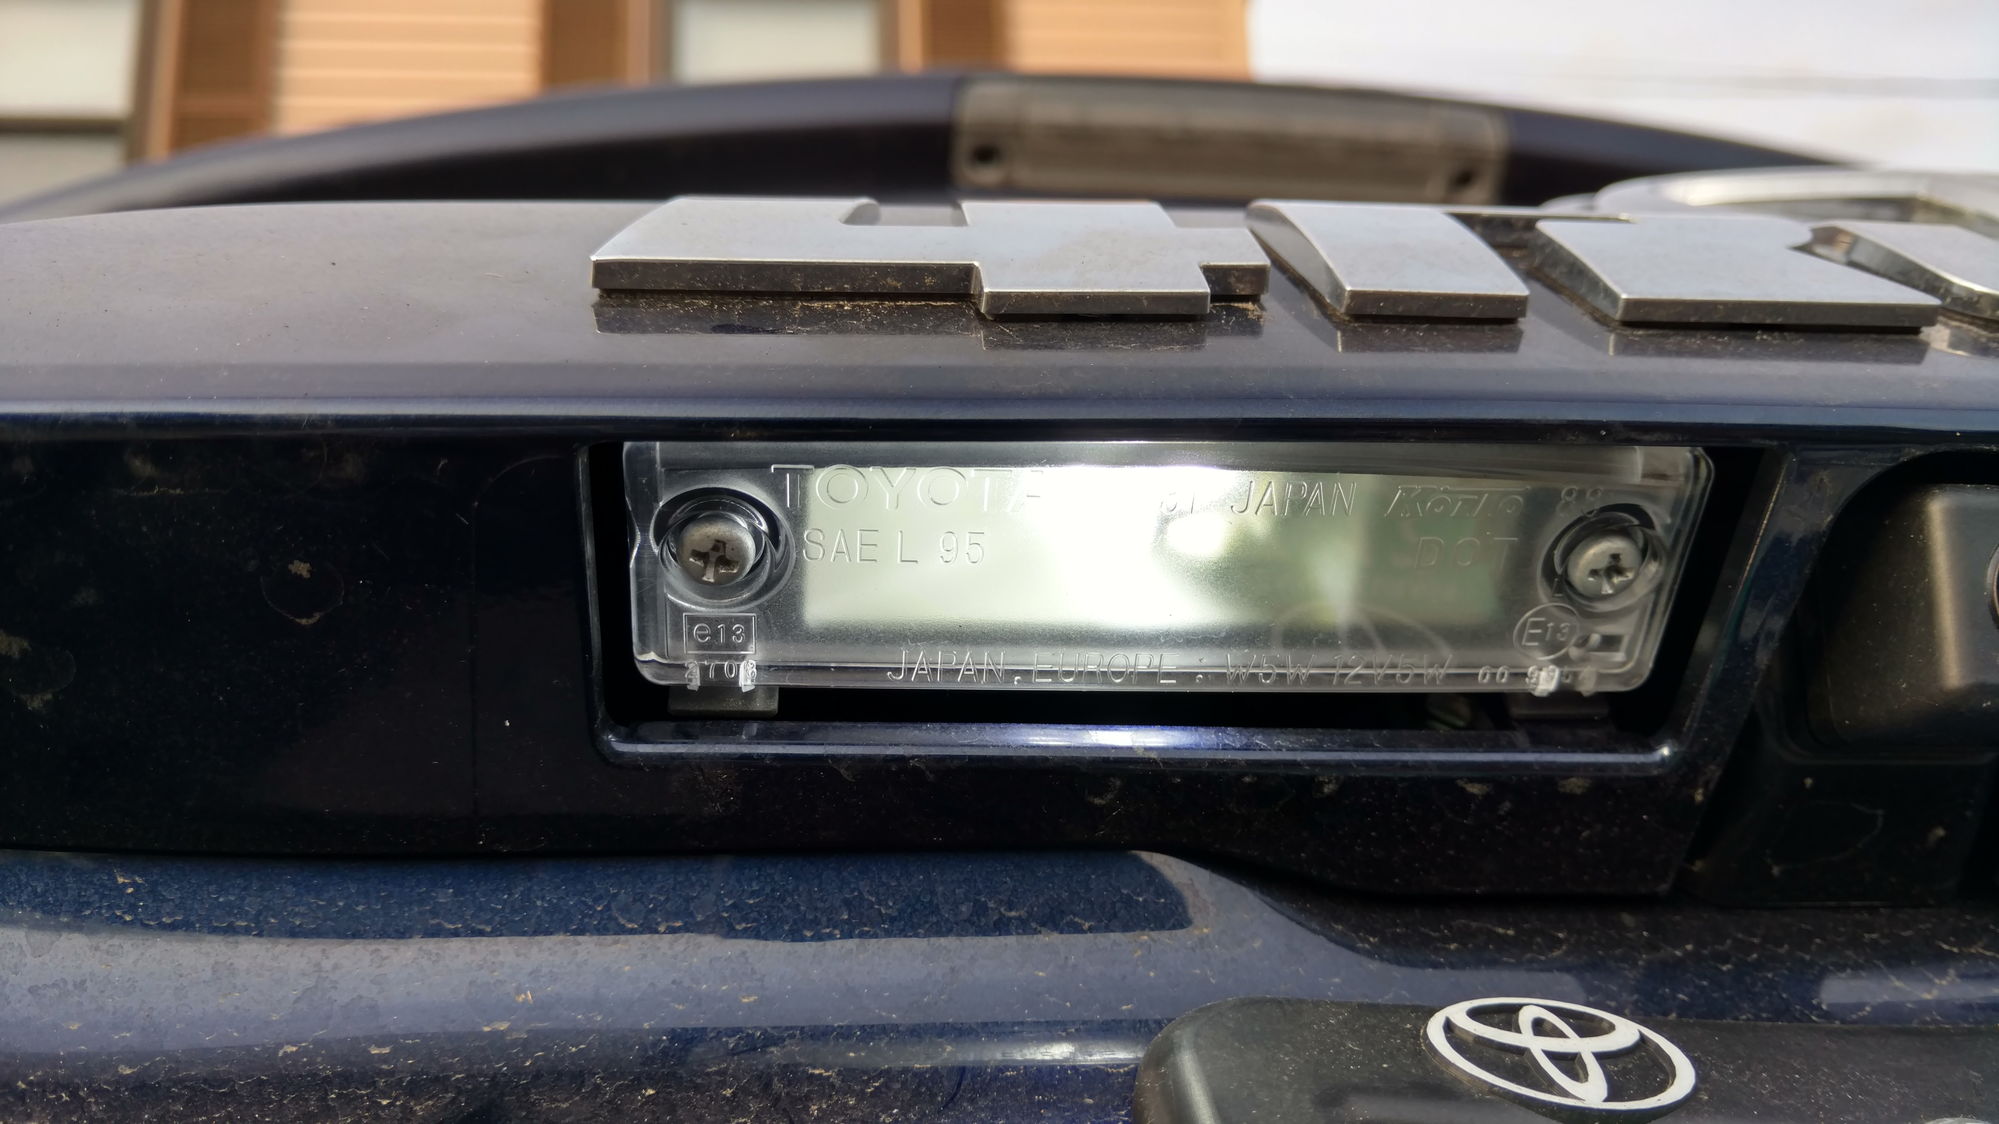
I got the dome, all 4 doors, and license plates switched out
80-img_20171102_160719906_hdr_f36c99b40576ec75f0fdd0102c16851189b33d24.jpg


80-img_20171102_165510031_hdr_88ea3f314267f225bda2a78fa29a1eb1b8fc292a.jpg


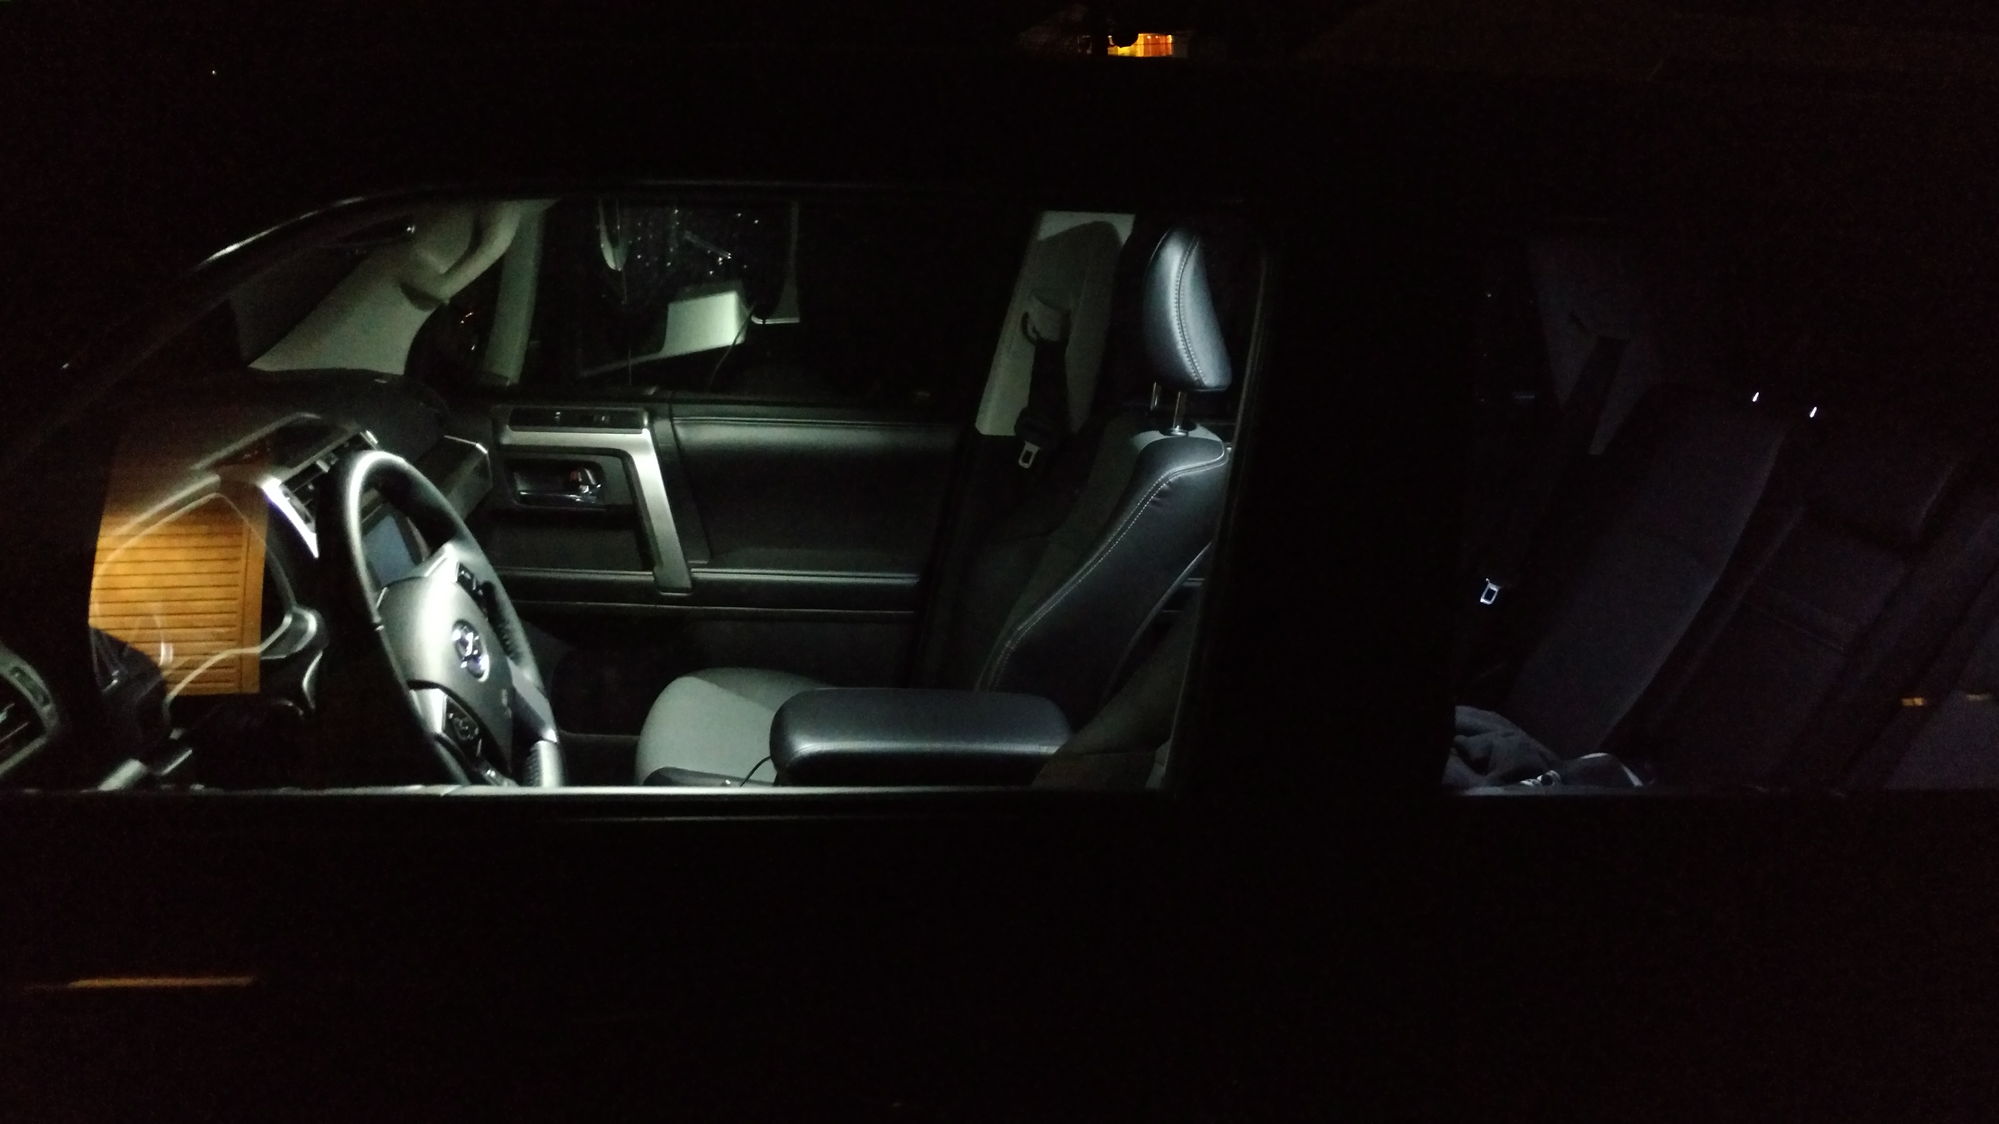
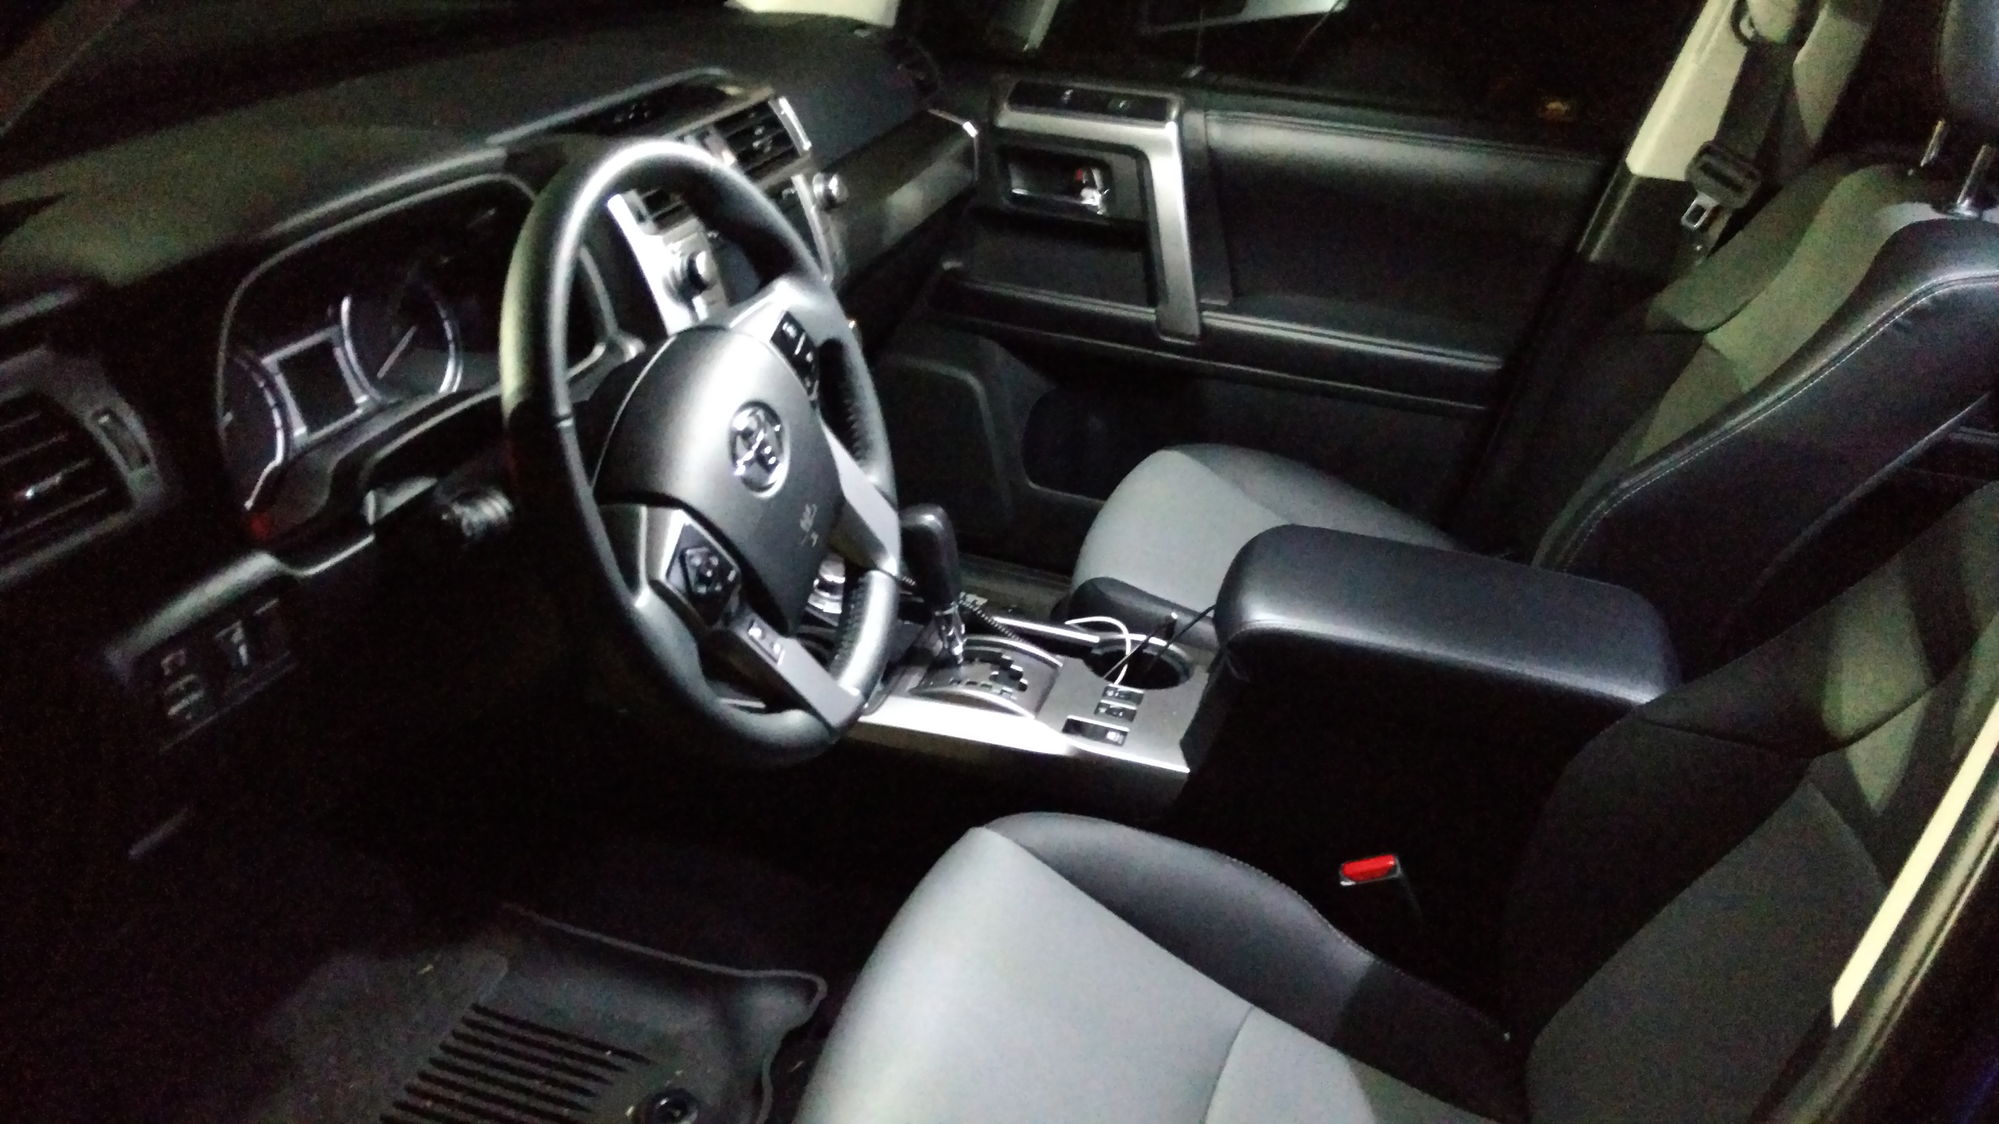
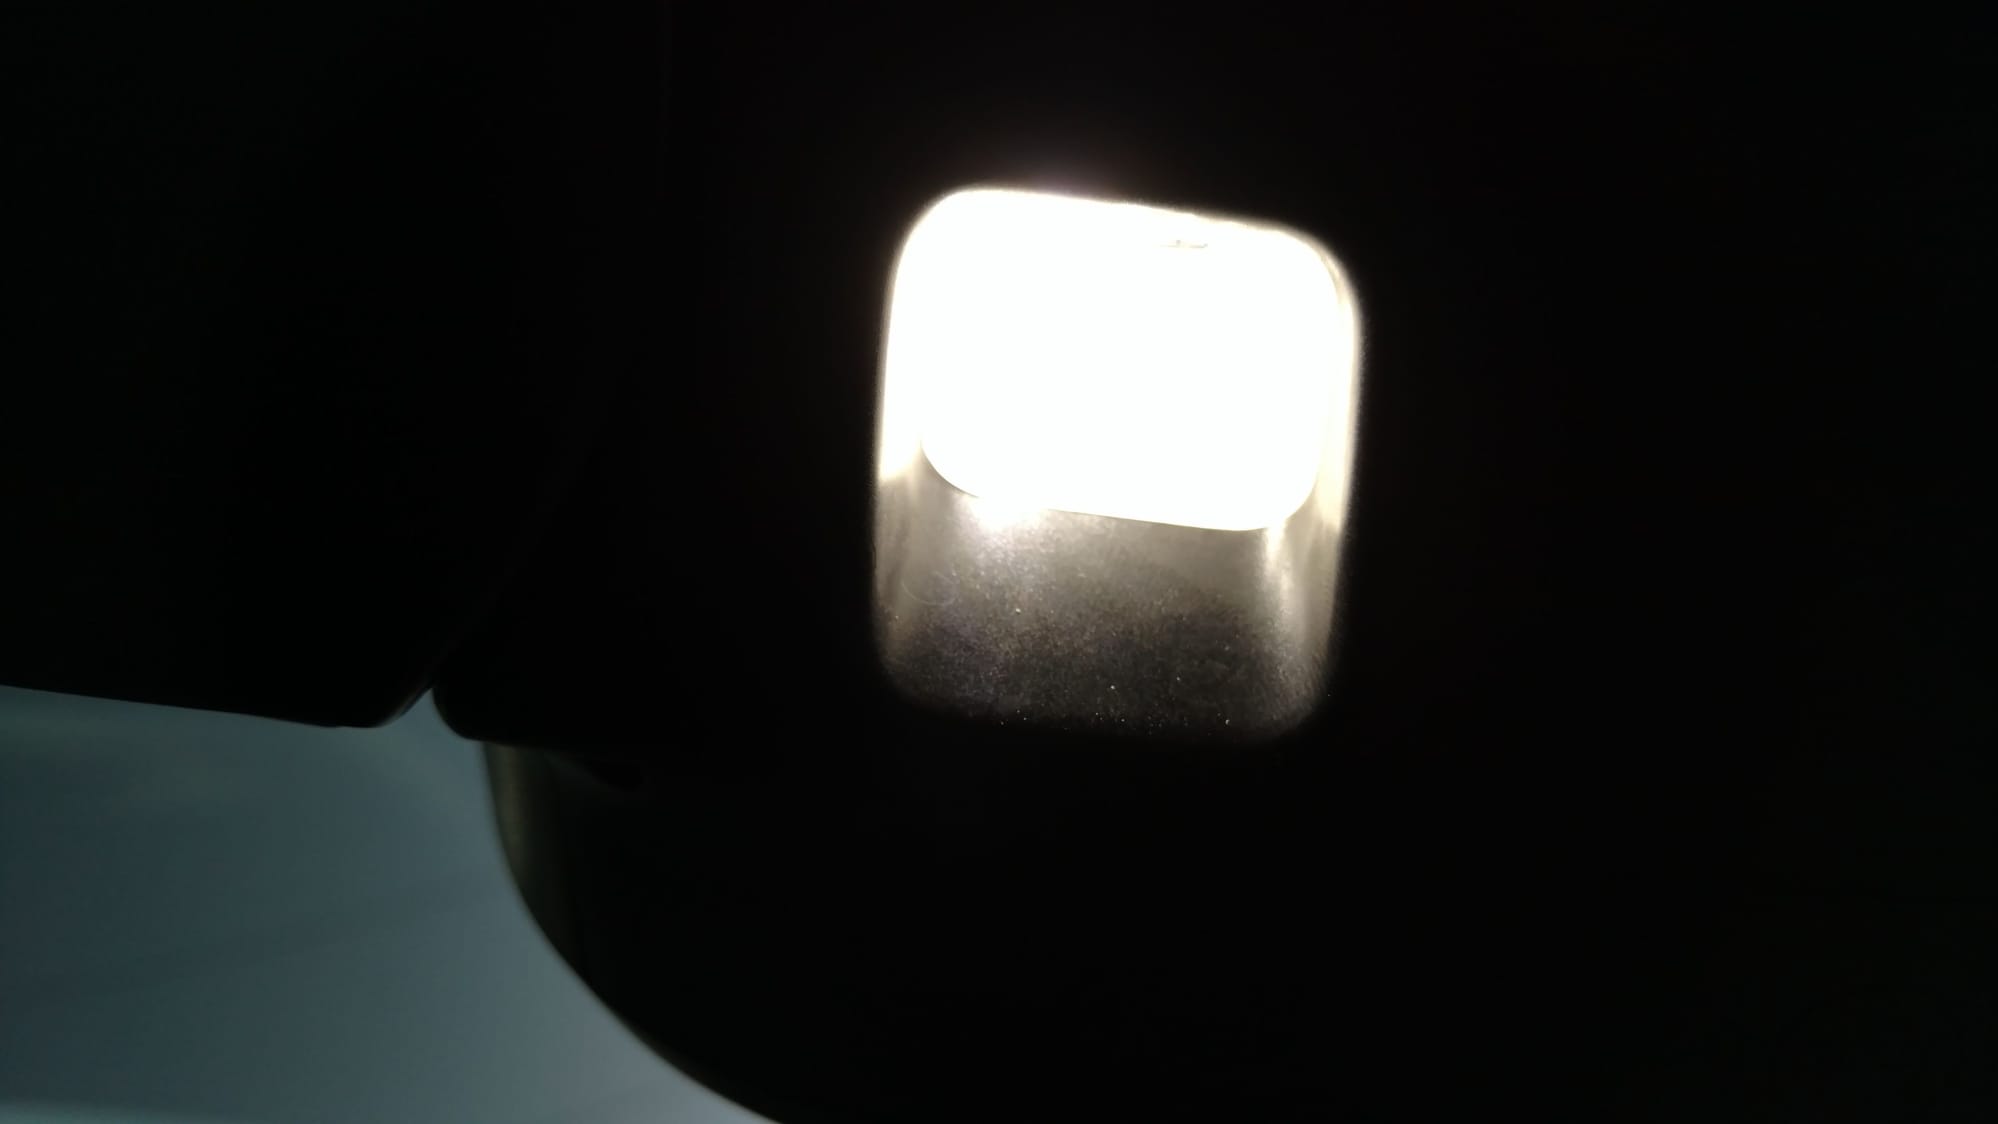
I tried to get a shot of the dome, but I don't think it was dark enough
80-img_20171102_195224591_ff67151a1b4d6ddc2143724956cd392ef6d5aa8f.jpg


80-img_20171102_195306435_1b785f8b090da60a878d1e92e8398cba70b3d97a.jpg


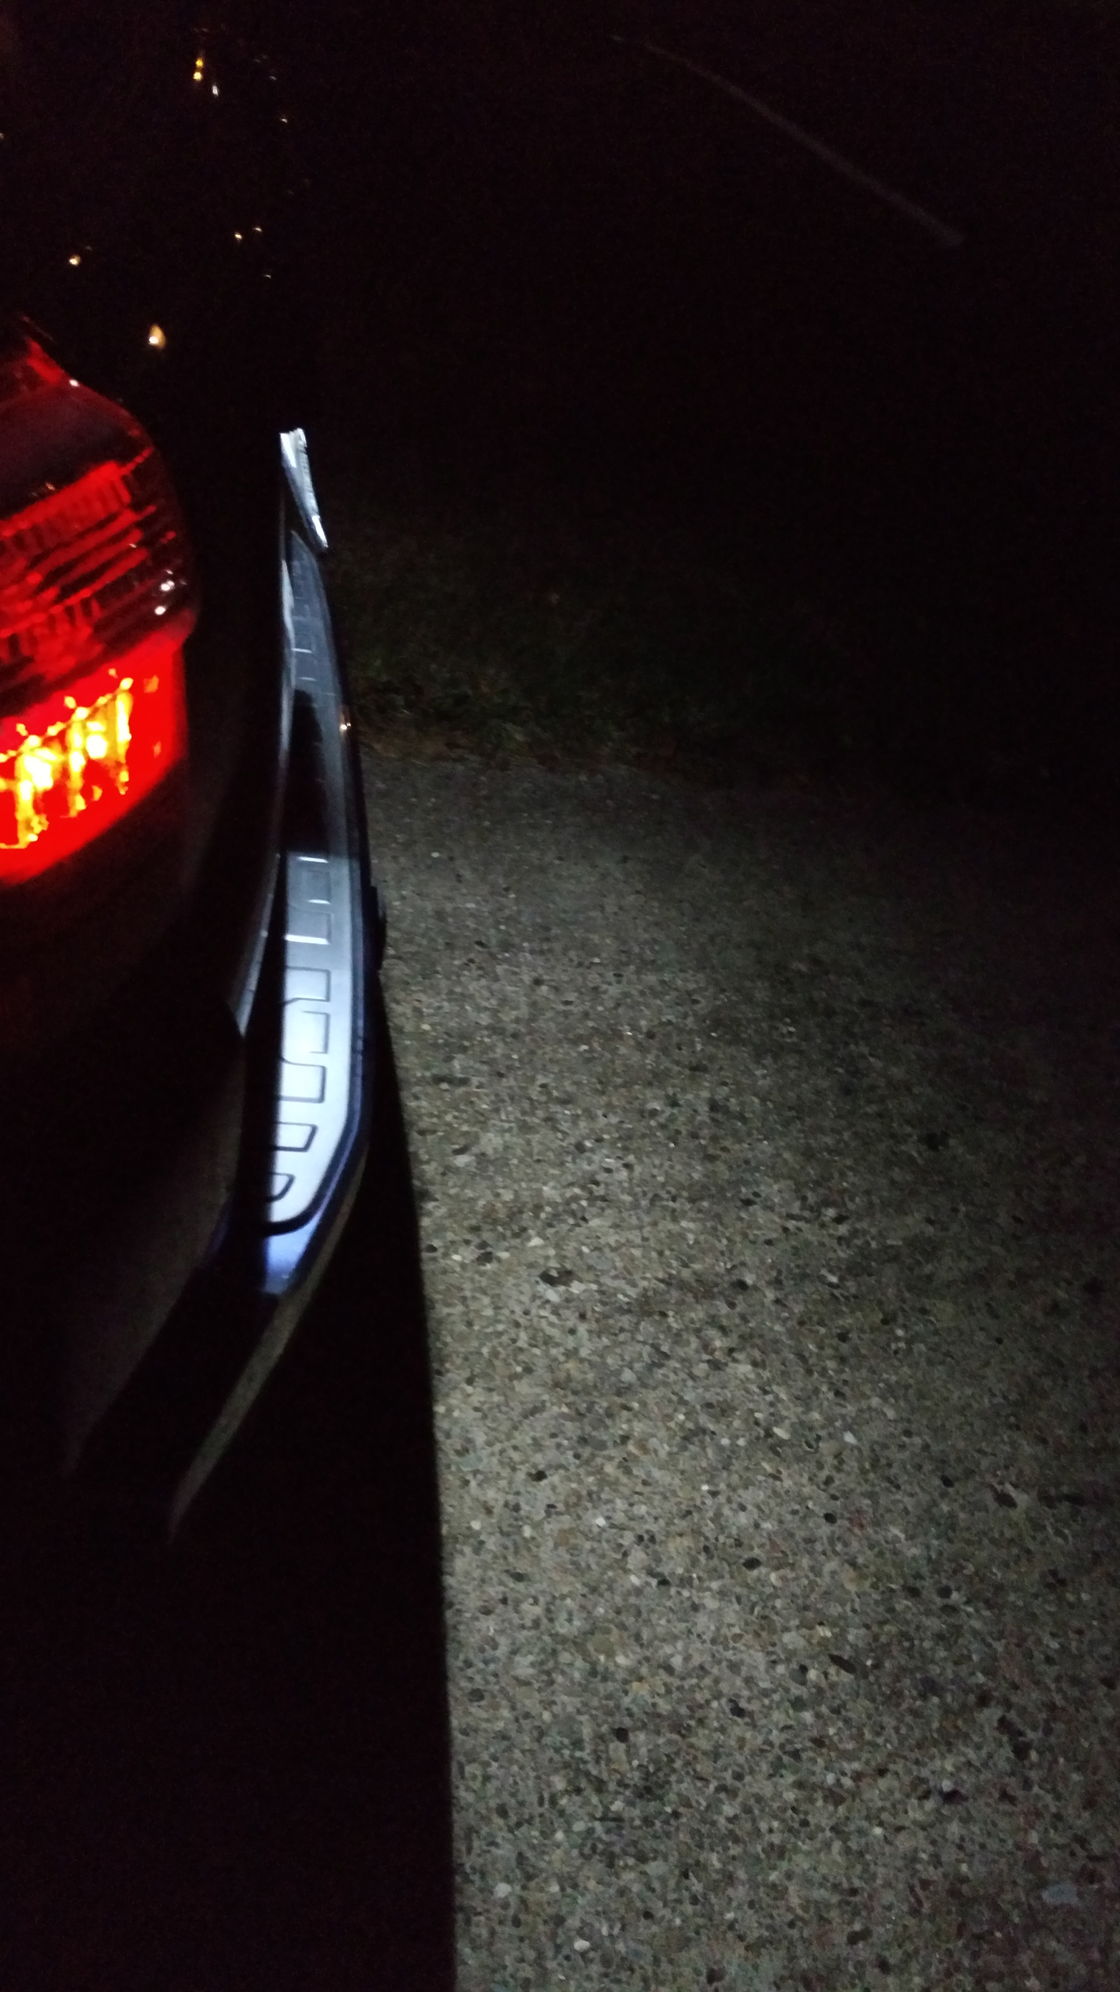
I love how bright these things are, the license plate LED's are SUPER freaking bright! I also replaced the reverse light bulbs, but hard to get a picture with your vehicle in reverse on the hill even with the parking brake on, but they're the same bulbs as these

80-img_20171102_195327205_45ed67ae70f268896f12260a61eb85e0af91567b.jpg


Also, since I lost a clip the other day when I was putting in the high beam bulbs and I said the truck "wasn't new anymore" since I lost the clip, I had to rectify that...

80-img_20171102_162446411_hdr_b37eb35215ffb32a05ddea1d1f3ec531f80e4280.jpg


Here's a couple better pics of the LED bulbs, I was only doing small mods since winter was approaching

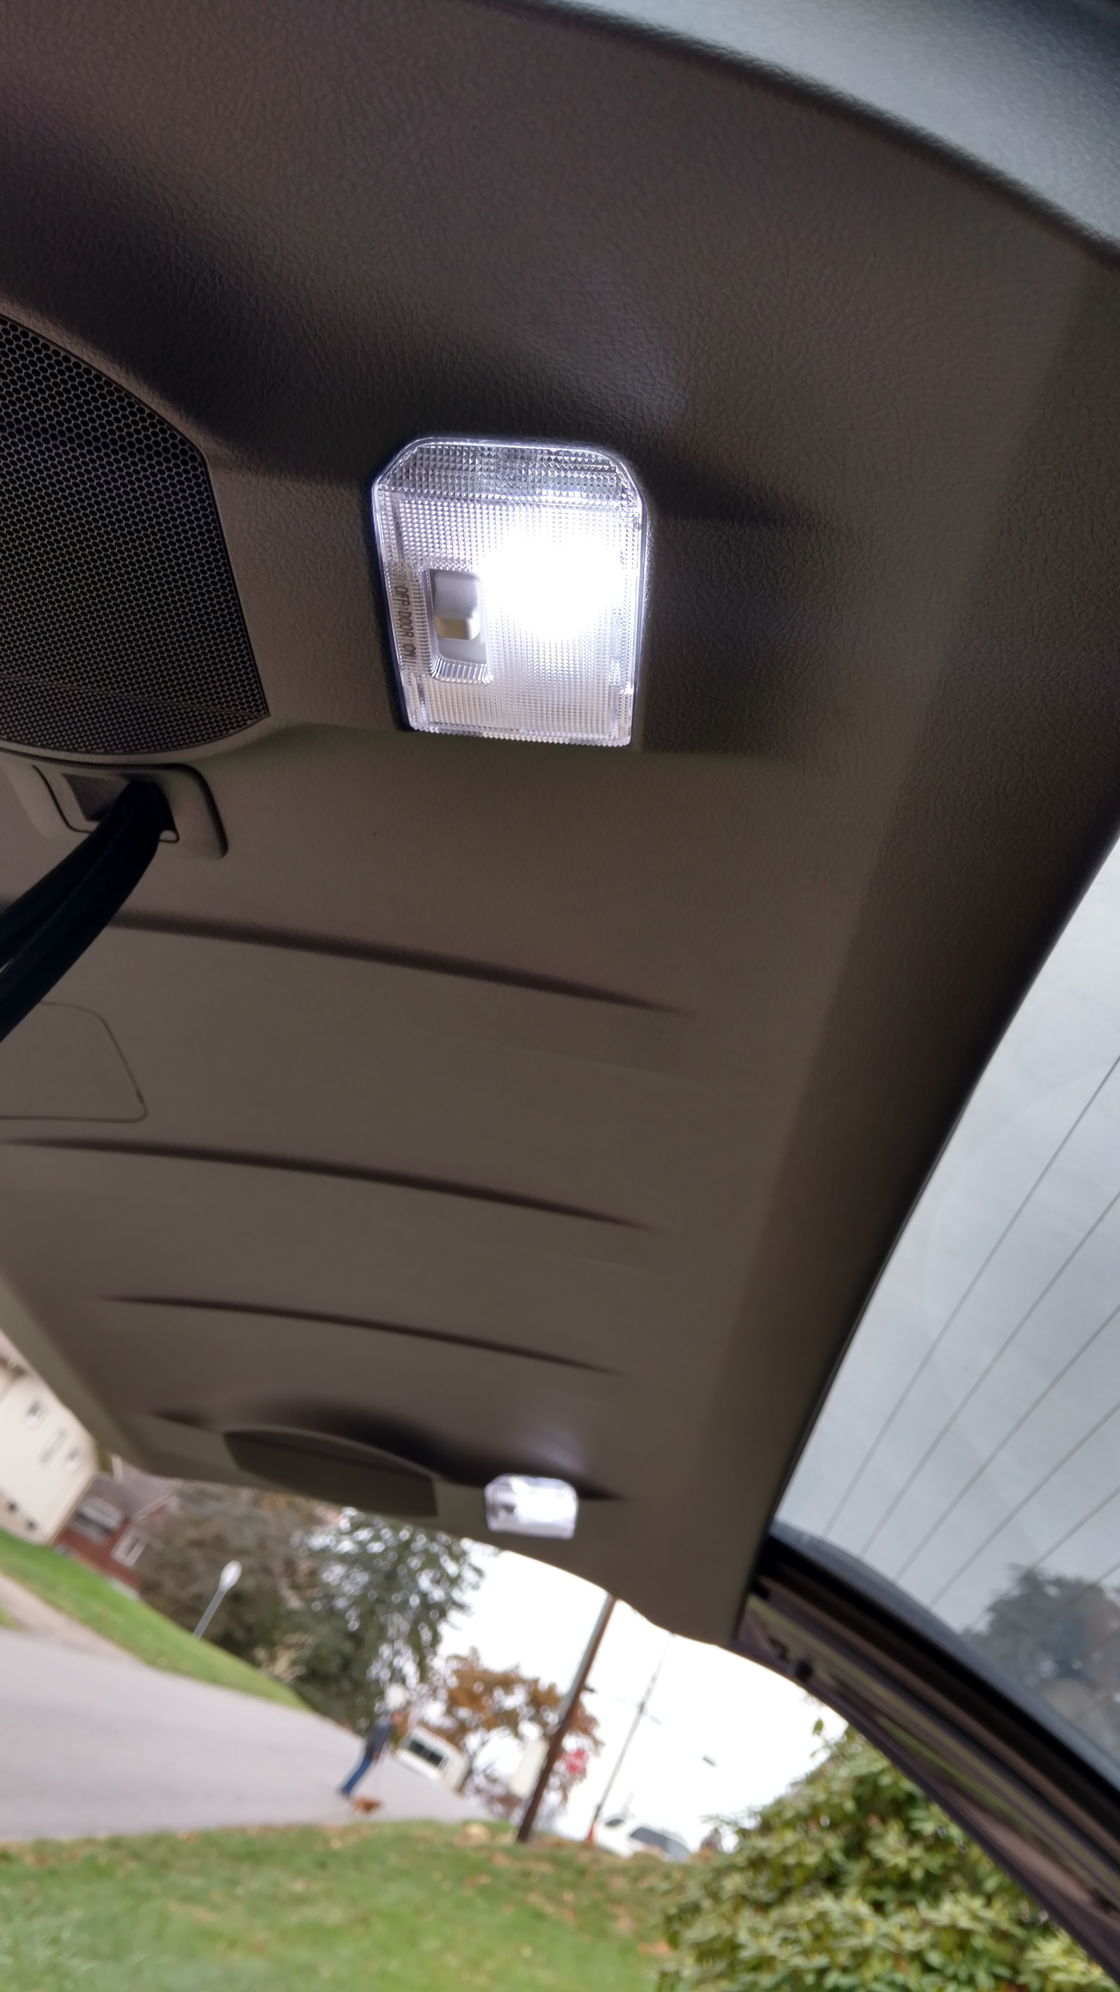
Rear tailgate
80-img_20171115_143855309_hdr_fb0007ef253a347205d97a556b1481109f20f5f0.jpg


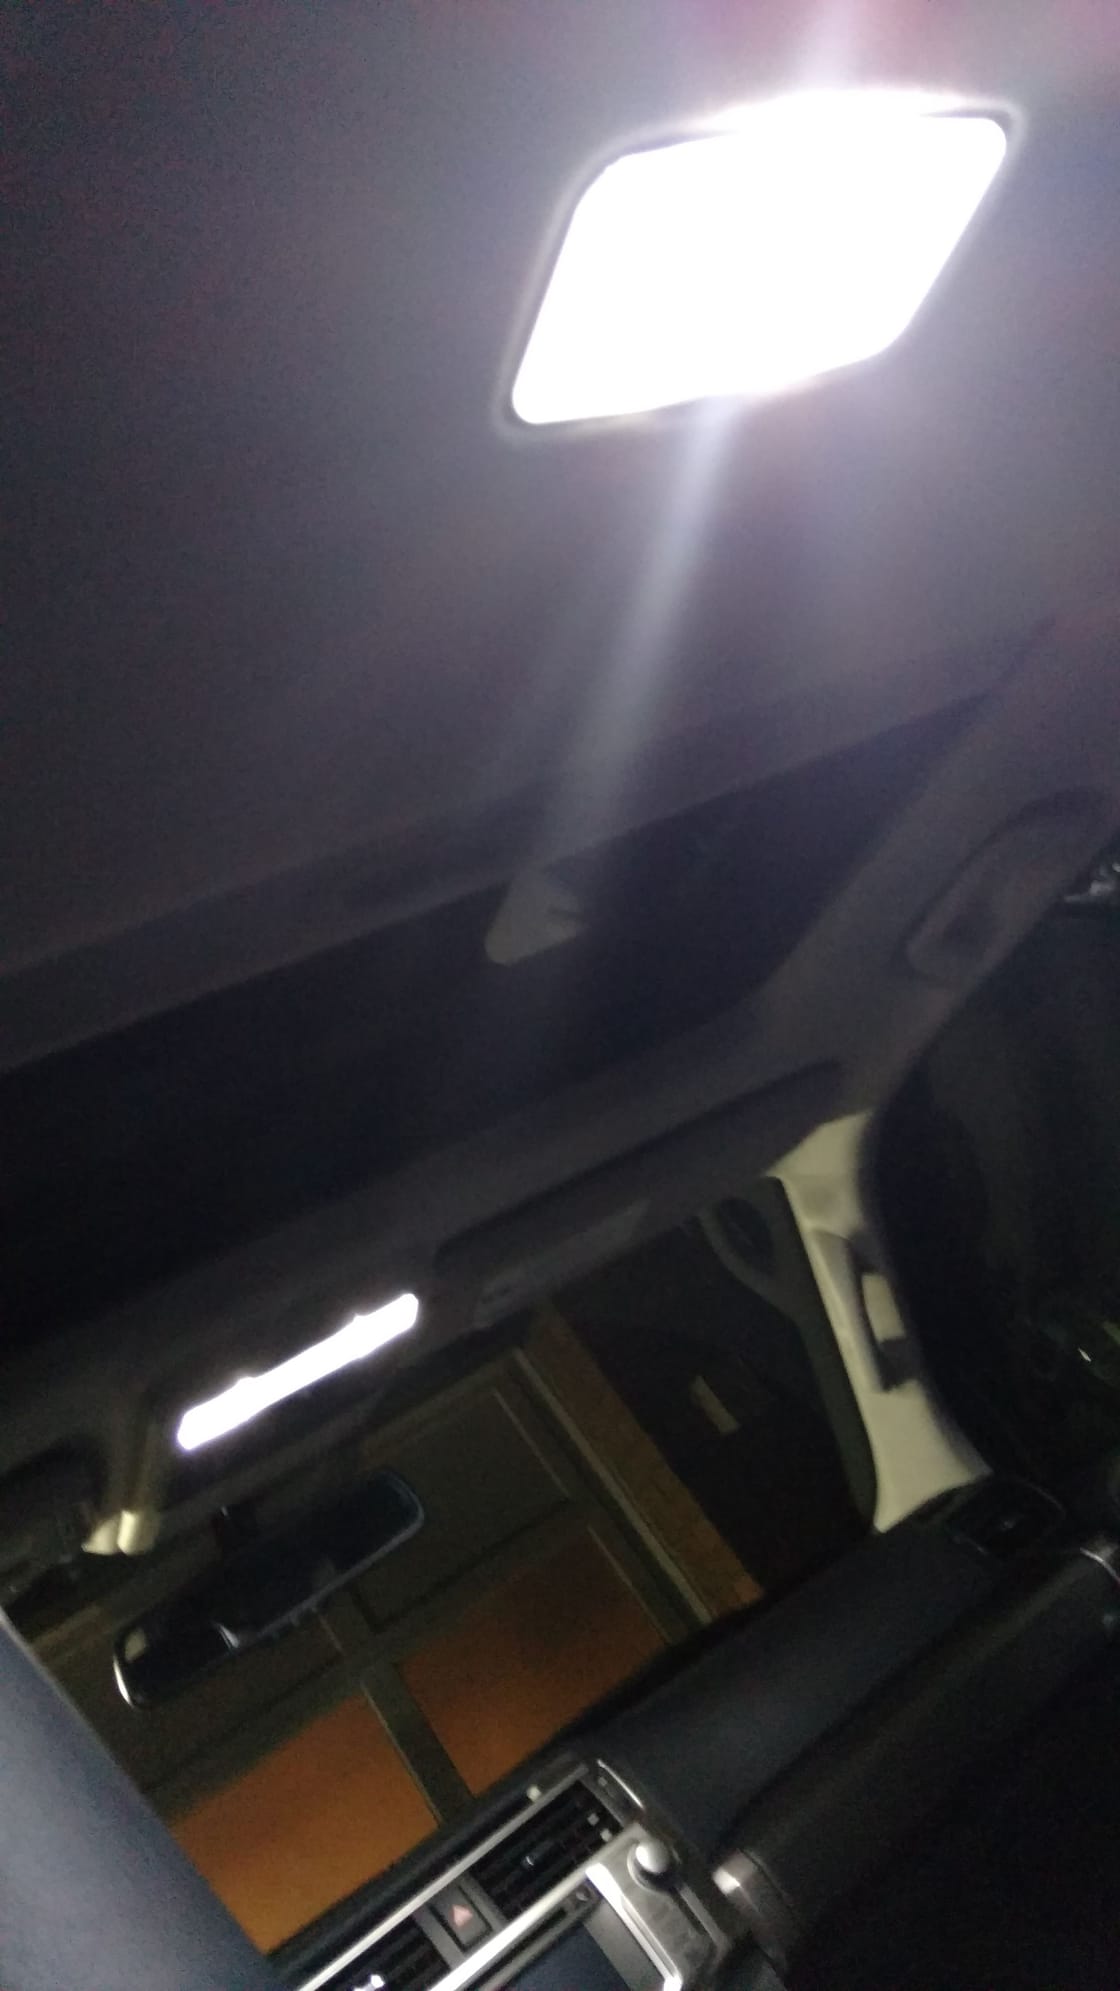
Dome and map lights, outside the truck
80-img_20171116_184400214_11c682758201c9c24a918d2680fcbd983eea48f9.jpg


Dome and mirror with the door open, these map lights are insanely bright
80-img_20171116_184407678_a17ccf0b1c3973f633f9f1eead16f710c7b09ac1.jpg


A shot from the back of the 2 domes
80-img_20171116_184502566_b6d5b37136932de640a33681994dfc0bcb6eae89.jpg


I swapped the puddle lights in the mirrors out, and now you can actually see them at night lol. Taking the mirrors apart was nerve racking and stressful but not overly complicated, still a lot of work just to change out a damn lightbulb though!

80-img_20171124_164506872_e85468721ee0d8b47c809898f6414fb9bf3aaca8.jpg
 
Last edited:
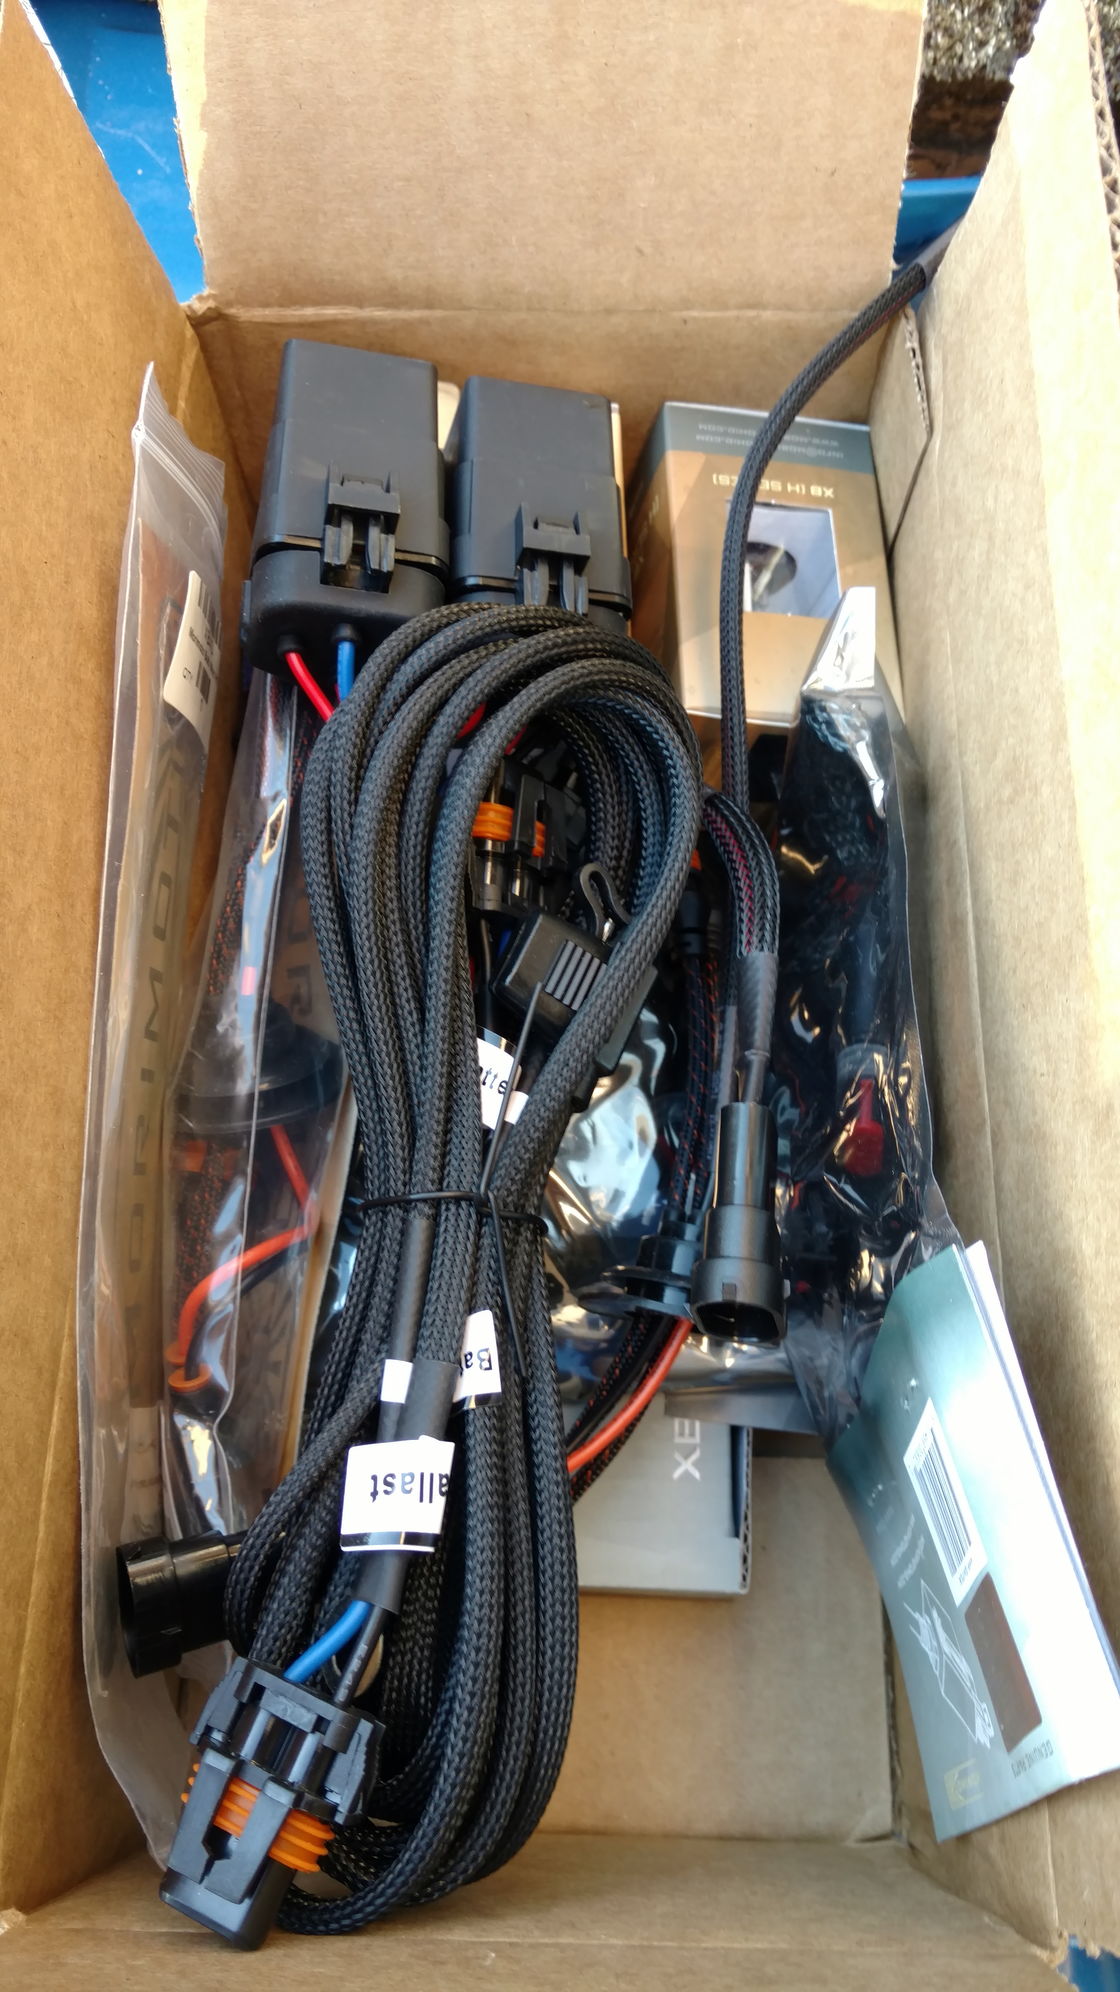
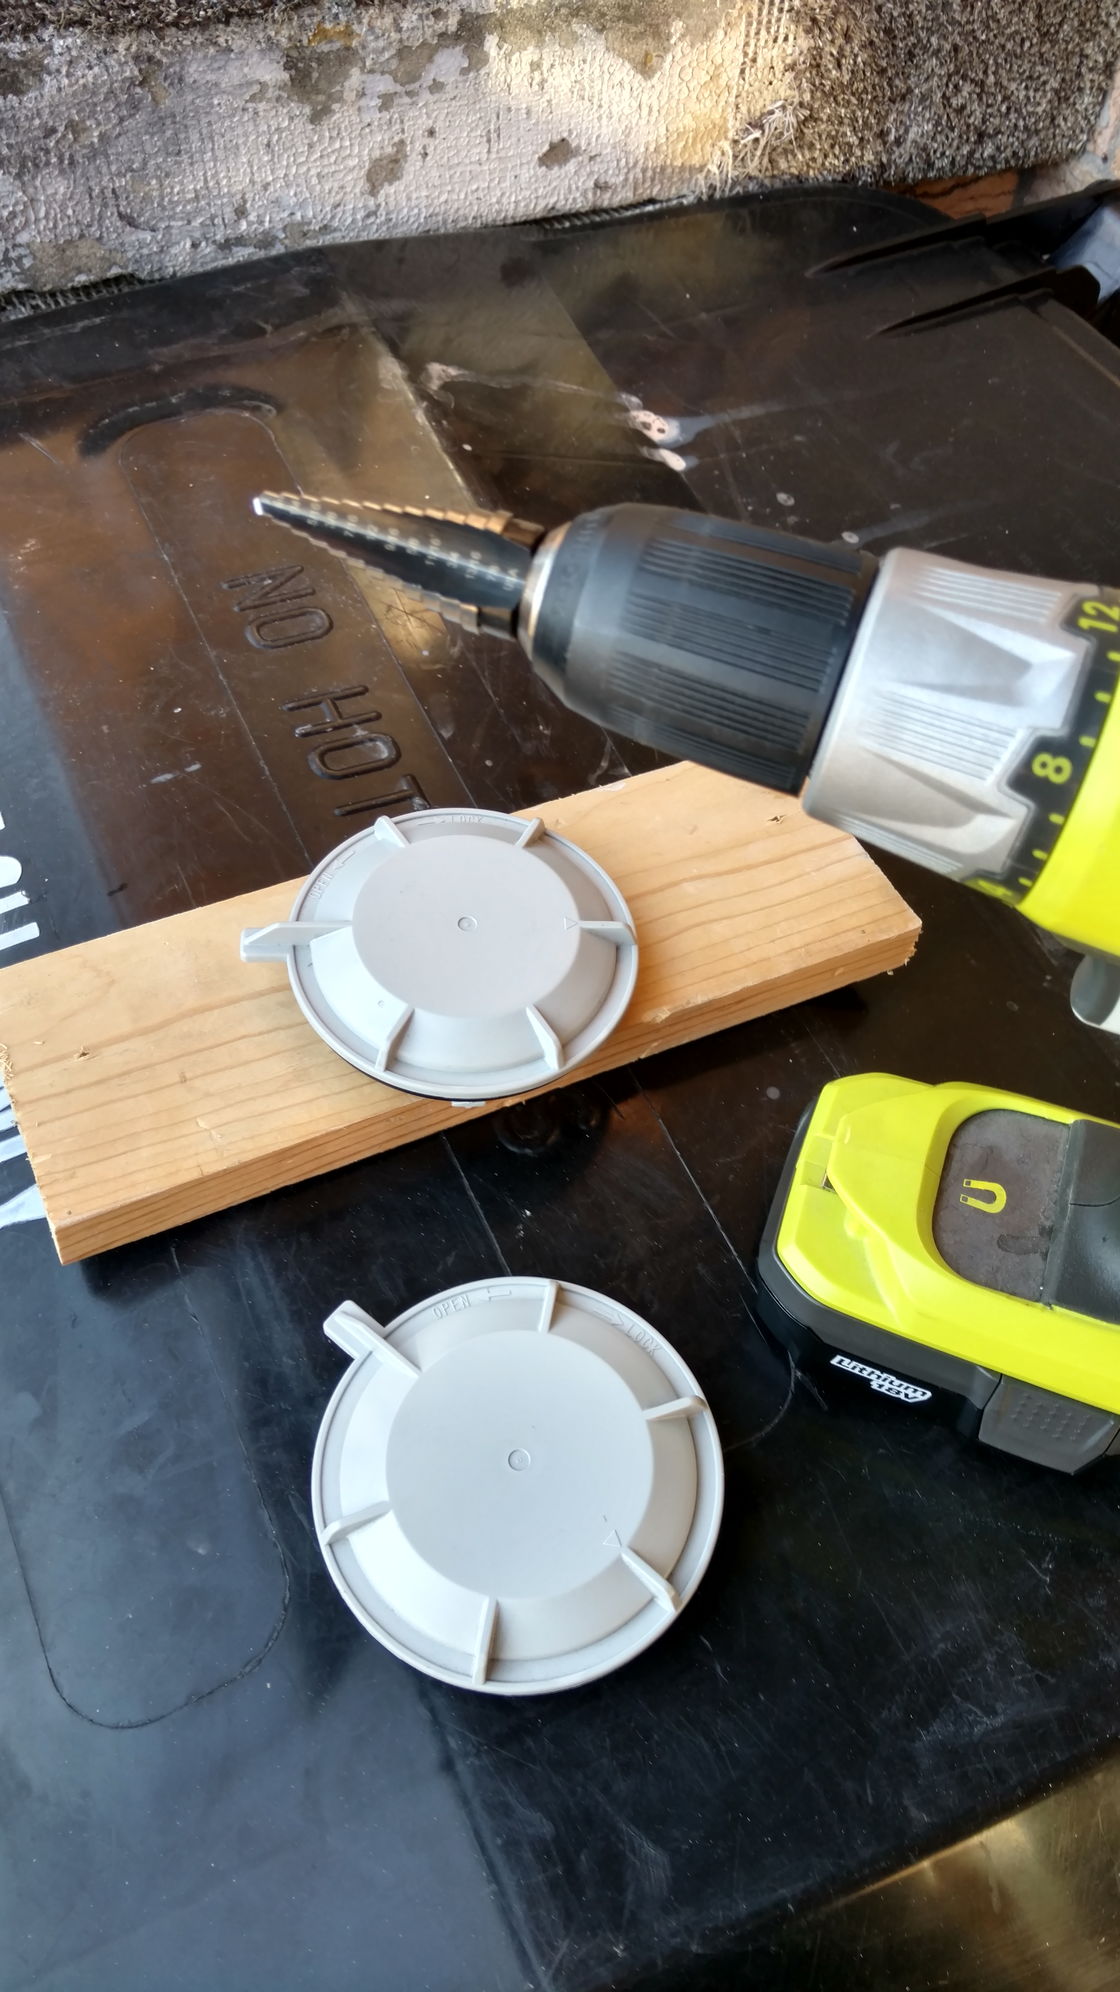
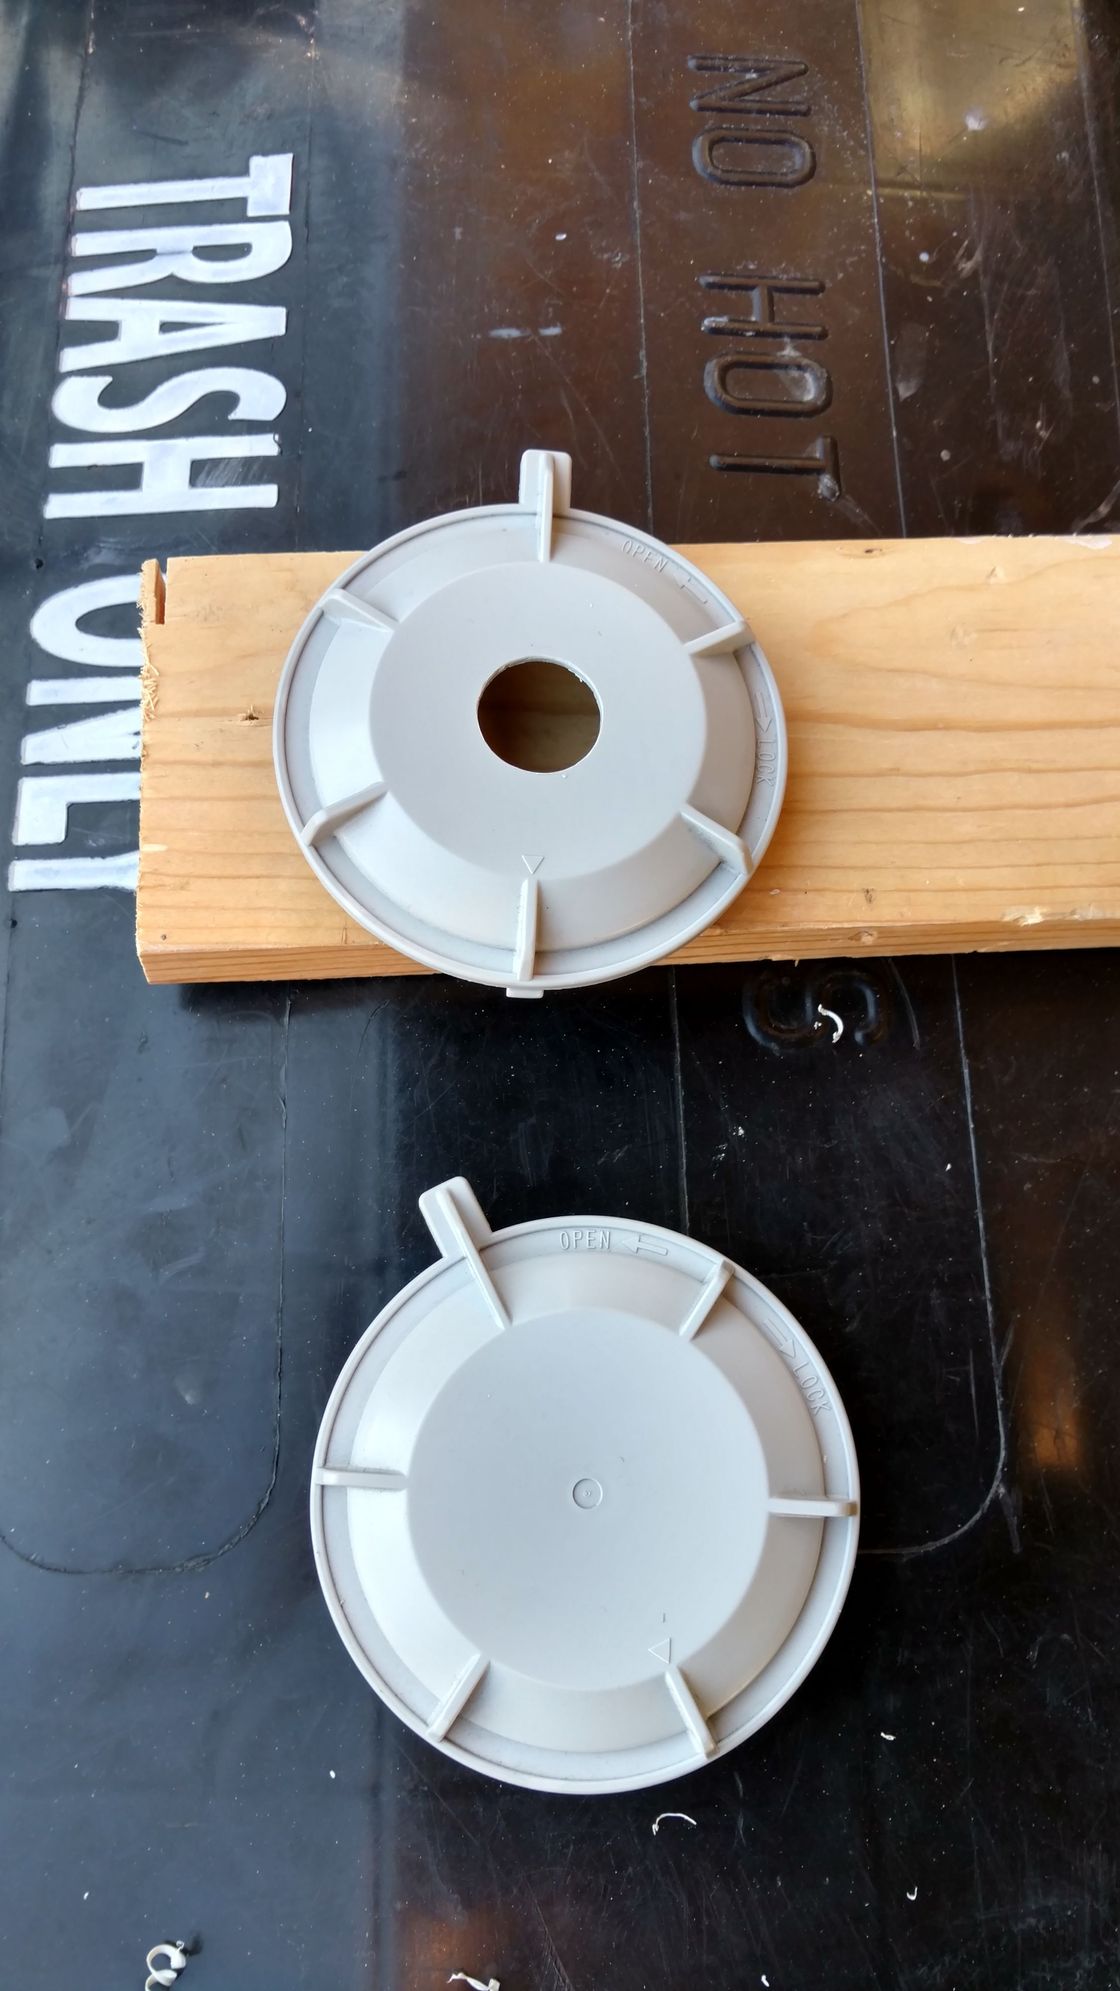
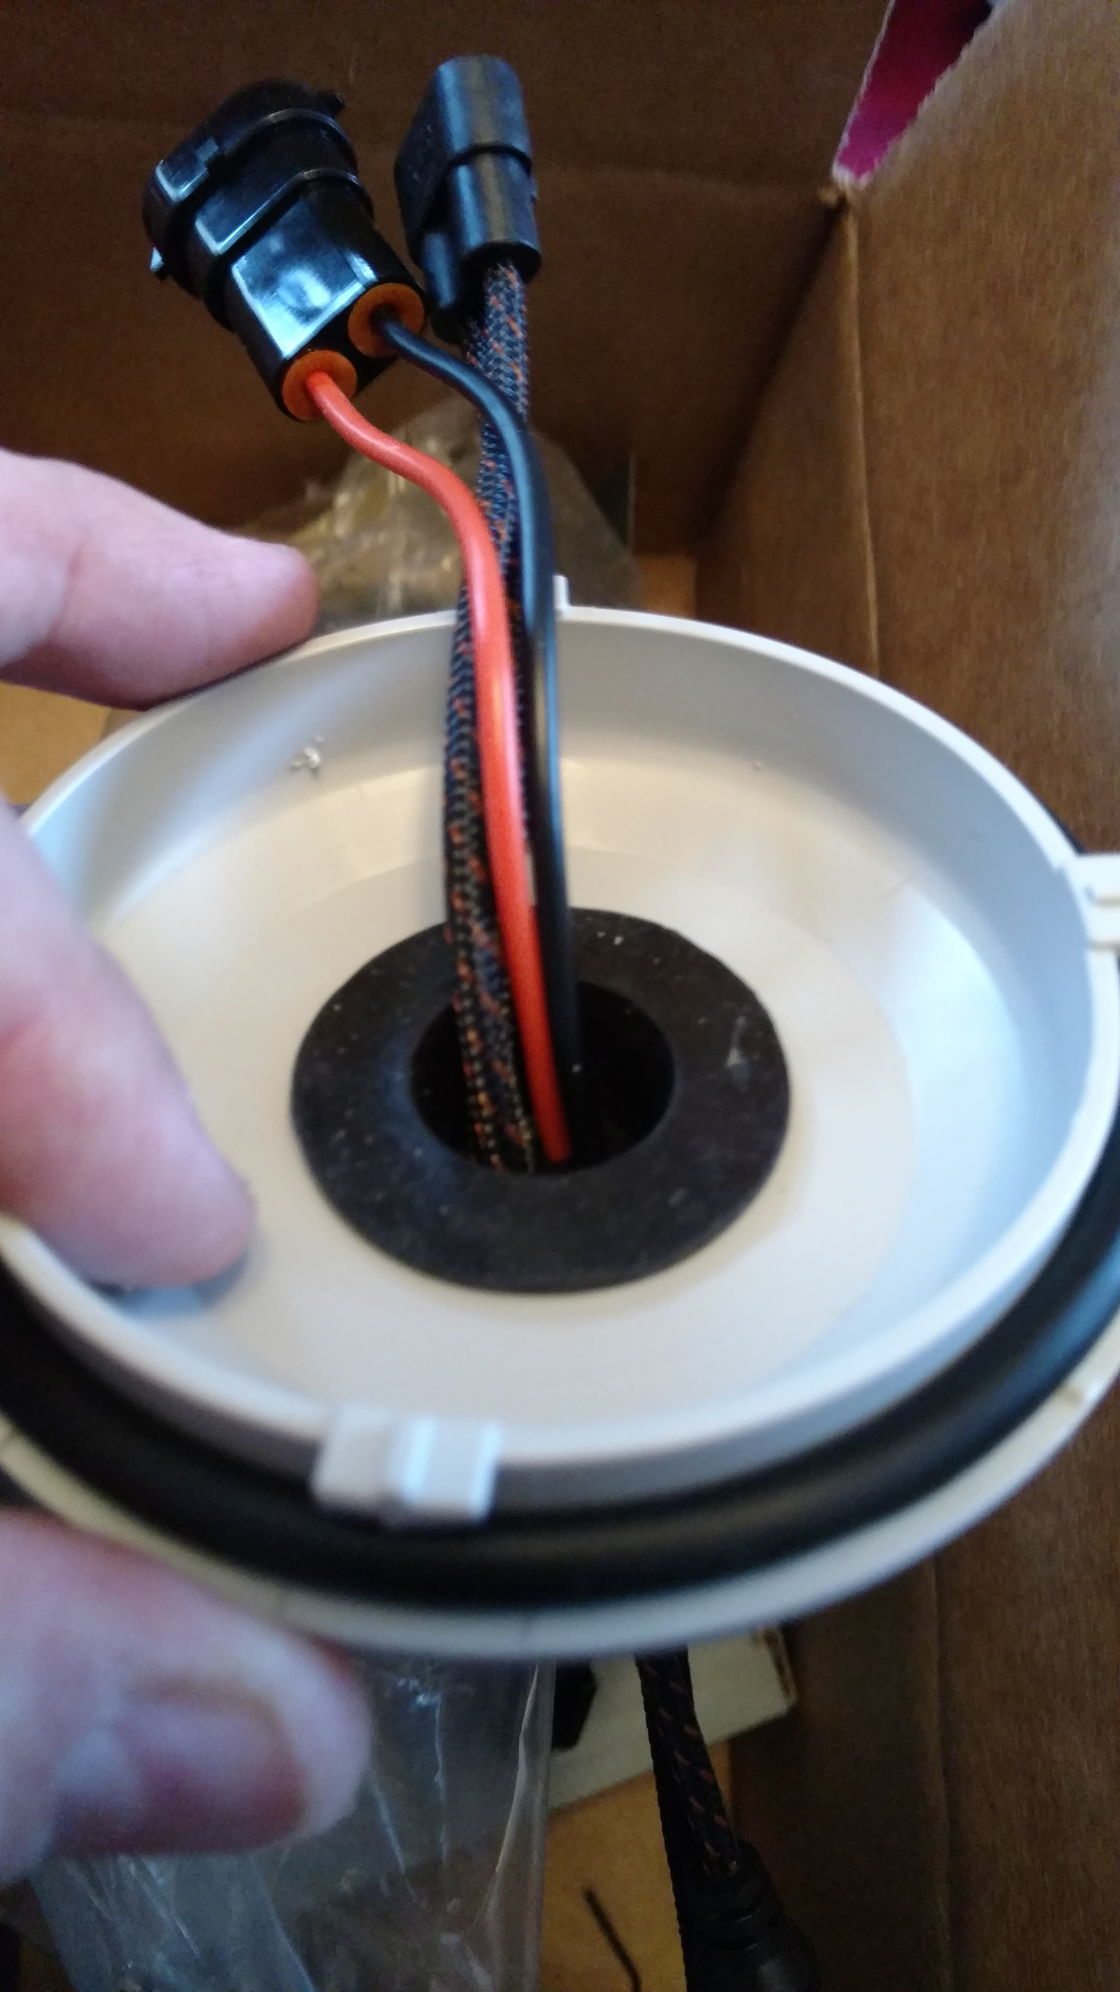
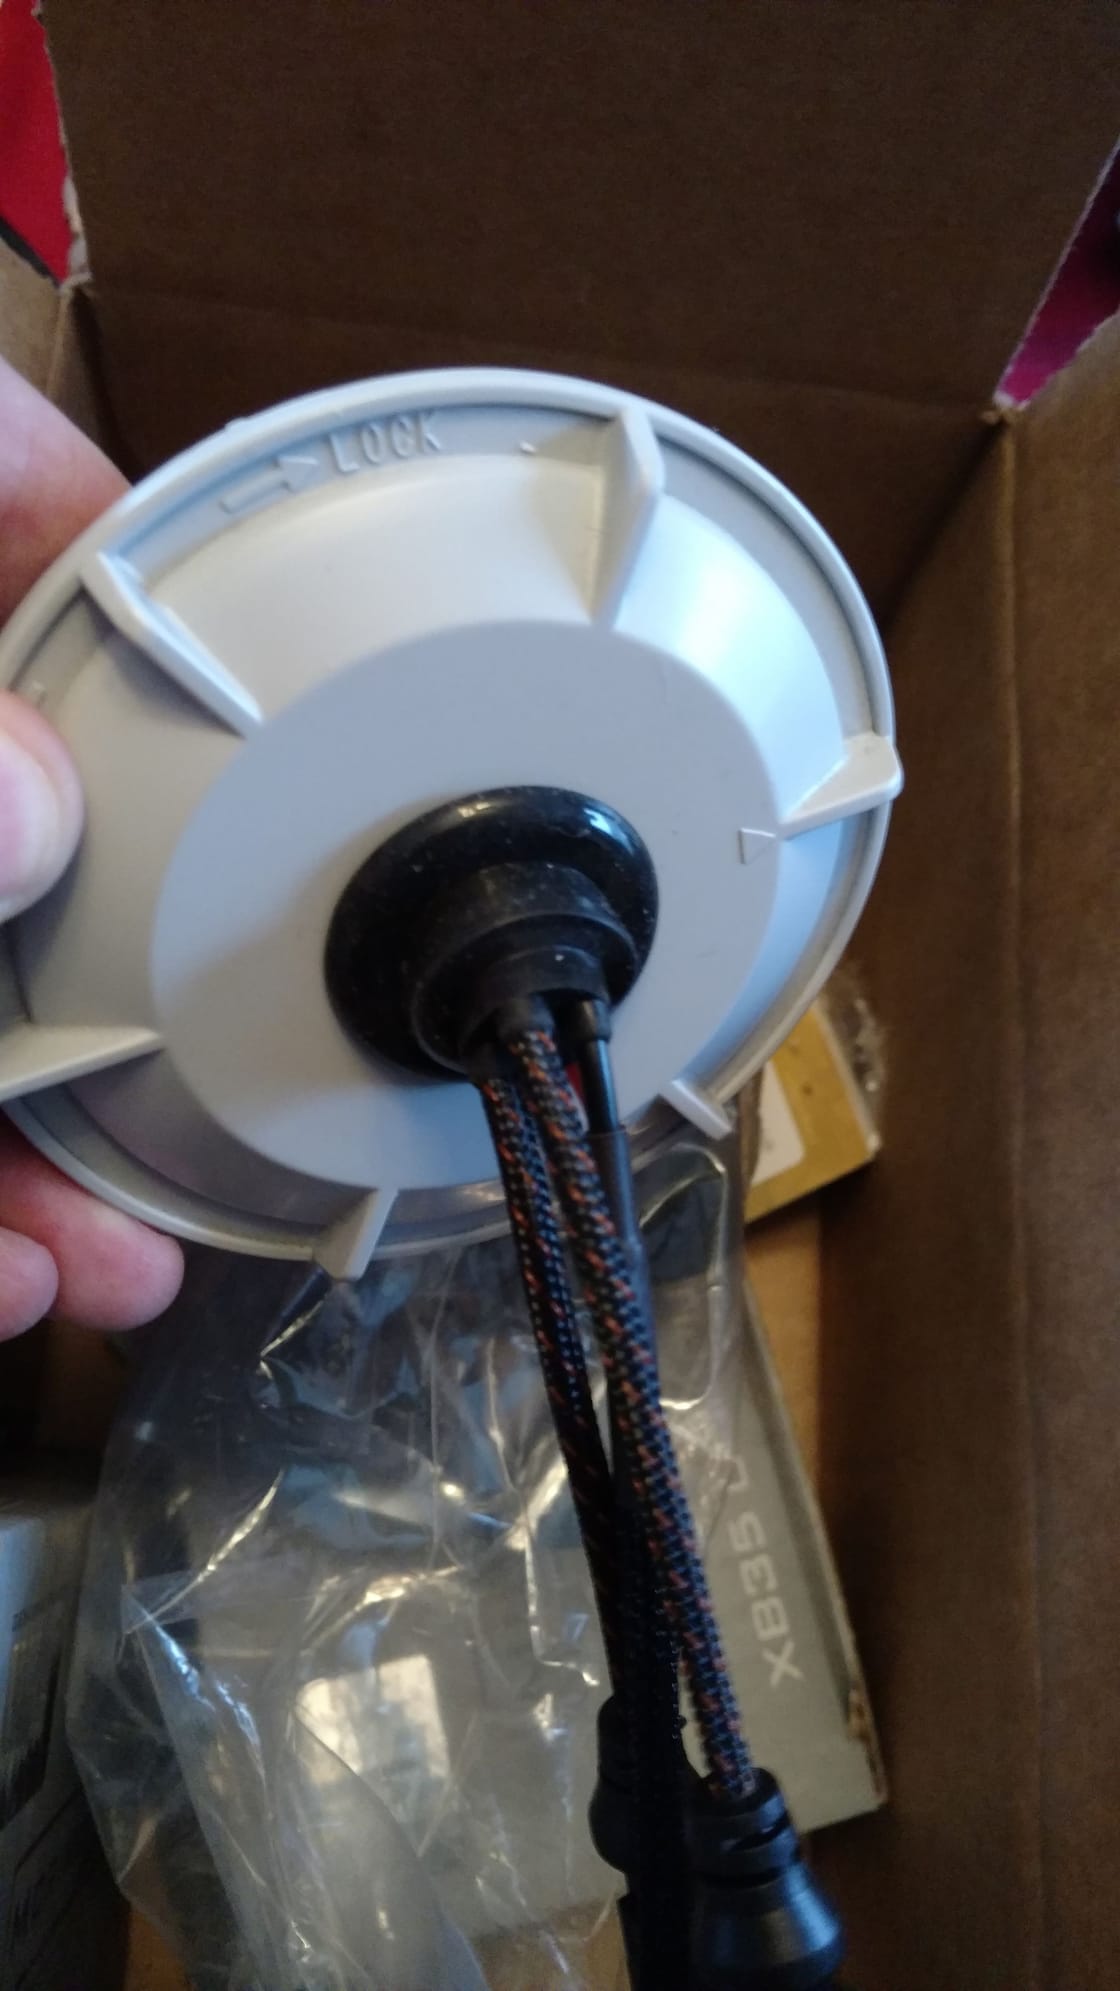
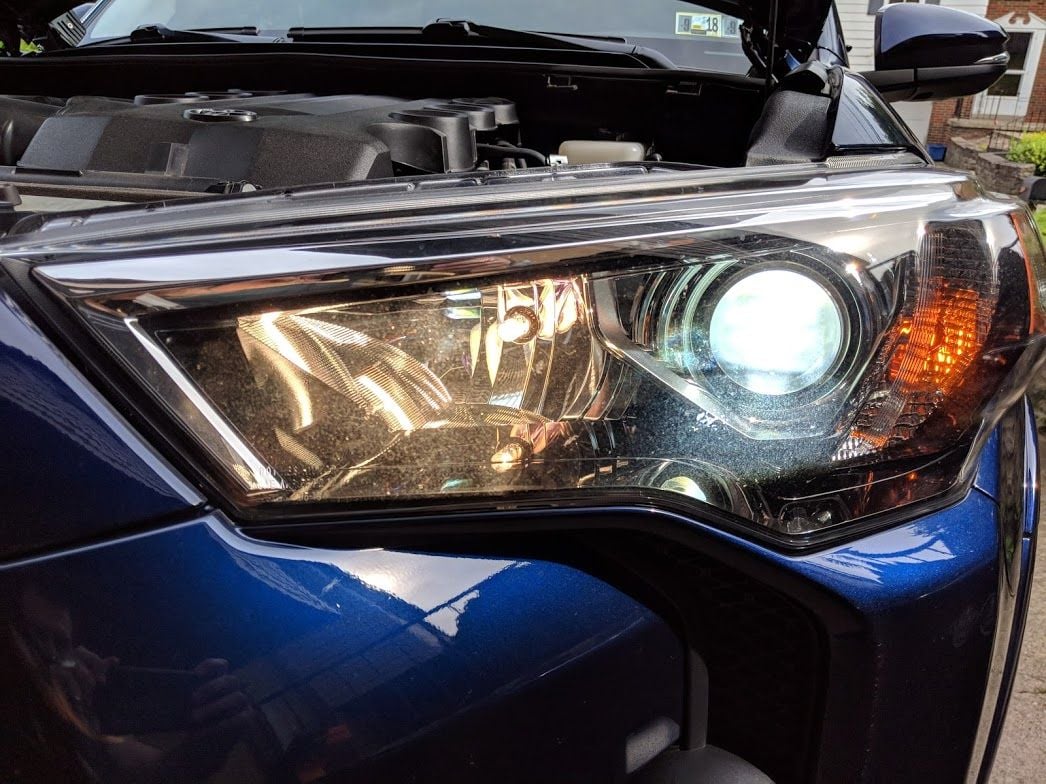
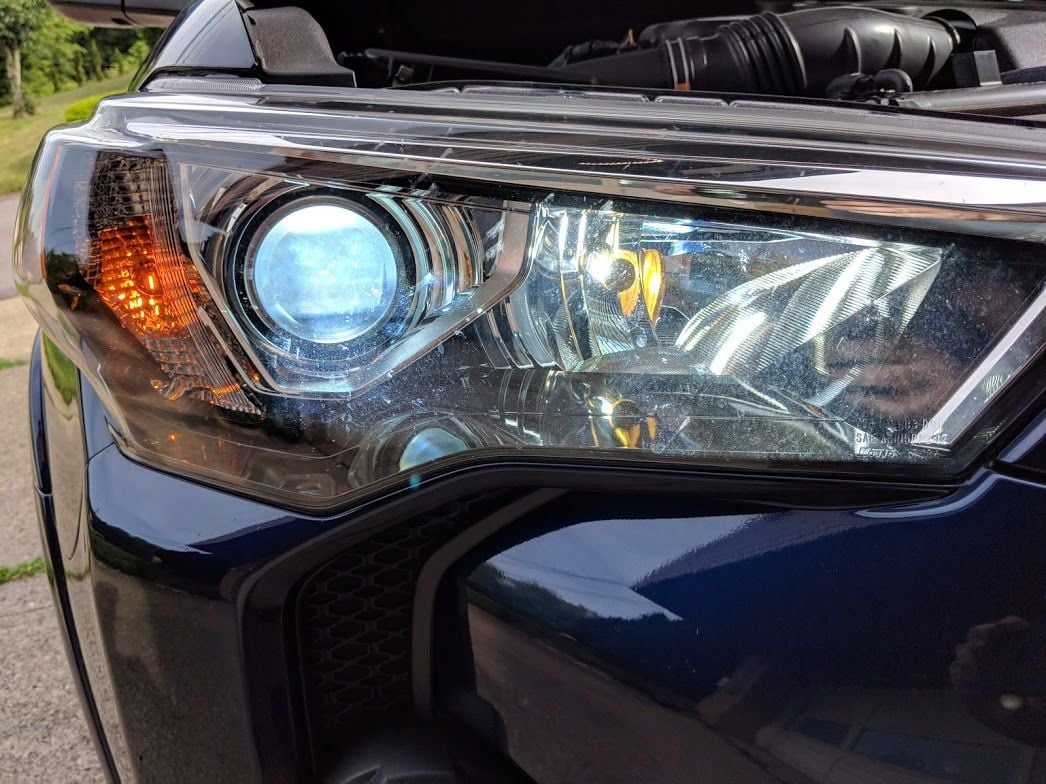
Before Christmas I installed my new Morimoto Elite HID headlight kit, wasn't a big fan of having to drill the dust caps, but thankfully the silicone grommets work pretty well

80-img_20171209_134014861_95c3b708574e0f694be859a8655522a2f861bee7.jpg


80-img_20171209_133857895_hdr_6142660a44c068ddf51e34349d3f206d21935a10.jpg


80-img_20171209_134436204_hdr_38ba902b190a3cbaf534bd47f412592b9dd5734c.jpg


80-img_20171212_161232369_aa1f6e72c4fc7769103ed2069fb29584ffc66275.jpg


80-img_20171212_161236074_ce66b3f01e66a7fece69ac5444d19d8c668ca0db.jpg


Before, stock halogens....

80-img_20171209_140210070_hdr_102f3b130d8bf05f2a974d205c1e0f7510b1b1e6.jpg


I actually threw my old H11 4300K HID bulbs in first just to test and see what they looked like

80-img_20171209_143721211_hdr_4a9d9cb222cd84b3506c69bb116caa12343873ae.jpg


80-img_20171209_143724300_hdr_5a2f3b25e9094de0e5927e0ef845aaa8105160ce.jpg


80-img_20171209_162252281_hdr_3e004f38bb69b9f2486948c777314a539c544611.jpg


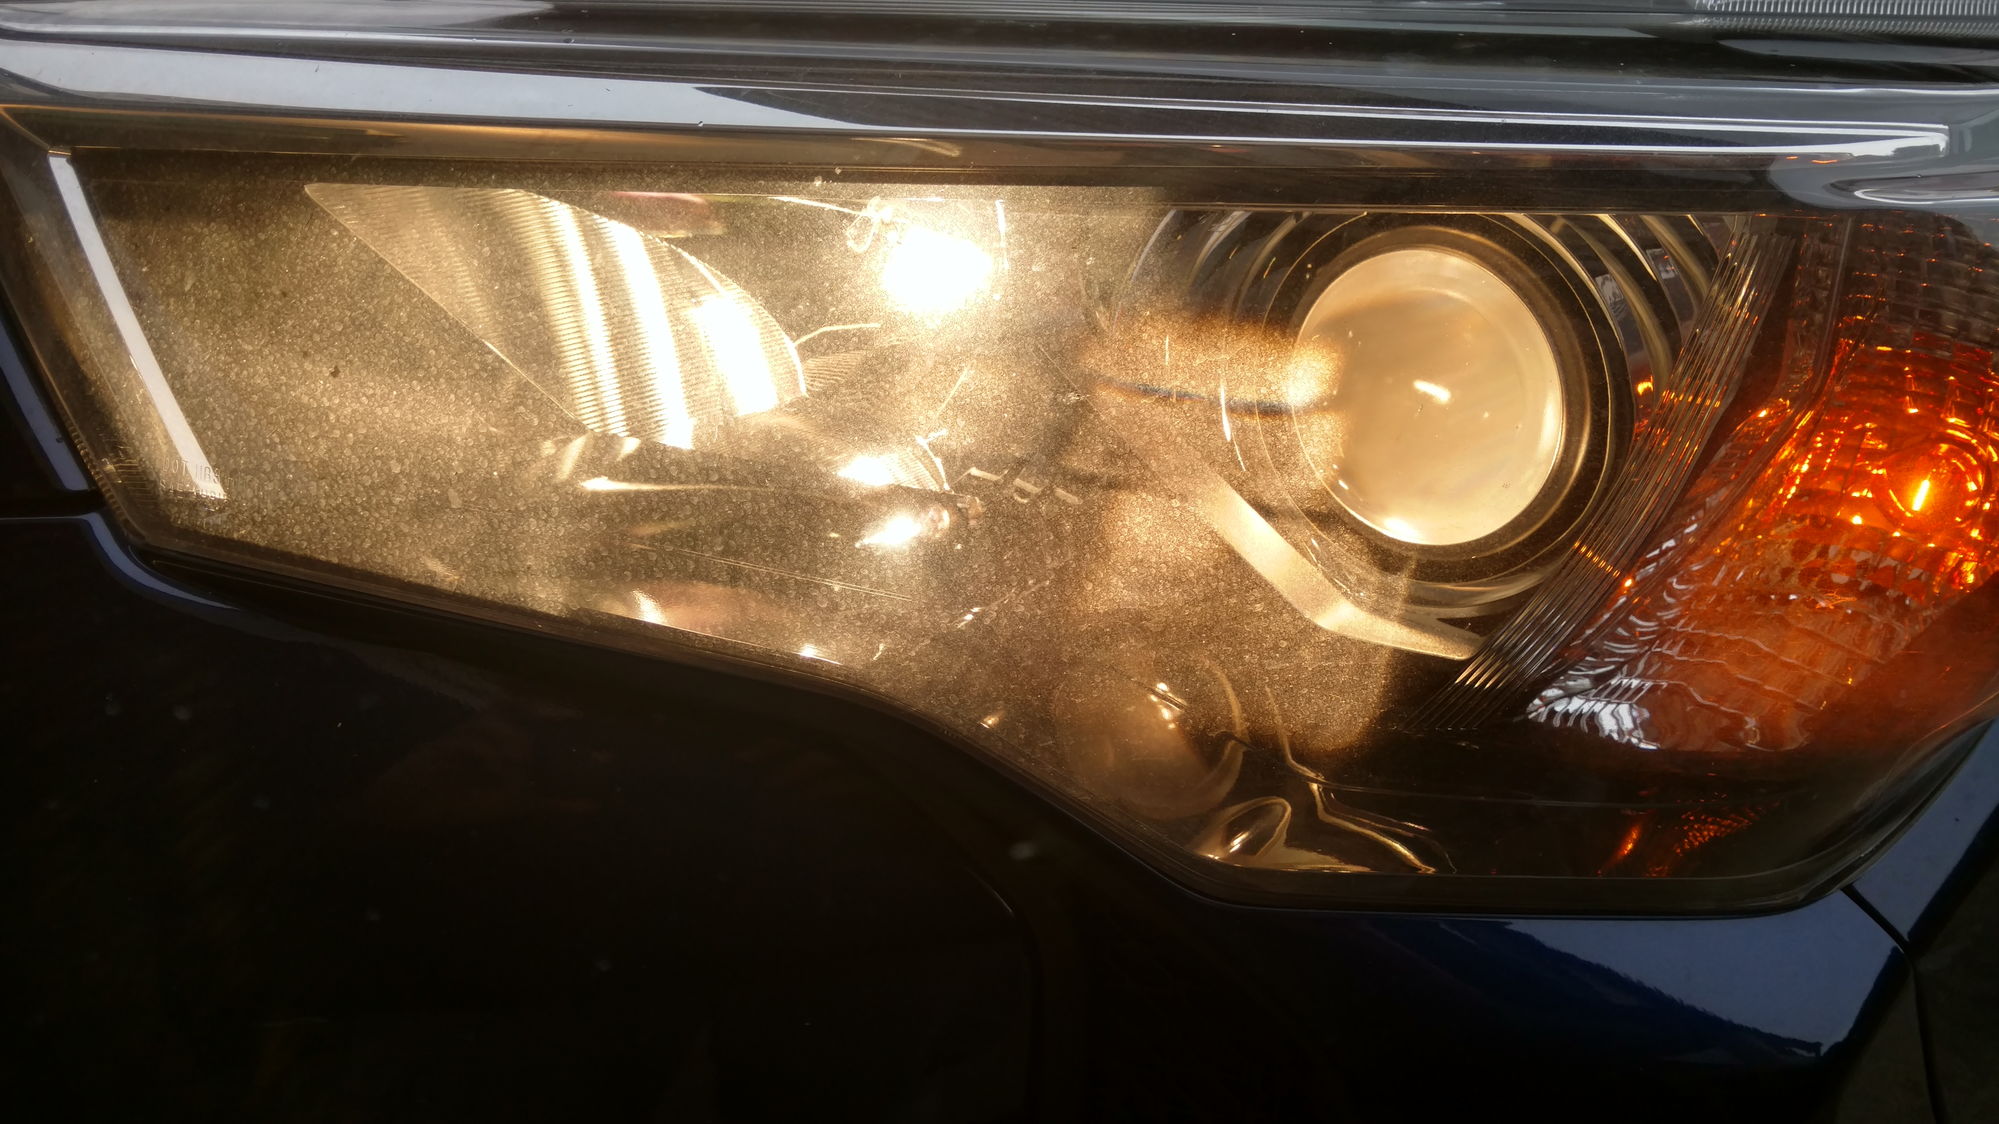
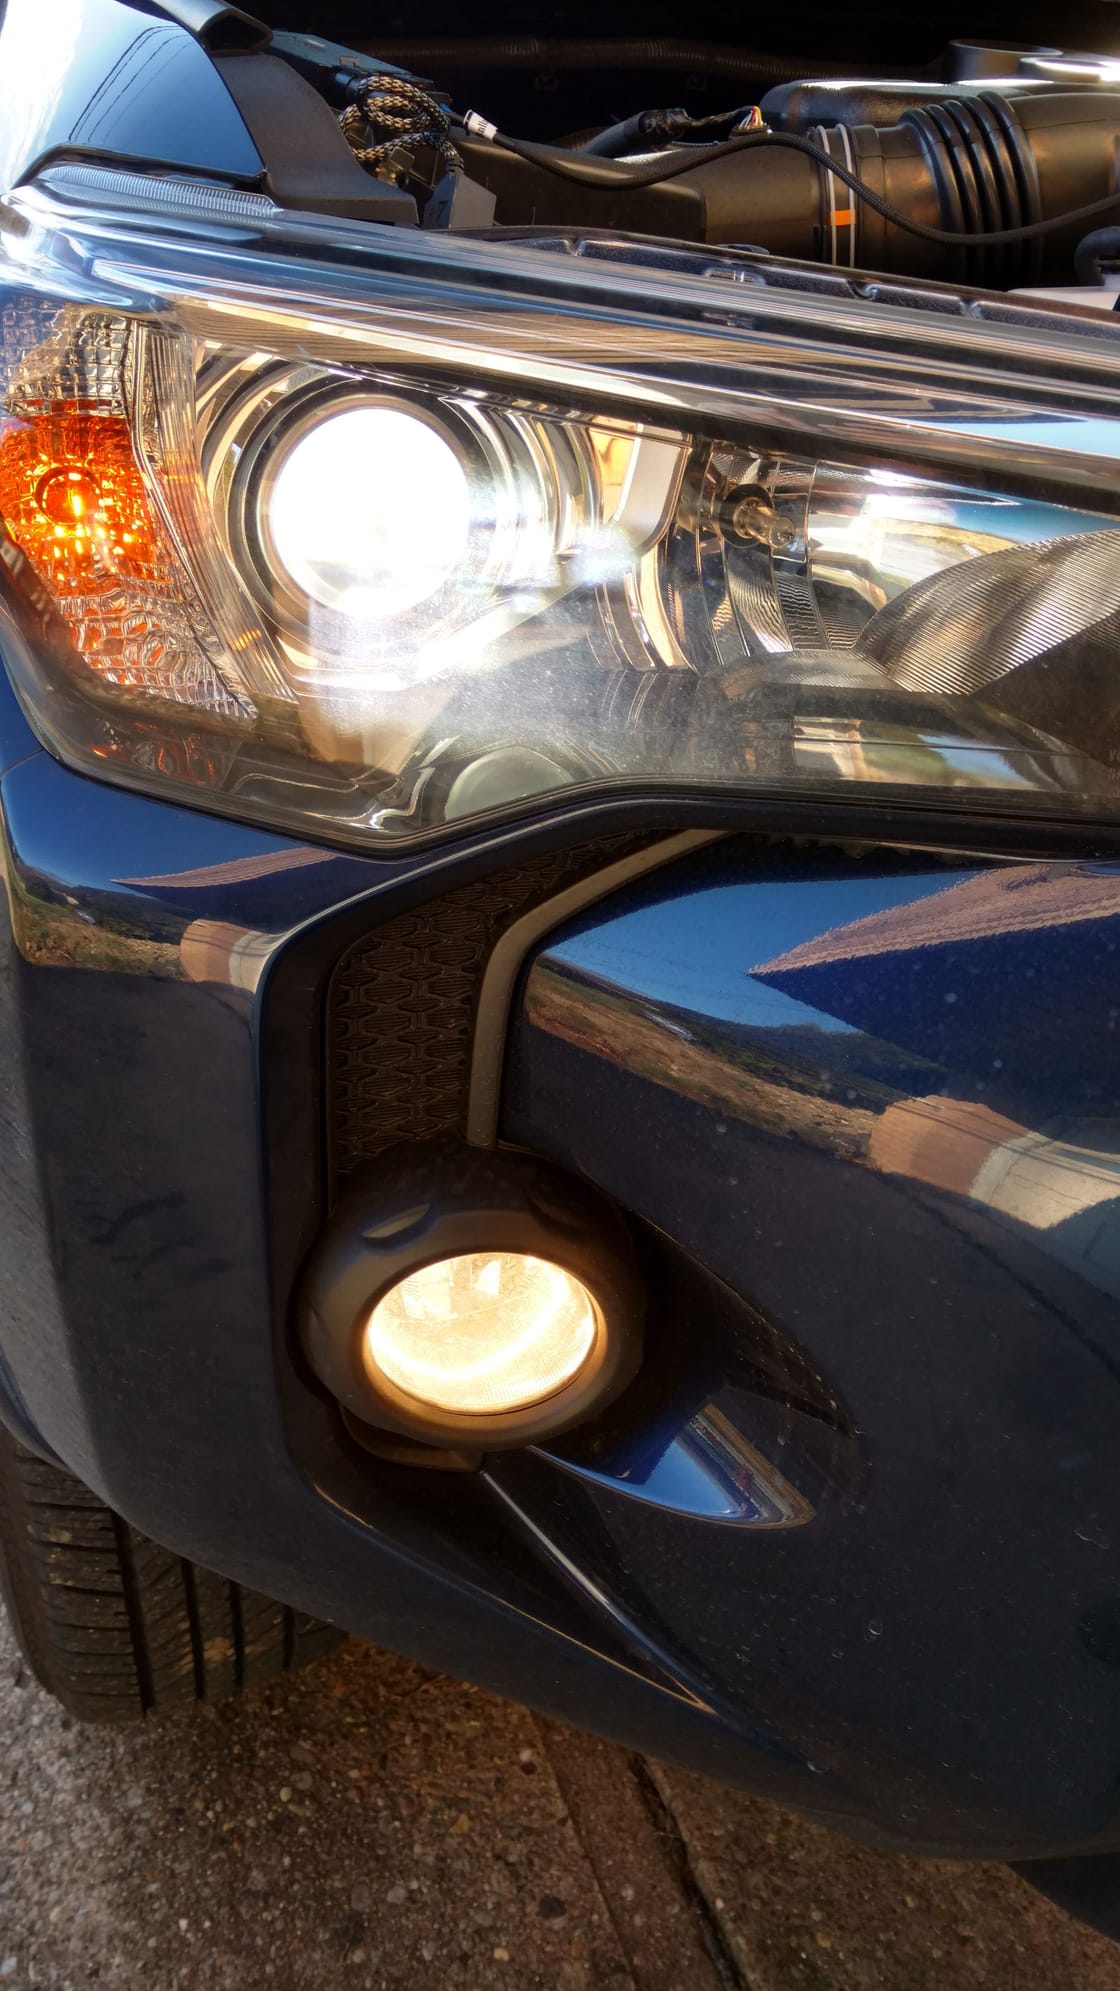
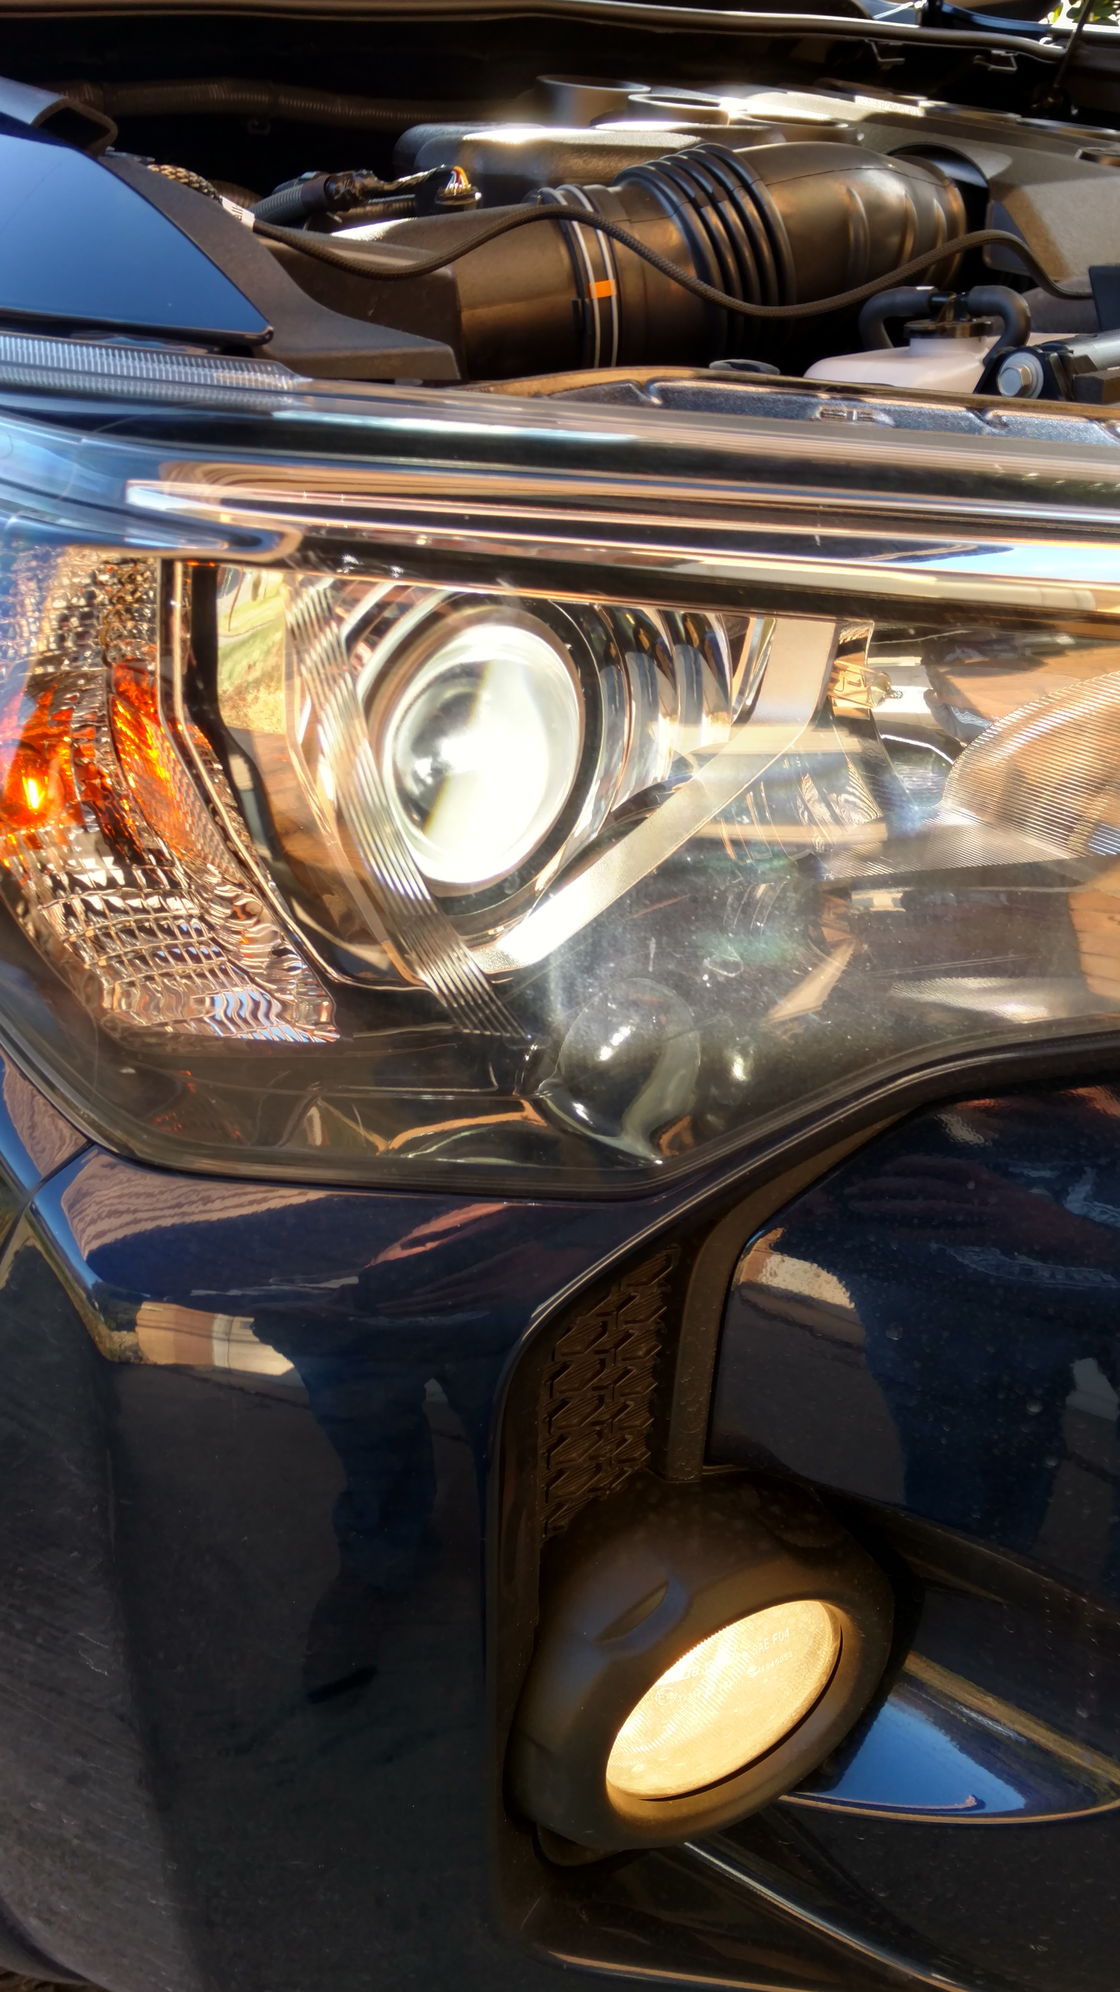
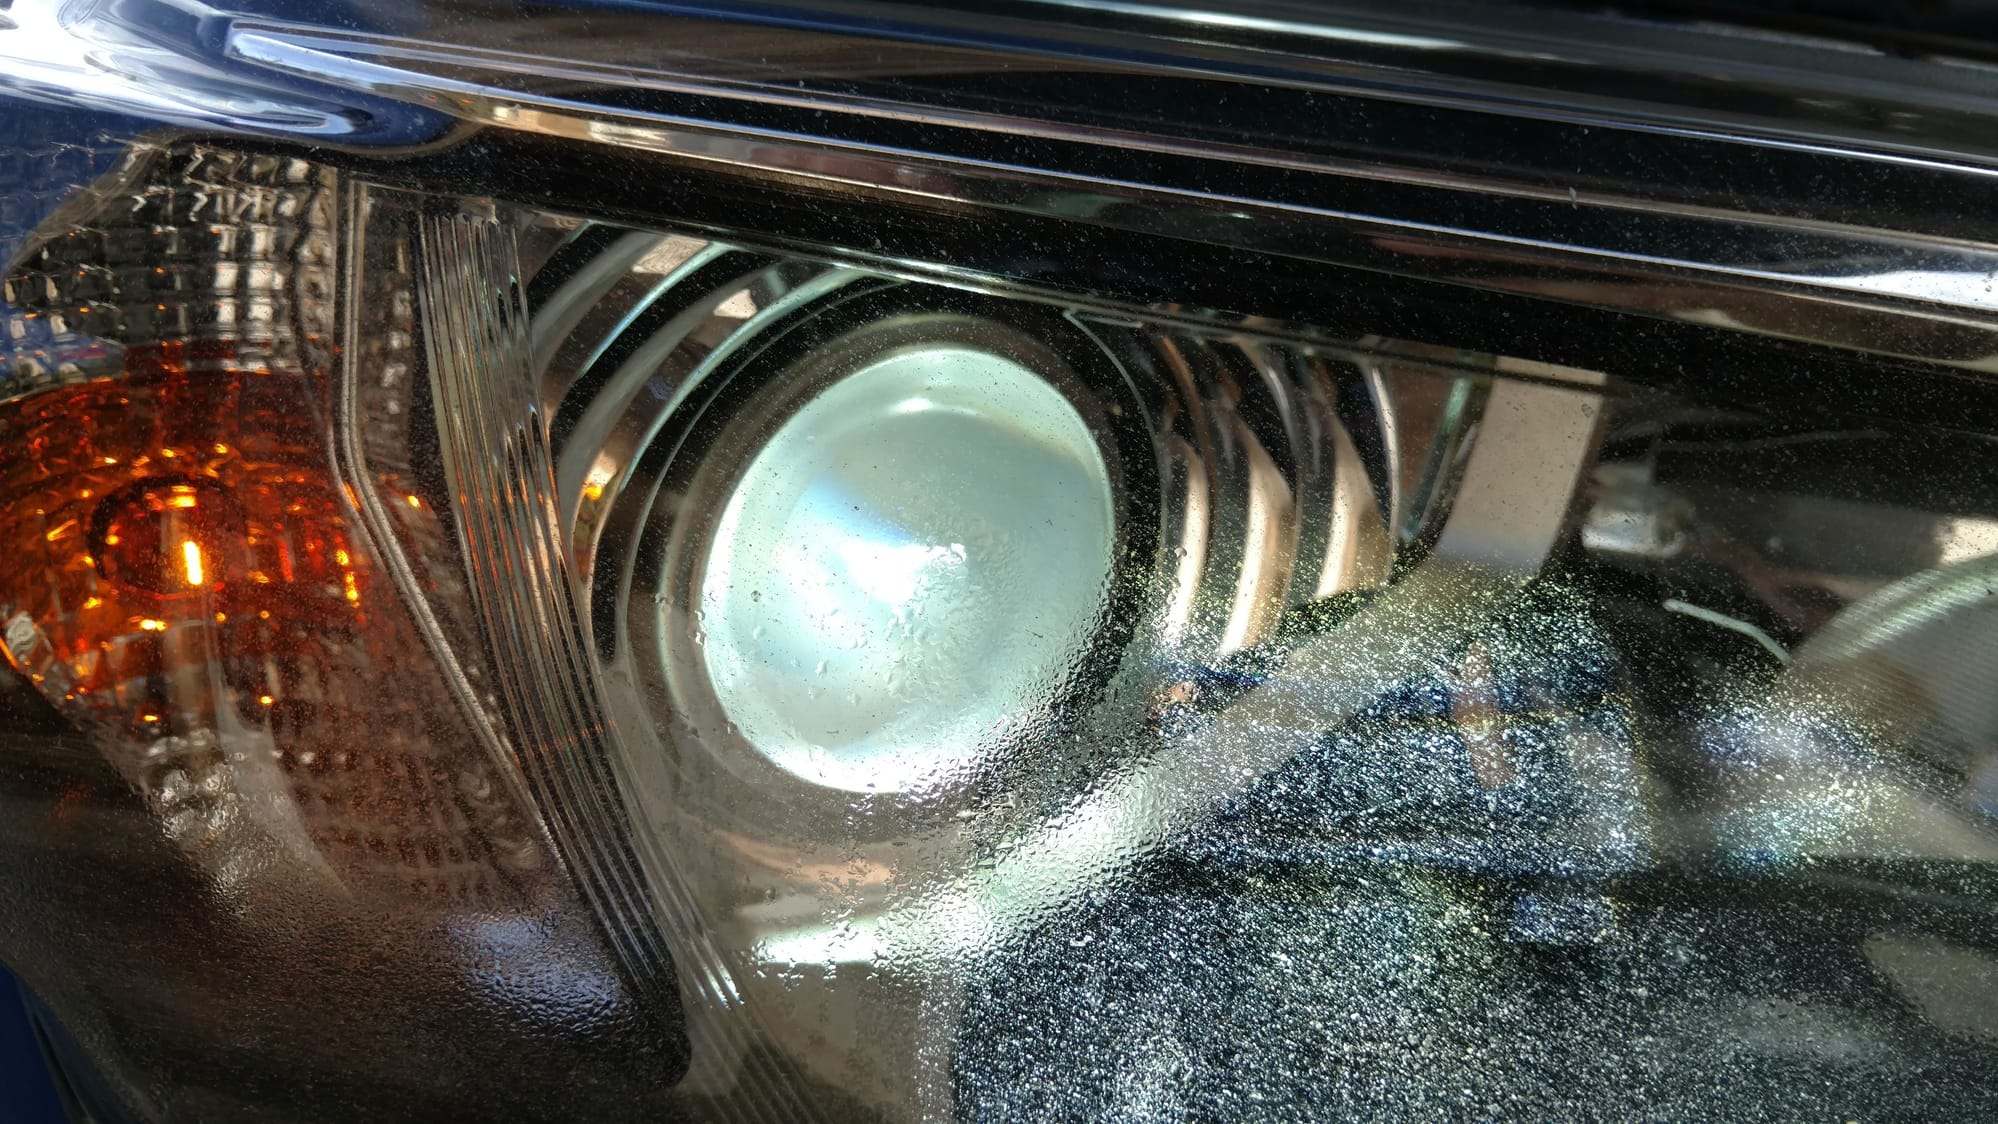
Got the right bulbs in and removed my old 4300K bulbs from when I bought my 08 back in 2012, and replaced them with new 5500K bulbs for a brighter white color. I took a couple before shots to compare, please excuse the dirty lenses, the salt around here has been ridiculous

Before

80-img_20180111_134723254_f035a85e8b21cd027c9c5553729c514f4f19e5ea.jpg


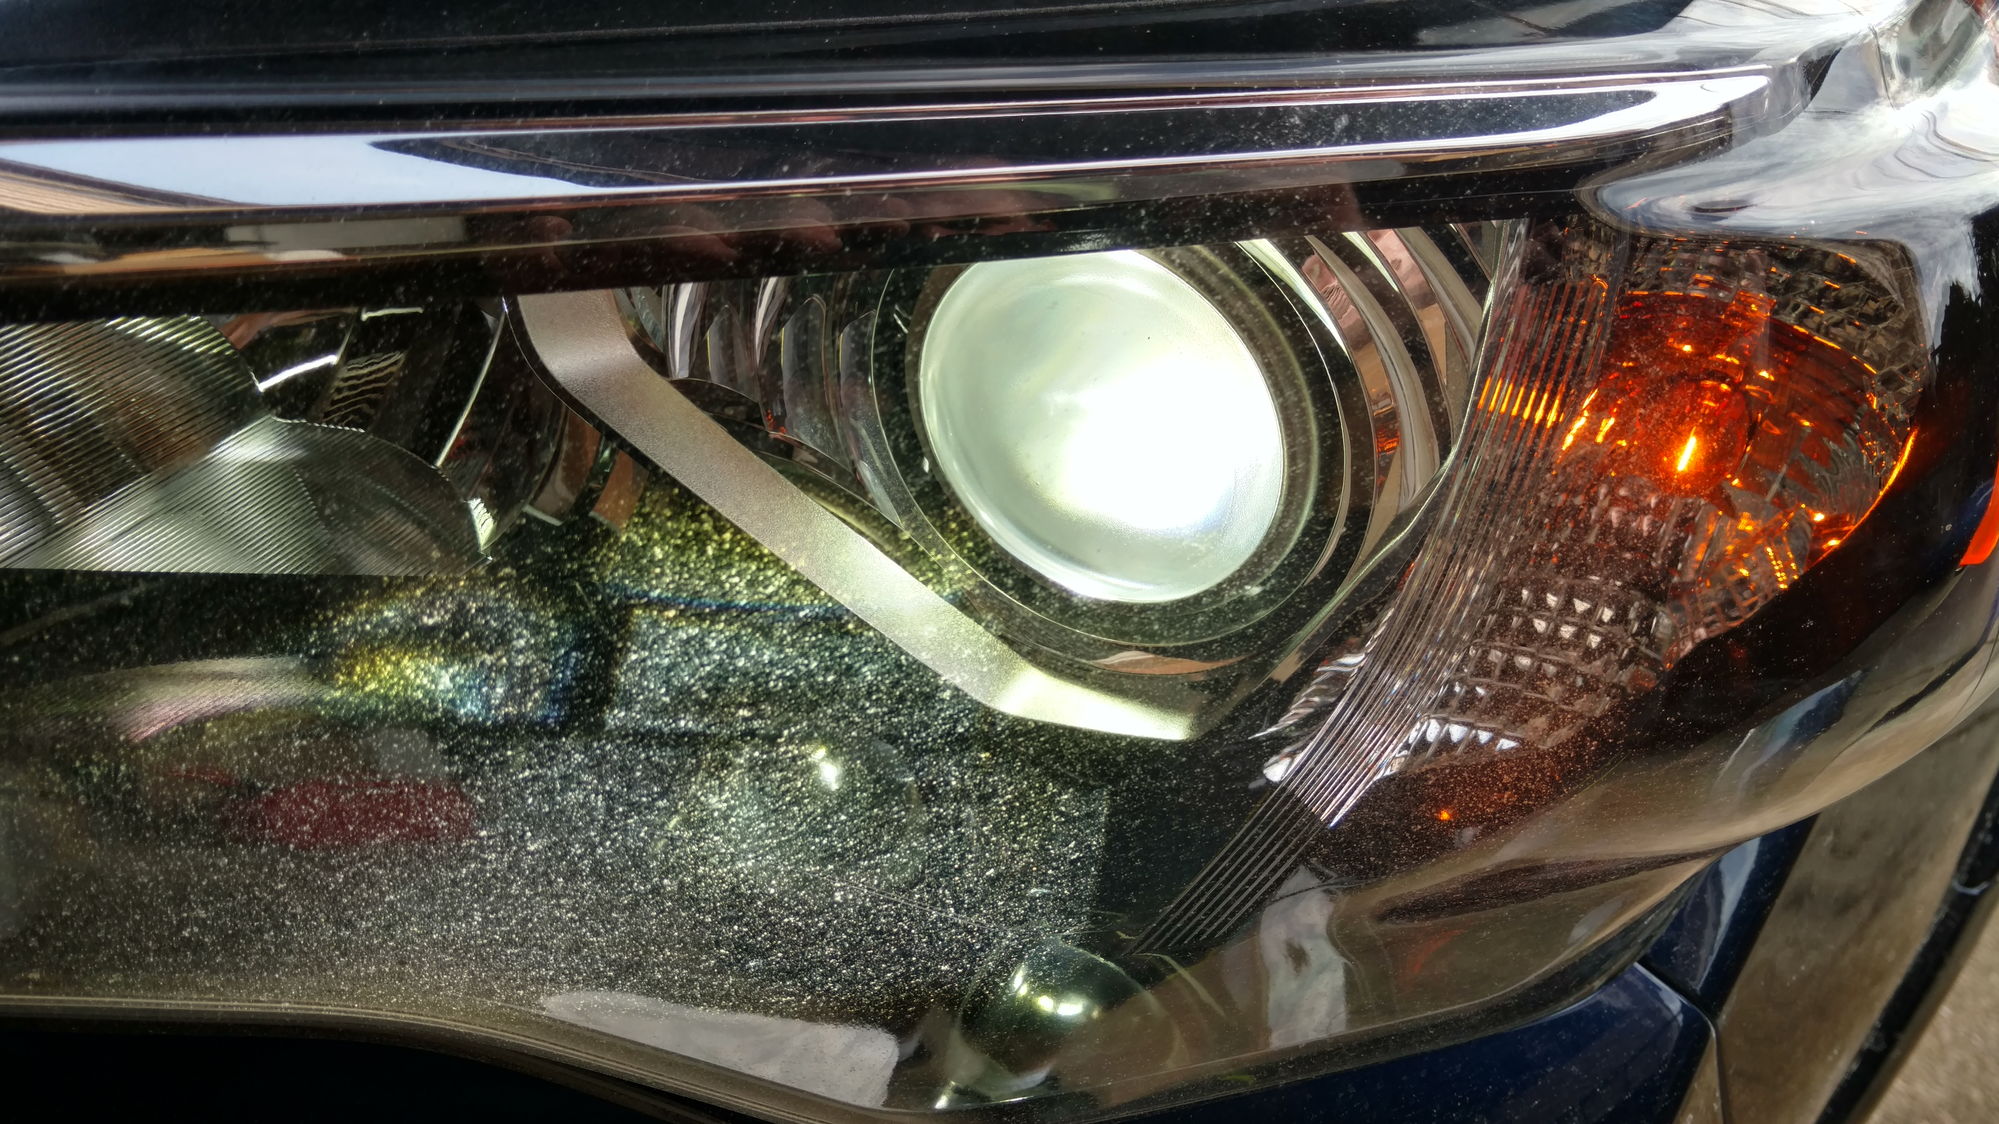
And the after, I went with the 5500K bulbs to match the LED fogs that I bought but haven't put in yet, I love the bright white coloring

80-img_20180111_140542941_hdr_cc2248a7bf2c82d3ec0a8c8eaba64a333c817ebb.jpg


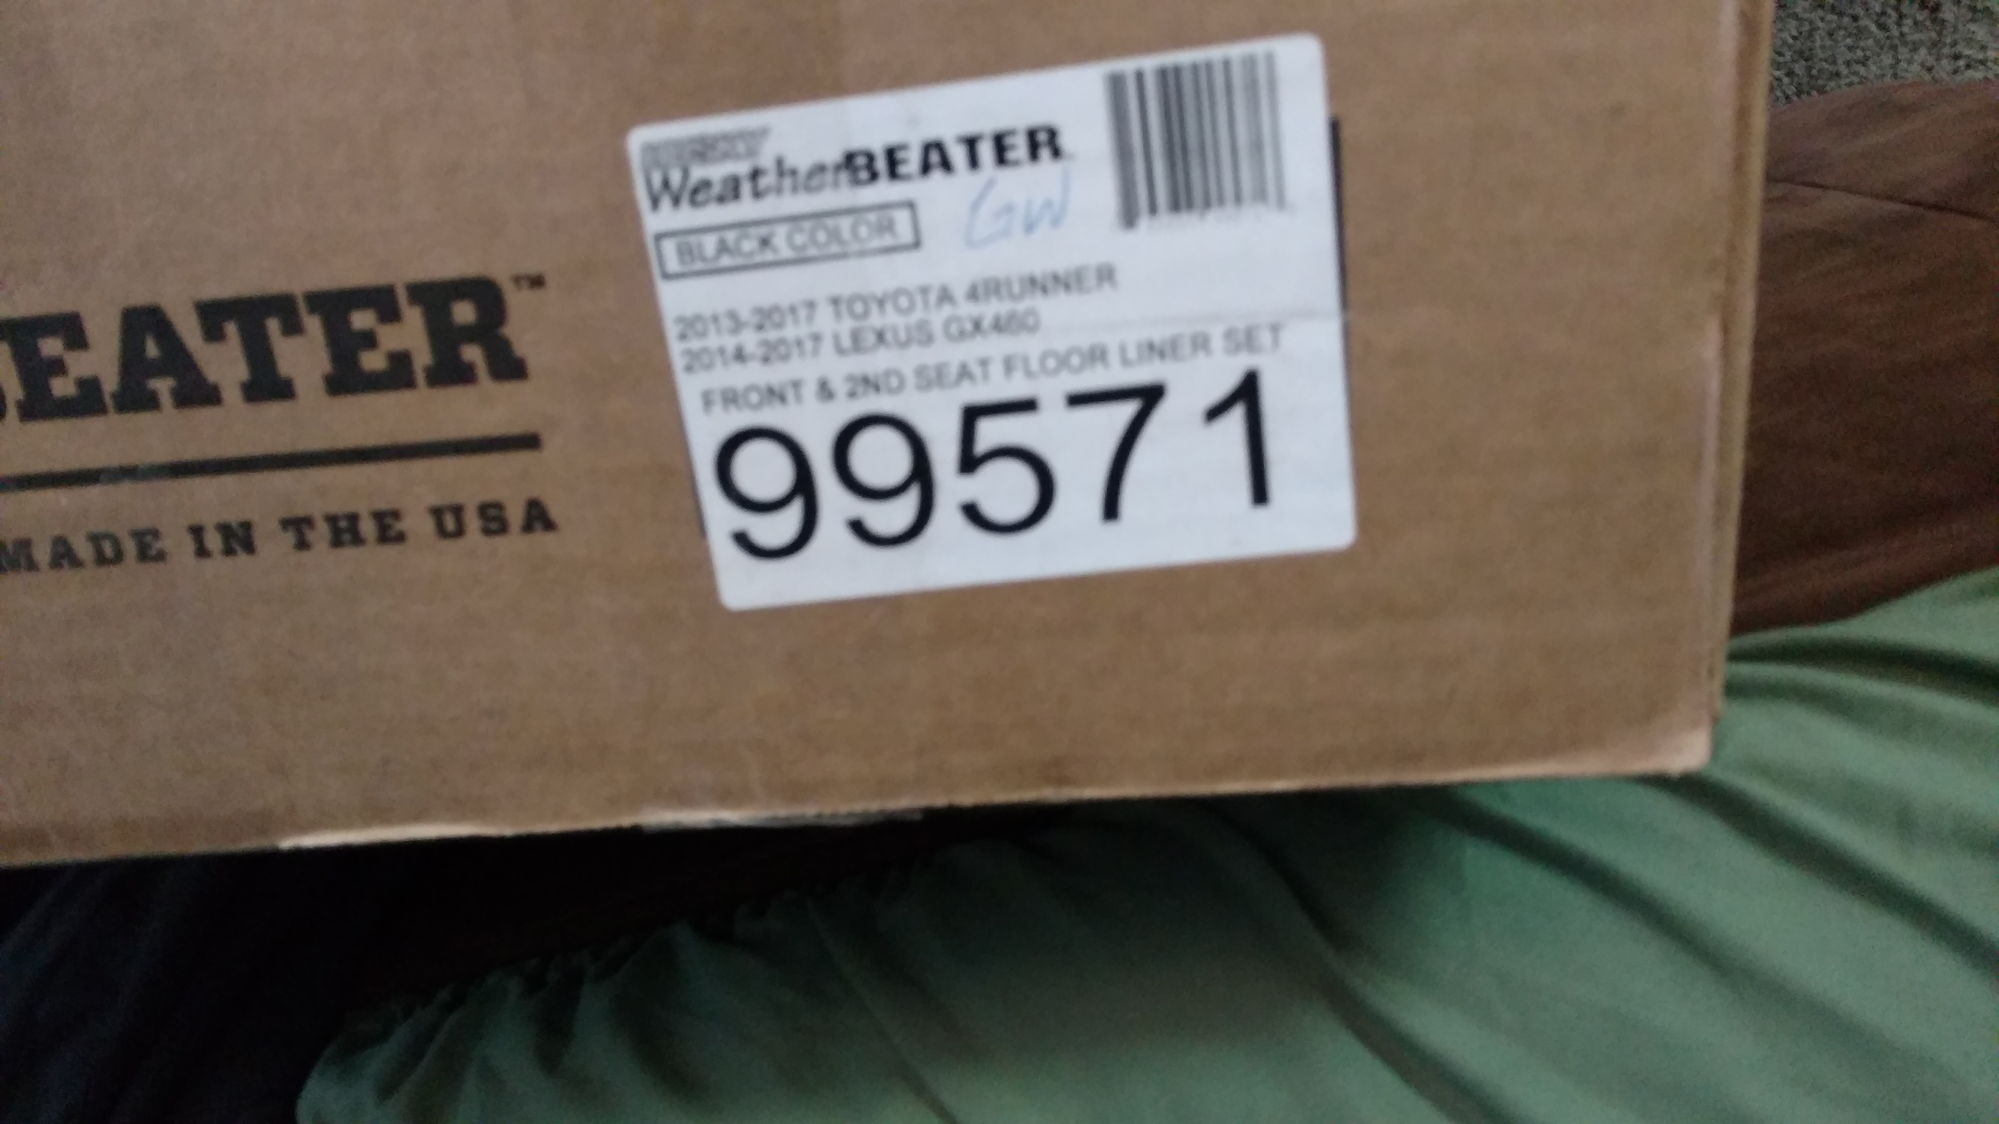
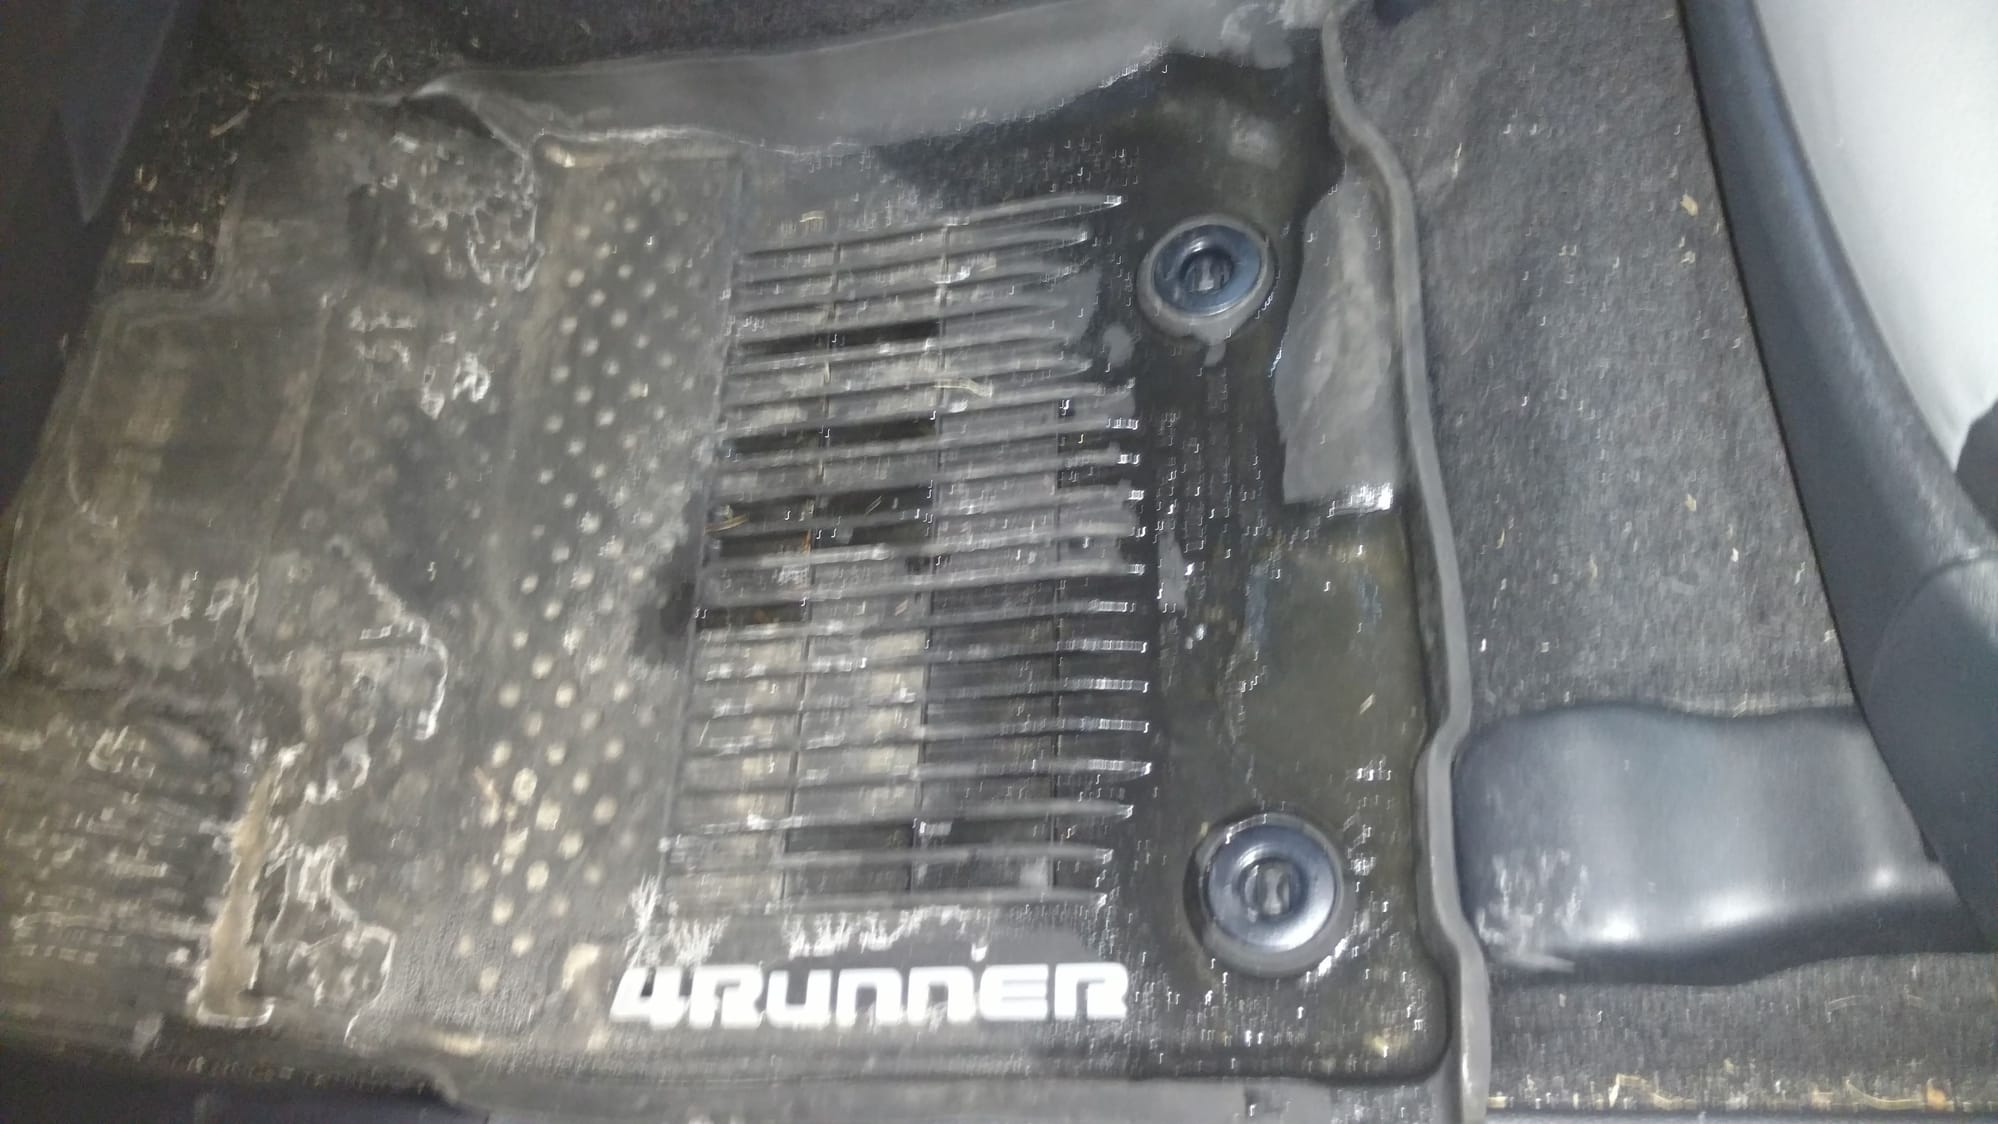
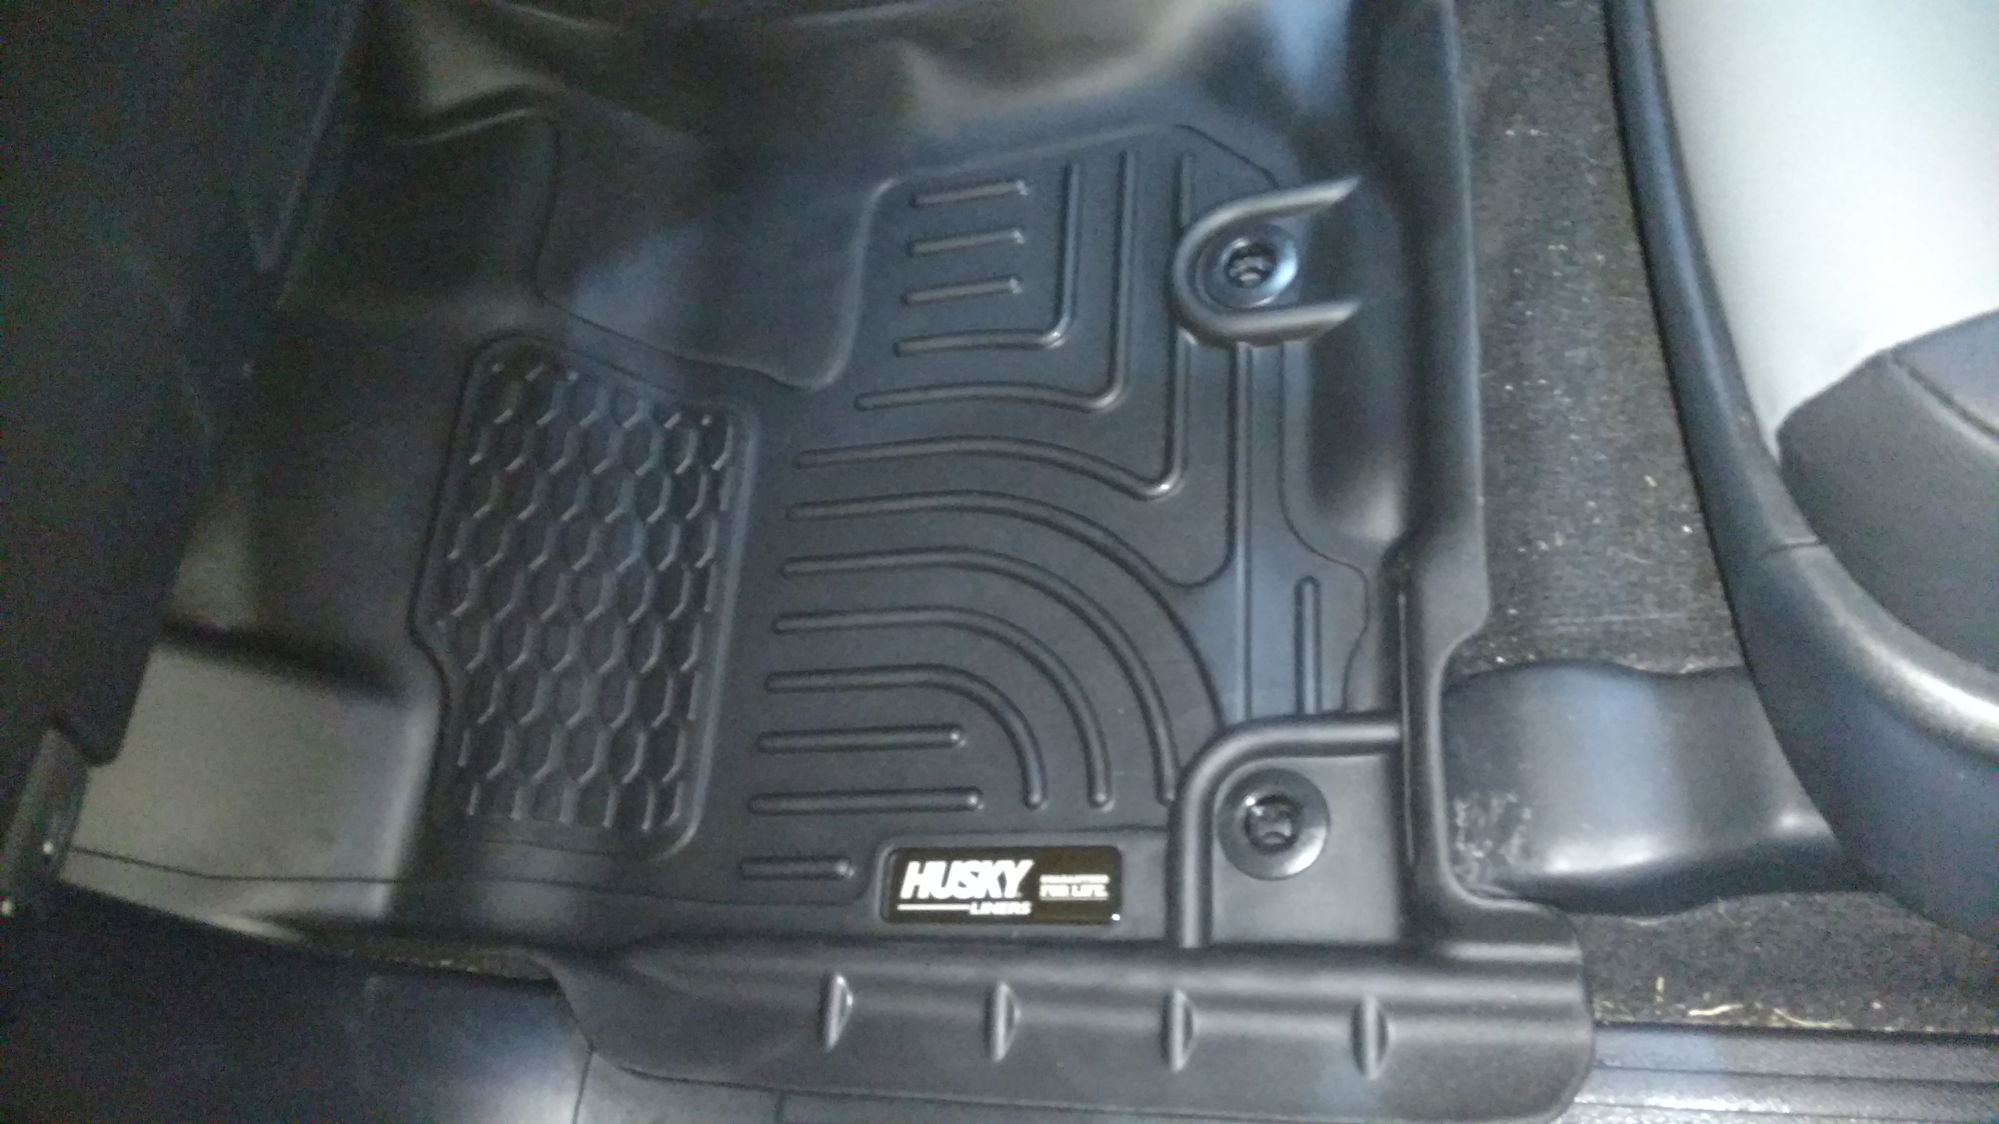
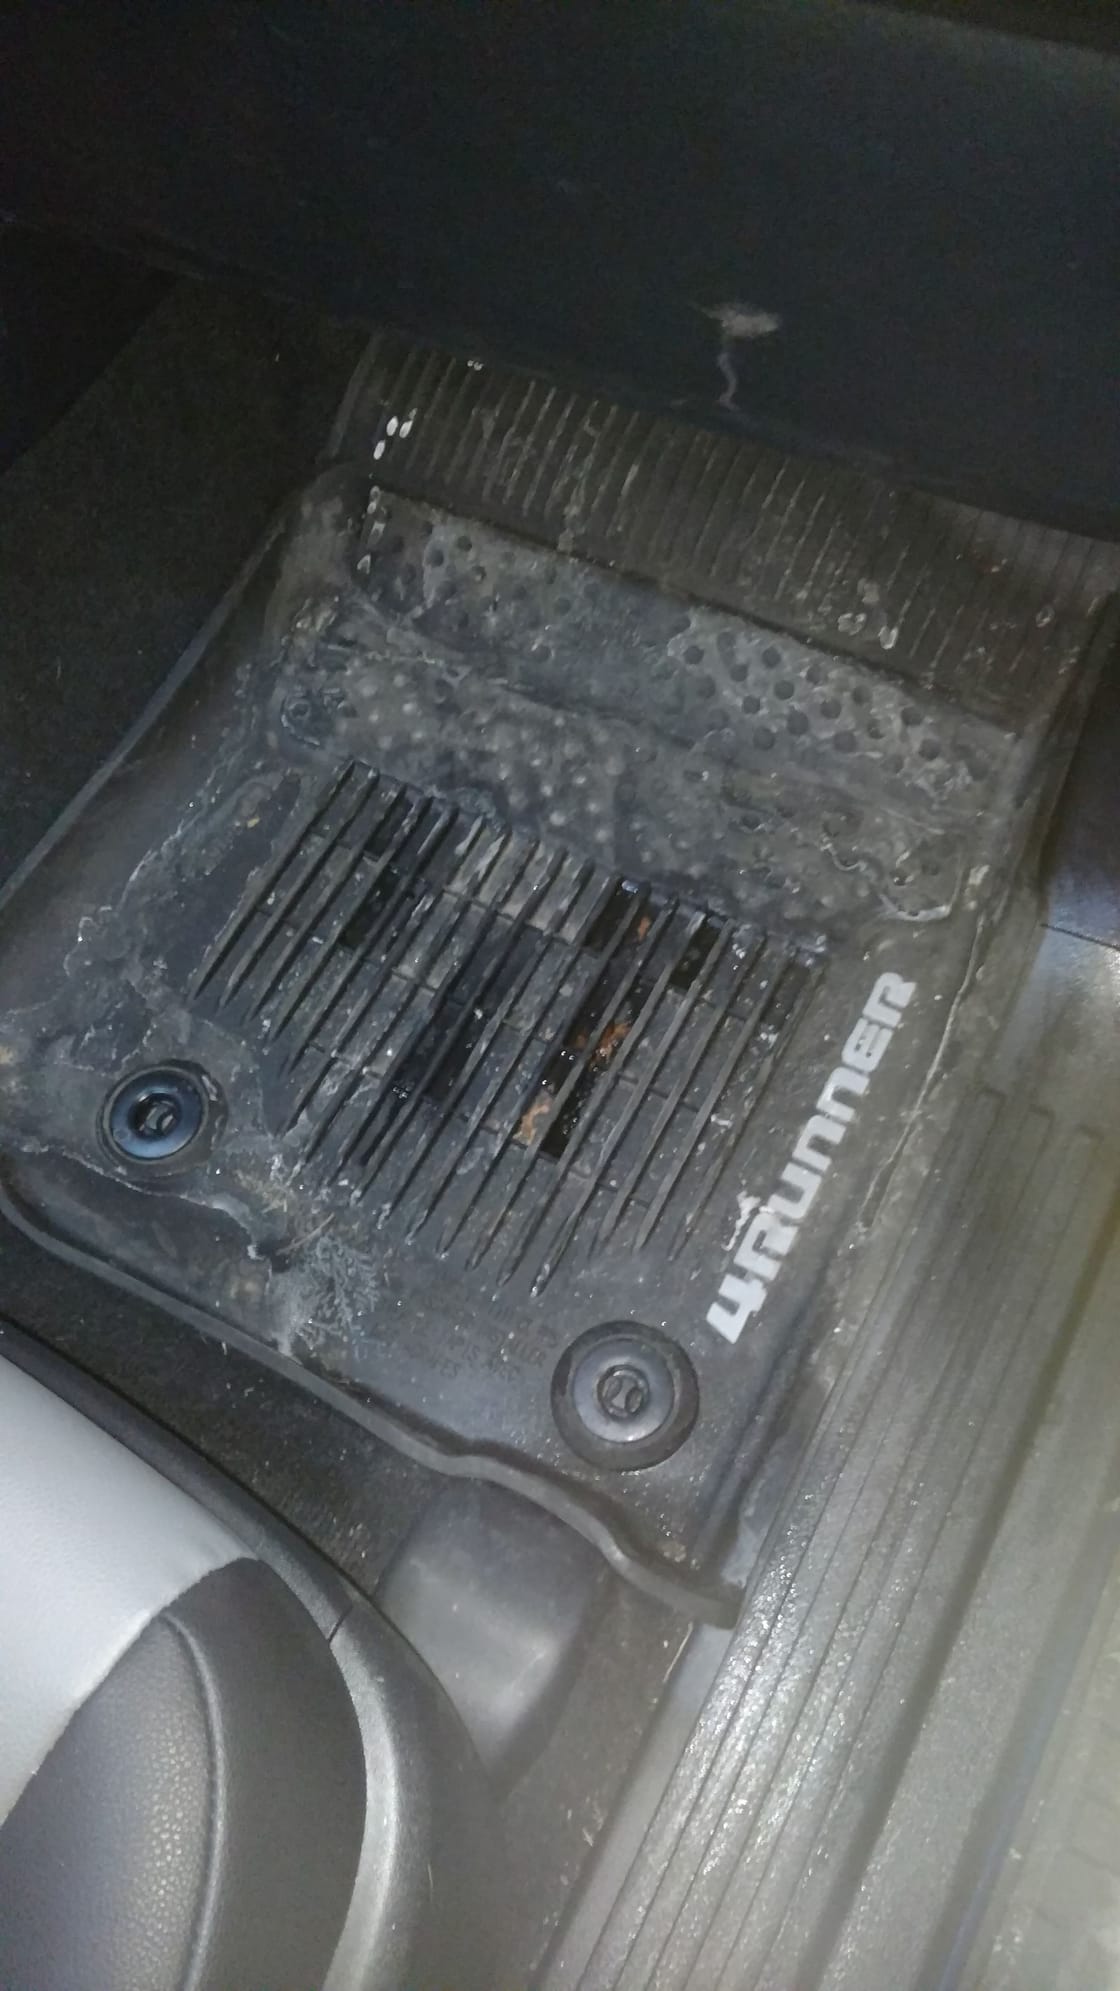
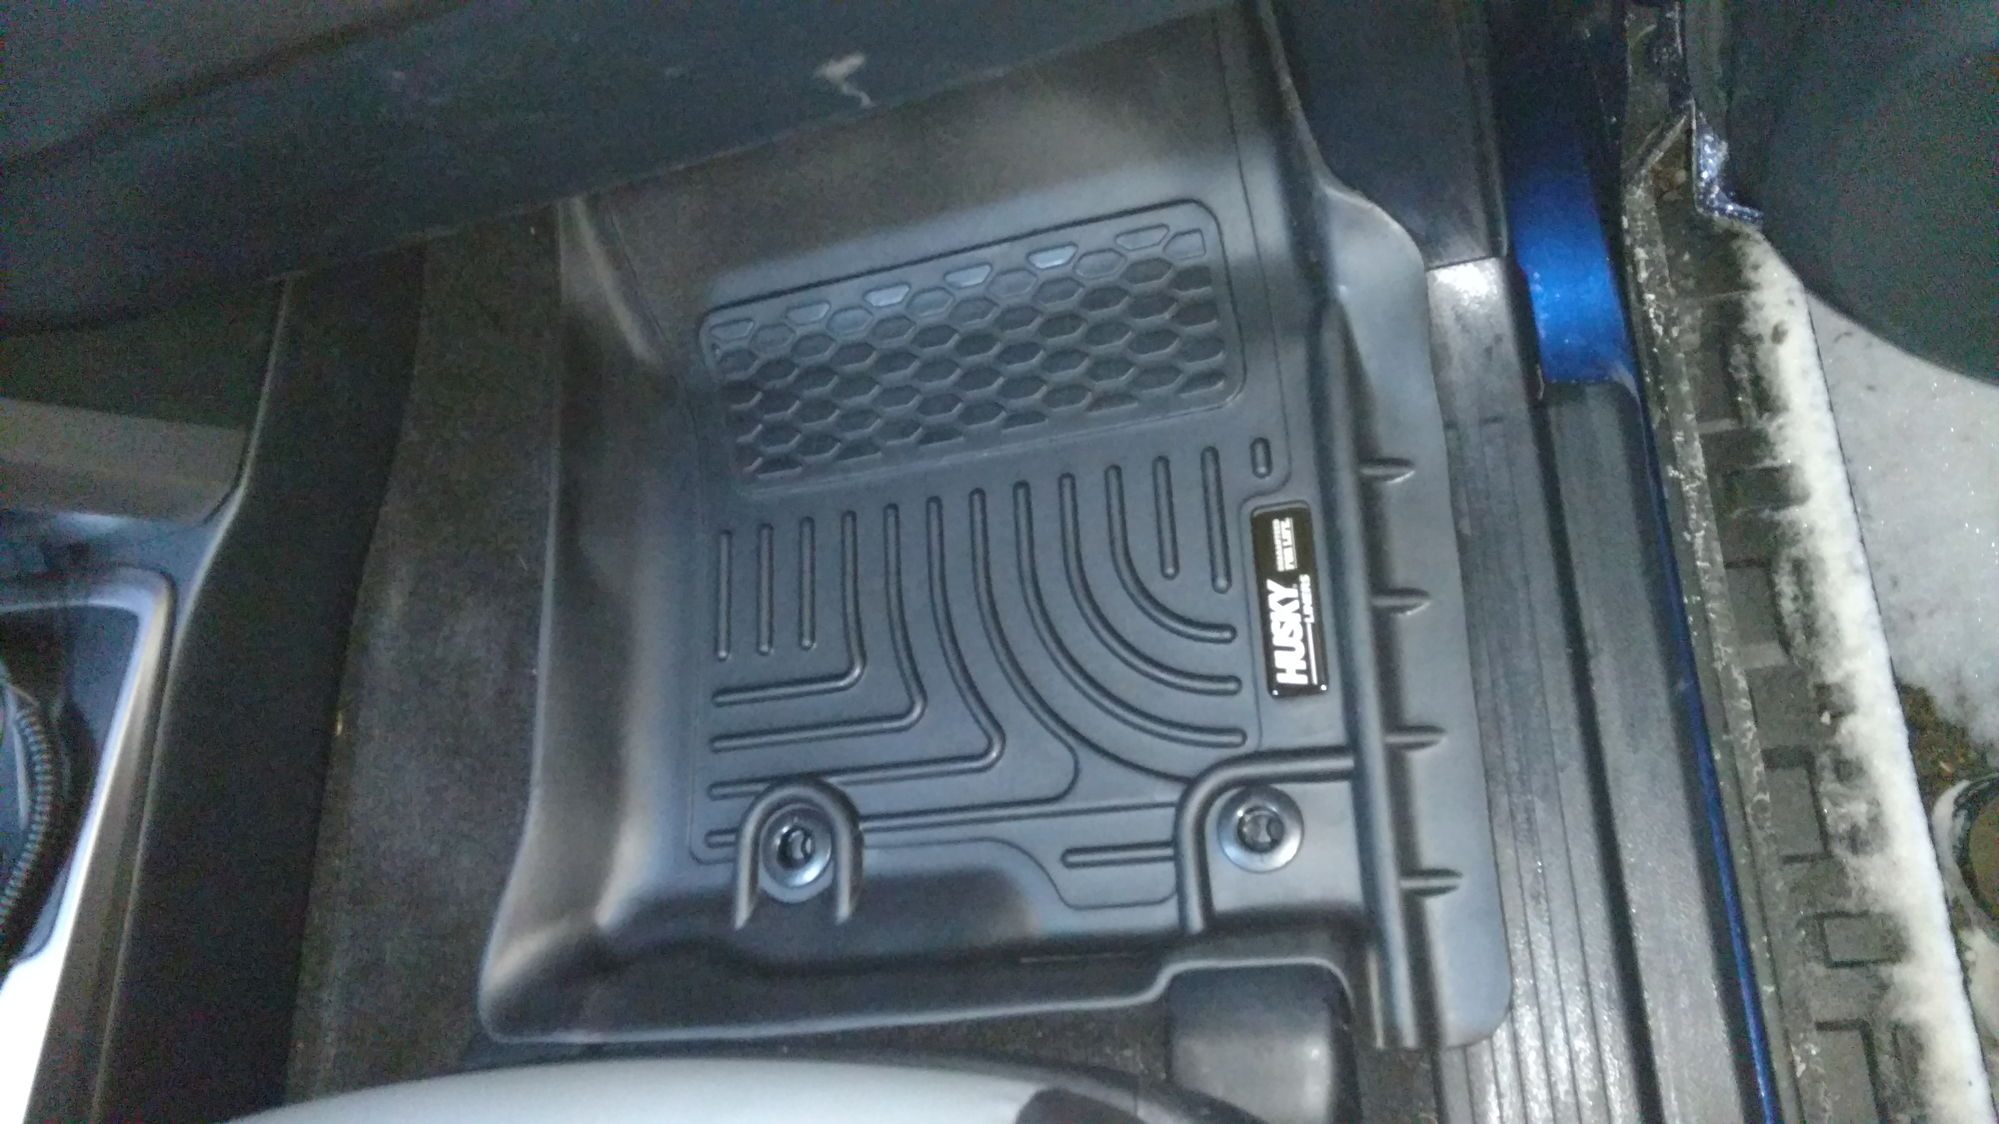
Christmas present for the truck, replacing the crappy overpriced OEM rubber mats with some real floor liners. I'm a huge WeatherTech fan and had them in my last 2 4Runners, but I just was not a fan of the coverage that the WT's offer, or the reviews, so I went with the Huskies

80-img_20171229_155331316_5955d92a31e669036de114b4d49886e17b5e7808.jpg


Before Driver's
80-img_20171231_173158996_9afd3953751d49cc587852ee13703a3510757dea.jpg


New :fro:
80-img_20171231_173351151_0475d4daab6ae97870d59ae7bf72bf93ef2f9fb6.jpg


80-img_20171231_173356089_3d92a8eadf394a3c3abc2765b3b1bda8044cb8d3.jpg


Before Passenger
80-img_20171231_173455832_1ccf2627c50de9a9d0ba3dc421edaf31da952f7d.jpg


After
80-img_20171231_173624023_97f58abc8dbe0880aeee271ef94a75dc663b9d68.jpg


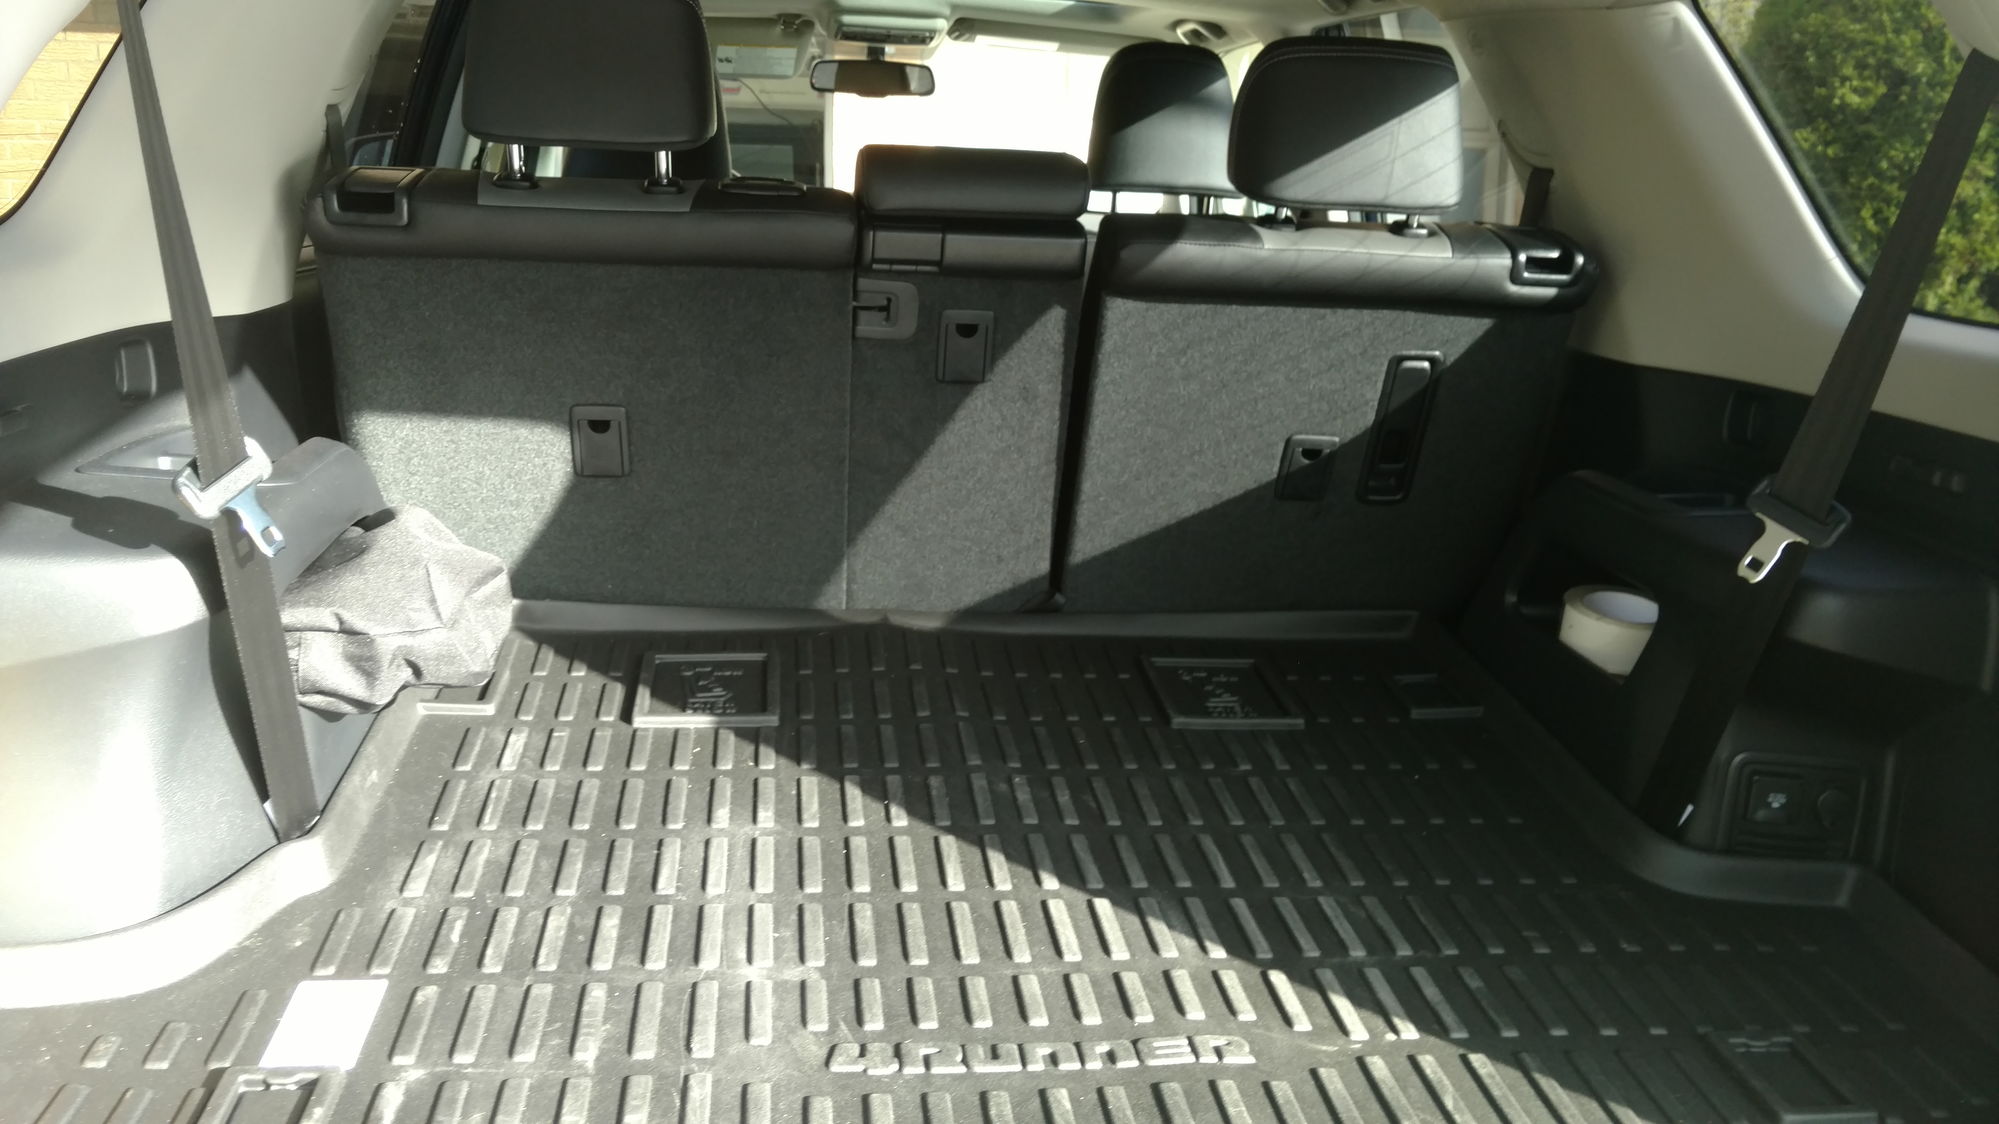
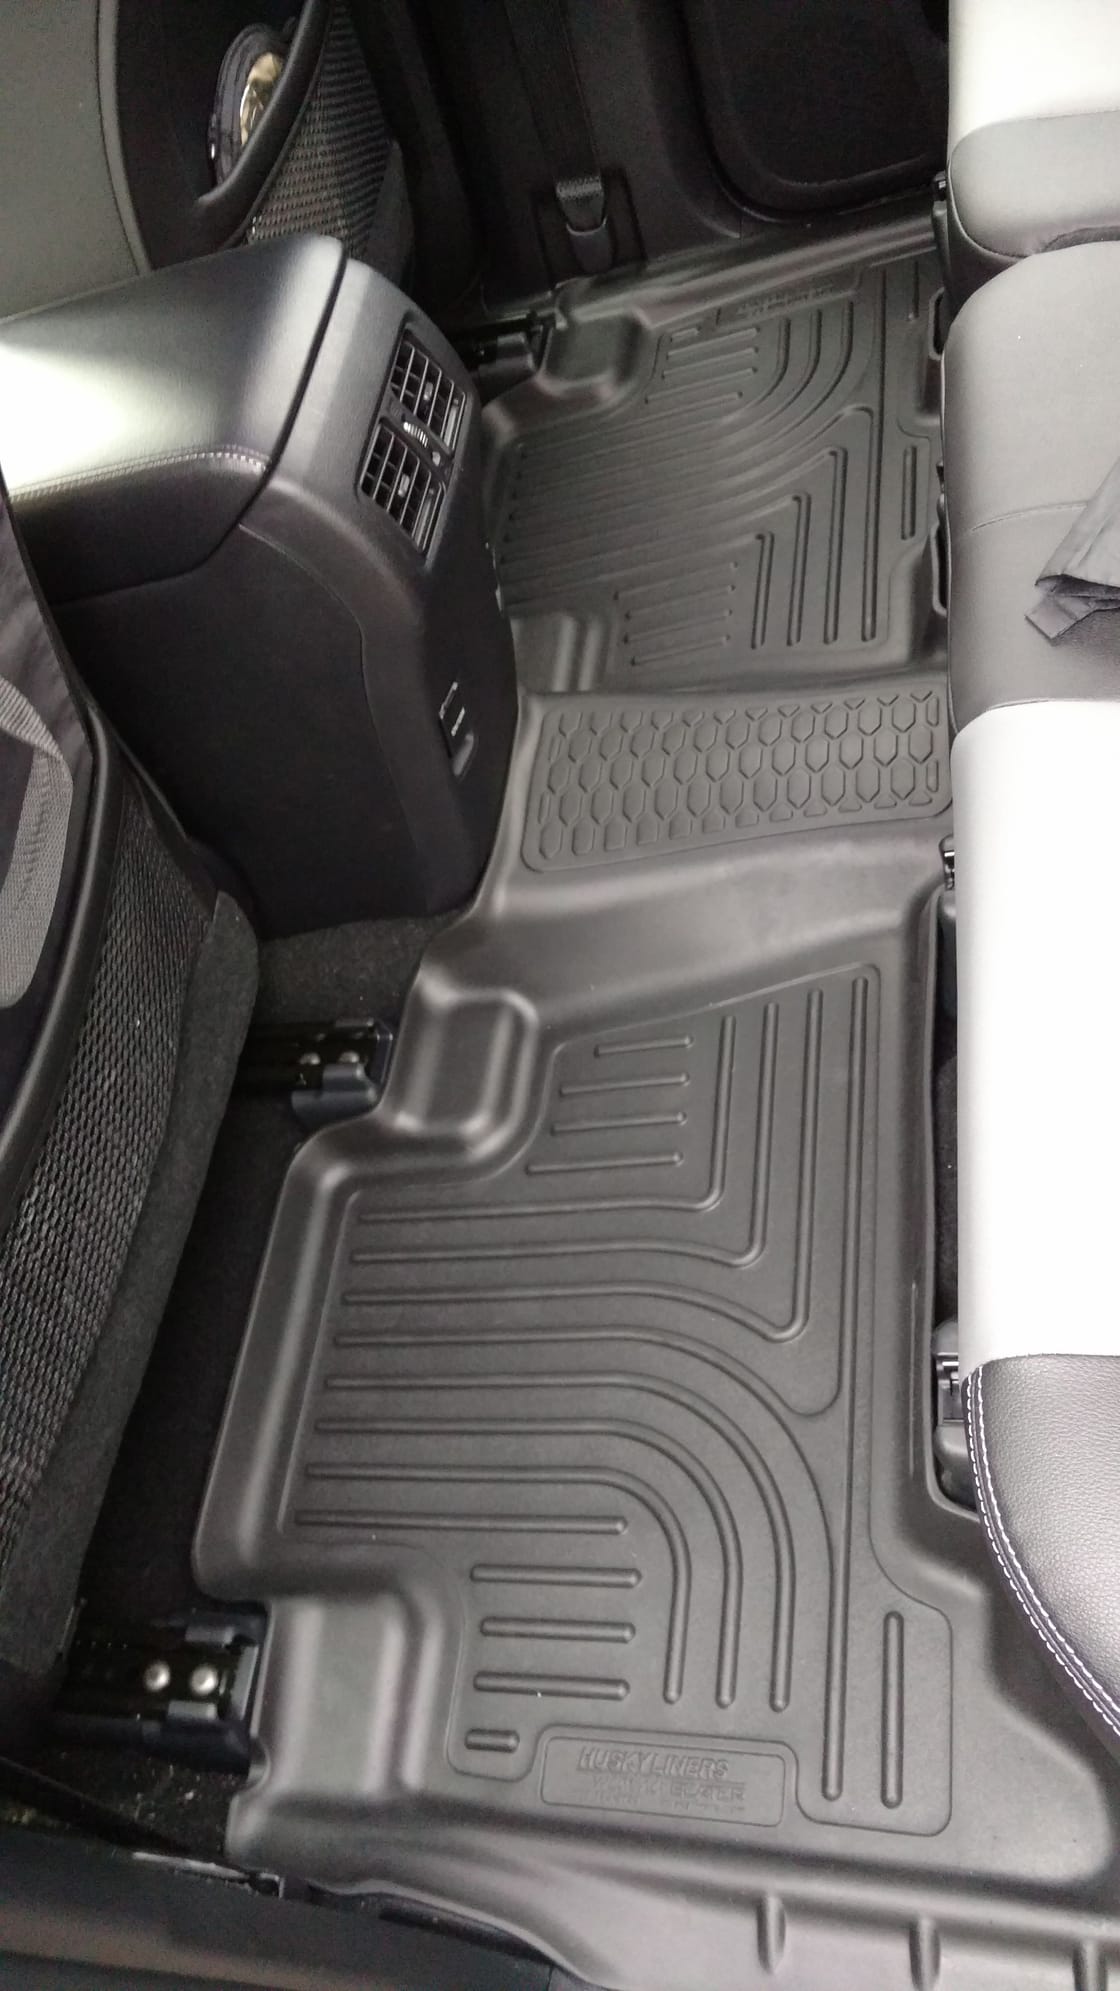
Also installed the rear Husky floor liner, it's amazing how much thicker and better coverage this mat has compared to the OEM Toyota one

80-img_20180111_144354523_aca225e9dcbb099c5f4554f8525f6c51683a7155.jpg


80-img_20180111_144359179_668de9a8d4f0b615bf8a643a3252f373f981c412.jpg
 
Last edited:
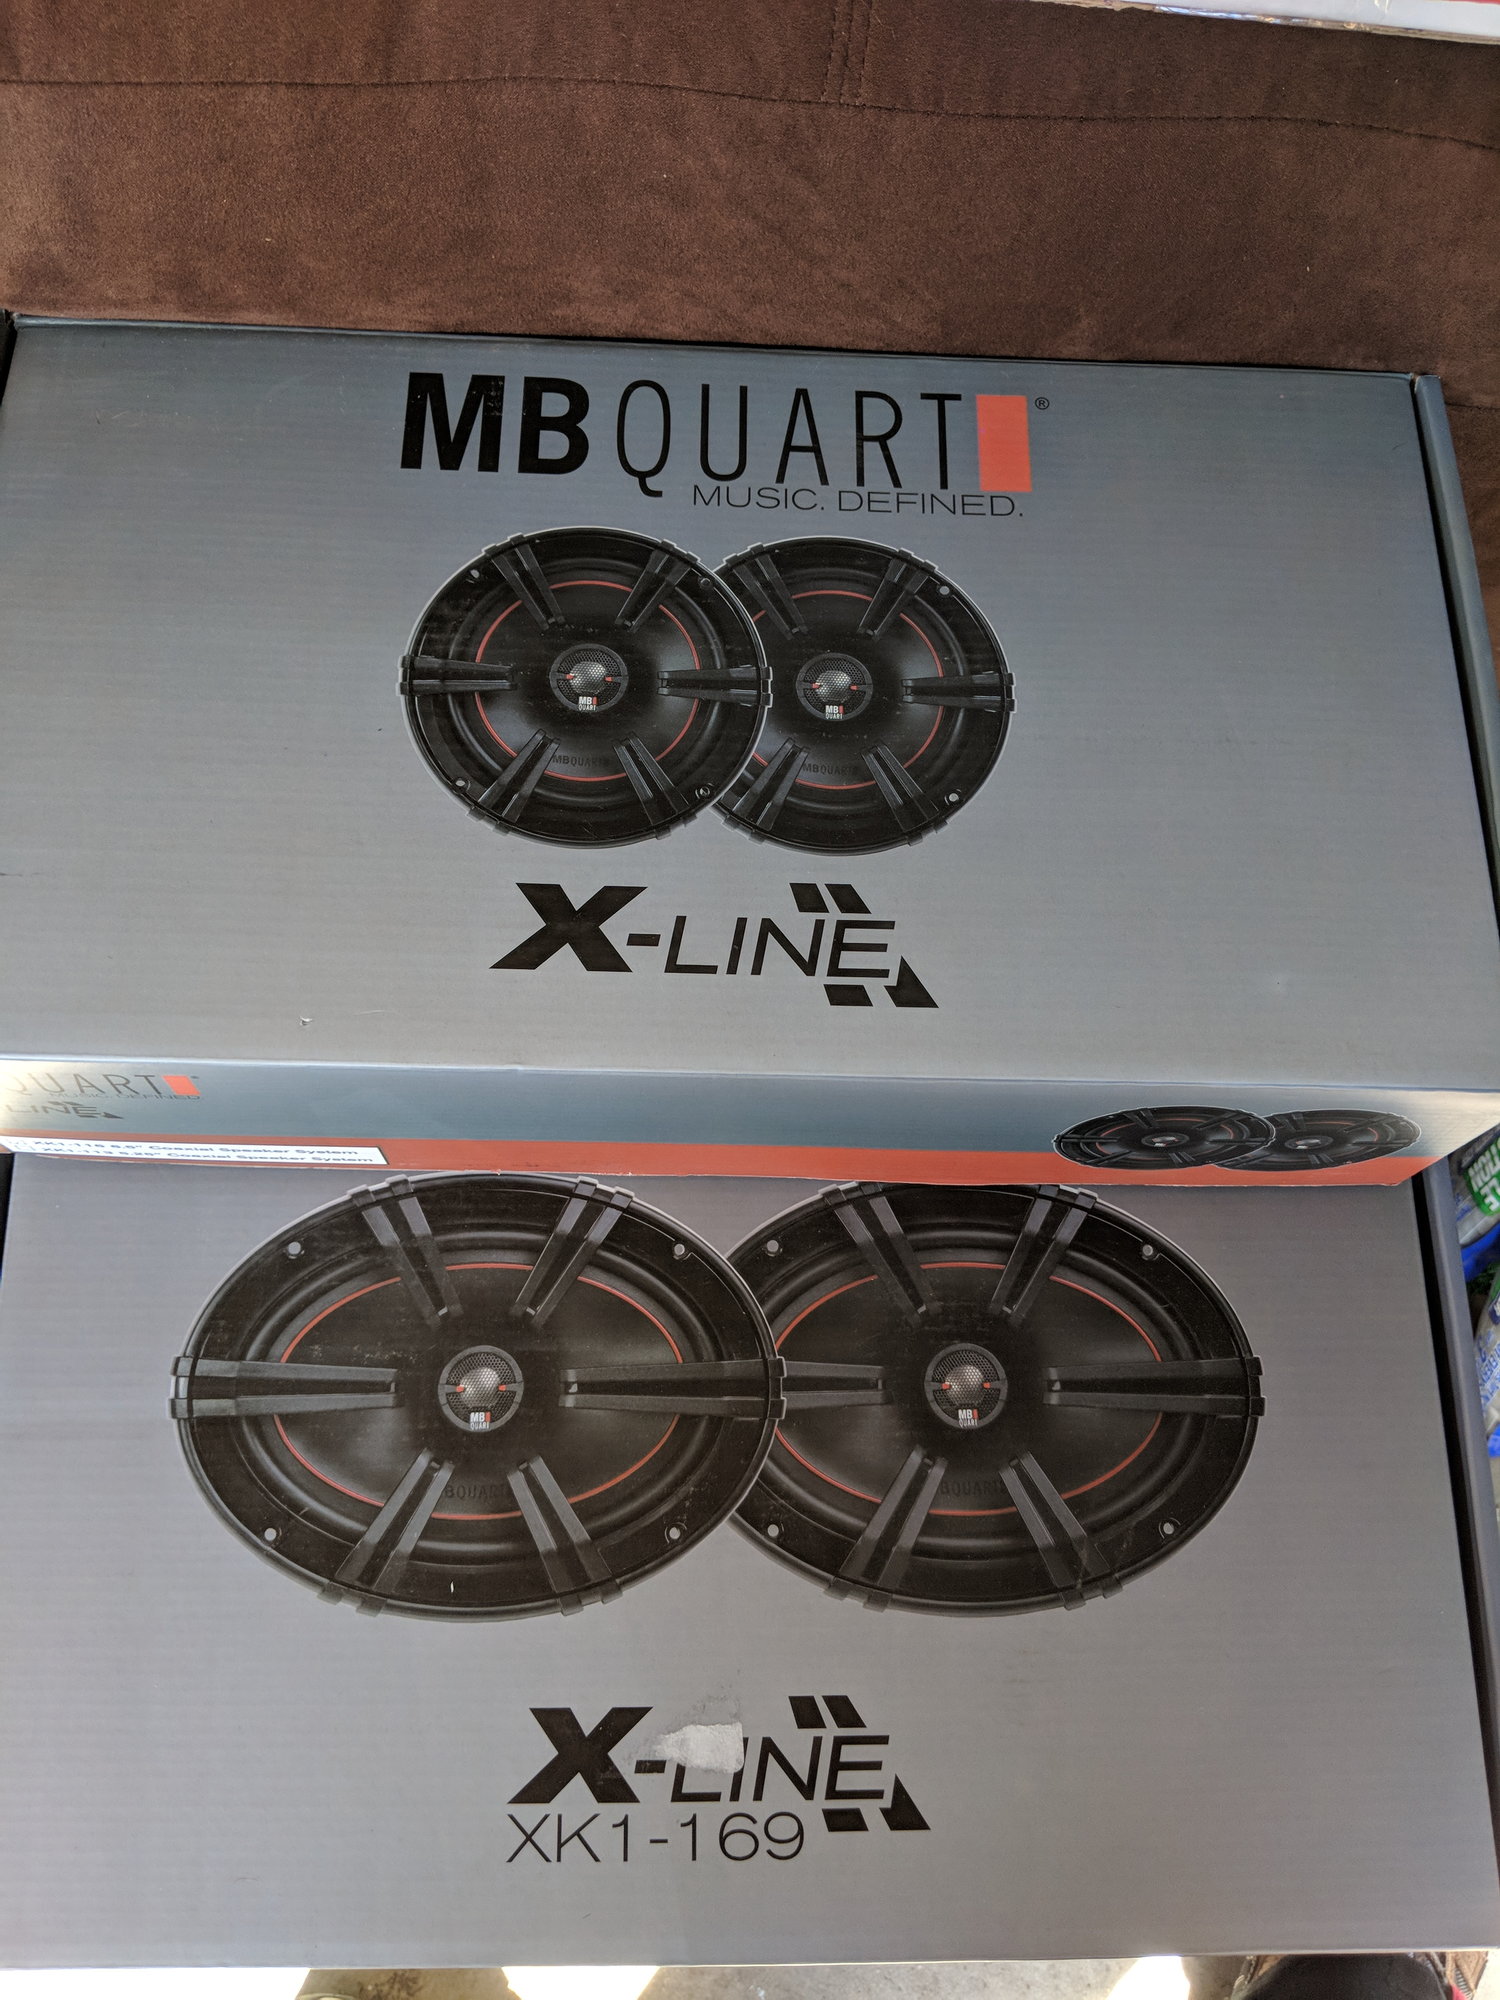
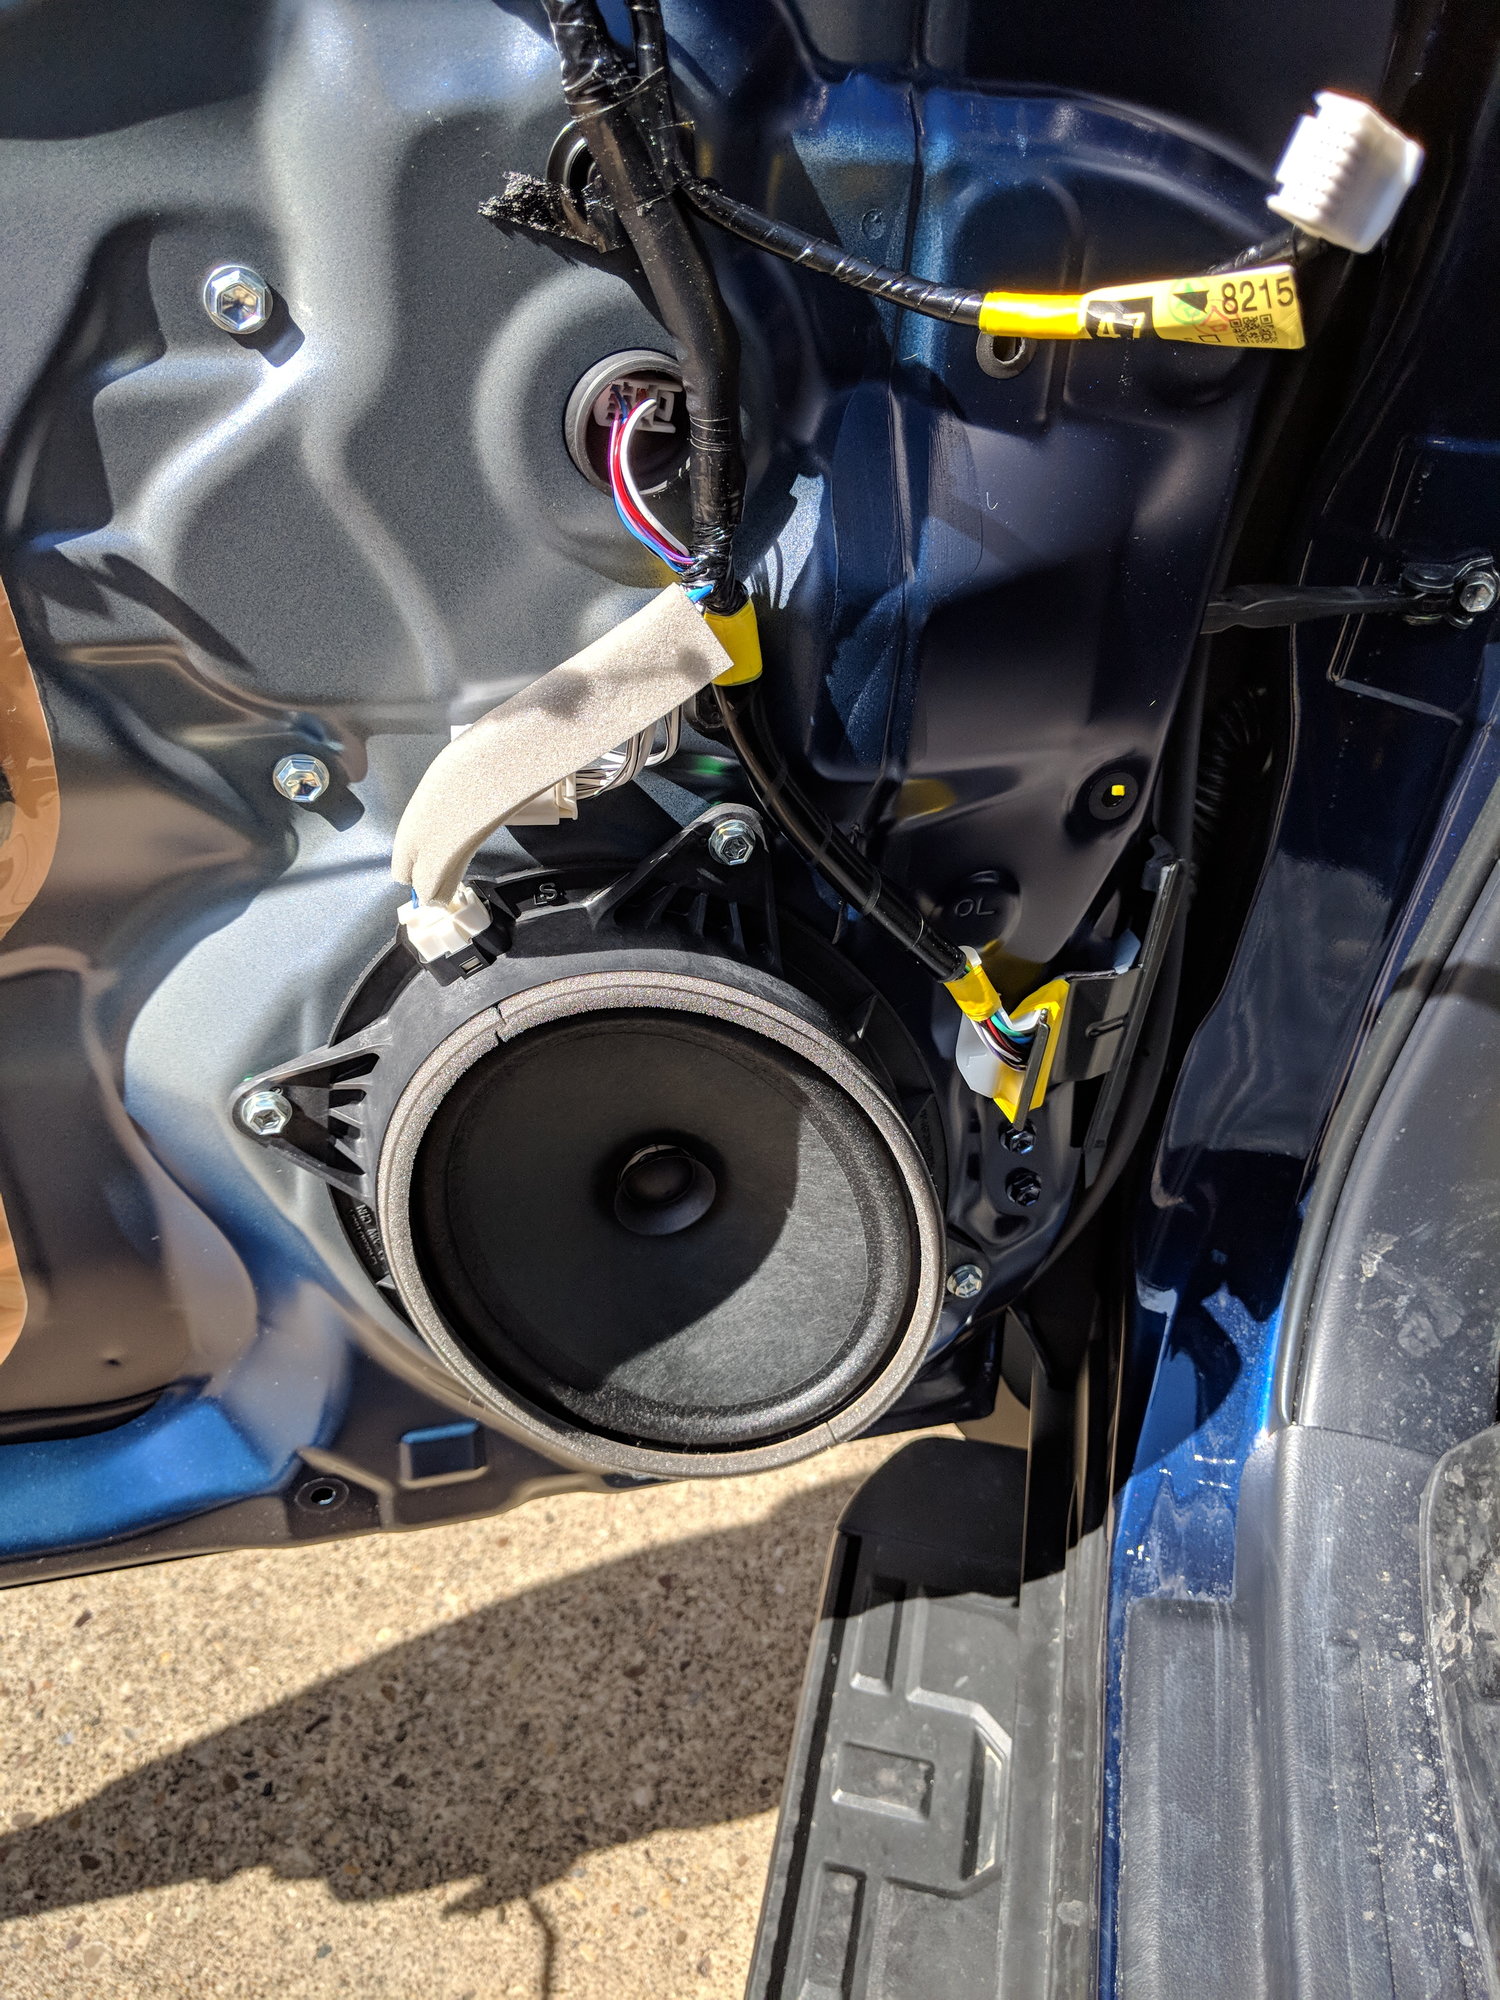
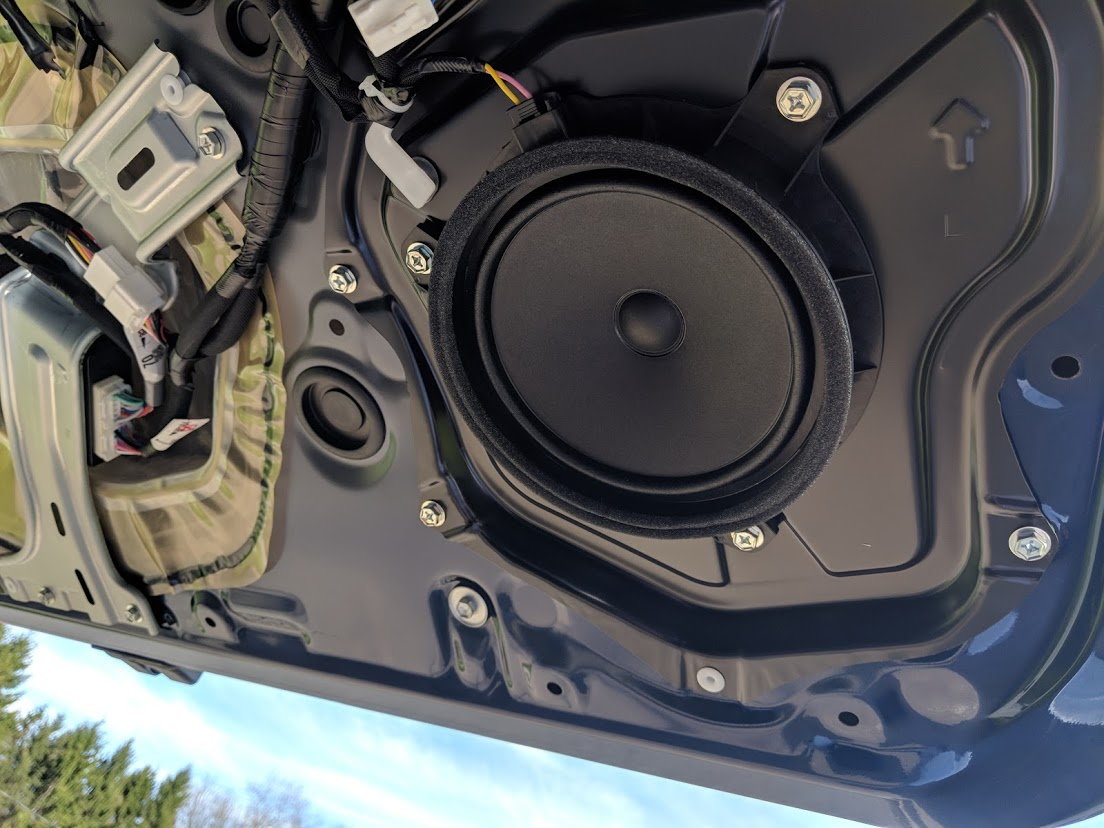
Finally got a nice spring day and was able to get my door speakers all replaced. The speakers that I took out of my old truck had rusty contacts so I splurged and bought all new speakers for the front and rear doors as well as the back hatch.

img_20180326_153255_0c111b32be8302500757896472a0ad2bf204fc13.jpg


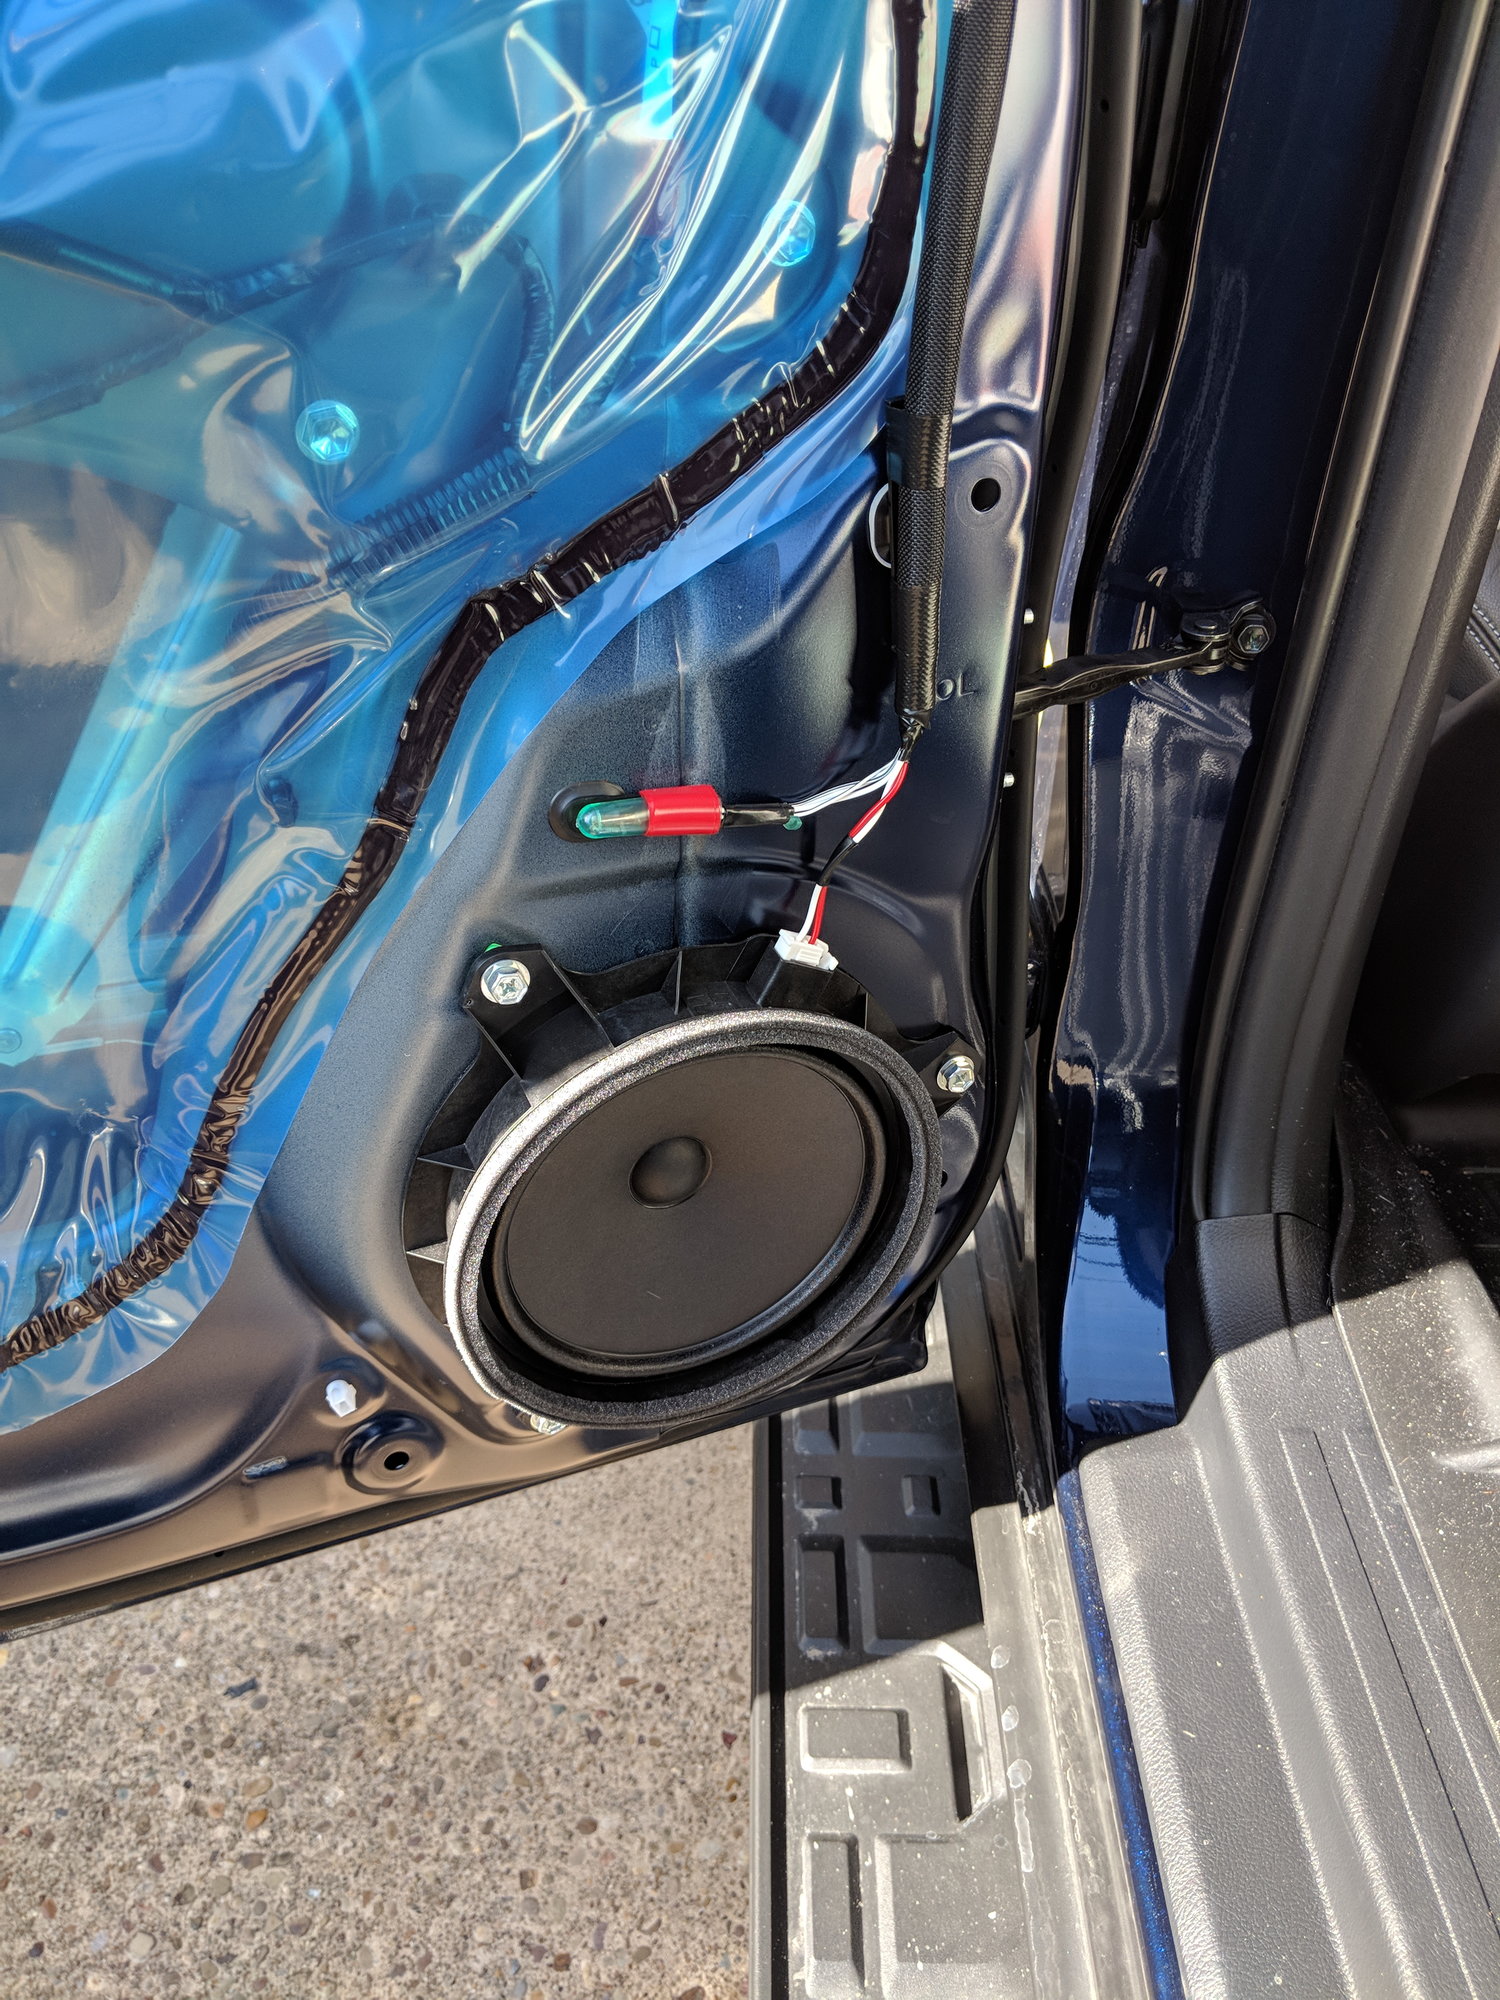
Of course I had to get a before of the crappy paper cone speakers with no magnets

img_20180326_153044_69dbbc11755ede07436044059af3a2fdb900bf8b.jpg


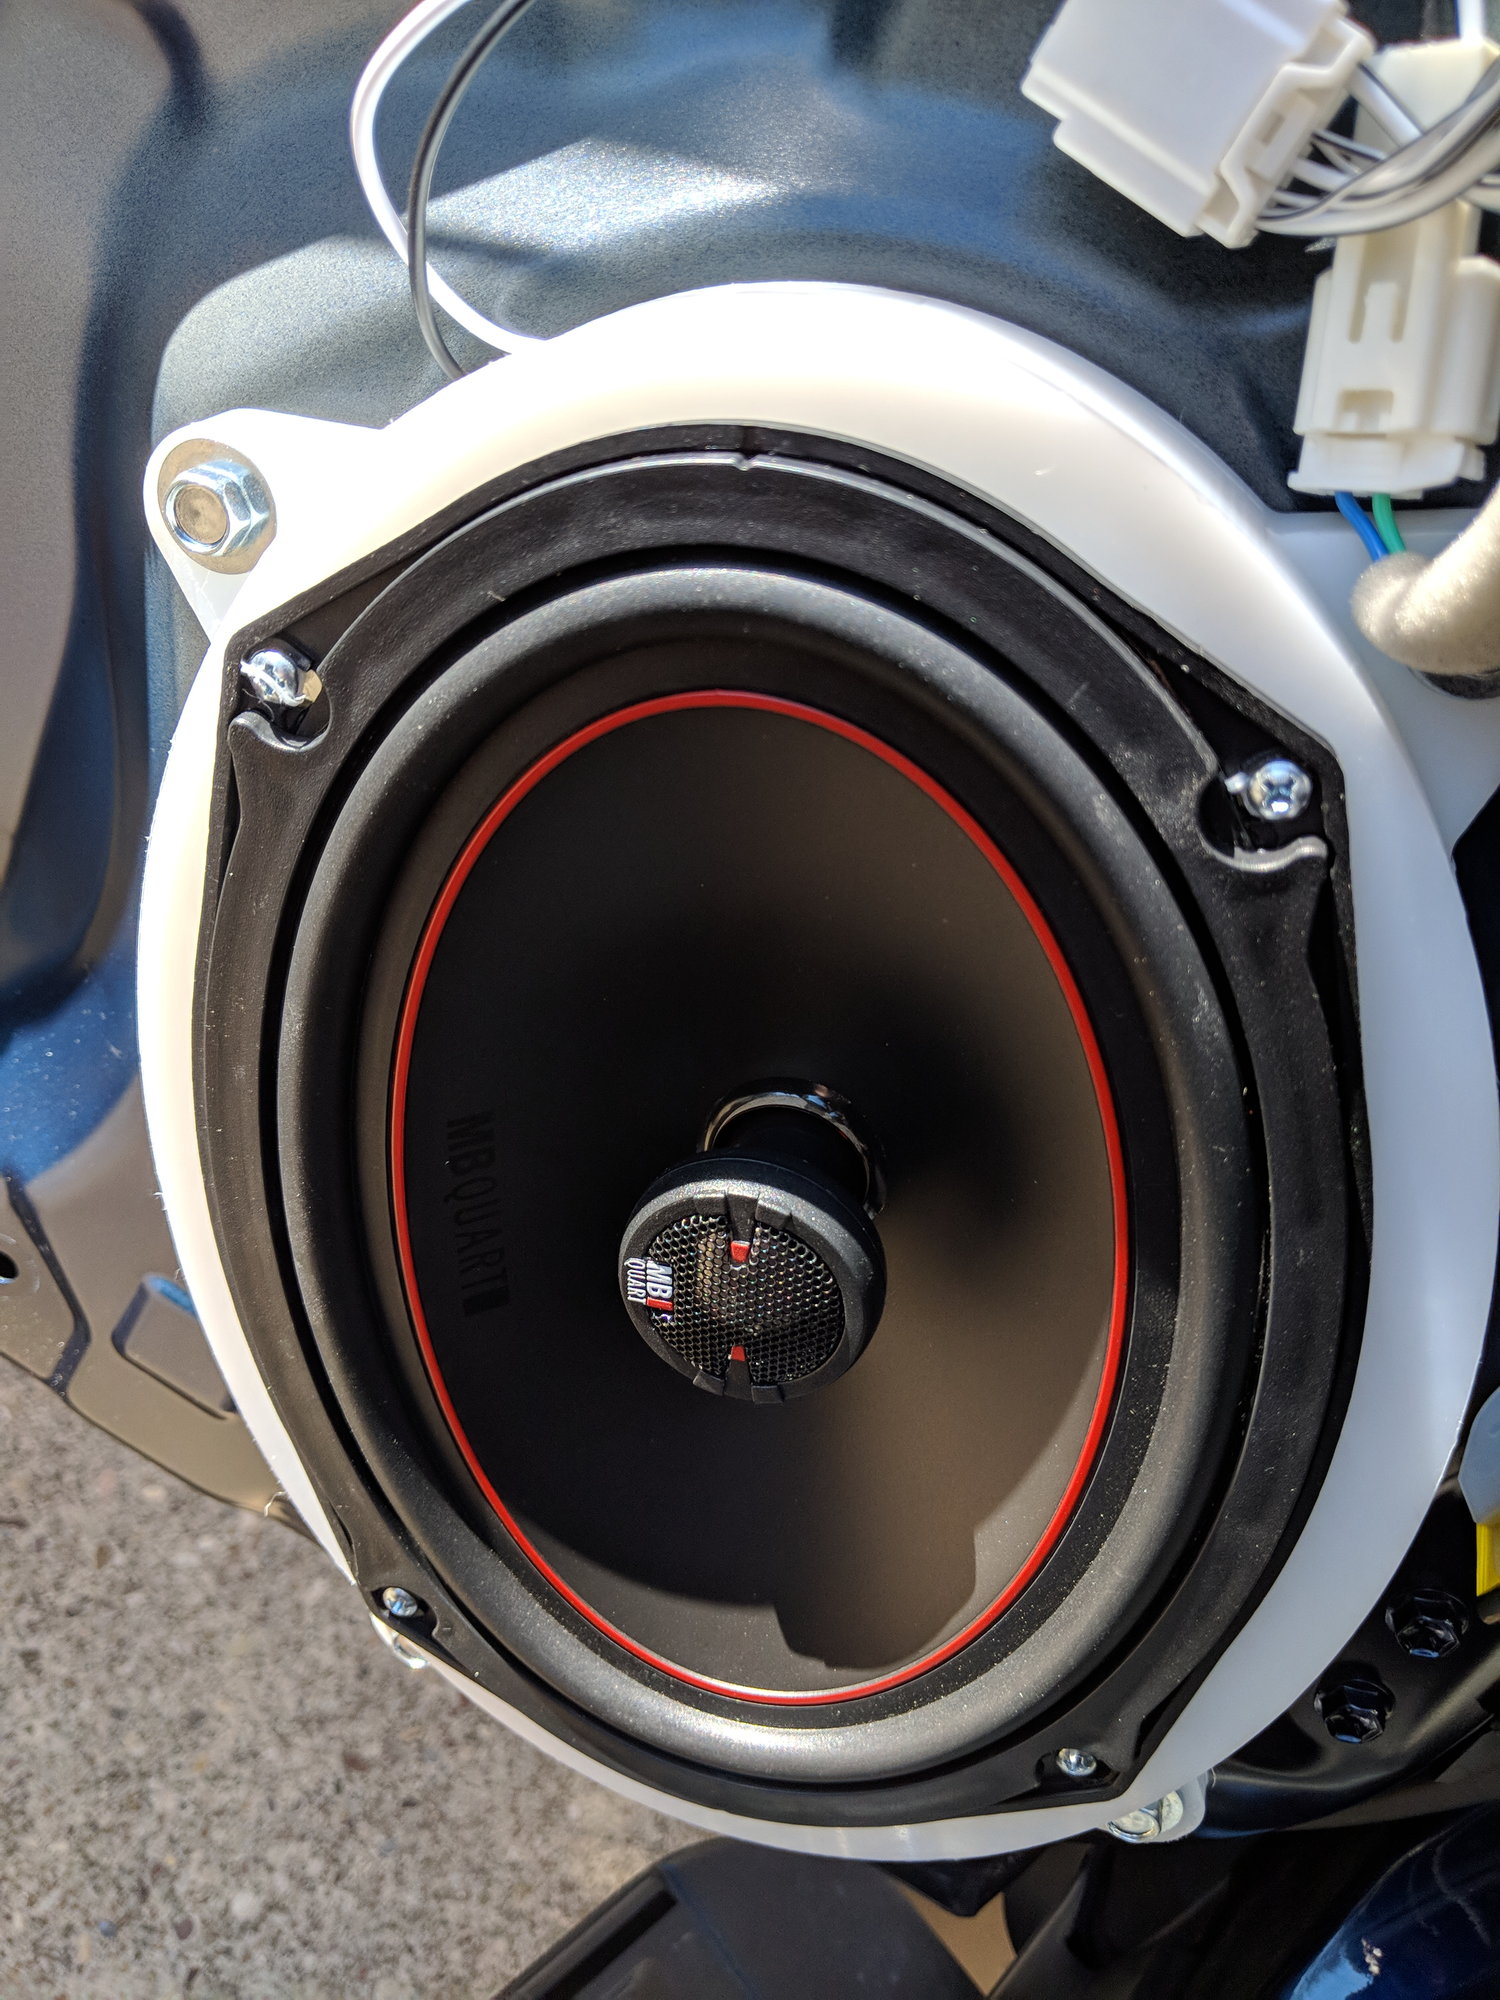
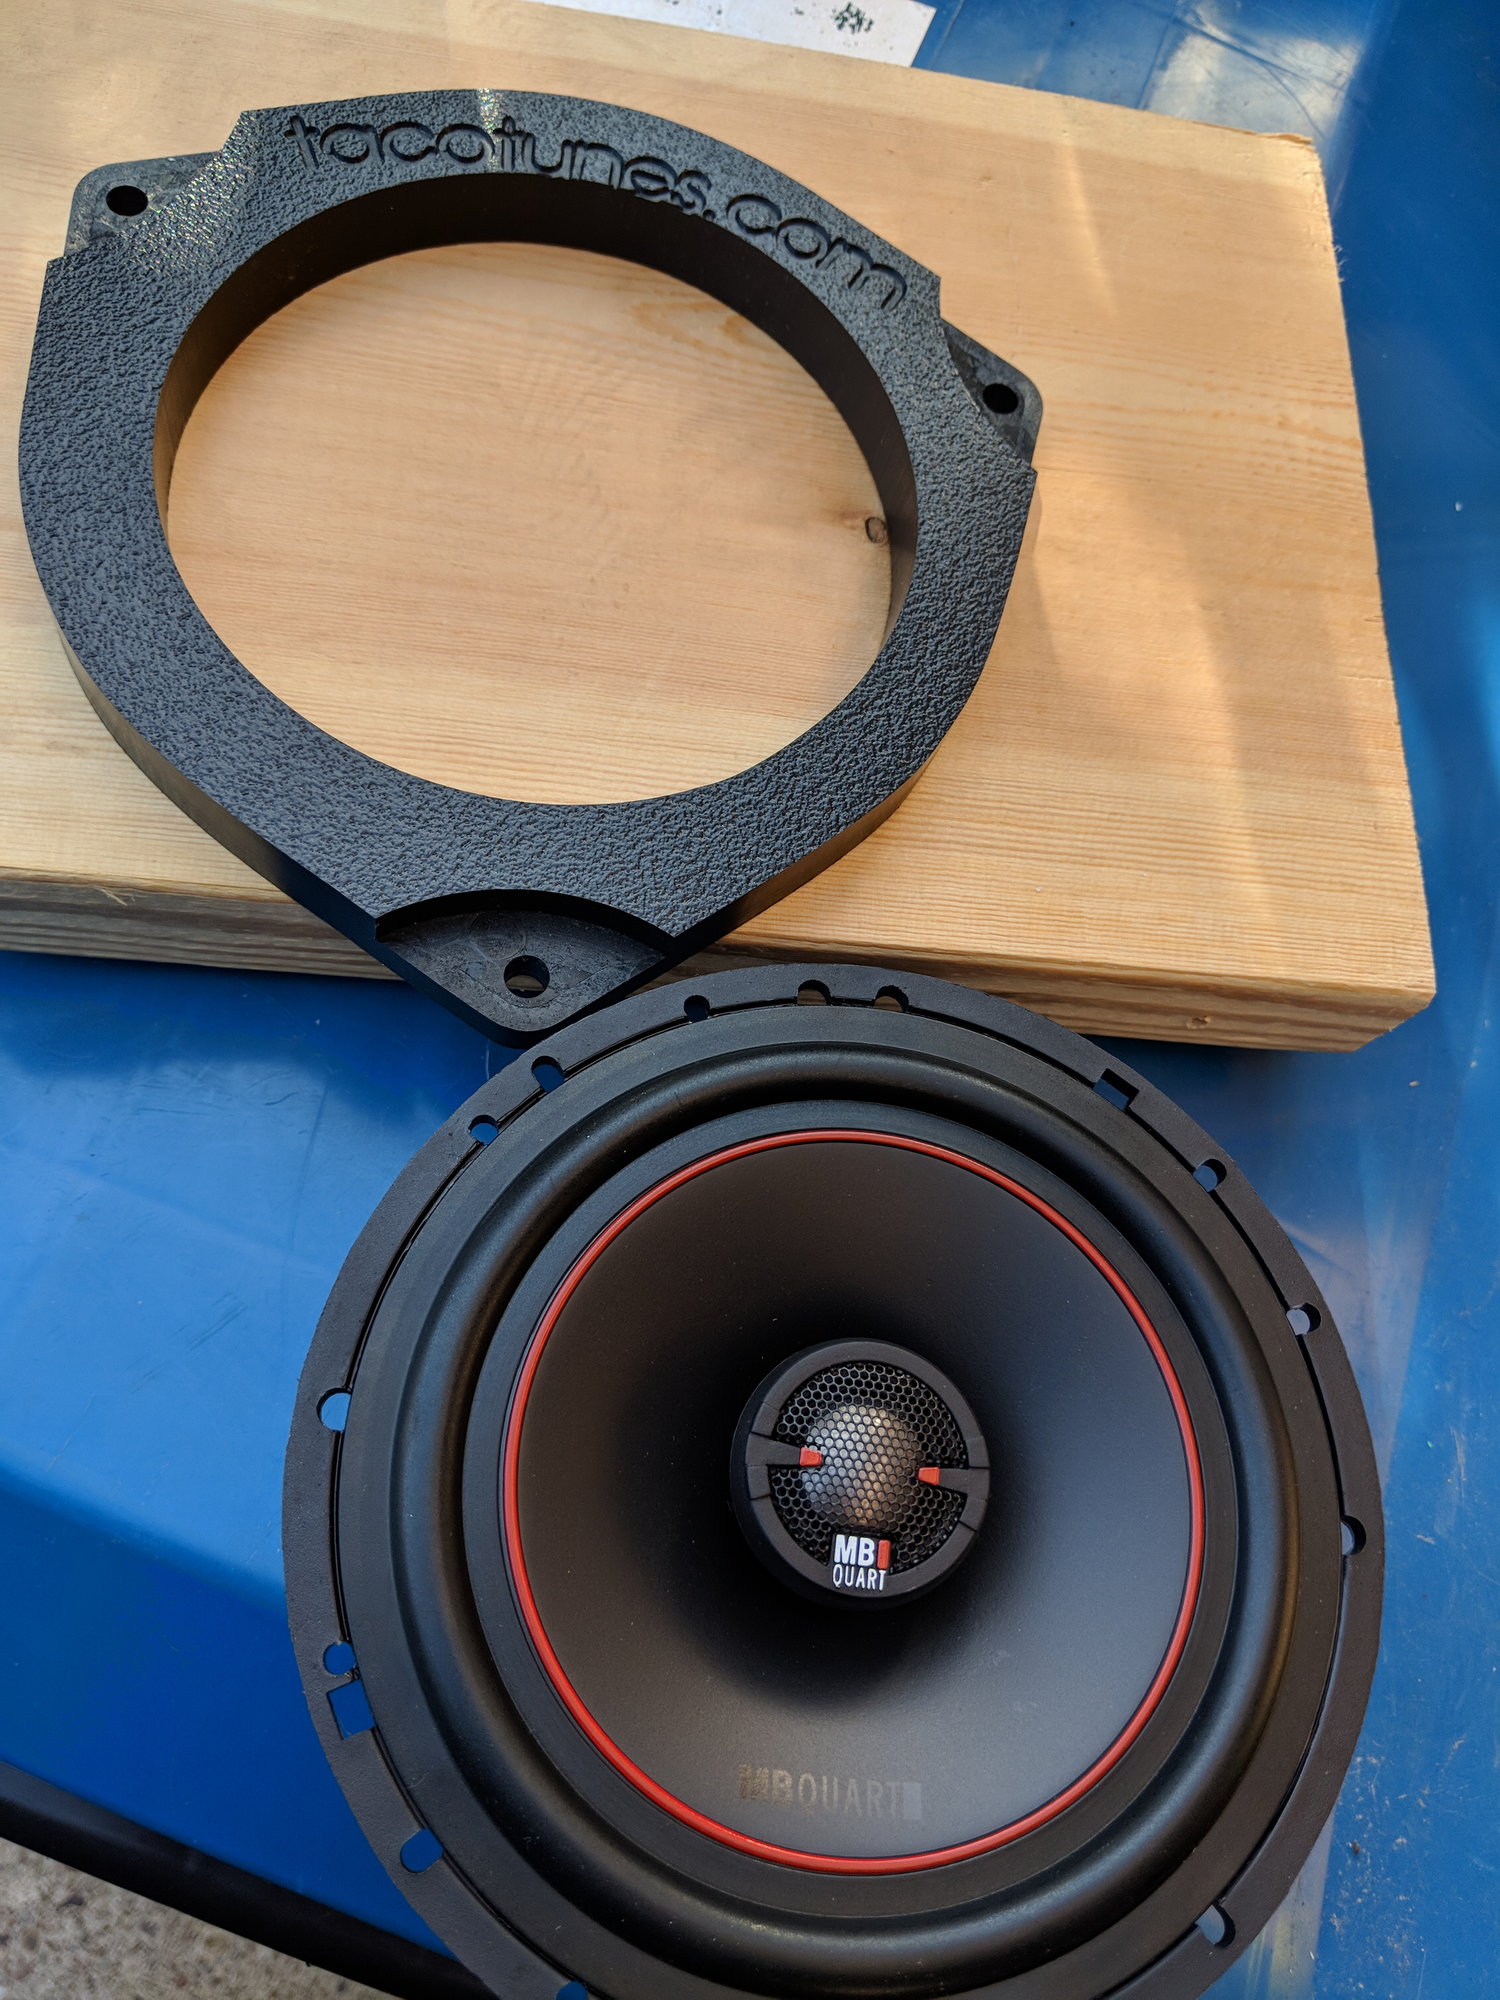
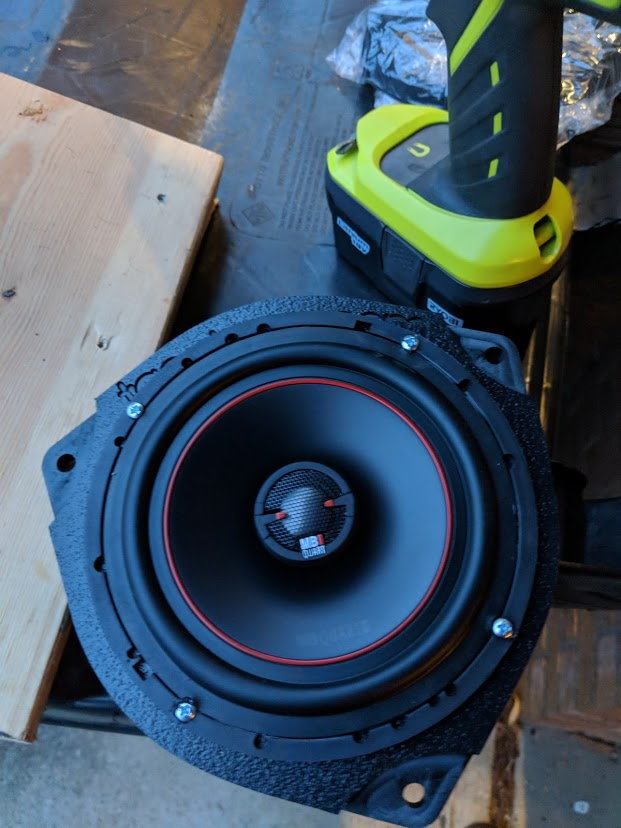
And since I had to buy all new TacoTunes adapters since the ones from my 4th gen didn't fit, I finally had all the right pieces to install
img_20180326_153300_36ba8c845e9b99545b5d88b6bb565ec31ff3d1c8.jpg


All ready to go in the doors!
img_20180326_155640_324c80a638f4cbd2ccb7f4f3a95ddcceddadab49.jpg


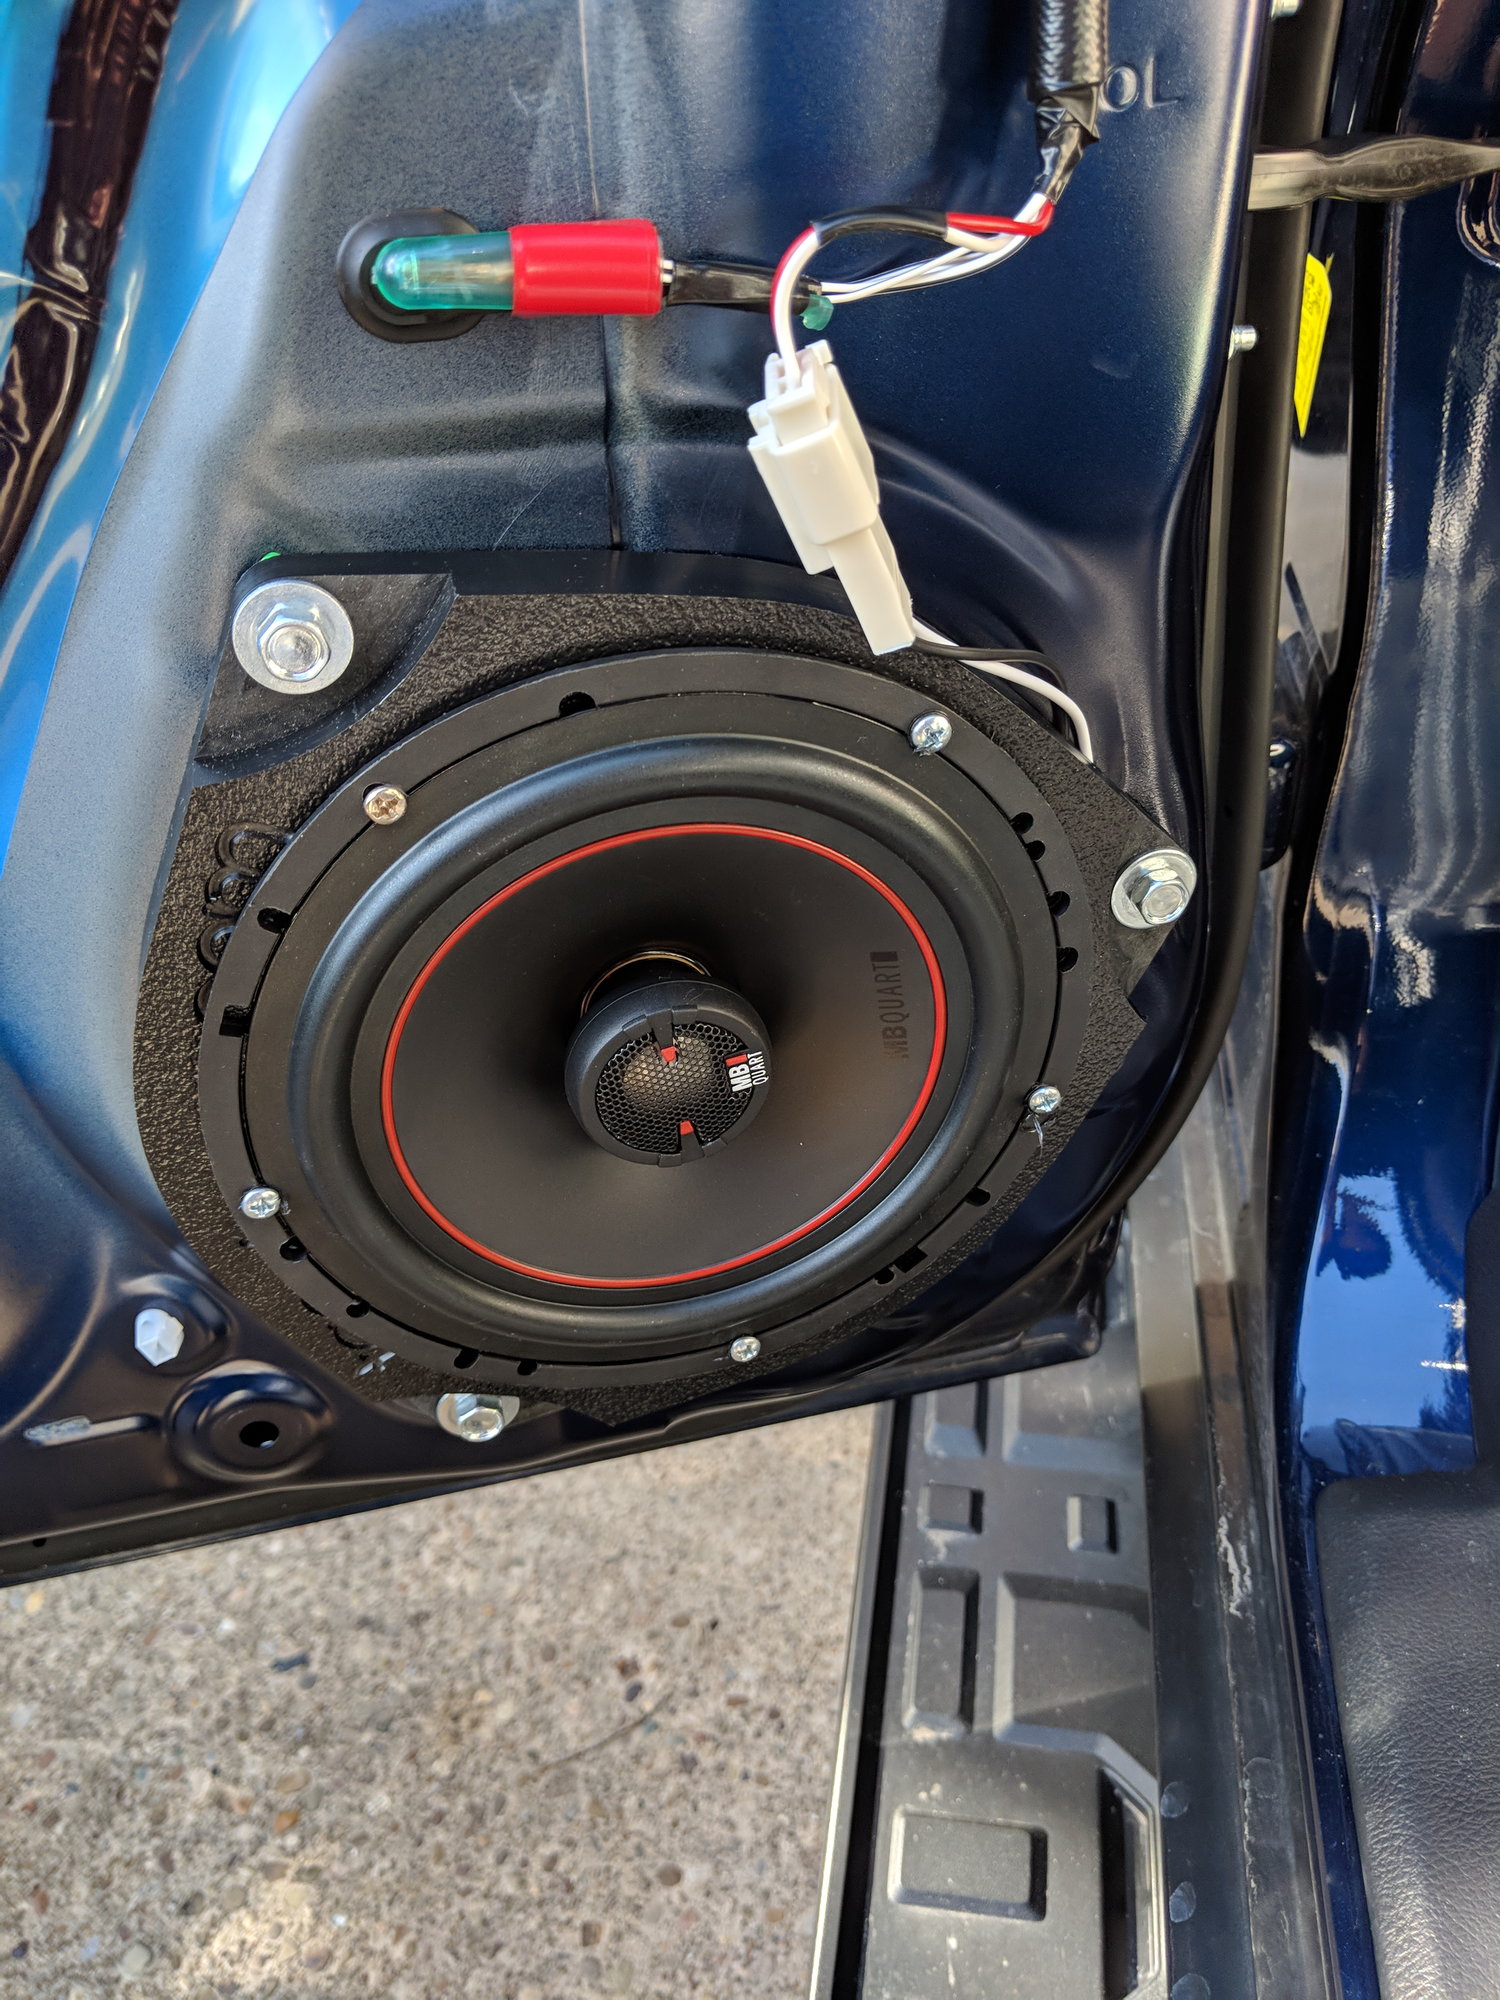
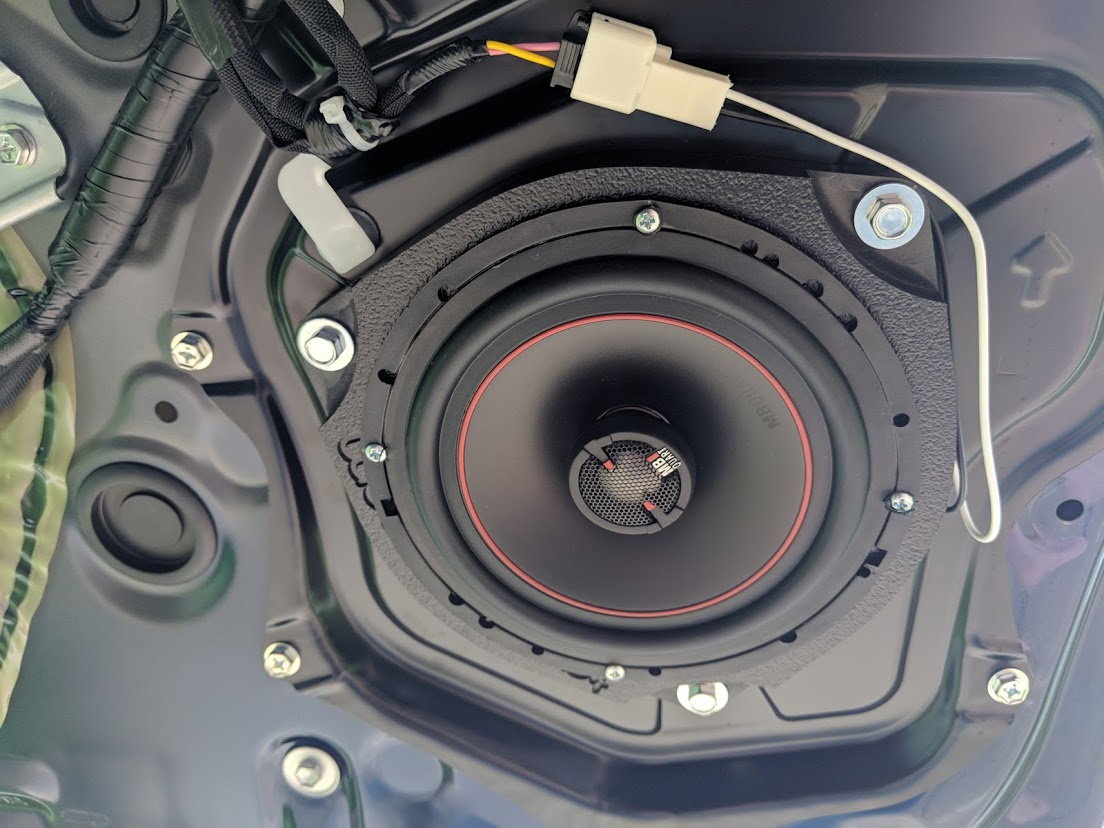
And installed!
mvimg_20180326_160125_7188ec3b45b2f6749e2a4e2a01470c2378d58257.jpg


Before of the rears

img_20180326_163542_4d6942458746d39af188776acea7aaeb4d1a8532.jpg


Getting ready to mount
mvimg_20180326_163815_f5afc2fae912ba8b482b9e6d2f0fd6ed3c9dfd73.jpg

And installed!
mvimg_20180326_165257_1a8095c94f8d74364933bd3ebed67ff86c83fc72.jpg


I was able to get all 4 doors replaced before the sun and temperature started dropping, so I got 4 of the 8 crappy stock speakers replaced so far.

After having to order more adapters from TacoTunes because the ones I had from my 08 wouldn't fit the new speakers for the rear hatch I finally got them swapped out, current count is 6 of 8 replaced.

img_20180426_171702_b5d17c8556ca3d887187dbfde784df6d9fbfda11.jpg


Here's a before of the crappy paper cone garbage

img_20180426_171658_8a12e906942e4737514a3f2a8262e5011daddf37.jpg


And all mounted up and ready to go

img_20180505_201743_2a9bfe9d5f18c069a6f06bed89f3a1398cc94e23.jpg


I go to a lot of concerts and do a lot of tailgating, so these will definitely get some good use, had to flip around a bit to get the holes lined up, no biggie

img_20180506_144108_fa087ef6b75b5d9a4fda3f7449522572a0637fcc.jpg


And got them both installed, took about 10 minutes once I had the right brackets lol

img_20180506_150036_859f025d45fbbaa7a7a5dbde26c2a6bd8b899af6.jpg
 
Last edited:
LED's! Oh My!

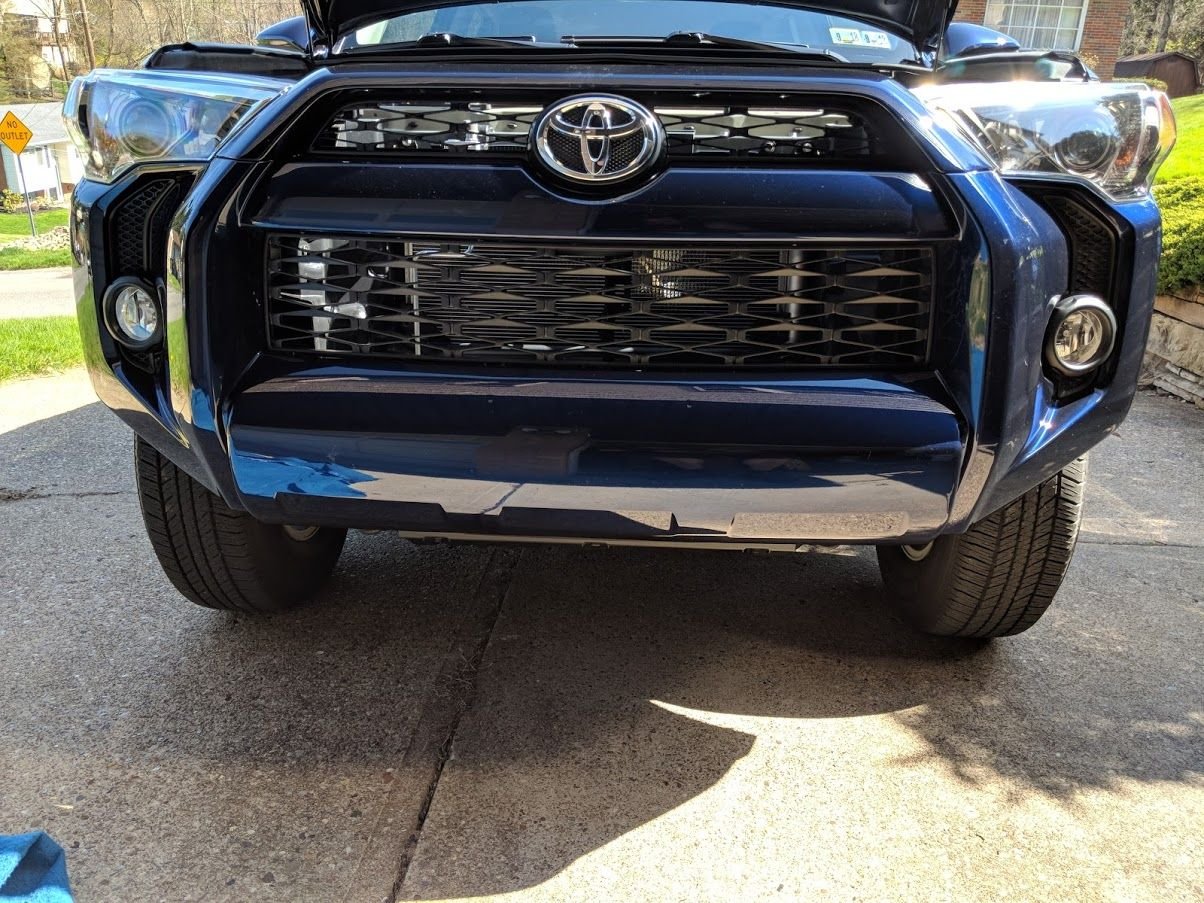
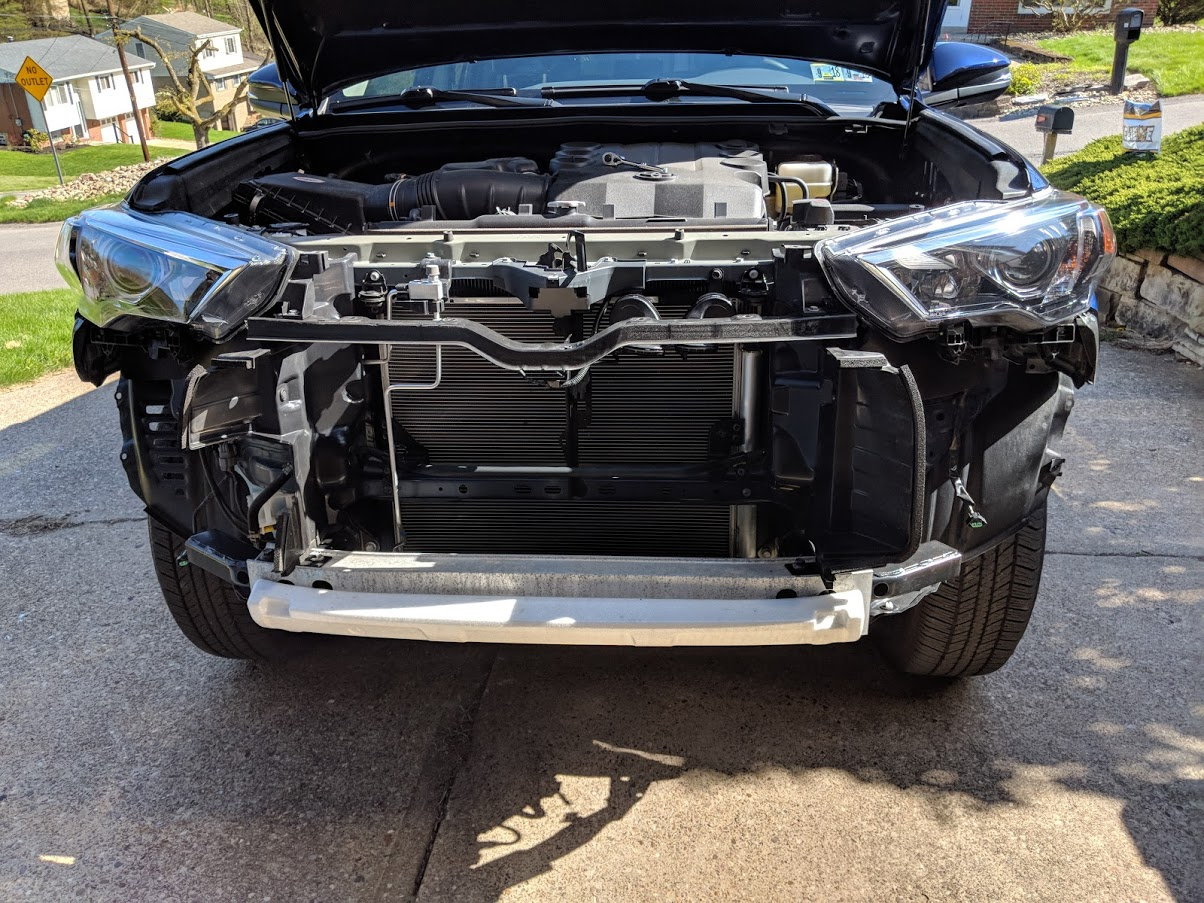
Finally got a nice day to rip the bumper off my nice new truck, it was nerve racking but I definitely took my time and made sure every bolt and clip was removed correctly and that nothing got broken.

A little before of the unmolested front end

mvimg_20180501_161434_07f00be3b87113e102fdbeeec6e0161ed613aef6.jpg


And off we go!

mvimg_20180501_163515_2e04890fcc9fa52d3e33217831df09444fae3174.jpg


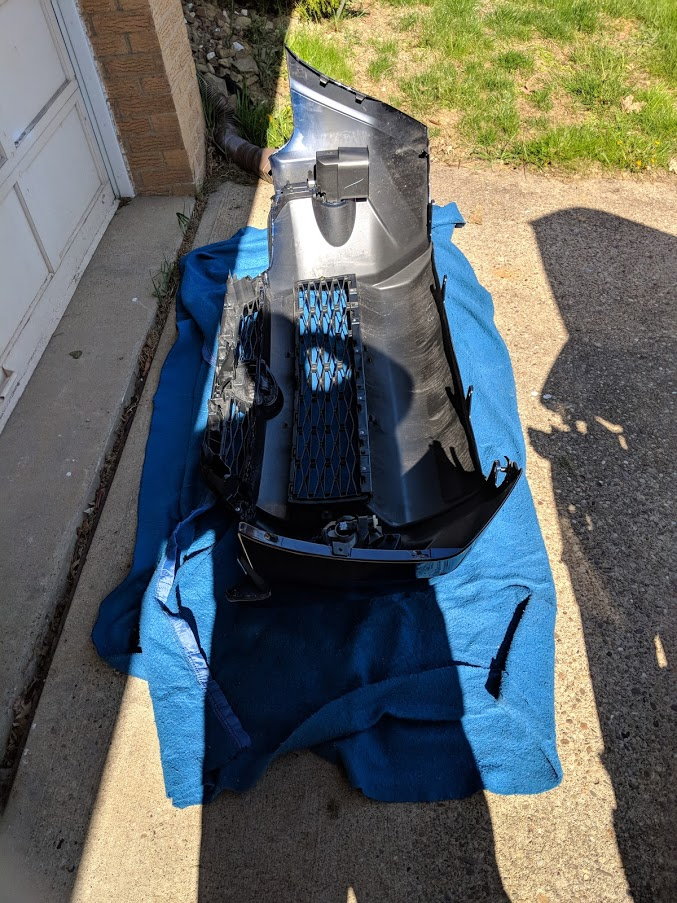
Put it on a blankie for safe keeping

img_20180501_163521_a16bfdac81d60770ad34c1520e755c8864e665f6.jpg


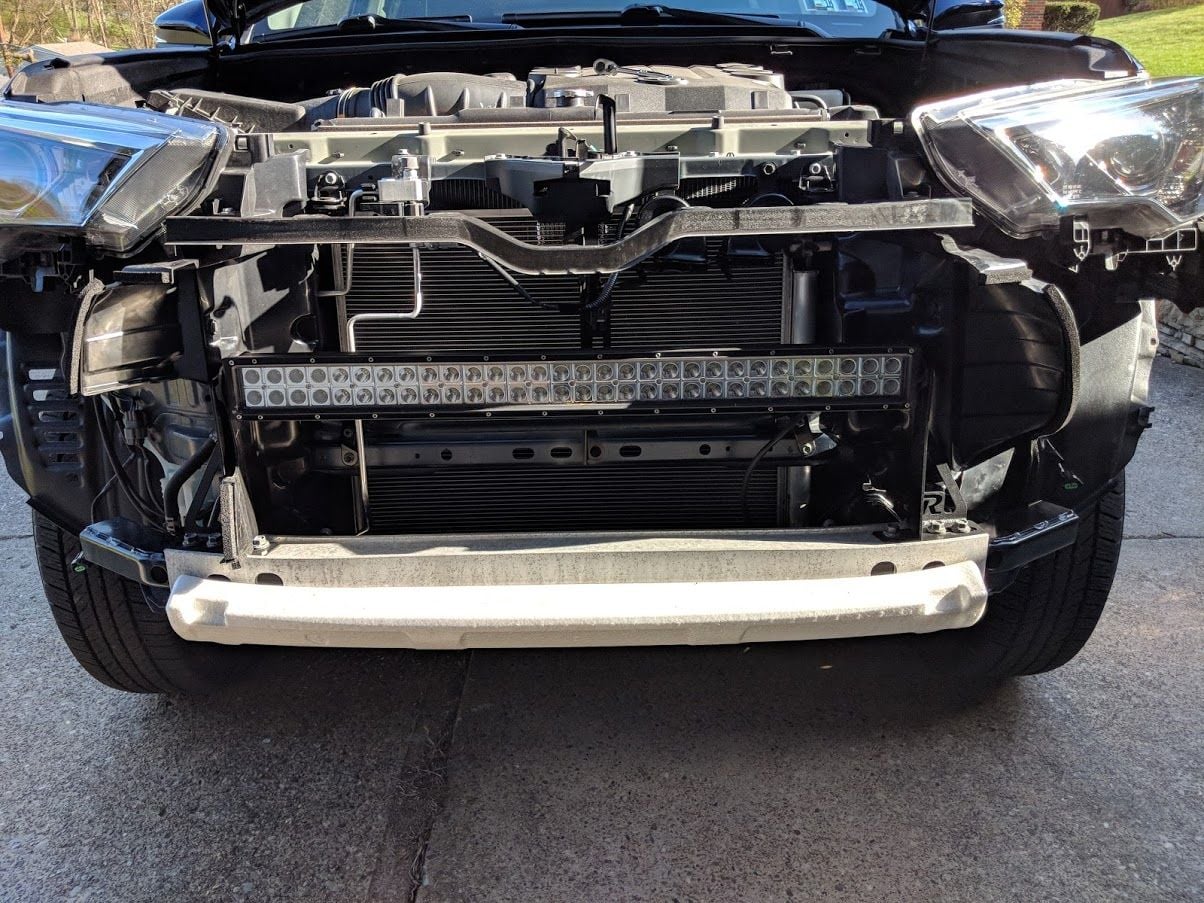
And voila! It took me a while to get the brackets mounted and widened for the larger screws, but I got everything mocked up and mounted

img_20180501_174429_ce8dfb4b4f5a83c327e8071e6dd7d1bec1db2648.jpg


This is the same 32" light bar that I removed from my 08

attachment.php


Not sure what these holes are tapped for, but I'll take it! Rago relay holder installed

img_20180501_171710_531c62e6fc67f72ca513cba009075dc897dc09cc.jpg


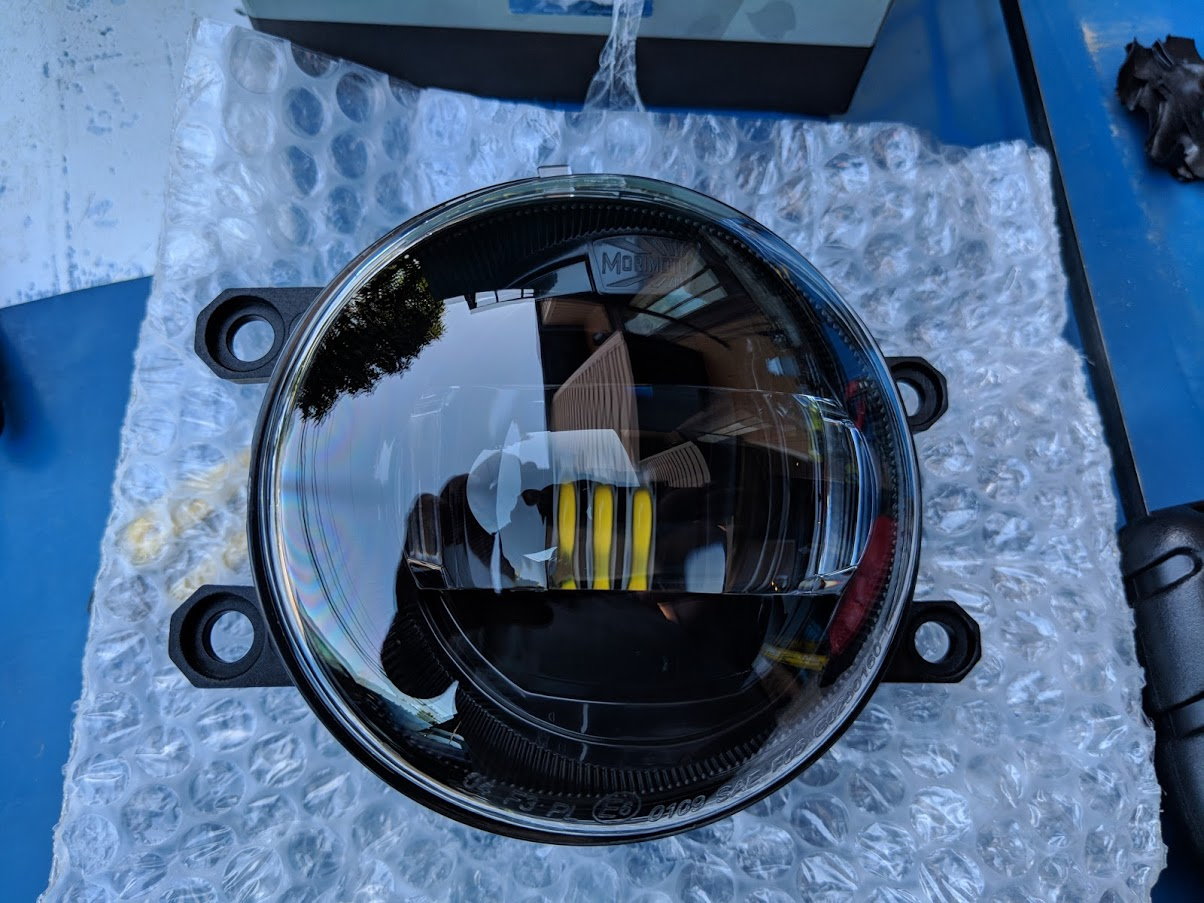
Since I had the bumper off I also had to install my Black Morimoto XB LED fog lights as well

mvimg_20180501_181549_3e2d95a00a403a0c294205fd9c1ed3f760f7ab38.jpg


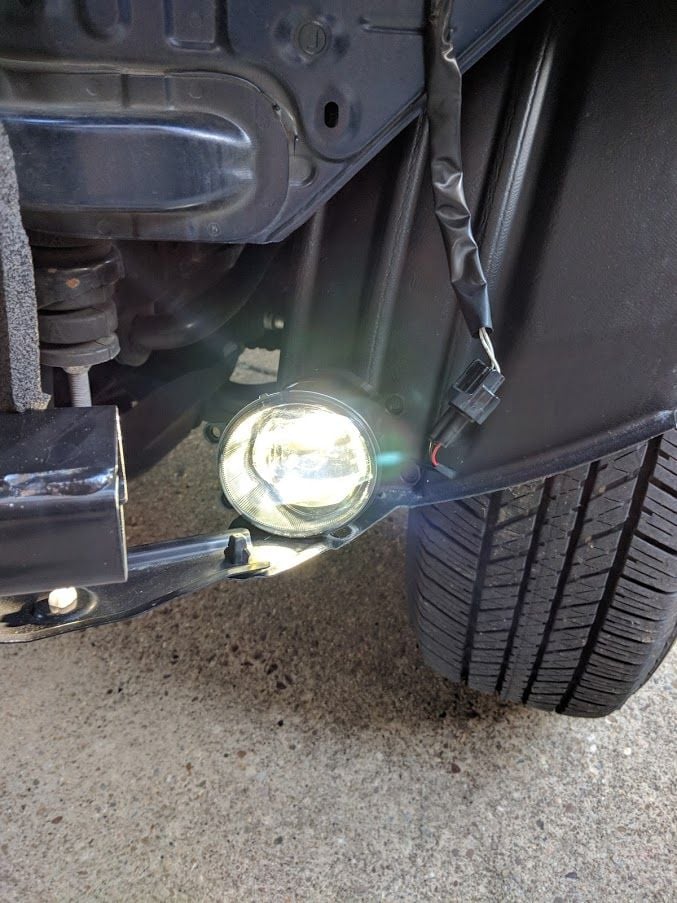
Testing the wiring out, these suckers are bright as hell

img_20180501_182539_abc5888e2170d1ba98f562e7dc17927e4b82d6f9.jpg


Fished the switch wiring and got the light bar all wired up!

img_20180501_191000_d7cb261c5a78eac135759a22af11c711ed5ce720.jpg


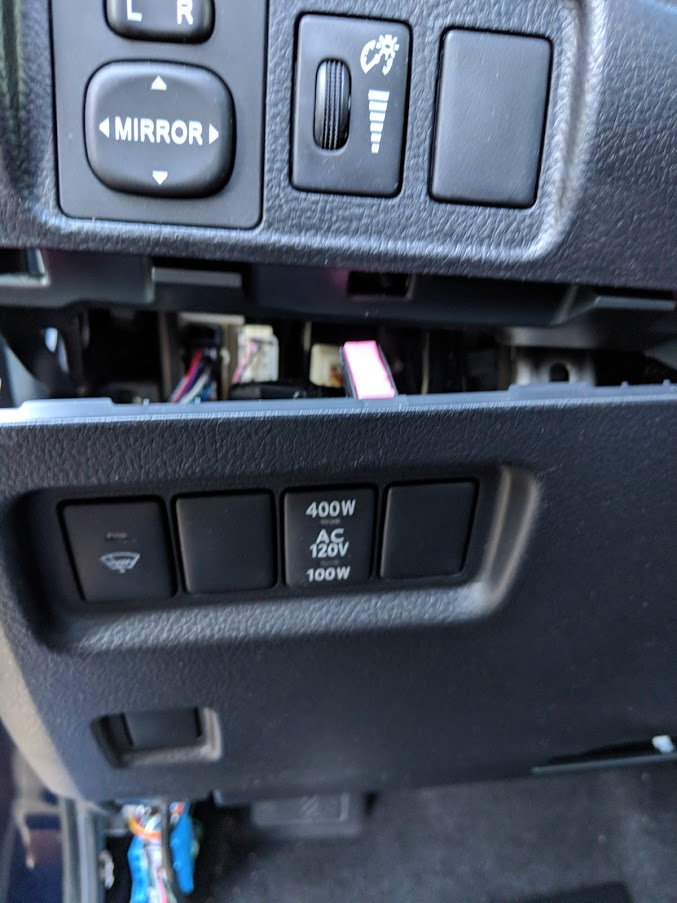
And now time for the new switch

img_20180501_192853_7ef8e73f4b5a12ac739cb70427b50eb478b8b34f.jpg


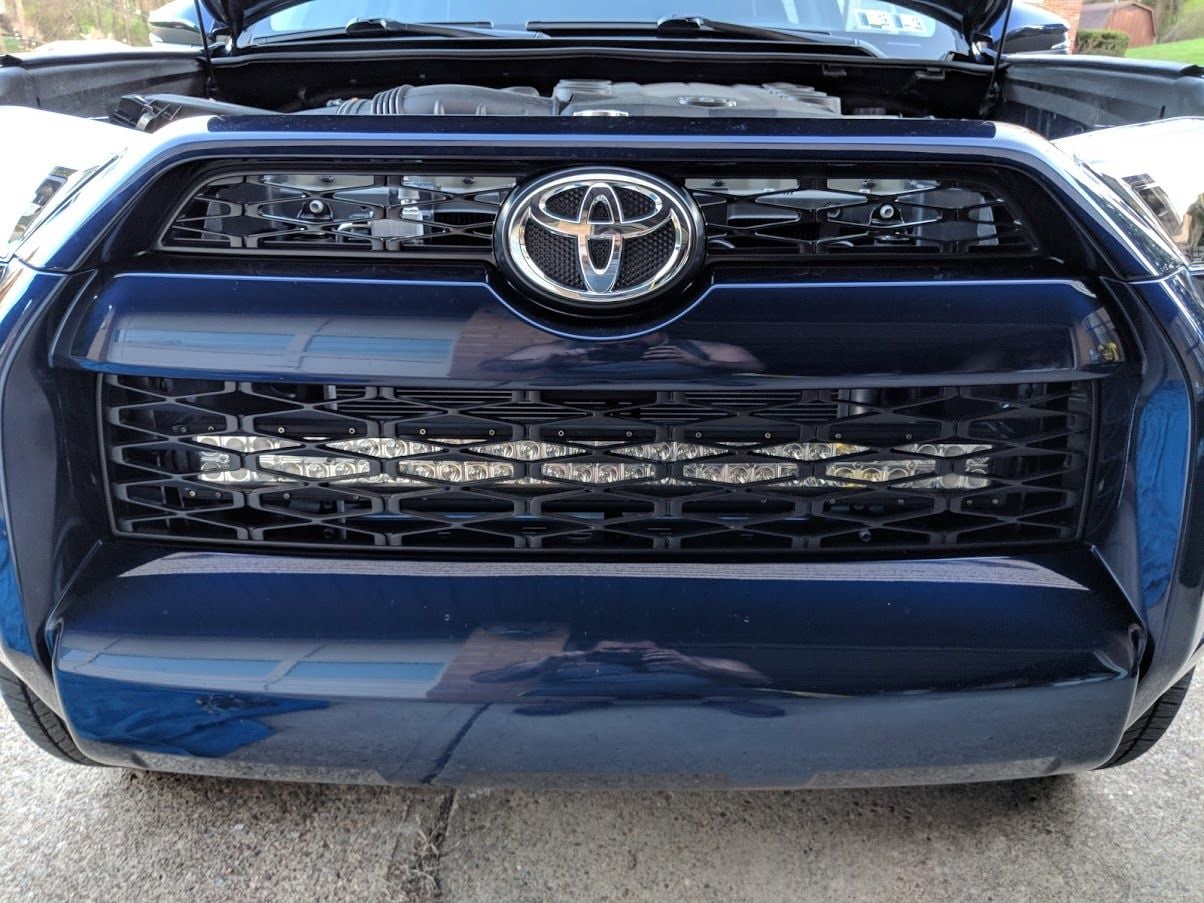
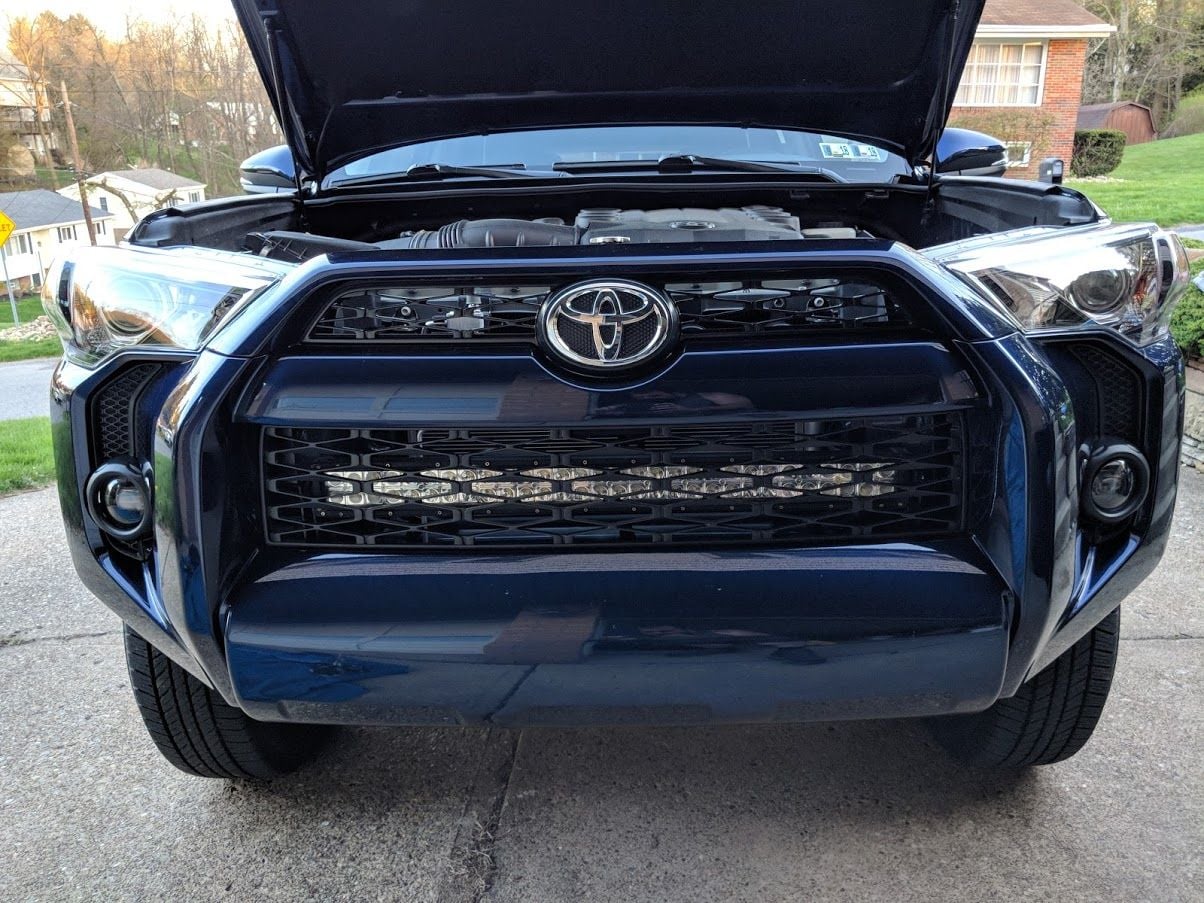
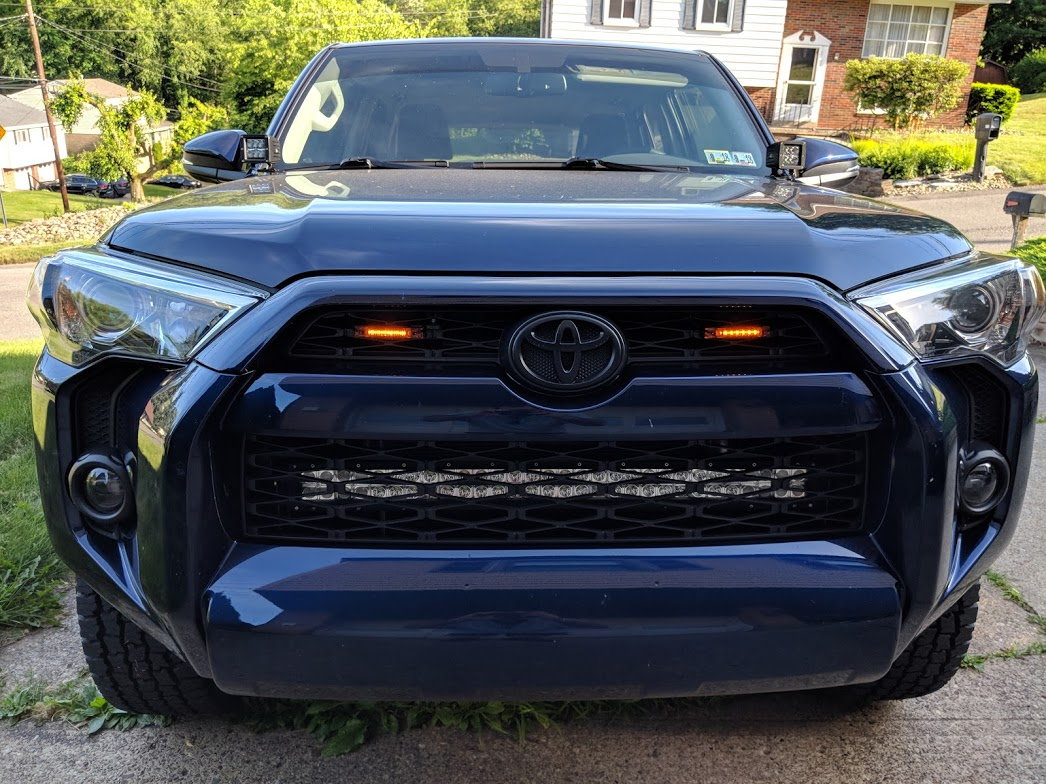
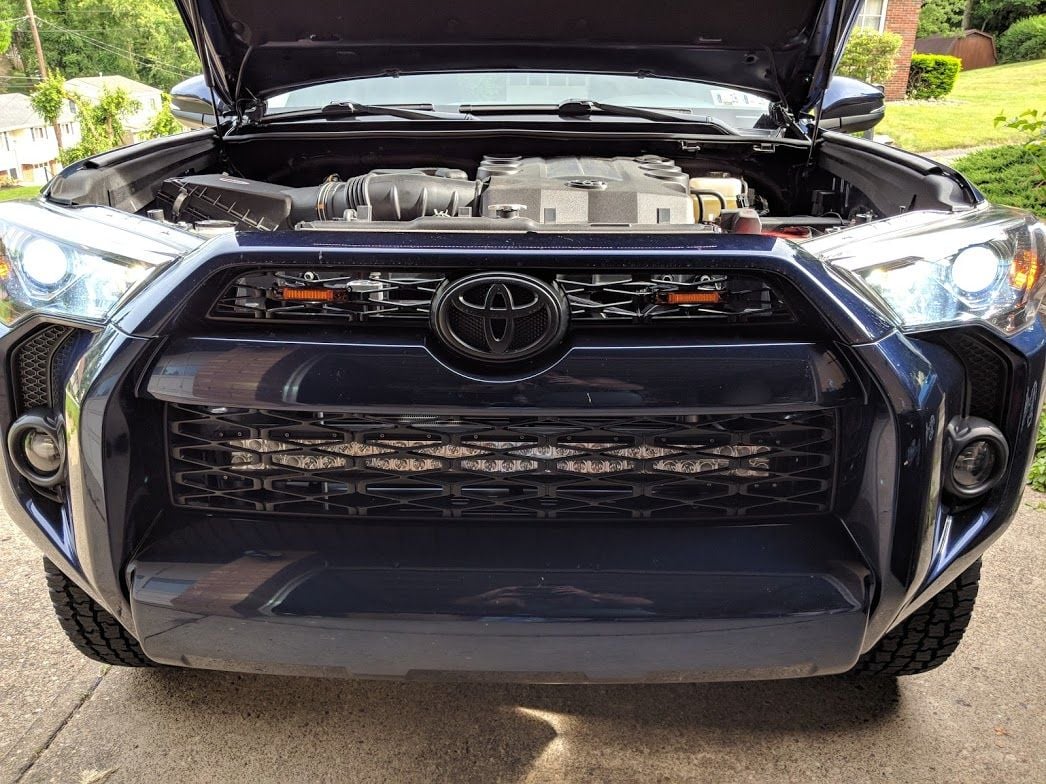
And here is the light bar hidden behind the factory grille, bumper wasn't bolted yet, just checking fitment

img_20180501_194832_ae8ddbee9eced3234faccf9e6e8ae615fee9bedc.jpg


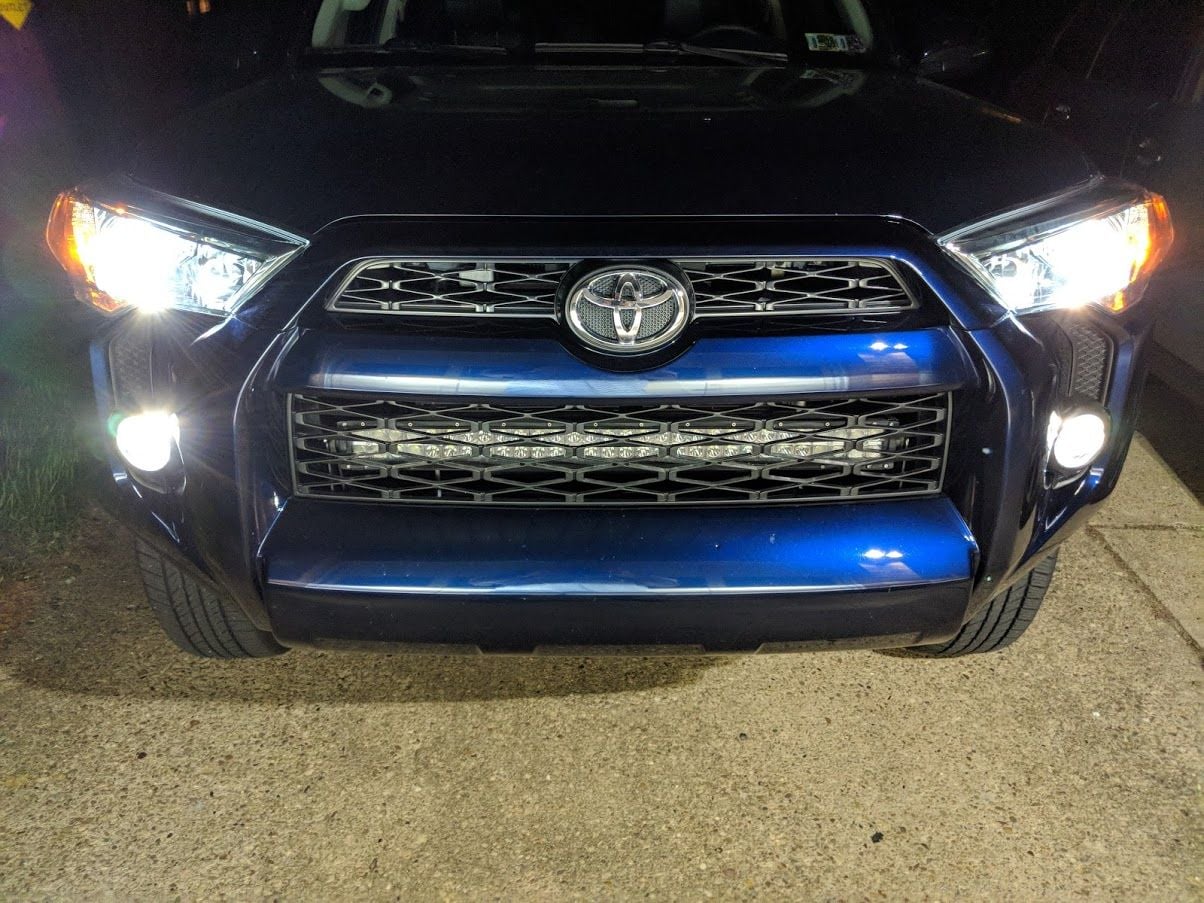
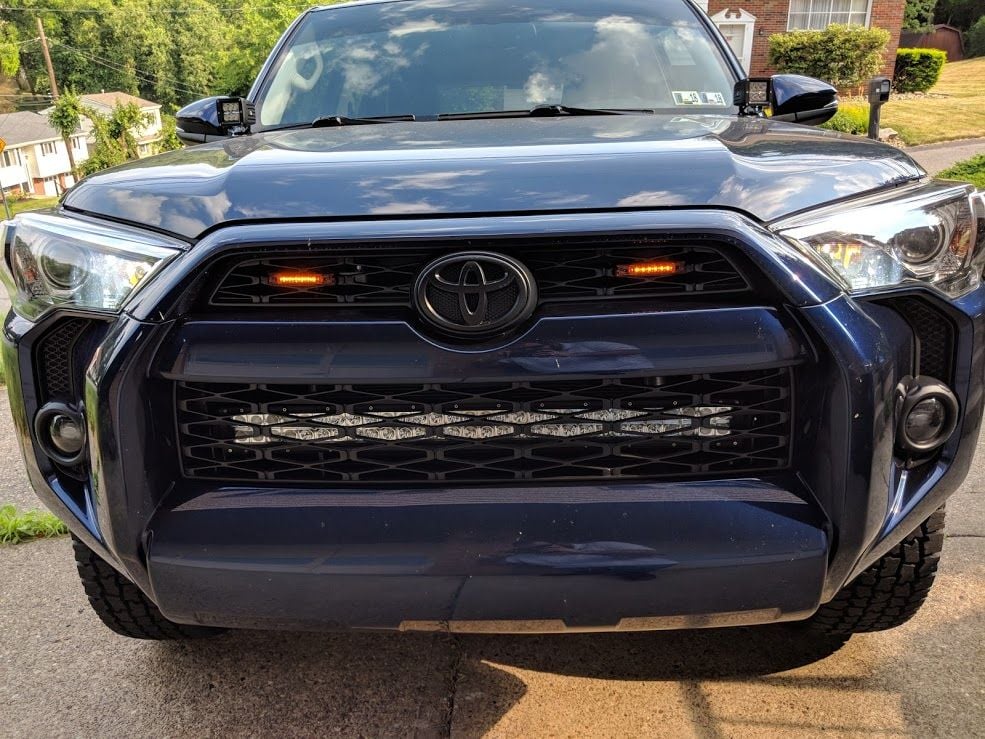
And all bolted up! You can see the new black LED fog lights as compared to the stock reflector housings
mvimg_20180501_194837_4a35b43c5afd0c1a154a5a6bfcd134ca500ffb82.jpg


All back together

mvimg_20180501_214742_1__d198795f4dc6513b46b1a060ce440b872bdb0620.jpg


And boom!

img_20180501_194856_bc6974ea891617c64b899f4adb772ea6e9124e94.jpg


I didn't actually get a pic with the LED fogs on because I blew the fog light fuse when testing the wires, so I have to pop that out today and replace it, but overall I'm super happy to have these pieces all installed and mounted to the truck. It's definitely feeling more and more like my truck, especially after getting my LED bar back in the grille where it belongs!

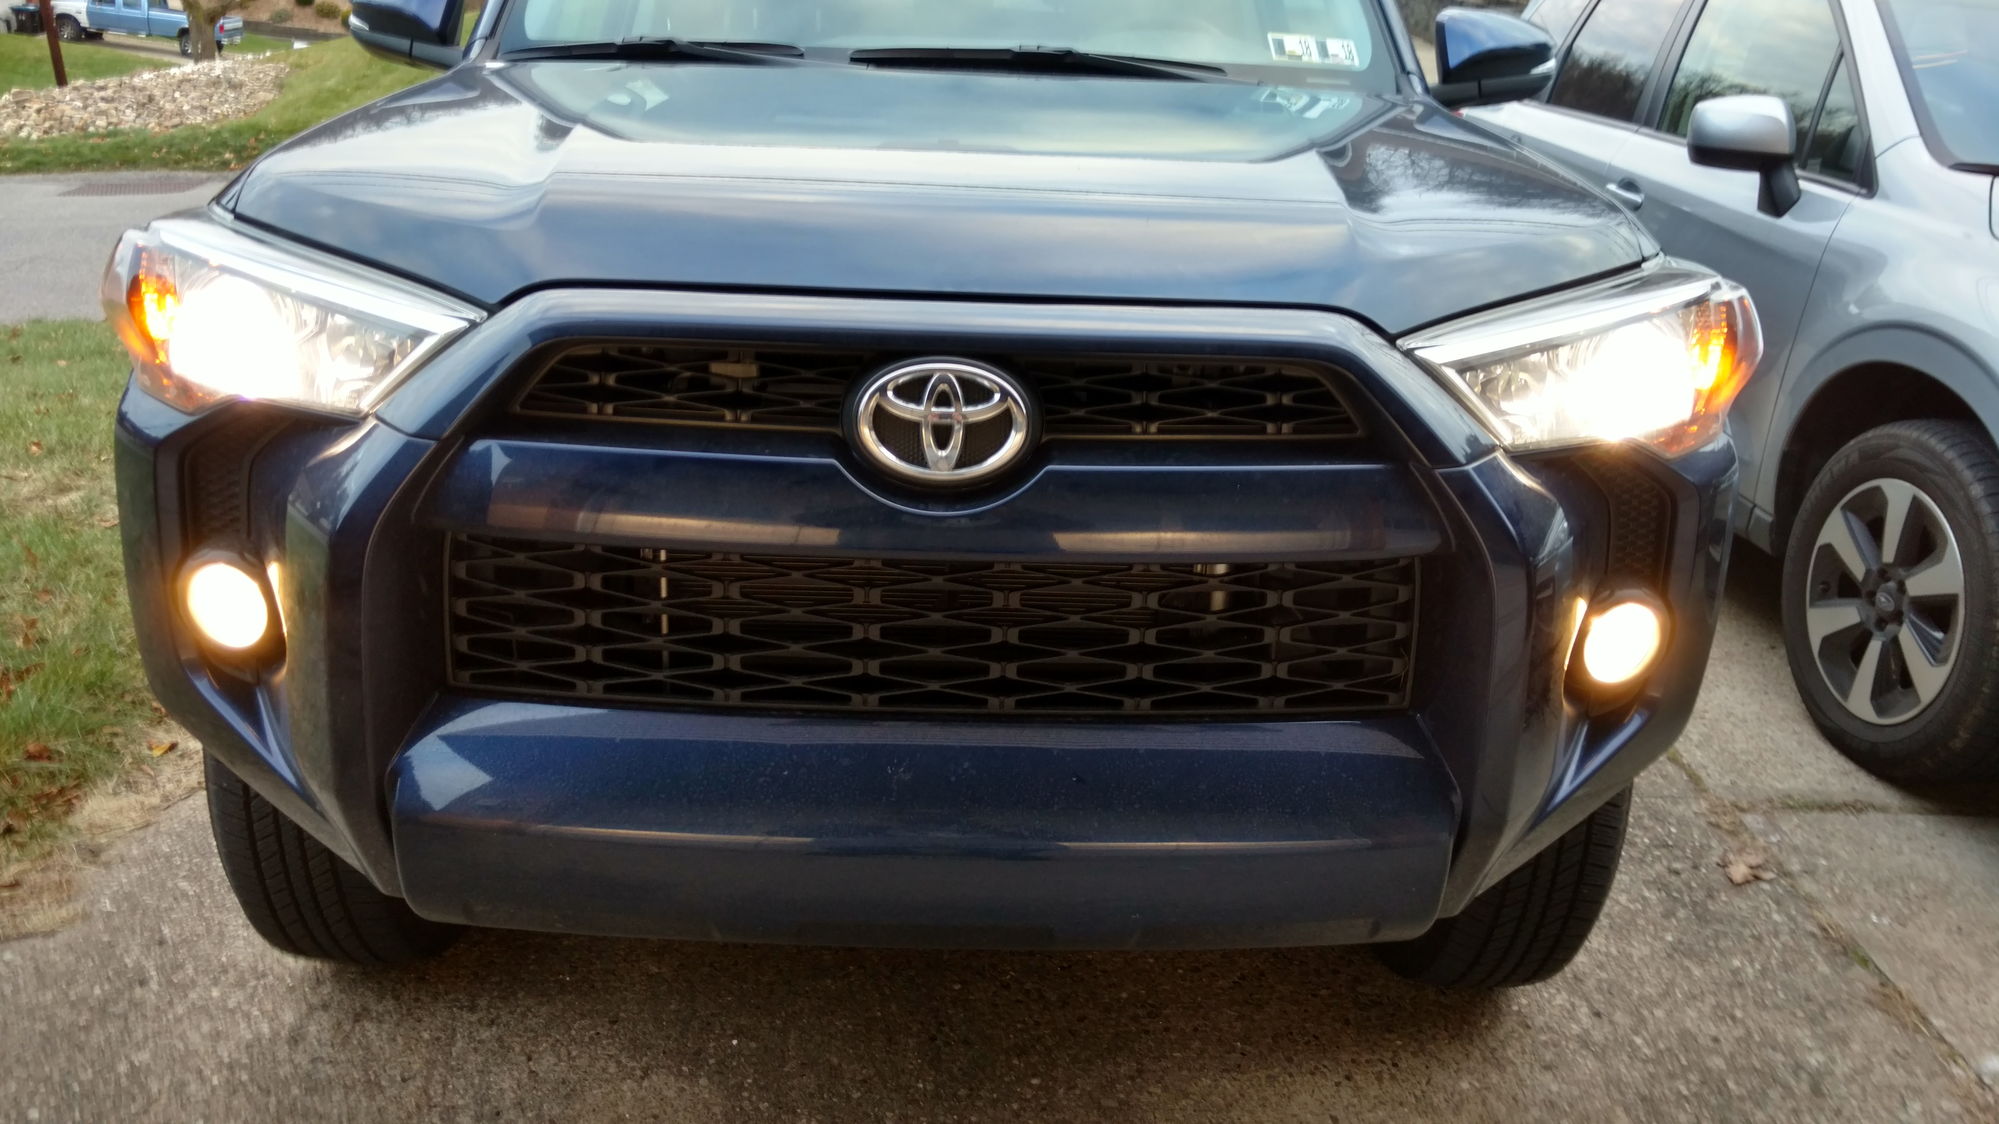
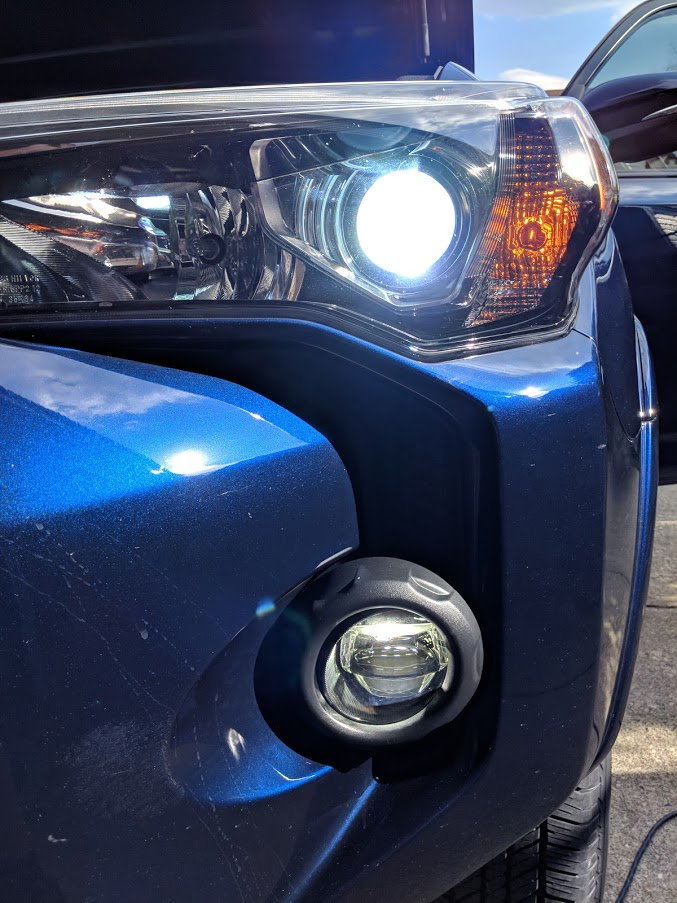
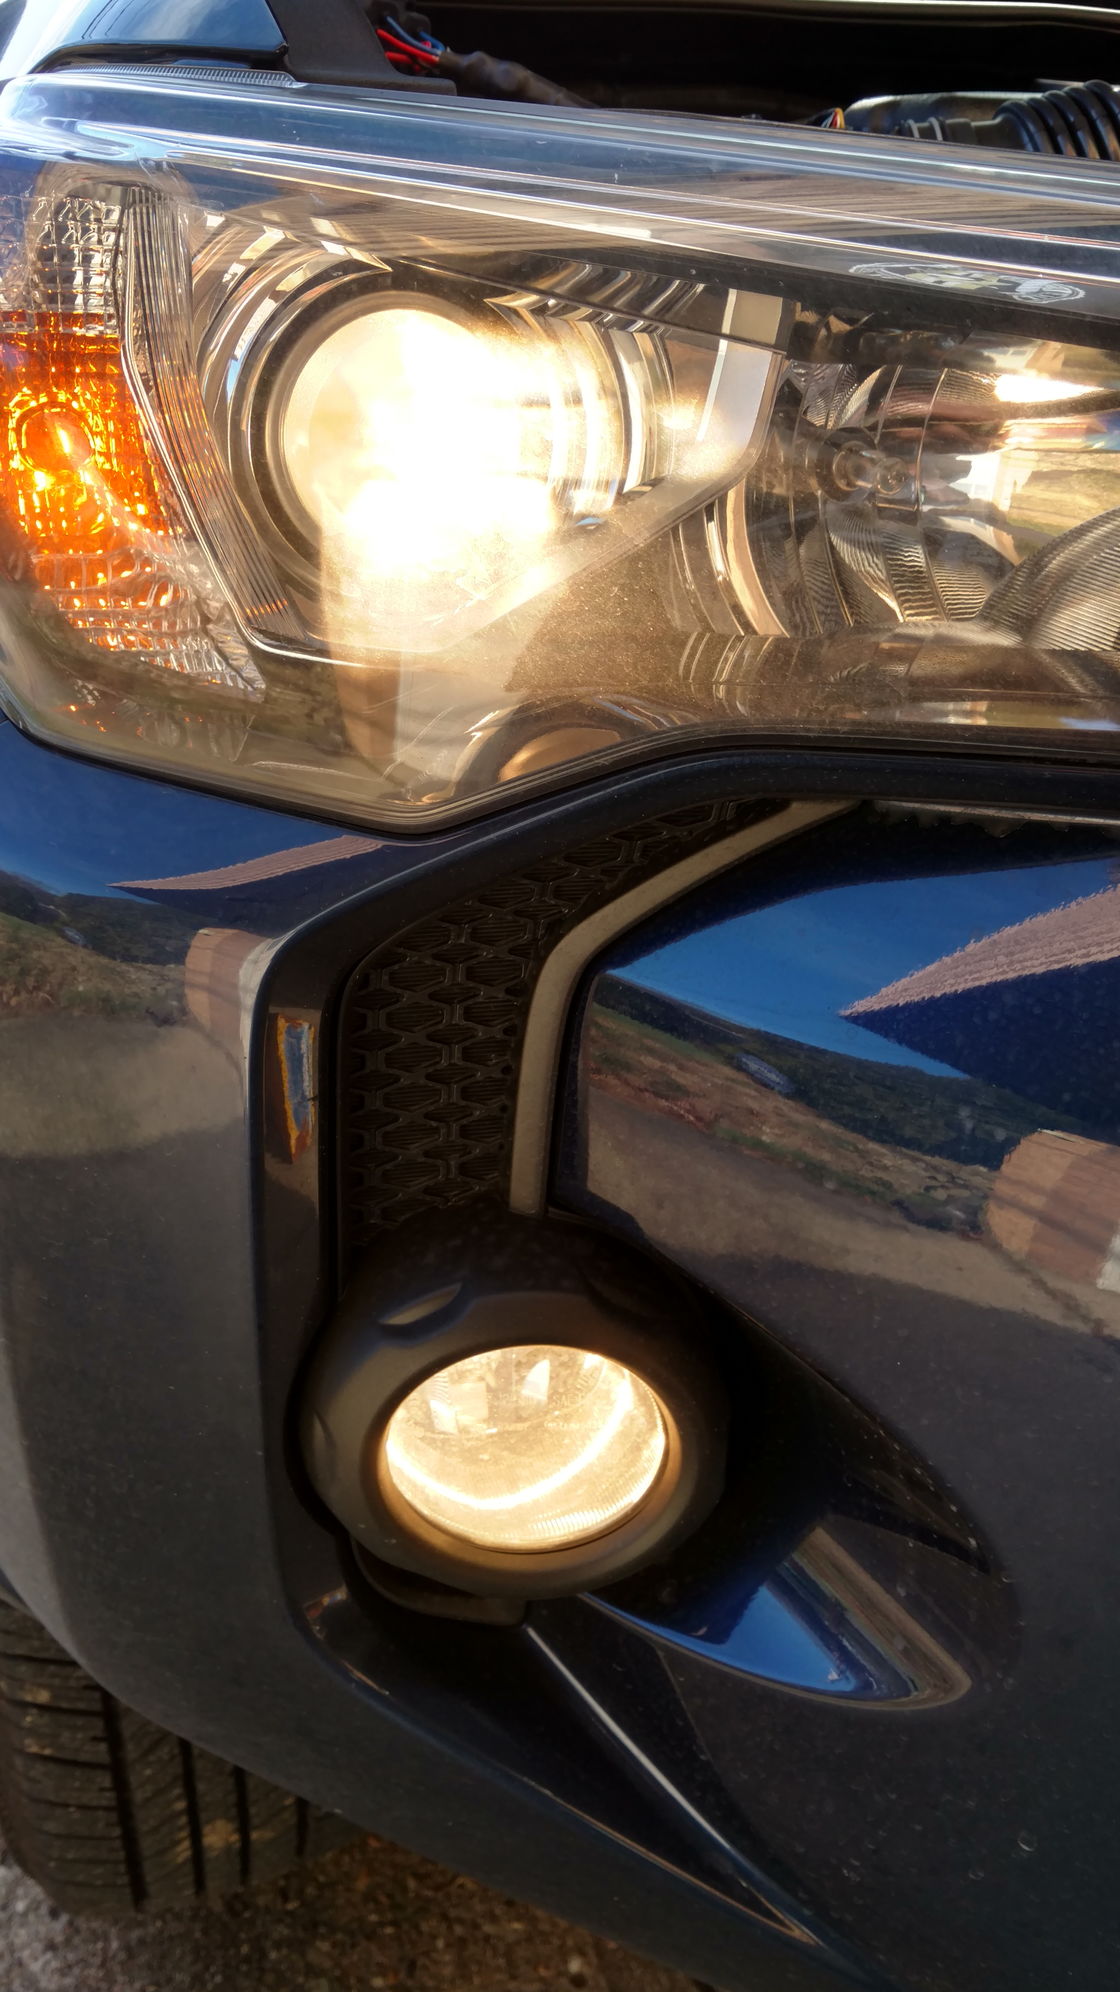
And I got the fog light fuse replaced (the wires touched while I was testing the wiring direction) so I got these bad boys fired up you can see that they match the HID's perfectly

mvimg_20180502_172149_96ad5b1d24ce4c8a6fd6b3d1a11526cc8fcdd0b3.jpg


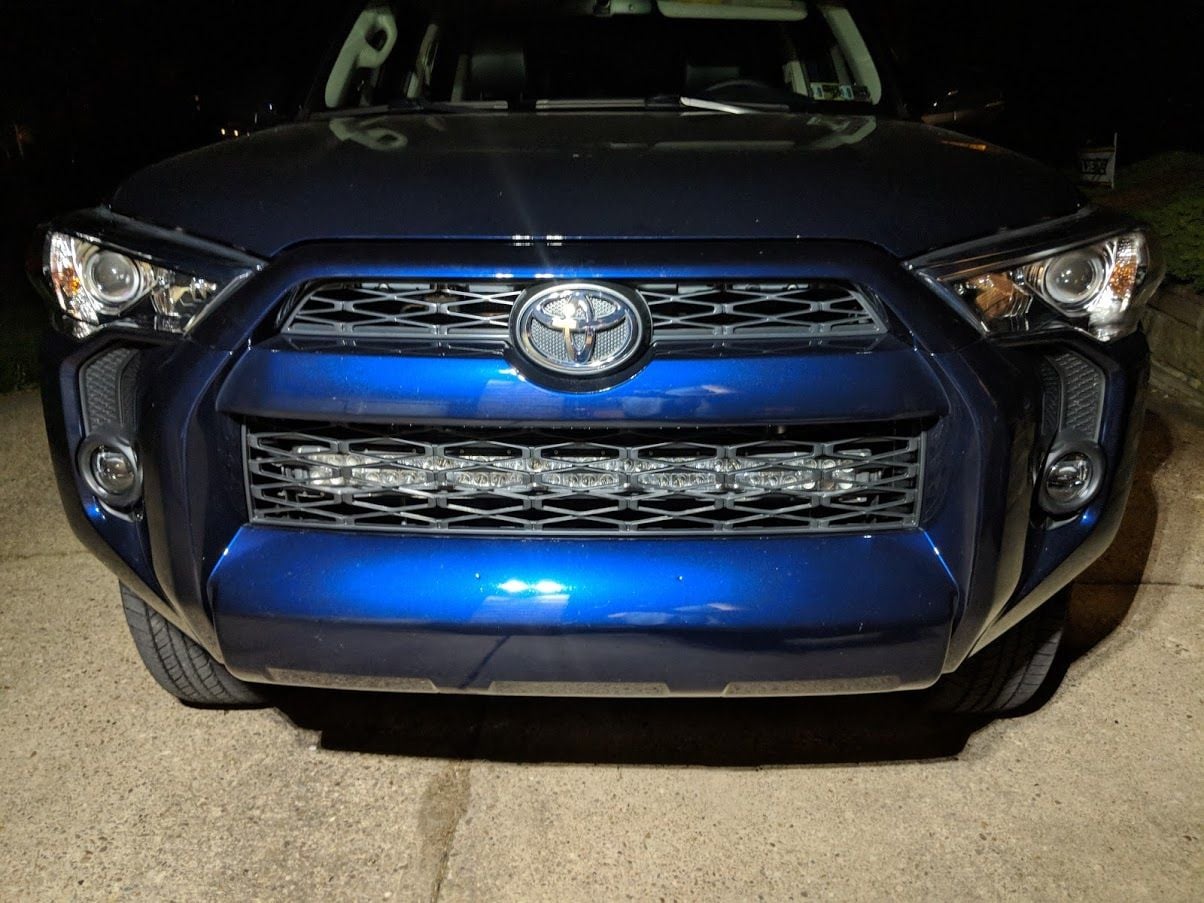
And some night time shots, you can see the nice fog light cutoff (gf was not impressed...)

img_20180502_205743_d99980b150520e4c90cd6e948f574b7eb9833357.jpg


And the fogs at night

img_20180502_205759_1__1dd1ec4e495f595542d5c8dcb5c5b81b0febc641.jpg


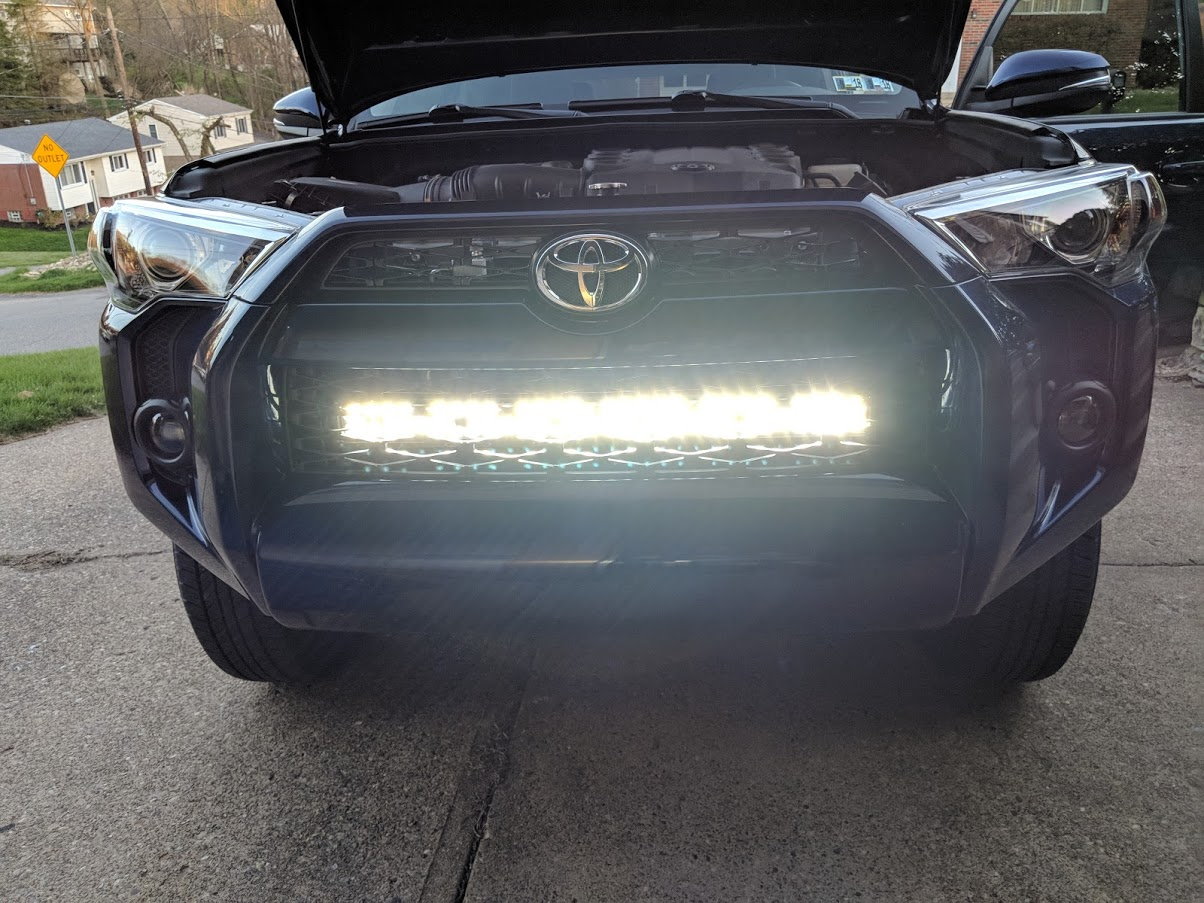
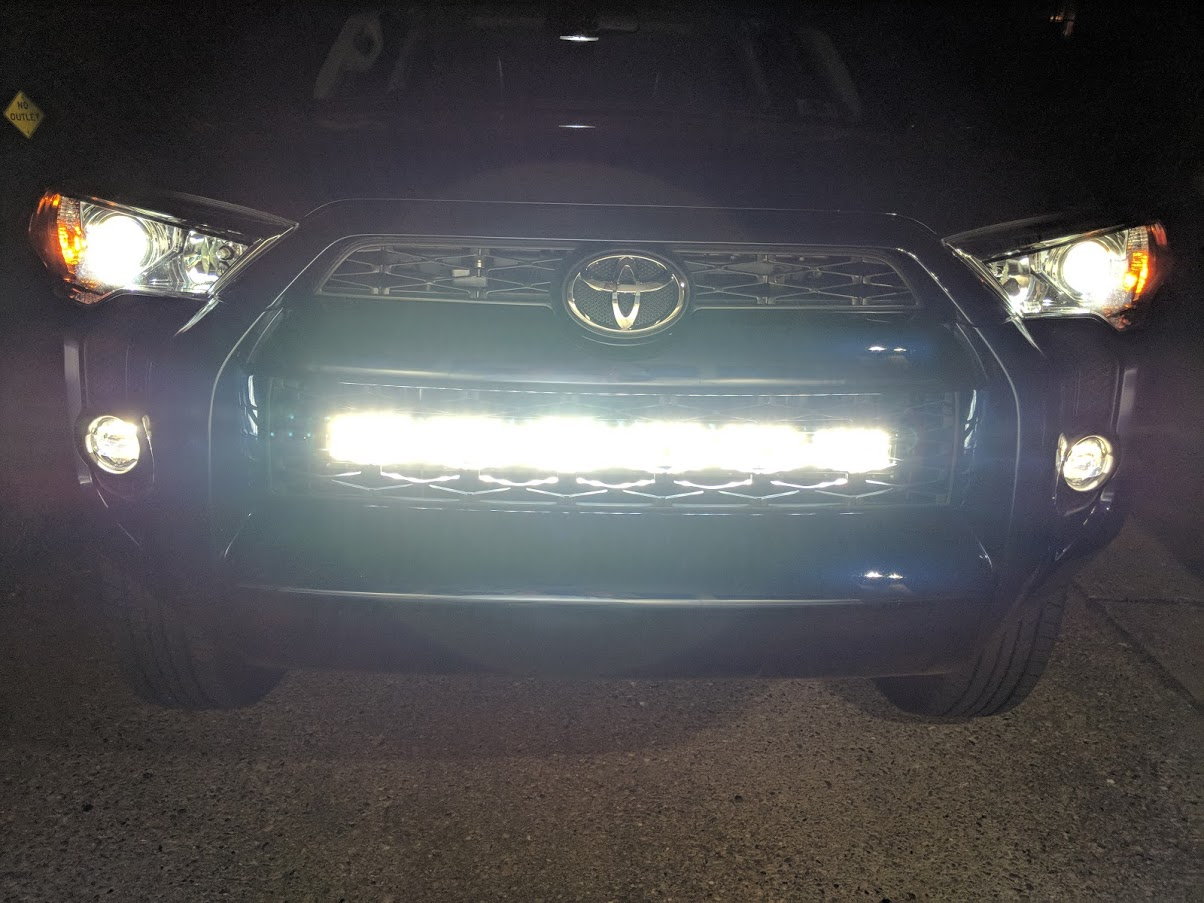
And this is the headlights, fog lights and LED bar, there is no breakup from the mesh of the grille, we tried it on several dark roads and couldn't tell the difference from when I had it exposed in my last truck, I'm super close to the garage door so it looks more like a spotlight than a flood, I have a mix of both

img_20180502_205816_beb1d7acaf718393f5649c2a0e3ca26ef24d4162.jpg


Say cheese! :dancin:

img_20180502_205826_0c97818704ecfdcb868821a487c1c83afe234f9b.jpg
 
Last edited:
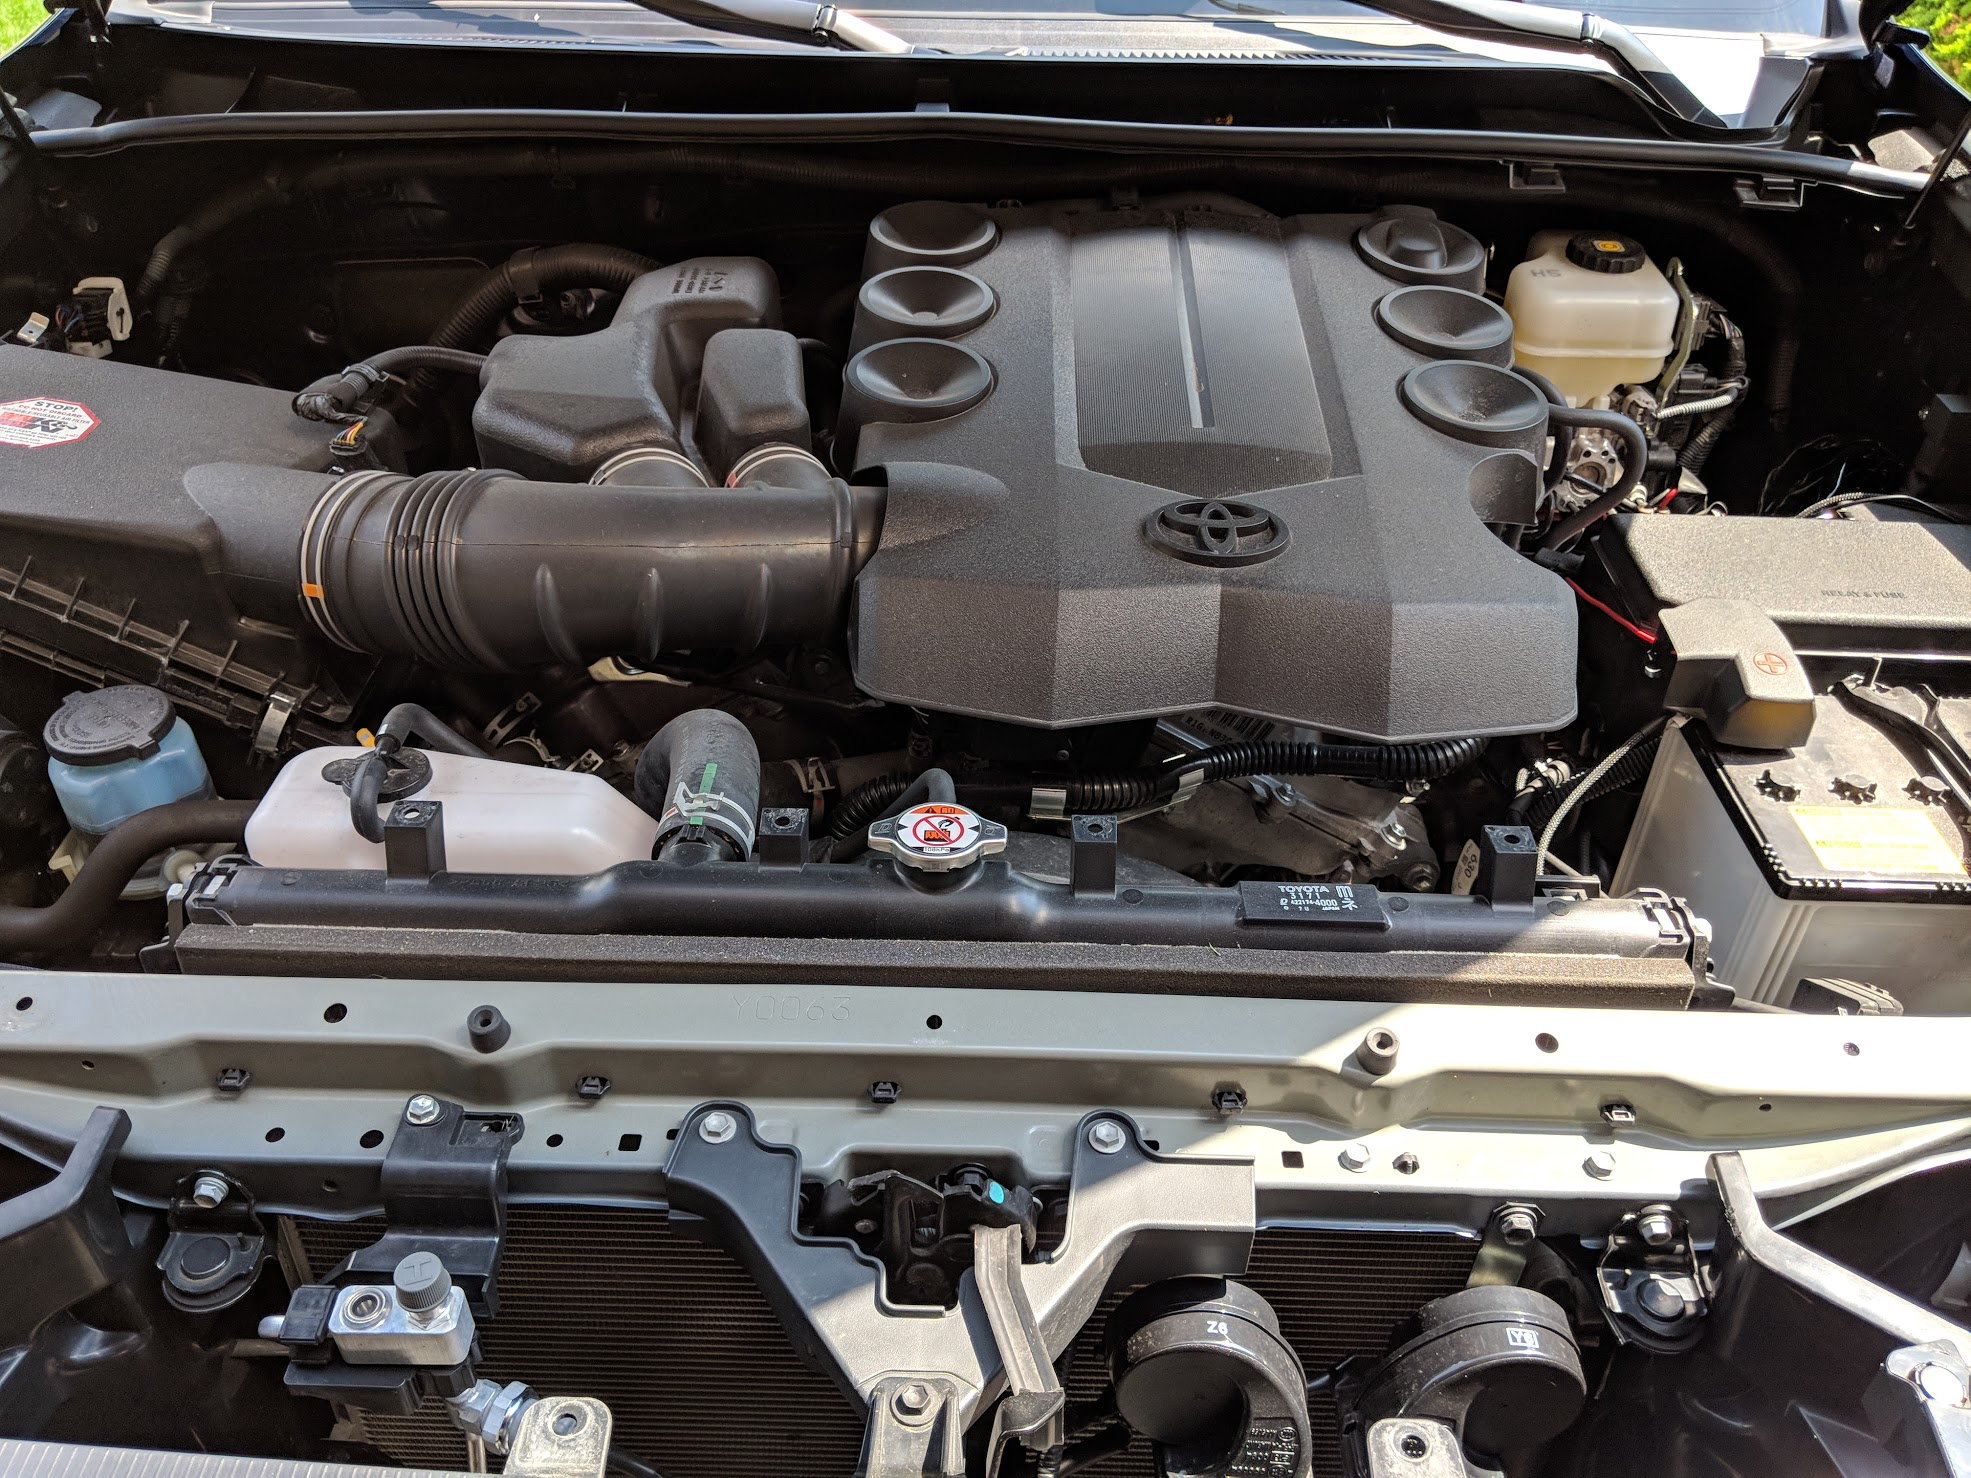
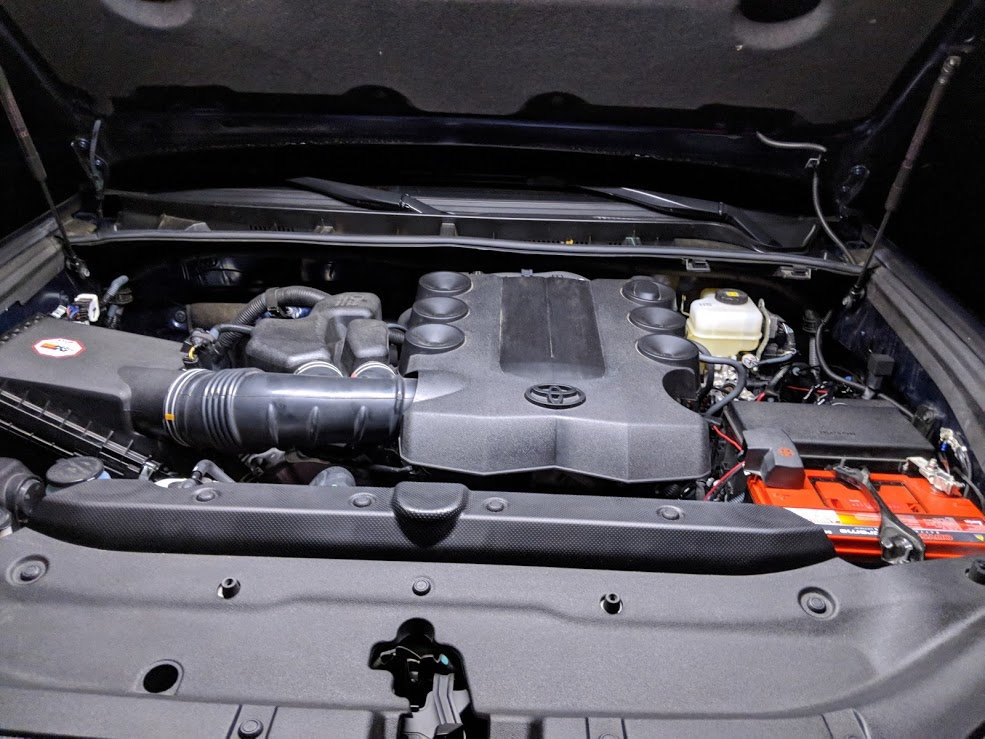
Got a number of small projects checked off the list all at once. I had some wiring that I wanted to clean up, a new battery to install, and some LED markers for the Raptor mod that I wanted to add, as well as a TRD Intake piece. So here's a quick run down of some of the work I did. The engine bay was dirty and had some salt residue from the winter so I wanted to detail that too while I was in there. Here's a before

mvimg_20180517_151835_40b4c4b97b7cf8e090199251e67241f914d7e659.jpg


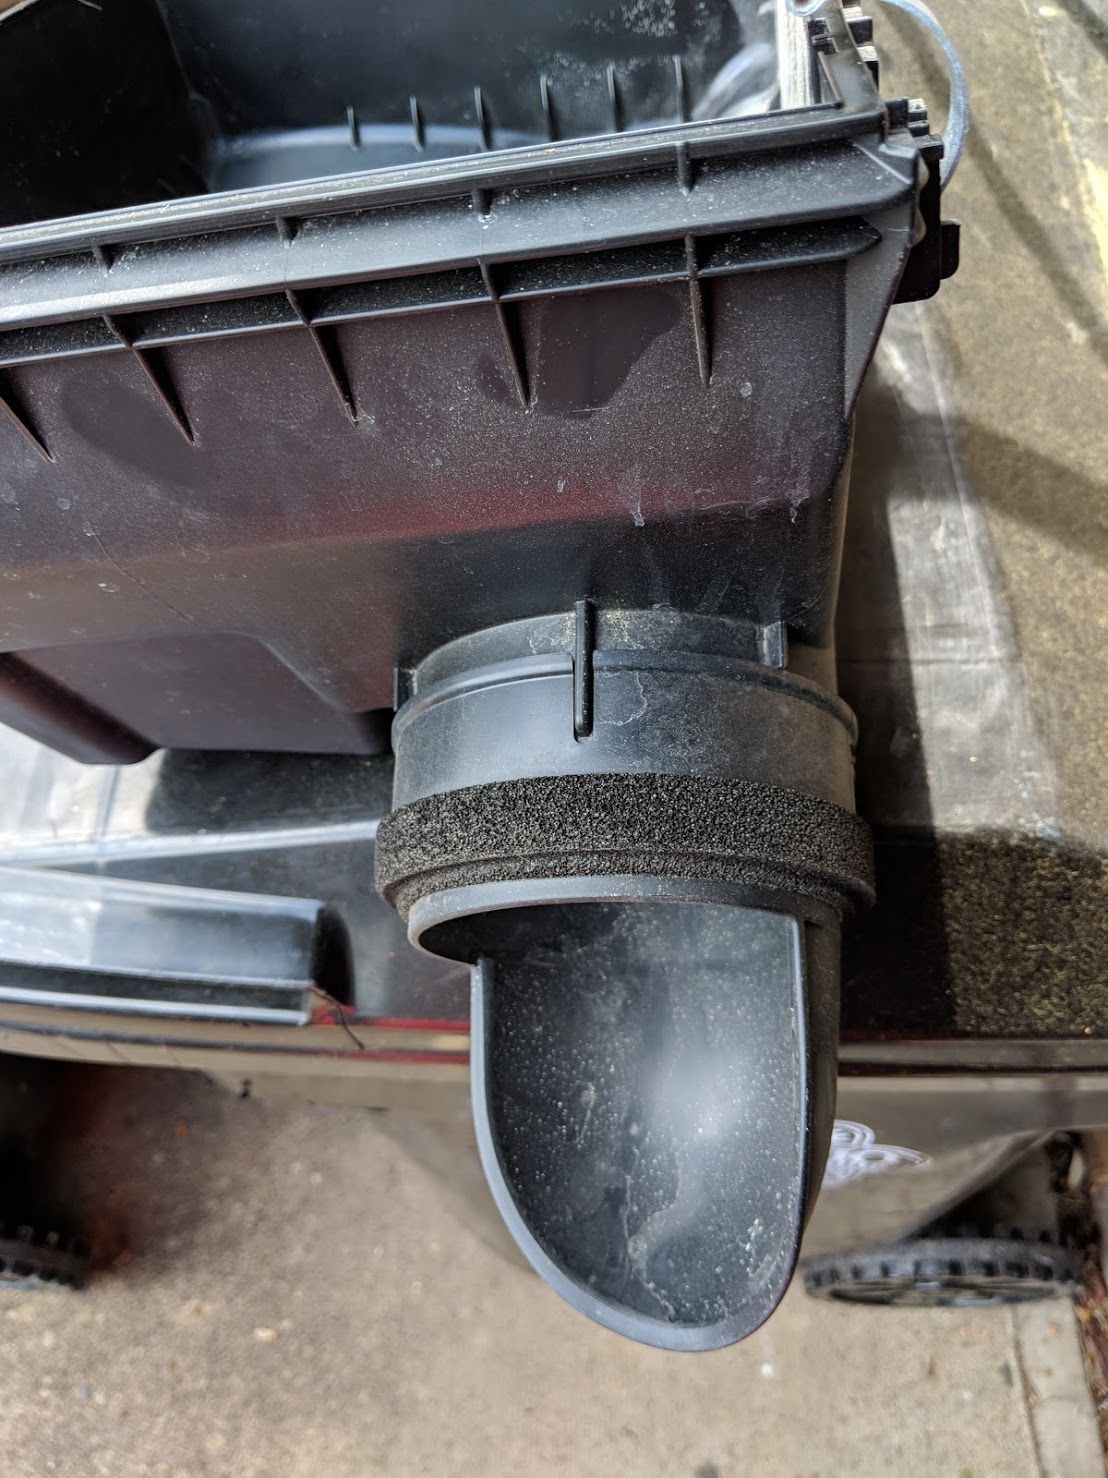
First mod was the TRD airflow accelerator piece from the TRD intake, I didn't really want to spend the 3-400 bucks especially since I already dropped some coin on the K&N Drop in filter which isn't compatible with the TRD (go figure). So I picked up this piece for like $10, this is one of the main components of the TRD intake and threw it on

img_20180517_184319_bb597b2d758043c1aa3ca9d20159decc9261afa6.jpg


A before of the stock intake piece

img_20180517_155630_3d355a964a3af108627f4631f62e10f9e46f0811.jpg


So for $10 I figured I'd throw this piece on which is designed to go into that inlet and force more air in from the fenderwell and not the engine bay, notice it even has the TRD stamp on it

img_20180517_155702_5aa8dd95293f02a0c16531aa08240d0d2cc5bb69.jpg


So I mounted this sucker up, here you can see the difference in the air flow.

img_20180517_161008_b8f235d71b0c77d75ab171ce0a7d7e72bd34a68c.jpg


The notches don't line up between the stock air box and the TRD piece (go figure) so I threw on a hose clamp to seal it and keep it in place. This hose clamp was actually from my old dryer vent lol

mvimg_20180517_161006_c6e08bd514e622a94b422f7838e395fb41b0538f.jpg


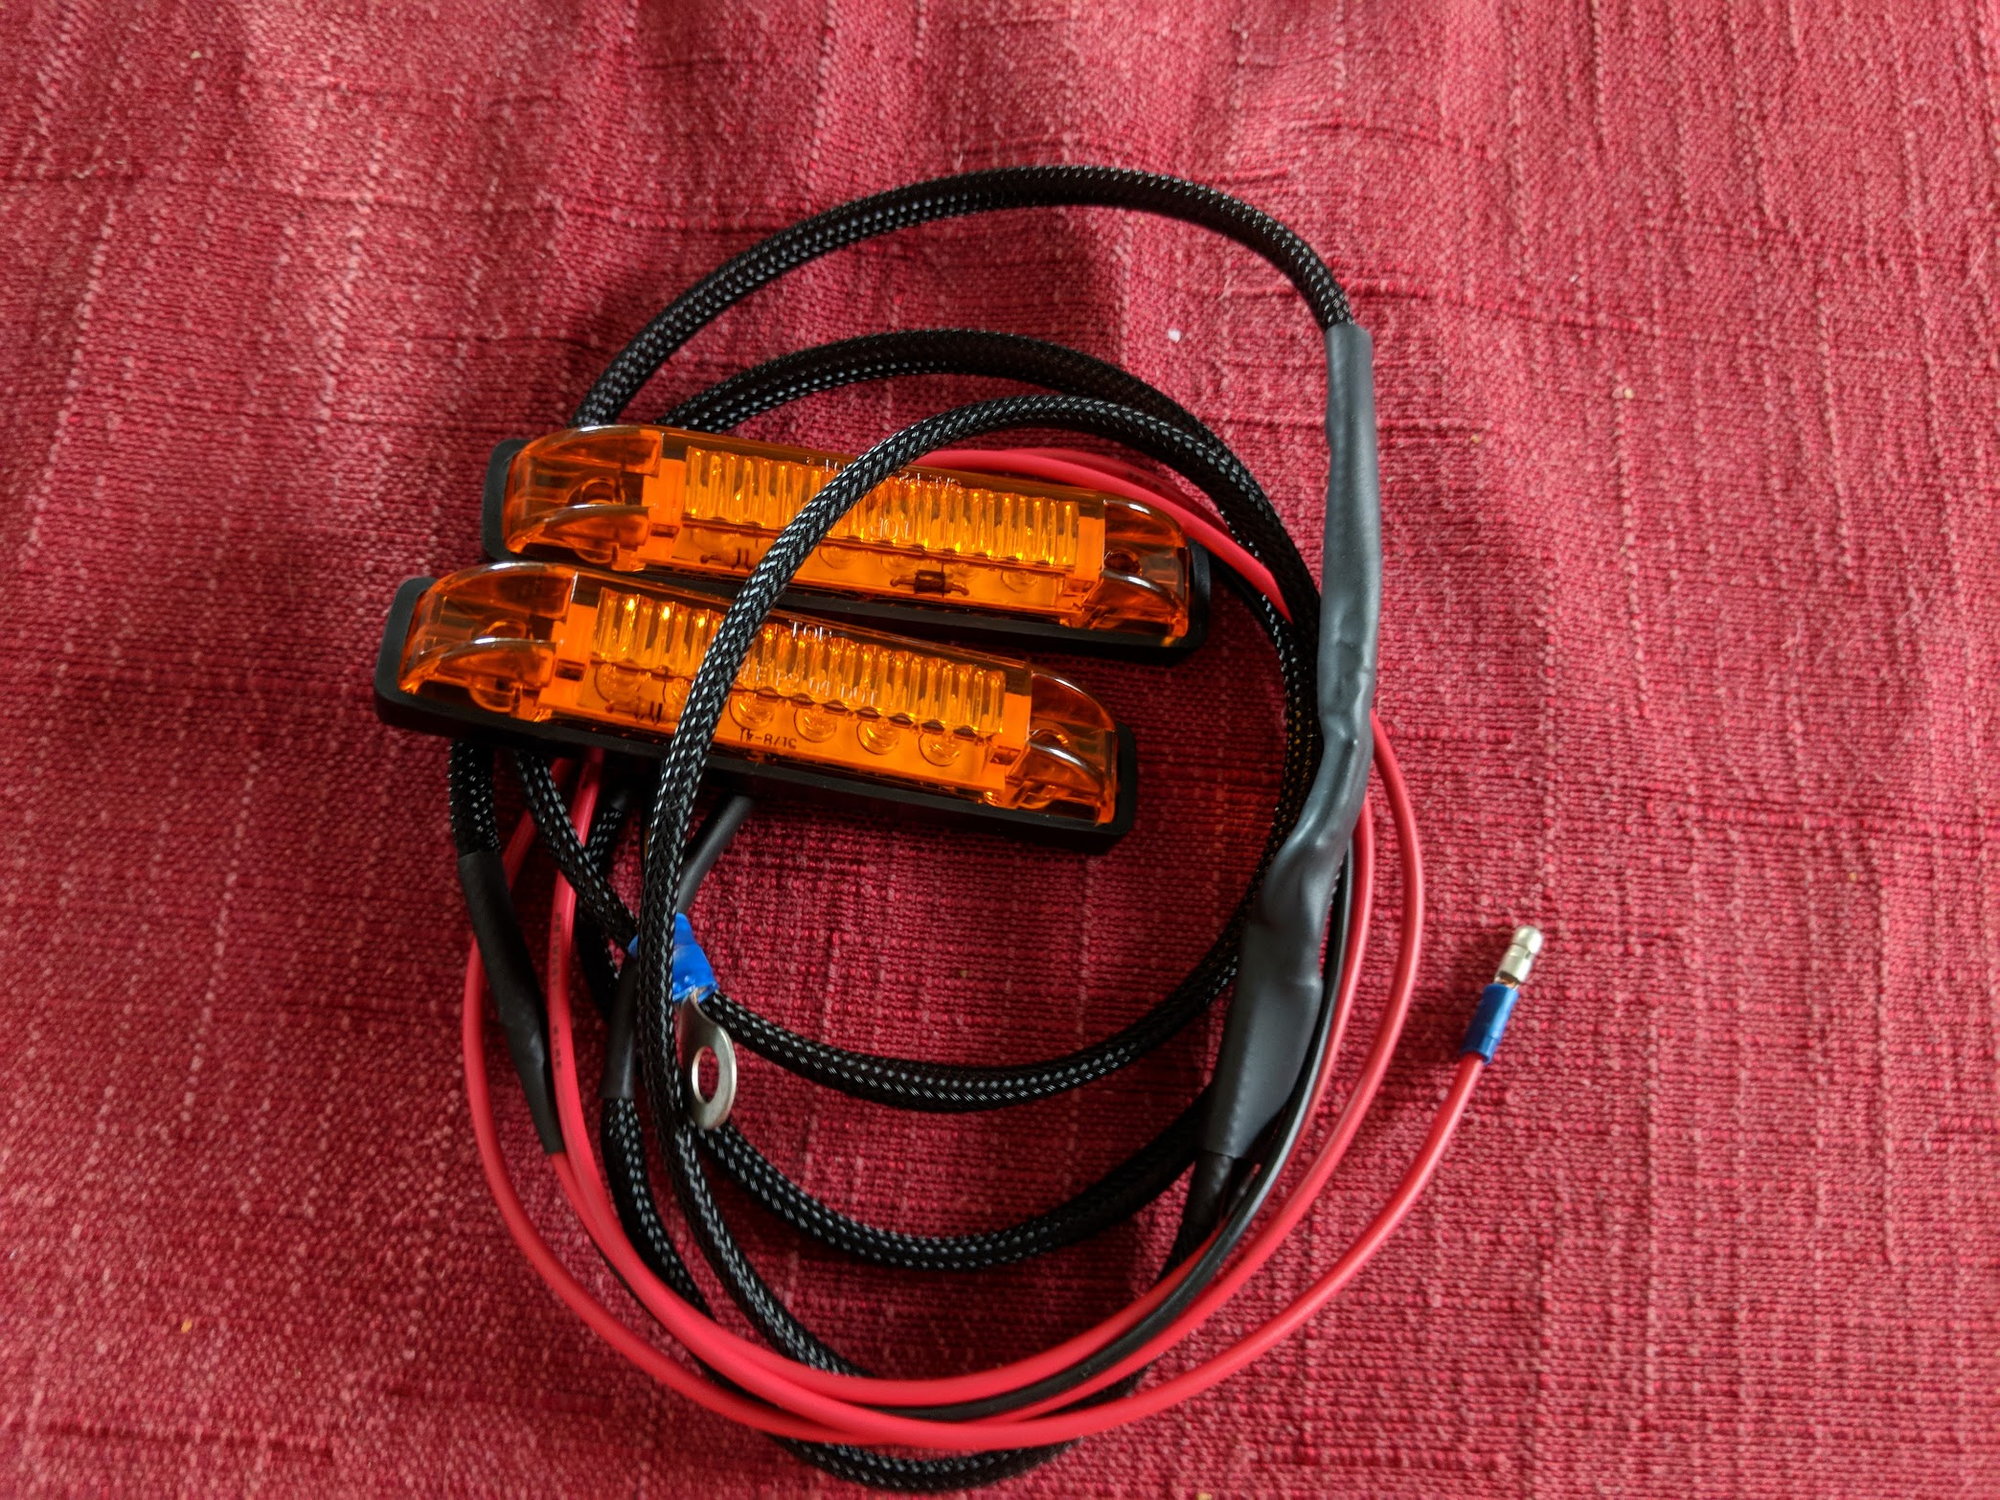
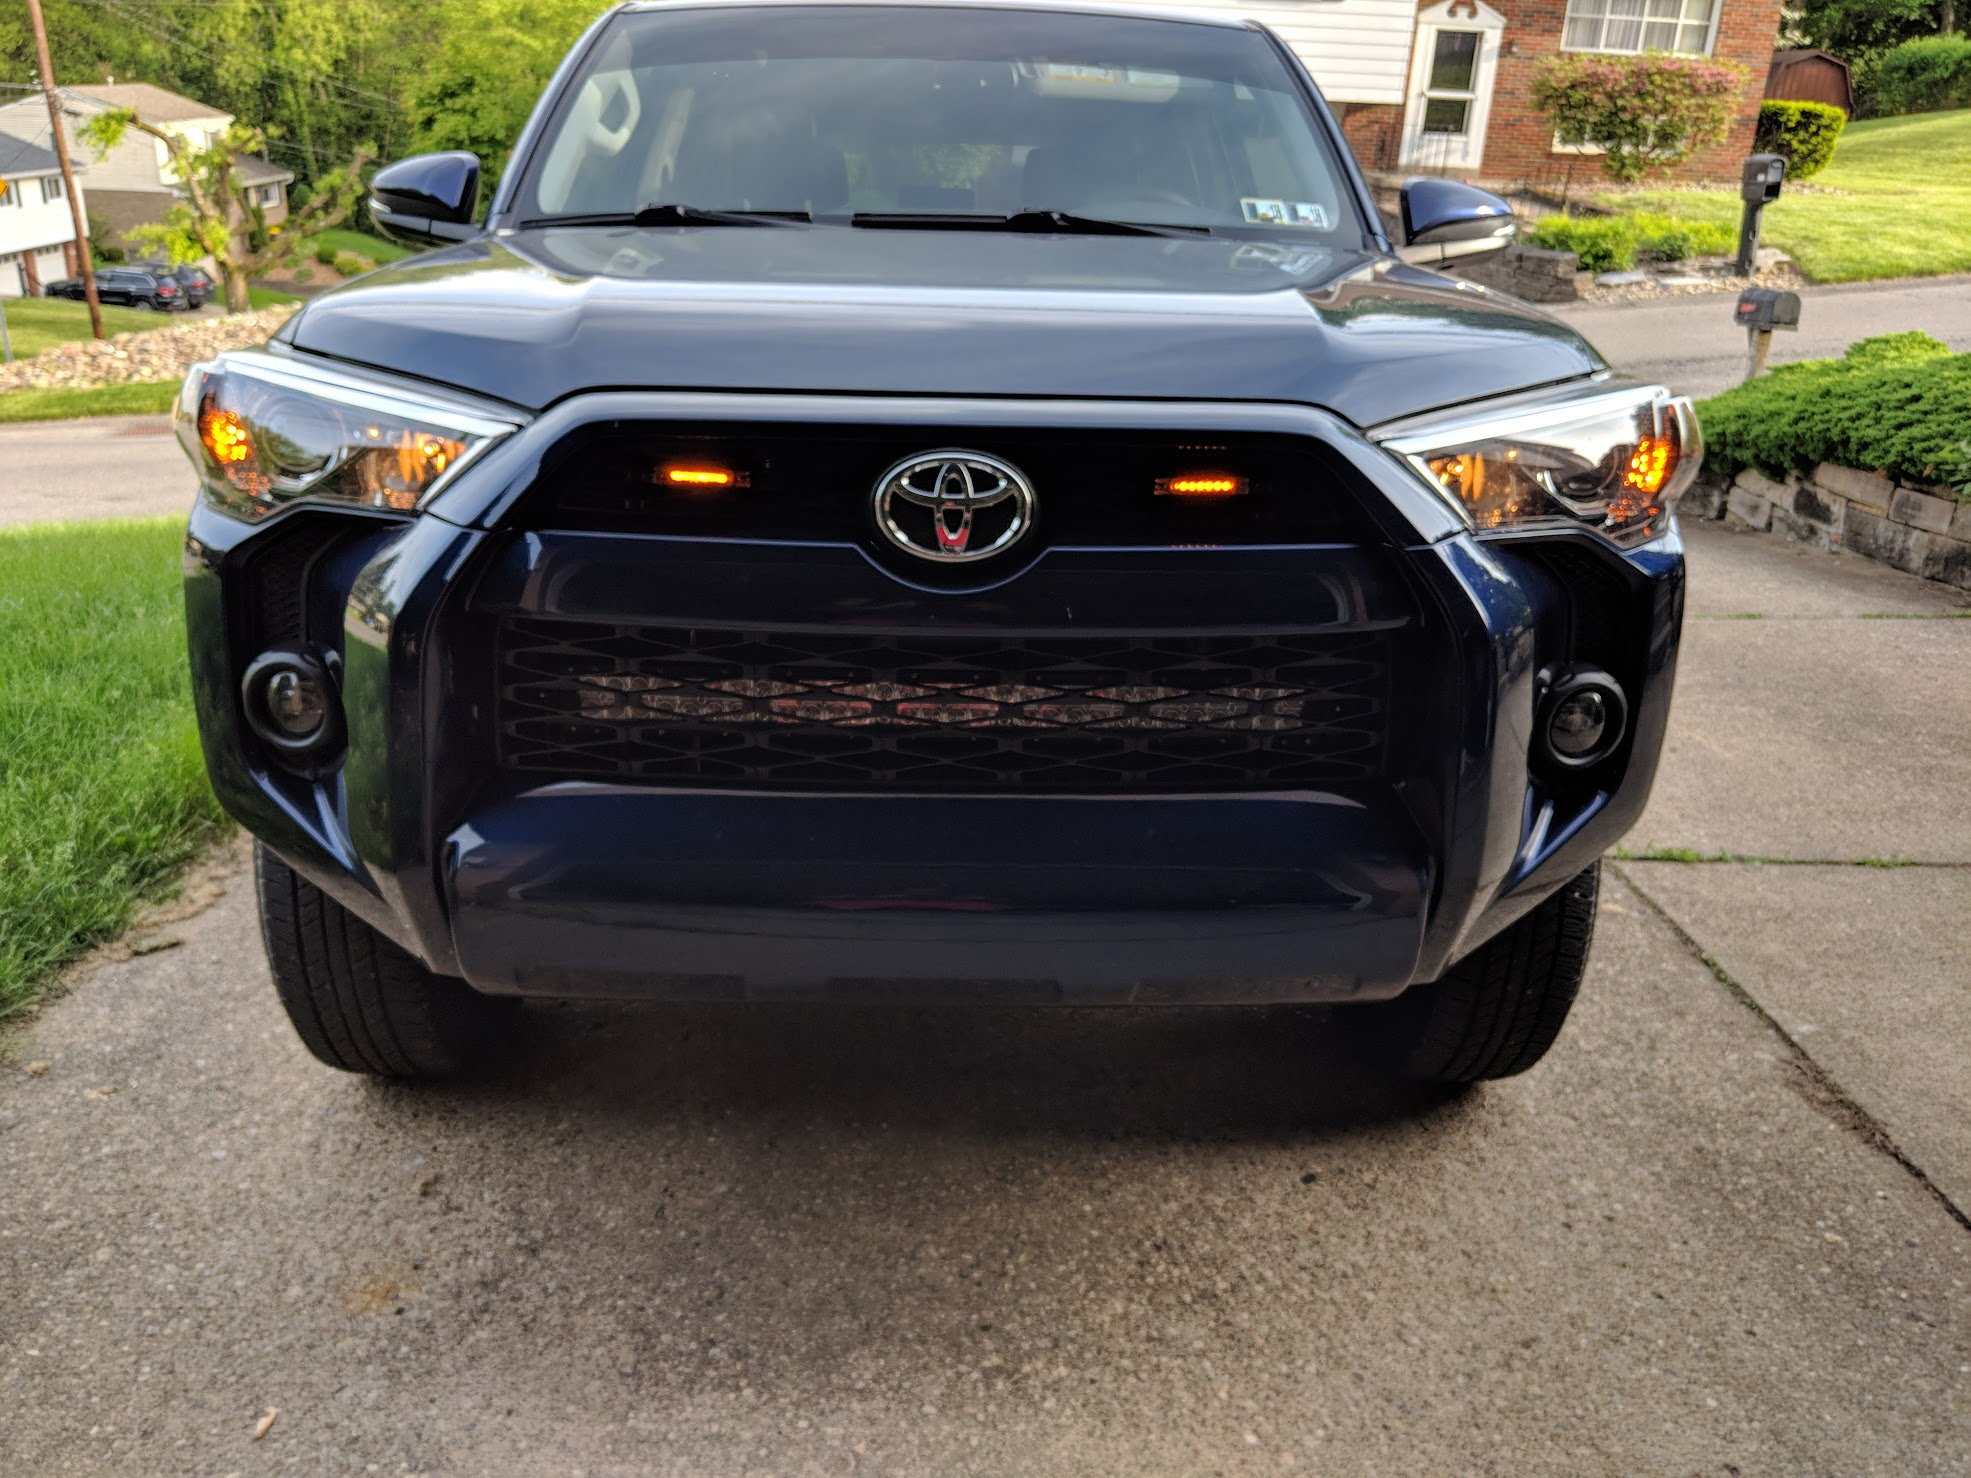
After I got the intake all reassembled and cleaned up I moved on to the next project on the list, the raptor mod. I got these from another member on here and they were brand new, so I got a good deal on them and they came prewired and ready to install.

img_20180515_171912_83147e7cdc4e2269f1a1c938197b7cf6b829cb72.jpg


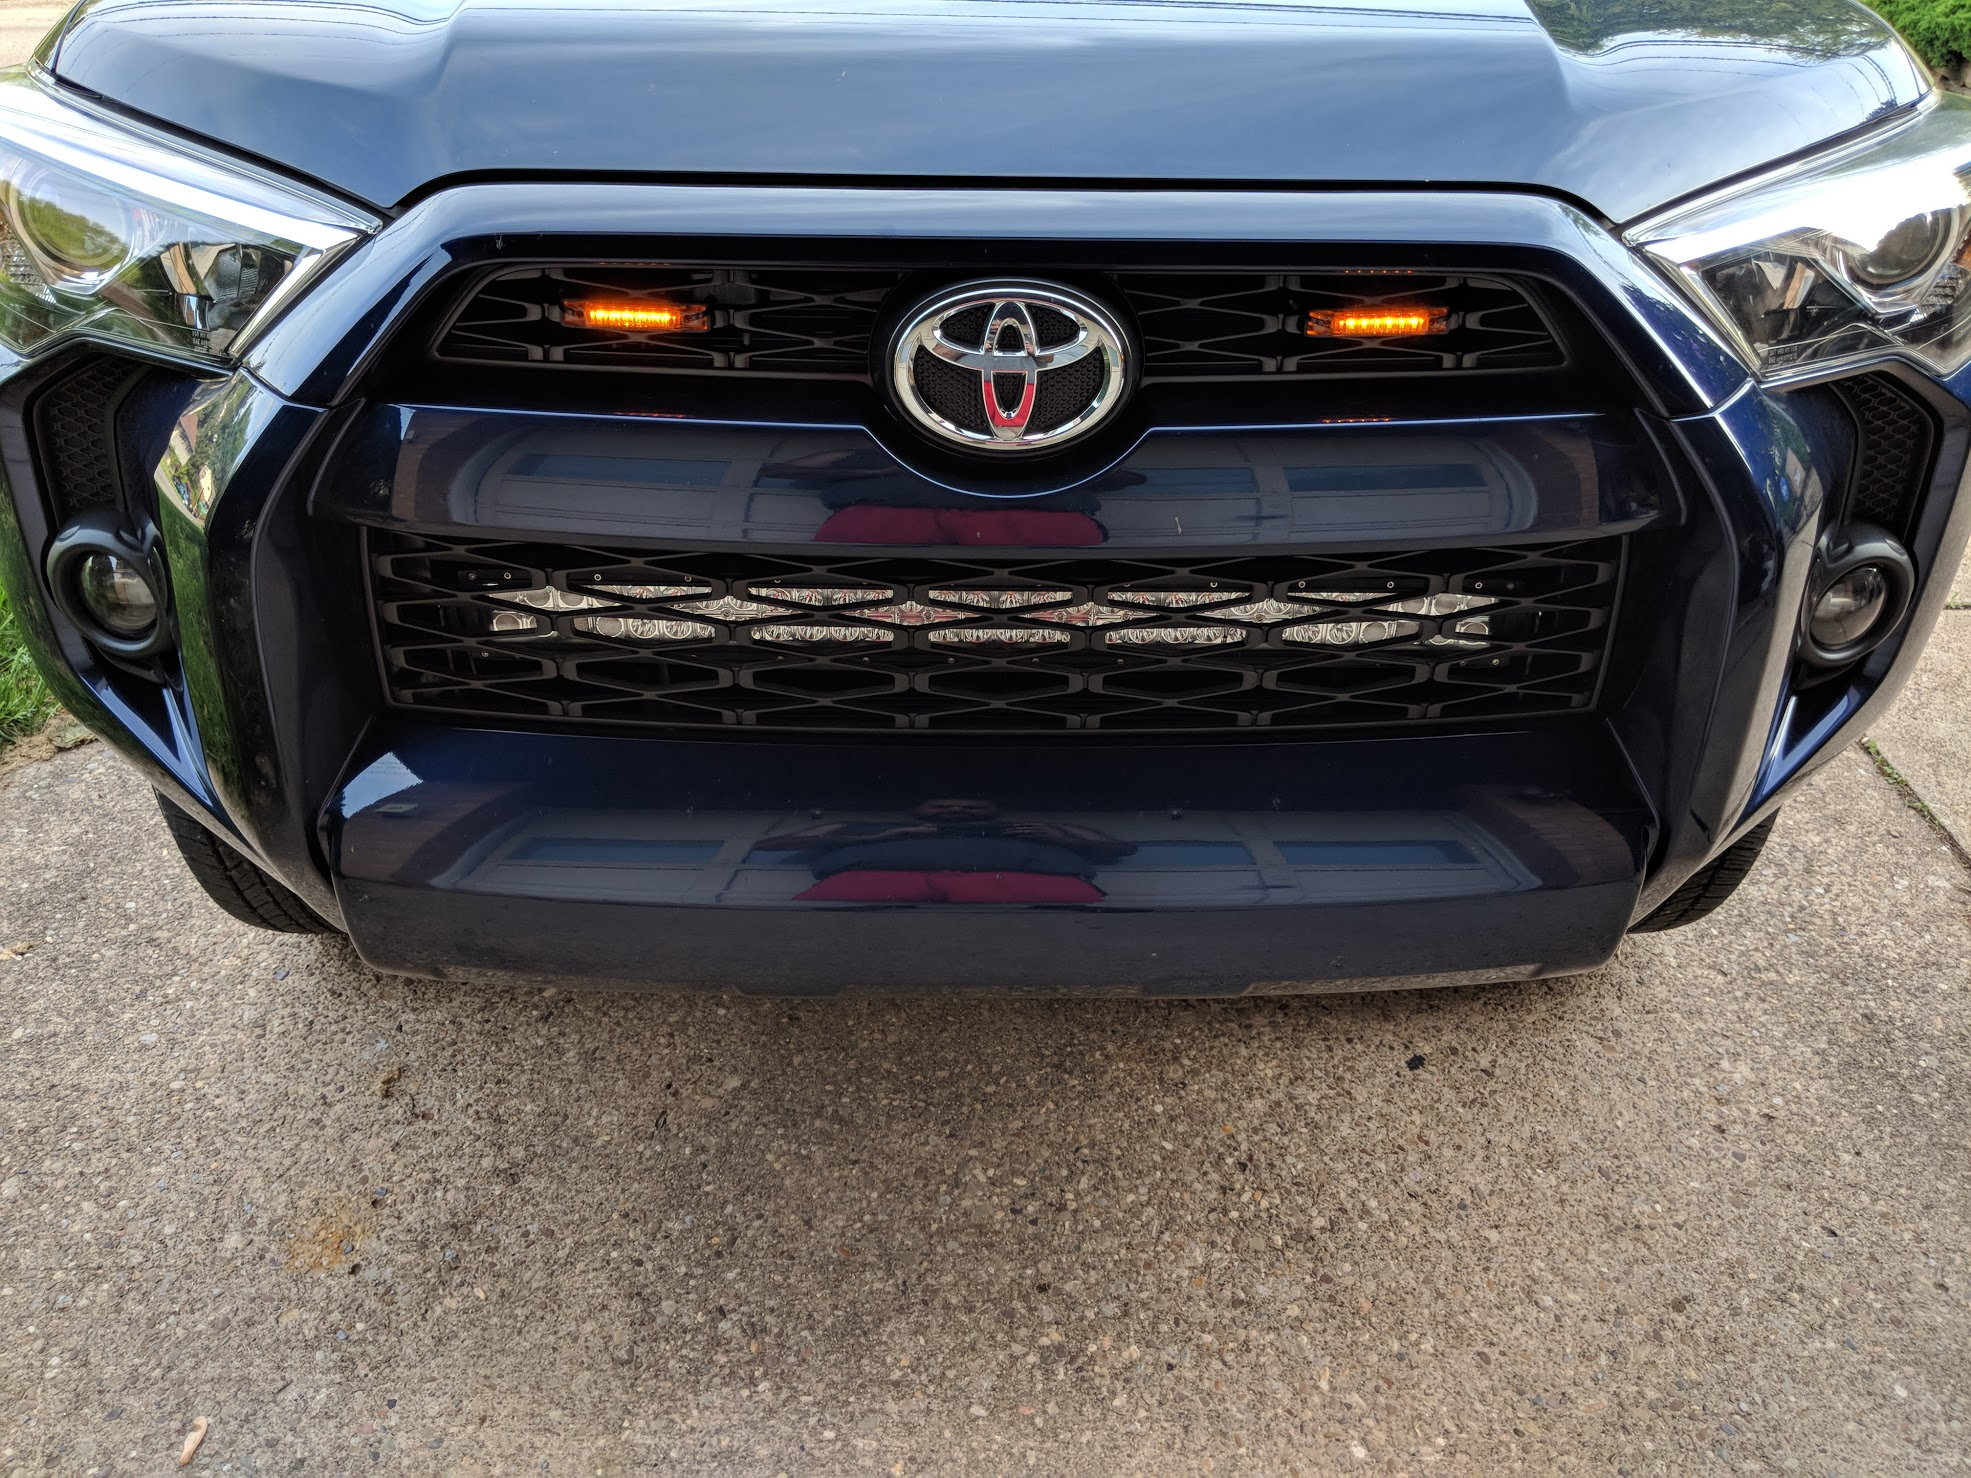
Install was pretty straight forward, just zip ties, I'm debating if I want to modify these at some point to go behind the grille to match the stealthier look of the light bar or if it's even worth the effort

img_20180517_164644_16f95e51611bf3cd9594d3260a9b663deeb3b590.jpg


Unfortunately for me the fuse box changed at some point so I had to buy a different fuse tap, but big deal I still saved a bunch on this kit and didn't have to make my own so I grabbed one on Amazon

img_20180515_171928_4e232386c1b30e78343115954b0024ddb0a88846.jpg


Testing out the lights
mvimg_20180517_183136_29c573e91e50c52b60d711c15e3e3eee181da780.jpg


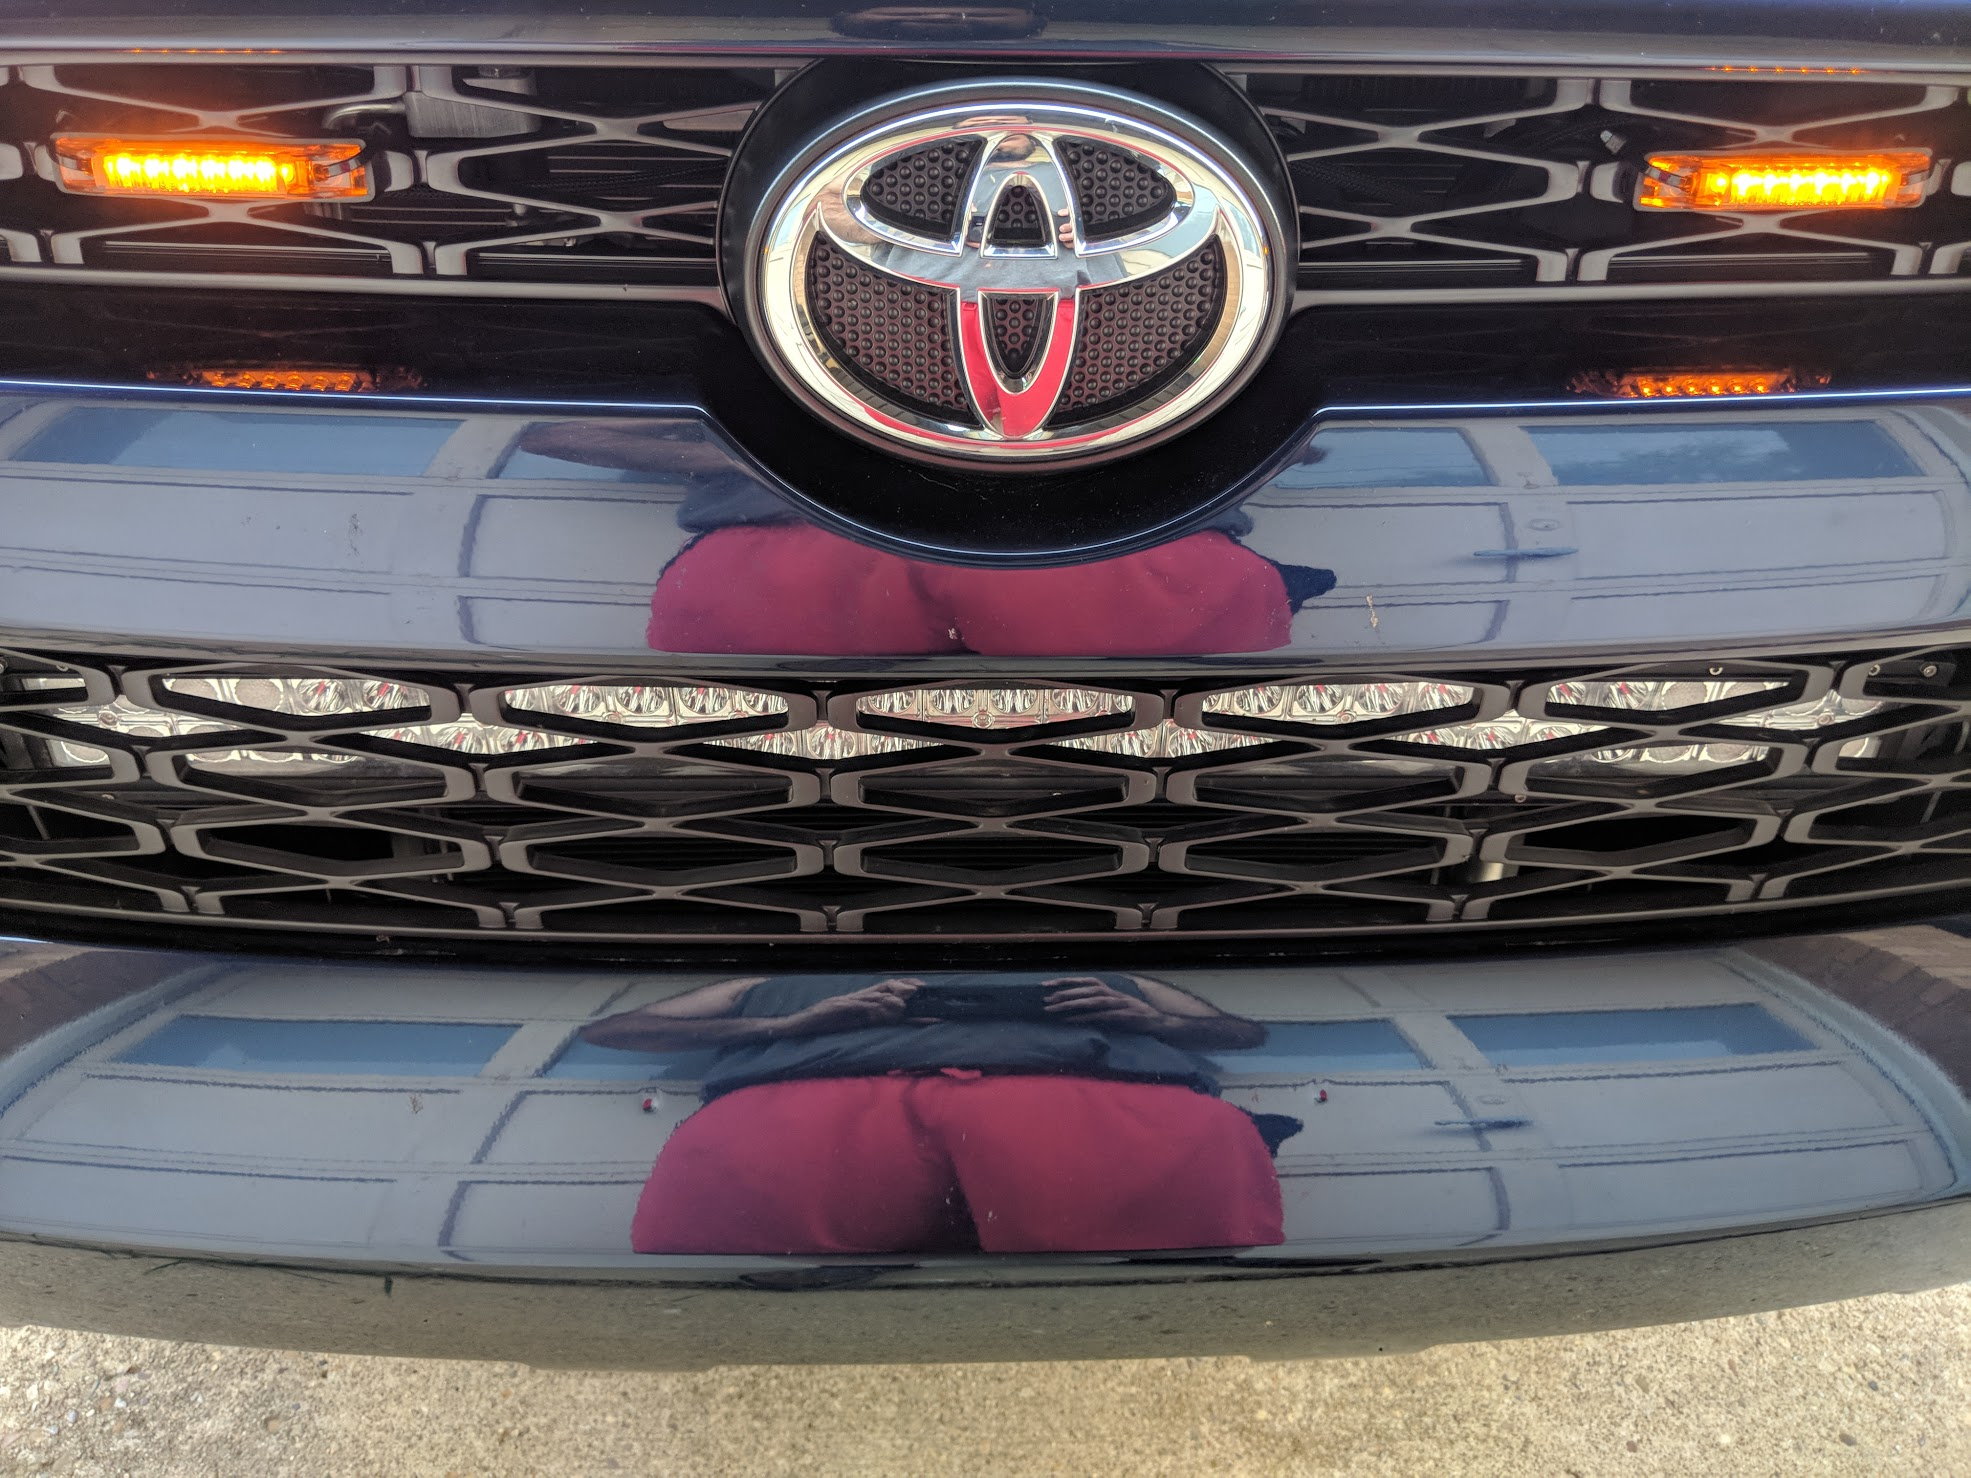
And here they are all installed, I tapped a spare fuse so that they only come on when the key is in the ignition or the vehicle is running so they act as day time running lights, mainly because my 08 had amber corner DRL's and the 4Runner's DRL's are the highbeams, so the amber is a nice touch

img_20180517_183210_2f6464e99bc52c9f6ca1decba2577c34ba99312c.jpg


My original thought was to tap the amber corners so that they came on as driving lights like others have done on here, but the fuse tap was super simple

mvimg_20180517_183301_d3195db04e36dc7303920fca3478d070da188312.jpg


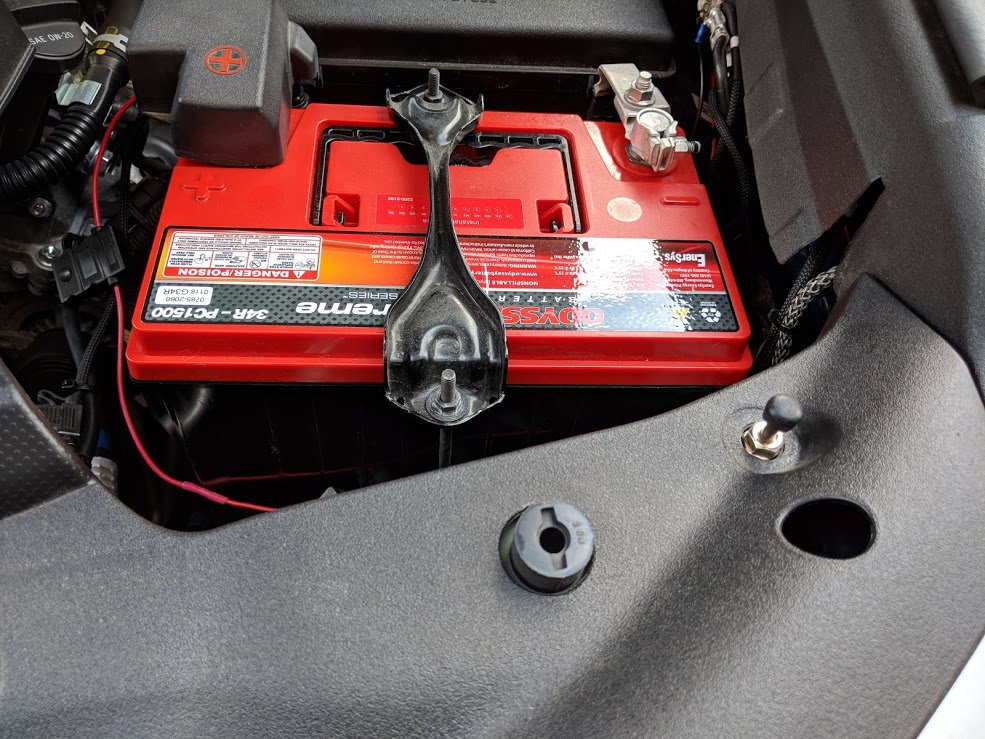
And now time for the new battery! It had been sitting on the landing by my front door for a couple months, so I'm sure the gf was happy to see the box gone, she commented on it as soon as she got home lol, and I was happy to see it go where it belongs!

img_20180517_174326_510eed8a56a151866d1eceb9aab6c3ddeb586bae.jpg


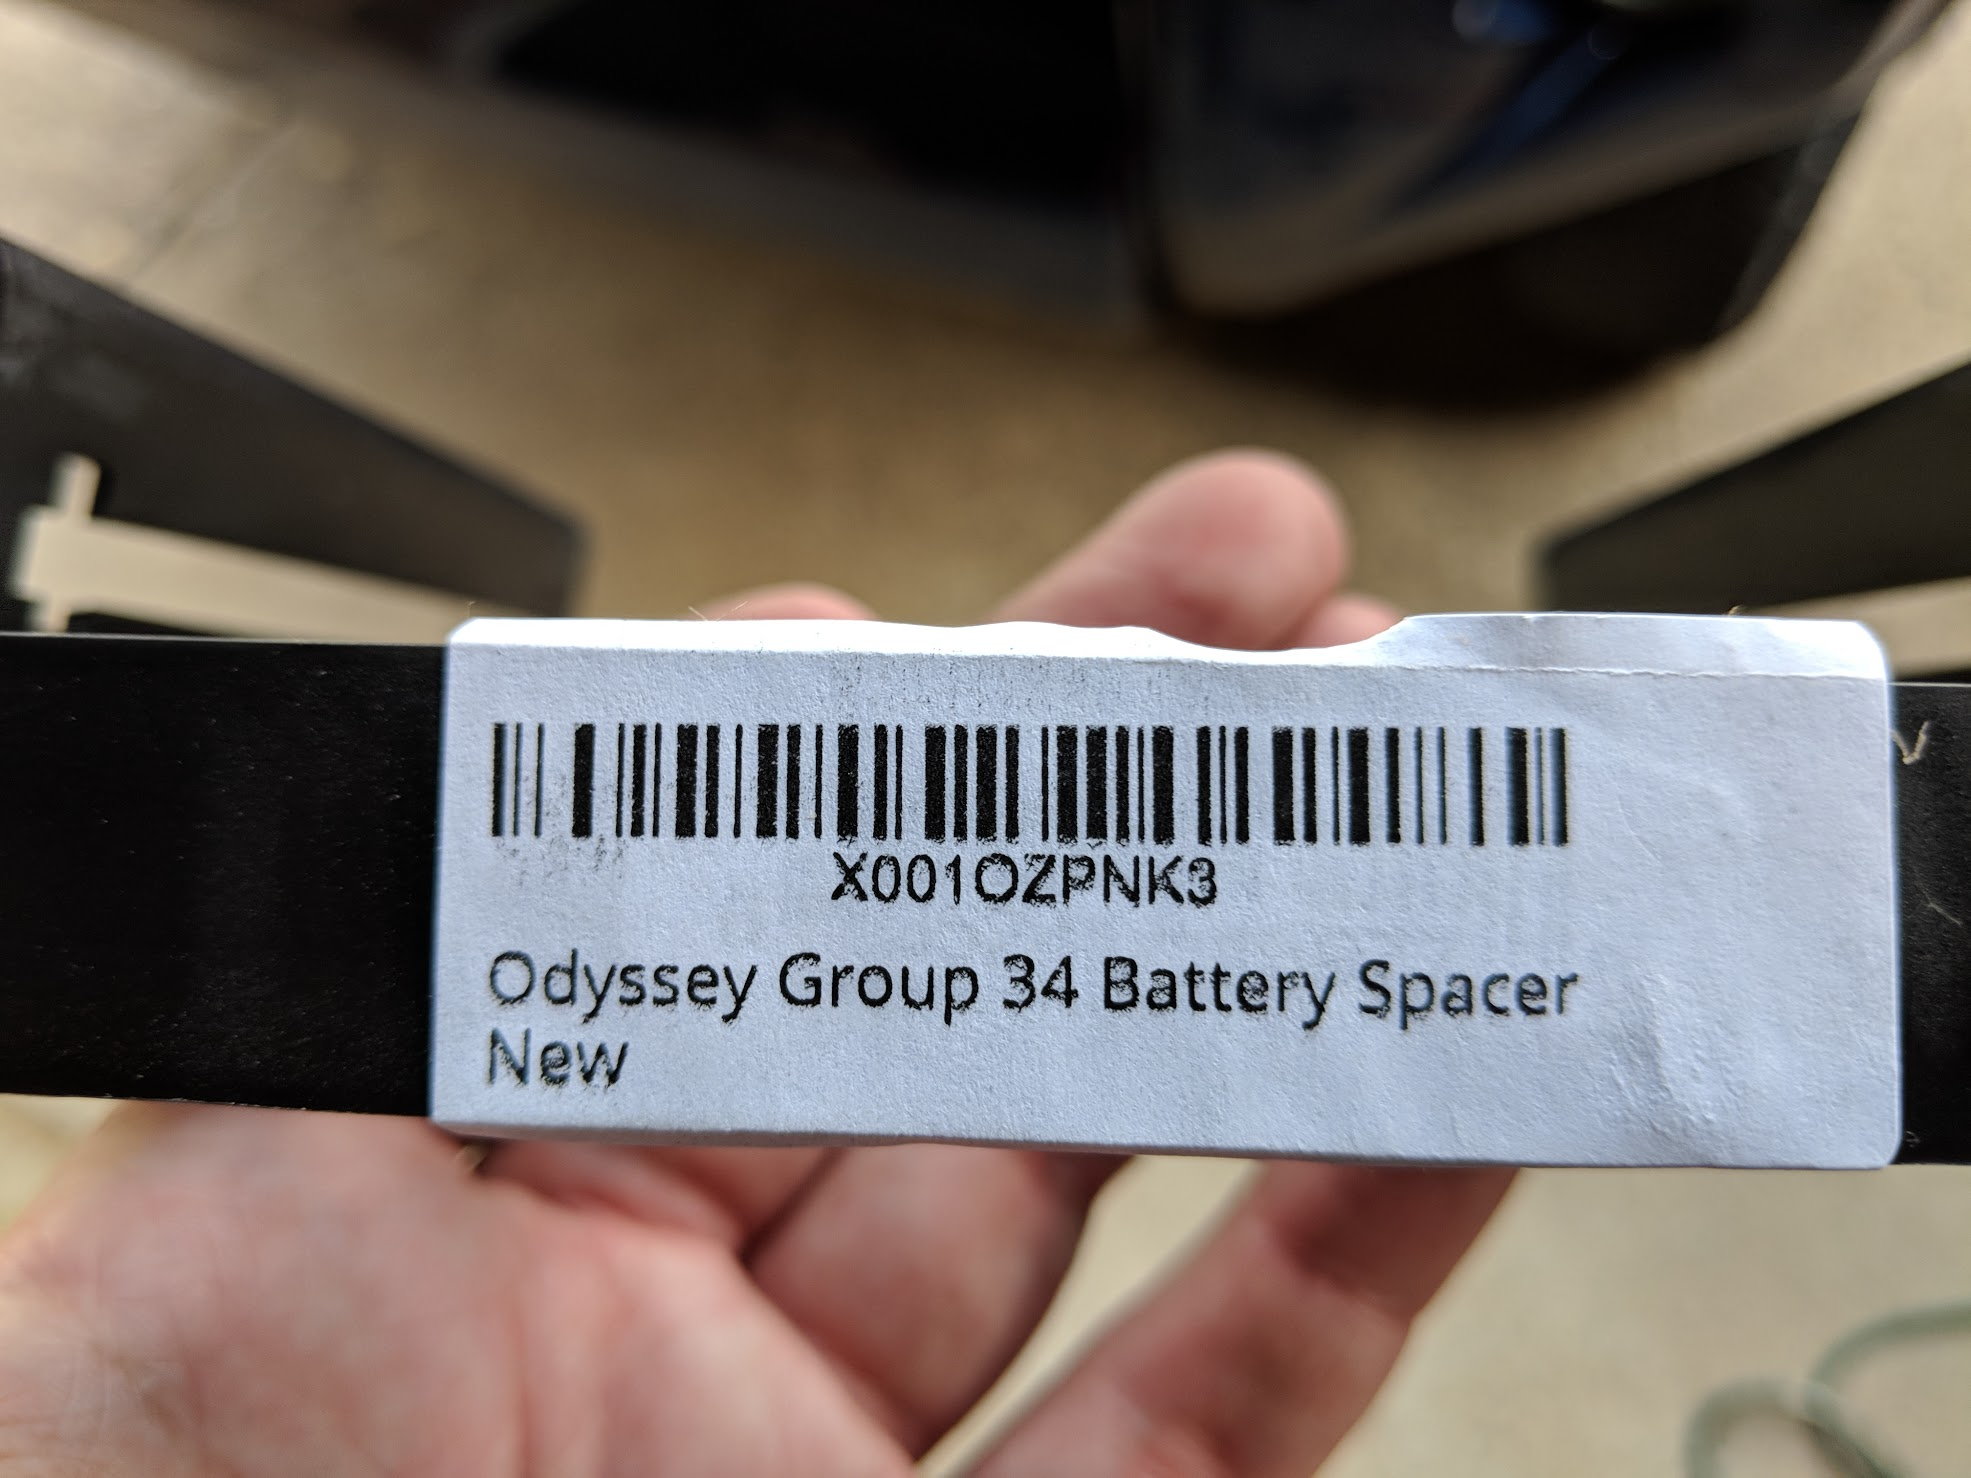
Since this is a smaller form factor I also grabbed the spacer to ensure proper height, I've dealt with this on Optimas in the past, but never had to actually buy a separate spacer... But it was only 5 bucks so whatever

img_20180517_175245_b54e1fa21e95d9228f5abbd6a954f4d4c5bdf5a4.jpg


And here's the battery all completed and mounted like it belongs there

img_20180517_181541_739bba8ec81e3fc31cc850c260cd90ccf085460f.jpg


And here's the money shot! After I got everything all bolted up and put back together. I could have sworn that I took an after engine bay shot all cleaned up and detailed with the new battery but apparently I didn't. I was too happy to get everything back together and get the truck moved before the gf got home.

img_20180517_183327_0715c64b4b7ef89932bb0f16364fc482ed4586d7.jpg


I'm loving this truck more and more each day!

 
Last edited:
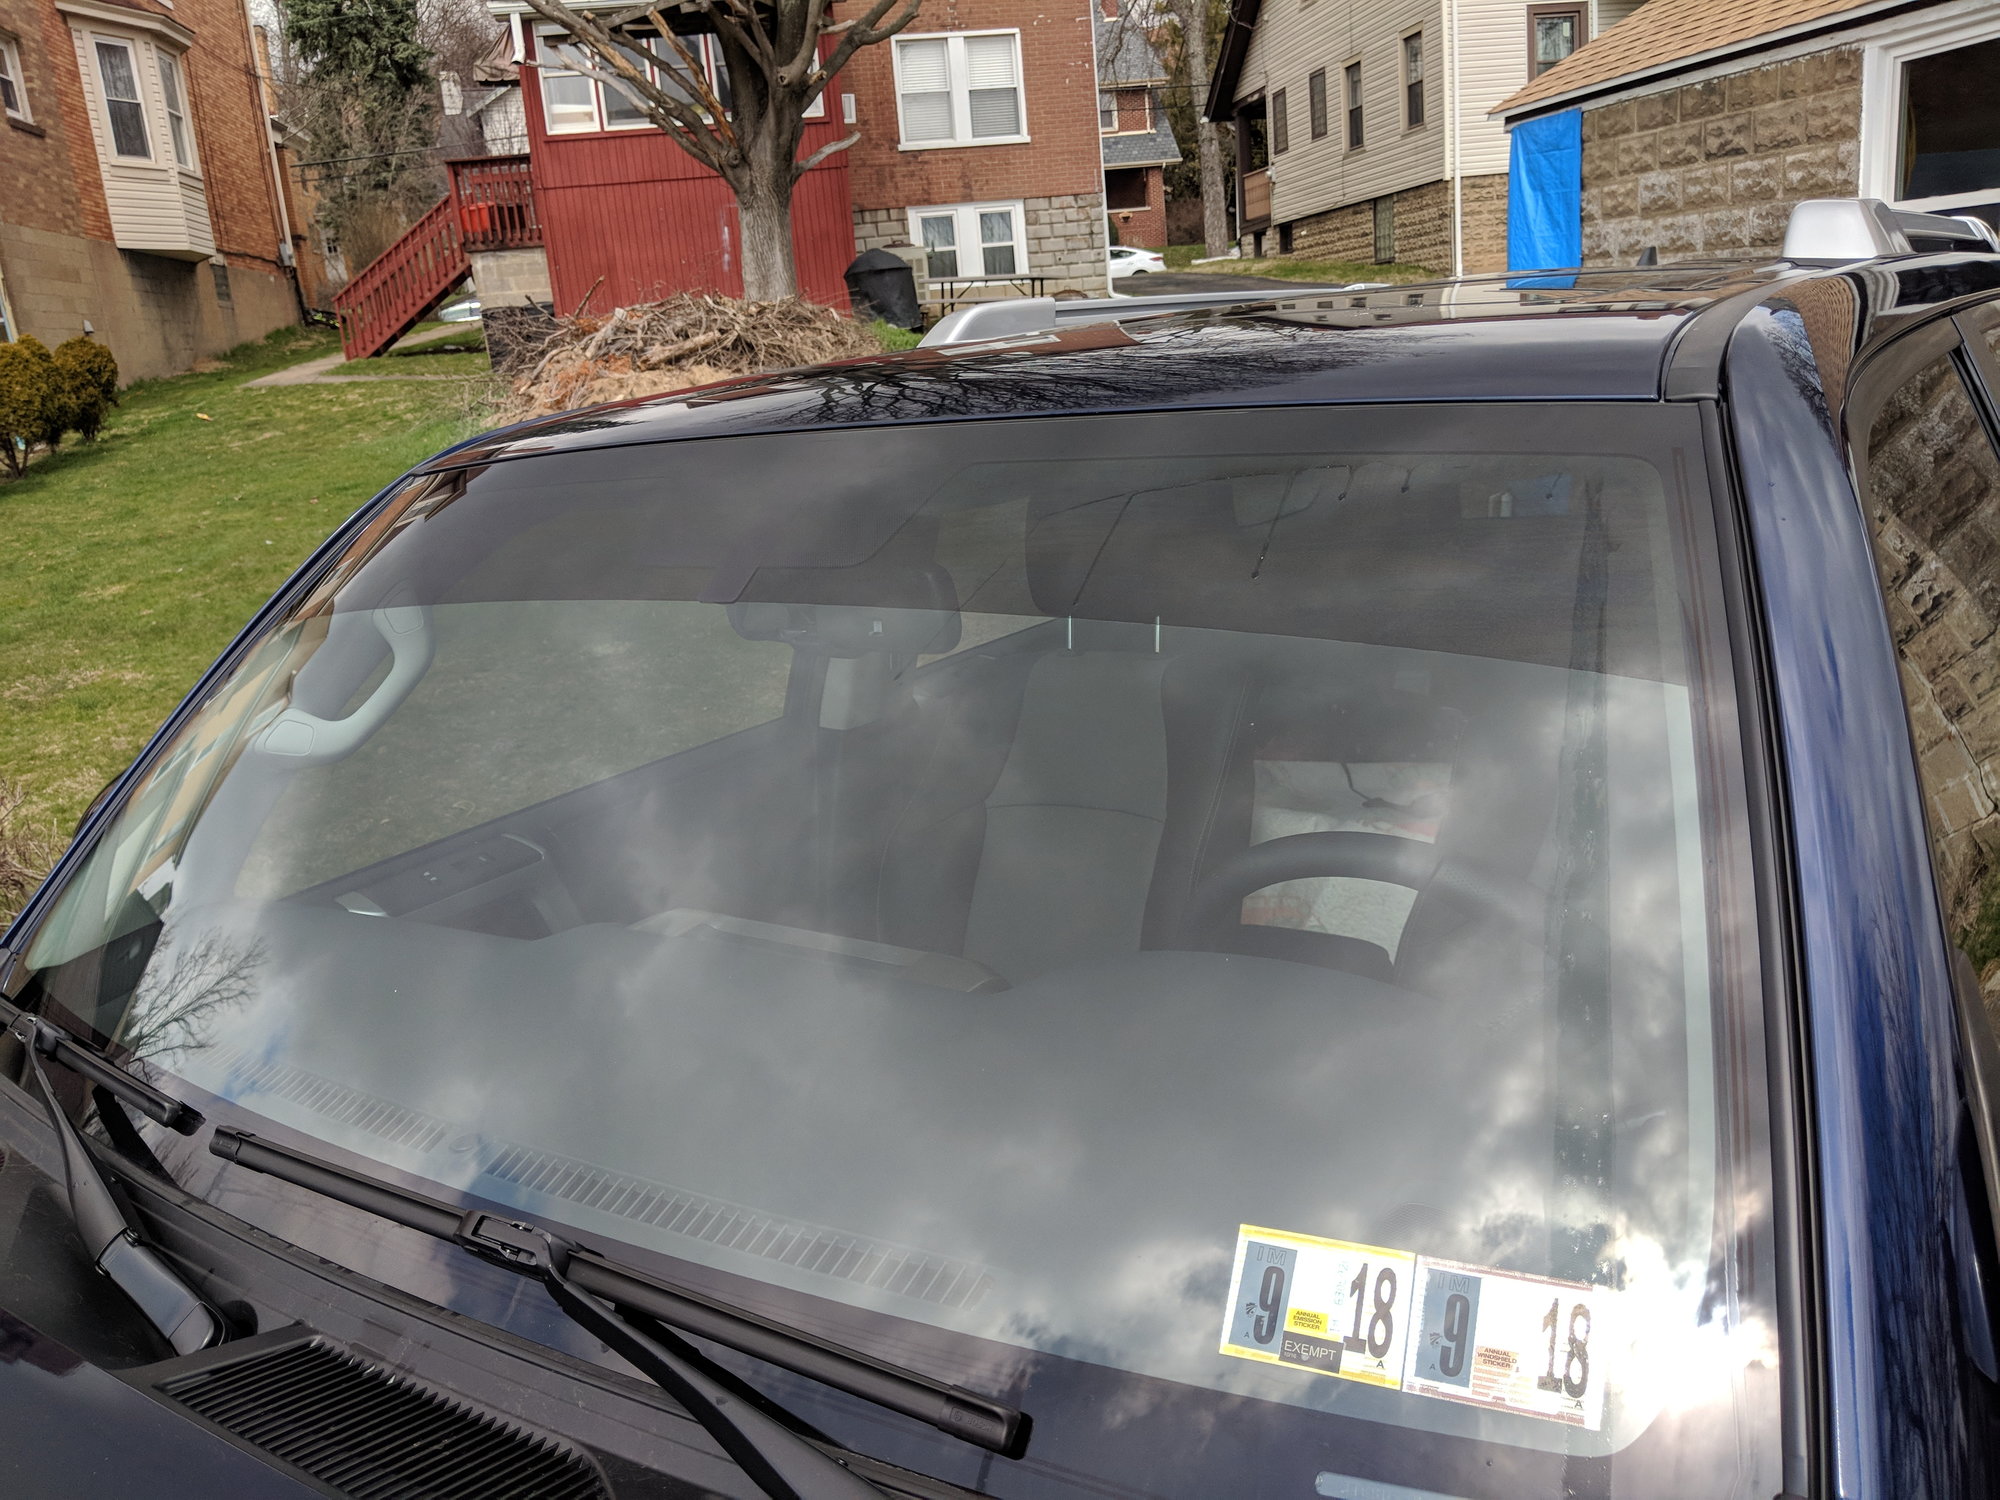
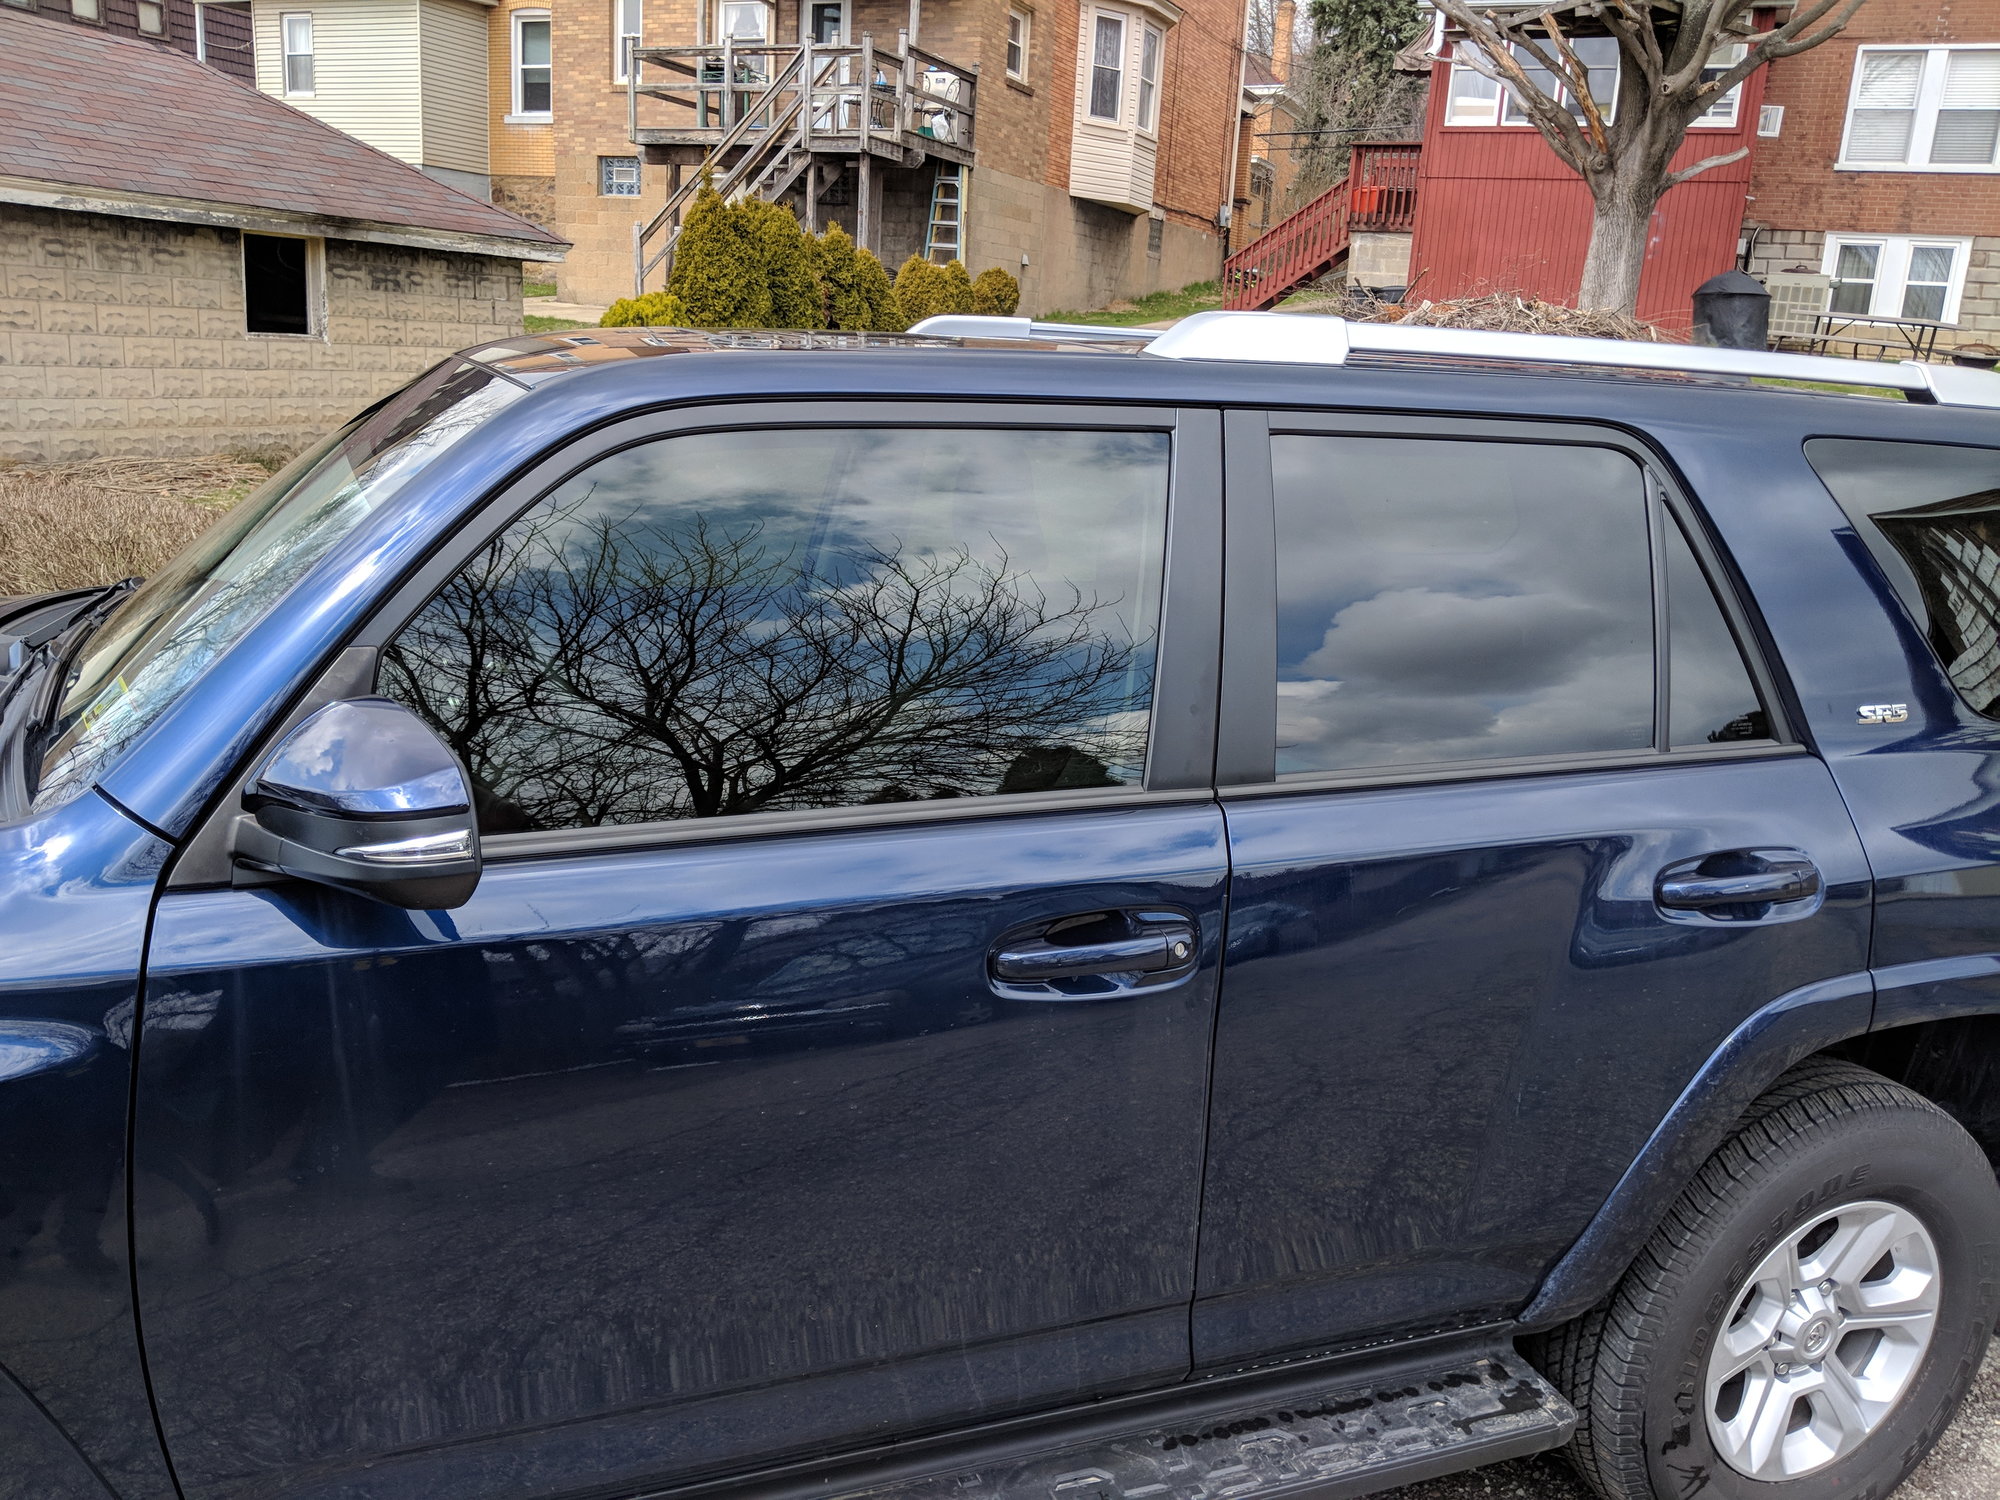
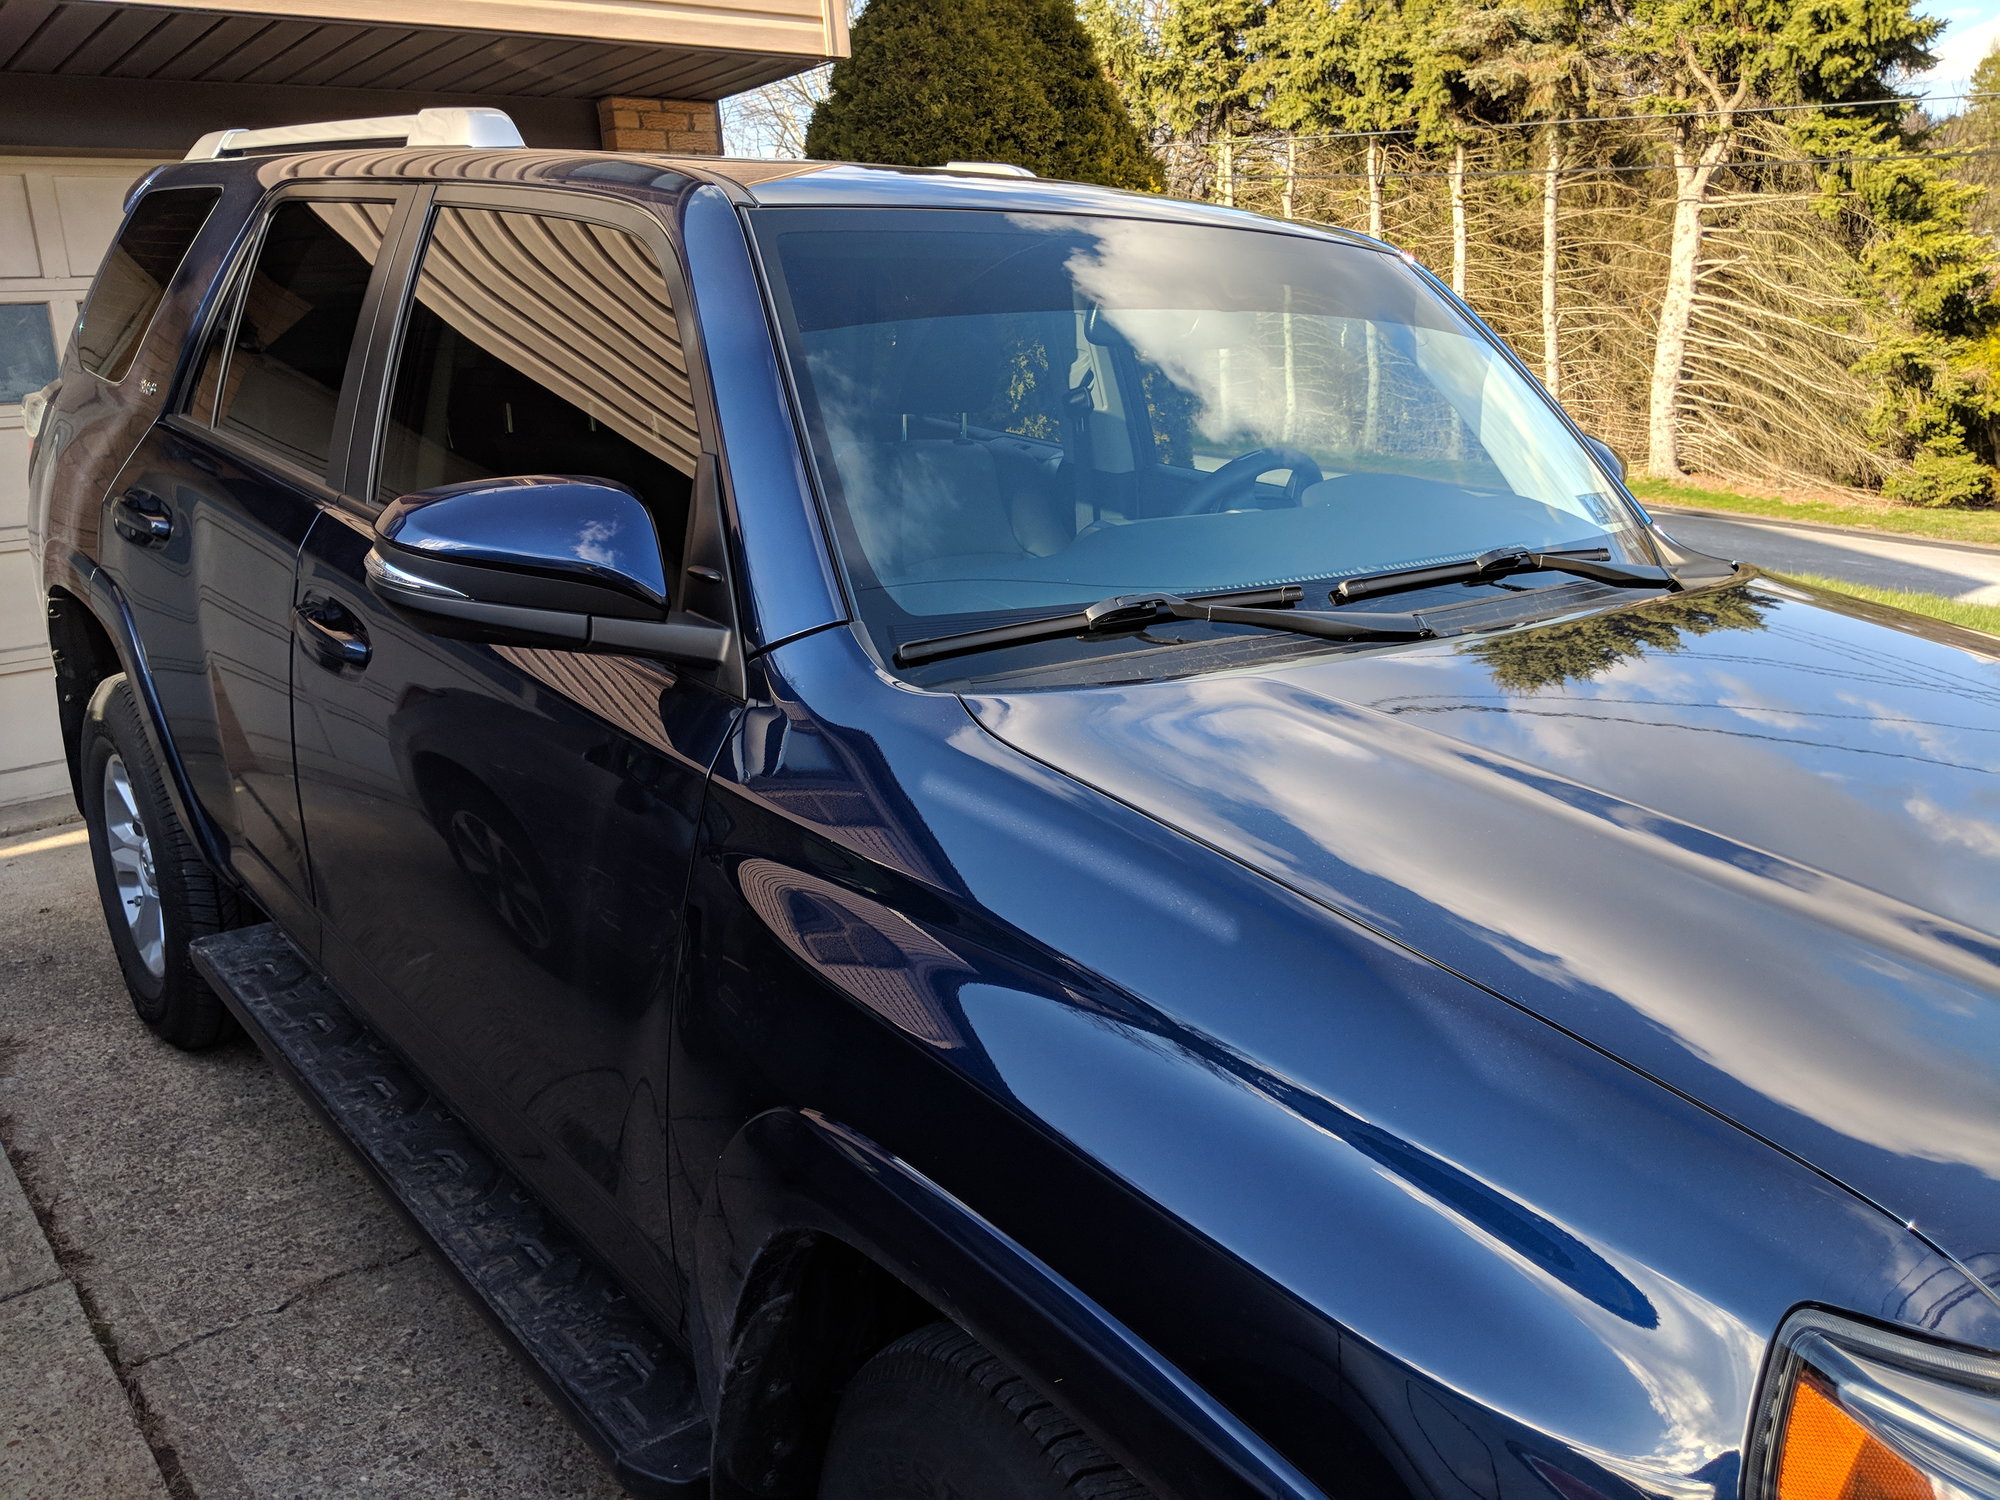
Also had the tint done last month, I did 35% on the front windows and the visor across the windshield. It makes a huge difference over stock

img_20180408_140132_d55ad93dec84a3a9ddc951320425c77fad937a2f.jpg


mvimg_20180408_140122_3792739bc27e85e5d0cabe93a113165671d5dc3b.jpg


img_20180408_175000_af50dbcc3e499b0574aed00ee8240d1d66edae85.jpg


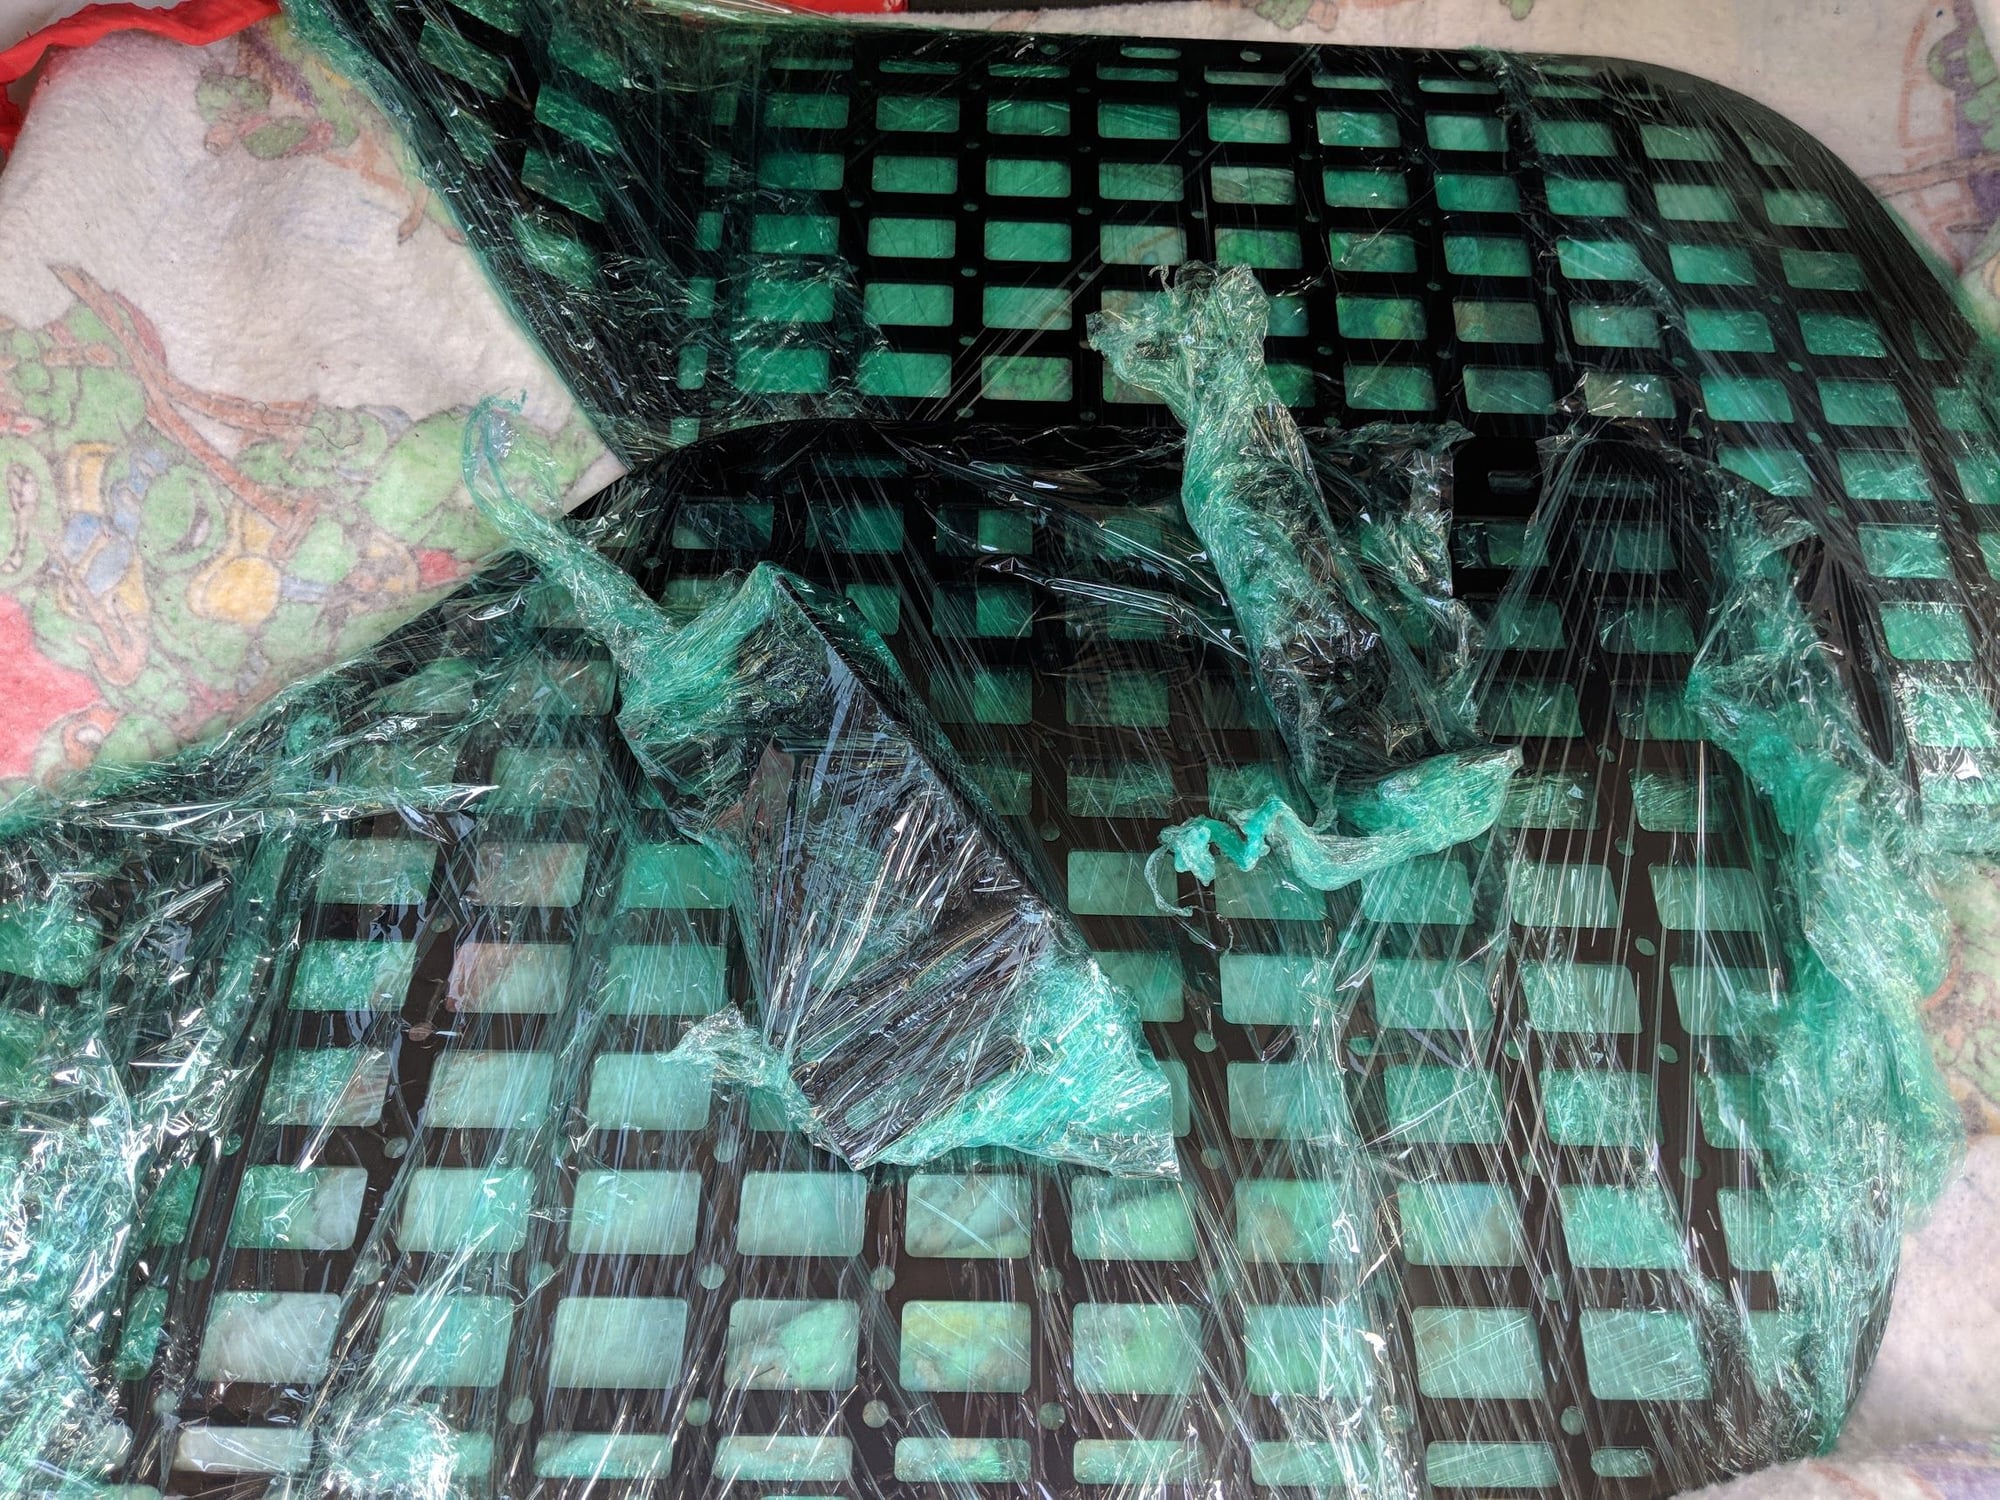
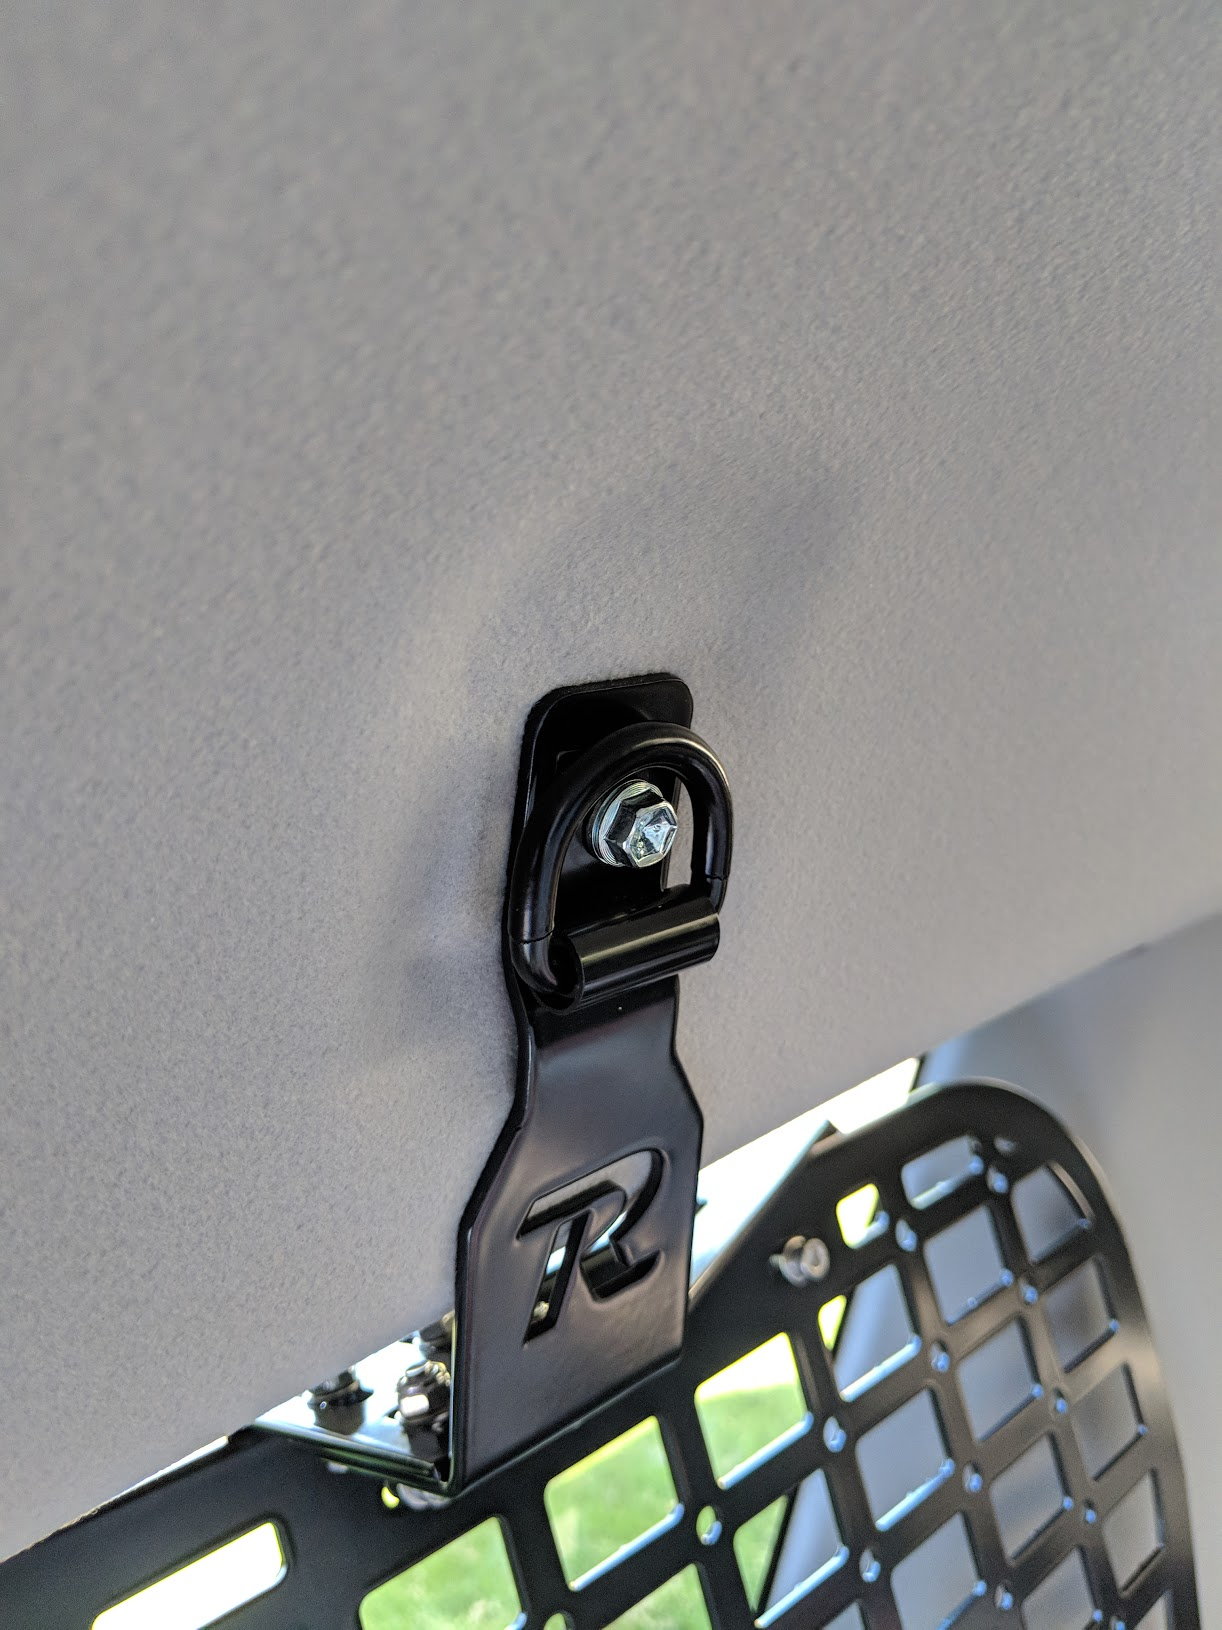
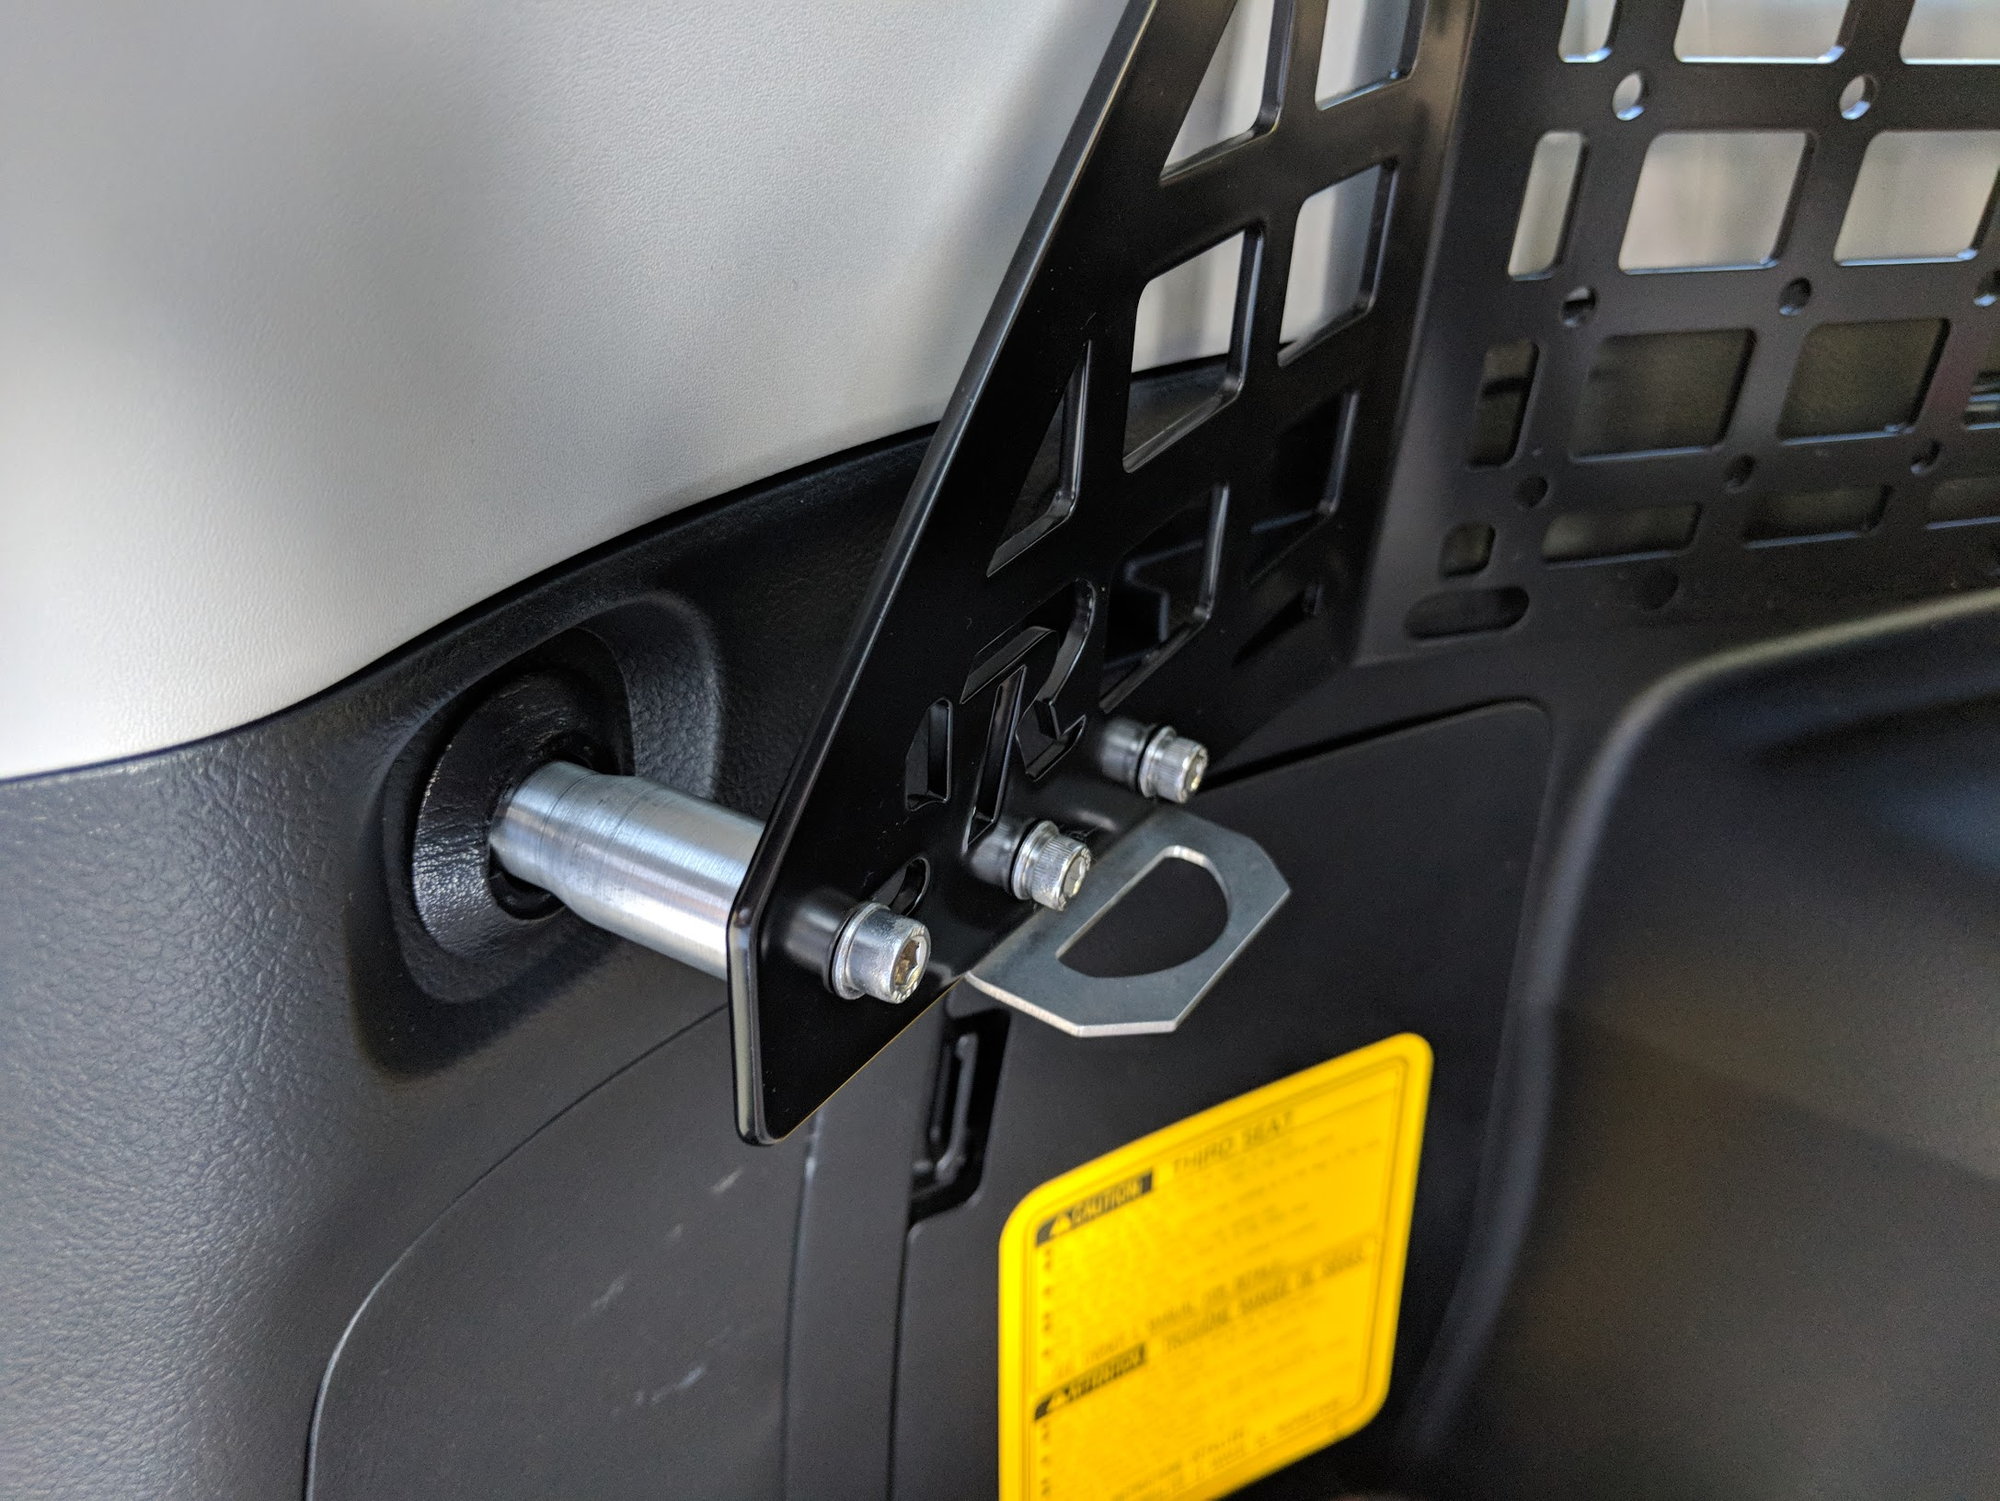
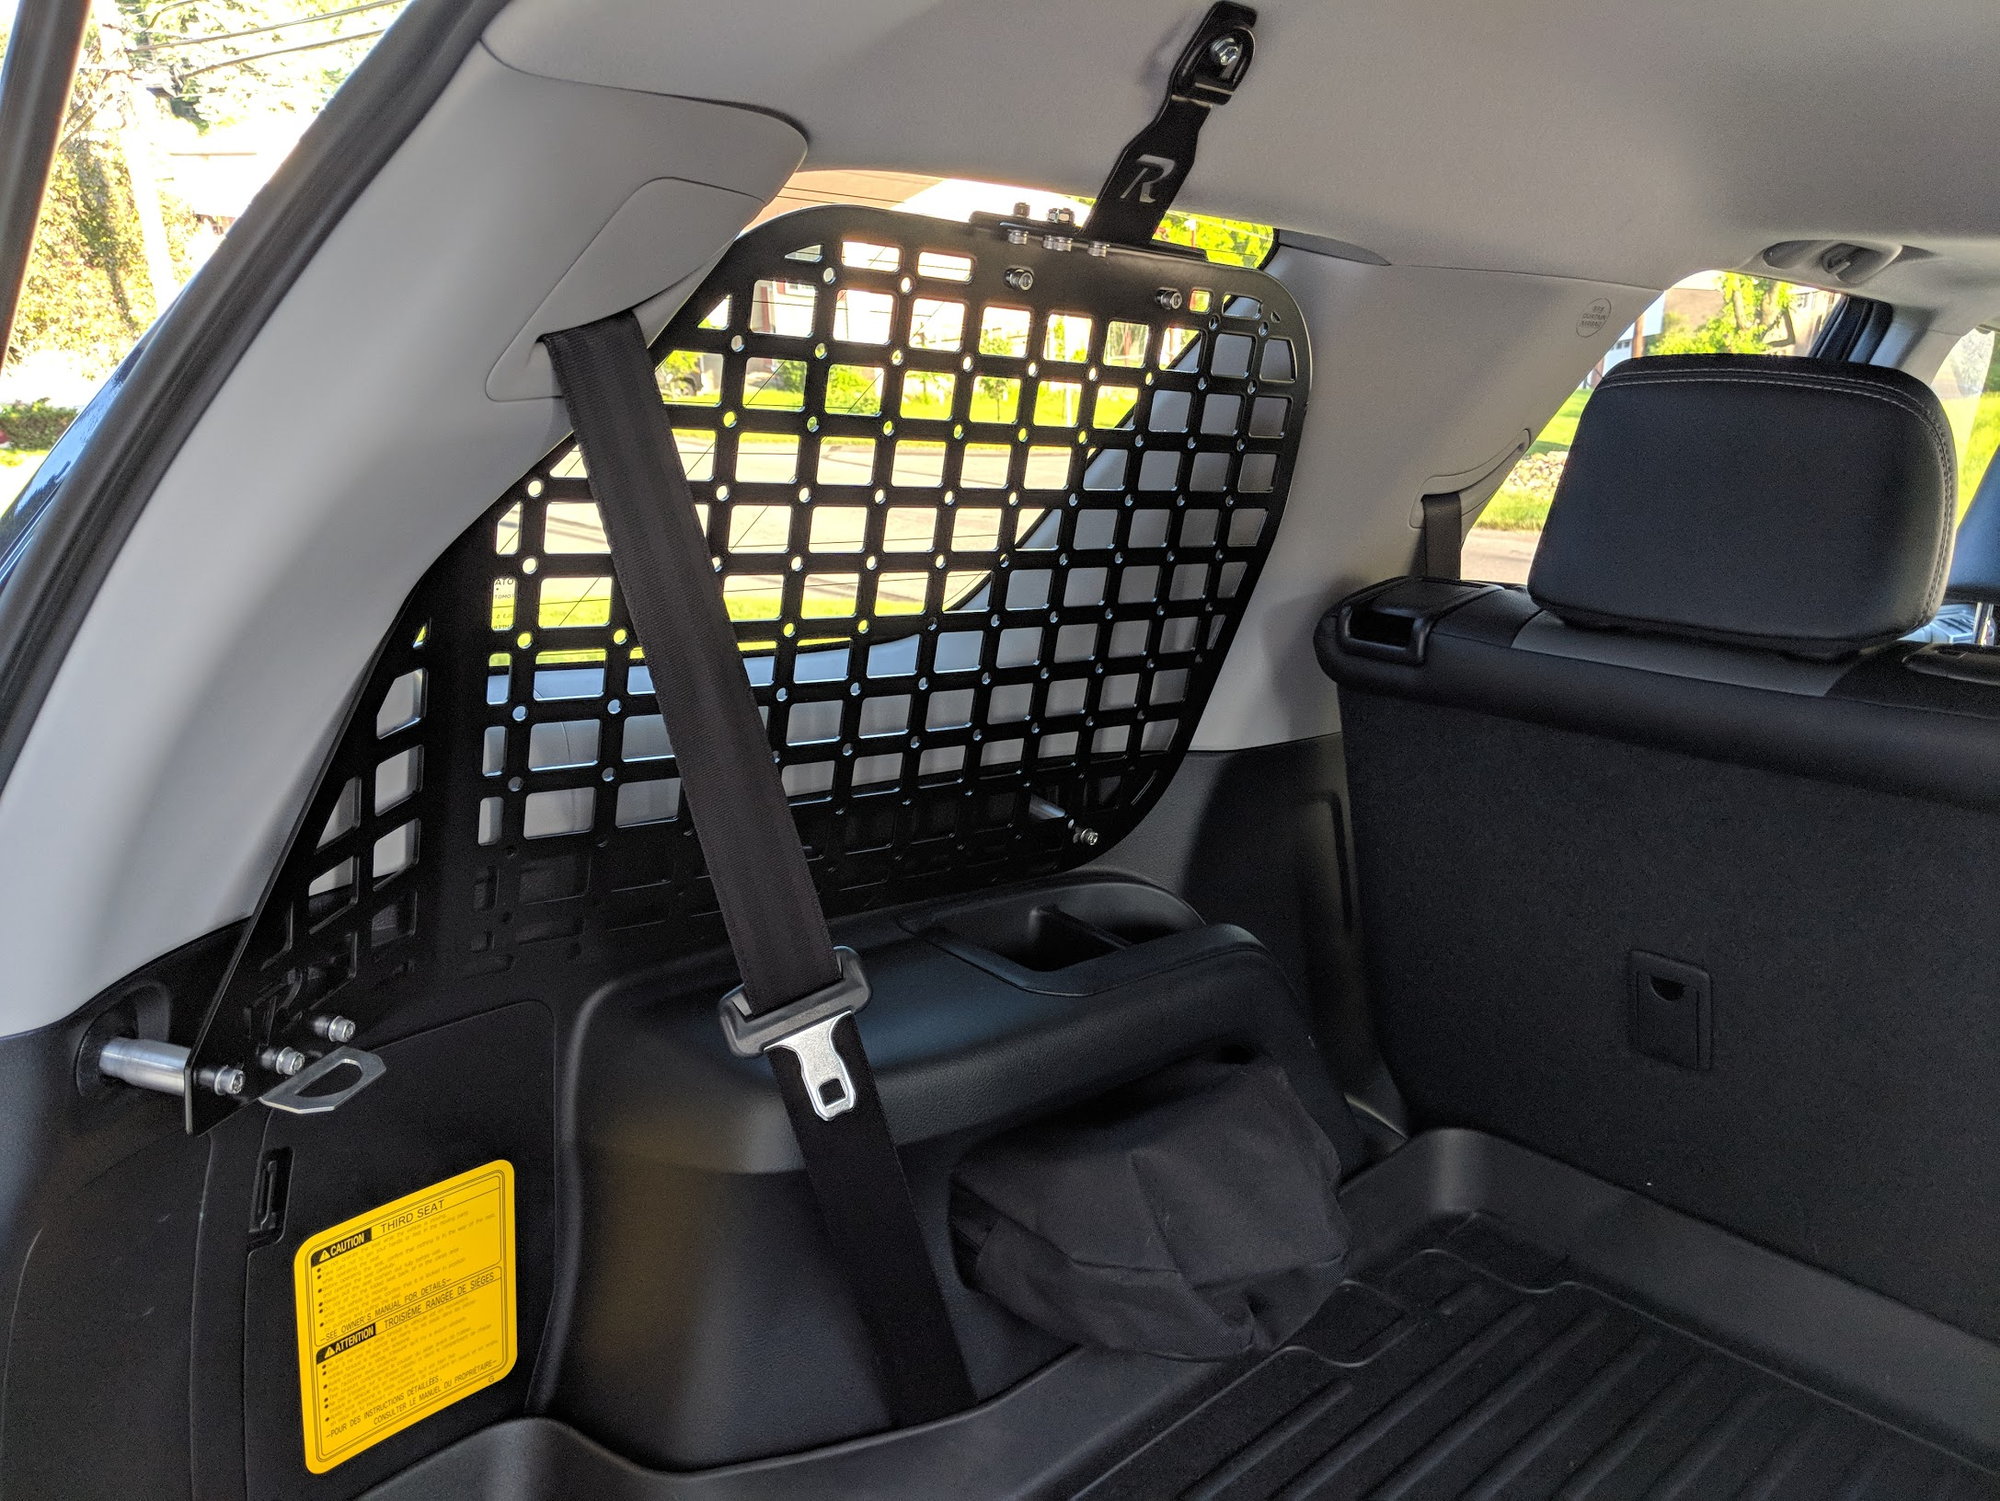
Friday I got my Rago Molle brackets from the group buy back from the powder coater and went ahead and installed the driver's side, here's the panels fresh from the powder coater

img_20180525_142445_9a331f040af9258d6c045d708cb343b8904c3918.jpg


And here's a before of the driver's side all stock and unmolested.

img_20180525_173211_be5682ba636325106d12b28c4ac76b9c26c3c86a.jpg


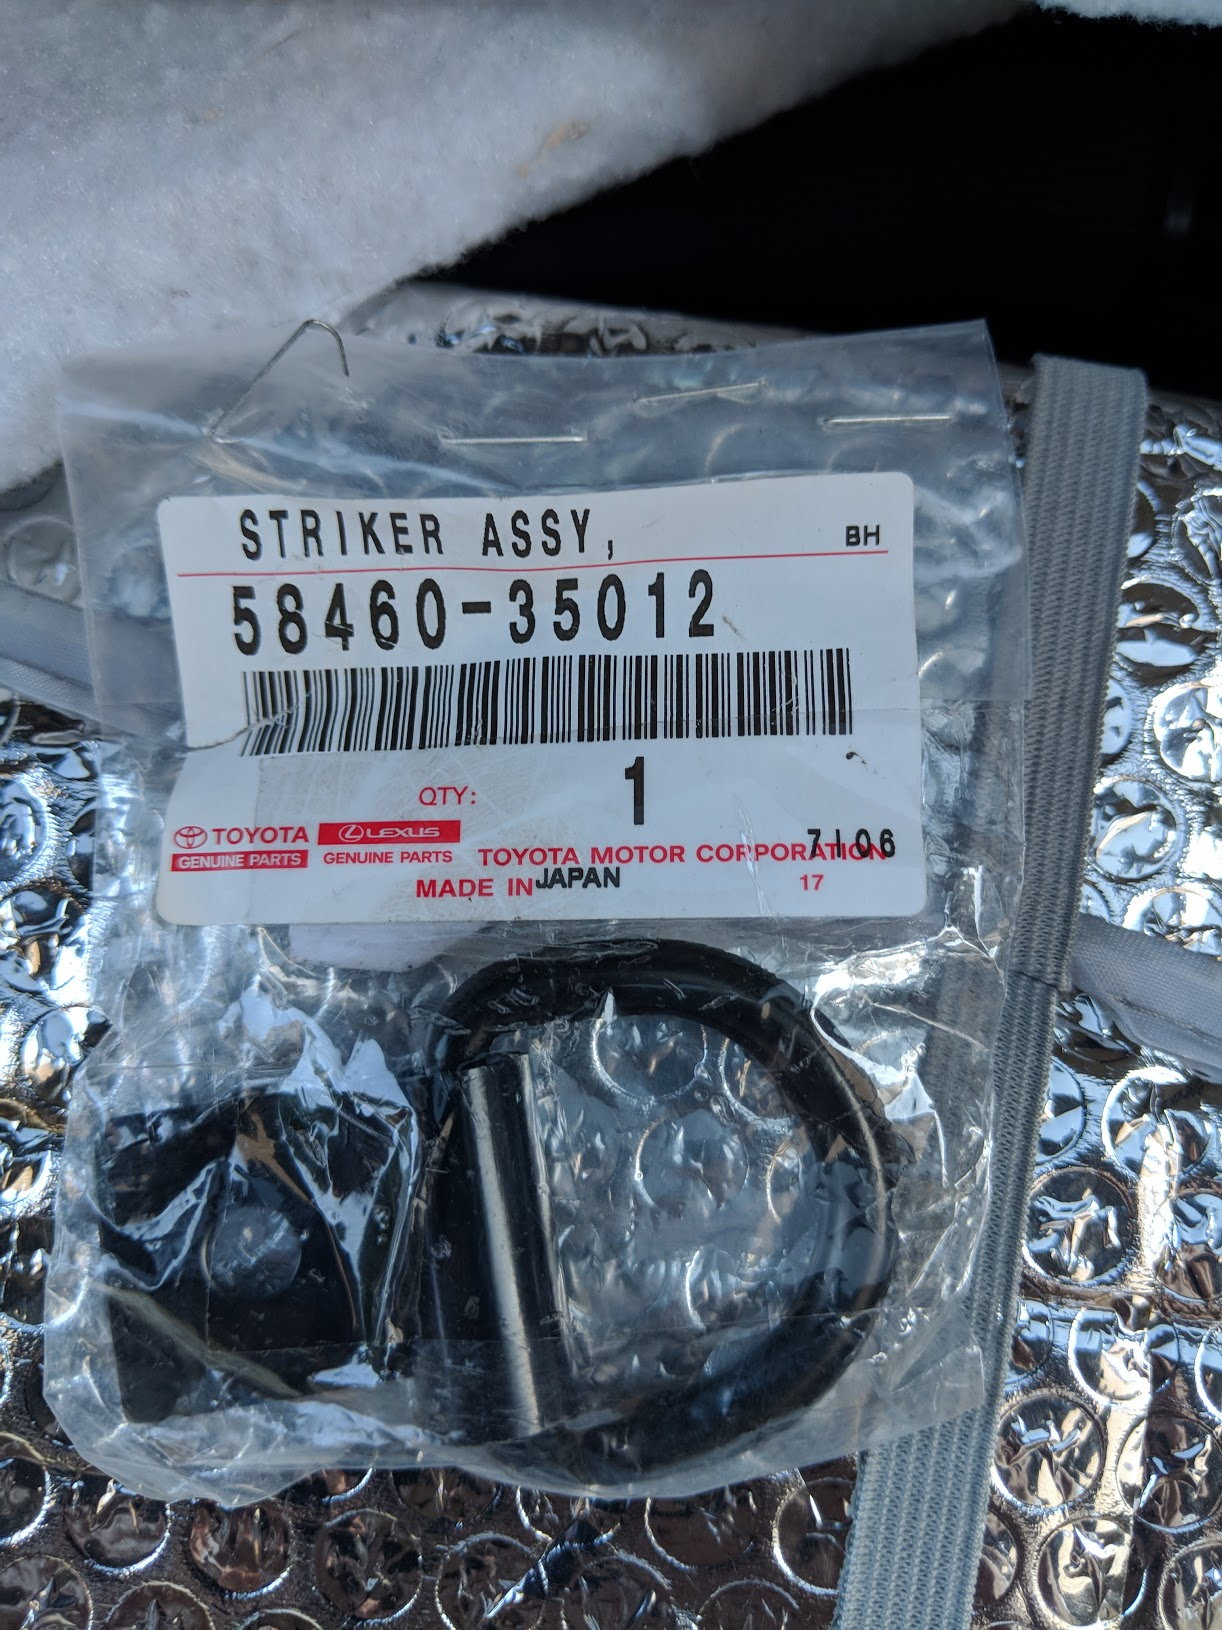
And since I was installing these, I grabbed some stock rubber coated D-Rings from the FJ to help fill in the stock holes

img_20180525_180758_ccd52b14ba0866d9fed43189493cde482b13cee7.jpg


I didn't want the open holes around the bolts, so these helped fill the space around

mvimg_20180525_181643_dfdc688808396eb4a716a91844cf37329fb32a74.jpg


Another neat feature about these panels is that they come with a built in bottle opener for tailgating!
mvimg_20180525_181549_6979f4c1ce70f864df9b03aa2d65a5f4c680b818.jpg


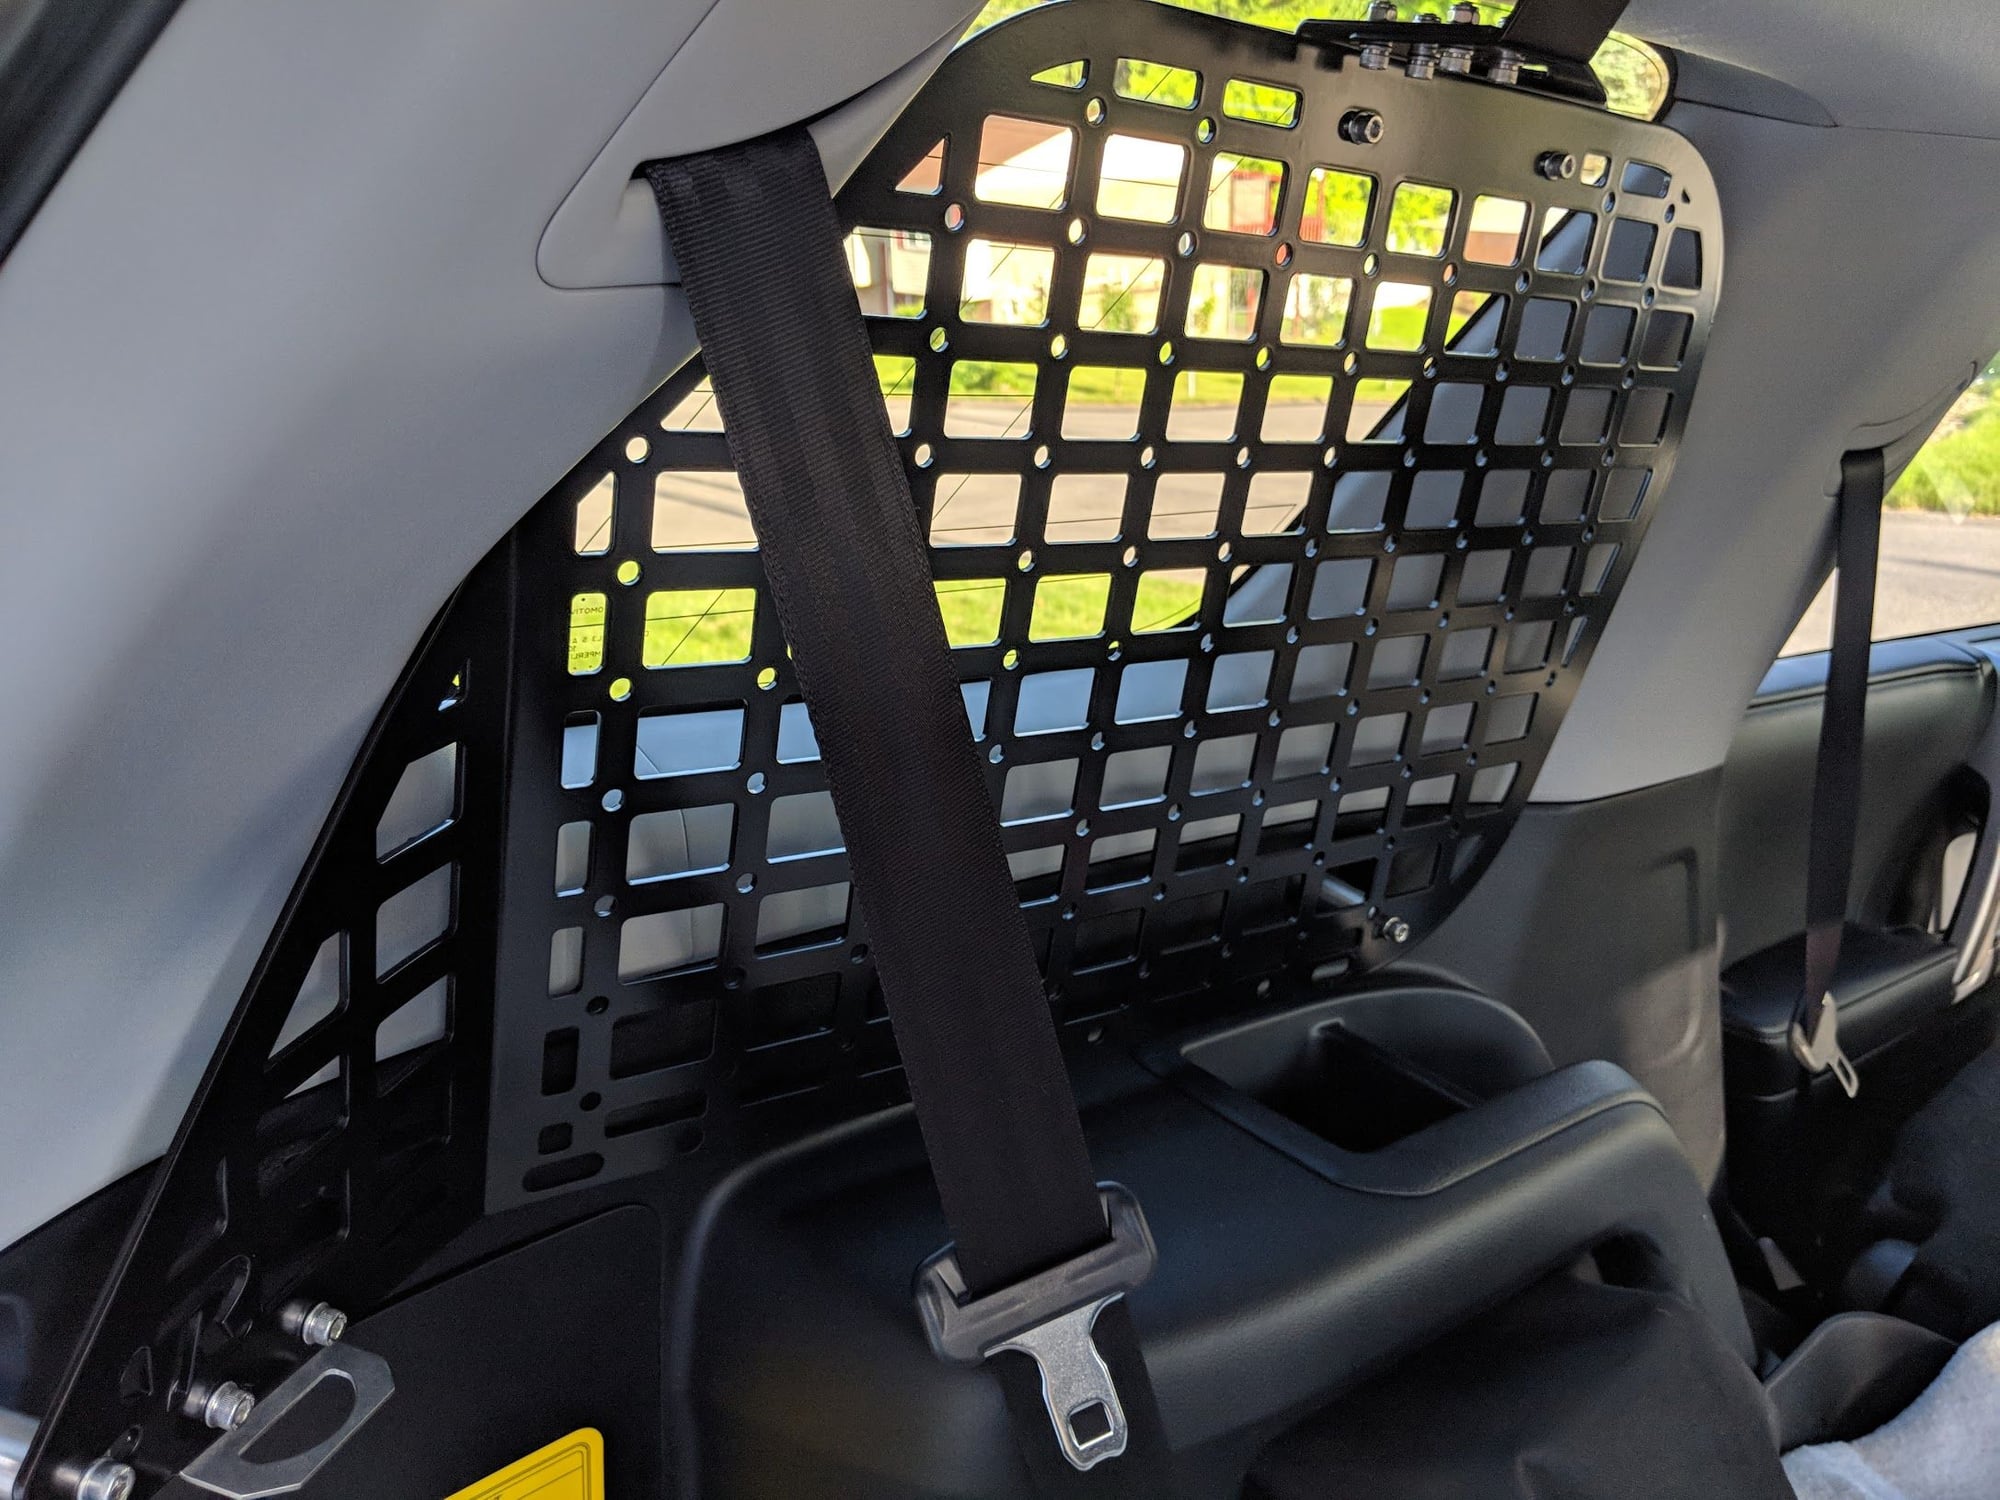
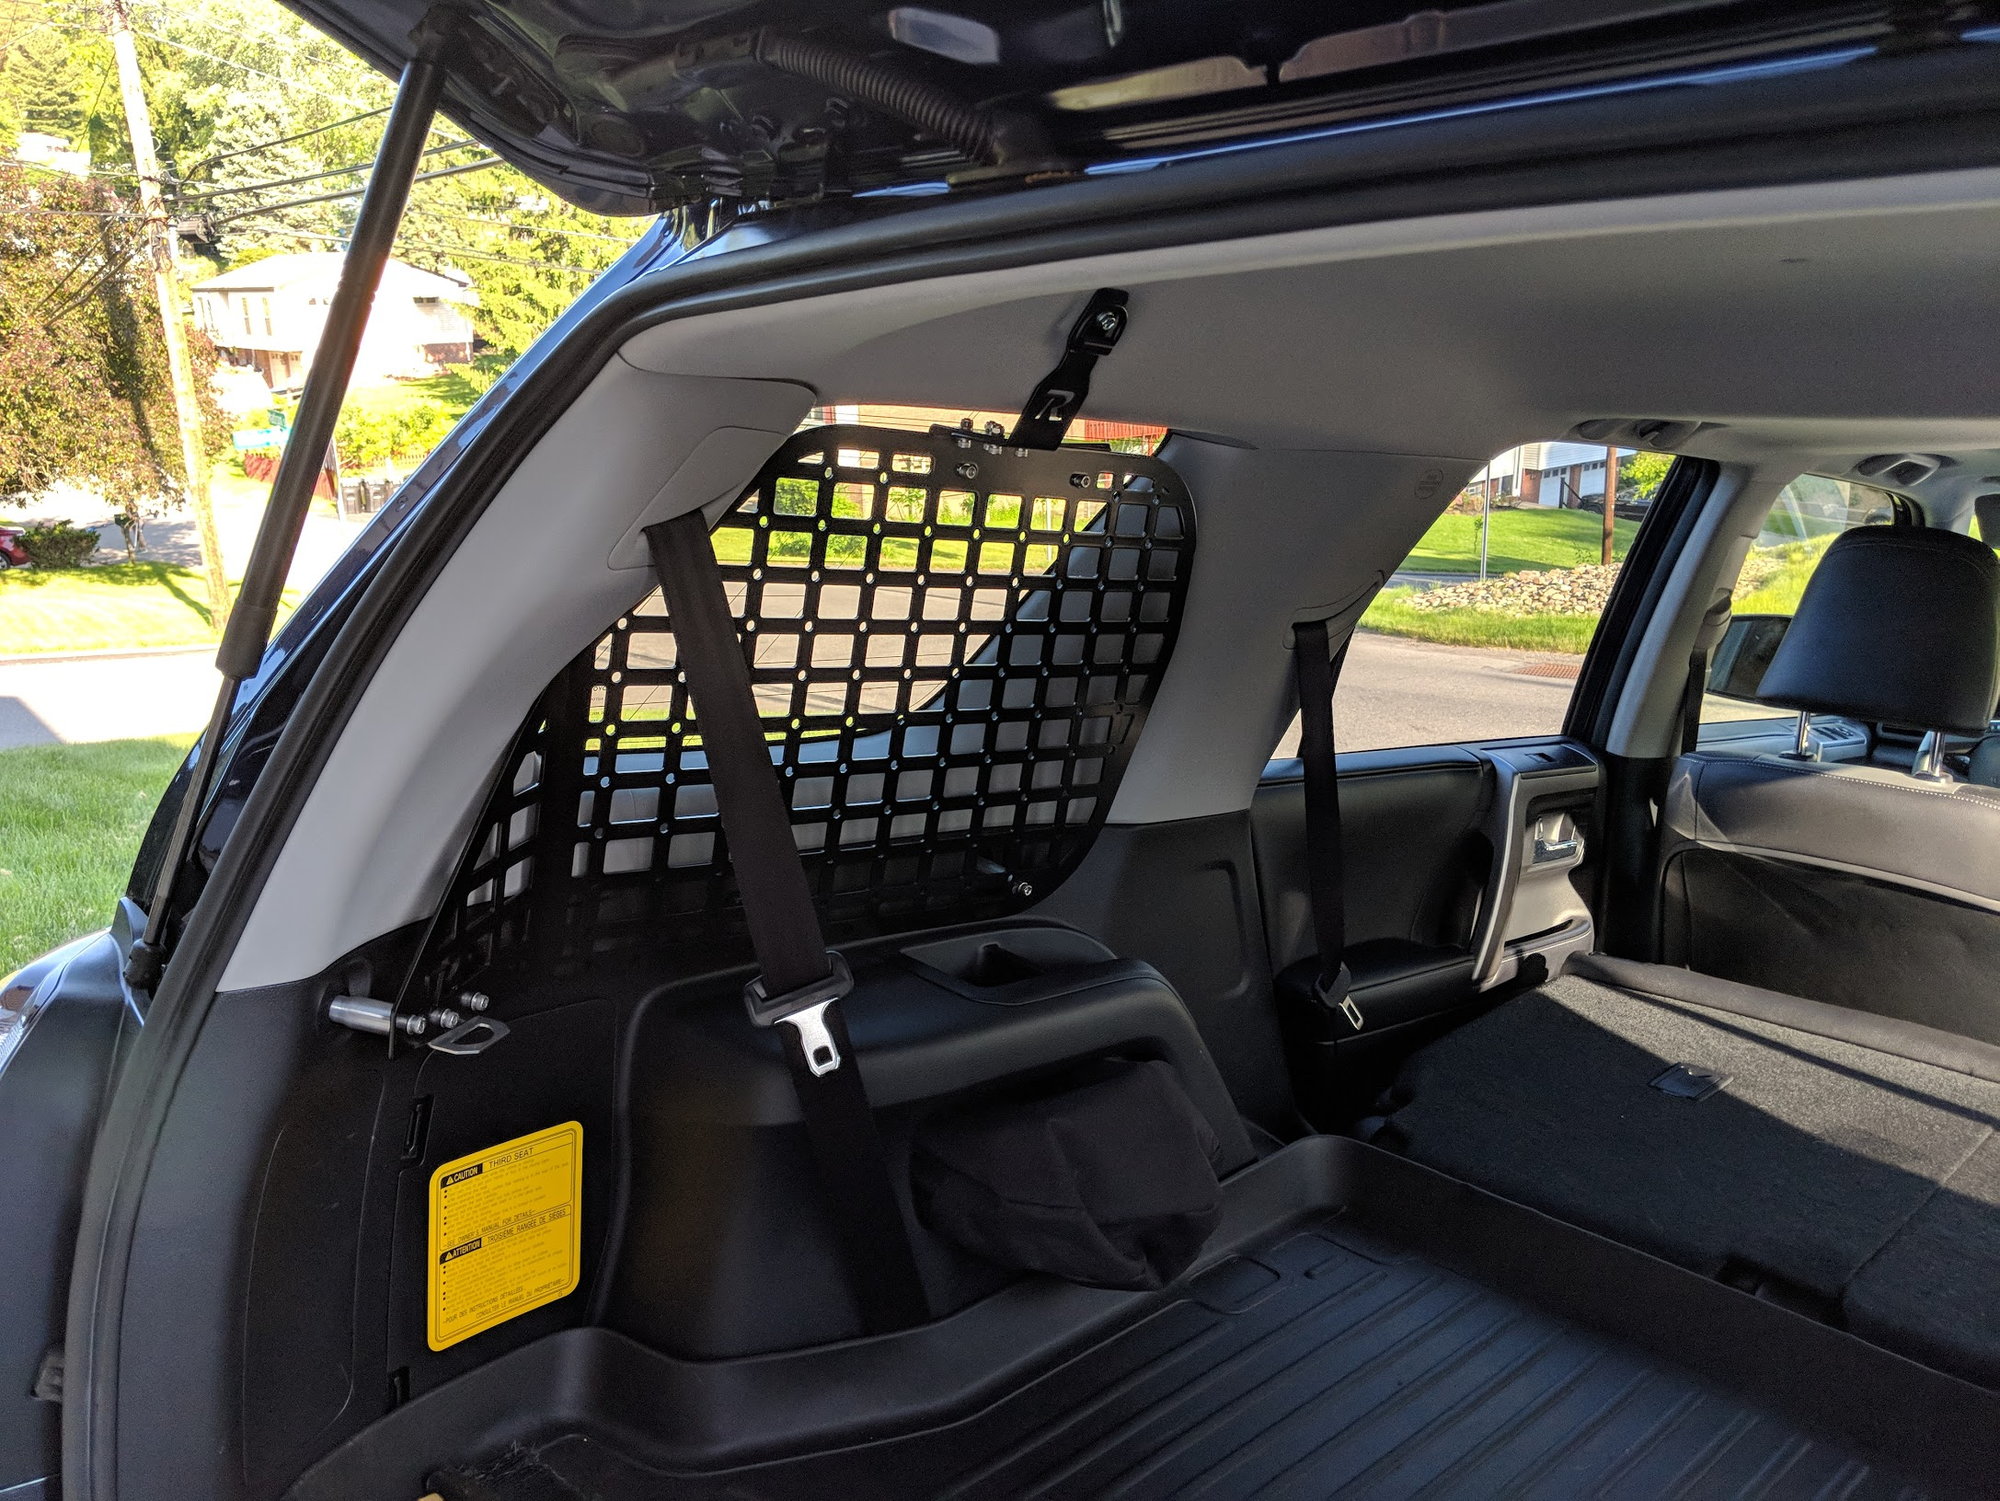
Here's the panels all installed, I really like these, and can't wait to mount all my tools and supplies to these guys

mvimg_20180525_181646_f8e864374839b62555cb22c8d9bf41b20ba66144.jpg


I had them powder coated satin black, I think they look really good

img_20180525_182222_d7be90f7cf48423539557606905681492a7744a5.jpg


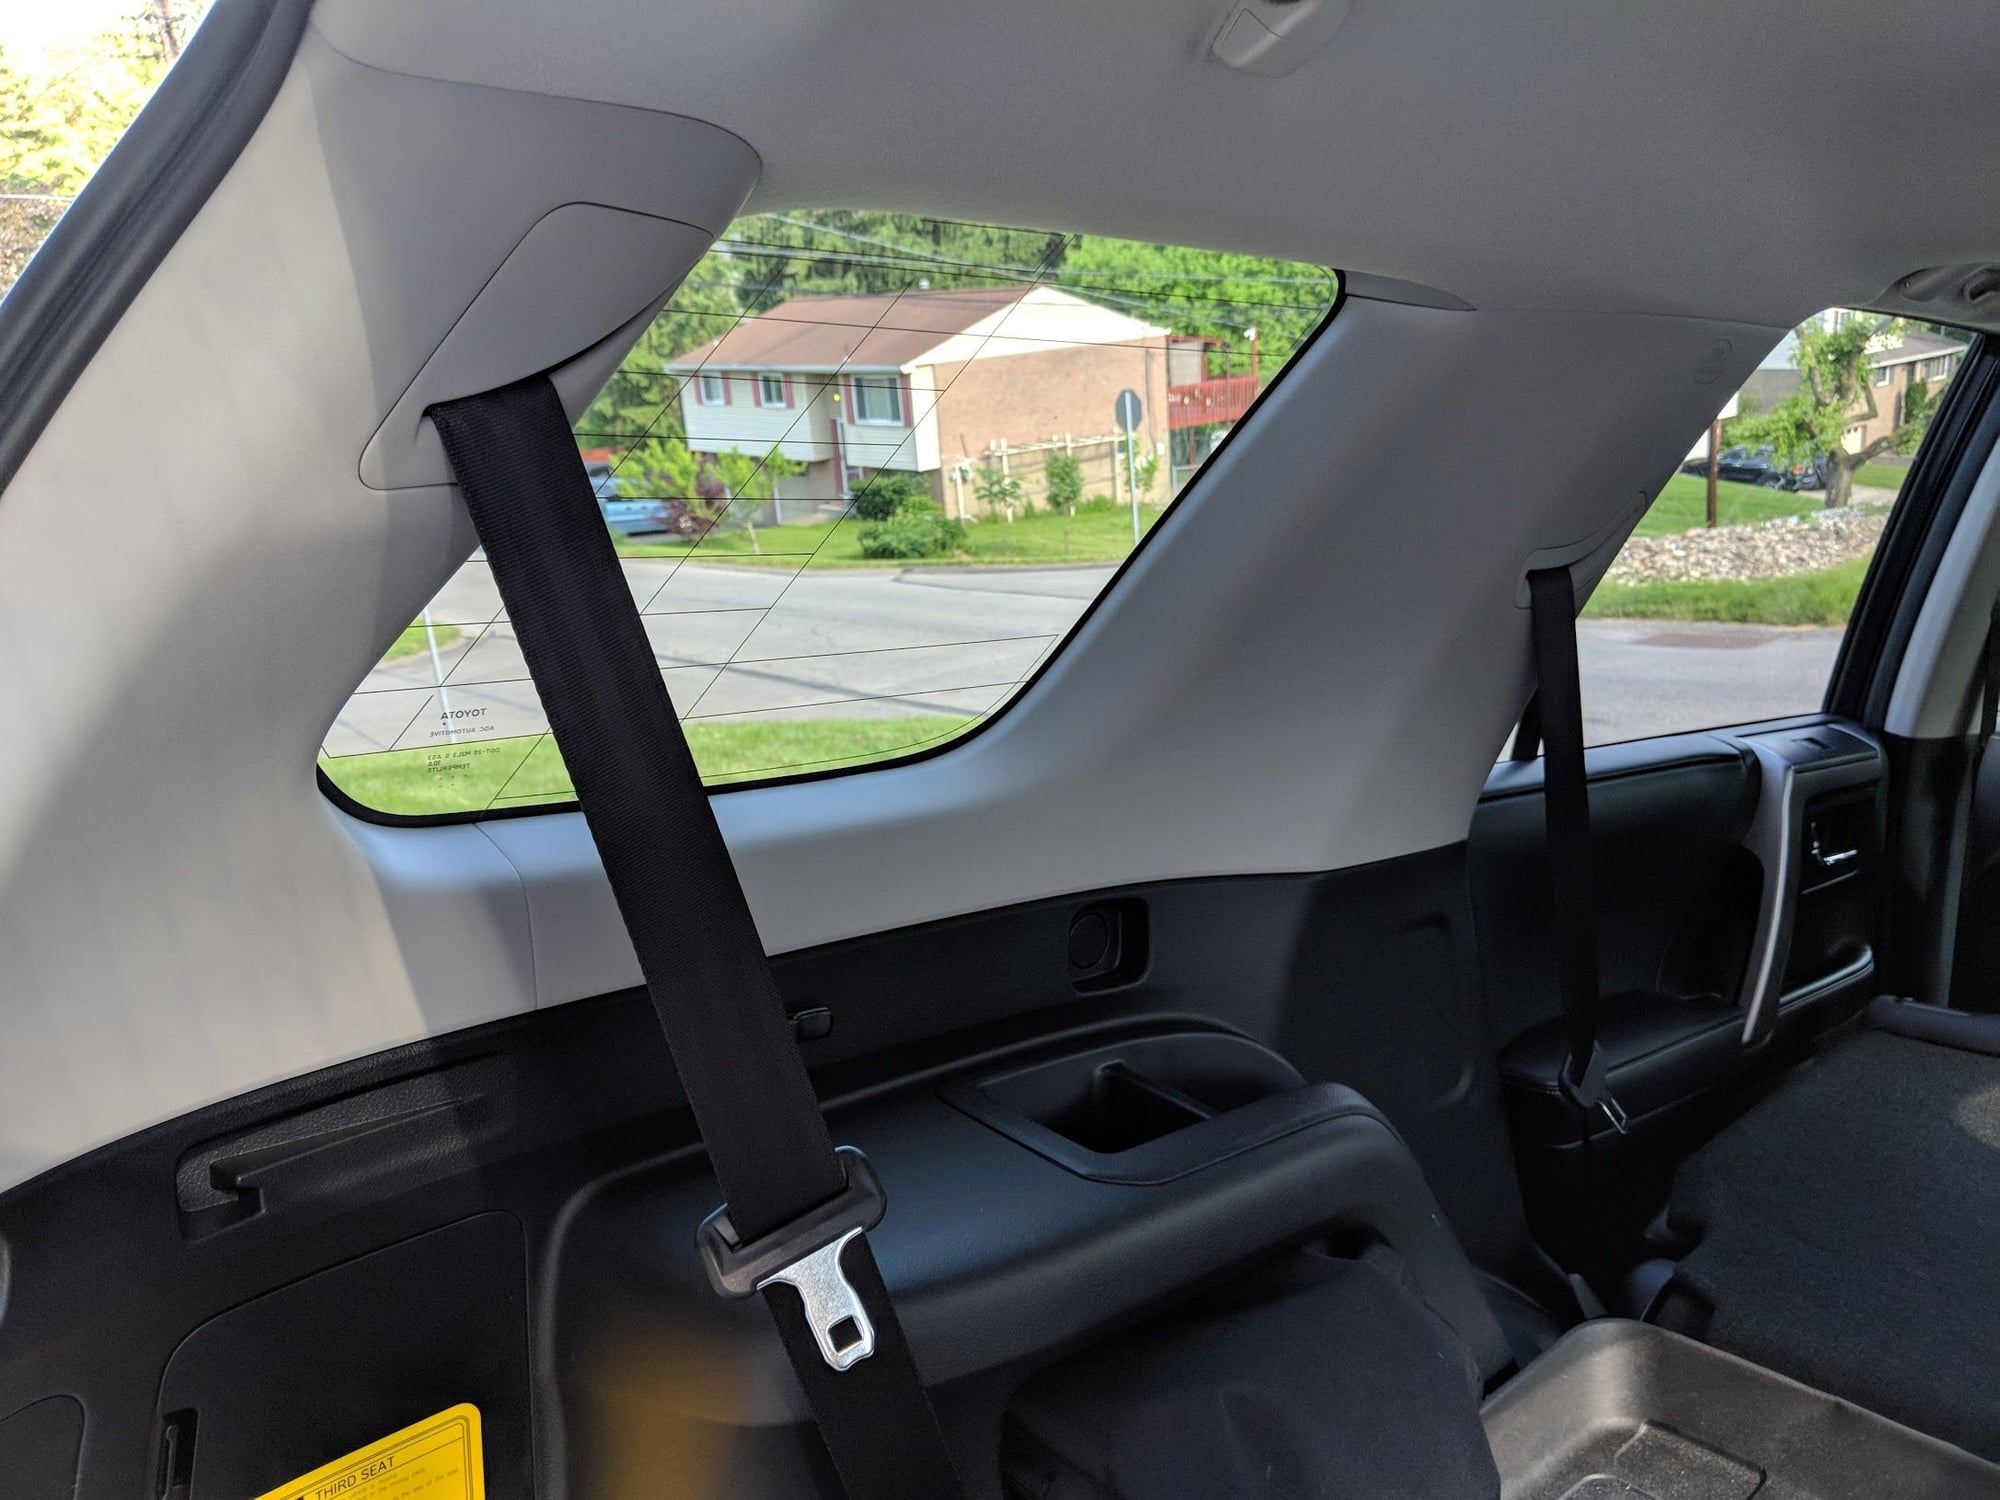
And here it is all installed with the rear seat folded back up, no fitment issues
img_20180525_182247_371d945c9c5abc45970c564a6c0adbfee6896807.jpg


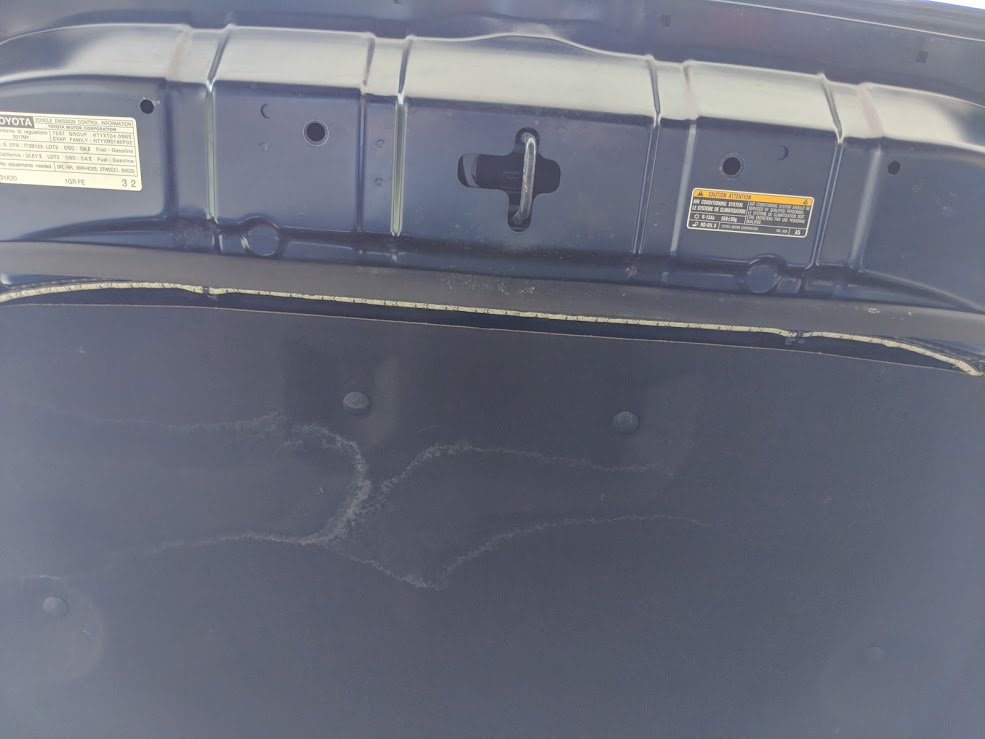
Quick mod yesterday, it's still super hot outside so I've been limited in how much work I can do. I've had this underhood LED kit sitting in the garage for the last couple years, I actually bought it for my last 4Runner but never installed it. It's from the group buy on here in 2015 I believe. This LED was super long so I had to follow the contours of the hood. I routed the wires down behind the hood skirt, I didn't get a good pic of the wire routing but it was very easy. I need to clean the salt stain off the hood skirt, it's bugging the crap out of me

img_20180529_180309_f47ad15fa949f2a5970fdd4fa539b8ba10ab2a1b.jpg


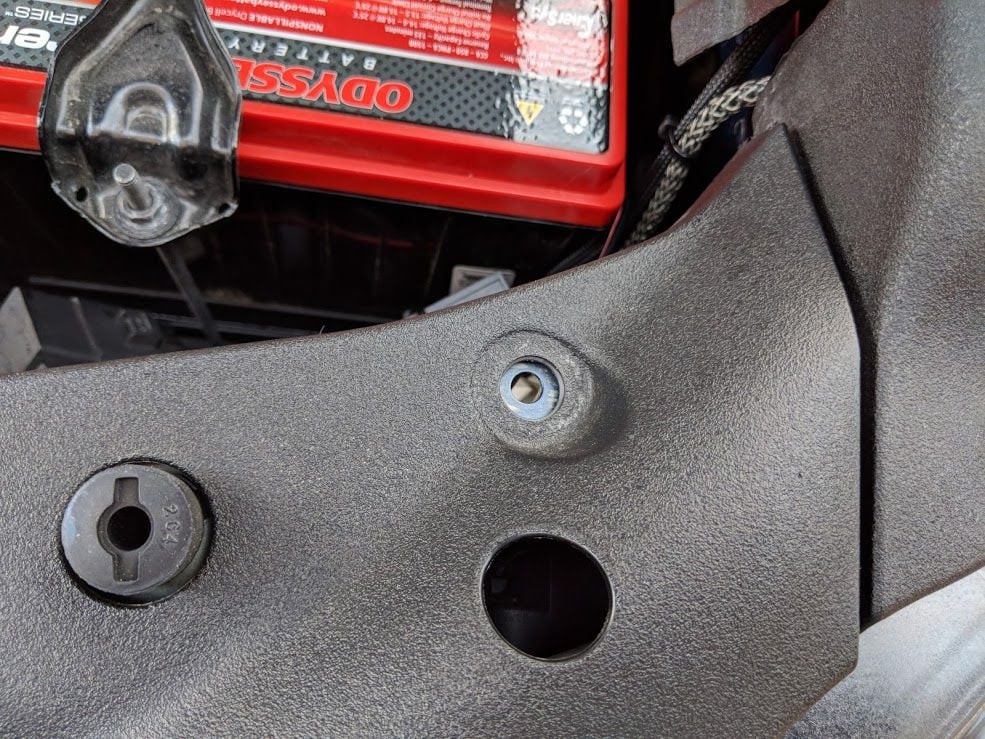
Here's the hole that I used for the hood switch, I had to widen the plastic cover and widen the hole in the frame slightly to fit the switch in there

img_20180529_181814_0fe7ab9caf0ace660b9dd02b22efee805099e4cf.jpg


Here is the switch installed.

mvimg_20180529_183355_9c015469976b6a2eb7744ad9d396afdef6b859a5.jpg


And all the wiring cleaned up.

mvimg_20180529_183739_fcd02c8bd96ef703aa2f8d7d206a69cf3899a962.jpg


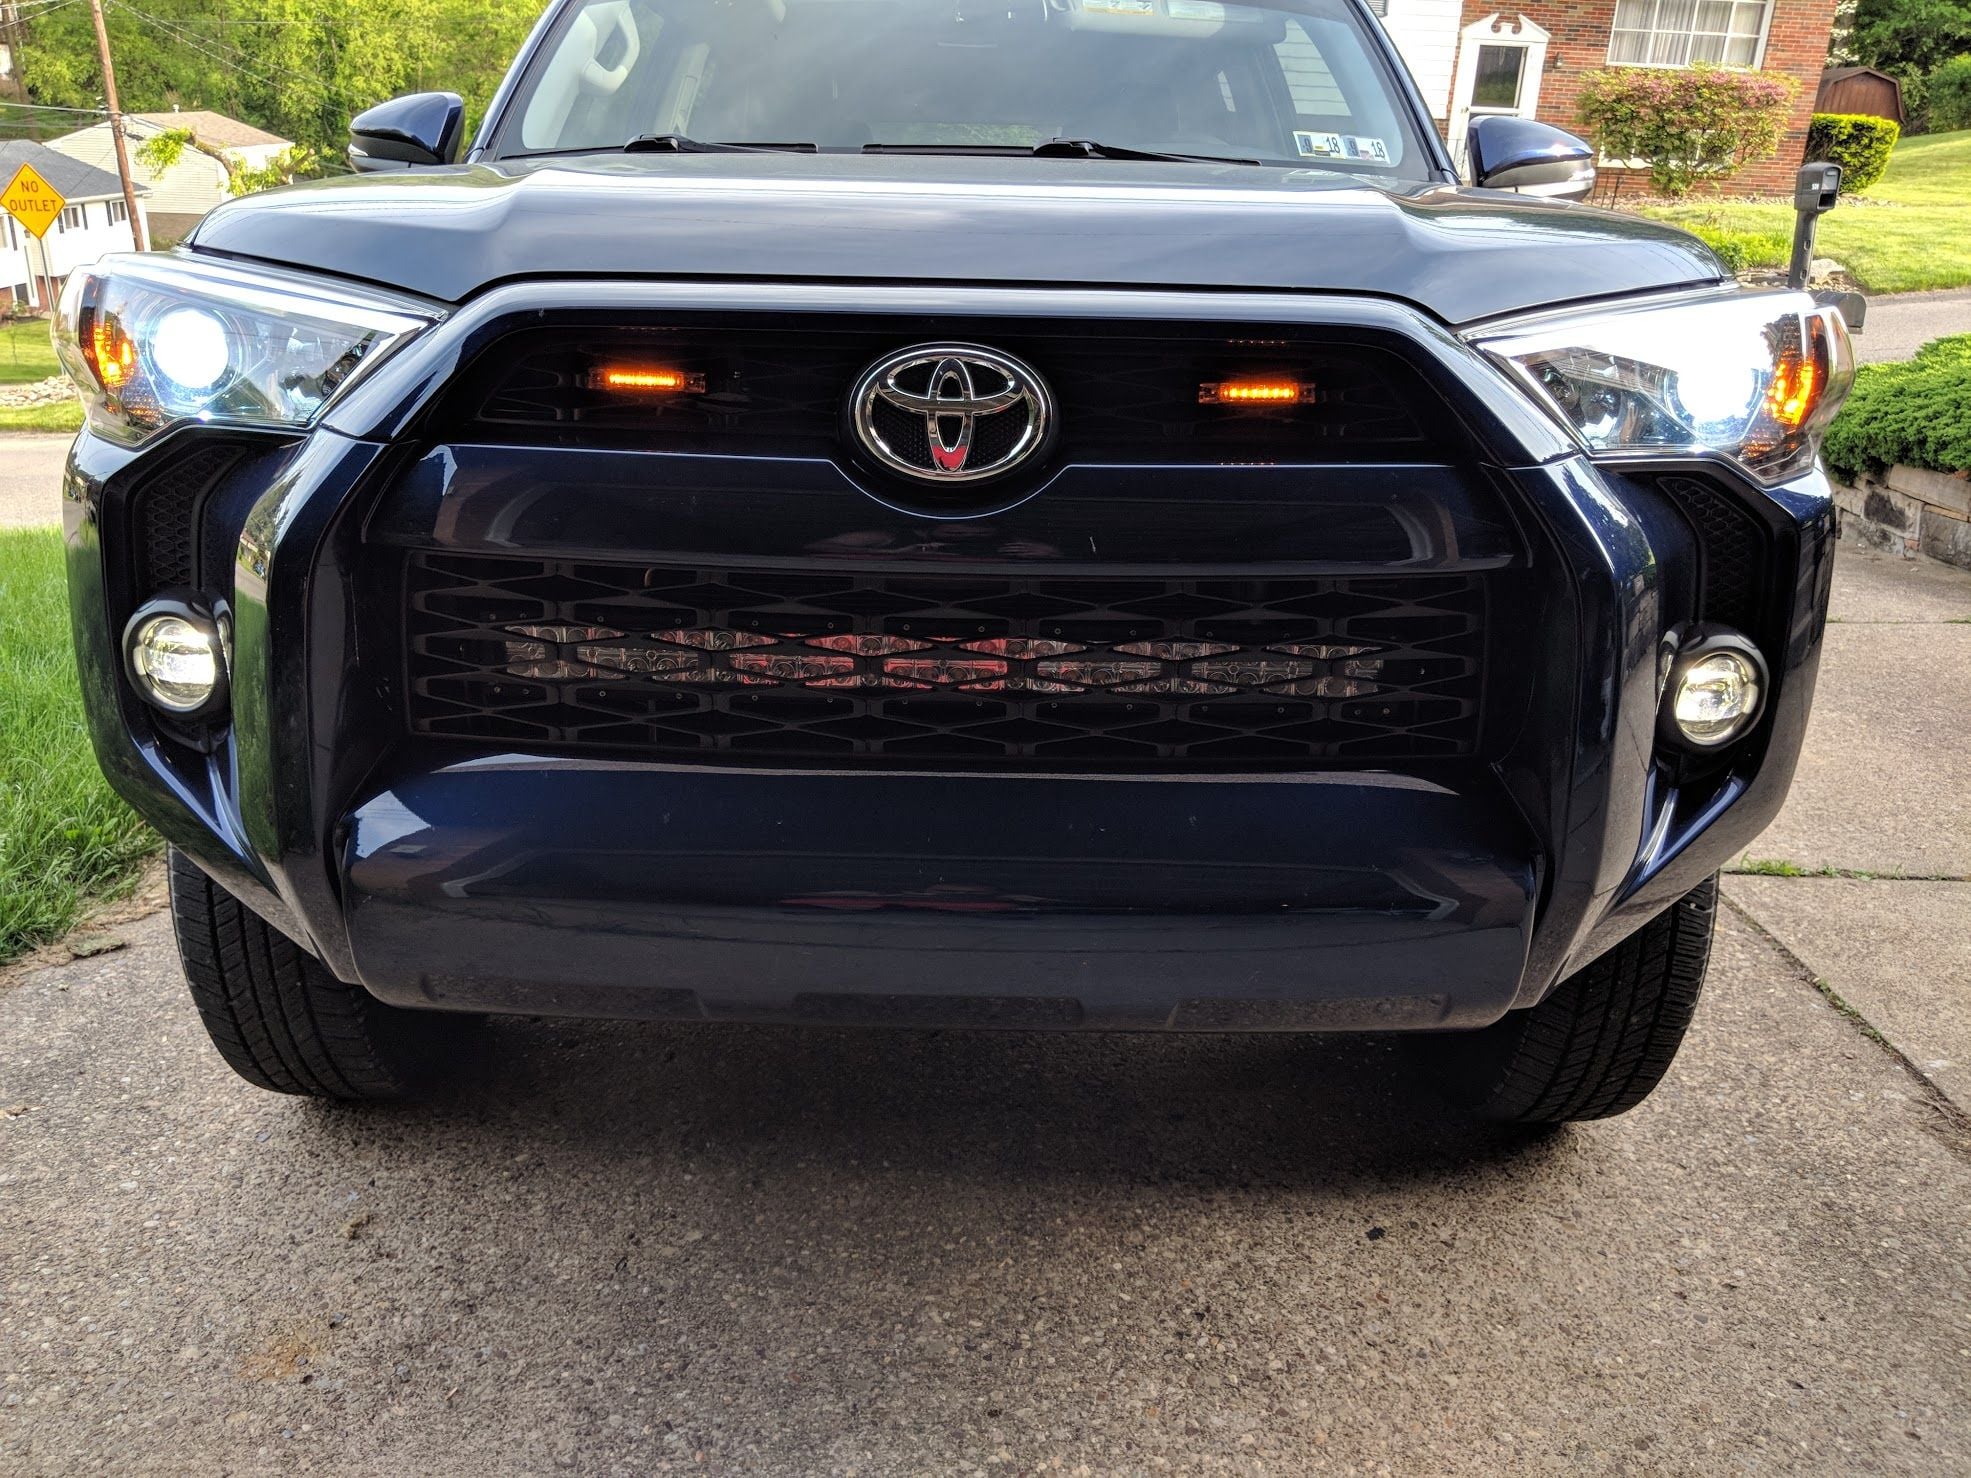
And the final product, this thing is like day light, definitely what I was hoping for, and not bad for something I had just laying around waiting to be installed!
mvimg_20180529_213213_af11444ebdd5848b92c6bdc15302ede460e0281f.jpg


Engine bay shot, this thing is bright!

mvimg_20180529_213229_ee830703630d3f96b4bf085d71dd91993b8ceff8.jpg
 
Last edited:
Had a nice cool afternoon yesterday so I was able to get out and do some more work on the truck, first here's a better pic of how I ran the wiring for the engine bay light behind the hood skirt since I didn't really take one the other day.

mvimg_20180531_172130_029c1189e4eb8bbaa1f206048e259d68cc675cdf.jpg


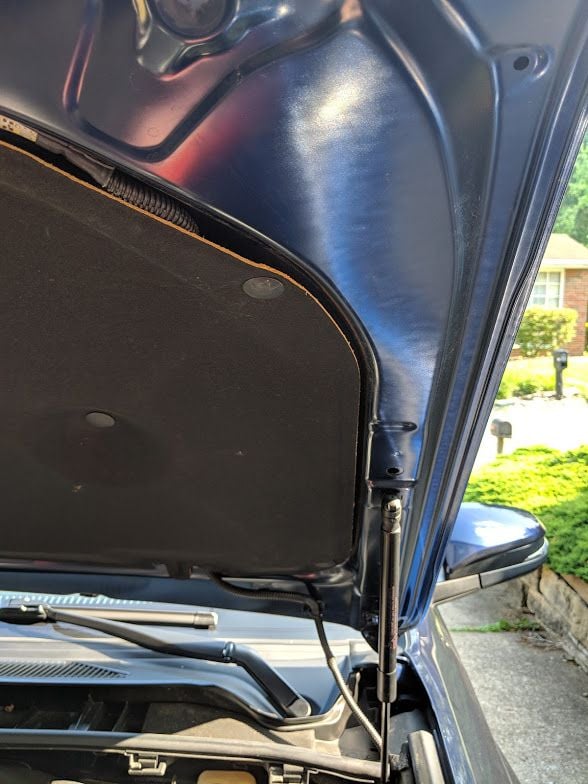
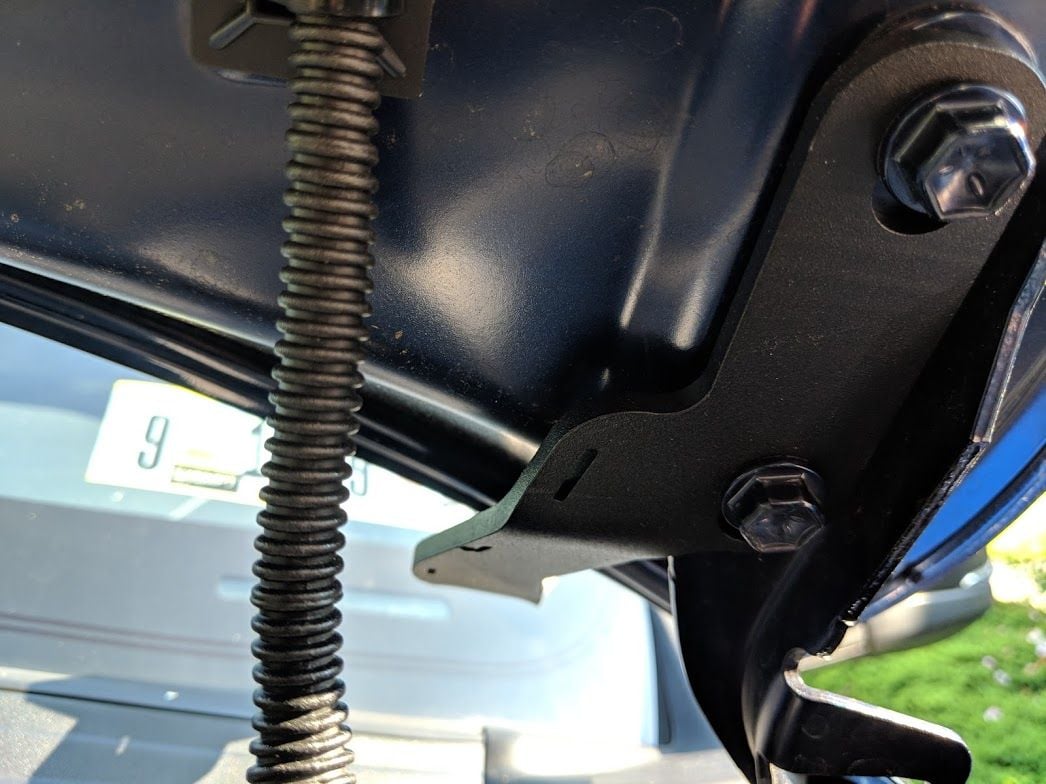
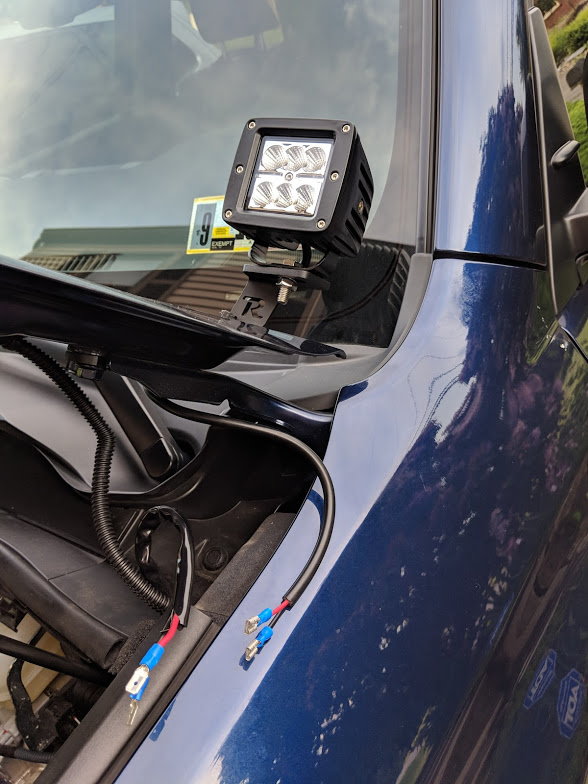
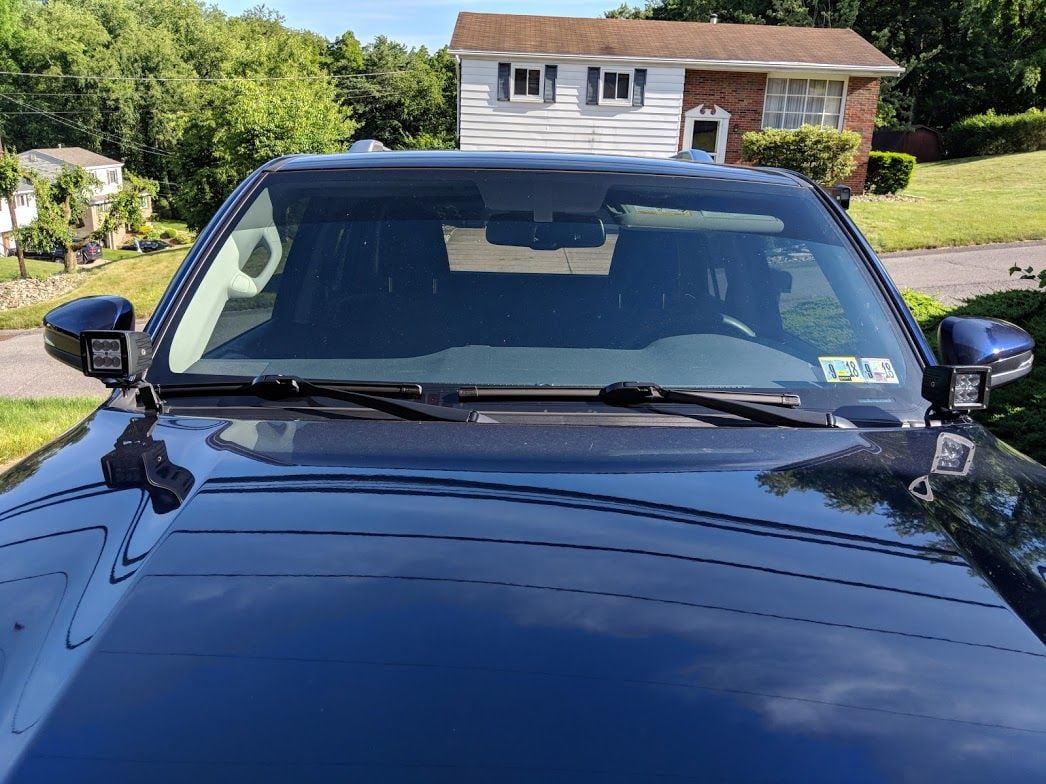
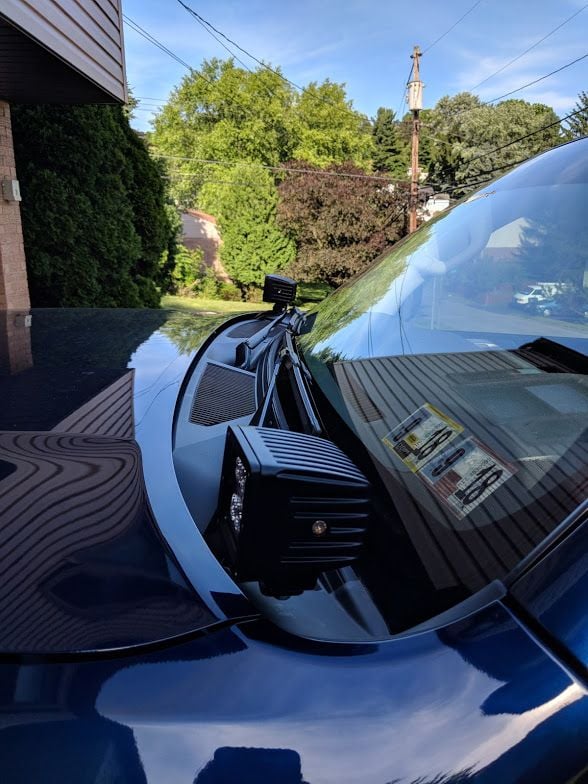
A few months back, Rago Fab had a "Garage Sale" and had some ditch light brackets along with 6 LED ditch light pods on sale for a ridiculous price, and the whole package cost less than their brackets normally, so I jumped on them. I never really thought I would be putting these on the truck, but for the price and the chance to supplement my 32" LED bar, I said wth. The brackets mount right to the hood bolts and open and close with the hood.

img_20180531_172357_89e40b11e31ac27059ddf0b16d51f2c4c4d4dd36.jpg


Here they are all installed, I think they'll compliment my black on blue theme nicely.

img_20180531_172733_0535dac0a667da8d8cea0ba7af628bf88cf7dd6e.jpg


Getting the lights mounted was the trickiest part, once I got the brackets figured out, I went to work on the wiring.

img_20180531_184647_b8b4a6244b5e798ce81f3e94b0de8bcdaea1082f.jpg


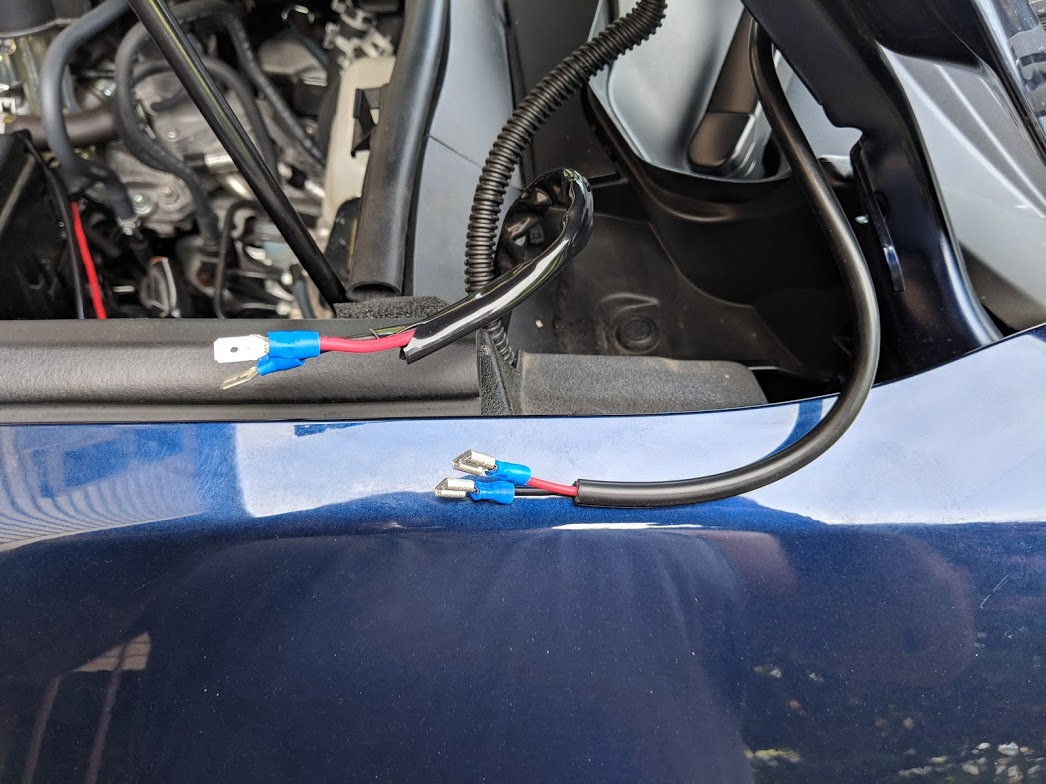
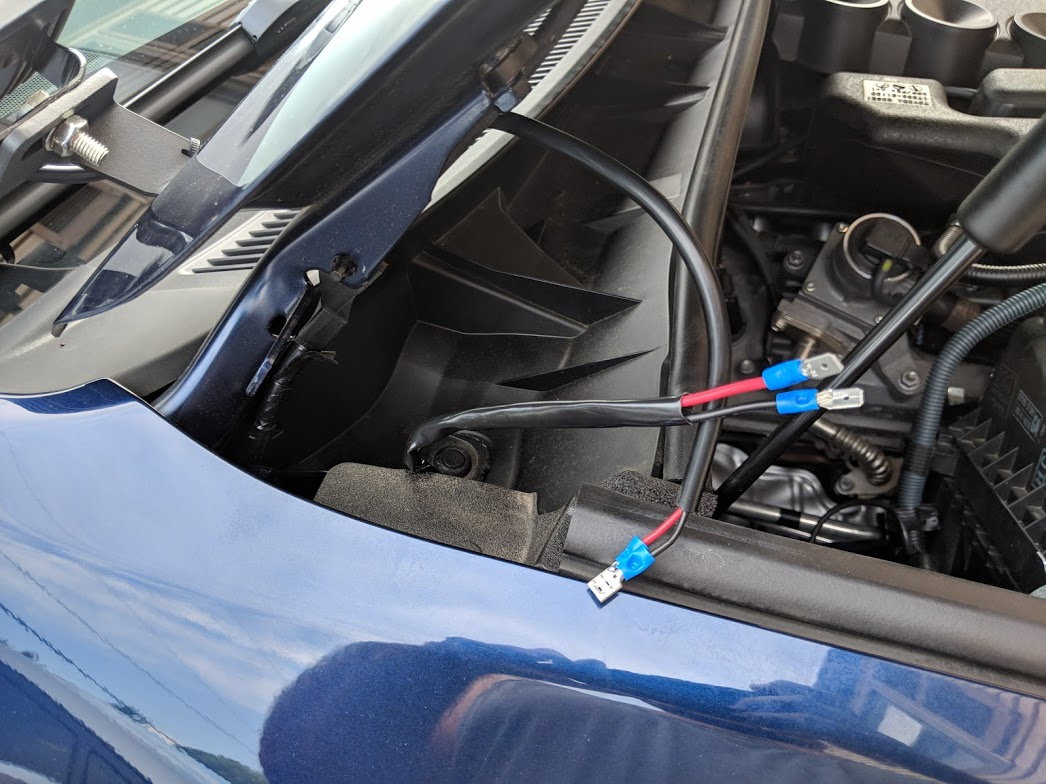
Wanted to make it as simple and clean as I could so I used connectors, usually I'd just solder and be done with it.

img_20180531_184644_dab2a9b3806f1e75c39f094f60e09d7ccf93ccfa.jpg


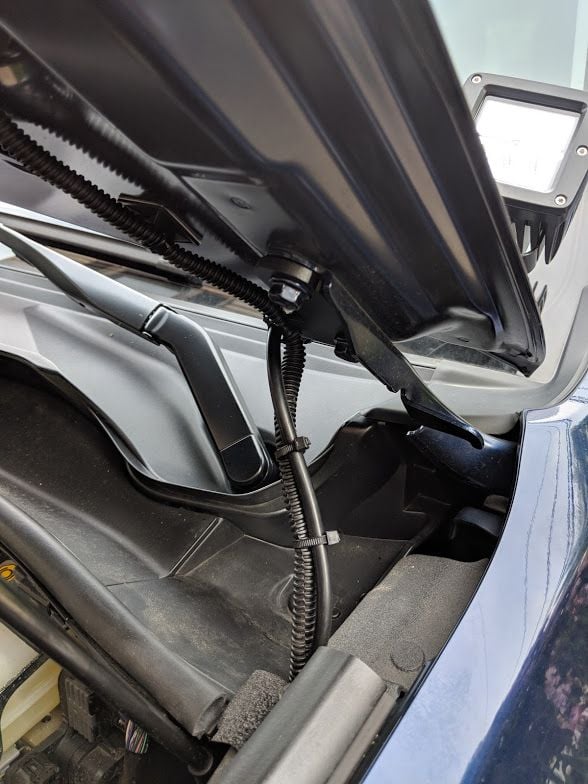
I originally tried fishing the passenger side wire through the hood, but my gf wasn't home and I didn't have anyone to help me fish it out the other side, after about 20 minutes I gave up and ran it along the firewall where I plan to run my amp power wire. I was OCD and tucked it way back and ziptied it up so you can't see any of it and it's nice and stealth.

img_20180531_185111_07138bc90e47fbf56d8f0b2bf881c183ae8835ea.jpg


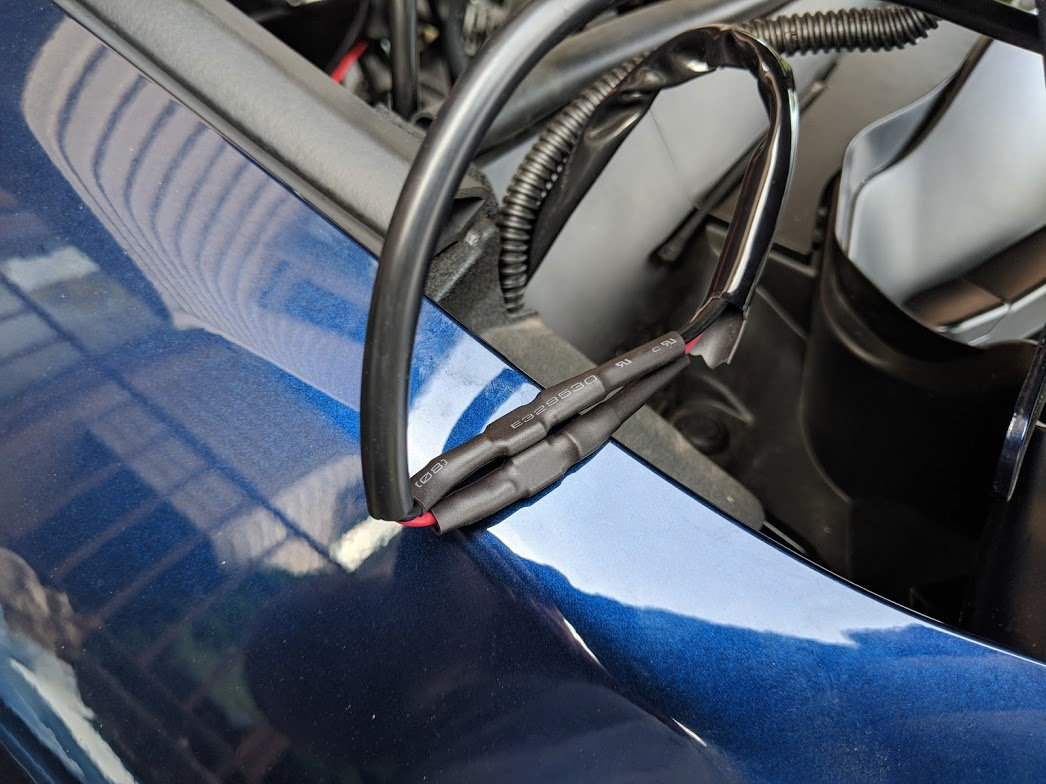
Then I connected the wires and packaged them all up nice with some heatshrink, after that i wrapped the whole thing in electrical tape and tucked the wires down and ziptied them out of sight.

img_20180531_185818_f87d577353d9c304bd4867978b0b33ed06c33a6b.jpg


Here you can see the wiring all tied up and neat, I tried to make it as clean as possible so it's out of the way.

img_20180531_190433_1ed3b3a97d1fe7c7b3ca3dbe9a49ab550e1c3a20.jpg


Here's the lights all mounted up on the hood and wired up.

img_20180531_193433_6db36b04a767c5836d973c969d132e2ecb9bb811.jpg


I'm still getting used to them being there, driving this morning with them in view was interesting, I'm debating getting a low profile bracket that would lower them a bit, but for what I paid for the whole set I am very happy with them.

mvimg_20180531_193422_889f8bbf7d09e2ba37c563b0656266527422751a.jpg


img_20180531_193426_7cb88f15c2bc78006f15e7e209260fe022522603.jpg


And the aftermath, you can see just how many zipties I used lol, but it looks clean and stealthy in the engine bay.

img_20180531_193515_ae84736ae2db7519f4de6e0e9f31a06117f3fef9.jpg


I didn't get a chance to wire up the switch on the inside, I got the wires fished into the cabin but had to go to dinner with the gf, so I will finish that up this evening.
 
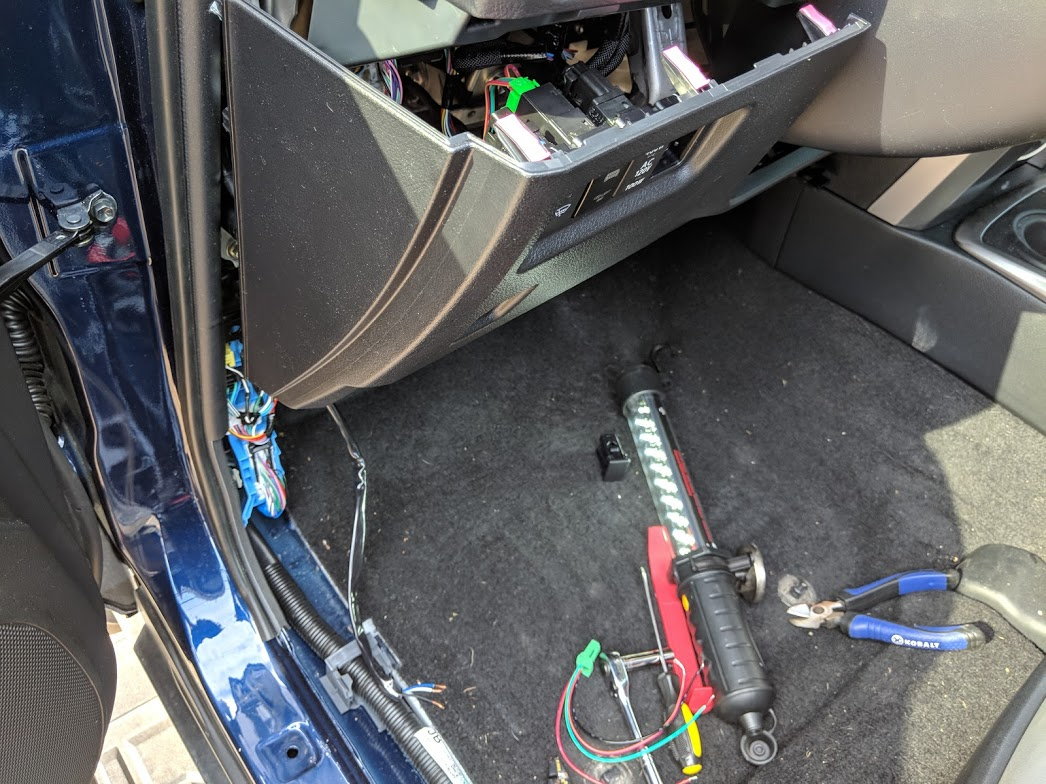
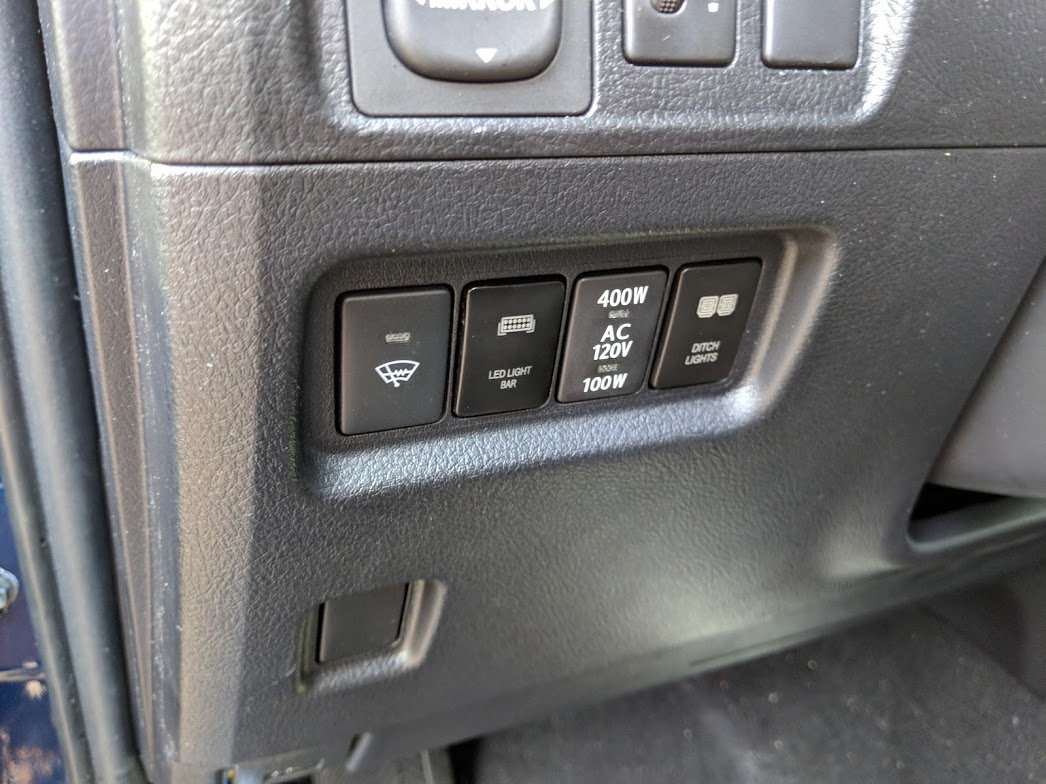
Well, Friday I was able to get the switch wired up and all the loose ends tied up with the ditch lights. I shortened the wire so that it would tuck more easily behind the dash, then soldered the wires to the wiring harness.

mvimg_20180601_173113_84bf2ce030bfa3a8ce4bf74fcaec113a363d194d.jpg


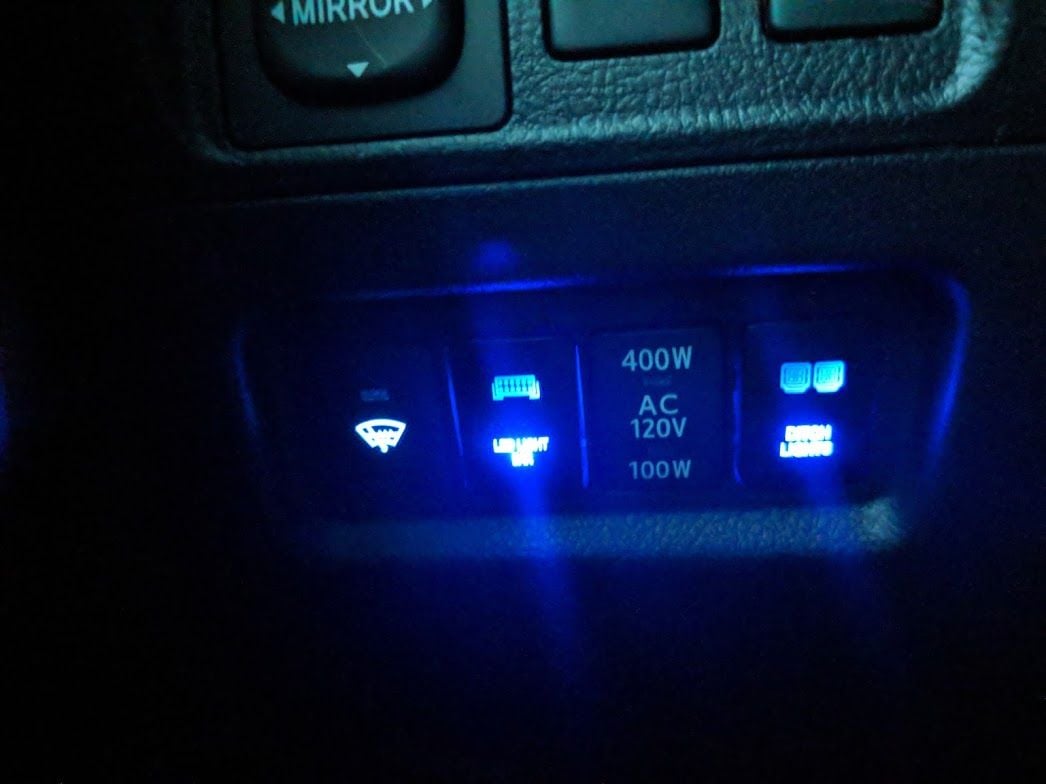
And filled in the rest of the switch bank. I tried moving the wiper heater and outlet buttons over, but they would need to be trimmed and modified to fit which I wasn't a big fan of doing so I'm going with this look for now.

img_20180601_180237_3bb20179e8d2f6e6316e32c61ac20ea4a3c8232f.jpg


All wired up and working! These things are insanely bright!

img_20180601_180741_753c878cb6dc7afe822e975894fd048a332f4752.jpg


I also wire tapped the illumination wire of the wiper heaters button and wired up both switches to illuminate. The top parts light up when the buttons are pushed. (not shown)

mvimg_20180601_203824_e654c09b8f8ee1dff778d4103bb6ede09ce84e71.jpg


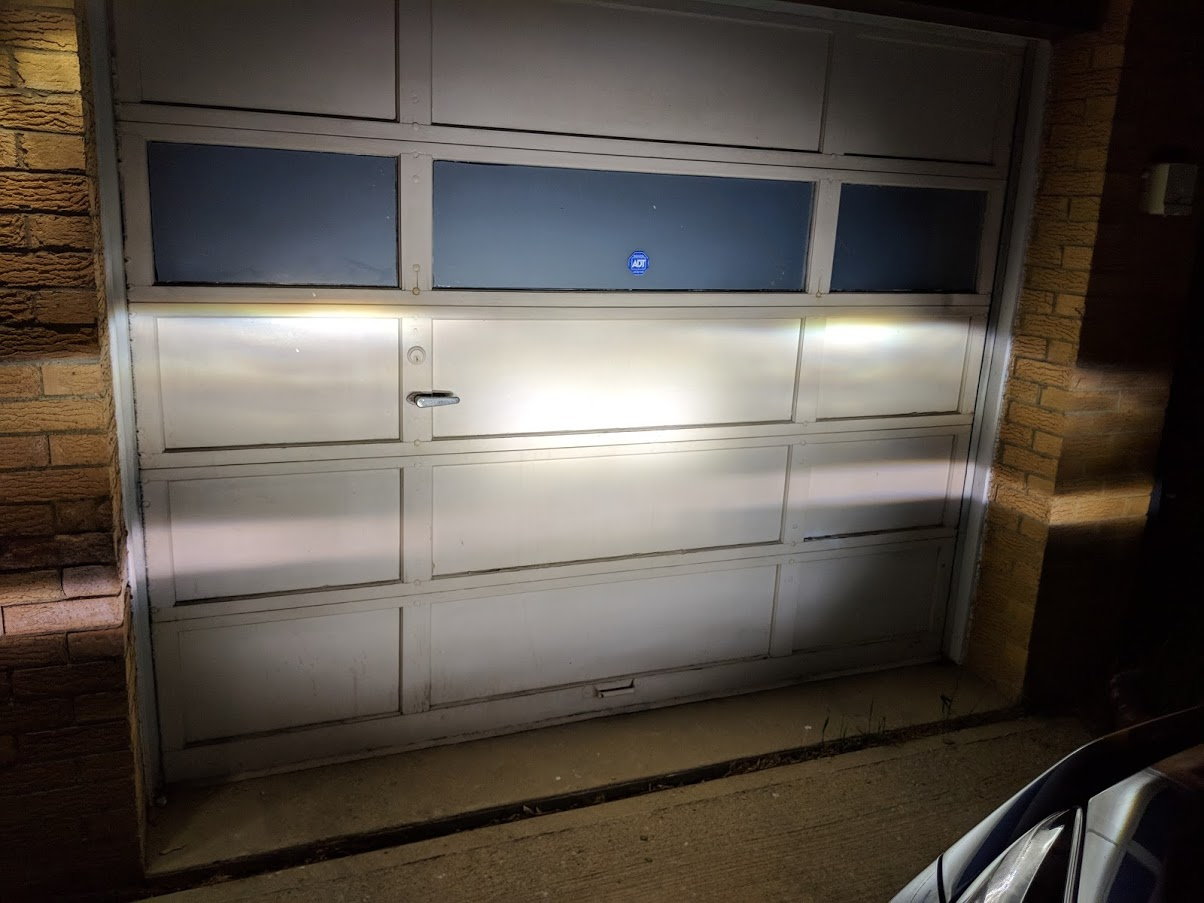
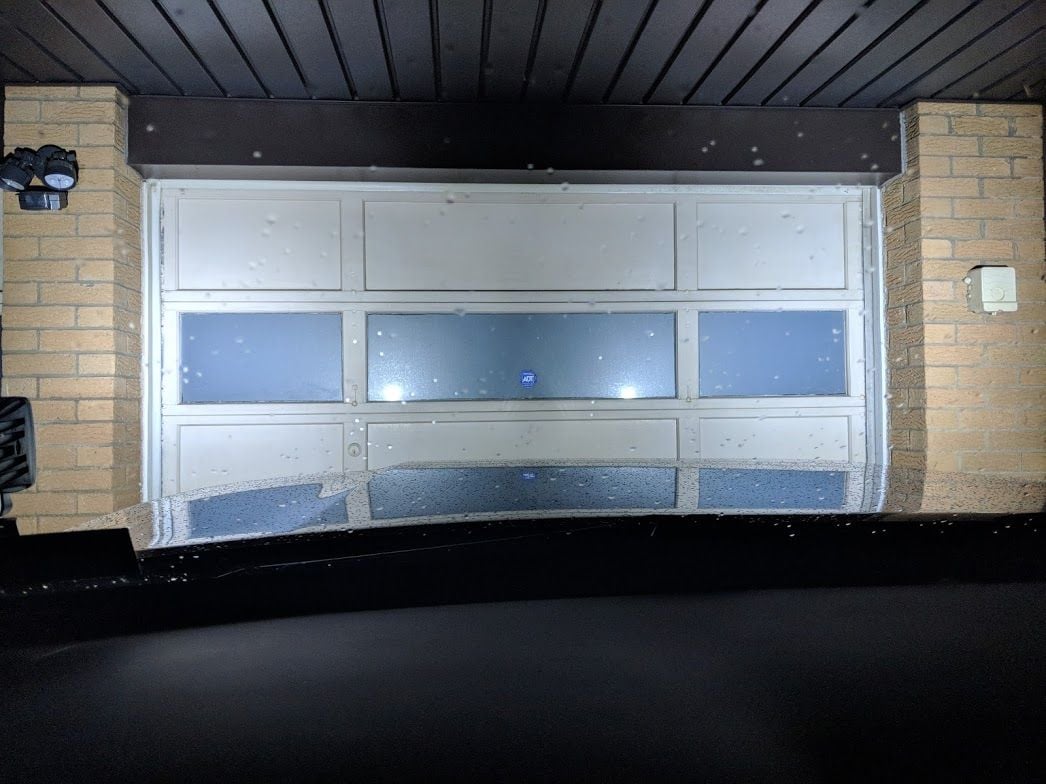
Once it got dark I snuck out and snapped a quick pic of the lights. This is just the 2 x 6 LED pods lighting up the garage door. These things are impressively bright and I defintely had some fun on dark roads over the weekend.

img_20180602_000059_339a5492ae488f5b412ea24e8ef84e1468d414a4.jpg


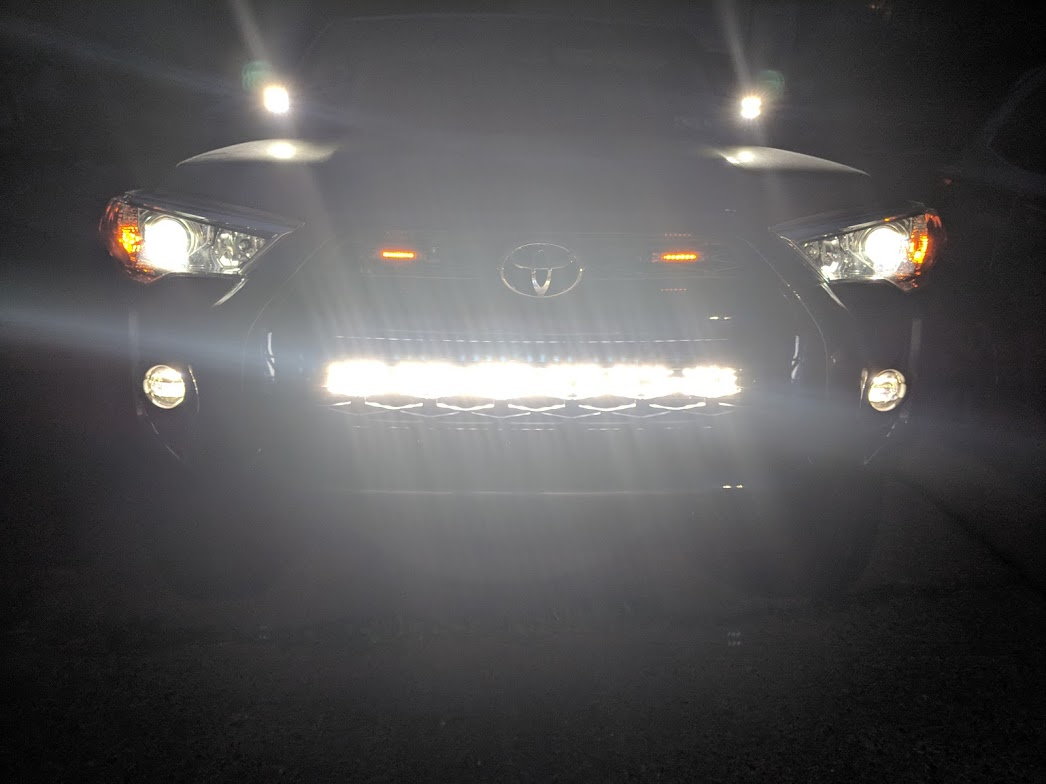
And I had to blind myself and snap a pic of all the lights, sucker is looking mean!

img_20180601_205745_d5574e09ea5543147da72a1fd5dbc7ac88d549a5.jpg
 
Baby got new shoes

On the way to the tire shop....

img_20180608_102849_7f309c3fdf291f0077f475dd68f00bf168aae41f.jpg


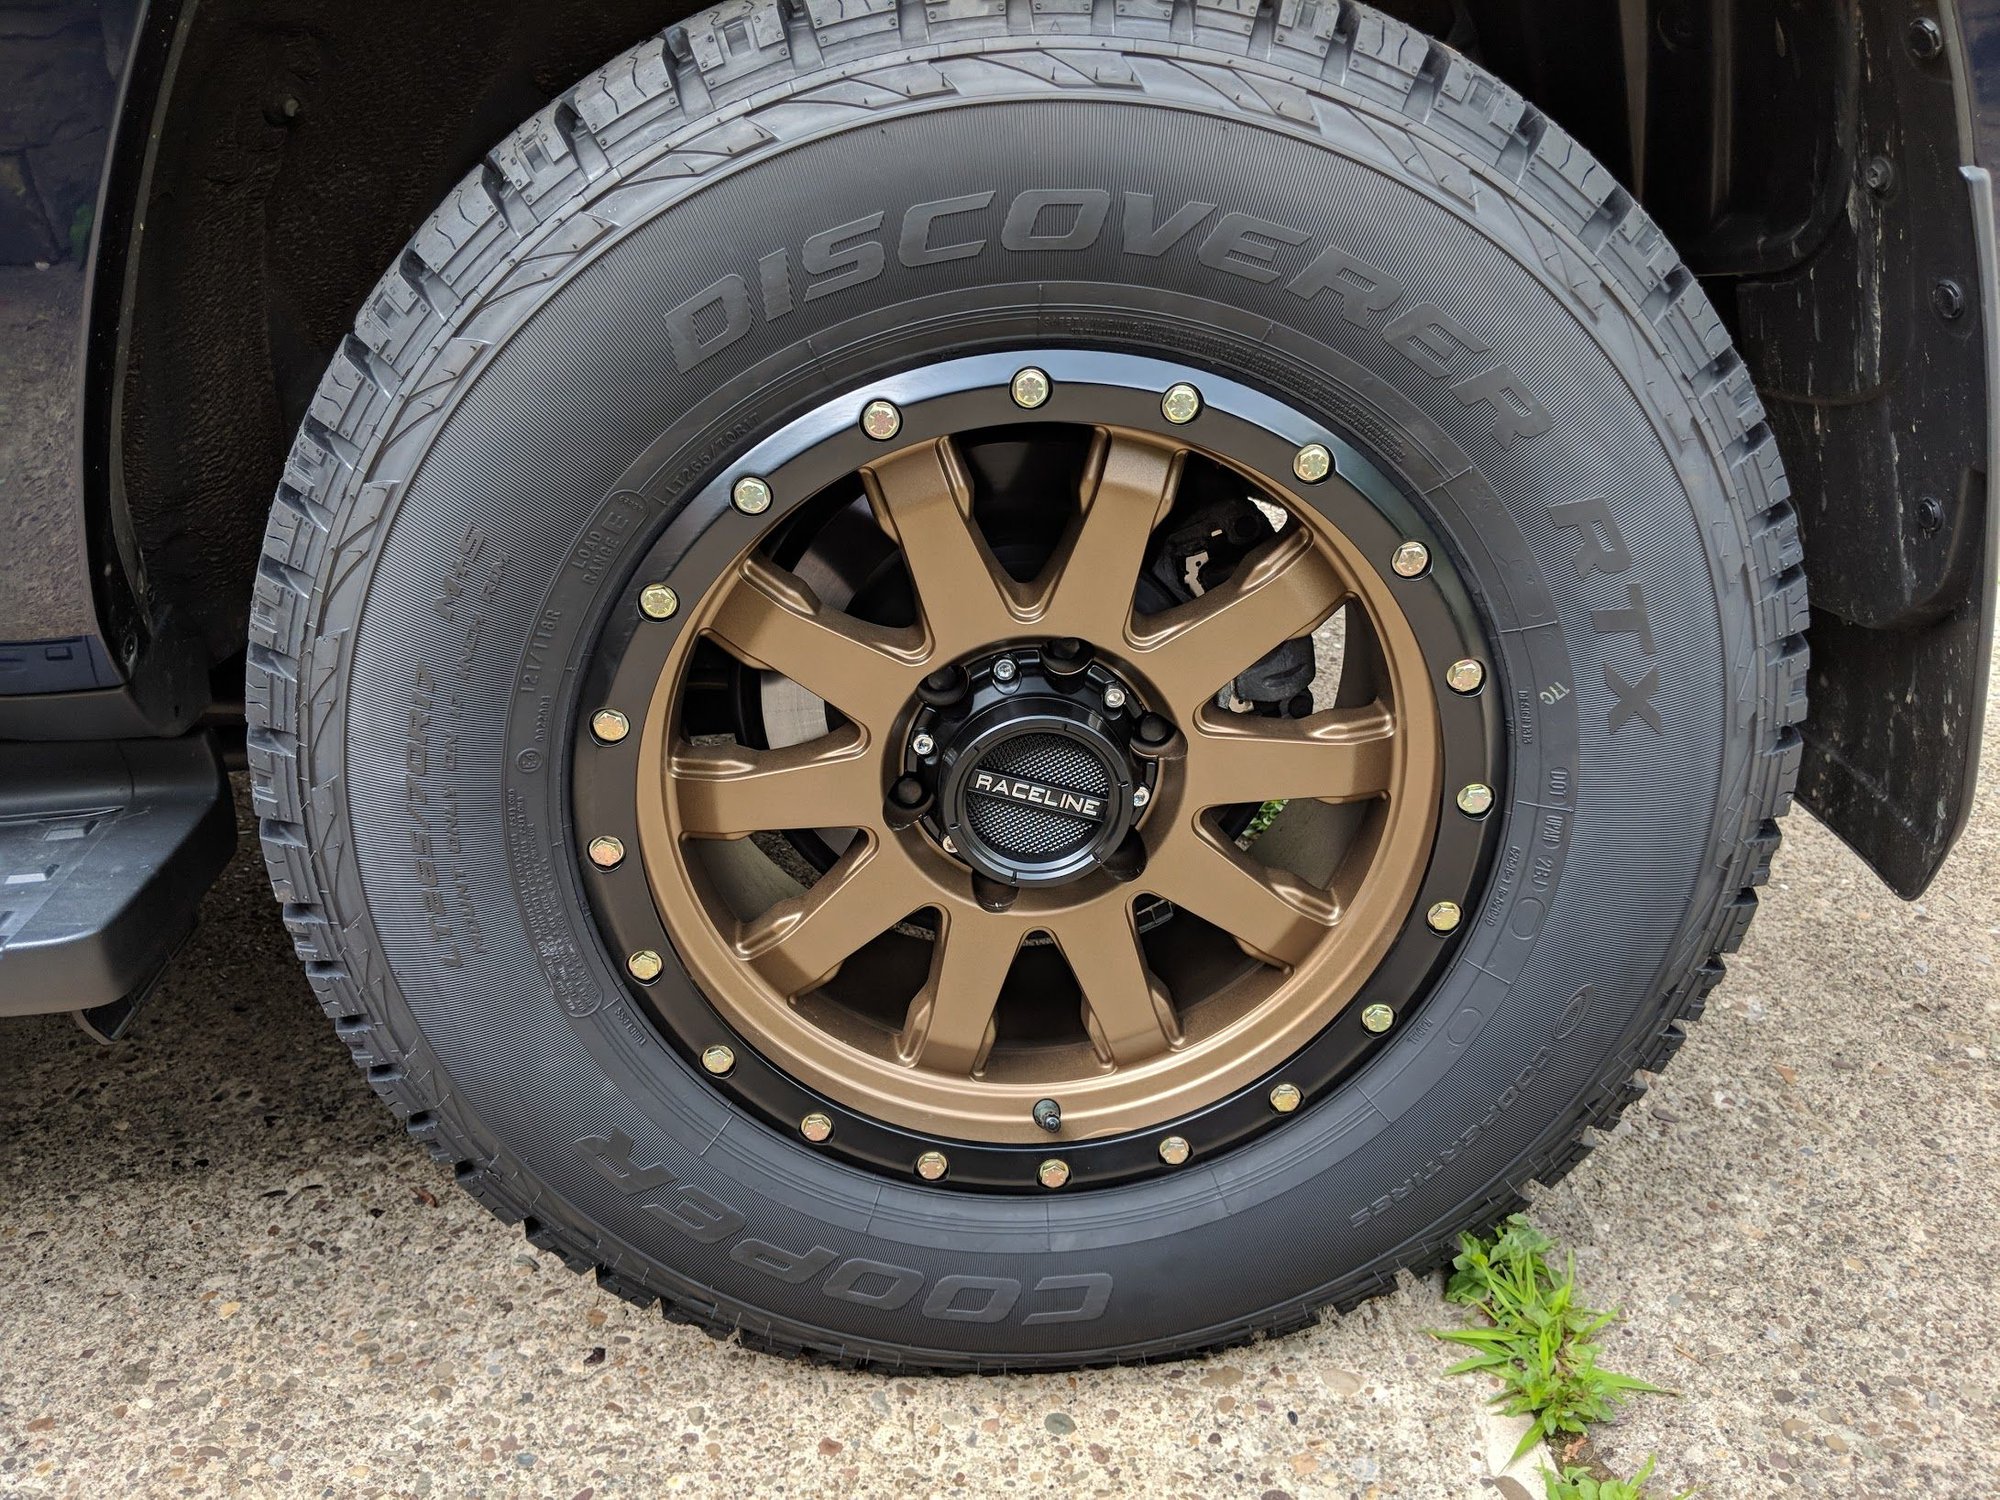
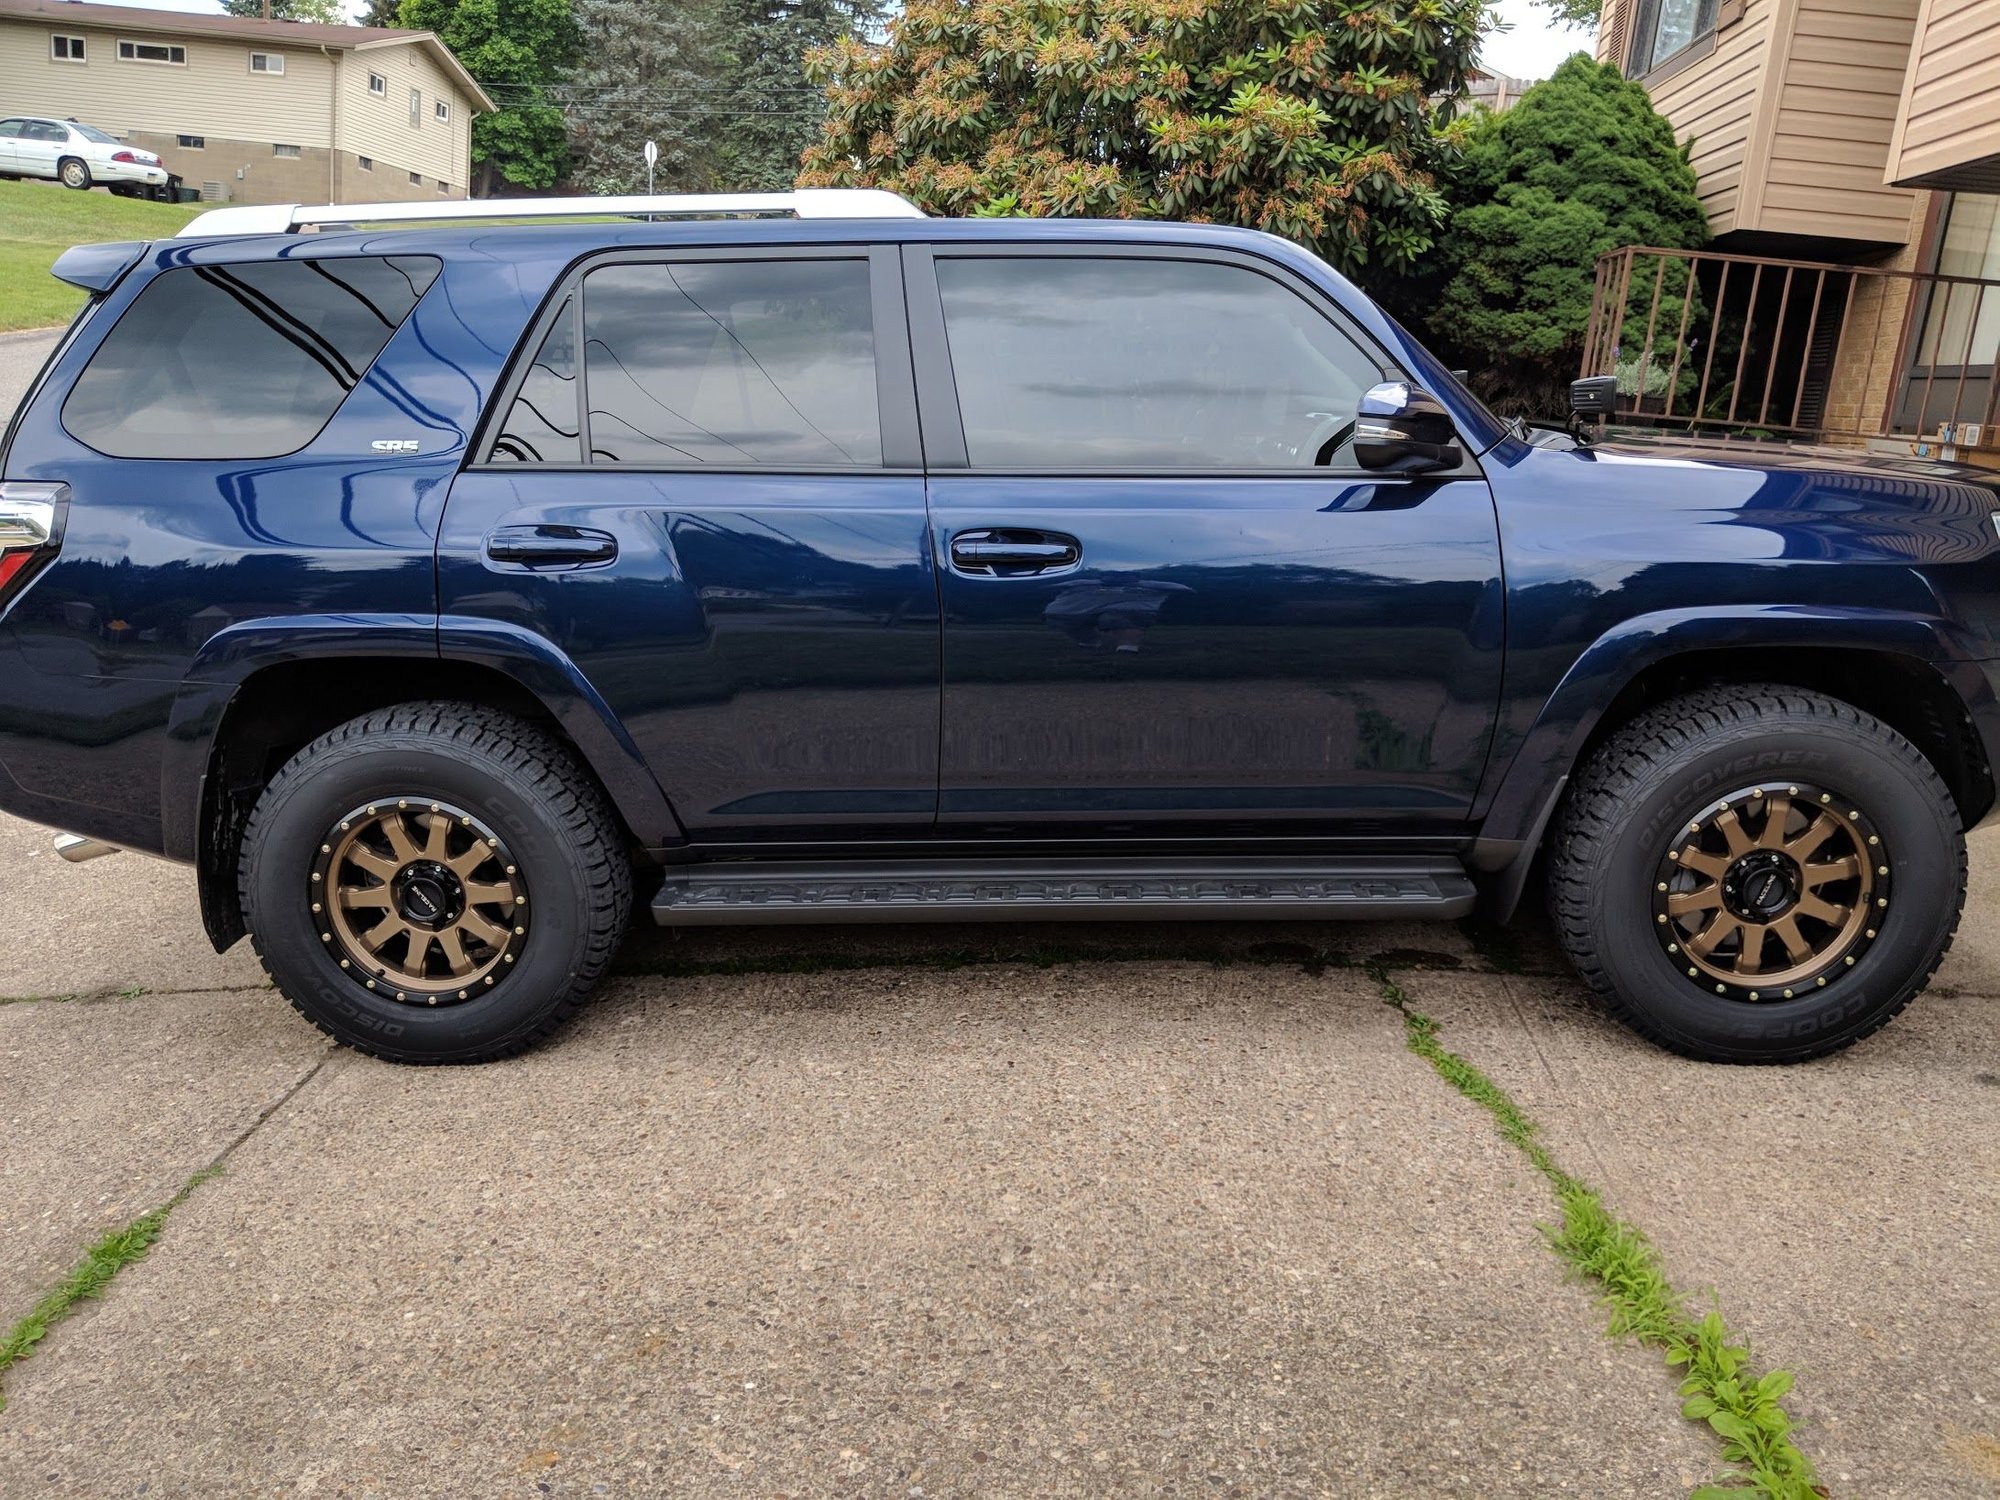
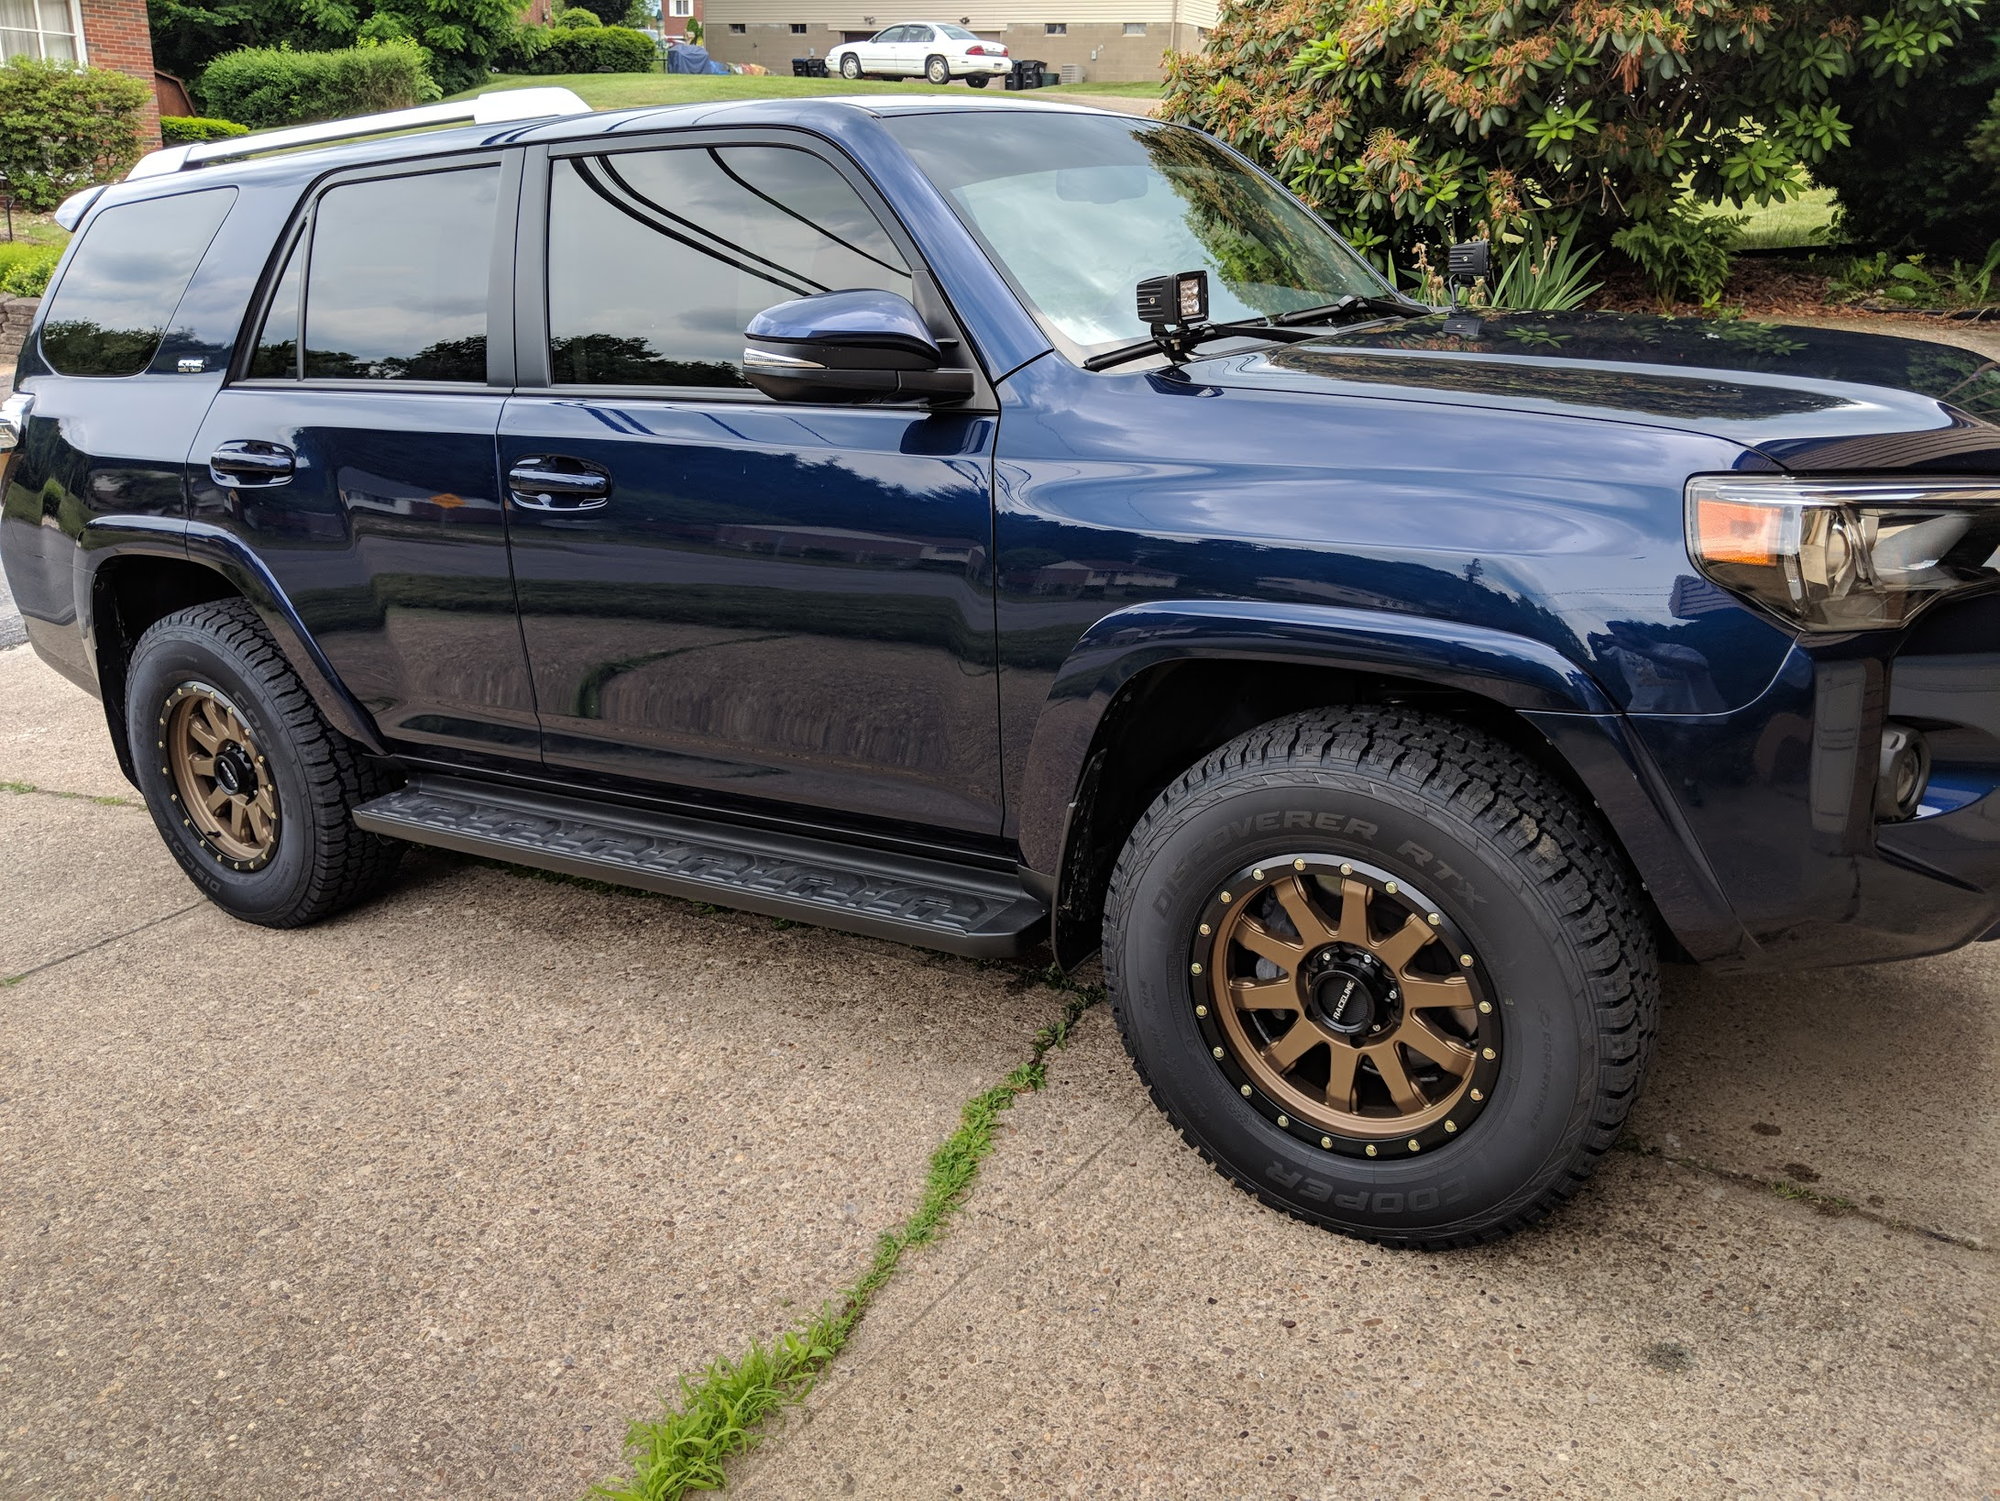
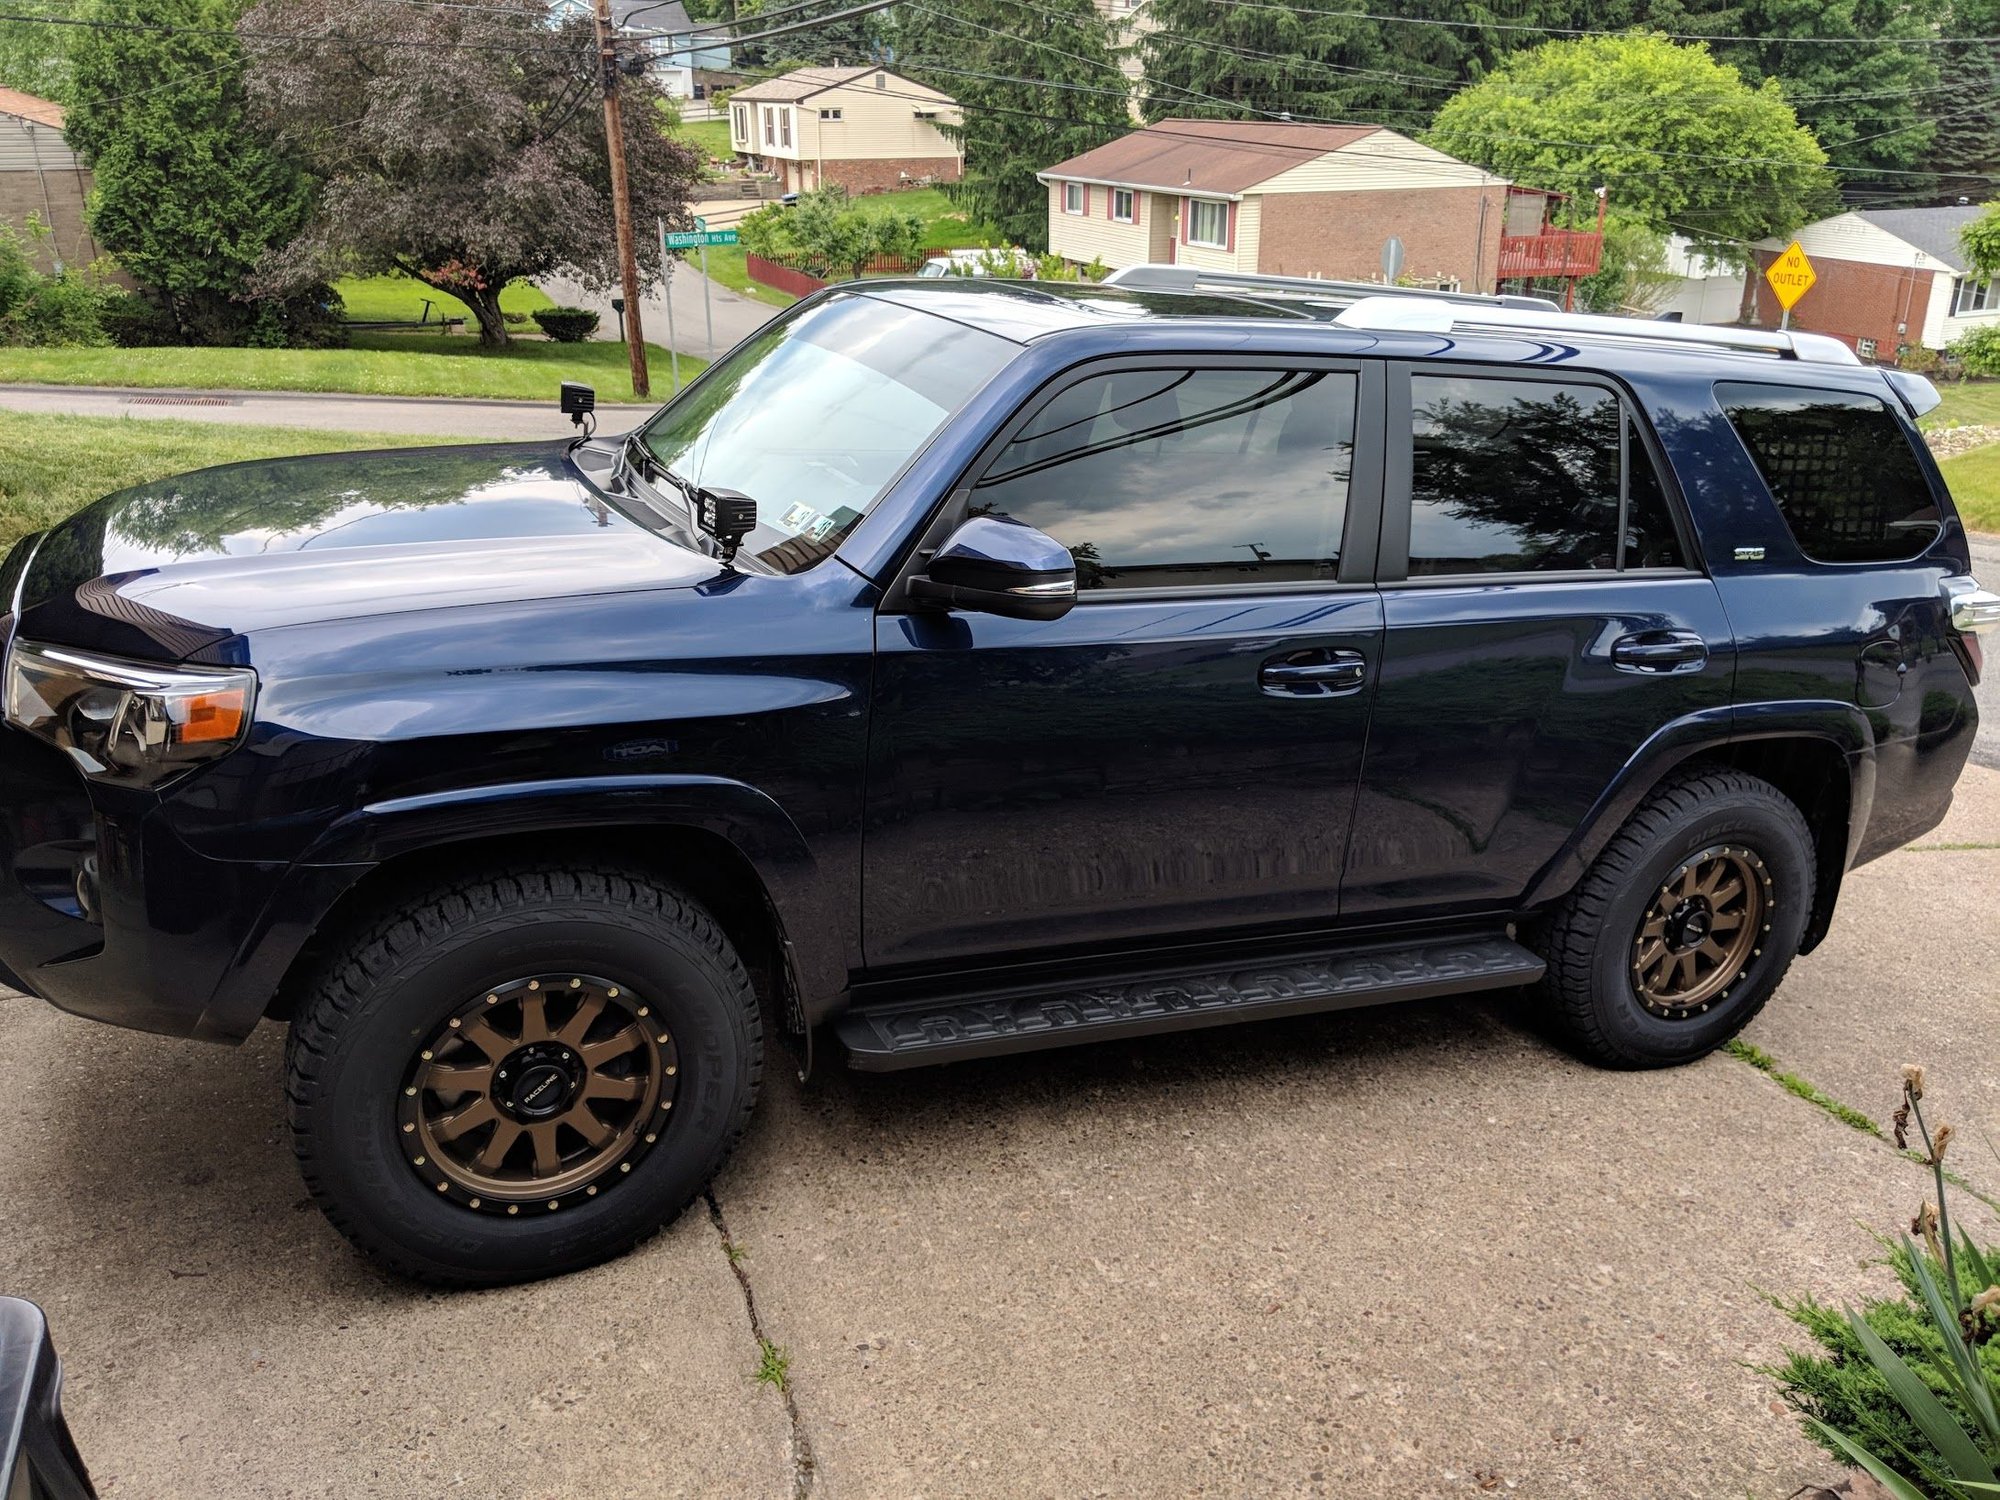
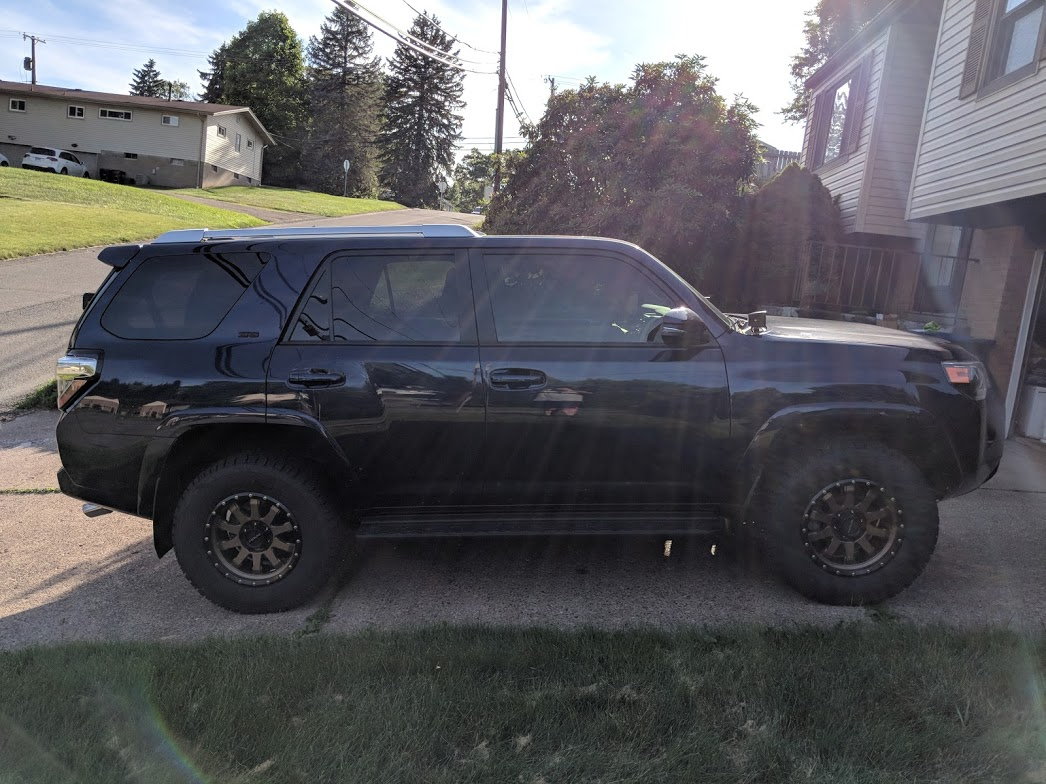
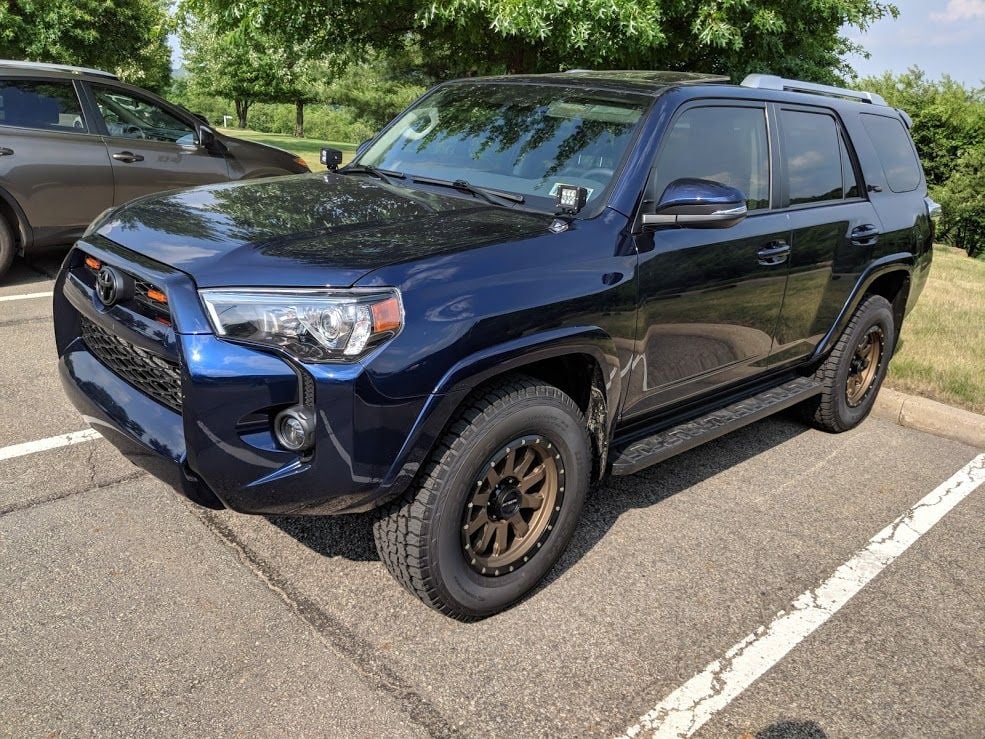
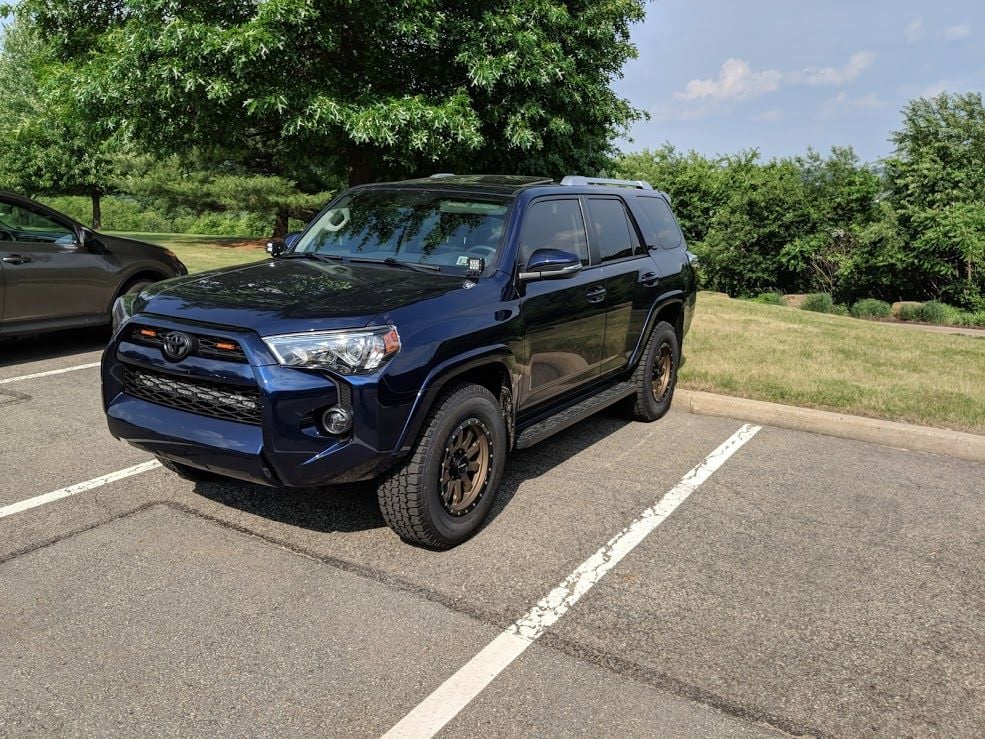
And, Big Blue got new shoes! 17x8.5" with 265x70x17 Cooper Discoverer RTX tires. I went for stock size tires since I have a brand new stock suspension and have no intentions of lifting. I think the beefier tire really fills the wheel well, and the extra inch of wheel width really stands out as well.

img_20180608_160315_05ffddeb1fe4ff7a699ef100e65ce0fb2bd97b65.jpg


Just a couple quick driveway shots since it's like 100% humidity and I'm sweating my ass off lol

img_20180608_155750_75d9443892d0760ea9aa06ed19d1a2c1d417df67.jpg


Overall I'm really happy with the look

img_20180608_155757_322a190e78ab84c484de75d8ea513d4c8f69eeac.jpg


These wheels really changed the whole look of the truck
img_20180608_155833_faf9e2bf6f8350c86eaa39dfcb9b439430150d18.jpg
 
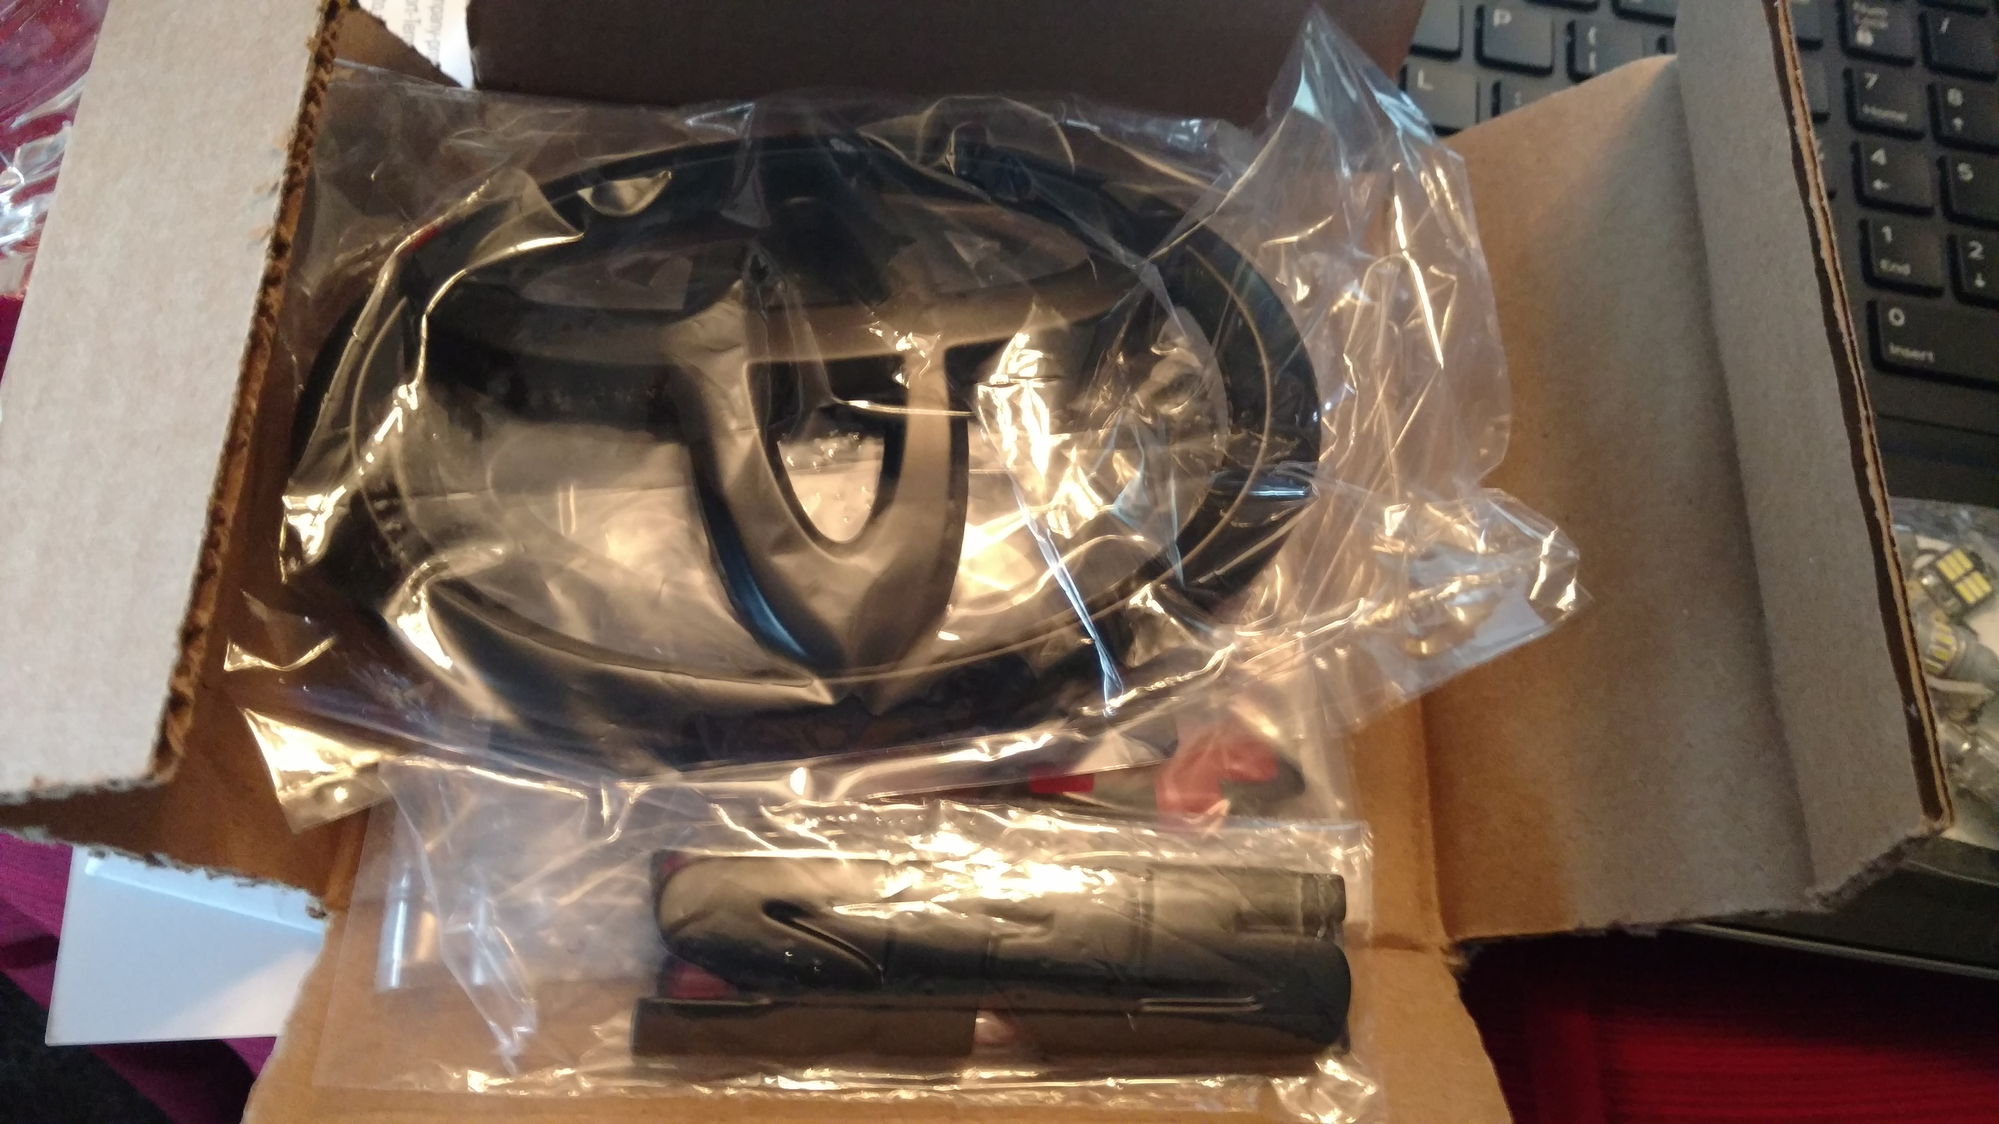
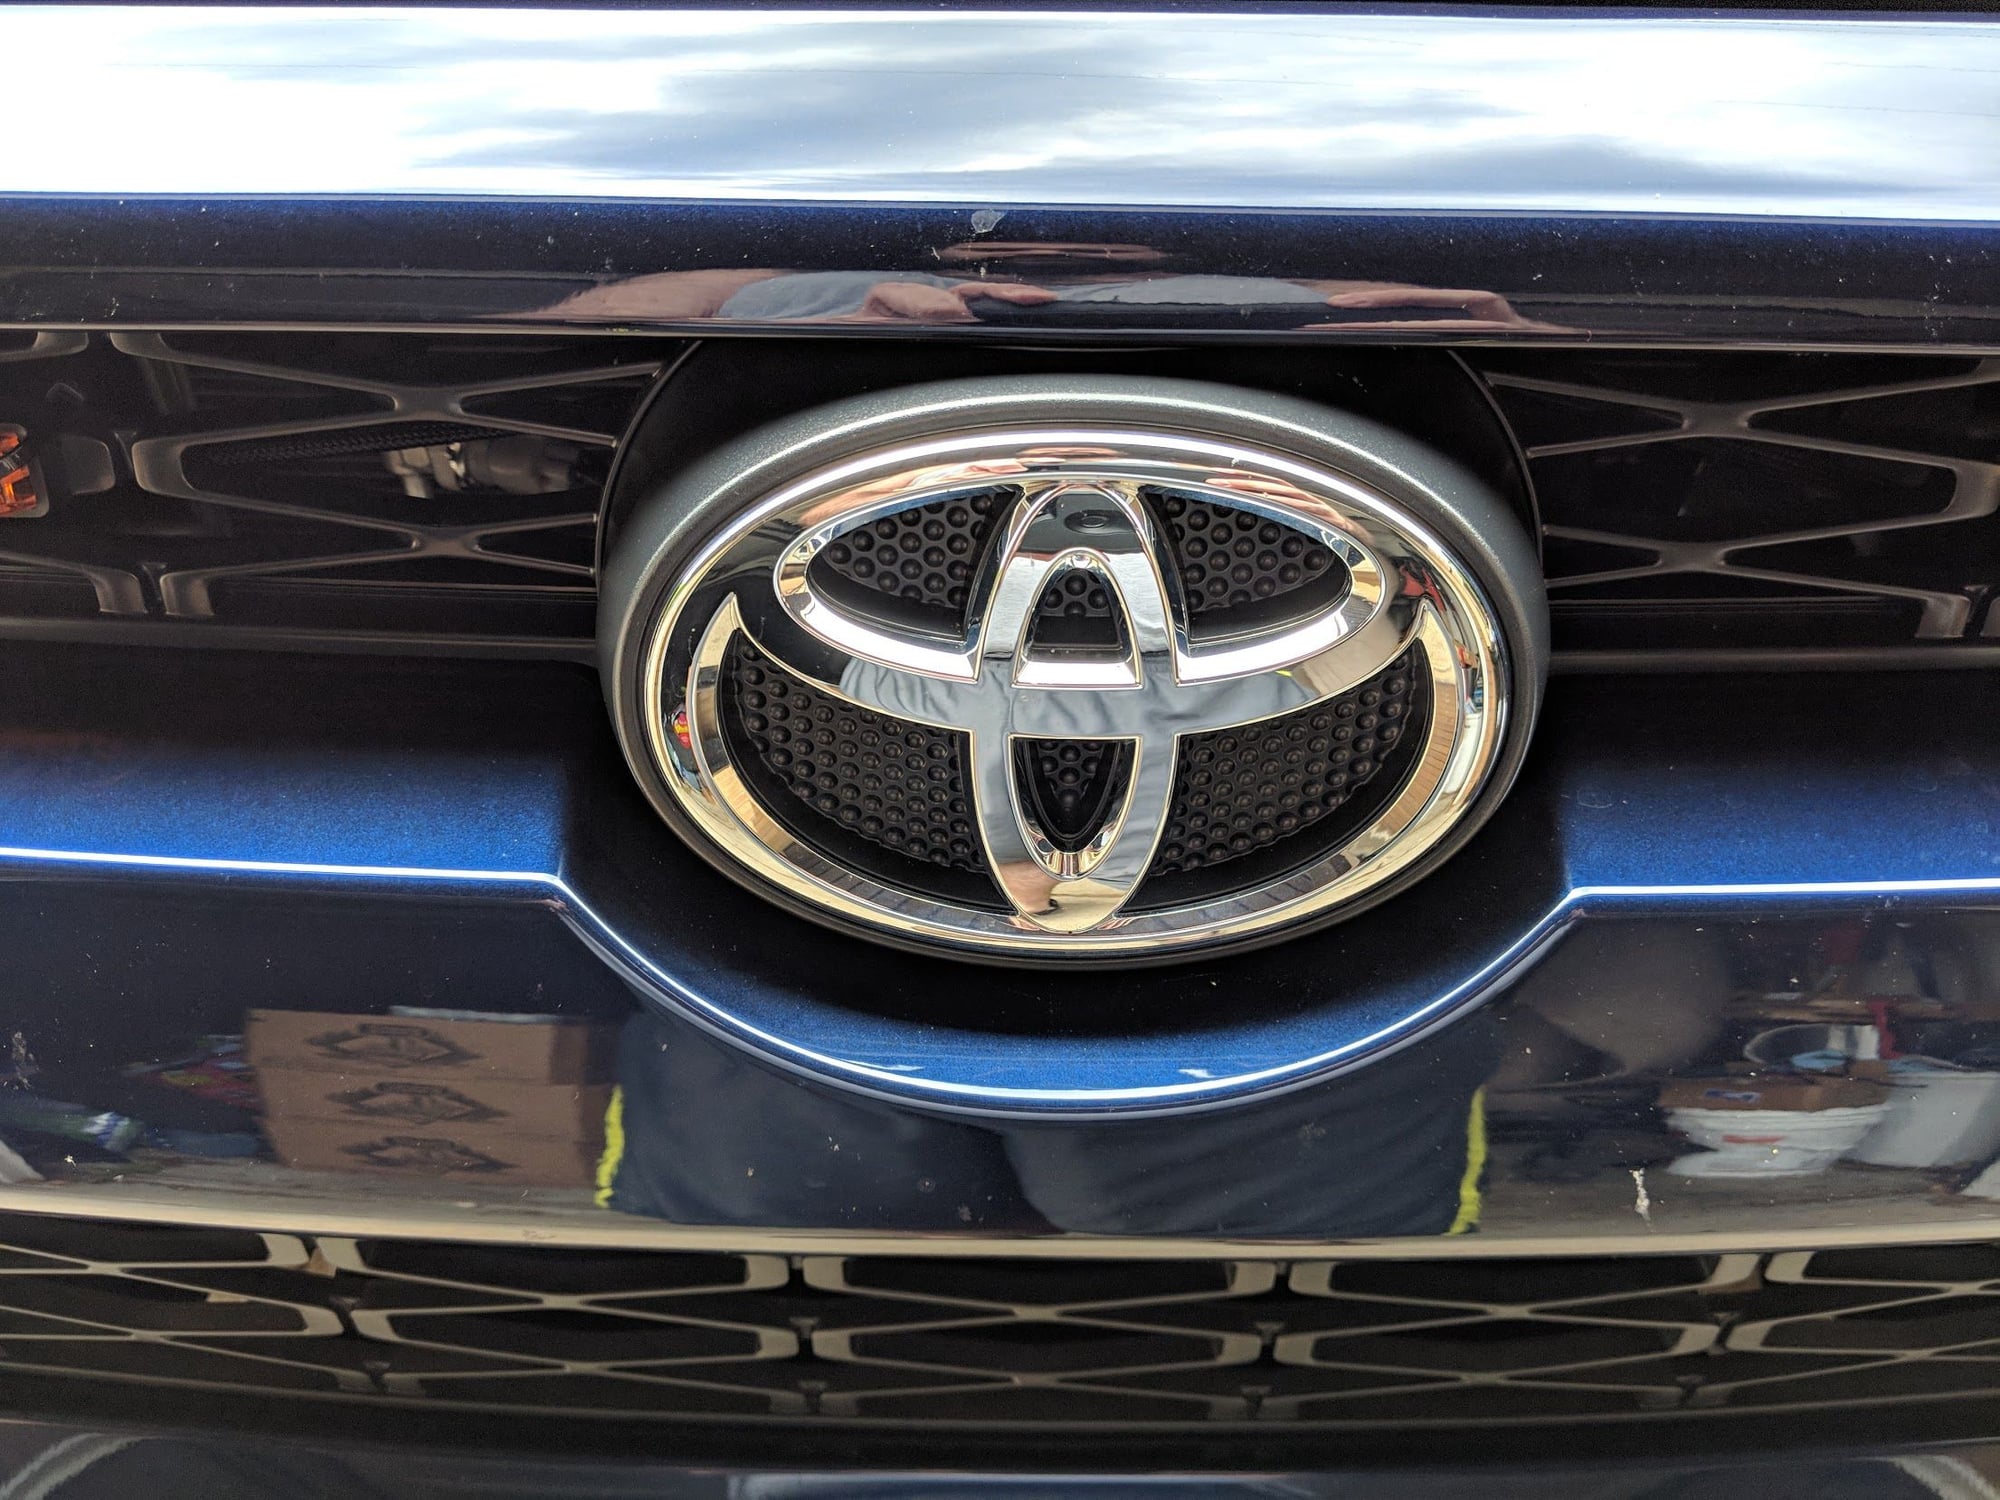
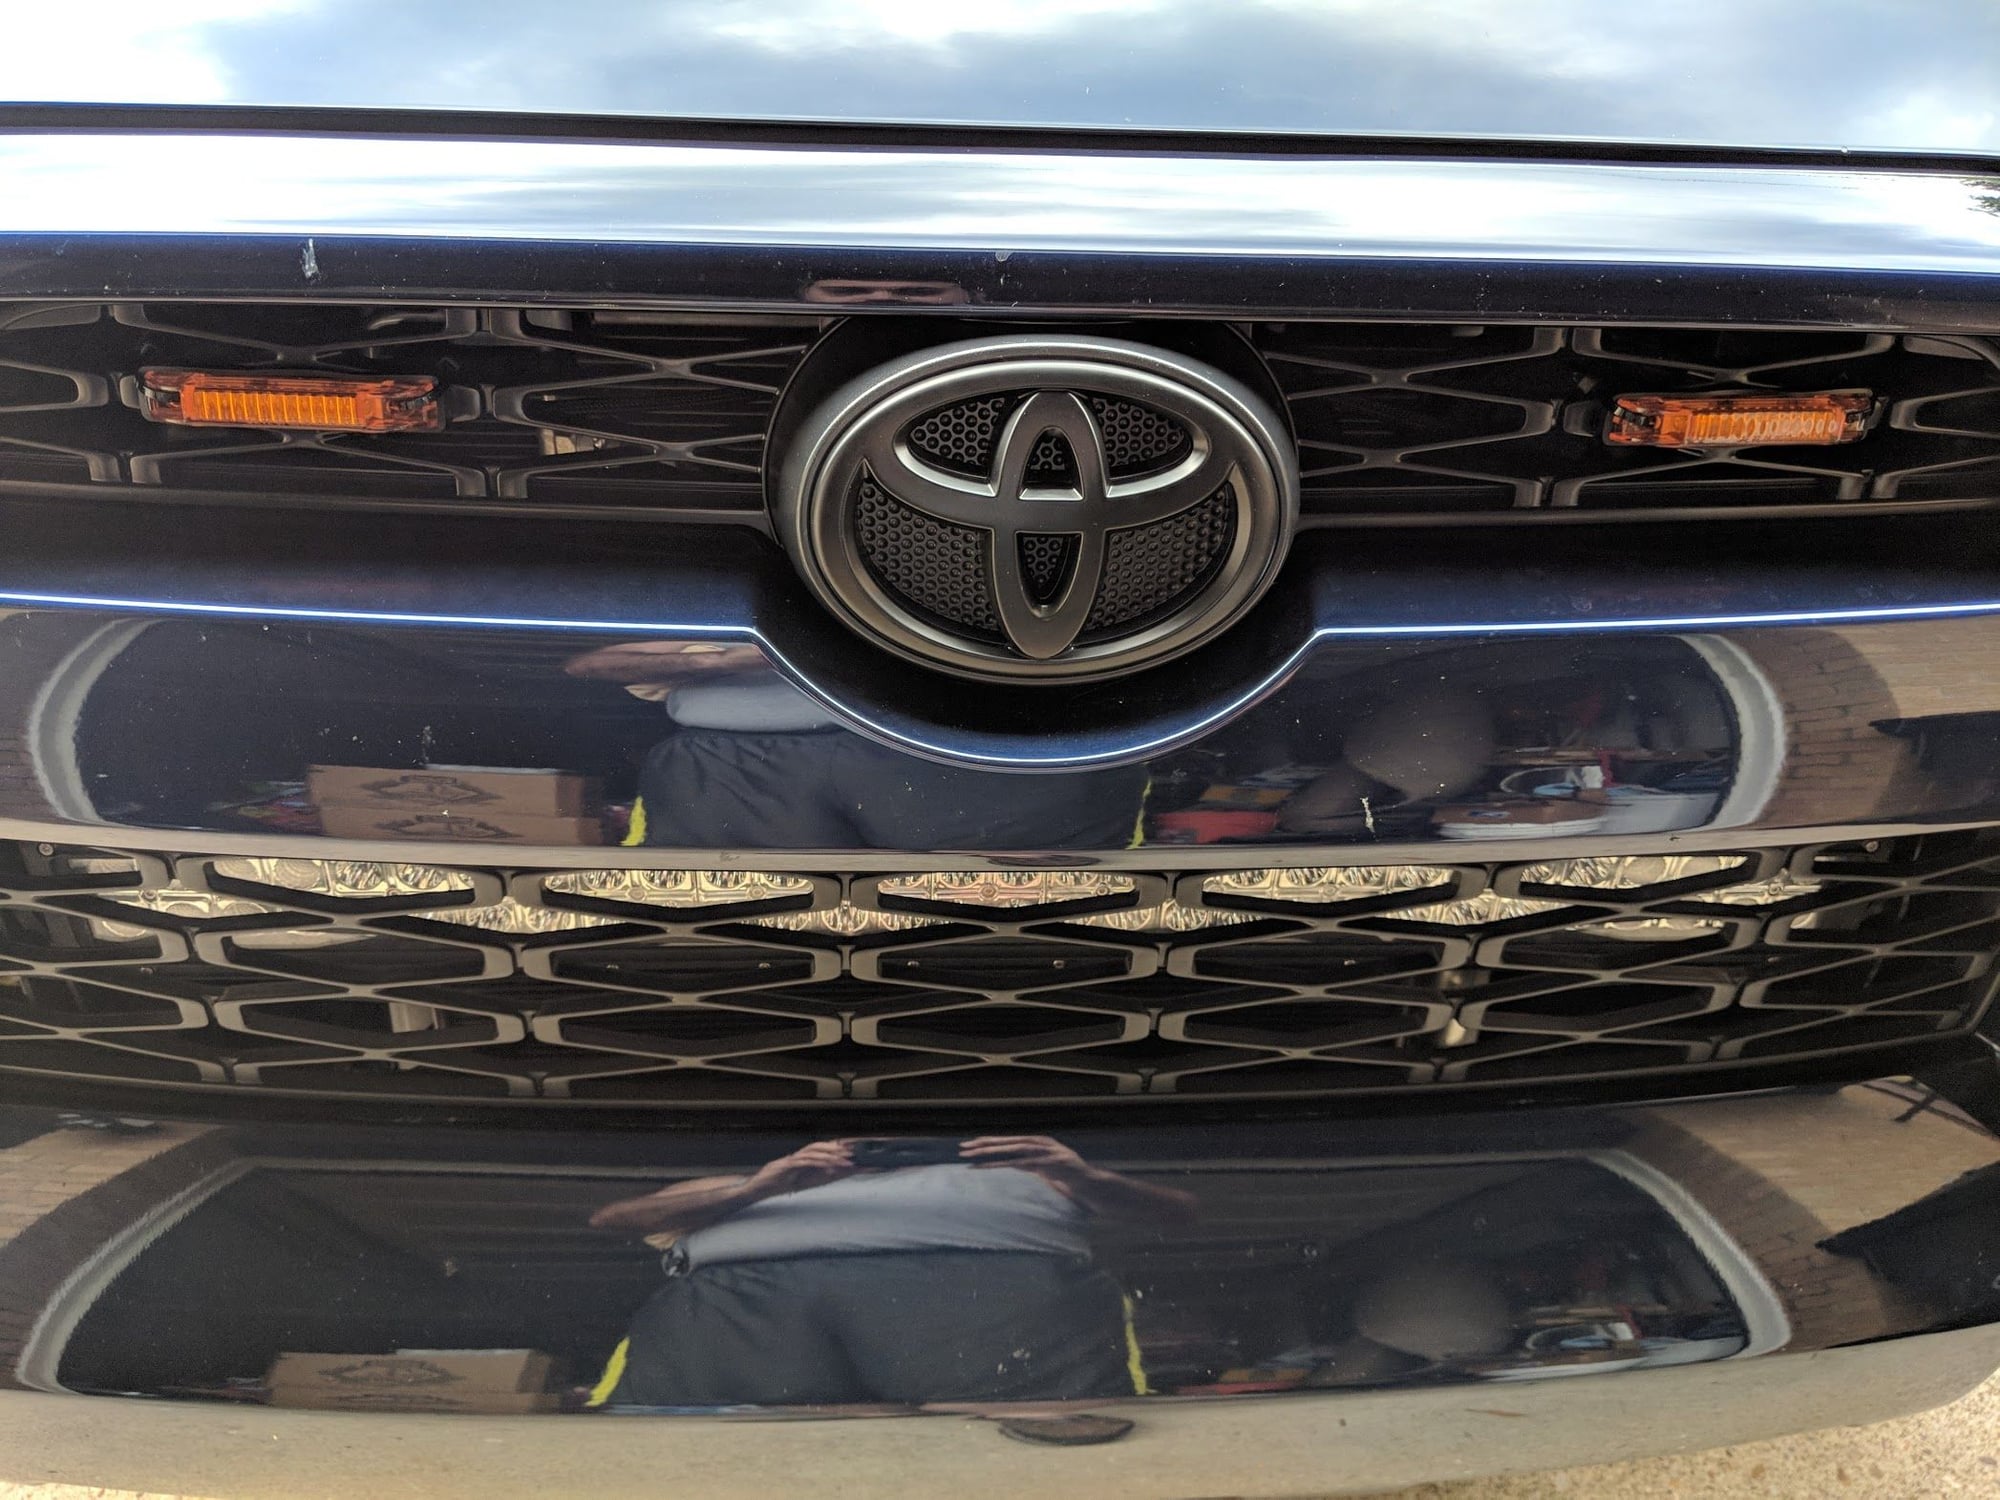
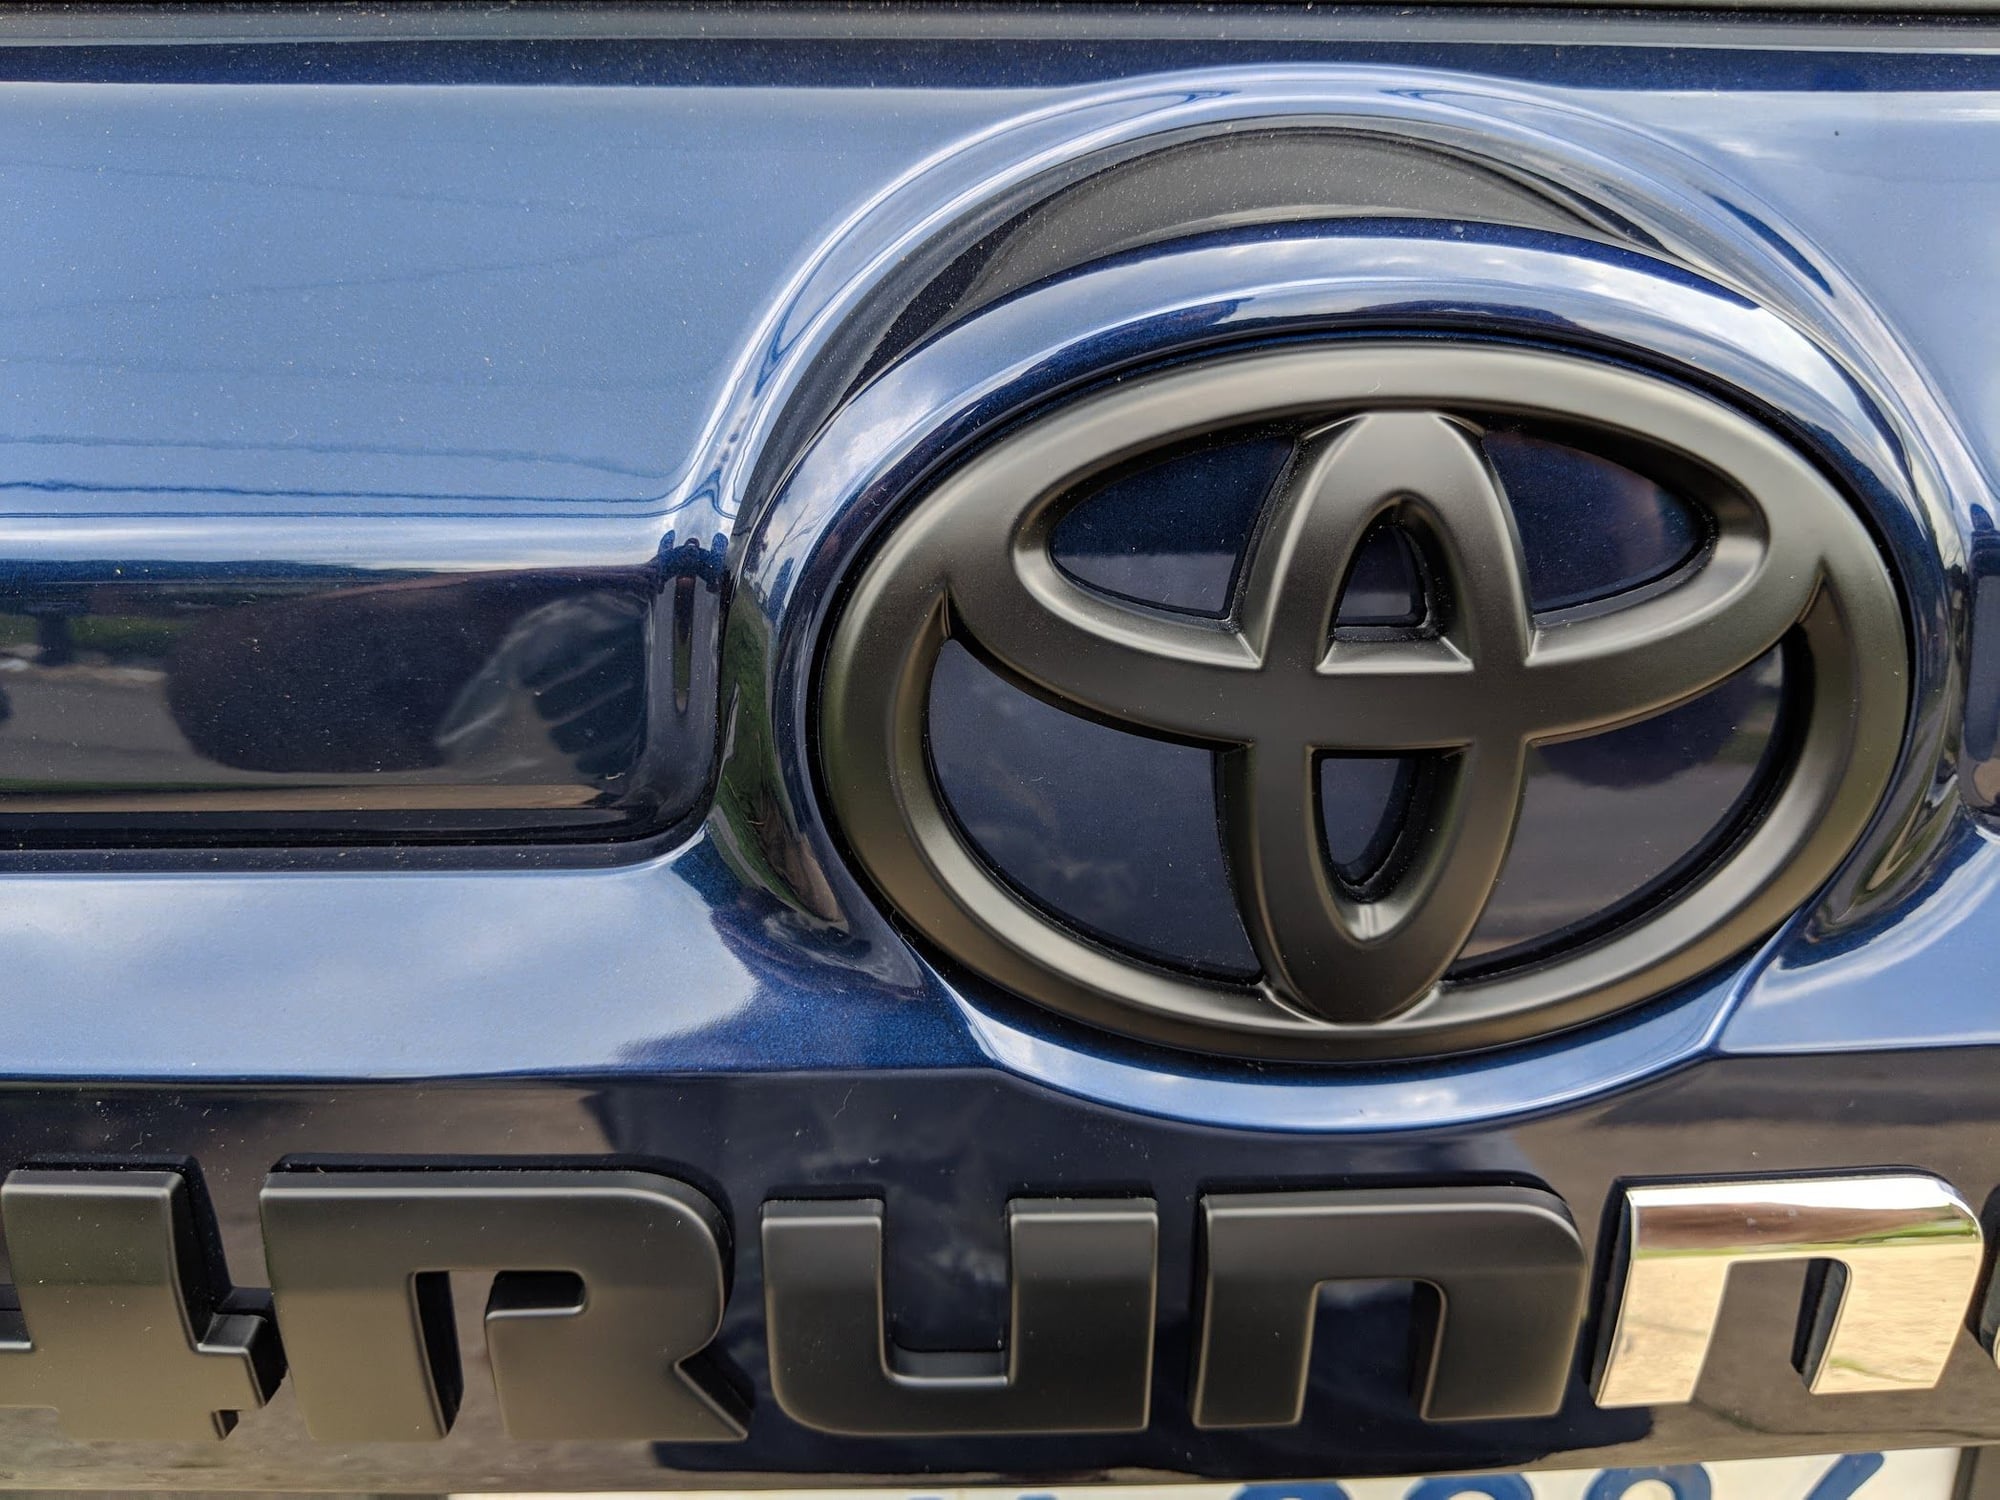
Decided it was time to throw on the black out emblems to help compliment the wheels, couple before and afters. Front before

img_20180609_122222_2d4d21ab7ea3c557280bbe49d4dfe8b7fe224224.jpg


Front after

img_20180609_122340_f5823a4a35ddf1608b5992e418f91f86a9976a2b.jpg


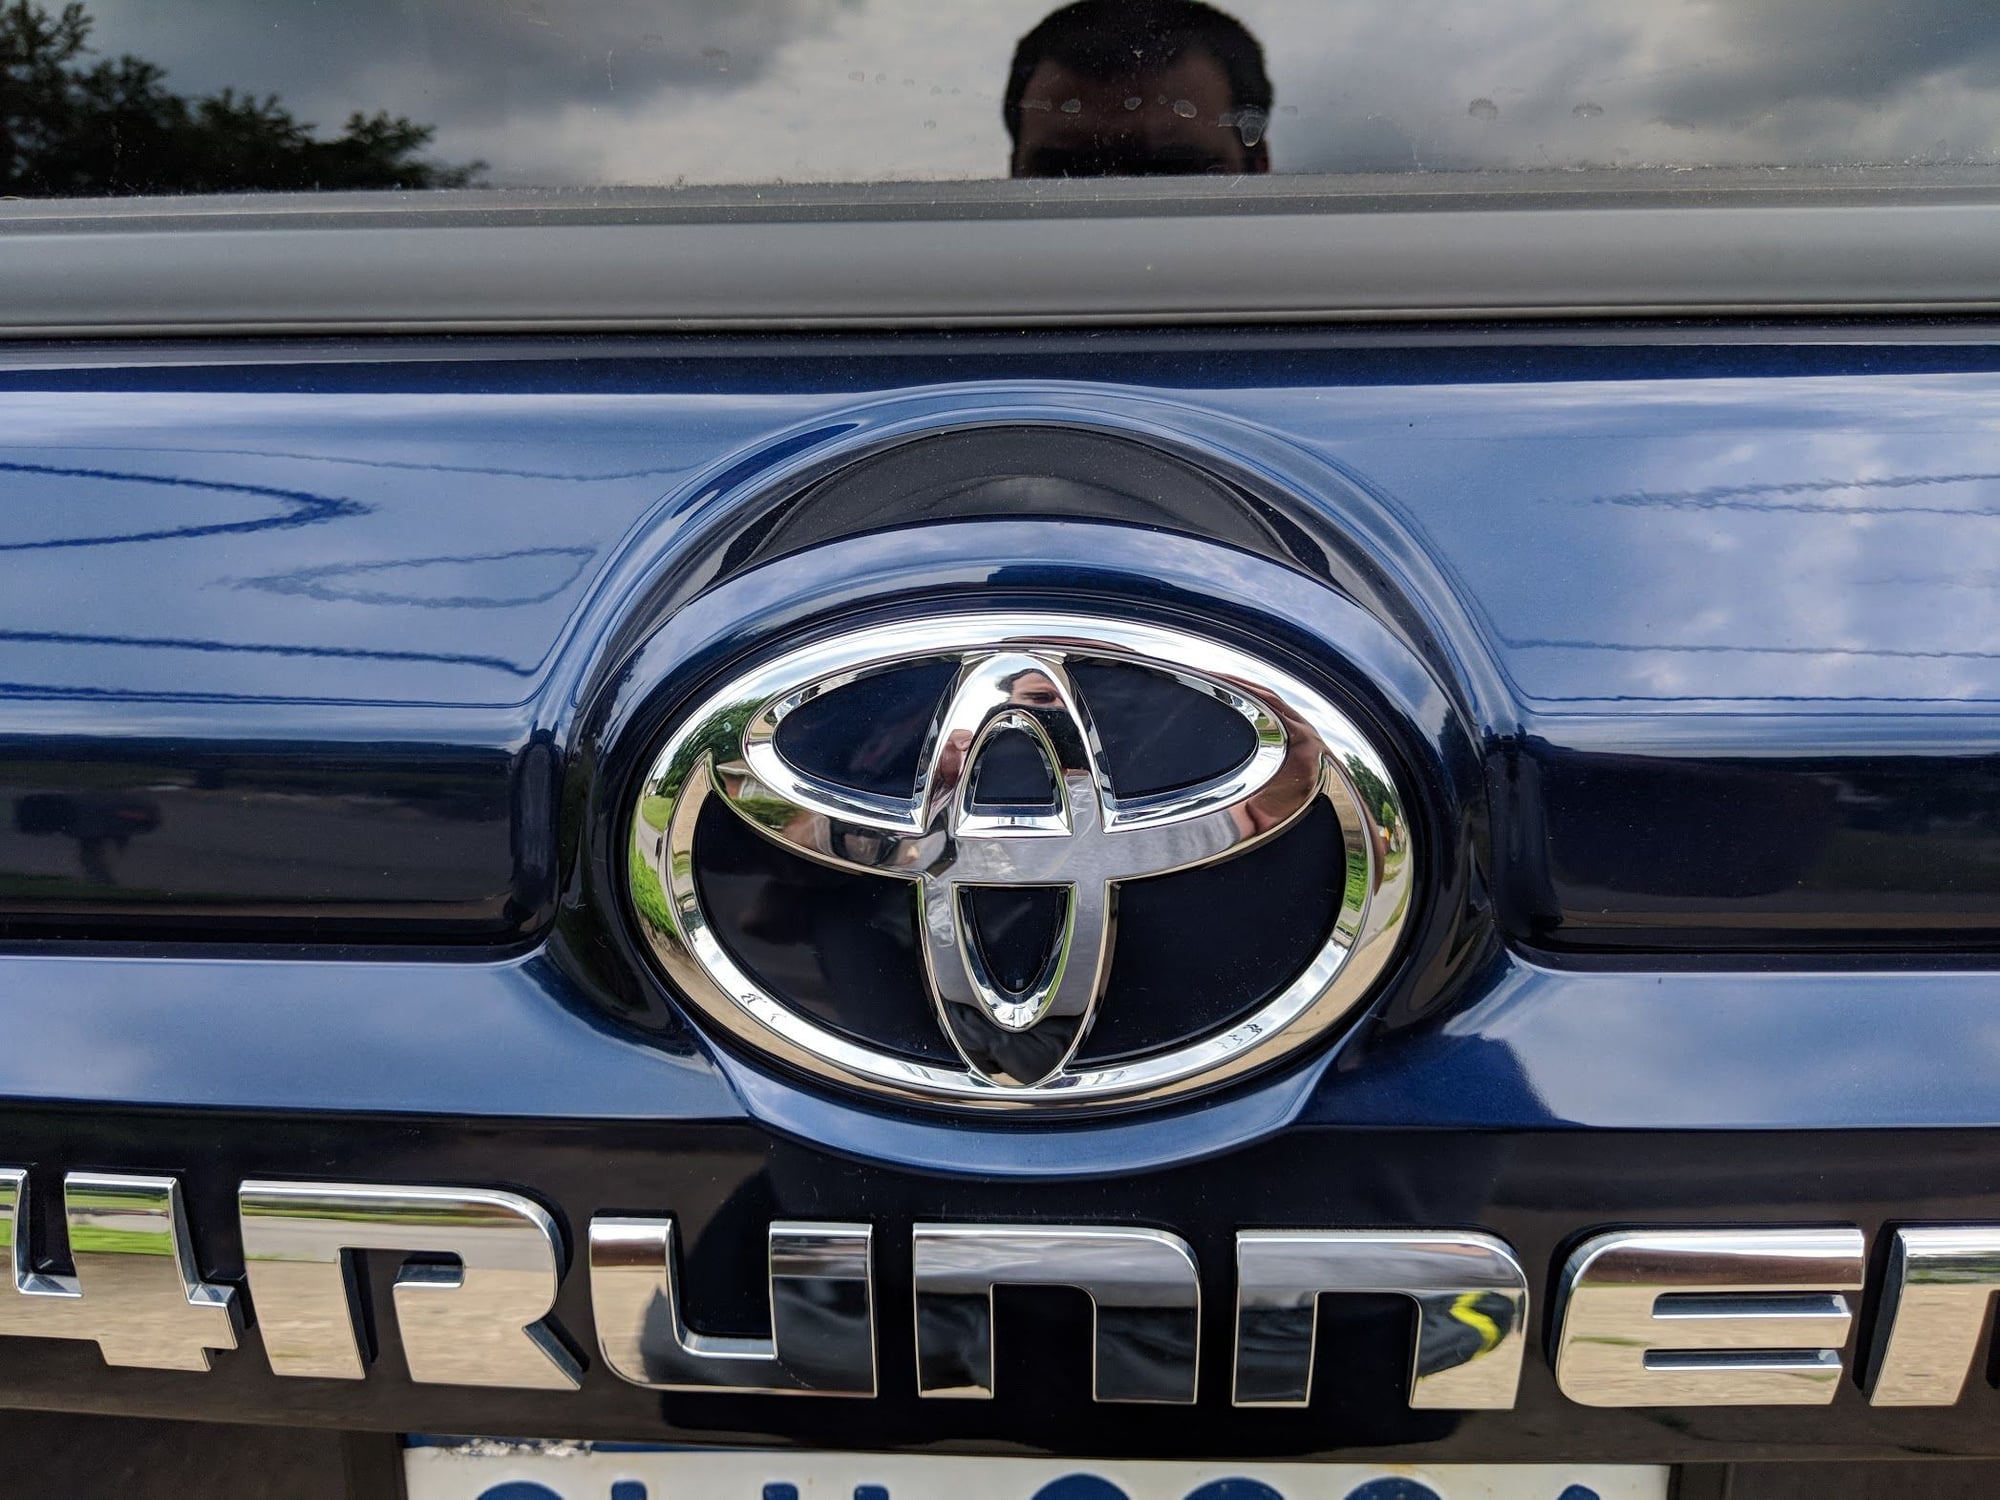
Rear Before

img_20180609_122412_7654f11381eb9883f43a56b5ec73c7e86b5f3358.jpg


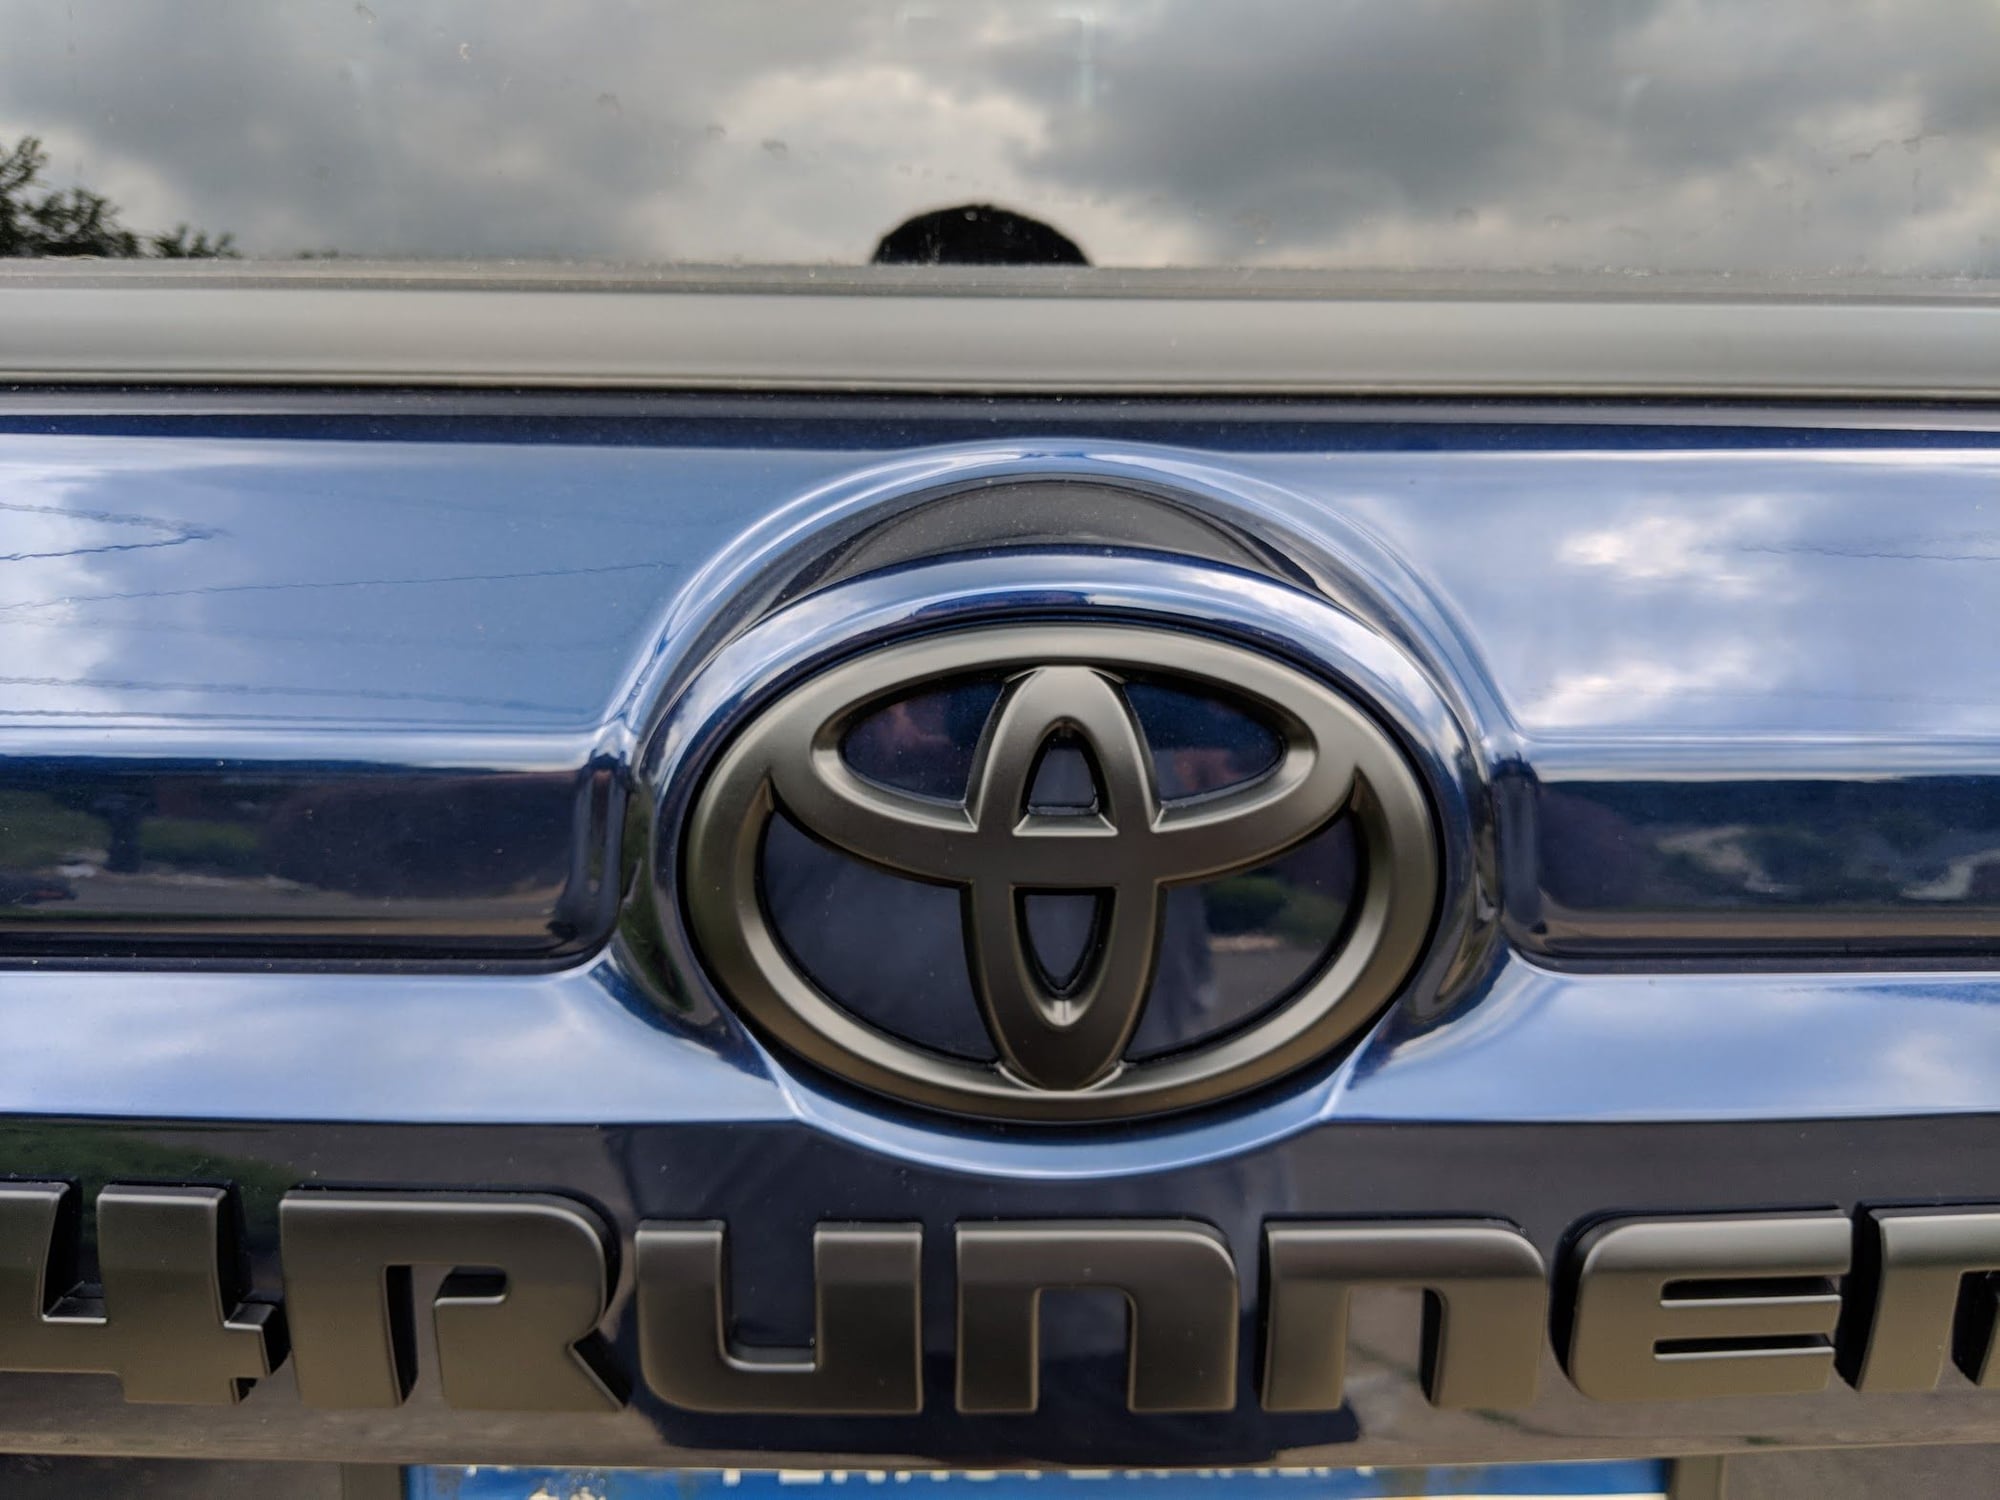
Rear Emblem

img_20180609_122539_29203a84bc256df0f9c3e1a90f03011e6d2fd8cd.jpg


Half way there

img_20180609_123044_1dfd00c63d2de37d60f95a9a92f1b5afd78f4dde.jpg


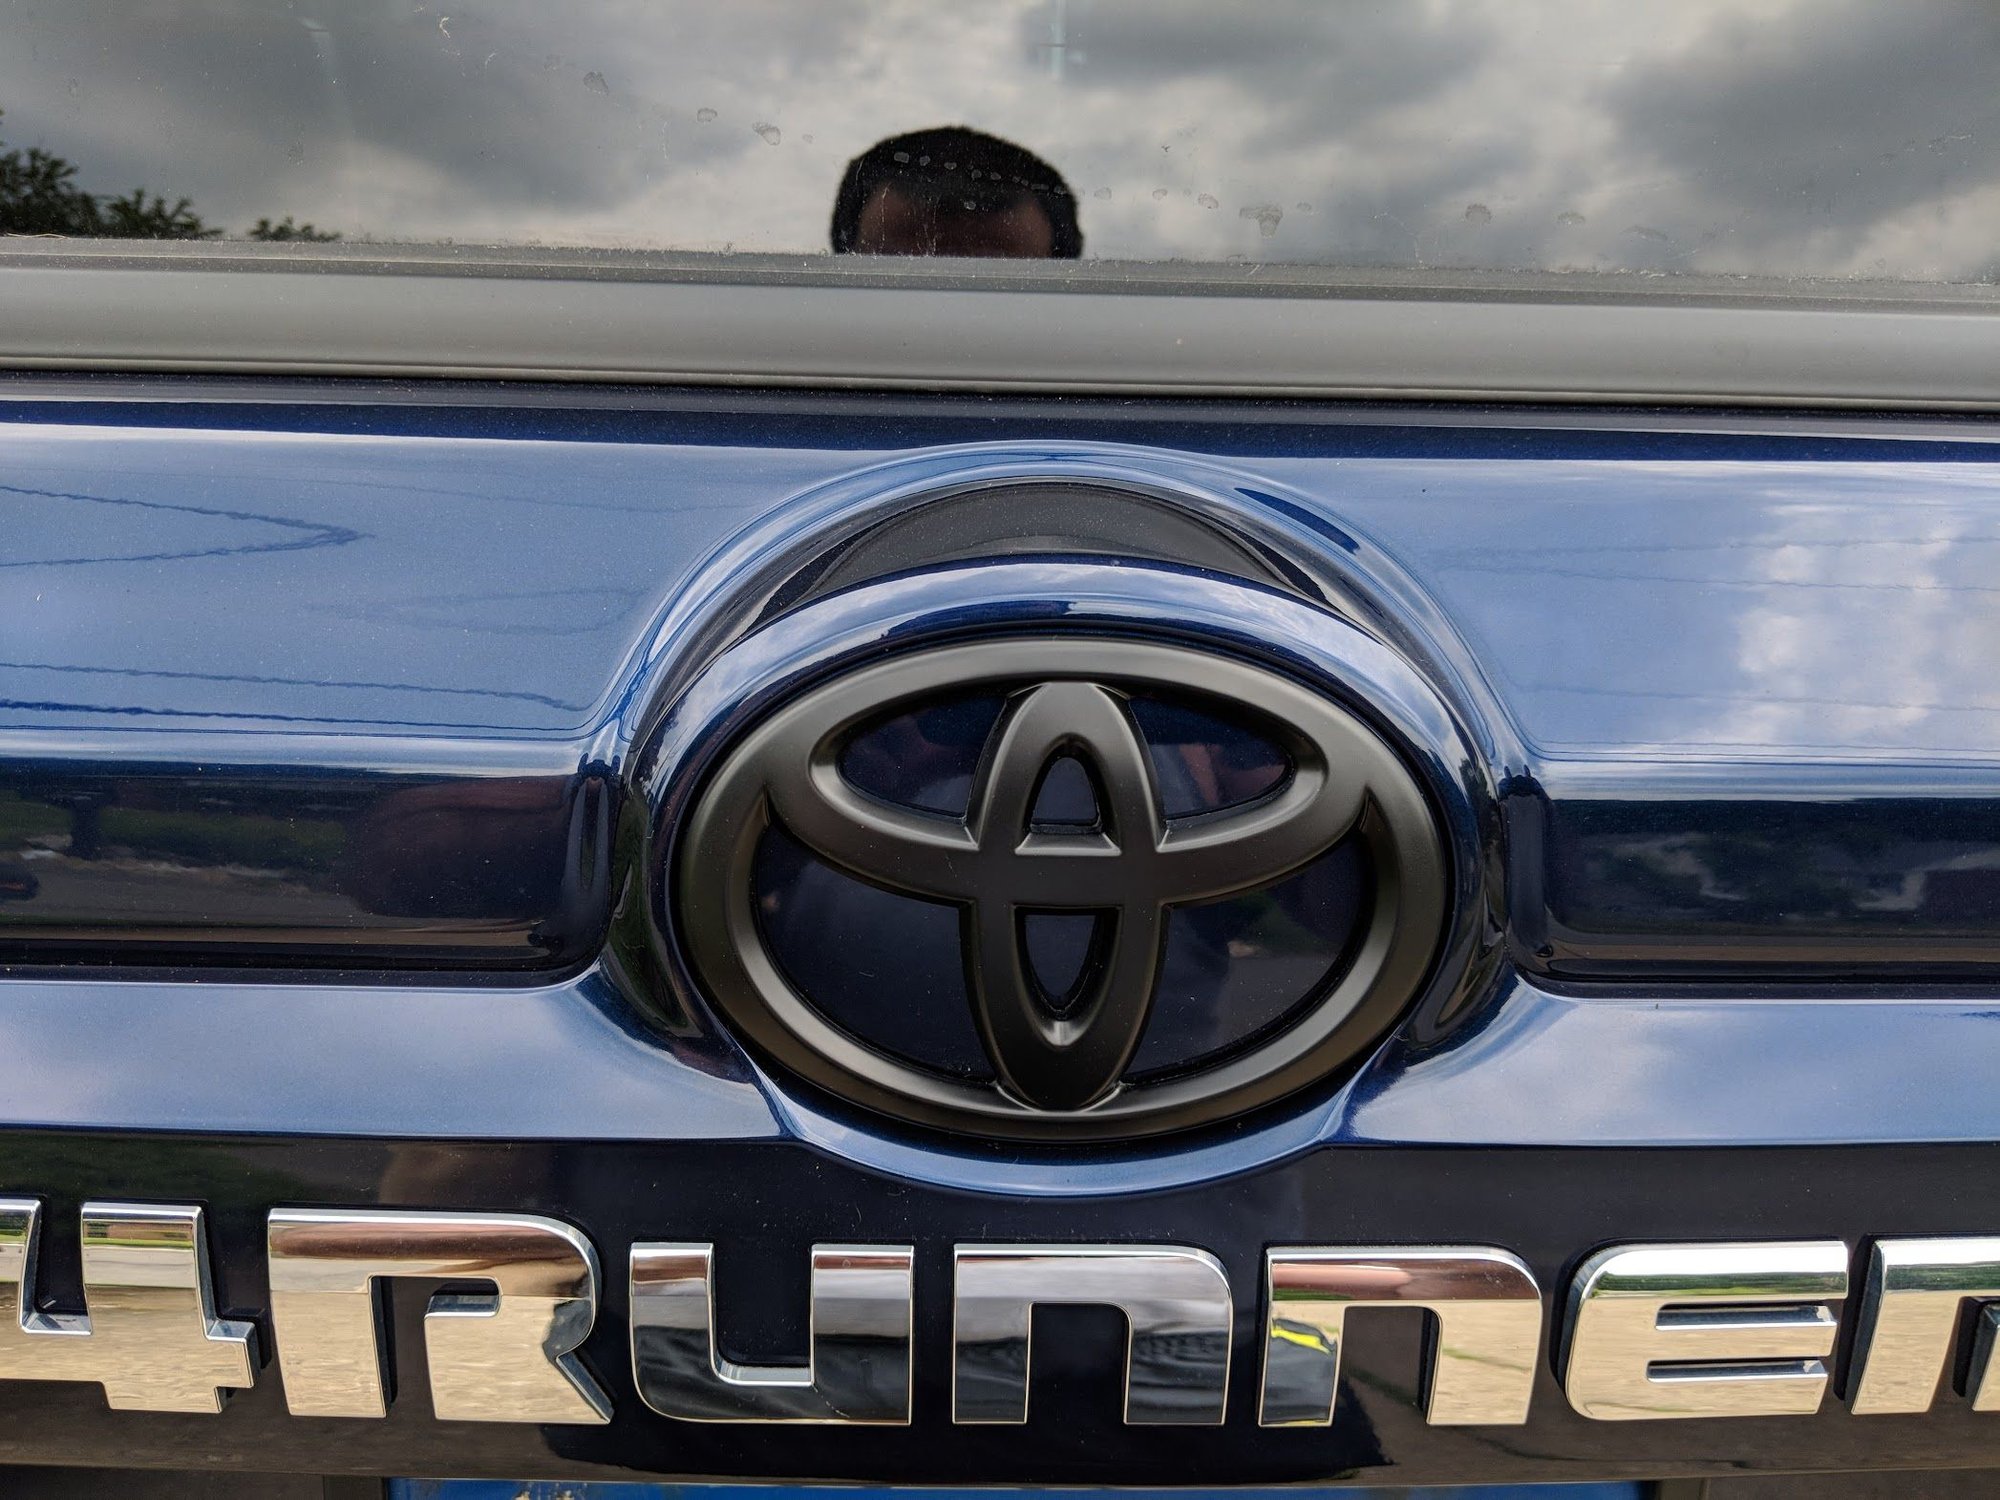
And all done
img_20180609_123316_4867f83063c7b7bde6337c2adc7d1324bf39e4be.jpg


Really like the satin black look of these emblems, I'm not a big chrome fan. I also did the side emblems but didn't snap a pic.

Now I need to do a real photoshoot lol

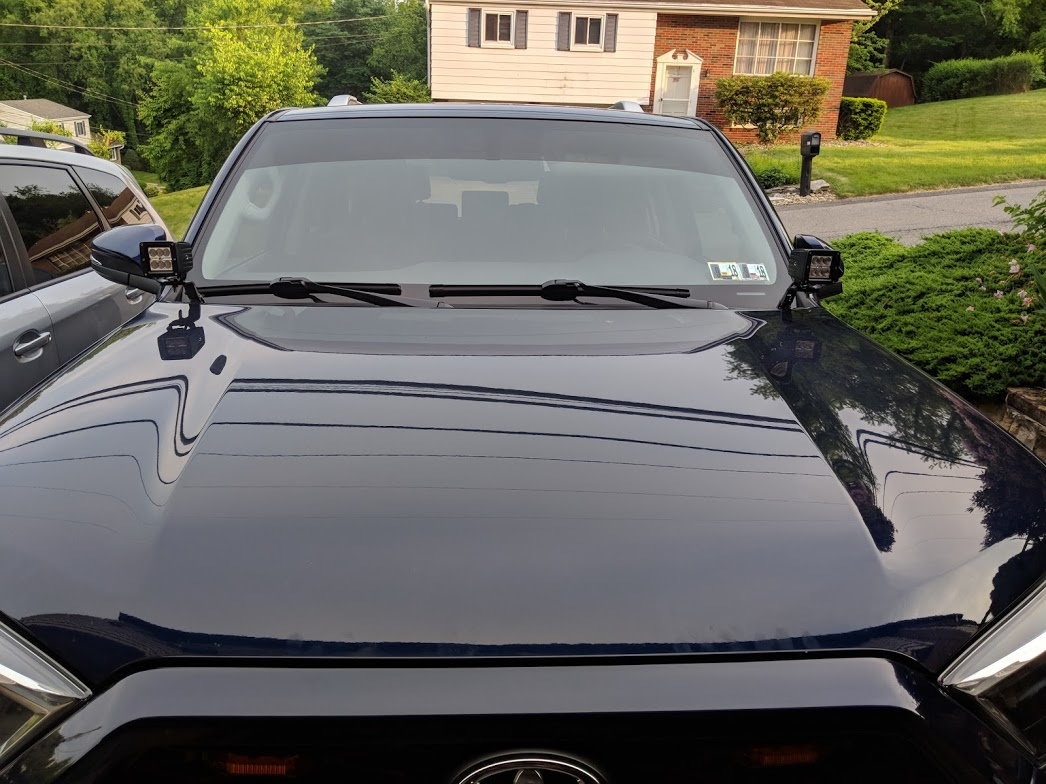
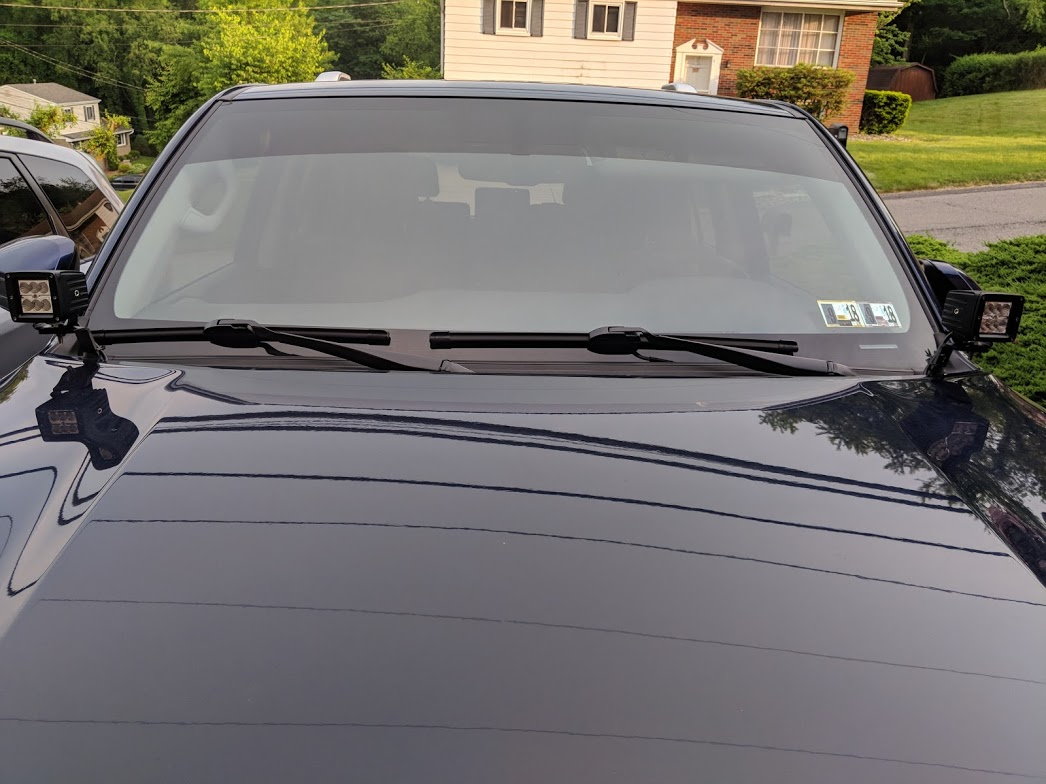
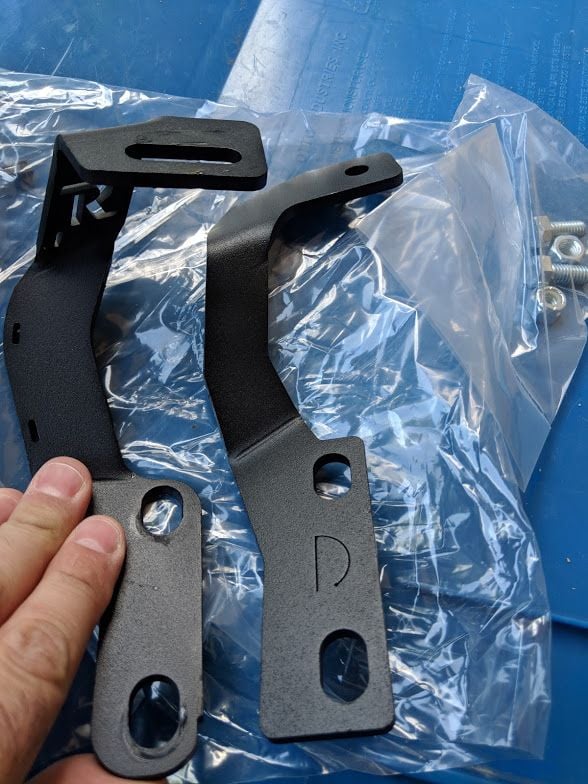
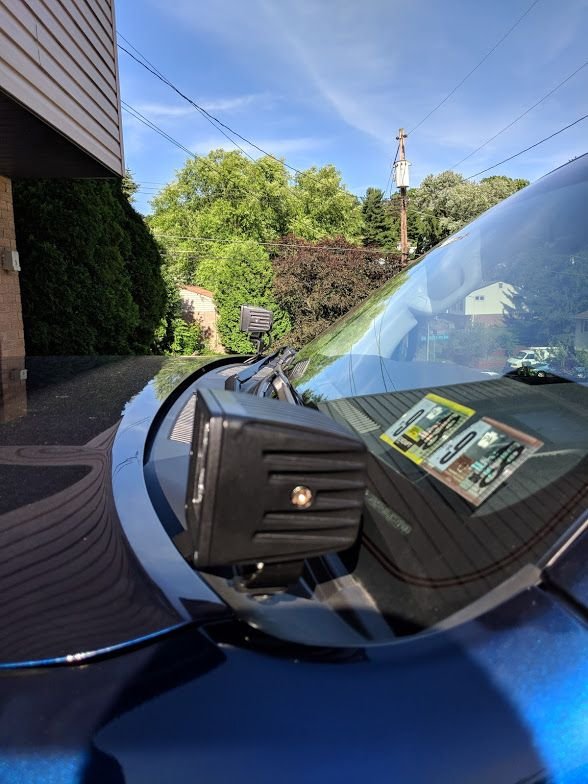
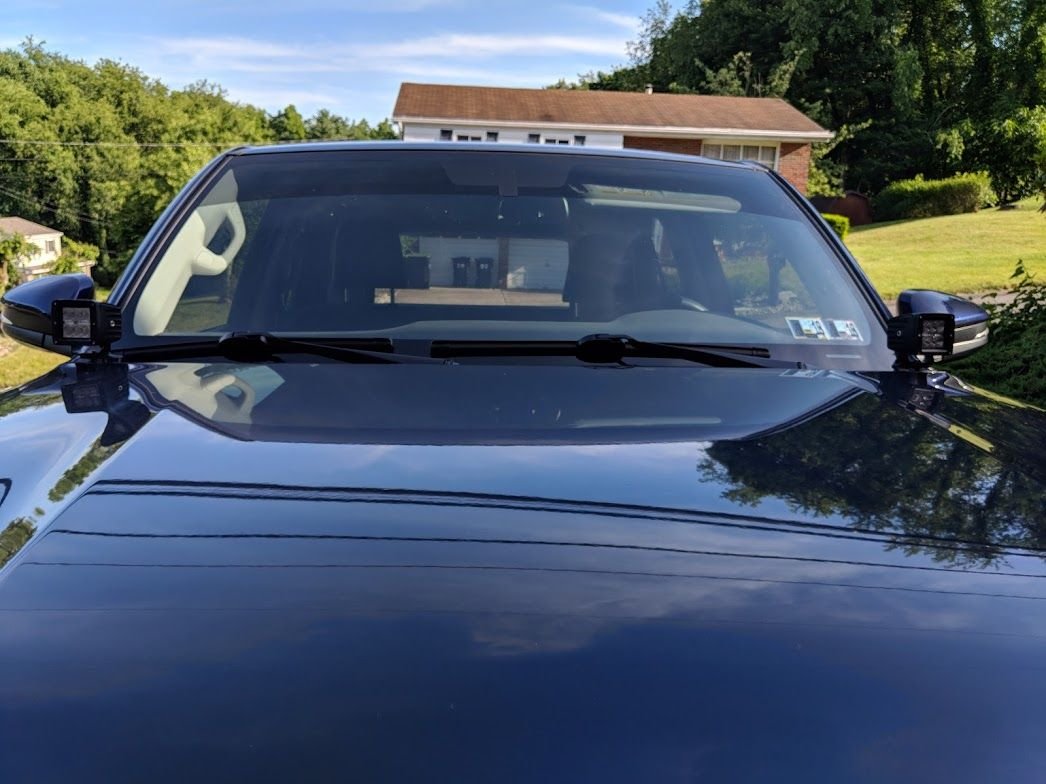
Finally got some sunny nice weather after work yesterday so I went home and swapped out the Rago ditch light brackets for the CaliLED low pro brackets. Tried to do a comparison shot but you really can't see much difference side by side because I had the brackets misaligned in the pic, but what a difference!

img_20180614_173613_02c3180d8f4d4d5cea79e801fefc5d3f366046f0.jpg


I did a couple comparison shots to show just how much lower they are, I'm super happy that I spent the money to get the lower brackets.

img_20180614_174656_078c3b1a3030ec2d5e7331869a576bf3315ea53d.jpg


You can really see the height difference here, the pods aren't up in my frame of view now while driving which is what I wanted

img_20180614_174647_92e4c2b627f918d6680fe9d06808fa573bb11b0f.jpg


And both sides complete, so much lower and tucked like I wanted, so much better! I like that they're tucked down closer to the hood now.

img_20180614_180814_9f477db52517a757304526c22d72f532a2b4cbaf.jpg


All installed, took less than 30 mins to swap them out and I took my time to make sure that I didn't scratch my hood.

img_20180614_180821_ed791b76736d193826a8f16aeb6c46aaba4c62d8.jpg


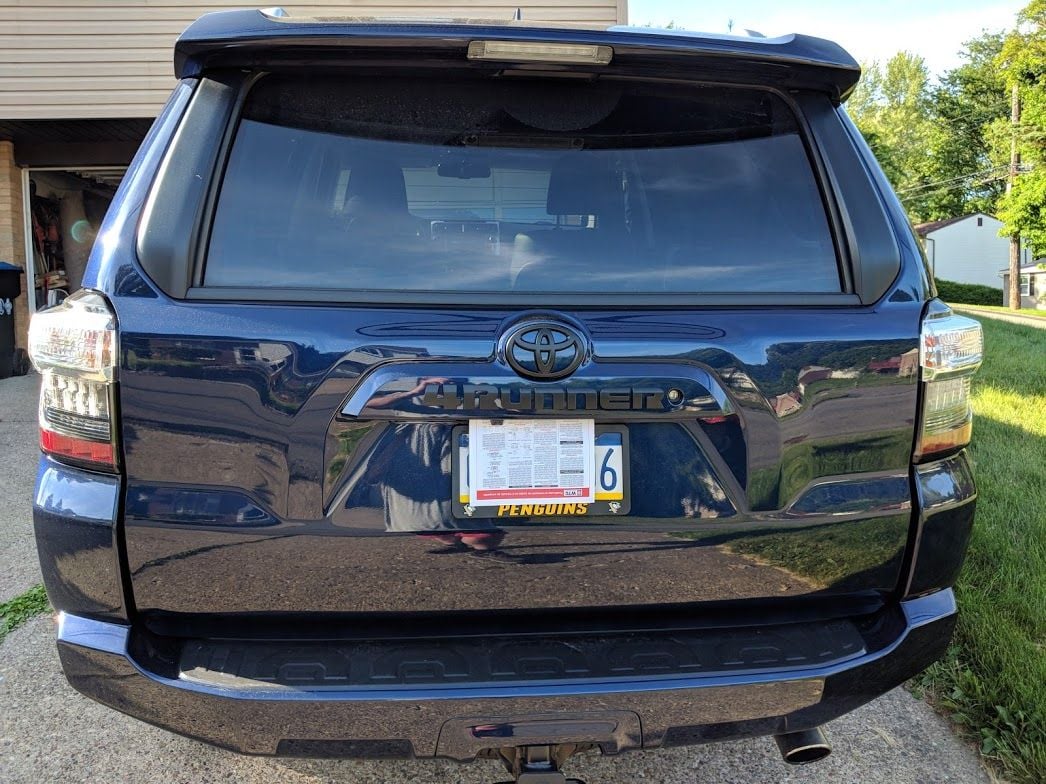
And I snapped a couple pics of the black emblems while I was at it, sorry the truck is a little dirty. The black emblems definitely help with the aggressive look I'm going for and compliment the black LED fog lights and other black accents

img_20180614_181858_3315dd994ace52164c685318c6032236a6bfad44.jpg


Side emblems, the sun was fighting me

img_20180614_181912_77c09f6a0f9a1bfa59ab7491e8d3fa18b271b4bf.jpg


And the rear, looks so much better without the chrome!

img_20180614_182032_05cdaaa475df43b996fb088816d12aa6245b04b6.jpg
 
Last edited:
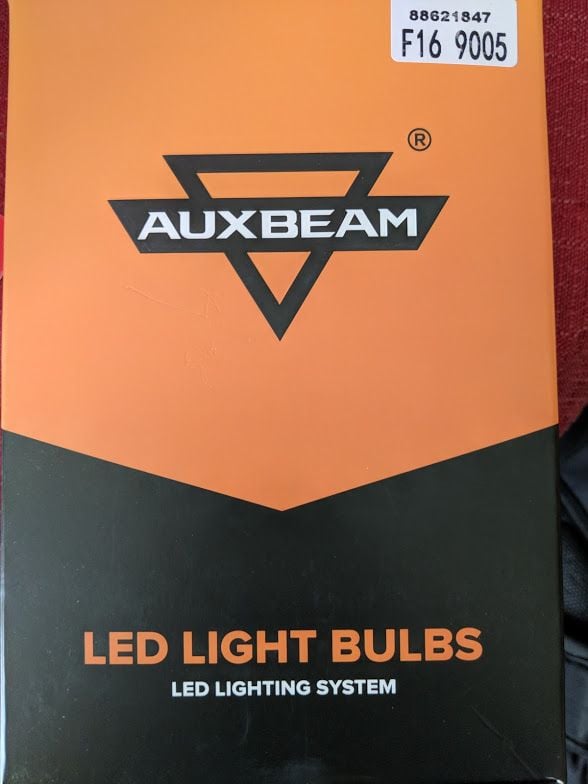
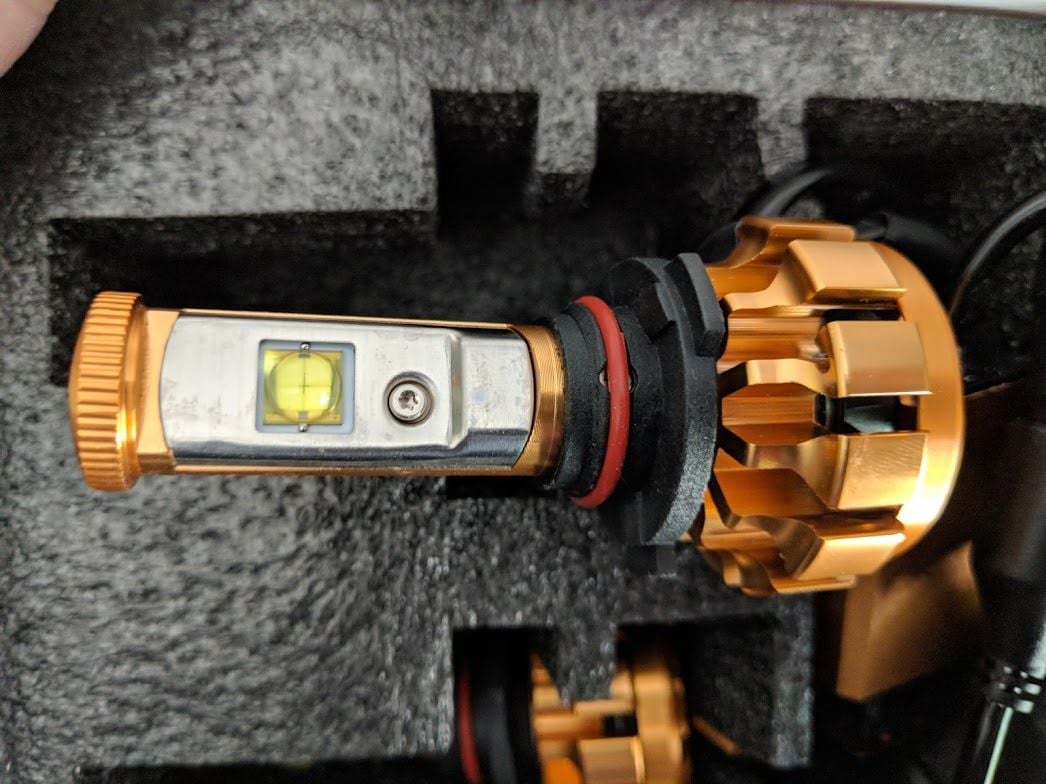
Just a small update, but Friday I bit the bullet and installed some LED high beam bulbs. I got a deal on these and one of the 4Runner guys that I follow did a review saying that they didn't flicker as DRL's so I jumped on them. I was running Sylvania Silverstar Ultras but they just couldn't keep up with the HID's and the LED pods and bar so I said F it.

img_20180615_163214_729da52eb07fa84a263de318f07131c6381e8671.jpg


The fans on these things are pretty big but after a bit of trial and error I got them to mount correctly

img_20180615_163345_b53849cd88c2efc28586dfdf37a2f911a504d8e3.jpg


Here's a before of the Silverstar Ultras, I told the GF that I'd throw these in her Suby

img_20180615_171912_329399817a1d1b291f017ce8ef6b88905eda7477.jpg


Here's a daytime shot of the LED bulb, these things are freaking bright!

img_20180615_171908_019ce3a49bff27c067139a2b873afe17e4a3516b.jpg


And all installed, took about 15 mins total and I wire tied everything to keep it looking clean

img_20180615_172525_7cb5eb8b6caf3dc937ec0e8dda38090361e5b5a2.jpg


Haven't driven at night yet to really see how they look but they look damn good in the driveway and match the HID's pretty well
 
Snapped a couple random pics, here is the LED high beams acting as DRL's

img_20180618_173020_33a165938a5b97c674adcb6457724b4399ad8af8.jpg


And I snapped a couple random parking lot pics at work
img_20180618_170538_889c853e9bf726027d162b0469dbfb1d700fc076.jpg


Truck looking sexy

img_20180618_170535_e7d724986b1e9377bbe3068b80656520c8536128.jpg


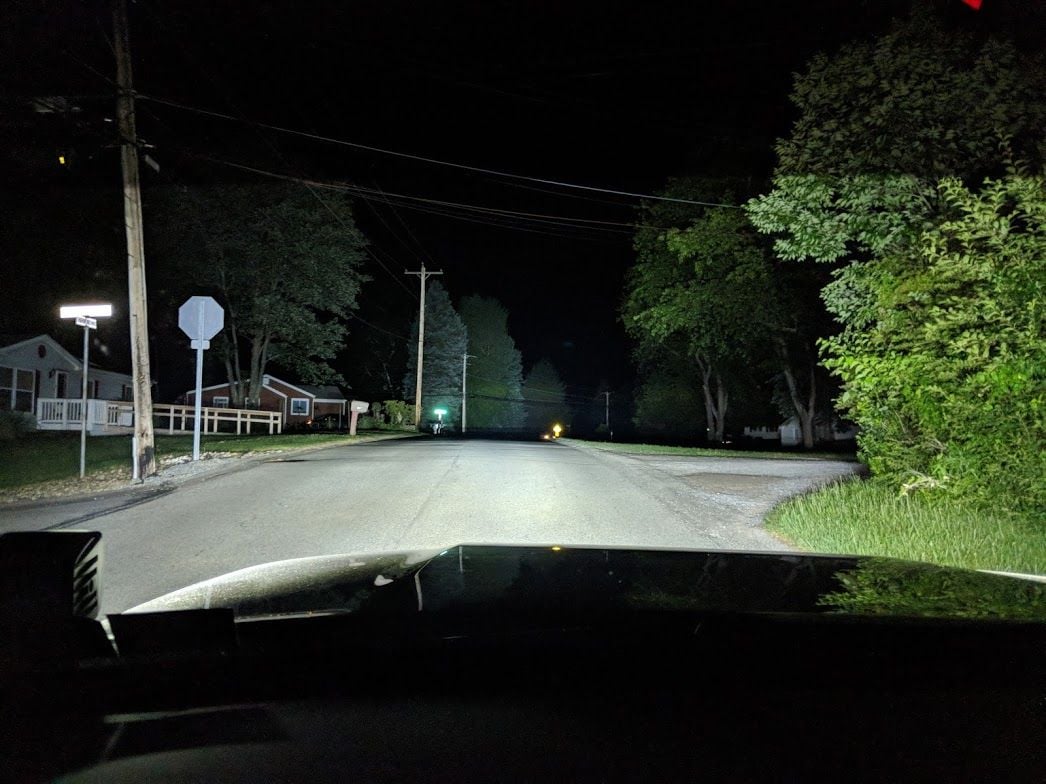
And driving home last night I finally got to play with my high beams. This shot is with all the LED's on, making fricking daylight in the dark

img_20180618_233901_201d46fd7e437f37d06c4610d0e8d03c4bc2c2cf.jpg
 

Members online

Forum statistics

Threads
278,305
Messages
3,554,044
Members
248,016
Latest member
Advally Service

Trending content

Back
Top