I just did it on this car for the first time this weekend. I'll put down my thought while fresh...keeping in mind what I would've wanted to hear before jumping into it. I'm super detail oriented and hate following abstract directions, so this might be excessive to some:
NOTE: this is what *I* did after reading up on it. It worked and the brakes feel great, but something may not be the ideal way to do it. I'm sure someone will chime in if that's the case....and I'd appreciate hearing what I did wrong
Jack: I picked up a 3 ton jack and jack stands from Harbor Freight. The 3 ton jack can barely get the frame high enough to get the tire far enough off the ground to get it off the lugs. If I could do that again, I would make sure the jack went a few inches higher. 19 or 20 inches would be better than the 17 this jack goes.
Jack Stands: Also purchased 3 ton jack stands from Harbor Freight. Same as above. They were tall enough to hold the truck up by the frame, but only at the very highest setting. I would go for a taller model.
I did one side at a time.
1) Jack up the truck at the frame behind front wheel. Put a jack stand a little behind the jack on the frame rail.
2) Loosen the lug nuts just a bit.
3) Jack it up far enough that you can get the lugnuts off without the wheel spinning (sorry if all this is obvious 'how to change a tire stuff').
4) Undo the lug nuts...I believe they're 21mm's. Put them aside.
5) Pull the wheel/tire off. If it won't move, which it wouldn't on my truck, smack the wheel pretty hard with a rubber hammer at the edges of the wheel and a few times at the lugnuts. Hit it at the front of the wheel and the back of the wheel, hard. I think the rubber hammer is the key here. I hit mine for a while with a 2x4 before running out for a rubber hammer, which did the trick. Hopefully it comes off there.
6) Let the jack out slowly until the frame is barely resting on the jack stand. Leave the jack there as a backup to the jack stand.
7) Looking at the caliper, on the inside of the caiper, there's a very thin wire holding the caliper pins in (what's this called?). Take note of it's position...it could sit there 8 different ways. Take a picture, even. Get a pair of needle nose pliers and pull it out from the ends of the caliper pins. Pull the middle of this wire out of the inner caliper body. Set it aside in a good spot...super easy to loose.
8) If you look at the front of the caliper, into the rotor and brake pads, there's two pencil sized metal bars going across the caliper body, keeping the brake pads in place. You need to push them out, from the inside of the caliper body to the outside. At the inside of the caliper, the end of that bolt you need to get out sticks out about a half inch. You might be able to tap it with a hammer, get it started and pull it out from the front of the caliper with pliers, but it will probably be stuck. I used an appropriate sized nail, put it on the end of that bolt to hammer it out. A little awkward and one of the hard parts of the job. Hopefully you can get it out. It might take some penetrative spray.
9) The cross shaped, brass colored thin metal part will pop off when those bolts come out. Take not of it's position (upside down cross, held against pads by those caliper bolt/pin things)...someone help me with the name of this part and it's function, please!
10) Give the caliper a wiggle/very gentle thwak from the rubber hammer, just to free up the pads from the rotors. Looking at the front of the caliper, take a pair of needle nose pliers and walk each brake pad out of the caliper. Pull the top a mm, then the bottom, then the top....it should very slowly walk out of the front of the caliper. There are two thin metal shims on the back of the brake pad. Keep them attached to the old pad so you can remember their position and order against the brake pad. Do this with both brake pads.
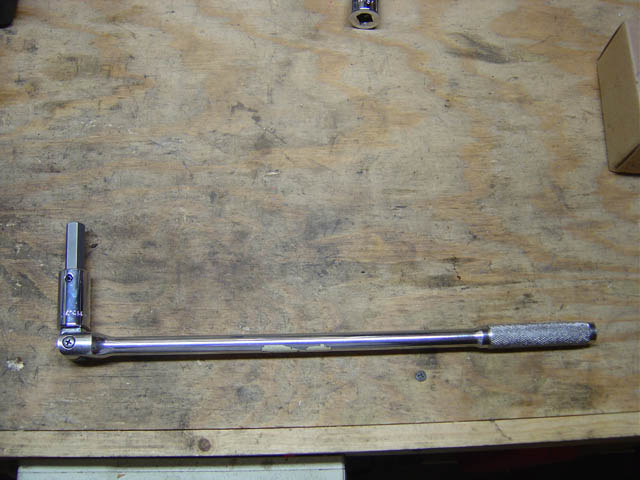
11) On the inside of the caliper, there are two bolts holding the caliper body on. I want to say they're 17mm bolts, but I'm not positive. On the top, you'll need a couple inch socket extension to get it out, as the hard brake line will get in the way. You will probably need a breaker bar. Just put it on the end of your socket wrench and press on it clockwise from your perspective (opposite as it's facing you). It shouldn't take more than 90 or so foot pounds of pressure to undo these.
The bottom caliper bolt won't need the extension...if you use it, you'll get stuck against the bottom of the shock eyelet. Leave one of the bolts in a bit.
12) get a small bucket or something to let the caliper body rest on so it's not hanging it's full weight on the brake line. Pull the caliper away from the rotor and put the caliper holder next to the rotoer/caliper. Undo the final caliper bolt all the way and stick the caliper on the bucket.
13) The rotor should slide off the lugs no. If it doesn't, hit it lightly with a rubber hammer to break it free.
14) Put on your new rotor. I used two lug nuts on opposite sides to GENTLY keep the rotor in place. While you re-assemble the pads and caliper.
15) Put your caliper back in place, and put in both bolts (not all the way), keeping the caliper in place. Tighten the caliper bolts until they're finger tight, but not all the way torqued down.
16) Take the cap off the brake master cylinder in the engine compartment.
17) Take your old brake pad (without the shims) and slide it between the rotor and the caliper pistons. Take a vice grip or a C-clamps and slowly/carefully push the caliper pistons back into the caliper body making room for the fatter, newer pads. Do this on both sides of the caliper. One side will probably make the other side push out some, but that's ok.
18) Take the shims off your old brake pads and put them on the back of your new pads, paying attention to what is the inside brake pad and the outside brake pad. Between the back of the brake pad and the shim, squeeze a decent amount of anti-squeal grease on. I did this to each layer of the shim and the very back of the shim where it meets the caliper. DON'T grease the front of the pad where it contacts the rotor.
19) Try to slide a brake pad into one side of the caliper body. If it won't fit, you need to push the caliper pistons back in farther. Do this until you can slide the new brake pad in place. Keep the shims lined up and "as one" with the new brake pad.
20) Put the second pad in the other side of the caliper. Getting the caliper pistons to go in far enough to fit both pads is tricky, but it is doable. Just take your time.
21) Take those thin, pencil sized bolts and put them through the outside of the caliper. Careful thread them through the appropriate holes of the brake pad shims, brake bodies...over the top of the break pads, through the pad/shims again and into the other side of the caliper body. Use a hammer to gently push them all the way in.
22) Take your thin wire thing and put it back in it's place. Use a pair of needle nose pliers to twist the pad bolts the right angle so that the ends of that wire can thread through. Put the middle of it back through the small inside hole of the caliper body.
23) Use a torque wrench to properly tighten the caliper bolts back down (90 ft lbs). The caliper, rotor and pads should be in place now.
23) Remove the lug nuts from the lugs.
24) Jack the frame back up enough to put the wheel back on.
25) Put the lug nuts back on and torque them to 76 ft lbs, following a criss cross pattern.
26) remove the jack stand from underneath the truck
27) lower the car
repeat on the other side or put the brake master cylinder back on