g3ran3t
New member
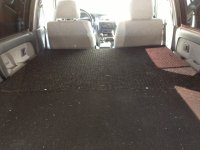
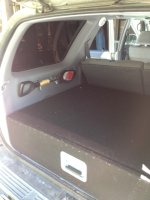
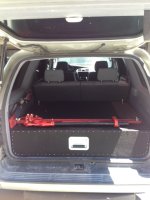
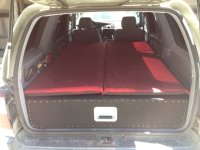
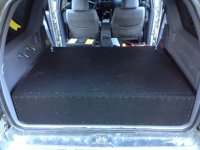
So I know a lot of people have built cargo boxes and sleeping areas, and I have been getting a lot of questions on mine, so I thought I would start a thread with lots of pictures! I know we all love pictures!
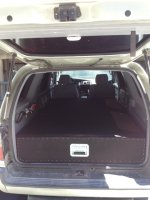
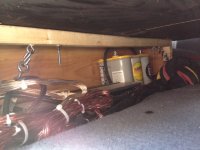
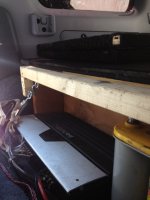
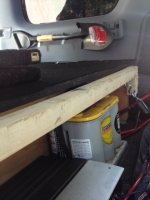
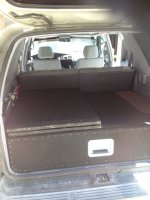
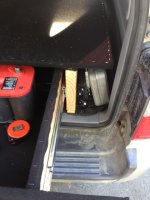
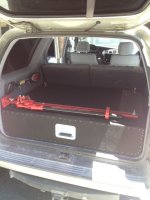
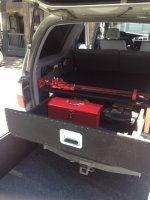
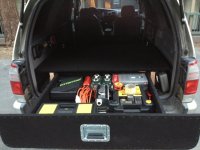
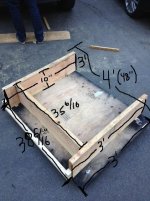
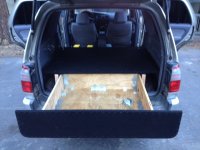
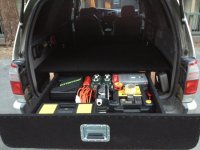
Anyways, I wanted something that I could sleep on but remove very quickly when I wanted to. The cargo box will be permanent and is fastened down on all 4 corners very well. I wanted one big drawer for the most space as well. To build the rear portion is actually quite simple without the drawer. Here is what you will need excluding making a drawer and some measurements.
(1) 3/4" Plywood- 36" x 48" (For top piece) (Don't wimp on 1/2"!! use 3/4"!!)
(2) 2"x10" that are cut to 36" long (Next to wheel wells)
(1) 2"x10" cut to 35 6/16" (for in between the other two pieces for added support)
(1) 2"x2" piece cut to 38 6/16" (for front piece to rest on when connecting the front portion for sleeping area.
If you want to make a drawer you will need to finish all of this first and then once you order drawer sliders take measurements to make the drawer whatever size you would like it. I used these drawer sliders from TCH. They are 26" long and rated at 250lbs. They work perfect but if I had to do it again I would prob get the 500lb rated ones just because.
26" 250 lbs Full Extension Drawer Slide - 250 Lbs Drawer slides - TCH
For the handle I used this:
Large Recessed Handle - Recessed Handles - TCH
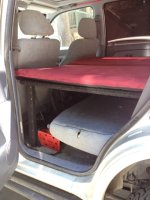
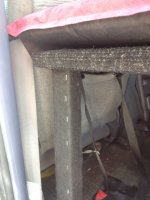
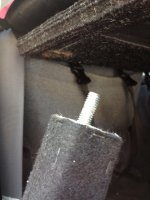
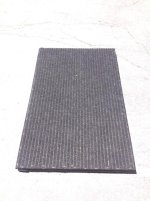
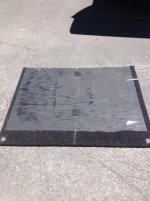
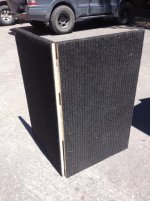
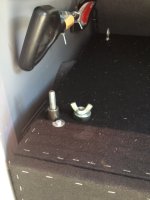
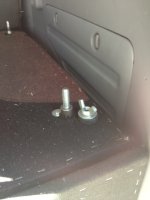
For the front piece, it is just a piece of 3/4" ply that is cut to 48" wide and 38" long. Cut in half so you have two pieces that are now 24" x 38". Drill a hole in each piece as well as the 2x2 that this will rest on and secure it together with whatever kind of bolt you would like. I used a wing nut so I could take it out in seconds. For the front I made two legs that screw in and out so when I fold the front piece up I can store the legs as well.
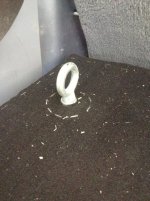
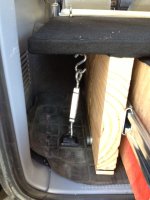
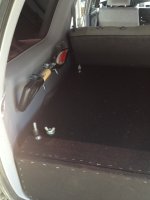
I also put removable hooks in a few spots as well as removable mounts for my Hi-Lift Jack! Carpet it all up and you have one mighty fancy cargo box that is incredibly versatile! Hope this answers some peoples questions and feel free to ask my any other questions you have!
Anyways, I wanted something that I could sleep on but remove very quickly when I wanted to. The cargo box will be permanent and is fastened down on all 4 corners very well. I wanted one big drawer for the most space as well. To build the rear portion is actually quite simple without the drawer. Here is what you will need excluding making a drawer and some measurements.
(1) 3/4" Plywood- 36" x 48" (For top piece) (Don't wimp on 1/2"!! use 3/4"!!)
(2) 2"x10" that are cut to 36" long (Next to wheel wells)
(1) 2"x10" cut to 35 6/16" (for in between the other two pieces for added support)
(1) 2"x2" piece cut to 38 6/16" (for front piece to rest on when connecting the front portion for sleeping area.
If you want to make a drawer you will need to finish all of this first and then once you order drawer sliders take measurements to make the drawer whatever size you would like it. I used these drawer sliders from TCH. They are 26" long and rated at 250lbs. They work perfect but if I had to do it again I would prob get the 500lb rated ones just because.
26" 250 lbs Full Extension Drawer Slide - 250 Lbs Drawer slides - TCH
For the handle I used this:
Large Recessed Handle - Recessed Handles - TCH
For the front piece, it is just a piece of 3/4" ply that is cut to 48" wide and 38" long. Cut in half so you have two pieces that are now 24" x 38". Drill a hole in each piece as well as the 2x2 that this will rest on and secure it together with whatever kind of bolt you would like. I used a wing nut so I could take it out in seconds. For the front I made two legs that screw in and out so when I fold the front piece up I can store the legs as well.
I also put removable hooks in a few spots as well as removable mounts for my Hi-Lift Jack! Carpet it all up and you have one mighty fancy cargo box that is incredibly versatile! Hope this answers some peoples questions and feel free to ask my any other questions you have!
Attachments
-
 underneat.jpg54.3 KB · Views: 5,765
 -
 box no handle.jpeg124.9 KB · Views: 6,553
 -
 drawer no carpet.jpeg108.2 KB · Views: 7,247
 -
 complete drawer out.jpeg123.1 KB · Views: 12,060
 -
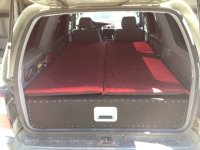 image_1.jpeg101.8 KB · Views: 14,446
 -
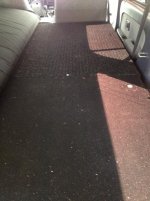 image_2.jpg41.1 KB · Views: 5,764
 -
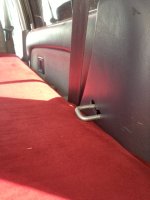 image_3.jpeg126.9 KB · Views: 5,846
 -
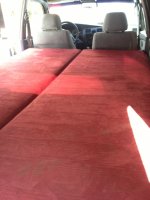 finishedwithpad.jpeg113.1 KB · Views: 5,884