StickToRhythm
Junior Member
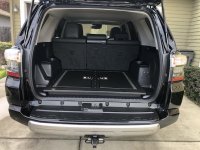
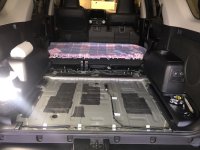
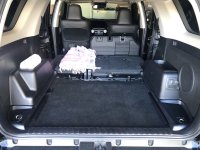
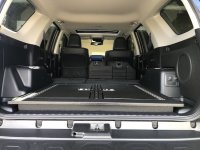
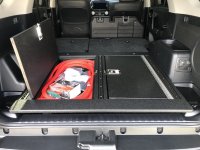
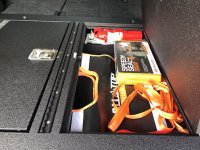
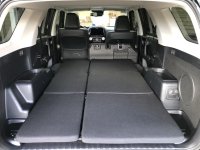
I recently finished a custom rear platform to create a level surface with the rear seats folded down for sleeping and provide some storage underneath for recovery gear and whatnot. After reviewing a bunch of examples of what others have done on this forum and elsewhere, I came up with my own take on the design and solicited the help of a generous friend who is really into woodworking.
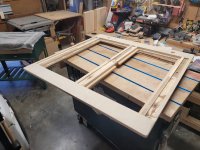
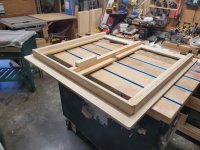
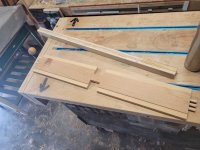
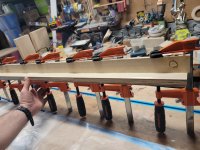
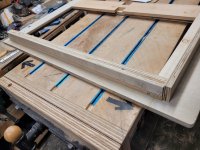
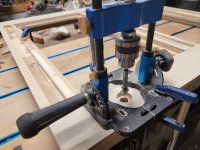
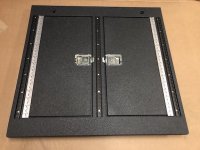
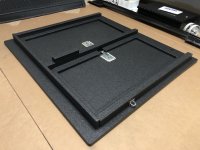
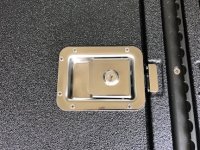
It is made from 3/4" baltic birch plywood with a top layer, a second layer, 3 supports, and a trim piece. We used dowels to connect the pieces comprising the top layer and second layer. It includes two large doors with piano hinges, strike plates, and locking flush mount paddle handles. There are also 3 rows of L-track for a flexible tie-down system.
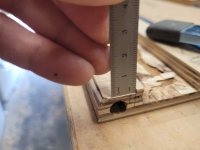
I decided to have it coated with Rhino Lining (similar to LINE-X) to provide solid protection and make it look more stock/professional, despite the additional weight. This also added some complexity and uncertainty with the measurements to accommodate for the thickness of the finish.
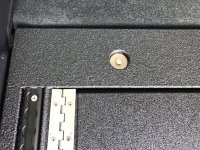
Toward the front of the vehicle, it is connected to factory locations with bolts and large washers in countersunk holes. Toward the back of the vehicle, I initially tried securing it with turnbuckles and the factory tie down locations, but I didn't like the way this worked and ended up using L-brackets and self-tapping screws to attach it to the vehicle and keep it secure.
I've very pleased with the result; it turned out pretty much just as intended. Hope this provides another good example and some ideas for anyone looking to build their own.
It is made from 3/4" baltic birch plywood with a top layer, a second layer, 3 supports, and a trim piece. We used dowels to connect the pieces comprising the top layer and second layer. It includes two large doors with piano hinges, strike plates, and locking flush mount paddle handles. There are also 3 rows of L-track for a flexible tie-down system.
I decided to have it coated with Rhino Lining (similar to LINE-X) to provide solid protection and make it look more stock/professional, despite the additional weight. This also added some complexity and uncertainty with the measurements to accommodate for the thickness of the finish.
Toward the front of the vehicle, it is connected to factory locations with bolts and large washers in countersunk holes. Toward the back of the vehicle, I initially tried securing it with turnbuckles and the factory tie down locations, but I didn't like the way this worked and ended up using L-brackets and self-tapping screws to attach it to the vehicle and keep it secure.
I've very pleased with the result; it turned out pretty much just as intended. Hope this provides another good example and some ideas for anyone looking to build their own.