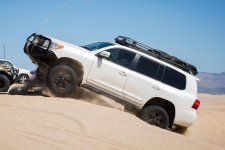
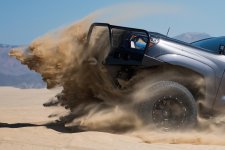
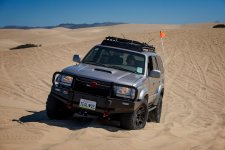
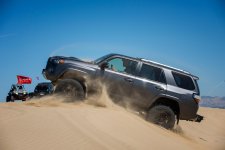
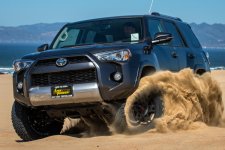
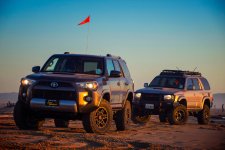
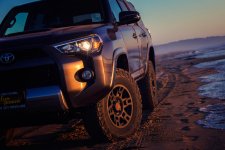
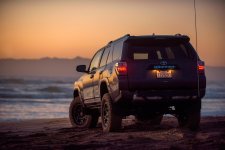
Cytronus 2016 4Runner Trail Premium Build Thread (Pic Heavy)

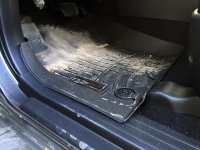
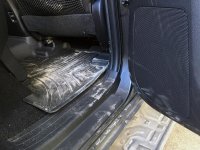
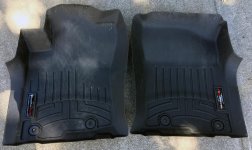
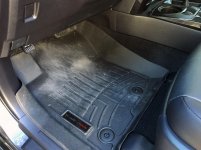
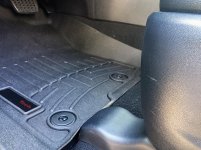
WeatherTech Floor mat review after one 2-day trip

Here are photos showing the WeatherTechs as brand new, 1 day into the Mono Lake trip and cleaned well after the trip.

I'll start by saying the WeatherTech mats are beautiful and rugged. They fit exceptionally precise and have high sidewalls that protect the carpet and trim from muddy boots. I also prefer the styling of these to others as in my mind, they have a synergistic design language to the 4Runner styling. From other reviews, I knew going into these that they would scratch and show wear easily & obviously but that's not why I bought these. I bought these things to protect and keep clean the vehicle carpet and trim, which are far more expensive to replace than the mats.

After just one 2-day trip and and a dozen in-and-outs from dry dirt roads, the wear is obvious, especially on the driver's side. Scratches show easily because the material has a textured, grippy surface that does scratch easily. It actually has a very nice tactile feeling on booted feet and no doubt will prevent slippage when wet or muddy, which means greater safety on the pedals.

If you care about looks more than function, or you're a mall runner get something else. If you care about protecting your vehicle, safety and comfort, WeatherTechs won't let you down.
 

Attachments

  • IMG_5849edit.jpg
    IMG_5849edit.jpg
    138.4 KB · Views: 3,649
  • IMG_6392edit.jpg
    IMG_6392edit.jpg
    137.7 KB · Views: 3,691
  • IMG_6404edit.jpg
    IMG_6404edit.jpg
    139.9 KB · Views: 3,697
  • IMG_6554edit.jpg
    IMG_6554edit.jpg
    135.2 KB · Views: 3,731
  • IMG_6555edit.jpg
    IMG_6555edit.jpg
    136.1 KB · Views: 3,730
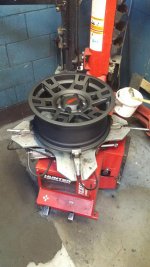
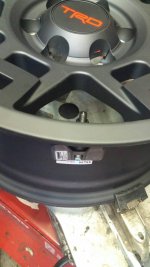
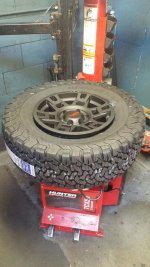
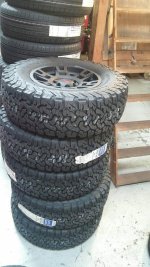
Pre-lift teaser - 285/70/R17 BFG KO2 mounting by fellow forum member @Konkordmusk

Thank you Caleb! 8 days and counting....
 

Attachments

  • IMG_6597.jpg
    IMG_6597.jpg
    134.5 KB · Views: 3,690
  • IMG_6598.jpg
    IMG_6598.jpg
    129.2 KB · Views: 3,609
  • IMG_6599.jpg
    IMG_6599.jpg
    139.4 KB · Views: 3,596
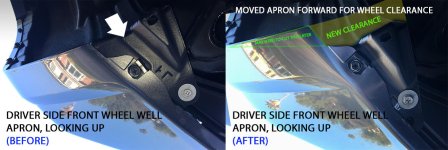
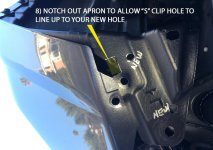
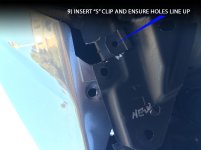
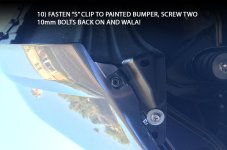
5th Gen 4Runner Front Wheel Clearance for 285/70/17, Moving Apron Forward

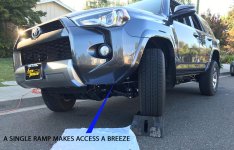
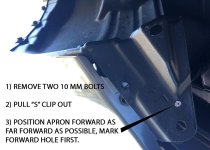
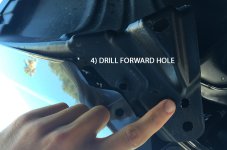
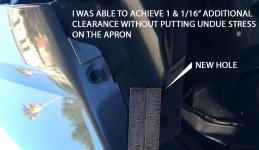
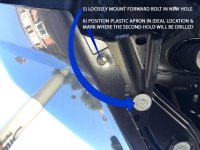
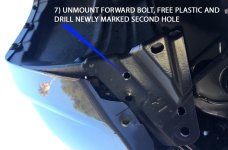
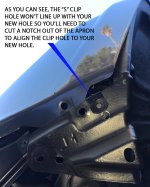
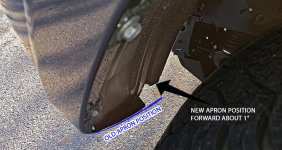
Step-by-step instructions and photos to move your 5th Gen (2016 Trail) front wheel well aprons forward in preparation for larger tires. In my case, I will be lifting 3" and adding BFG 285/70/17 KO2s on TRD Pro wheels.

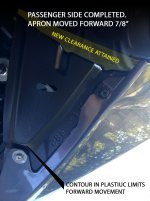
I was able to achieve 1 & 1/16" additional forward clearance on the driver side and 7/8" additional forward clearance on the passenger side. The apron plastic on the passenger side is shaped a little differently - it has a contour which makes it difficult to easily move it forward more than about 7/8". With some work, it's possible to move it forward more. Try this first and see if there's rubbing before spending unnecessary time.

While my wheel well aprons have now been moved forward, the body painted bumper lip is fixed in place, interfering somewhat with the newly added apron clearance. Should rubbing occur in this area post lift & tires, I will trim the body painted plastic to make it flush with the apron/inner wheel well plastic.

Let's start with the before and after, followed by driver side, then passenger side instructions.
 

Attachments

  • Before-and-after.jpg
    Before-and-after.jpg
    105.2 KB · Views: 3,446
  • IMG_6732.jpg
    IMG_6732.jpg
    143.3 KB · Views: 3,517
  • IMG_6704.jpg
    IMG_6704.jpg
    109.9 KB · Views: 3,492
  • IMG_6706.jpg
    IMG_6706.jpg
    95.7 KB · Views: 3,467
  • IMG_6708.jpg
    IMG_6708.jpg
    115.6 KB · Views: 3,467
  • IMG_6709.jpg
    IMG_6709.jpg
    133.1 KB · Views: 3,488
Additional images. Apologies for the misspelling. I move too quick!
 

Attachments

  • IMG_6712.jpg
    IMG_6712.jpg
    107.7 KB · Views: 3,454
  • IMG_6715.jpg
    IMG_6715.jpg
    133.8 KB · Views: 3,481
  • IMG_6717.jpg
    IMG_6717.jpg
    137.3 KB · Views: 3,485
  • IMG_6722.jpg
    IMG_6722.jpg
    95.3 KB · Views: 3,440
  • IMG_6724.jpg
    IMG_6724.jpg
    97 KB · Views: 3,450
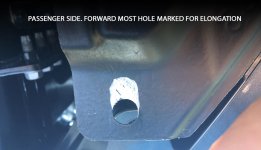
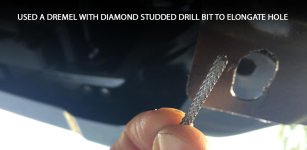
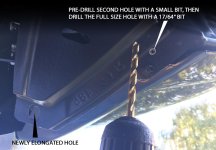
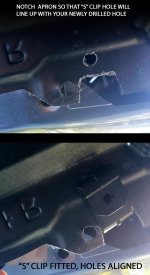
Passenger side images of front wheel well apron being moved forward.
 

Attachments

  • IMG_6676.jpg
    IMG_6676.jpg
    82 KB · Views: 3,385
  • IMG_6680.jpg
    IMG_6680.jpg
    49.5 KB · Views: 3,402
  • IMG_6684.jpg
    IMG_6684.jpg
    105.5 KB · Views: 3,437
  • IMG_6687.jpg
    IMG_6687.jpg
    133.9 KB · Views: 3,452
  • IMG_6692.jpg
    IMG_6692.jpg
    131.7 KB · Views: 3,459
Count down to ICON Stage 7 lift...6 days

Well guys, I should be receiving the ICON kit tomorrow. Installation is planned for this Saturday and I'm lucky enough to have a few local T4R.ORG members joining me to assist, have fun and learn.

In preparation for the lift, I've increased front wheel well clearance and removed the OEM Rigid running boards , which I'll be selling with the mounting bolts. If interested, please PM me. They're a month old...or is that new?

I ordered up White Knuckle Off Road sliders in bare metal and will have them professionally painted in matte black upon their arrival later this week. Unfortunately, the vendor only offered a semi-gloss which I wasn't too keen on.

More soon!
 
Received ICON components, lift going in this Saturday

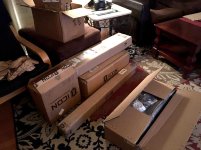
I received the ICON lift kit today. Like a kid on Christmas, I opened every box to ensure completeness and to inspect each part in prep for this Saturday's installation.

The packaging job is hands down the finest I've ever seen. Expanding foam is molded to parts within the boxes to prevent shifting, plenty of excess padding, very thick high density cardboard boxes with large copper staples with ICON branded tape holds every box together well. ICON owns the art of exceptional packaging.

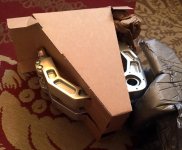
I must say, the billet aluminum parts are a sight to behold and touch. The rear trailing arms and billet UCAs look like parts off Optimus Prime. True masterpieces of human engineering & craftsmanship.

All parts accounted for, I weighed them to compare to the advertised weight of 212 lbs and as expected the actual weight of all parts and hardware came in lower at 158.6 lbs. I'm curious to weigh the equivalent Toyota OEM parts, which actually might be heavier, even though the ICON kits adds more with the remote reservoirs and adjustability.

My only concern is the Overland dual rate rear springs, which are generally applied to rigs with hundreds of pounds of rear cargo weight. They're definitely going to be too stiff for my empty rig but eventually my plan is to have a fridge, drawers, stove, roof top tent and way later, a steel after-market bumper and swing gate tire carrier.

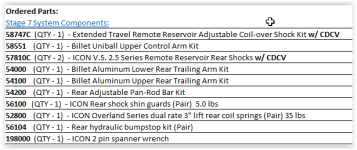
Here is a list of all the parts I ordered and a couple of shots of the packaging.
 

Attachments

  • Screen Shot 09-13-16 at 08.46 PM.PNG
    Screen Shot 09-13-16 at 08.46 PM.PNG
    21.5 KB · Views: 3,354
  • icon-boxes.jpg
    icon-boxes.jpg
    97.9 KB · Views: 3,283
  • ICON-UCA.jpg
    ICON-UCA.jpg
    92.1 KB · Views: 3,279
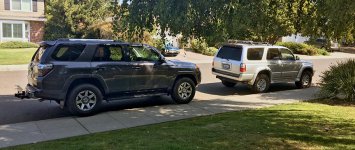
I think the old girl is jealous....

First time having both 4Runners together. Last photo of the new Trail stock.
 

Attachments

  • IMG_6661a.jpg
    IMG_6661a.jpg
    94.5 KB · Views: 3,879
sub'd!

fellow 4runner owner here, im located in menlo park! Thank you for great pic quality and informative info!!
 
Rewind update

After a short leave of absence, here's an update on the rig:

1) Icon Stage 7 lift installed
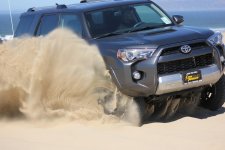
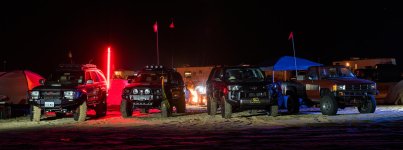
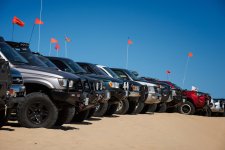
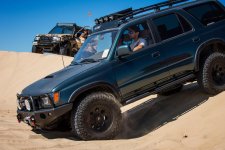
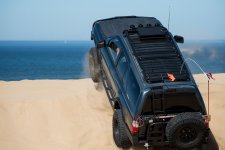
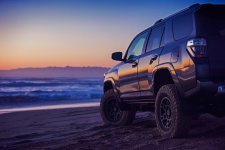
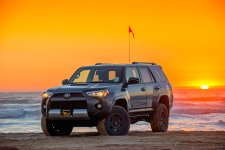
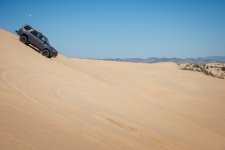
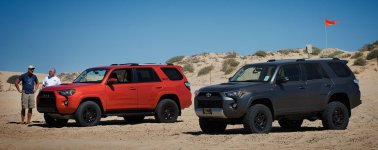
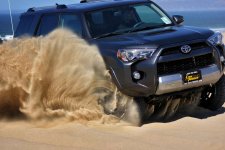
2) Ultimate Yota Pismo Jamboree pics!
3) Wilco Offroad hitch tire gate receiver installed and still a work in progress

Items soon to be installed:

1) Southern Style Slimline front bumper with Rigid Ind. SR20 & Warn Zeon Platinum 10,000 lb winch, Factor 55 Expert end link, Warn D shackles.
2) White Knuckle Off Road sliders
3) Hard-wired Escort Max360 Radar detector
4) Pro Clip iPhone 6 mount with hard-wired charger

On to pics! Pismo!
 

Attachments

  • DSC_1994.jpg
    DSC_1994.jpg
    136.1 KB · Views: 3,404
  • DSC_1587.jpg
    DSC_1587.jpg
    136.1 KB · Views: 3,398
  • DSC_1595PANO.jpg
    DSC_1595PANO.jpg
    146.3 KB · Views: 3,407
  • DSC_1645.jpg
    DSC_1645.jpg
    129.6 KB · Views: 3,544
  • DSC_1691.jpg
    DSC_1691.jpg
    138.8 KB · Views: 4,002
  • DSC_1712.jpg
    DSC_1712.jpg
    134.3 KB · Views: 3,508
  • DSC_1696.jpg
    DSC_1696.jpg
    141.7 KB · Views: 3,609
More

Pismo
 

Attachments

  • DSC_1720.jpg
    DSC_1720.jpg
    130.1 KB · Views: 3,488
  • DSC_1770CROP.jpg
    DSC_1770CROP.jpg
    129.5 KB · Views: 3,455
  • DSC_1773CROP.jpg
    DSC_1773CROP.jpg
    139.1 KB · Views: 3,413
  • DSC_1776.jpg
    DSC_1776.jpg
    134.2 KB · Views: 3,545
  • DSC_1785.jpg
    DSC_1785.jpg
    127.1 KB · Views: 3,461
  • DSC_1816CROP.jpg
    DSC_1816CROP.jpg
    138 KB · Views: 3,485
  • DSC_1891.jpg
    DSC_1891.jpg
    138.3 KB · Views: 3,513
More

Pismo
 

Attachments

  • DSC_1900.jpg
    DSC_1900.jpg
    137.9 KB · Views: 3,401
  • DSC_1962.jpg
    DSC_1962.jpg
    128.8 KB · Views: 3,423
  • DSC_1978.jpg
    DSC_1978.jpg
    126.8 KB · Views: 3,550
  • DSC_1954a.jpg
    DSC_1954a.jpg
    130.2 KB · Views: 3,787
  • DSC_2126.jpg
    DSC_2126.jpg
    119 KB · Views: 3,395
  • DSC_2203pano.jpg
    DSC_2203pano.jpg
    144.1 KB · Views: 3,512
  • IMG_4657web.jpg
    IMG_4657web.jpg
    136.6 KB · Views: 3,372
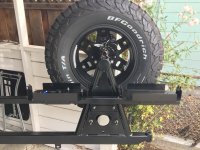
Wilco Offroad Hitchgate

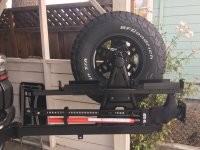
I opted for the Wilco Offroad tire hitch gate until such a time when it will behoove me to swap it out for a steel bumper and carrier.

While the quality of the product is great, it was a a little bit of a pain to build due to poor instructions that matched an older model from the manufacturer. I also wish it mounted up a little closer toward the vehicle rear end but it's decent enough, although departure angle could be better, as is the case with all hitch mounted gates.

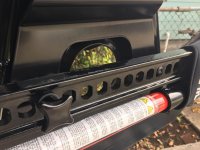
I went with 2 jerry can trays, one for fuel and one for water (plastic Scepter brand with JagMTE webbing 2 handle poor straps), the Hi-Lift jack mount plate which I customized to mount my jack and a license plate re-locator kit with illumination, soon to be installed.
 

Attachments

  • IMG_7927.jpg
    IMG_7927.jpg
    136.9 KB · Views: 3,382
  • IMG_7923.jpg
    IMG_7923.jpg
    115.7 KB · Views: 3,357
  • IMG_7925.jpg
    IMG_7925.jpg
    118 KB · Views: 3,367
  • IMG_7931.jpg
    IMG_7931.jpg
    110.3 KB · Views: 3,350
  • IMG_7939.jpg
    IMG_7939.jpg
    117.6 KB · Views: 3,356
  • IMG_7935.jpg
    IMG_7935.jpg
    128.7 KB · Views: 3,382
  • IMG_7954.jpg
    IMG_7954.jpg
    132.1 KB · Views: 3,363

Members online

Forum statistics

Threads
278,316
Messages
3,554,120
Members
248,016
Latest member
Advally Service

Trending content

Back
Top