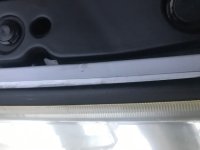
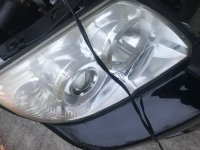
Drying out your headlights, a different approach.

SR5 Iron

New member
After using the search feature a lot and getting a lot of good advice, I am proud to share my recent find.

I found that one of my headlights was having a bit of a moisture problem and after reading about the method to fix (a tough removal, oven baking, etc). I thought I would try something different.

The first thing I did was remove the highbeam light (for which I planned on replacing anyway), and using some tubing cutters I removed the bulb from the plastic housing. I then drilled a 7/64" hole through it and fed through some 1/4" tubing.
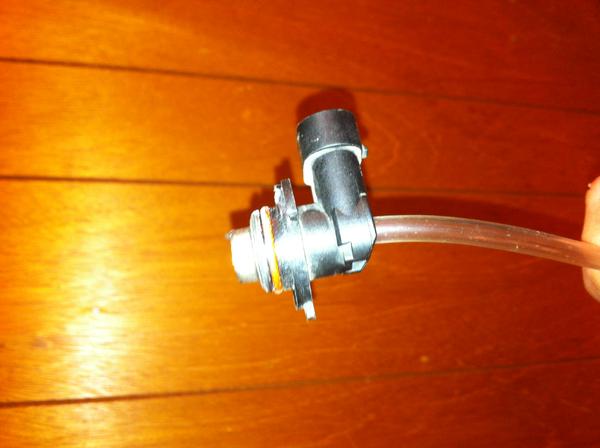
sr5+iron-albums-pictures-picture8496-img-0596.jpg


Then I connected the tubing to the compressor and set the regulator to 5PSI.
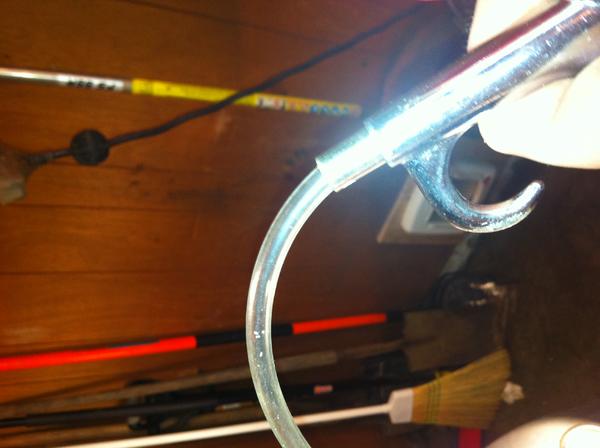
sr5+iron-albums-pictures-picture8495-img-0594.jpg


After charging the headlight assembly with air I used some soapy water to find the leak.
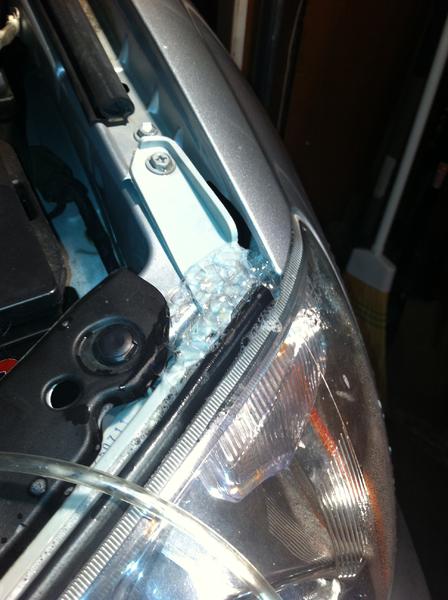
sr5+iron-albums-pictures-picture8494-img-0592.jpg


Then I used a nice grade of marine silicone to seal the leaking area.
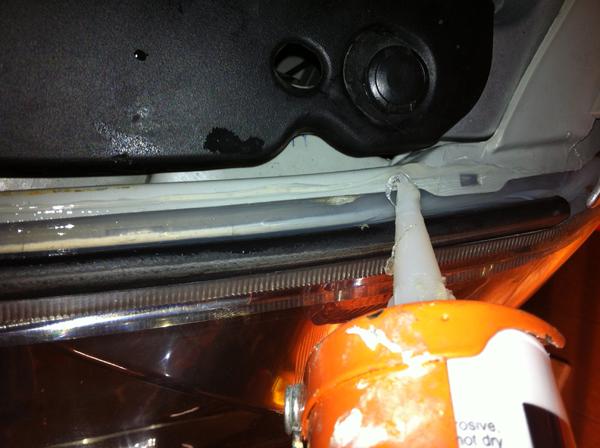
sr5+iron-albums-pictures-picture8498-img-0598.jpg


Then I removed the low beam and let the compressor pump air through the assembly with a halogen light pointing in to provide the heat to evaporate the condensation.
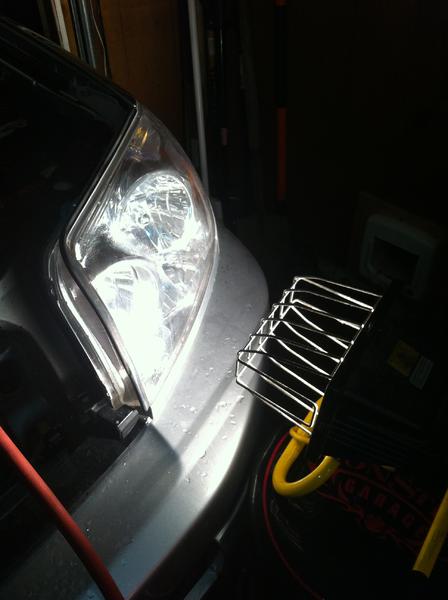
sr5+iron-albums-pictures-picture8497-img-0597.jpg


And there ya go, no more moisture.
 
Register to hide this ad
all that work to dry out the lights and not make it look stock, still better off to bake in the oven and squeeze the edge back together tighter. still dont need to use silicone outside too if it was baked.
 
If you want to do it right so it won't get moisture inside again you are going to Need to open them.

Bake them open then you can paint them black lol if you want. Or just bake them open run a bead of this around the edge and re seal it. I have never had anything leak after using this.
6633415845_f582f3e635_z.jpg

My .02 cents :hello:
 
The koito sealant is better, i remeber theretrofitsource.com and lightwerkz.net was selling it cheap. It still a better deal to bake it open and do a proper reseal. All that work for a half ass job, just slabbing silicone on the headlights is a no no for me.
 
I'm generally a perfectionist, but also a strong believer in keeping solutions simple. If I get moisture in mine I'll go this way first, I can certainly make a smooth bead of silicone you would have to look carefully to notice.
 
All that work for a half ass job, just slabbing silicone on the headlights is a no no for me.

Sorry but I am going to defend myself. But the use of silicone doesn’t necessarily make for shoddy or half assed job. Do you have any idea how many billions of cubic yards of sea water are displaced by the staying power of marine grade silicone?

If the mastic that seals the light together was so superior why did it leak in the first place?

After the silicone dried a filled the headlight up with 5 PSI and it held for 30 minutes. I think the benefits are, that I found a robust solution that saved my quite a bit of time and because the silicone is clear and I cleaned it well there is no way that you can see it.
 
The koito sealant is better, i remeber theretrofitsource.com and lightwerkz.net was selling it cheap. It still a better deal to bake it open and do a proper reseal. All that work for a half ass job, just slabbing silicone on the headlights is a no no for me.
That stuff pictured is from theretrofitcource
 
another approach is to fan a heat gun around that area for 5 mins and then push it back tighter for a better seal. push it together and use a clamp to hold in place.
 
Awesome

I need to do this to my wife's Sienna. That front end on that thing is a PITA to remove and would rather fix the headlight on the vehicle. However on the Sienna there are vents on the backside of it. It is not designed to be offroading at all. This will be helpful though! Thanks for posting this!!
 
Better than removing!

This is much easier than removing some of these lights!
Some lights arent real bad to remove, but for the ones that are, this is a great way to fix them easier.
I also agree if the original seals so superior why are so many failing within a short time & how long will using the same material as factory used even stay sealed again?
I dont replace original designed parts that repeatedly fail in short time with the same poorly designed parts unless forced too do so, so no different here. Why not just try a new "custom fix"? lol
Ive shown several people the 2yr old bead I put on my passenger side light after seeing this post and they still could'nt see it without being a few inches away and staring it down. These are'nt show cars anyway so who even cares, its easy, its cheap, it worked, Im all in with this fix again when my driver side goes and it will in time.
Thanks again SR5 IRON!! :driving:
 
Works great

I dried mine out by removing the bulbs and using a heat gun on low heat for about 5 minutes alternating between the bulb holes and the outer lens holding the condensation. It seems from some of the other posts that this problem for some reason is more common on the passenger headlight, which is my case. Where it is leaking exactly is as others, the grey mastic has dried out and started to let loose, while the mastic on drivers side is in good condition and had a better job of applying it originally than the passenger side. Great fix to save a ton of cash!
 
Last edited:
I need to do this to my drivers side headlight. Ugh. Bake in oven or this method. I don't know. It's a 2 year old aftermarket headlight. Never had an issue with OEM headlights, just got tired of doing headlight restoration 2-3 times a year.
 
Plus one for this.

I actually didn't even drill a hole. I used soap and water around the rim of the headlight. I then pulled the high beam bulb out. I was actually able to get a leaf blower just outside the bulb insert and found bubbling from the top. Im sure any high volume air mover wound work. I then used a silicone sealant/ calk and cleaned it up.

Looks pretty clean and is certainly a viable alternative to taking off the bumper, the radiater protecting film to get to that 4th bolt for the headlight assembly
 

Attachments

  • IMG_3072.jpg
    IMG_3072.jpg
    41 KB · Views: 253
  • IMG_3074.jpg
    IMG_3074.jpg
    78.1 KB · Views: 255

Members online

No members online now.

Forum statistics

Threads
278,309
Messages
3,554,068
Members
248,016
Latest member
Advally Service

Trending content

Back
Top