Dusty’s 4Runner Picture Thread

Dusty Driftwood

New member
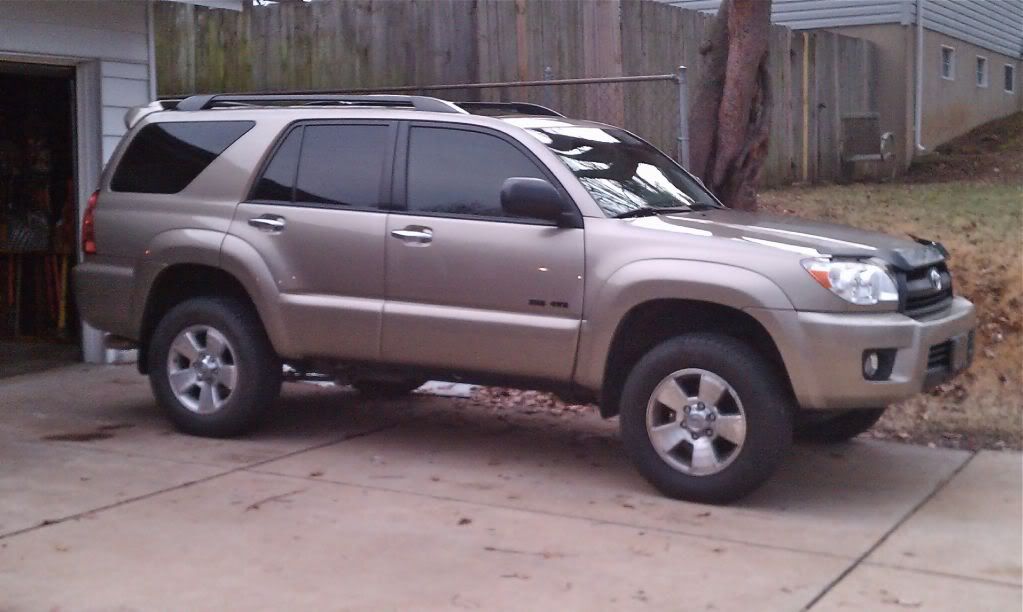
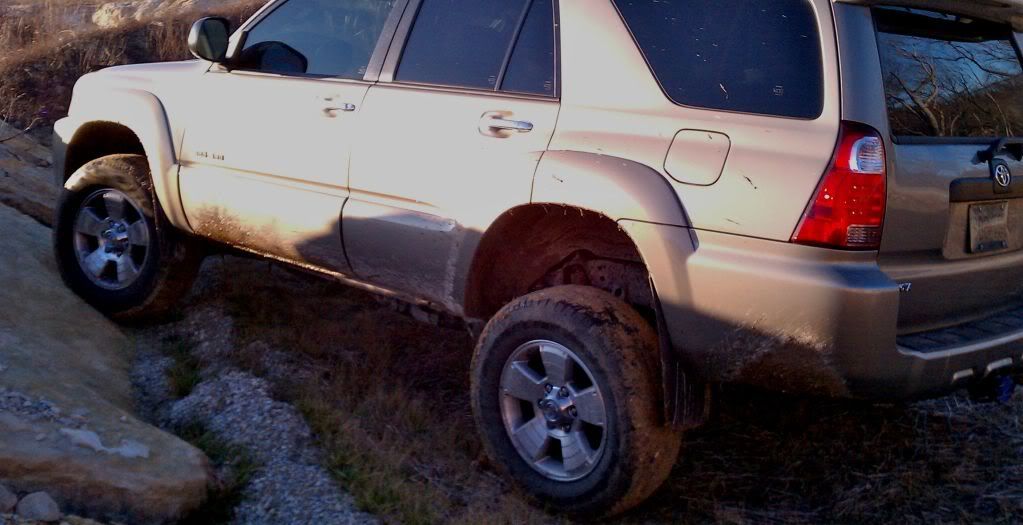
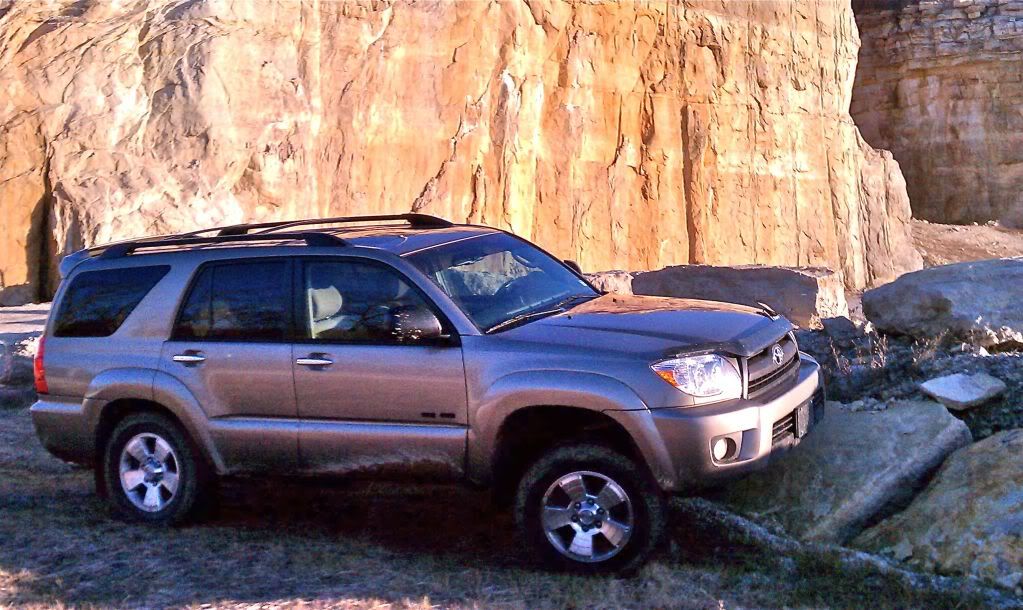
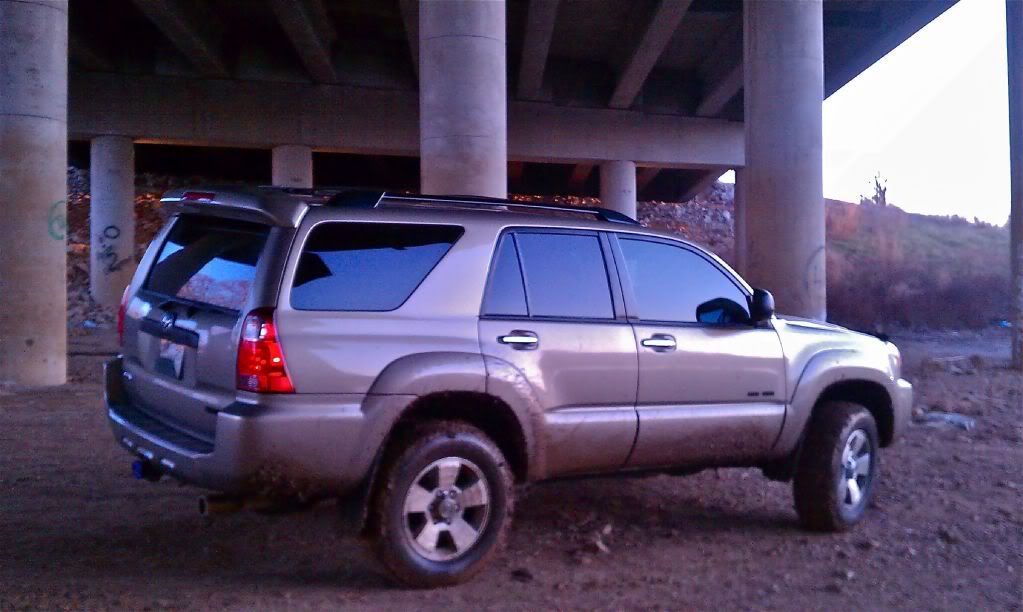
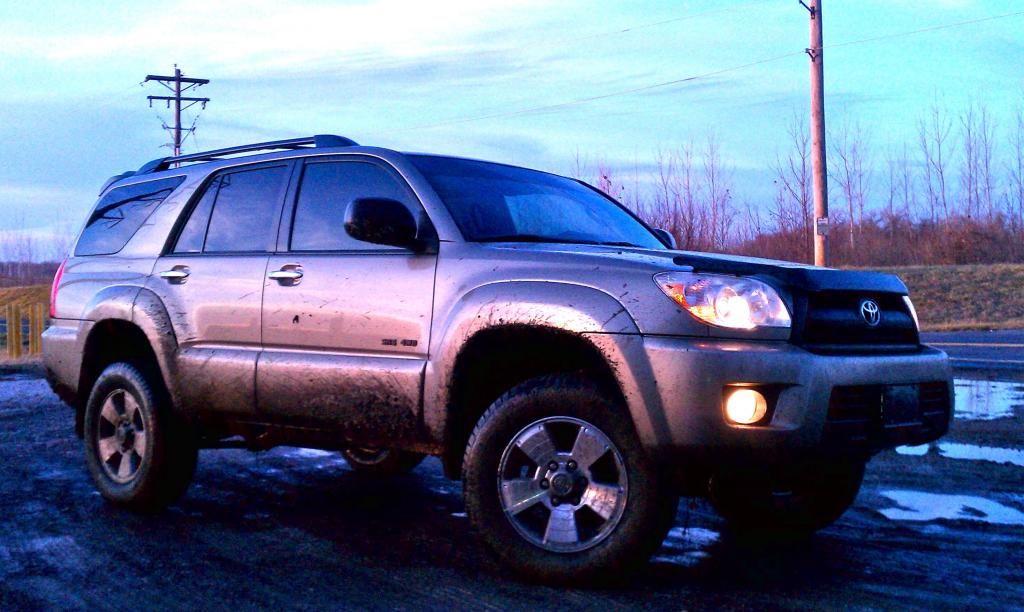
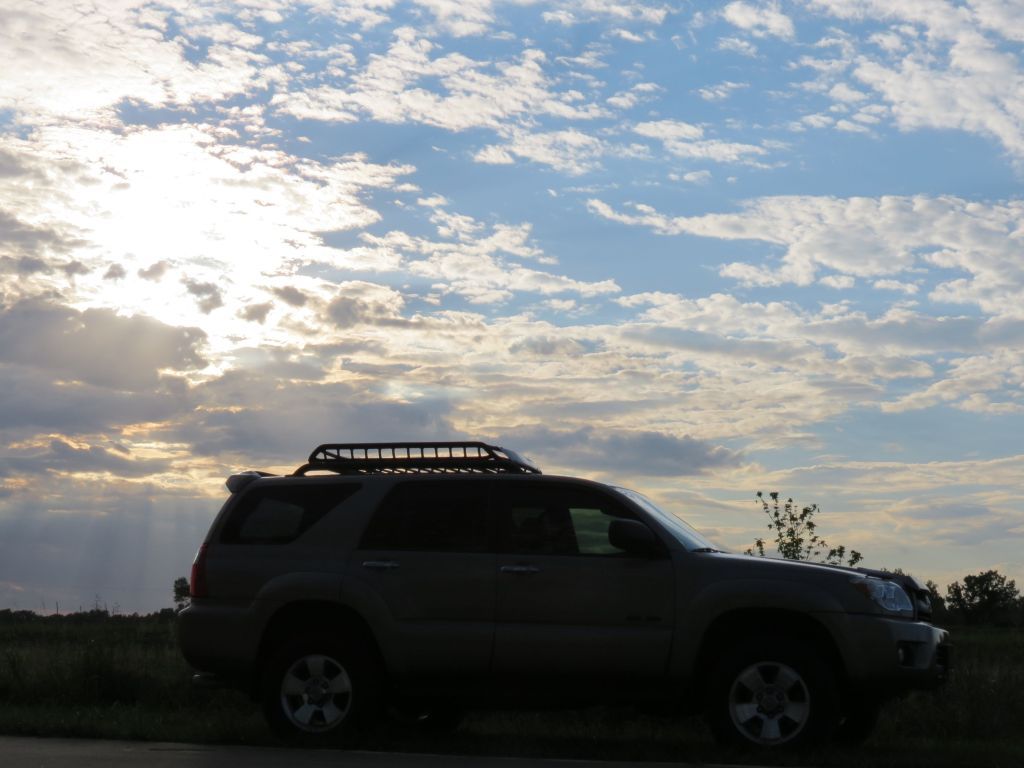
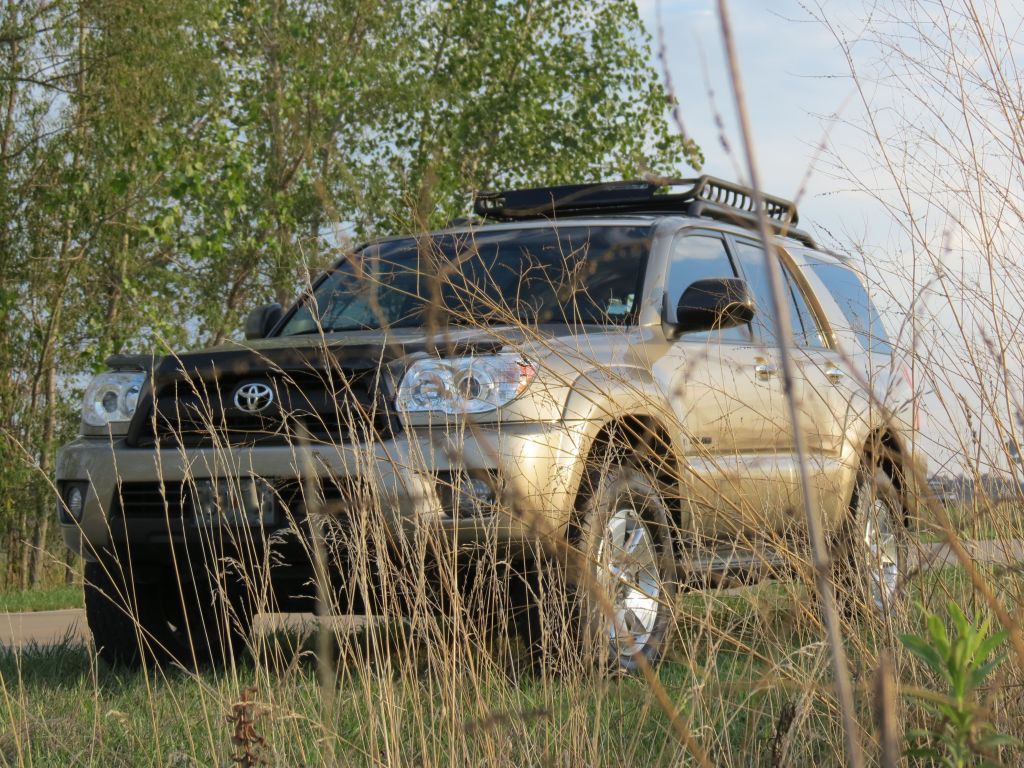
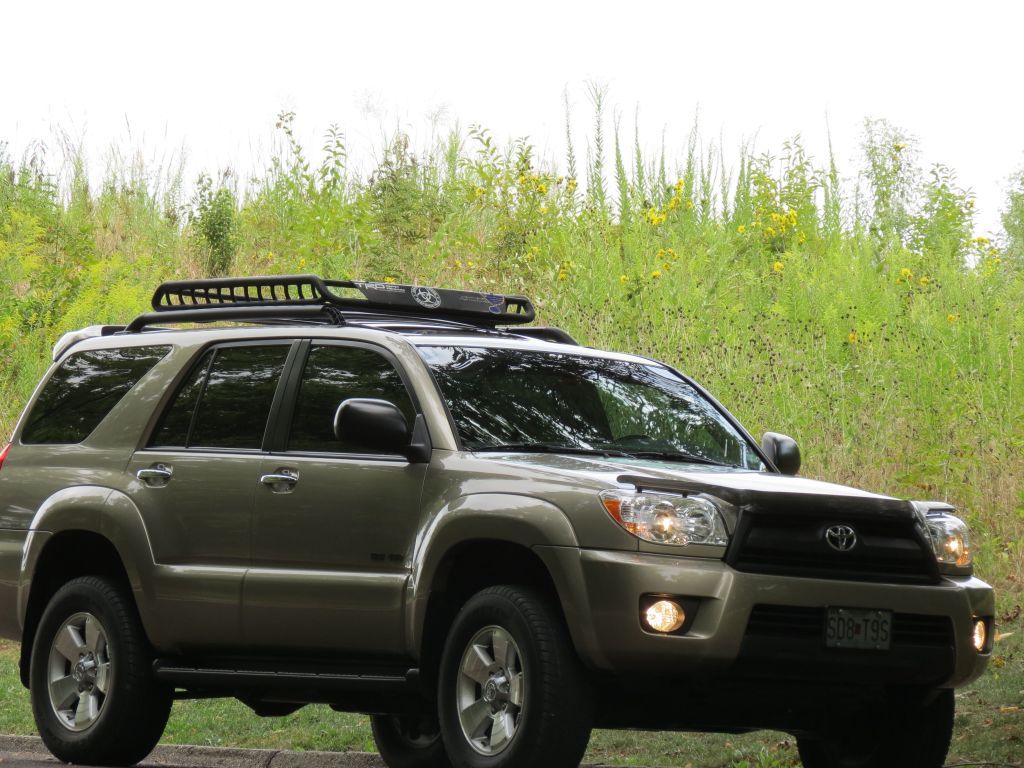
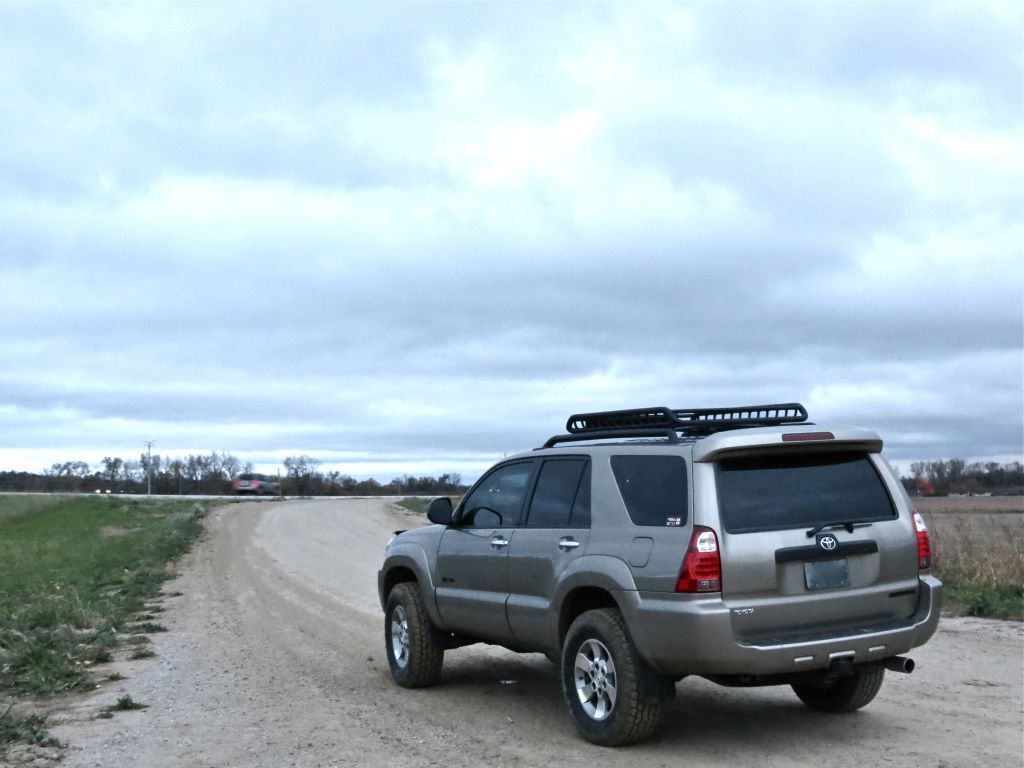
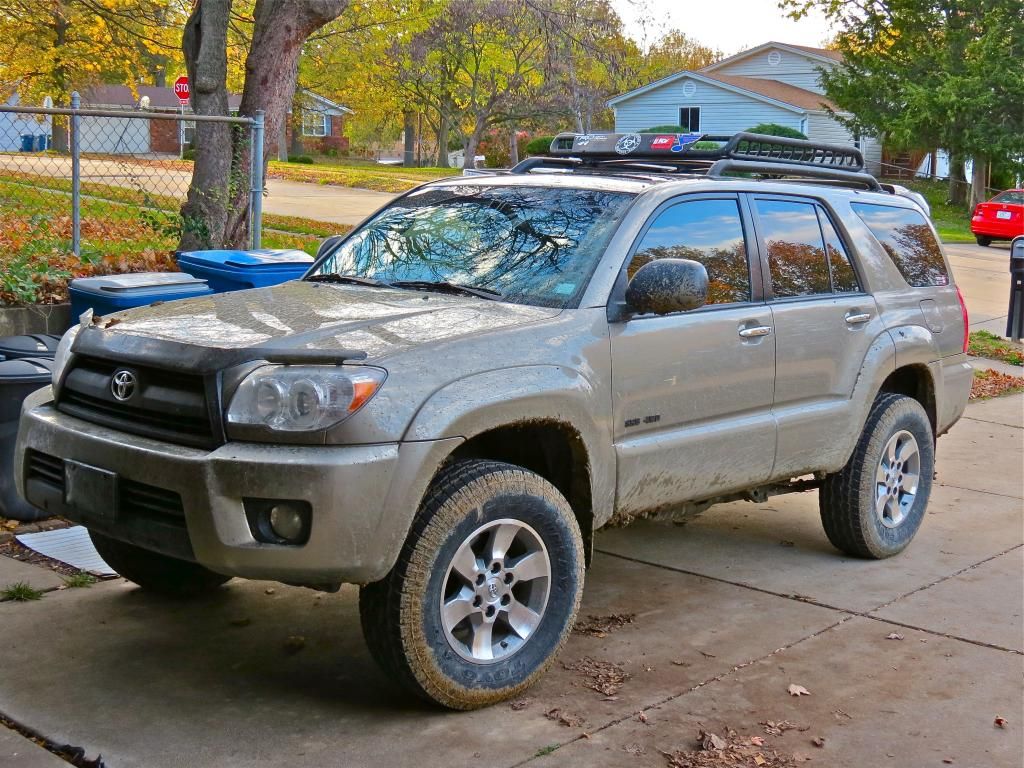
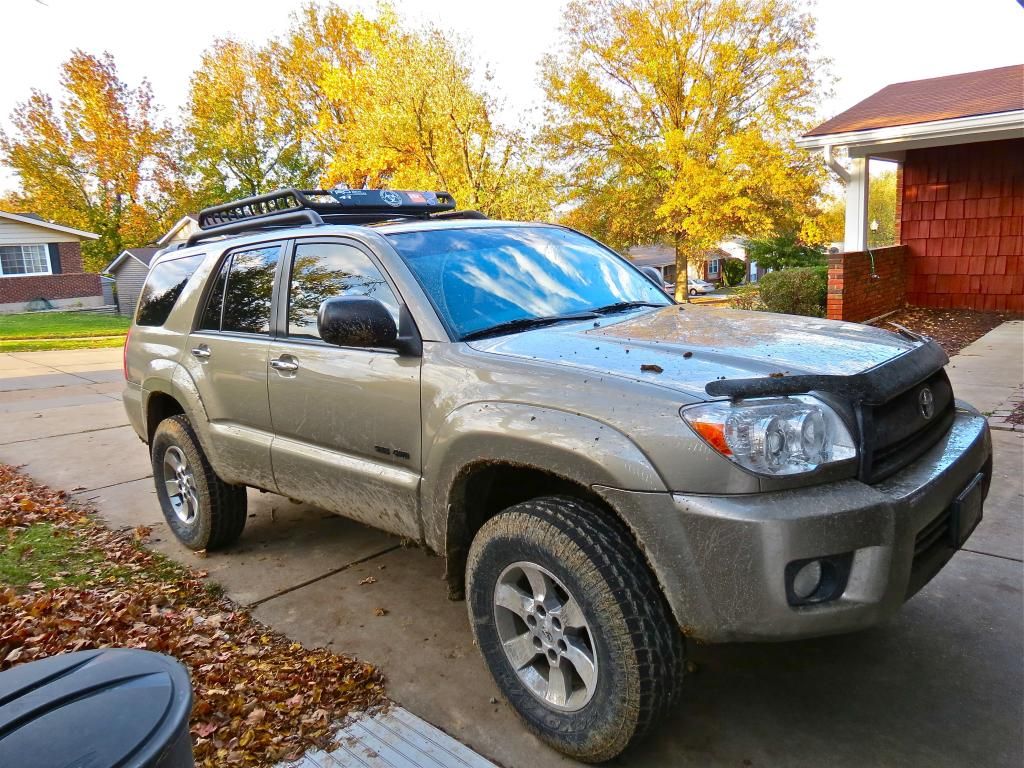
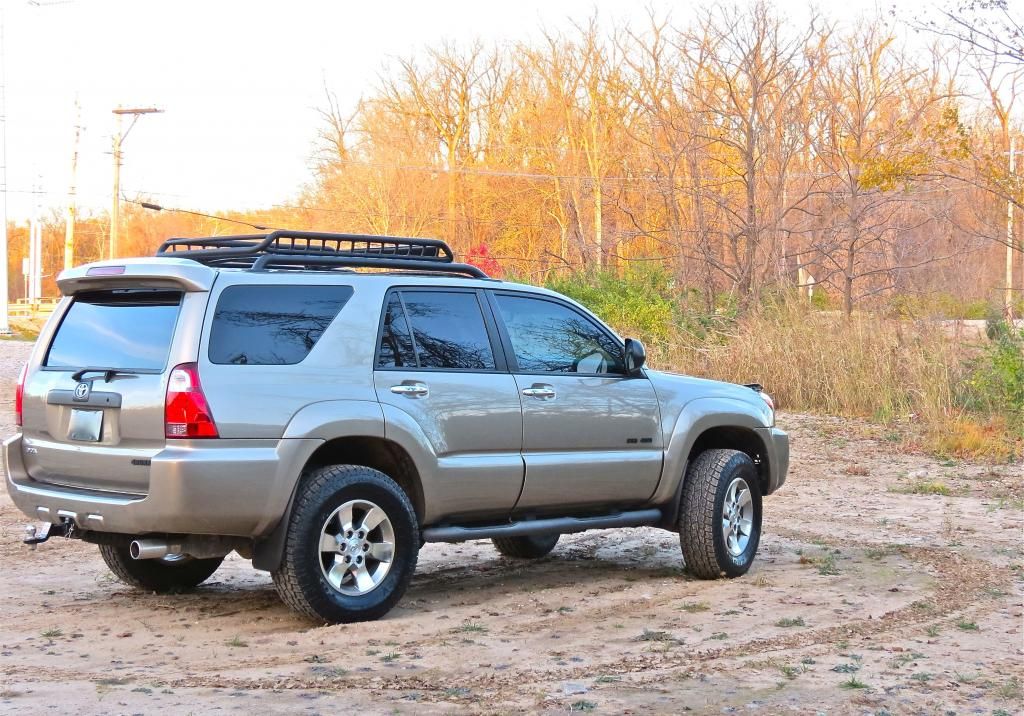
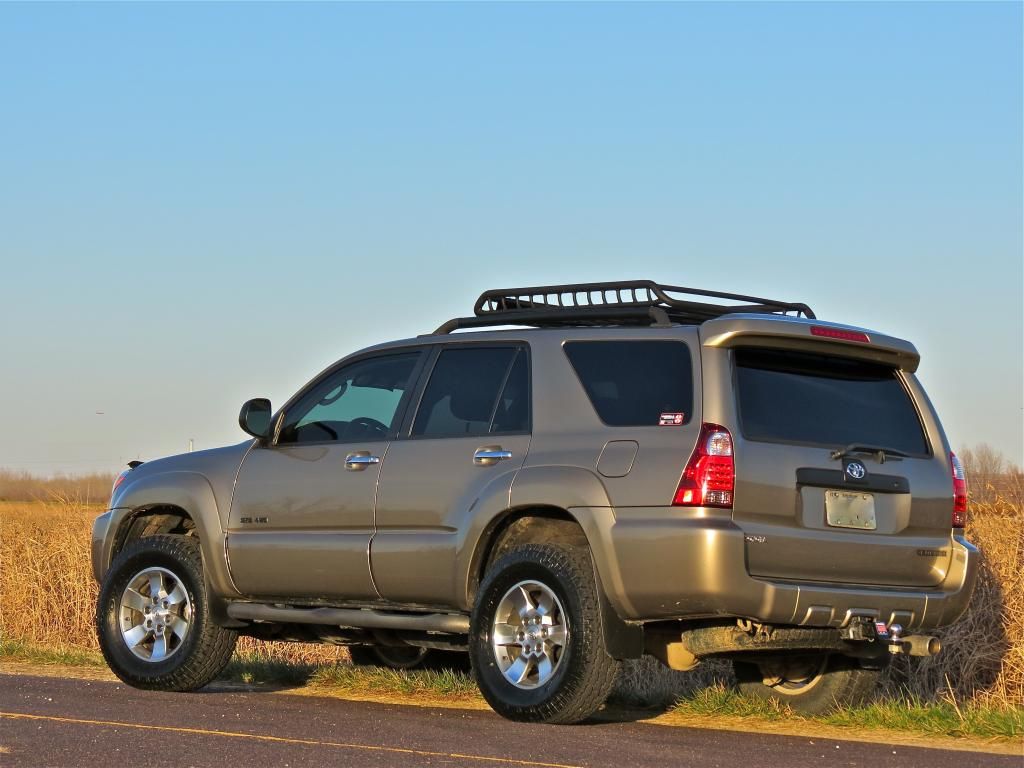
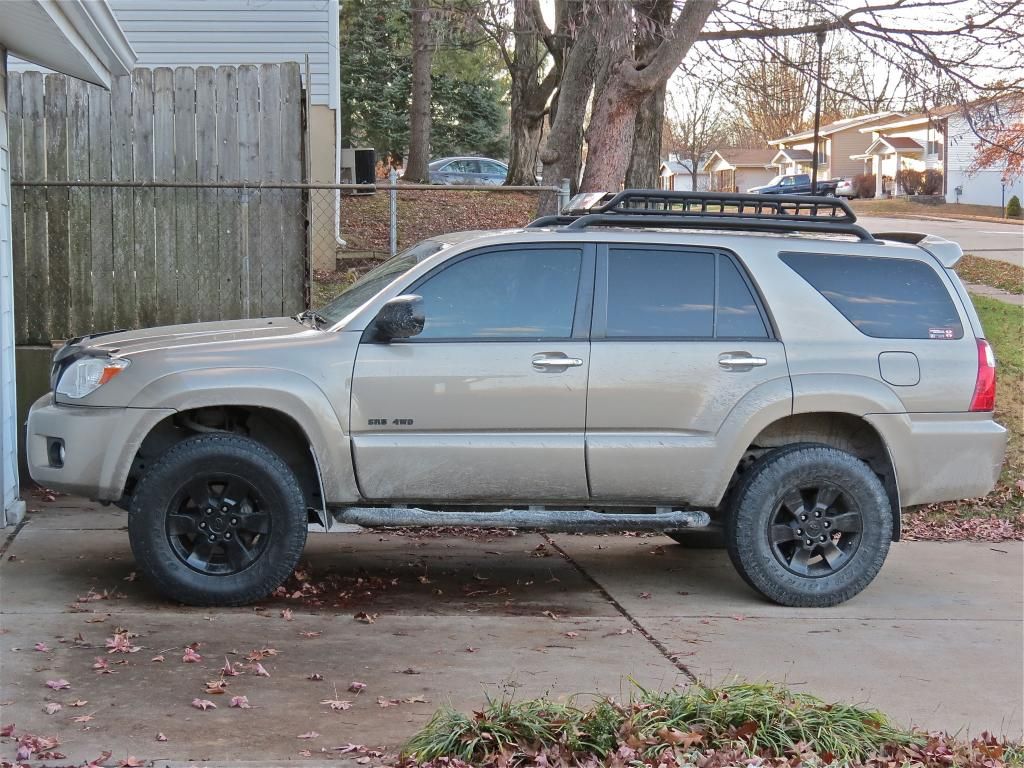
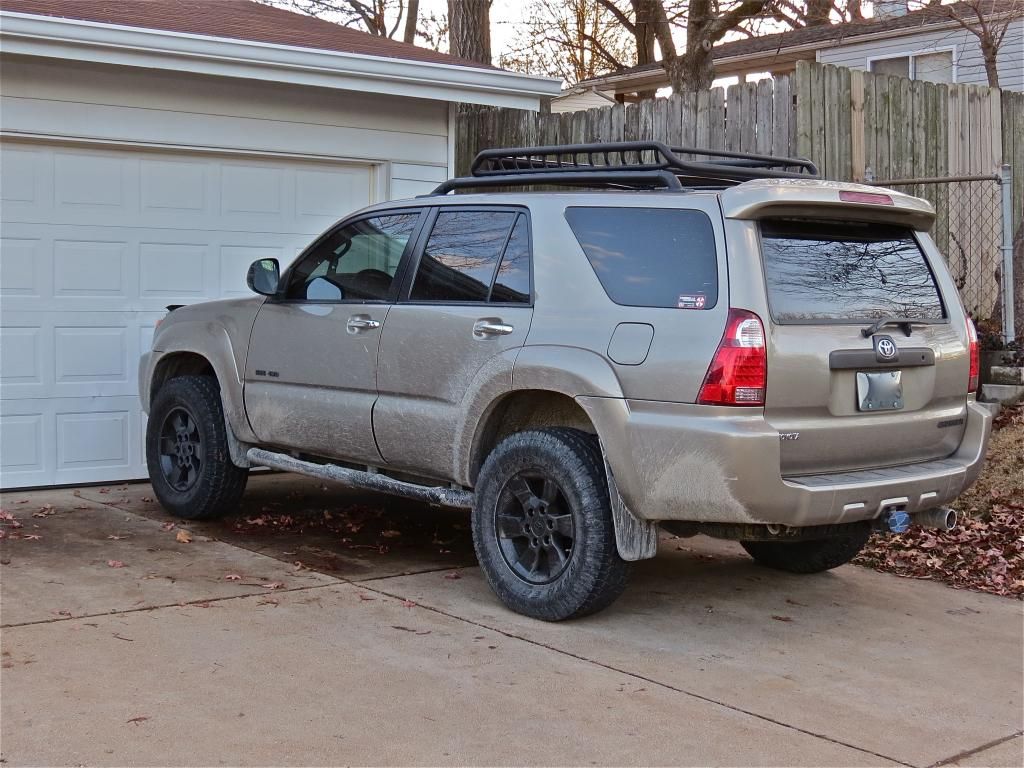
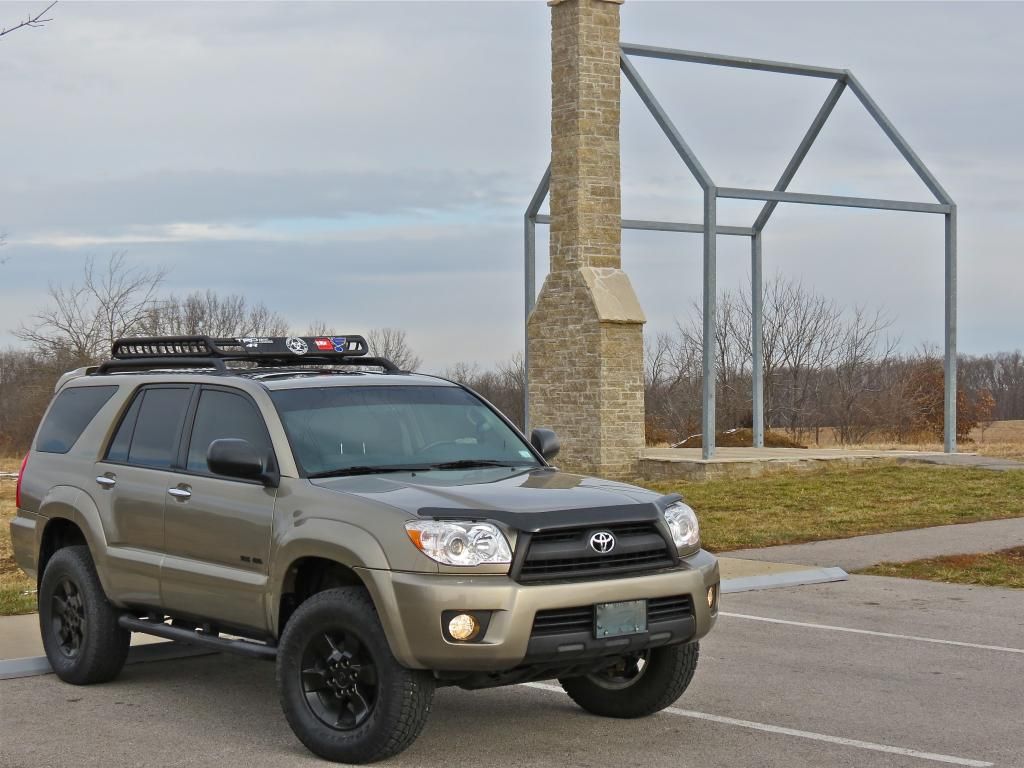
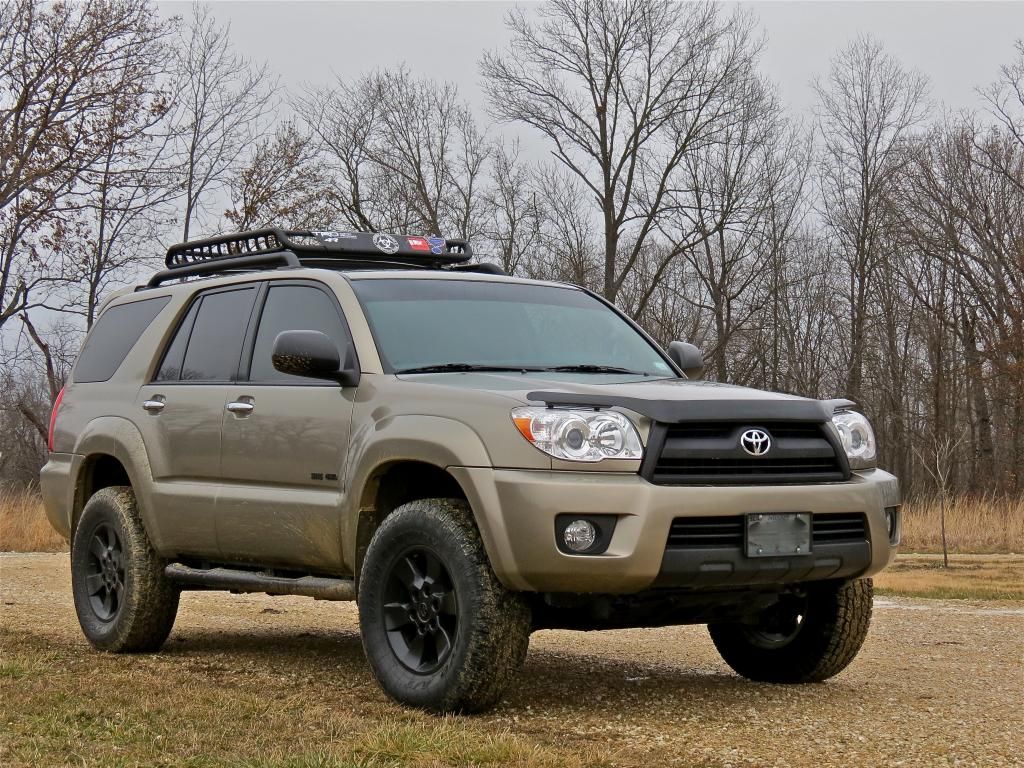
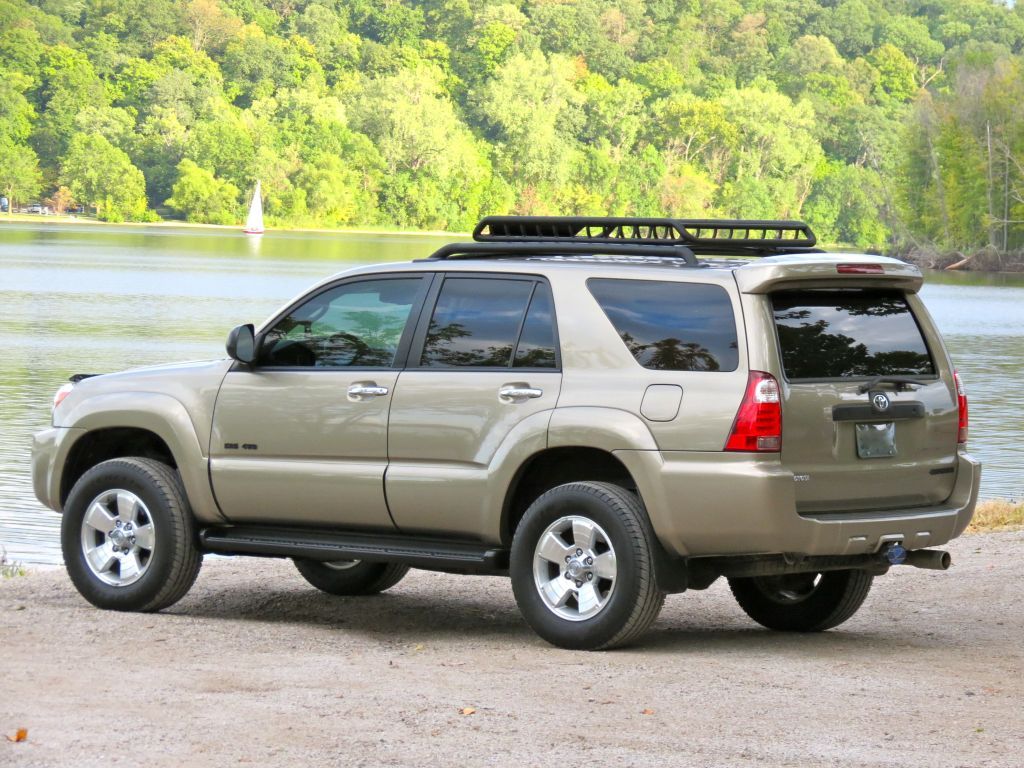
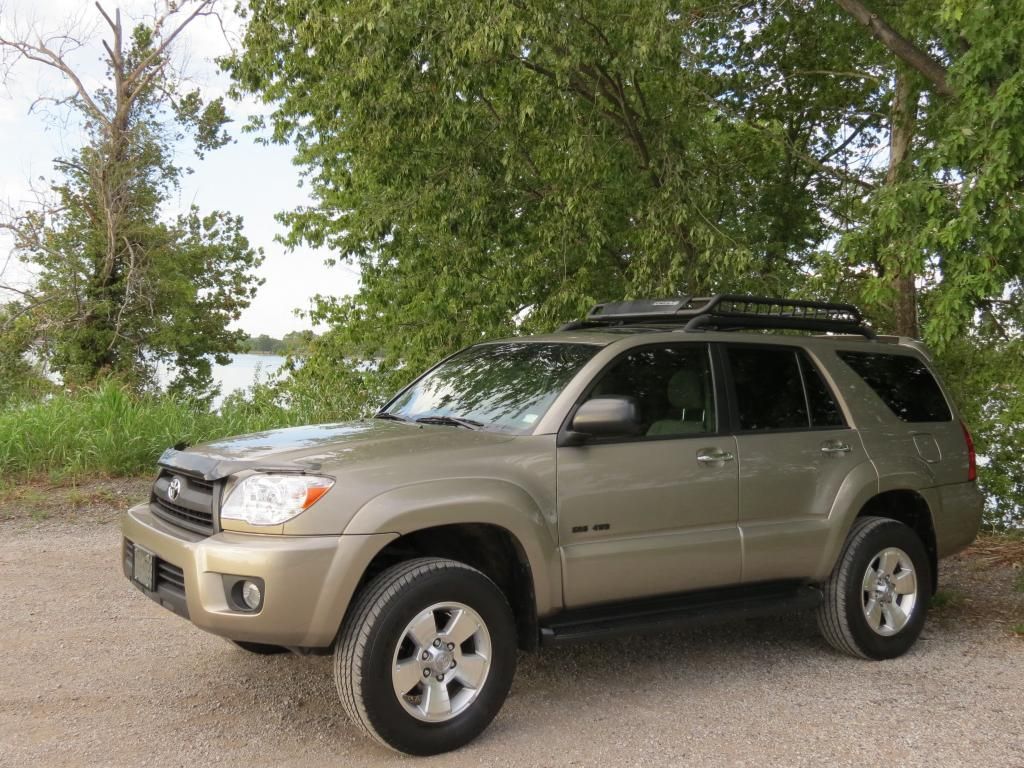
This thread just a place to catalog the evolution of our 4Runner and document the modest updates I’ve made.

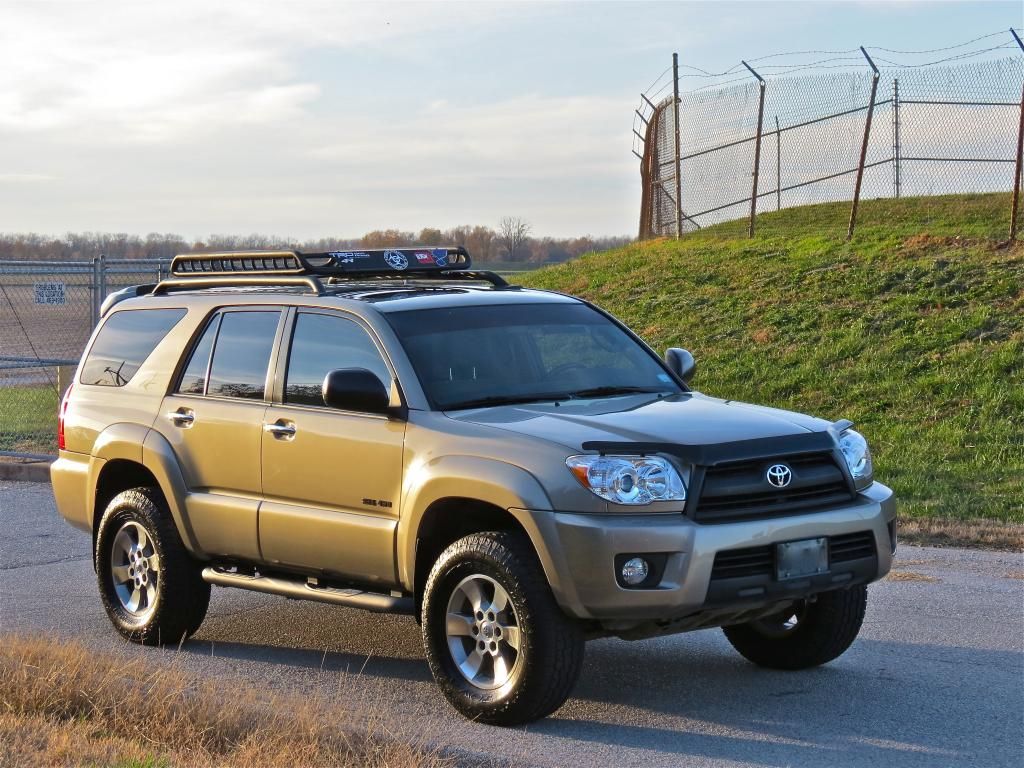
Here are some quick specs and a couple pictures.

SPECS
Year: 2008
Make: Toyota
Model: 4Runner
Trim: SR5
Engine: V6
Drivetrain: 4x4
Color: Driftwood Pearl
Vehicle Name: Dusty
Purchased: Used on 8/18/11

Here is what I traded in for the 4Runner
2006 Honda CR-V 5spd M/T AWD
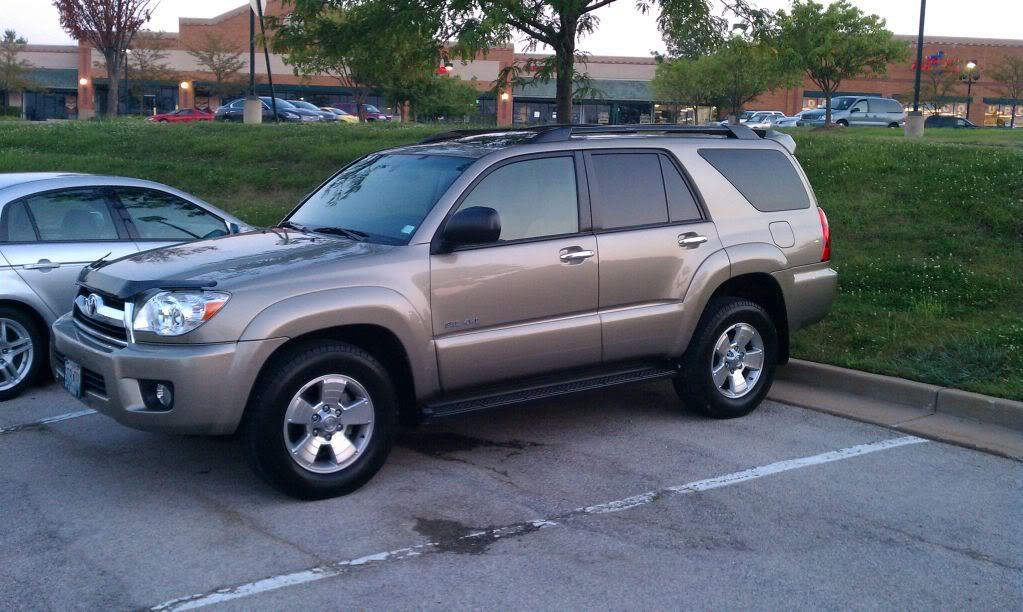
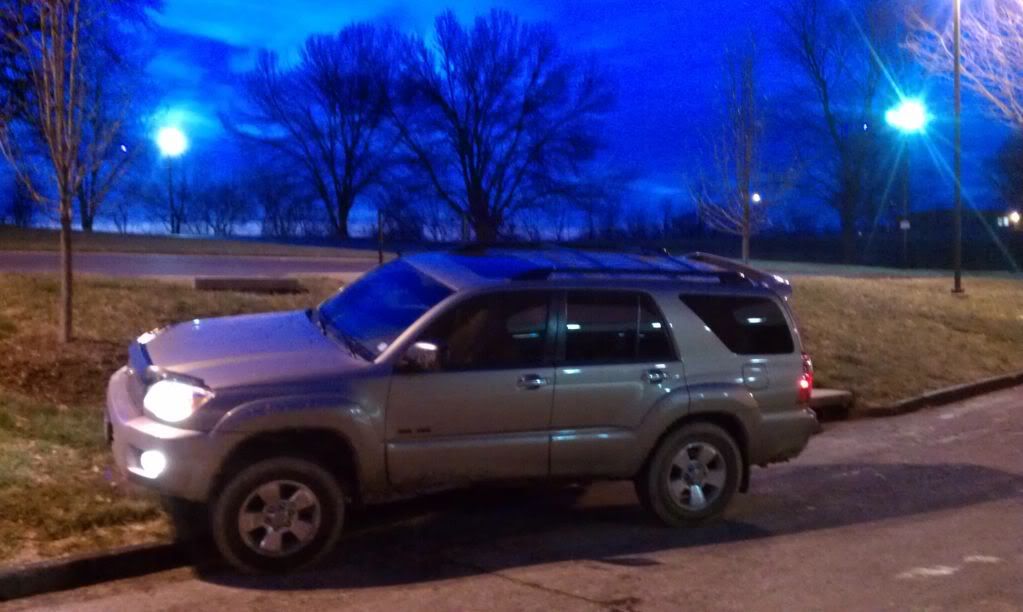
IMAG0079.jpg~original


The night we bought it
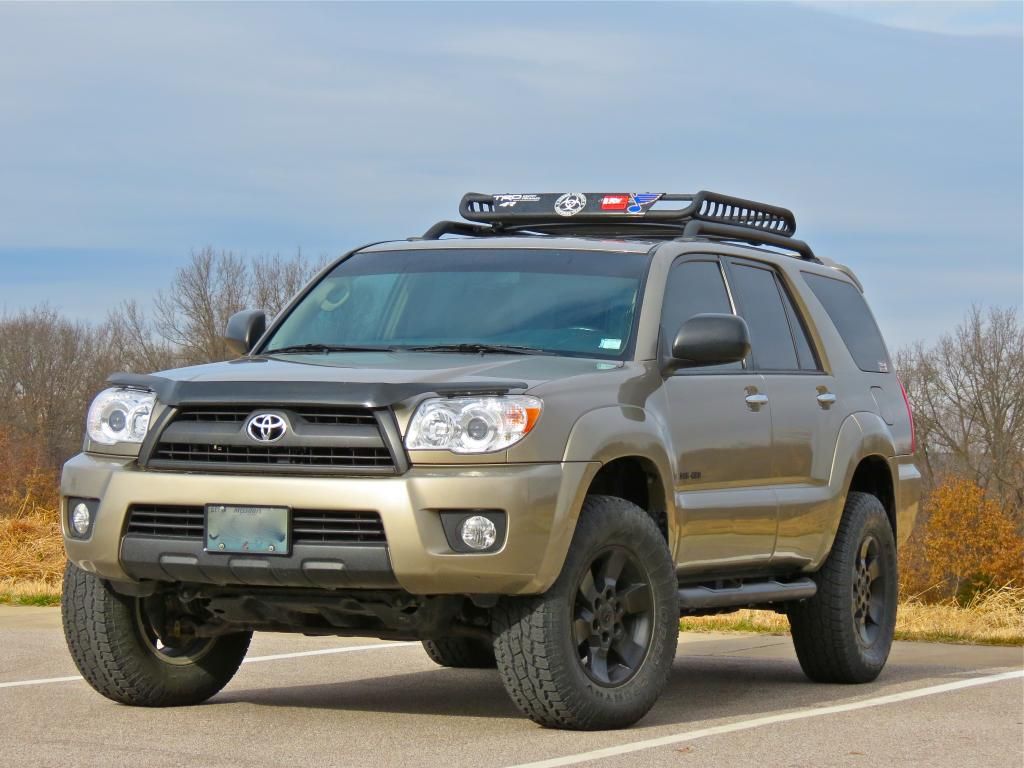
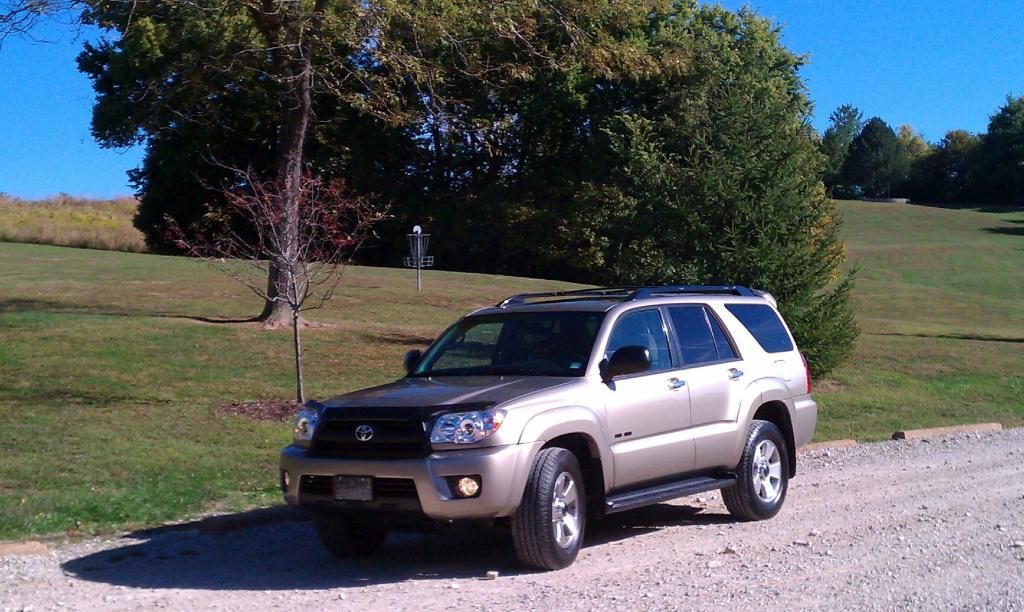
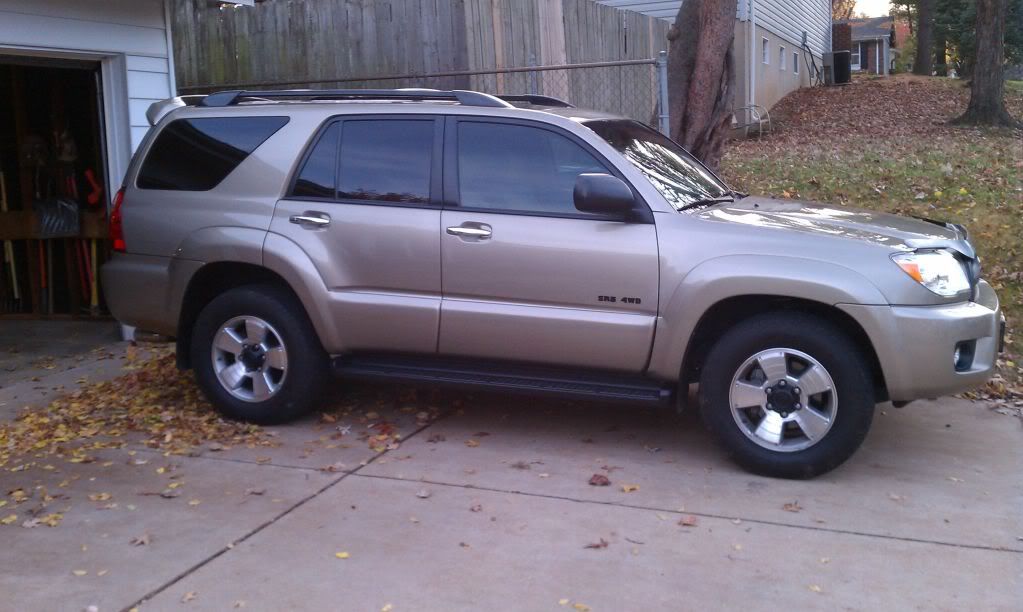
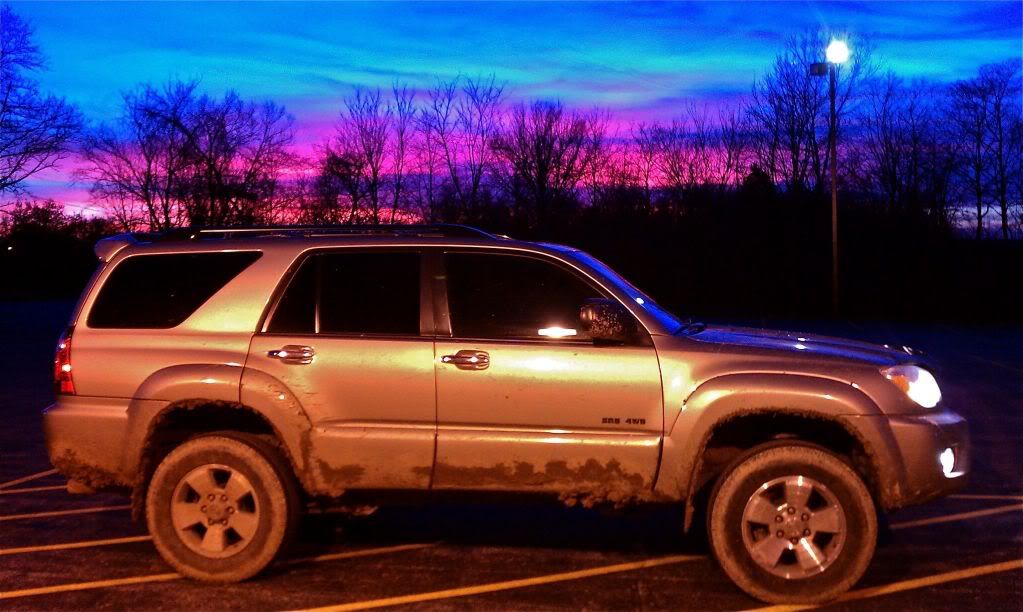
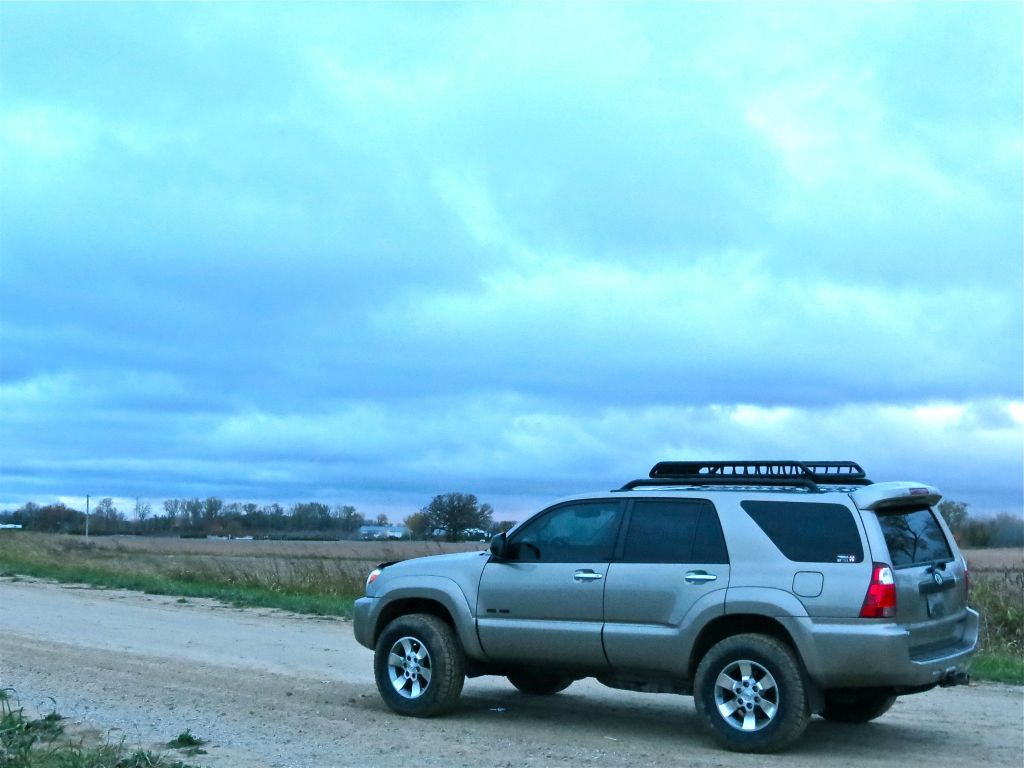
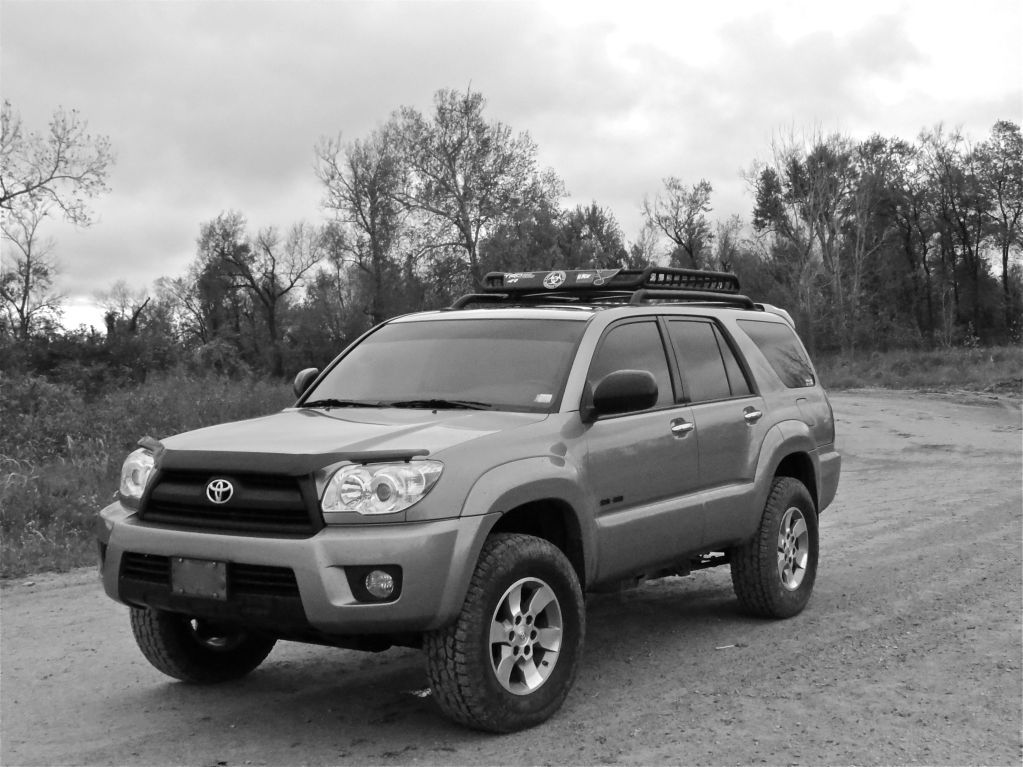
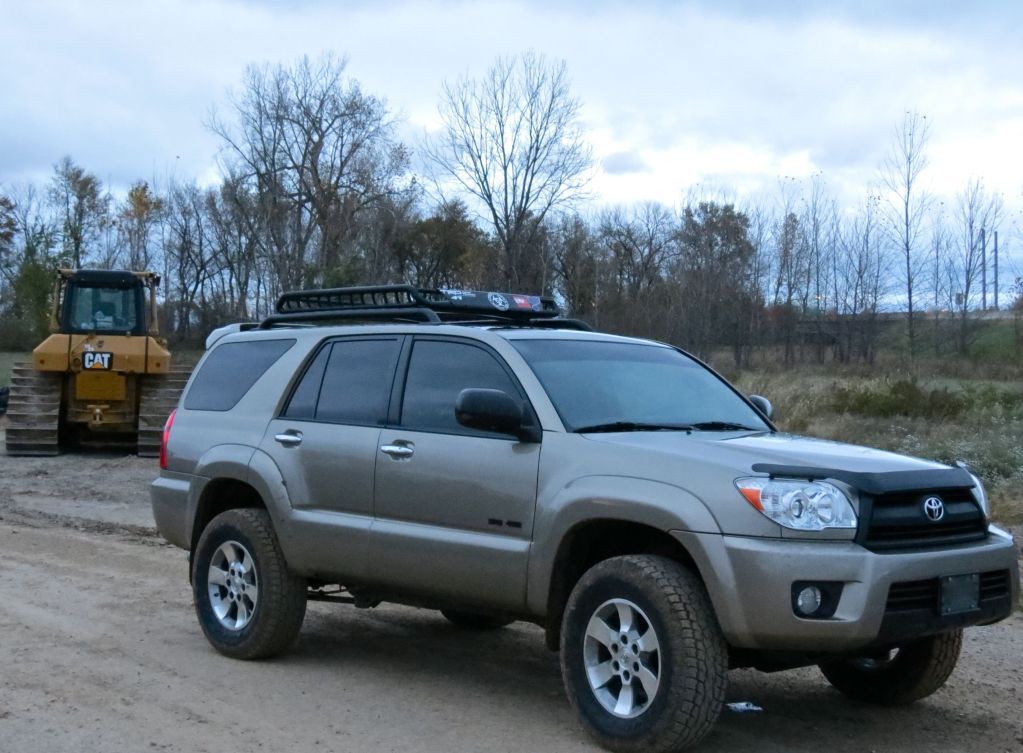
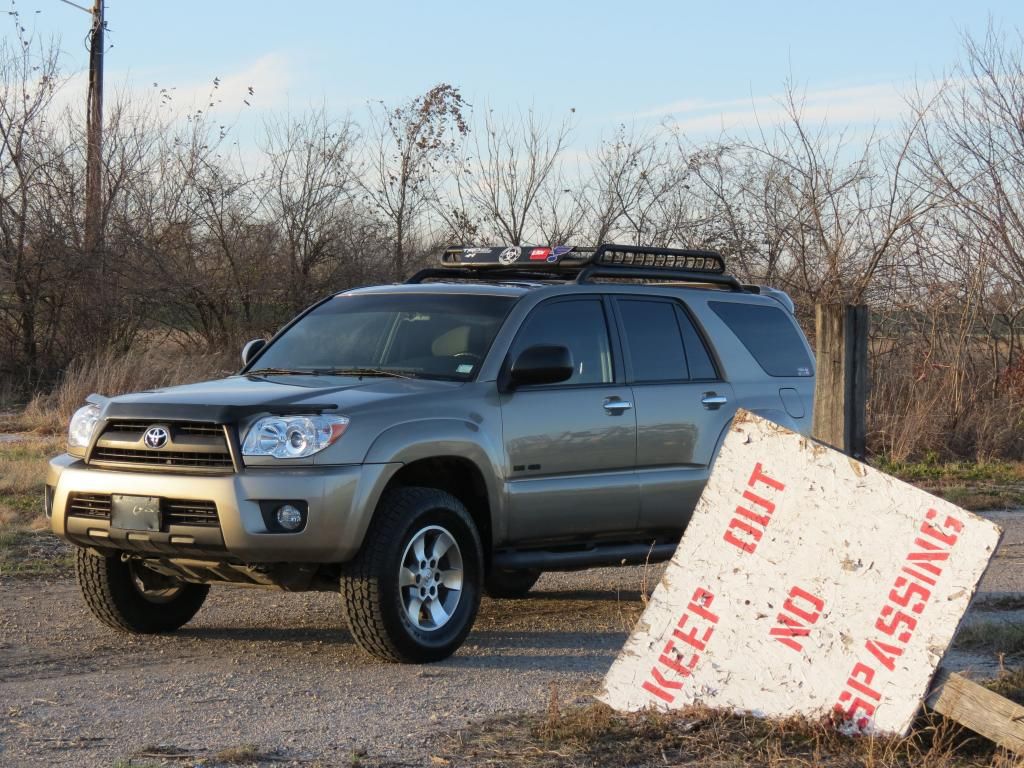
DUSTY.jpg~original


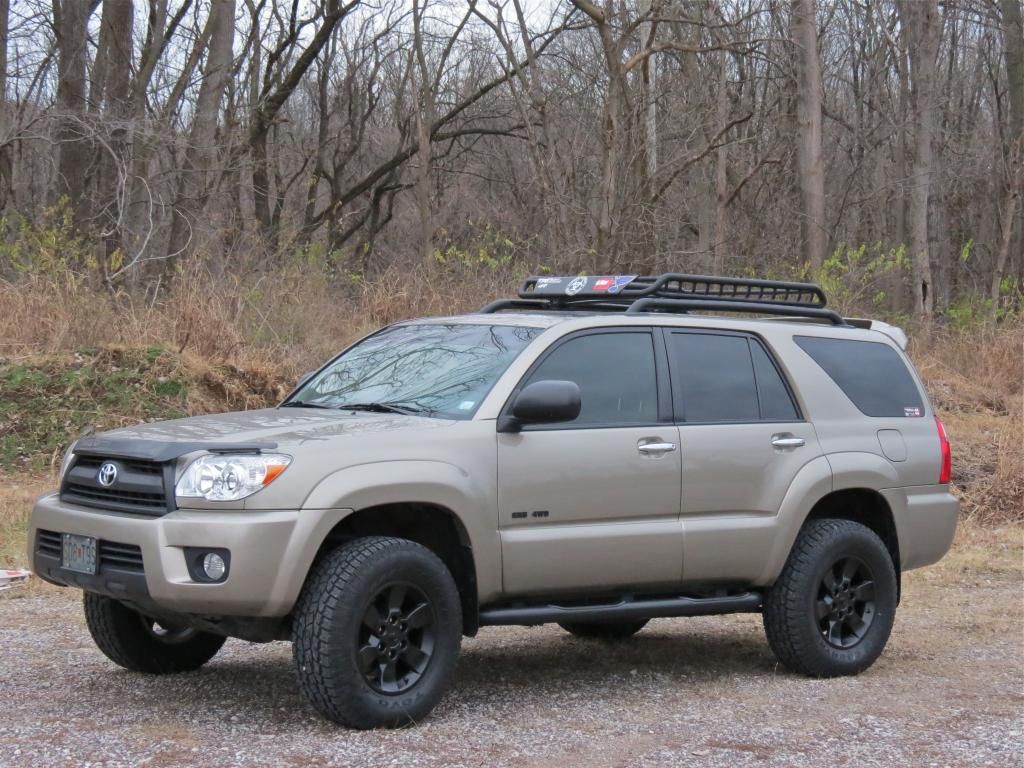
How it sits today
IndianCampCreek3_zps854339fa.jpg~original


Interior
35% EagleOne Tint & Sun strip
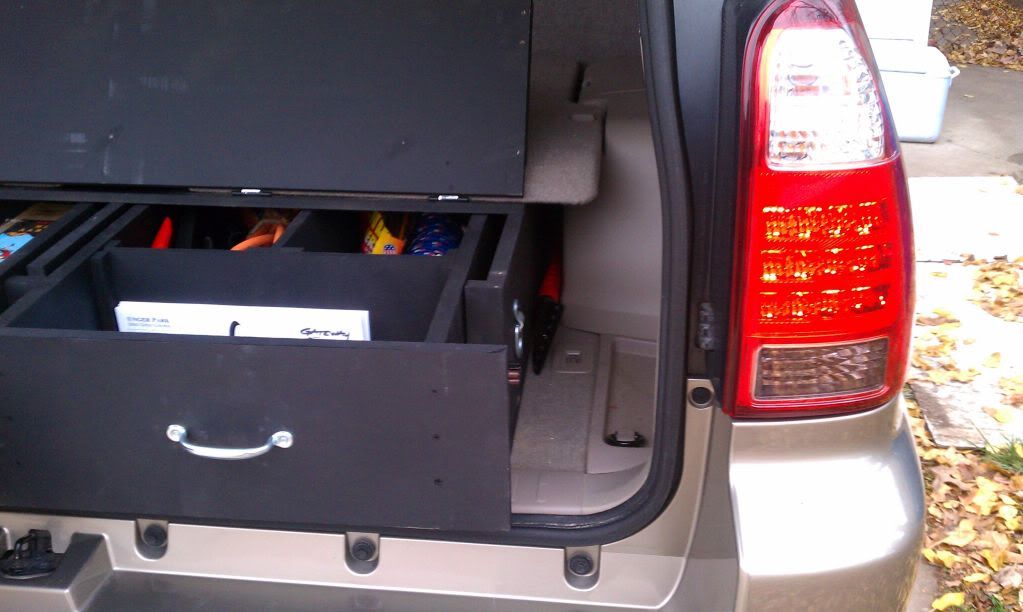
Custom Rear Cargo Box
Raingler FJBN Cargo Net
MOLLE Medium Pouches
Black WeatherTech Digital Floor Liners (F/R)

Exterior
OEM Hood Air Deflector
Sport Edition Side Steps
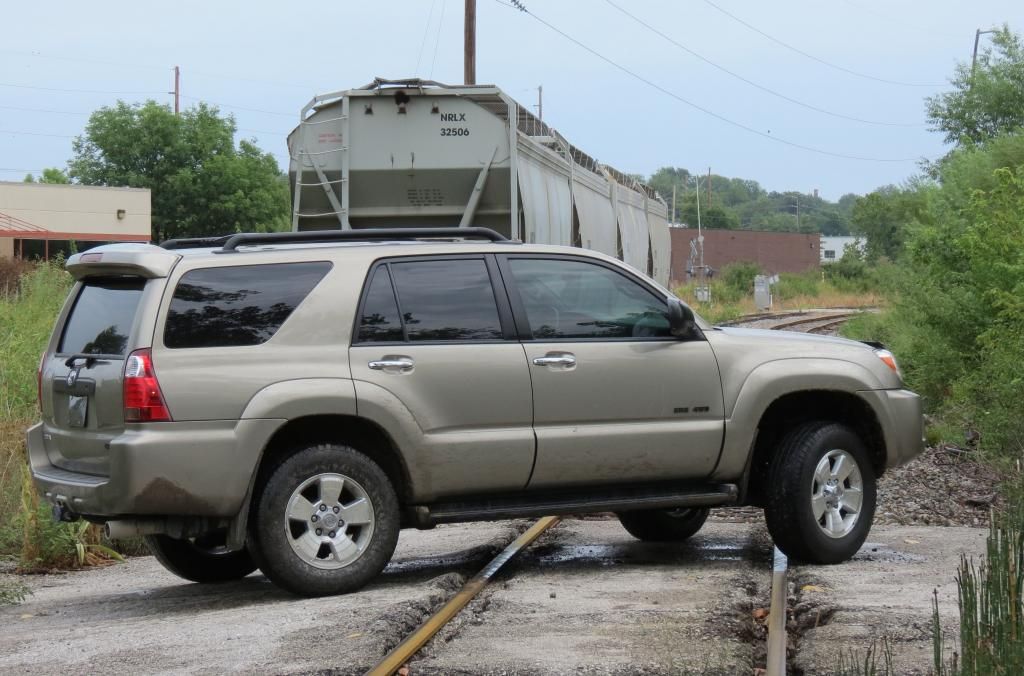
Sport Edition Roof Rack
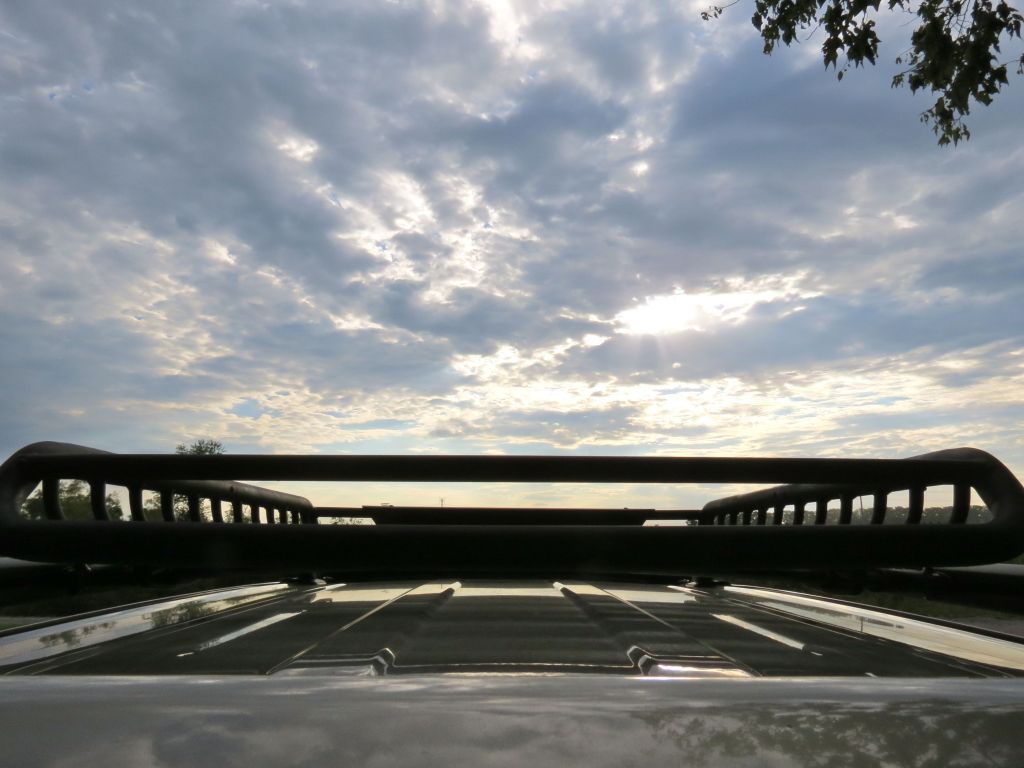
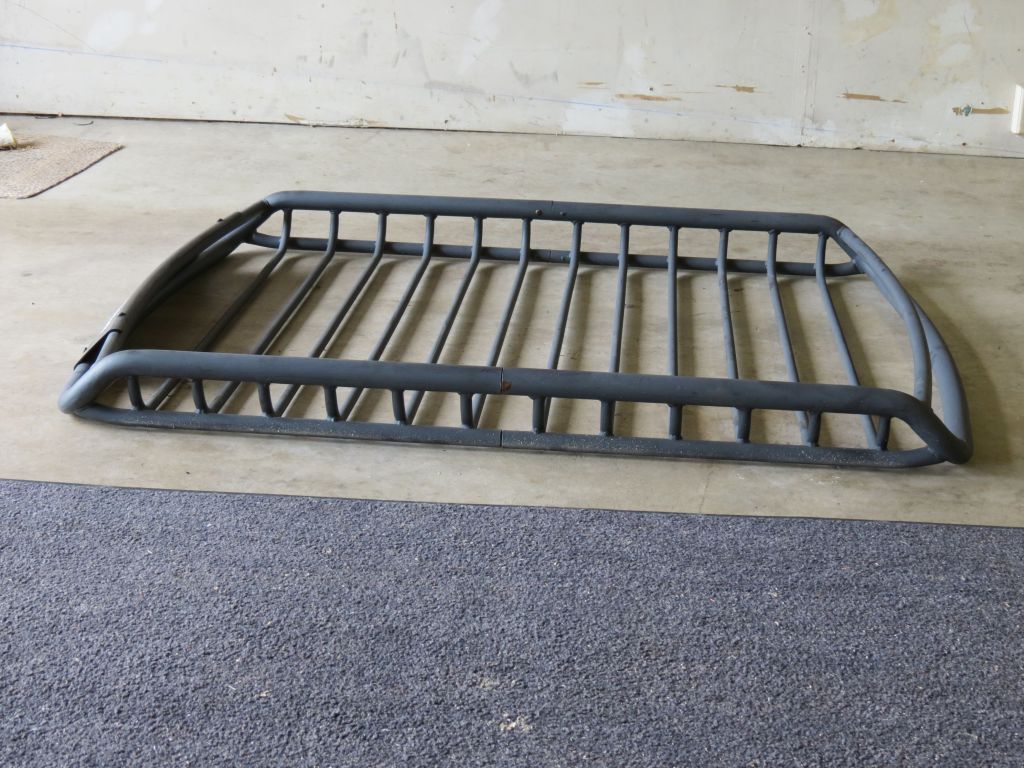
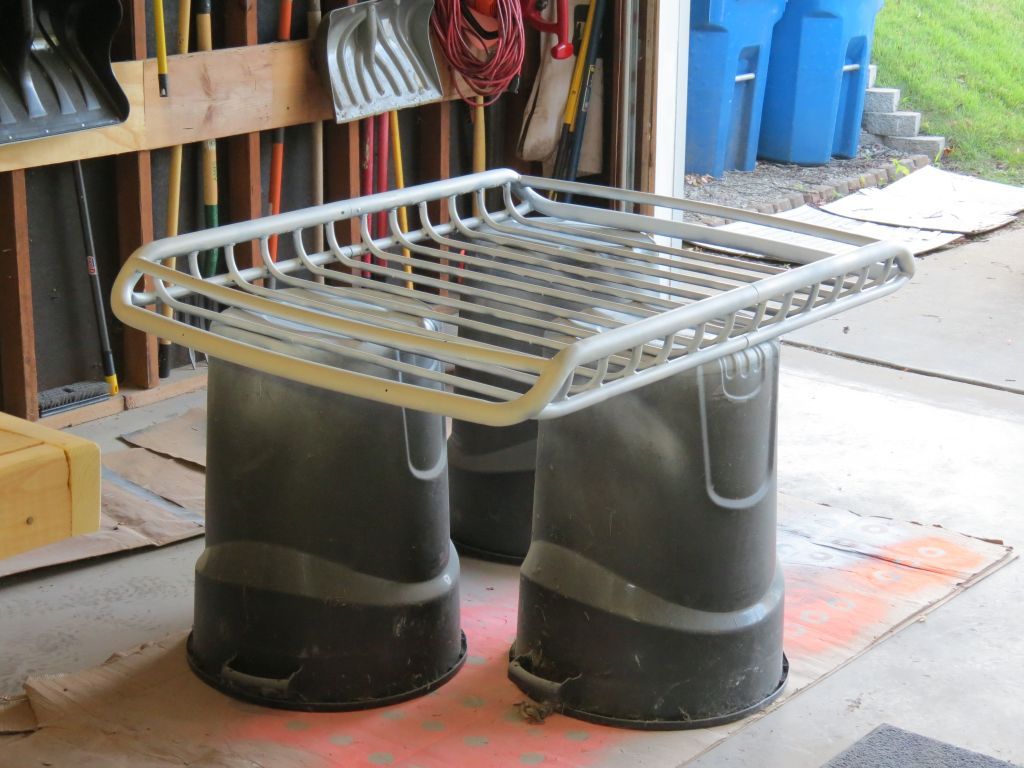
Rola Vortex Roof Basket

Aesthetic
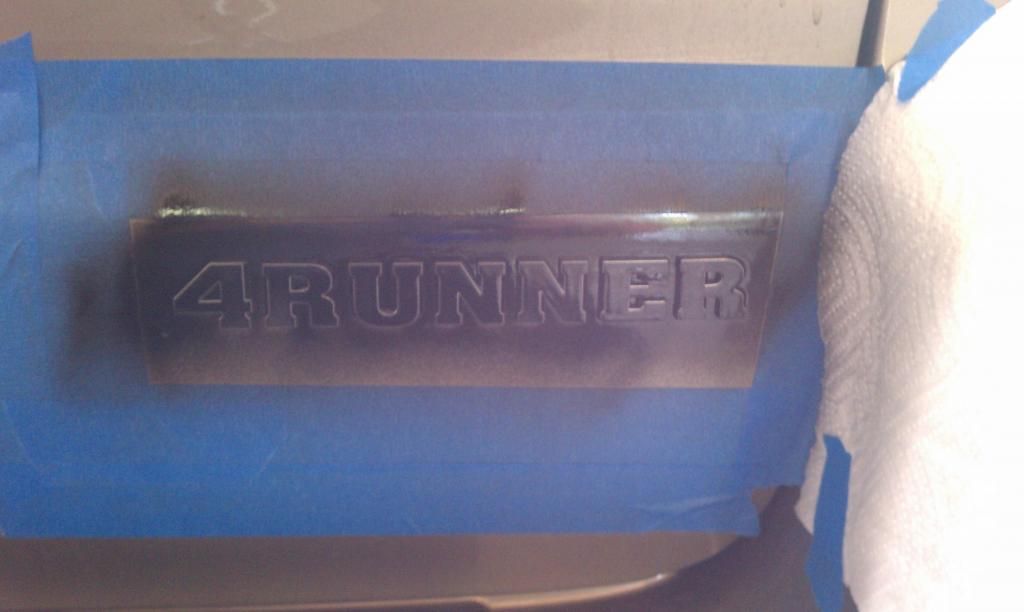
Plasti-dipped front grille
Plasti-dipped lower center portion of front bumper
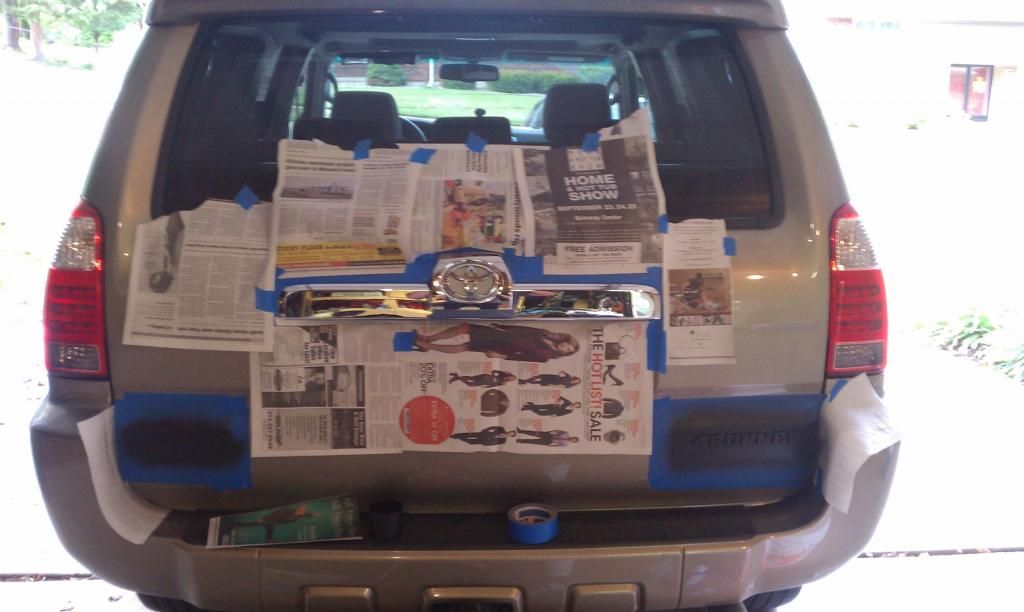
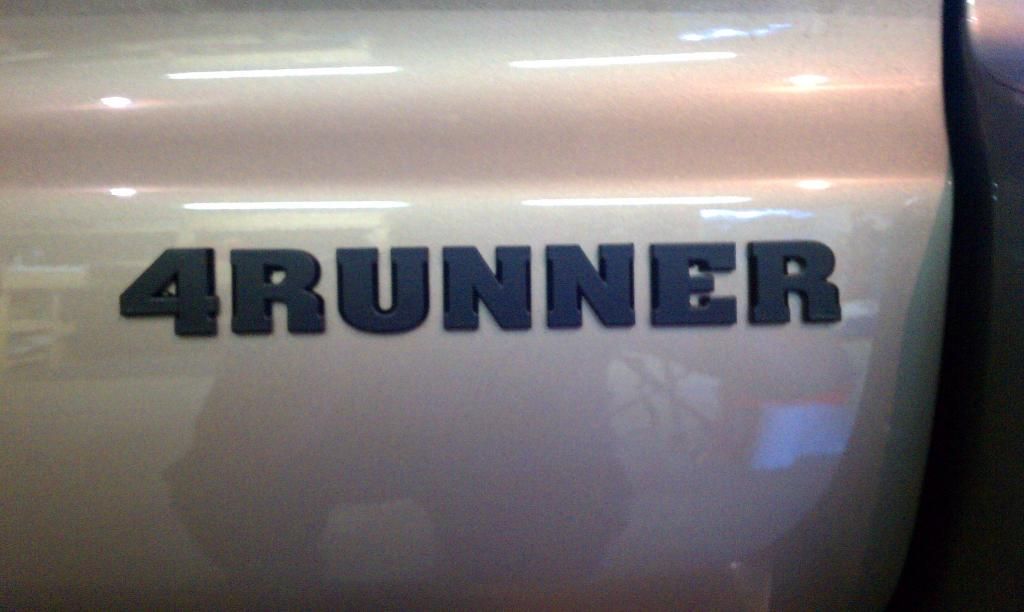
Plasti-dipped badges and rear chrome

Wheels/Tires/Lift
Daystar 2.5/1.5
Spidertrax 1.25” Hub Centric Spacers
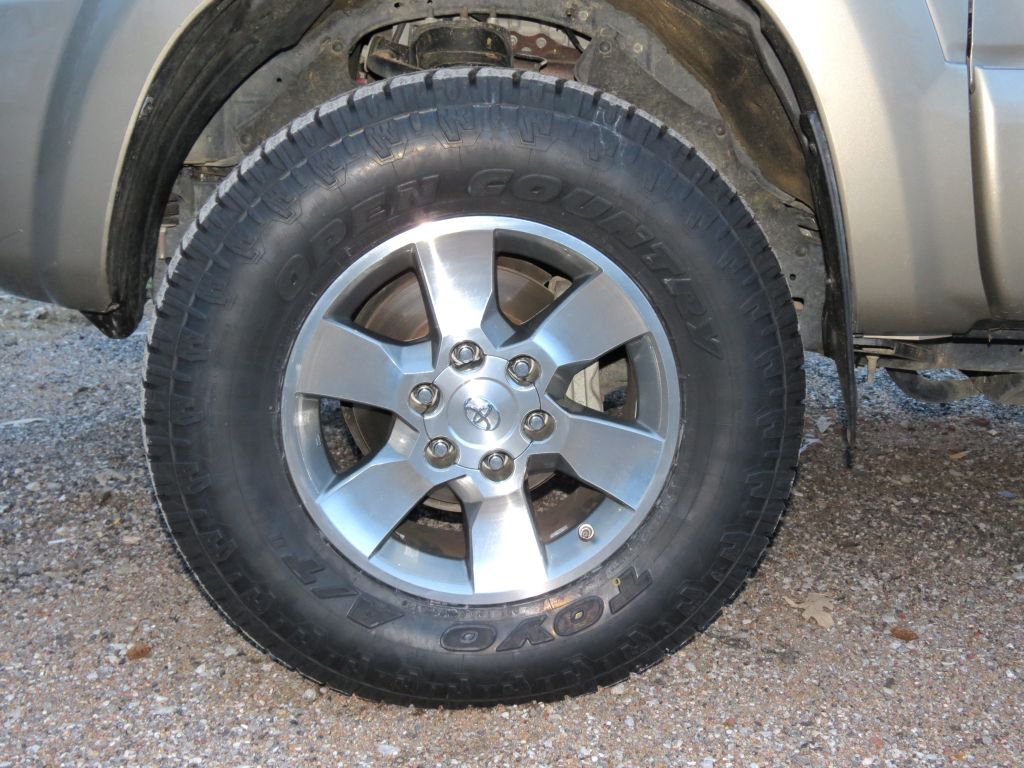
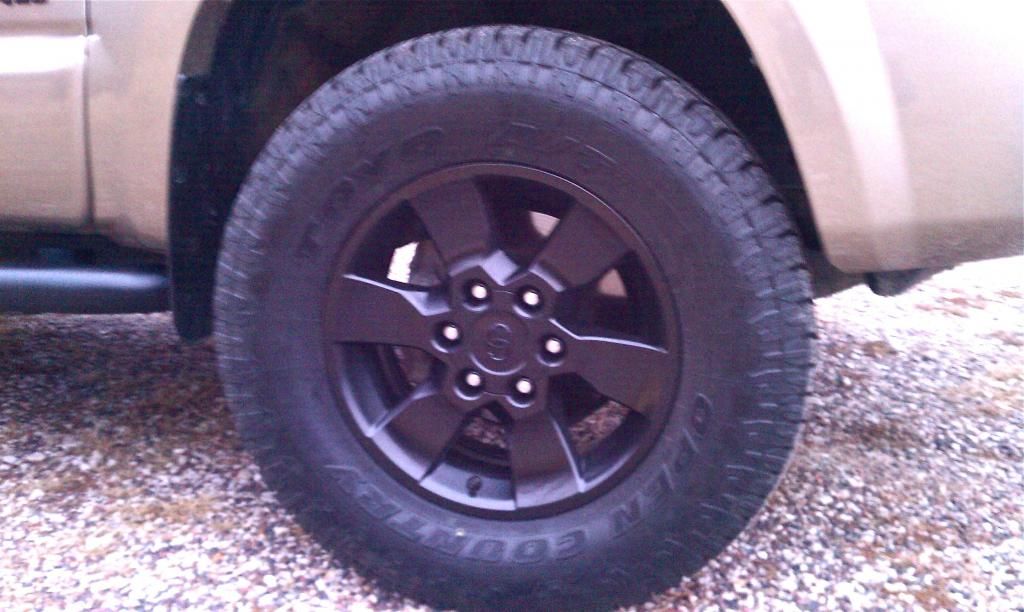
5th Gen SR5 Rims - Plasti-dipped black
265/70/17 Toyo Open Country AT II’s

Electrical
Pfran Interior LED Kit
Pfran License Plate LED Kit
(2) 7.5” Hanma BC Combo LED Bars
FJ Auxiliary Light Switch

Audio Visual
Kenwood Excelon DDX491HD
*CD, DVD, BT, USB, Etc.
Crux CUL-03 rear view camera
ASWC-1 Steering Wheel Controls
 
Last edited:
Register to hide this ad
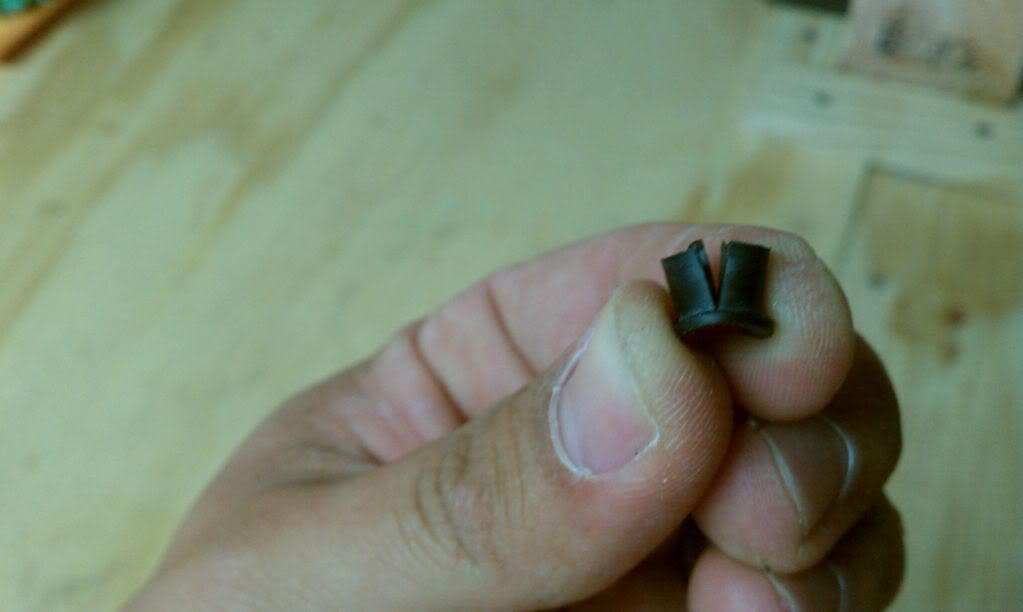
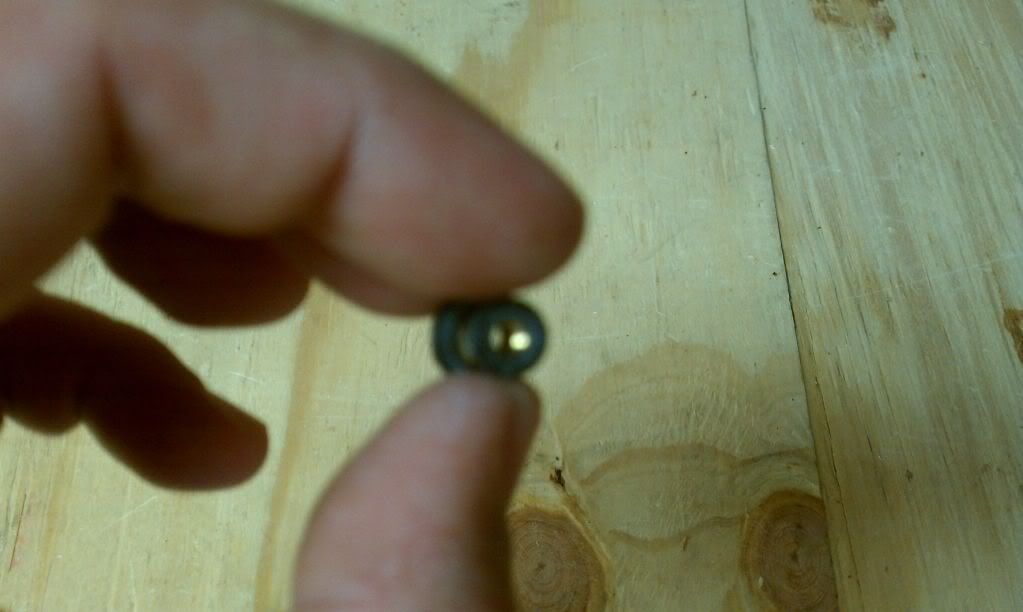
When we bought the 4Runner it came with the OEM hood air deflector. Shortly after, I took it apart to size up the grill for a plasti-dipping. When I went to re-install it, the hardware fell apart in the process.
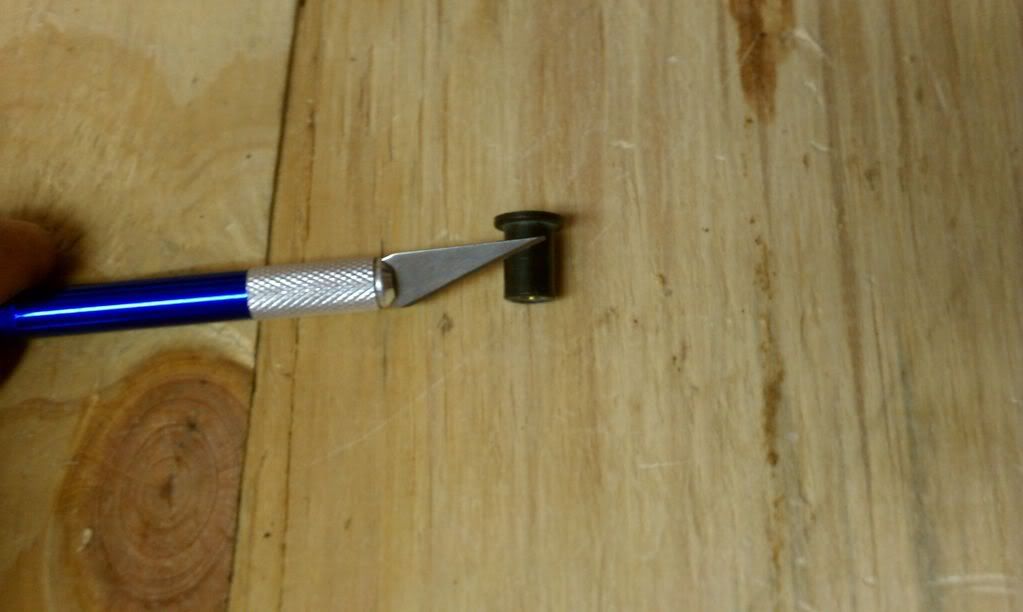
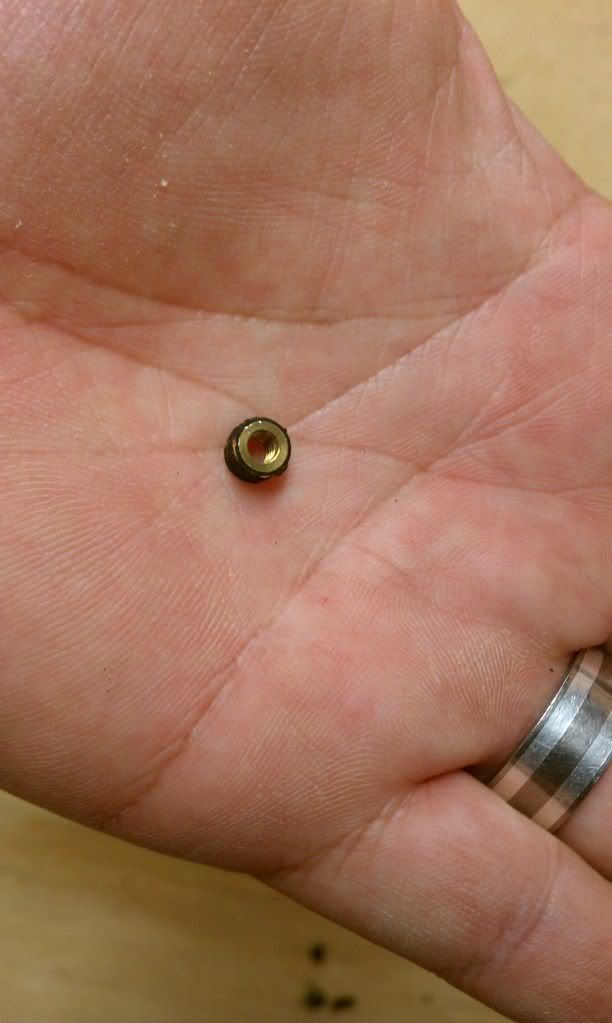
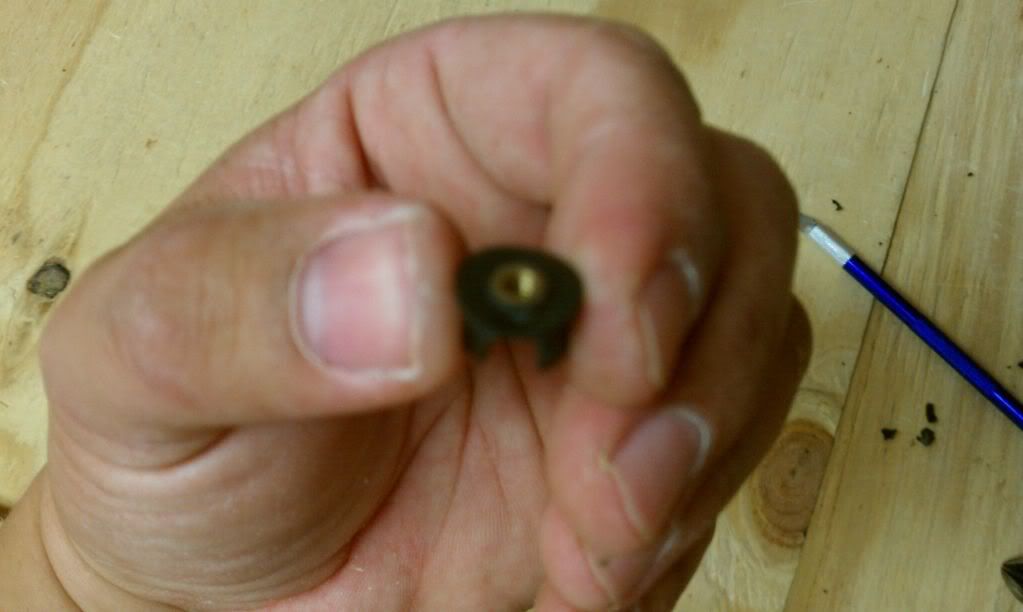
Toyota wanted $45 for a new kit but I only needed a few of the rubber grommets for attachment points. At Handy Man Hardware/True Value, I found 6/32 - 1/2" Expansion Nuts that just needed to be modified and they did the trick.
Expansion Nut
IMAG0193.jpg~original

Cut it in half
IMAG0194.jpg~original

Peel the rubber of the threaded (inner) part
IMAG0195.jpg~original

Cut a slit down each of the sides.
IMAG0196.jpg~original

Wedge the threading into the stopper.
IMAG0197.jpg~original


...fixed

Cosmetic Enhancements
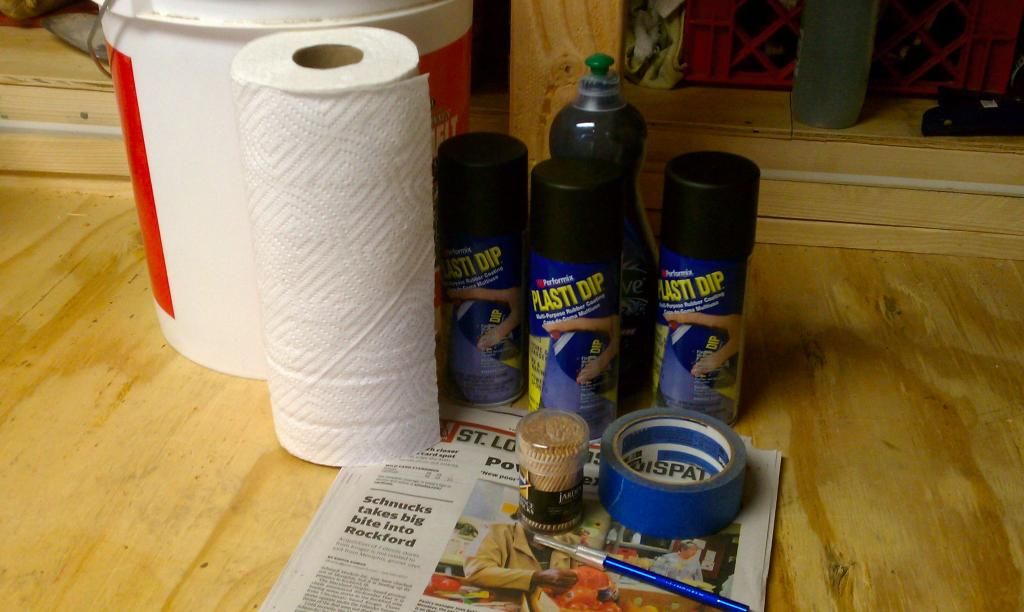
Plasti-dipped front grille, badges and other chrome.

Supplies
plastidip1_zps49f62aa7.jpg~original

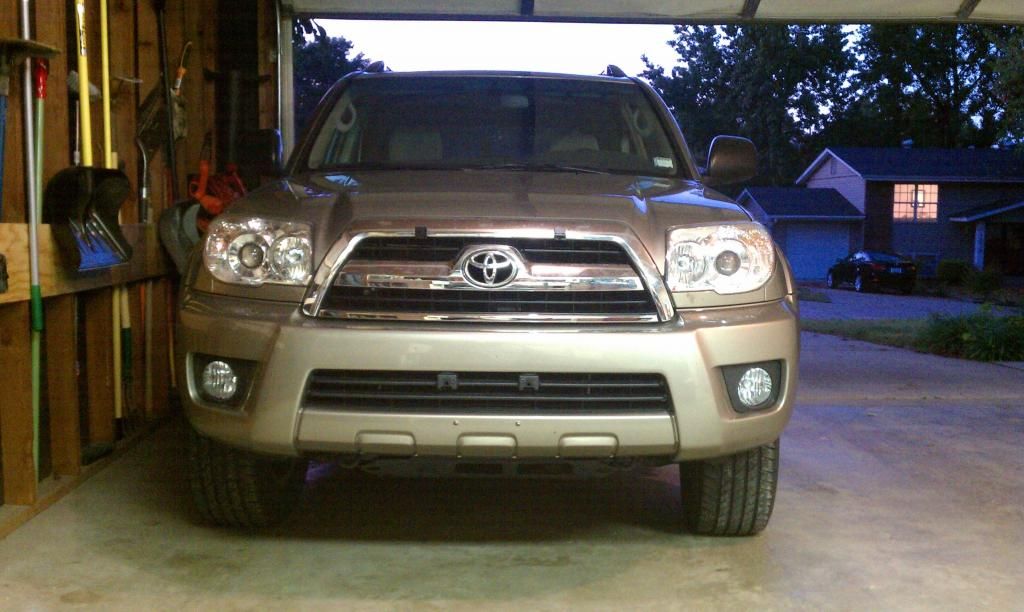
Before Plasti-dip
plastidipbefore1_zps5114c663.jpg~original

During Plasti-dip
plastidipduring1_zps4861fb2b.jpg~original

plastidipduring2_zps0a9ab4d2.jpg~original

After Plasti-dip
plastidipafter1_zps158f8f0e.jpg~original

plastidipafter2_zpsa55fa84c.jpg~original


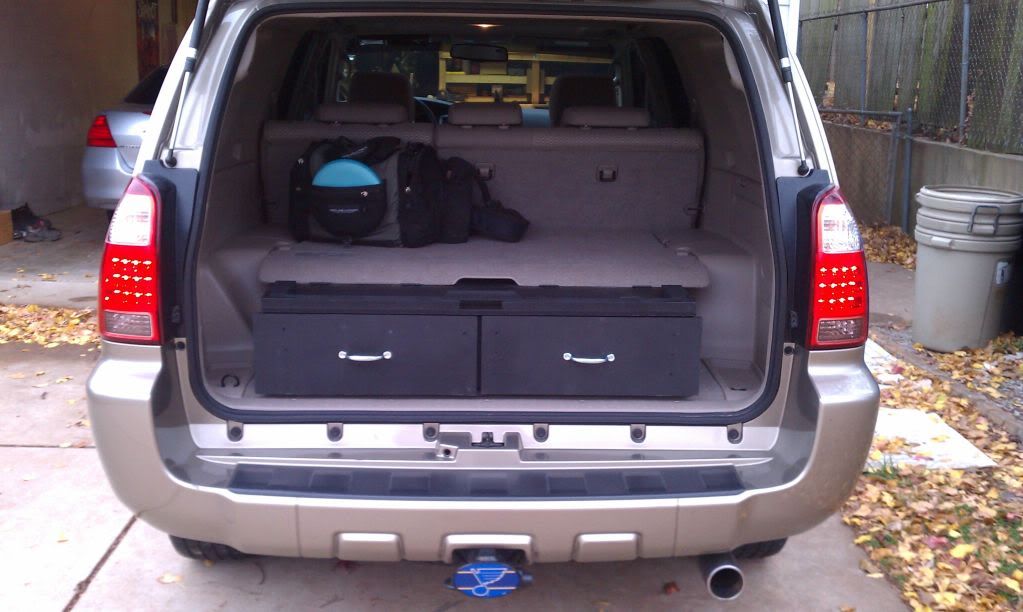
Next, I moved to the interior and built a cargo box for everything I had rolling around back there. The design parameters were:
1) Work in conjunction with the double decker cargo shelf
2) Easy access from the back window (outside the car)
3) Maintain additional room on either side for small stuff like ice scrapers, etc.
4) Silent & stationary while driving, turning, etc.
5) Easily installed or removed by one person.
6) Not look like part of the stereo system
HERE (http://www.toyota-4runner.org/4th-gen-t4rs/102494-4th-gen-custom-cargo-container.html) is the full thread on the build.

I decided to use 1/2" & 3/4" MDF because it was cheap and easy to work with. I used spray on truck liner for the inside of the drawers and areas like drawer fronts & lid that will see the most abuse. The rest of it I just painted flat black with rattle can. The double decker lid is locked into place, which keeps the box from moving while driving.

Tail gate open
IMAG0246.jpg~original

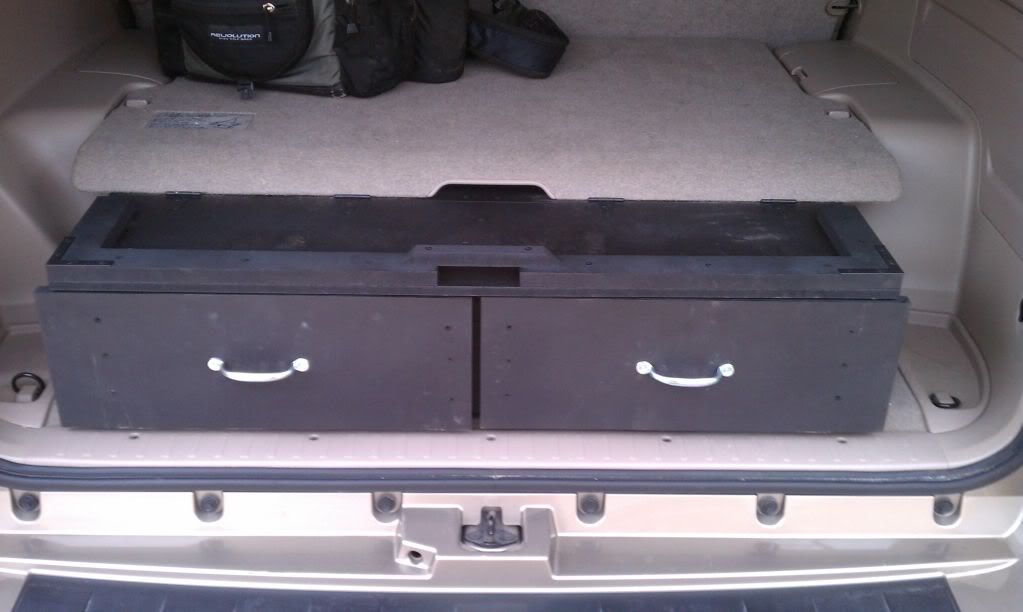
Up close
IMAG0247.jpg~original

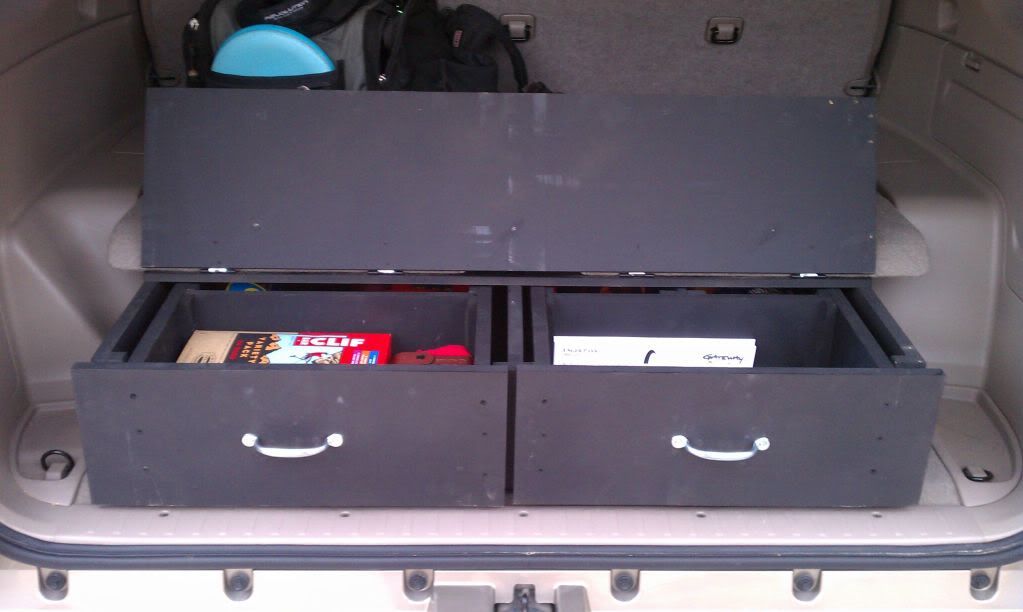
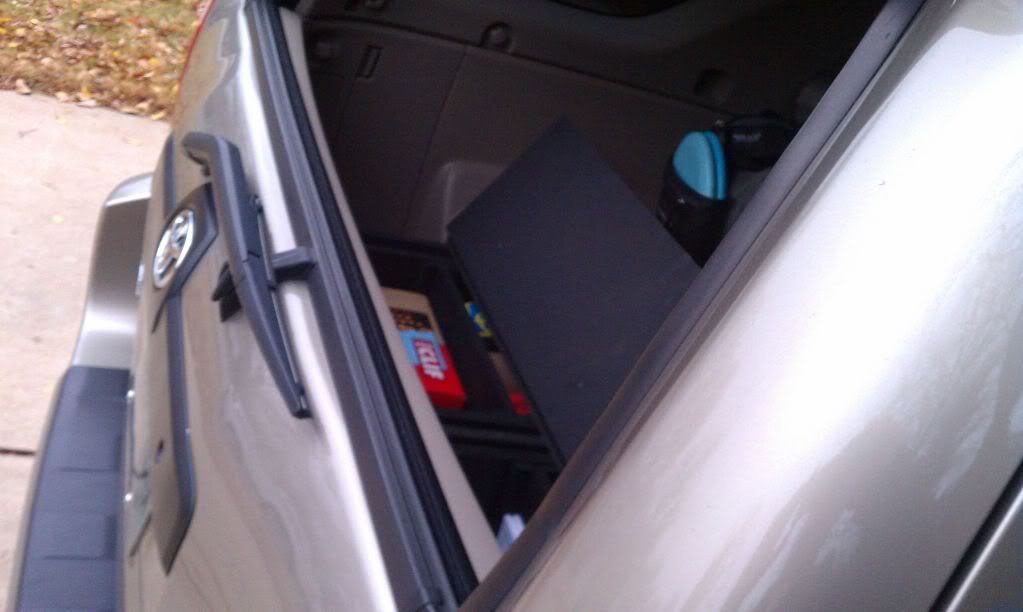
Flip up lid for access from window
IMAG0248.jpg~original

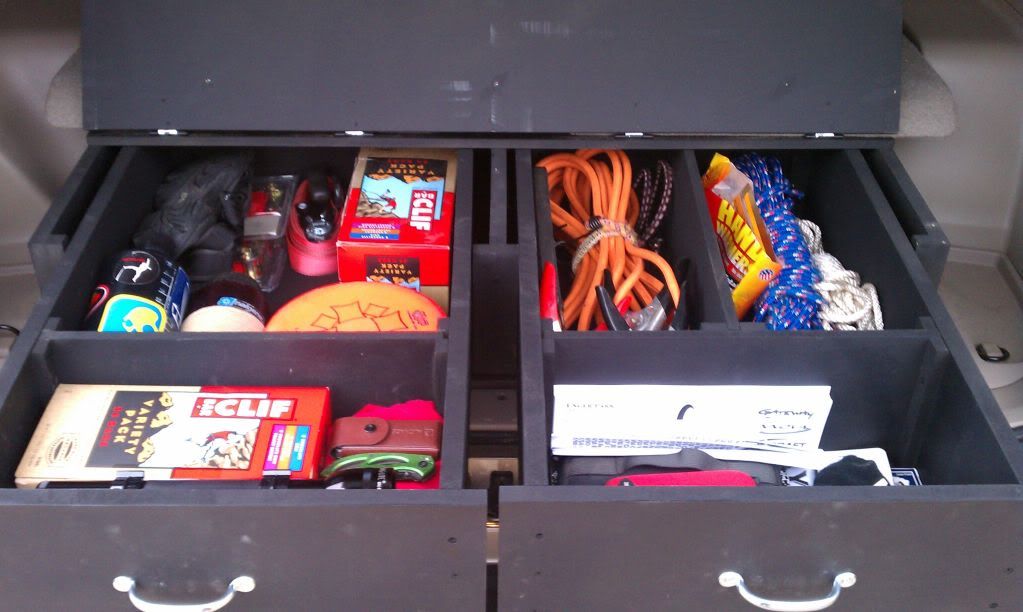
Pull out drawers
IMAG0249.jpg~original

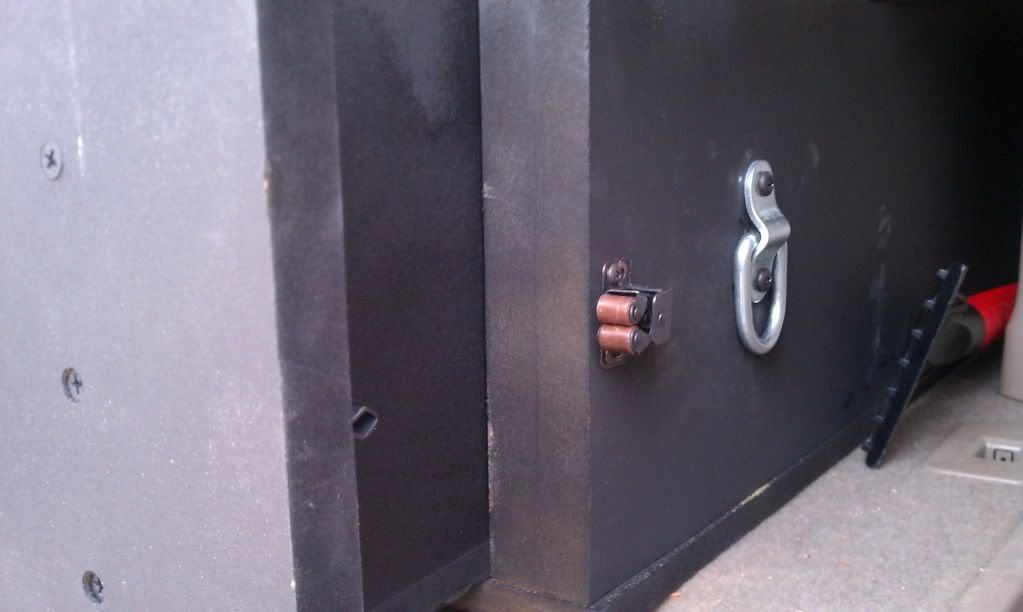
Tie down and drawer latch
IMAG0252.jpg~original

Space on either side of the box
IMAG0253.jpg~original

Shot from outside
IMAG0256.jpg~original
 
Last edited:
Next, I had the windows tinted. MO law is 35% on the fronts without restriction on the rears. I decided to go 35% all the way around. On top of the OEM tinting on the rears, it made it just dark enough that you couldn’t see in. I also opted for a 20% sun strip across the front windshield.

Tint
liftbefore.jpg~original


My (amazing) wife got me a budget lift and wheel spacers for Christmas.
Specs: Daystar 2.5/1.5 Comfort Ride top out "Easy Install" kit, for 03-09 Toyota 4Runners 2WD & 4WD
Part Number: DAYKT09115BK installed on a 2008 SR5 4x4
* This kit removes the factory rake and provides a slight lift
Before Measurements (ground to wheel well)
Front: ~33"
Rear: ~34.5"
After Measurements (ground to wheel well)
36" all the way around

Spidertrax: 1.25" Wheel Spacers - Part# SPIWHS-007. I also removed the OEM Running Boards at this point, which also gave the appearance of additional lift.

Before
liftbefore.jpg~original

After
liftafter1.jpg~original

Playing 1
liftflex2.jpg~original

Playing 2
liftflex1.jpg~original

Playing 3
liftafter2.jpg~original

Playing 4
liftafter1-1_zps6a99ebdf.jpg~original

Dusk
liftafter4.jpg~original

Sunset
liftafter3.jpg~original


I didn’t have to wait all that long to make another slight change... I really liked the look of the Sport Edition roof rack and side steps. It took forever to track down a used roof rack, but I finally found one. And, I put the running boards back on because my (short) wife had trouble getting in and out of the 4Runner
SEroofrack_zps358a68eb.jpg~original


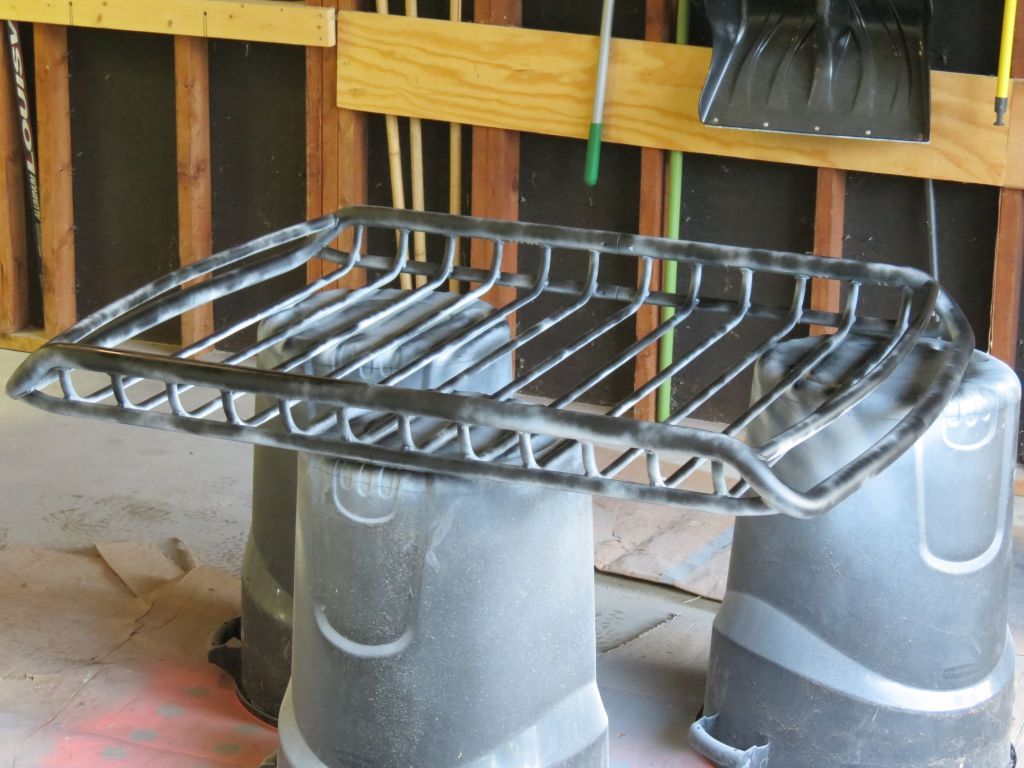
Next, I found the Rola Vortex on my local Craigslist, it just needed a little care to restore it to its former glory

When I got it
rack1.jpg~original


80 grit metal sand paper to get rid of a few rust spots

A couple coats of primer
rack2.jpg~original


Primed, and 1 coat of black
rack3.jpg~original


By the time I was done it was dark, so here it is all mounted up
rack4.jpg~original


And here are my favorite shots from my Rola photo shoot
rolarack1_zpsd6c79706.jpg~original


rack5.jpg~original


rack7.jpg~original


rack6.jpg~original


dustywildflower.jpg~original
 
Last edited:
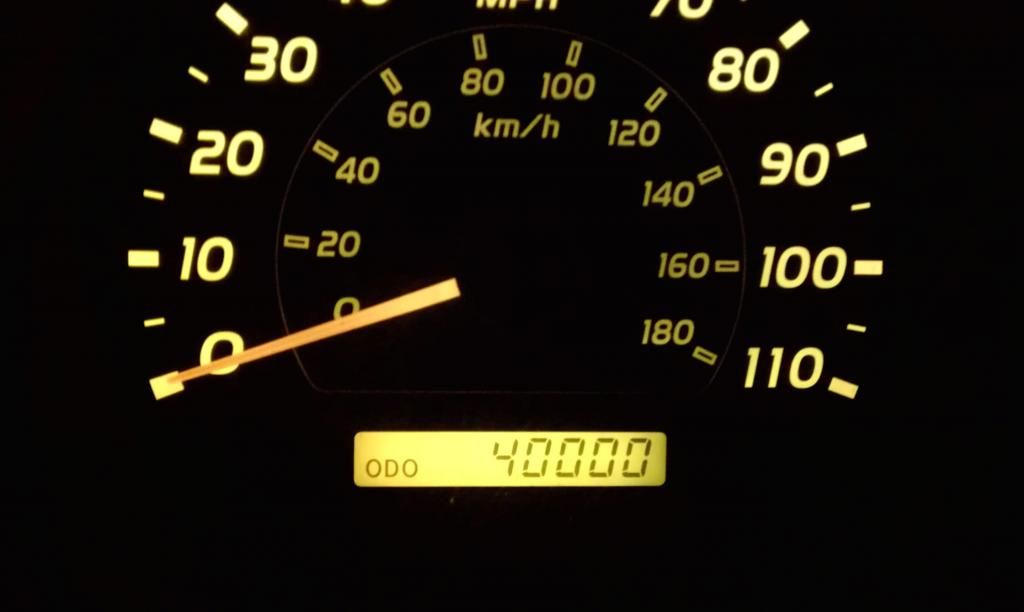
Quick Maintennace update
odo1_zps7a66fea5.jpg~original


Now, the moment I had been waiting for: New wheels and tires! I found an awesome deal on a set of (4) 5th Gen SR5 Rims from another member. So, we took a little road trip from St. Louis to Indianapolis to pick them up. Once we returned, I had a set of 265/70/17 Toyo Open Country ATII’s mounted. Full thread HERE

IMG_0691.jpg~original

IMG_0692.jpg~original

IMG_0693.jpg~original

IMG_0694.jpg~original

IMG_0696.jpg~original

Before1.jpg~original

Before3.jpg~original


While I was loving my new wheel and tire combo, my (pregnant) :preggers: wife wasn’t too keen on not having the running boards to help her in and out of the 4Runner. Luckily, about this time, T4R.org member, Paisano saw my WTB thread and contacted me. We worked out a deal and he shipped his SE side steps right over to me.
After4.jpg~original

After3.jpg~original

After1.jpg~original

After2.jpg~original


The side steps were a bit faded, so I decided to refurbish them while I was plasti-dipping my SR5 wheels black. For the side steps, I did 4 coats of flat black rattle can and 2 coats flat clear coat. For the wheels I did 5 coats plasti-dip and 2 coats glossy clear coat.
Here are the updated pictures.
plastidip4_zps0b01dcd1.jpg~original

plastidip2_zps2362fbe6.jpg~original

IMG_0800_zps116d153b.jpg~original

IMG_0802_zps2b7a2ef3.jpg~original

IndianCampCreek1_zpse89da89a.jpg~original

IndianCampCreek4_zpsf1cbfae0.jpg~original

like2_zps4dd81bbc.jpg~original
 
Last edited:
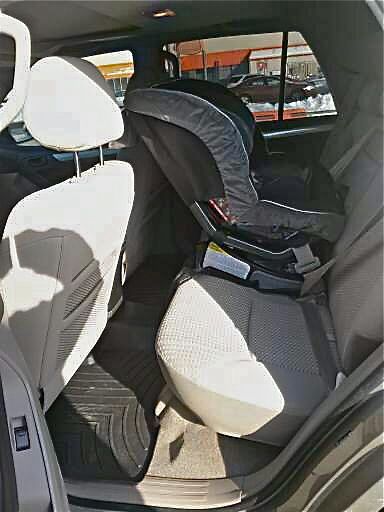
My son, Jack, was born on 2 /12/13. So, I asked my wife for black WeatherTechs all around for my birthday (2 weeks later). With the car seat, I figured it was best to protect the back of the 4Runner as much as I can.
BritaxCarSeat_zps805adc68.jpg~original


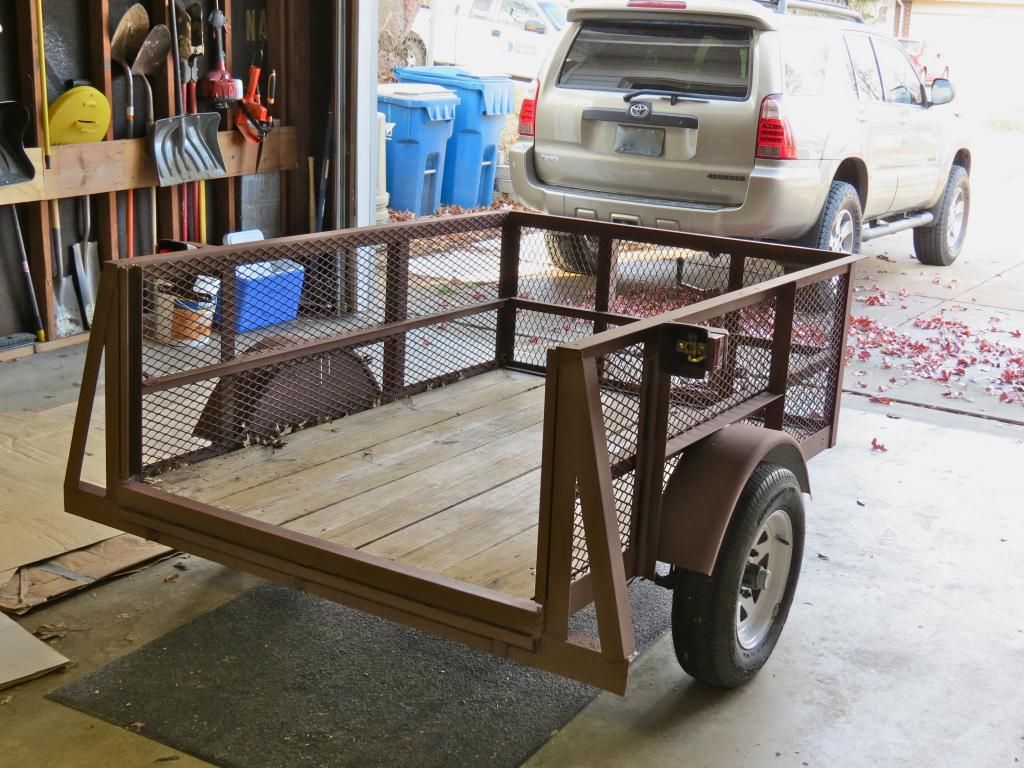
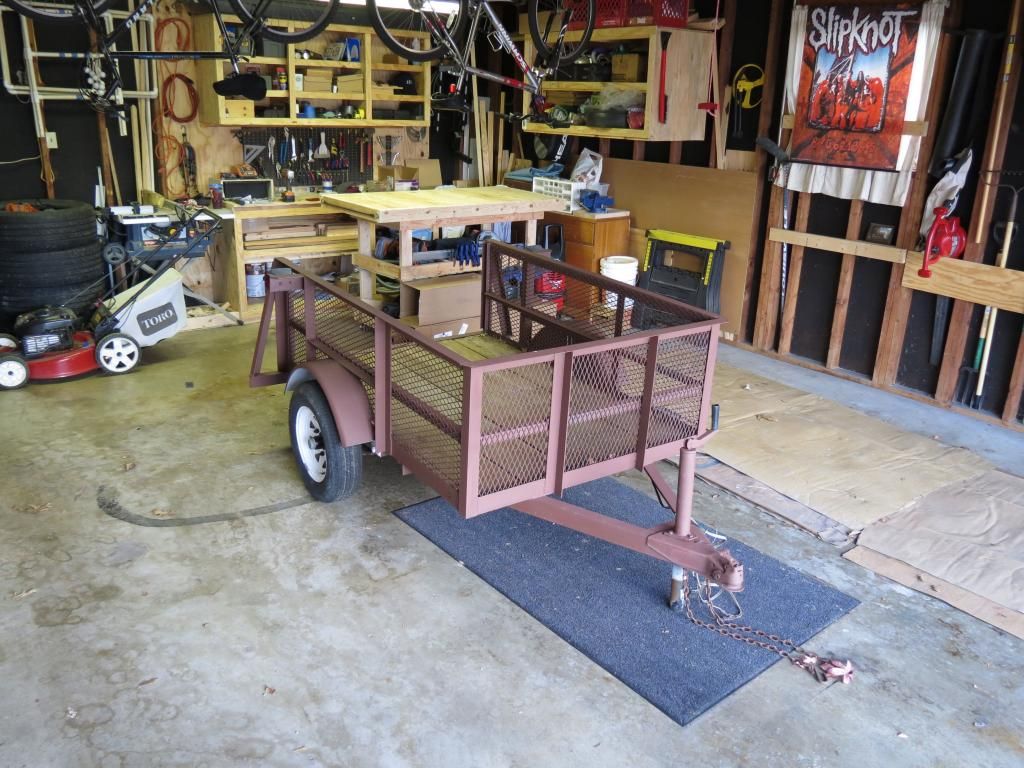
Other than the 4Runner, this is my little side project. I bought this utility trailer on craigslist pretty cheap and I’m (very slowly) working on rebuilding it and making it camp worthy. Unfortunately, I haven’t had any chance to work on it. I’m hoping, once it warms up and the days get longer, that’ll change.
trailer2_zps3fc60733.jpg~original

trailer1_zpsd92101c3.jpg~original


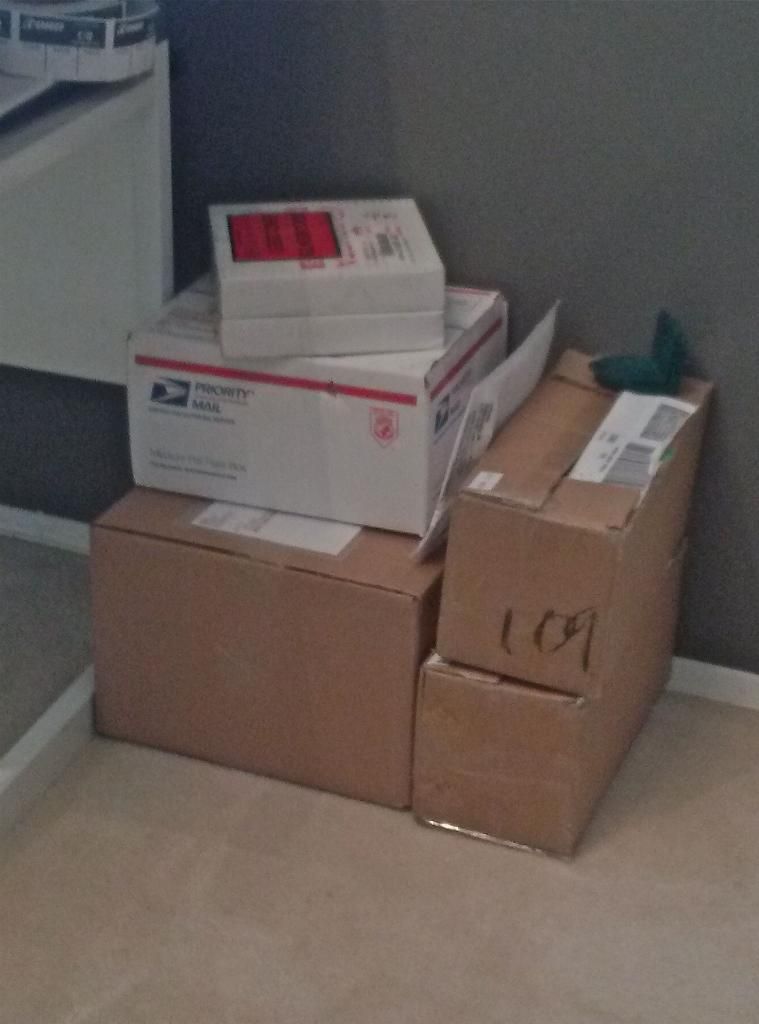
And here is a sneak peak of what is on deck once I receive a couple more packages and get a free/warmish weekend.

Boxes_zpsa5c98d7a.jpg~original
 
Last edited:
Congrats on the kiddo and great lookin ride.. This has to be one of my favorite threads by far. Mods you've done are around what I plan on doing with mine.. I lol'd on the issue you had with the running boards cause I hate mine as well but my wife has to have something to step on as well lol.. Those steps look great. Did they bolt right up?
 
Congrats on the kiddo and great lookin ride.. This has to be one of my favorite threads by far. Mods you've done are around what I plan on doing with mine.. I lol'd on the issue you had with the running boards cause I hate mine as well but my wife has to have something to step on as well lol.. Those steps look great. Did they bolt right up?

Thanks! He's been a ton of fun so far.

Lookin' good as always Jeff!


I feel like there's a package missing since I didn't see it on your mod list...?

edit- also don't forget to post a link the build thread thread =)

I've been kind of busy lately and haven't had a chance to mount them up.
 
Last edited:
"The best game you can play, is the good old hockey game"

I see you're a Blues fan... Go Hawks!:becky:
 
We'll see. But '00-'01 and '01-'02 trophy winners (aves and wings) also won the cup.

On topic: nice idea on the overhead access for your cargo box. It seems that people forget that if your battery is dead, you can't open the hatch (unless you make a switch mod thing.) :hatsoff:
 
Looks really good man! The black with the Driftwood is sweet!

Hit me up if you wanna go mudding, I'm only 15 mins from the STL.

LGB!!!!
 
Well, my wife took our son to her mother's for the day so I got to spend a little time working on the ol 4Runner. I've had this stuff sitting in boxes for a while and finally got a chance to install it.
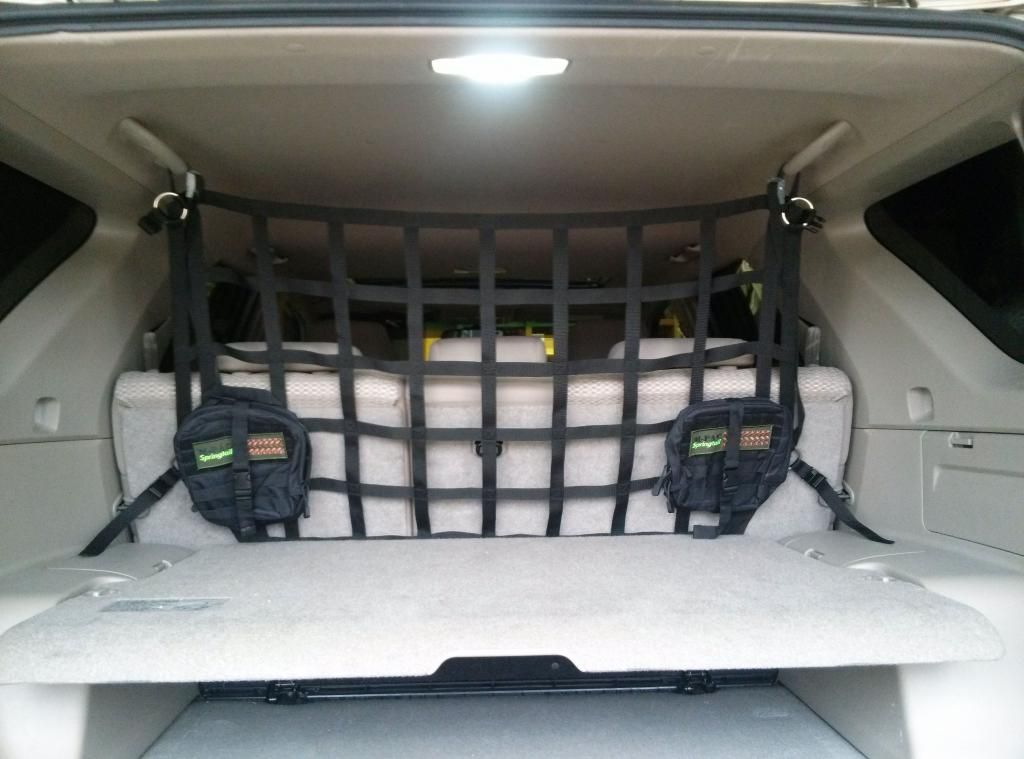
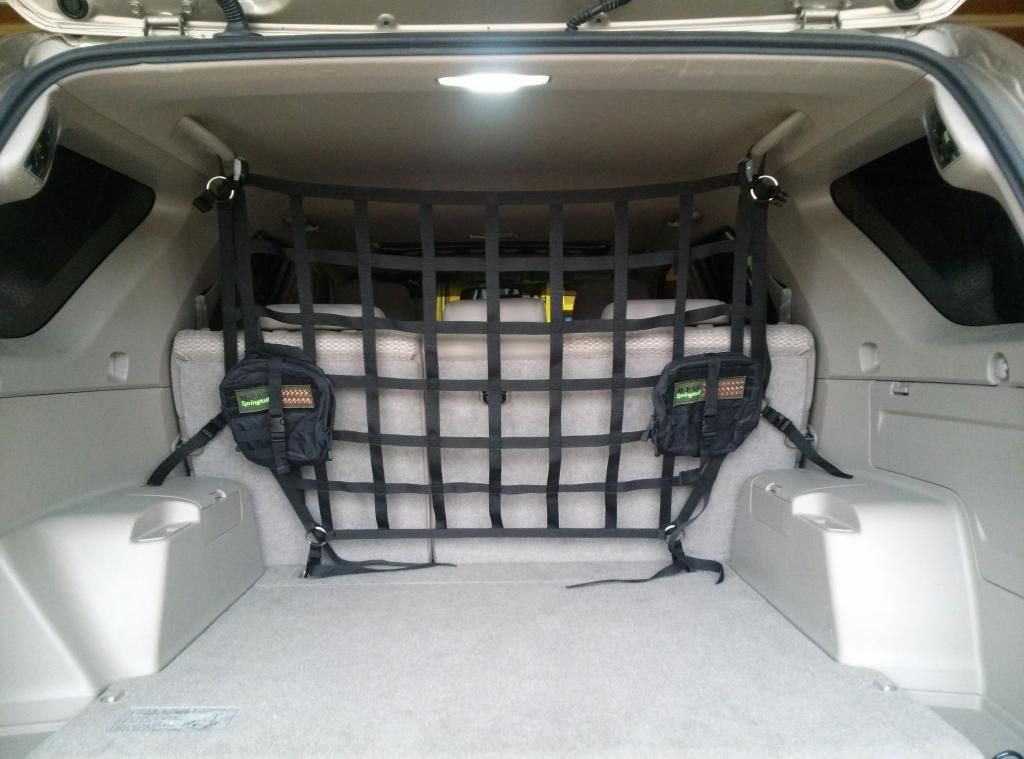
1st: Raingler FJBN Barrier Net
2nd: 2 Molle Puches for various stuff. they attach right to the cargo net for easy access.
CAM00123_zpsd9e8b9ed.jpg~original

[MENTION=68704]superman3043[/MENTION]- When you go to the fire department to have them check your baby seat installation (which I recommend) they'll tell you that you need to have everything in the cargo area strapped down, especially with a rear facing baby seat. The net works just as good...
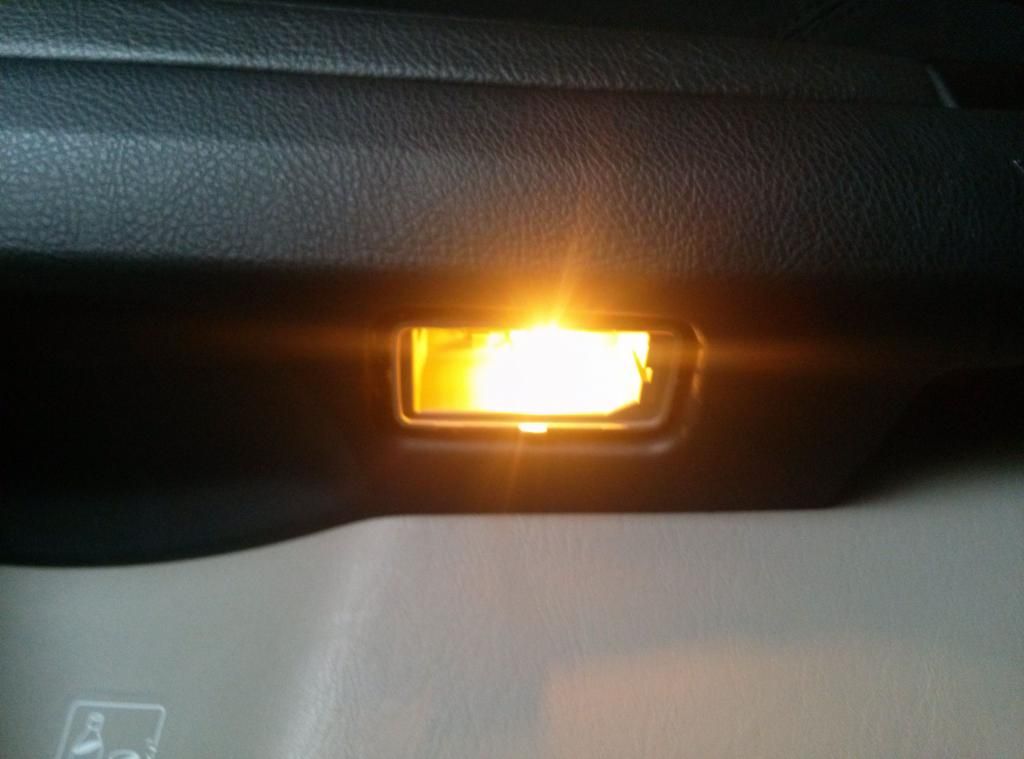
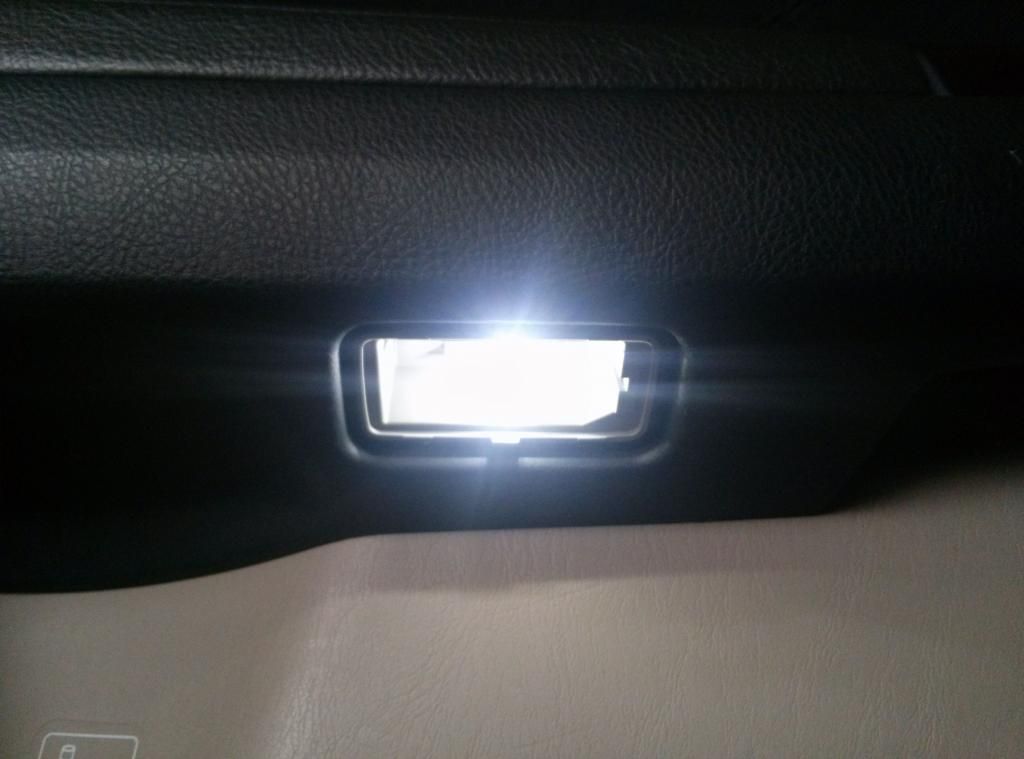
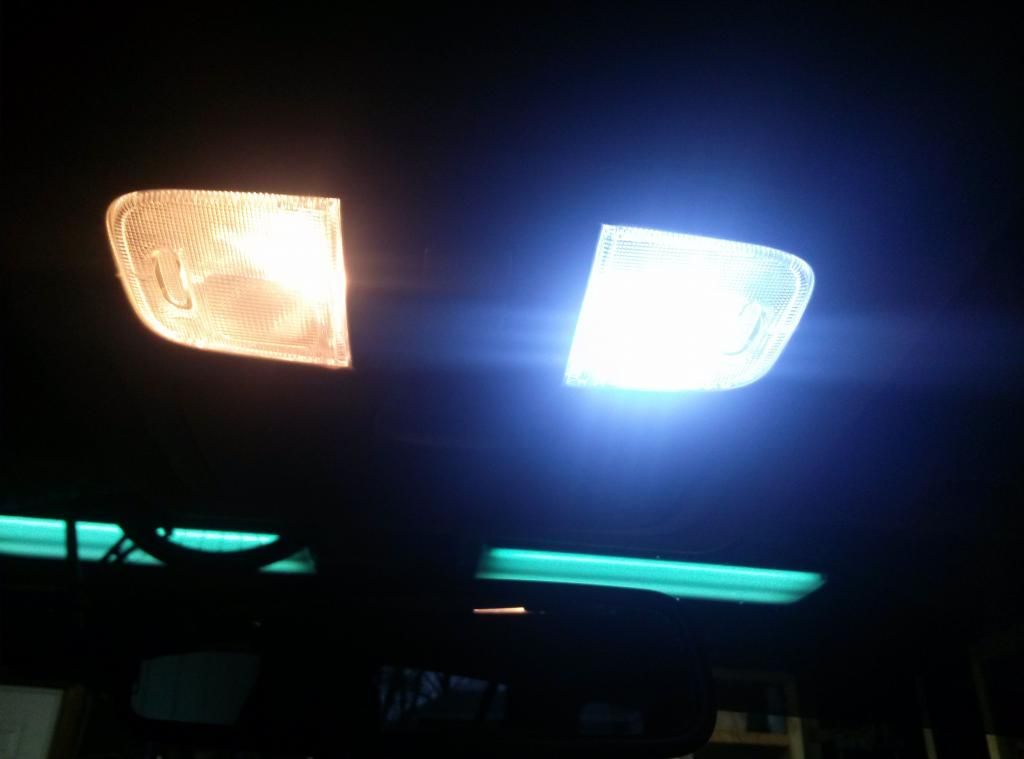
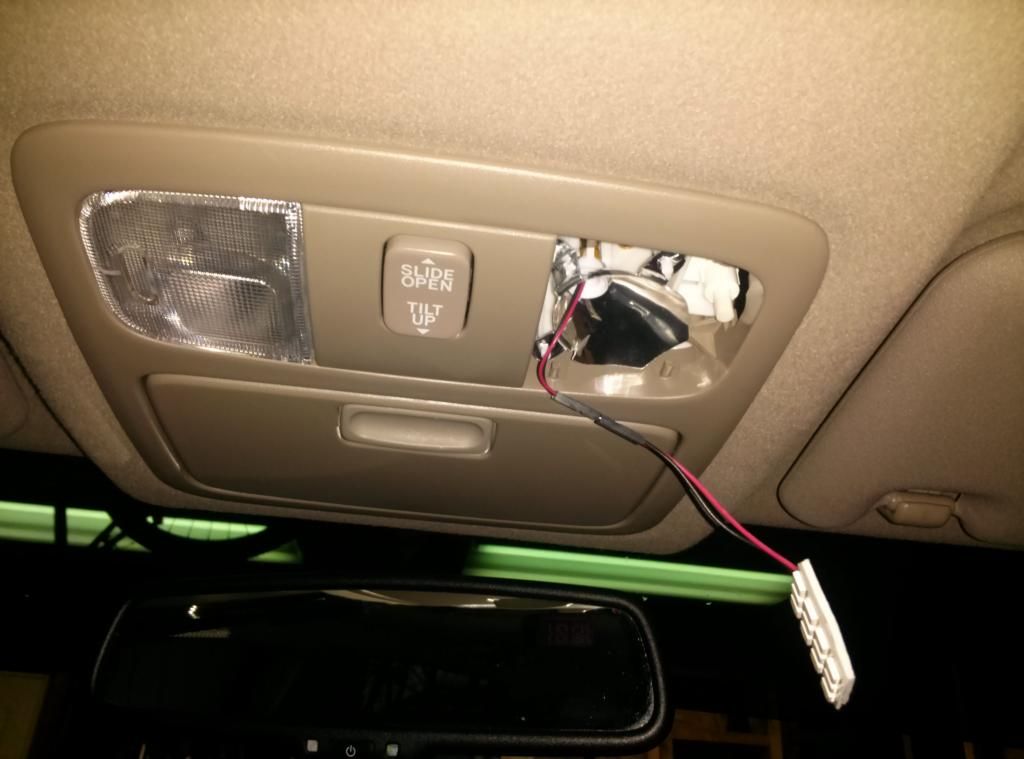
3rd Full Interior LED Swap
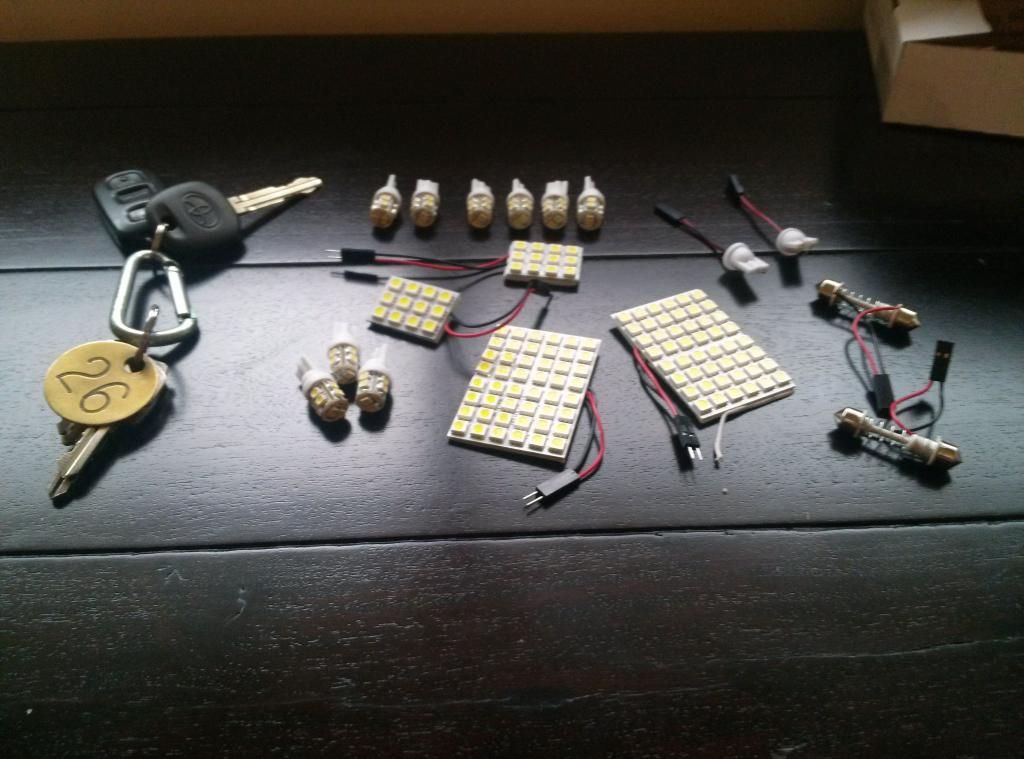
I ordered the kit from PFran LED's. At first I wasn't thrilled about the wait time - they emailed me to let me know it would take longer to get in because of the Chinese holiday and all. But, I talked with Paul and he not only sent me a couple extra LEDs, he also gave me a 15% refund for the hassle.
Here is the kit all laid out - took about 30 min start to finish
CAM00108_zpsbec773f6.jpg~original

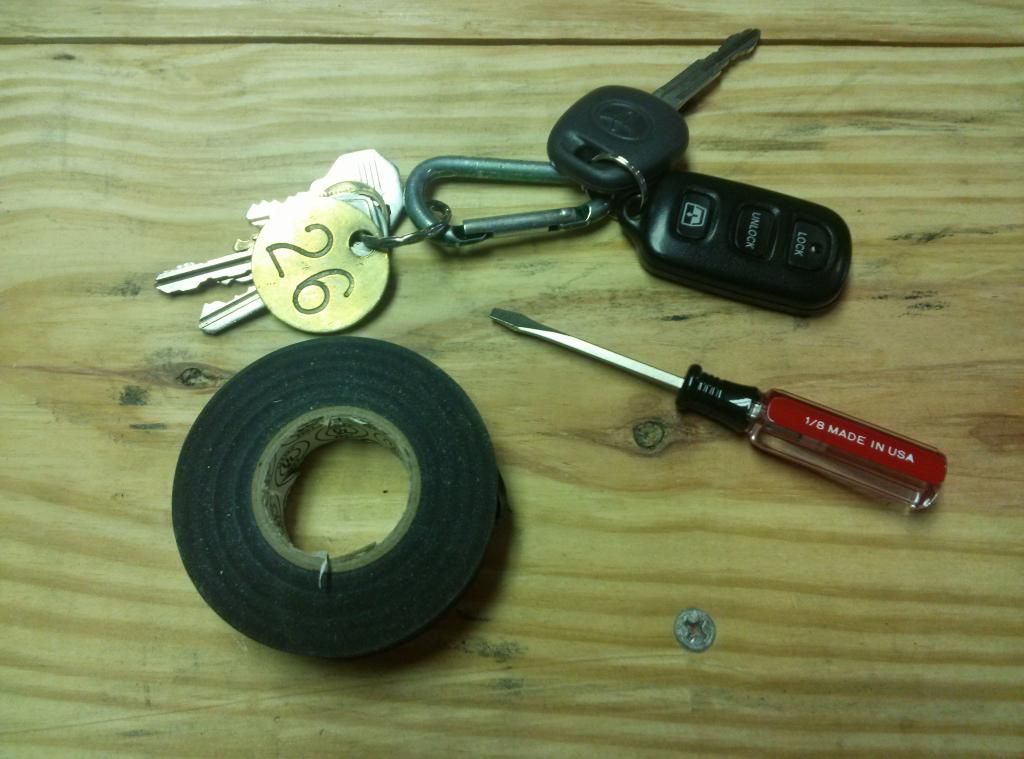
All the tools you need for the install
CAM00109_zps08cad259.jpg~original


Here are the Doors Before & After
CAM00110_zps6da35cde.jpg~original

CAM00111_zps6438033c.jpg~original

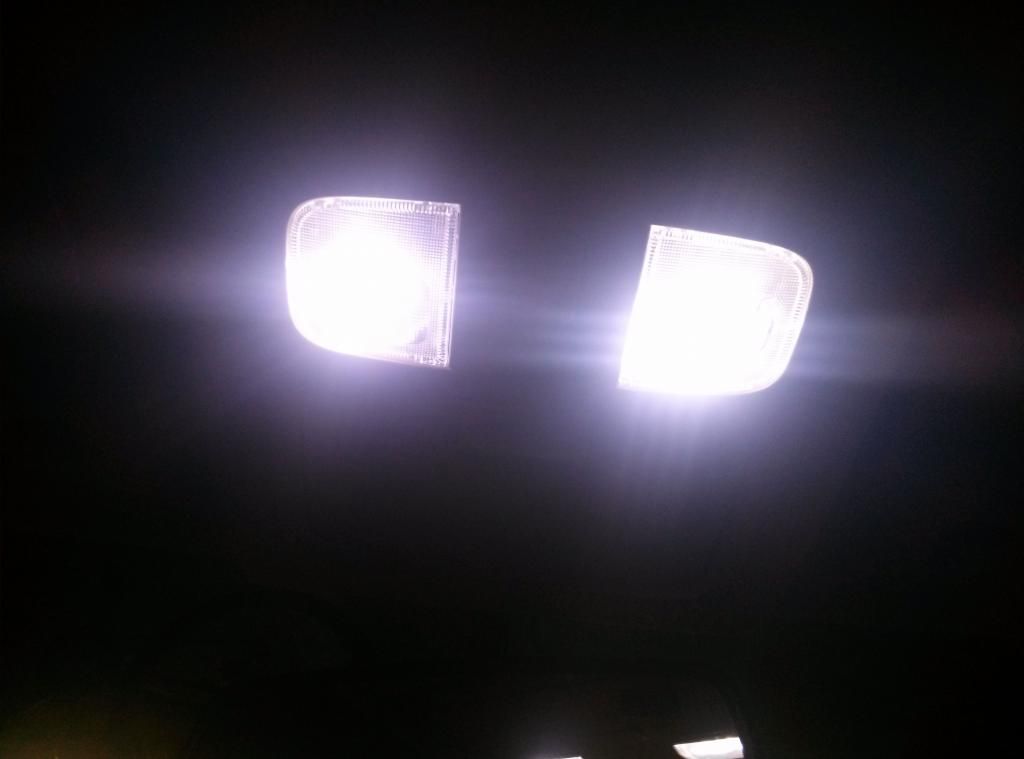
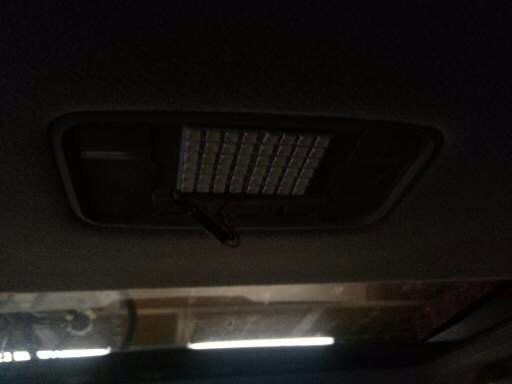
Map Lights Before/During/After
CAM00117_zps27feb05e.jpg~original

CAM00115_zps61a237f4.jpg~original

CAM00118_zpscf2d388f.jpg~original

Dome Lights
1363552980288_zps2ee567b6.jpg~original

CAM00122_zps8de1fbca.jpg~original

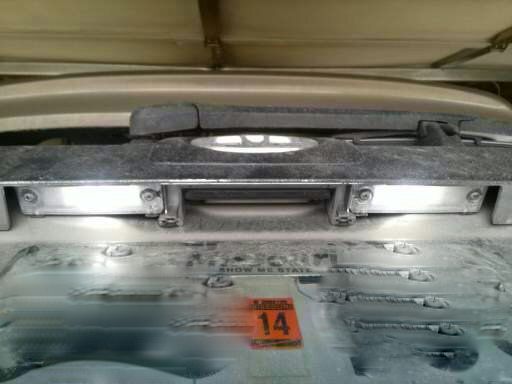
License Plate Lights
1363553217996_zpsdf2535c6.jpg~original
 
Last edited:
Great looking truck, dude. And congrats on the baby! I've got white and I am looking to plasti dip the same places you did. Have you ever thought about doing the door handles? They're on my list to do, as well
 

Members online

No members online now.

Forum statistics

Threads
278,306
Messages
3,554,045
Members
248,016
Latest member
Advally Service

Trending content

Back
Top