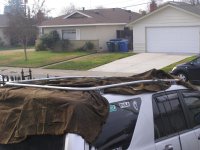
haha mines pretty disgusting right now. I havent washed it since mid December. I've been traveling a lot this month and have been testing a new coating so ive been hard on it. I think its been harder on me though!:sad:
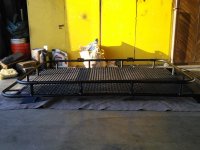
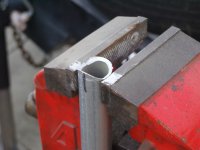
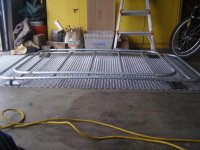
Since the all pictures won't post up on the rack I build, will have to do individual post.
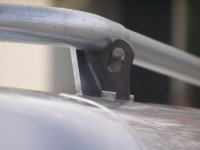
Test fitting and tacking to the feet had to use my roof for a jig.
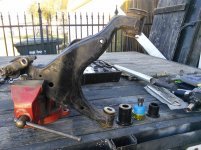
Got some creaking sounds coming from the front end on compression. So decided to change out the LBJ, decided while I have the LCA off, let's change out the bushings.
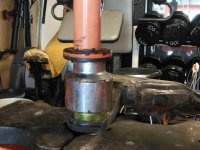
Greaseable bj, poly bushings, bushings when smooth and easy, bj, not so much. Neighbor has all kinds of presses in his garage, dayum 20t. press didn't even break the seal. Got to remove next weekend and have a shop press them.
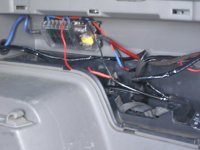
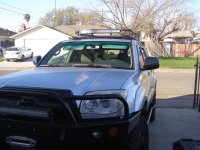
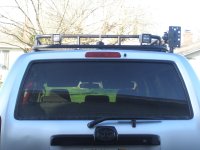
Since I have the roof rack on and all naked up there and saved a bundle by making it myself. Welded a high lift jack mounts to it, and installed a 30" curve combo and a couple of 4" floods in the rear. Installed a inside fuse box to run these and anything else in the future.
question on wiring and where you ran the wires as I'm thinking of some side mounted lights and wondering if you brought the wires down the windshield or through the back hatch?
question on wiring and where you ran the wires as I'm thinking of some side mounted lights and wondering if you brought the wires down the windshield or through the back hatch?
Had a request for where I ran my wiring for my lights, so I guess I'll put this in the build.
Since I bought this not to look pretty going over the summit. And since I'll never get rid of this ride unless too much to repair, destroy it on a run, and if either case, sell it for scrap metal, OR I DIE, which ever comes first.
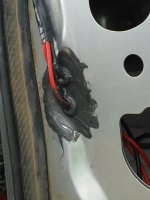
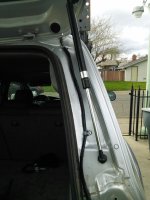
The location on the wires going in has a double wall with 1/4" space between them, so used some grommets on both sides and used some silicon to seal it.
As you can see also, used wire holders and self taped them to keep the wires from moving around and rubbing on the rear door, silicone them. I just put another layer of silicon an all spots to complete any possible leakage.
My roof top antenna was done in this manor also, 5yrs and no leaks yet.
[MENTION=84680]wadle5[/MENTION]...
















 hone: you when I plan this.