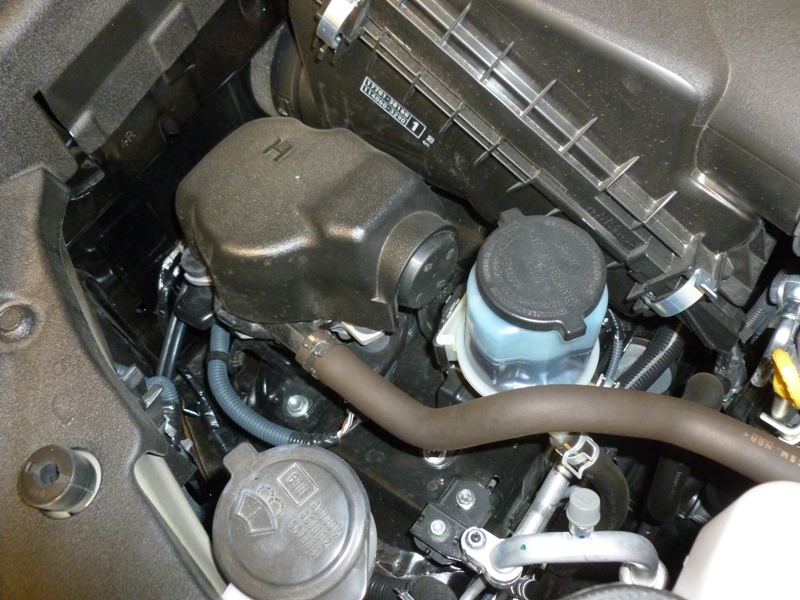
Great write up, thanks! I wish I had time right now to figure out a bracket to relocate the smog pump for 2013+ but maybe someone else will come up with something by the time I'm ready to install my tray.
Has anyone else purchased BB Second battery tray? I'm thinking of getting one since BB is having free shipping until august 15 (My birthday, how did he know :thumb3
Well I called Bud and than realized that there's a little tab on the top left that the reserve slides into.
On other news, I took the tray into sears yesterday and I test fitted a number of batteries, the biggest one I could slide in there was the Die hard group 34, Sears.com
I think I will go this route and eventually replace my main batter with a group 31 and the cage.
If you don't space the tray upwards, you can simply bend the A/C hard line downwards about 3/4". Since this hard line extends from back at the firewall, you have plenty of length to gradually bend it downwards (starting from the firewall end). Go slowly and you should be fine.
so I got one this week and was just out there installing it. Is it really necessary to even bend the AC hard line? The bracket it was on before has a reinforced rubber grommet on there that just comes off with another bolt. I removed the grommet, mounted it on the lower tray, and just had to apply a little pressure to angle the line down to mount to the grommet because it's only about a 1/4" lower. Is this what you meant? The top tray still fits perfectly fine and it clears the PS resevoir
Obligatory bad picture here trying to show what I'm talking about
I didn't use washers because that grommet was already doing that same job when the AC line was mounted to the body so I just reused it in this case. And it may reduce some vibration / noise anyway
Great write up, thanks! I wish I had time right now to figure out a bracket to relocate the smog pump for 2013+ but maybe someone else will come up with something by the time I'm ready to install my tray.
So I am getting ready to do the "smog pump" relocation on a 2015 Runner in order to accommodate the BudBuilt Auxillary Tray. I am located in St. Louis and wonder if anyone knows of a shop that will pre-form a new hose for the pump. I plan to relocate the pump to behind the filter box. You will notice the hose I am speaking about above. Has anyone else completed this install and relocated the pump?
I was thinking about fabricating a battery tray for behind the filter box rather than relocate the smog pump (which would also need some amount of bracket fab to tie into the weld nuts on the frame rail and hover above or relocate the wiring harness/connector in that area). Either way is not trivial. Let me know what you decide to do and how you do it, please!
I was thinking about fabricating a battery tray for behind the filter box rather than relocate the smog pump (which would also need some amount of bracket fab to tie into the weld nuts on the frame rail and hover above or relocate the wiring harness/connector in that area). Either way is not trivial. Let me know what you decide to do and how you do it, please!
Wow, I've never stumbled across that option. Seems viable and reasonably priced ($199 for just the tray, no electrics) but does require relocation of that bracket and wiring harness. Hmmm... do I want to make my own design or just buy off the shelf...
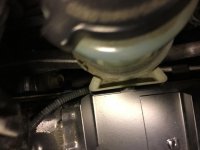
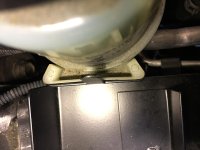
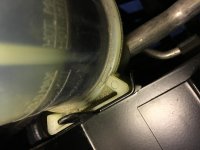
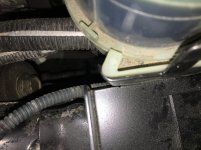
I must be special, I can't for the live of me figure out how to fasten the power steering reservoir. It just keeps being pushed out of the way. These pics are me pushing it in place. As soon as I let go, it goes up and flops over.
I must be special, I can't for the live of me figure out how to fasten the power steering reservoir. It just keeps being pushed out of the way. These pics are me pushing it in place. As soon as I let go, it goes up and flops over.
Did you figure this out? I'm having issues with mine as well, it won't stay in at all.
Overall I'm not very happy with BudBuilt right now, for a variety of reasons I won't get in to here. The PS reservoir not fitting at all (with zero directions of what to do with it) is just one of a growing list of complaints with this product.
Yeah, you've got to bend the little tab all the way over. But it doesn't really hold it in very tight. However, I've been driving with it for a while and done a couple bumpy off road trips and it's still in place, so I guess it works. Not sure how Shrockworks's plate holds the power steering reservoir in place, but in hindsight, I might have chosen that one. Let me see if I can shoot you a pic.
Powersteering reservoir on the right, obviously, there's that little pin tab sticking up when new. You've got to hold the reservoir in place and take some needle nose pliers and bend the tab 180 degrees, preferably. I couldn't do better than this and it doesn't feel very secure. However, it has held doing chicken corners in Moab, gemini bridges trail and some local bumpy trails as well as highway and city driving over the last 1k or 1.5k miles.
Yeah, you've got to bend the little tab all the way over. But it doesn't really hold it in very tight. However, I've been driving with it for a while and done a couple bumpy off road trips and it's still in place, so I guess it works. Not sure how Shrockworks's plate holds the power steering reservoir in place, but in hindsight, I might have chosen that one. Let me see if I can shoot you a pic.
Thanks for the help. I was actually out in the engine bay with a pair of vice grips while you were typing that.
For me, it took about 10 minutes and some vice grips to bend the side "wings" of the bracket to where they actually held the reservoir in place. The way is was delivered from BudBuilt, I could put the reservoir in any way I please, there was absolutely nothing holding it in place. I had to bend the wings a good deal before they would hold the reservoir when I slid it in from the top, and now with that tab bent down it's pretty firmly in place. I tugged on it a good deal to double check, I sure as hell don't want that falling off and into the radiator fan.
Like I said, not too pleased with this tray. I shouldn't have to be modifying a brand new product to make it work as it's supposed to, especially when zero instructions were included here. It's really not that hard to figure out but a simple order of steps would have been nice. This whole ordeal makes me wish I had gone with the DirtyParts tray, even though it's 60 bucks more. Maybe I'm just in a bad mood though.
Maybe I need to bend those wings a little more too. I wasn't too thrilled with it either. As for batteries, I fit a Group 24 in it, which was nice. However, the J-hooks aren't long enough to use the rubber washers with it. It's a 79 Ah battery vs a 60 Ah group 34. Should run the fridge for a while.