Mounting Icon remote resi's

Illestreker

New member
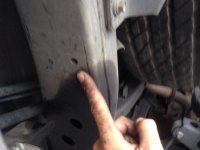
Got everything installed and I'm trying to figure out why the supplied bolts won't thread into the hole where it looks like they should go. On the rear just past the mud flap on the frame there is a hole that is the perfect spot to mount the resi bracket. So it seems like the hose length and bracket were designed to go there specifically, but the bolt is slightly too large to thread into this hole.

Where/how did you mount your resi's??
 

Attachments

  • image.jpg
    image.jpg
    134.9 KB · Views: 817
Register to hide this ad
geez, give it a bit more than 14 hrs before you start complaining! what do the instructions say? what did you google searching reveal? i just looked and there are several different pics of how people mounted theirs.
 
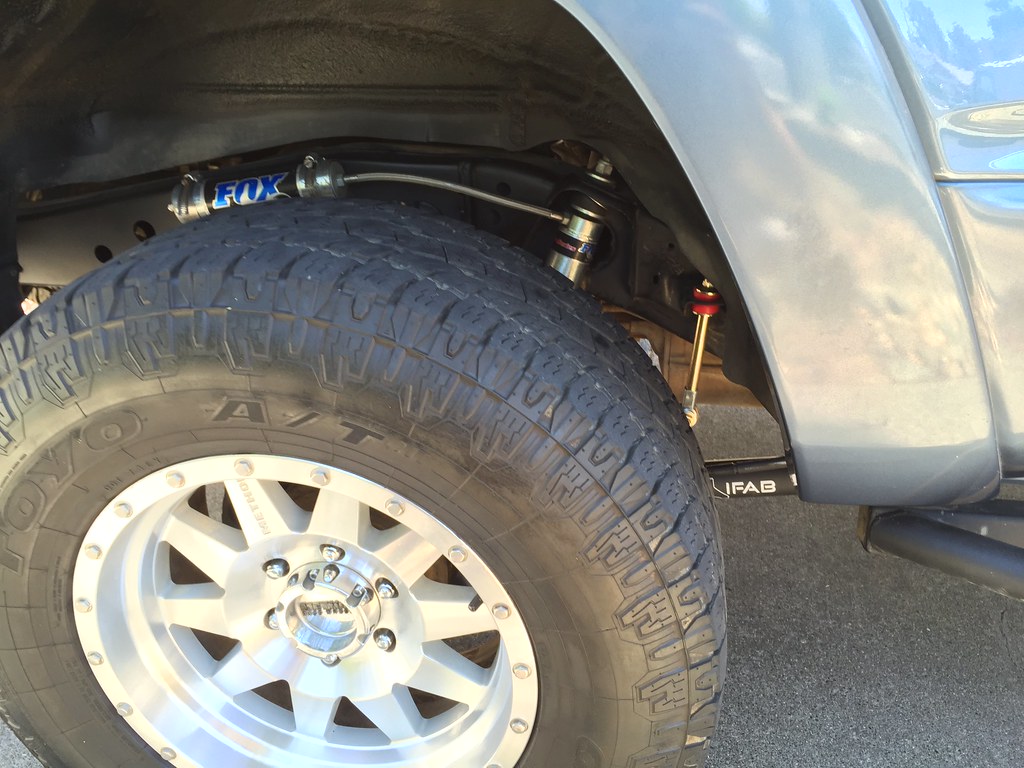
i have Fox resi's and i used the Poly Performance resi mounts for dodge trucks for under the bed. Worked great and gives the "floating" illusion.

18574307201_47018a150f_b.jpg
 
geez, give it a bit more than 14 hrs before you start complaining! what do the instructions say? what did you google searching reveal? i just looked and there are several different pics of how people mounted theirs.


There are no instructions only for third gen which require you to drill and tap for a bolt. For the 4th gen it appears you use a factory threaded hole but the supplied bolt is wrong for that hole.

I did search google, vendors, forums, pic, nothing that gives me a conclusion to how the icon brackets mount up. Obviously I can see pics but that doesn't really help.
 
i have Fox resi's and i used the Poly Performance resi mounts for dodge trucks for under the bed. Worked great and gives the "floating" illusion.

18574307201_47018a150f_b.jpg

Thanks for the info. I'm gonna call up icon today see what they say. Hopefully I can get it mounted up and test drive it. It's killing me that the whole lift is done and I can't drive yet due to a silly bracket mount! Haha
 
There are no instructions only for third gen which require you to drill and tap for a bolt. For the 4th gen it appears you use a factory threaded hole but the supplied bolt is wrong for that hole.

I did search google, vendors, forums, pic, nothing that gives me a conclusion to how the icon brackets mount up. Obviously I can see pics but that doesn't really help.

Why not just get a smaller bolt that will fit the hole? That seems like the simplest solution.
 
I used one of the 12mm self tapping bolts that were on the car before the lift was installed. I had a bunch after disassembling the suspension. They fit in the hole you're looking at. Works like a charm. Or you can drill and tap. Per Icon - drill 21/64" hole, thread with a 9/16. I did this on one side as a broke a bolt off inside the factory hole. Both options work.
 
Word. After looking at this morning I realized the left over bolts would fit and got it all installed. Thanks for all the feedback.
 
on the drivers side the holes are threaded but on the passanger side it's not.
i'm doing mine and nothing is matching up.

Noticed that myself. Not quite sure what I'm going to do about it yet. Waiting for it to warm up a bit more before I go outside and start tearing things apart to start installing.
 
Noticed that myself. Not quite sure what I'm going to do about it yet. Waiting for it to warm up a bit more before I go outside and start tearing things apart to start installing.

i,ve been looking at this for the past couple hours and it looks like i'm going to have to drill in the frame and tap it. not looking forward to it rear bumper in on the way and trying to get a drill in there to drill through the frame is not fun. I might just zip tie it for now.
 
i,ve been looking at this for the past couple hours and it looks like i'm going to have to drill in the frame and tap it. not looking forward to it rear bumper in on the way and trying to get a drill in there to drill through the frame is not fun. I might just zip tie it for now.

I ended up drilling both sides. Wasn't too bad and the screws were self tapping. My reservoirs didn't go back far enough for the bumper to be a problem getting the drill in. I have the 2.0s, maybe the 2.5s have a longer hose? Not sure which ones you have.
 
No Zip Ties

I have seen a couple people get by with zip ties......until one gives way and starts mashing between your frame and your tire at 70 mph. I had to drill one hole for my mounts. As I recall, I just pushed the mud skirt just far enough to drill a pilot one or two sizes smaller than the tap screw. Why didn't our creator give us 3 arms....with hands?
 
I ended up drilling both sides. Wasn't too bad and the screws were self tapping. My reservoirs didn't go back far enough for the bumper to be a problem getting the drill in. I have the 2.0s, maybe the 2.5s have a longer hose? Not sure which ones you have.

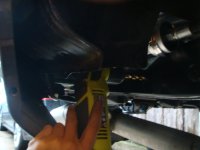
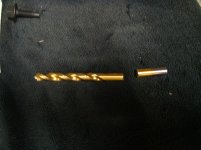
my 2.5 hose goes all the way to the back where the bumper is and next to the frame there is a metal housing for the wheel well. i was able to get a 90 degree drill in there but had to cut my drill bit to be able to drill.DSC02159.jpgDSC02155.jpg
 

Attachments

  • DSC02159.jpg
    DSC02159.jpg
    136.9 KB · Views: 188
  • DSC02155.jpg
    DSC02155.jpg
    135 KB · Views: 182
Old school for the win. I always knew that tool box full of drill bits from the 60s-70s that my great uncle used would come in handy one day. I got through both sides with the same bit and some cutting oil no problem.
 
Old school for the win. I always knew that tool box full of drill bits from the 60s-70s that my great uncle used would come in handy one day. I got through both sides with the same bit and some cutting oil no problem.

actually that drill bit was brand new from home depot. lol
but it was only like $4 but the hole is done. :D
 

Members online

Forum statistics

Threads
278,306
Messages
3,554,044
Members
248,016
Latest member
Advally Service

Trending content

Back
Top