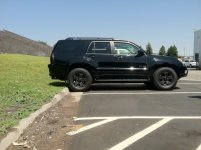
My 05 SR5 Build

Love4myRunner

New member
I've been wanting to make this thread for awhile now but wanted to wait until I had a good amount of work done to my 4Runner.

To start I will tell everyone a little about me. I work for Toyota and have been with them for over 5 years now. The first dealership worked me to the bone so I eventually moved from FL to CO. My new home and dealership have been very good to me day after day. To my knowledge my current dealership is the most high volume Toyota dealership in all of CO. I wasn't always a fan of Toyota until about my first year working on them. They have for sure earned my respect and I was so proud when I finally bought one.

Ok so now onto the 4Runner. Long story short after working on thousands of Toyota I knew hands down you can't beat a 4Runner. Shortly after I moved from the land of sun and sand into the mountains and snow I knew it was time to buy one. So I did. LOVE IT!

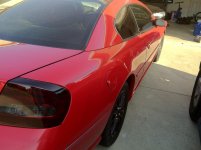
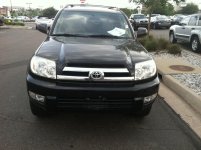
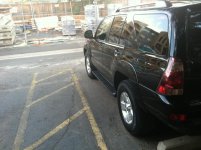
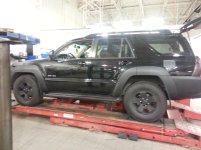
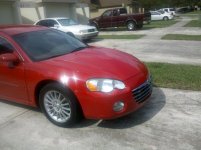
Traded in my 05 Sebring limited for a 05 4Runner SR5.
 

Attachments

  • bring.jpg
    bring.jpg
    92.9 KB · Views: 1,237
  • bring 2.jpg
    bring 2.jpg
    75.9 KB · Views: 1,245
  • 4runner1.jpg
    4runner1.jpg
    98.8 KB · Views: 1,231
  • 4runner4.jpg
    4runner4.jpg
    93.9 KB · Views: 1,242
Register to hide this ad
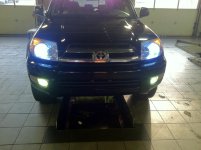
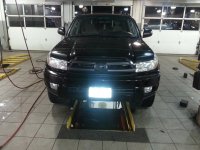
First I added HIDs
Second I dipped the wheels
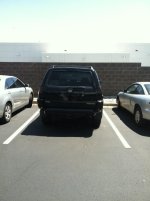
Third I blacked out the tail lights
 

Attachments

  • 4runner5.jpg
    4runner5.jpg
    71.9 KB · Views: 1,225
  • 4runner7.jpg
    4runner7.jpg
    114.8 KB · Views: 1,234
  • 4runner6.jpg
    4runner6.jpg
    70 KB · Views: 1,210
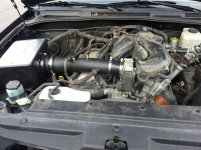
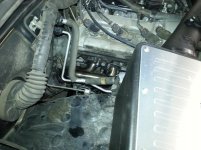
Added an afe intake
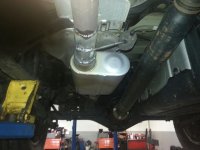
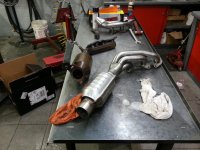
Slowly built the exhaust system
Flowmaster muffler
Magnaflow cats
JBA short headers
 

Attachments

  • 4runner8.jpg
    4runner8.jpg
    127.6 KB · Views: 1,202
  • muffler.jpg
    muffler.jpg
    49.9 KB · Views: 1,202
  • 20130221_165820.jpg
    20130221_165820.jpg
    134.2 KB · Views: 1,206
  • 20130221_195728.jpg
    20130221_195728.jpg
    132.8 KB · Views: 1,191
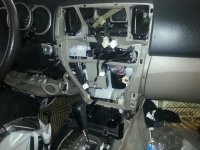
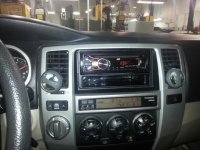
JVC head unit <--- had to special order the dash kit
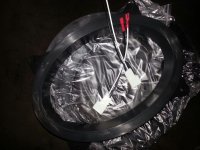
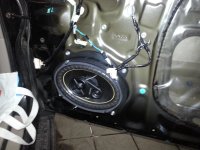
Kicker 6x9's <-- had to special order an adapter
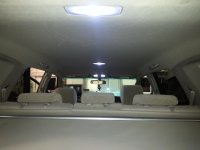
LED mod Interior and tag lights
 

Attachments

  • brakedown.jpg
    brakedown.jpg
    78.4 KB · Views: 1,174
  • radio.jpg
    radio.jpg
    72.7 KB · Views: 1,225
  • adapter.jpg
    adapter.jpg
    66 KB · Views: 1,186
  • 20130223_175615.jpg
    20130223_175615.jpg
    132.4 KB · Views: 1,187
  • 20130223_183052.jpg
    20130223_183052.jpg
    136.9 KB · Views: 1,183
After that I got a little crazy...
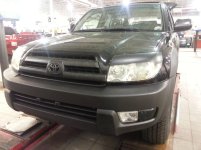
Eye lids <--- prolly wont keep these
Blacked out marker lights
Blacked out grille
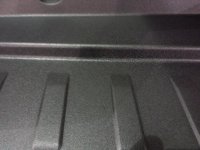
Bed liner on the lower trim <--- work in progress...
 

Attachments

  • 20130306_191329.jpg
    20130306_191329.jpg
    134.8 KB · Views: 1,218
  • 20130307_192934.jpg
    20130307_192934.jpg
    130.2 KB · Views: 1,178
  • 20130307_204536.jpg
    20130307_204536.jpg
    135 KB · Views: 1,184
  • 20130307_212302.jpg
    20130307_212302.jpg
    133.2 KB · Views: 1,171
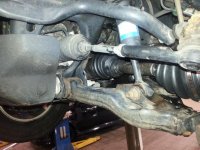
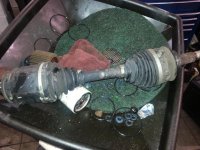
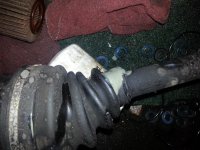
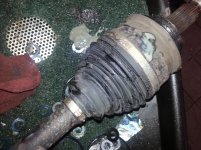
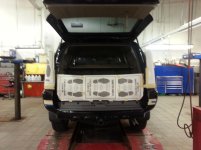
So today I finally got around to replacing my cv axle. The axle nut was an odd size (35). I decided not to reboot it because I rather just replace the whole thing. Glad I did because both boots had ripped open and had water inside from all the snow lately. 82$ for the new axle. Completely forgot to take pics of the install so I only have pics of the old one and a pic of the new one installed.
 

Attachments

  • 20130309_151258.jpg
    20130309_151258.jpg
    133.6 KB · Views: 1,127
  • 20130309_151309.jpg
    20130309_151309.jpg
    136.2 KB · Views: 1,115
  • 20130309_151315.jpg
    20130309_151315.jpg
    136.8 KB · Views: 1,109
  • 20130309_151319.jpg
    20130309_151319.jpg
    137.7 KB · Views: 1,113
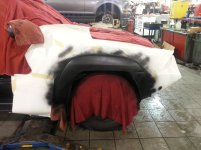
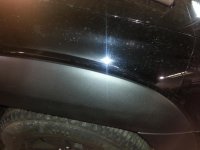
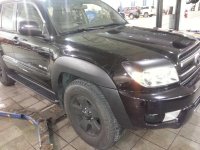
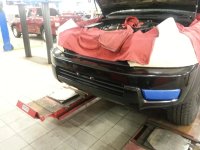
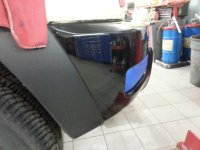
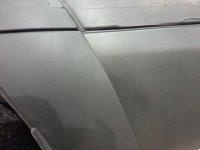
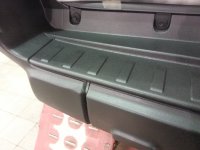
I got more of the truck bed lining on the front and rear bumpers. I should be good against rocks and chemicals on the road now. So far the paint seems to go on and stay on nicely. Washed It a few times with a pressure washer and haven't had any issues.

Here are some shots of before and after along with a few close ups.
 

Attachments

  • 20130315_200114.jpg
    20130315_200114.jpg
    125 KB · Views: 1,077
  • 20130315_200151.jpg
    20130315_200151.jpg
    126.4 KB · Views: 1,068
  • 20130315_200234.jpg
    20130315_200234.jpg
    126.2 KB · Views: 1,084
  • 20130315_203914.jpg
    20130315_203914.jpg
    136.9 KB · Views: 1,065
More Pictures.
 

Attachments

  • 20130315_203905.jpg
    20130315_203905.jpg
    131.3 KB · Views: 1,064
  • 20130315_203901.jpg
    20130315_203901.jpg
    136.1 KB · Views: 1,057
  • 20130315_210418.jpg
    20130315_210418.jpg
    128.4 KB · Views: 1,077
  • 20130315_210441.jpg
    20130315_210441.jpg
    131.7 KB · Views: 1,053
Is that rhino lining or line x ? Do it yourself ? That really looks good , I did my hood w/line x on my old Taco really quieted down the engine noise too .
 
Is that rhino lining or line x ? Do it yourself ? That really looks good , I did my hood w/line x on my old Taco really quieted down the engine noise too .

Its actually rust-oleum truck bed liner. I took the cheap route but its actually really good and way cheaper. I got it done with some co workers during our down time at work. lol
 
Its actually rust-oleum truck bed liner. I took the cheap route but its actually really good and way cheaper. I got it done with some co workers during our down time at work. lol

What I can't believe you said you did that on YOUR break ! Brush on or rattle can ?:wow2:
 
What I can't believe you said you did that on YOUR break ! Brush on or rattle can ?:wow2:

lol well they decided to keep my dealership open til 9pm instead of 7. So I have about 2 hours of free time. Covering everything is the hardest part. Painting takes about 30mins or so with the cans. I put 3 coats over the wheel well trims and 4 coats on the bumpers. This stuff blends really great so you cant really mess up that much. No runs and no spotty messes. Took me about 5 cans for what I have painted now at 8$ per can. Rhino liner quoted me for 250$
 
Long as nobody got busted !! Ya I think rhino would be a little thicker to, that looks cleaner also , dang wonder how it would look on my gold ? Tried to do flares with plasti but didn't look right , but that is grey' r !
 
Not sure with gold. but if you want added protection try it out. I tested it on one of the skid plates before I put it on the trim. It looks super badass on the skid plate.
 
So today I finally got around to replacing my cv axle. The axle nut was an odd size (35). I decided not to reboot it because I rather just replace the whole thing. Glad I did because both boots had ripped open and had water inside from all the snow lately. 82$ for the new axle. Completely forgot to take pics of the install so I only have pics of the old one and a pic of the new one installed.

my cv boot ripped about a month after i bought it.. i was not pleased
 
my cv boot ripped about a month after i bought it.. i was not pleased

So far it is holding up. The only thing I don't like about the new axle is how it sits against the diff. Its not flush at all but its not leaking either so I will leave it alone. Made a hard turn and felt the old one pop so been watching my turns carefully since installing the new one.
 
Had some fun without trac control on. Sry my camera man is smashing on gum very loudly. lol

<iframe width="420" height="315" src="http://www.youtube.com/embed/4utQx4G6oWE" frameborder="0" allowfullscreen></iframe>
 

Members online

No members online now.

Forum statistics

Threads
278,309
Messages
3,554,071
Members
248,016
Latest member
Advally Service

Trending content

Back
Top