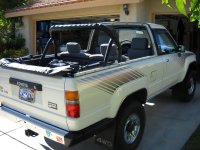
My girl topless, well sorta

mat305

New member

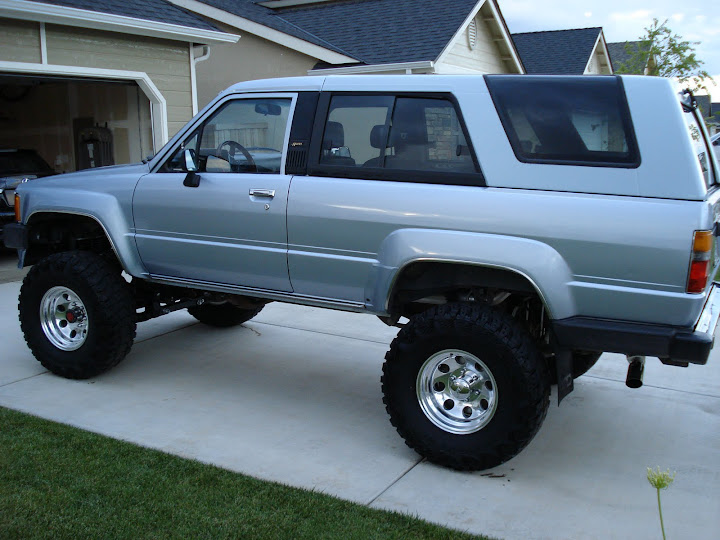
Well since the major selling points for me on the 1st gen 4runner were:

Seats 5 people
Not crazy expensive on gas
Has a removable top
DSC02170.JPG


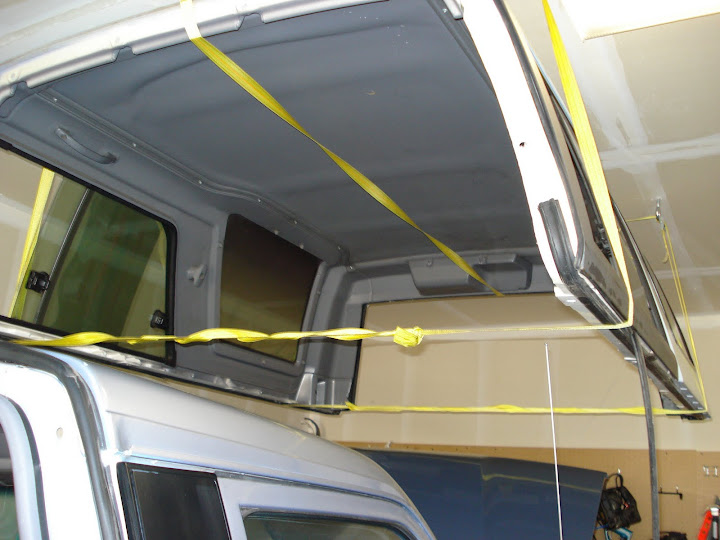
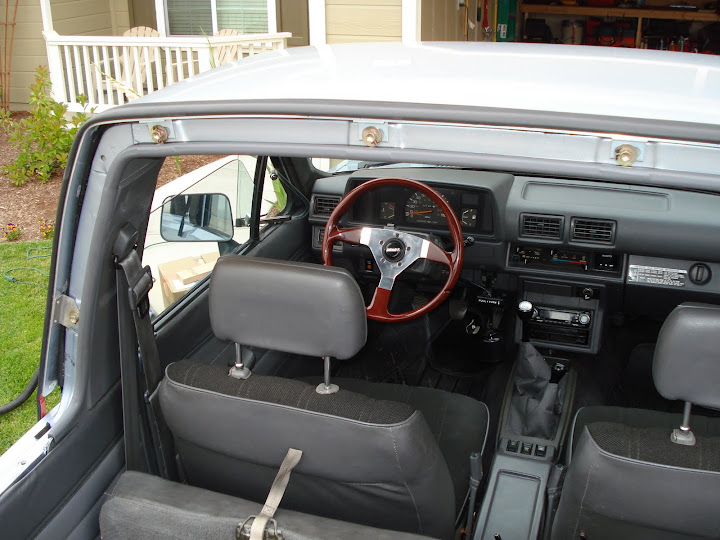
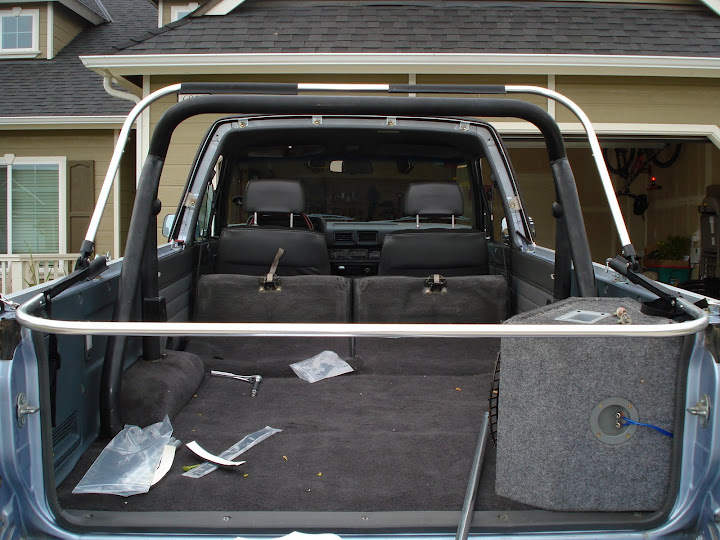
I figured it was time to go topless:

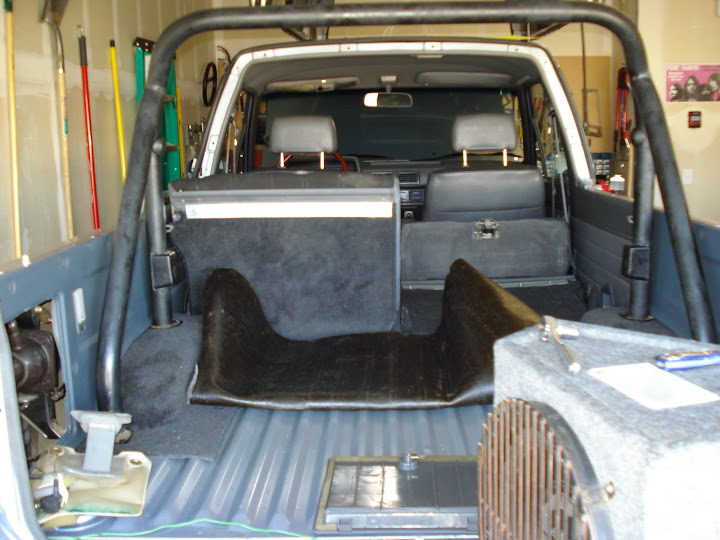
So off to the hardware store I went to get some eye hooks and straps, and a few hours later:
DSC02247.JPG

DSC02249.JPG


Then I got to thinking, that was a lot of work to get that thing off, and its going to rain this weekend... :hammerhead:

So off to the internet gods I went

And I found Softopper.com!

Needless to say I placed my order, and it was shipped the next day! Impressive if you ask me, anytime I have ordered aftermarket parts in the past they take 3-5 days to even ship. And keep in mind this was memorial day weekend.

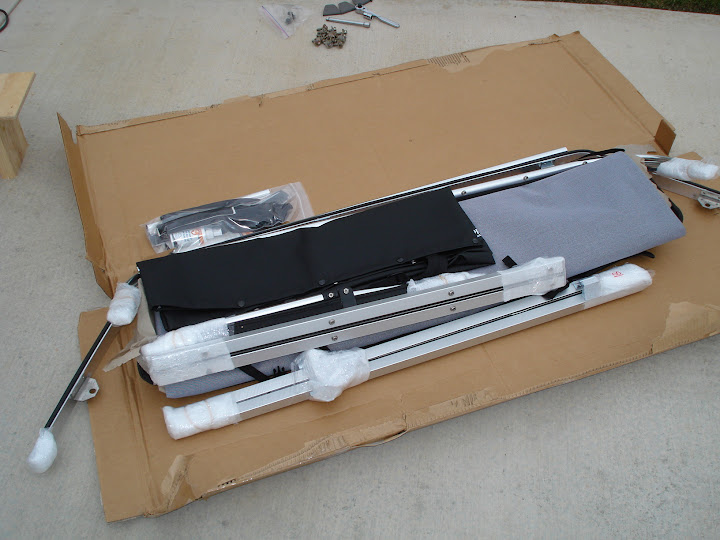
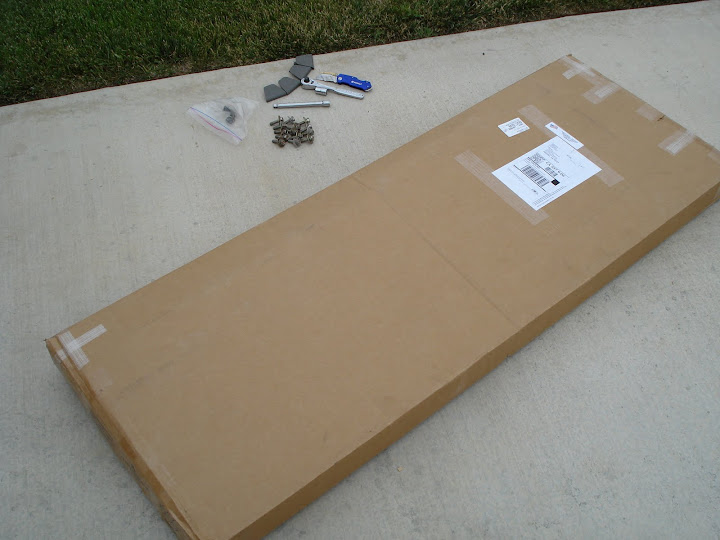
Got this box in the mail yesterday:
DSC03999.JPG

DSC04001.JPG


I was like :suprised: that's a small ass box, how in the world is a soft top going to fit in there?

I got out the tools and materials which I figured would be required:
14 stock hard top bolts
6 inch socket extension
12mm socket
Rachet
Razor blade (to open the box)
Medium sized Phillips (not pictured)
Cordless drill (not pictured)

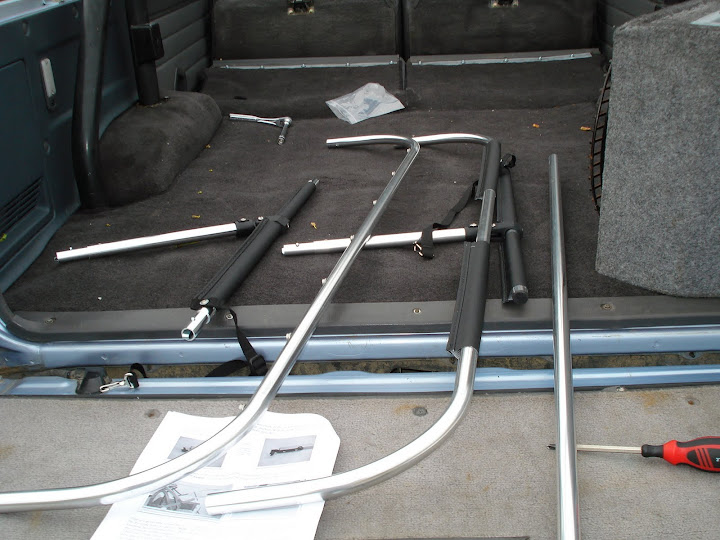
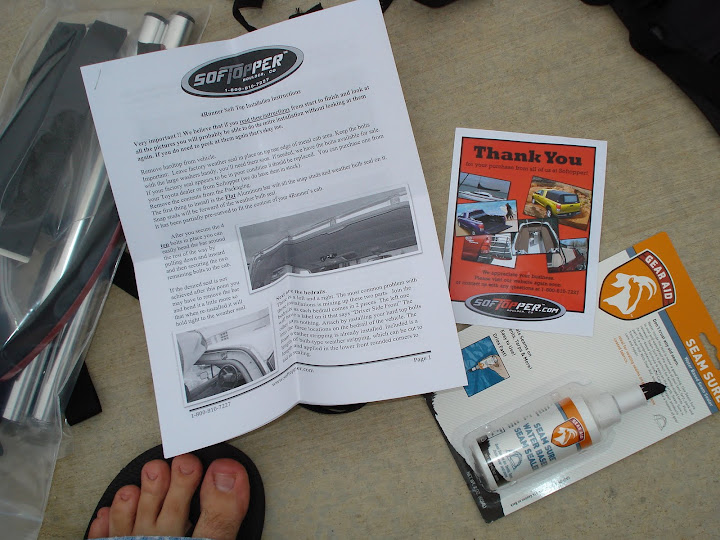
Took everything out of the box and started reading:
DSC04011.JPG

DSC04003.JPG


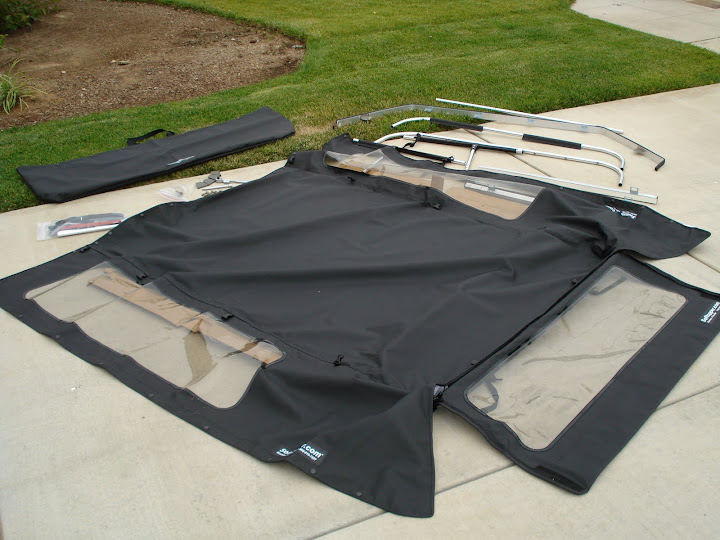
Starting to actually look like a softtop! Amazing how much crap can be crammed into a box that small. Everything was packed really well, with extra padding on all the metal parts.

Last pics of her before install:

DSC04007.JPG

DSC04008.JPG


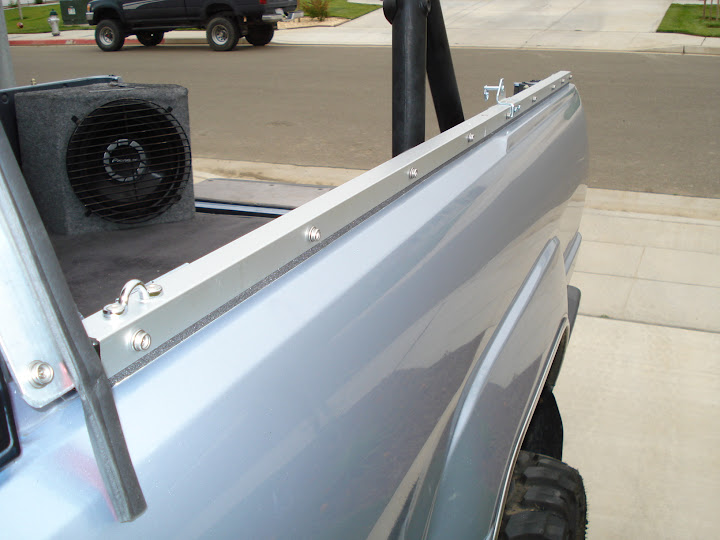
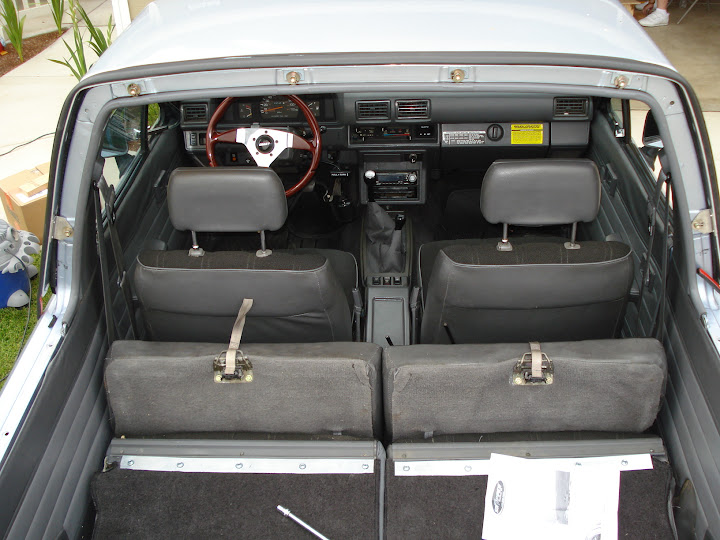
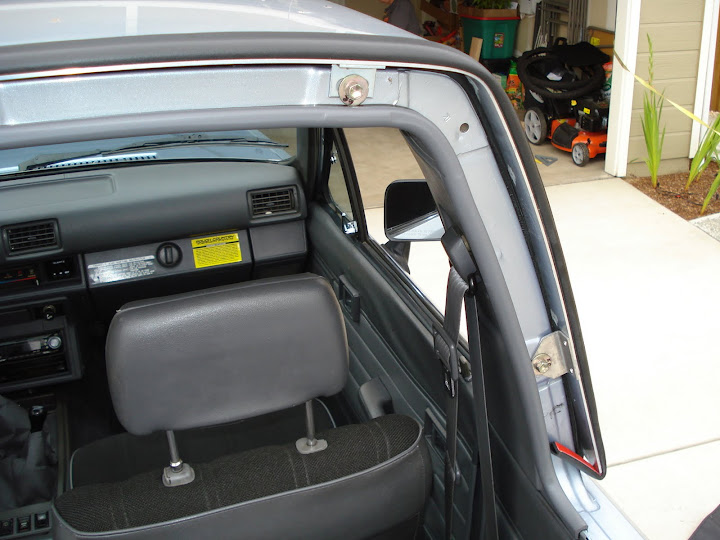
Installed the first bracket, fit like a glove, over the factory weather stripping. Uses 6 of the factory bolt holes and 6 factory bolts. It has button snaps on the side closest to the weather strip, and includes an additional weather strip.
DSC04013.JPG

DSC04014.JPG

DSC04015.JPG


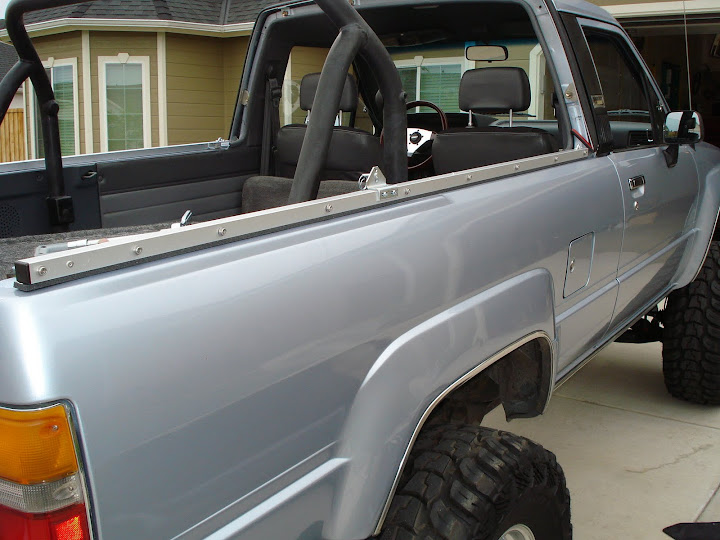
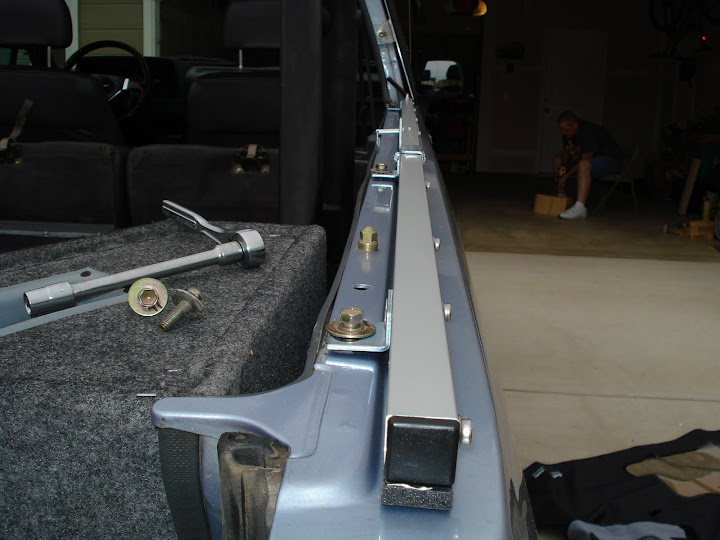
Next I installed the "rails" with the button snaps on each side. This used the factory bolt holes also, 3 bolts per side (you end up with 2 left over factory bolts and holes, I put the bolts in eventually just so they are there when I need them if I ever decide to put the hard top back on.

Lining it up before I tightened it down:
DSC04018.JPG


Installed:
DSC04016.JPG

DSC04019.JPG


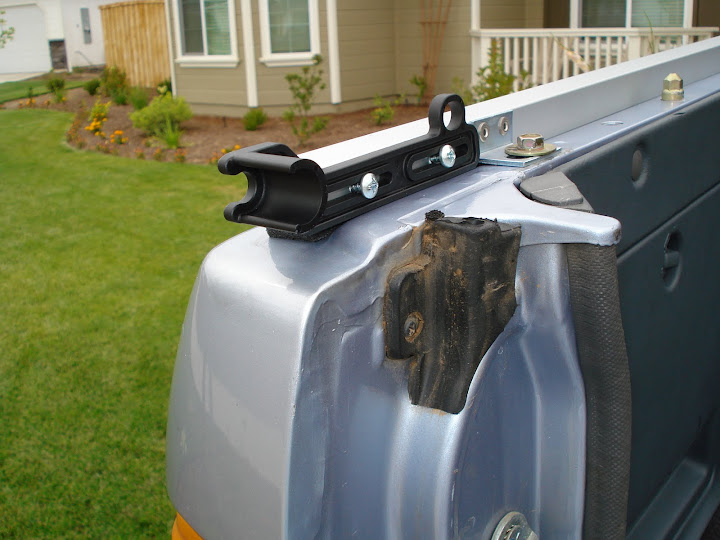
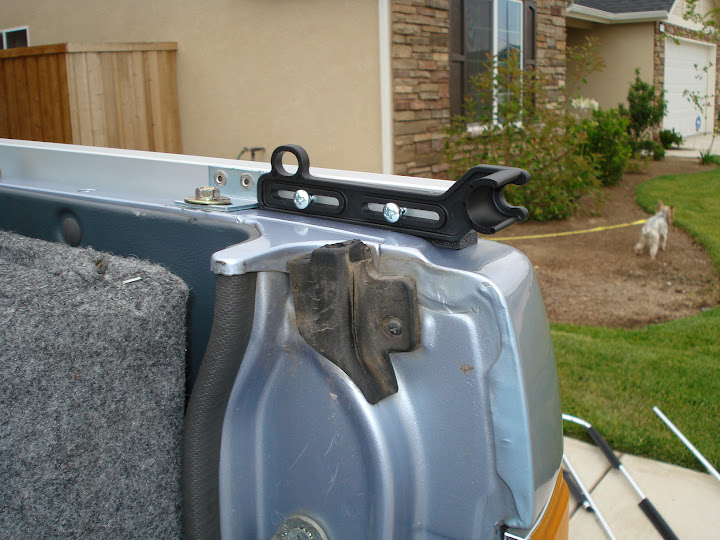
Next you install these funky plastic brackets:
DSC04021.JPG

DSC04020.JPG


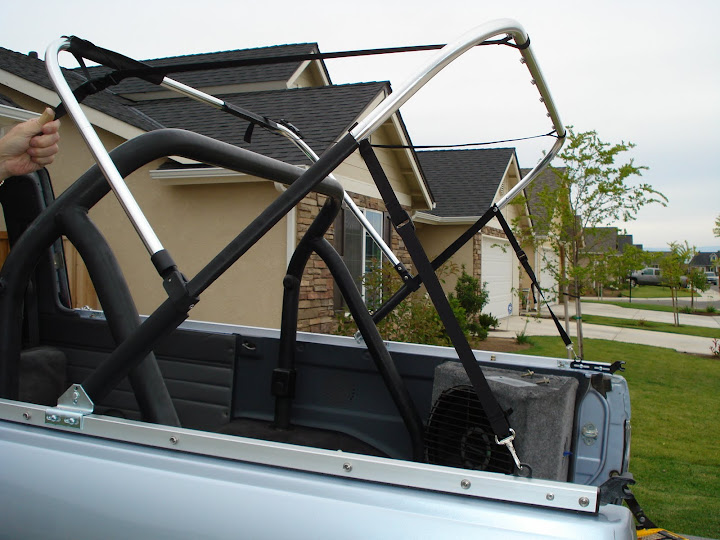
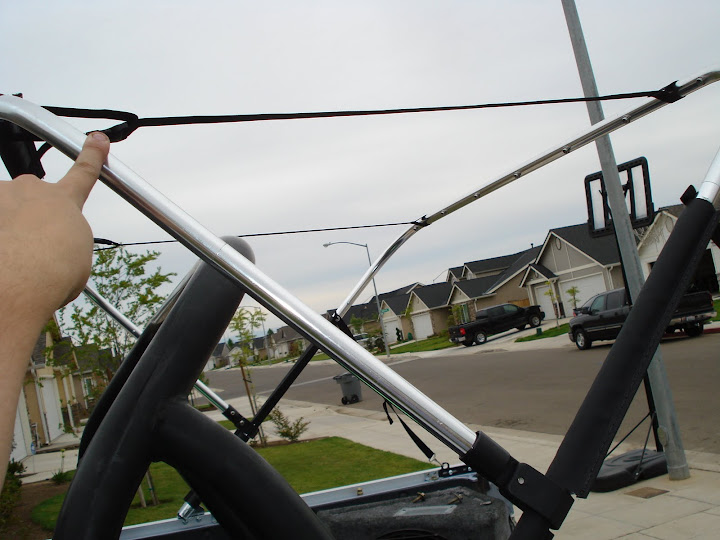
Then start building the "frame":

DSC04022.JPG

DSC04023.JPG

DSC04025.JPG


Last edited:
Register to hide this ad

DSC04024.JPG


Next you drape the soft top over the roll bar and snap it to the frame in the very back of the truck that you just built, (I also snapped the ones in the front):

DSC04029.JPG


Then slowly but surely snap all of the buttons (probably would be easier on a hot day, the canvas was not very forgiving).

DSC04031.JPG

DSC04032.JPG

DSC04033.JPG


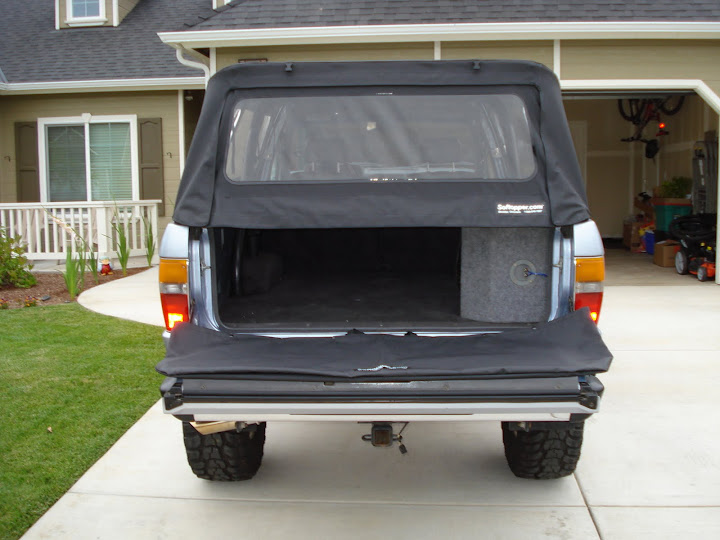
Then you build a metal bar (3 pieces, uses 2 self tapping screws, this is where you use the power drill) that goes through a sleeve in the rear window and attaches to the funky plastic brackets pictured up above. Sorry didn't take pics of it, it was getting late, wanted to get it finished up. Then you simply zip and velcro the rear window.

DSC04034.JPG

DSC04035.JPG


Comes with a great canvas bag to store the top in if you want to put it down completely:

DSC04036.JPG


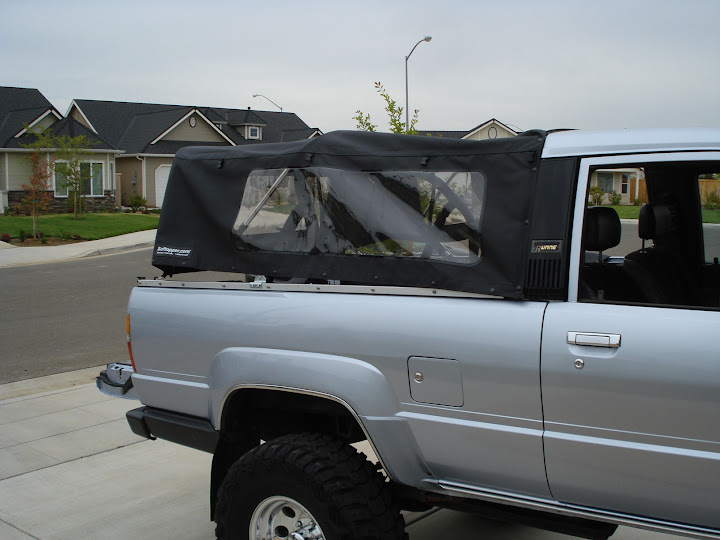
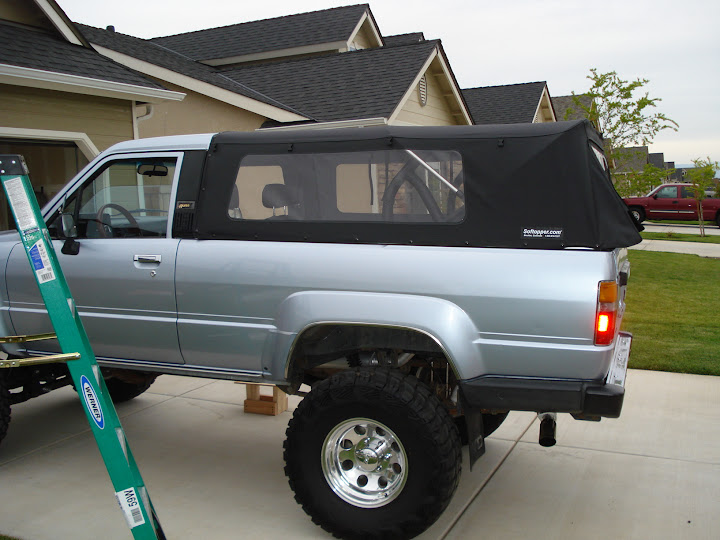
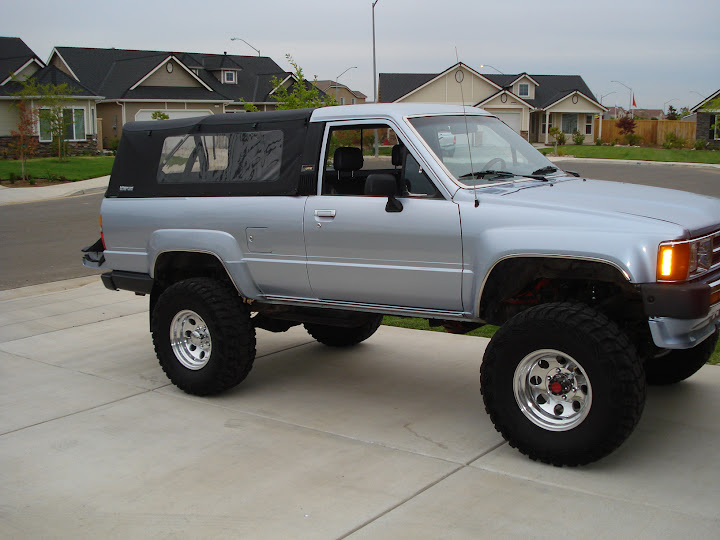
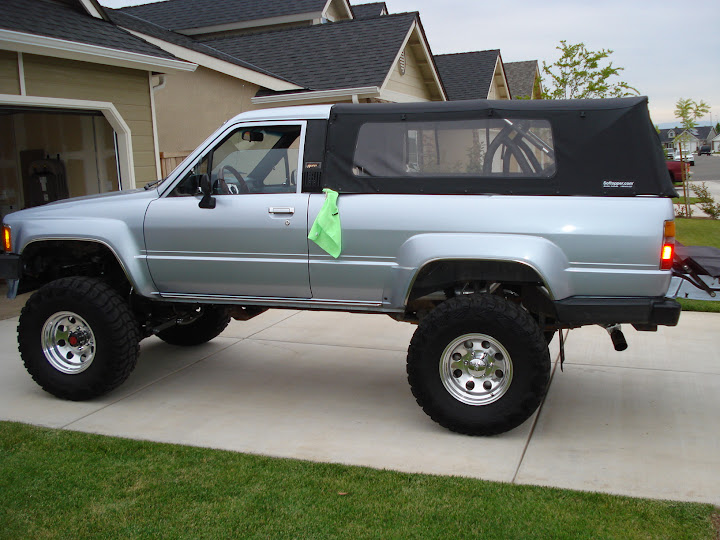
Completed:

DSC04039.JPG

DSC04037.JPG

(dont mind the micro fiber towel, was cleaning in that area to install some extra weather striping, included with the package)

DSC04040.JPG

DSC04041.JPG


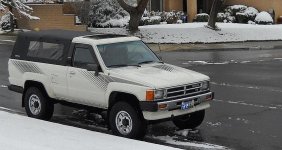
In my opinion it was worth every penny! It also included clips to roll up the sides and rear windows, basically making it into a bikini top. And the rear window is removable if desired.

The fitment turned out great, with minor adjustments. The kit also included some seam sealer, some padding for the frame that goes in between the frame and the windows to avoid discoloration, and some velcro for the rear tail gate (optional) for the rear window to attach to.

Overall it took me close to 2 hours to install. But now that I have done it once, I could do it again with my eyes closed in about 30 min.

 
Last edited:
nice!

damn brother, you move quickly!! Have you driven with it on yet? hows the wind noise? Any plans to put the original back on?
Id like one of those but would def. be worried about some crack head transient with a blade in his pocket.... even though the only thing of value in my truck is the change bin..

Looks good though man!
 
Haven't driven with it yet.

I have a trip planned next weekend, I will post some more pics and give you an update about the air noise then.

It has a very good seal all around, except where the rear window meets the tailgate. I didn't want to install the velcro on the tailgate, but if I did it would be sealed completely.

My guess is the wind noise will be limited.
 
Last edited:
Saw this thread on ih8mud too

Just ordered mine last week
Will be here on Monday

Again I say thanks for the info. Im stoked
 
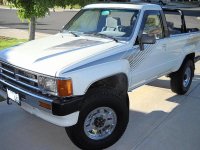
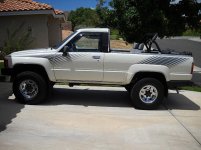
Stripes......

My stripes are original! ( You can see my hood skinny ones startin' to peel/fade...) I will paint it all white if they get too funky lookin'!!
 

Attachments

  • Picture 050a.jpg
    Picture 050a.jpg
    74.8 KB · Views: 2,776
  • Picture 091aa.jpg
    Picture 091aa.jpg
    71.1 KB · Views: 2,512
  • Picture 067aa.jpg
    Picture 067aa.jpg
    77.9 KB · Views: 5,133

Members online

Forum statistics

Threads
278,312
Messages
3,554,089
Members
248,016
Latest member
Advally Service

Trending content

Back
Top