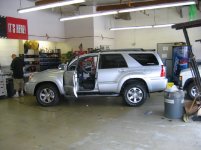
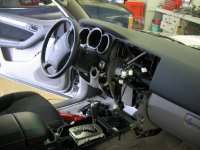
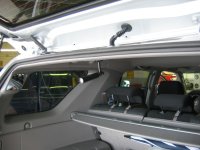
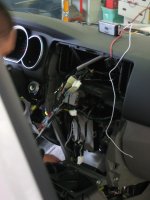
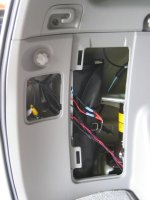
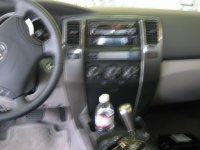
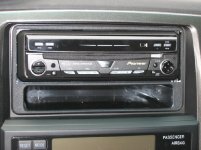
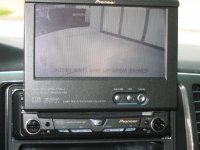
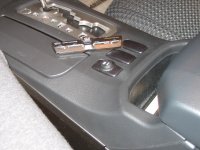
Pics for Pioneer and back-up camera installation are ready
Folks,
just wondering if anyone is interested in seeing pics for my upcoming Pioneer avh-p5700 and Sony backup camera installation. I'm getting a shop in LA to handle the particulars and unless they prefer me not to take pics, I was going to bring my handy-dandy digital camera. However, if nobody's interested then I will just observe and marvel on my own.
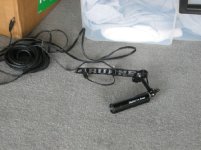
Keep in mind, this is not your normal back-up camera, I'm using one of these puppies:
Sony Bullet Camera
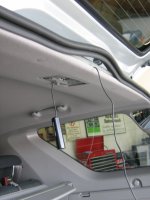
At first I was considering mounting the camera underneath the tow hitch. However after reading that some people on the forum have noticed bad pics when rain hits the lens, I am now thinking about placing the camera inside the car right on the trunk light. Theoretically, the camera should face downward and capture the blind area behind the bumper. If anyone has experience with a similar set-up, please let me know. Also, the camera uses a 12V so the plan is to splice into an existing power cable.
In terms of the Pioneer system, I ended chosing the toy for these following reasons:
1. It's quite cheap at $700
2. Has one AV in connection
3. Does not have Navi - my wifey just bought herself a Garmin Nuvi so we'll use that one when driving into unexplored territory
4. My friend has one in his Ford Focus which he uses to drive to LV every week from LA to visit his fiancee and it looks nice (the stereo, not the car)
5. It's quite cheap
In fact, the installer knows about the hack and is willing to bypass the parking sensor. The avh-p5700 needs a simple switch that mimics engaging the parking brake or the DVD will stop playing.
One more thing - I bought the adaptor which supposedly allows me to continue using the OEM steering wheel controls. Was wondering if anyone has had experience with those gadgets:
Pioneer Steering wheel control adaptor
Also, this is sort of pie-in-the-sky thinking, is there some kind of cover which could disguise the nice stereo from sticky fingers out there? Yes, the Pioneer system does have a removable faceplate, but it's only partial from what I remember.
Cheers,
M
Folks,
just wondering if anyone is interested in seeing pics for my upcoming Pioneer avh-p5700 and Sony backup camera installation. I'm getting a shop in LA to handle the particulars and unless they prefer me not to take pics, I was going to bring my handy-dandy digital camera. However, if nobody's interested then I will just observe and marvel on my own.
Keep in mind, this is not your normal back-up camera, I'm using one of these puppies:
Sony Bullet Camera
At first I was considering mounting the camera underneath the tow hitch. However after reading that some people on the forum have noticed bad pics when rain hits the lens, I am now thinking about placing the camera inside the car right on the trunk light. Theoretically, the camera should face downward and capture the blind area behind the bumper. If anyone has experience with a similar set-up, please let me know. Also, the camera uses a 12V so the plan is to splice into an existing power cable.
In terms of the Pioneer system, I ended chosing the toy for these following reasons:
1. It's quite cheap at $700
2. Has one AV in connection
3. Does not have Navi - my wifey just bought herself a Garmin Nuvi so we'll use that one when driving into unexplored territory
4. My friend has one in his Ford Focus which he uses to drive to LV every week from LA to visit his fiancee and it looks nice (the stereo, not the car)
5. It's quite cheap
In fact, the installer knows about the hack and is willing to bypass the parking sensor. The avh-p5700 needs a simple switch that mimics engaging the parking brake or the DVD will stop playing.
One more thing - I bought the adaptor which supposedly allows me to continue using the OEM steering wheel controls. Was wondering if anyone has had experience with those gadgets:
Pioneer Steering wheel control adaptor
Also, this is sort of pie-in-the-sky thinking, is there some kind of cover which could disguise the nice stereo from sticky fingers out there? Yes, the Pioneer system does have a removable faceplate, but it's only partial from what I remember.
Cheers,
M
Last edited: