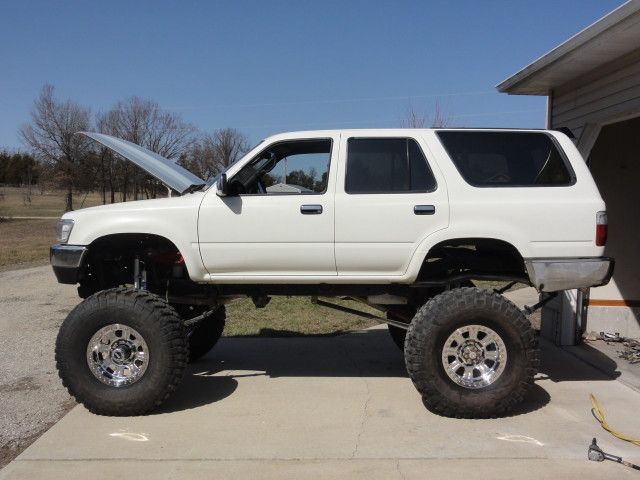
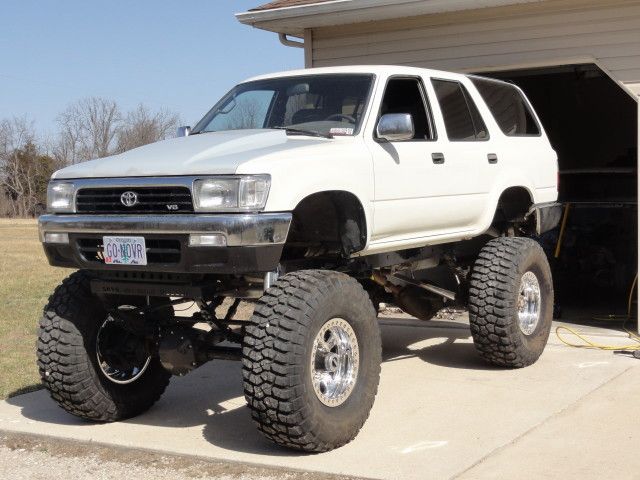
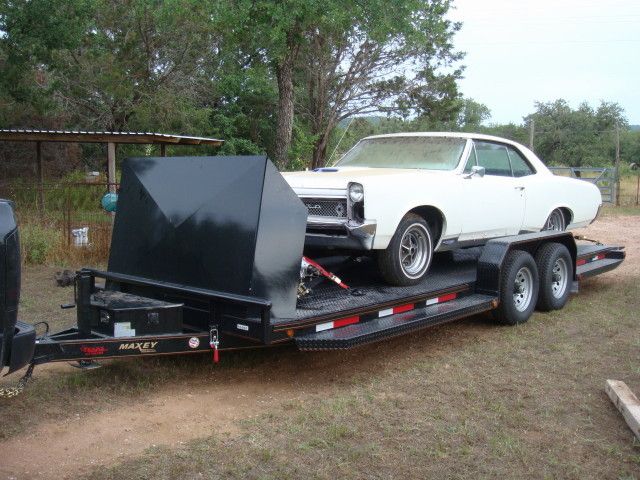
Supper diggin the beast but also super diggin that last pic.. you gotta think of something different than SS tho.. somthing that deals with toyota.. lol
Supper diggin the beast but also super diggin that last pic.. you gotta think of something different than SS tho.. somthing that deals with toyota.. lol
Thanks guys! I was just messin around with photoshop. Probably gonna do something pretty simple so i wont worry about scratches and dents so much. That will it will be easily fixable too.
Chevy also did an SSR so that could be looked at on both sides (toyota and chevy). I want to do something different. I may get some 6.2L ones done up or something.
Alright back to building, those that follow my other posts know i installed my beadlocks. If you don't know this...
TADA.
Moving on.
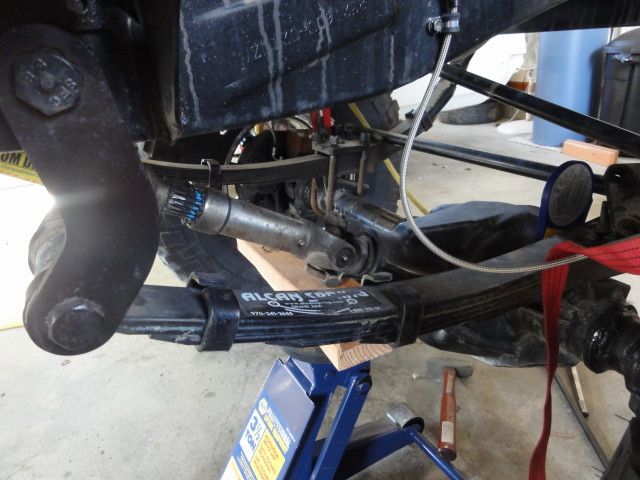
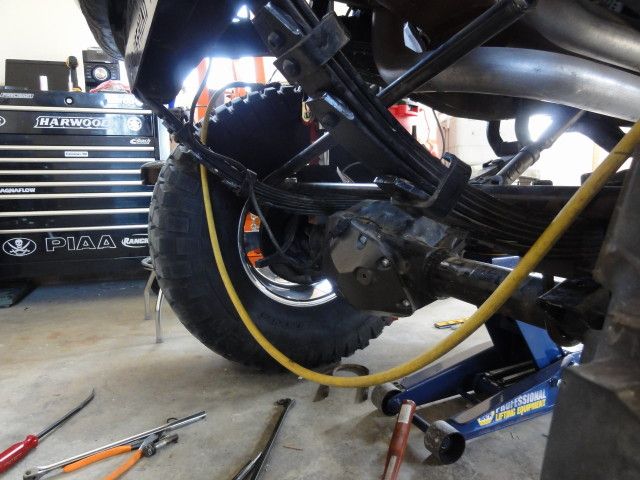
I know my front axle needs to come up quite a bit (picture above shows horrible driveline angle). 25* exactly to get the pinion inline with the shaft. That was the DC at the transfercase is happy too. Unfortunately this is no easy task. I already rotated the inner C's back 10* to compensate for the current pinion angle which wasnt nearly enough. Another problem is the passenger side perch. On a dana-60 the perch is cast into the diff housing. Making it a huge pain to work with.
1st Pic is the angle i need to be at. I unbolted the U-bolt plates and jacked up the pinion until it was inline.
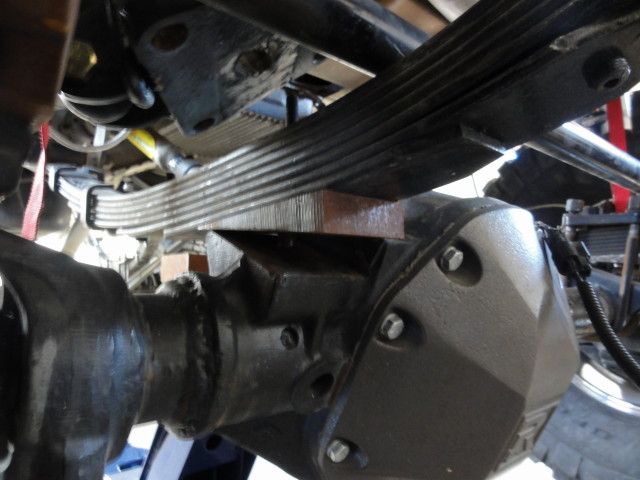
These pictures show the amount i need to turn the axle from where it currently is. That is with 8* shims too. My goal is to have the pinion and driveshaft inline and not have to run any shims.
In order to accomplish this I have to get a 25* chunk milled out of the cast-in perch, I have to rotate the inner C's another 15* back. Cut off the drivers side perch and weld a new one on.
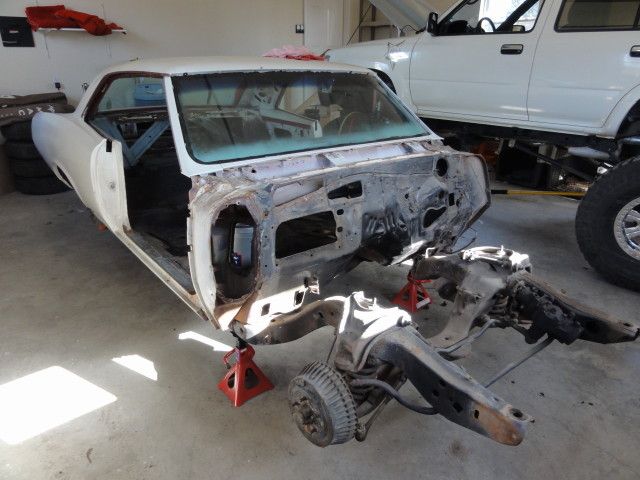
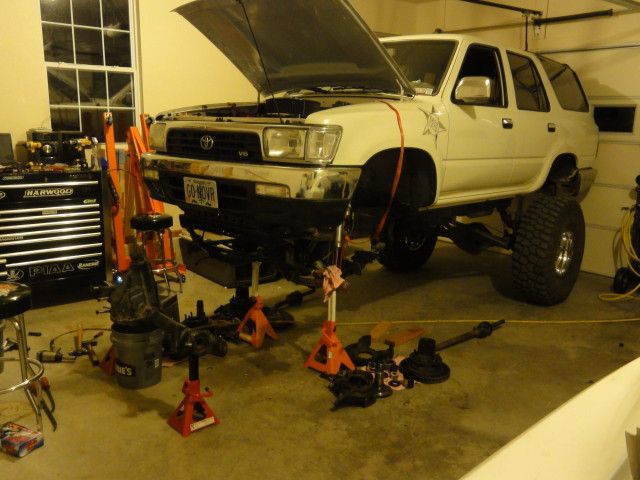
The pass. side only has one U-bolt as well. It has 2 bolts that attach the inside of the spring plate to the axle. This also has to be milled and then the bolt holes have to be re drilled and tapped to match the new angle. That way the U-bolt plate can get sucked down the correct way. On top of everything else I have to completely tear down the axle for the machine shop. Now I need more jack-stands, because my other project is tying them up.
Honestly I'm probably just gonna keep it white. I'll get the whole thing re-done but probably just do a lexus isf pearl white with a big club logo on each side and hood.
So I am completely confused as to the actual location of this truck, but if it is any where near Fountain,CO just let me know. I will be happy to break it in for you.
So I am completely confused as to the actual location of this truck, but if it is any where near Fountain,CO just let me know. I will be happy to break it in for you.
Ha! I used to live in Fountain little over a year ago. Moved to Missouri just recently. As soon as this front axle is done I will do a thrash test to see what is going to break first. Then beef it up and try again. I am very abusive in the testing of a new build.
Ha! I used to live in Fountain little over a year ago. Moved to Missouri just recently. As soon as this front axle is done I will do a thrash test to see what is going to break first. Then beef it up and try again. I am very abusive in the testing of a new build.
Well since my axle is never going to get done (been a week and still haven't got to it). I decided to tackle the cable shifters for the atlas. Since I couldnt use the hard mount shifter, I had to get the cable version. This opened up tons of mounting variations. I wanted to use as much of the factory console that I could. This is what I ended up with so far.
Lost the dish, coin holder and rear window switch & lock. I will relocate those once everything is set the way I want it.
All the way back
All the way forward
I have maybe an 1/8 in. of clearance between the shifter housing and T-case. If I didnt have the body lift I would have had to fabricate the floorpan and tunnel. How ever much I hate body lifts, this has worked out in my favor time and time again.