
ToyRunner4Me
New member
Hi,
I am posting this to ask all the members who have the Rago ditch bracket to find out if they have to cut, grind or heat the plastic that covers the bottom of the windshield. I chose the Rago bracket because other members say no cutting or heating of the plastic like the CBI. I look at the Ronin and at Rago youtube on the install. No one or not that I have seen on youtube of how the hood gap looks on the passenger side. After trying a different bolt for more adjustability since the OEM bolt is bevel at the bottom of the head for more of a hub centric fit. I ended up heating the plastic instead of trimming the plastic. The bracket was making a dent on the plastic which I didn't care but the hood had a hump which isn't flush. At first looking at the dent on the plastic, it seem like all I have to do is a small heat bend. After several tries, the final result was shocking. The dent turn into an impression sizable enough for the bracket to clear and leave no hump or gap. I think if I had to do it all over again or my advice is to heat the plastic pretty well so you just need to do one push to collapse the corner to make one smooth impression.
I am posting this to ask all the members who have the Rago ditch bracket to find out if they have to cut, grind or heat the plastic that covers the bottom of the windshield. I chose the Rago bracket because other members say no cutting or heating of the plastic like the CBI. I look at the Ronin and at Rago youtube on the install. No one or not that I have seen on youtube of how the hood gap looks on the passenger side. After trying a different bolt for more adjustability since the OEM bolt is bevel at the bottom of the head for more of a hub centric fit. I ended up heating the plastic instead of trimming the plastic. The bracket was making a dent on the plastic which I didn't care but the hood had a hump which isn't flush. At first looking at the dent on the plastic, it seem like all I have to do is a small heat bend. After several tries, the final result was shocking. The dent turn into an impression sizable enough for the bracket to clear and leave no hump or gap. I think if I had to do it all over again or my advice is to heat the plastic pretty well so you just need to do one push to collapse the corner to make one smooth impression.
Attachments
-
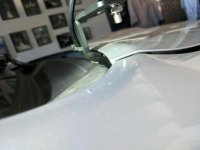 Rago bracket passenger side touching plastic.jpg115.8 KB · Views: 641
 -
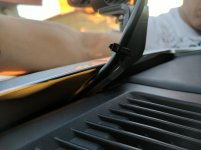 Rago bracket touching plastic backside view.jpg106 KB · Views: 632
 -
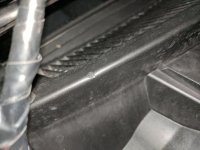 Rago bracket dent on plastic.jpg129.5 KB · Views: 621
 -
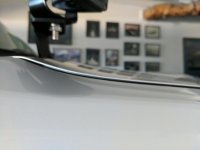 Passenger side hood hump from Rago bracket.jpg122.8 KB · Views: 625
 -
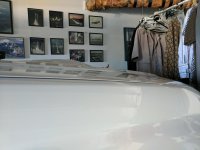 Passenger side hood hump from Rago bracket 2.jpg123.3 KB · Views: 606
 -
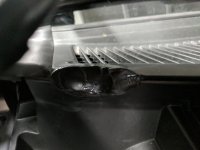 Heated plastic to clear Rago bracket.jpg135.3 KB · Views: 615
 -
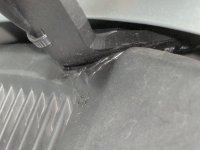 Rago bracket clearance backside view.jpg124 KB · Views: 591
 -
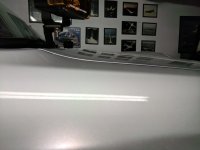 Passenger side no hump.jpg107.8 KB · Views: 599


