theizzardking
New member
was trying to send this in a pm and failed too long, and anyways i think other can benefit as well, so for now here is a txt only version of my install
remove all previous bumper stuffs
1.remove mounting flanges attached to frame rails with sawzall,
get as close as you can to the plate, trying to only cut the spot welds on the frame rails,
grind down any welds left on frame rails once the mounting flanges are removed,
2.from there slide the arb mounts over the frame rails and put the bolts in very loosely,
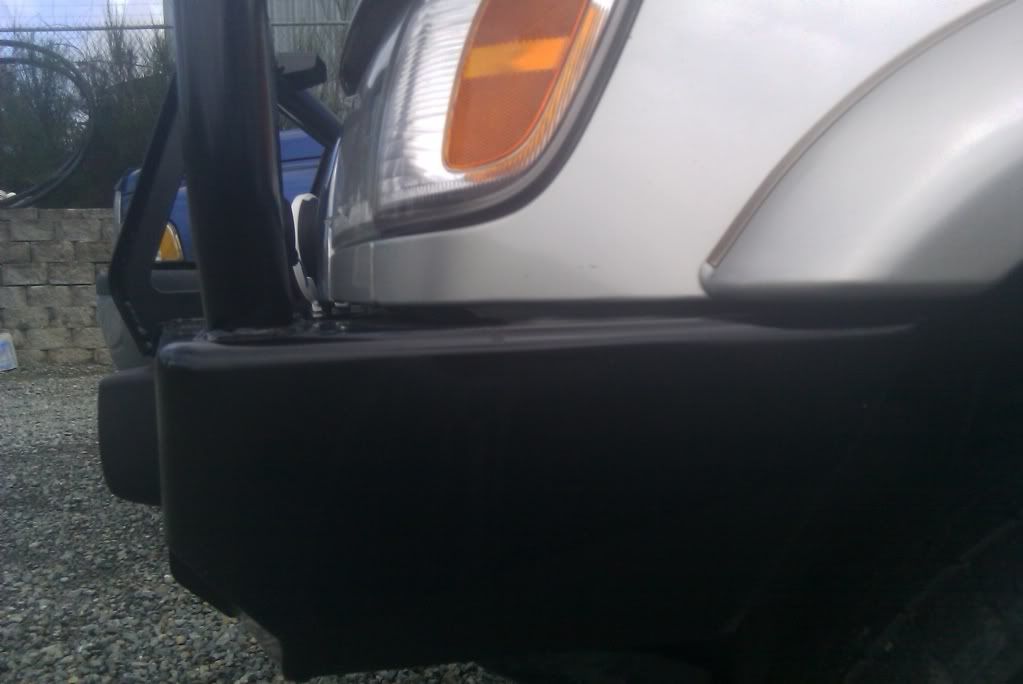
2.A. (optional)also at this point in time you may want to notch the fender, i'll try and find a photo and send it a bit later of what i'm talking about..... on the fender just below the head light assy you will see that the sheet metal from the fenders kinda hang out just a hair further from the bolts that attach that small little corner piece of the fender to the rest of the truck, i cut a small little triangle out here about 1.5 inches big, you will see later when your trying to align the bumper that this little curve/corner of the fender stops the bumper from going all of the way up and touching the little rubber contact pads of the grill mount, you should what i'm talking about when you look under the grill when everything is removed, this is where your bumper should end up (touching the pads)
3.from there line up grooves in the arb bumper to the wavy/bumpy pieces on top of the mounts and slide it back using a dead blow/rubber mallet to get it to drop in all of the way, lift the bumper up just to get the bolt holes to align on the inside bumper and put bolts in very loosely, now your bumper should be aligned from left to right,
4.get a jack out with a block of wood and place it under one of the vertical rib plates in the bumper (that being the one directly under the towers/tubes under the bumper, the vertical plate) and start to jack the bumper up into position tighten then bolts on that side almost as tight as they can go, repeat the other side, and that's that your bumper should be almost flush on all side and level on top, don't forget to use a tq wrench and lock everything in place,
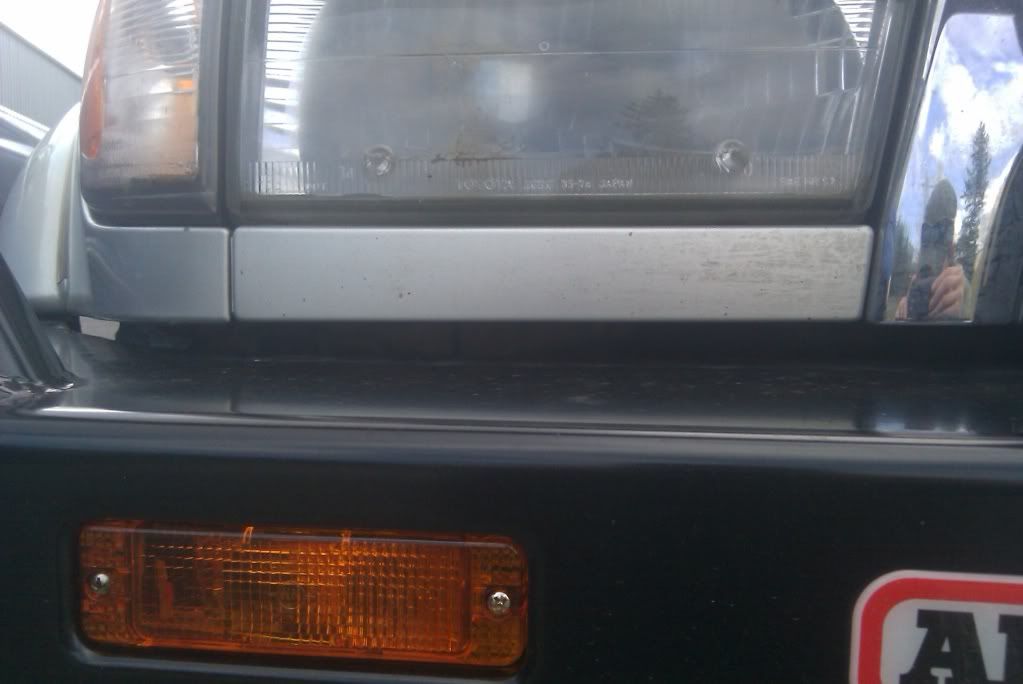
5. extra crap: also do the turn lights and all of the wiring before you put the bumper on, it's not that big of a deal becuase i did it all after, it does seem slightly easier with the bumper off, also when assembling the lights don't do it the way the instructions tell you put the black plugs in the back part of the housing and insert housing making sure the little black plugs go through the hole in back and stay in their grooves in the housing, after all of that is sorted then put the front cover on and screw it in, if you do it like the instructions tell it becomes much more difficult to make sure those plugs are doing their job, if you have it i suggest replacing that whole black plug and screw attachment system with a m4x55mm button head cap screw and nut, it will be a much more sturdy attachment method, i managed to bend one of these stupid little plugs and had to use a clip from a speaker mounting kit to get the screw to grab and go through, you'll see what i'm talking about what you pull the lights out, it's really kinda cheap and stupid and really my only complaint about the bumper and kit.
remove all previous bumper stuffs
1.remove mounting flanges attached to frame rails with sawzall,
get as close as you can to the plate, trying to only cut the spot welds on the frame rails,
grind down any welds left on frame rails once the mounting flanges are removed,
2.from there slide the arb mounts over the frame rails and put the bolts in very loosely,
2.A. (optional)also at this point in time you may want to notch the fender, i'll try and find a photo and send it a bit later of what i'm talking about..... on the fender just below the head light assy you will see that the sheet metal from the fenders kinda hang out just a hair further from the bolts that attach that small little corner piece of the fender to the rest of the truck, i cut a small little triangle out here about 1.5 inches big, you will see later when your trying to align the bumper that this little curve/corner of the fender stops the bumper from going all of the way up and touching the little rubber contact pads of the grill mount, you should what i'm talking about when you look under the grill when everything is removed, this is where your bumper should end up (touching the pads)
3.from there line up grooves in the arb bumper to the wavy/bumpy pieces on top of the mounts and slide it back using a dead blow/rubber mallet to get it to drop in all of the way, lift the bumper up just to get the bolt holes to align on the inside bumper and put bolts in very loosely, now your bumper should be aligned from left to right,
4.get a jack out with a block of wood and place it under one of the vertical rib plates in the bumper (that being the one directly under the towers/tubes under the bumper, the vertical plate) and start to jack the bumper up into position tighten then bolts on that side almost as tight as they can go, repeat the other side, and that's that your bumper should be almost flush on all side and level on top, don't forget to use a tq wrench and lock everything in place,
5. extra crap: also do the turn lights and all of the wiring before you put the bumper on, it's not that big of a deal becuase i did it all after, it does seem slightly easier with the bumper off, also when assembling the lights don't do it the way the instructions tell you put the black plugs in the back part of the housing and insert housing making sure the little black plugs go through the hole in back and stay in their grooves in the housing, after all of that is sorted then put the front cover on and screw it in, if you do it like the instructions tell it becomes much more difficult to make sure those plugs are doing their job, if you have it i suggest replacing that whole black plug and screw attachment system with a m4x55mm button head cap screw and nut, it will be a much more sturdy attachment method, i managed to bend one of these stupid little plugs and had to use a clip from a speaker mounting kit to get the screw to grab and go through, you'll see what i'm talking about what you pull the lights out, it's really kinda cheap and stupid and really my only complaint about the bumper and kit.
Last edited: