Rear Brake Backing Plate Sheild Rebuild

cferry7

New member
1989 Toyota Pickup DLX 22RE , 2.4 L , 4WD

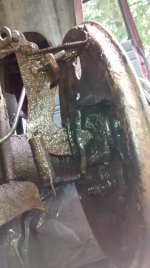
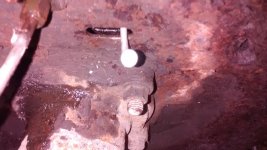
Rear Brake Backing Plate Outer Diameter Dust Sheild Rebuild ------- Pictorial's

To be continued .....
 

Attachments

  • IMG_20150715_120350672.jpg
    IMG_20150715_120350672.jpg
    136.4 KB · Views: 754
  • IMG_20150719_100050981.jpg
    IMG_20150719_100050981.jpg
    132.3 KB · Views: 596
Register to hide this ad
Fabricate Dust Shield

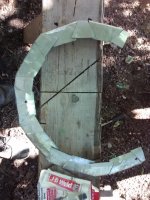
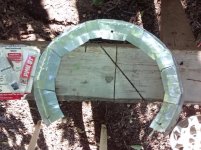
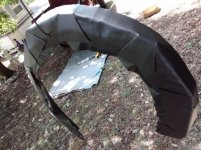
1) Fabricate Brake Backing Plate Outer Dust Shield ----
a. 1/32 inch thickness Steel Sheet
b. Cut 2 1/4 inch strip of this Stainless Steel
Sheet
c. Shaped this Strip into Circular shape
d. Cut trapezoidal shape slits lengthwise
into Steel Strip up to the 1/2
inch depth.
e. Bend trapezoidal and trianglular shape
cuts of Stainless Steel to form circular
Shield consisting of the 1/2 inch outer
edge for shield.


To be continued . . .
 

Attachments

  • IMG_20150804_093752163.jpg
    IMG_20150804_093752163.jpg
    135.9 KB · Views: 573
  • IMG_20150804_093815840.jpg
    IMG_20150804_093815840.jpg
    139.7 KB · Views: 568
Last edited:
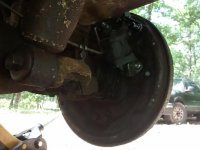
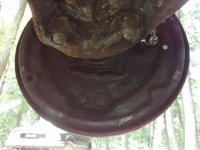
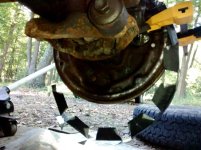
Backing Plate -

Backing Plate - with Rusted Outer diameter Dust Shield Removed ---
 

Attachments

  • IMG_20150804_120955602.jpg
    IMG_20150804_120955602.jpg
    115.7 KB · Views: 760
  • IMG_20150804_121012126.jpg
    IMG_20150804_121012126.jpg
    118.8 KB · Views: 960
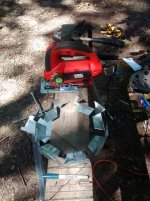
Cut of Stainless Steel Strip

Cutting of Stainless Steel Strip
Black & Decker Jig Saw - All Metal Blade

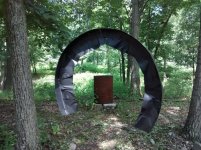
Painting "new" Dust Shield
Rustoleum Flat Black spray paint
 

Attachments

  • IMG_20150802_154730575.jpg
    IMG_20150802_154730575.jpg
    140.1 KB · Views: 710
  • IMG_20150804_120031368.jpg
    IMG_20150804_120031368.jpg
    143.7 KB · Views: 563
Paint, Begin Attaching

Paint and Beginning to Attach Shield to Backing Plate.
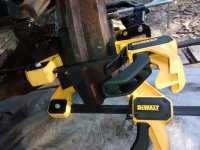
1) JB Weld, Dewalt Clamps
2) Glue in individual stages. Two days in advance I Form Fitted the Shield - Small Shaping adjustments with Ball Peen hammer.
3) Individual JB Weld Stages counterclockwise to continue to shape the Steel Strip.
4) Allow each stage to dry at least 4 - 5 hours
before next Glue attachment spot. At least 24 hour dry time before functional test.

 

Attachments

  • IMG_20150804_120107581.jpg
    IMG_20150804_120107581.jpg
    140.6 KB · Views: 616
  • IMG_20150804_173910660.jpg
    IMG_20150804_173910660.jpg
    131.5 KB · Views: 803
  • IMG_20150804_180233552.jpg
    IMG_20150804_180233552.jpg
    128 KB · Views: 733
Completed

Completed Final JB Weld Touch Up on Left Rear Brake Drum Dust Shield Fabrication.
Pictures added to a new Picture Album within T4R Forum Photo Gallery.
 

Members online

Forum statistics

Threads
278,316
Messages
3,554,111
Members
248,016
Latest member
Advally Service

Trending content

Back
Top