Dianna
Member
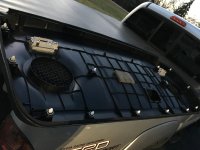
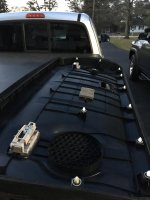
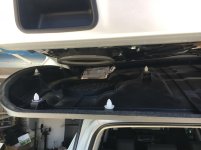
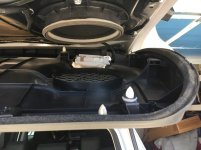
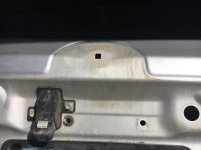
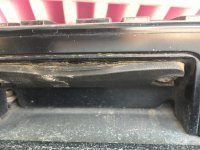
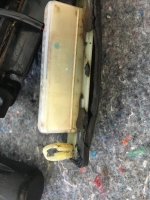
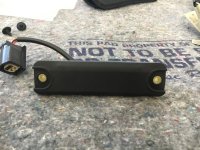
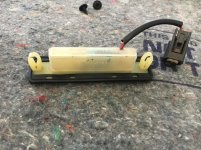
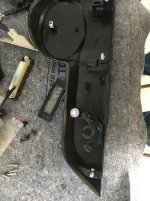
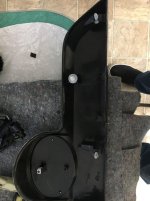
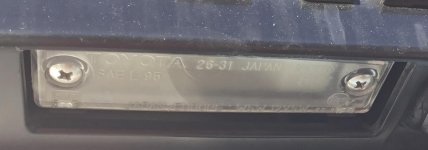
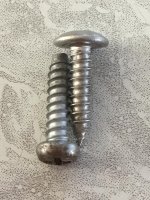
I had my license plate bolts break off, even though I used anti-seize. I took off the rear panel cover to try to remove the bolts from the back. I was able to get one out, the other one also broke off on the inside and I ended up drilling and tapping. I know this information is located in a build thread, but I wanted to make it easier to search for, and also to show a pic with the location of all of the clips.
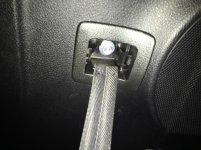
1. Remove the plastic cover over the interior handle and use a 10mm socket to remove the bolt holding the handle on.
2. Start at the passenger corner and look for the small opening. Use a plastic clip removal tool, or put tape on your metal clip removal tool, or you will scratch your paint. After you get it started, you may need a second took to pop off that first clip. It requires quite a bit of force to get the first one. Pop off all of the clips.
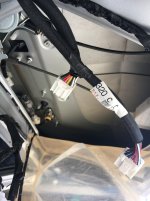
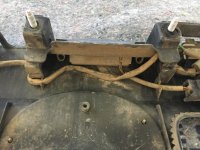
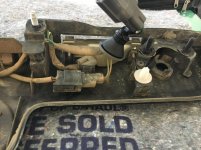
2. Disconnect the two electrical connectors to the lights.
3. Push the panel toward the window to free it
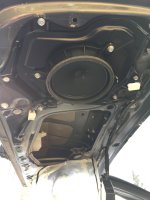
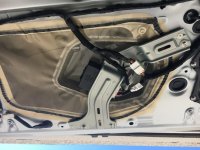
4. If you need to access inside the door, disconnect the wiring to the window motor, and remove 3 bolts and 2 clips holding down the window motor bracket.
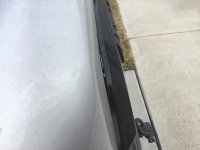
5. Start pulling the plastic away from the door. You can put it back on using the adhesive, so don't tear it away. Use a razor blade to cut the adhesive as you pull it away.
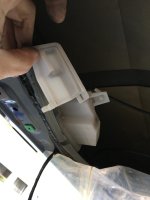
A few tips; If you close the rear hatch with the electrical connectors disconnected, you will not be able to open the hatch from the outside! Don't ask me how I know :redface: ... twice... ugh. When you make that mistake, crawl in the back, and you can either reconnect the electrical connectors, or take off the little white door and push the metal tab IN to open the hatch.
To reassemble, begin dropping the panel in from the top and give it a few taps down to set it correctly. Make sure all of the tabs are on the panel, and none remained on the door when you pulled it off. I had one stay in the door, pop it off and assemble it in the panel.
This is how you turn a 5 minute job of swapping a license plate into a few hours long project
1. Remove the plastic cover over the interior handle and use a 10mm socket to remove the bolt holding the handle on.
2. Start at the passenger corner and look for the small opening. Use a plastic clip removal tool, or put tape on your metal clip removal tool, or you will scratch your paint. After you get it started, you may need a second took to pop off that first clip. It requires quite a bit of force to get the first one. Pop off all of the clips.
2. Disconnect the two electrical connectors to the lights.
3. Push the panel toward the window to free it
4. If you need to access inside the door, disconnect the wiring to the window motor, and remove 3 bolts and 2 clips holding down the window motor bracket.
5. Start pulling the plastic away from the door. You can put it back on using the adhesive, so don't tear it away. Use a razor blade to cut the adhesive as you pull it away.
A few tips; If you close the rear hatch with the electrical connectors disconnected, you will not be able to open the hatch from the outside! Don't ask me how I know :redface: ... twice... ugh. When you make that mistake, crawl in the back, and you can either reconnect the electrical connectors, or take off the little white door and push the metal tab IN to open the hatch.
To reassemble, begin dropping the panel in from the top and give it a few taps down to set it correctly. Make sure all of the tabs are on the panel, and none remained on the door when you pulled it off. I had one stay in the door, pop it off and assemble it in the panel.
This is how you turn a 5 minute job of swapping a license plate into a few hours long project