Storage Box Update:
When I first got my 4Runner I came from a truck, so not having a spot for every thing kinda tweaked out my OCD. One of my very first projects was to build a storage box so that things not only had a place, but so that things weren’t just rolling around and causing a constant state of unrest for my soul, LOL.
This was also one of my first wood working projects…to say the least it was sub-par. My dad who is a fantastic wood-worker pretty much gave me a face-palm, took it apart, squared it up for me, and then carpeted it to hide the obvious flaws.
I wanted to be able to incorporate a sub/amp and then a compartment for electrical distribution…what ever was left was for storage.
Storage Box 1:

In the end it was too tall and my sub/amp took up too much rear space.
I then sold for what I had in it to a good friend who is still using it today. As I though through what I wanted for the second it boiled down to longer shallower drawers, more than one drawer and a cleaner set-up for my inverter. I also built a box for my sub in the stock storage compartment. The height was great, however with limited wood experience I over-looked some basic possibilities. (i.e. not thinking about making the drawers different sizes for the sake of utilizing all the rear space in the box.) In the end the rear portion of the box had a lot of unused space due to squaring off the whole back portion off the size of my amp. Additionally, I wasted space by placing my inverter in the spot I did. I could have easily remotely located the inverter in the back of the box…again a lot of unused space.
The sub box was kinda a lot for that panel to hold, so in time it started rattling more than I was OK with. Noises that don’t belong drive me nuts so I turned the sub off, which begs the question…why have if there if I’m not going to use it? Also, the air space was limited and that sub needed more.
Sub Box:

Storage Box 2:

All this to end up here. [MENTION=96608]MandAtaco[/MENTION] built a very nice box, that was dropped one side so that he could have access to the cooler (ingenious right!!! That’s why I stole the idea) and we had both chatted about how nice it would be to have a table, so once he decided that a storage box was in his future he implemented these features and after one trip it was decided…I had to rebuild mine. I had seen some really cool side storage builds, so I decided to sit down with paper and a scaling ruler and figure out exactly what I wanted out of this. Here is a list of things I wanted:
-Table / Drawer
-Cooler space
-Remote Inverter with better access (I went from a 1500W max inverter to an 1100W operating inverter so it took up quite a bit of space)
-Hard mounted Air Pump
-Sub/Amp
-Electrical Distribution
-Utilizing any left over space.
-Lastly, if I’m going to put this much work into it I wanted it to look nice and clean.
As I had the drawings going, I ran across an Igloo cooler at SAMs that I ended up buying so my dimensions changed a bit, as the cooler was longer, wider, and taller (LOL). It is Igloos version of a Yeti or Pelican.
Here are some photos of the progress, I apologize that I had a gap in the build where some photos that could have been taken weren’t.
First Concept:
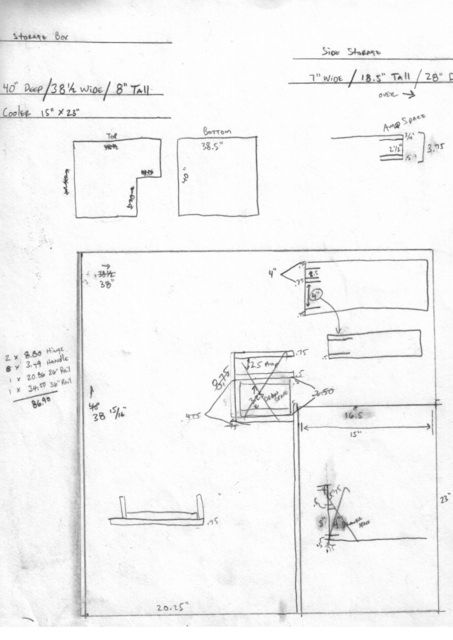
Generic space usage
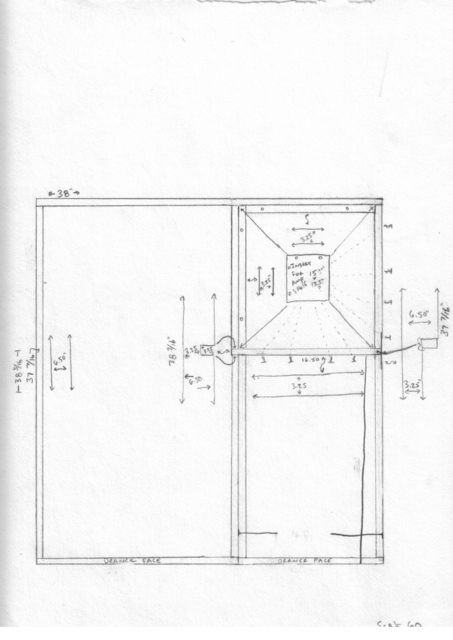
I planned on having the Amp elevated so the drawer/table would slide underneath, but once the new cooler came into play I had to relocate the amp all together.
Second Concept:
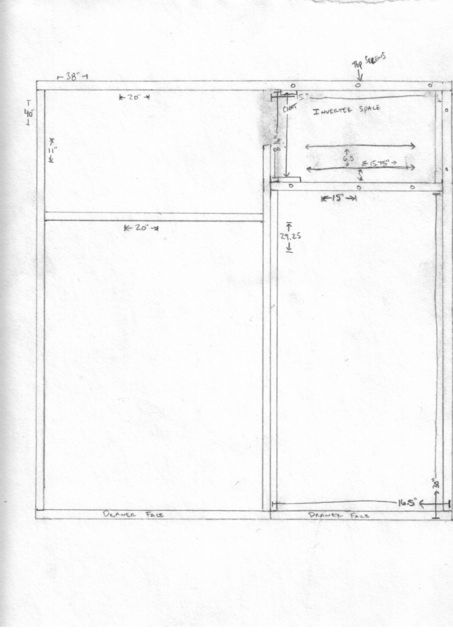
Drawer/Table Profile:
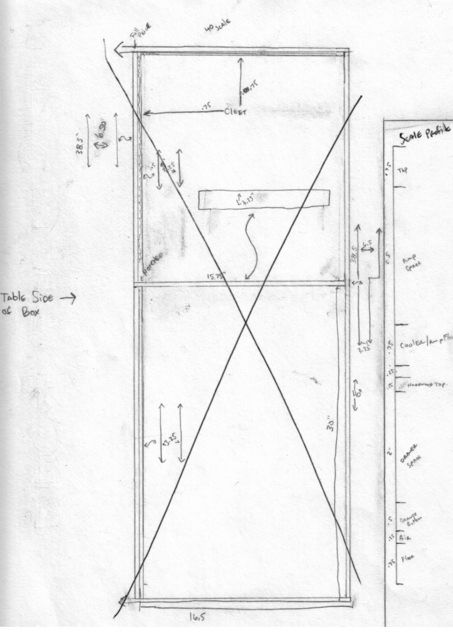
This profile was to the 1/8” due to needed 2” drawer height and still keeping it as low as possible so mu cooler lid will lift.
Build Photos:


Here is the photo gap…I didn’t take any of the cut and assembly of the side boxes.





