Kraeken
New member
I finally got it all done correctly, and I figured I'd post the bits of info that took me a long time to search for on different forums. Mind you I'm no good at this stuff, and its all new to me, so sorry in advance if everyone knows this already. 
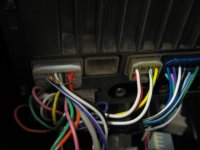
The head unit fits perfectly.
There is a TSB for the AUX input, and I corrected this first. I was getting lots of interference when my XM Tao was plugged into the AUX jack and charging at the same time. the dealership said some of the AUX jacks were manufactured wrong, and they fixed it with a new cable and some kind of noise filter.
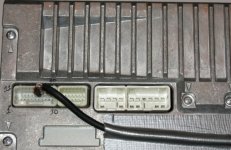
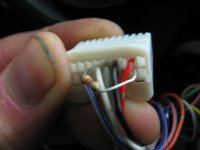
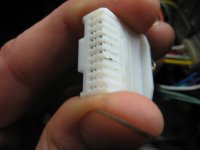
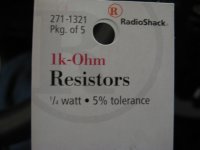
The 1k ohm resistor goes in the plug that controls the AUX input/ steering controls. Starting from the top left of the plug, the first slot is #11. One end of the resistor needs to be inserted in the blank space that is #14. It has to go all the way through so it contacts the pins in the back of the H/U. The other end goes into #19, so that it contacts the metal of the wiring. I taped it in place. It works perfectly.
The iPod cable is great! It was expensive and took a long time to show up though. I ran the cable through the big space that opens into the glove compartment. It even plays music from my iPhone 3G, but will not answer calls or play sound from video.
The whole stereo looks and sounds great with my stock speakers. definitely a worthy mod!
The head unit fits perfectly.
There is a TSB for the AUX input, and I corrected this first. I was getting lots of interference when my XM Tao was plugged into the AUX jack and charging at the same time. the dealership said some of the AUX jacks were manufactured wrong, and they fixed it with a new cable and some kind of noise filter.
The 1k ohm resistor goes in the plug that controls the AUX input/ steering controls. Starting from the top left of the plug, the first slot is #11. One end of the resistor needs to be inserted in the blank space that is #14. It has to go all the way through so it contacts the pins in the back of the H/U. The other end goes into #19, so that it contacts the metal of the wiring. I taped it in place. It works perfectly.
The iPod cable is great! It was expensive and took a long time to show up though. I ran the cable through the big space that opens into the glove compartment. It even plays music from my iPhone 3G, but will not answer calls or play sound from video.
The whole stereo looks and sounds great with my stock speakers. definitely a worthy mod!