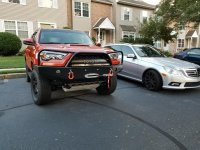
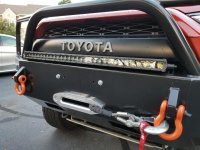
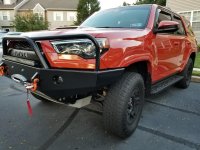
Got the rear bumper installed. Finally and I love it.... now that it's on!!! Some picks below
4runner - Album on Imgur
Anyone else doing the rear bumper should be aware
- On both the skid plates and rear bumper, parts were missing and or wrong. I was short 8 nuts for the large bolts on the tire carrier and the frame shimes were supposed to have 6 and I got 2. The skids had the wrong size bolts for the engine skid and I haven't checked the rest yet. As usual check all of the parts out when hardware stores are open.
- Rear reservoir shocks may need relocating due to the bumper wing supports getting in the way. Mine did and I have them zipped tied with the massive sized ones for now until it's not boiling heat in Phoenix and I can fix it right.
- The plastic pieces where the tire carrier sits on the latch end. Put those pieces on BEFORE you mount the bumper. While it's not impossibru it was a major pain in the arse . I can't help but think someone is getting a giggle of not mentioning it earlier.
- The holes for the roto pax I expected to use did not line up. I had to shift over one set of holes. This made it hard to keep the gas cans in the expected orientation (see picks) without it getting in the way of the latch, but this works.
All in all quality stuff and the directions were easy enough to follow. =)
4runner - Album on Imgur
Anyone else doing the rear bumper should be aware
- On both the skid plates and rear bumper, parts were missing and or wrong. I was short 8 nuts for the large bolts on the tire carrier and the frame shimes were supposed to have 6 and I got 2. The skids had the wrong size bolts for the engine skid and I haven't checked the rest yet. As usual check all of the parts out when hardware stores are open.
- Rear reservoir shocks may need relocating due to the bumper wing supports getting in the way. Mine did and I have them zipped tied with the massive sized ones for now until it's not boiling heat in Phoenix and I can fix it right.
- The plastic pieces where the tire carrier sits on the latch end. Put those pieces on BEFORE you mount the bumper. While it's not impossibru it was a major pain in the arse . I can't help but think someone is getting a giggle of not mentioning it earlier.
- The holes for the roto pax I expected to use did not line up. I had to shift over one set of holes. This made it hard to keep the gas cans in the expected orientation (see picks) without it getting in the way of the latch, but this works.
All in all quality stuff and the directions were easy enough to follow. =)