SOcalTRAIL
New member
SOcalTrail's 2011 Trail Edition Build Thread
September 2012 T4ROTM Winner - Thanks for all the support!
Here is my constantly evolving 2011 Toyota 4Runner Trail Edition build. Some was inspired by the work of others, the rest was my imagination combined with trial and error. Hope everyone enjoys this, if there are any questions, feel free to post on this thread.
Background:
Me:
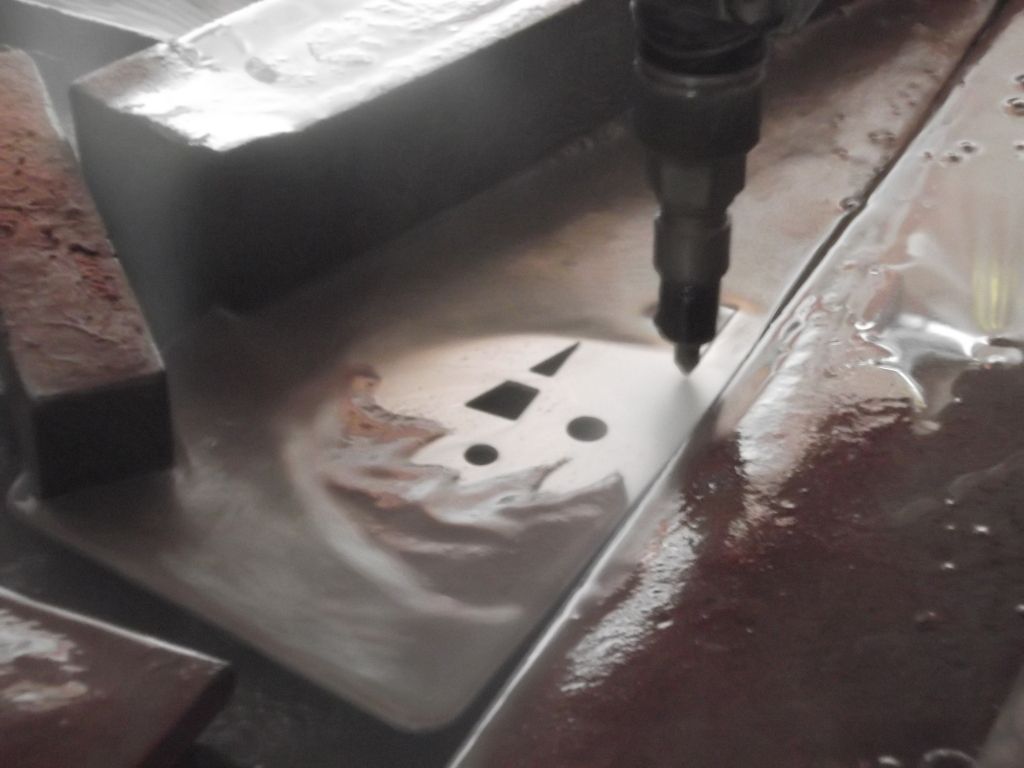
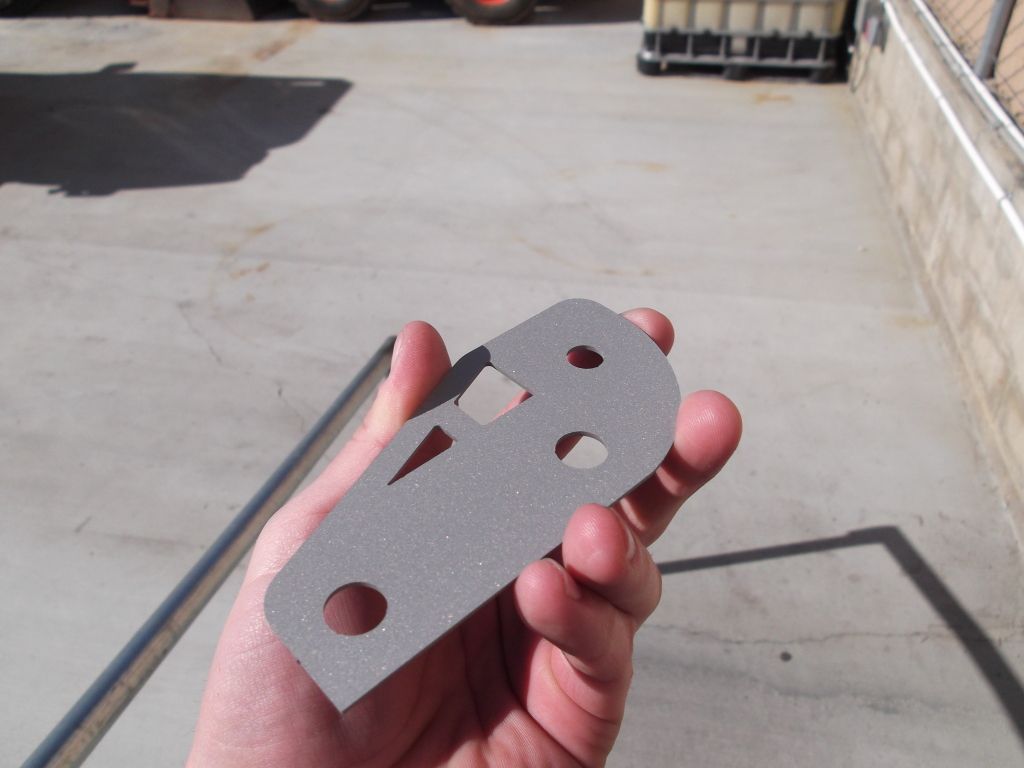
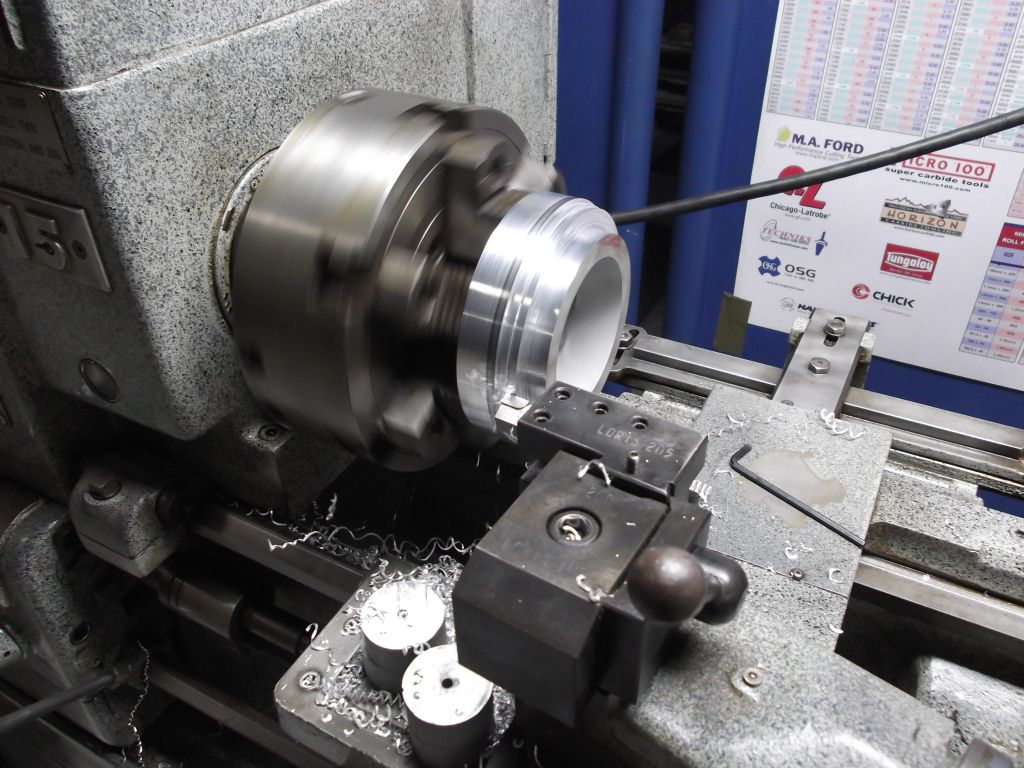
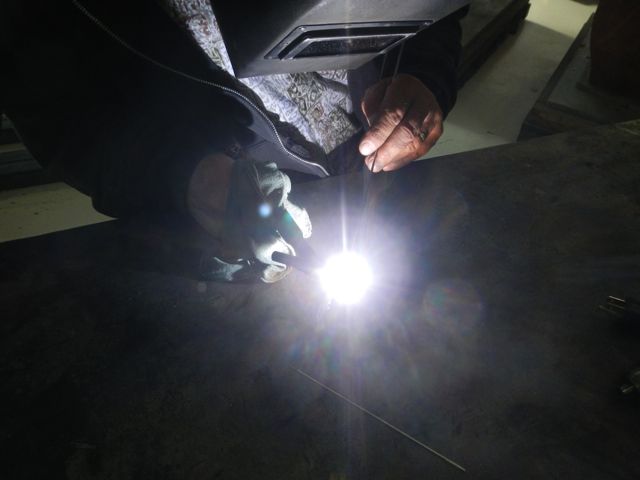
I help run a small precision aerospace fabrication shop down here in San Diego so I have 15+ years with the company and experience with metal fab, machining, welding, forming, design etc. I'm lucky enough that I have full access to the shop whenever I need, makes it very handy for projects like this! This project started a week after I bought the truck and is still going... working on it on the weekends and after work.... lots of time involved.
My Rig:
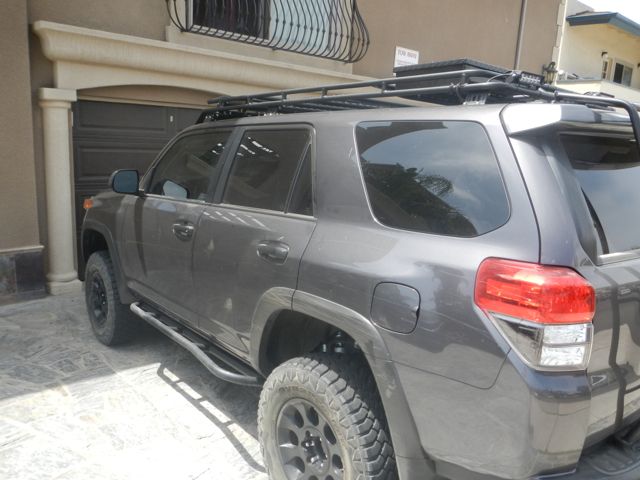
She is a fully loaded mag grey 2011 Trail Edition, purchased on Aug 18, 2011. I saw it parked on a pedestal in the middle of the dealership parking lot when I was driving by one day. The coincidence was that I had the EXACT same truck on order with another dealership for over 2 months!! The dealership I bought the truck from just got it in that day, I as the first to look at it and snatched it up ASAP.
I have been so busy for the last few months that my original plan was to start off my build thread and add to it as I progressed. Once I got things rolling and got busy, I got behind and just decided to do it all at the end.
My goal:
Have fun!!!! That is all. To say that I have always loved 4Runners is an understatement. My dad had a 1st Gen T4R back when I was growing up and we had tons of fun in that truck. I had a couple Tacoma's but always sold em after a year or so simply because I just "wasn't feeling it".... the truck bed was used to haul surfboards and it seems like whenever you own a truck, you always get that call form friends and neighbors to help move ****...
the ultimate goal for this truck was to build something that was comfortable to drive every day, across country through any condition, and off road through any condition we might have here in North America. You will notice through the build that I swapped components and went a complete different direction a couple times. This was a result of running those products for a short time, seeing how they suited my needs and deciding that they were not what I was looking for.
I will do my best to outline all the details but if you have questions as to more specific details on a item, product or part, feel free to PM me!
Current modification list:
Lighting~~~
Full 5K LED interior Conversion (v-leds.com)
5K LED strip light for engine compartment lighting (v-leds.com)
5K LED strip lights for undercarriage rock lighting (v-leds.com)
Genuine Philips 4300K HID conversion kit for low beams
Genuine Philips HIR bulbs for hi beams
55Watt 3000K HID fog light conversion
30" Vision X Xmitter Prime Xtreme 5-Watt LED Light Bar - Rack Mounted
18" Vision X Xmitter Prime Xtreme 5-Watt LED Light Bar - Mounted Behind Grill
Two 6" Rigid SR Flood beam lights on rear of roof
Rigid Industries SR-Q2 "alley" lights mounted on Gobi rack near front.
Electrical~~~
Odyssey PC1200 auxiliary battery
IBS DBS Dual battery isolator / control
Full array of Contura switches
Independent fog light mod
Wired front 12v outlets to aux batt. for "always on usage"
Blue Sea fuse panel
Off Road Stuff~~~
Viair 450H Air compressor with 2.5 Gal. Air Tank
Air chuck outlets in engine compartment and below front bumper
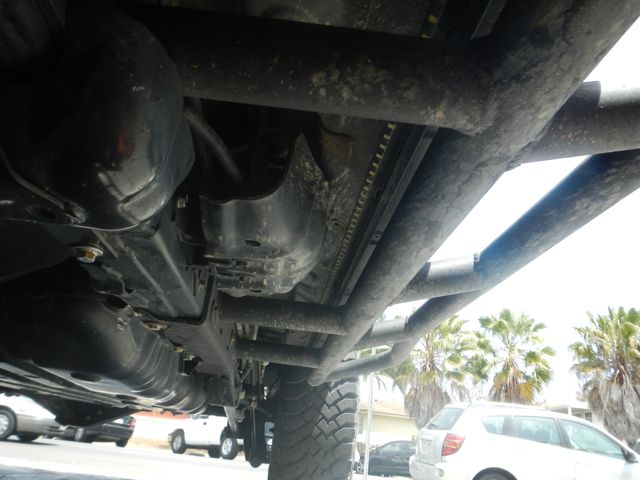
Full Shrockworks Under carriage Armor
Bud Built Beefy Bump out sliders
Full recovery gear - ARB
Crescent Tool Kit
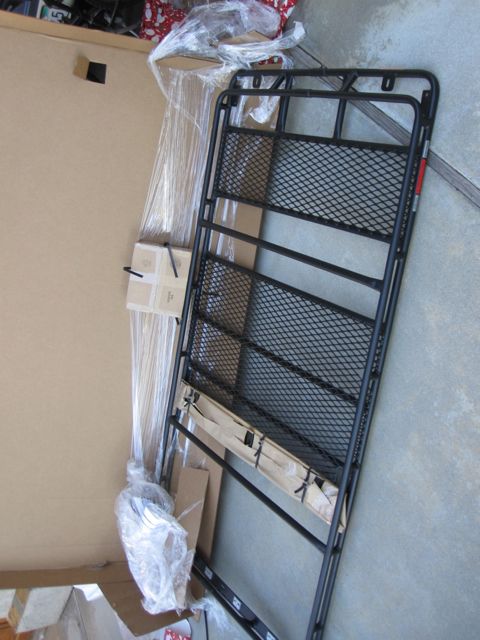
Gobi Stealth Rack
Hi-Lift Jack
Two Scepter MFC Fuel Cans
Two Scepter MWC Water Cans
285/70 17 Hankook Dynapro MT's (9/6/12)
Cobra 75 WX ST CB radio, 4' Roof mounted Firestick
Suspension~~~
Front
Total Chaos Stock Length Lower Control Arms
Total Chaos Stock Length Upper Control Arms
Chaos Weld on Spindle Gussets
Chaos Weld on Shock tower / a-arm gussets
Chaos weld on lower arm cam tab gussets
Chaos secondary shock hoop
Extended Length 2.5" Icon Vehicle Dynamics Reservoir Coil-overs
Secondary Icon 2-Tube bypass 2.5" reservoir shocks
Spidertrax 1.5" wheel spacers
Body Mount Chop
Rear
Full adjustable, 4130 Chromolly Linkage with FK Rod ends and poly bushings - .375" wall tube x 1" OD.
Total Chaos lower link reinforcements.
Replaced all rear suspension hardware with Grade 8 SAE 9/16" Bolts with Metal lock nuts.
Icon 2.5" reservoir 2-tube bypass shocks
Icon Air bump stops
OME 896 Rear 2" Lift springs
Spidertrax 1.5" wheel spacers
Interior and exterior custom stuff~~~
Did the "rear storage mod" (thanks!)
100 Square feet of Fat Mat Extreme through the entire truck minus headliner, double layered in the front doors and rear deck.
Front doors layered with acoustic sound deadening foam.
CDT Classic CL6 speakers in front doors, custom aluminum / ABS adapters
CDT Classic CL6 EX Speakers in Rear doors and rear hatch.
Acoustic foam through out rear in "dead spaces"
Full Husky Liner Floor Mats
Full window tint - 5% over all rear windows, 35% on front windows
Sunroof Tint - 5%
Fire Extinguisher
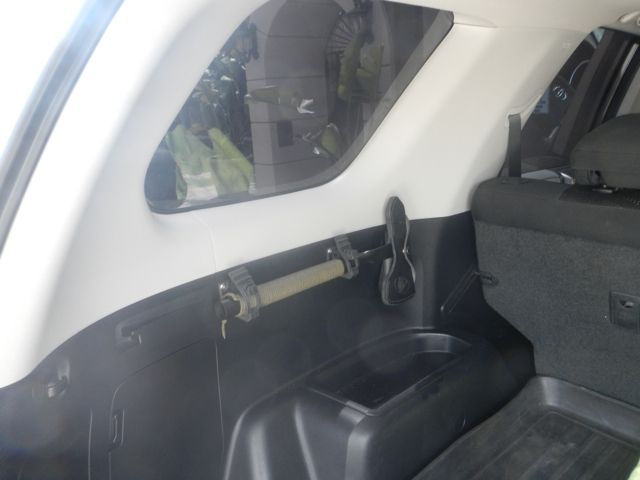
Condor TRT Rescue Tomahawk mounted in rear.
Custom Grill - top and bottom
Custom shorty antenna
Custom Gobi Stealth Tool Box
3M 1080 Vinyl (Matte Dark Grey) Hood Wrap
ARB Awning 2000 - Rack mounted with FourTreks Mounts (Page 25)
Custom Rear Bumper with Swing Out Tire Carrier and exterior 20MM Ammo Can Storage. (Page 25)
13 gallon Aux fuel cell, plumbed into OEM filler neck for fuel transfer.
***In the works***
Custom Snorkel
Now for the Pics: I will try and group em in sections, e.g.. suspension, interior, etc.
All of the front lights on

55Watt Vision X HID's behind grill

V-Led's Strip LED mounted on hood for engine compartment lighting.

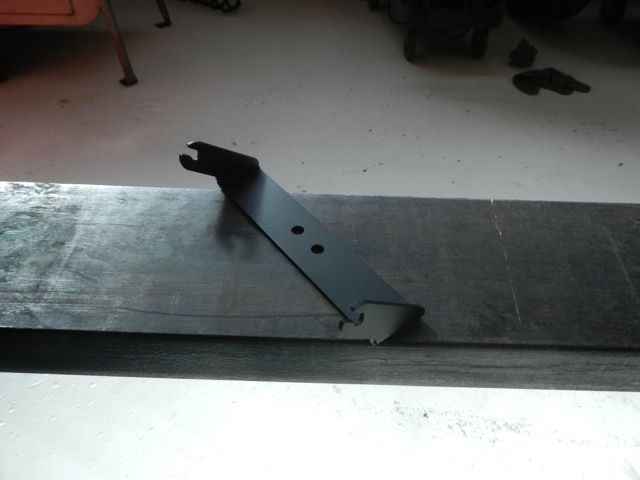
Mounting the 55Watt HID's - Custom Bracket


Engine Compartment strip LED

Gratuitous desert lighting shots


Interior 5K LED conversion

V-Leds Strip lights used for "rock" lights
6" Rigid SR series LED lights - custom mount for GOBI rack.

Continued in next post....
SOcalTrail's 2011 Trail Edition Build Thread
September 2012 T4ROTM Winner - Thanks for all the support!
Here is my constantly evolving 2011 Toyota 4Runner Trail Edition build. Some was inspired by the work of others, the rest was my imagination combined with trial and error. Hope everyone enjoys this, if there are any questions, feel free to post on this thread.
Background:
Me:
I help run a small precision aerospace fabrication shop down here in San Diego so I have 15+ years with the company and experience with metal fab, machining, welding, forming, design etc. I'm lucky enough that I have full access to the shop whenever I need, makes it very handy for projects like this! This project started a week after I bought the truck and is still going... working on it on the weekends and after work.... lots of time involved.
My Rig:
She is a fully loaded mag grey 2011 Trail Edition, purchased on Aug 18, 2011. I saw it parked on a pedestal in the middle of the dealership parking lot when I was driving by one day. The coincidence was that I had the EXACT same truck on order with another dealership for over 2 months!! The dealership I bought the truck from just got it in that day, I as the first to look at it and snatched it up ASAP.
I have been so busy for the last few months that my original plan was to start off my build thread and add to it as I progressed. Once I got things rolling and got busy, I got behind and just decided to do it all at the end.
My goal:
Have fun!!!! That is all. To say that I have always loved 4Runners is an understatement. My dad had a 1st Gen T4R back when I was growing up and we had tons of fun in that truck. I had a couple Tacoma's but always sold em after a year or so simply because I just "wasn't feeling it".... the truck bed was used to haul surfboards and it seems like whenever you own a truck, you always get that call form friends and neighbors to help move ****...
the ultimate goal for this truck was to build something that was comfortable to drive every day, across country through any condition, and off road through any condition we might have here in North America. You will notice through the build that I swapped components and went a complete different direction a couple times. This was a result of running those products for a short time, seeing how they suited my needs and deciding that they were not what I was looking for.
I will do my best to outline all the details but if you have questions as to more specific details on a item, product or part, feel free to PM me!
Current modification list:
Lighting~~~
Full 5K LED interior Conversion (v-leds.com)
5K LED strip light for engine compartment lighting (v-leds.com)
5K LED strip lights for undercarriage rock lighting (v-leds.com)
Genuine Philips 4300K HID conversion kit for low beams
Genuine Philips HIR bulbs for hi beams
55Watt 3000K HID fog light conversion
30" Vision X Xmitter Prime Xtreme 5-Watt LED Light Bar - Rack Mounted
18" Vision X Xmitter Prime Xtreme 5-Watt LED Light Bar - Mounted Behind Grill
Two 6" Rigid SR Flood beam lights on rear of roof
Rigid Industries SR-Q2 "alley" lights mounted on Gobi rack near front.
Electrical~~~
Odyssey PC1200 auxiliary battery
IBS DBS Dual battery isolator / control
Full array of Contura switches
Independent fog light mod
Wired front 12v outlets to aux batt. for "always on usage"
Blue Sea fuse panel
Off Road Stuff~~~
Viair 450H Air compressor with 2.5 Gal. Air Tank
Air chuck outlets in engine compartment and below front bumper
Full Shrockworks Under carriage Armor
Bud Built Beefy Bump out sliders
Full recovery gear - ARB
Crescent Tool Kit
Gobi Stealth Rack
Hi-Lift Jack
Two Scepter MFC Fuel Cans
Two Scepter MWC Water Cans
285/70 17 Hankook Dynapro MT's (9/6/12)
Cobra 75 WX ST CB radio, 4' Roof mounted Firestick
Suspension~~~
Front
Total Chaos Stock Length Lower Control Arms
Total Chaos Stock Length Upper Control Arms
Chaos Weld on Spindle Gussets
Chaos Weld on Shock tower / a-arm gussets
Chaos weld on lower arm cam tab gussets
Chaos secondary shock hoop
Extended Length 2.5" Icon Vehicle Dynamics Reservoir Coil-overs
Secondary Icon 2-Tube bypass 2.5" reservoir shocks
Spidertrax 1.5" wheel spacers
Body Mount Chop
Rear
Full adjustable, 4130 Chromolly Linkage with FK Rod ends and poly bushings - .375" wall tube x 1" OD.
Total Chaos lower link reinforcements.
Replaced all rear suspension hardware with Grade 8 SAE 9/16" Bolts with Metal lock nuts.
Icon 2.5" reservoir 2-tube bypass shocks
Icon Air bump stops
OME 896 Rear 2" Lift springs
Spidertrax 1.5" wheel spacers
Interior and exterior custom stuff~~~
Did the "rear storage mod" (thanks!)
100 Square feet of Fat Mat Extreme through the entire truck minus headliner, double layered in the front doors and rear deck.
Front doors layered with acoustic sound deadening foam.
CDT Classic CL6 speakers in front doors, custom aluminum / ABS adapters
CDT Classic CL6 EX Speakers in Rear doors and rear hatch.
Acoustic foam through out rear in "dead spaces"
Full Husky Liner Floor Mats
Full window tint - 5% over all rear windows, 35% on front windows
Sunroof Tint - 5%
Fire Extinguisher
Condor TRT Rescue Tomahawk mounted in rear.
Custom Grill - top and bottom
Custom shorty antenna
Custom Gobi Stealth Tool Box
3M 1080 Vinyl (Matte Dark Grey) Hood Wrap
ARB Awning 2000 - Rack mounted with FourTreks Mounts (Page 25)
Custom Rear Bumper with Swing Out Tire Carrier and exterior 20MM Ammo Can Storage. (Page 25)
13 gallon Aux fuel cell, plumbed into OEM filler neck for fuel transfer.
***In the works***
Custom Snorkel
Now for the Pics: I will try and group em in sections, e.g.. suspension, interior, etc.
Lighting
All of the front lights on
55Watt Vision X HID's behind grill
V-Led's Strip LED mounted on hood for engine compartment lighting.
Mounting the 55Watt HID's - Custom Bracket
Engine Compartment strip LED
Gratuitous desert lighting shots
Interior 5K LED conversion
V-Leds Strip lights used for "rock" lights
6" Rigid SR series LED lights - custom mount for GOBI rack.
Continued in next post....
Last edited: