Stereoguy's 86 4runner build

Stereoguy

New member
I figured I would do a build thread on my runner . It has been a great truck and I am amazed at what it can do .

I bought it bone stock in 07

scan0001.jpg~original


I did some mods mainly bolt ons.

ALIM0412.jpg~original


ALIM0406.jpg~original


Then I decided it needed bigger tires. The IFS did not like 35's I wheeled it like this for awhile.

4runner5.jpg~original


I added a dual transfer case and twin stick

628437214_photobucket_39919_.jpg~original


I added a hand throttle to help in the technical stuff

628437214_photobucket_39921_.jpg~original


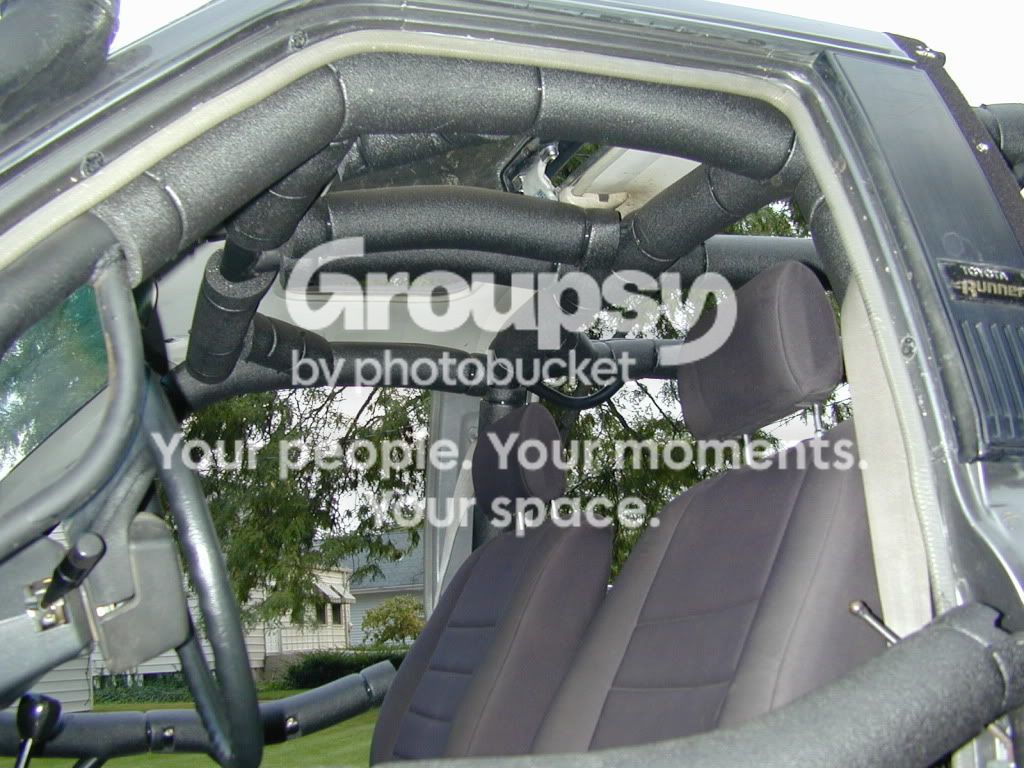
I did a 4x innovations cage

DSCN0016.jpg~original


Then came the SAS and new suspension in the rear. I wheeled this for quite a bit .
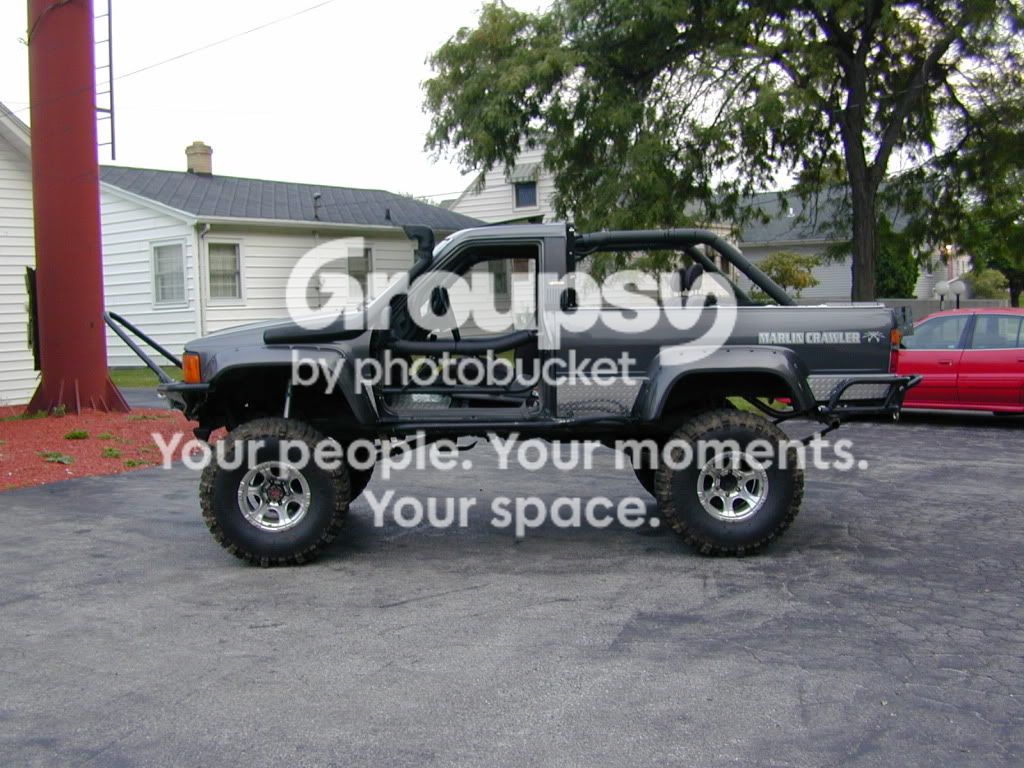
DSCN0010.jpg~original


ALIM0470.jpg~original


DSC02689.jpg~original


DSC02602.jpg~original


DSC02619.jpg~original
 
Register to hide this ad
I did some door inserts

photobucket-20239-1346962945315.jpg~original


I decided to use the cut out piece for a insert. It turned out really good.


c8e07f4d37681e2c91cb135f4bbe690e_zps9f0870f1.jpg~original


I got sick of dragging my butt on every obstacle ,so I bobbed the back

38cd4f30cf437c66648395eb94356d9b.jpg~original


f4266957b297a8a84c0c65371648e6d2.jpg~original


d3de74985982484cd7e9fa003bfa9b6f.jpg~original


photobucket-19565-1351396276220.jpg~original


It turned out nice,and wheeled so much better!

photobucket-2238-1351396431829.jpg~original


photobucket-1448-1350783771780.jpg~original


1d4a9704923f2e8f09a4eb00c623381b.jpg~original


9fdb6a6d91dd5b134b06419ccec3cb1b.jpg~original


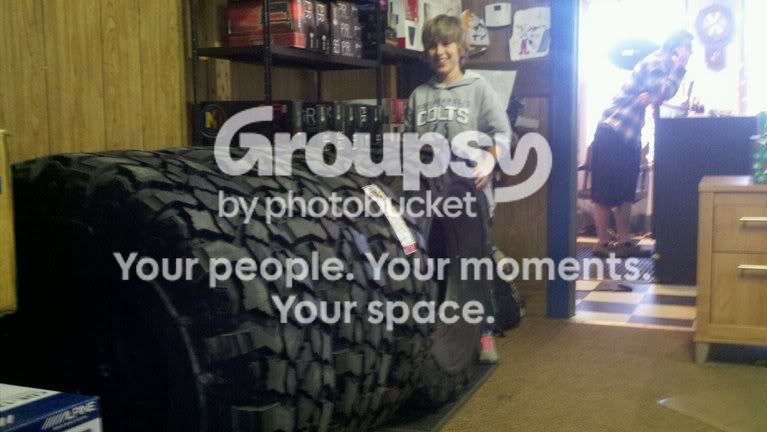
I got rid of my 35" boggers and ordered some 39.50 Pitbull Rockers

photobucket-927-1324341749926.jpg~original


I was really happy with everything so far, but I wanted some change . Sooooooo! I painted it zombie brain splatter green!

E62BBA5E-F8DF-4E0A-8B8B-F361B9CB124F-3742-00000416CA7DF225_zps1d402903.jpg~original


My Trailworthy Fab wheels turned out nice too!

runner3_zpsa0b49ec8.jpg~original


The snow is no match for the green beast!

166045E3-69A8-45CC-B05E-8AB3F66B967E_zpswkmrzlqj.jpg~original


08D9510B-8F81-4CB8-A45C-B4E146A2B387_zpsjnddbezy.jpg~original


65C60081-9DE1-479D-9083-96A4267A3BFA-3742-000004166A681F65_zps1ac50e68.jpg~original


3b41ed41a058f7edc29361cdaf998c81_zps295c02eb.jpg~original


8280BE40-F012-4009-B808-930D76077D23_zpsldjwoyk5.jpg~original


7a04eaa41e232b4357c8cc70432f54fd_zpsc8098753.jpg~original


f0d51ef9a2b7c1a2c05f23a9d2f1791d_zps95a8f3fc.jpg~original


I have had a blast driving this ,it always does what I ask. I am running out of things I want to do . Here is a rough build list to date.


86 4runner

Trail Gear ifs eliminator kit 4"
Trail gear rear classic 4" lift
Marlin Crawler dual case adaptor stock gearing in both with twin stick
4xinnovations cage dom
Trail gear hydro assist
Stock ps pump drilled for high flow
Bud built skid plate
Bombproof engine mounts and transfer case mounts
Chained engine mounts
Trailworthy fab double beadlock rims
Pitbull rockers 39.50/16.50/16.50
Marlin rear bumper custom modded for bobbed tail
14" bobbed body tailgate still functions and window still operates
Custom bobbed hardtop
Smittybuilt xrc 10 k winch
12 volt guy winch control
On board air system uses factory a/c compressor
Profender airbumps
5.29 cryoed gears
Hand throttle
Dirty 30's
Arb hub&steering studs
Cryo'ed hub gears
Wet okole seat covers
 
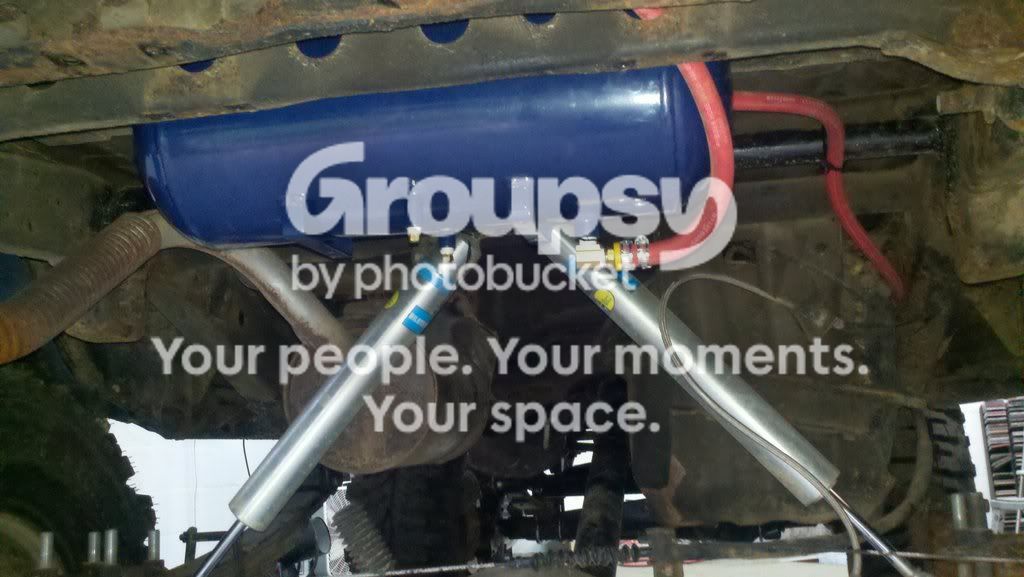
Here are some pics of my on board air system

628437214_photobucket_61599_.jpg~original


It uses the factory a/c compressor and a drip type oiler . Then the air goes thru a dryer ,I have a pressure switch to shut the compressor of at 125psi. I have a one way valve then a manifold that splits the air to the air tank in the rear and a rear air outlet and the front outlet.

628437214_photobucket_61595_.jpg~original


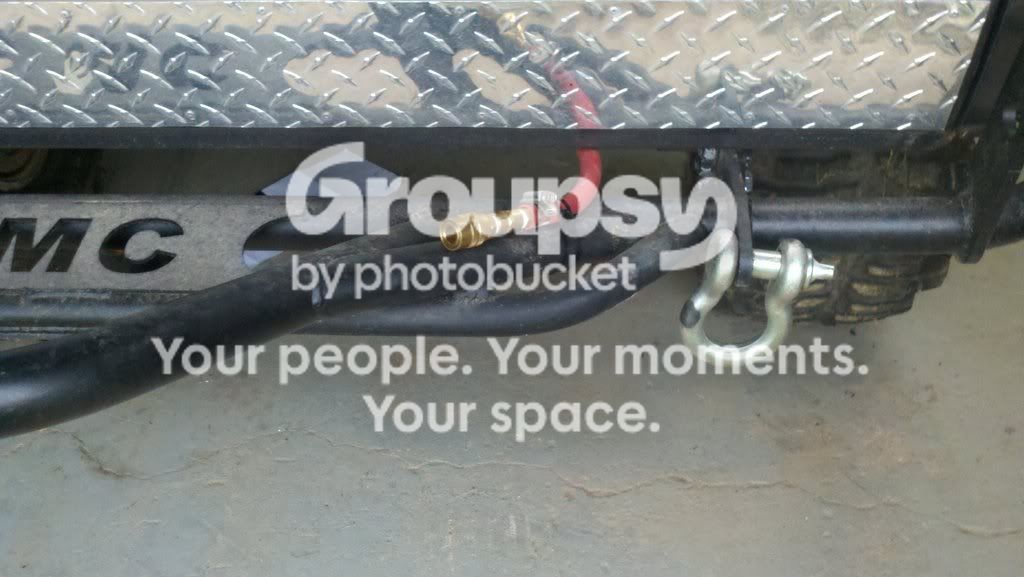
Front outlet ,not fancy but it works great

628437214_photobucket_61598_.jpg~original


Rear outlet

628437214_photobucket_61596_.jpg~original
 
Love the hybrid badge you had on before it was green! I second the awesomeness of keeping the functioning rear window with the bob and shortening the rear window on the rear cover to fit the bob!
 
hi-lift

I like the way you mounted the hi-lift. Is there somewhere else on this site where you explained how you did it? I'd like to consider doing this mod, but it looks like I would need to strengthen the tailgate sheet metal to keep it from bending or warping on rough roads or trails.

Thanks,
Mike
 
Thanks! I am very happy with the way this rig turned out. It's kinda funny whenever I join up with a new group I get the "nice mall crawler ". Then after we wheel a bit I get the " man that thing is a beast". Hahaha! I seem to be the official rescue vehicle quite a bit too. I did a lot of research on most mods before doing them. My truck is basically a cookie cutter version of a toyota crawler. The thing is, there is a good reason so many people run this setup on a toyota . It works.
 
I like the way you mounted the hi-lift. Is there somewhere else on this site where you explained how you did it? I'd like to consider doing this mod, but it looks like I would need to strengthen the tailgate sheet metal to keep it from bending or warping on rough roads or trails.

Thanks,
Mike

I ran flat stock inside the skin to brace it . I have had it for a couple years like this. I am getting some tweaking on the door sheet metal now. But I also open and close the door with the highlift ,so the door is really heavy . No torsion spring to help lift it. I run this pretty hard and it is holding up good.
 
Is it still rocking the original 22re?

Yep! For now! With the dual cases I can do wheelstands on most climbs ,so I don't need anymore power in most situations. But, it would be nice to have a bit more on tap. I have purchased a nice 4.3 vortec to swap in sometime

3d5d2c9c5b55401c4b49ff2a255161b6_zpsrrsabcr1.jpg~original


It is a remaned Jasper engine. I need to clean it up a bit. Then freshen up some parts . When I grenade my 22 re. I'm putting this in !
 
I freshened up the back with new springs. I liked the trail gear springs I had ,they were just really worn.

Droop pic old spring
9A3E08BF-DD12-46A1-99ED-222BA03D8354_zpsuoxpbmsy.jpg~original


Droop pic new spring
D8098F53-F3C5-4DE5-897D-C5FCA94D346A_zpsj4a8639j.jpg~original


You can see in the last pic the difference. The drivers side was also my best side of the old springs and the difference is huge. I didn't want to put as much strain on the springs this time . And some vertical climbs were giving me some wheel hop . I think it was my springs but to be sure I am installing a Budbuilt anti wrap bar . This thing is pretty beefy! I decided to get the bolt on one. I'm not crazy about my choice now ,but we will see. He has a weld on one I should have got .

BAACC685-1681-4DFD-A1E5-DD84BAF2546E_zpswpoqu5bp.jpg~original


It bolts on the rear drop out
09B06232-FF1E-445D-B852-C03220C49EEF_zpszj4pqg5s.jpg~original


Then bolts to the horse collar up front

CFE8CC41-517D-4BC2-8DAB-B0BA549A45B2_zps0zfrbixn.jpg~original


I'll tell you how it works after I take it for a test run.
 
Well I finally took this thing for a test drive. The track bar did it's job No wheel hop. I did manage to slam the drivers side 1/4 panel this time. I guess it's a matching set now! Hahaha!
 

Members online

Forum statistics

Threads
278,310
Messages
3,554,077
Members
248,016
Latest member
Advally Service

Trending content

Back
Top