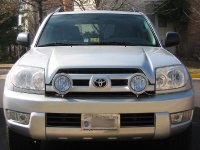
TF2000's installed w/custom brackets over the bumper

Border411

New member
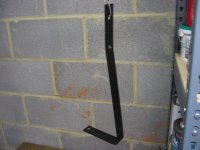
So anyways, I finally got around to installing the TF2000's that I bought off of Terrytcl for $10. I used 1/8" x 1 1/4" flat stock bought from Home Depot ($6.00) and bent them into shape after making a cardboard template. This is similar to the way momo.75 did it, except I didnt do any welding. I only used my hands and clamps to bend them---which sucked ass!

The following pictures show it all. The wiring was cake!
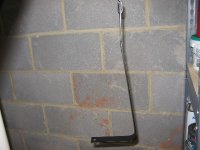
Bracket:
 

Attachments

  • img_1178.jpg
    img_1178.jpg
    73.7 KB · Views: 630
Register to hide this ad
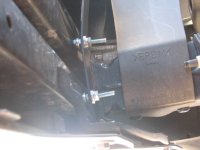
Showing how it was mounted---just like momo.75
FYI-The bolts I used were #12 x 1 1/2" machine screws. They didnt sell any 3/16" bolts/screws in Home Depot--WTF?!
 

Attachments

  • img_1183.jpg
    img_1183.jpg
    48.8 KB · Views: 601
Last edited:
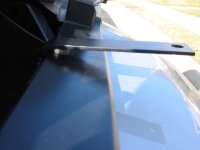
The bracket poking out between the bumper and grille:
Notice the rubber bumper to make sure it doesnt bounce and scratch my bumper/paint.
 

Attachments

  • img_1184.jpg
    img_1184.jpg
    40.7 KB · Views: 739
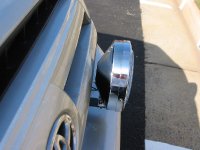
They are just far enough away to allow the hood to raise without hitting the back of the housing. The picture shows the closest it gets.
 

Attachments

  • img_1186.jpg
    img_1186.jpg
    57 KB · Views: 580
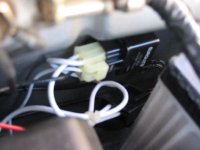
I mounted the relay where it would be protected by the battery (with a self-taping screw). The fuse it near it too, but I kept it loose so I can easily access it *just in case*:D
 

Attachments

  • img_1189.jpg
    img_1189.jpg
    49.8 KB · Views: 566
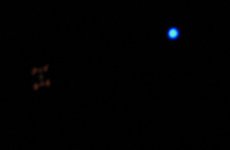
I replaced the switch with a MUCH BETTER quality switch. The blue LED means its on.
 

Attachments

  • img_1193.jpg
    img_1193.jpg
    13.3 KB · Views: 566
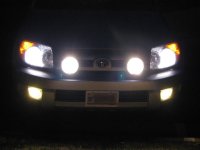
I still need to hook the white LED "angel eyes" to the corner markers. They will be constant on, but will flash when the directional is activated. FYI-The TF2000's are a very good quality light.
 
Do yourself a favor and replace all the hardware to stainless. If not, rub some never-seize on the threads in case you have to take it apart.

Koz
 
How long did this mod take, approximately? Looks great dude... but do they provide any more light on the road - seeing as you have 80w for low beams??!!! I personally think you should put the same color SPP bulbs in the aux lights too, so they match your lows..... but I understand, for $10 you can't beat that!
 
atomic punk said:
How long did this mod take, approximately? Looks great dude... but do they provide any more light on the road - seeing as you have 80w for low beams??!!! I personally think you should put the same color SPP bulbs in the aux lights too, so they match your lows..... but I understand, for $10 you can't beat that!

They really dont help out too much re: lighting up the road in front of me since I do have the higher wattage headlights, but they definitly light up the sides of the road MUCH better, so I have a wider field of vision. Plus, like July stated above, the Angel Eyes look hot!

I am going to switch out the bulbs to a better, whiter light too. I just need to find out which ones I shoud buy since I dont want to go too much higher than the 100W they are now.
 
That looks really nice. I'm inspired to try to do that myself.

How much vibration do you get in the lights?
 
loner said:
That looks really nice. I'm inspired to try to do that myself.

How much vibration do you get in the lights?

Since I didnt have the tools or area to work to bend thicker metal, with the metal I used there is a bit of vibration, but if you are truly using them for off-roading (aka-going a ton slower) they shouldnt be too bad. I did reinforce the bend where they come out with a few corner reinforcing straps bought from Lowes (4" ones I think) They are used to reinforce shelves and furniture.
 

Members online

Forum statistics

Threads
278,309
Messages
3,554,074
Members
248,016
Latest member
Advally Service

Trending content

Back
Top