Third row seat removal to access rear panel pocket, subwoofer install

97BlackAckCL

Elite Member
There isn't a thread detailing all the steps to remove the third row seat, or to install a subwoofer in the stock location for non-JBL vehicles. So I figured I'd do a detailed thread about it. Feel free to ask questions, it's pretty straight forward but still a bit tricky.

To start, clear out your rear trunk area

80-img_20180831_151627_b6878f332dd289446eb16573d44f19800f893b72.jpg


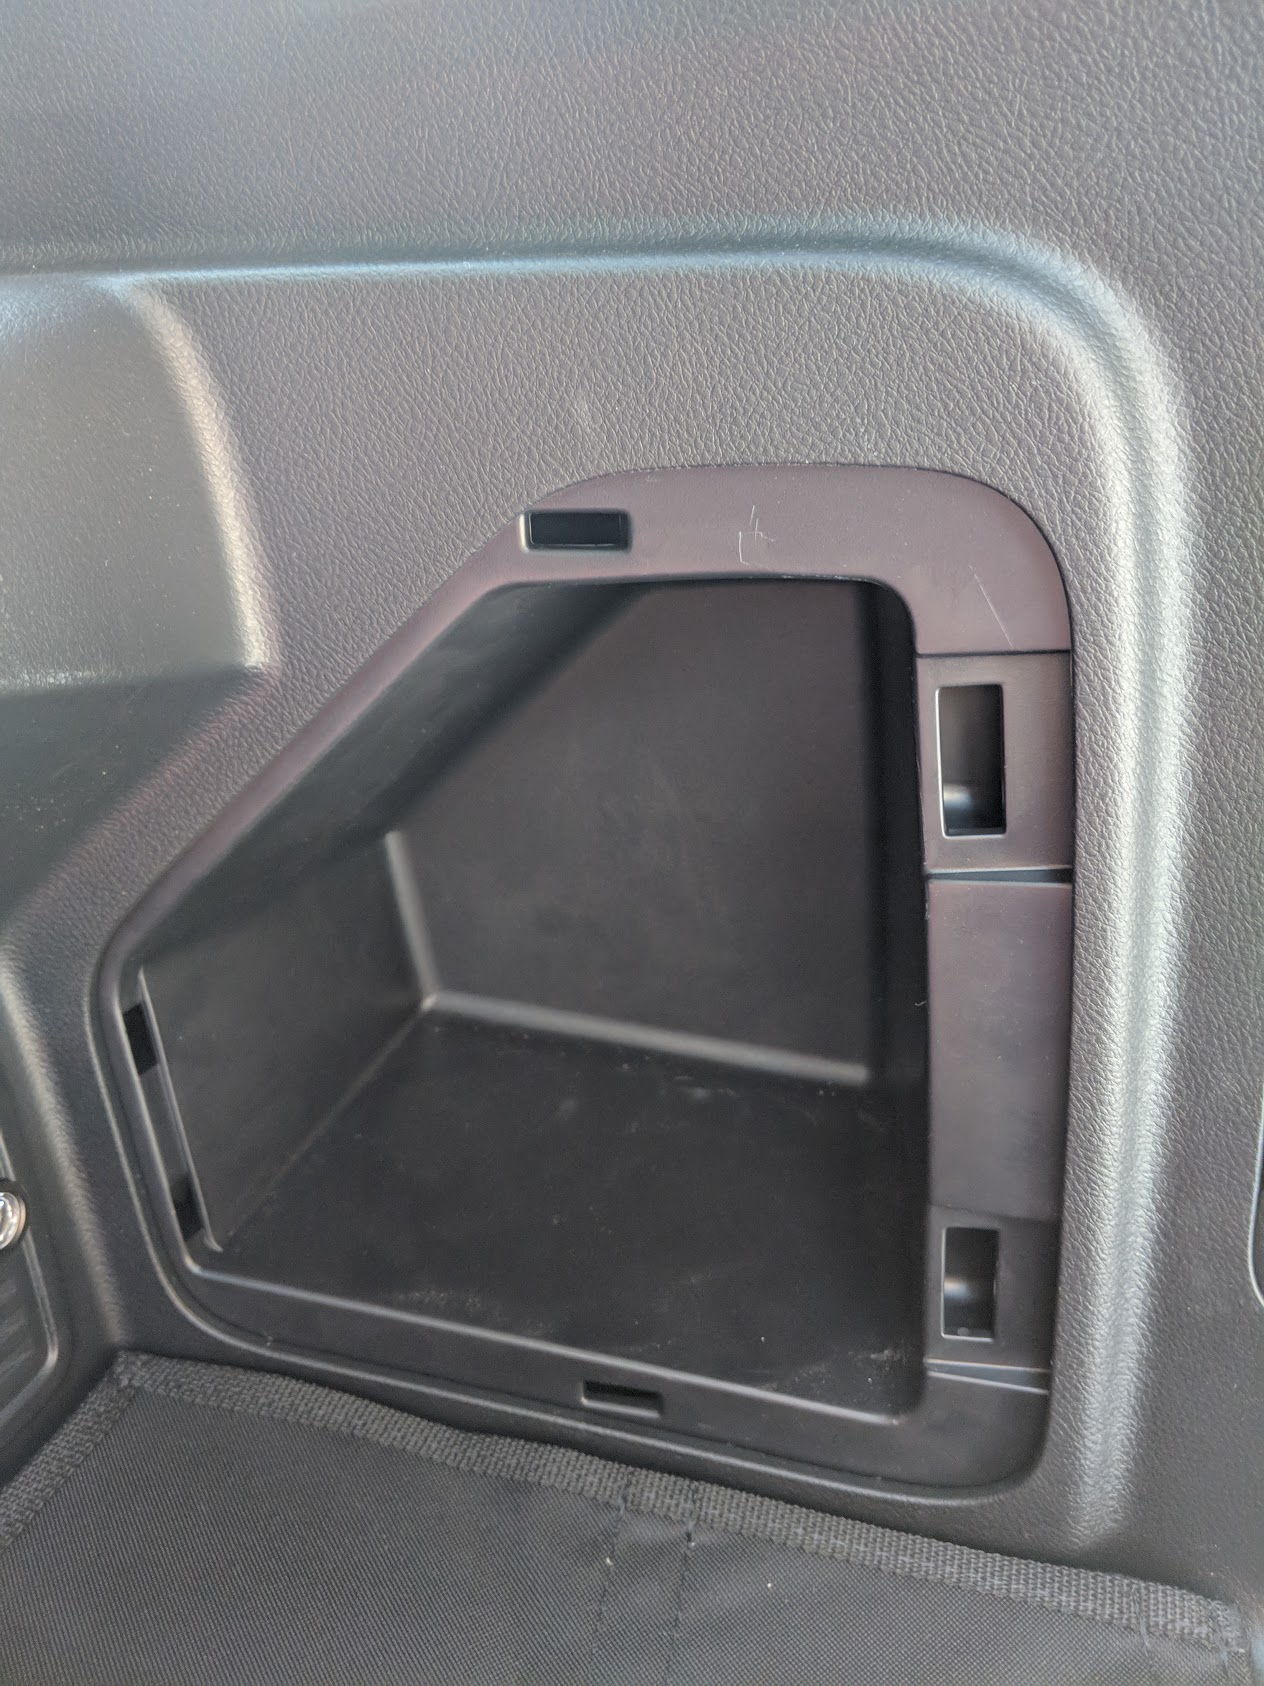
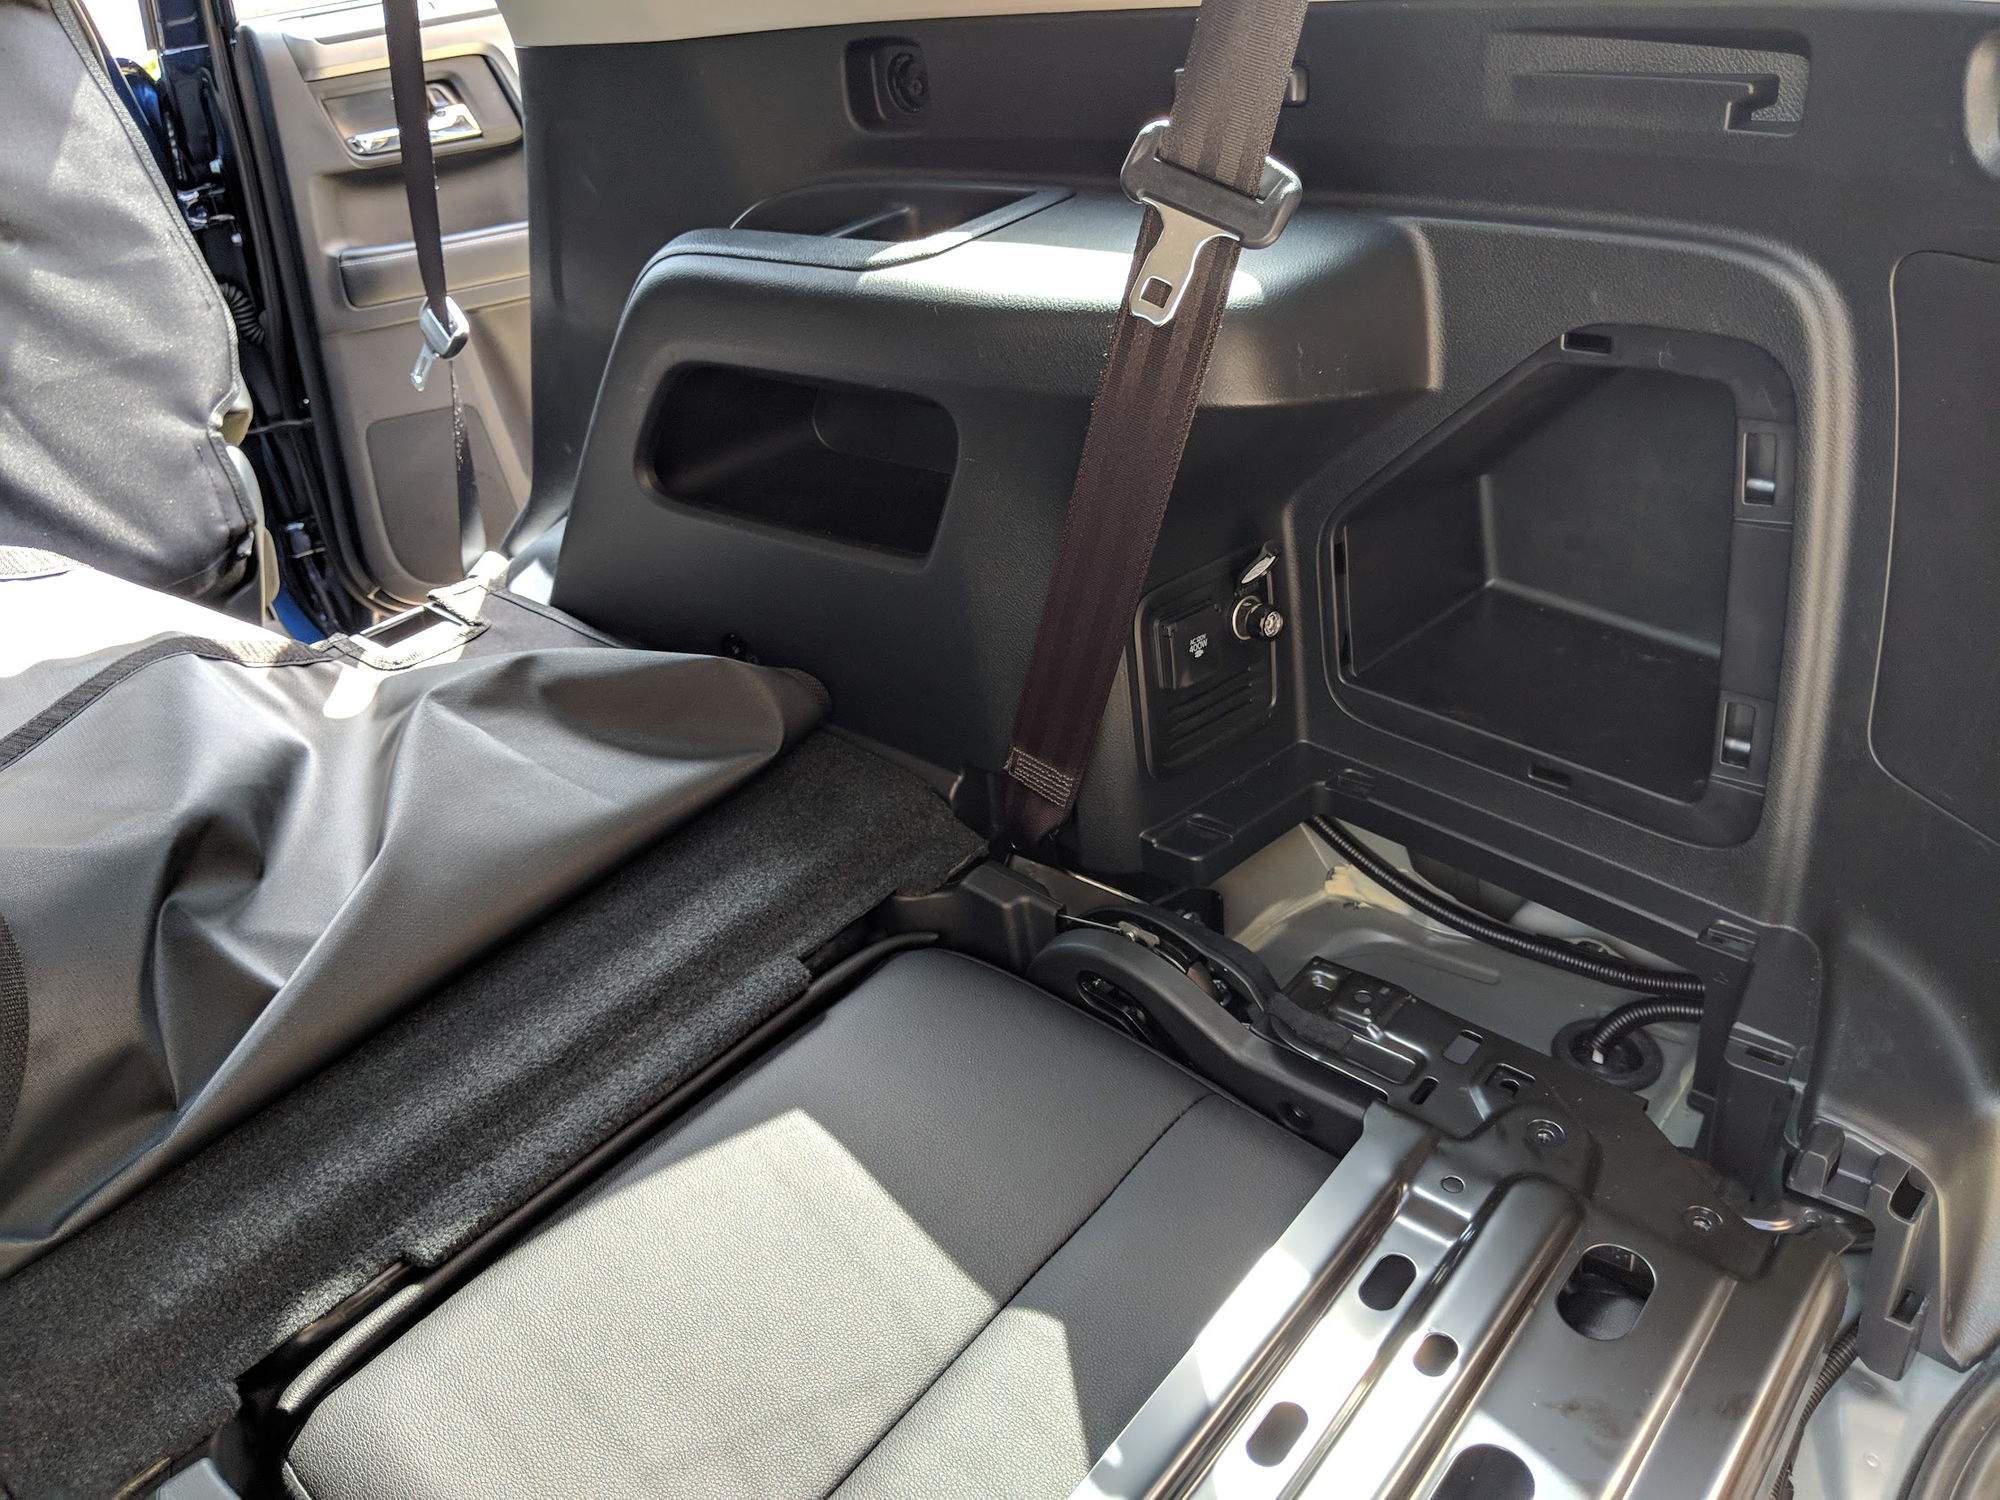
My SR5 Premium came with the side pocket which has to be removed in order to fit a stock subwoofer enclosure in that location
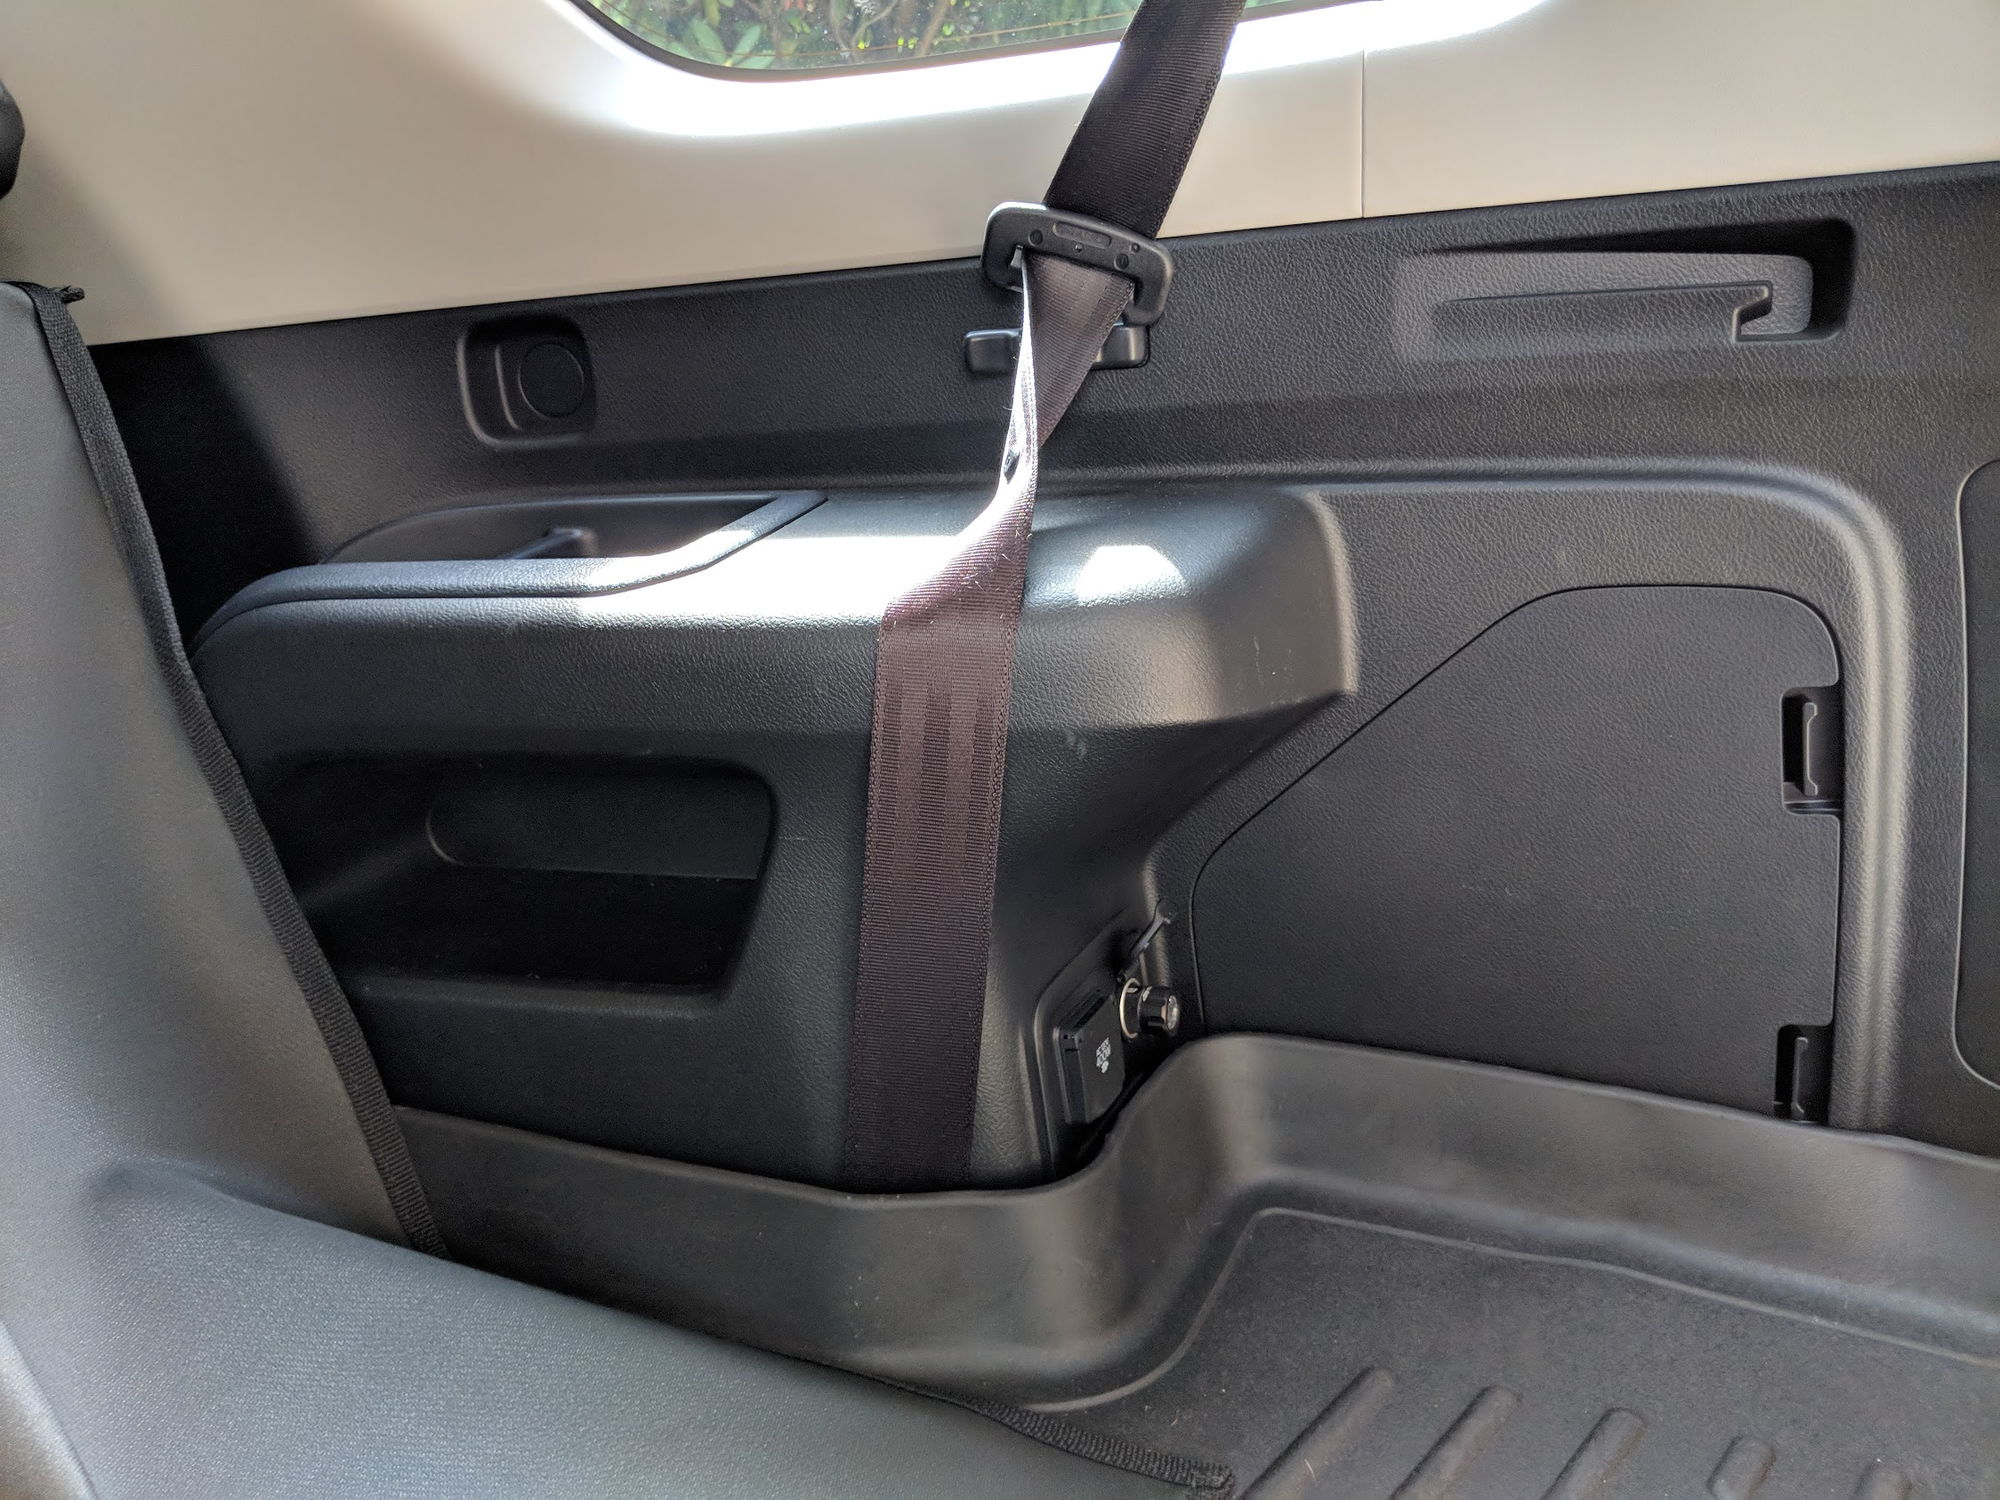
80-img_20180831_151636_4029d124af0a02b7b18712c56dc708671ebc4967.jpg


Clear this area out as well
80-img_20180831_151713_85bef05cd1abac49a236ebea7b3f12d58bfa321c.jpg


To start with the removal, you will need to remove the covers and screws as well as the cargo net hook. The cargo net hook turns a quarter turn and pops out. There is a phillips screw underneath.

80-img_20180831_151931_2a52151e95bd76b22032532a569e5bf8d973ffe3.jpg


There are also 2 screws covered with round covers like this

80-img_20180831_151933_30c78cbf26ed71fdfc9dc4eab745a6e2ccdf6682.jpg


Remove the round covers with a flat head or trim panel remover (there is a notch for a flat head in them). Then remove the 2 phillips head screws, they're also 10 mm bolts
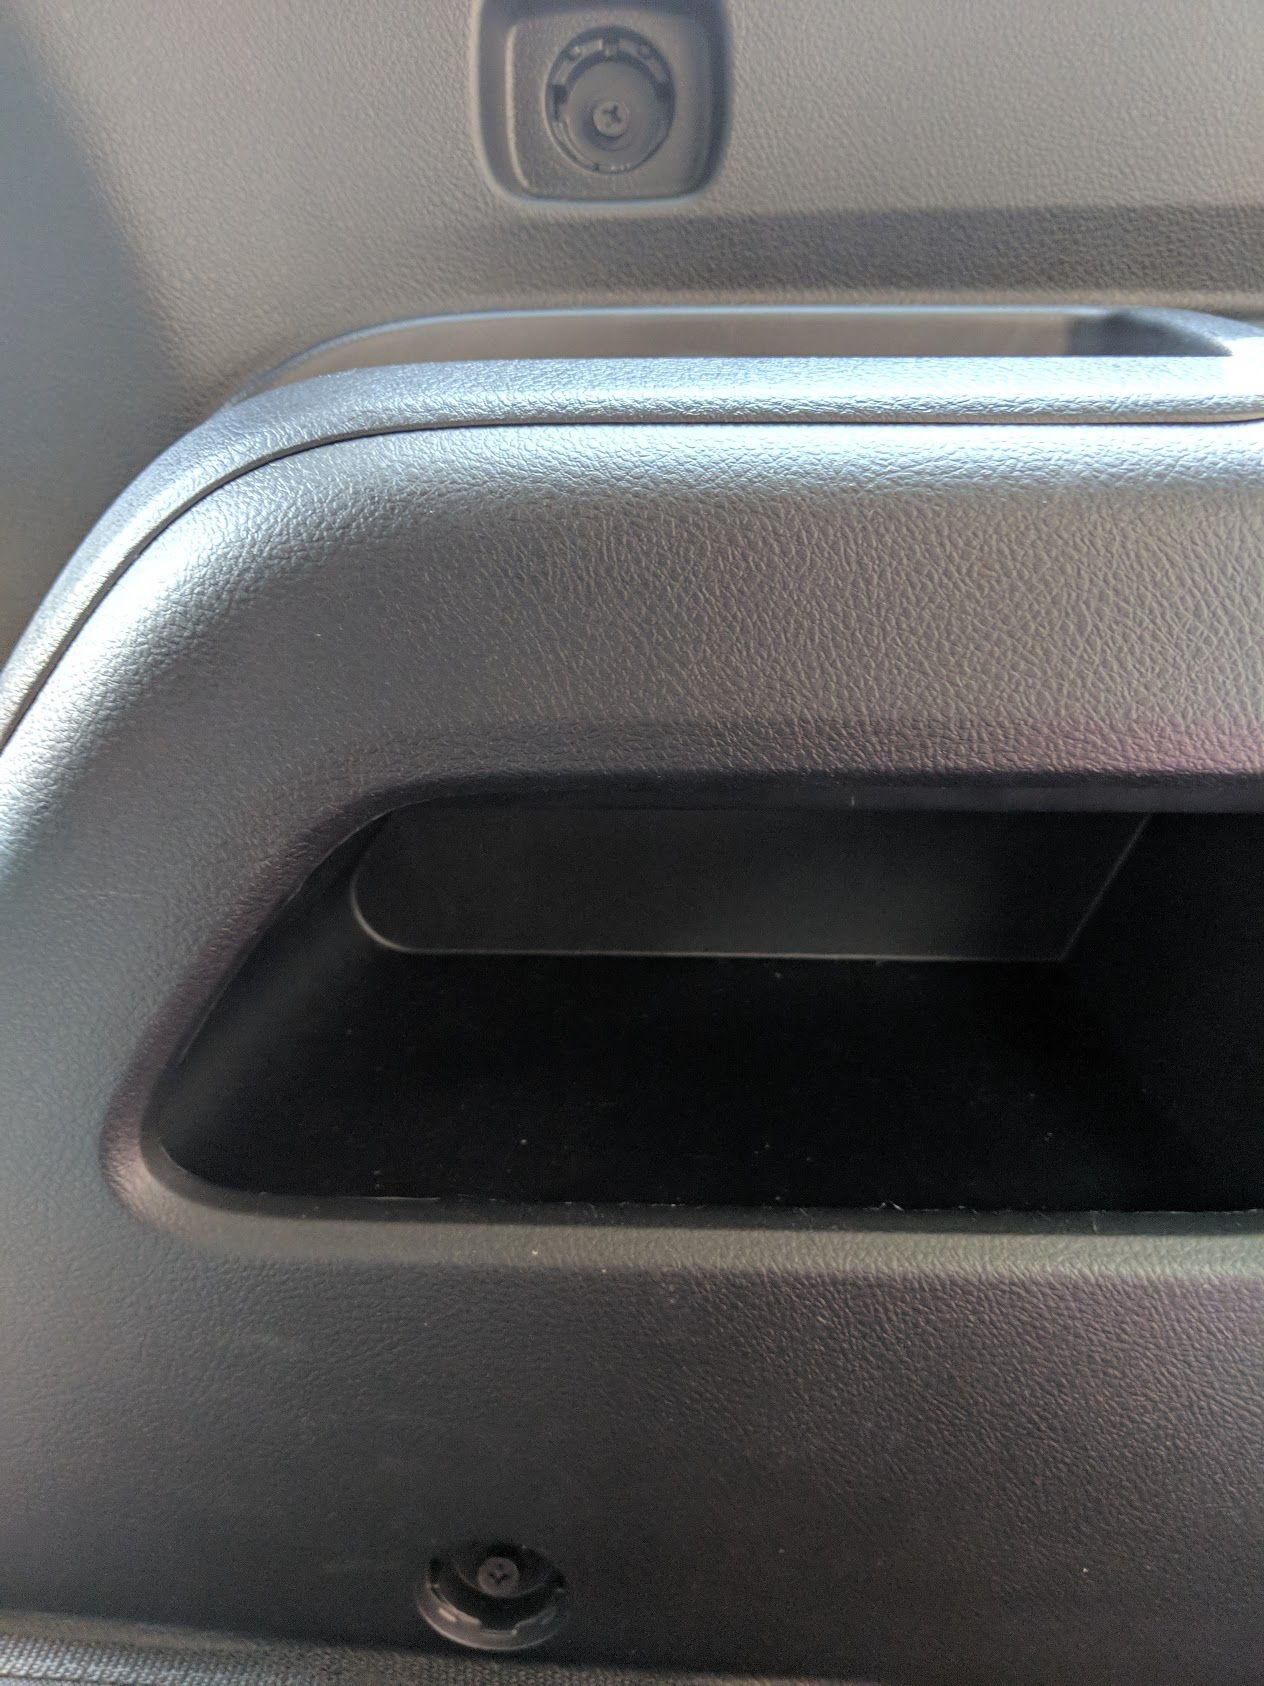
80-img_20180831_152046_3886c62320cb72f0b9f150a4176575c2c80a143d.jpg


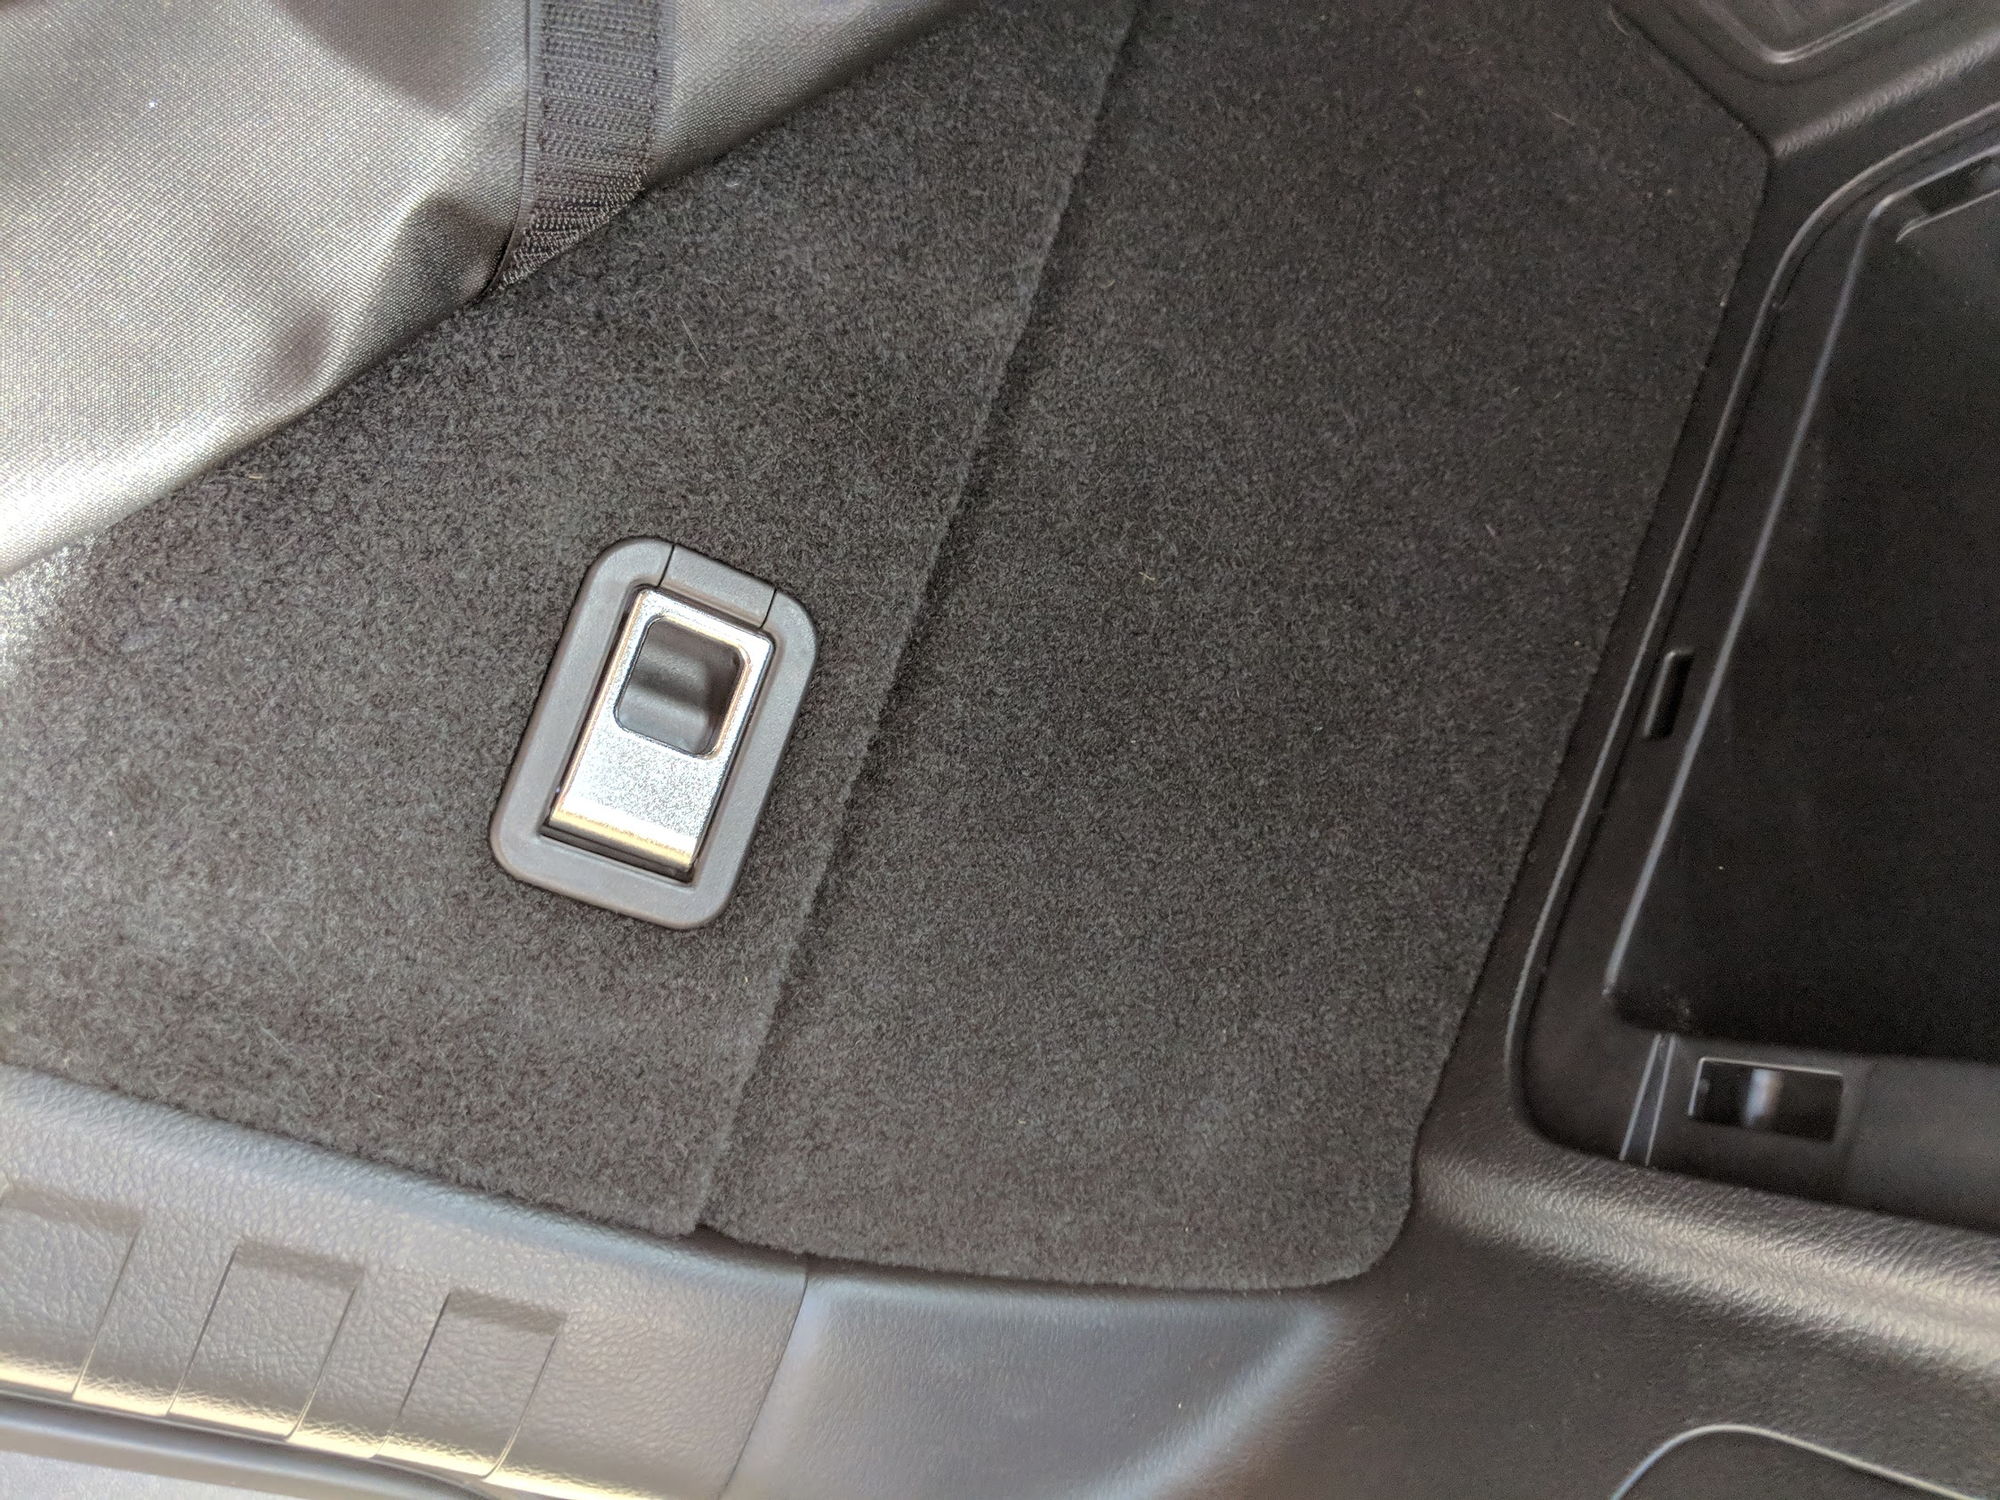
Next, you'll need to start with the third row seat removal. To start this first find the 2 tie downs (I pulled my canvasback liner back, you may have a rear liner that needs removed)
80-img_20180831_152106_82cf8f8d7a62d452c06a44998d47750f4e490033.jpg


80-img_20180831_152230_db95805f2388e6f7134d7c654cc345ff619d7fa7.jpg


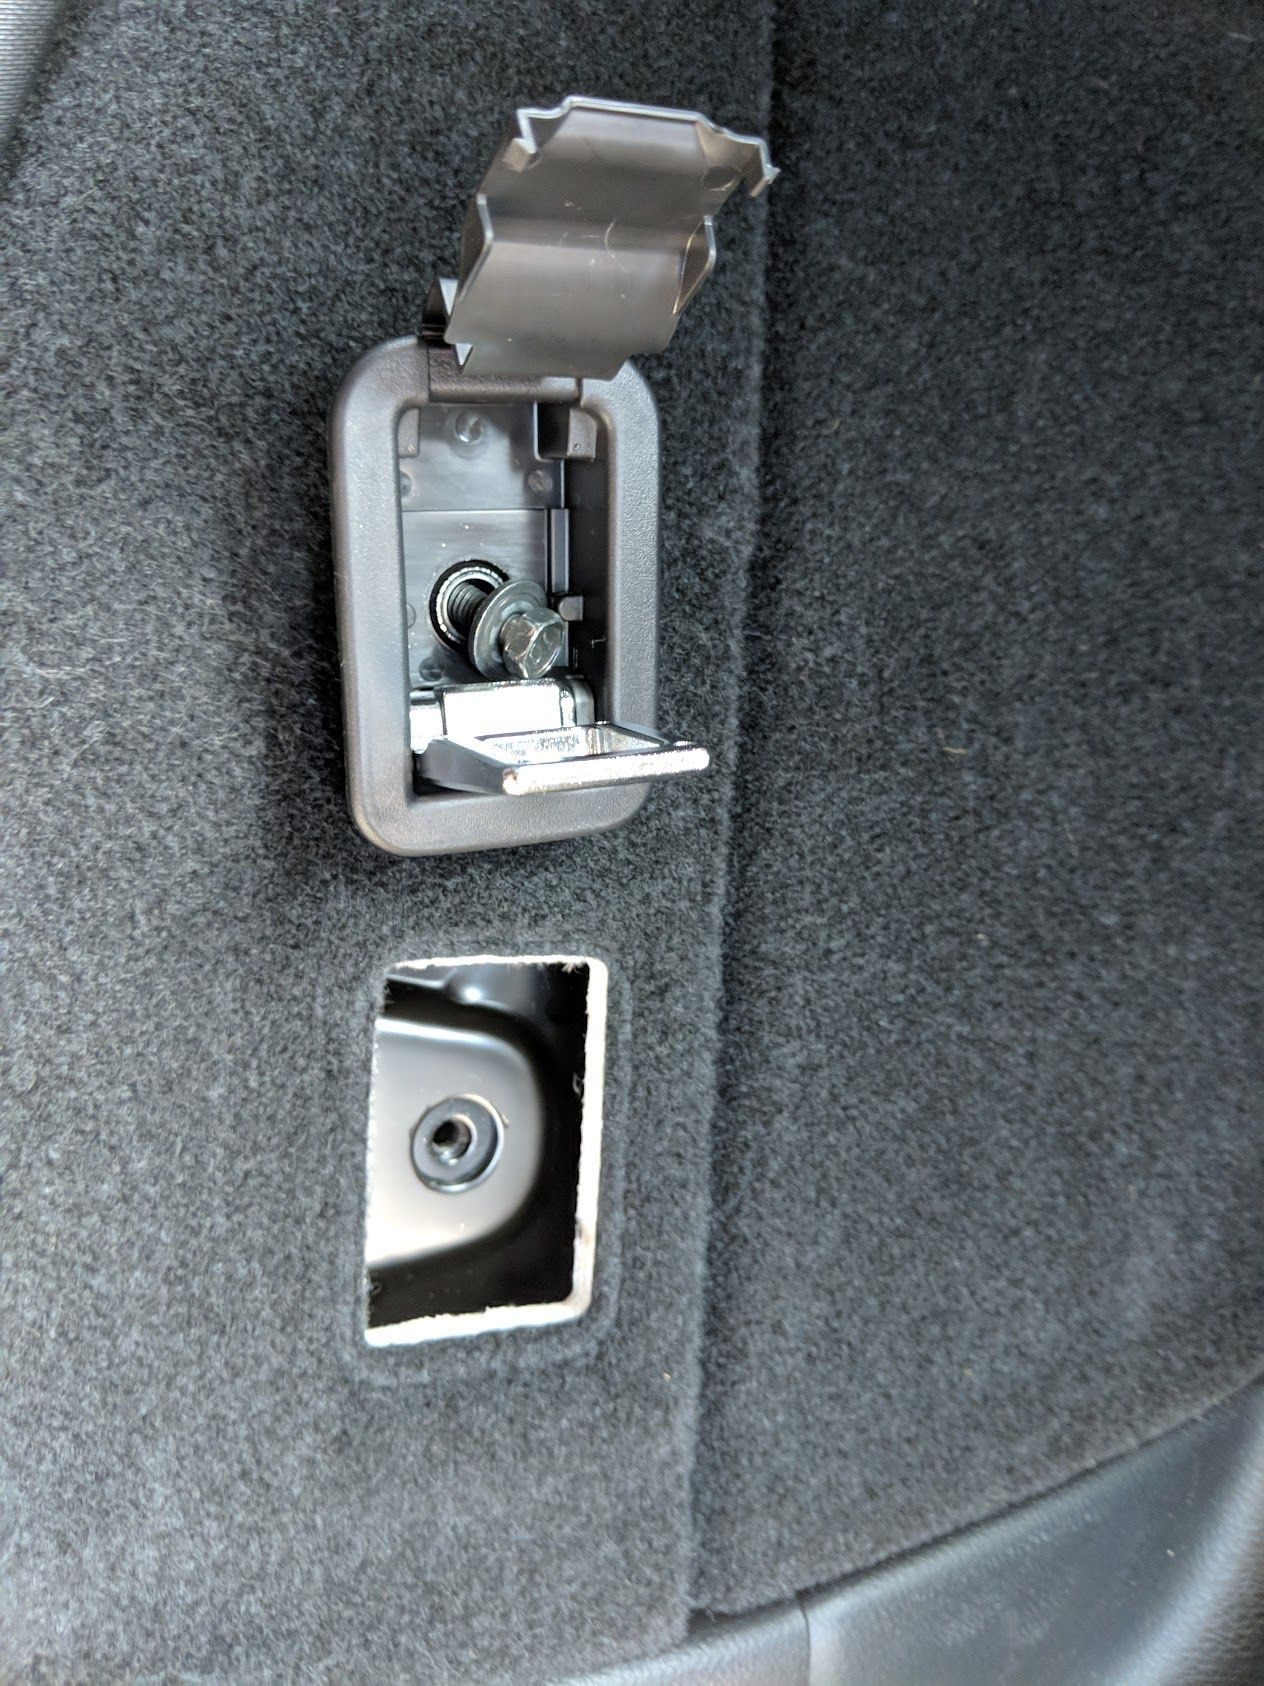
Flip the tie downs up, and you will find a tab at the top that can be pried up with a flathead screwdriver. This will expose the 10 mm bolt, remove the 10 mm bolt with a socket wrench

80-img_20180831_152130_3b8cbf8a9cd8bf9750297743f19e597895ba7040.jpg


Once you remove the bolt, the whole box will lift out.
80-img_20180831_152210_1f36c992f0fd92fcc6938fefd3aafb4f65fcf853.jpg


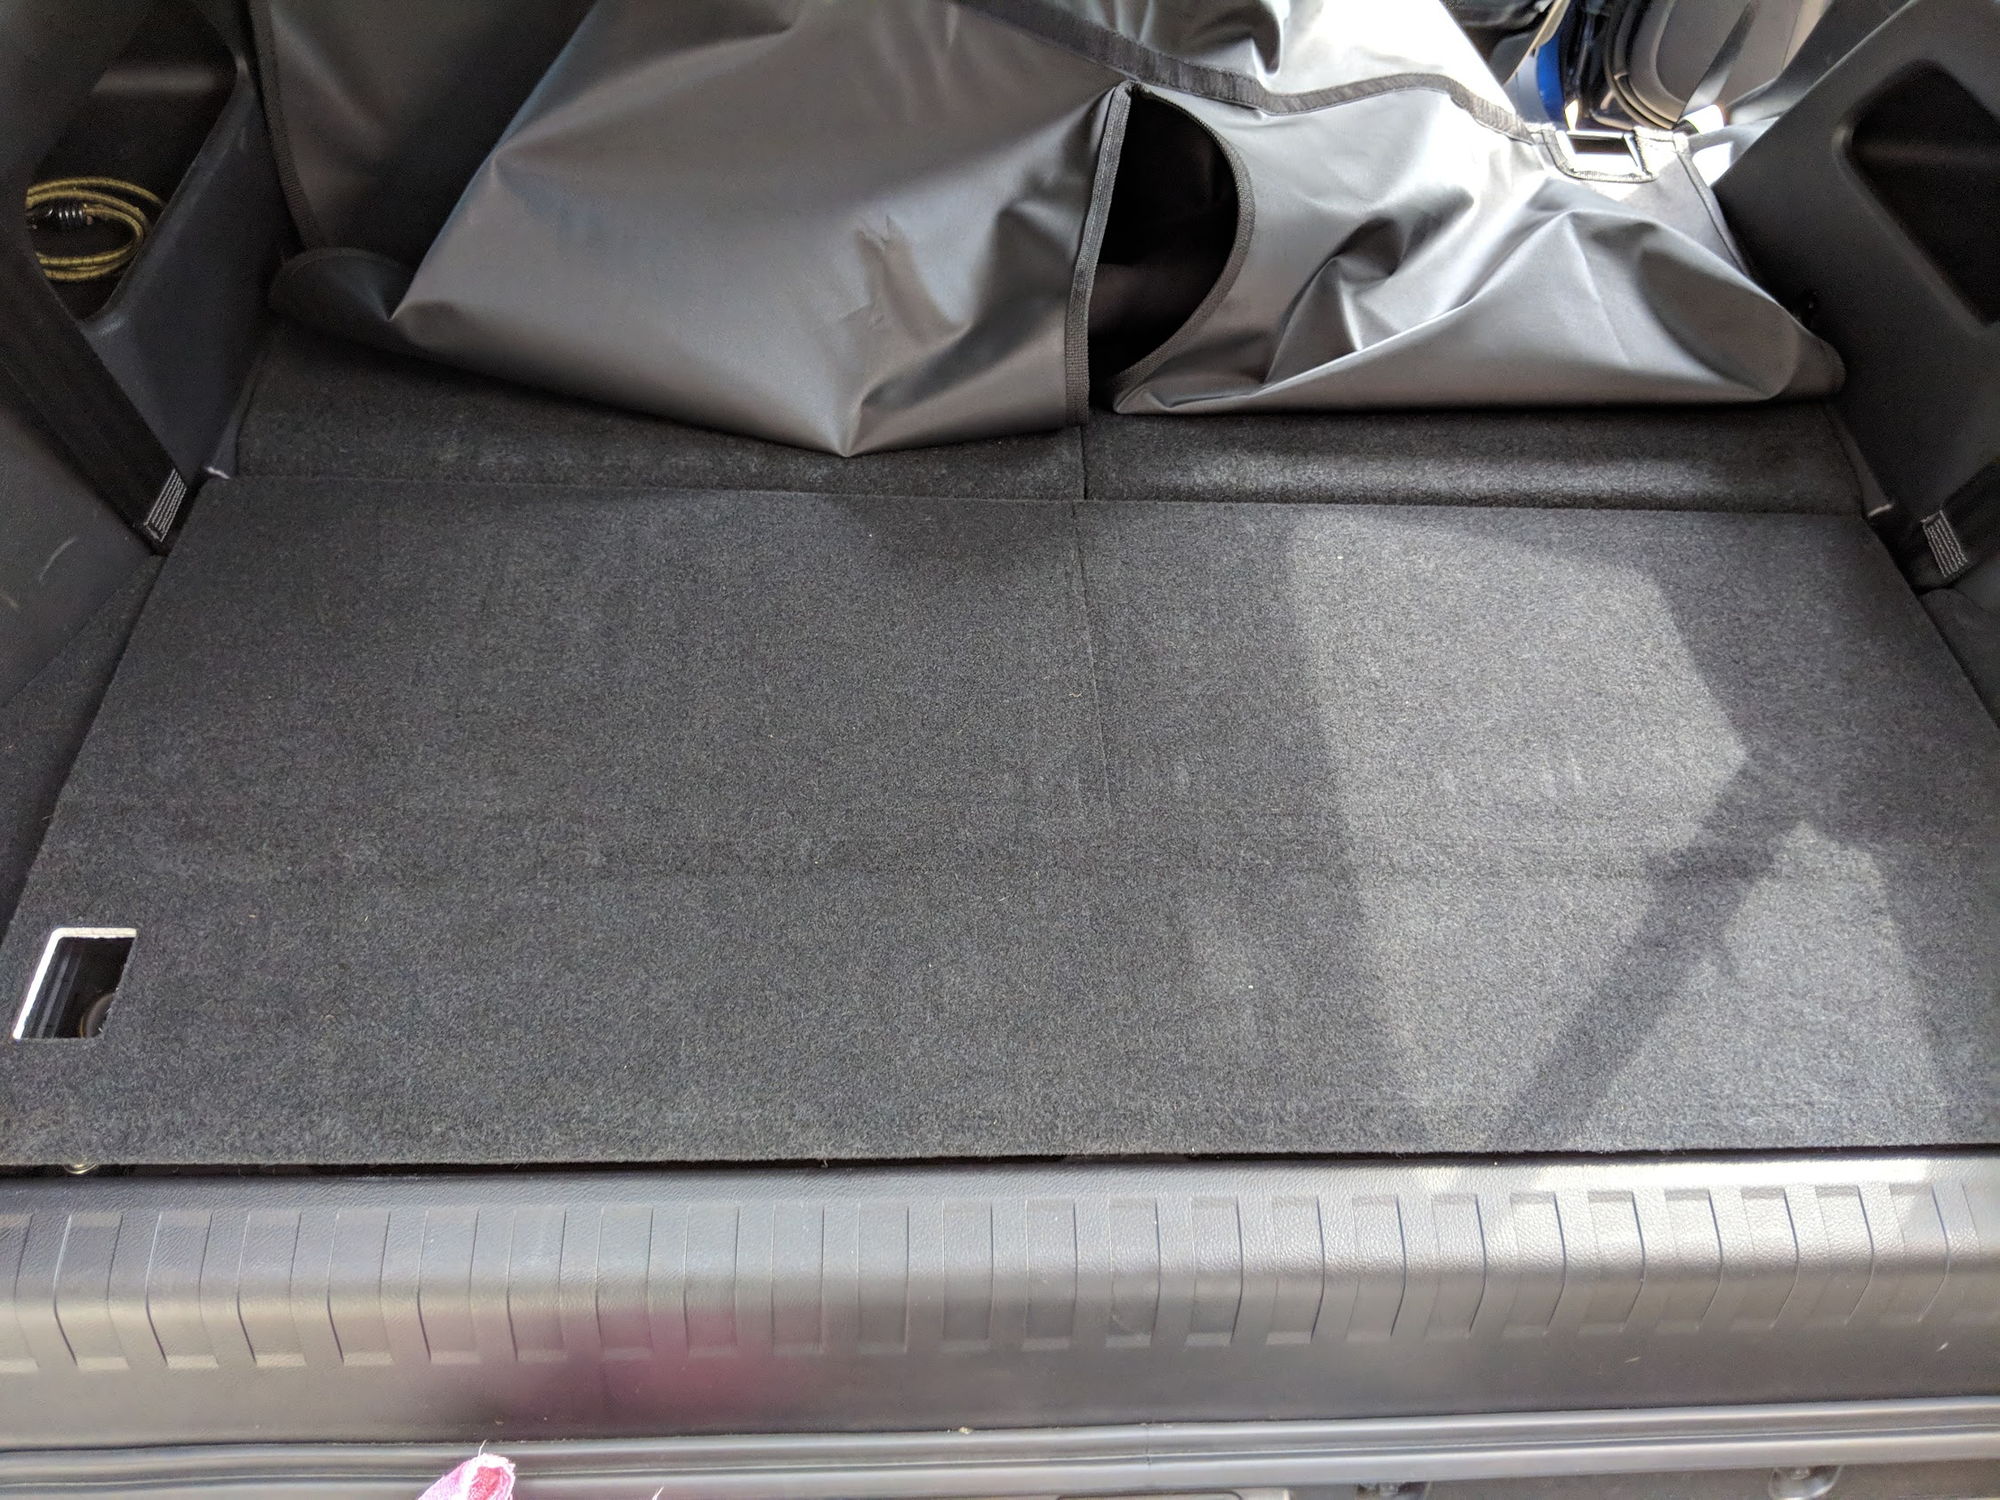
Once both are removed, you can lift the third row seat panel up and off, it has several clips so go slow and gently.
80-img_20180831_152401_a41f3bb494c1f73a907dfe81b27809d377750c36.jpg


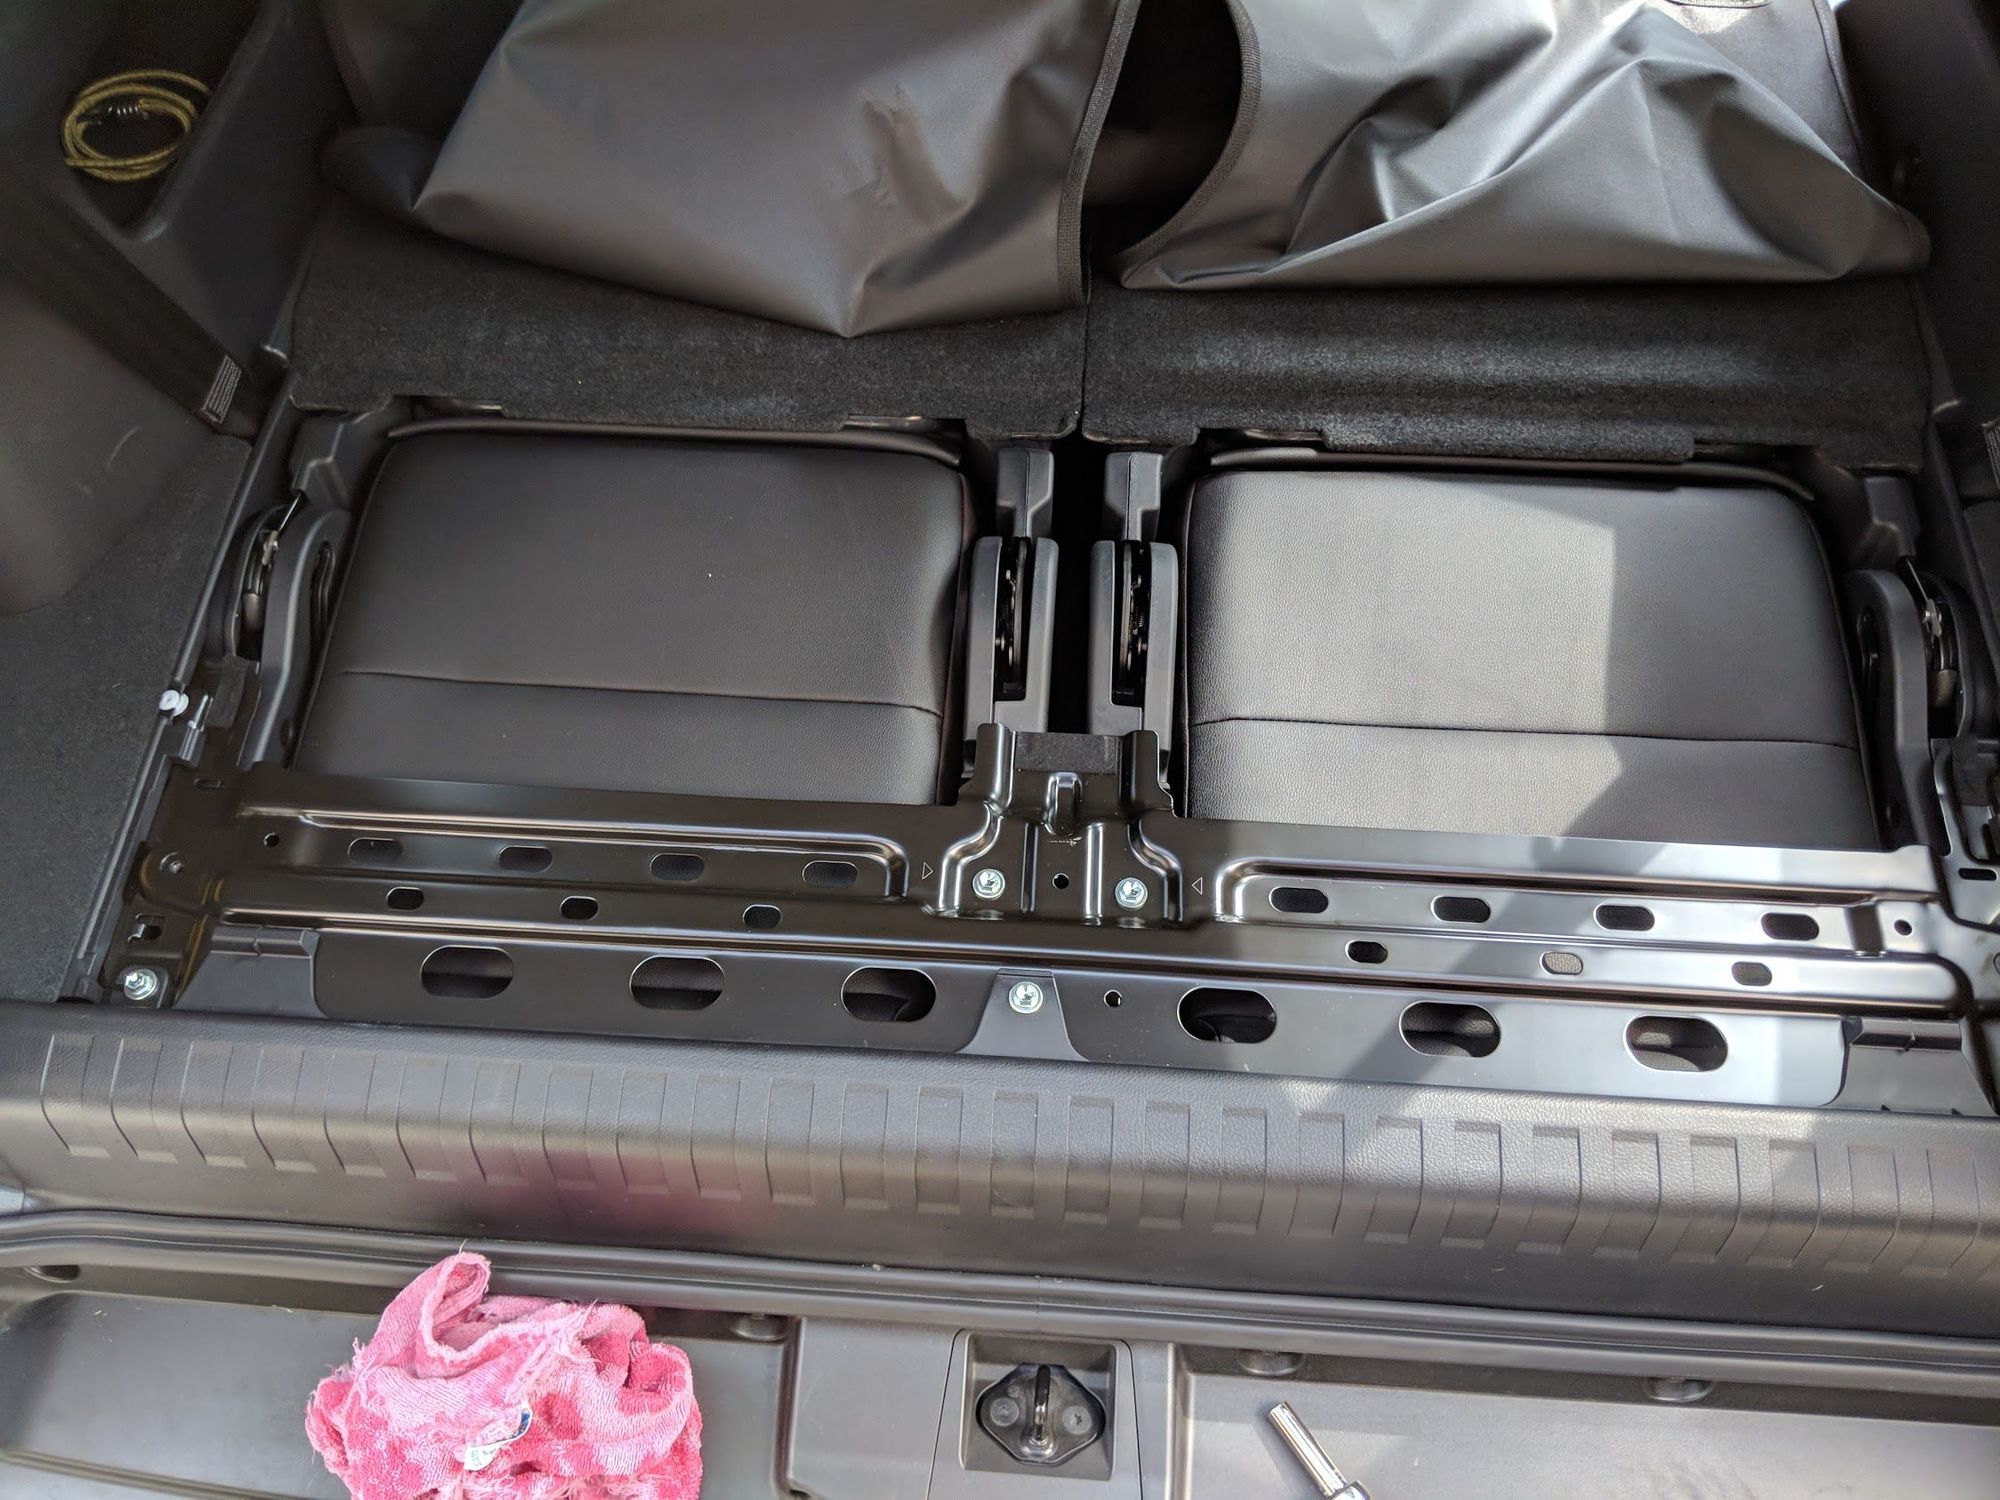
Once the panel is exposed, you will see several 10 mm bolts holding down the metal frame bracket and rear trim piece
80-img_20180831_152406_cbe135d2795fb5d7f2d377580469d948246f2d91.jpg


Remove the 10 mm bolts holding down the metal bracket as well as the rear trim piece (5 bolts total)

80-img_20180831_152437_57eb457fba95d4347b4809b3f3db839ca0d75ede.jpg


80-img_20180831_152435_18c2582e651e320e7992f9228509eed4d6b64fa4.jpg


Trim panel screws removed
80-img_20180831_152641_12a1f296e58bde0b10cc906b4d6c8102913f1269.jpg


Remove the rear trim panel (after the 3 screws are removed) by pulling up on it, it's held in by about 6 clips and should lift up with some pressure. After that remove the metal panel, exposing the seats. (No picture sorry)

Next you want to remove the 2 small side trim panels, they are held down by clips

80-img_20180831_152742_09e09d2e942a6319e06cbfaae23c10f474d3928a.jpg


Removed
80-img_20180831_153019_873d21d44937b59ee753c901d55a227032722a64.jpg


I also removed the seat belt anchor seen here to allow the panel to move easier
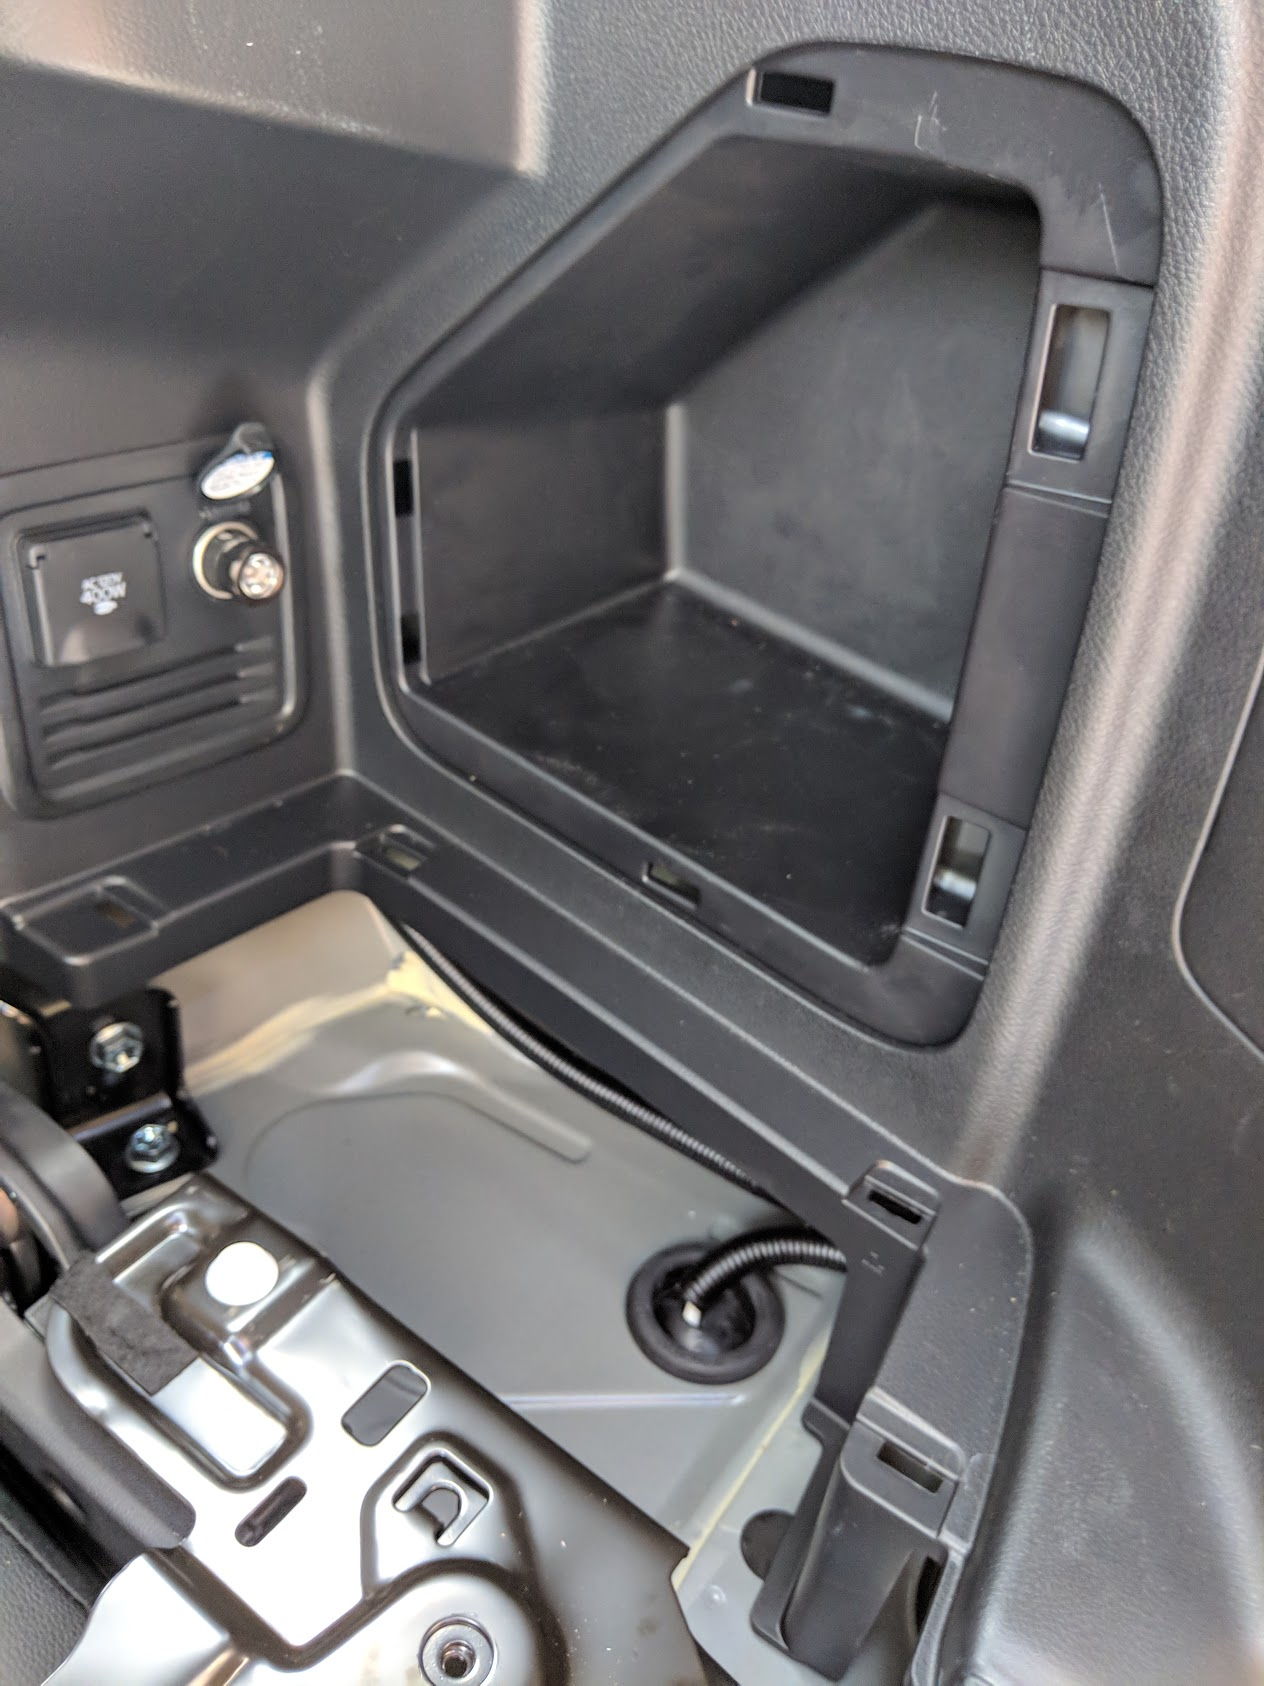
80-img_20180831_152831_ff6333a316f91041238498beea5143c8752a91e8.jpg


Next you need to remove the right metal brace bracket that covers the right seat rail. It's held in with 2 x 10 mm bolts
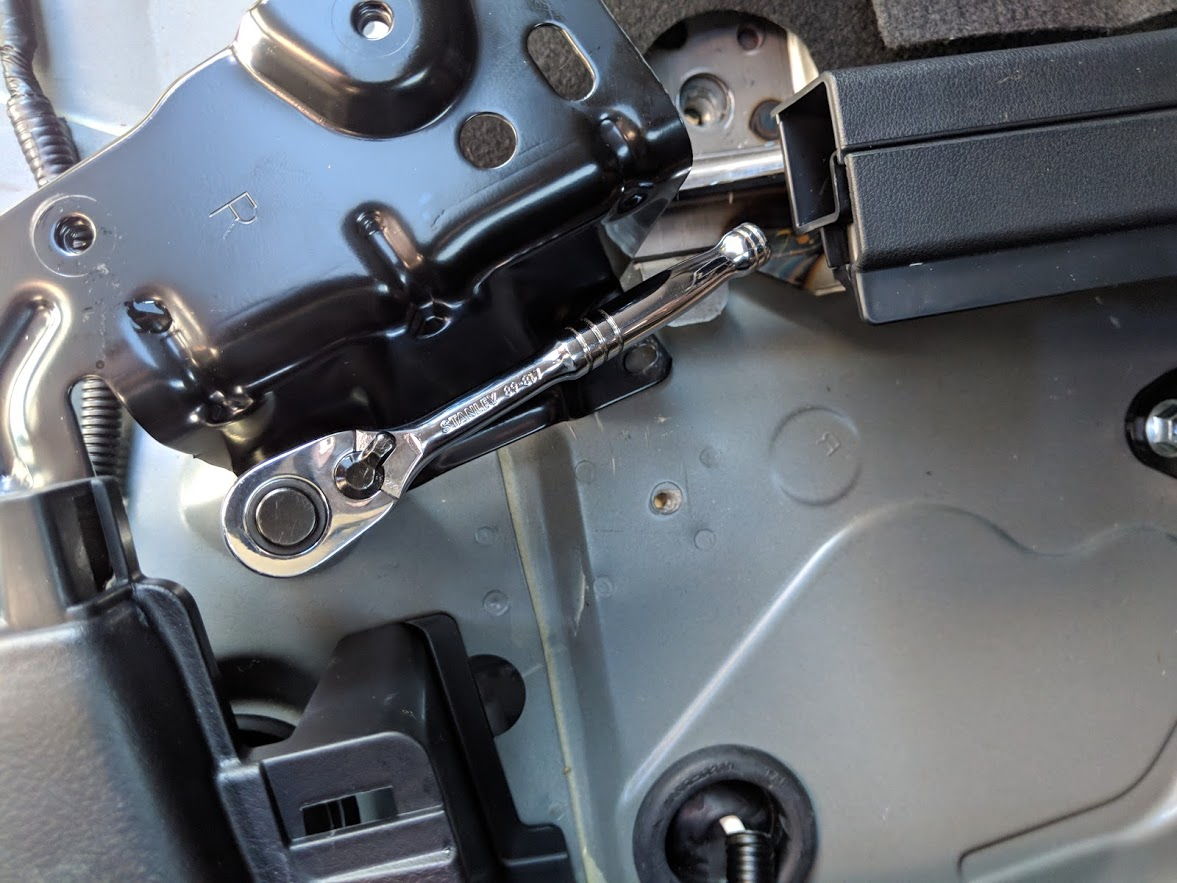
80-img_20180831_171659_d9b46663196c9173d11ca87f80a981118b2966e1.jpg


Once you've done this you can remove the 4 x 14 mm bolts holding the seat down. There are 2 in the rear, one in the middle channel (removed on the right seat, shown on bottom)

80-img_20180831_171702_5484a8ae403f8d6b5a4f72aa649ec6e36bf03aff.jpg
 
Register to hide this ad
For the second rear bolt I had to flip the lower seat part up to access the bolt underneath. Once those 2 are removed, I moved up to the front 2 bolts. Simply pry down the flaps using a flathead or trim tool to expose the bolts, I rolled my middle seat forward to give me room to access. Then remove the 2 x 14 mm bolts

80-img_20180831_153717_3a6a9dd29f5527016447d5a74fbc621ae682175a.jpg


Then, simply wiggle the seat loose and remove it carefully, I put mine on a dolly since I was by myself and needed to wheel it out of the way.

80-img_20180901_180753_a1c6169ba47ab0230197d42a4a767ddc777e91fe.jpg


(To remove the other third row seat, just repeat the same steps with the 4 bolts on the other seat and remove it.)

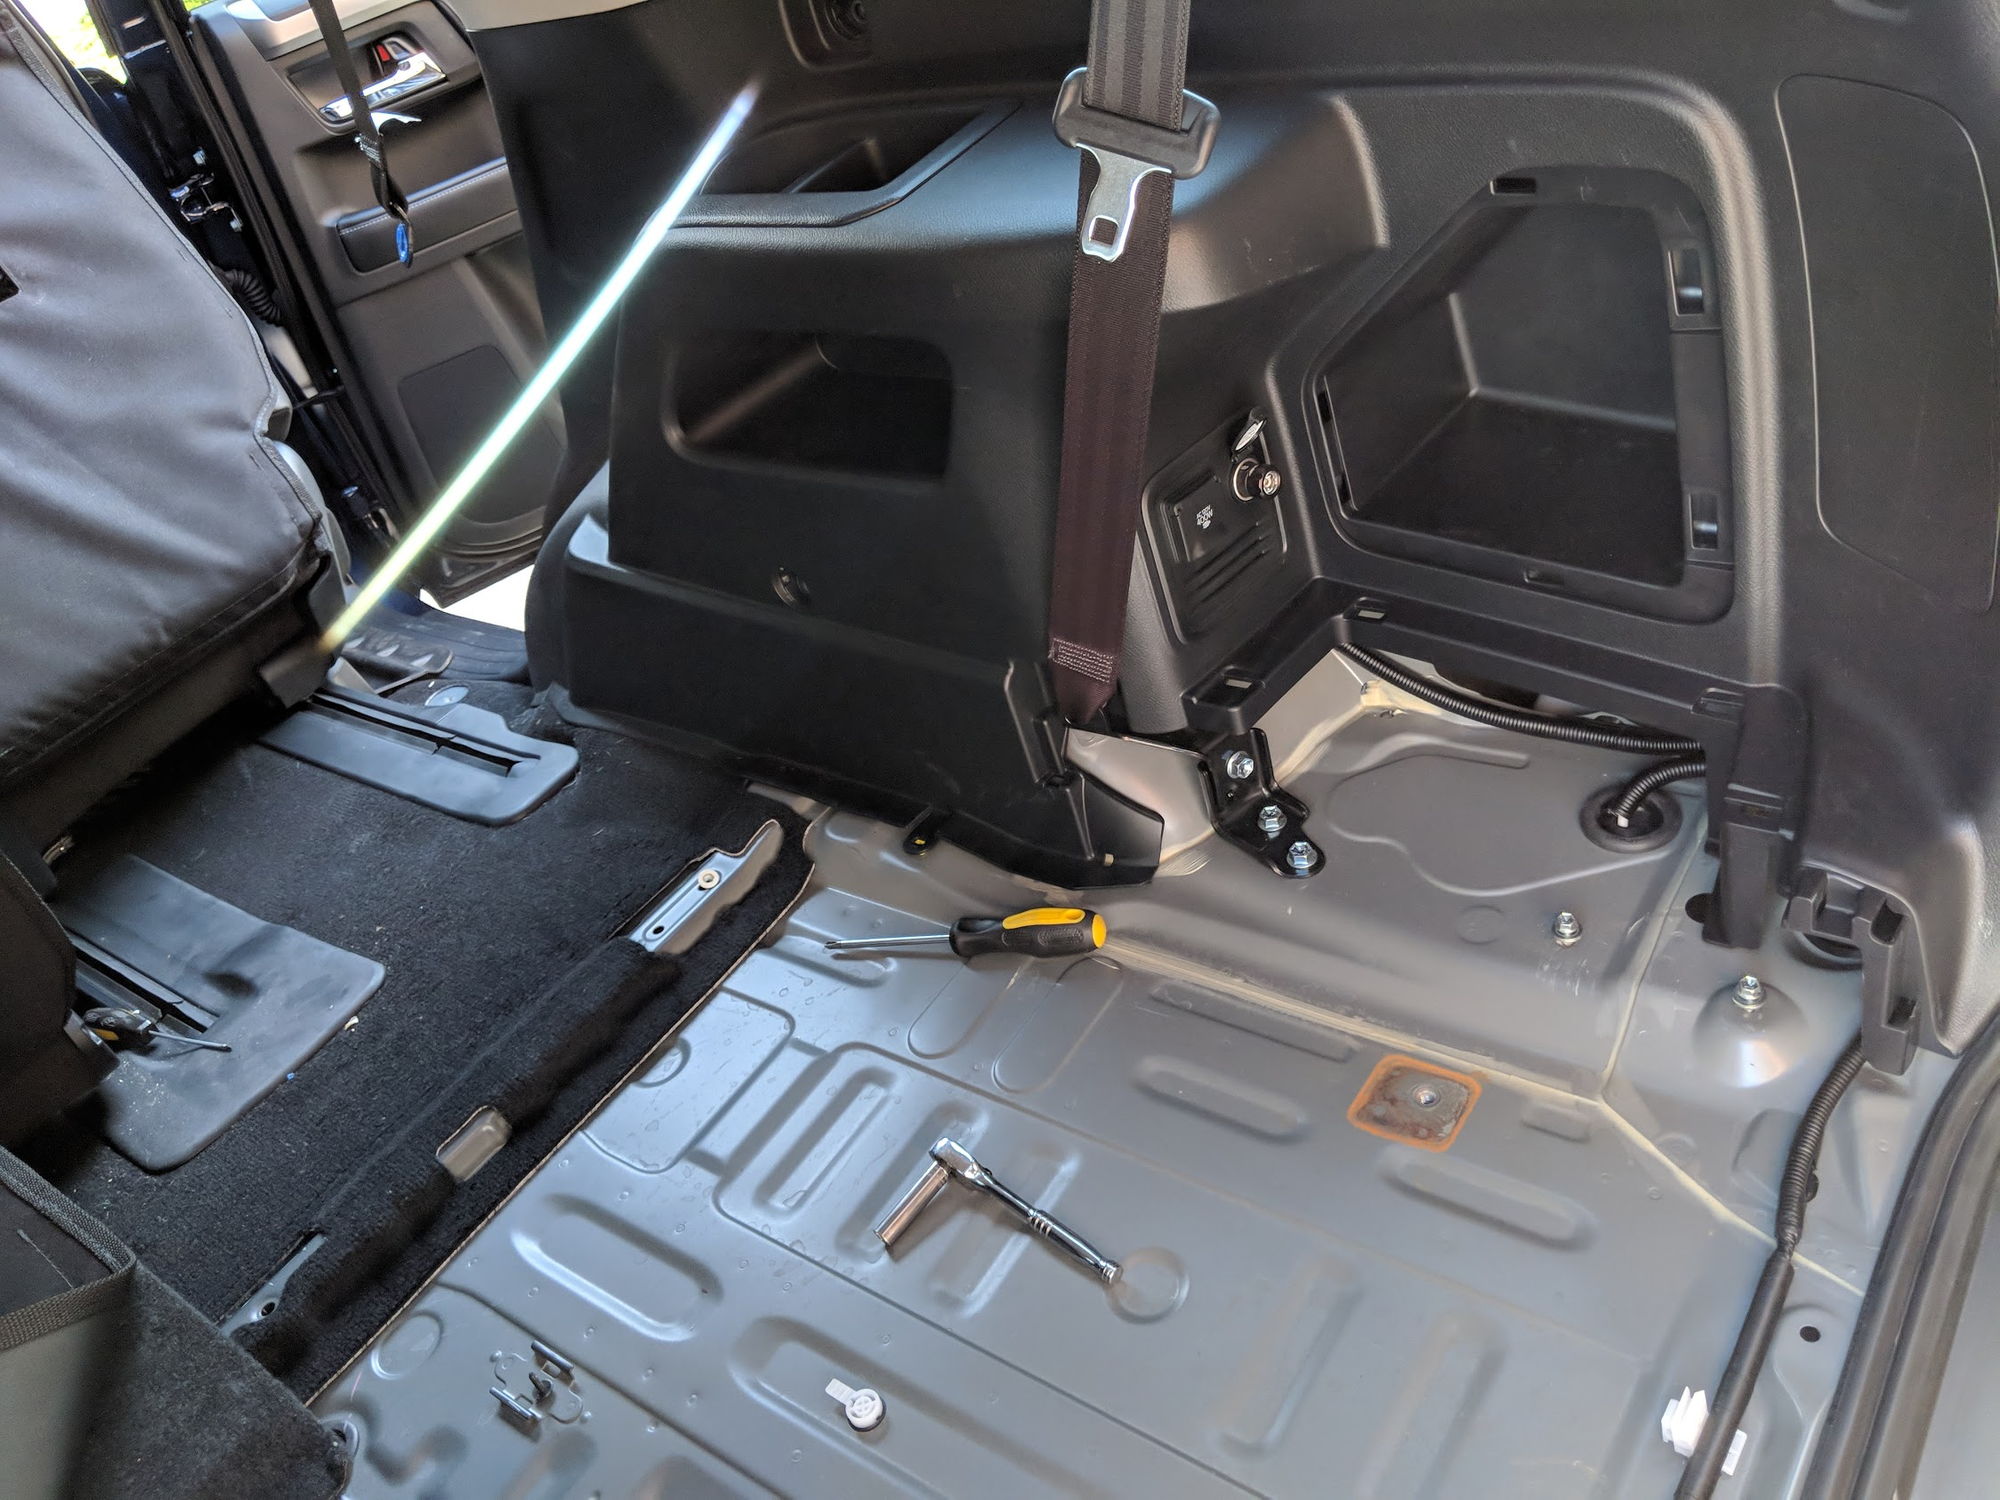
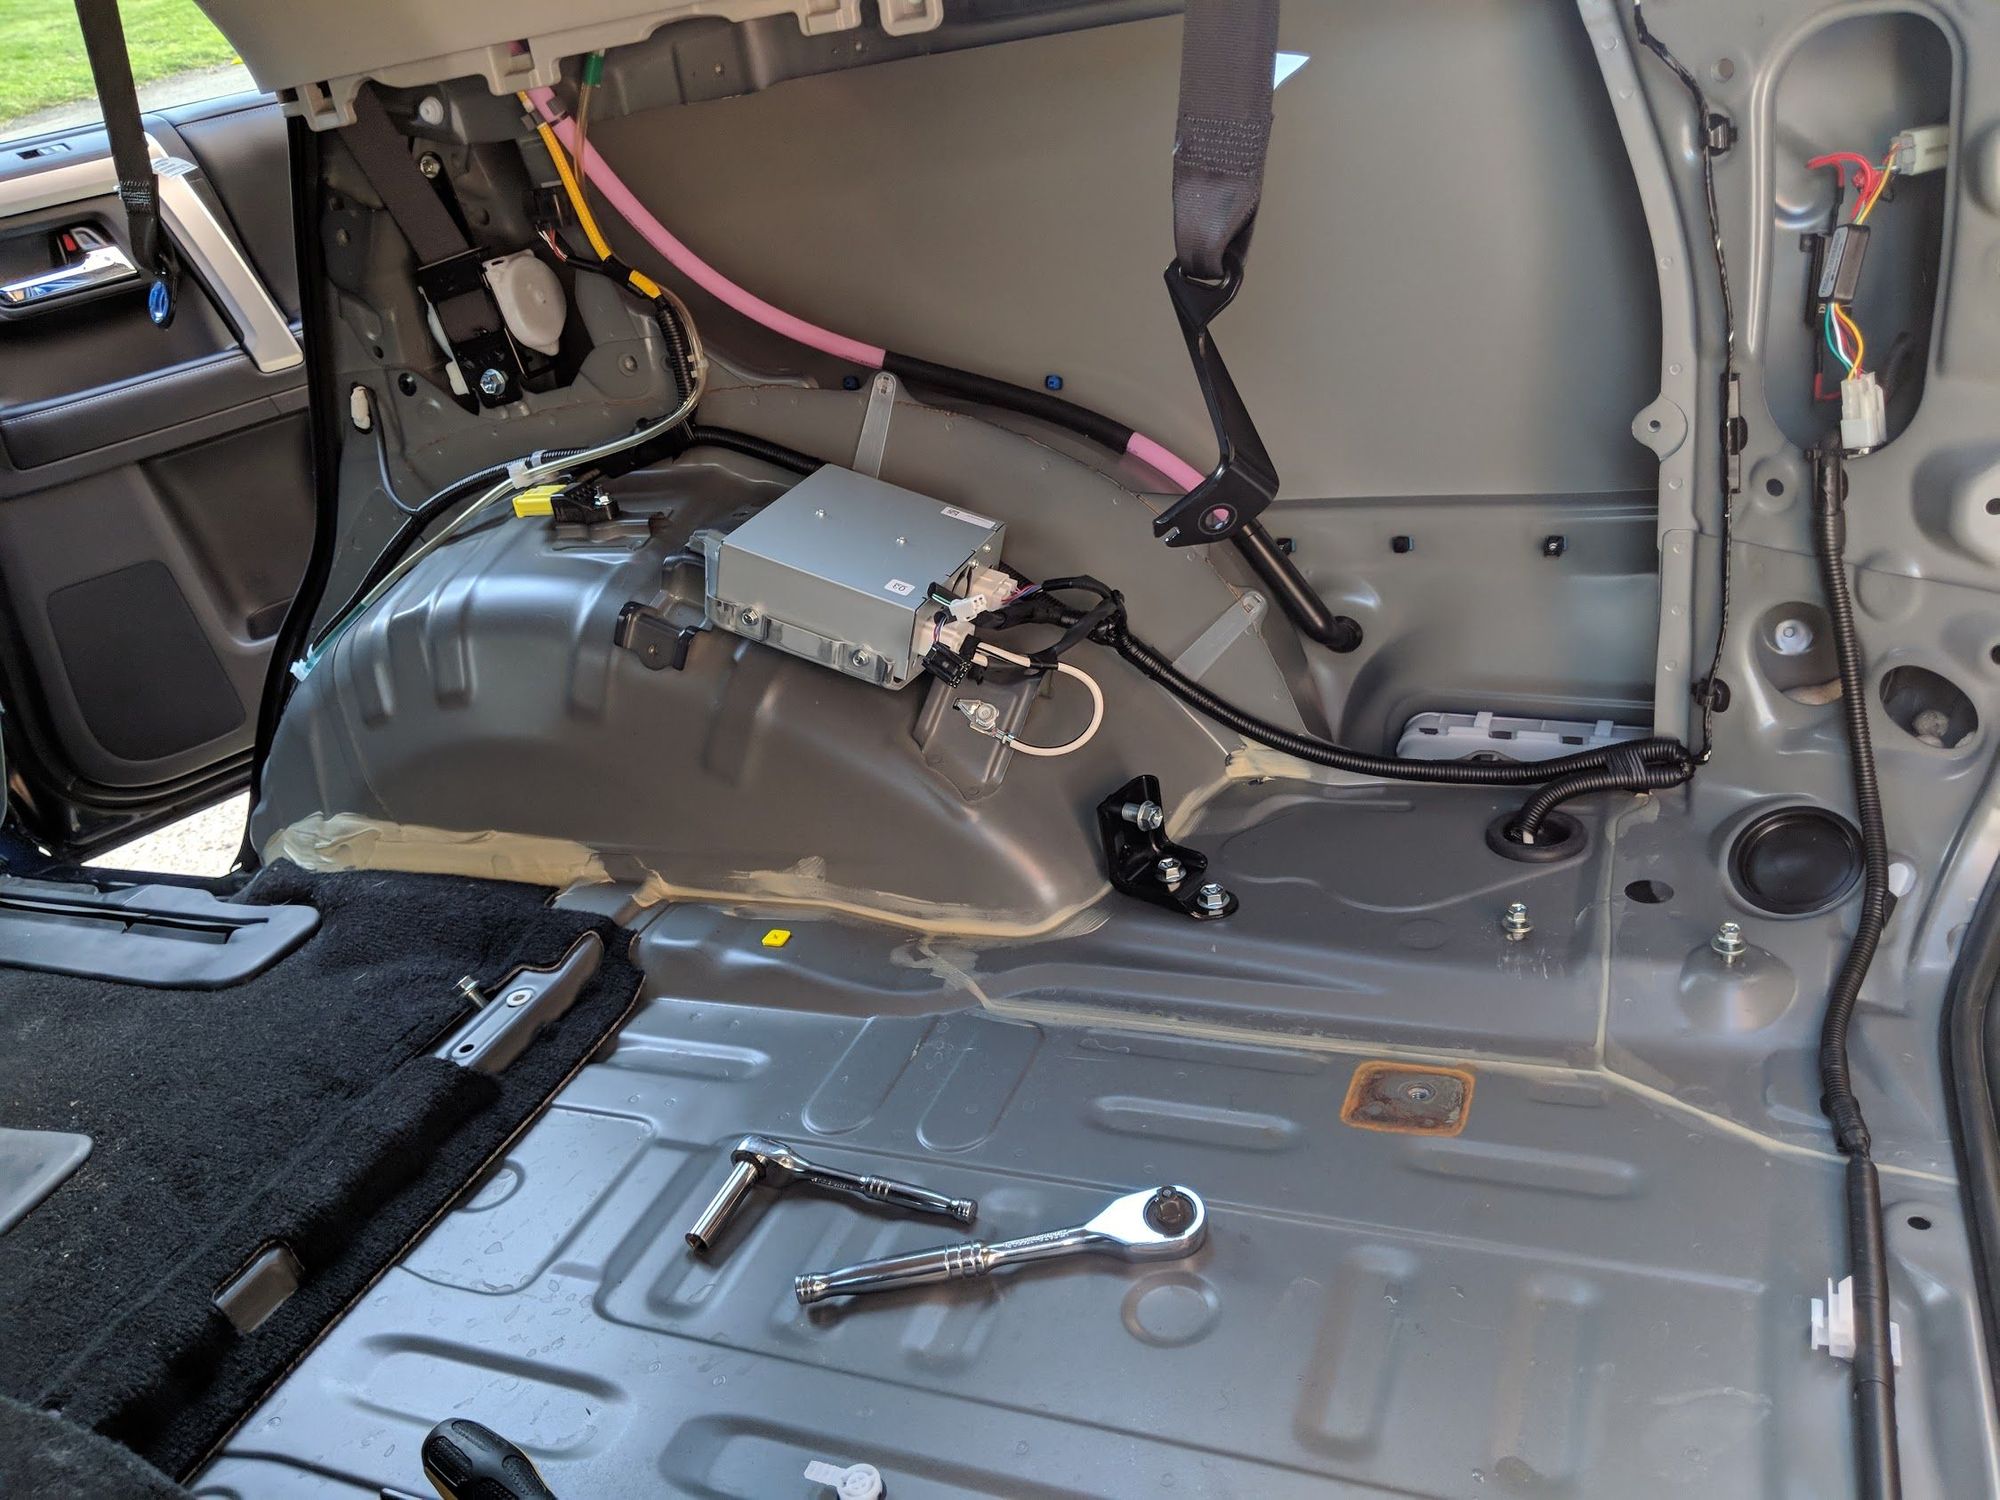
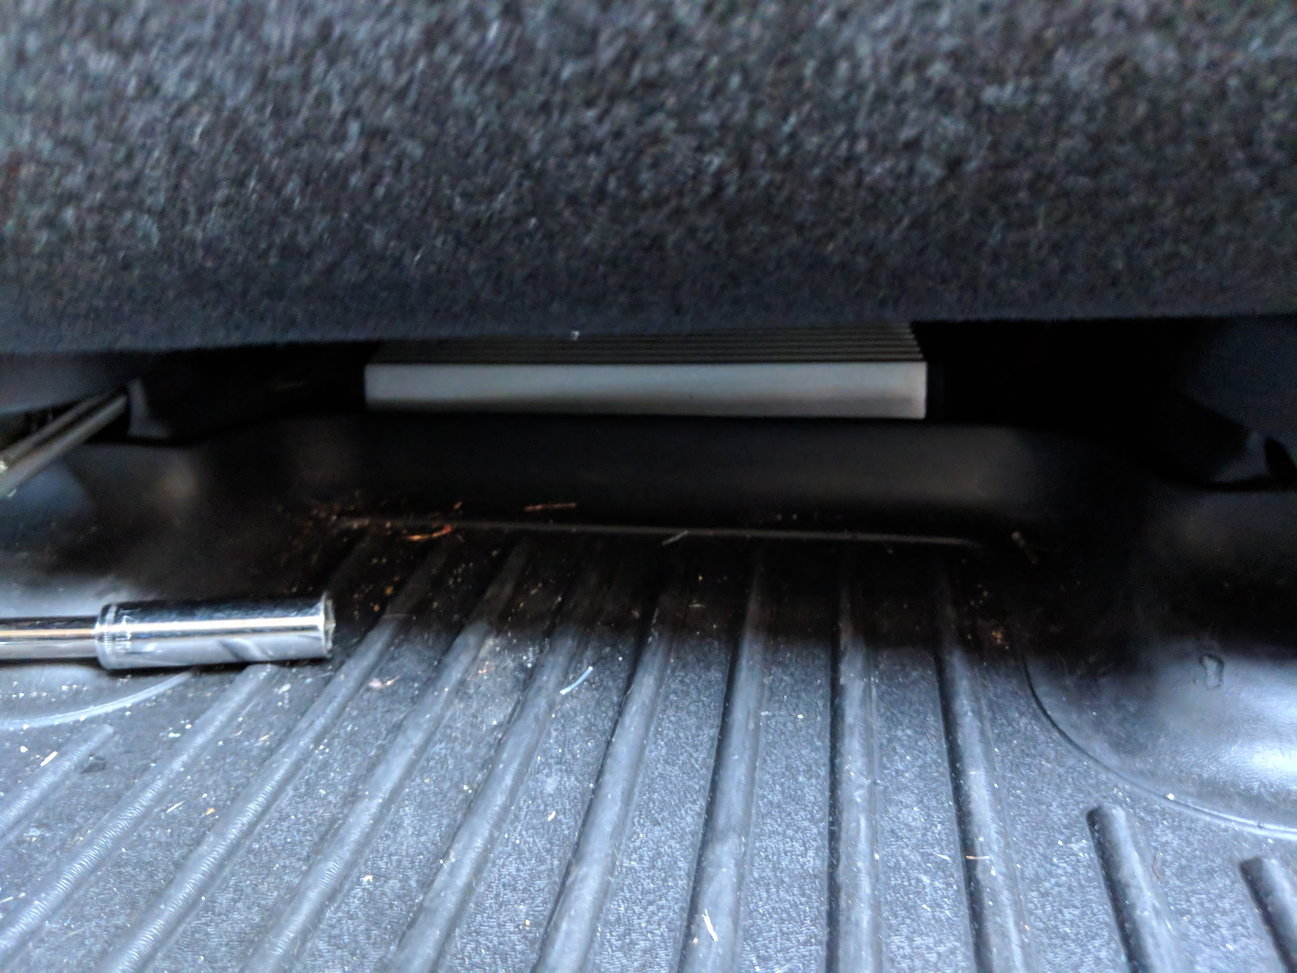
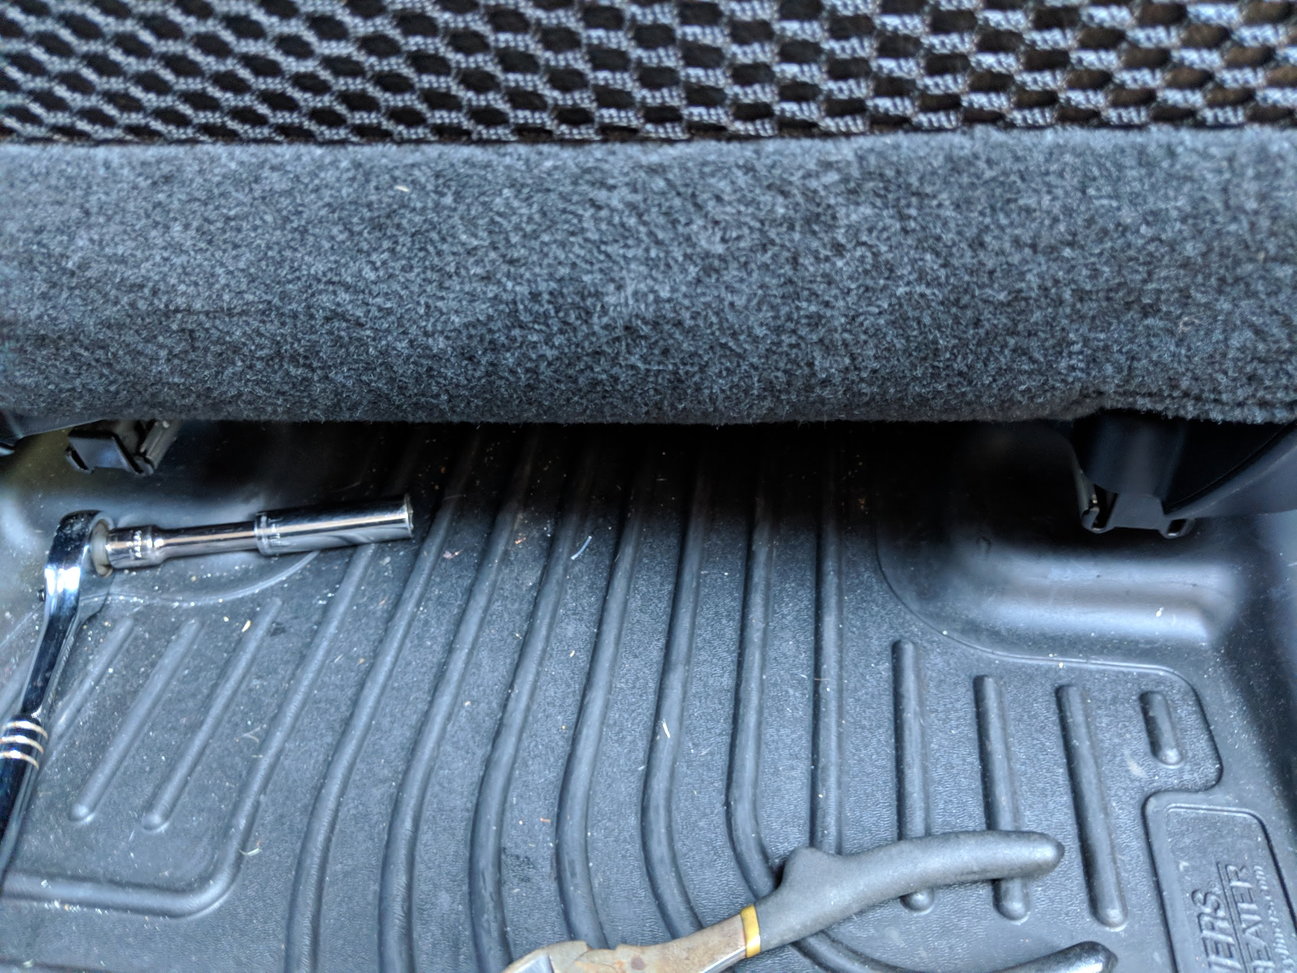
Voilla, now you can access the small black screw on the floor in the middle of the panel, just above my screw driver.

80-img_20180831_172147_37ffbba9481fe94acf55320b5dcacb6741f332e8.jpg


To remove the rear side trim panel complete the rest of these steps.

Next you will need to remove the middle row passenger seat belt and the step panel.

80-img_20180831_153128_67ab2b3b999a4a922b7298ecf2c181d50d1cc70d.jpg


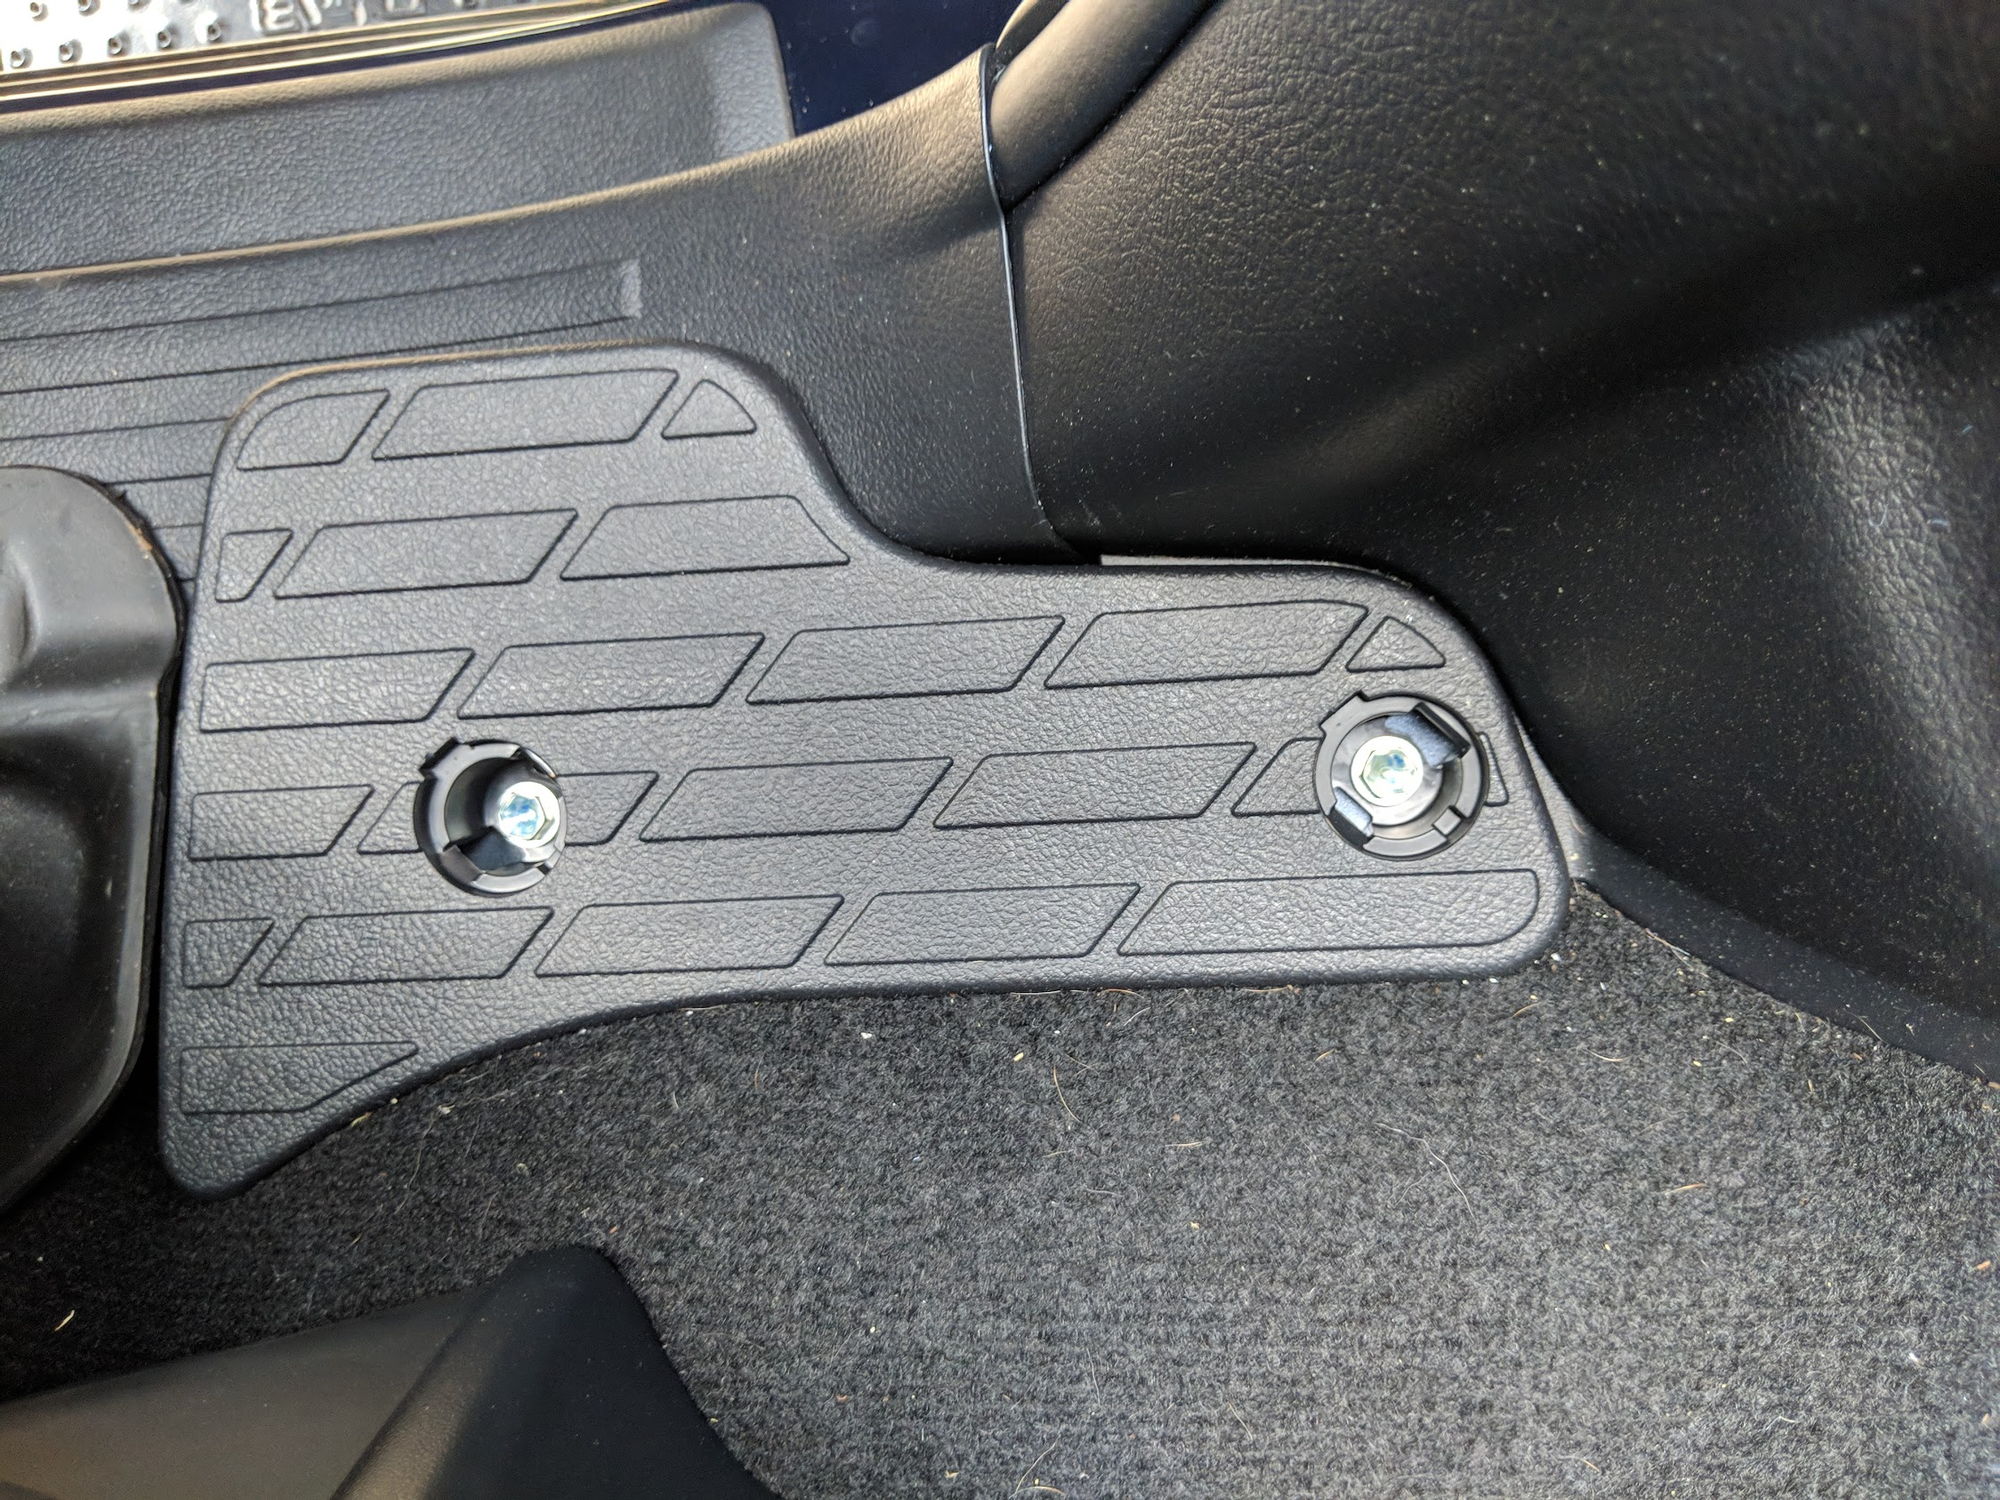
To begin, simply remove the 2 circular covers with a flathead or pry tool to expose the 2 x 10 mm

80-img_20180831_153126_35fca99c63a2ede3449a6d33aac918cf34b9fc5f.jpg


Next remove the 2 x 10 mm bolts to remove the step piece
80-img_20180831_153223_3072144b2f165991b80c3b33bfc4c253bb32b321.jpg


Remove the step
80-img_20180831_153313_d27777abfec4f2394c6a46016b895629dddb37ed.jpg


Next, remove the 14 mm bolt holding the seat belt down, simply pry off the plastic cover to expose the bolt

80-img_20180831_153357_f0c7b232e500b329d120f573d8e0e6d53724c622.jpg


Remove bolt
80-img_20180831_153454_b3f93bcf769c0ad92e83a150a721f0f1adea8220.jpg


Once that bolt is removed, you can remove the rear trim panel. Go slow and remove the clips starting at the back and work your way around. Then remove the panel.

80-img_20180831_172829_98003655375f2a6dc4880500a3cee86e119418bc.jpg
 
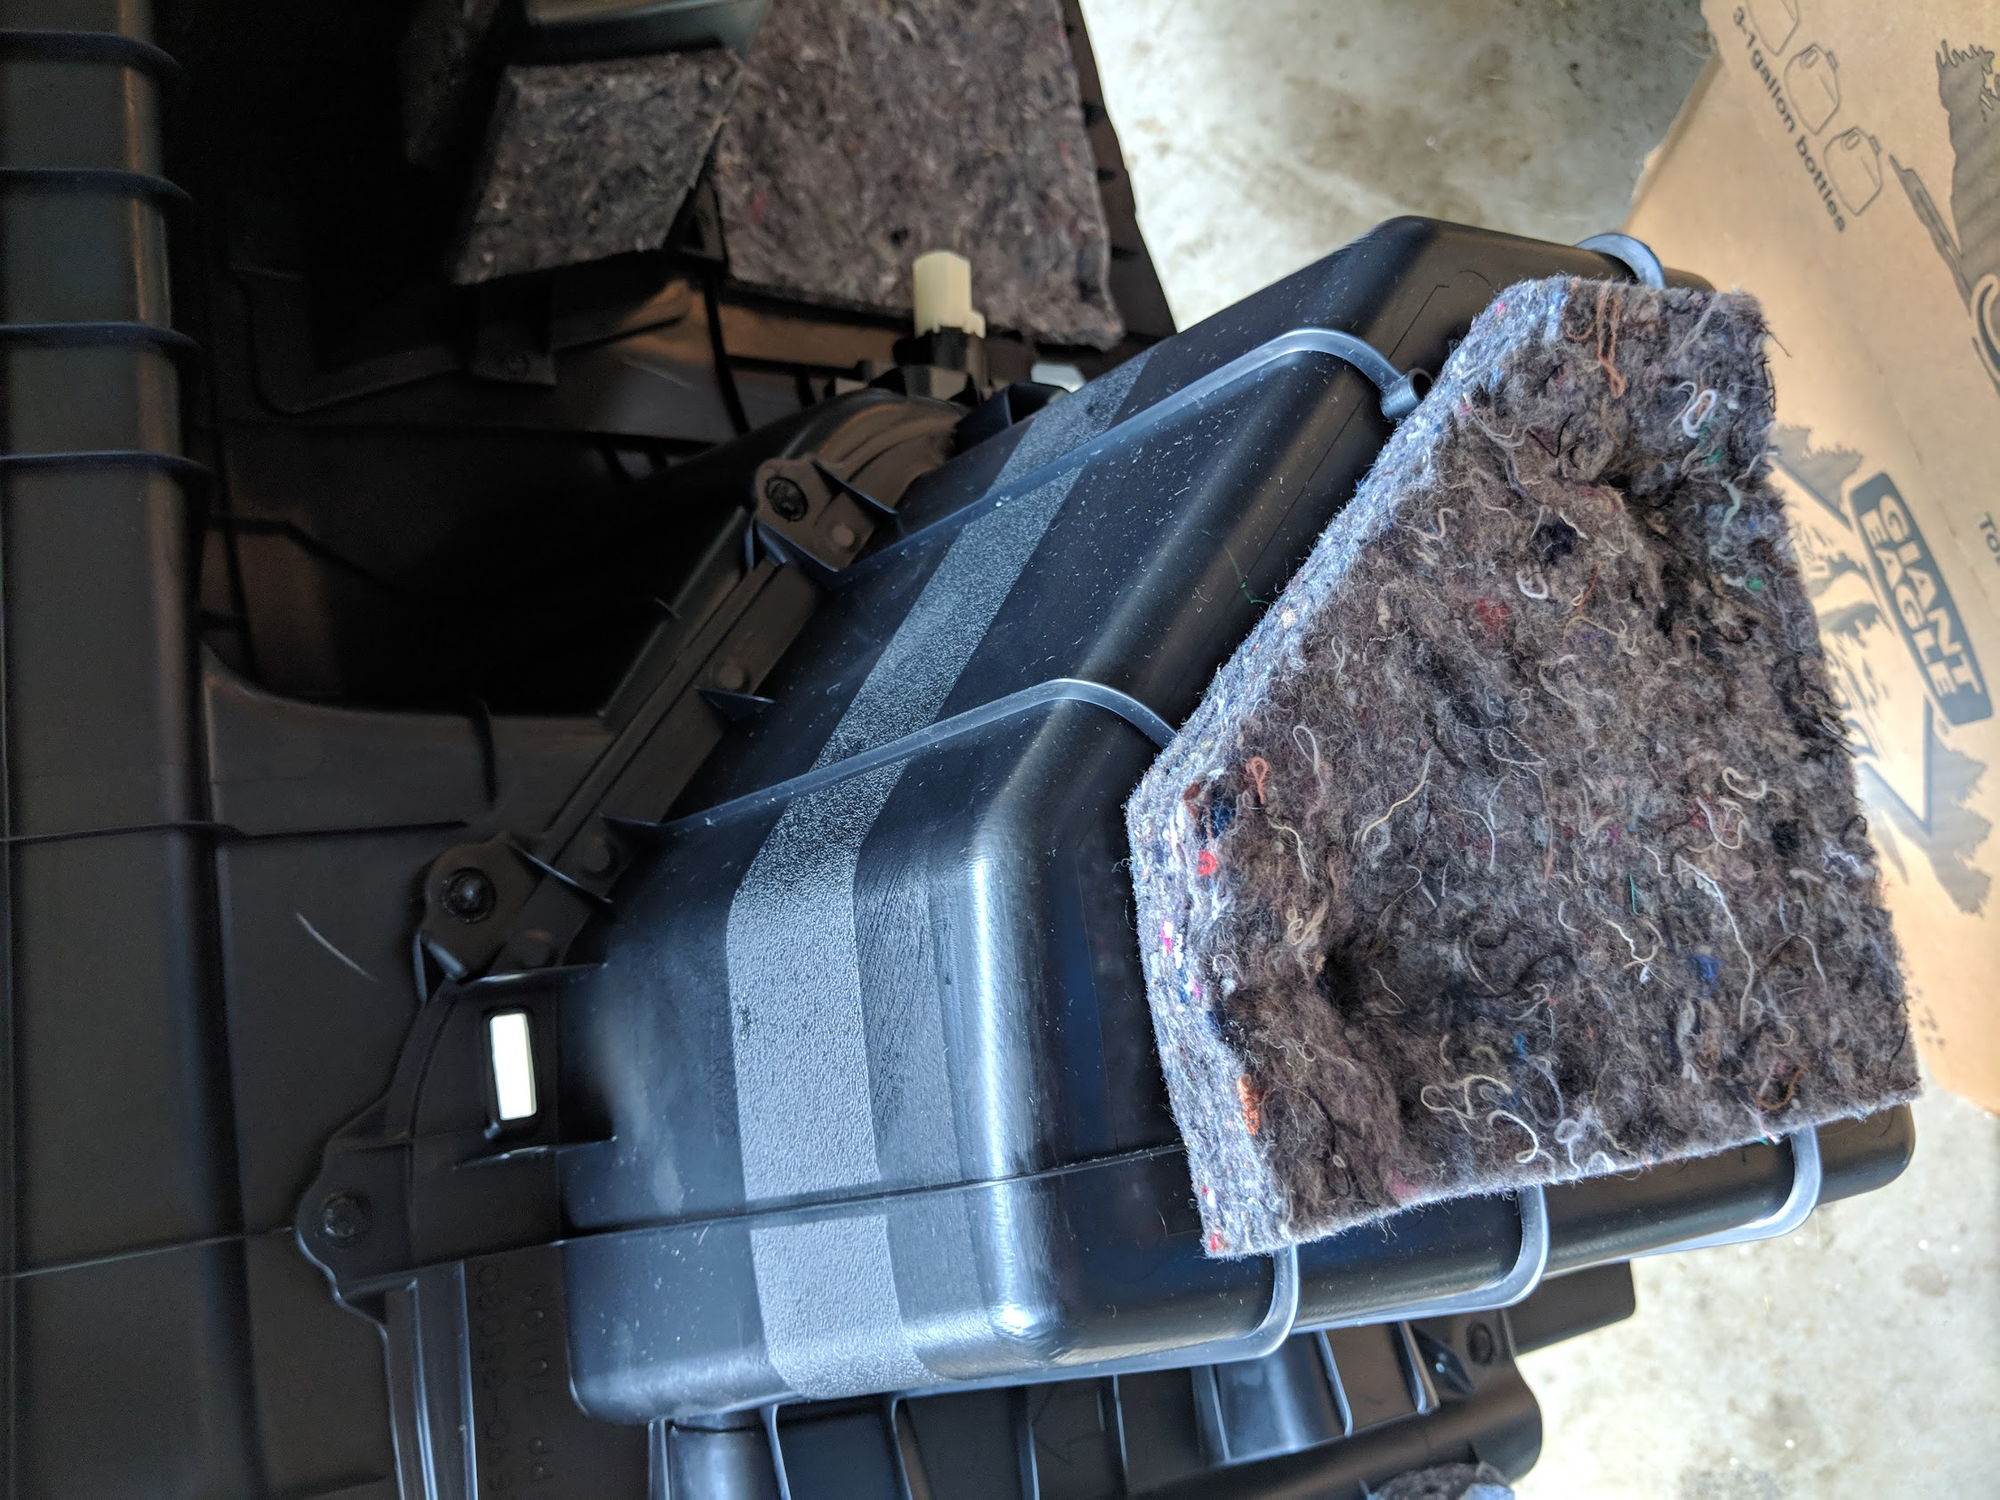
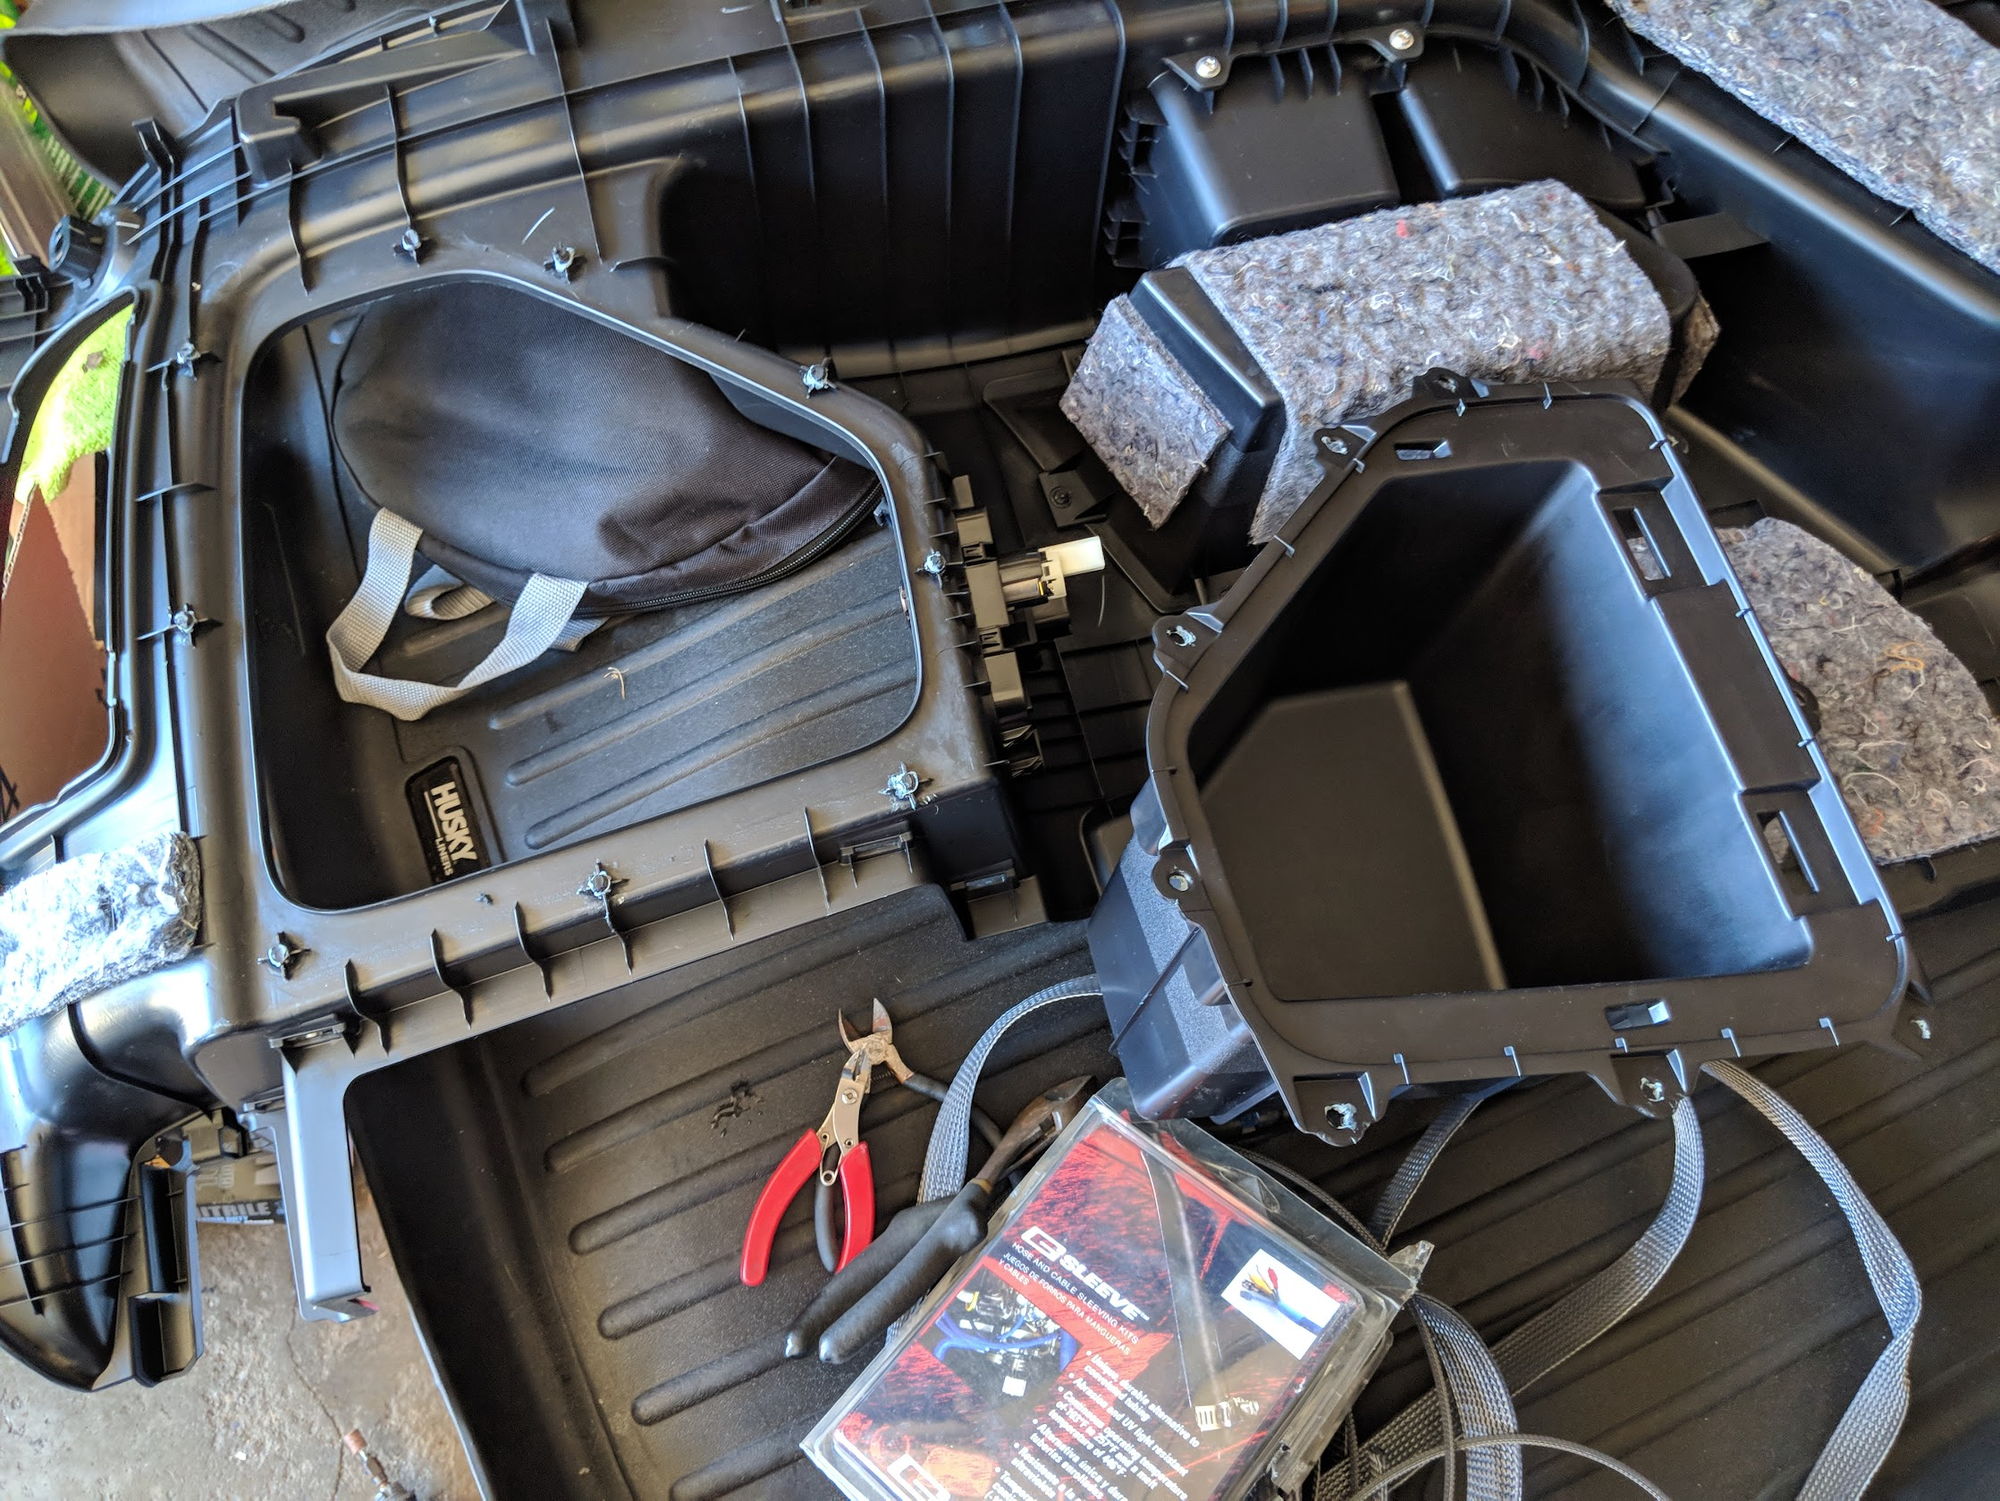
In order to install a subwoofer using the stock JBL enclosure which I did, you have to remove the pocket from the rear trim panel.
80-img_20180831_172907_89a3a760d0d1b51b404421aee7934cf045b276c6.jpg


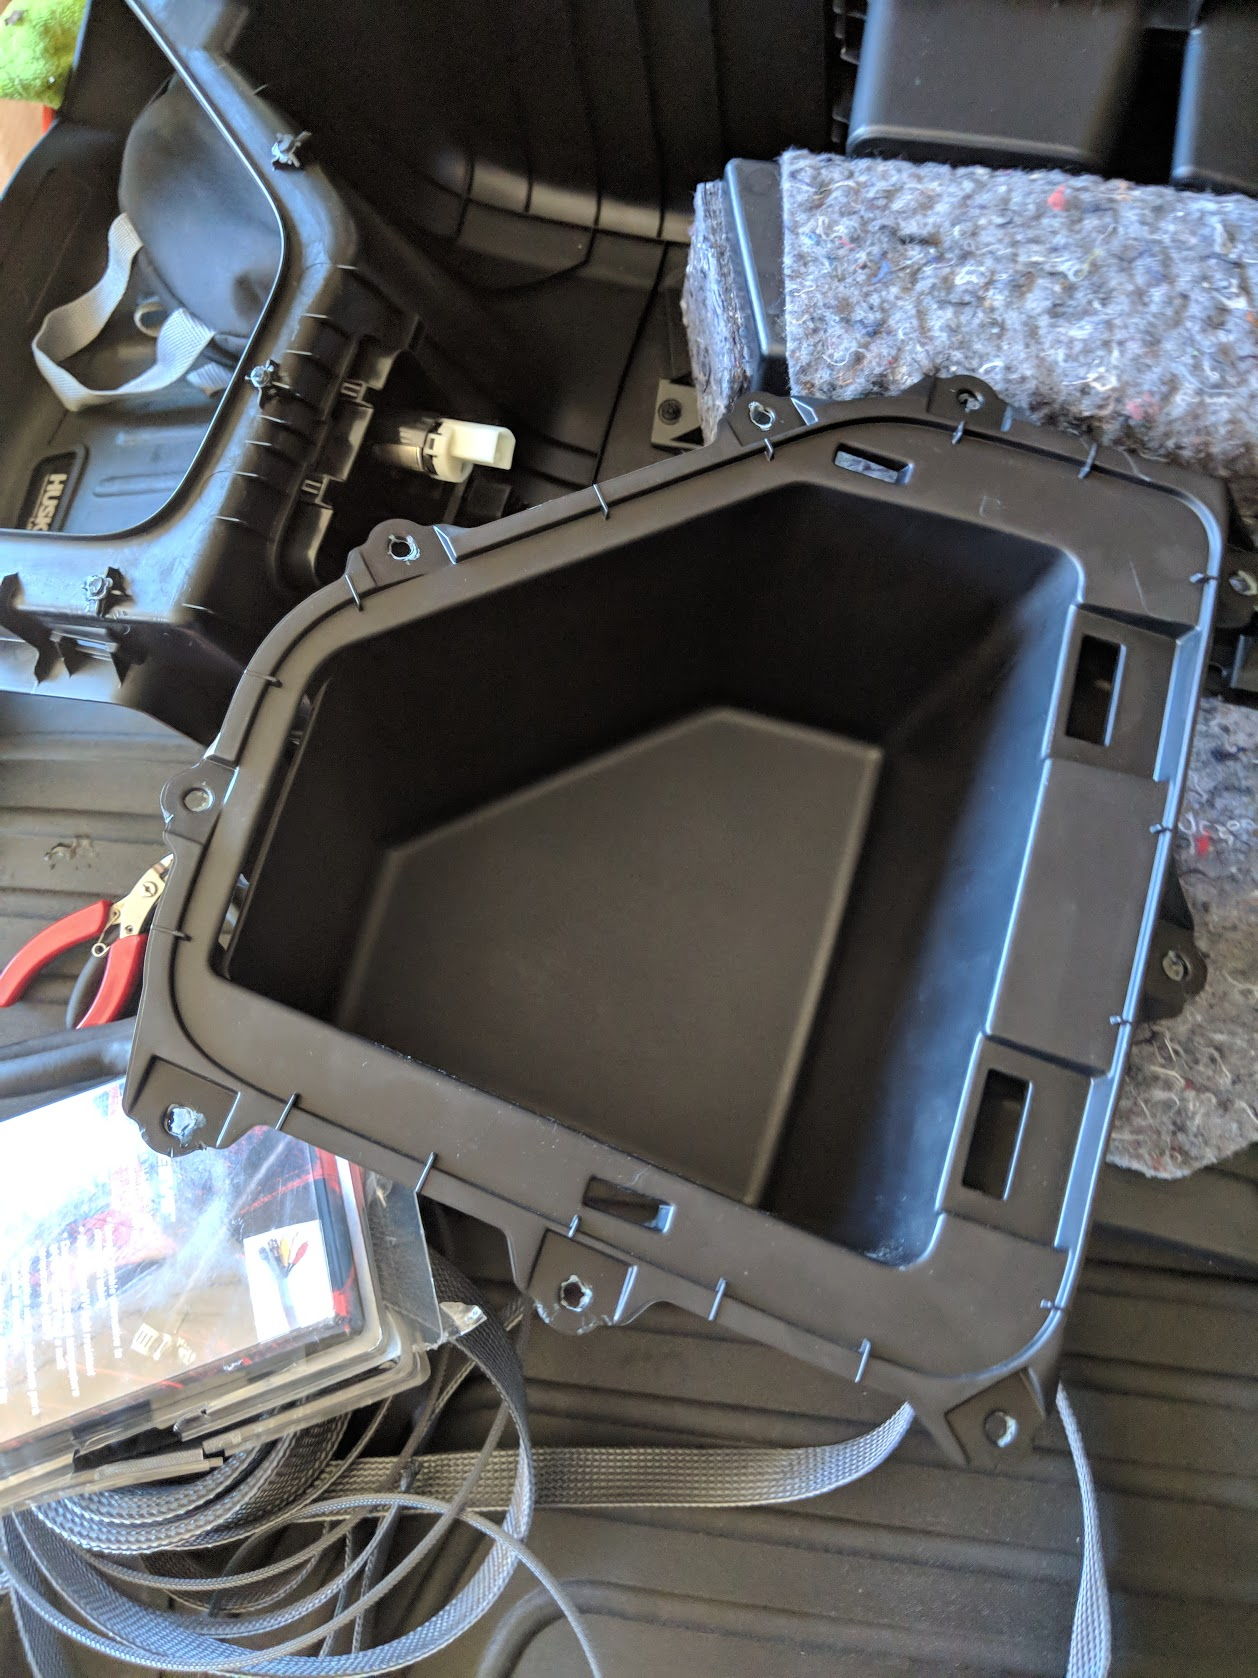
To do this, I ground down the plastic welds on the back of the panel, and then popped each clip

80-img_20180901_151208_9201394a3518b9e5ecc1d66faf57f97d988d7c07.jpg


Pocket fully removed
80-img_20180901_151205_37a778beabe49cb5d314744ef5f293d5c6d52010.jpg


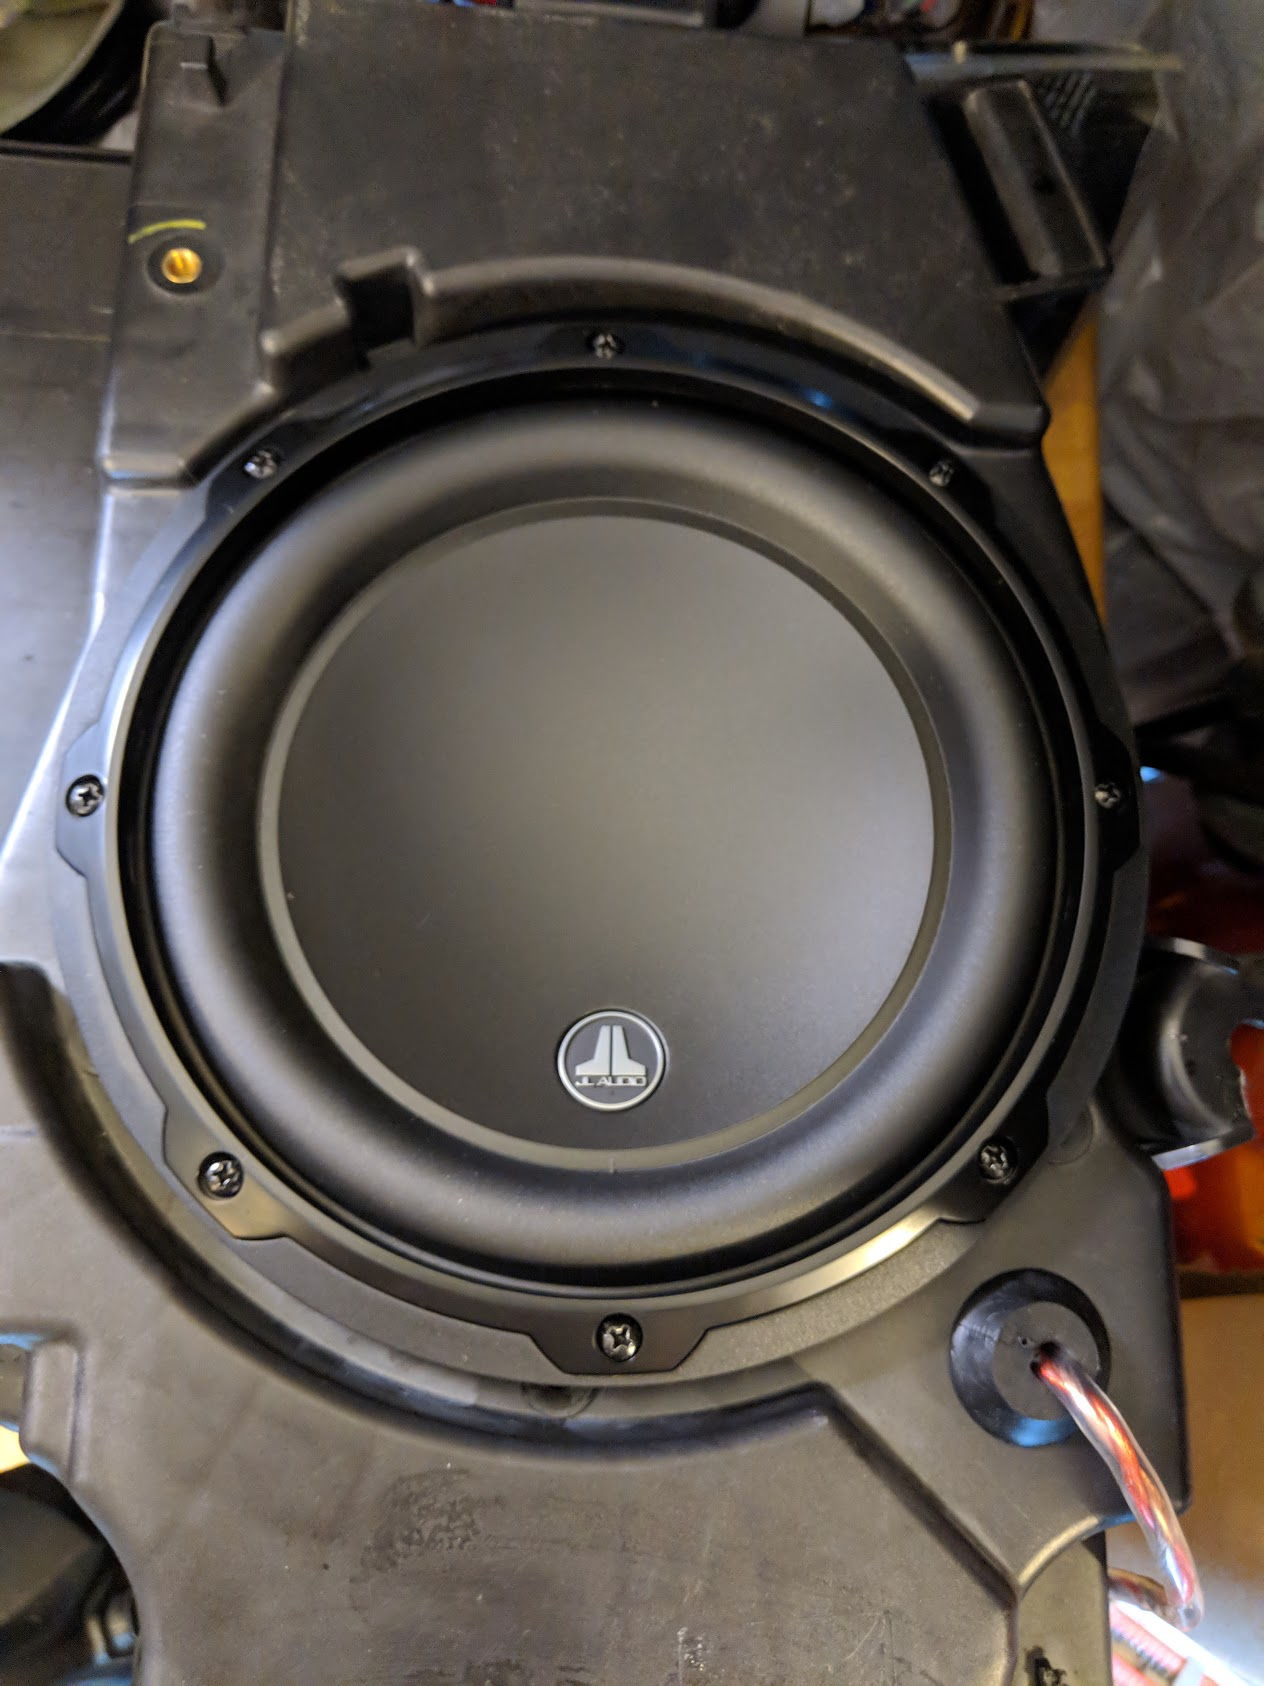
I modified the stock JBL enclosure to fit my JL 8" subwoofer by removing the internal fins to allow the larger magnet to fit.

80-img_20180831_142908_32152a4e85d4b36cde8dad3b65fb188251a6a335.jpg


Then I ran the wires through the stock wire grommet and screwed the subwoofer down.

80-img_20180831_150605_6b51ede71a98d503734dc8294a5bcb4e1a30815e.jpg


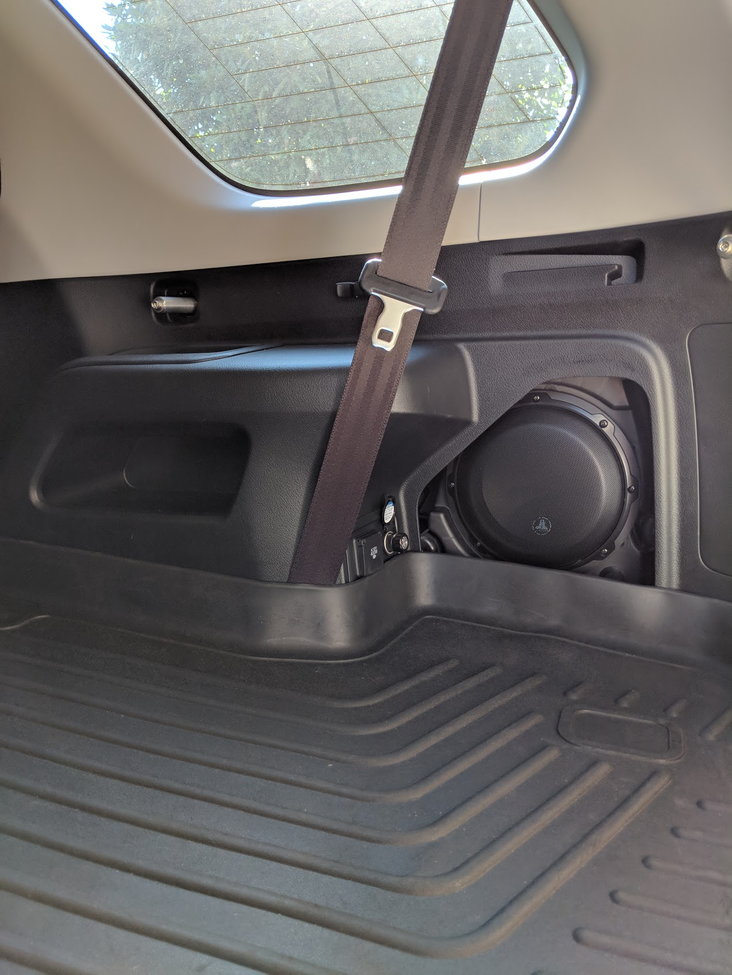
Here you can see the enclosure installed in the stock spot, the holes were tapped and drilled, I just had to add bolts and washers

80-img_20180901_151335_965f0c9859270600a6013dd51ff5c628bcf5e131.jpg
 
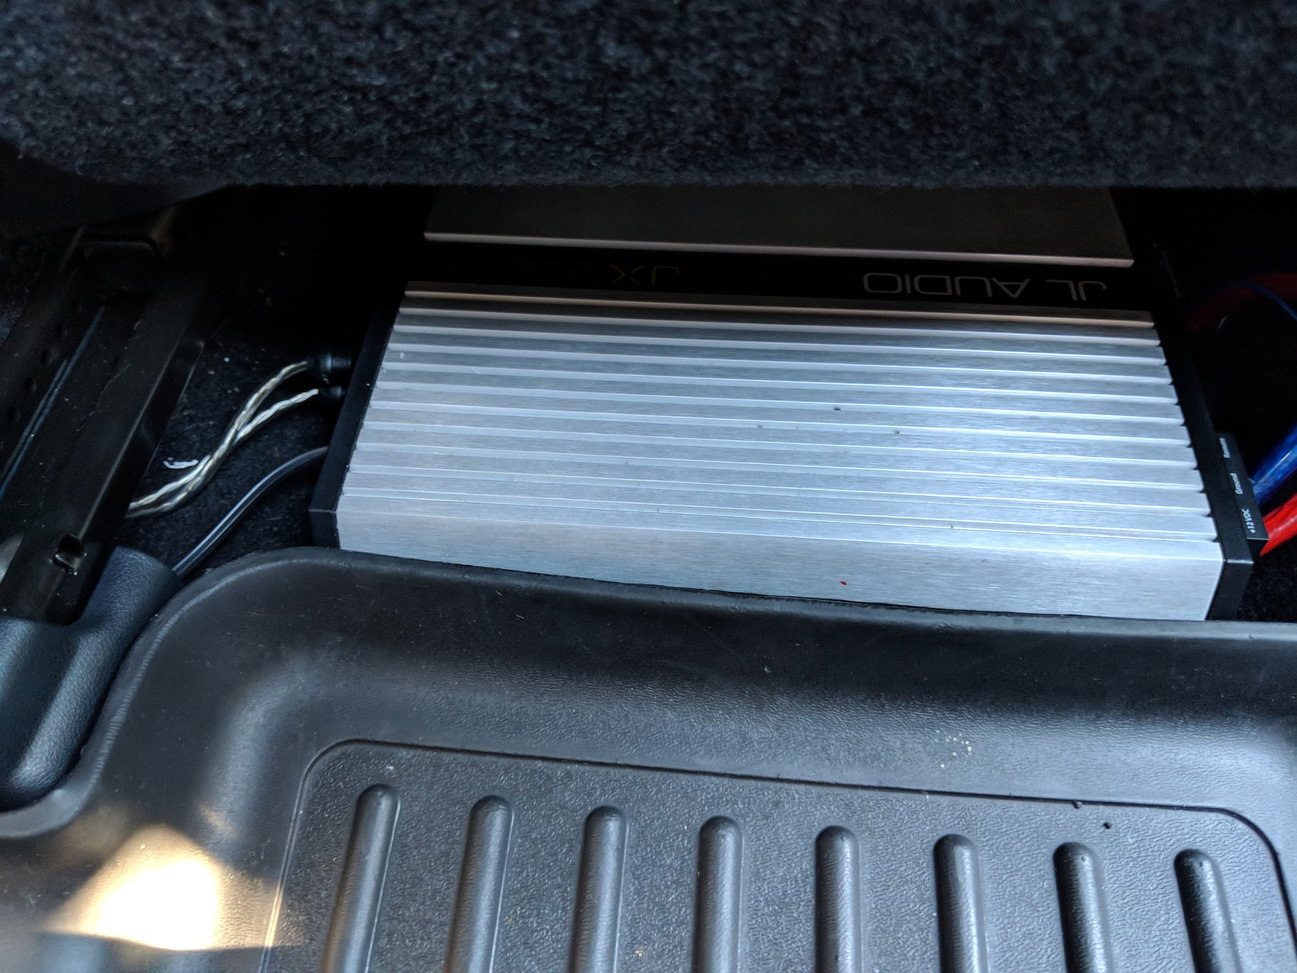
Then I ran the rest of my wires to my amp under my passenger seat, tested everything, and replaced the rear panel and the seats.

img_20180903_154210_5a3bb15591d7b323b22f4bafc621ad2783534159.jpg


img_20180903_163755_dff43c771f53ac0034068d493501ca601f8d893a.jpg


And just like that, a subwoofer where there wasn't intended to be one on my model!

If you'd like info on how I wired the headunit, amp, etc. Please reference my thread here.

http://www.toyota-4runner.org/5th-gen-t4rs/256345-blackacks-5th-gen-4runner-thread-4.html

Hope this helps those who are looking to remove their third row seats or add a subwoofer. I wasn't able to find any threads detailing this info with pictures
 
Thanks for providing such a thorough write up!

How much time did this project take you to do?
Do you happen to know the cubic volume of the JBL enclosure?
 
Thanks for providing such a thorough write up!

How much time did this project take you to do?
Do you happen to know the cubic volume of the JBL enclosure?

Took me 4 days, Friday - Monday but I took my time and was battling the heat and sun in my driveway. If I would have been able to use my garage I would have probably gotten it done in 2-3 days, but the heat was so oppressive I was only able to do a couple hours at a time, and probably lost 9-10 lbs of sweat in 4 days, but all in all it was definitely worth it!

I don't know what the cubic volume of the enclosure is, sorry
 
Took me 4 days, Friday - Monday but I took my time and was battling the heat and sun in my driveway. If I would have been able to use my garage I would have probably gotten it done in 2-3 days, but the heat was so oppressive I was only able to do a couple hours at a time, and probably lost 9-10 lbs of sweat in 4 days, but all in all it was definitely worth it!

I don't know what the cubic volume of the enclosure is, sorry

Yeah, with the additional work installing the amp, running cable, etc., definitely a sizable project. Really nice work!


Thanks for your enclosure volume measurement, cmoekim. Was curious how well it is sized for the JL 8w3 sub.
 
Yeah, with the additional work installing the amp, running cable, etc., definitely a sizable project. Really nice work!


Thanks for your enclosure volume measurement, cmoekim. Was curious how well it is sized for the JL 8w3 sub.

Yeah, probably 2/3 of my time was involved in running the wires through the dash and firewall and fishing everything under the carpet to make it as clean as possible

I was able to test fit my 8w3v2 in there with no clearance issues whatsoever. The larger magnet on my 8w3v3 meant that I had to cut out the fins in the box to make extra room for the magnet to clear. I can tell you that it sounds incredible all installed. And I'm selling my 8w3v2 if anyone is interested.
 
I just wanted to say thank you for this "how to". I'm going to be doing this soon and this was the perfect step by step I needed.
 
I just wanted to say thank you for this "how to". I'm going to be doing this soon and this was the perfect step by step I needed.

You're welcome, I searched and searched to no avail, however having done the same thing in my 4th gen SR5 I knew the steps would be extremely similar so I had that going for me. Post some pics when you're done!
 
Thanks for the great write-up! Is the rest of your system stock and the amp only for the sub?

Yes and no, the amp is a monoblock class D for only the sub yes, but I replaced all of my interior speakers with aftermarket speakers that run off of the stock headunit.
 
Damn ok. My amps too big to fit under the seat. Do you know anywhere else it might be able to be hidden away?

Depends on how big, there's a good bit of room where the stock sub enclosure goes, but really depends on the amp size. I bought my amp with going under the seat in mind
 

Members online

Forum statistics

Threads
278,316
Messages
3,554,109
Members
248,016
Latest member
Advally Service

Trending content

Back
Top