TORCH's Build Thread

TORCH

New member
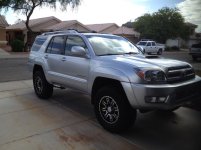
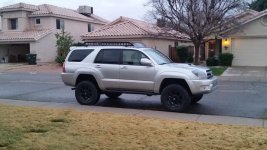
It's about time I get going with a build thread. Time to dig out all the pictures from the last year and put something together.

I purchased the truck for a great deal in the Spring of 2014. The truck had some body damage which allowed me to drive the price down considerably from Blue book . I purchased a new fender and some matching paint on amazon and got it fairly close, good enough for me. From then I started fixing anything that was broken (which turned out to be a lot) and refinishing/refurbishing anything I could salvage. After a year of weekends spent in the garage the truck is safe, reliable, and looks exactly how I want it to. Most everything I've put on this truck aside from select parts has been purchased from craigslist or built custom for the truck.

2003 Limited V8

Suspension:
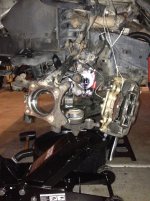
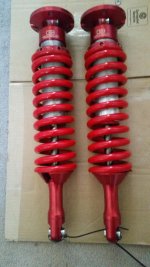
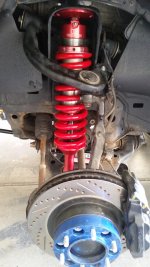
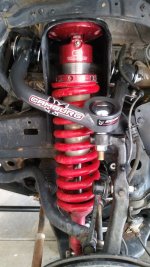
Camburg 2.5" extended travel coilovers
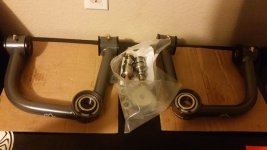
Camburg Uniball Upper Control Arms
Metal tech stage 2 rear long travel suspension kit:
-MT medium rate dual rate coils 2"
-Icon 2.0 shocks
-MT extended bump stop brackets
-extended rear stainless brake lines


Wheels/Tires:
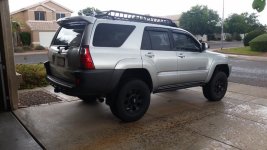
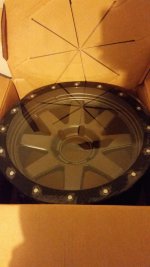
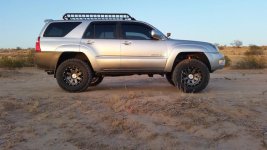
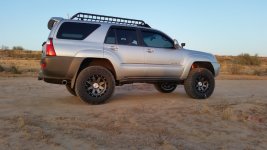
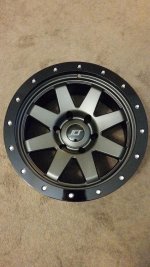
Stealth Custom Series SR8 w/ TRD center caps
Goodyear Wrangler Duratrac 285/70/17
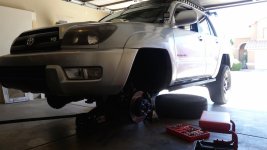
Sport brake upgrade
Stoptech slotted and drilled rotors

Armor:
Demello Hybrid Sliders
ASFIR front engine & tranny Skid plate

Exterior accessories:
Sport hood
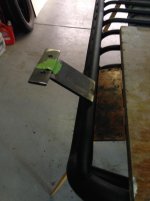
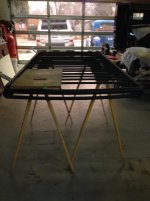
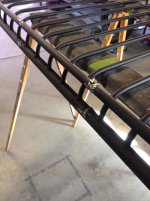
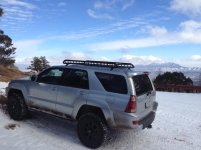
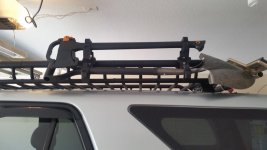
Custom Rola rack & fairing (welded feet and brackets on rack to mount to stock location)
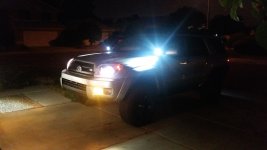
CBI ditch light brackets
Knock-off Rigid 2" LEDs
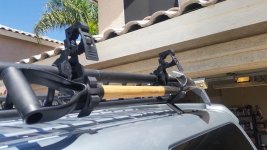
Hi-lift mount for roof rack w/ hi-lift extreme jack
Quick-fist custom Shovel and axe mount
06-09 LED taillight conversion
06-09 Headlight conversion (in progress)
LED headlights
Rear back-up camera
Wind deflectors
Full 30% Tint

Interior:
Stock navigation system
Husky Liners all around
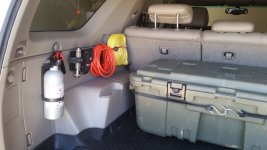
Fire extinguisher
Gear box
LED interior lights

Engine/Performance:
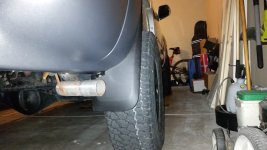
Gibson catback exhaust
K&N Drop-in filter
HCF delete
 

Attachments
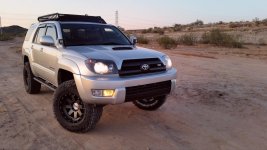
  • THE SHOT.jpg
    THE SHOT.jpg
    81.3 KB · Views: 4,900
Last edited:
Register to hide this ad
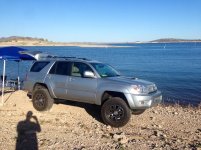
The first day I got the truck, followed by immediate CV replacement on the drivers side. In the next few months I installed Gibson exhaust, replaced the tie rods, changed all the fluids in the car and removed the stock XREAS with daystar spacer that came with the truck as it was leaking and worn out. I had no idea about the service history of the vehicle so I replaced things that looked worn and regular service items.


The truck originally came with: Sport hood, daystar spacer lift, 275/70 Goodyear Silent Armors, and MB wheels. Other than that it was pretty much stock.

First lift was 5100 all around with 885s up front and icon 2" rear springs.

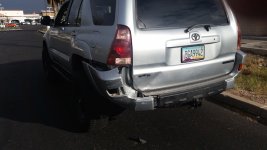
Last picture is from when I got rear ended. Turned out to a good deal for me. Purchased a replacement unpainted bumper on ebay and put it on. Used the rest of the money for upgrades.
 

Attachments

  • first day 1.jpg
    first day 1.jpg
    55.7 KB · Views: 4,304
  • CV axle.jpg
    CV axle.jpg
    115.7 KB · Views: 4,299
  • Xreas remove 1.jpg
    Xreas remove 1.jpg
    65.1 KB · Views: 4,320
  • xreas remove2 .jpg
    xreas remove2 .jpg
    62.3 KB · Views: 4,262
  • lake pleasant afret xreas.jpg
    lake pleasant afret xreas.jpg
    84.7 KB · Views: 4,347
  • new brakes.jpg
    new brakes.jpg
    114.3 KB · Views: 4,136
  • turn out tail.jpg
    turn out tail.jpg
    136.6 KB · Views: 4,154
  • accident 1.jpg
    accident 1.jpg
    125.7 KB · Views: 4,194
Last edited:
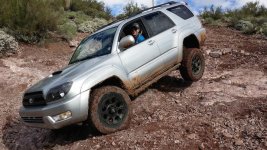
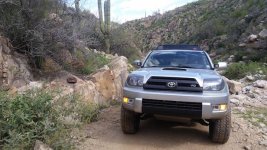
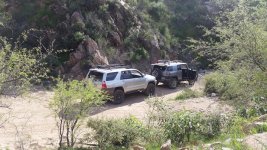
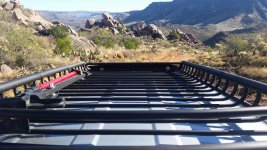
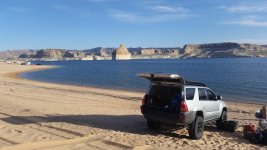
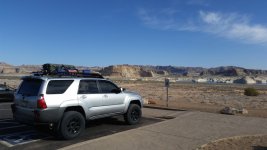
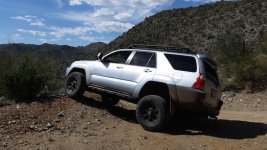
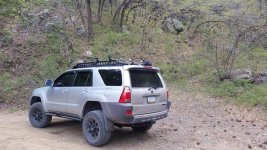
Random wheeling pics over the last year:
 

Attachments

  • wheelsohard.jpg
    wheelsohard.jpg
    81.1 KB · Views: 4,098
  • front view river cactus.jpg
    front view river cactus.jpg
    74.6 KB · Views: 4,081
  • offroad river j behind.jpg
    offroad river j behind.jpg
    91.4 KB · Views: 4,062
  • rack view.jpg
    rack view.jpg
    73.1 KB · Views: 4,072
  • lake pwll 1.jpg
    lake pwll 1.jpg
    50.6 KB · Views: 4,065
  • lake powel 2.jpg
    lake powel 2.jpg
    122.2 KB · Views: 4,096
  • lex.jpg
    lex.jpg
    63.8 KB · Views: 4,077
  • precott.jpg
    precott.jpg
    81 KB · Views: 4,110
Last edited:
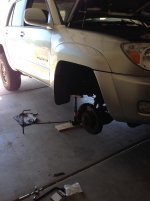
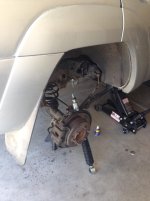
Camburg Coilovers and UCA. Installed at different times but before and after pics included. Had some trouble with the UCA on the passenger side but nothing a saw can't fix.

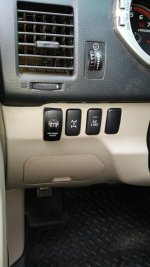
Also ditch light install and testing.
 

Attachments

  • pre coilover UCAs.jpg
    pre coilover UCAs.jpg
    56.2 KB · Views: 4,227
  • camburg coils.jpg
    camburg coils.jpg
    108.7 KB · Views: 4,195
  • pre UCAs susp.jpg
    pre UCAs susp.jpg
    110 KB · Views: 4,251
  • camburg UCAs.jpg
    camburg UCAs.jpg
    112.8 KB · Views: 4,157
  • susp w:uca and coils.jpg
    susp w:uca and coils.jpg
    114.1 KB · Views: 4,279
  • post coilvers:uca.jpg
    post coilvers:uca.jpg
    53.6 KB · Views: 4,133
  • dirch light switch.jpg
    dirch light switch.jpg
    114.7 KB · Views: 4,124
  • ditch liht test2.jpg
    ditch liht test2.jpg
    95.7 KB · Views: 4,060
Last edited:
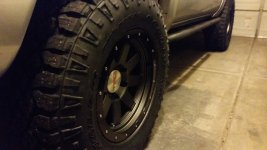
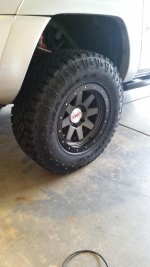
Latest updates:

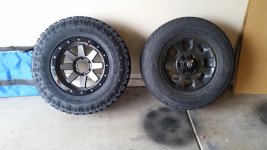
Steath Custom Series SR8s with TRD center hub caps on 285/70/17 Goodyear Wrangler Duratracs.

Could not be happier with this setup. I ended up removing my spidertrax as the offset from the SR8s was perfect with the new tires for the look I want. The tires stick out just a bit from the fenders but should still tuck nicely offroad. I was running 275/70/17 Goodyear Silent armors on FJ trail edition wheels. They worked great but I was tired of having the spacers on the truck and wanted to update the look of the truck.

Here are some more pictures:
 

Attachments

  • wheel box.jpg
    wheel box.jpg
    93.4 KB · Views: 4,232
  • wheel full.jpg
    wheel full.jpg
    118.7 KB · Views: 4,207
  • tires compared.jpg
    tires compared.jpg
    136.1 KB · Views: 4,132
  • New Wheel on truck.jpg
    New Wheel on truck.jpg
    94.5 KB · Views: 4,185
  • wheels cool shot.jpg
    wheels cool shot.jpg
    121.3 KB · Views: 4,137
  • TIRE SHOT outside.jpg
    TIRE SHOT outside.jpg
    53.4 KB · Views: 4,083
  • Truck latest.jpg
    Truck latest.jpg
    50 KB · Views: 4,087
Last edited:
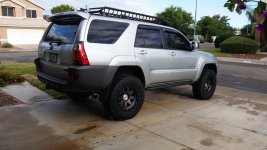
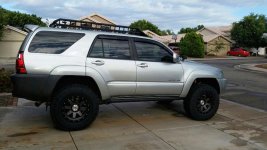
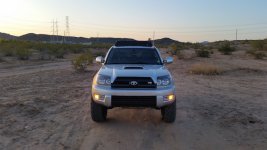
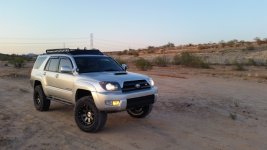
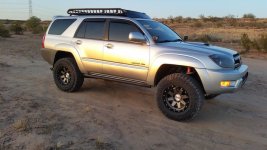
Went for a quick little photo shoot of the brand new wheels and tires.
 

Attachments

  • front.jpg
    front.jpg
    129 KB · Views: 4,115
  • The Shot.jpg
    The Shot.jpg
    123.6 KB · Views: 4,091
  • side right front.jpg
    side right front.jpg
    52.4 KB · Views: 4,041
  • SIDE profile R.jpg
    SIDE profile R.jpg
    50.2 KB · Views: 4,052
  • R rear side.jpg
    R rear side.jpg
    135.1 KB · Views: 4,036
Last edited:
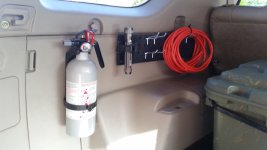
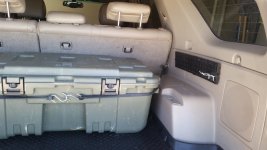
Added some peg boards to the sides of the back end to mount stuff. Makes that space more usable for me at least. Also mounted a fire extinguisher just in case shit gets weirdddd.
 

Attachments

  • back end 1.jpg
    back end 1.jpg
    121.6 KB · Views: 3,971
  • back end 3.jpg
    back end 3.jpg
    95.9 KB · Views: 3,990
  • back end 2.jpg
    back end 2.jpg
    117.4 KB · Views: 3,956
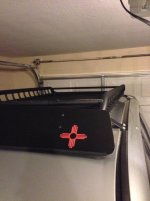
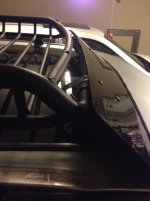
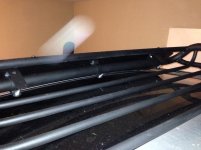
**THROWBACK** TO THE ROLA RACK BUILD: a quick explanation and some pictures of the build

-Removed stock rack
-Positioned rack on truck where it was as low as possible but would still allow the sunroof to tilt open if desired.
-measured angles between rack and stock mounting sites.
-cut flat-stock steel pieces to fit in channels of stock rack and drilled holes to mount them
-cut additional flat-stock pieces to go between the rack and the mounting channel pieces.
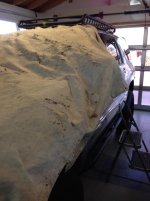
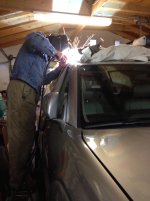
-positioned flat-stock in desired location, draped truck in fiberglass welding blanket and tack welded each bracket between the rack and the mounting pieces.
-carefully removed rack from truck and finished welding both sides of the brackets
-cleaned up with grinder
-welded extender sections together
-more grinding welds
-painted with spray on bedliner
-mounted rack.
-made fairing based on width of rack, sort of a trial-and-error process.
 

Attachments

  • welding blanket.jpg
    welding blanket.jpg
    80 KB · Views: 3,987
  • pops weldin.jpg
    pops weldin.jpg
    79.4 KB · Views: 3,988
  • legs attached.jpg
    legs attached.jpg
    59.6 KB · Views: 3,961
  • rack pic trucks n trucks.jpg
    rack pic trucks n trucks.jpg
    74.7 KB · Views: 3,971
  • welding:grinking body.jpg
    welding:grinking body.jpg
    99.8 KB · Views: 3,943
  • racok on sandia.jpg
    racok on sandia.jpg
    58 KB · Views: 3,914
Last edited:
**throwback** rola rack cont.
 

Attachments

  • fairing front right.jpg
    fairing front right.jpg
    76.6 KB · Views: 3,902
  • fairing side.jpg
    fairing side.jpg
    68.8 KB · Views: 3,959
  • fairing back.jpg
    fairing back.jpg
    49.4 KB · Views: 3,870
Great looking truck. But I did spy some 8 hole fj wheels. Seeing them black is now giving me ideas. So what did you do with your old setup?
 
Great looking truck. But I did spy some 8 hole fj wheels. Seeing them black is now giving me ideas. So what did you do with your old setup?

Thanks! The old wheel/tire combo went on craigslist and was bought by a guy with a 2010 4R who didn't like the stock 20" wheels on his truck. I got back what I paid for the wheels and some extra for the tires which had some life in them.

In AZ at least there are tons of people selling those wheels. I coated them twice with rustoleum flat black automotive paint from home depot, they held up nicely for just under a year and had no chips or anything in the paint.
 
I really like what you did with the rola rack! I just ordered the ATO lowering brackets for mine.

Thanks! It turned out pretty good and it's strong enough now I can walk on it without any issues. The lowering brackets are nice though as you can take the rack out if need be fairly easily and it still looks good.
 
Axe and shovel mount:
-Quick fist tube mounting bracket
-2 quick fist regular clamps
-Fiskars 28" chopping axe
-Generic digging shovel painted black
 

Attachments

  • rack 1.jpg
    rack 1.jpg
    73.7 KB · Views: 1,074
  • rack 2.jpg
    rack 2.jpg
    46.6 KB · Views: 1,047
Last edited:
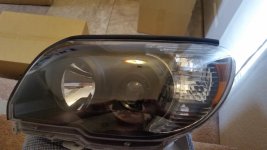
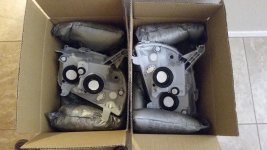
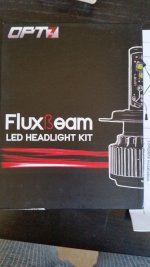
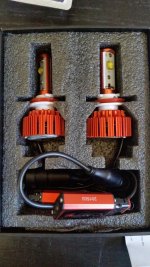
Got some new parts in for my headlight upgrade:
Aftermarket 06+ blacked out projector headlights
06+ headlight trim pieces
LED bulbs

*Unfortunately one of the projector lenses is out of wack and I will have to wait until a replacement is sent out. Hopefully I'll have all the parts ready to install Friday. Until then I am going to paint the trim pieces with left-over mixed paint from my DIY fender replacement job. I also purchased some generic H11 harnesses from Oreilly to connect the new headight bulbs. I also am waiting on the DRL/turn signal harnesses I purchased off ebay ($8 for 4).
 

Attachments

  • headlights 1.jpg
    headlights 1.jpg
    51 KB · Views: 1,056
  • headlights 2.jpg
    headlights 2.jpg
    62.6 KB · Views: 1,055
  • bulbs 1.jpg
    bulbs 1.jpg
    116.2 KB · Views: 1,059
  • bulbs 2.jpg
    bulbs 2.jpg
    147.6 KB · Views: 1,051
Last edited:
Members online

Forum statistics

Threads
278,305
Messages
3,554,042
Members
248,016
Latest member
Advally Service

Trending content

Back
Top