Toyo-duh
New member
First thread here!
Follow my Instagram: toyo_duh
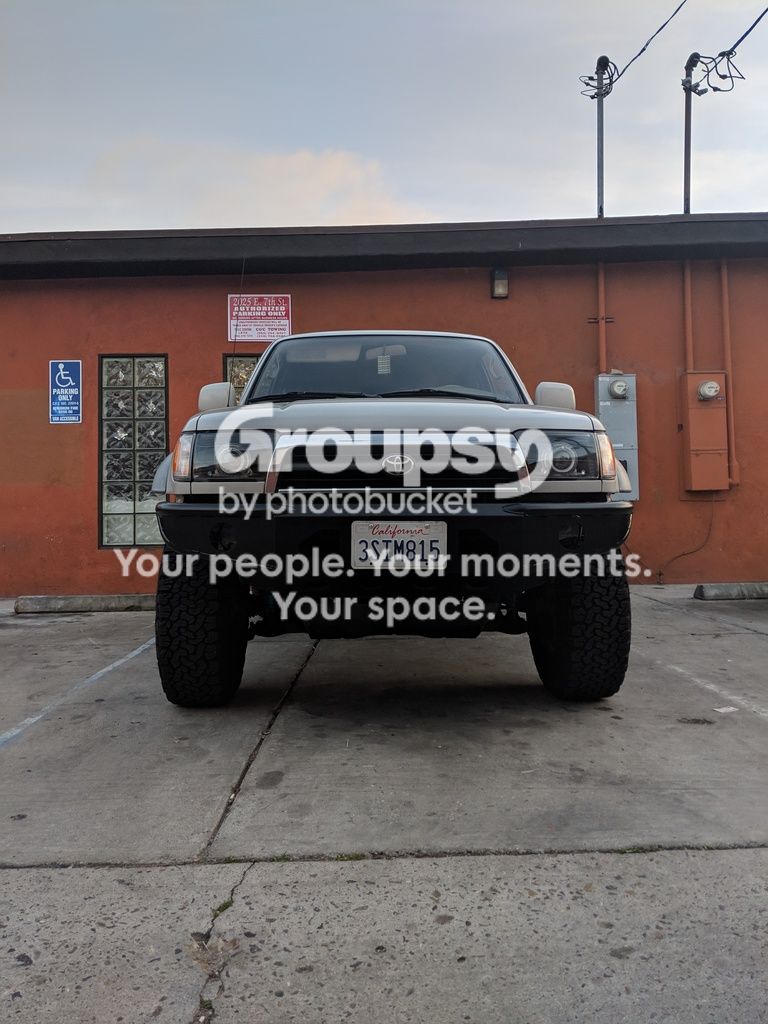
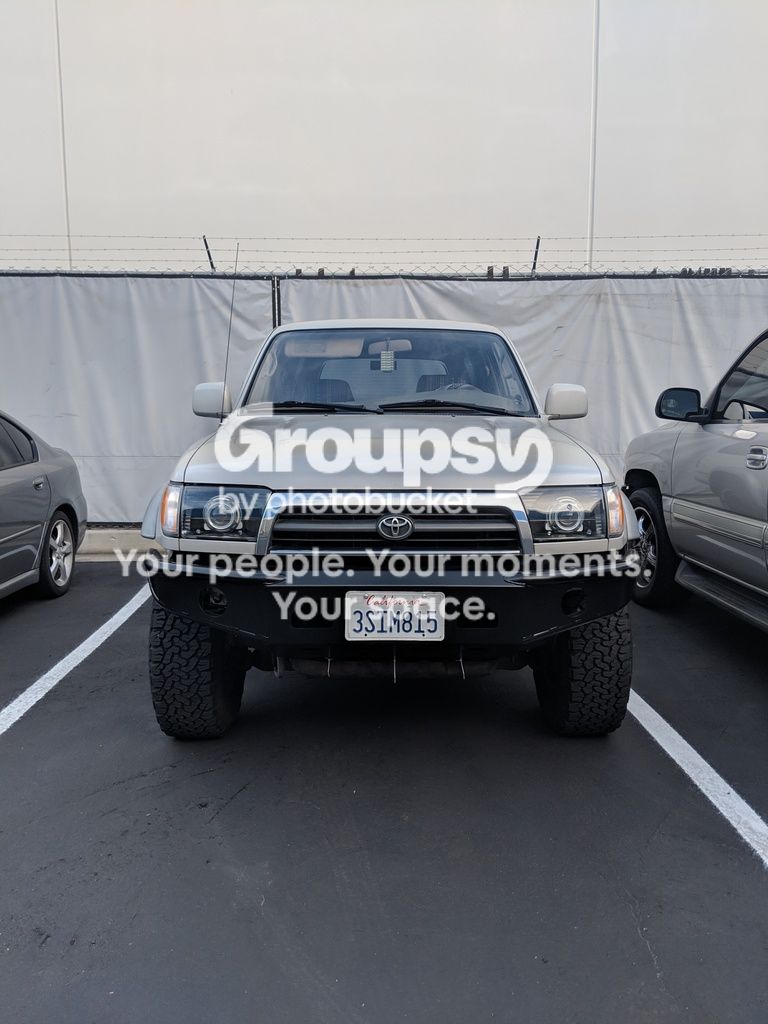
Most Current Picture:
 [/URL][/IMG]
Details:
1996 Toyota 4runner limited
3.4L V6 4x4
Price: $1500
Miles obtained at: 190,000
Transmission:
B&M Super Cooler
Wheels & Tires:
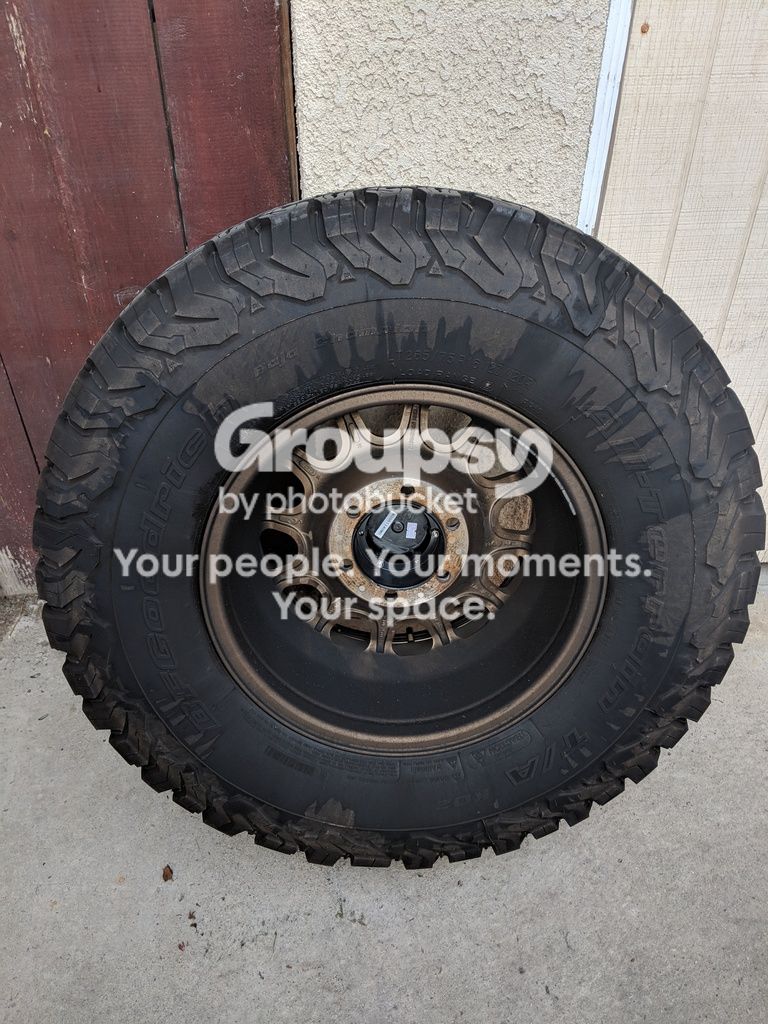
Method MR305 NV 16x8
BFG KO2 265/75/16
Suspension & Brakes:
King Front OEM extended travel coilovers
King rear shocks with compression adjusters
SPC UCA
Tundra Brake Upgrade
Interior:
Reupholstered seats
Custom Phone mount
BH3D cup holder
Scan Gauge
Body and Lighting:
1”body lift
Morimoto D2S retrofit
 [/URL][/IMG]
 [/URL][/IMG]
 [/URL][/IMG]
Here is the day I brought it home. Didn't take an interior picture but this was the dirtiest car I had ever purchased. So much dirt inside and the front seats were destroyed, missing foam on the drivers side. Got it for $1,500 because of a bad water pump. Owner did not want to pay to get it repaired. So one man's loss is another man's gain. First priorities were the maintenance: timing belt and water pump (no pictures of that).
Again did not take pictures but it was in desperate need of tires. And while I was at it, might as well get wheels. Never bought wheels before on my other cars so I was excited. One idea I had in mind was to eventually go with the Tundra Brake upgrade so I had to pick something that will clear it. I chose Method MR305 NVs because of the backspacing, and wrapped them in BFG KO2 32”.
 [/URL][/IMG]
 [/URL][/IMG]
Time to get cooler: picked up a B&M trans cooler and a new radiator. Installed it inline with the new radiator.
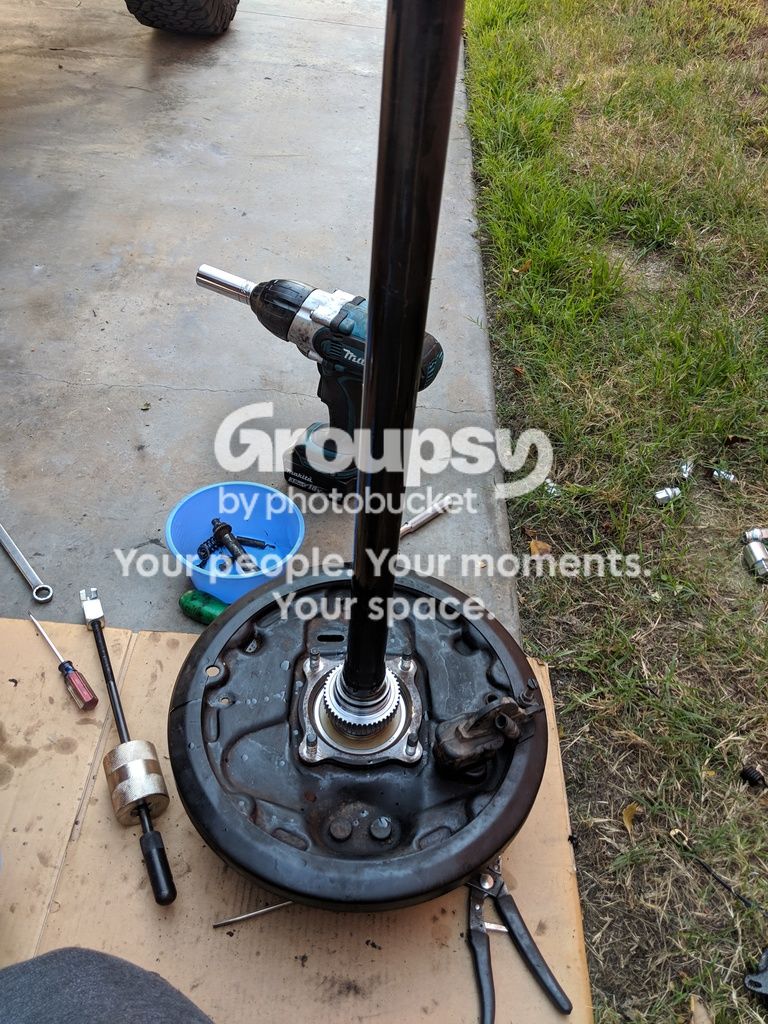
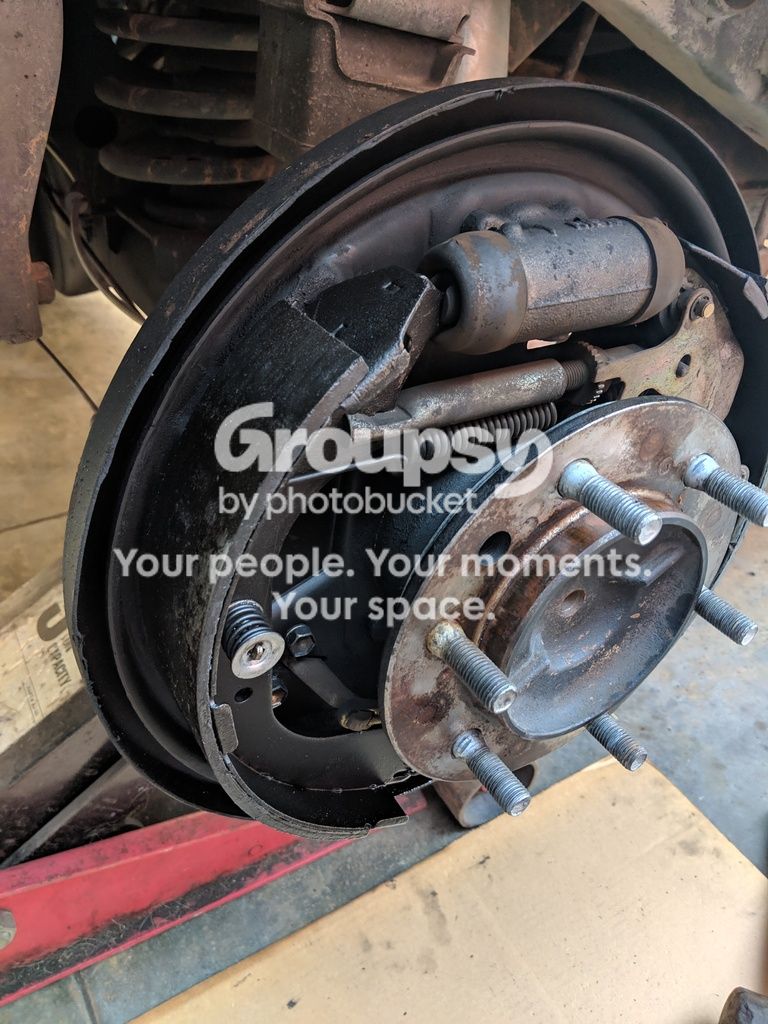
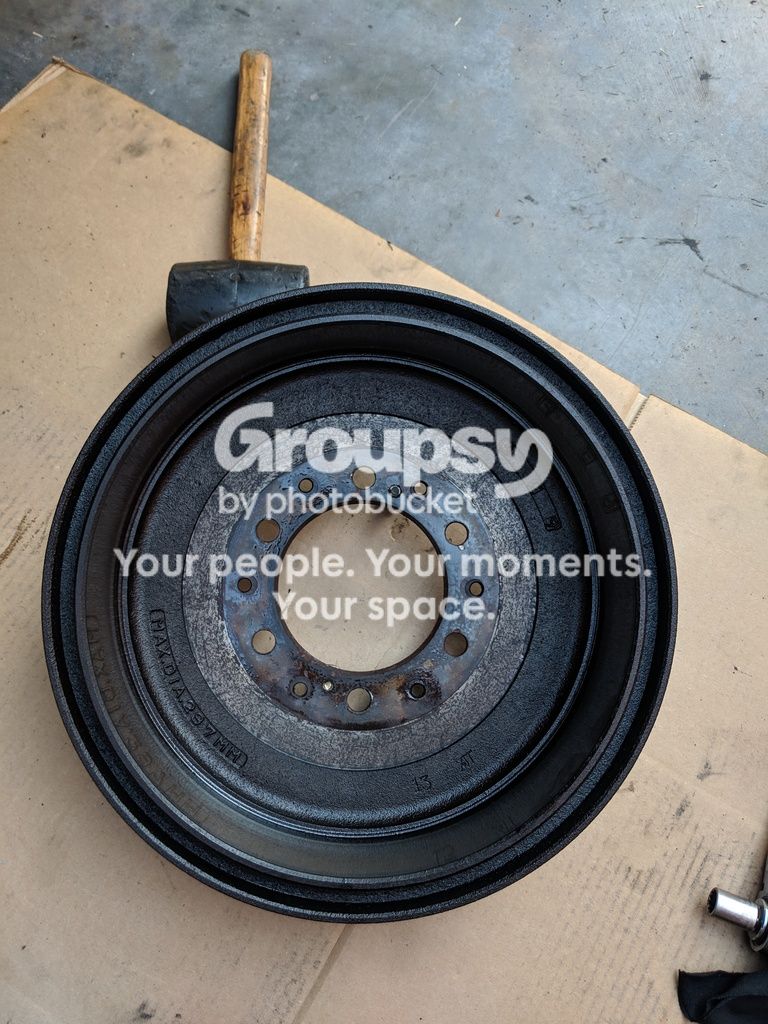
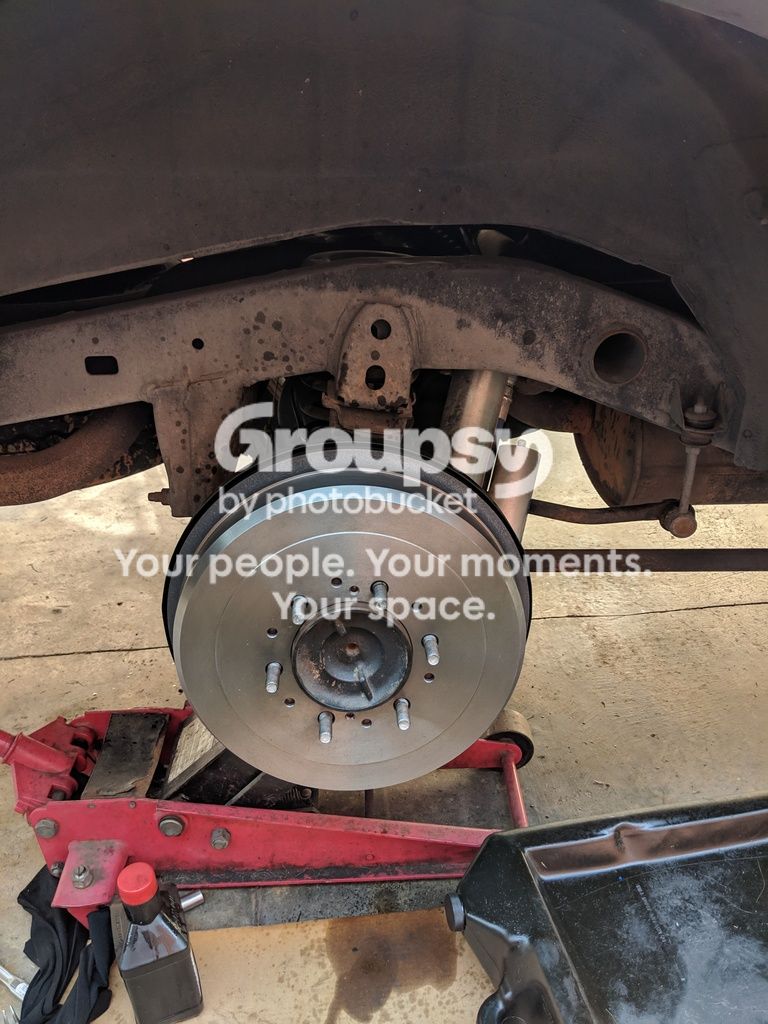
Big brake time! I chose to get the calipers and rotors from autozone because I knew someone working there. Brake pads from rockauto. Also painted my calipers with a high temp grey spray paint. Install was fairly easy, unfortunately some of the paint behind the calipers got damaged because of the brake fluid.
 [/URL][/IMG]
 [/URL][/IMG]
 [/URL][/IMG]
 [/URL][/IMG]
Custom phone mount. I had tried 2 different phone mounts one on the AC vent and one that stuck to the center console. Both sucked, my phone kept bouncing or falling off. So it was time for something somewhat custom. Drew up my idea and since I had a 3D printer available to me I decided to try it out. I used various pieces from ram mounts to complete the set up. Im pretty happy with the result.
 [/URL][/IMG]
 [/URL][/IMG]
Another thing that was essential for my planned trip to utah was a cup holder. I hate the stock cup holders as they do not hold anything well. So doing some research I found 3D printed cup holders from BH3D that worked well.
 [/URL][/IMG]
 [/URL][/IMG]
I went with a 1” body lift to help clear my tires as they kept rubbing at turns. I had my suspension ordered but it was taking months to receive and I wanted to stop some rubbing. Easy install besides the steering spacer.
 [/URL][/IMG]
 [/URL][/IMG]
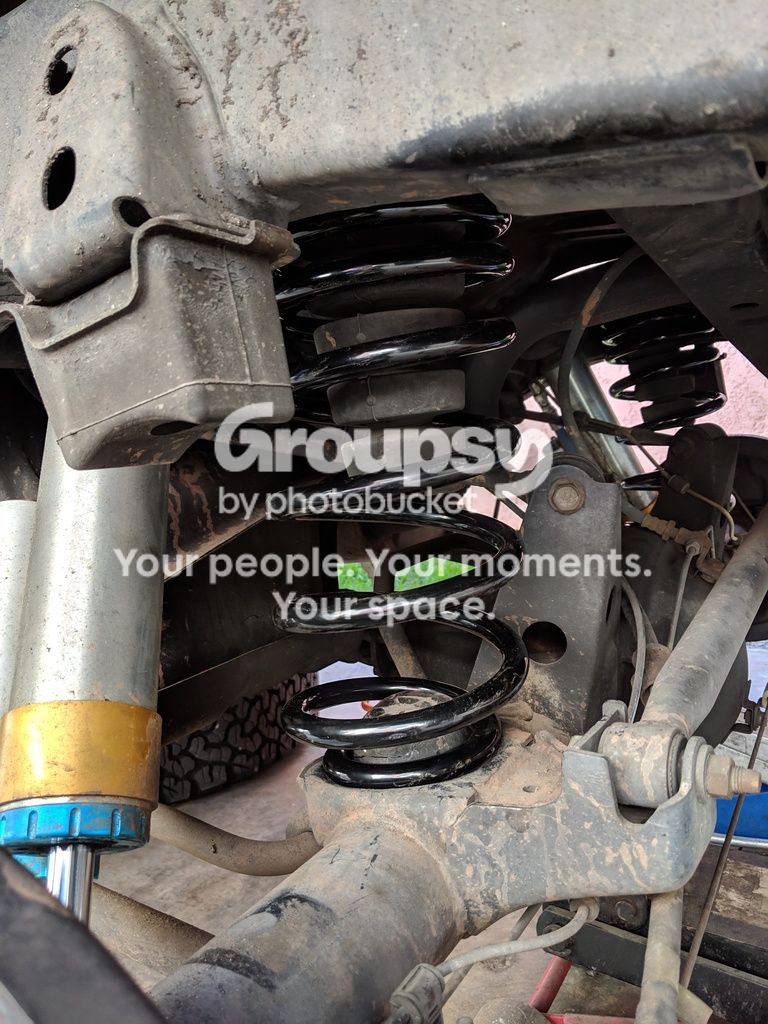
Finally what I was waiting for, the shocks came in! I decided to install the shocks and SPC UCA in one day… boy was that a task. Despite the countless cursing, I love how the car rides with the new suspension. This was another step closer to getting ready to take this thing on a road trip.
 [/URL][/IMG]
 [/URL][/IMG]
 [/URL][/IMG]
 [/URL][/IMG]
Follow my Instagram: toyo_duh
Most Current Picture:
Details:
1996 Toyota 4runner limited
3.4L V6 4x4
Price: $1500
Miles obtained at: 190,000
Transmission:
B&M Super Cooler
Wheels & Tires:
Method MR305 NV 16x8
BFG KO2 265/75/16
Suspension & Brakes:
King Front OEM extended travel coilovers
King rear shocks with compression adjusters
SPC UCA
Tundra Brake Upgrade
Interior:
Reupholstered seats
Custom Phone mount
BH3D cup holder
Scan Gauge
Body and Lighting:
1”body lift
Morimoto D2S retrofit
Here is the day I brought it home. Didn't take an interior picture but this was the dirtiest car I had ever purchased. So much dirt inside and the front seats were destroyed, missing foam on the drivers side. Got it for $1,500 because of a bad water pump. Owner did not want to pay to get it repaired. So one man's loss is another man's gain. First priorities were the maintenance: timing belt and water pump (no pictures of that).
Again did not take pictures but it was in desperate need of tires. And while I was at it, might as well get wheels. Never bought wheels before on my other cars so I was excited. One idea I had in mind was to eventually go with the Tundra Brake upgrade so I had to pick something that will clear it. I chose Method MR305 NVs because of the backspacing, and wrapped them in BFG KO2 32”.
Time to get cooler: picked up a B&M trans cooler and a new radiator. Installed it inline with the new radiator.
Big brake time! I chose to get the calipers and rotors from autozone because I knew someone working there. Brake pads from rockauto. Also painted my calipers with a high temp grey spray paint. Install was fairly easy, unfortunately some of the paint behind the calipers got damaged because of the brake fluid.
Custom phone mount. I had tried 2 different phone mounts one on the AC vent and one that stuck to the center console. Both sucked, my phone kept bouncing or falling off. So it was time for something somewhat custom. Drew up my idea and since I had a 3D printer available to me I decided to try it out. I used various pieces from ram mounts to complete the set up. Im pretty happy with the result.
Another thing that was essential for my planned trip to utah was a cup holder. I hate the stock cup holders as they do not hold anything well. So doing some research I found 3D printed cup holders from BH3D that worked well.
I went with a 1” body lift to help clear my tires as they kept rubbing at turns. I had my suspension ordered but it was taking months to receive and I wanted to stop some rubbing. Easy install besides the steering spacer.
Finally what I was waiting for, the shocks came in! I decided to install the shocks and SPC UCA in one day… boy was that a task. Despite the countless cursing, I love how the car rides with the new suspension. This was another step closer to getting ready to take this thing on a road trip.