Agent_Outside: Adventures in a 4Runner Limited

Agent_Outside

New member
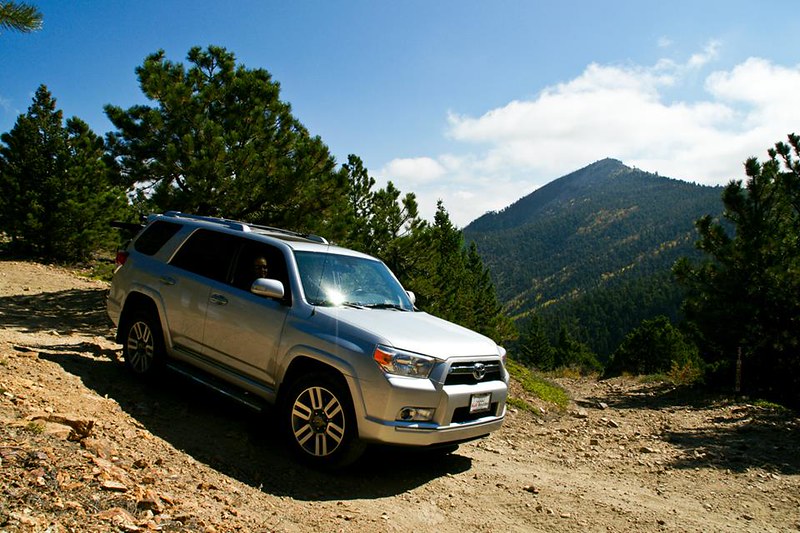
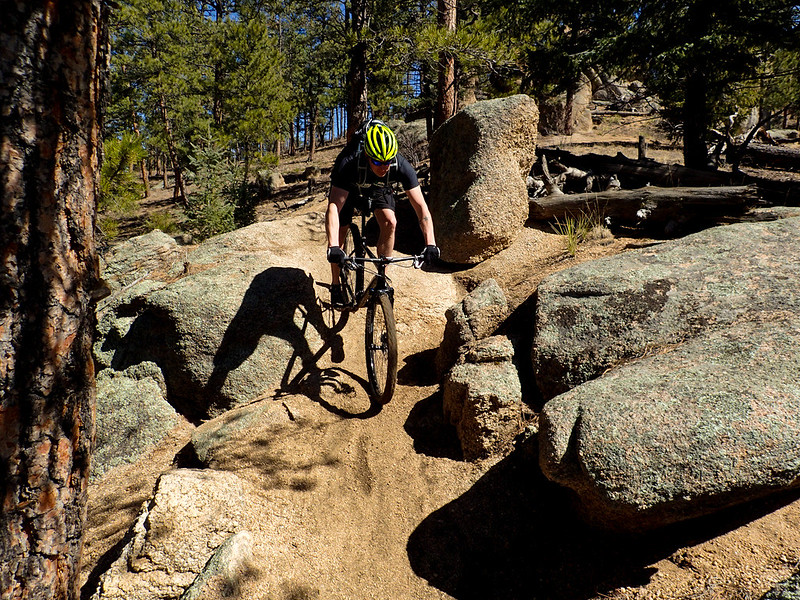
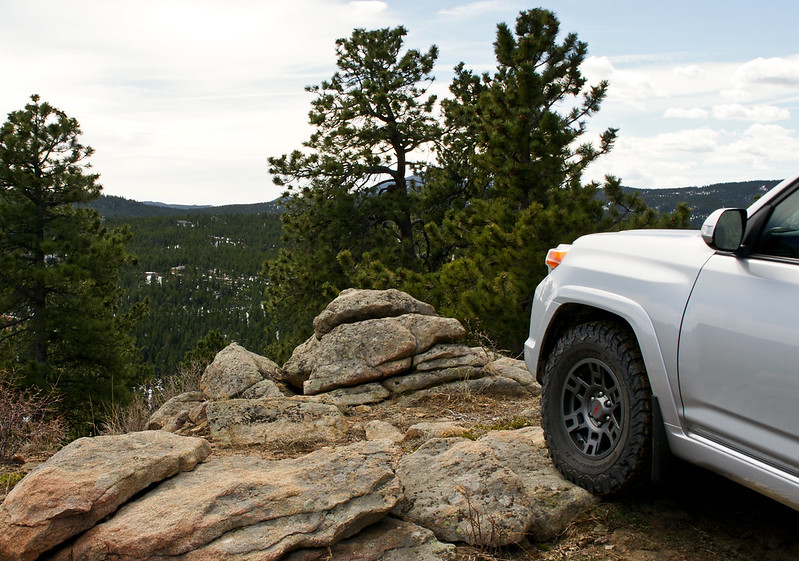
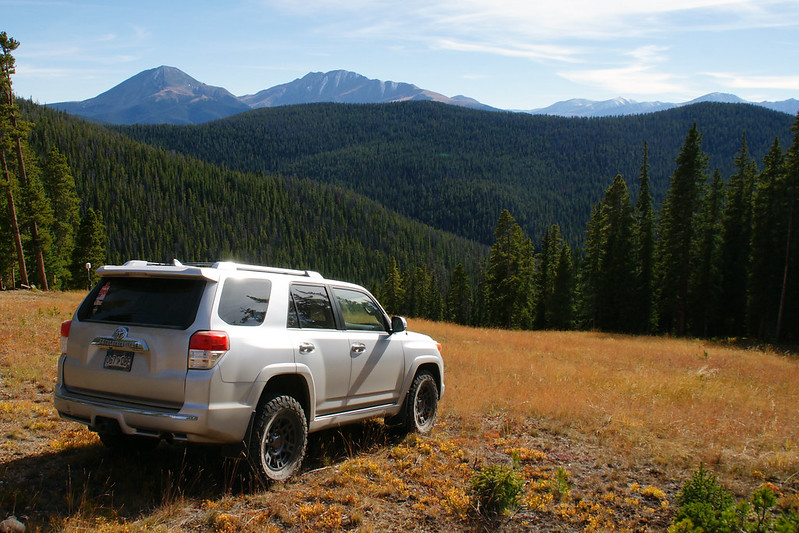
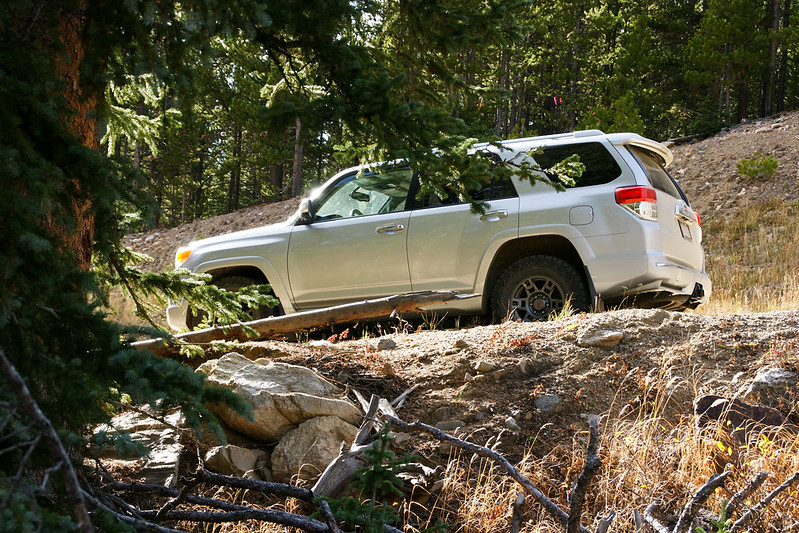
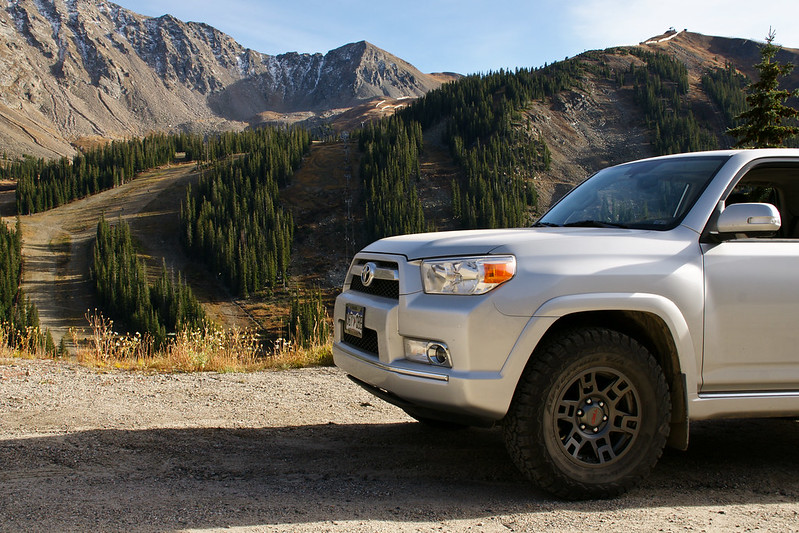
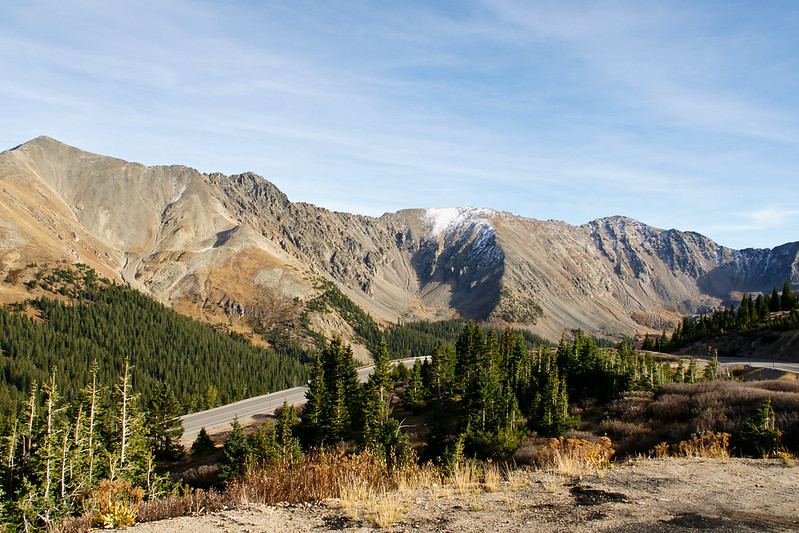
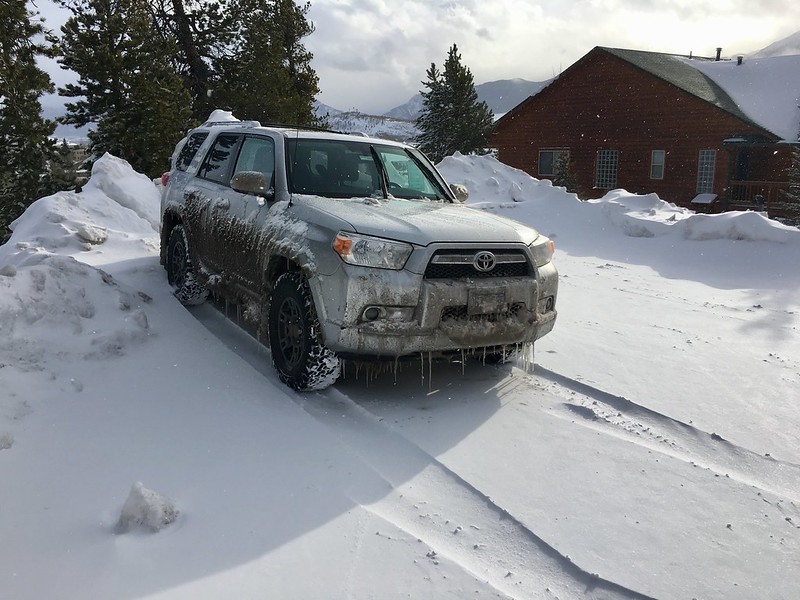
This is my thread about my 4Runner - modifications, maintenance, how-to’s, and most importantly - the adventures it takes my family and I on. Photography, skiing, hiking, biking, and camping are all hobbies of ours, this is going to be a VERY picture heavy thread. I’m only going to post pics from adventures that involved the 4Runner, but rarely will the 4Runner be the main focus, I love the vehicle but it’s the thrills and experiences in life that I’m after.

When it comes to my 4Runner “build” you’re not gonna see a bunch of cosmetic mods aimed at getting Instagram likes or pictures of everything you could possibly bolt to it bolted to it. My philosophy in modding is high quality, reliable, thought out mods that add utility and usability while saving some weight wherever feasible.


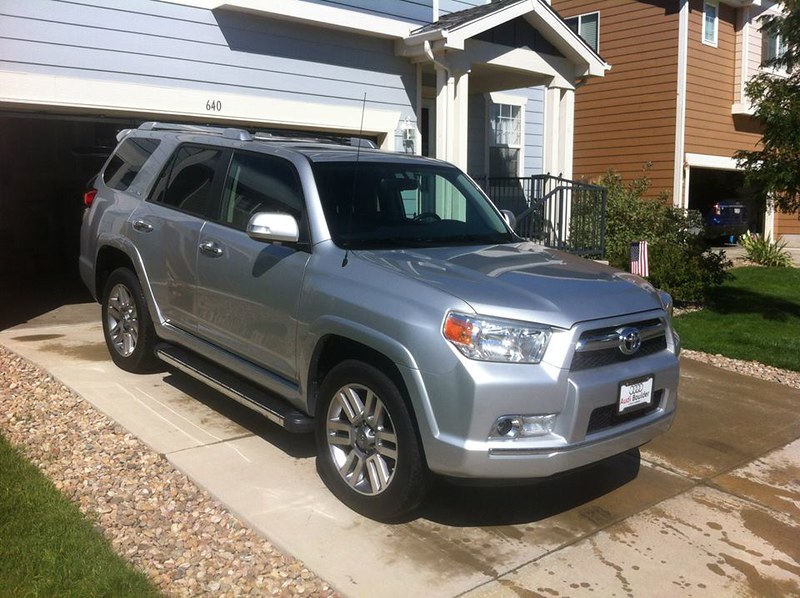
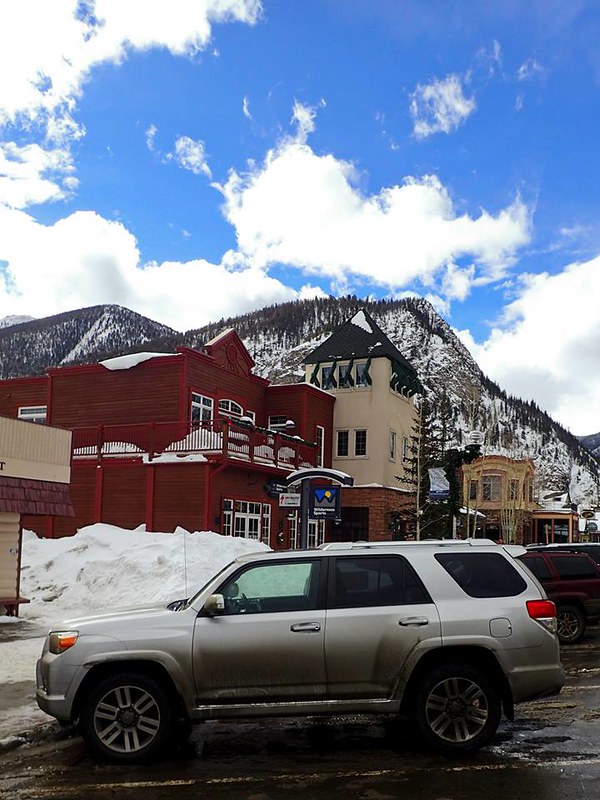
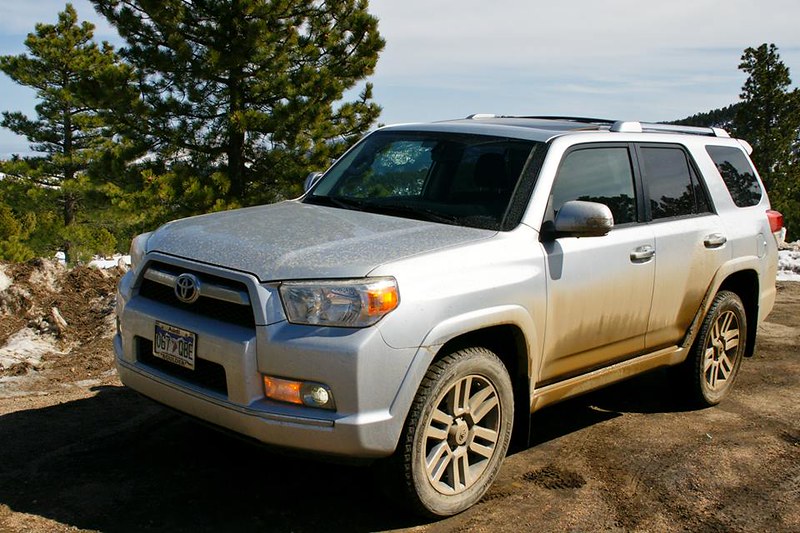
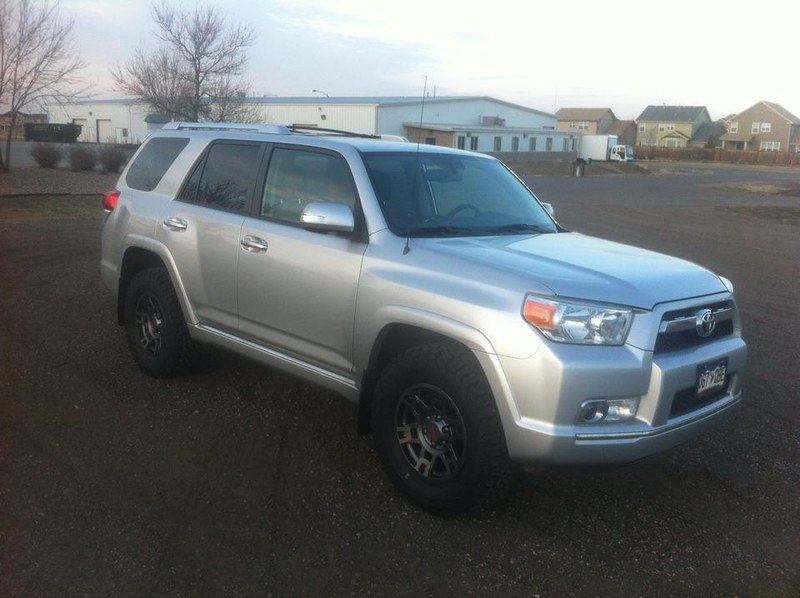
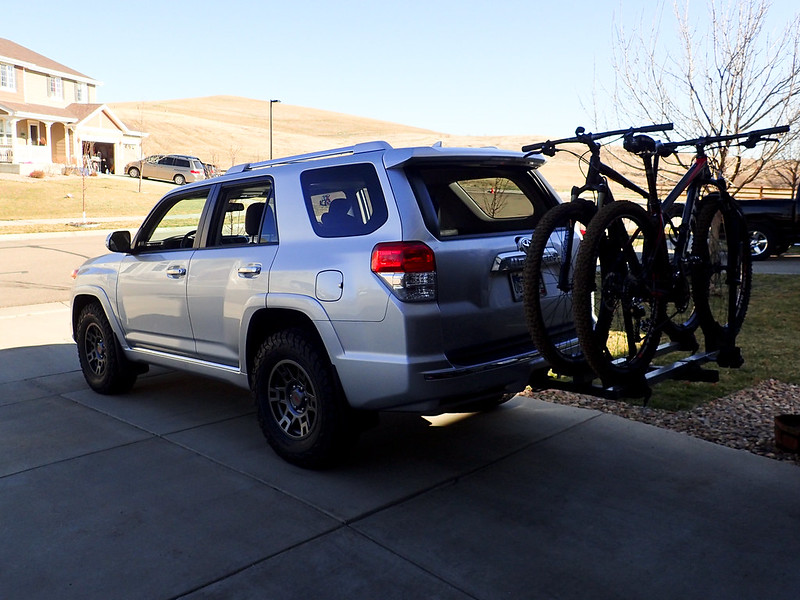
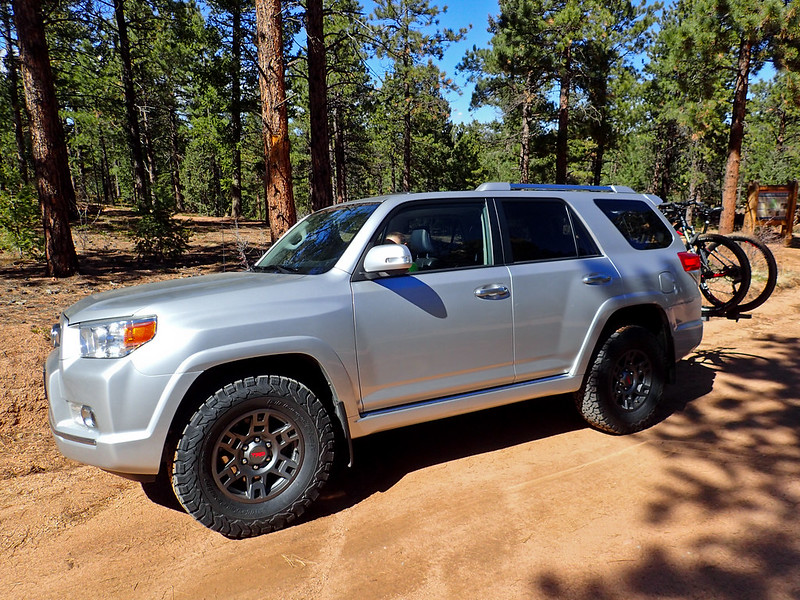
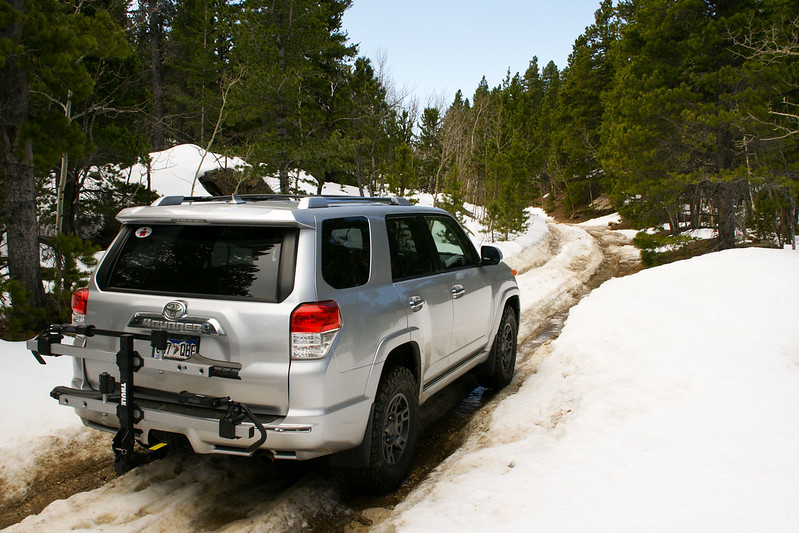
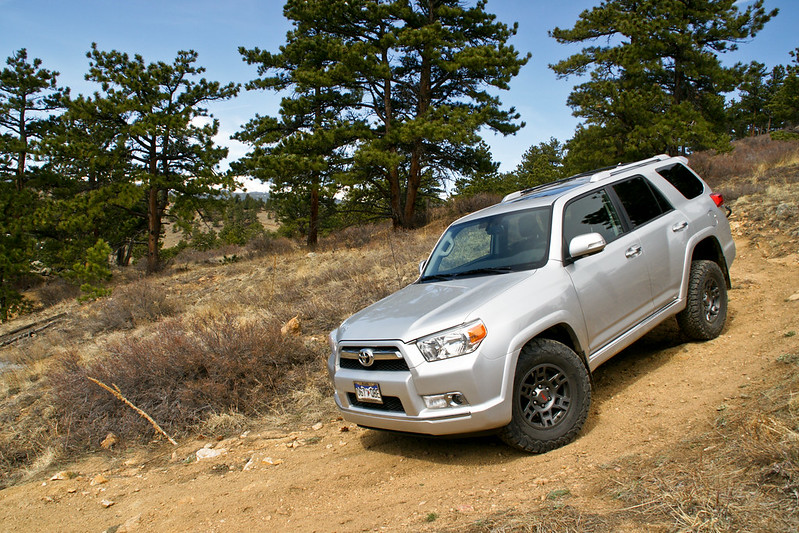
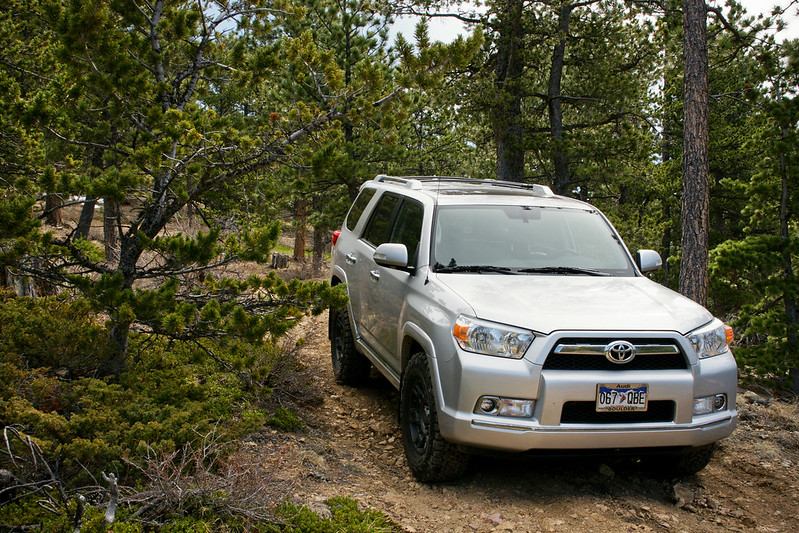
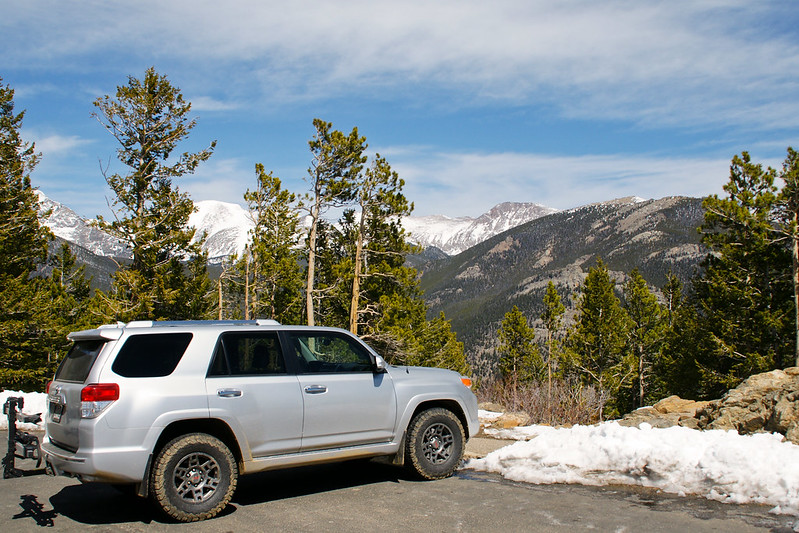
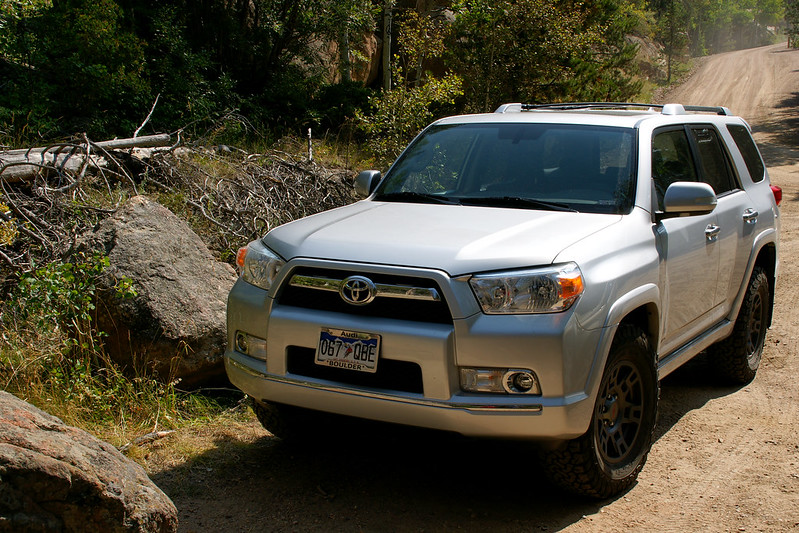
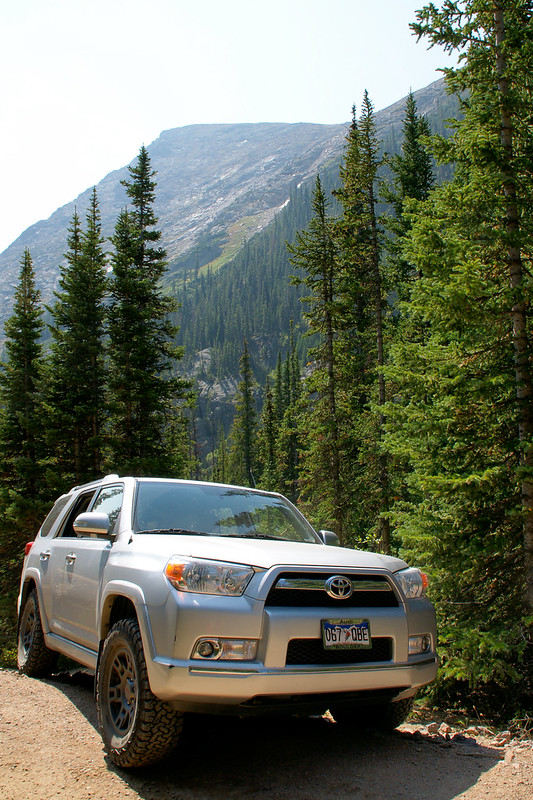
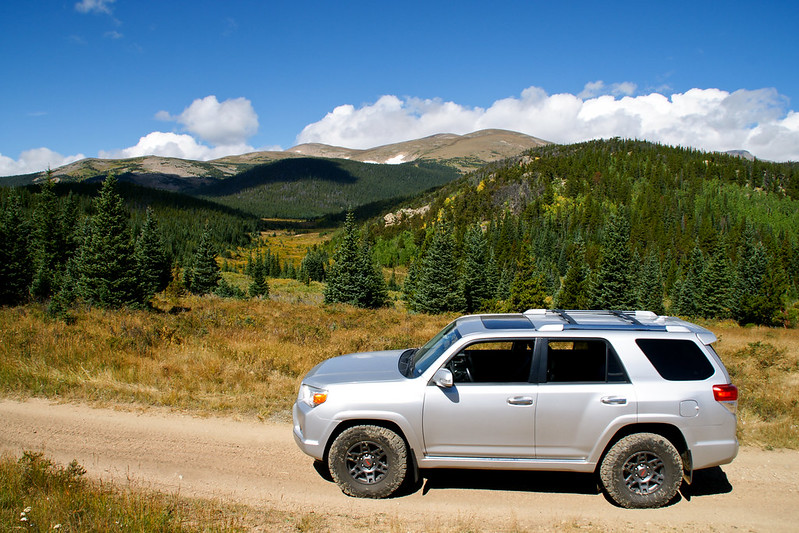
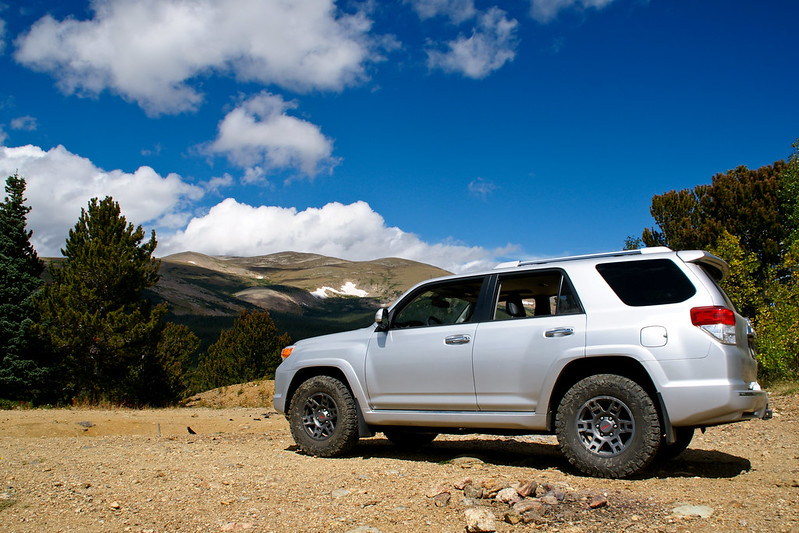
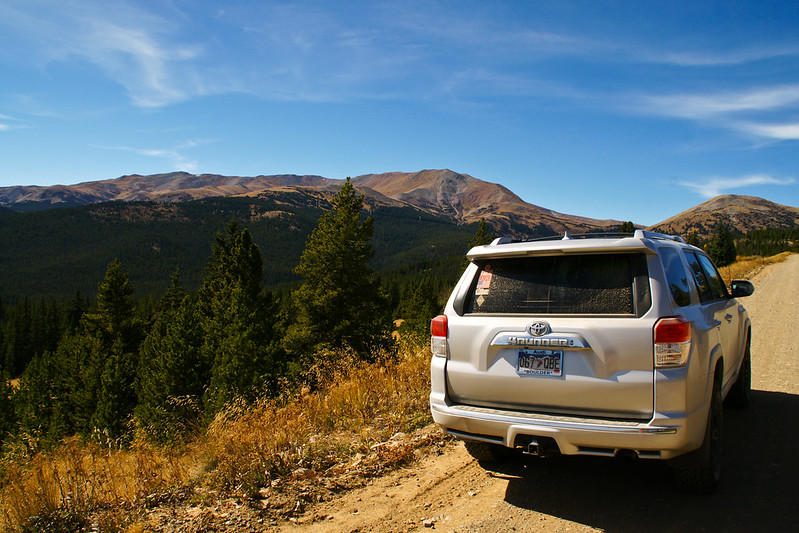
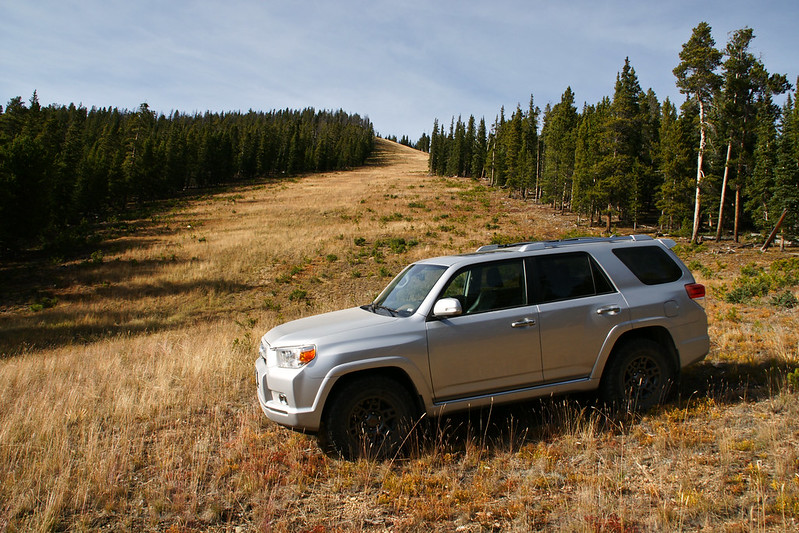
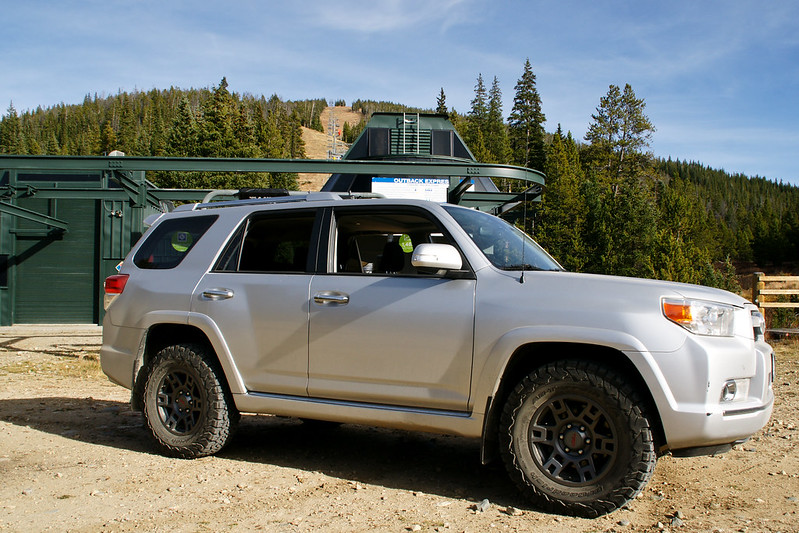
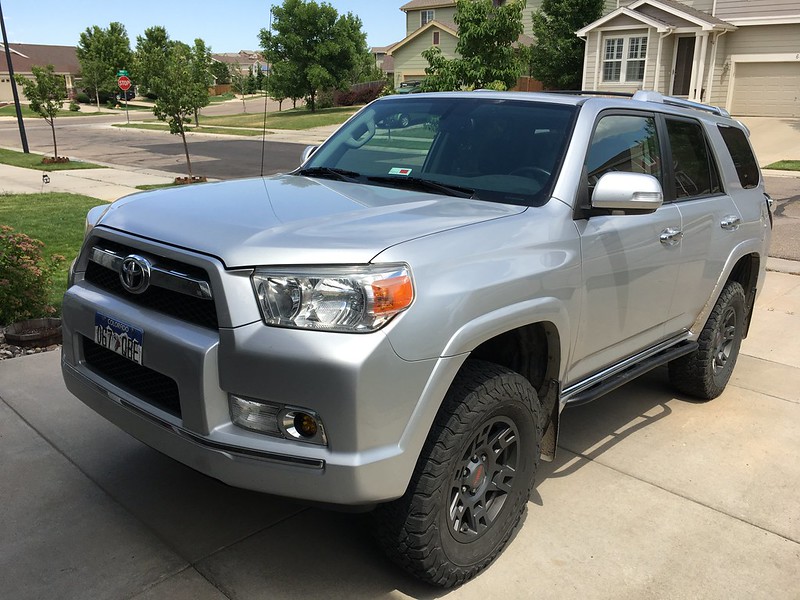
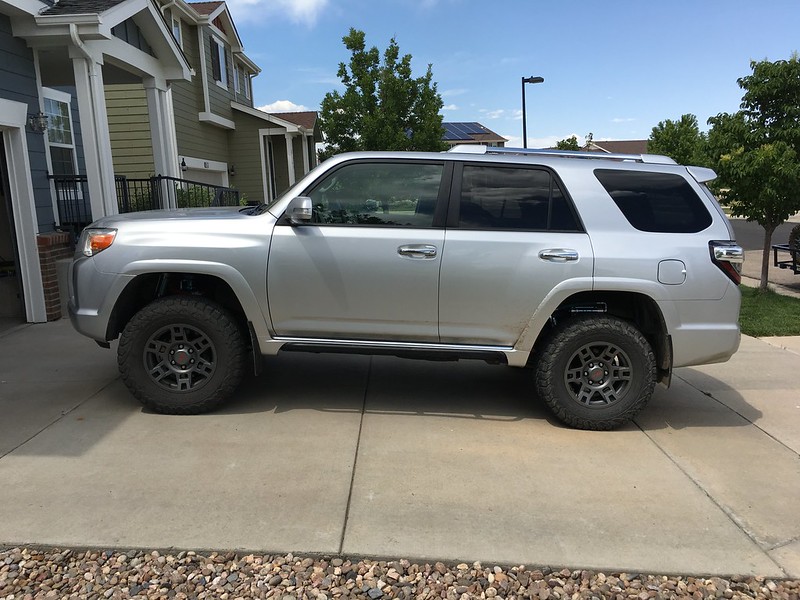
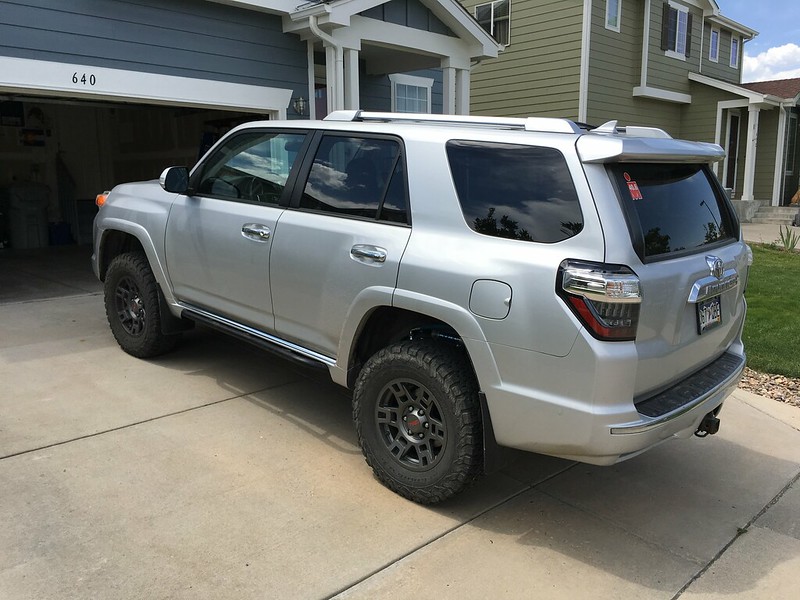
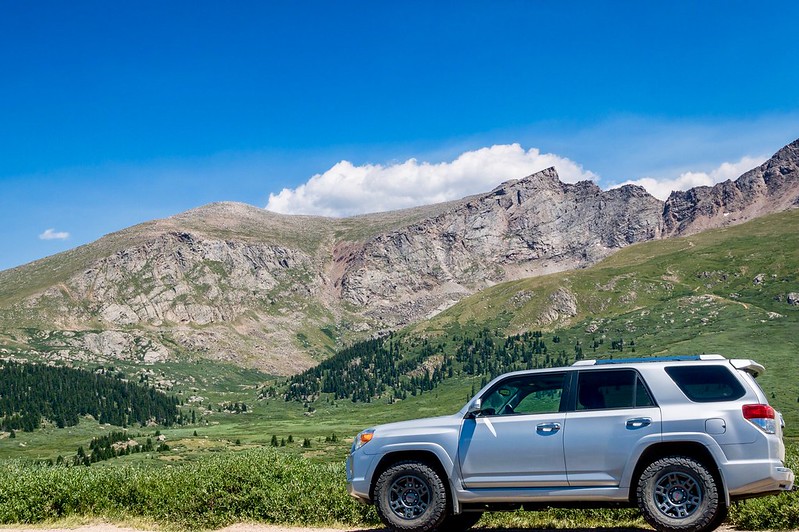
2011 Toyota 4Runner Limited

49915152951_ac59186a84_b.jpg


Exterior/Protection:
- Southern Style Off-Road full length roof rack
- C4 Fabrication Summit Hatch Ladder
- iKamper Skycamper 4X hardshell rooftop tent bedlined in Rocky Black
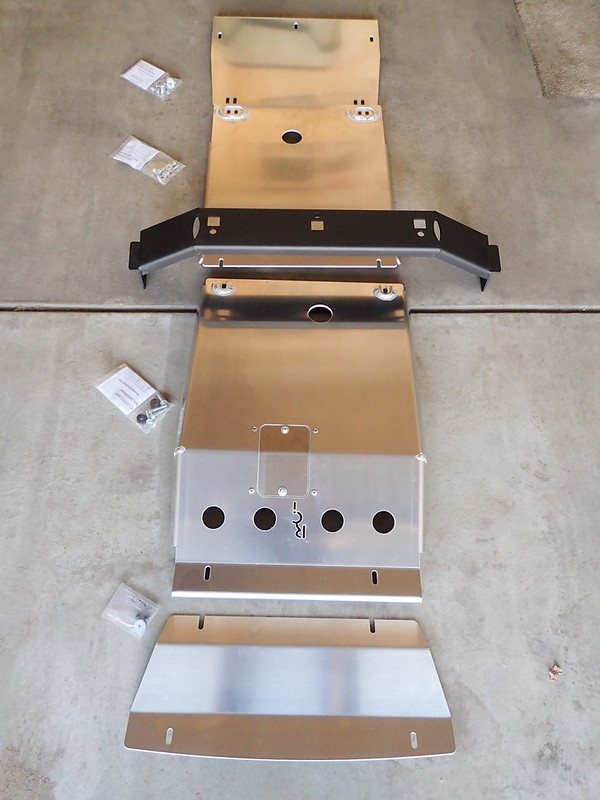
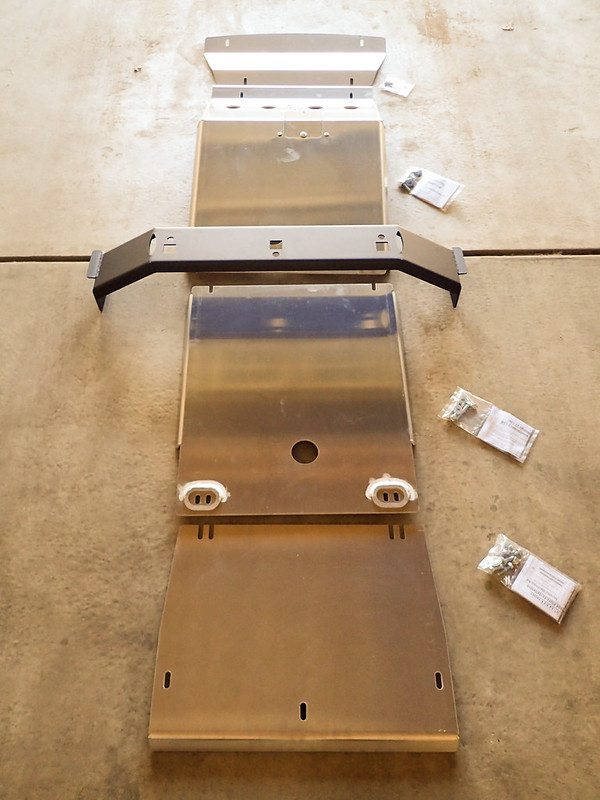
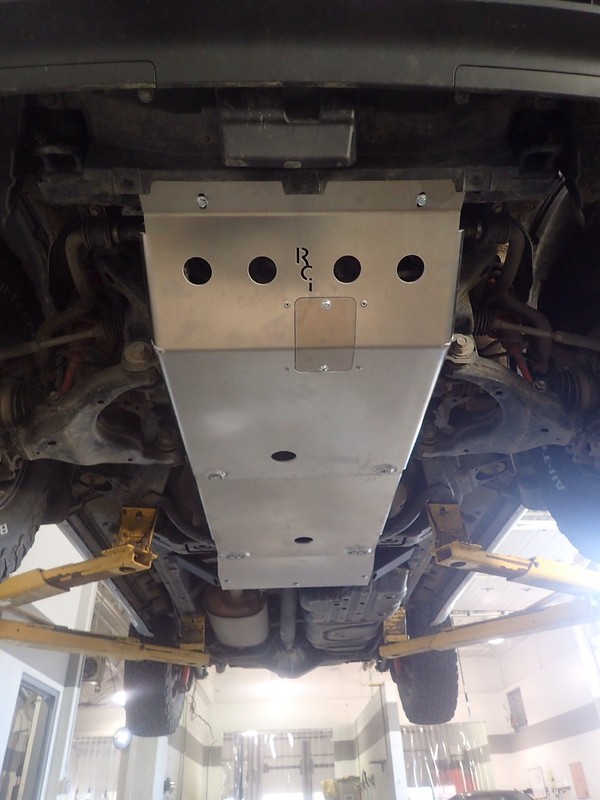
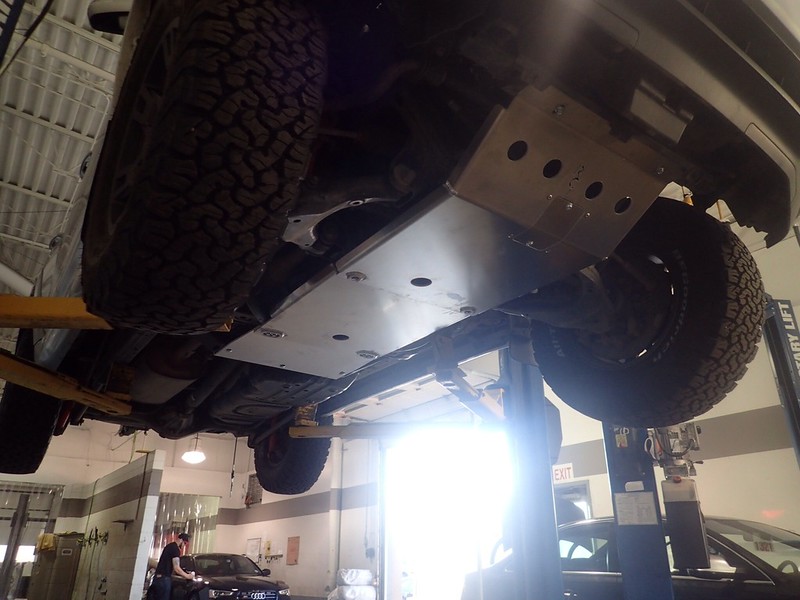
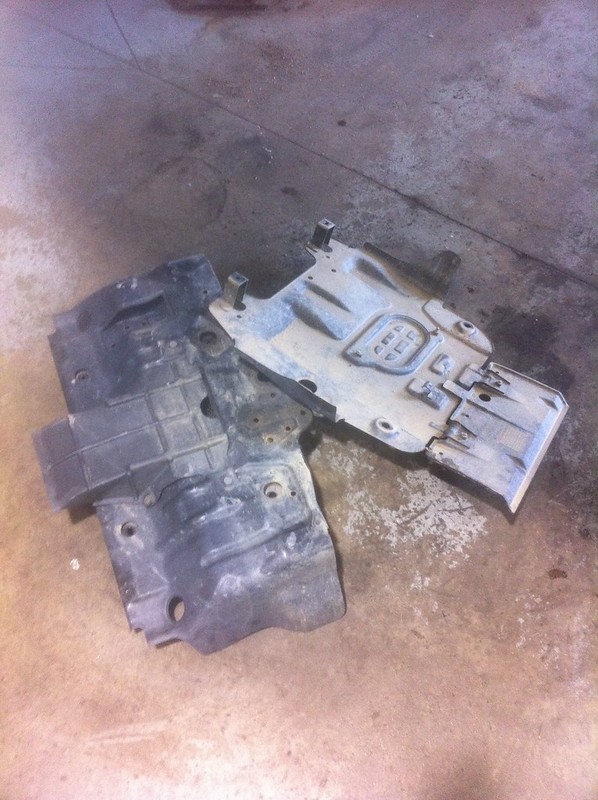
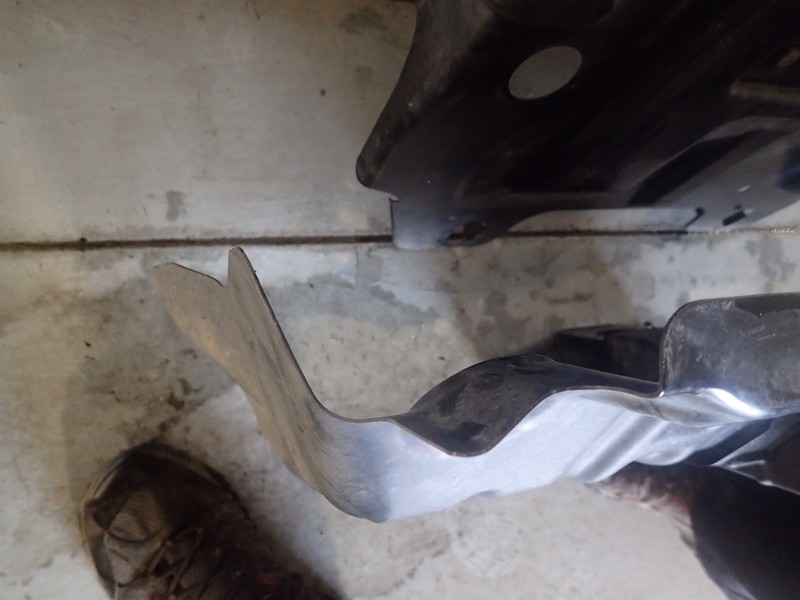
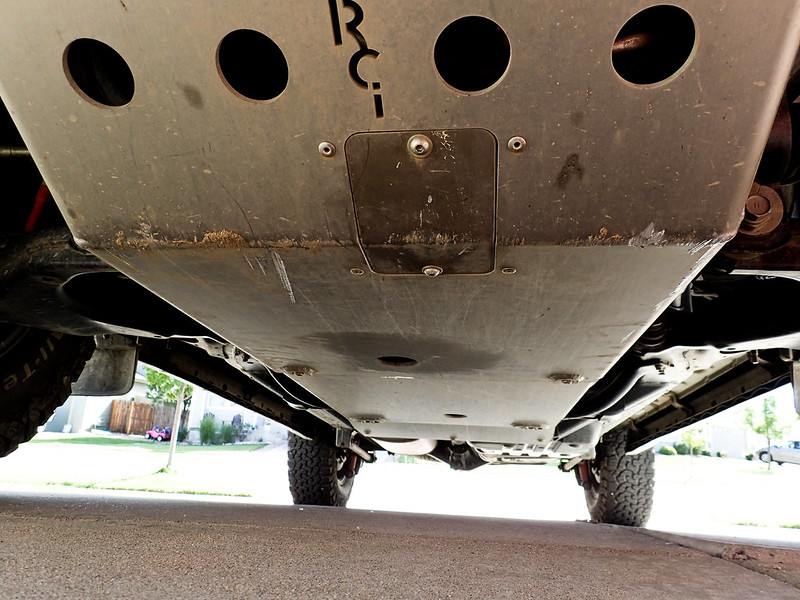
- RCI Metalworks aluminum engine, trans, t-case skids with crossmember brace
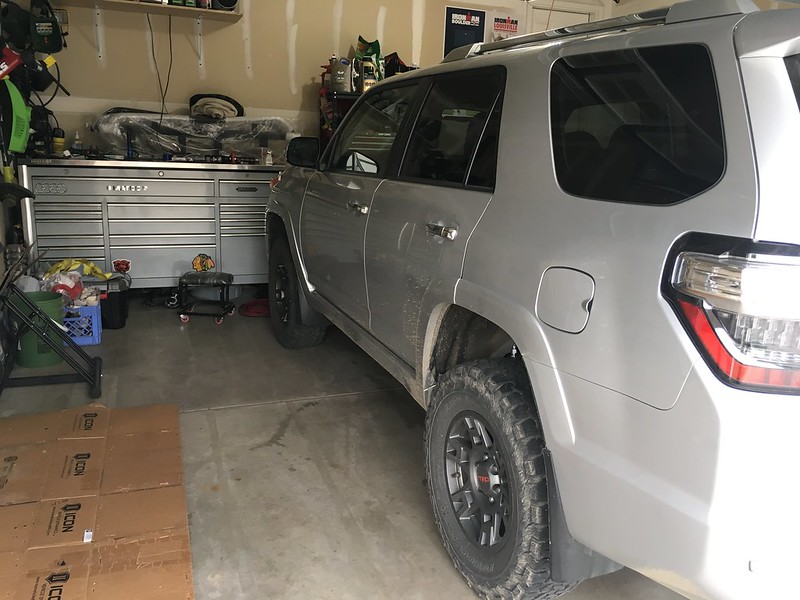
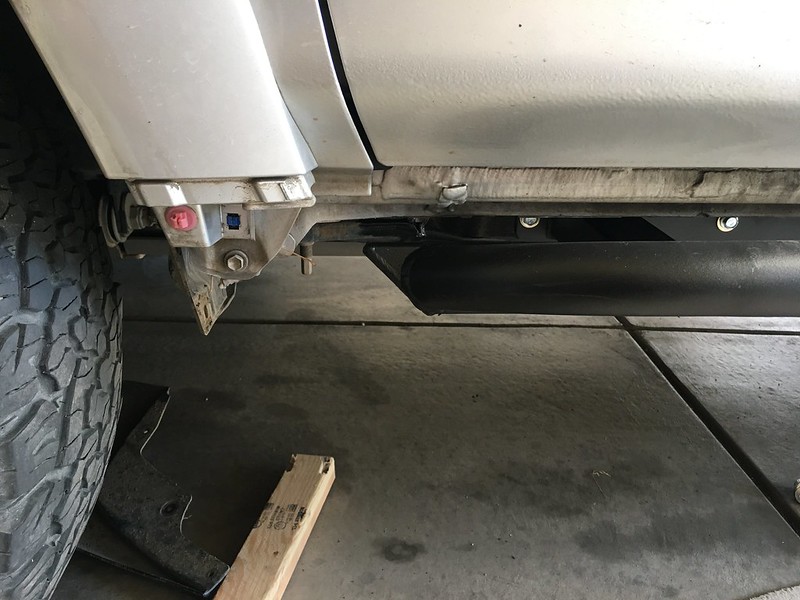
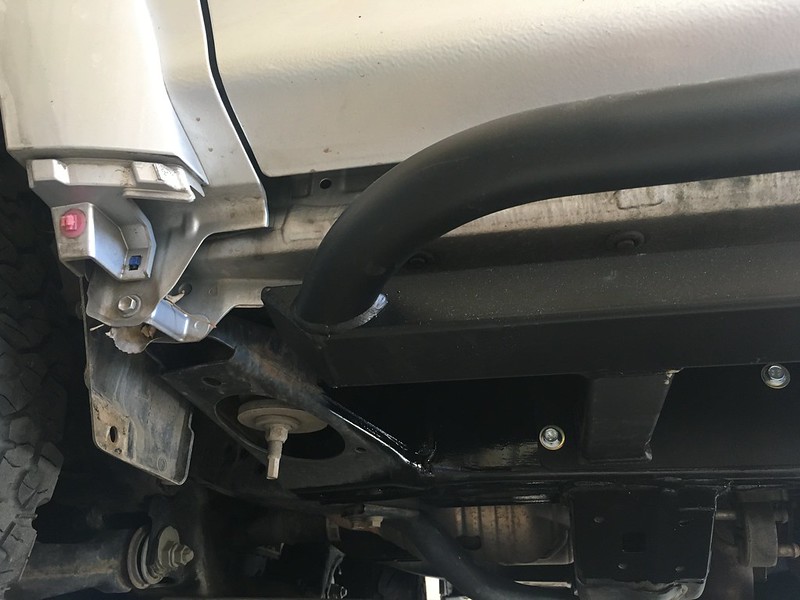
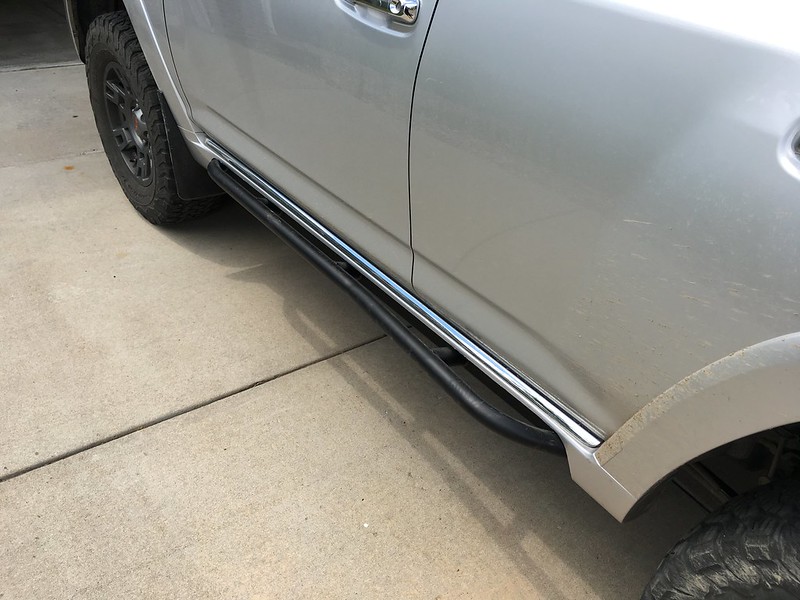
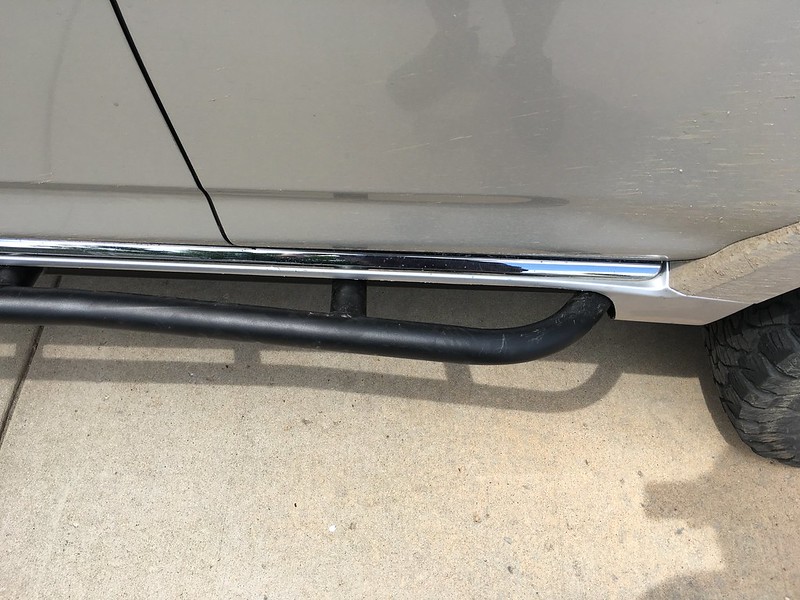
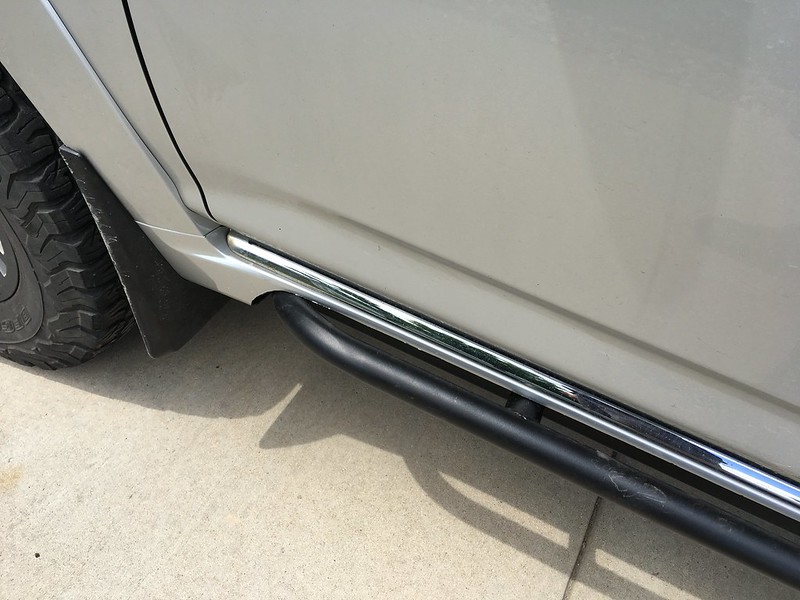
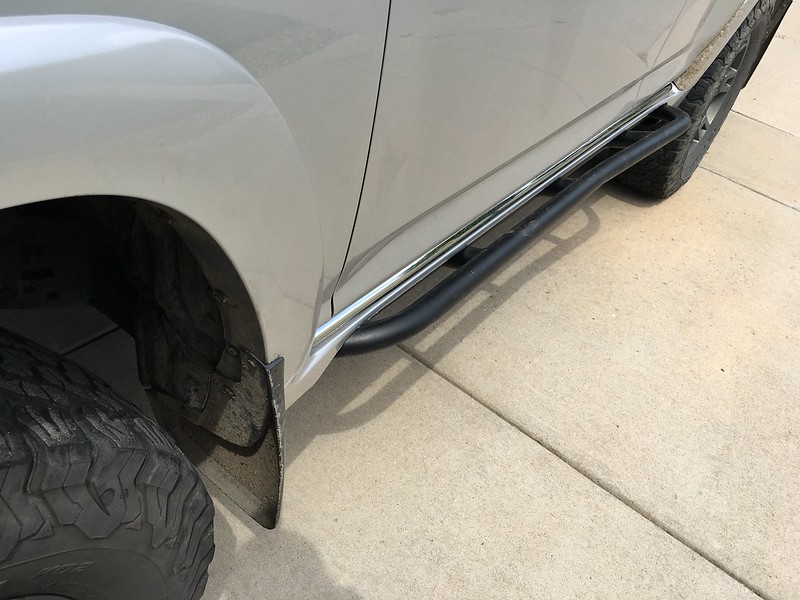
- RCI Metalworks 20° rock sliders
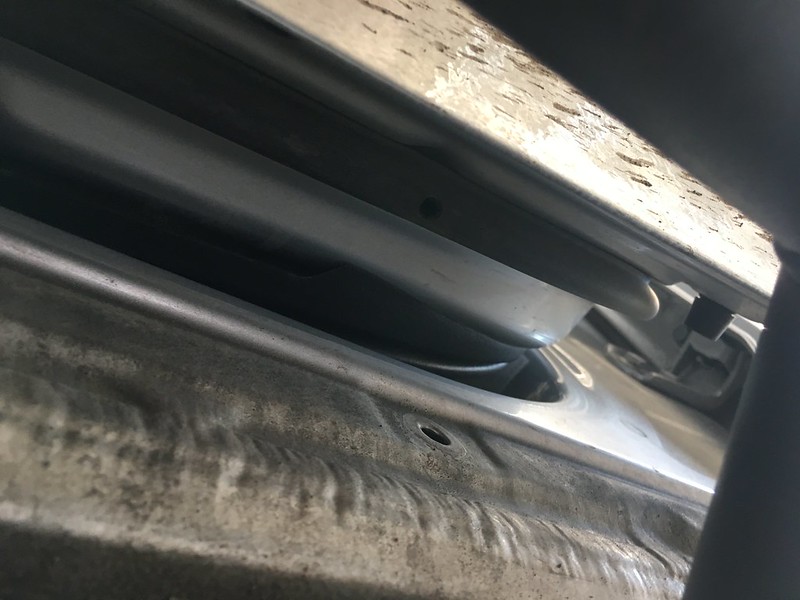
- Stock Limited rocker panels modified for RCI 20° sliders
- Curt recovery point hitch insert
- Bullet Proof Fabrications rear King rock protection shin guards
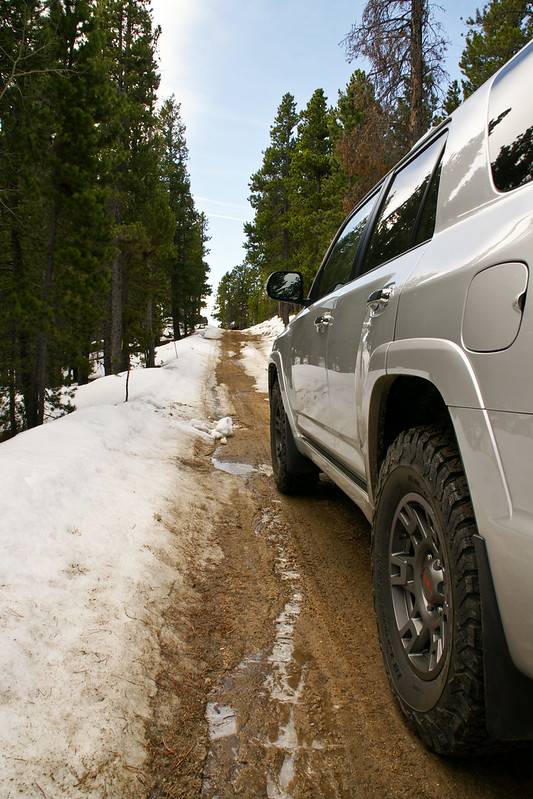
- Gray TRD Pro 17” wheels
- Nitto Ridge Grappler 255/80/17 E
- Full size matching 5th wheel and tire
- OEM mudflaps on all 4 corners
- OEM ‘14+ tail lights
- Phillips Vision LED reverse, rear plate, and puddle lights

Suspension:
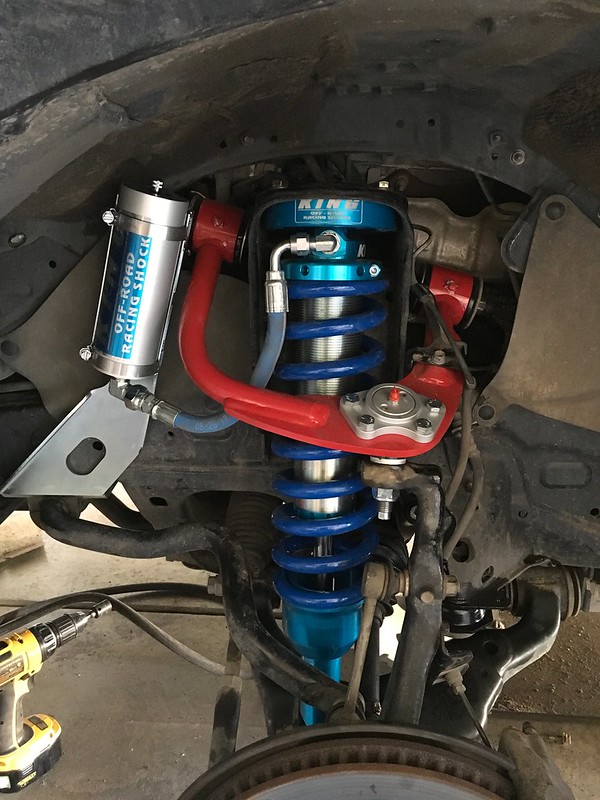
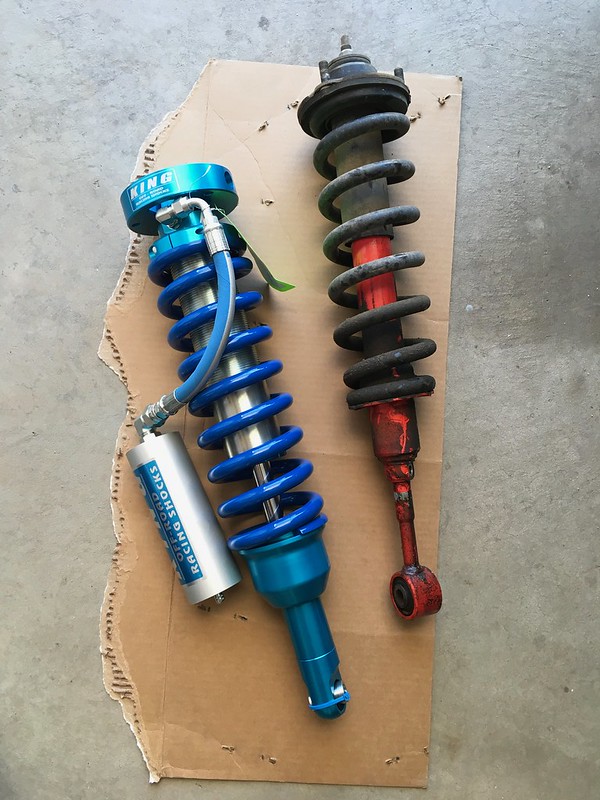
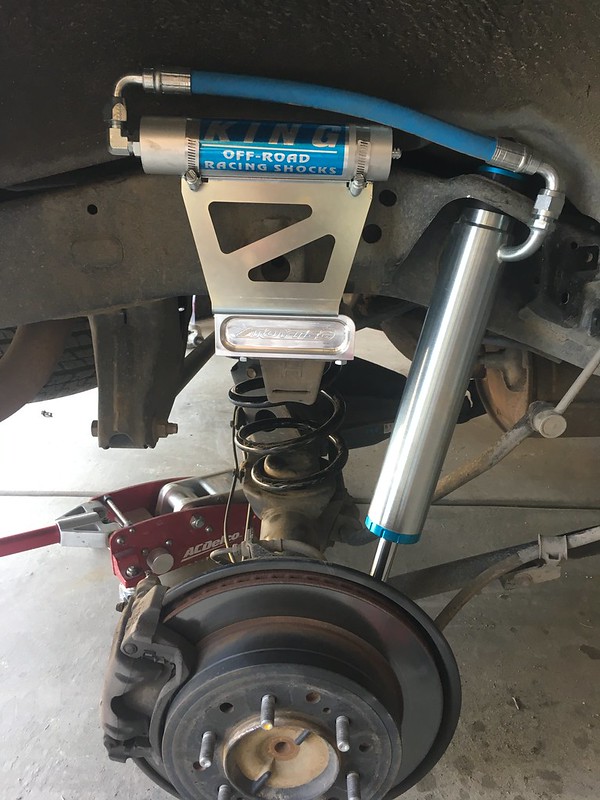
- King OEM 2.5” front remote reservoir extended travel coilovers
- King OEM 2.5” rear remote reservoir extended travel custom length shocks
- JBA caster corrected upper control arms with Cerakote coated high articulation ball joints
- Icon 2” lift standard load rear springs
- OME 10mm trim pack spacer
- DuroBumps front and rear bump stops

Electrical Setup:
- X2 Power (Northstar rebranded for Batteries Plus) BCI Group 24F 76ah AGM dual purpose starter battery
- Arc Light LEDS voltage booster for AGM batteries
- C4 Fabrication passenger firewall battery tray
- Vmax Charge Tanks BCI Group 24 SLR85 85ah deep cycle accessory battery
- RedArc BCDC1225D 12volt 25amp dual input DC and Solar onboard charger
- BlueSea CB285-40 40 Amp Circuit Breaker (x2)
- BlueSea 7615 Low Voltage Disconnect
- Shrockworks Power Distribution Module tray
- Bussman 15305-5-2-4 RTMR Power Distribution Module
- BlueSea CB285-80 80 Amp Circuit Breaker
- BlueSea 100 amp common busbar (x2)
- Contura II switches and Blue Sea 1039 dual USB fast charger fitted to new OEM 2014+ dash cubby
- Custom plug and play wiring harness made with TXL spec wire, Metri-Pack 280 series, Delphi Weather Pack, Molex Mini fit Jr, and Anderson SB50 terminals, seals, and housings
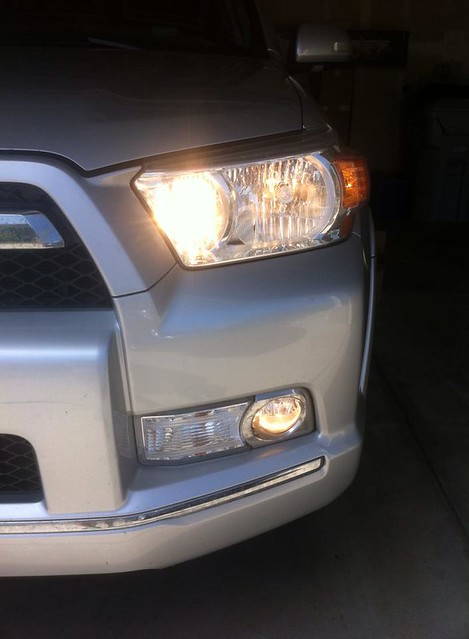
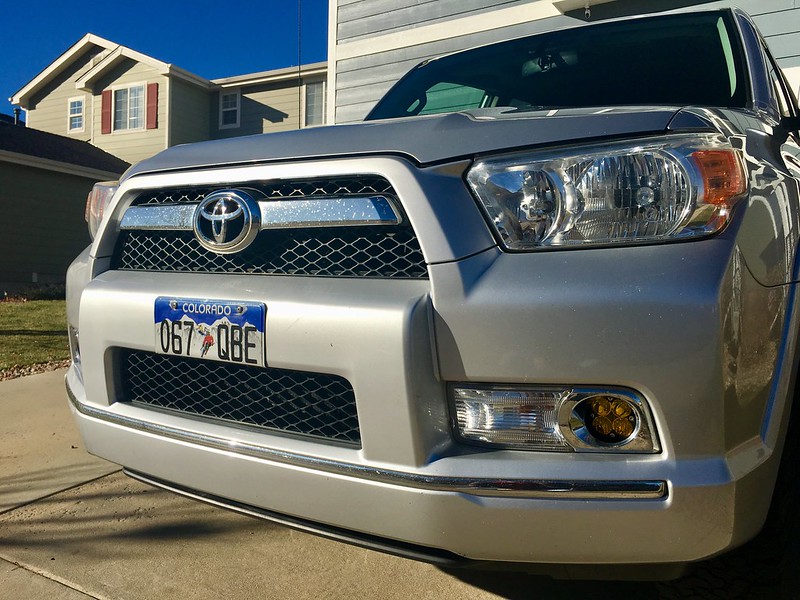
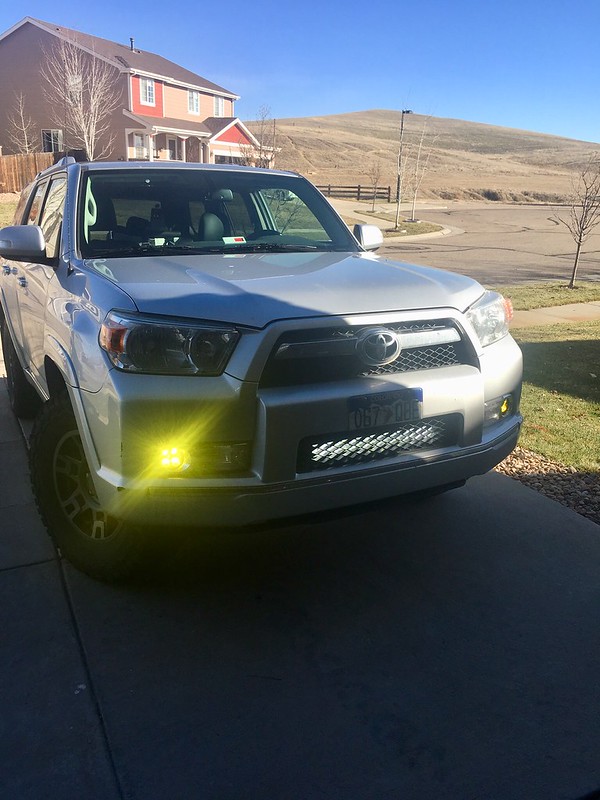
- Baja Design Squadron Pro amber driving/combo pattern with foglight pocket kit
- Baja Designs S2 Pro amber wide cornering lights on Cali Raised low profile ditch light brackets
- Freedom Design 22” light bar with Rago Fabrications behind the grill mounting
- Aurora LED roof rack flush-mounted scene camping lights (2 per side)
- Roof Top Tent Electrical Box - controls rack camping lights, tent power outlets, red interior tent lights, and white interior tent lights
- Dometic CFX35W refrigerator
- Overland Solar BugOut 130 solar blanket

Powertrain:
- K&N drop in air filter
- Fujimoto oil drain valve
- ARB rear diff breather

Interior:
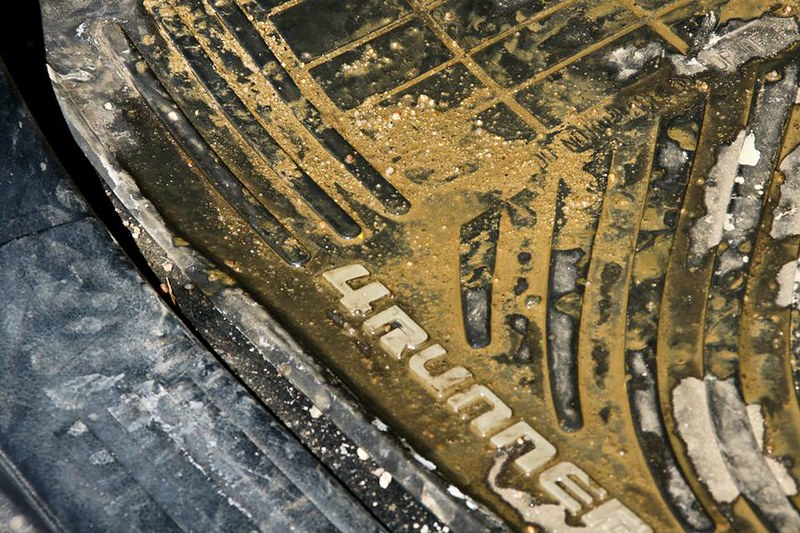
- Weather Tech floor liners for first and second row
- Canvas Back cargo area liner
- ARC Light LEDs Icarus eXtreme white/red dome, map, and hatch lights
- OEM cargo area retractable cover
- DFG Offroad FX35/40 fridge slide with custom mounting plate

Recovery/Emergency:
- Maxtrax MKII
- ARB Weekender Recovery Kit
- ARB E-Z Deflator
- Smittybuilt 5.65 CFM 12v portable air compressor
- Boulder Tools heavy duty tire repair kit
- Adventure Tool Company tool roll with tools
- Garmin InReach Mini
- Emergency kit: Life Straw, Light My Fire Swedish FireSteel, knife, hatchet, small shovel, Adventure Medical Kit Mountain Weekender, emergency blanket, tarp, stormproof matches, toilet paper, etc.

Miscellaneous:
- Trasharoo
- Nemo Roamer sleeping pads
- Nemo sleeping bags
- Jetboil Genesis Basecamp
- REI Flexlite Air camping chairs
- Adventure Tool Company Camp Kitchen
- Adventure Tool Company Shop Roll
- Upgraded rear hatch struts
- Blizzak DM-V1 snow tires on stock 20” wheels
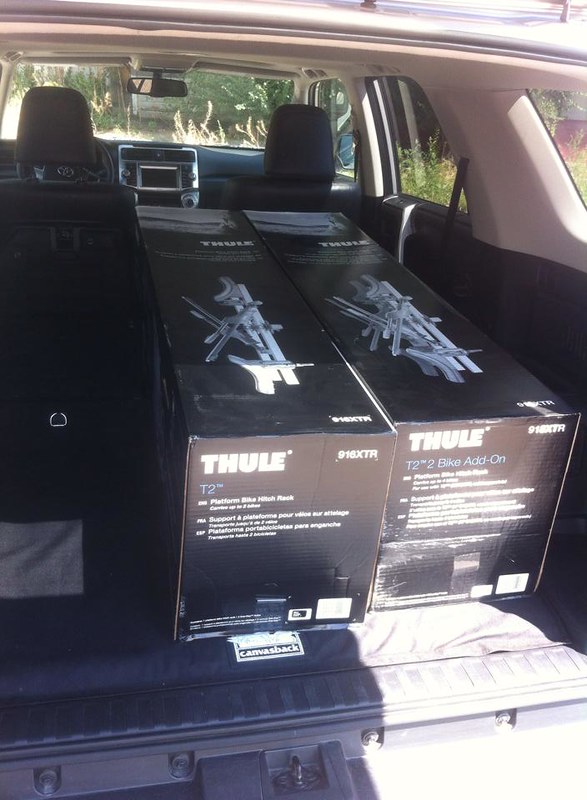
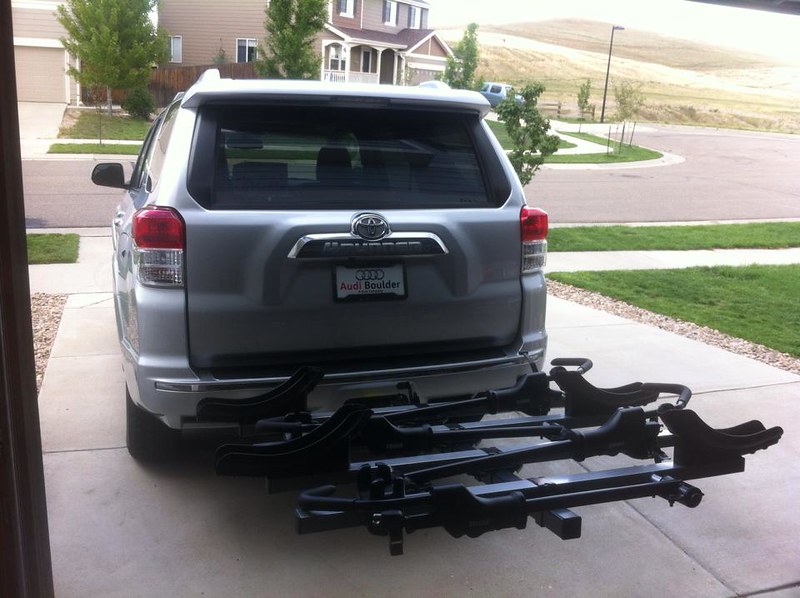
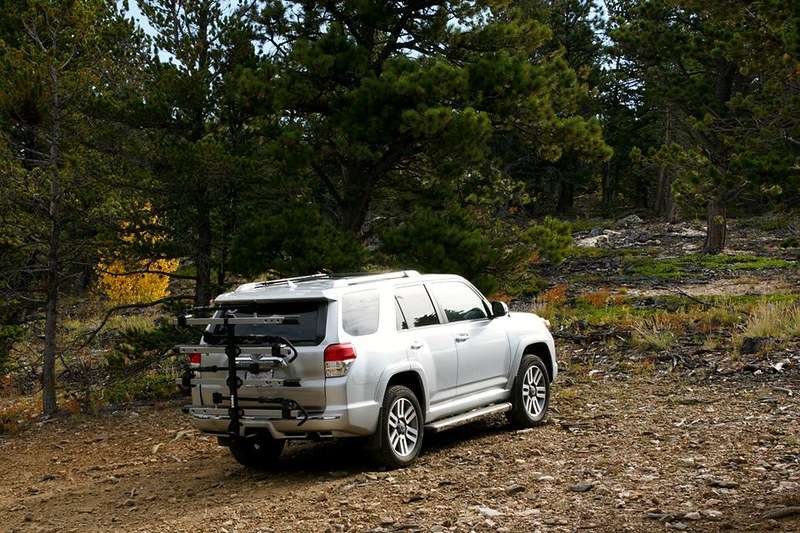
- Thule T2 XTR 916 & 918 bike carriers
- Debadged “Limited” emblems

Previous/Removed mods:
- BF Goodrich All Terrain T/A K02 275/70/17 E
- Prinsu full length roof rack
- Precision LED interior/exterior lighting
- Philips Vision LED interior lighting
- Toytec 2” machined rear bump stop spacers
- Rewired factory foglight switch for independent operation (highbeams, lowbeams, and foglights can all be on at the same time)
 
Last edited:
Register to hide this ad
Where it all began:
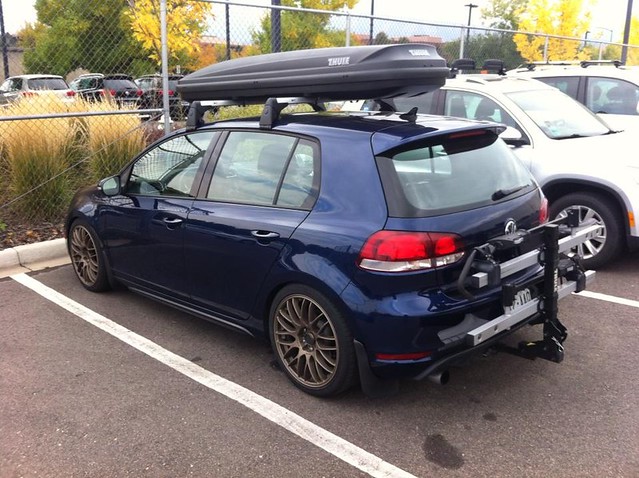
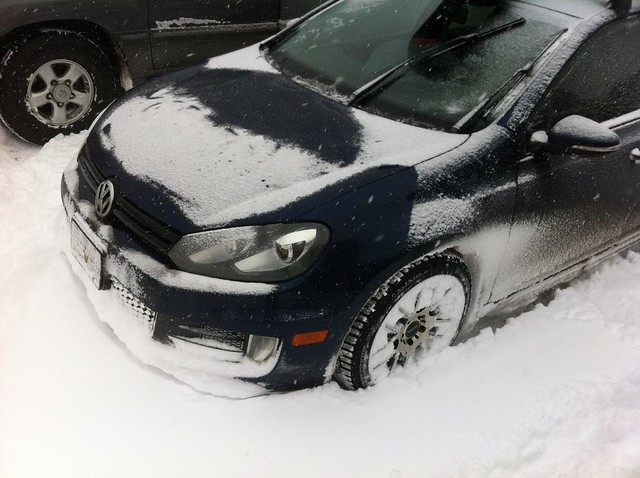
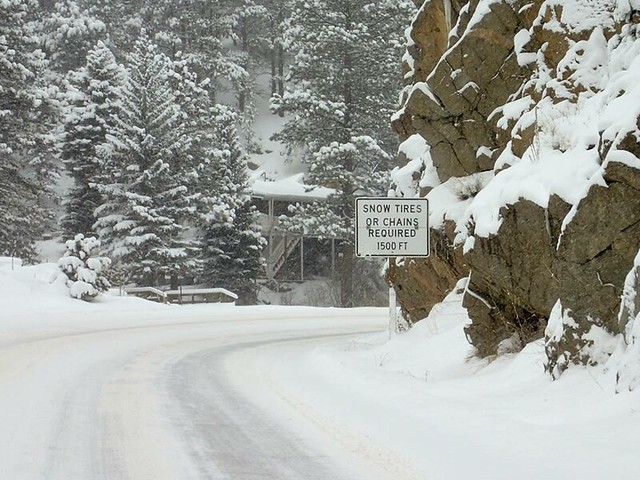
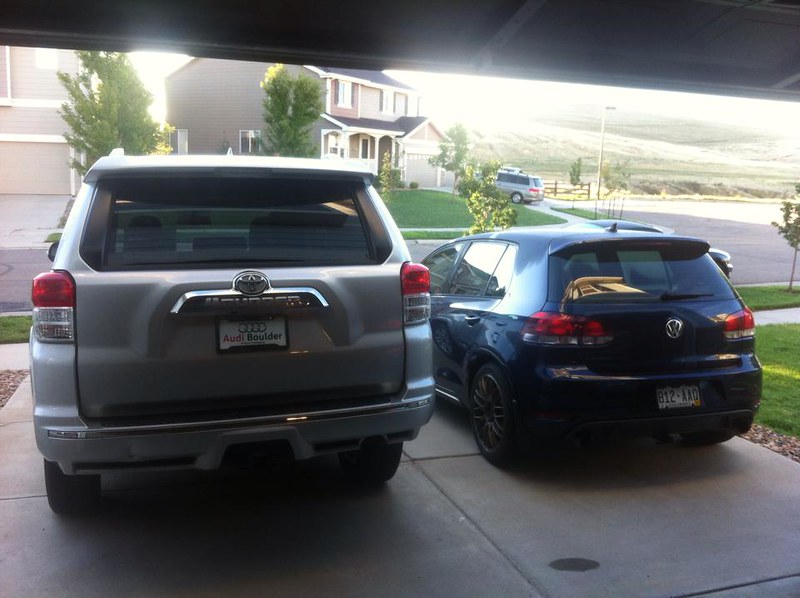
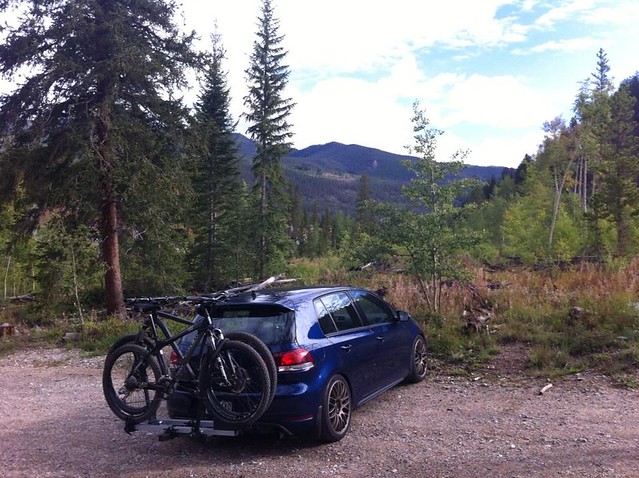
I've always been a car guy. I've never liked trucks, never wanted a truck, never had any interest in a truck. In fact, after buying the 4Runner a bunch of my friends gave me crap about it because I always said trucks were for hillbillies. Living in the Midwest (Chicago) that was totally true, everything was flat, the worst you came across was a dirt road if you drove hours to get to it and you may have to park in a field during an event of some kind. but people bought trucks and lifted them and gave them the off road look for nothing. I never once even considered a truck living there even despite have an outdoors active lifestyle (hiking, biking, triathlons, skiing, ect.) That mindset changed when I moved to Colorado. I had a modified 4 door MK6 Volkswagen GTI and first time it was no longer practical. From dirt and gravel washboard roads and driving over cattle grates in route to trail heads for mountain biking, to driving a lowered front wheel drive car up mountain passes in the snow with 300 ft/lbs of torque to go skiing, it just wasn't practical for my lifestyle in a mountain environment.

This thing hated rough unpaved roads.
42422833364_1e2b42b5fd_z.jpg


Fall through spring could be bike or ski season, this is all I could do to maximize space but it was always limited to 2 people plus gear.
42422832734_2af200c4be_z.jpg


Heading up to go skiing it was common to plow snow with the front while hoping the snow tires keep biting. It didn’t take much to really bury the car.
42422833504_528920bd72_z.jpg


And stuff like this is no joke.
29270109798_d8a983f887_z.jpg


So, I started looking for a replacement. My first thought was a Subaru would be perfect. I was all for it, until I actually drove one. I really wanted to like them but it was bad. It felt like I was sitting on a folding chair with a cushion surrounded by an interior designed and built by Fisher Price. They just felt so cheap and crappy, I couldn't do it. I was working at a car dealership so I'd regularly take used cars home for a night to spend some time driving them and seeing what I liked and didn’t like. After literally a year of casual researching, looking at, and driving everything from small hatch backs to pick up trucks I had a pretty specific list of what I wanted in a replacement for my GTI.

This was my list of firm requirements:
- Real truck/SUV (body on frame, no crossovers)
- 4-wheel disc brakes with ABS
- 4 doors
- 2" hitch receiver
- A center differential inside a low range transfer case (full time 4WD that you don't have to mechanically lock any part of the drivetrain, I did not want 2WD or locked 4WD)
- I had to be able to adjust the driver’s seat to where I want to sit and then be able to get out and fit comfortably in the seat behind that one (I'm 6'2")
- It had to fit me laying down in the back with the seats folded flat for sleeping in it
- Reliability and long-term durability
- One touch auto up and down on ALL of the windows
- Split folding rear seats
- The ability to comfortably fit 4 adults with all of our ski equipment inside the vehicle.

On 8/27/14 after a long time the winner was a used 2011 Toyota 4Runner Limited – 4.0L V6, full time 4WD, automatic, silver exterior, black interior, smart key, heated full power leather seats, navigation, voice recognition, bluetooth phone and streaming audio, one touch up and down windows, dual zone climate control, 2" hitch, 5,000 lb tow rating, 4 and 7 pin trailer wiring, steering wheel controls, sunroof, homelink garage door buttons, 20" alloy wheels, 15 speaker JBL system, running boards, heated mirrors, roof rack cross bars, auto dimming rear view mirror, 6 disc changer, Aux jack, USB hookup, iPod hookup, backup camera, 4 wheel disc, front and rear 12v and 120v power outlets, XREAS sport suspension, side curtain airbags, knee airbags, front airbags, side airbags, etc. It had 29,000 miles, 1 owner car, clean carfax, all the maintenance records, and they even had the original $43,000+ window sticker. It was mechanically perfect but with a lot of minor cosmetic flaws up close. That was perfect for me, the price was lower, the value was better, and not being a mint perfect condition truck, I wouldn't be so stupidly over anal about it like I have been with every other vehicle I've owned.


New with the old
21041698119_337ed4bf7d_c.jpg


21218112452_95b14a0cbc_c.jpg
 
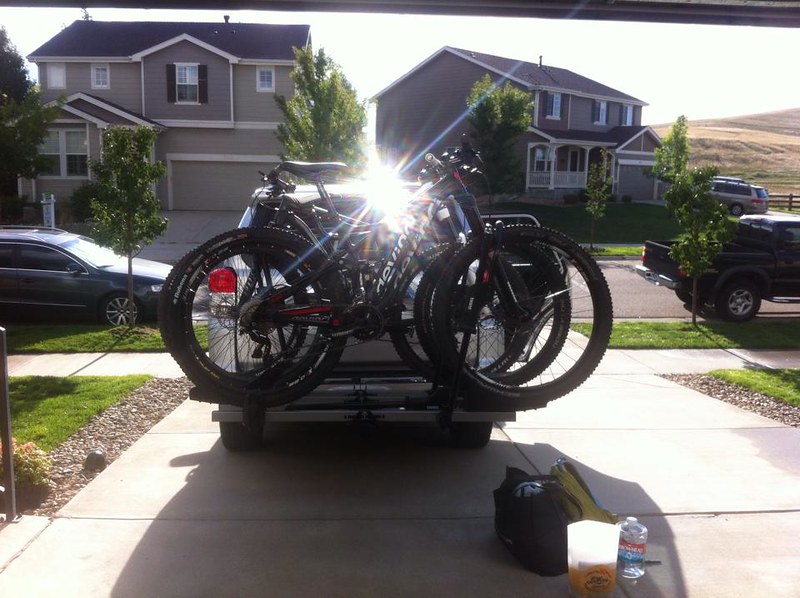
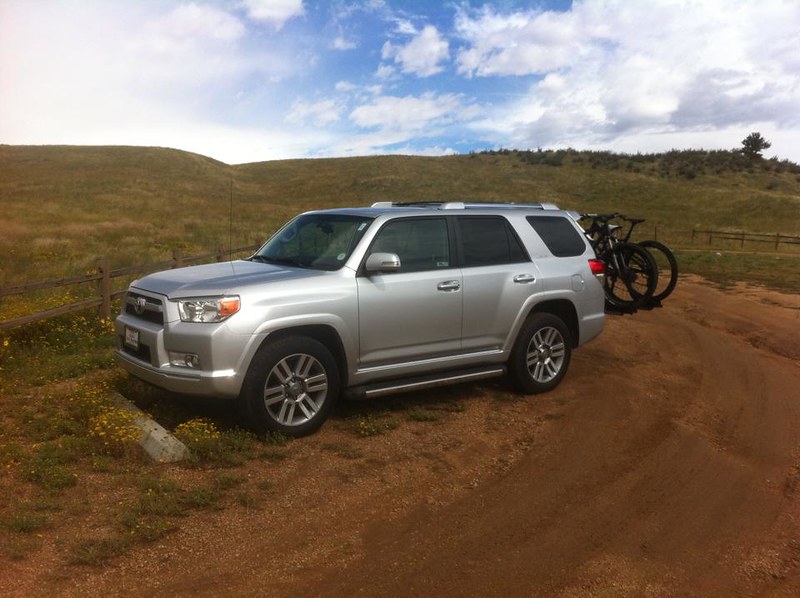
First thing was the bike racks
21236479891_b26d407ced_c.jpg


21236479611_0e659766ae_c.jpg


21040625428_6ecd633ac4_c.jpg


Much happier hauling bikes on dirt
21041696049_4f4cc7893e_c.jpg


Out on small 2 lane middle of nowhere cliff side mountain roads where there is zero ambient light other than what you get from the moon you can never have enough light. Sometimes those roads aren't quite 2 lanes or paved.
21235918321_c8d400636f_b.jpg


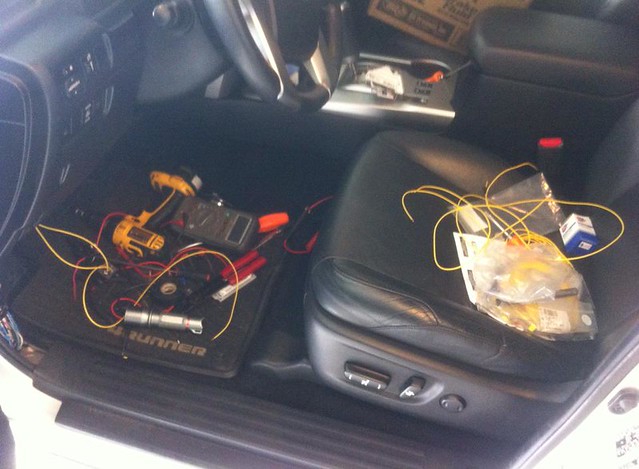
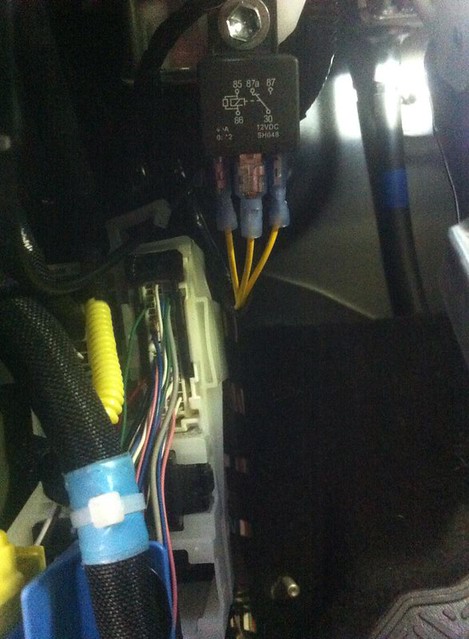
So, the first mod was finding a wiring diagram and figuring out what wires I needed to rewire the fog light to work independently of the high beams. Normally you can have low beams and fog lights or low beams and high beams. I wired in a relay to so anytime the ignition is on and the OEM fog light switch is turned on the lights work. Now I could run high beams, low beams, and fogs all at the same time. It’s a simple and practical, although technically illegal modification.

21041695749_dbdbf31d0d_z.jpg


21040428280_b58f610905_z.jpg


21040624098_bc8886772c_z.jpg


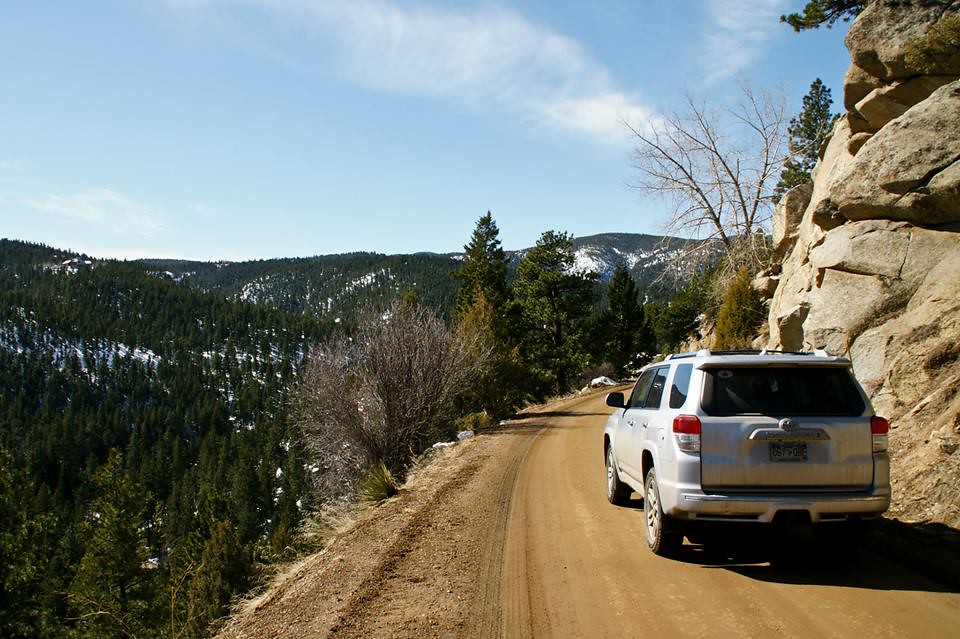
Pretty quickly I started taking it out into the mountains.
21202285356_518ca70a1a_c.jpg


21041691969_8d9cfd1cef_c.jpg


21228536615_edaa11bfa7_c.jpg


20607396163_0a872c2f19_c.jpg


20607395663_9acf6da702_c.jpg


21236470981_bfd48e2597_c.jpg
 
Fall colors faded to winter and ski season began. The Blizzak snow tires went on and I stated hunting powder days.

21040418010_f6ef2a5850_c.jpg


20605832264_d4946a247a_c.jpg


It became obvious the slush catcher steps needed to go in the garbage and some mud flaps would help.

21041687669_fd4278a653_c.jpg


That’s a bit better.
21040615878_8cd05b4773_c.jpg


21040418850_fa56877c8b_c.jpg


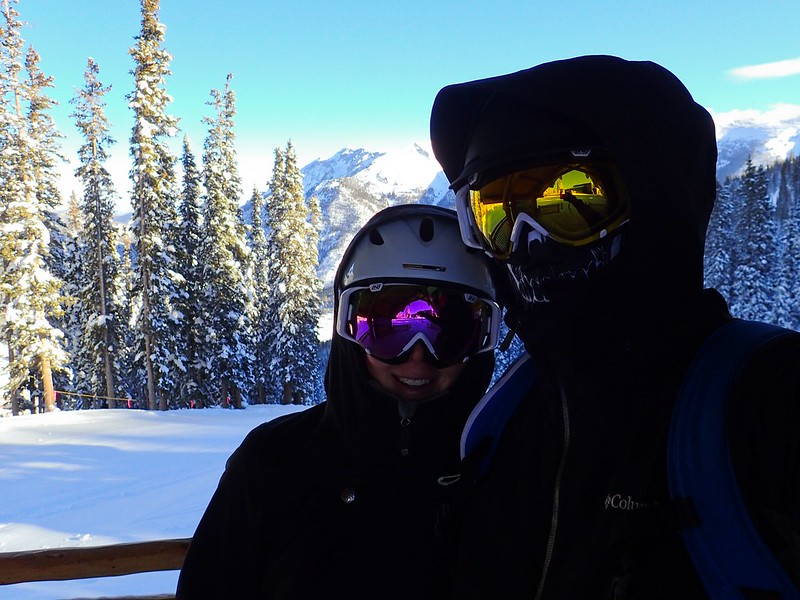
My wife and I hit the slopes, a lot.
21041732019_a256ff1346_c.jpg


21202247366_8132ea38b9_c.jpg


21040327370_4a400452c4_c.jpg


21202201696_2981d07343_c.jpg


21235975361_0386041b64_c.jpg


20607290373_efa747b691_c.jpg


21228403285_ee479f6c04_c.jpg


21236324551_7f3231122e_c.jpg


21236276221_81204b9685_c.jpg


21228280815_466d188495_c.jpg


21217799492_8c30d16614_c.jpg


21228131735_08298516d3_c.jpg


21201829646_7638dfe731_c.jpg


21039957420_0ecd220c2e_c.jpg
 
Spring rolled around where conditions can vary considerably.
21039868930_b84e429bbb_c.jpg


21217552792_1a450a0de2_c.jpg


21201721896_d6910355e0_c.jpg


21201721346_892d1f42a5_c.jpg


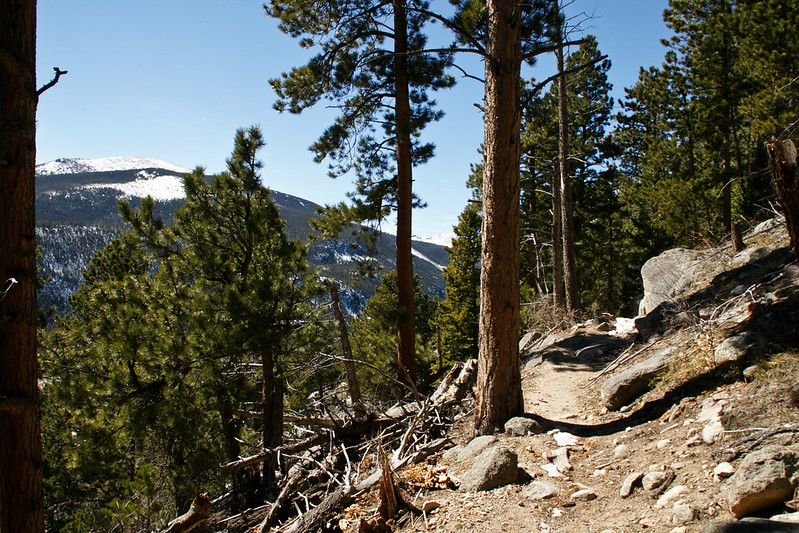
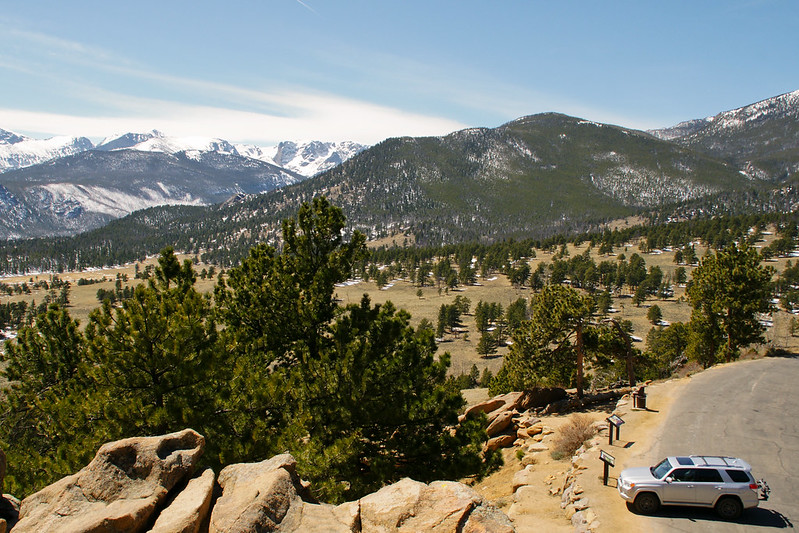
Taking a trip up to Rocky Mountain National Park
20605286604_a8f59cb1c3_c.jpg


21041103489_21a4e43d74_c.jpg


21039759960_5f3f089e45_c.jpg


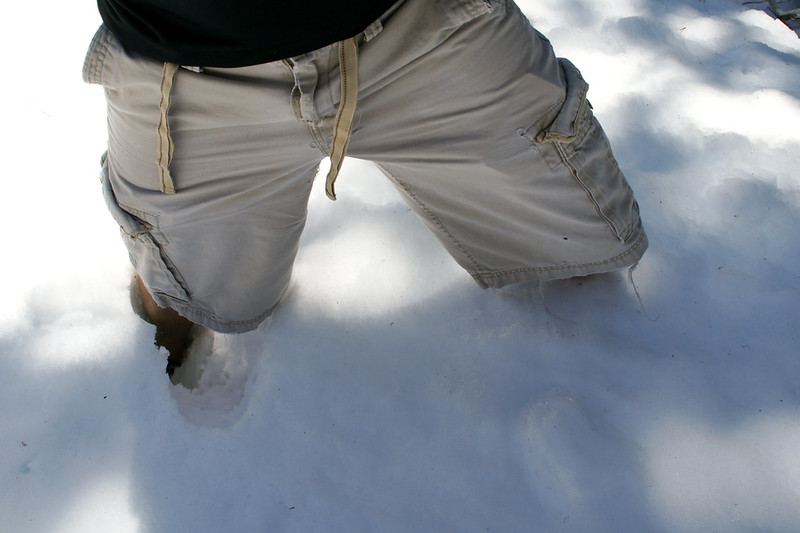
Mid 70’s shorts and t-shirt weather and you have to tun back on your hike because you didn’t bring snow shoes.
21201570336_4425568853_c.jpg


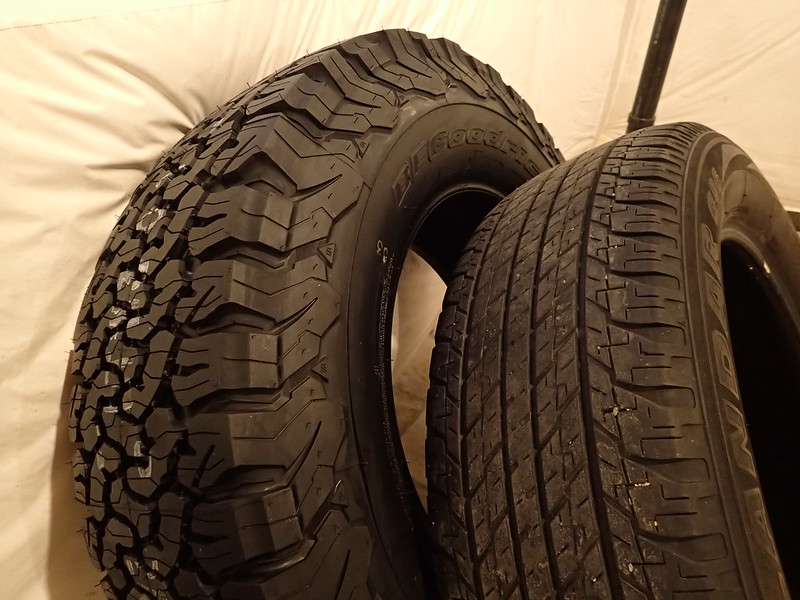
Wheels and tires came next
21202315676_a3b164751c_c.jpg


21039896528_541ae9bdfb_c.jpg


Hitting the trails with wifey
21235749661_cace647c7b_c.jpg


21227786835_dc7f8e834e_c.jpg


21227736325_816b9de695_c.jpg


21040854739_99b17975c0_c.jpg


29271702758_3cfd6886da_c.jpg


There’s still snow to be found
20604967314_3559880757_c.jpg


21227587435_04d8c5dac9_c.jpg


21039455890_9b3769726c_c.jpg


21235436631_cde146e402_c.jpg


20604710424_04c6ce6192_c.jpg
 
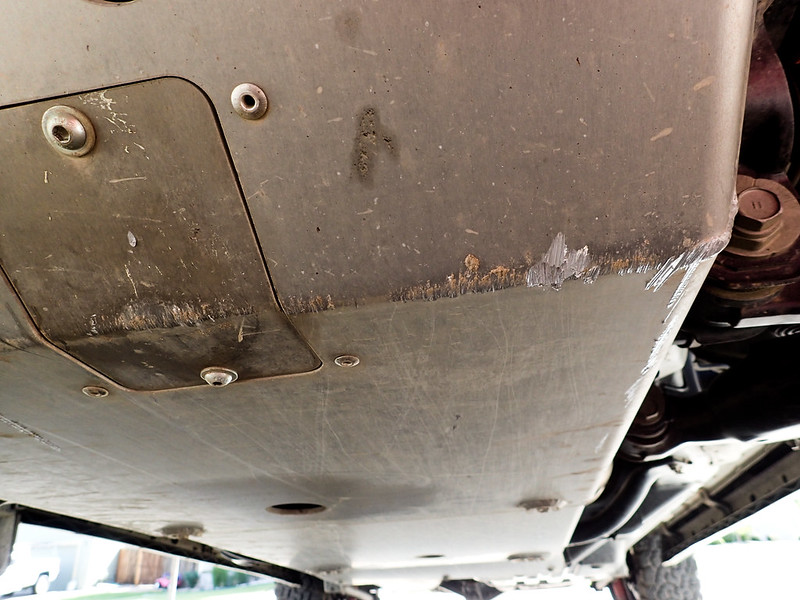
After banging my way through some stuff like this I decided it was time for skids
20600599923_61cf28fe62_c.jpg


20604666834_cc1839f0b4_c.jpg


21039236410_40036dbe4c_c.jpg


21227311165_806aab8db7_c.jpg


20606157713_6b03b1d86c_c.jpg


21039187910_5efb179b6e_c.jpg


21040452589_81393872e1_c.jpg


21040629078_6e481682b4_c.jpg


21039186590_2a9a3c2510_c.jpg


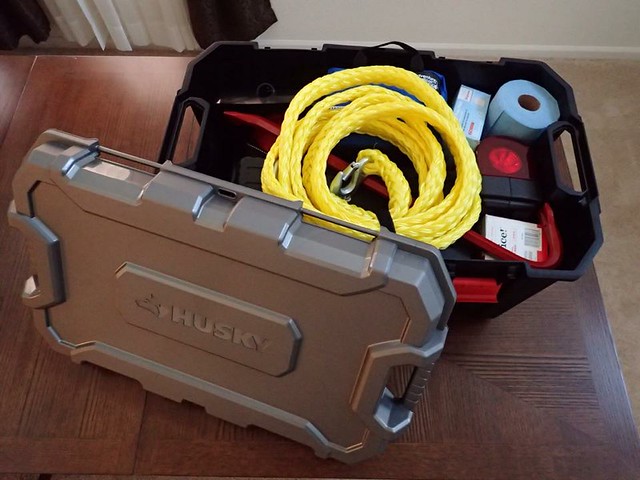
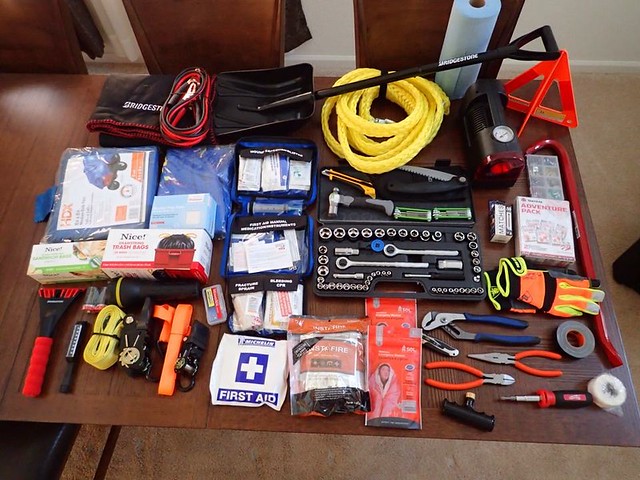
That’s about the same time I put together the Oh Shit Kit. I don’t think the pictures are quite up to date but the kit contains the following Tow strap, jumper cables, roll of blue shop paper towels, utility gloves, 12V air compressor, small first aid kit, Mountain series medical kit -weekender, 200 alcohol prep pads, Wound Seal powder, 2 Heatsheets emergency blankets, an adventure pack of hand, body, and toe warmers, Instafire all weather fire starter fuel source, storm proof matches a rain Poncho, 6x8 medium duty tarp, Rescue Tape, Gorilla Tape, Gerber folding hand saw, automotive fuses, razor utility knife, pocket knife, tire plug kit, needle nose pliers, side cutters, multi bit screwdriver, channel locks, standard and metric allen keys, 24" pry bar, 51 piece socket/ratchet set, hammer, ratchet straps, flashlight, 12v plug in search/spot light, bungees, garbage bags, and zip lock bags.

43093607102_35f9b02166_z.jpg


43093607162_56a7e93f2a_z.jpg


Easter at RMNP

21200912316_dd34bf27d9_c.jpg


21201034966_20255f18d3_c.jpg


21227198205_4fcbdb1c27_c.jpg
 
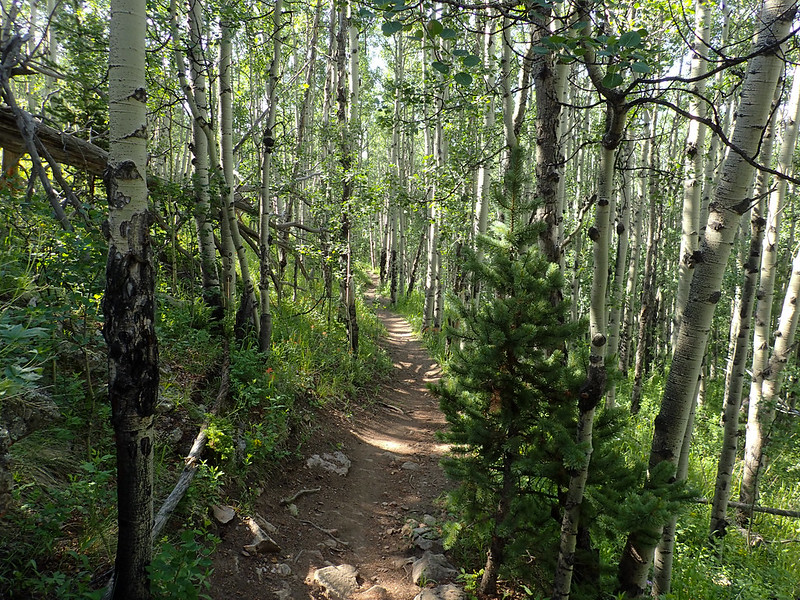
4th of July, we drove up the Kenosha pass to where the Colorado Trail crosses it. From there we took the mountain bikes from Kenosha pass up over tree line to the Georgia pass before coming back down.

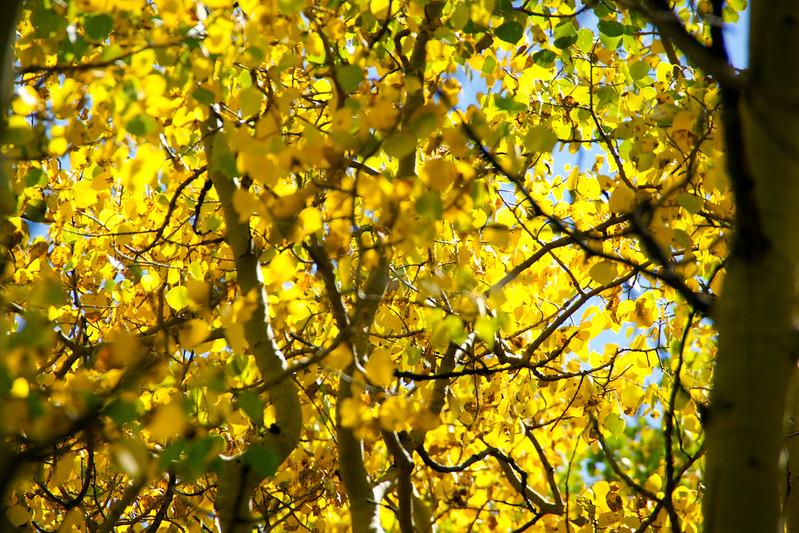
Tearing through the Aspens
18828840033_4c0dcb6147_c.jpg


The first preview of what’s to come
18826917534_11f7318ffa_c.jpg


We worked our way up through national forest
19423250546_06e6d4e823_c.jpg


The air was getting thin and so were the trees
18826675164_02ac754bb5_c.jpg


It was well into the 90's at home in Boulder but we were playing in the snow in the high country
19261502800_cf965736fb_c.jpg


Above tree line
19261468268_1b6a2932a4_c.jpg


18828201853_3768c04004_c.jpg


19261302230_c69e13cb3c_c.jpg


19442461432_9a4a666dc4_c.jpg
 
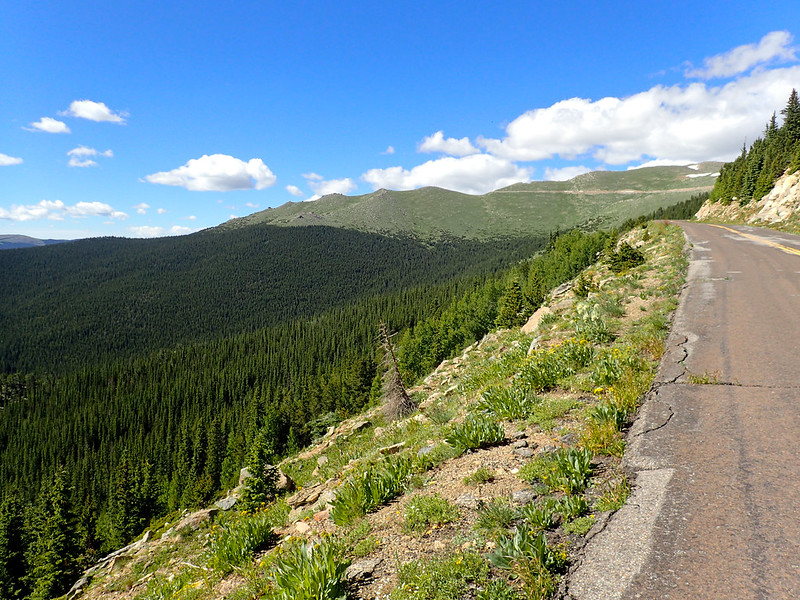
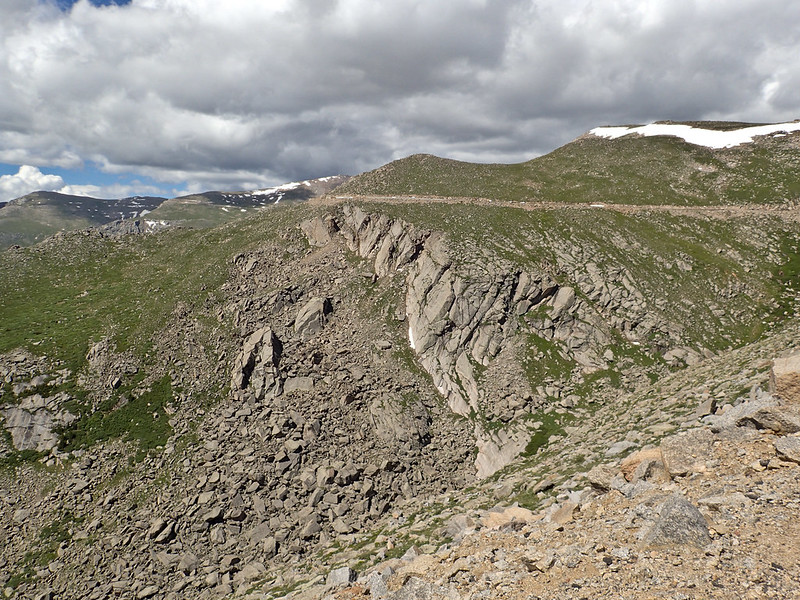
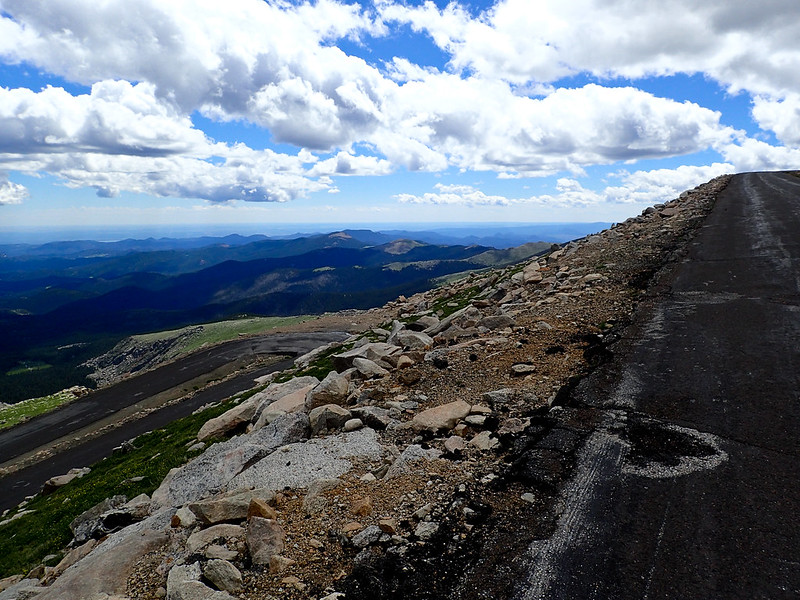
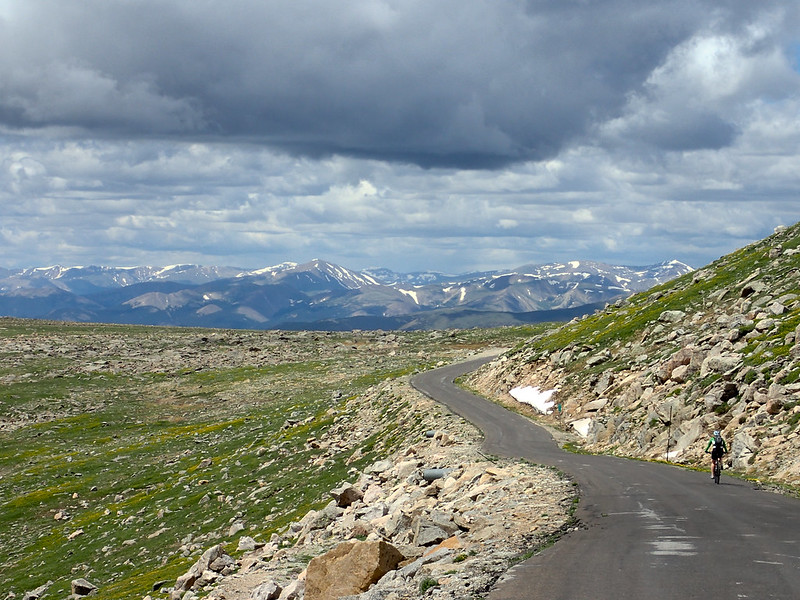
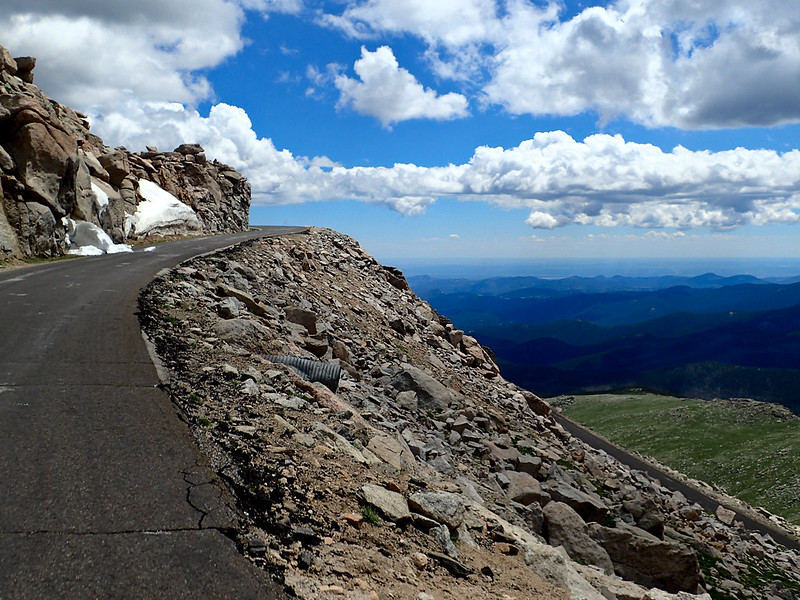
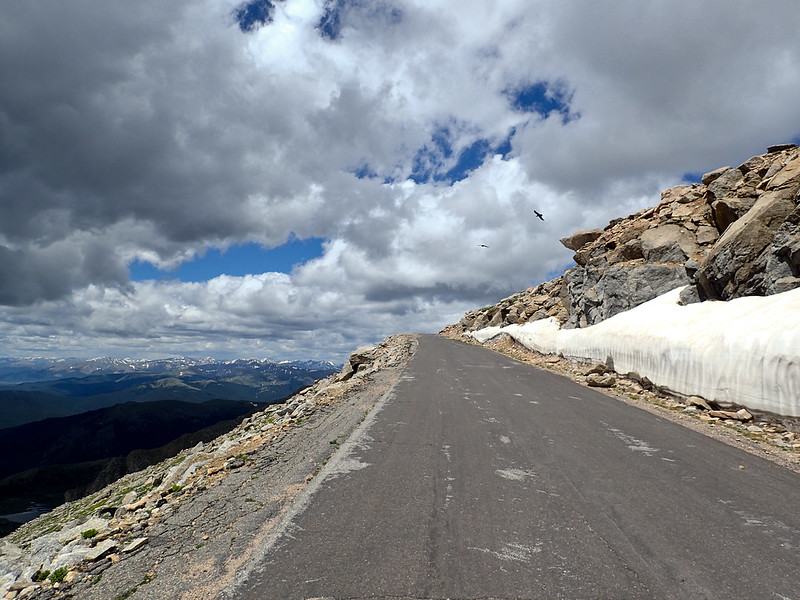
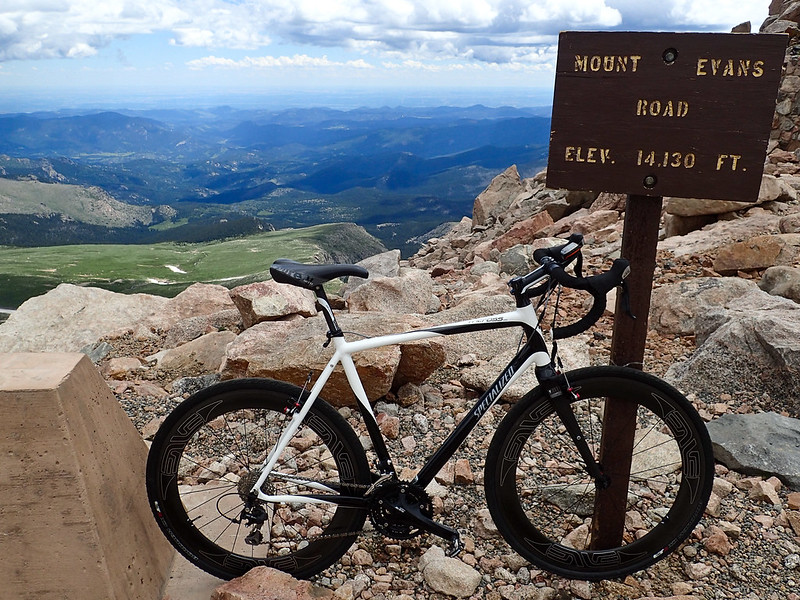
Next up was Mount Evans, the highest paved road in North America and because of some construction it was closed to cars.

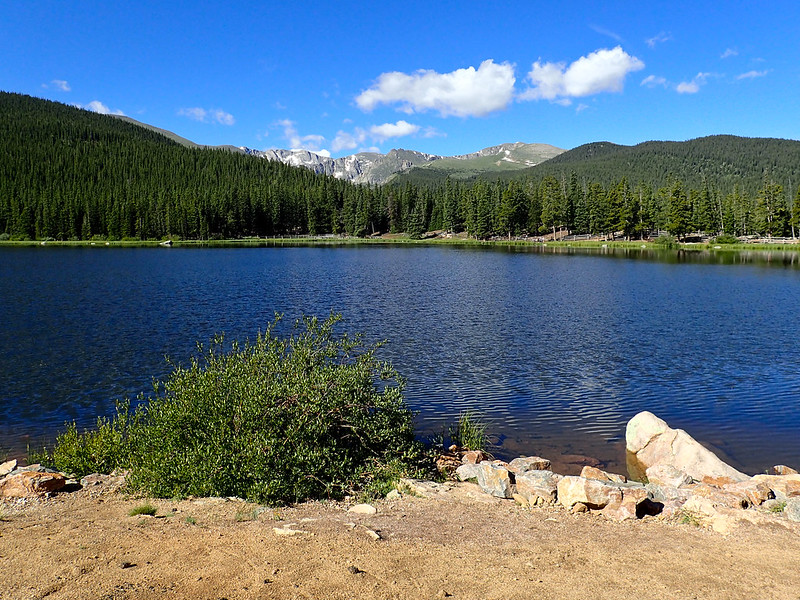
We loaded up the bikes and took the truck to Echo Lake where we started our ride.
18999081084_8a2f7ebb24_c.jpg


You could see treeline getting closer
19614539272_b7a3934d07_c.jpg


My wife grinding away
19614364042_efabdc6ffa_c.jpg


19433302358_d0bdf01ca1_c.jpg


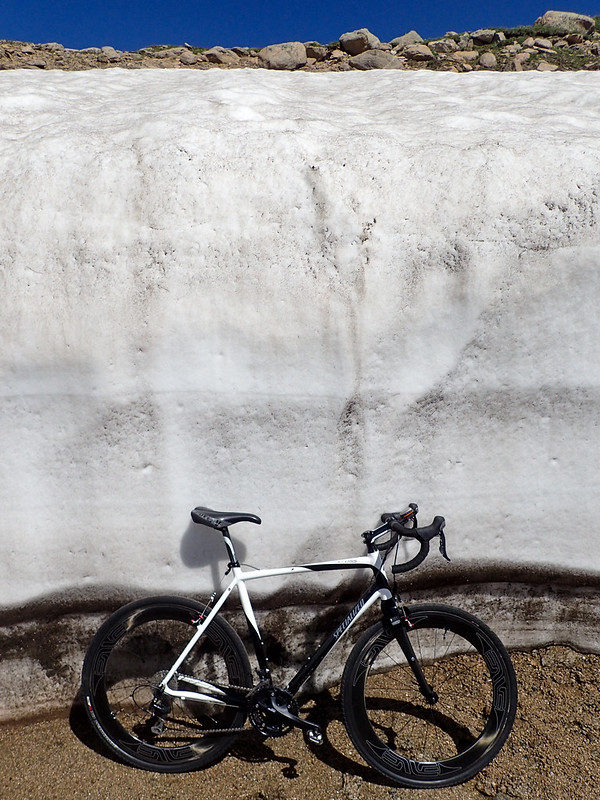
Plenty of snow in July
18998716124_20bddb3260_c.jpg


Summit Lake
19434589639_709102eaa6_c.jpg


Still climbing
19621139265_a5bf10d215_c.jpg


19614080242_b887895784_c.jpg


Still climing
19621042115_0017cc364b_c.jpg


Almost there
19432995900_6fc44be32d_c.jpg


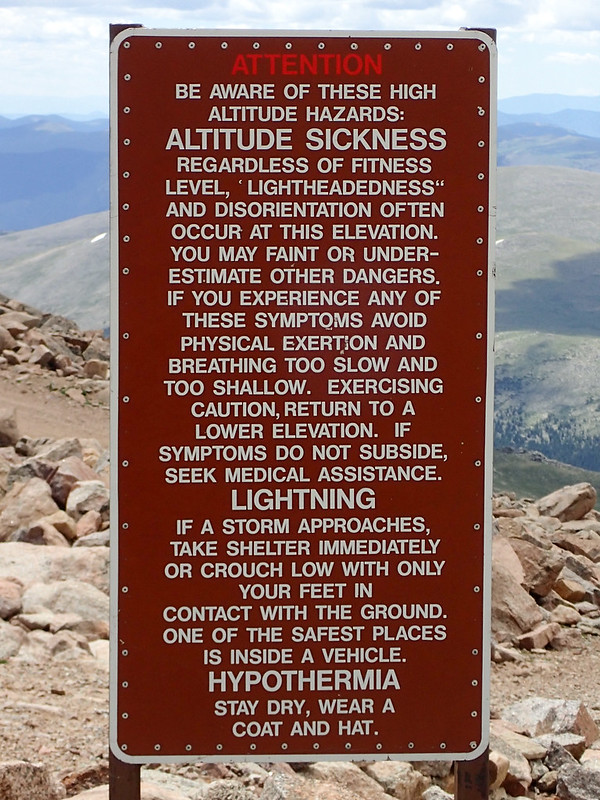
14,130 feet above sea level. It was f'n COLD, windy, and we got snowed on.
18998172274_a04ce95eda_c.jpg


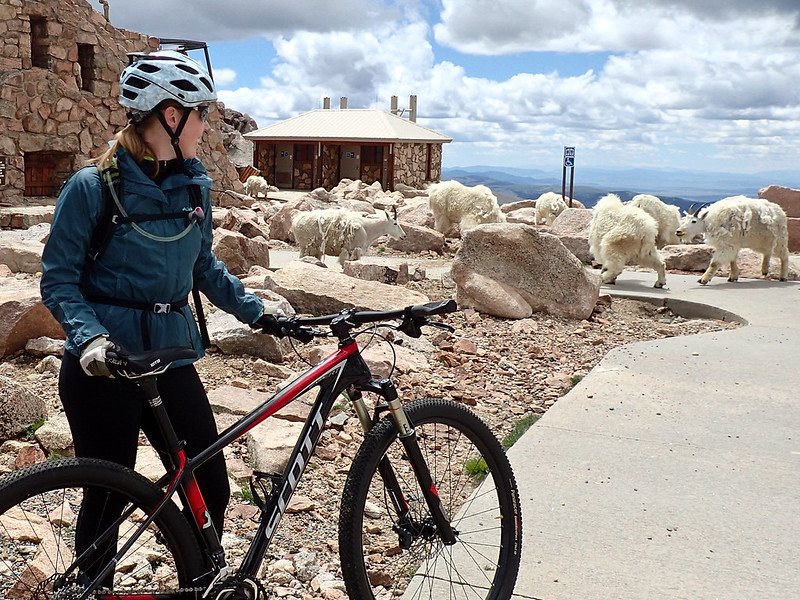
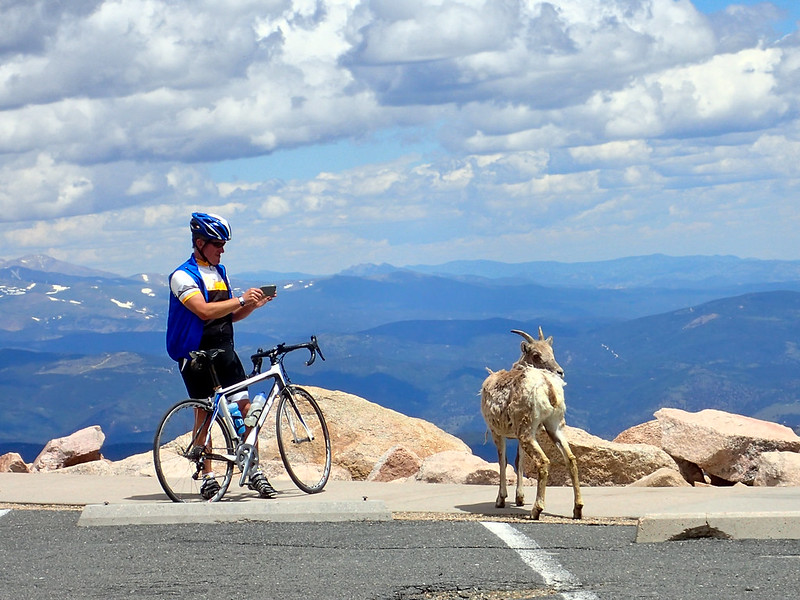
We were out of our element and into theirs
19620676715_e1a686d680_c.jpg


18999823443_e2e1db1811_c.jpg


19613764382_5dbb5795c0_c.jpg
 
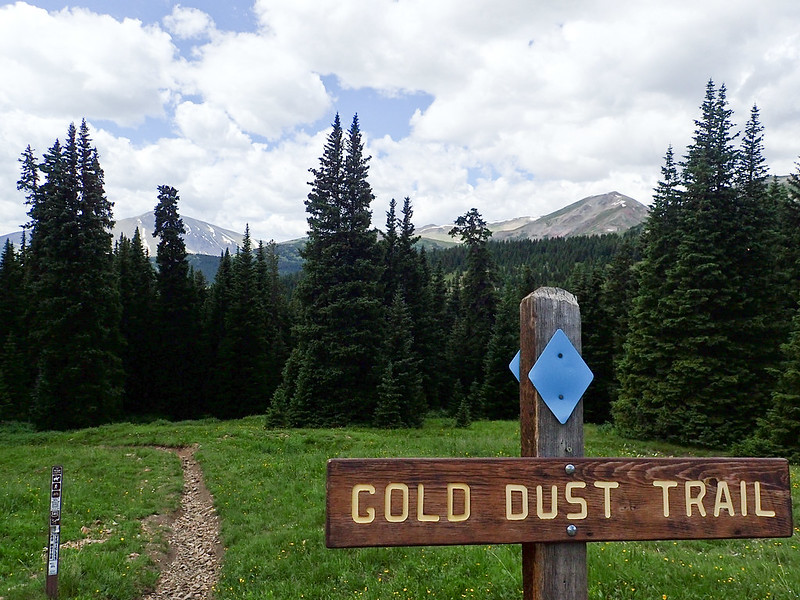
We took the truck to town of Como at the base of Boreas Pass. We rode the Gold Dust trail up to where it ends near the top of the Boreas pass, we took the pass up tot Continental Divide overlooking Breckenridge before descending back down.

19221053593_e10e7b2abf_c.jpg


19846646601_6bcb6dae41_c.jpg


19834265152_712733cedc_c.jpg


19833989352_2d6459f89a_c.jpg


That's the ski slope of Breckenridge
19833840432_0d0b3f6ec5_c.jpg


19653071610_91606bcd41_c.jpg


19220079673_e960e27154_c.jpg


For the 4Runner’s first birthday we took it out to play
21035523470_0464206c1e_c.jpg


21213154882_83eb750d96_c.jpg


21035547858_c5e8ce7b80_c.jpg


21213011312_a5e131e464_c.jpg


21197115106_d5fd060c9f_c.jpg


20602209143_6c8e89e1cf_c.jpg


20602153023_f51ceb31d2_c.jpg


21035318568_4d520d1c95_c.jpg


21035088080_31ede808e0_c.jpg


21223136165_2e030b5ce2_c.jpg
 
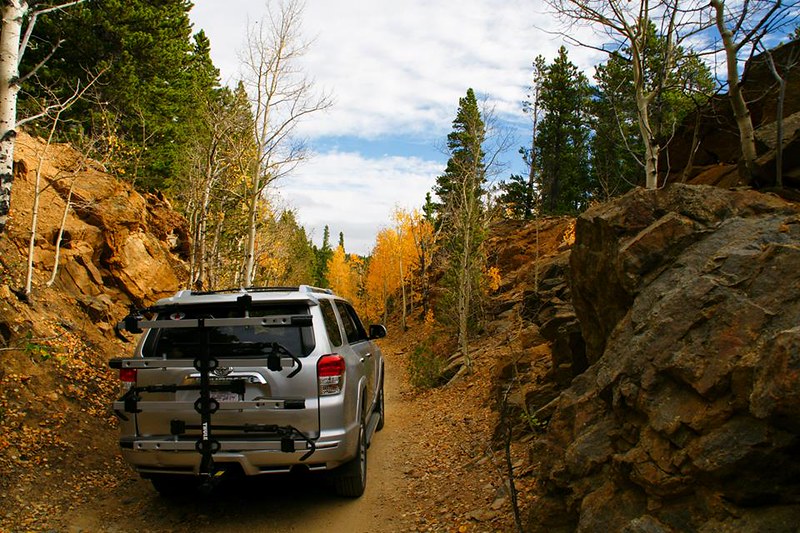
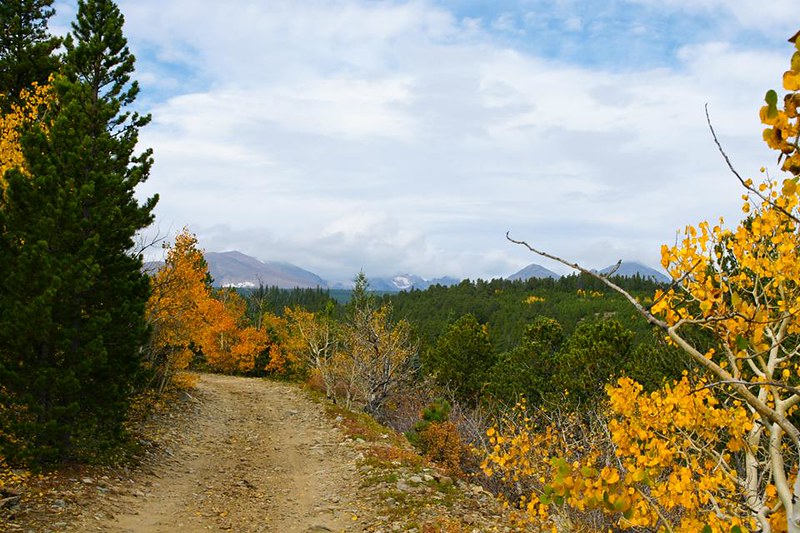
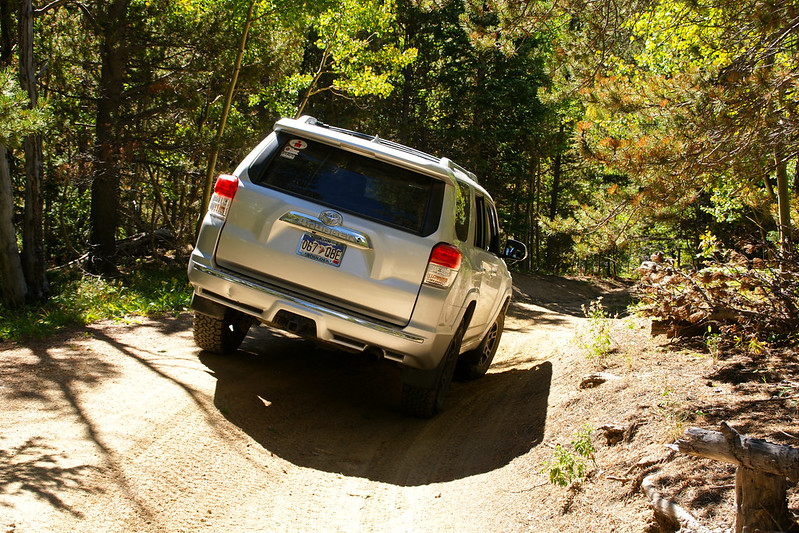
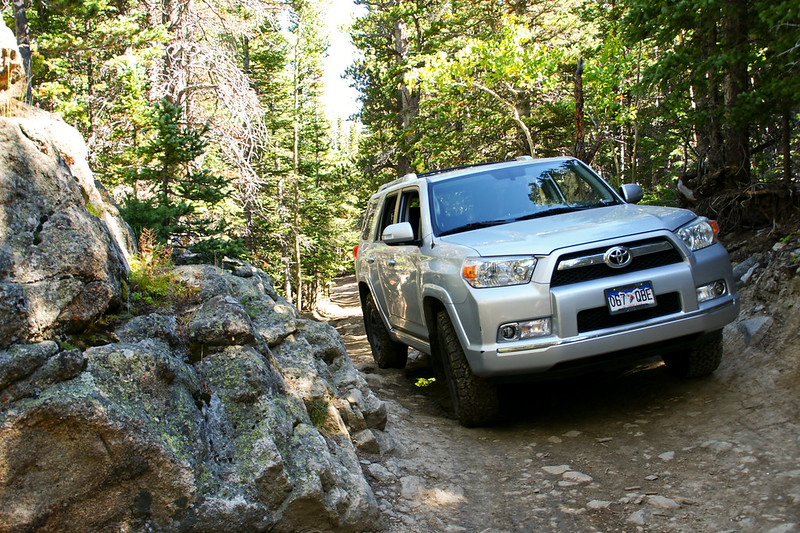
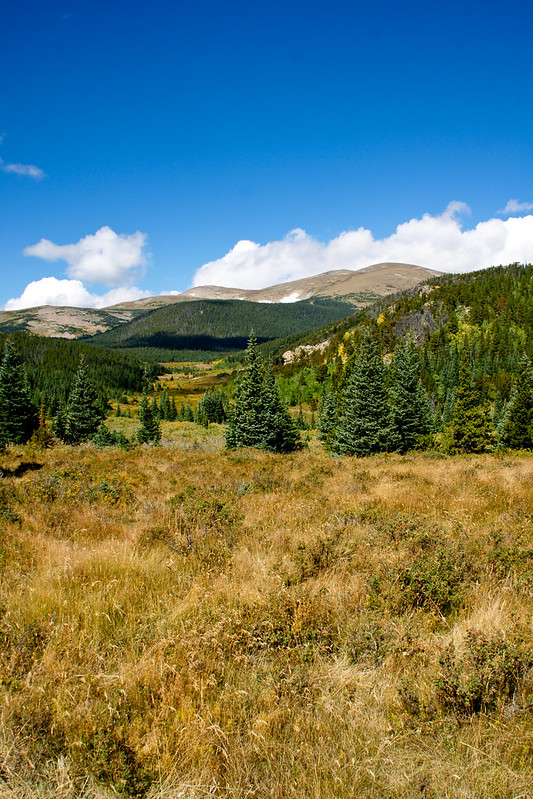
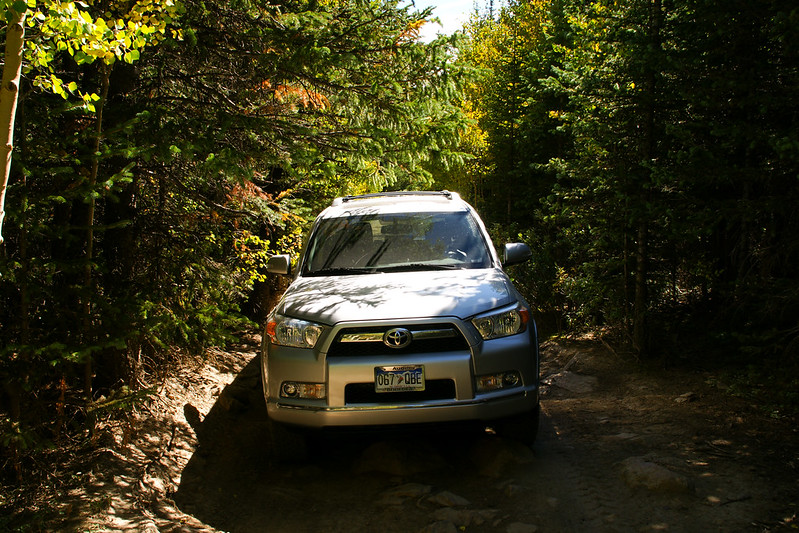
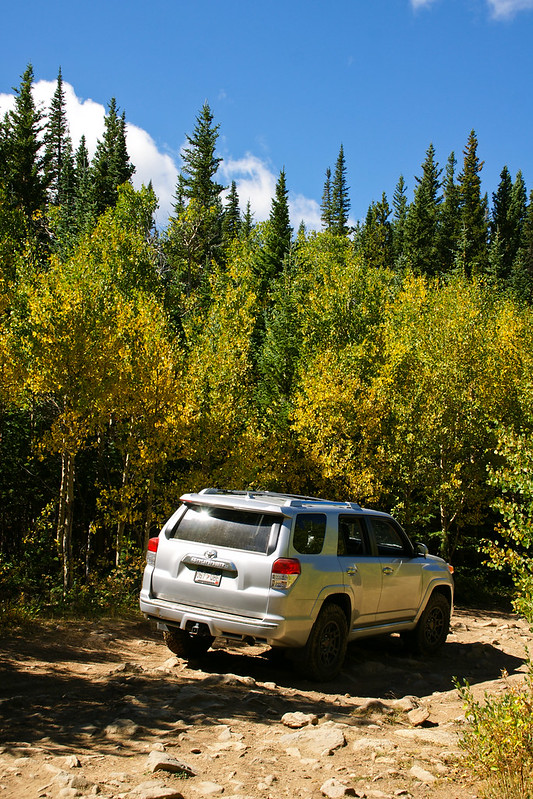
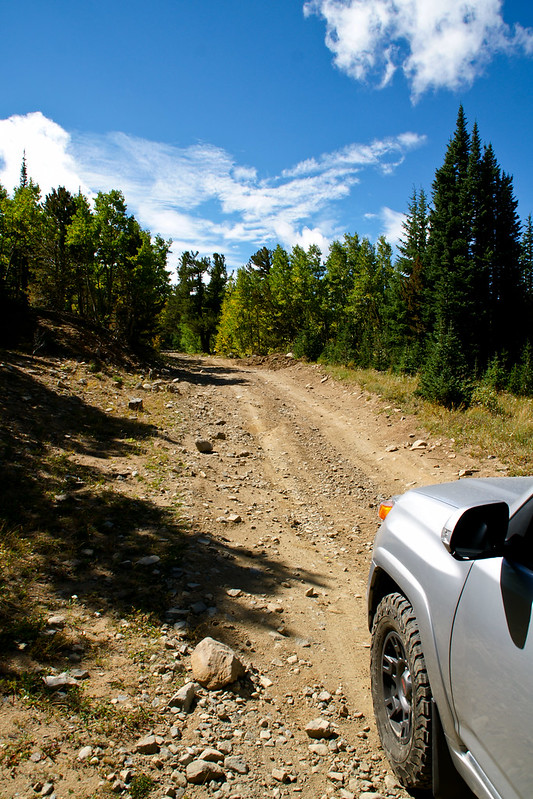
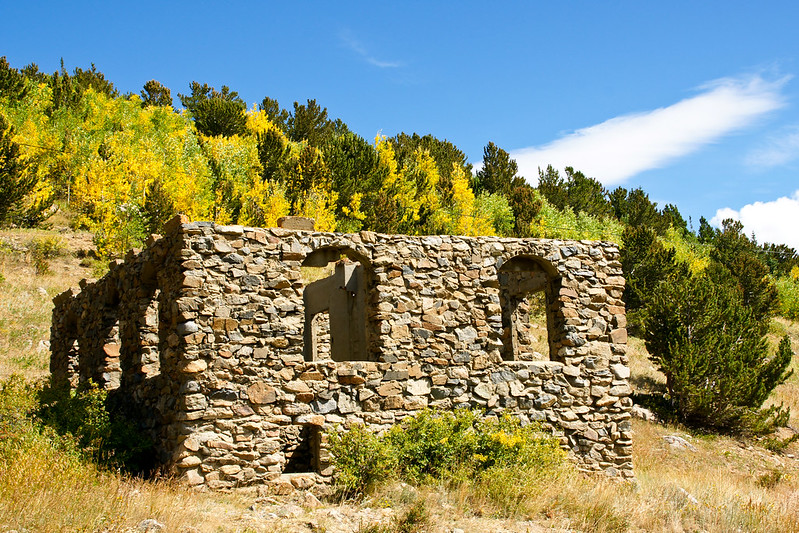
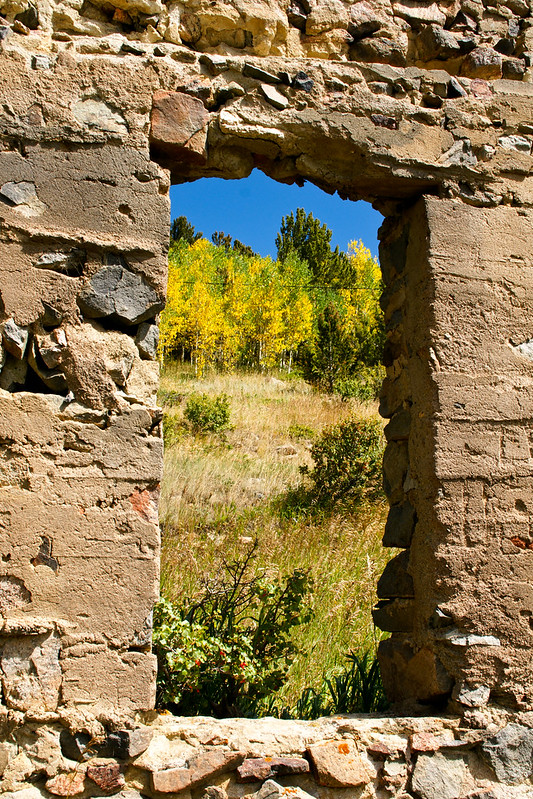
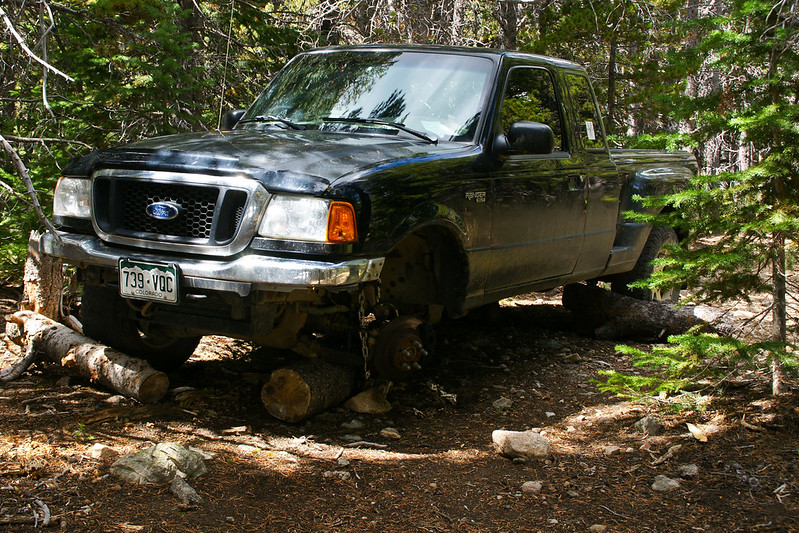
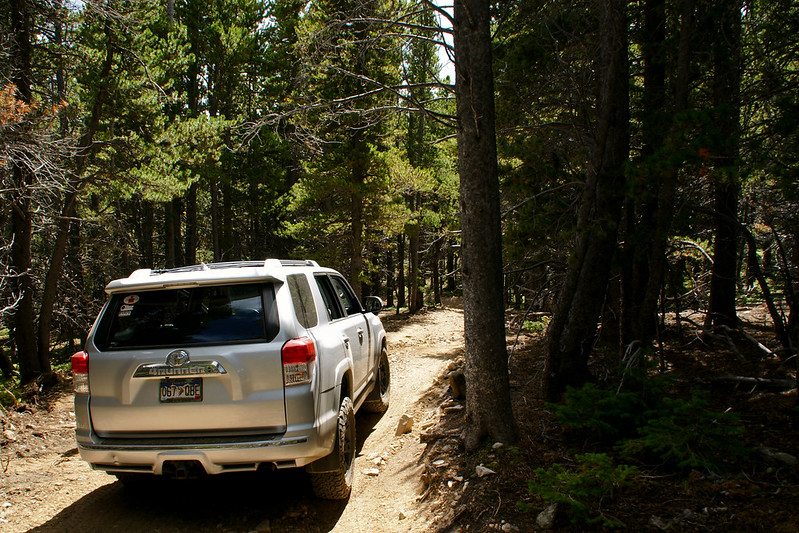
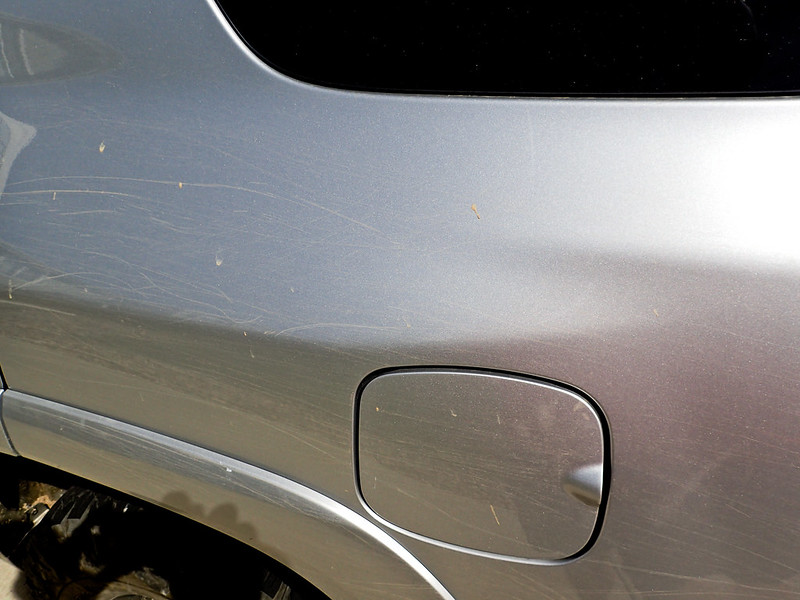
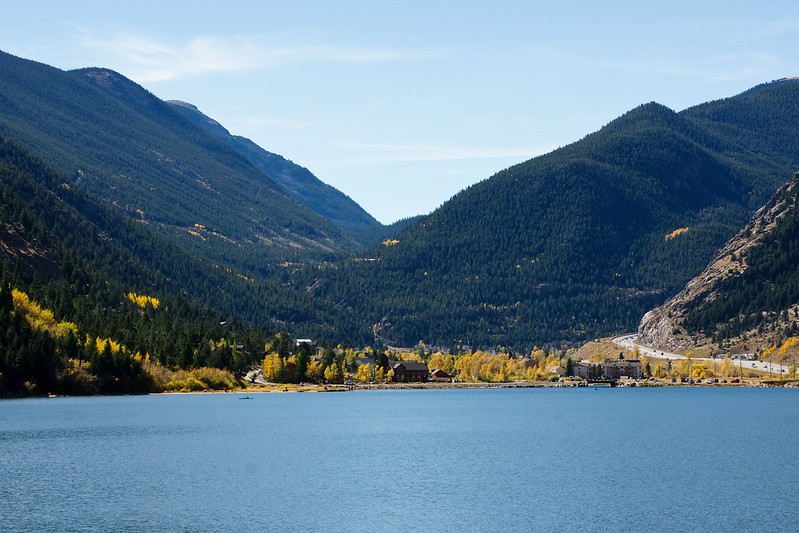
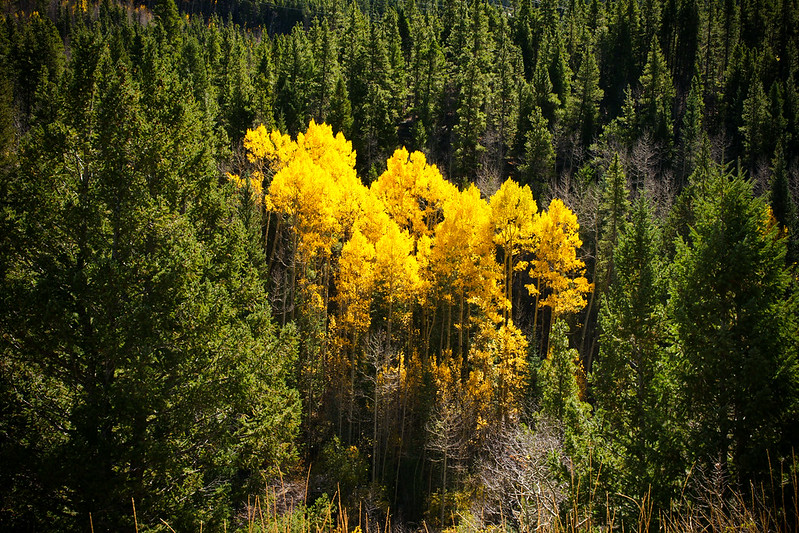
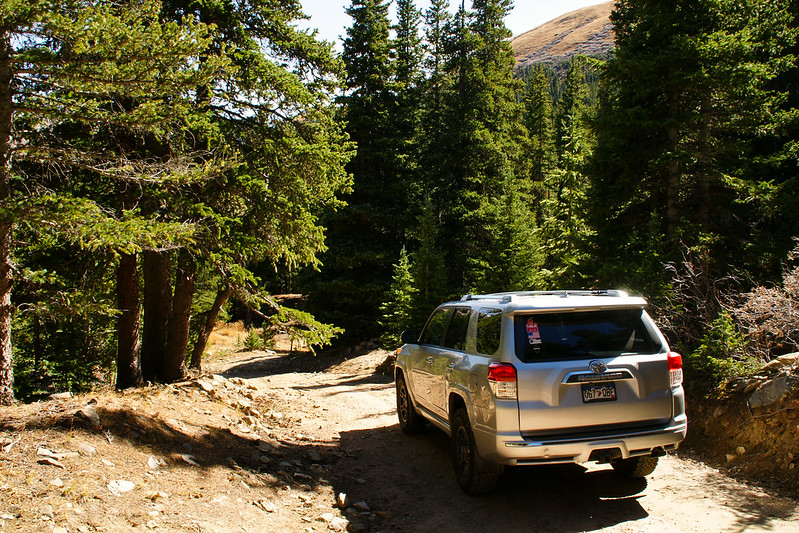
With fall coming I headed up to high country for a drive. The aspens had starting to change up there and the scenery is phenomenal. The trail was cool, it was narrow rugged off roading, I scratched the truck a little with some branches, banged up my skids a bit, banged up my mudflaps a lot, did a few small sections of rock crawling, a water crossing, even found a dead Ford. It was nice being out there where the cell phones don't work, I even got to see some old mining ruins.

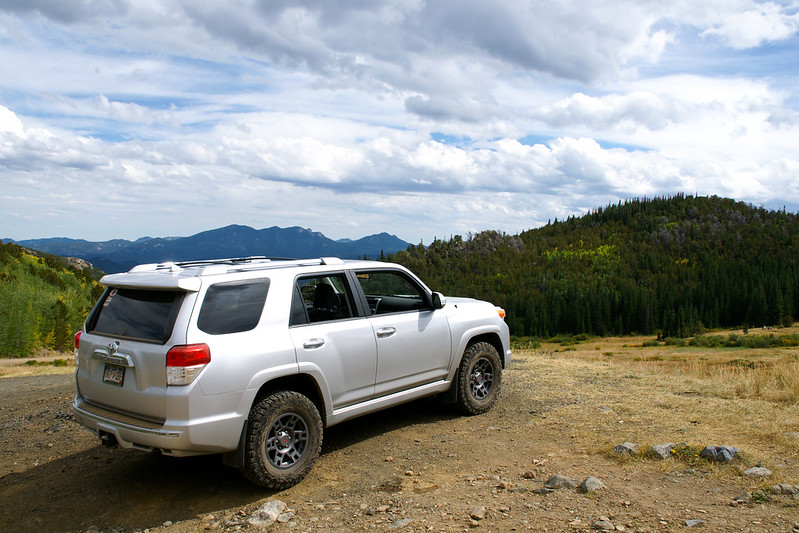
At one point I came across some hikers, they said with the truck sitting on top of a mountain with nothing man made in view in any direction, their first thought was that they came across a 4Runner commercial lol

20600331524_376dede9f7_c.jpg


20600294334_58872f2a58_c.jpg


21222942425_3210422991_c.jpg


21036063329_9dee1191b3_c.jpg


21212447472_5ca5608bc4_c.jpg


21034711810_5d10b31e33_c.jpg


21034659690_a324301ab9_c.jpg


21230658131_e2221c942c_c.jpg


21222606085_745bffcb1c_c.jpg


21222561465_ecfa95fc47_c.jpg


21035686349_f4e6b30830_c.jpg


20599782224_b5dcd4ac0b_c.jpg


21230275381_ae2c745af3_c.jpg


21034110380_c72e808a35_c.jpg


21035347509_e81ca92df9_c.jpg
 
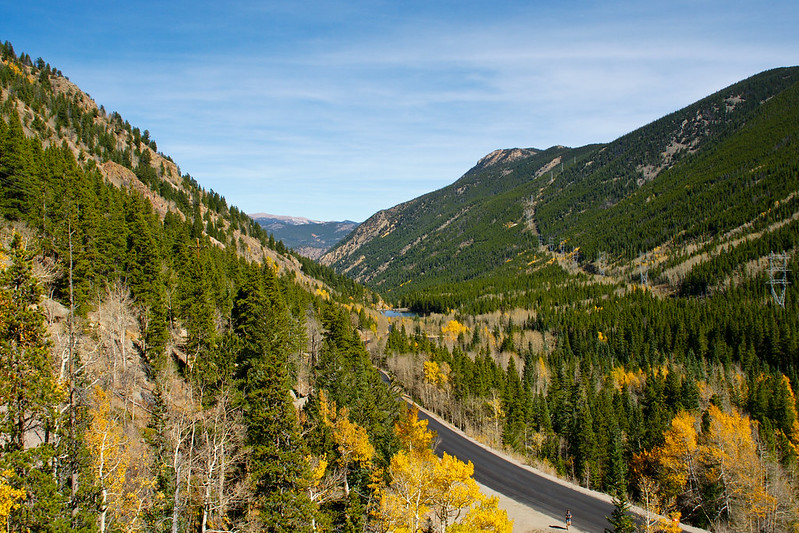
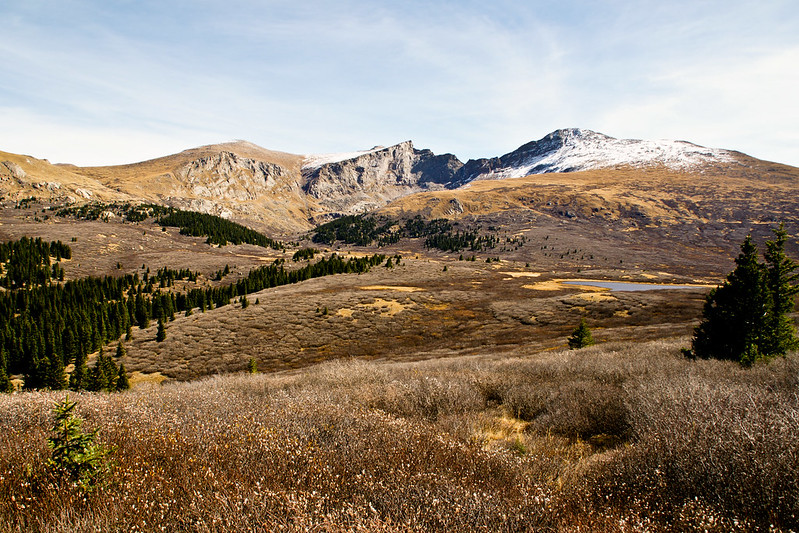
Exploring mountain passes. I70 to Georgetown, Guanella Pass to Kenosha Pass to Boreas Pass to Breckenridge, Swan Mountain to Keystone, drove up the back side of North Peak at Keystone ski resort, then the Loveland Pass back to I70 and home.


21477805983_50c3990e33_c.jpg


22072741496_fd16e1a16c_c.jpg


22098890215_37accdae56_c.jpg


22098857455_34e672cbbb_c.jpg


22072631316_9be3230370_c.jpg


22086266382_e41d7a2a3c_c.jpg


21477607353_c62422e5f9_c.jpg


21910521390_d66d822e2f_c.jpg


22098646635_fe54876ed6_c.jpg


22108635711_1cbce646b8_c.jpg


21475684394_8529661771_c.jpg


22072312166_024d303be0_c.jpg


On a ski slope at Keystone
21475599074_0a86f31f05_c.jpg


21910202200_eee49b1c55_c.jpg


21910185530_4bb99d1086_c.jpg


21910149150_bf7a4cd668_c.jpg


21477127513_c32e2e90aa_c.jpg


22108273141_3280ddbb58_c.jpg


21911287019_77daa6e940_c.jpg
 
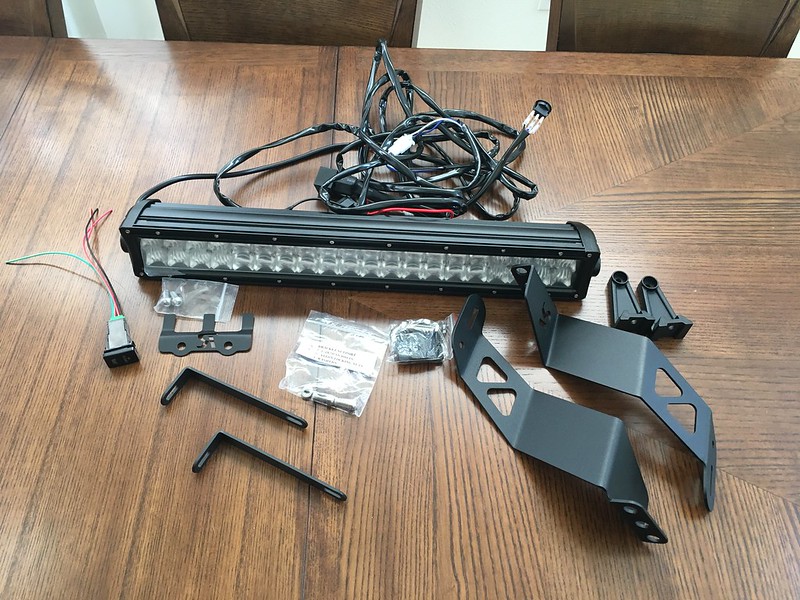
I placed the following order from Rago Fabrication:
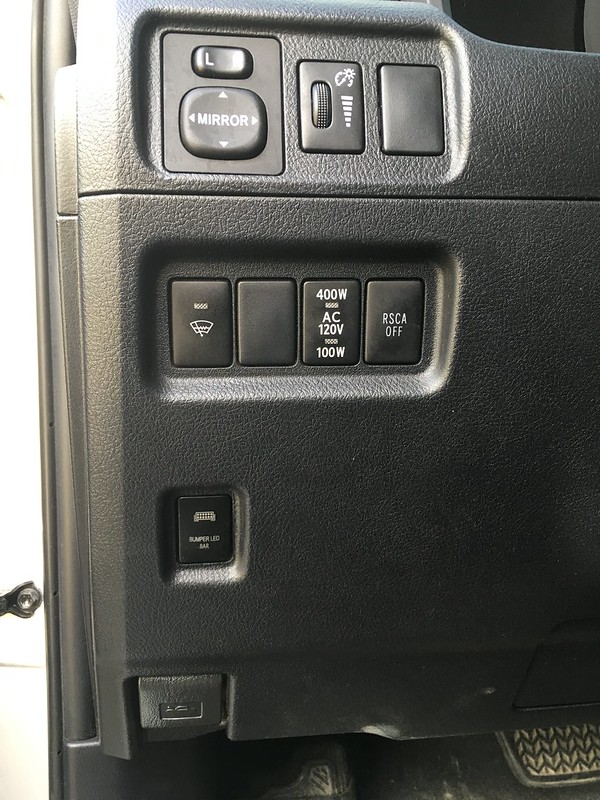
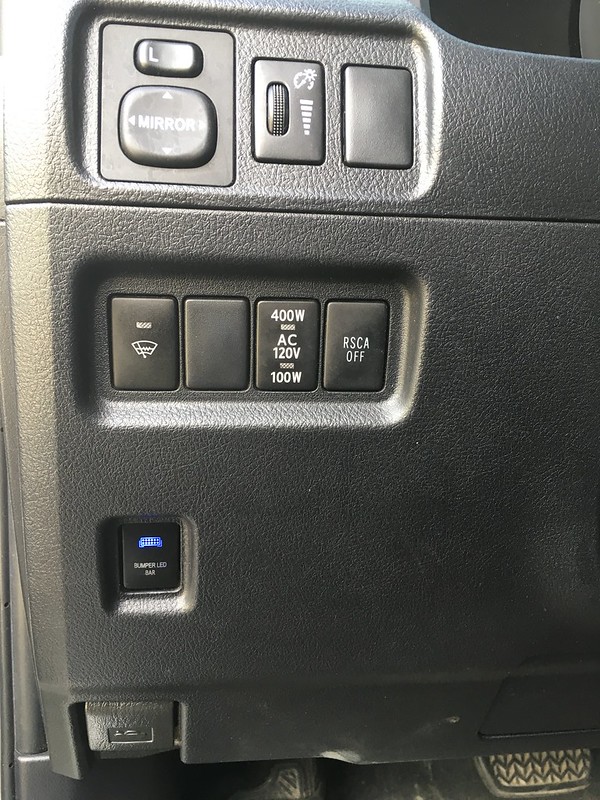
-Toyota Factory Square Switch with Bumper LED Bar emblem and text.
-2010-2013 5th Gen Toyota 4Runner Hidden Bumper Brackets.
-22" 5D Freedom LED Bar.
-Wiring harness.
-Relay Holder

I'd thought I'd share my thoughts and feedback on everything and show my process for a nice clean installation.

The buying process was quick and easy and they were very fast to confirm the order, ship it, and send tracking information. They were great to deal with. It arrived while I was out of town for work, I got home and only had a day until we had visitors arrive for the week. So all this stuff sat there staring me in the face while refusing to install itself for a quite a while until I finally made time and started on the install.

Summary: With all the hype surrounding Rago lately I had high expectations. I was really hoping for top quality at great prices but in reality, it’s a bit more on the side of you get what you pay for. Overall, I think they provide an acceptable product that is a reasonable value. The foundation is there but I feel they skimped out on some of the detail work. The bar and brackets are worth purchasing, it’s a pretty good buy when they offer a sale. The wiring harness is generic and made with a lot of cheap parts plus it requires a considerable amount of modification if you want anything that resembles a neat and clean installation. If you're electrically literate the harness is a waste of time and money, just make your own. If you don't have electrical experience this can be used as a bare minimum, sub-par, almost plug and play way to make the bar function. I’d give it some more credit if the connections were sealed from the elements since most of it lives in the engine bay. The relay holder is a complete and total waste of money as it doesn’t actually secure the relay. The integration between the bits and pieces that they sell together as a kit was a little lacking.

Everything unpacked and laid out.
37093019872_8298ba7240_c.jpg


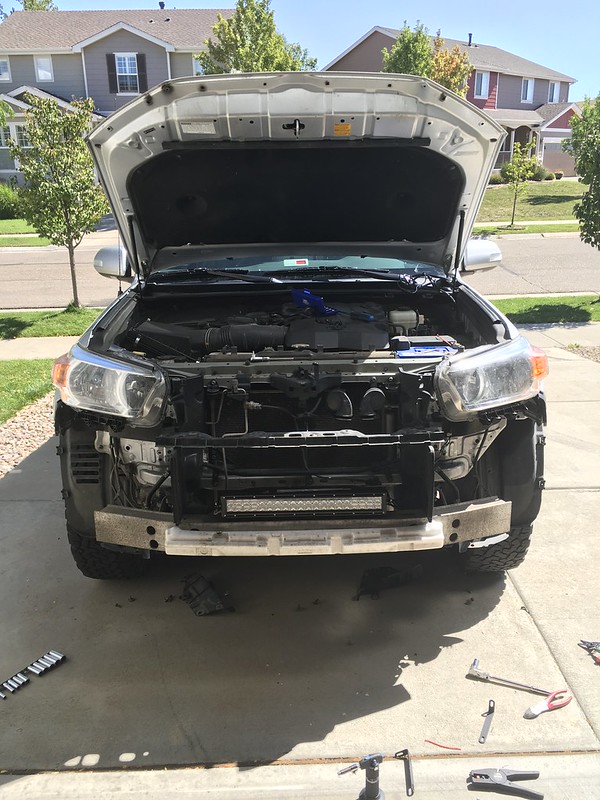
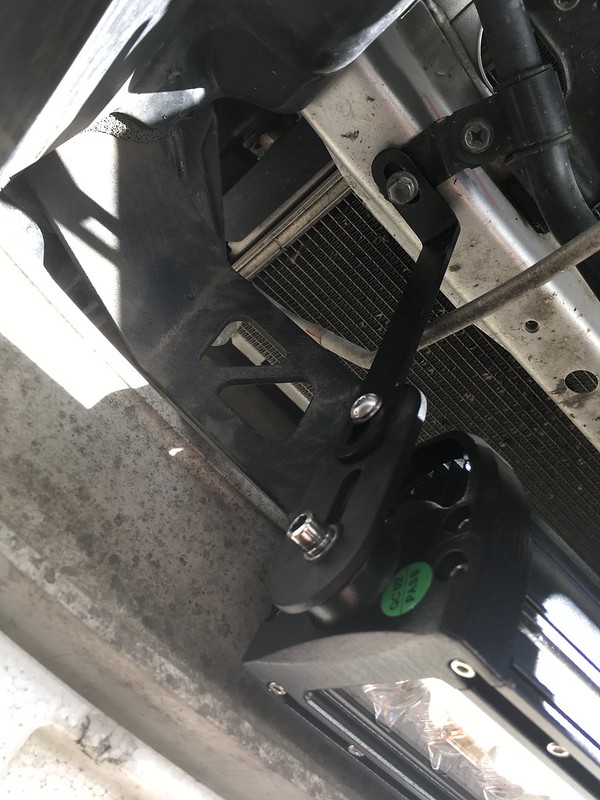
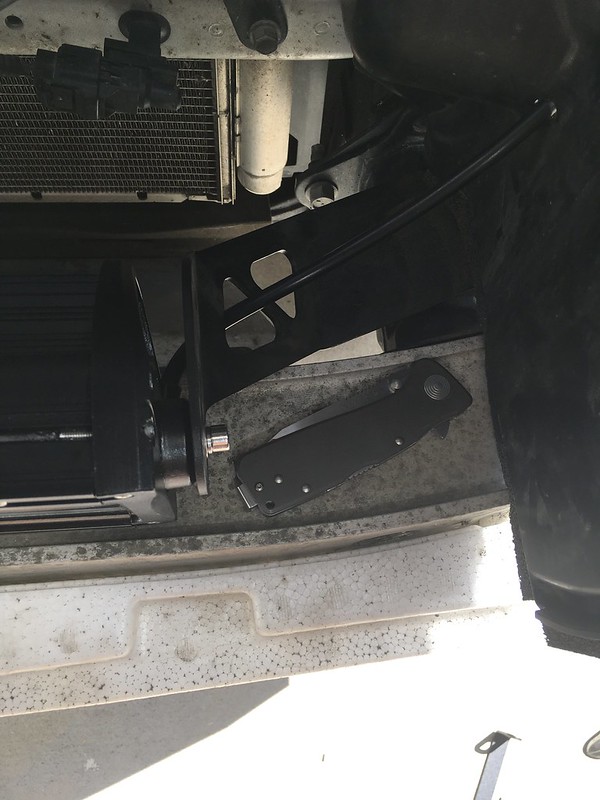
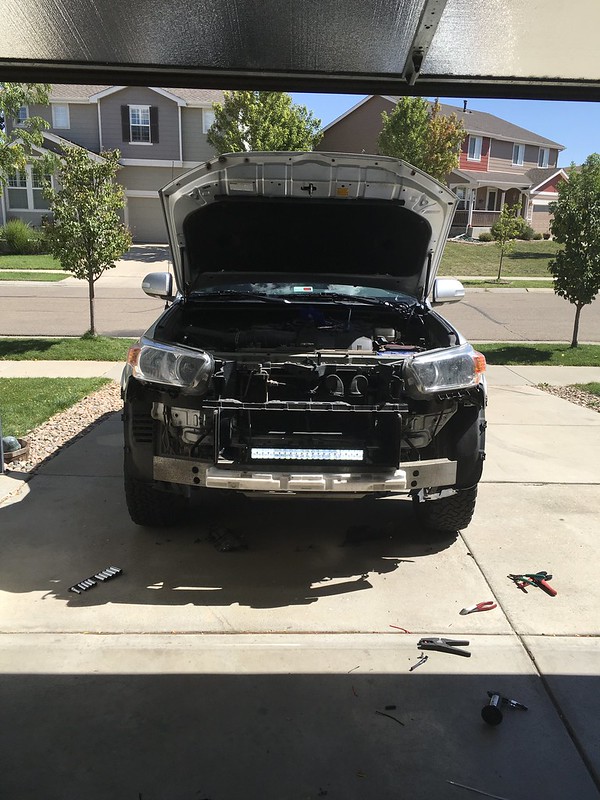
I'm not getting into a step by step on how the bumper so we're going to jump to the bracket and the bar installed. The bar itself feels pretty solid and well built for the price point and the light output was reasonable.
37122949091_2903f10203_c.jpg


The brackets were nicely made and the powder coating appeared to be high quality. There was a considerable amount of adjustment in every aspect of the fitment, which I personally am not a fan of, its vehicle specific, you shouldn't need to slide it all around to make them fit if it was designed correctly to begin with. This is the outer portion of the right side bracket installed.
37122947091_be7d4a0b31_c.jpg


Inner portion of the right side bracket installed. The additional brackets are a nice touch, without them if you give the bar a gentle tap (simulated off-road bump, pothole, whatever) the light would bounce and it took a couple seconds for the light to top vibrating and stabilize. With the second bracket its nice and solid.
37122944981_b190e0cb62_c.jpg


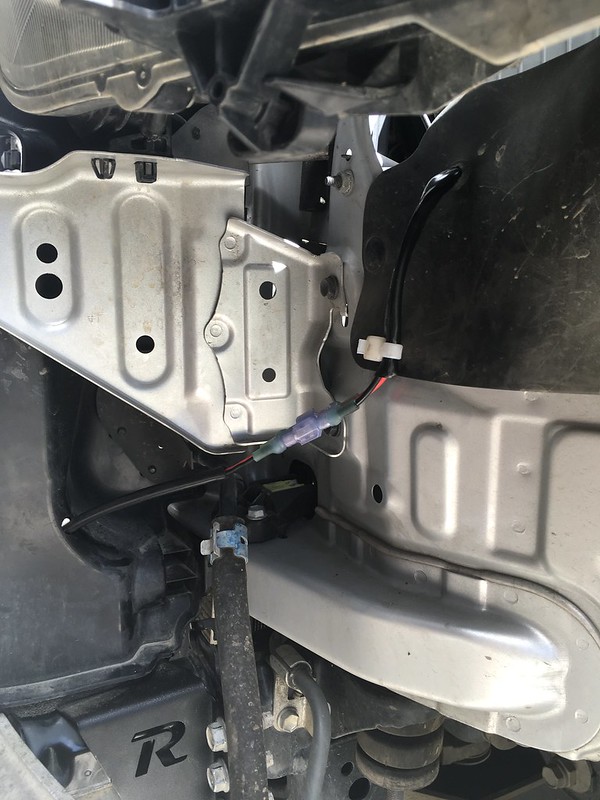
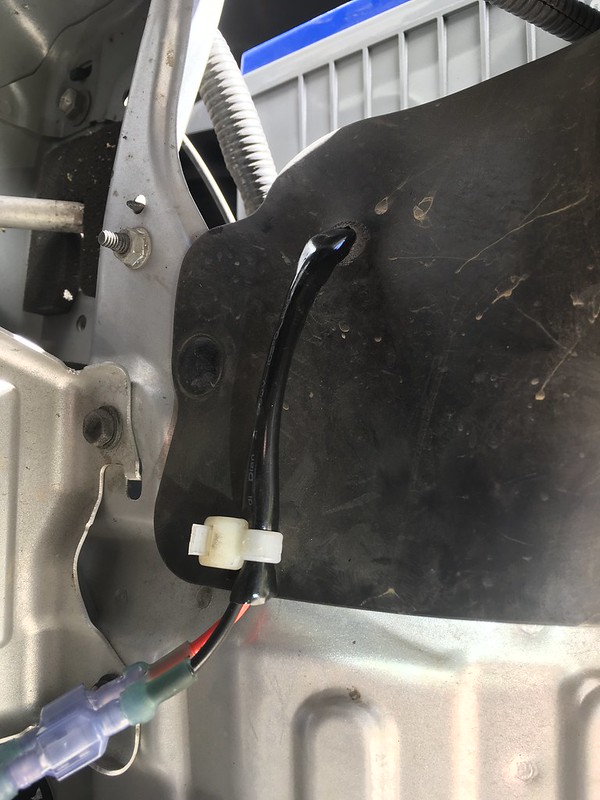
This is the left side bracket (stabilizing bracket not installed at the time) and the start of how I did the wiring. I drilled a small hole in the air deflector and ran the wiring through it to keep it away from metal objects.
36427709514_aea2b69164_c.jpg


From there I fixed the wiring to the flap below the headlight, again to keep it away from metal and things that could chafe on the harness.
36427708244_0e7743006b_c.jpg


36427707034_8ce831e327_c.jpg


I wanted to be able to disassemble if need be so I didn't want to splice the LED bar harness straight to the wiring harness. I thought it was kind of cheap to have the light bar just come with stripped wire pigtails. Ordering the bar and the harness I fully expected a waterproof 2 pin connector to be able to just plug right in. I added waterproof connectors sealed to the wiring. I put a male and female on each side of the harness (as opposed to both the males on the bar and both the females on the harness for example) so even if you ignore the colors of the wiring it can't be hooked up backwards.
36427705814_6b6626e194_c.jpg


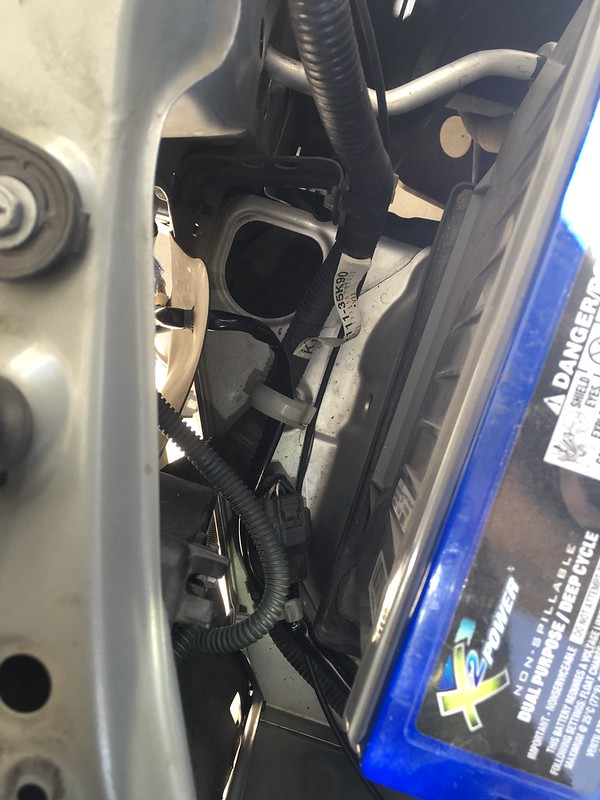
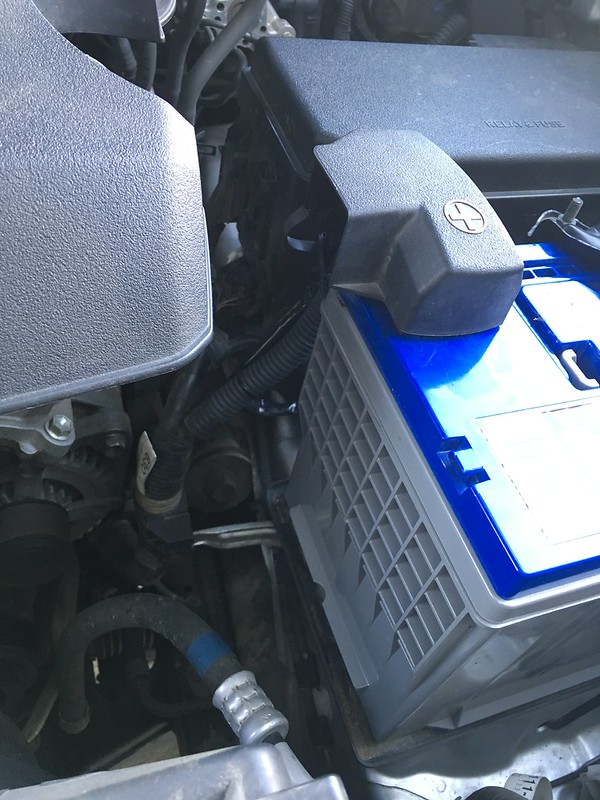
In the engine bay I used the harness brackets already there for factory wiring and routed it right alongside it.
37074996996_e936da9ebb_c.jpg


The battery is loose and shifted over to gain some extra room to slide a hand down there to route the harness.
37074996176_668b0e645f_c.jpg


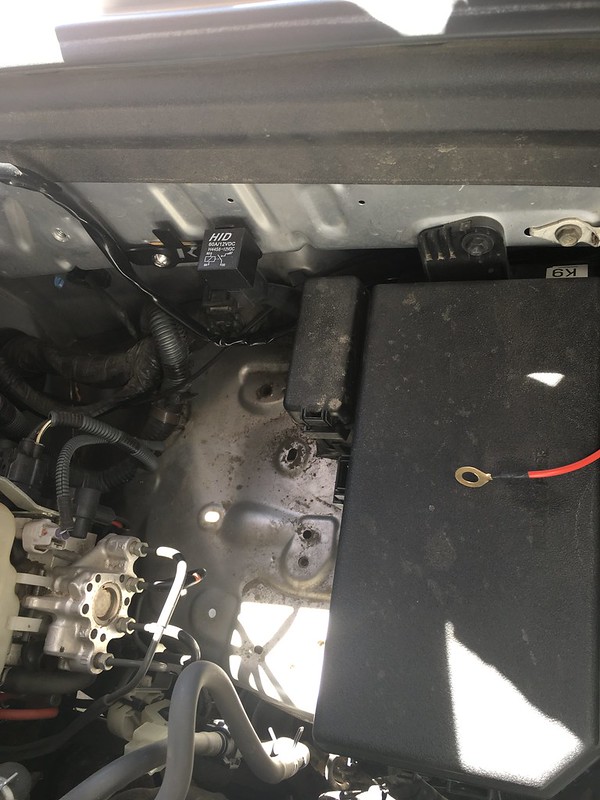
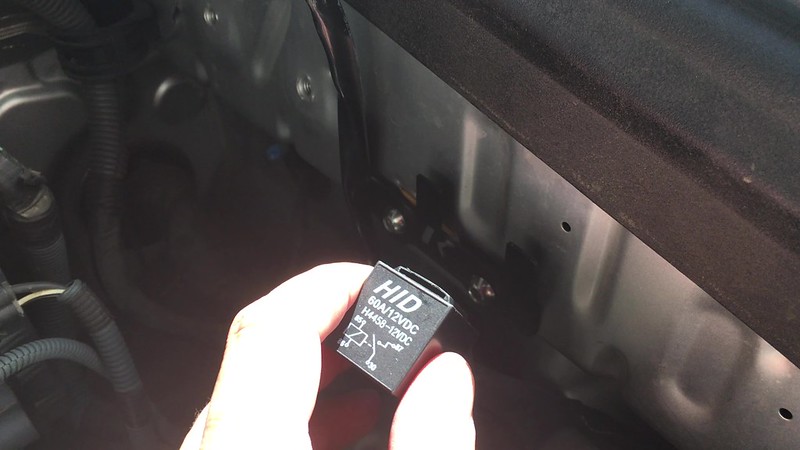
The harness runs back to the relay mounted to the Rago relay holder (more on that in a minute)
37074994686_f4c34b0660_c.jpg


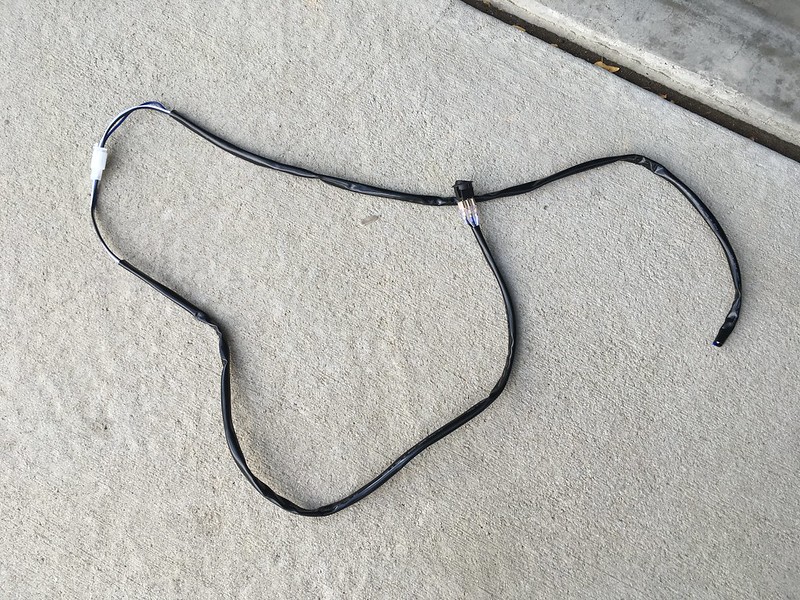
This is the extra length I cut out of the harness going to the light bar.
37265601465_5455af3a53_c.jpg


Now, for the relay holder. Junk! If you watch their install video https://www.youtube.com/watch?time_continue=5&v=smD1jX9eJpg you need to use a knife/pick/small object to release the relay from the mounting tab. The Rago relay holder has nothing to keep the relay in place. It slides on and off with no resistance. You’re buying an extra bracket to make it less secure. Not cool, that's quite the design oversite in my opinion. Plus, as you'll see in the next picture if you try to cleanly route the B+ wiring around the fuse box it will not reach the battery using their harness and their relay holder. Rago did offer to go against their return policy and let me send it back for a refund but at this point I already tossed out the tab that comes with the relay to actually mount it securely. I put a dab of black RTV on it before sliding the relay over it to keep it secured.
Rago-013vid

37074993086_248d7dceb4_c.jpg
 
I temporarily got it hooked up to verify function.
37265600175_2949e9d5dc_c.jpg


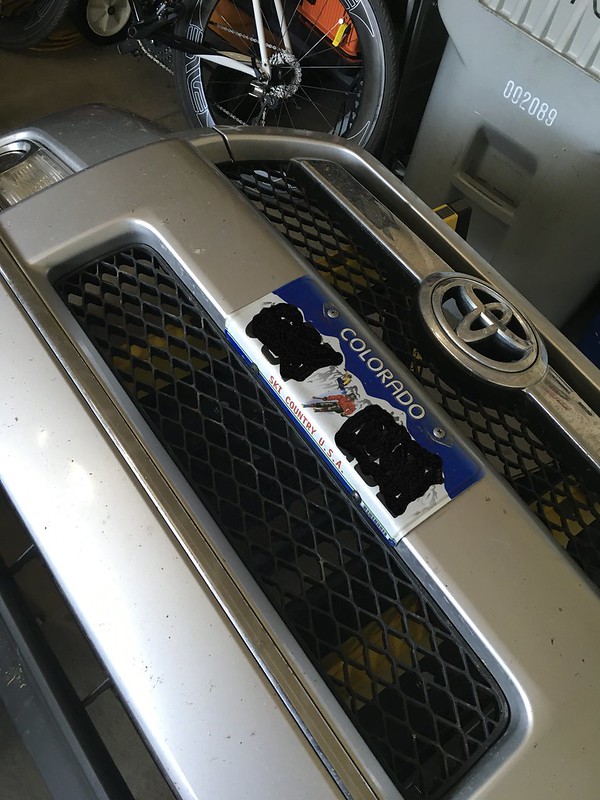
Next, I modified the front plate a bit, I shape the front plate to match the contour of the bumper so it's not hanging down and blocking light output.
37074953186_33f3b88011_c.jpg


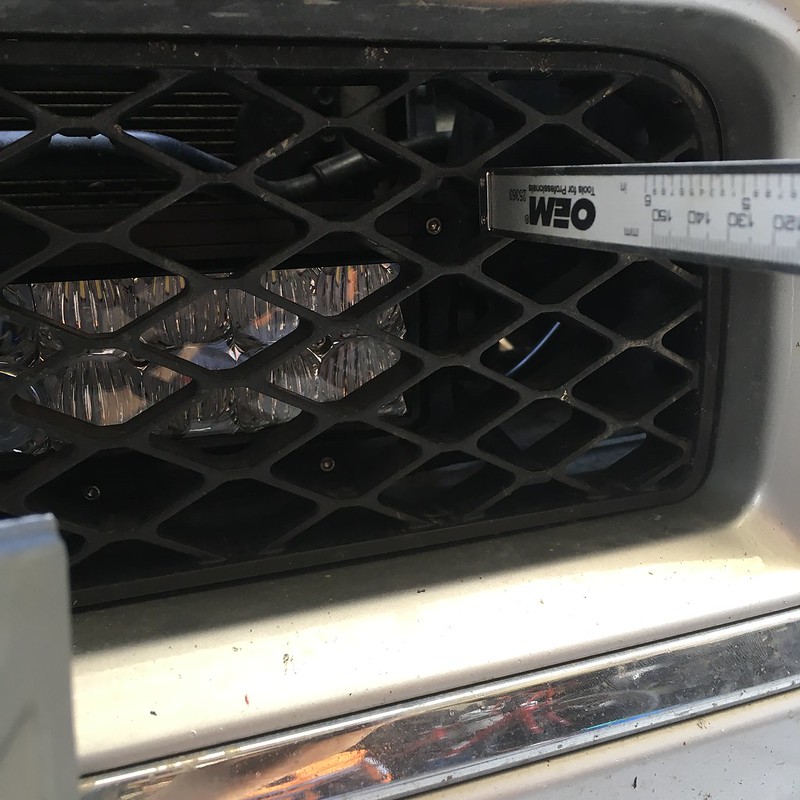
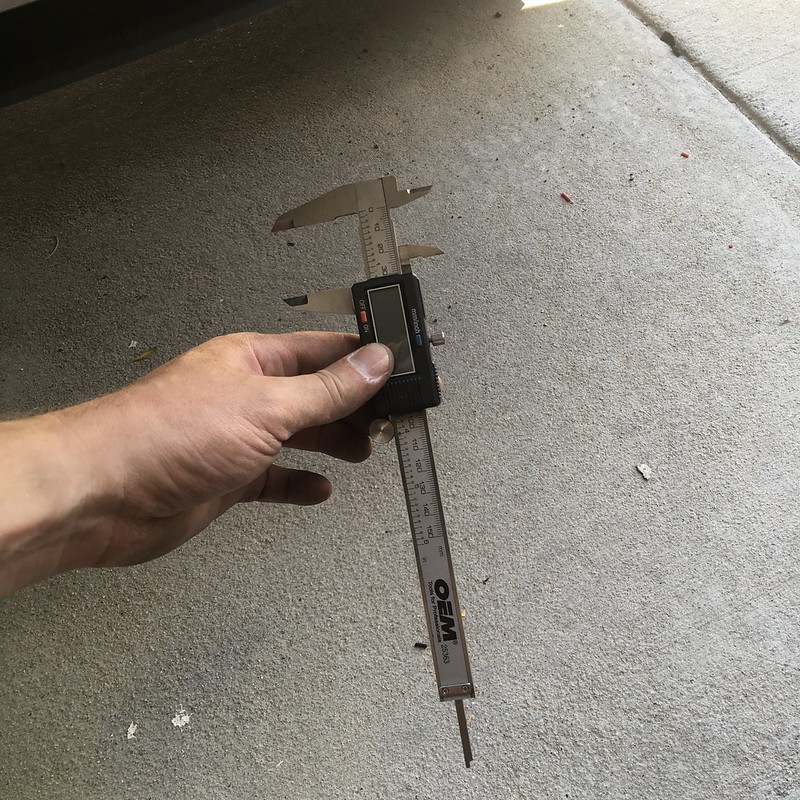
To get a good starting point with aiming the light I measured all 4 corners to the face of the lower grill and adjusted it all completely square and level.
37074990606_bd290c8a95_c.jpg


37074989806_43e7392c70_c.jpg


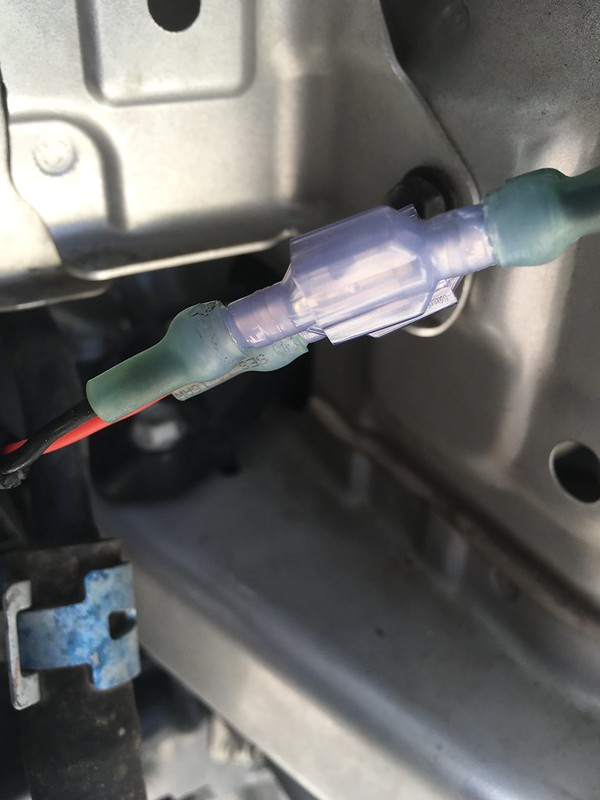
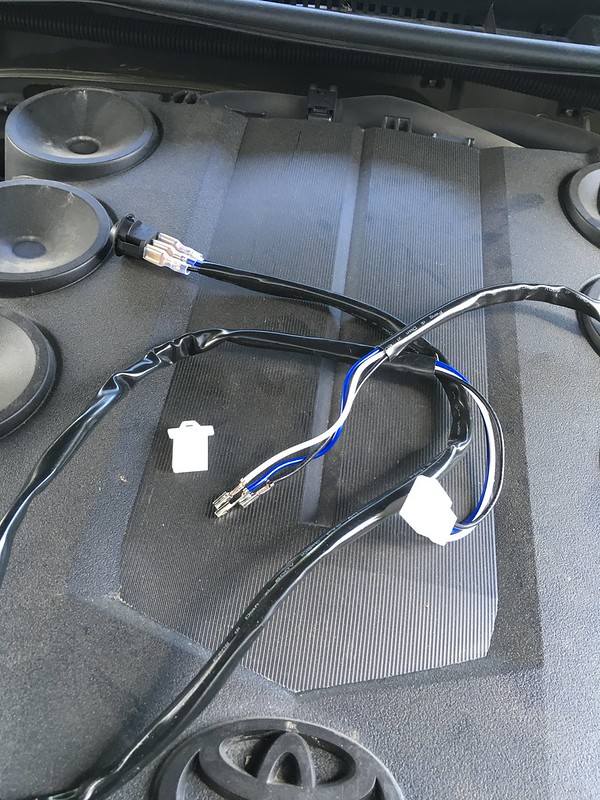
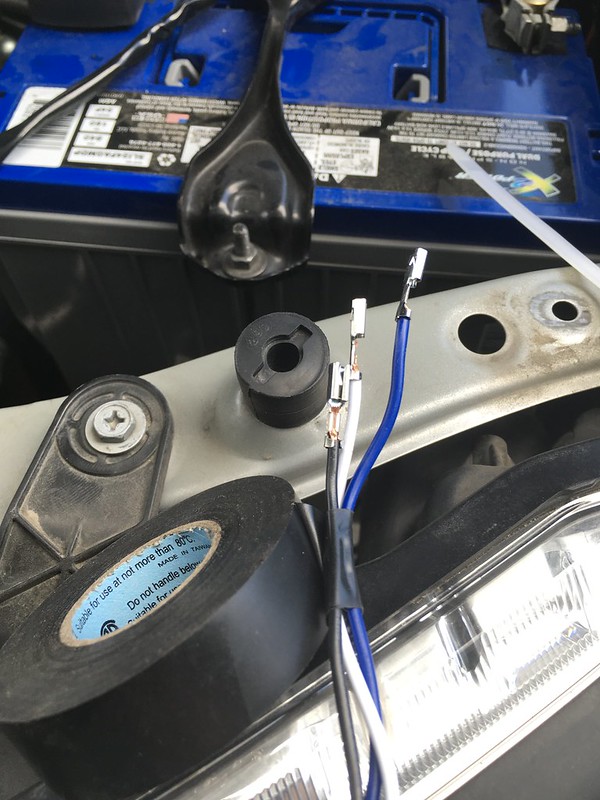
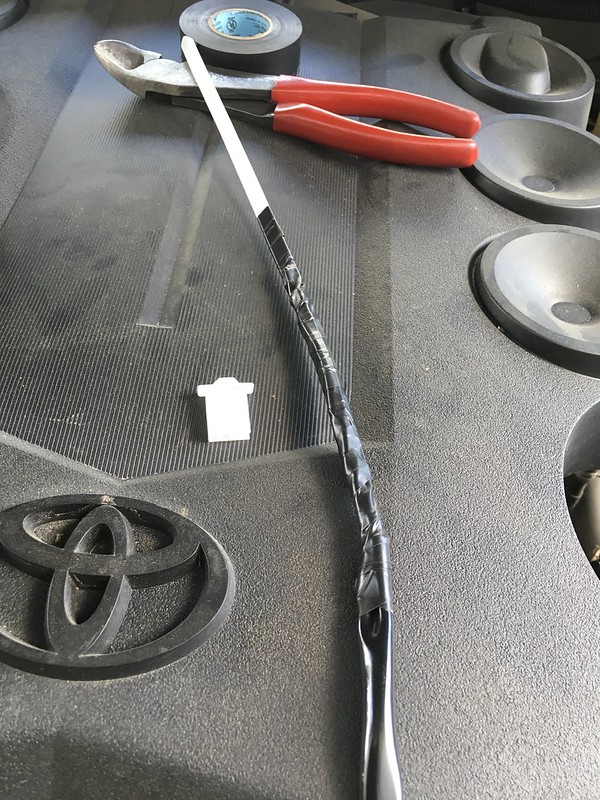
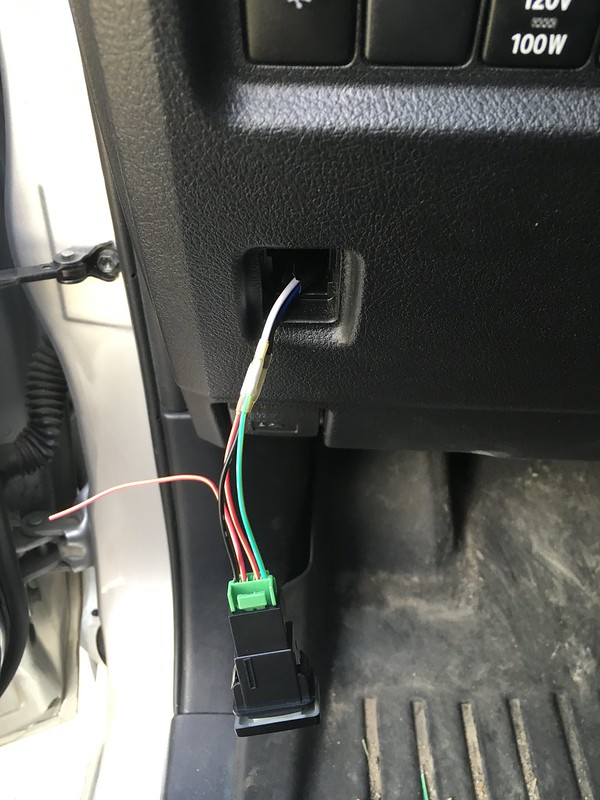
Next up was the switch side wiring of the harness. I wanted to make as small of a hole as possible in the firewall grommet so I used one of my terminal tools and removed the connector, this way I can tape the wires up to a zip tie and pull a relatively small mass through the grommet.
37265598105_bedf681e37_c.jpg


Stagger the wires a bit to keep the bulk down.
37074986326_266c67ca93_c.jpg


Size comparison of the harness connector to my way.
36450811543_2df7c9a226_c.jpg


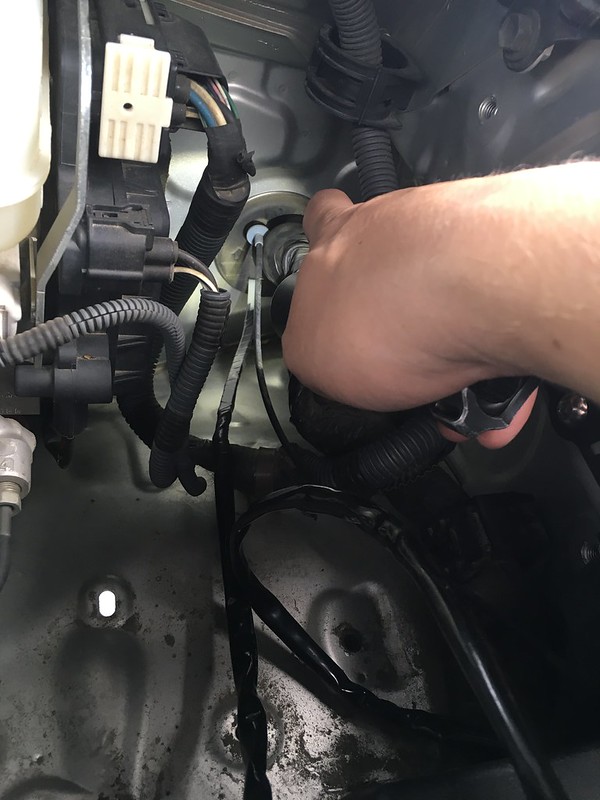
I poked the corner of razor blade into the harness boot and stretched the hole out with the harness to keep a nice tight seal.
37074984006_d5ac826412_c.jpg


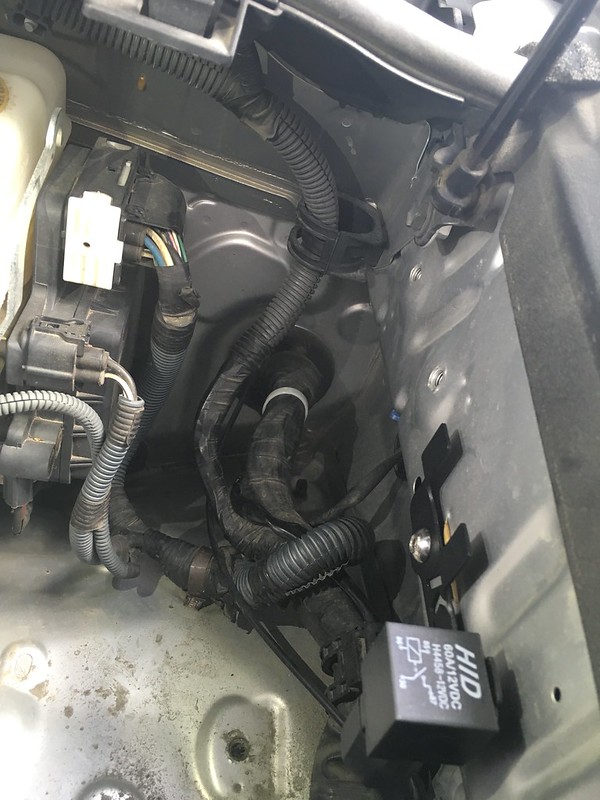
I ran this harness along the factory harness again to keep it clean looking.
36450808083_4584f5f13a_c.jpg


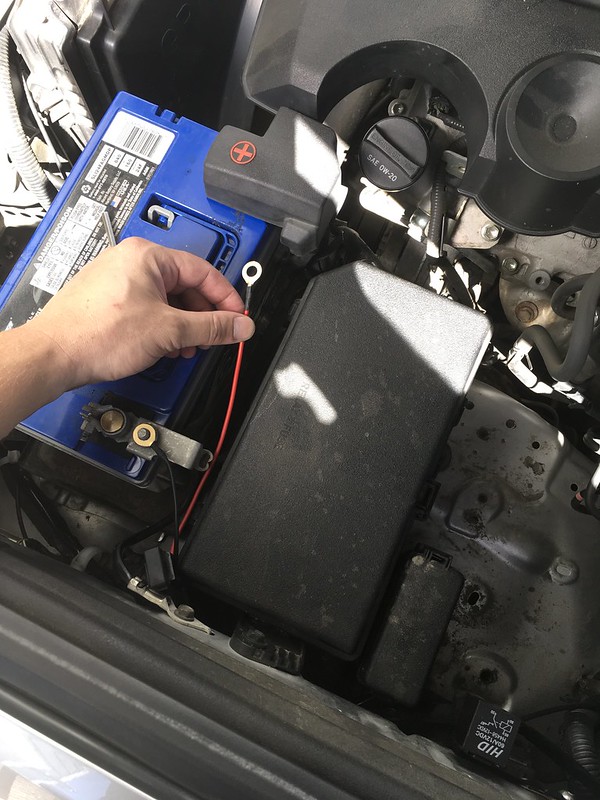
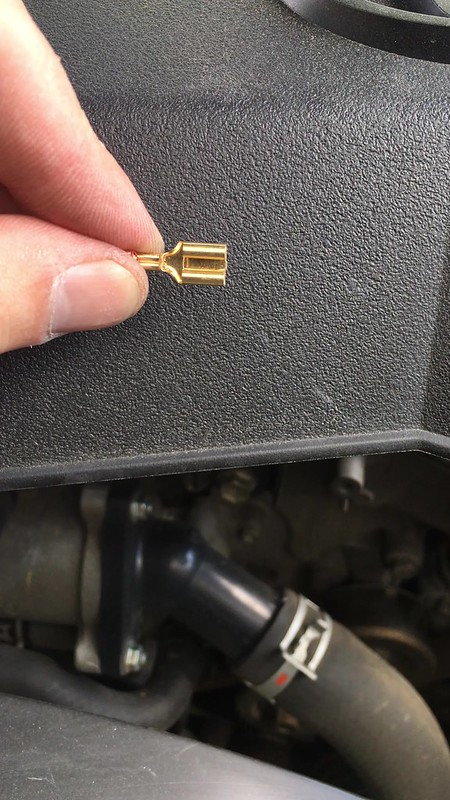
with that stuff in the cabin I put the terminals back into the connector so nothing would touch and went back under the hood. I wanted to get the under hood stuff finished because I was running low on time. So working on the power and ground setup the power wire was absolutely going to have to be extended for a clean install if you're running their harness and relay holder together so I started messing around with that. First thing I noticed is how bad the fuse holder it. I pulled the terminal because I needed to extend the wiring and I’d rather have room to work. This is how bad the fitment to the actual blade of the fuse is. I'm going to cut this thing out and use a proper one that has better contact and is actually sealed up for use in exterior applications. But for now, it went in as is.
Rago-024vid

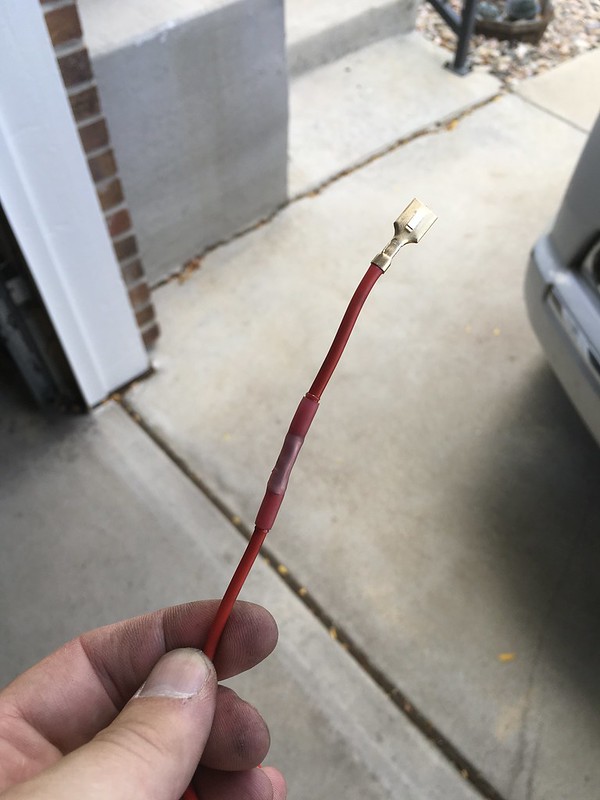
I extended the wiring using the excess that I cut out earlier and sealed it up.
37074982366_eb5ba848c4_c.jpg


The fuse holder is just kind of sitting there since again, I'm going to cut it out and use something more appropriate to the application and it doesn't really have a way to be mounted besides double sided tape.
36450806133_55d6e0937b_c.jpg


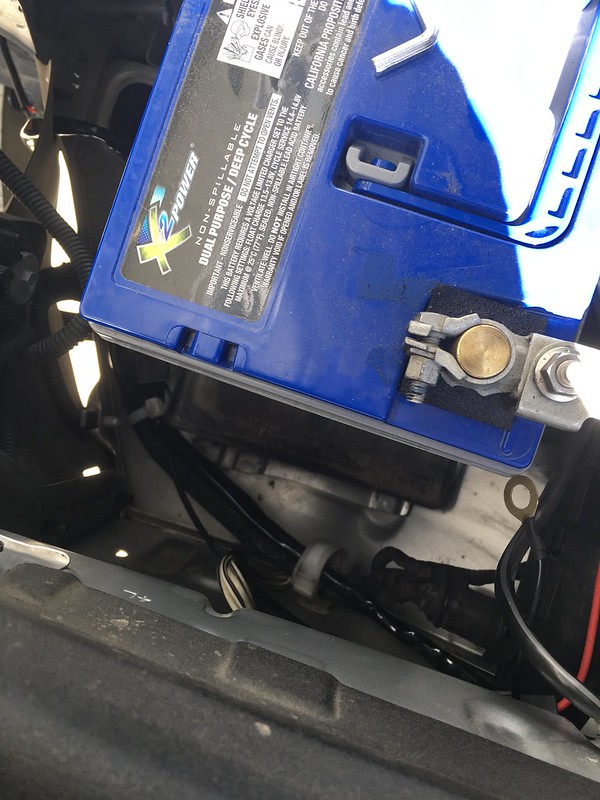
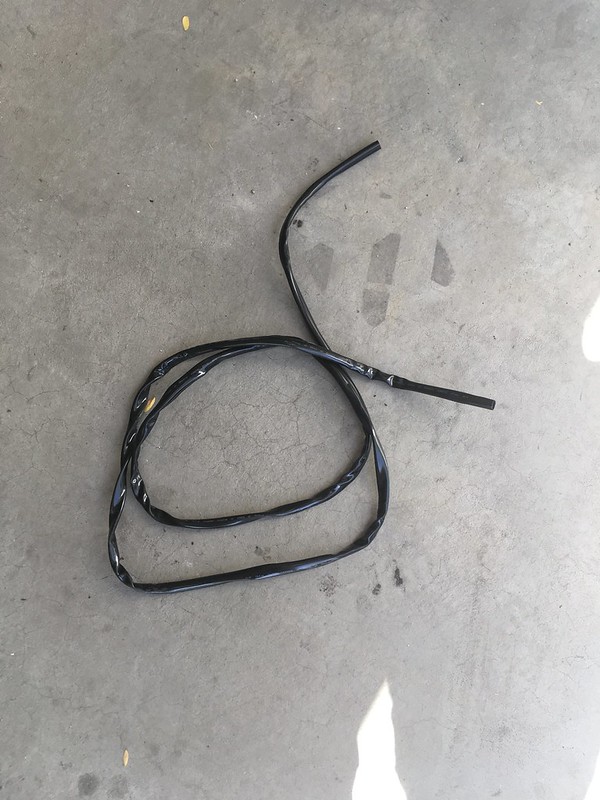
I reused the shielding that I cut off the harness earlier for a little extra protection on the power wire and to help hide it and make it blend in. The power wire is zip tied to route along the negative cable heading towards the engine.
37074980736_41b013bbd8_c.jpg


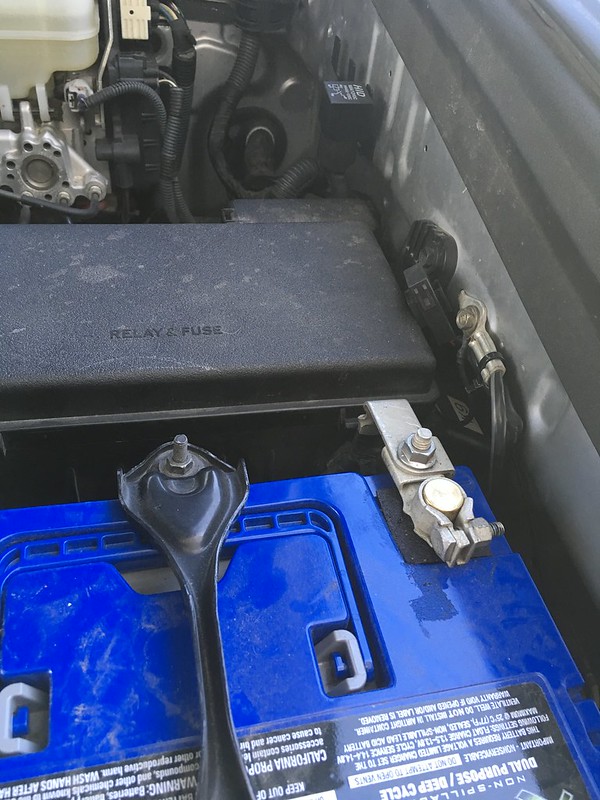
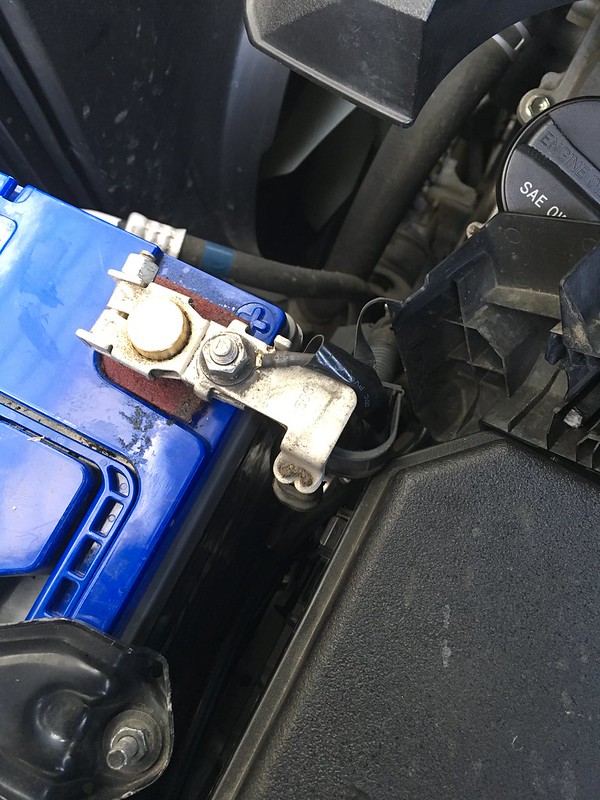
I pulled the wiring right up along the positive cable and bolted it to the terminal.
36867364840_a704044784_c.jpg


36450803833_2833a36c9b_c.jpg
 
On the interior side of the harness (after removing power those wires). I ended up cutting off a large portion of the harness.
36867363200_4246c6d693_c.jpg


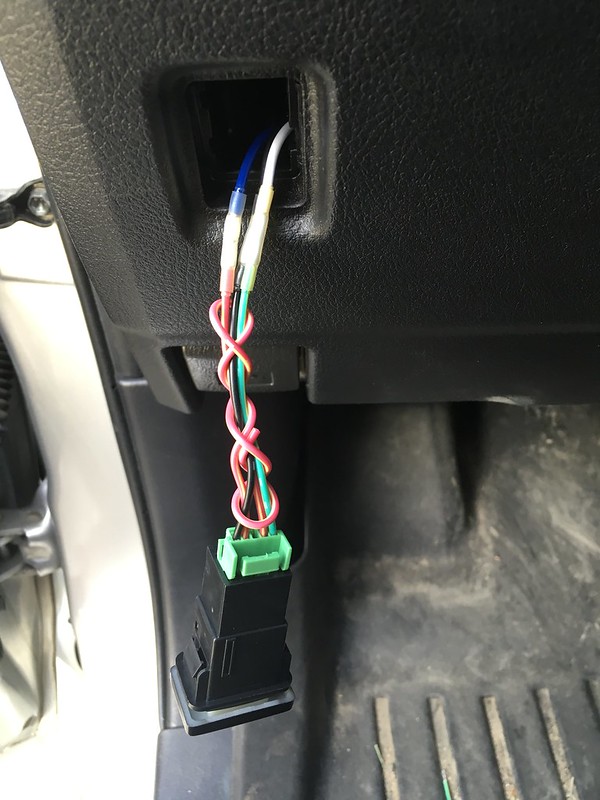
I shortened, connected, and sealed 3 of the 4 wires.
36450801163_e54c3780ae_c.jpg


The 4th wire is the illumination wire, I was about out of time so I'll save that for another day. I wrapped it around the harness and tapped it up.
36867360060_a74b331be7_c.jpg


All hooked up ready to go.
36450799843_c0217347b6_c.jpg


The light bar logo still goes on and off with the light itself. Considering the interior backlighting is an orangish color I'm not a big fan of the blue.
36450733763_321a46416c_c.jpg
 
Baja Designs Sqaurdron Pro fog light pocket kit. BD is widely thought of as the top dog in the LED game, I may have made a mistake going with the Pro lights. Each pod is 4 LEDs and fits into the factory foglight housing location, and the output is absolutely insane. They are so crazy they aren't usable on the street. They are significantly brighter than high beams.

28289866157_ffaff97409_c.jpg


43159457971_798dfac843_c.jpg


Not my video, but a good video showing the ridiculous output of the Pros
https://www.youtube.com/watch?v=LgWlS8jm6iY&feature=youtu.be
 
Suspension

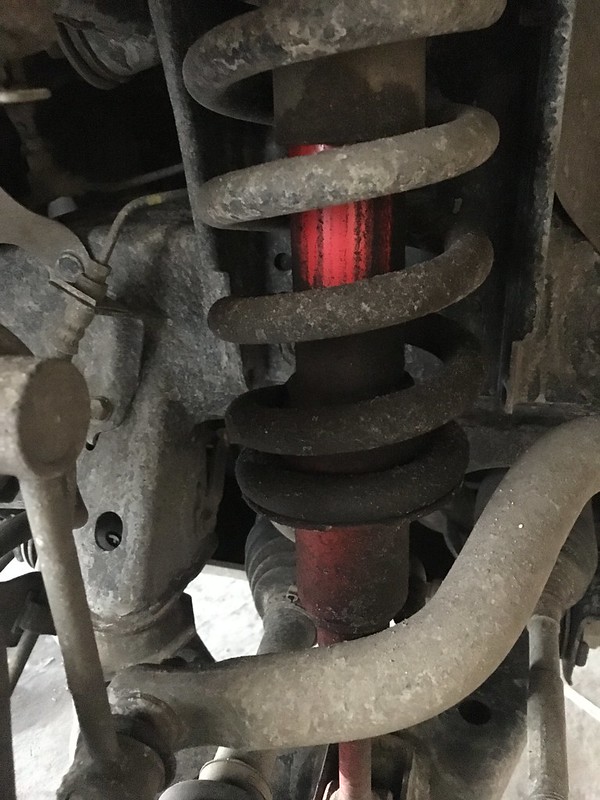
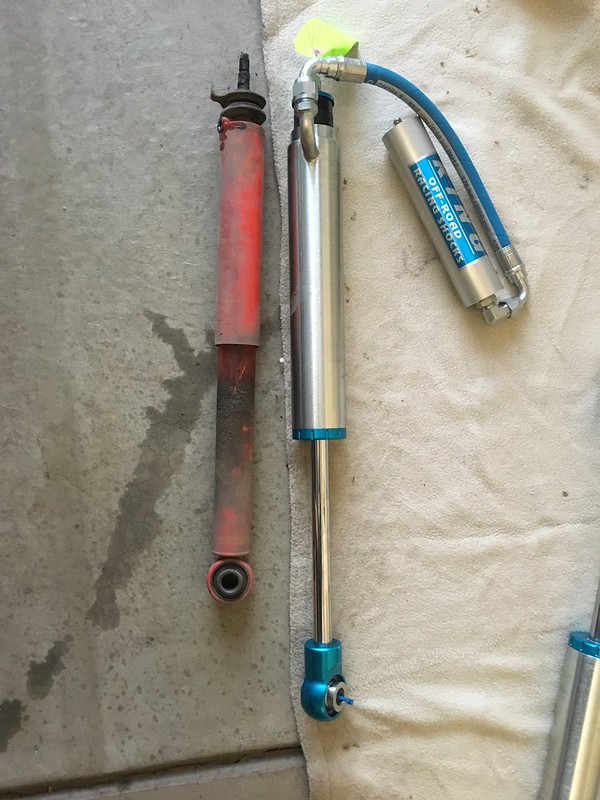
I like the XREAS suspension, the dampeners were linked at opposite corners. LF to RR ad RF to LR. When one dampener is compressed it linked wheel gets pushed downward to try to equalize and level the vehicle. On road it was fantastic, it stayed sports car flat around corners on on/off ramps. Off road it was a bit rough and it fought articulation a bit but overall, I was a fan. I kept the factory stuff until I killed it. Too much time on unpaved washboard rutted up roads at speed did it in. The suspension got hot, really hot, the dampeners faded bad and it started to smell. From that point on the shocks leaked.

This was the day after
42441927604_22034ec676_c.jpg


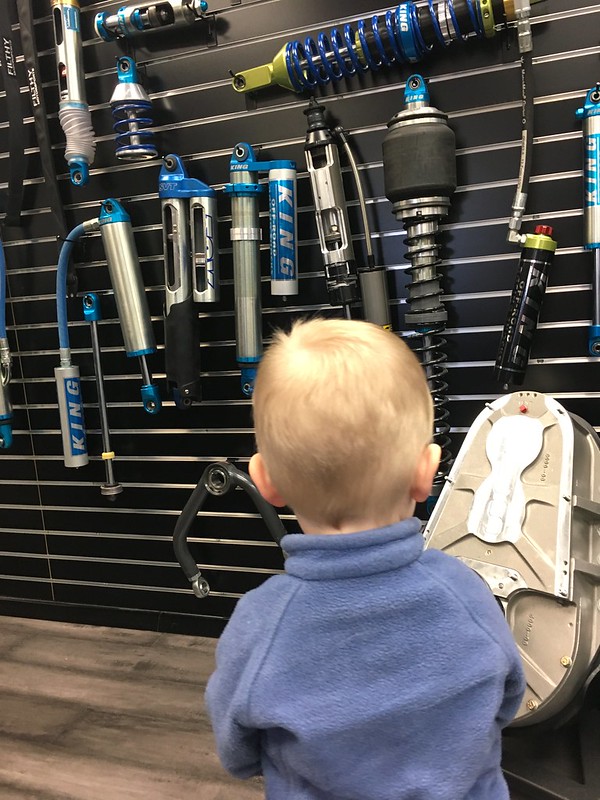
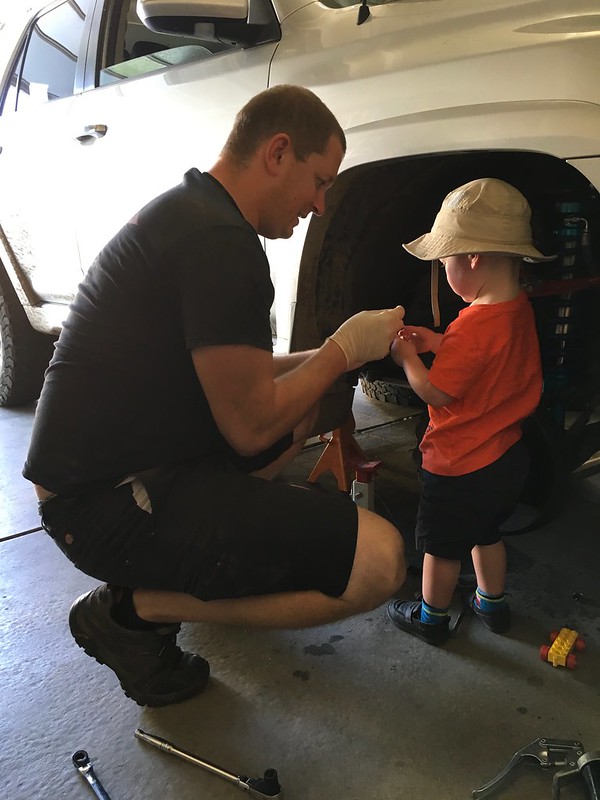
So little man and I stopped by Filthy Motorsports in Boulder to do some shopping. They are widely regarded at the go to place for all things King, they are King’s highest volume dealer.
42441927564_c82eec3638_c.jpg


We started the process of getting an order placed. They start with the base “OEM kit” and then factor in vehicle weight, intended use, tire size, ride height, spring rates, control arms, future plans to add weight like steel bumpers and a winch, etc, etc, etc. It was an awesome experience, very detailed, very thorough, or so it seemed…

- 3/8/18 I placed an order through Filthy Motorsports with a “4-6 week lead time”.
- 4/13/18 (4.5 weeks in) I’m told “another 3-4 weeks”.
- 5/9/18 (9 weeks in) I’m told “another 2 weeks”.
- 5/24/18 (11 weeks in) I’m told “a little while longer”.
- 6/5/18 (13 weeks in) I’m told “They’ve finished your order and are preparing to ship it”.
- 6/12/18 (14 weeks in) The suspension shows up at Filthy Motorsports, I tell them I’m out of town but I fly back on Friday 6/22/18 so I’ll come the following Monday morning to pick up the parts.
- 6/13/18 Filthy says “Ok, that should be fine. Please send us another email a few days before with the approximate time that you think you’ll show up. Ben should be inspecting your shocks today and if we discover any issues we will let you know. If you don’t get any more emails from us that will mean everything looked good.”
- 6/22/18 (15+ weeks in) I didn’t hear anything back so I sent a message that I’d come Monday morning around 8:30. They respond back saying the rear shocks are wrong, they aren’t the custom length rears. They said the box and the shocks are tagged as standard off the shelf rears and they are contacting King about it. Later that day Filthy said they talked to King and did some measurements and that they are in fact the correct parts just mislabeled.
- 6/25/18 I finally get my parts and head home to start the install.

41349370890_a683bd2386_c.jpg


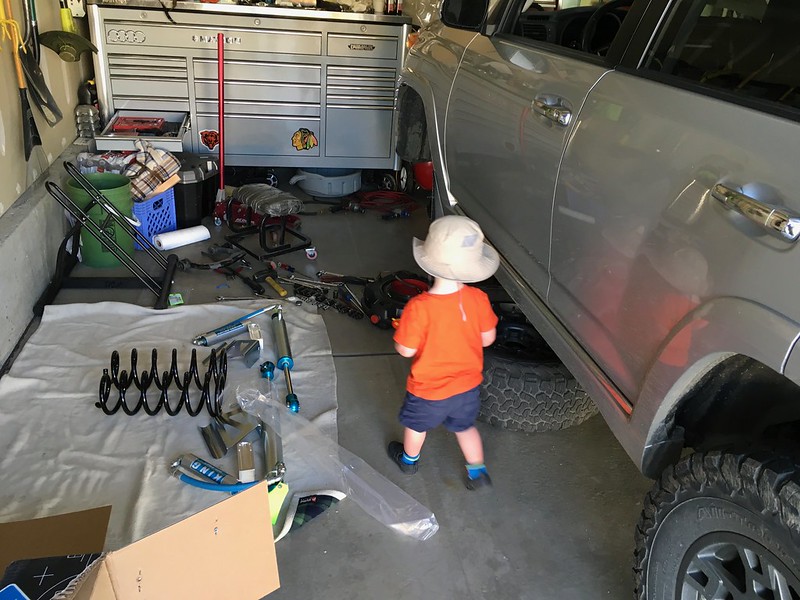
After spending a whole bunch of money and waiting 15+ weeks I was happy to have my parts but I can’t say I was happy with how it all went and the issues were just beginning. Both small washers for the slotted holes in front sway bar spacer/reservoir brackets were missing, the front hose clamps to mount the reservoirs were too short, and the rears didn’t come with any clamps at all to mount the reservoirs. I went to the hardware store and got what I needed and continued the install.

43110136772_8376b6bce0_c.jpg


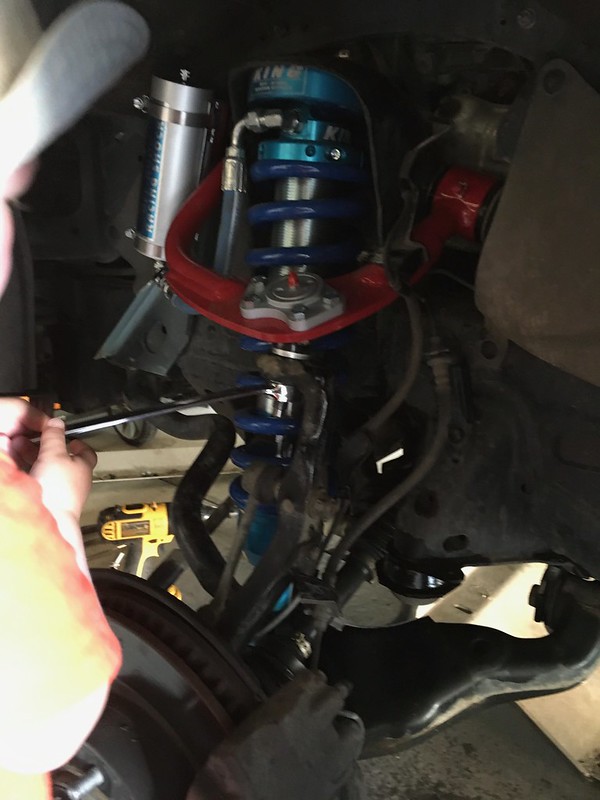
If you notice in the above pics there is no preload on the coil overs. Filthy was very specific that they were already set up for a 2.5” lift in front and not to adjust anything, just throw them in and it’s good to go and in a month or so after everything settles you can tweak it if need be. So that’s what I did and it only gaining a little over an inch measured from the center of the hub to the fender edge. I asked Filthy what the deal was, their response was that my vehicle must be spec’d with extra weight than normal and that my before measurements seemed lower than normal to begin with. Knowing full well that was 100% made up BS I called King directly. King said the coil overs will never come set up for a 2.5” lift, they said they come with the spring perches at their lowest height which should be roughly 1.5” higher than stock. They said if you want 2.5” to go with 5 turns on 1 side and 7 on the other as a good starting point while accounting for the typical Toyota lean. That not even close what Filthy said. Remote reservoir Kings need to be removed in order to adjust height, so the suspension came right back out. King also informed me they always advise customers to except about 3 months for custom orders compared to the 4-5 weeks Filthy quoted. Really disapaointing.

Anyway, suspension went on.

41349370650_ec7d97673f_c.jpg


42441638274_e7d40ed596_c.jpg


29288642178_5cc9664f91_c.jpg


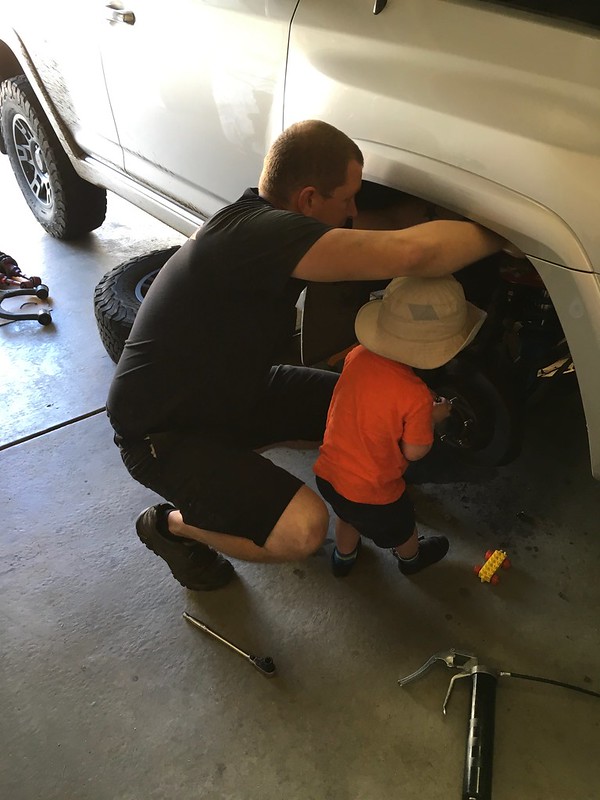
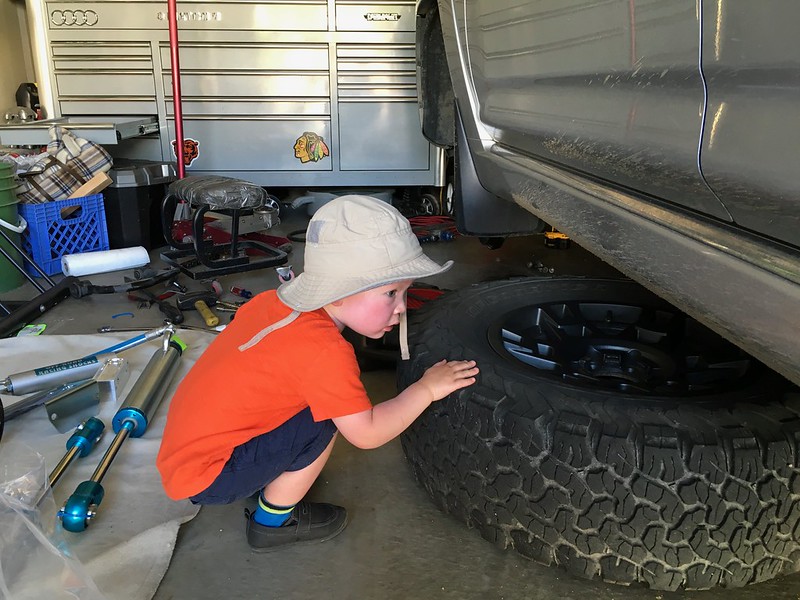
Little man was all about helping me out.
42441638764_0d6873bfde_c.jpg


43159957861_5525b28454_c.jpg


41349368700_7b39854628_c.jpg


Test fitting the bump stop spacers since they aren’t labeled left or right (this was wrong, the bump stops were too far forward.).
28290391877_cf273b00e0_c.jpg


28290392117_9408ed9ef7_c.jpg
 
Rock sliders

There are a ton of brands that make sliders but I went with with RCI for multiple reasons.
- They are a local small business
- I can pick up in person to save on shipping
- They do group buys to bring the cost down
- I’ve always really liked the visual profile of the kickout on their sliders, they are in my opinion the best looking sliders on the market
- They are one of, if not the, strongest set of sliders out there. They have a 2" square main tube (vs. the common 1.75" round tubes) that is angled on the ends to avoid hang ups, 1.75" DOM outer rails are standard, there are 4 legs on each side with 1/4" steel gussets each one of them, and its full length frame plate mounting that is completely bolt on. They did not skimp anywhere, badass product for sure!

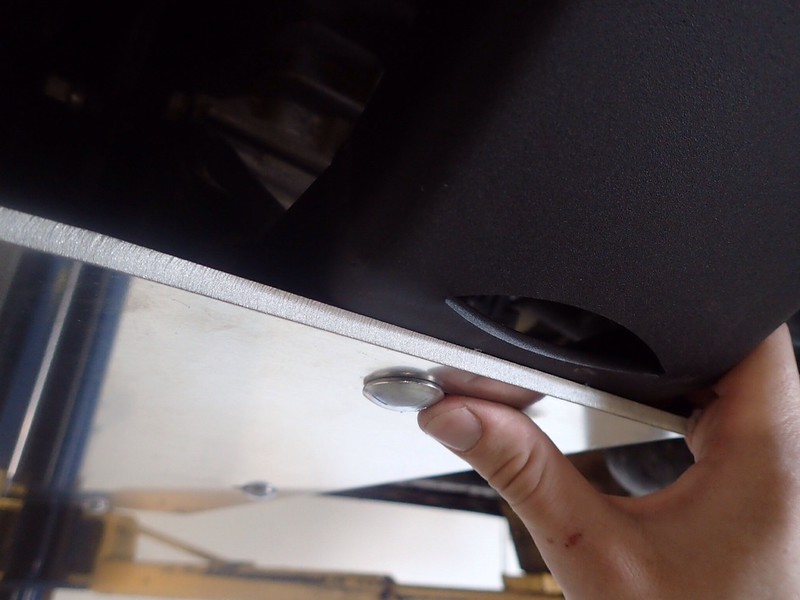
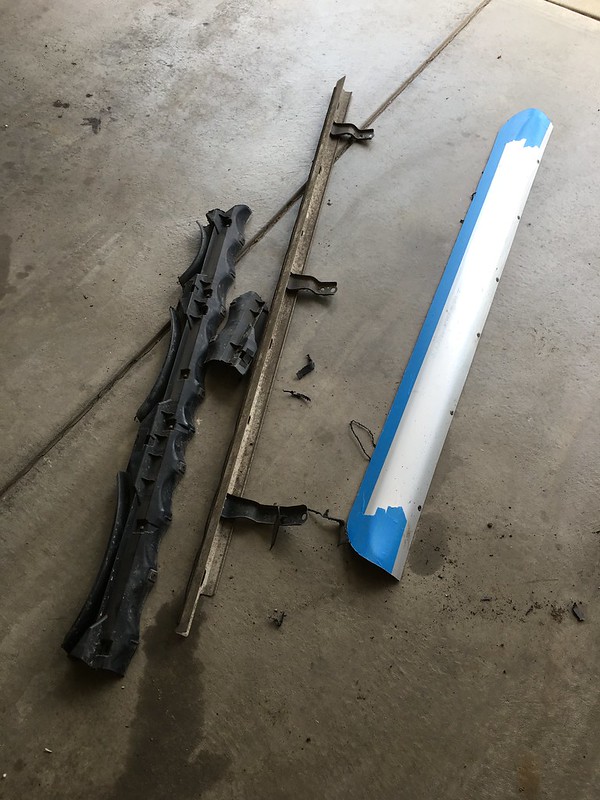
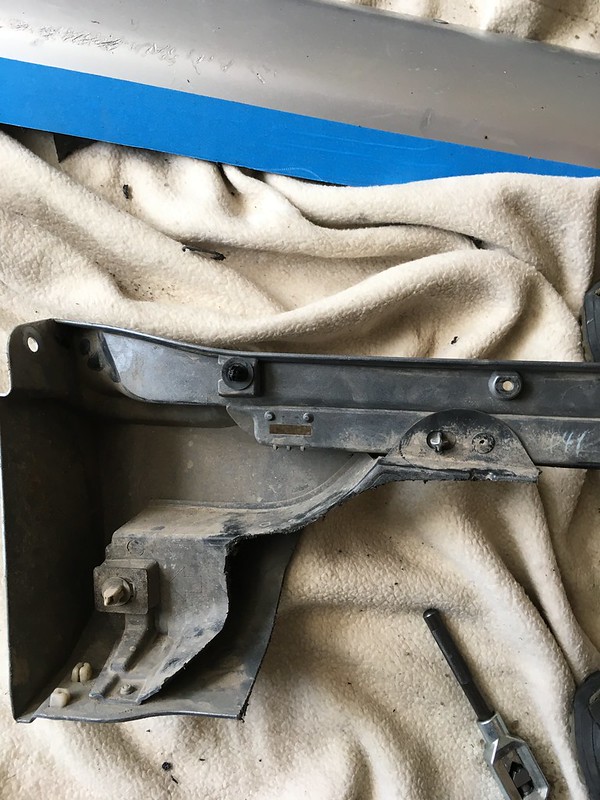
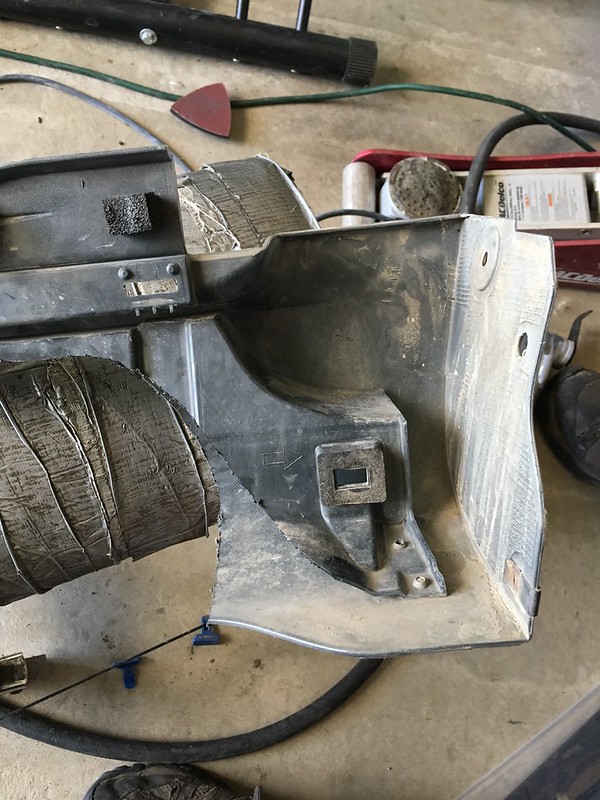
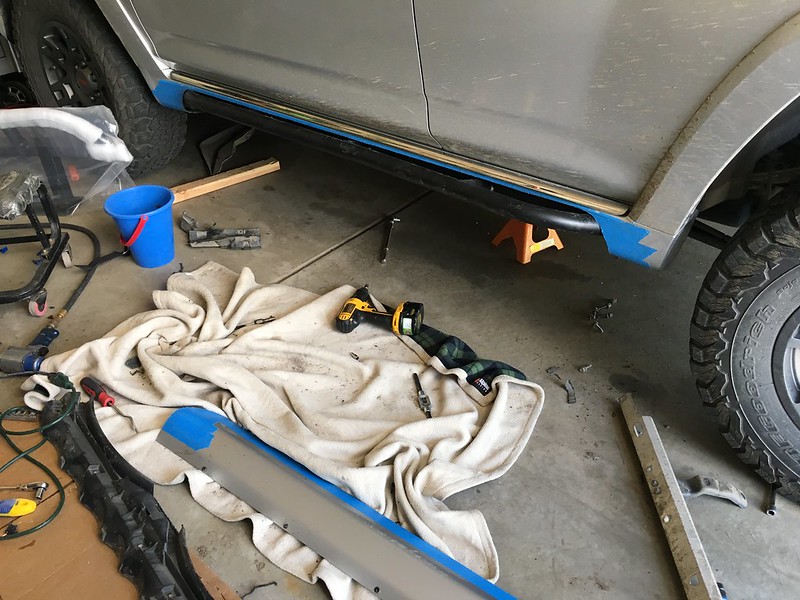
After replacing the suspension and getting all for the XREAS lines and components off the frame I started on the sliders. The Limited rocker panels don’t play well with sliders because of their size. There are a few solutions out there - buying OEM trail rockers which are very pricey, going with Shrockworks trail rockers with are steel, pretty generic in the fitment, and expensive when you factor in paying shipping, or seemingly the most common option, removing the rocker panels and running without them. I didn’t want to spend a bunch on money on replacing the rocker panels so I opted to go with removing them.

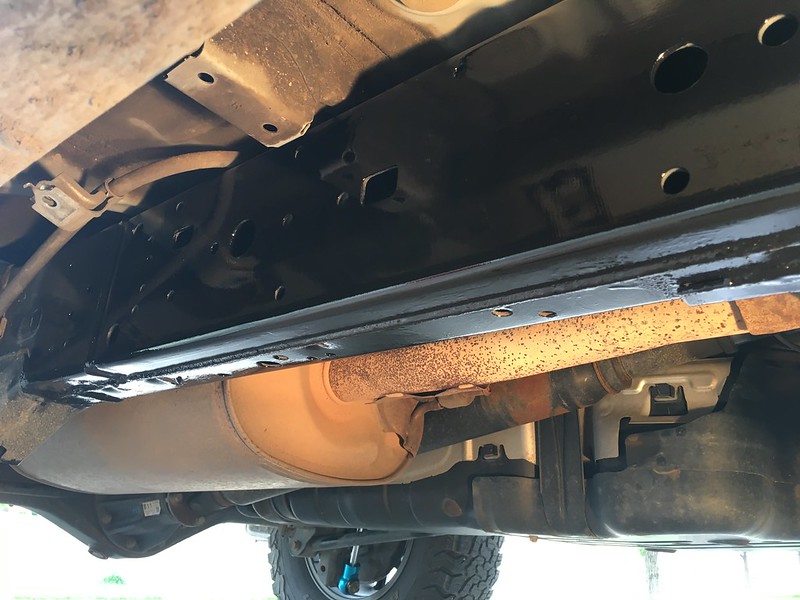
To start I grabbed a wire brush and some sand paper. I cleaned up surface rust and scuffed the paint then recoated the frame where the sliders will sit and let it dry for 24 hours.
29295491088_6d5b73cdd1_c.jpg


From there I removed a rocker and bolted up a slider and starting checking it out. It looked horrible! You lose the front mud flaps, it looks unfinished/broken at the bottom of the fender, and most concerning, there is a big ass gap where the bottom of the door seal is fully exposed. My concern is winter driving, mud flap is gone and your spraying up ice and snow directly onto the seal through the gap between the body and the door. There was no way I was going to run it like this.
41356291950_e9b795105b_c.jpg

29295490818_10b03ed2f2_c.jpg

43166841091_6531388040_c.jpg

28297147837_dd17a0257e_c.jpg


So I sat there, had a drink, stared at it for a while *****ing and moaning about the situation and tried to figure out why so many people run it like that. Eventually I worked up the courage and decided to go for broke. I put down tape, marked my lines, traced my sons sand box bucket to get a consistent even radius and started cutting.
41356293870_57bb447c5d_c.jpg

28297149267_b7941c7174_c.jpg

42448621974_d3c4155948_c.jpg

42448622274_17412474f6_c.jpg


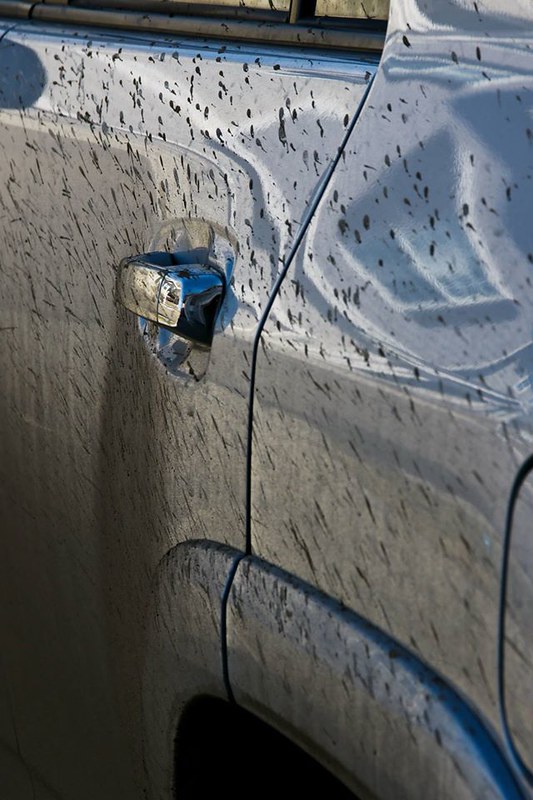
I did consider trimming the front and rear ends up a bit so when using the sliders to their fullest and actually sliding on rock I wouldn't destroy the lower hanging sections of the rocker panels. I went back and forth on it but ultimately choose not to trim them any further for a couple reasons. The first is with the paint being silver the alignment of the rocker trims to the bumpers is a lot more noticeable than on darker colored vehicles. If I continued the cut straight across the whole length it would look like something is missing when the front and rear bumpers hang a little lower than the sides. Second is the mud flaps, I know ditching them and posting muddy pics is what gets Instagram likes and whatnot but I’m perfectly ok with not spraying the side of my vehicle with mud and rocks. I will not give up mud flaps, and as with all things, I always prefer OEM quality fit and finish when possible. Third was really considering my intended use of the sliders. The main purpose for them is to have a step, now that its lifted, that doesn’t reduce clearance. The secondary purpose is the kick out to push around trunk trunks and rocks to keep the side of the truck and tire away from damage. And finally, I can spend a couple minutes and pull the rockers and mudflaps if I know I’ll be doing something where I’ll need that extra clearance, but this was never intended to be a rock crawler that's going to constantly drop down onto obstacles.

This was the finished result.
41356293820_81ef4663f2_c.jpg

28297149887_04494fd249_c.jpg

28297149387_b8b47785e0_c.jpg

28297149907_44cd5860d7_c.jpg

43117081962_1563a7b2d2_c.jpg

43117081482_1dc4c7b17c_c.jpg

41356293910_2b21fea23e_c.jpg
 
Last edited:
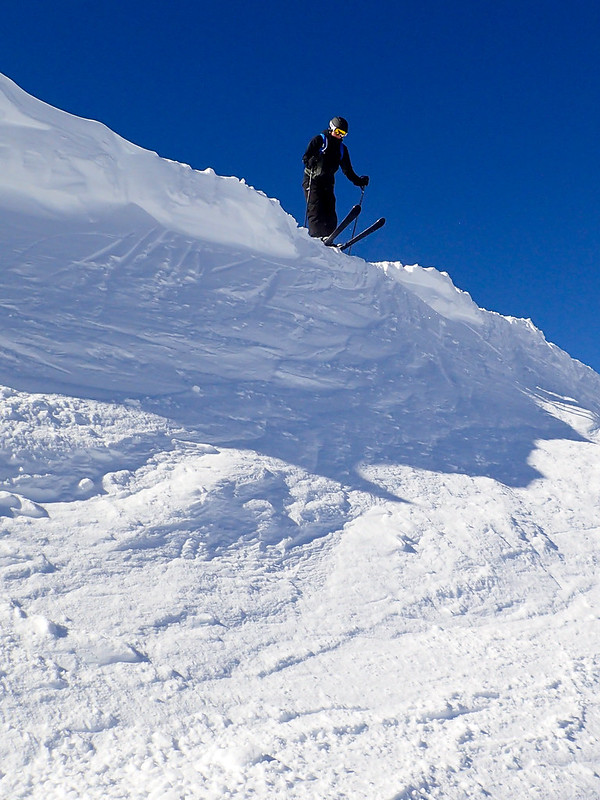
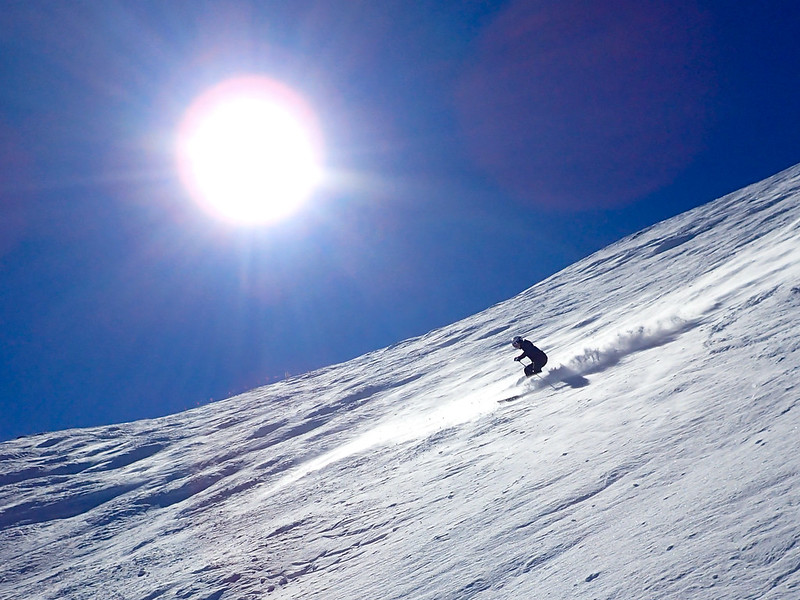
Some winter fun

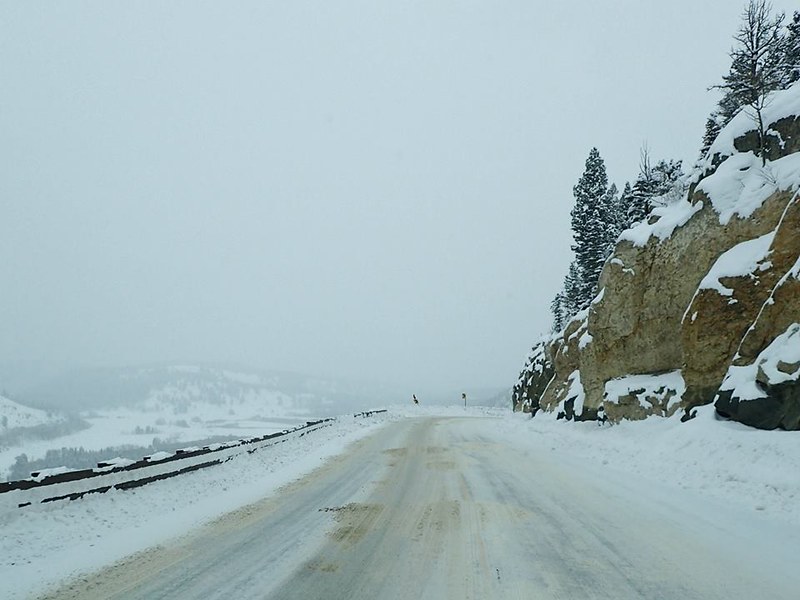
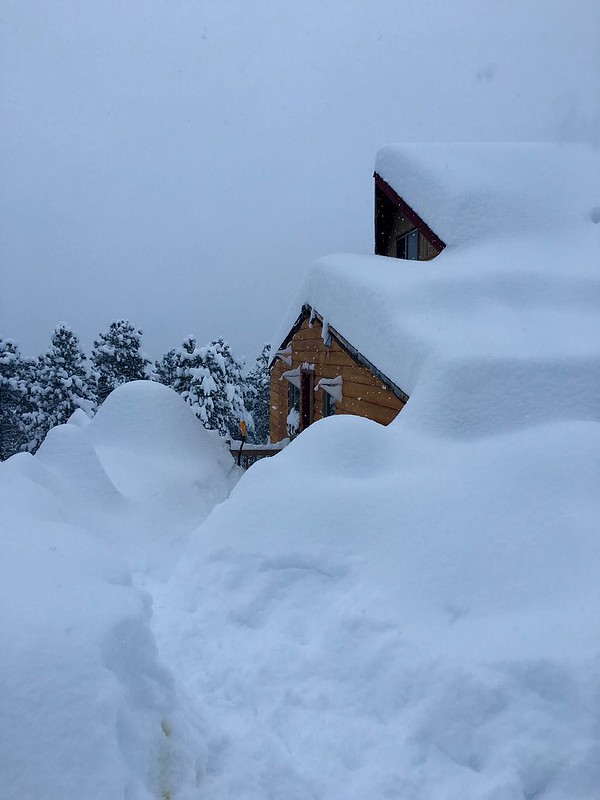
You can never trust when winter will actually end when ski season typically runs into June.
42340299125_431c1cbeaa_c.jpg


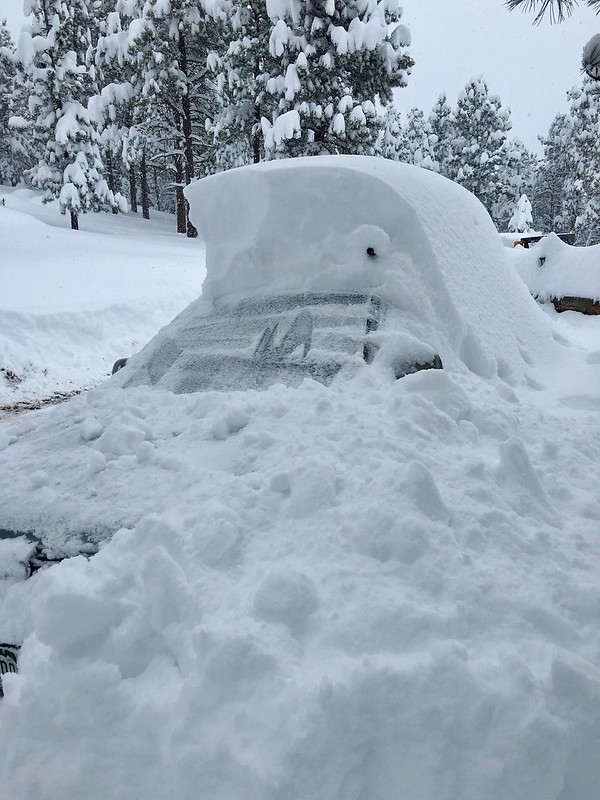
Snow days = powder days
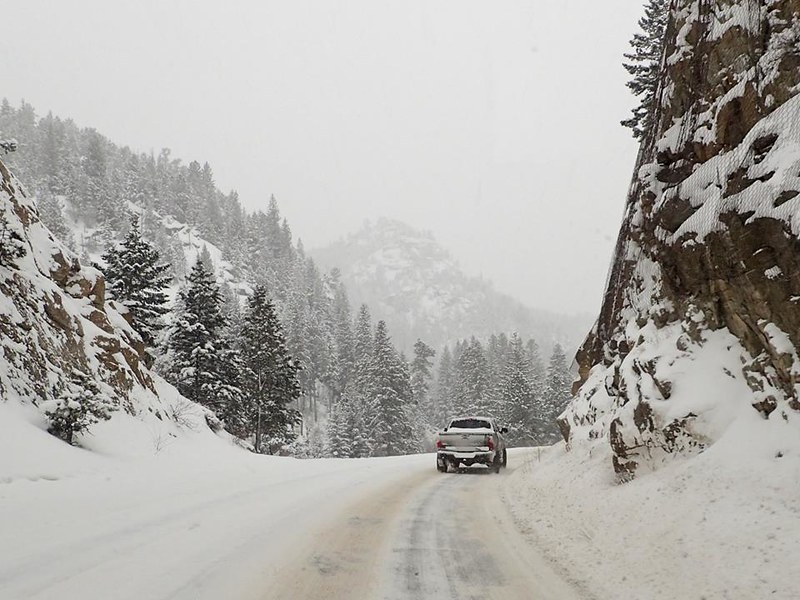
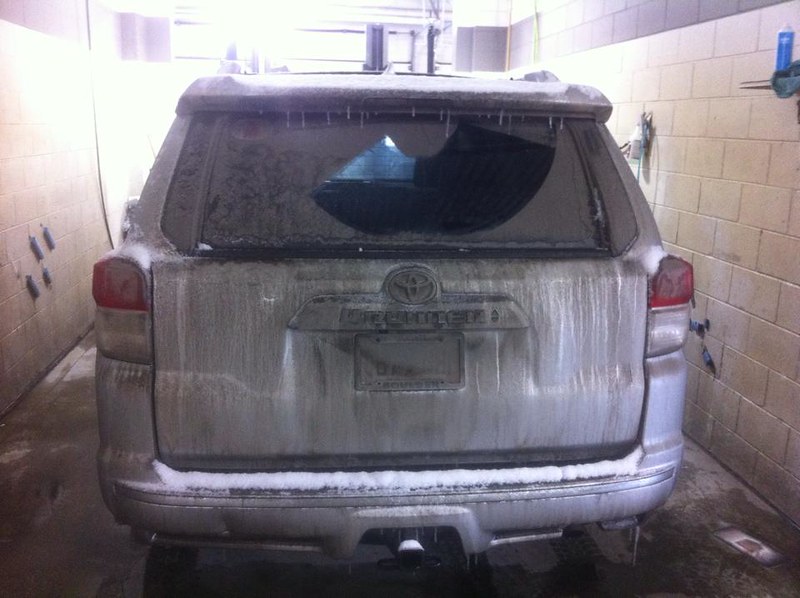
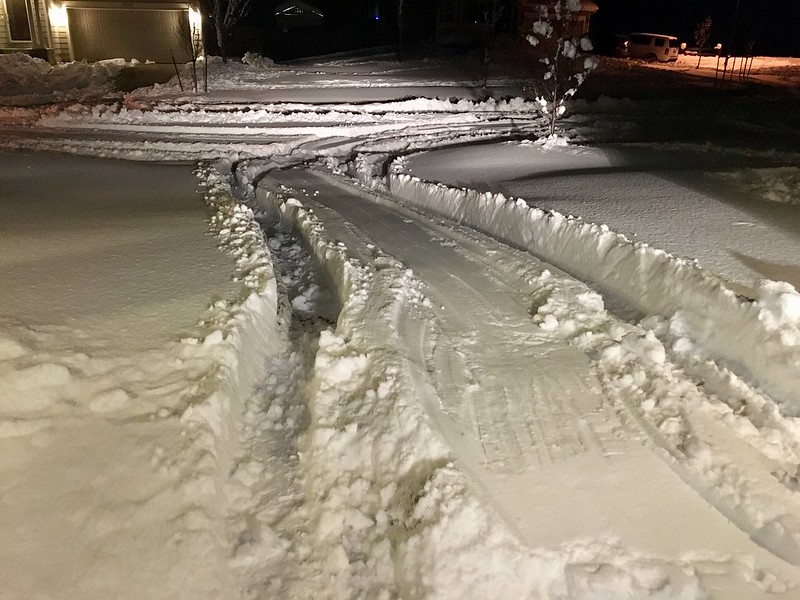
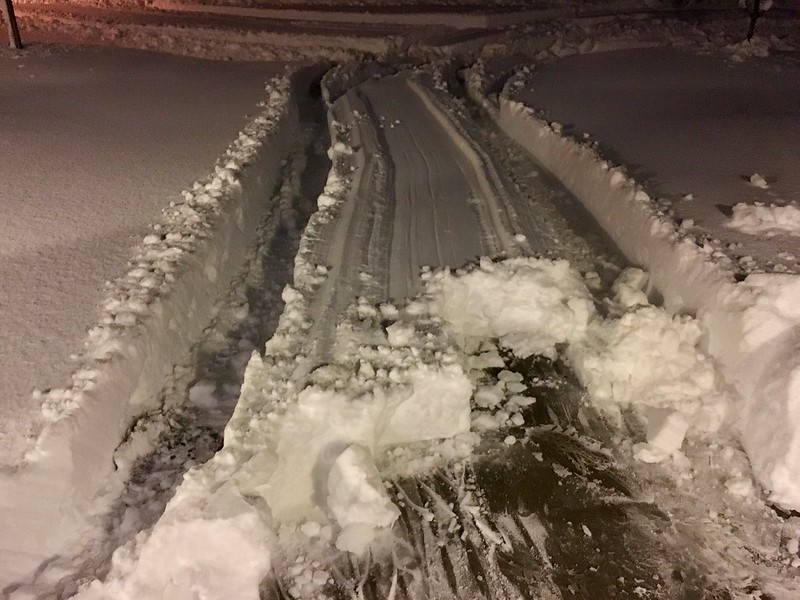
The T4R was plowing snow, this is why I have the oh shit kit and snow tires.
42341641225_5952ca1ca4_c.jpg


28374944387_63e4be6875_c.jpg


43196107842_b4000ee440.jpg


43243904261_18baca4f91_c.jpg


41435565250_d0ab0a091e_c.jpg
 

Members online

No members online now.

Forum statistics

Threads
278,306
Messages
3,554,045
Members
248,016
Latest member
Advally Service

Trending content

Back
Top