Old Man Emu for Four Corners of the 4Runner, with a Twist
April 2, 2019.
I like to think that I live
and learn. I'm also a creature of habit, and I wonder if I'm starting down the same road I've been down before.
See, with the Tacoma, I thought long and hard about the first set of aftermarket suspension that I put on it. Originally I wanted to spend a couple hundred dollars. Luckily - and before I spent any money - I realized that I didn't want a block lift, I wanted a suspension lift. So then I did a bunch of research and came up with
Toytec BOSS coilovers as a reasonably-priced setup - though quite a bit more than a couple hundred dollars.
And then, two years and a bunch of experience later, I ditched the Toytec setup for a
high-end ADS suspension on all four corners. At a high-end price. I could have saved a bunch of money if I'd just gone that route from the start.
Fast forward to today. If the 4Runner is going to be our family adventure vehicle when @mini.turbodb is with us, it's going to need some new suspension. We'll need that to support the weight of our gear, and to provide a bit nicer ride on the bumps we'll encounter. Which immediately begs the question - do I go all-out now and put on the high-end stuff, or - like I did with the Tacoma - do I start with something else?
OK, from the title of the post, those who know about suspension know my decision - but bear with me while I explain how I ended up where I did. Because I'm starting with something else.

The reason I'm starting here - rather than going all-out - is that the plan for the 4Runner is to keep it a bit tamer than the Tacoma. We've found that full-family outings are more enjoyable when we're not wheeling all day, the small one liking to get to a cool spot and then get out and explore, rather than being cooped up in her seat. If I'm honest, I remember that feeling myself - never really caring about the things we were seeing as we drove to our camp as a kid - clearly a deficiency of human children. :rofl:
As such, I don't need the high-levels of performance, or the adjustability of a high-end racing shock. And, because family adventures are generally fewer and closer to home than some of our longer treks in the Tacoma, I don't think I'll need to worry about annual rebuilds - so that's another place I can save a few bucks.
So why then did I decide to go with Old Man Emu (OME) and not another brand like Bilstein or even Toytec again? Simple - it was for the simplicity can convenience of it all. OME has several different shock/strut options, as well as several different coil spring options that make it reasonably easy to get the performance you're looking for.
In my case, I wanted just a little bit of lift (1-2"), a little more weight carrying capacity (for our gear), and a bit of rake in the rear (the rear 1-2" higher than the front). So I ordered The following parts:

All that was reasonably straight forward, but there was a twist. Normally, the front shocks and coils are ordered pre-assembled. There are generally two reasons for that - first, pre-assembly includes a new top plate for the coil - a good idea if the existing top plate is rusted. Second - and more critically - most
normal people make the smart decision that they don't want to deal with compressing the coils - a potentially deadly operation with the amount of force needed - to remove the old one from the old shock, and install the new one on the new shock.
That's normal people. Something I'm rarely accused of. I ordered everything unassembled. And I did it because I'd recently purchased one of these puppies! :

:

This
Branick 7600 spring compressor allows me to compress springs safely, and I got it because I know I'll need to do that often on the Tacoma as I rebuild the suspension on an annual basis. As such, I might as well save the $100 assembly on the 4Runner as well - you know, helping to offset the cost of the Branick. That's called "flawless" male logic.
At this point, I was ready to go. Or so I thought. I got started on the front by gathering all the necessary tools:
- A few different size sockets/wrenches (though expensive this is a good kit that has nearly everything you'll ever need)
- 14mm - for the shock top mount nuts.
- 17mm - for the lower shock mount.
- 21mm - lug nuts.
- Impact wrench (or large breaker bar) - for removing your lug nuts.
- Torque wrench - to re-torque the lower shock mount and lug nuts.
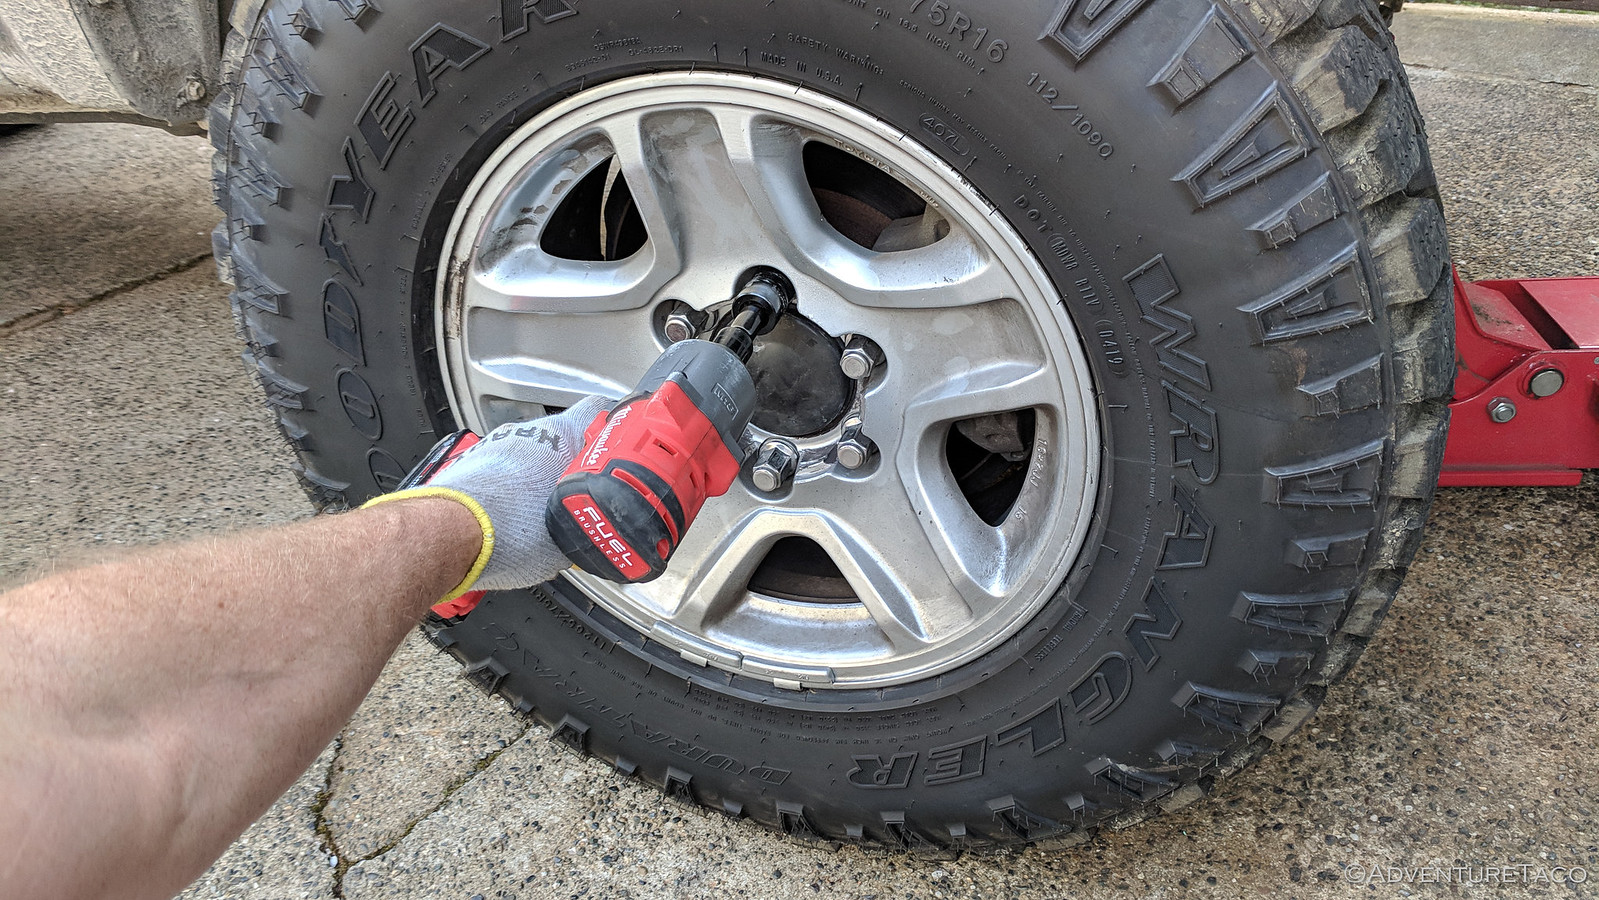
I got started by jacking up the 4Runner and removing the wheel, as seems to be the case for a lot of the projects on the trucks - once again adding a smile to the long list of smiles provided by the Milwaukee impact wrench.

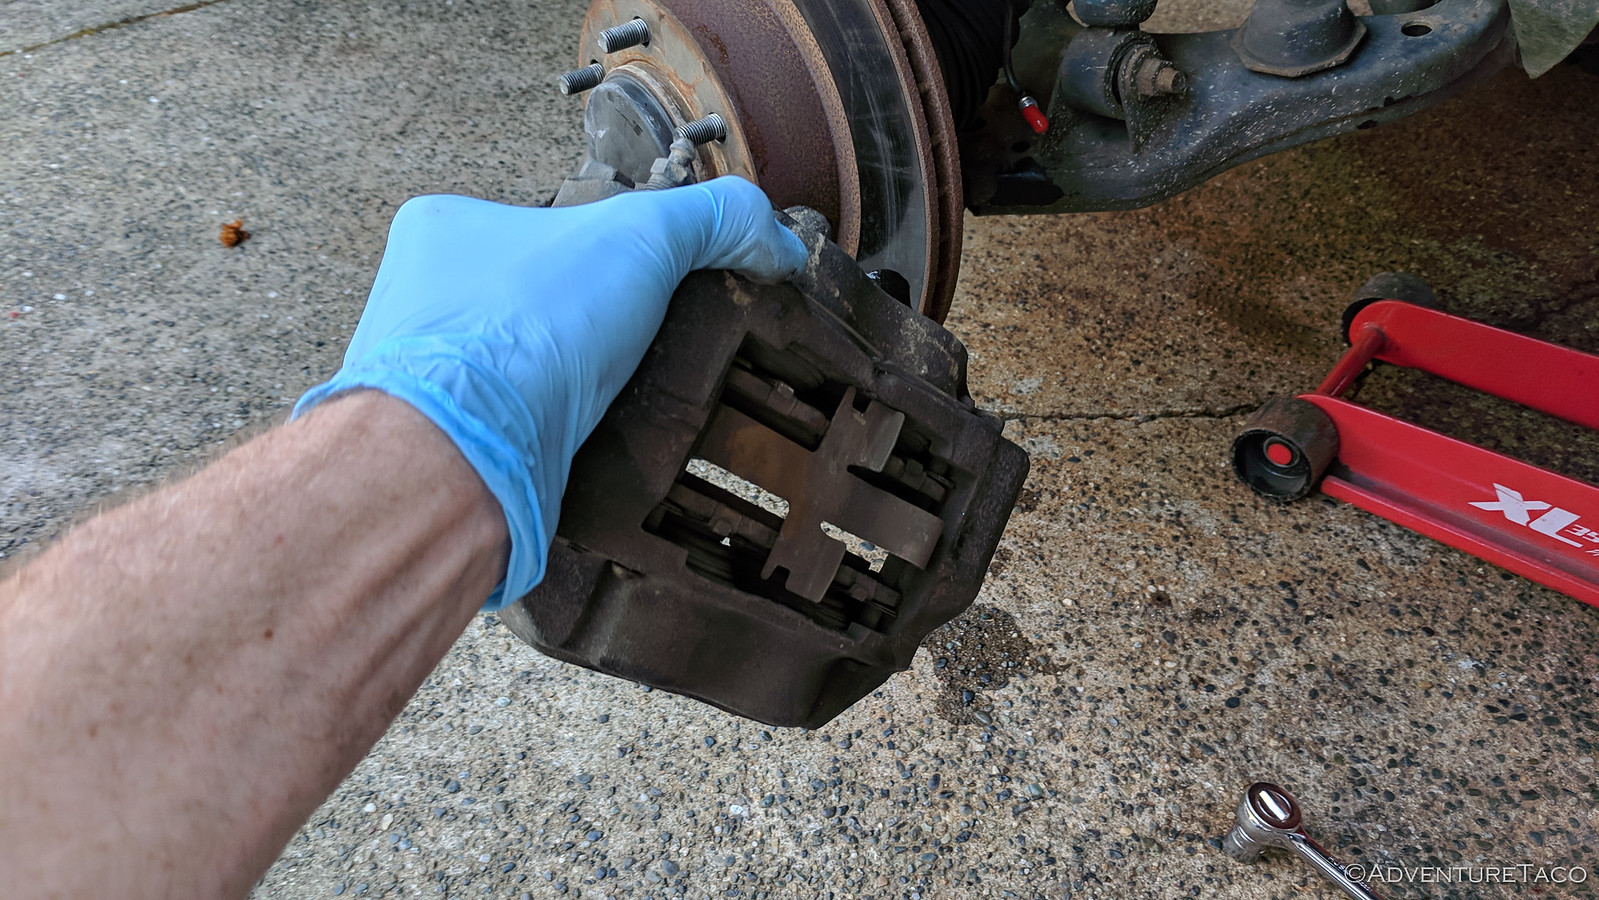
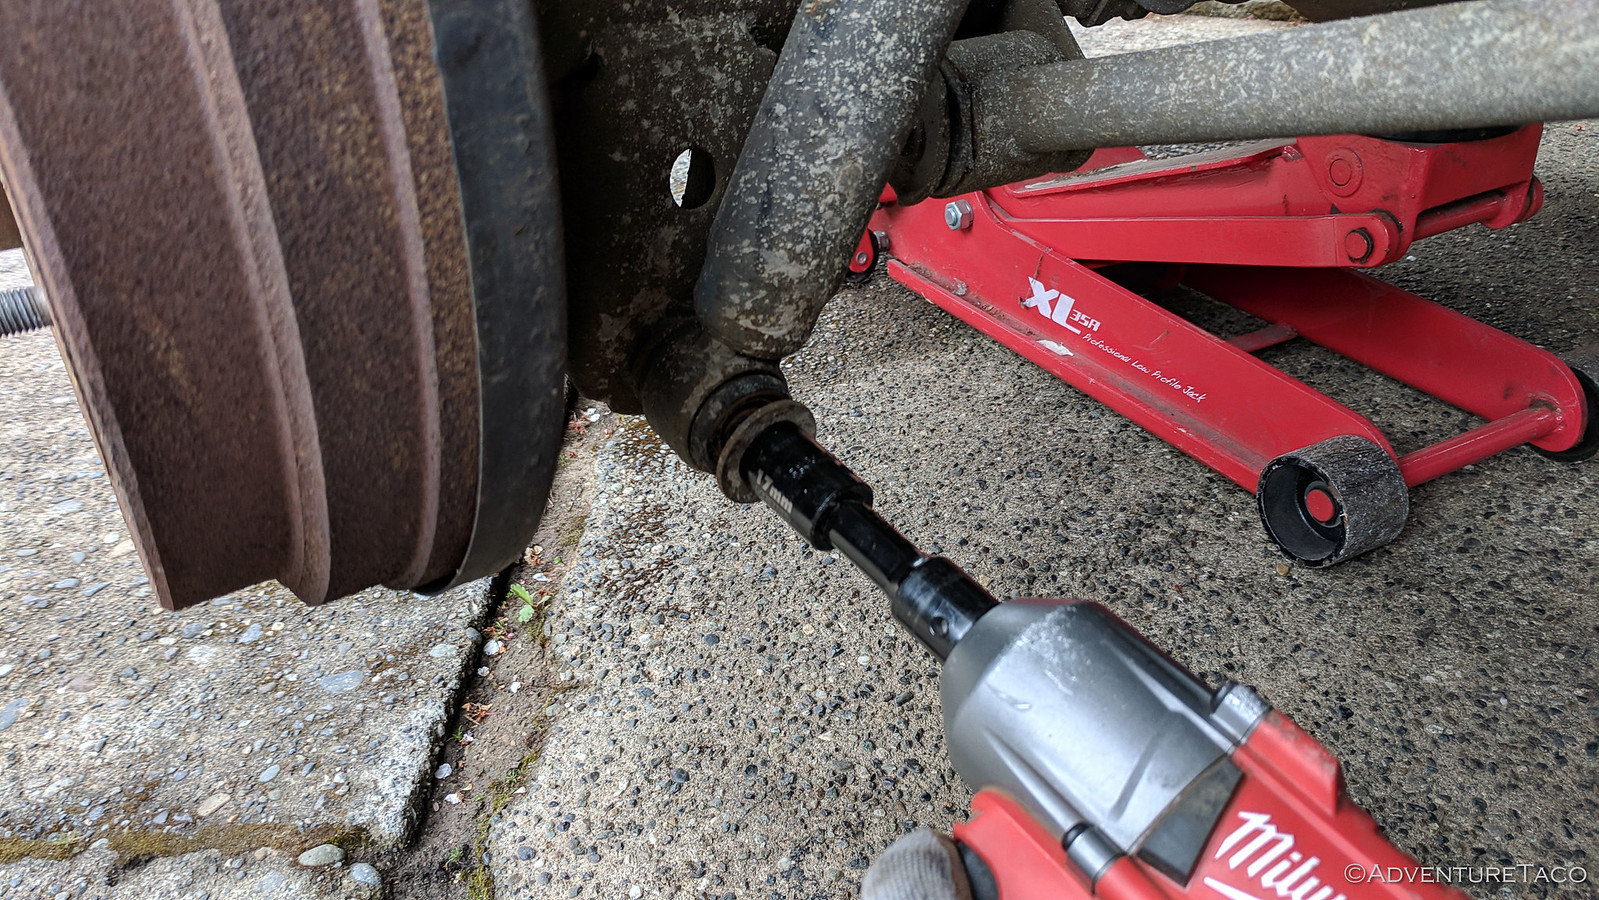
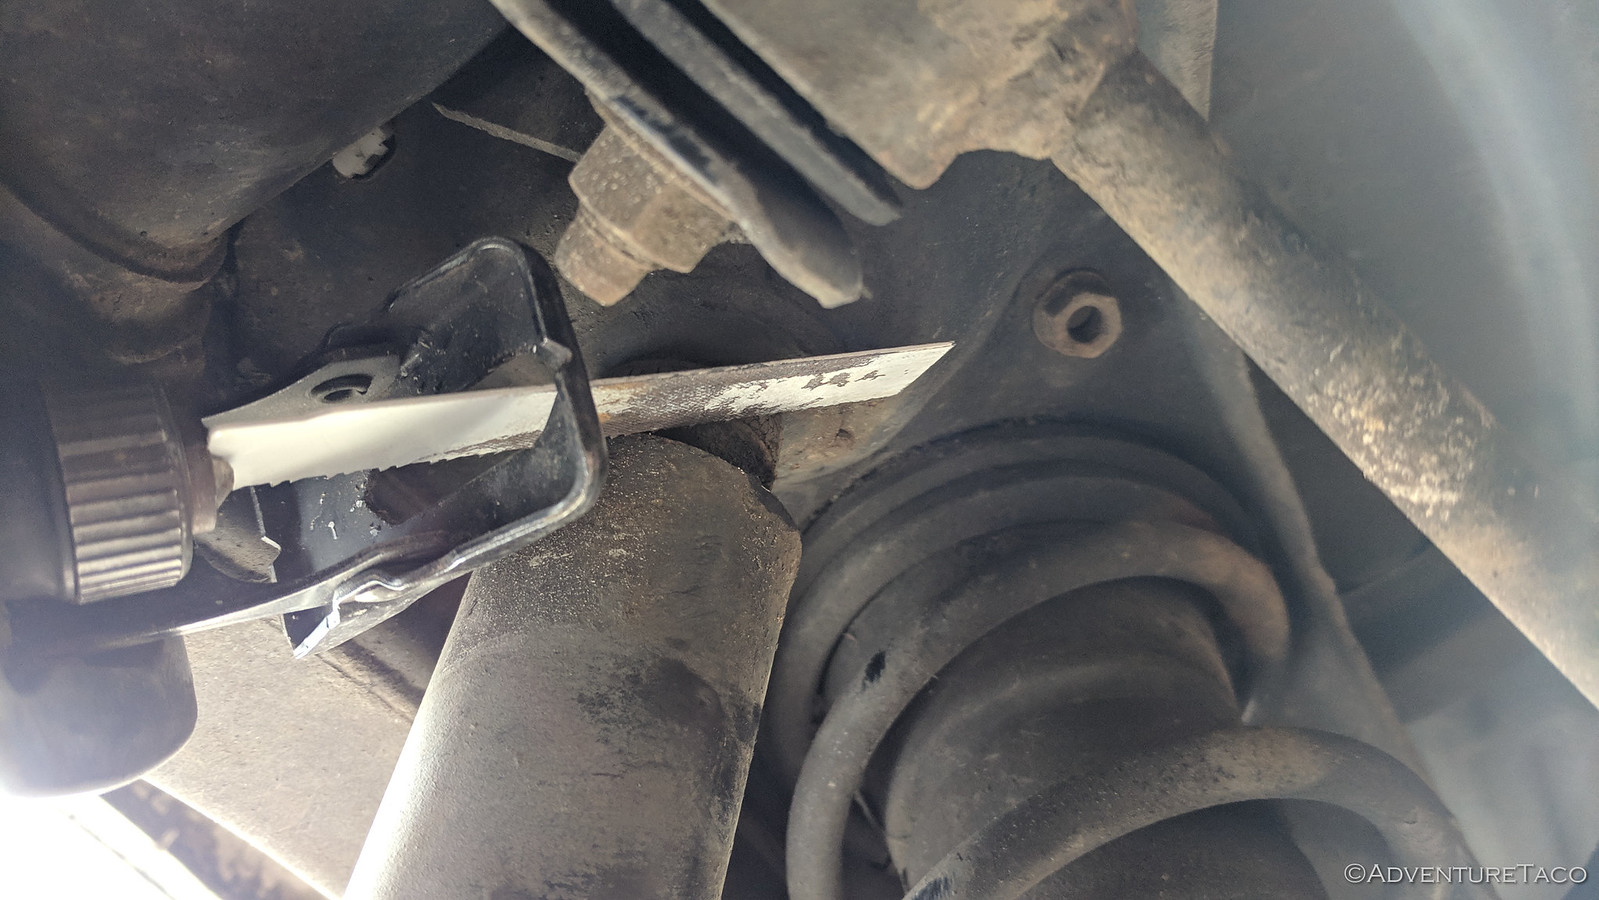
Next, it was time to remove the old shock from the truck. I don't know if it was the original, but if it wasn't, it was extremely old. The next few minutes would be very indicative of the rest of my day - if the various nuts came off without being cut, I'd be a much happier dude than if they'd rusted in place.
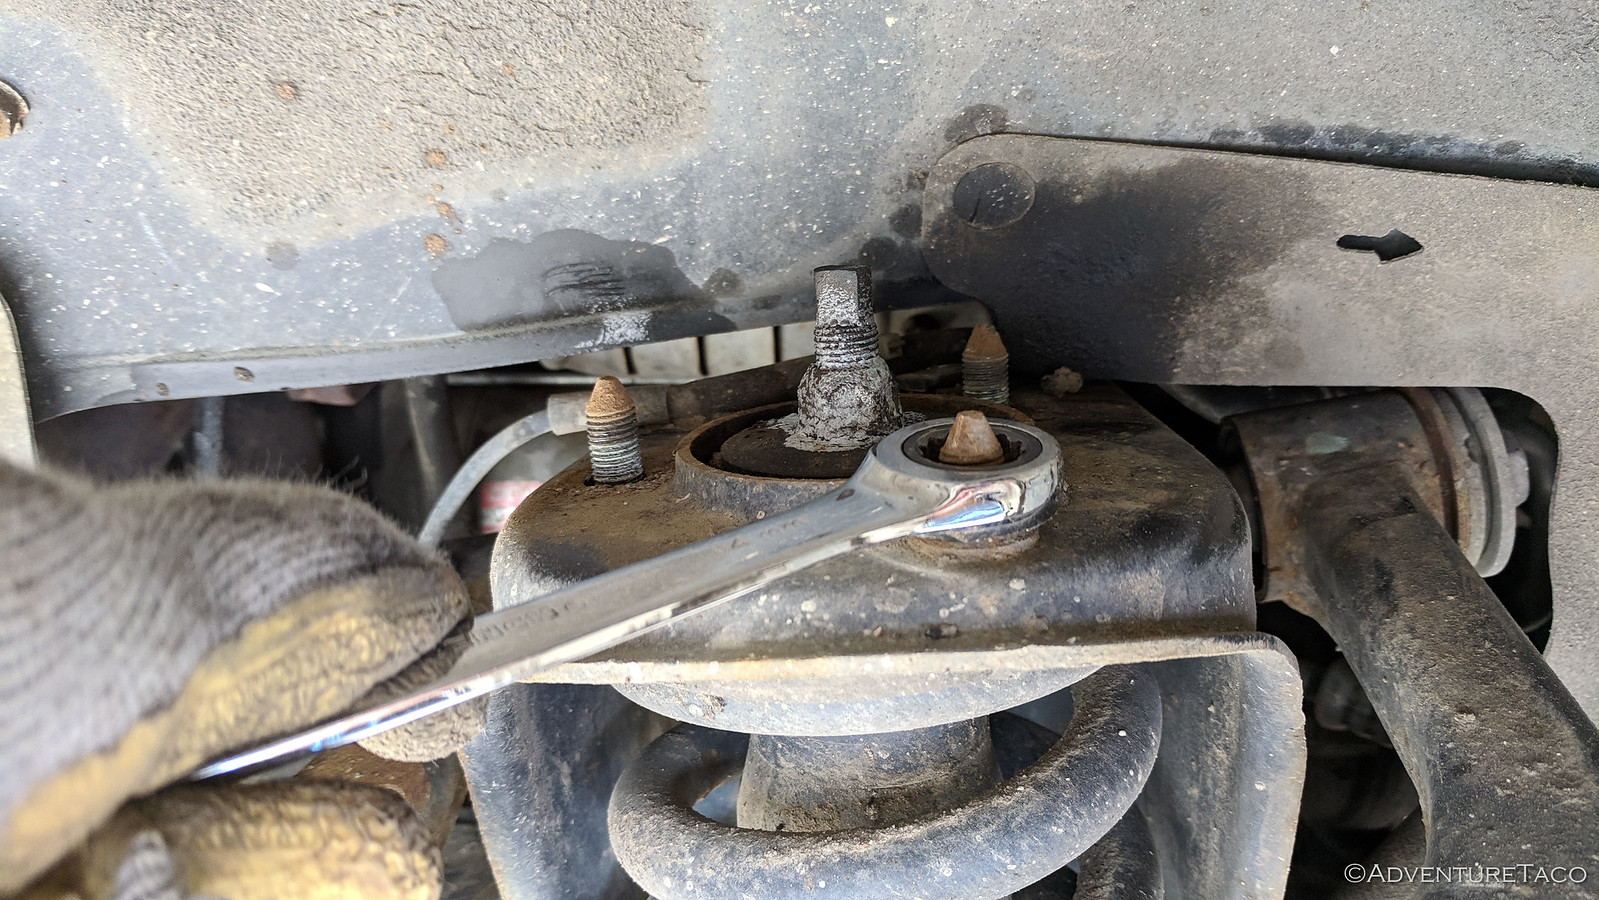

Amazingly, everything came off reasonably easy - another huge win for Pacific coast winters, and the lack of salted roads that cause everything to corrode!
With the old coil off, it was time for what was easily the most tense few moments of my day - figuring out and using the spring compressor for the first time. Would I kill myself? Only maim? Hopefully neither.
I got the spring positioned in the compressor and cranked it down. Creaking ensued. Tension (both the spring
and mine) rose. And the spring compressed - it was working! I was so relieved that I forgot to snap a photo.
:anonymous:
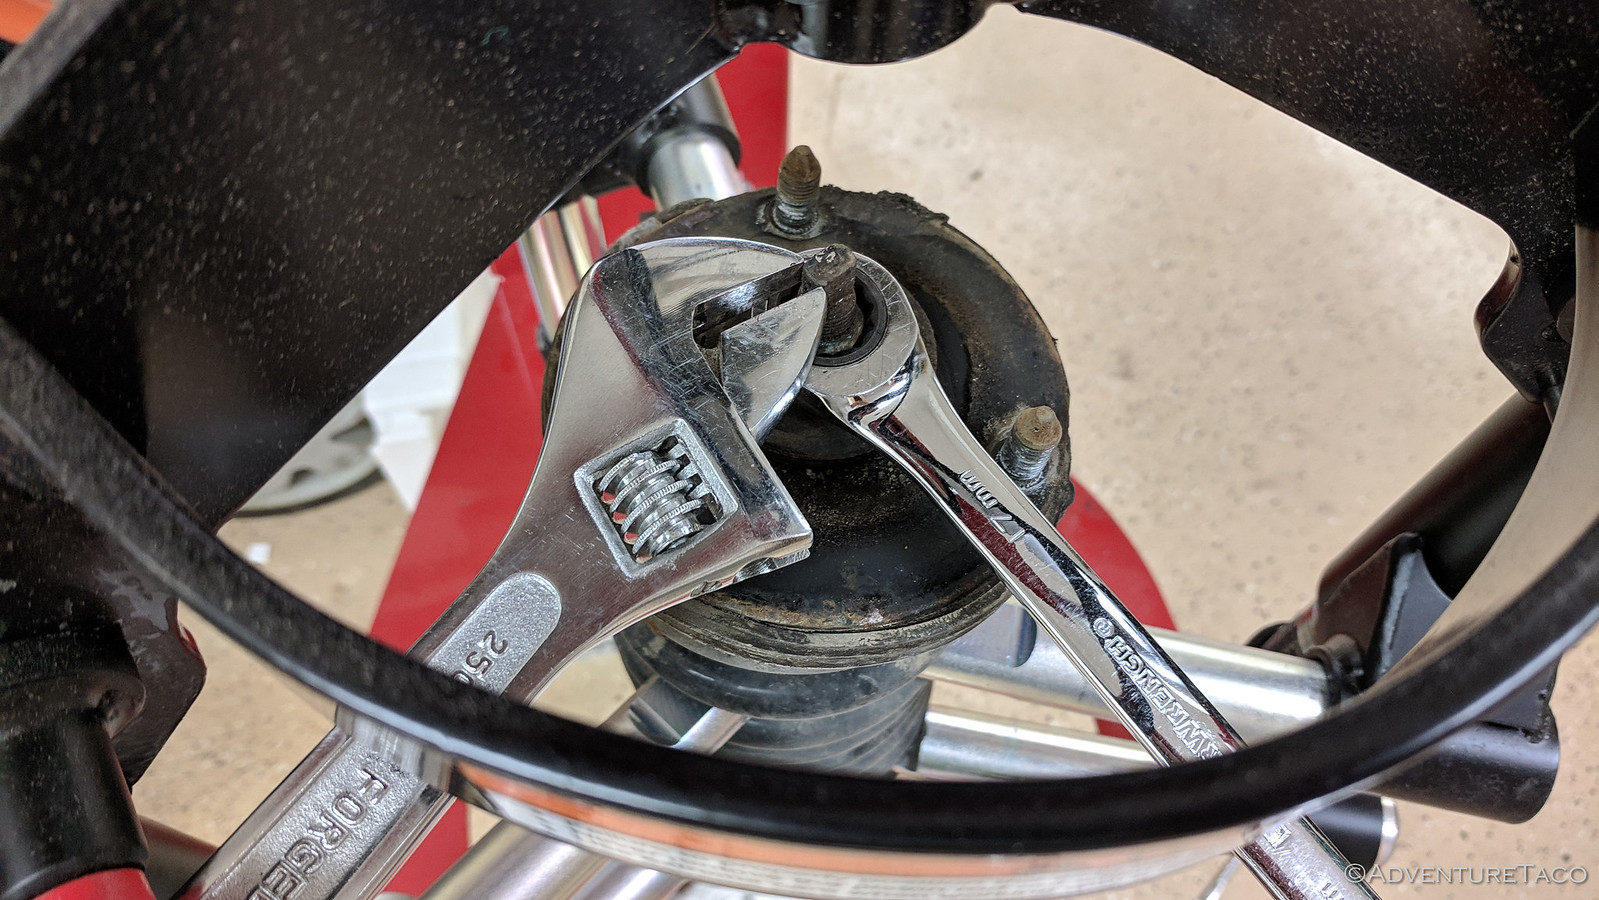
Soon, tension was released from the top cap and it I was able to attempt removal of the center nut that secured the top plate to the strut. It required a bit of heat, but like the other nuts, this one eventually released too - an adjustable wrench used to hold the post stationary while the nut is backed off, and off came the top cap.
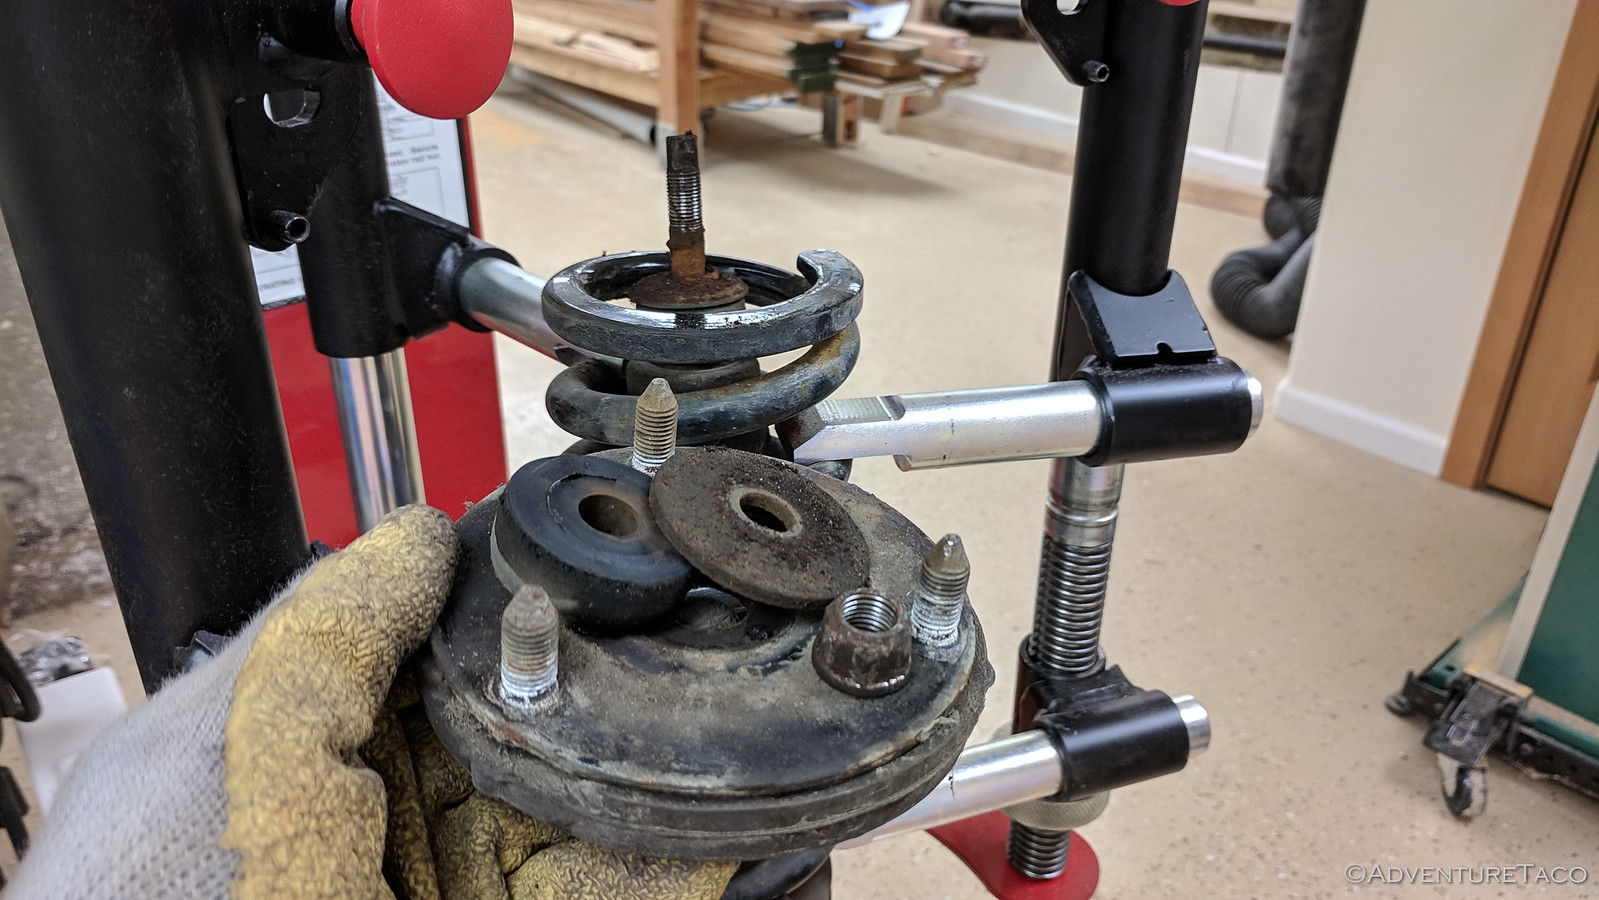
And then, I was left with a little pile of death held in the spring compressor.

At this point, I figured it was a good idea to clean up the top plate a bit - while it was off the truck, I could chase the threads on the posts to remove residual rust, and then get everything ready to install the new OME 90004 Nitrocharger Sport shock into the coil.
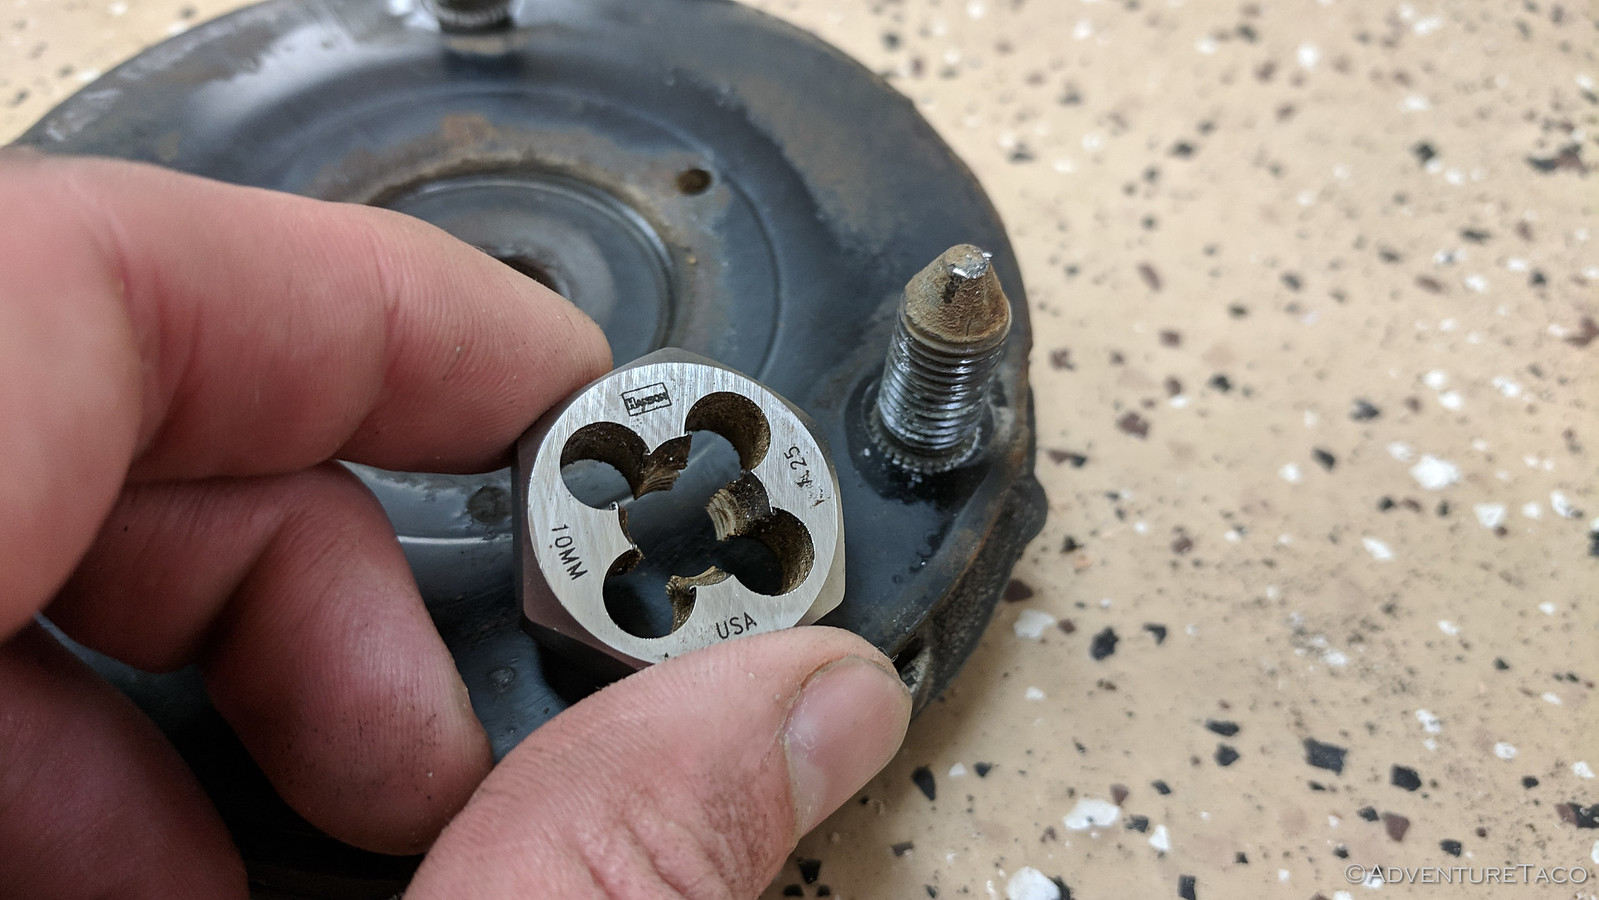
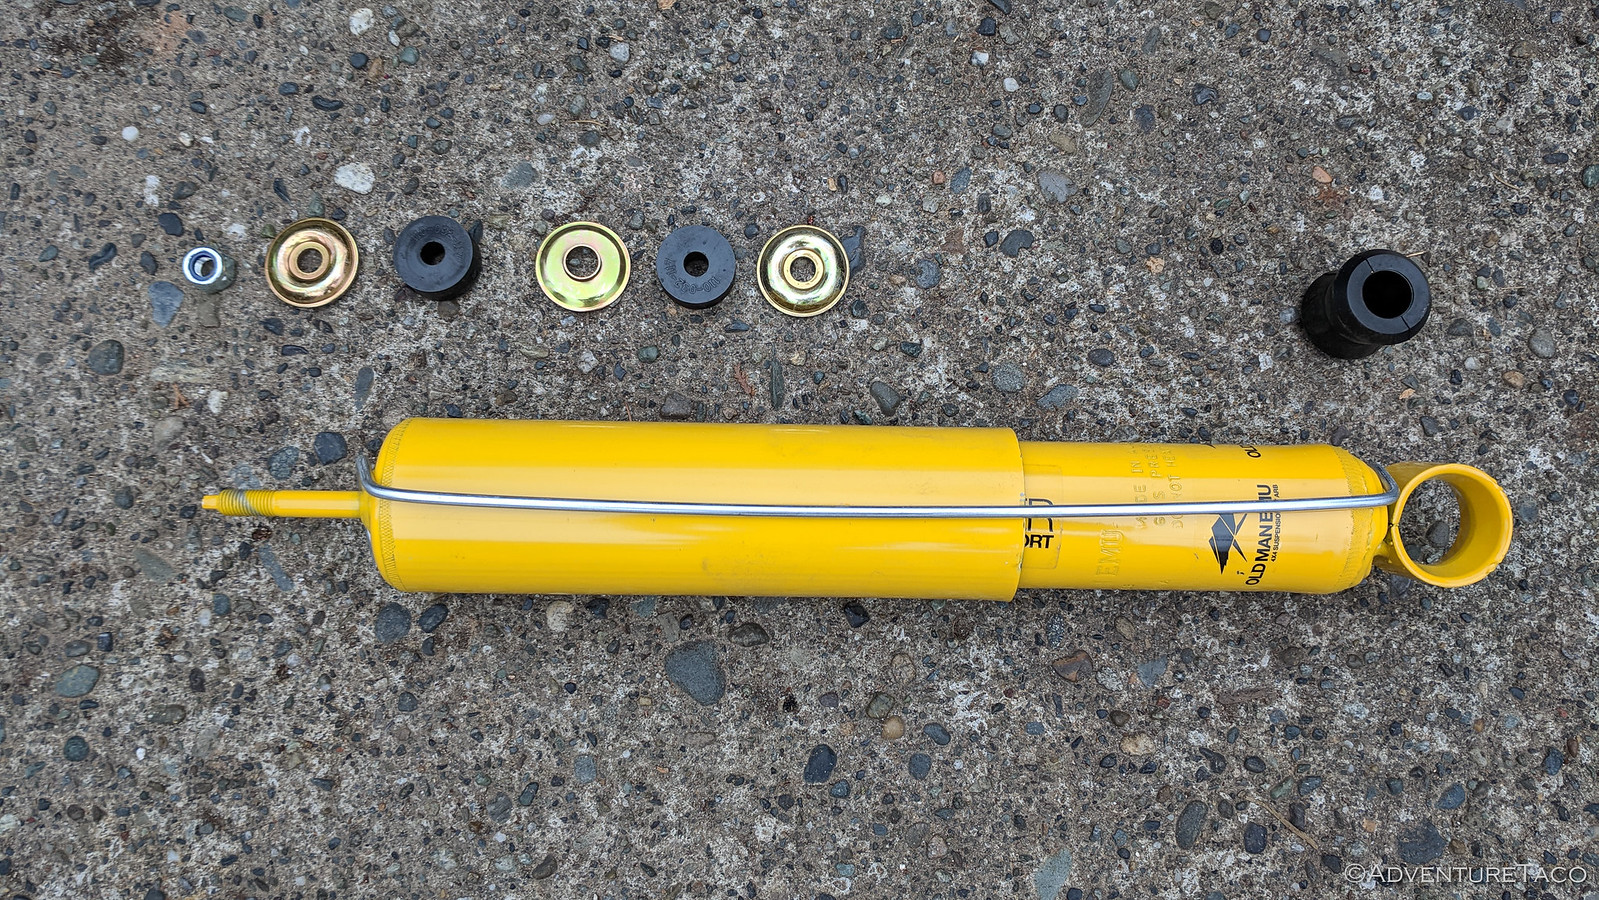
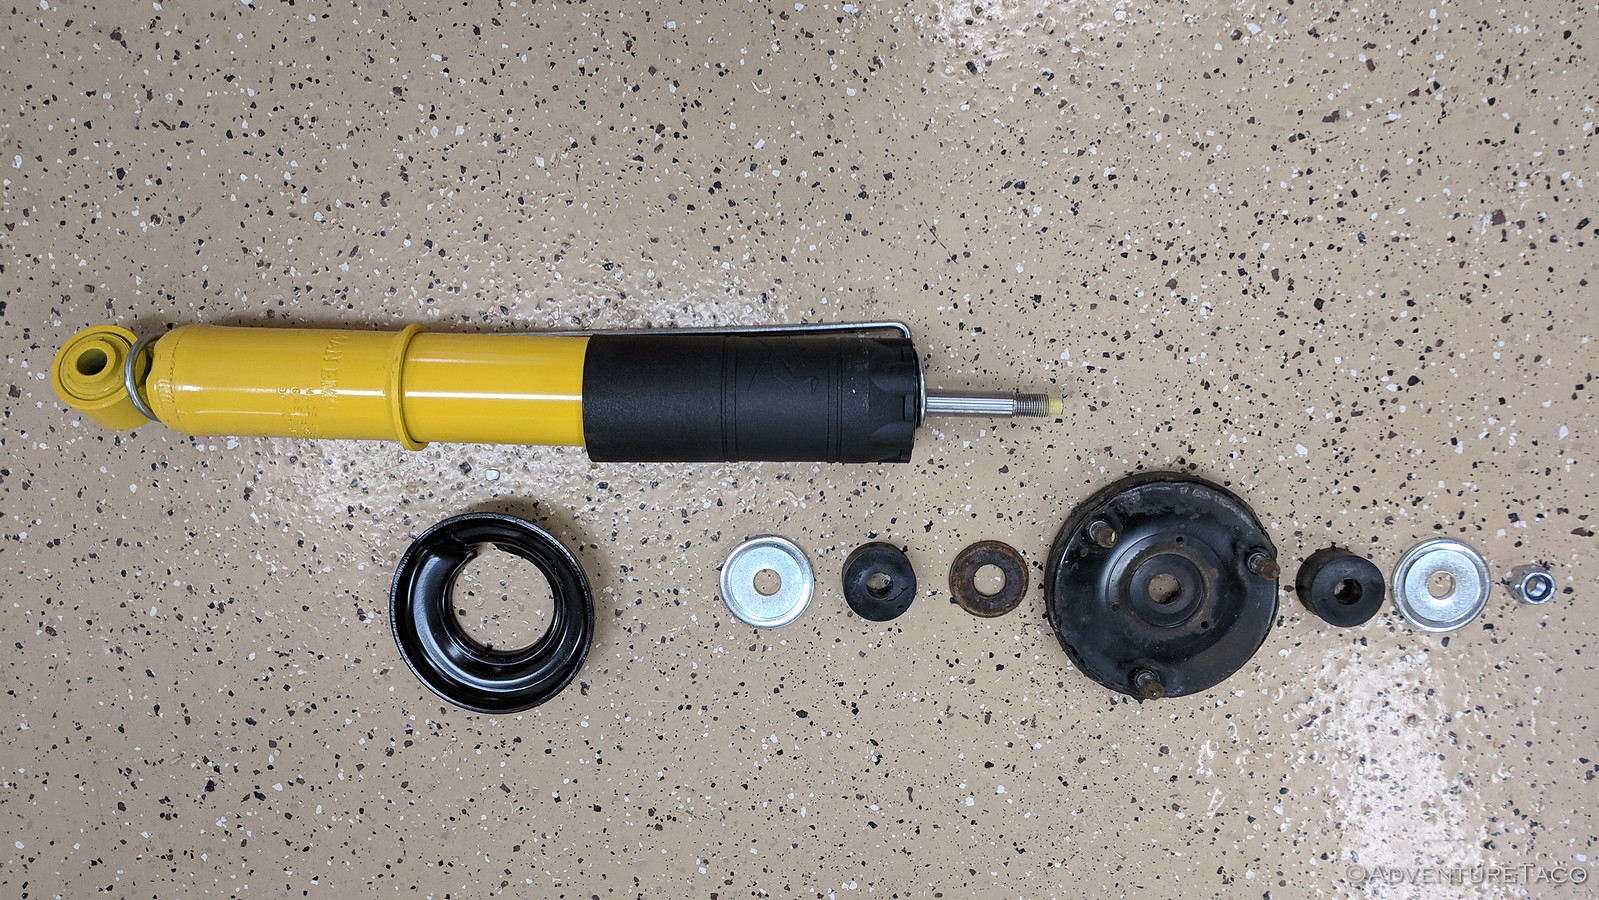
Clean up complete, I laid out the new shock, just to ensure that I had all the parts I'd need for the install - or rather, that I knew
how to install all the parts that I had (because let's be frank - it was more likely that I'd mess that up than that ARB didn't include some parts :

:.
So here's what I had: The shock itself, and then the bottom cup on which the spring sits, a new washer, new bushing, old washer, old top plate, new bushing, new washer, new top nut. Perfect.
Assembly was essentially the reverse of removal - the first step was sliding everything into the compressed spring and tightening the top center nut.
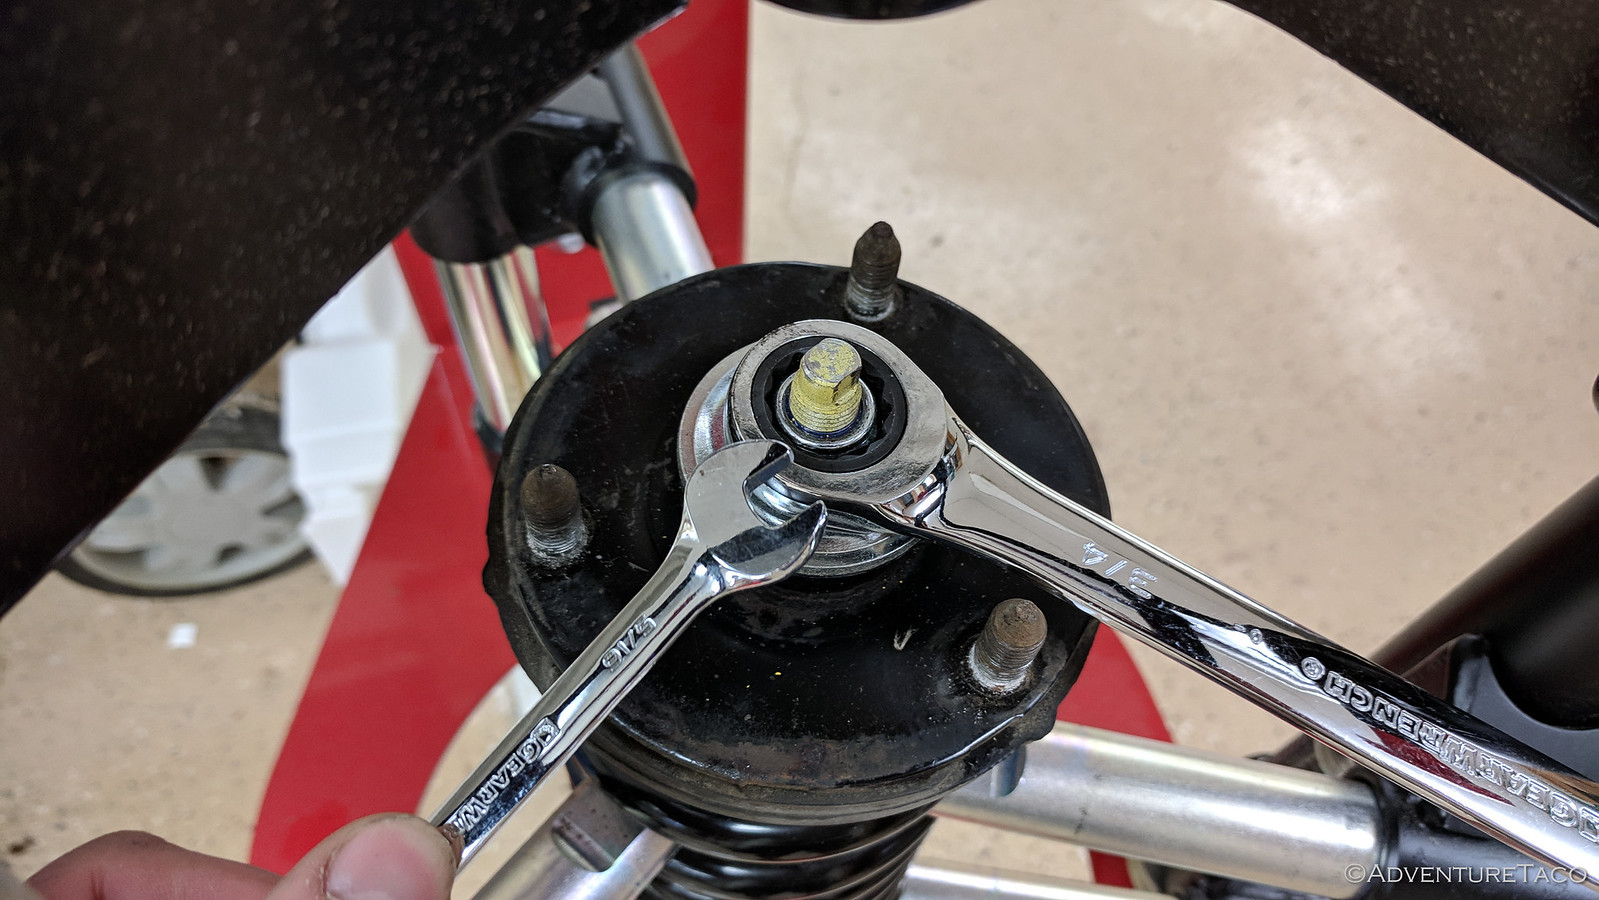
Finally, I was able to release pressure on the spring compressor and breath easily again. It had been a huge success, especially given that I hadn't had to change my underwear.
Back out at the truck with new coilover in hand, I slid it into place and loosely attached the three top nuts to hold it in place while I worked to align the bottom bolt - which of course is rarely an easy thing to do when a truck has it's OEM upper control arms (UCAs) and the stock rubber bushings on both the UCAs and lower control arms (LCAs). In the end, I resorted to a trick I'd also used on the Tacoma - the stock screw jack and a neoprene knee pad positioned in the wheel well, pushing down on the UCA, which in turn pushes down the LCA so that the lower bolt can slide in through the shock.
Not sketchy at all. Probably even the way they recommend doing it in the Toyota manual. :wink:

At that point, I torqued everything to spec - 47 ft-lbs for the three top nuts, 89 ft-lbs for the lower bolt, and 89 ft-lbs for the lug nuts, and the front suspension was done. It was great, except that the rake on the 4Runner was now backwards - the front higher than the rear by a good amount.
Some people like it, but personally I think that looks a little goofy.