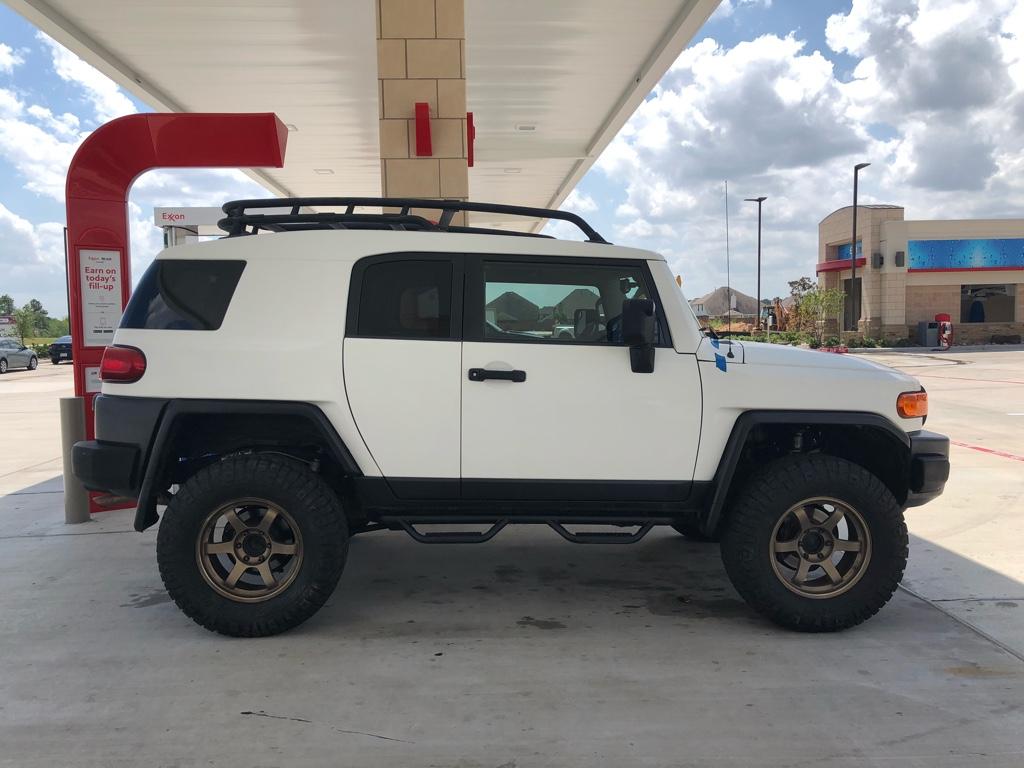
TiVo FJ OEM+ Build

tv4184

Member

9b09bcb9f1ddd276fb6030cc33923770.jpg

6/20/20

7176123823e5c8b3ca7e77d66f5d1a3e.jpg

8/30/20

MODS

Suspension
Front
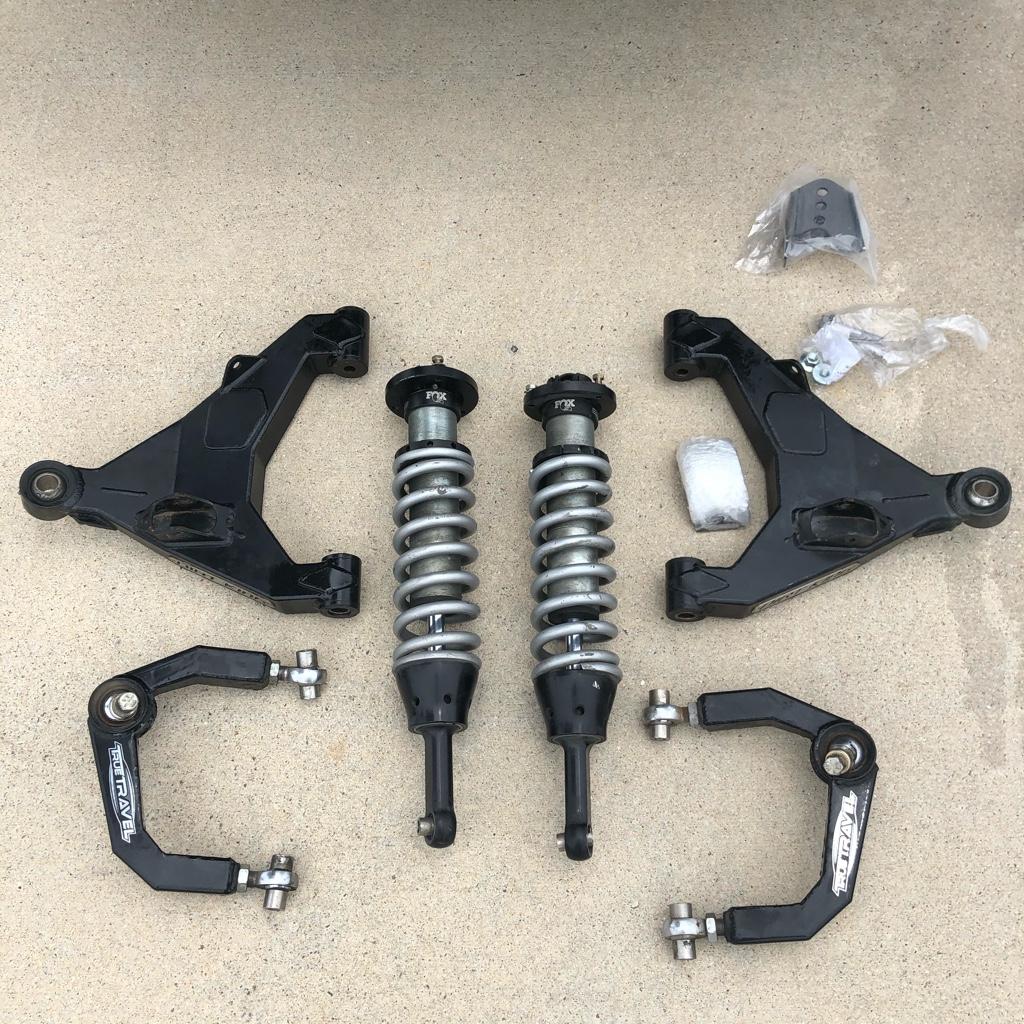
- 2.5 Fox Extended-Travel Coilovers
- Icon tubular Delta Joint UCAs
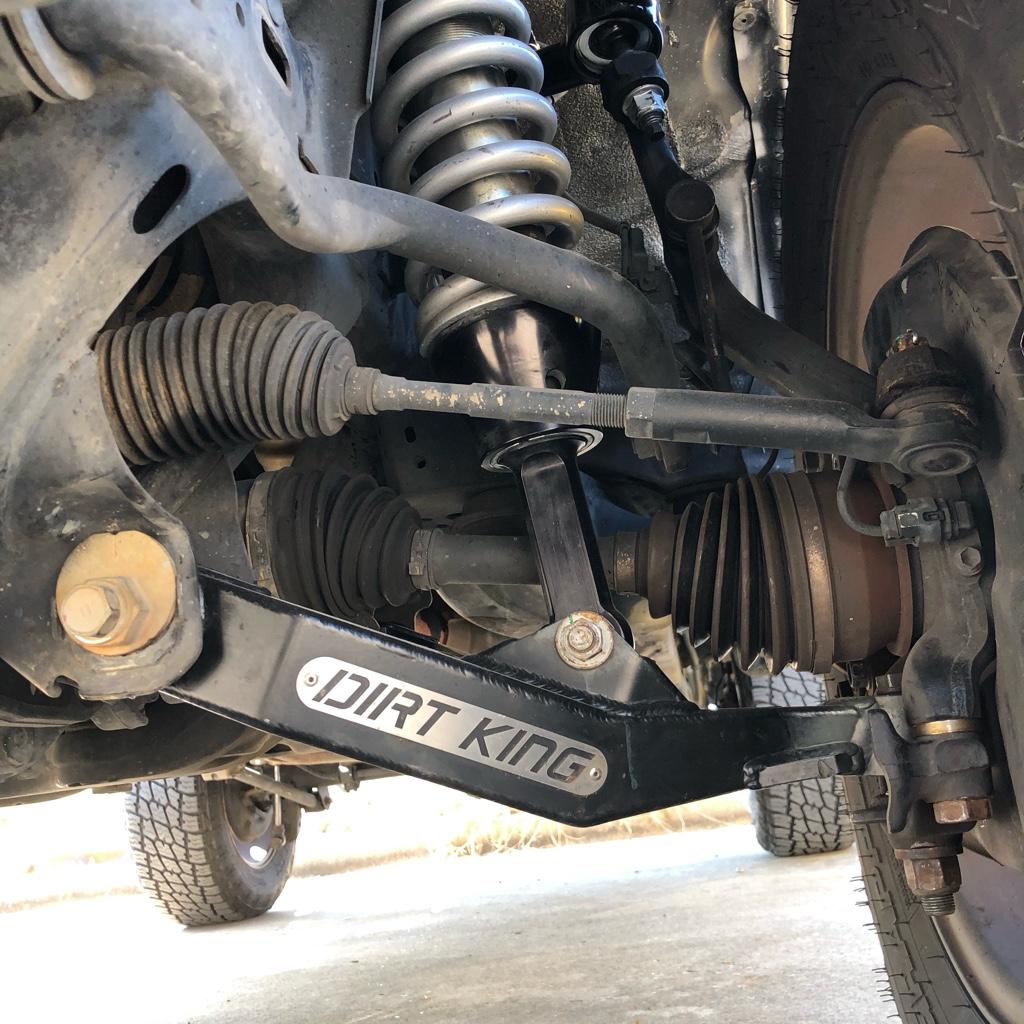
- DirtKing LCAs
- Fox swaybar relocation spacers
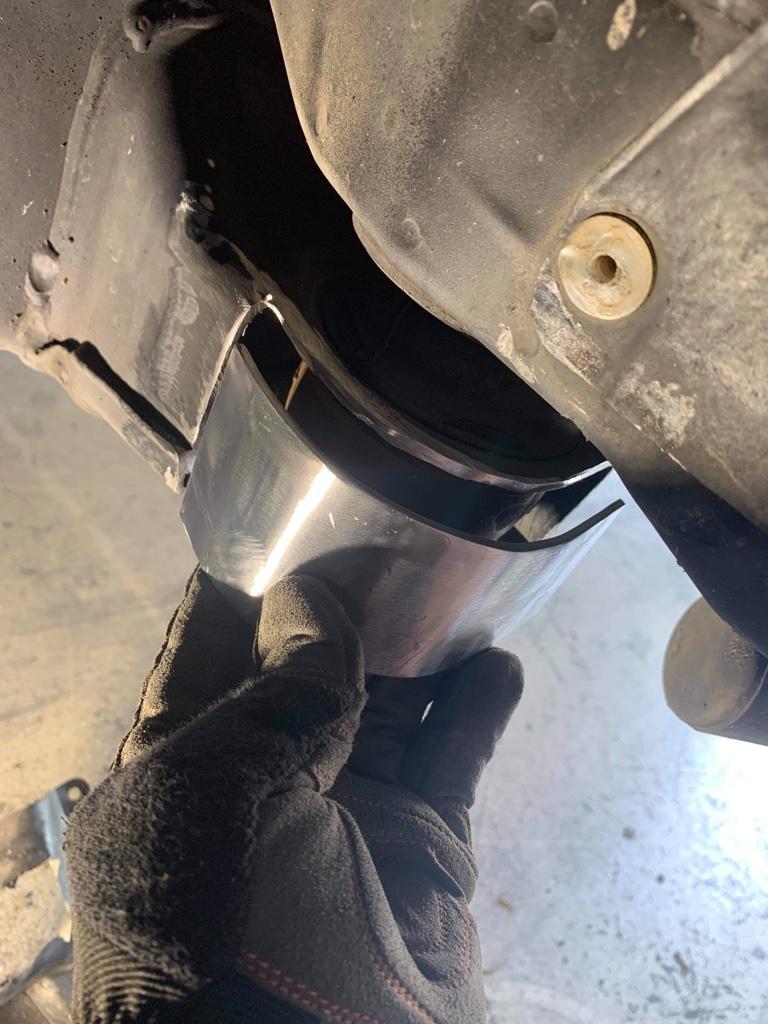
- custom curved BMC

Rear
- Dobinsons C59-677V TRD Red springs
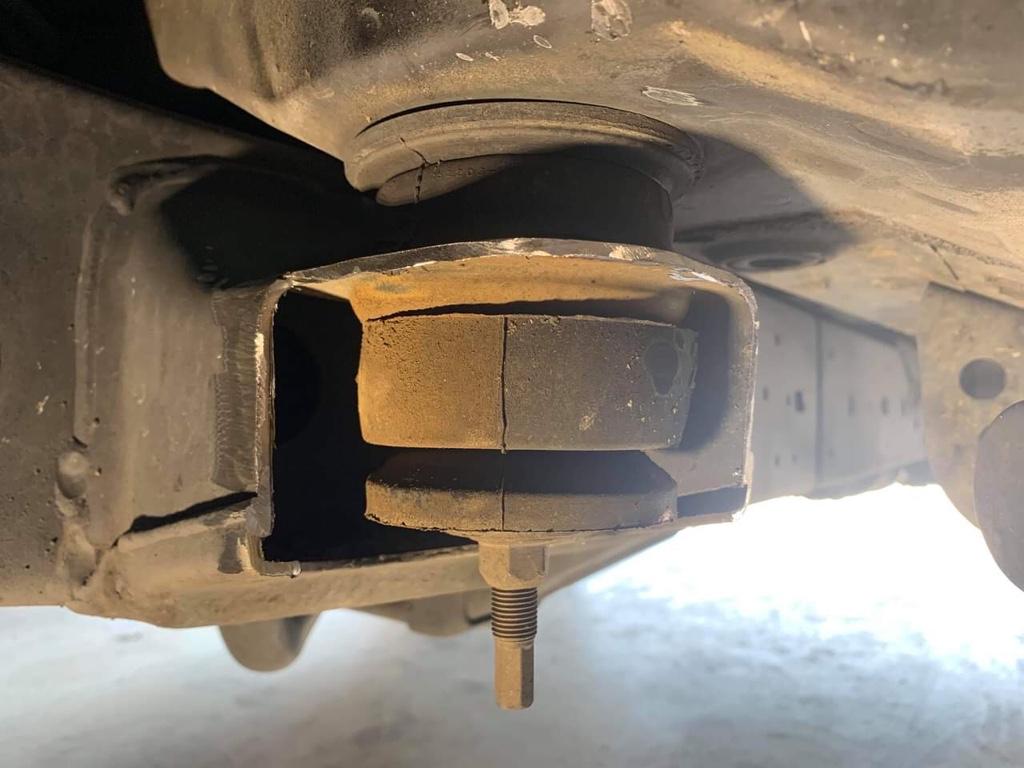
- Cornfed 0.5" spacer on driver bumpstop
- Fox 2.0 resi DSC
- 2nd Gen Rear PROFORGED Swaybar Links
- long travel rear control arms (coming soon)

Shoes
- Volk TE37 18x8 0 Offset
- Nitto Ridge Grappler 295/70/18 / 34s
- Stoptech ST60 BBK (being rebuilt - 7/2020)
- Low-Range Off-Road 20" extended axle/drop stainless steel brake lines (soon)
- StopTech front / rear caliper stainless steel brake lines (soon)
- 5th gen rear brake calipers with Hawk LTS pads and StopTech slotted rotors (soon)
- Spidertrax 1.25" spacers

Engine
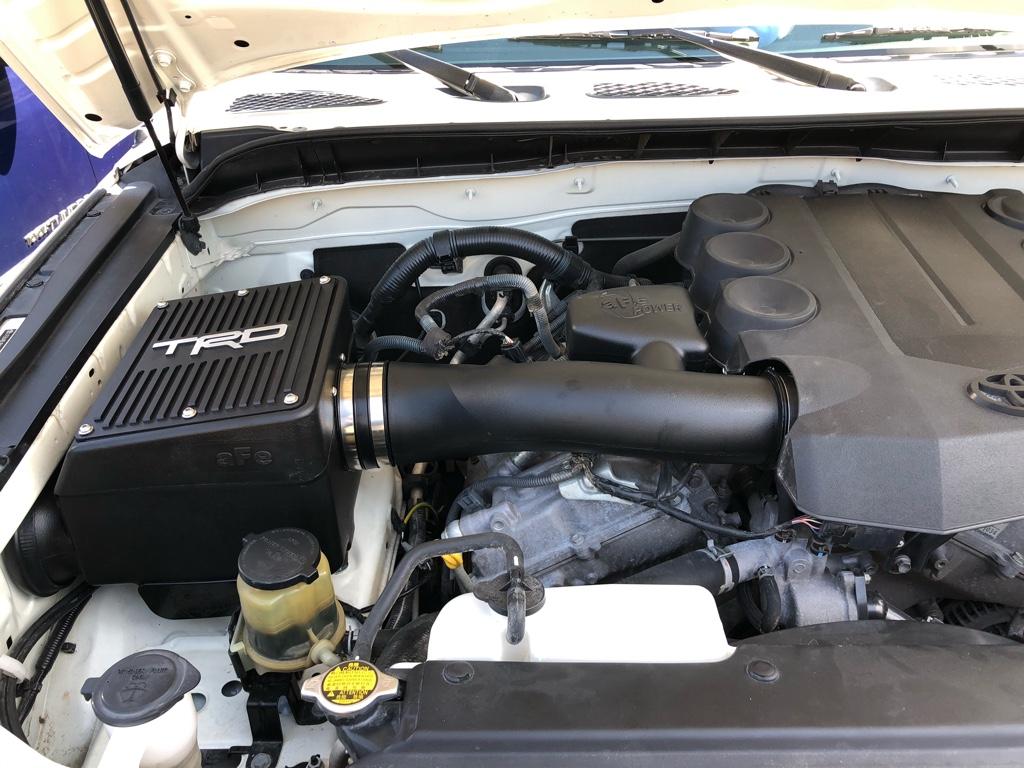
- aFe intake with "coupe" TRD aluminum cover
- Gibson modified 4th gen V8 exhaust
- Group 31 AGM Battery (Future)
- 5th gen 4Runner positive terminal cover
- eBay negative terminal cover
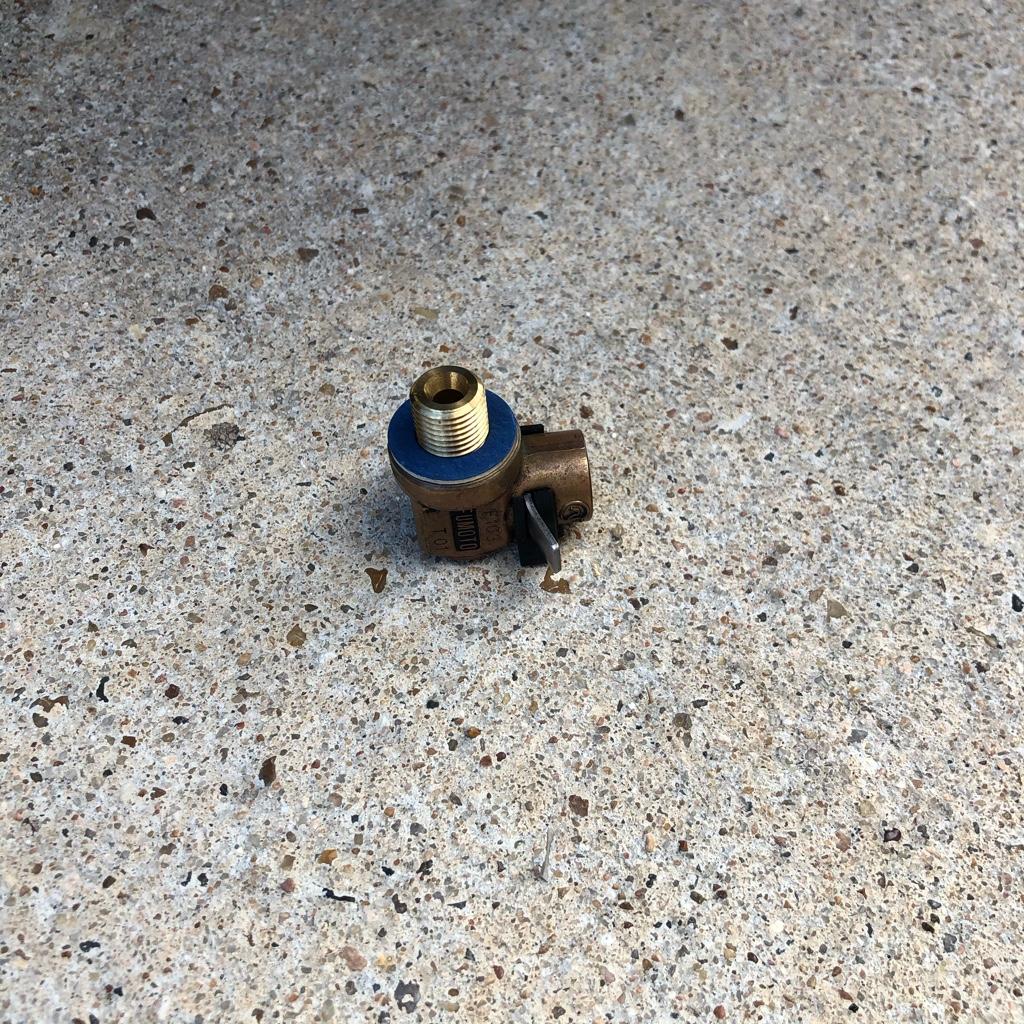
- Fumoto F-133 oil drain valve

Electrics
- JDM Toyota Hilux Surf Lamps (Potential)
- Kenwood DDX917WS (RHD Unit)
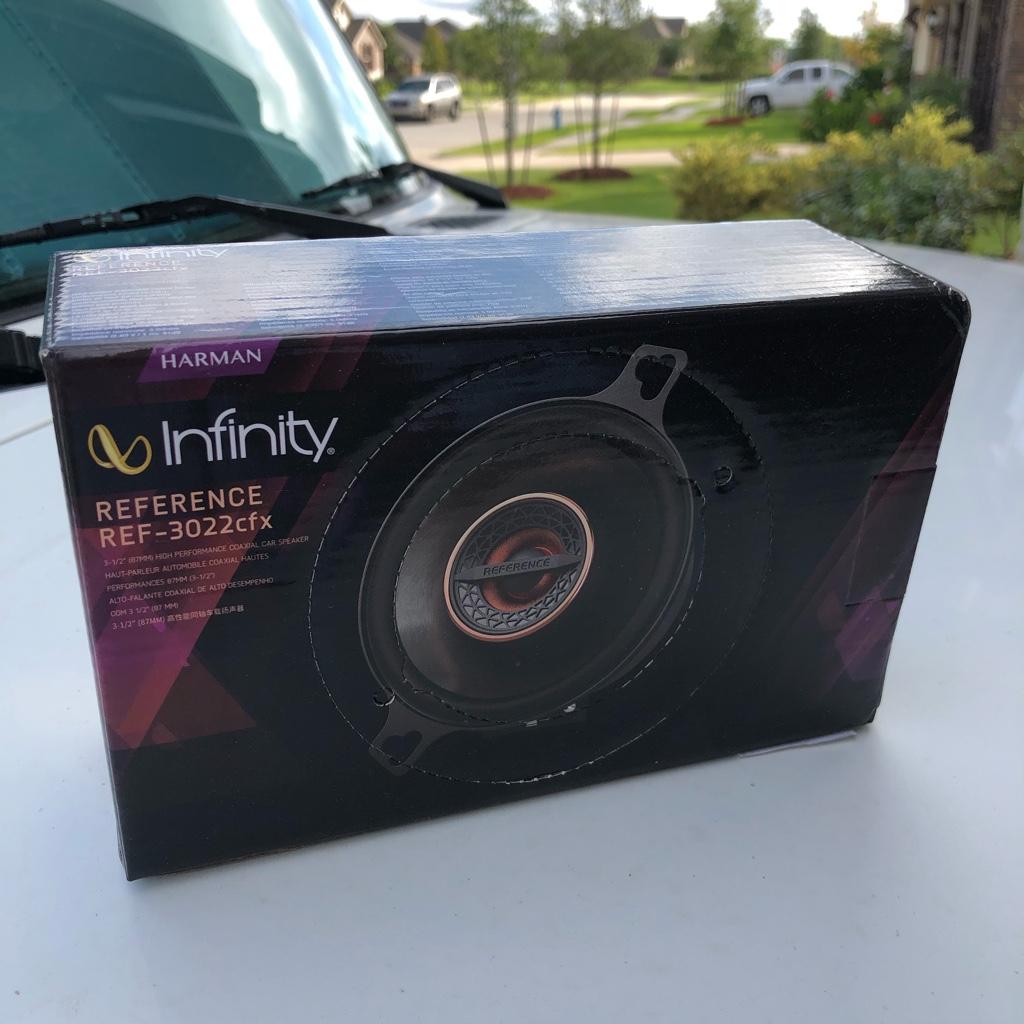
- Infinity 3.5" 3032cfx temp tweeter replacement speaker
- factory reverse camera tap (dual view)
- OEM Audio Plus sound system upgrade (Future)

Misc
- AJT cement grey keyfob cover
- IS300 aluminum brake pedal cover
- Iconic/Inv4drZm rear recover points (soon)
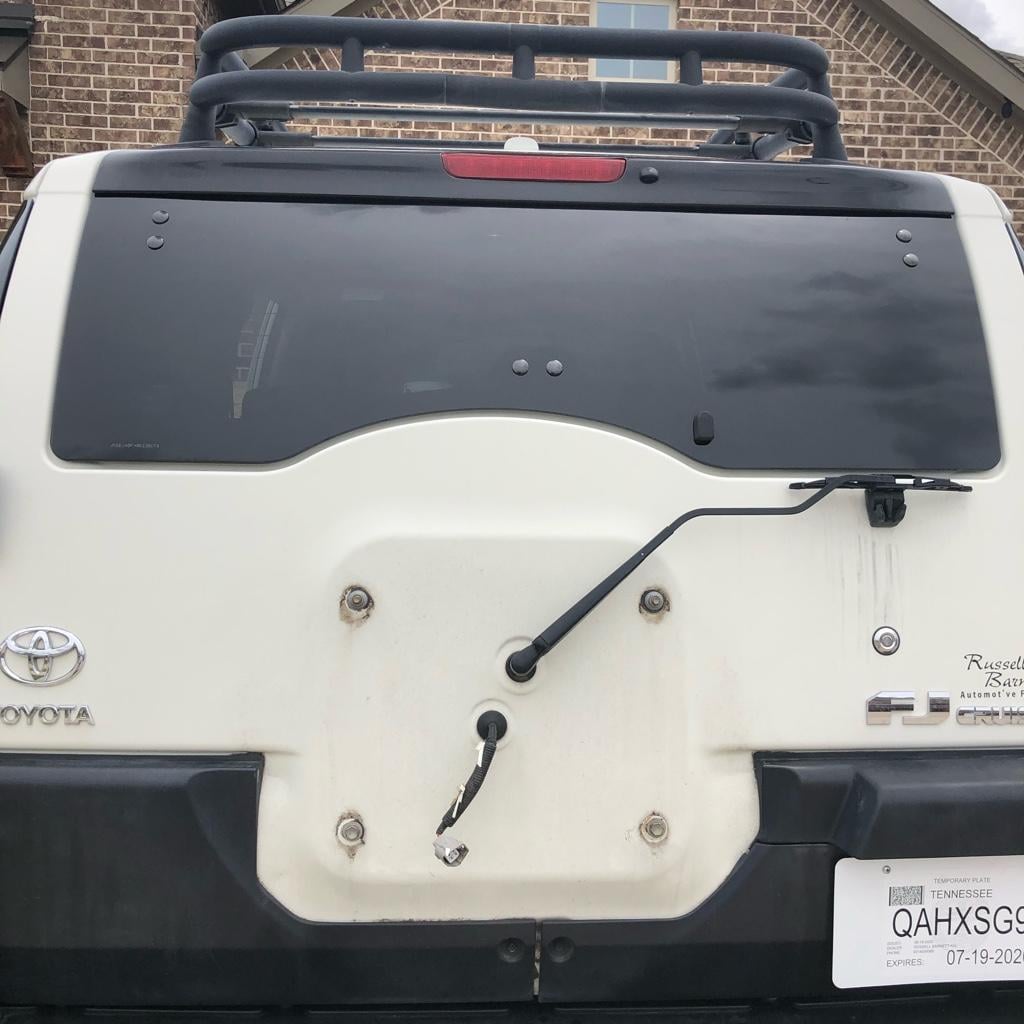
- chitown4x4 power rear window (Future)​

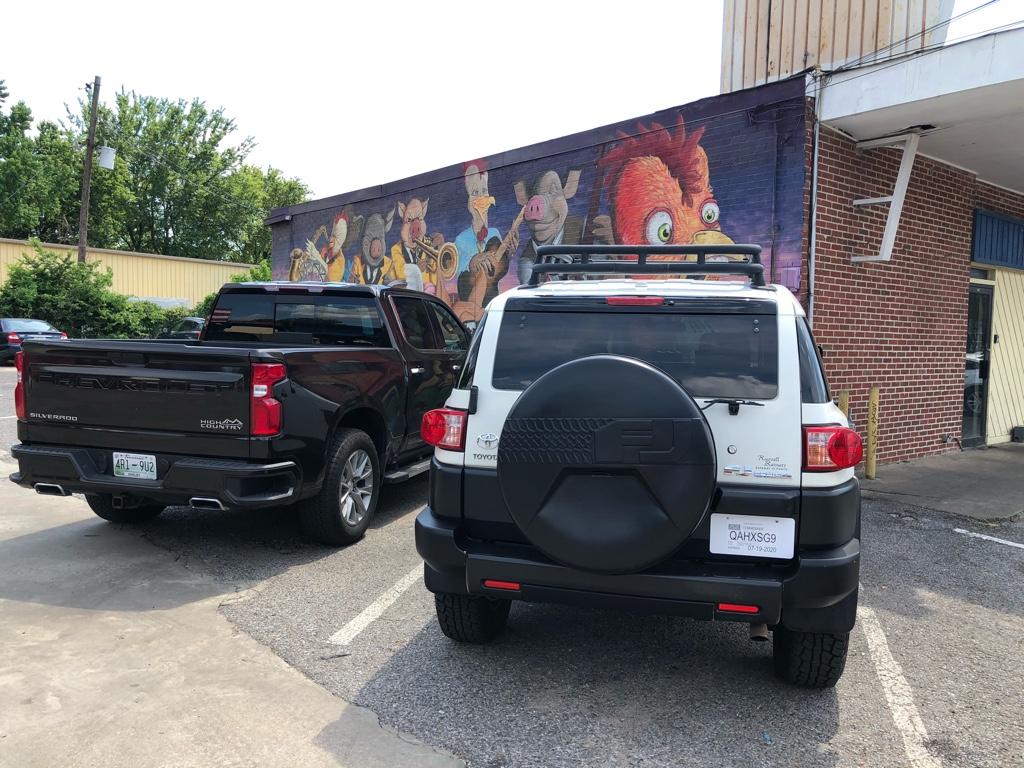
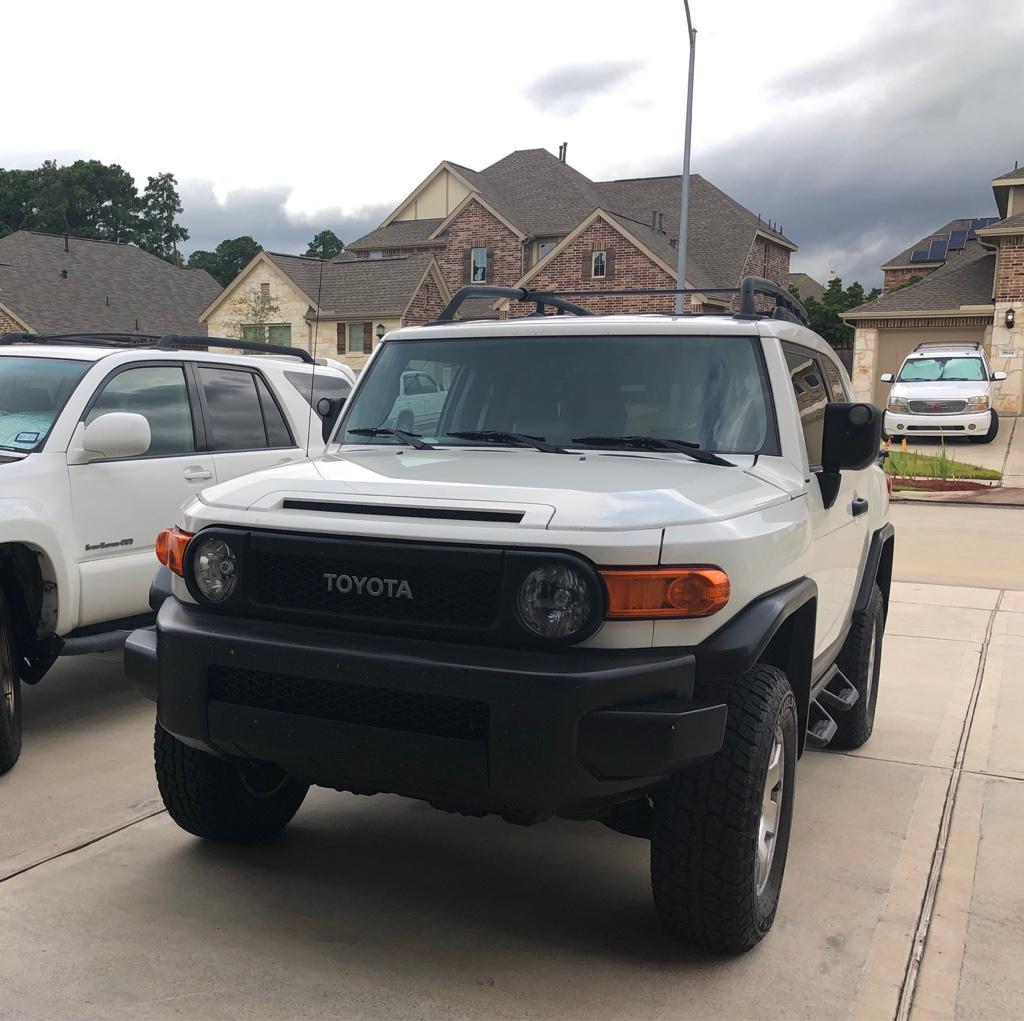
Due to the untimely demise of my 4th gen, I decided to go to the dark side and get an FJ. It's kind of bittersweet because I never got to finish my 4th gen build, if there is such a thing as finishing builds. I plan to follow the same philosophy for my FJ build like my 4Runner build was. The only thing is, the FJ did have the trail teams edition but I'll follow the OEM+ route. Maybe what it could have been if they offered the FJ in a TRD Pro trim.
 
Last edited:
Register to hide this ad
6/19/20 - backstory & car pick up

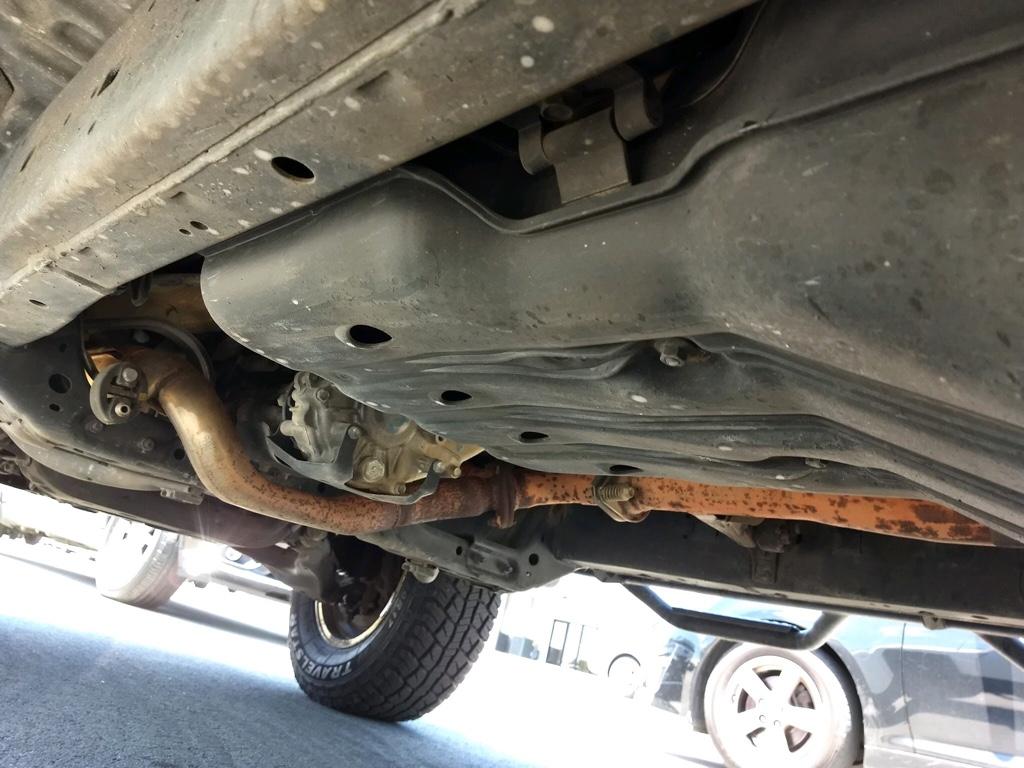
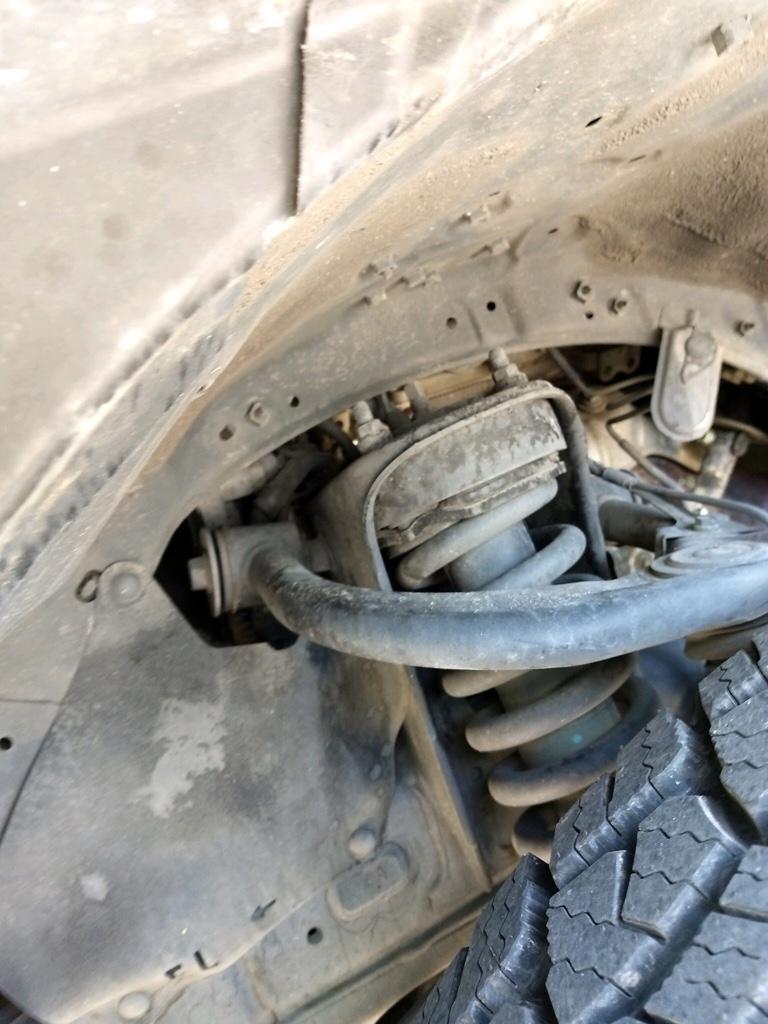
Here's a short backstory to the decision process. I debated on finding another V8 white 4wd 4Runner, but my friend sort of talked me into the FJ since it was previously on my radar for a bit. Then was the decision to either go with an older one with slightly more miles or a newer 2013-2014 with crawl control. Ended up axing that idea since it wasn't worth the upcharge to go to a later model year.

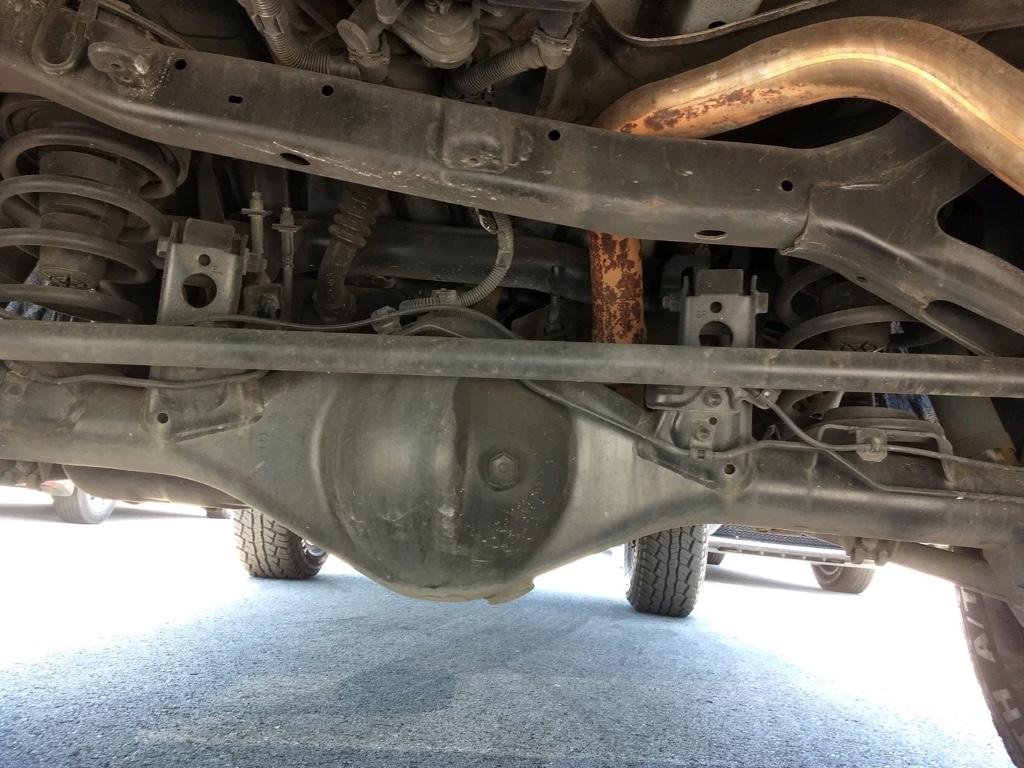
I contacted over a dozen dealers and almost all of them wanted to talk over the phone instead of answer my one question via email. I wanted to get under carriage photos. After dealing with the rust on my 4Runner and FD, I didn't want a repeat with the FJ. I was willing to pass on an FJ with 50k less miles for one with virtually no rust. I ended up finding a 2011 in Tennessee a week later, put down a deposit based on these pictures he sent me. The car hadn't even been on the lot for a day.

3b1039c86636e441e37b3398371b12c2.jpg

0ac3f1fa7c3fb84375898103ae978dfc.jpeg

a46c77ef3d5014515a6b97cf9a6bc951.jpeg


I went ahead and rented a car to drive up to Nashville and drive her back in the span of two days. Unlike the 4Runner road trip, I have much less pictures with the FJ on the road home. With the whole situation the world has been in, there wasn't really much time to stop and take in the sights. A lot of the trip was just eating in the car and some of the gas stations didn't even have open restrooms for the public.

9d8e58cbd133f3f465be2a5e60d632c2.jpg

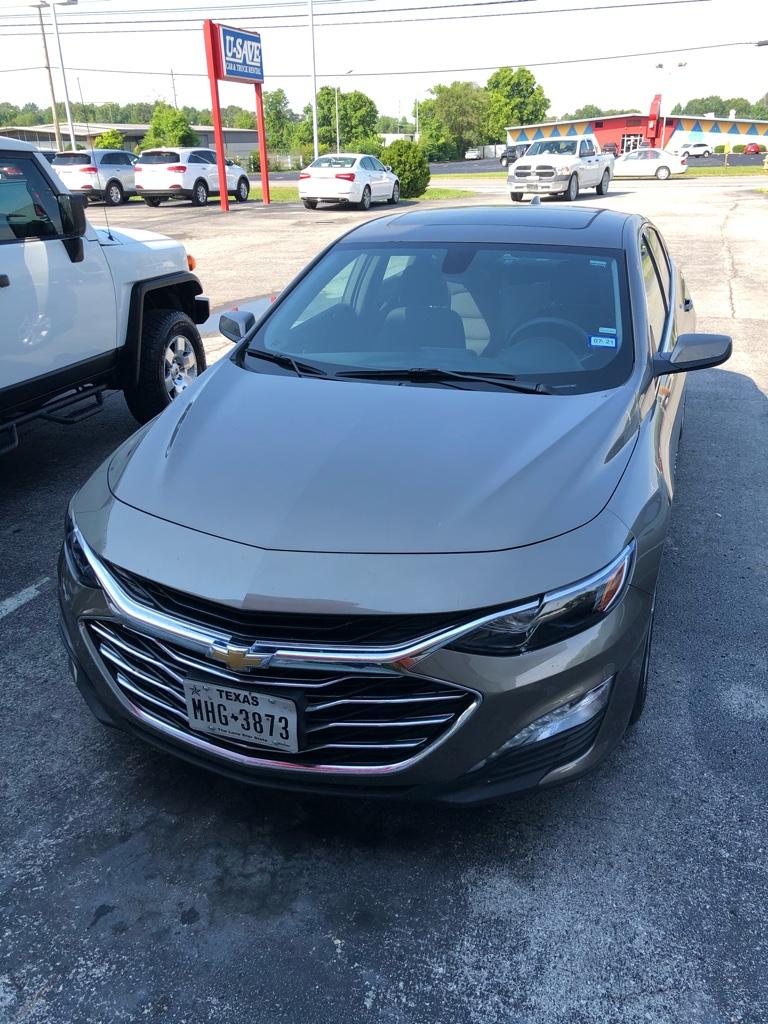
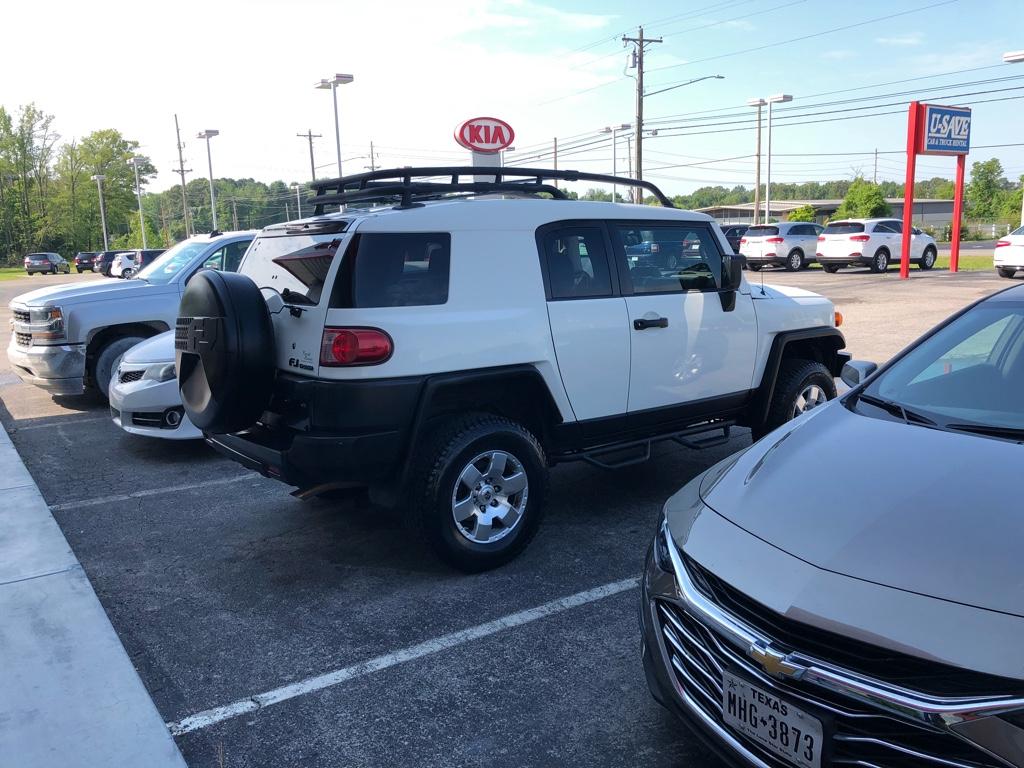
Here was our rental, which surprisingly had more leg room than the FJ.

969ca6676bcbde2b3613da5f467b3795.jpg

The small town dealer I ended up picking her up at.

977377e75db0f820431027f273545569.jpg

One of our stops in Memphis for BBQ.

Made it back to Houston around 1:30 AM on Saturday after leaving for Tennessee on Thursday at 7:30 AM. Overall I think I ended up with a decent base vehicle to build on. The stealership replaced the tires with some Travelstar Ecopaths but missed the whole warped passenger rotor. At least alignment was done but that pretty much was the extent of what the dealer did as far as maintenance along with the oil change / cabin air filter. Previous owner painted all the silver parts black, which are showing some wear from when they were first painted. They also left what looked like a daystar spacer lift. I could tell the suspension was pretty tired and it felt like riding on stilts if that makes any sense. There are a couple of non-PDR dings on the driver side along with paint rubbed off on the door sil / door edge. The previous owner also did not tighten the spare on at all, I was lucky it didn't fall off on the 800 mile road trip. Just a couple issues with buying sight unseen. I would have bought one locally for a bit more but I found accident history on that one so I passed on it. Luckily most of my aftermarket parts from my 4th gen will swap over and some of my 5th gen components won't need to be modified to fit. DT shorties and Y pipe will end up going to the classifieds though.
 
Last edited:
6/28/20 - interior work

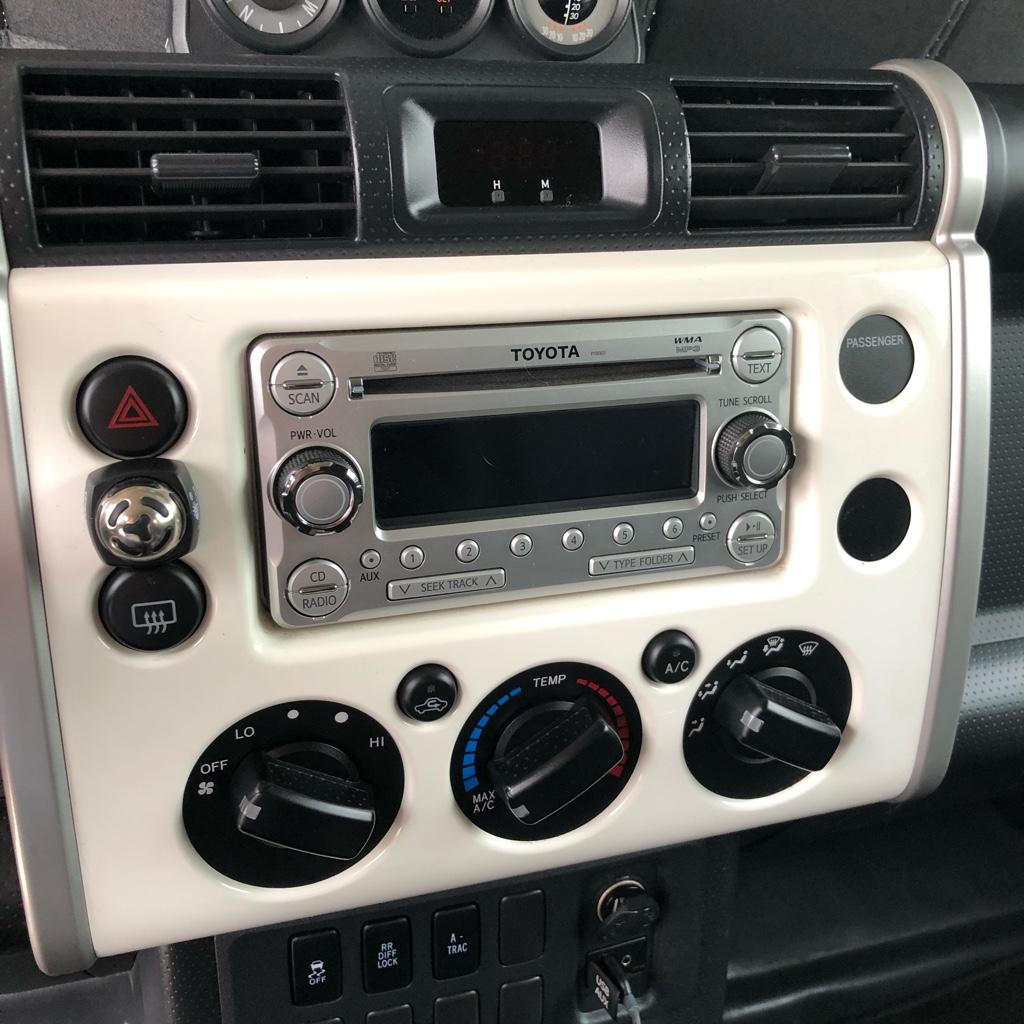
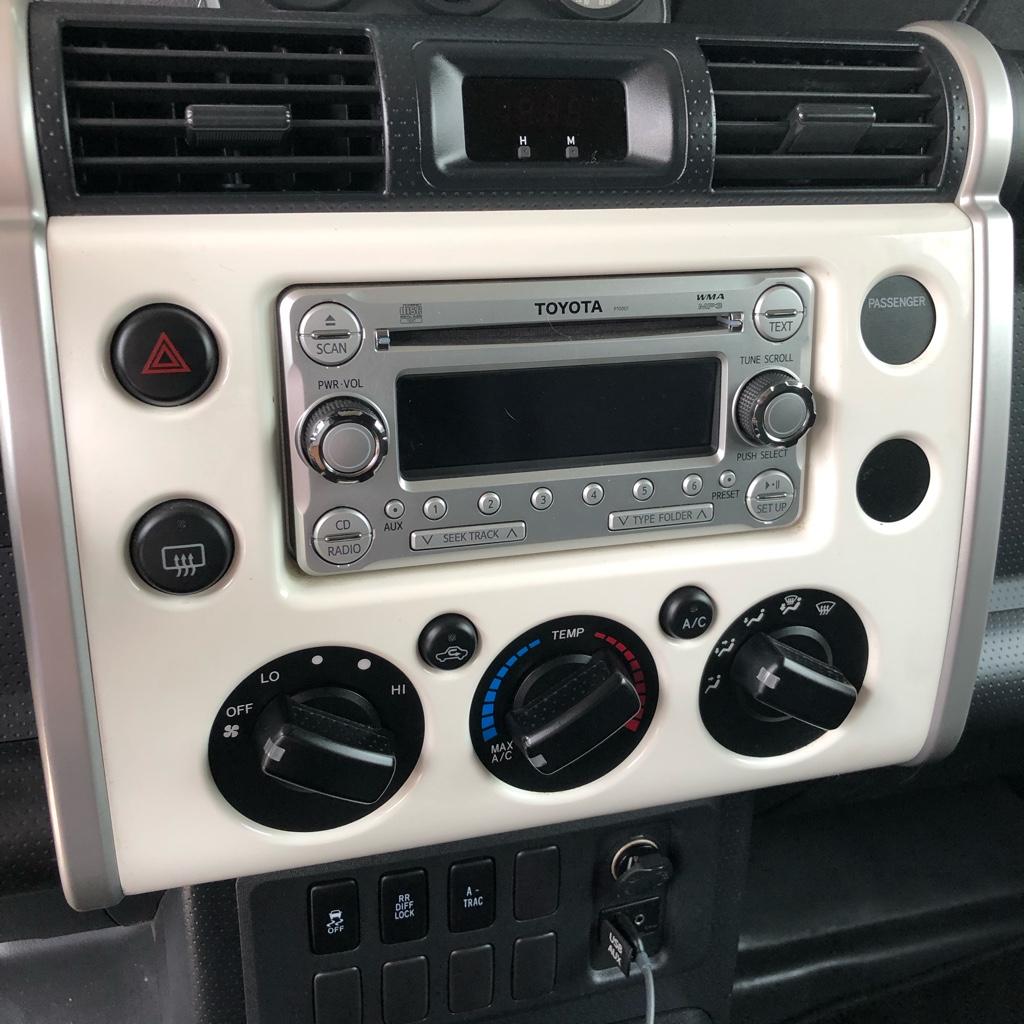
I spent several days working on the interior. Started with removing this phone mount the previous owner had installed. I pulled the radio bezel and was relieved that it was only mounted with double sided tape and not with a screw. Would have been more work to repair / replace the radio bezel.

155aa2c4038d19972aa260548284aa9b.jpg

ca34b1478f23eccf3822ca326ea55c3a.jpg


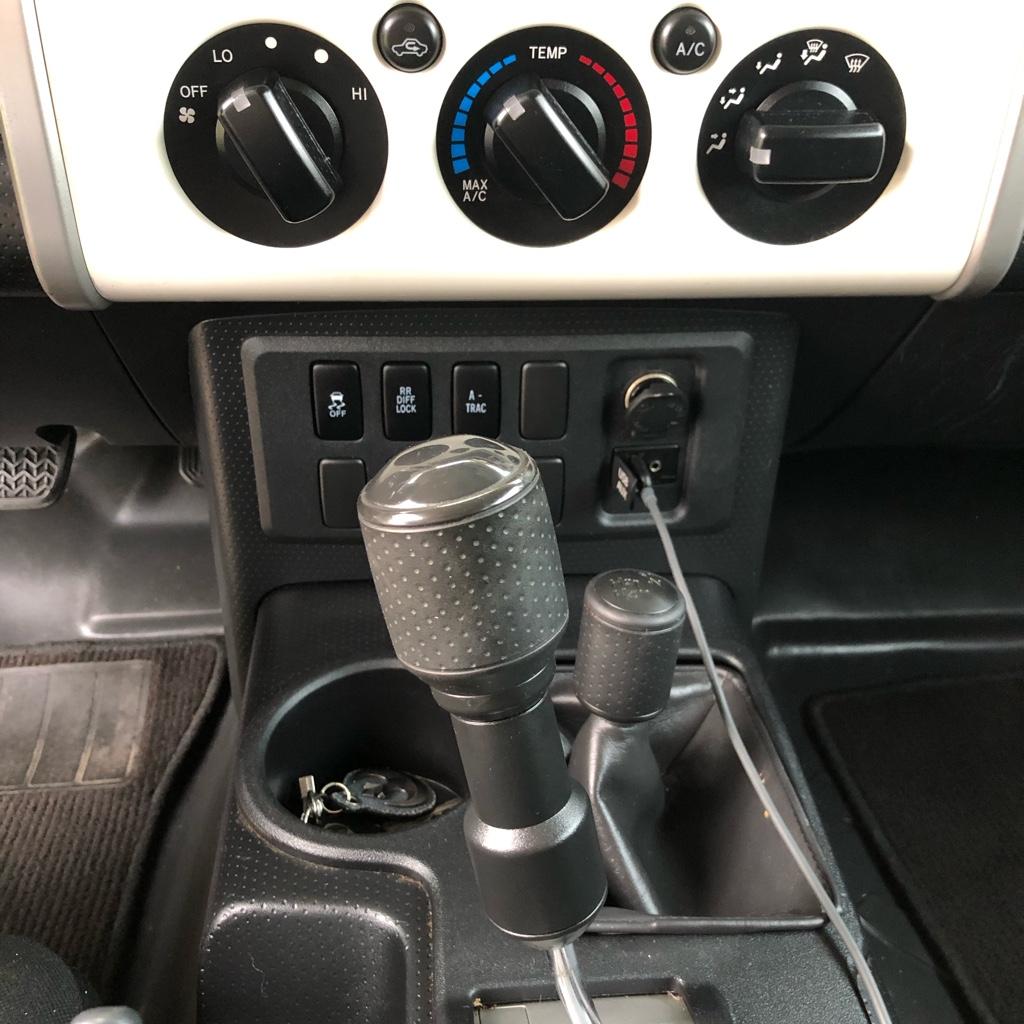
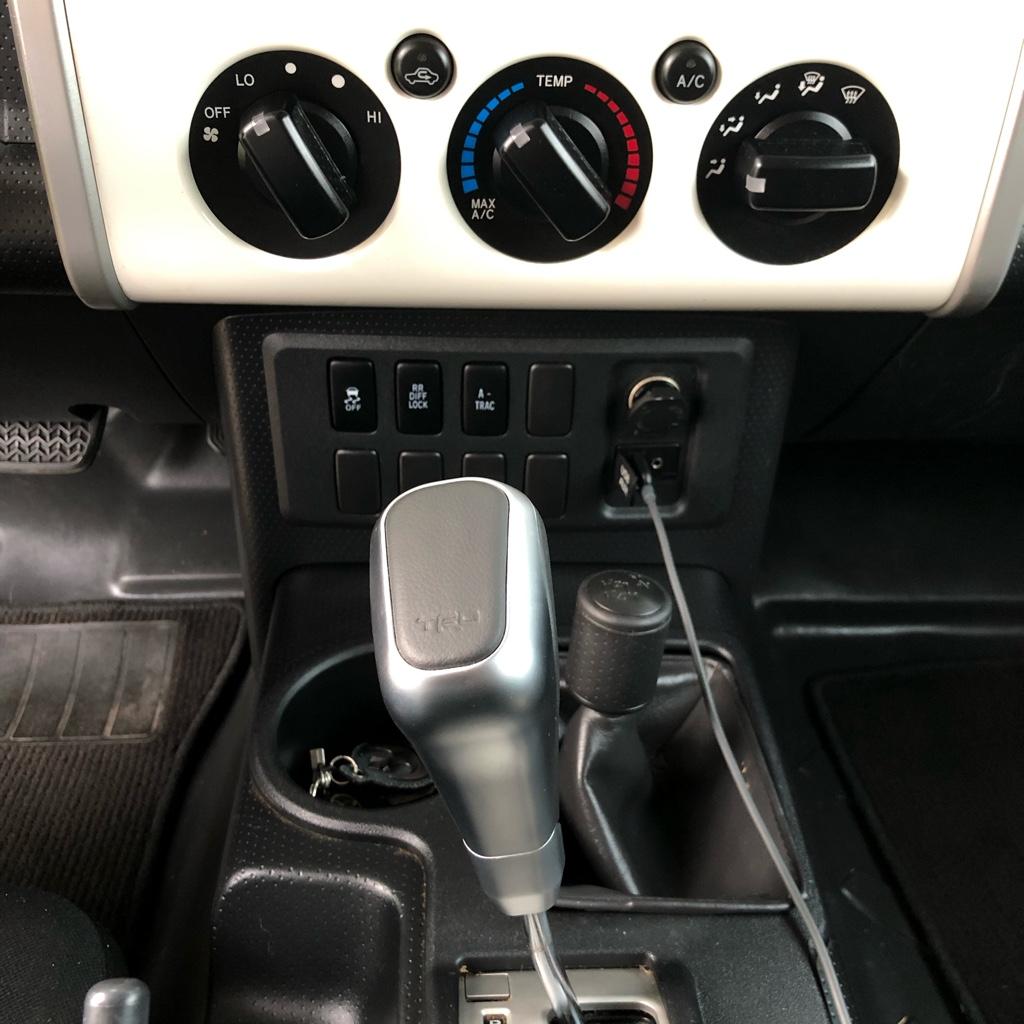
I also installed the TRD pro knob that did not really go well with the 4th gen interior but it still looks a bit out of place here. I'll probably end up giving it to one of my friends that owns a 5th gen. It really only looks right in that interior.
673570a40870781a28384462f94e6bfb.jpg

be088ac599f0dac0df8dc979d42c3d44.jpg


The dealership really did not do a good job cleaning the car up at all. I'm sure the only thing they did was do a light exterior wash. The car still had previous owners stuff in the pictures the sales guy sent me over the phone prior to me buying it. The clean under carriage really was the only thing I was looking for.

89eeb0631d91b63d4aadc1ebf78398a2.jpg

44912efdb91bac84854d44c58b8026a2.jpg

5a3665e3cb7e95871daa25bc4b54f47a.jpg

ac29ea675adabe72ba22fb3923186634.jpg

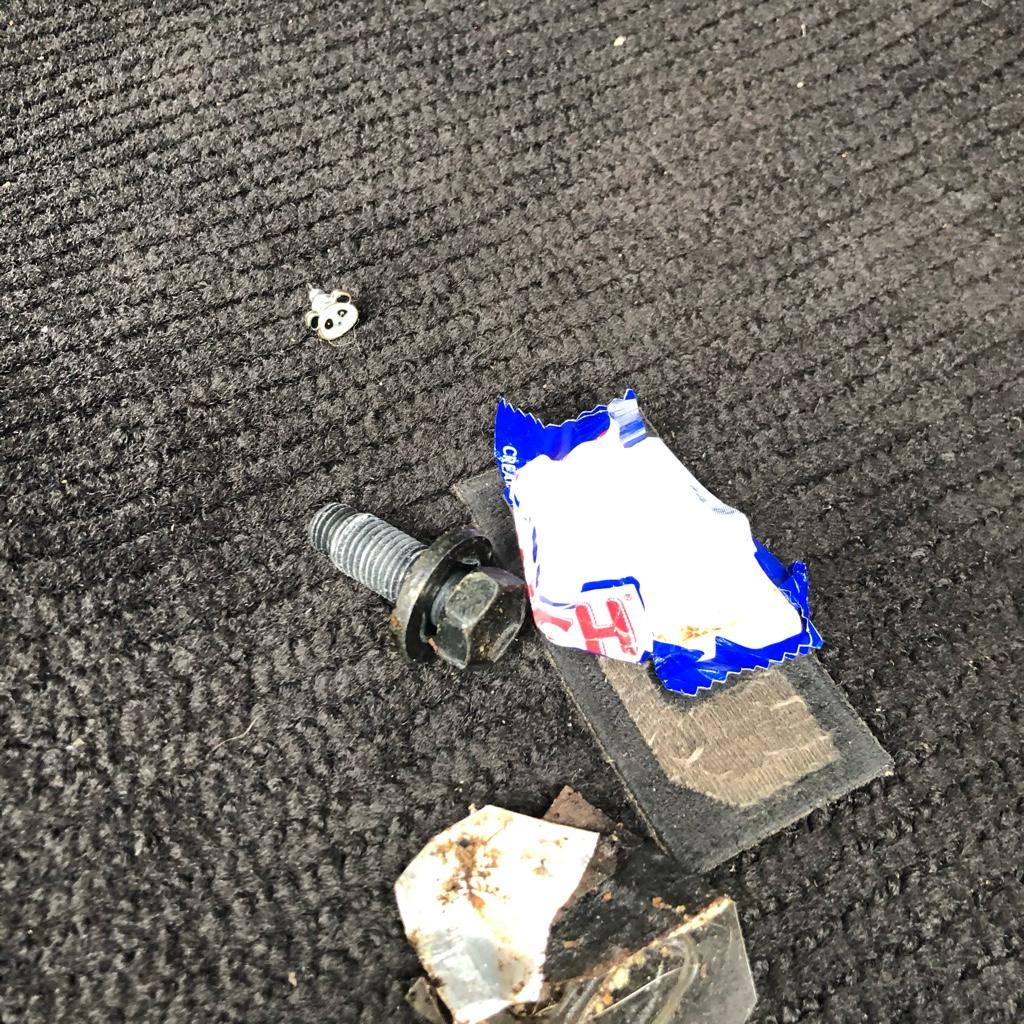
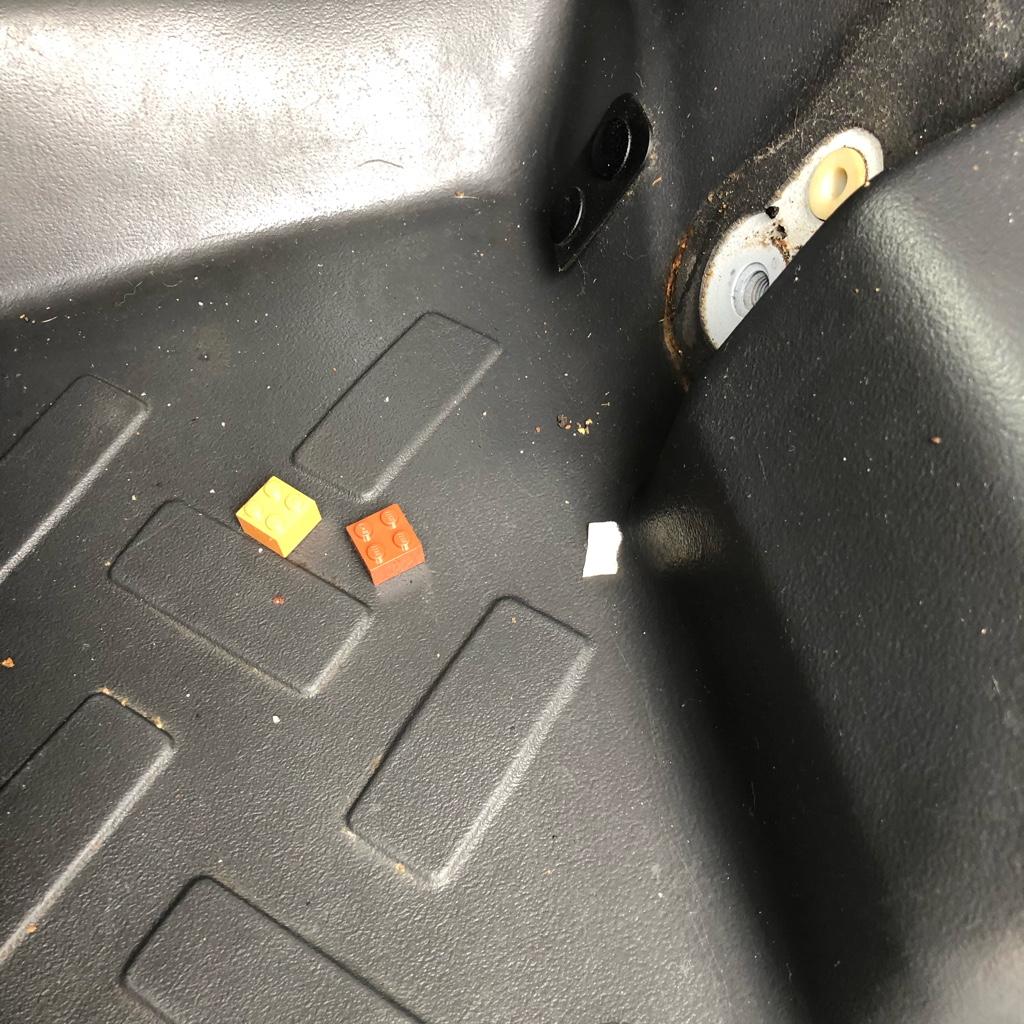
Found some old wrappers, earring, and some legos.

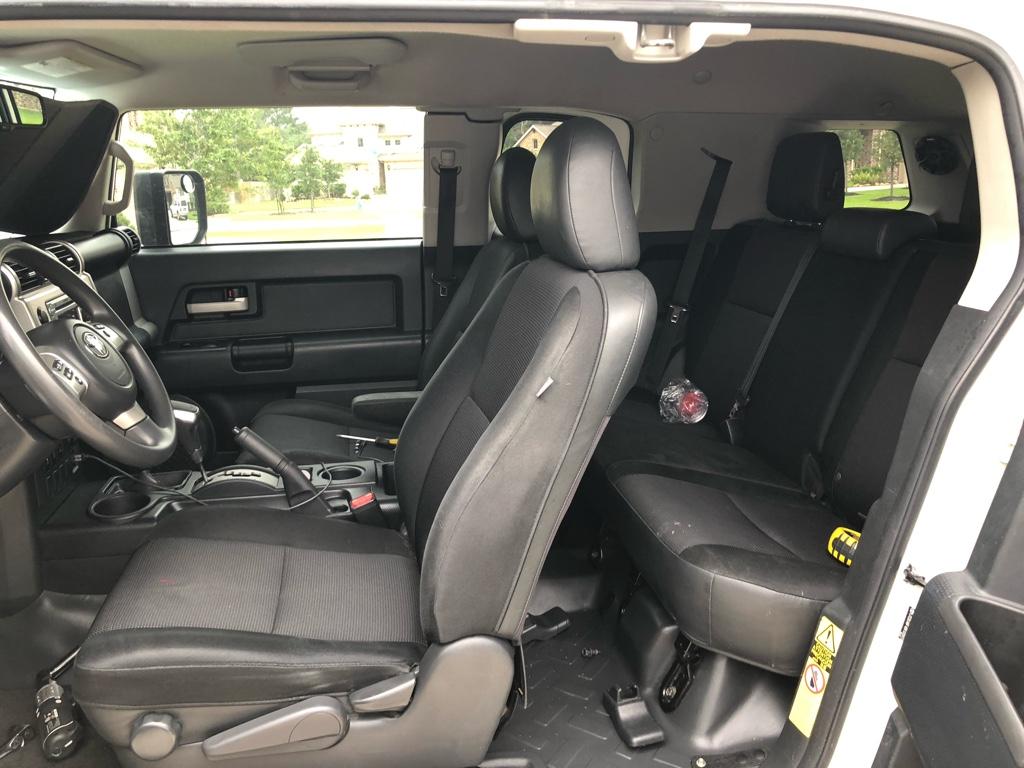
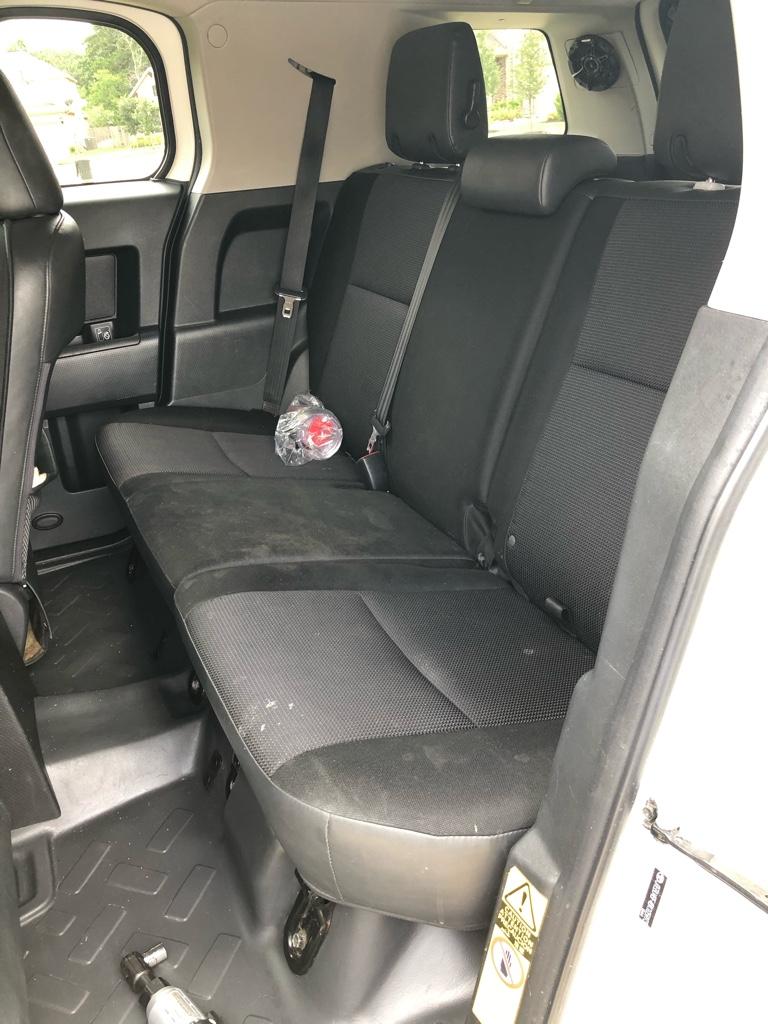
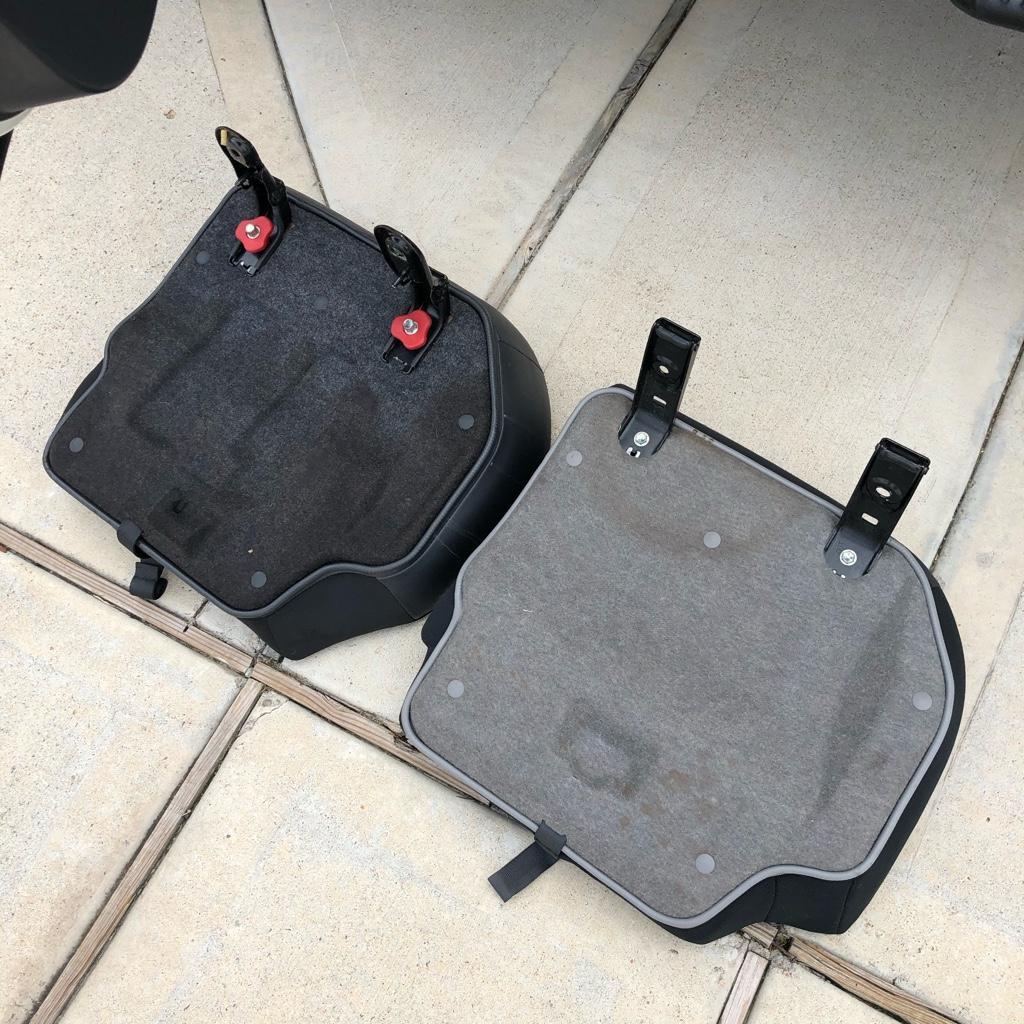
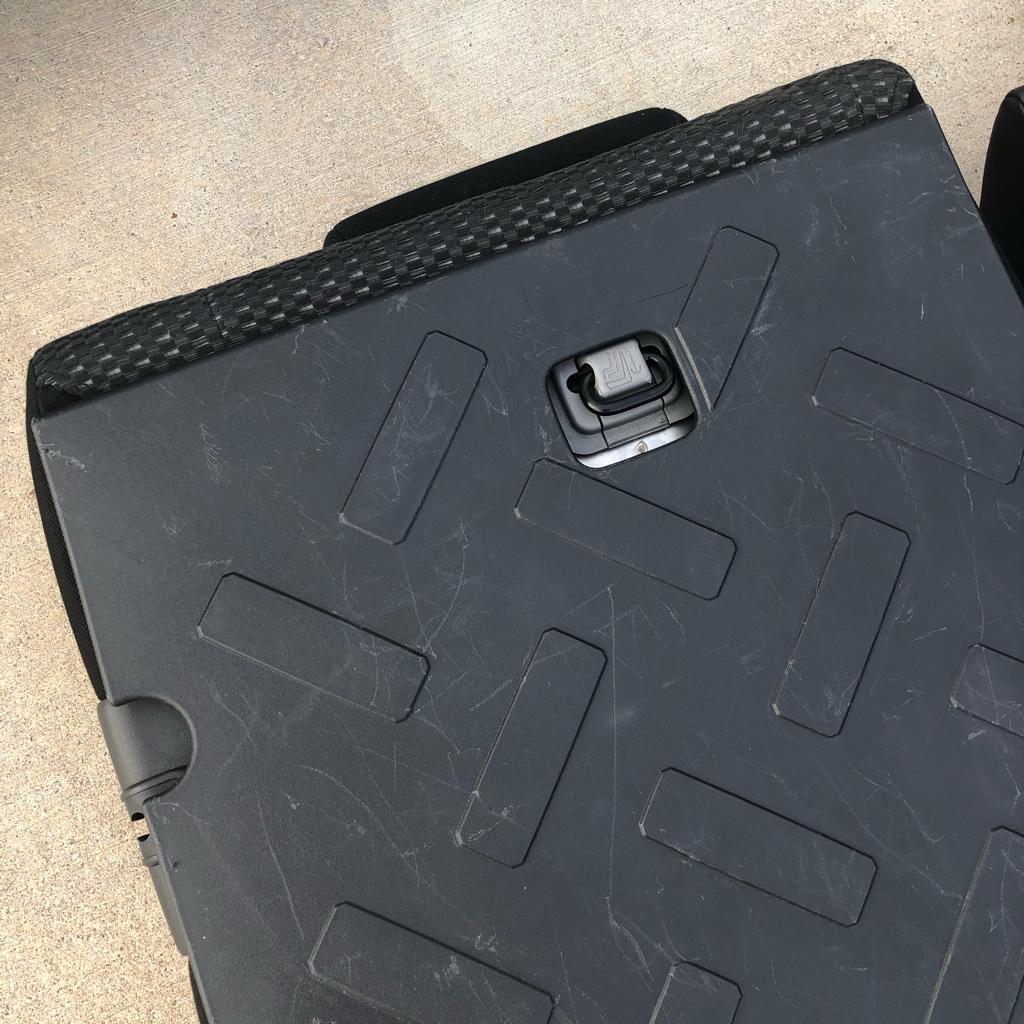
Also pulled the back seat pieces to see if I could swap the rear seat since the 4Runner has a center armrest with cup holders, while the FJ doesn't have the armrest and just cup holders on the rear "doors".

6ce3aa5f6afa5f23ee655aaba7440e7b.jpg

000b843be287a75c5a1263334af60a91.jpg

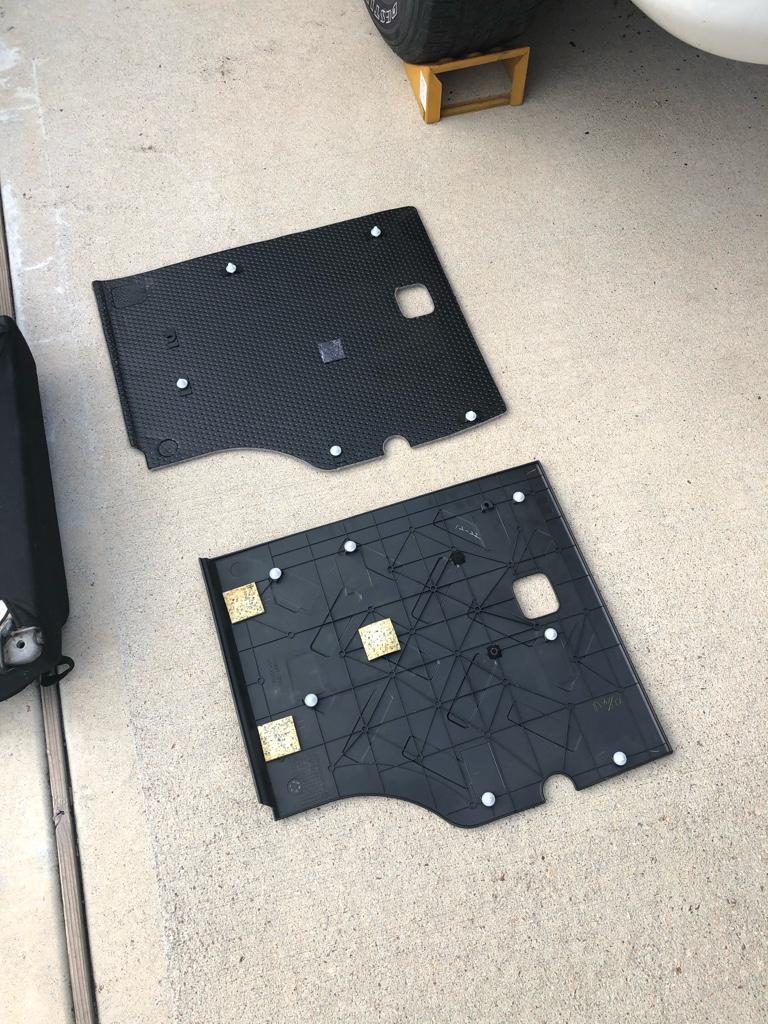
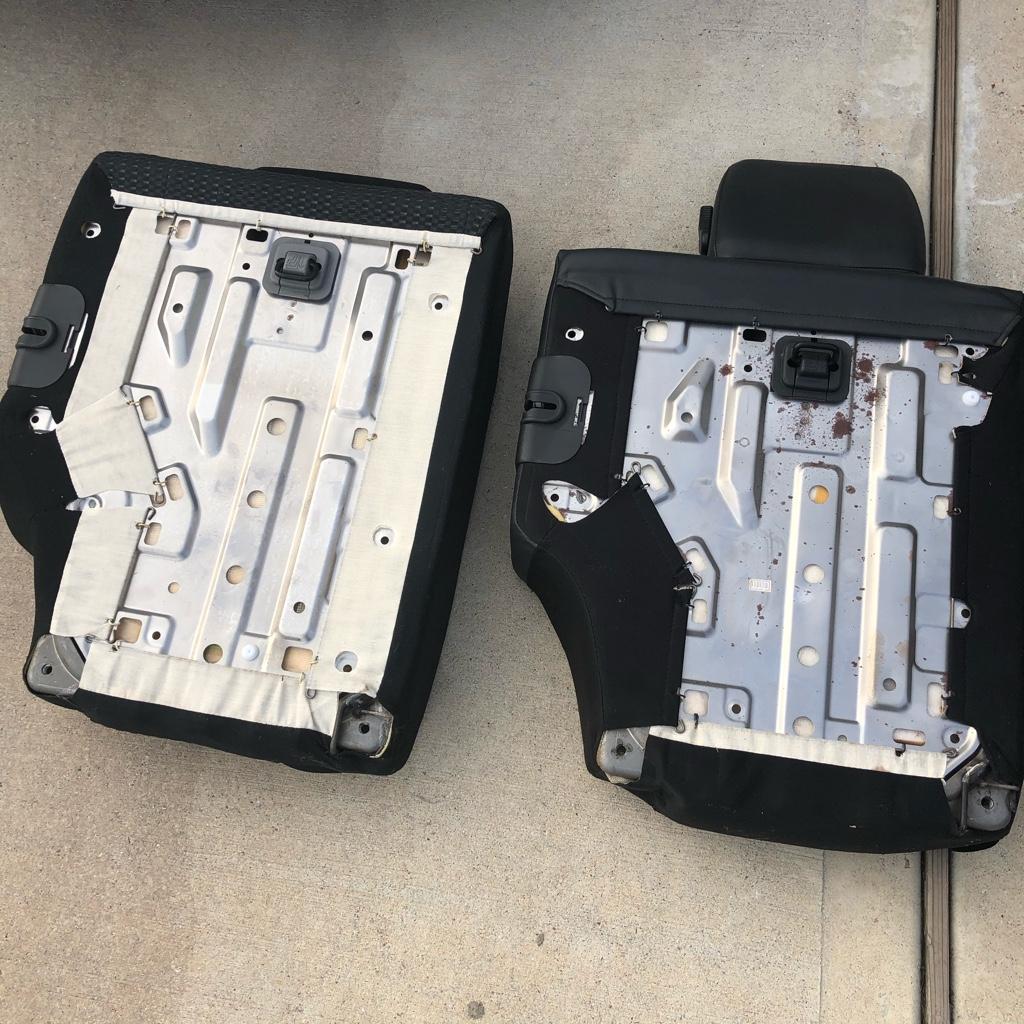
Ultimately, found out what others probably knew that they changes the bottoms ever so slightly so they won't sit flat when you install them. My friend did suggest to just swap the seat covers over, which I would have done but the back panels also do not line up.

813ccef55683e246cafab981c656cc6c.jpg

37667992999c349ae162c981370eab4d.jpg

d9674fd2ae36be69c6688b085fcca91a.jpg

Seat backs will bolt in but you would have to use the 4Runner rear panels which are carpeted, while the FJ panels are hard plastic. Swapping the panels wouldn't have worked either since the openings don't line up. Kind of weird that Toyota would recycle the platform but change up minor parts like that. So much for swapping over my seats. I also passed on the front seats even though I find them more comfortable. Mainly because the FJ seats have airbags while the 4th gen seats do not. I didn't want to mess with the SRS system yet. Another wasted 4 hours.
 
Last edited:
7/3/20 - DDX917ws install

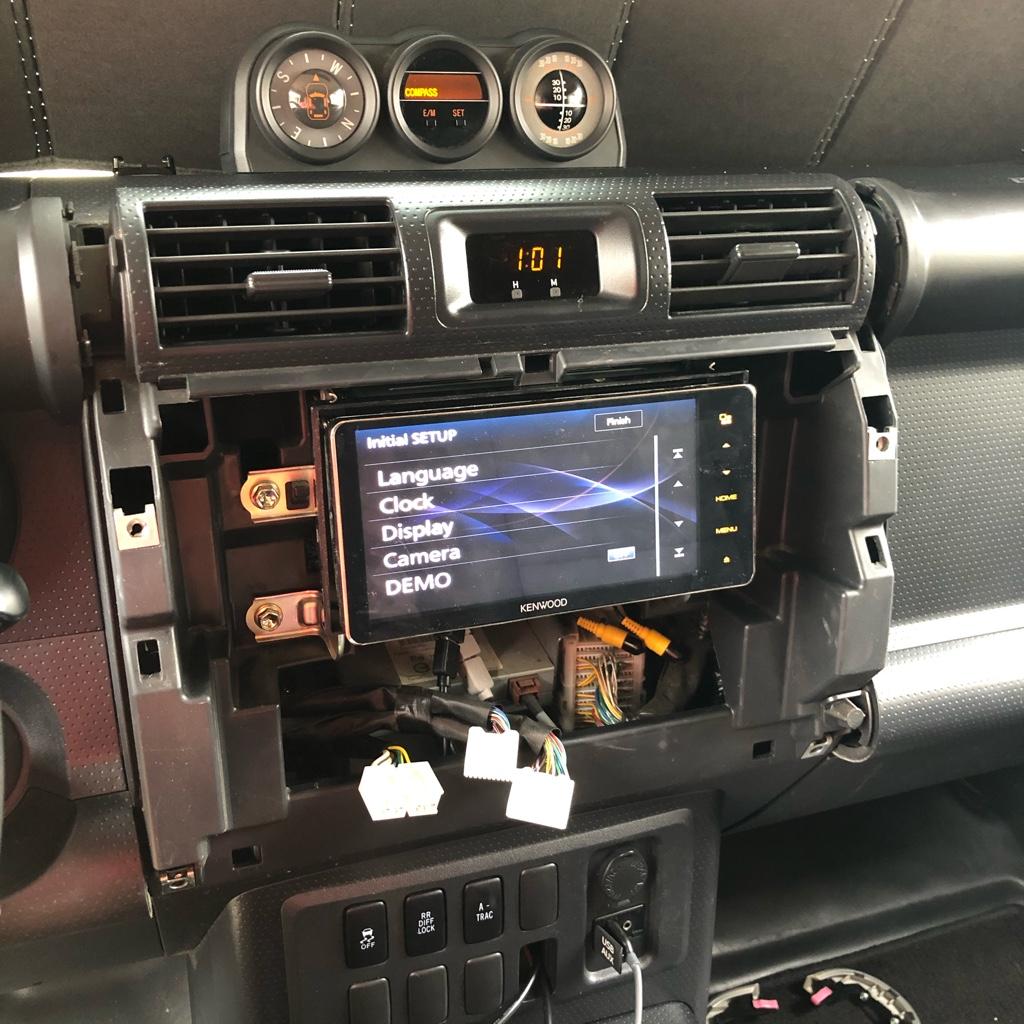
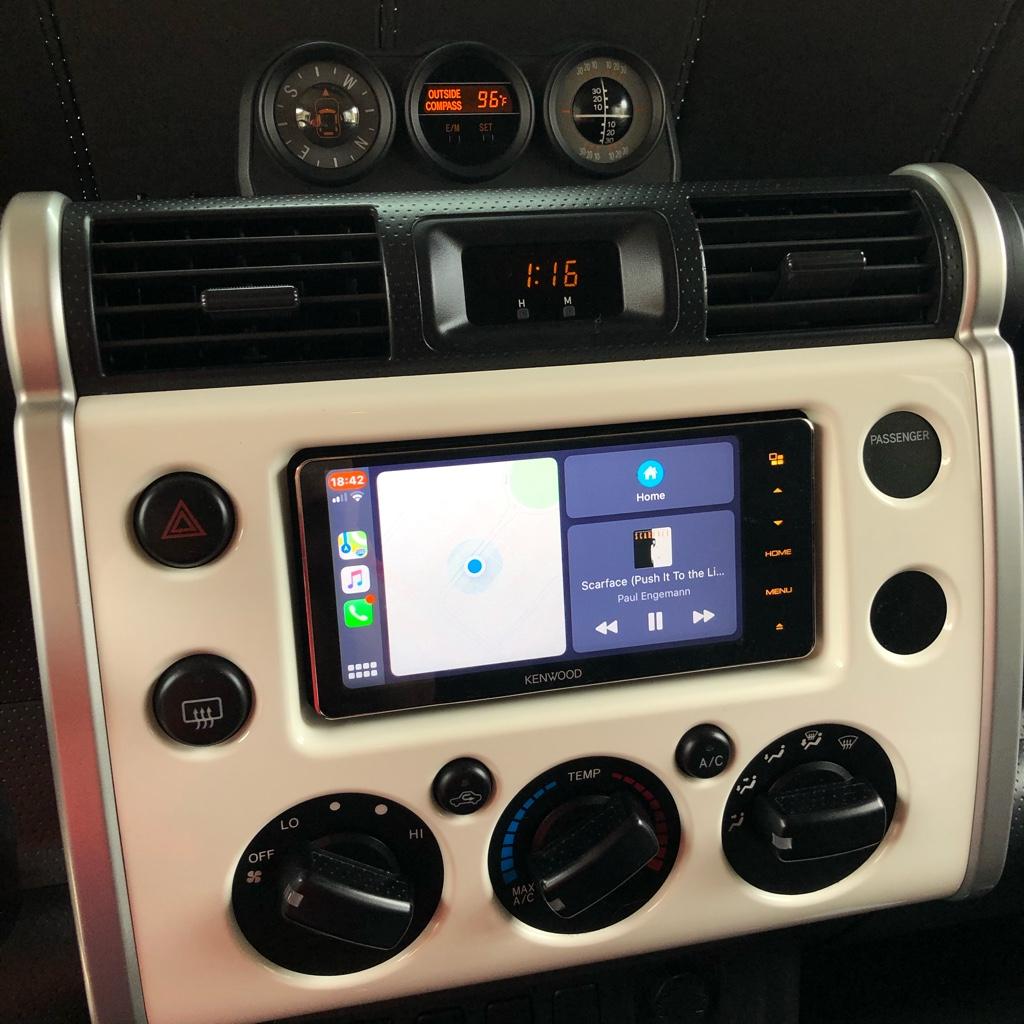
Not much to note here. Any details on the headunit itself can be found on my original install. Pretty much plug and play. I'm still working on the steering wheel harness. I never got it to work with the 4Runner but I got new plugs from fasmoto so I'll try to make them work on the FJ.
74d5613ed2db15c0bded707c4321e5a8.jpg

68b1b8238fd4bed75e2fadba2ba857c2.jpg


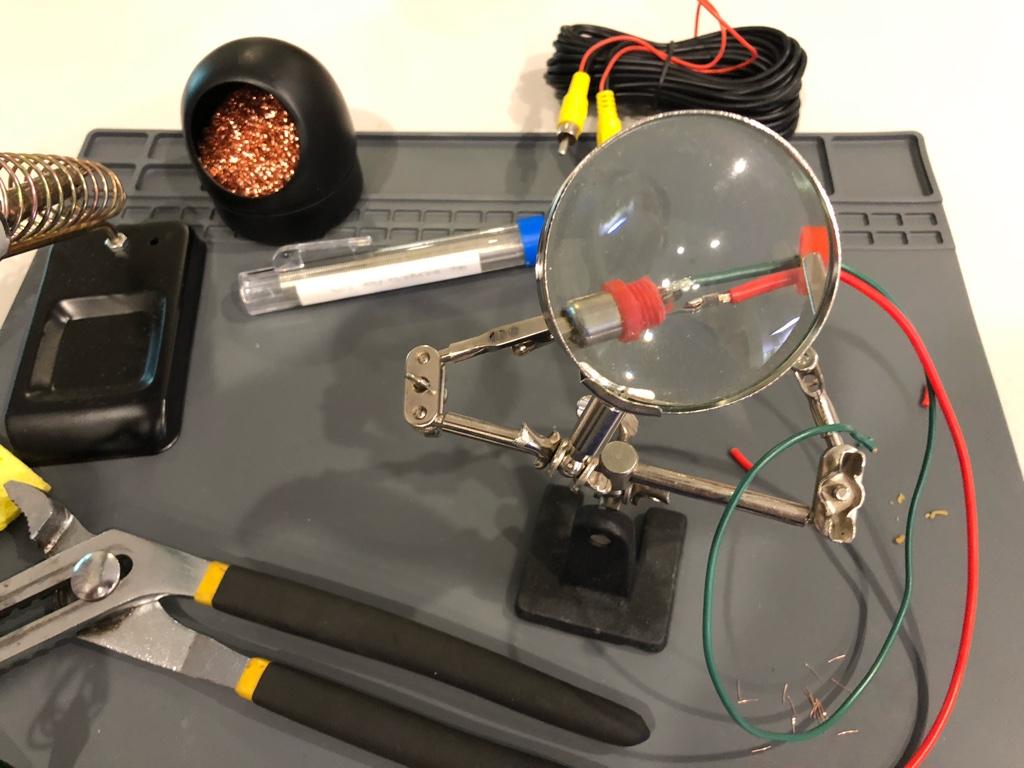
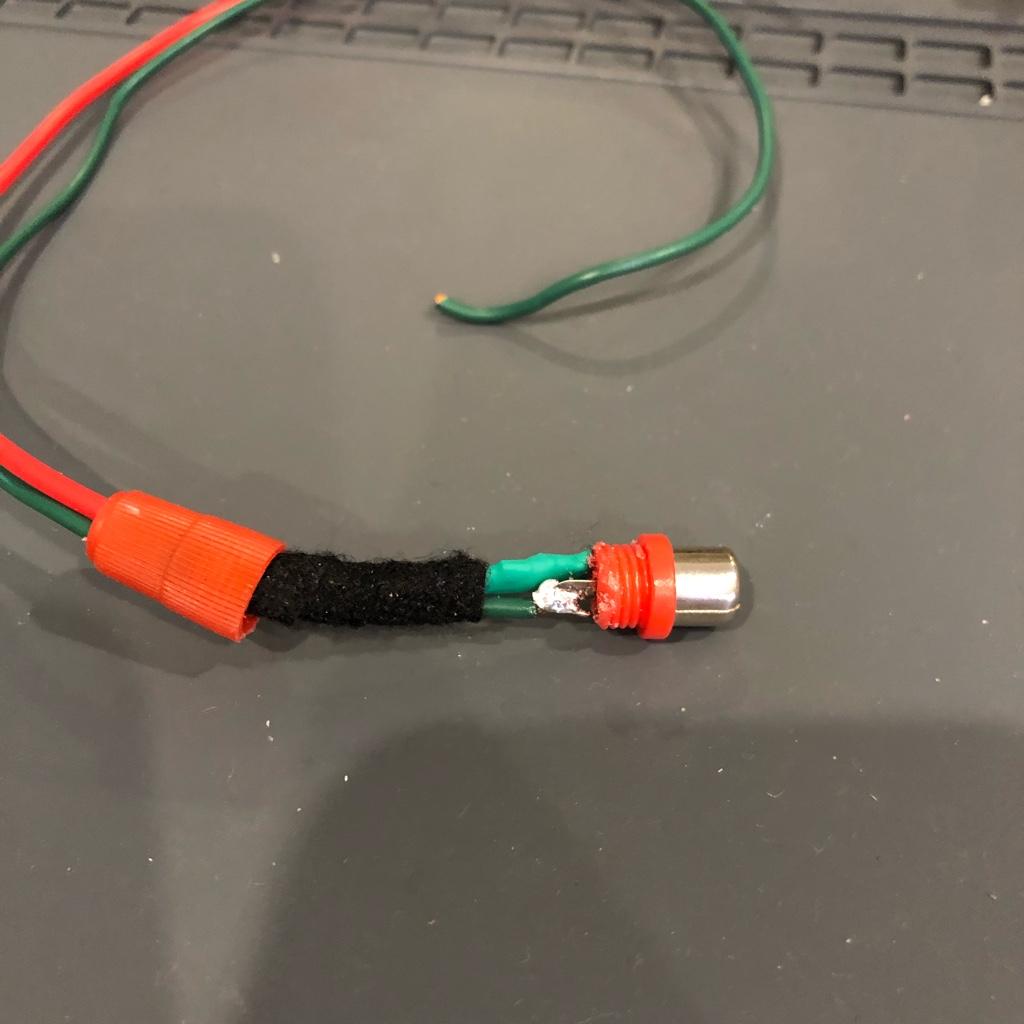
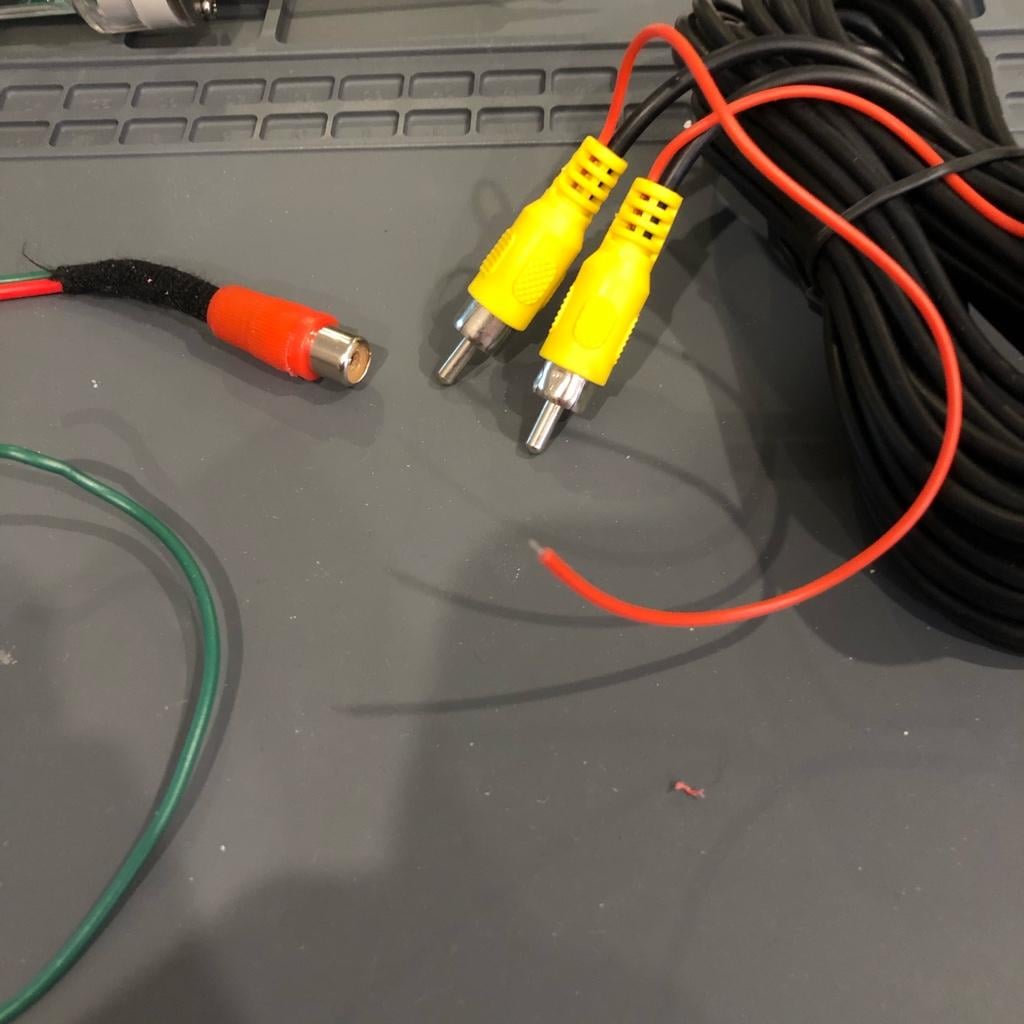
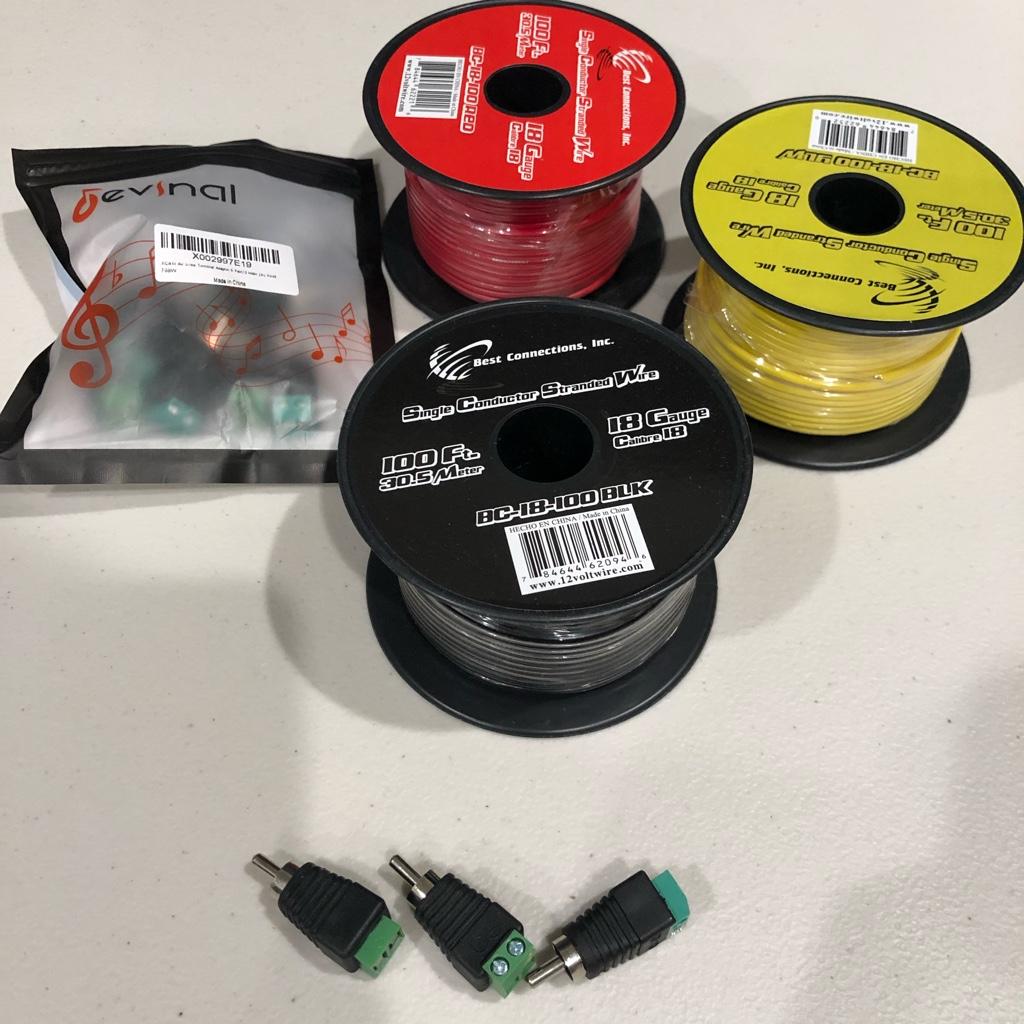
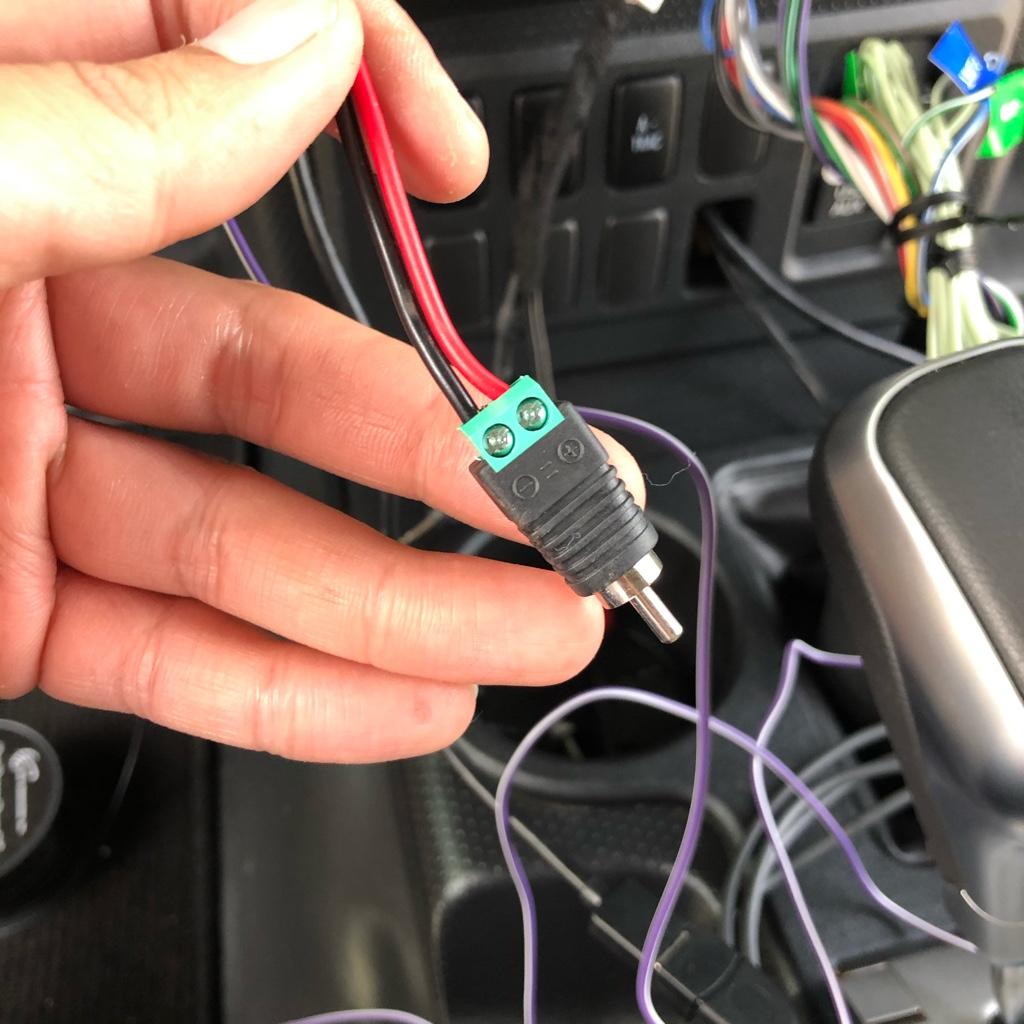
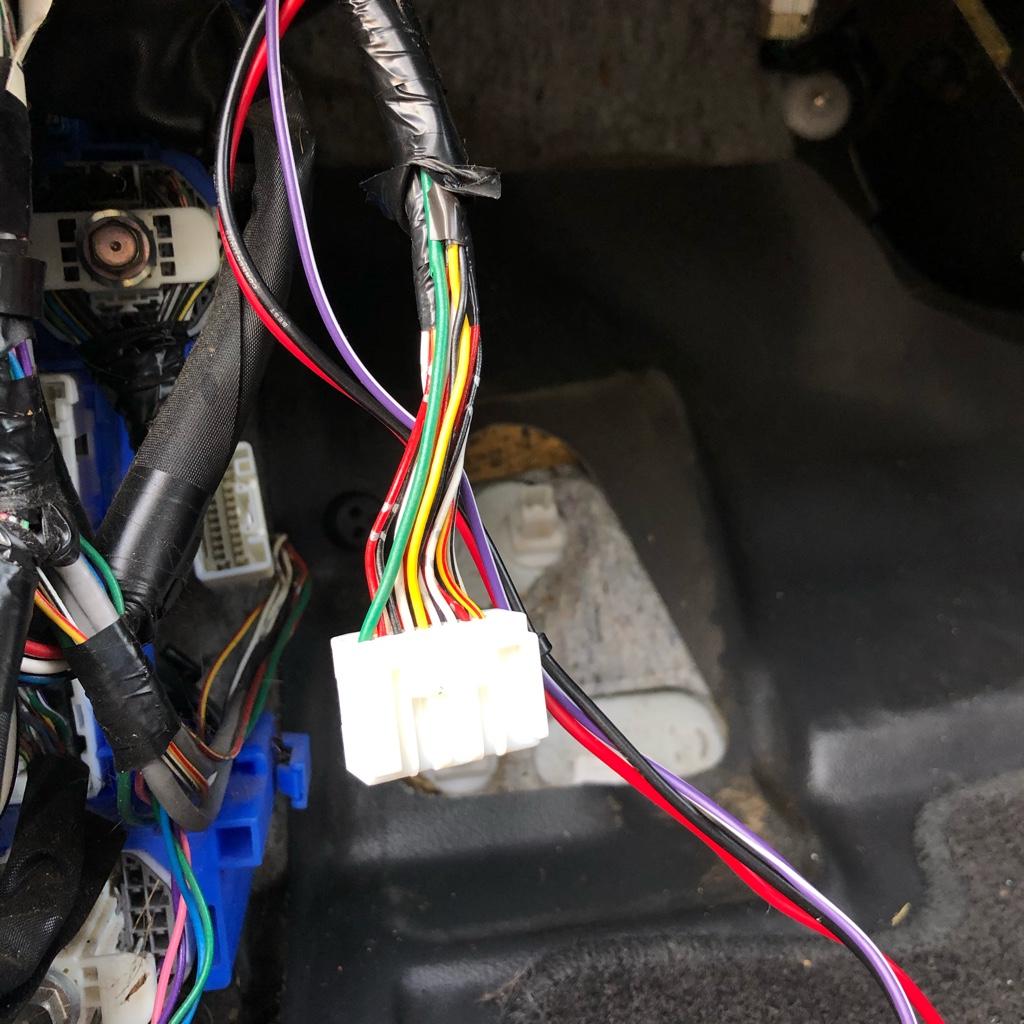
Also got a head start on making the RCA female plug for the reverse camera tap. I found a thread on which wires to splice into to get the factory reverse camera to work on my head unit.
adcf5c817a47f30915d58b45e73b33f0.jpg

dd815a2e98461e8a50bd2d7efa563937.jpg

509db72f92dbff45e37735245fad360c.jpg


Hoping to get some time to work on this soon. I haven't been able to drive the car much yet because I've been trying to work on the old rig and then getting this one up to speed for inspection. I did get in a covercraft vehicle specific windshield cover because it's the first car I've had where the windshield was so small none of my current covers would work.

Parts Installed / Acquired:
- DDX917ws
- Covercraft vehicle specific windshield cover
 
07/02/20 - brakes and 34s

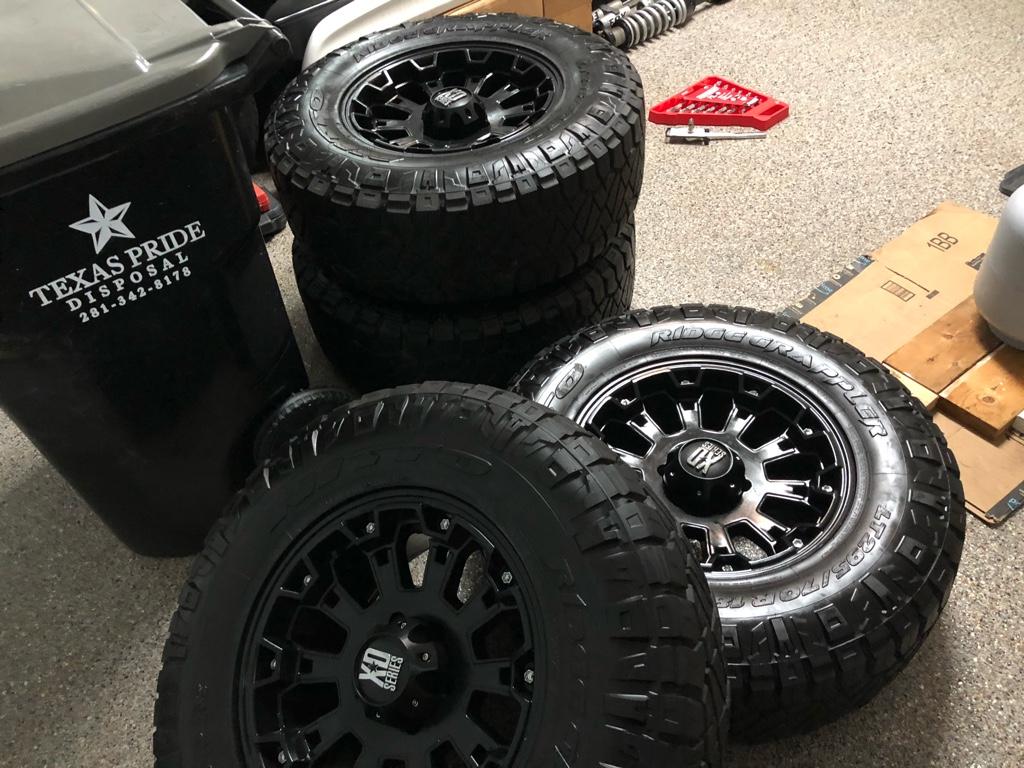
Decided that I would tackle the warped passenger front rotor today. To my surprise this set of wheels and tires showed up on my FB feed.

adcc573bf03f0ab220302c920d803e85.jpg

295c1f0cd79e0acd79e44ea45b25b4a5.jpg

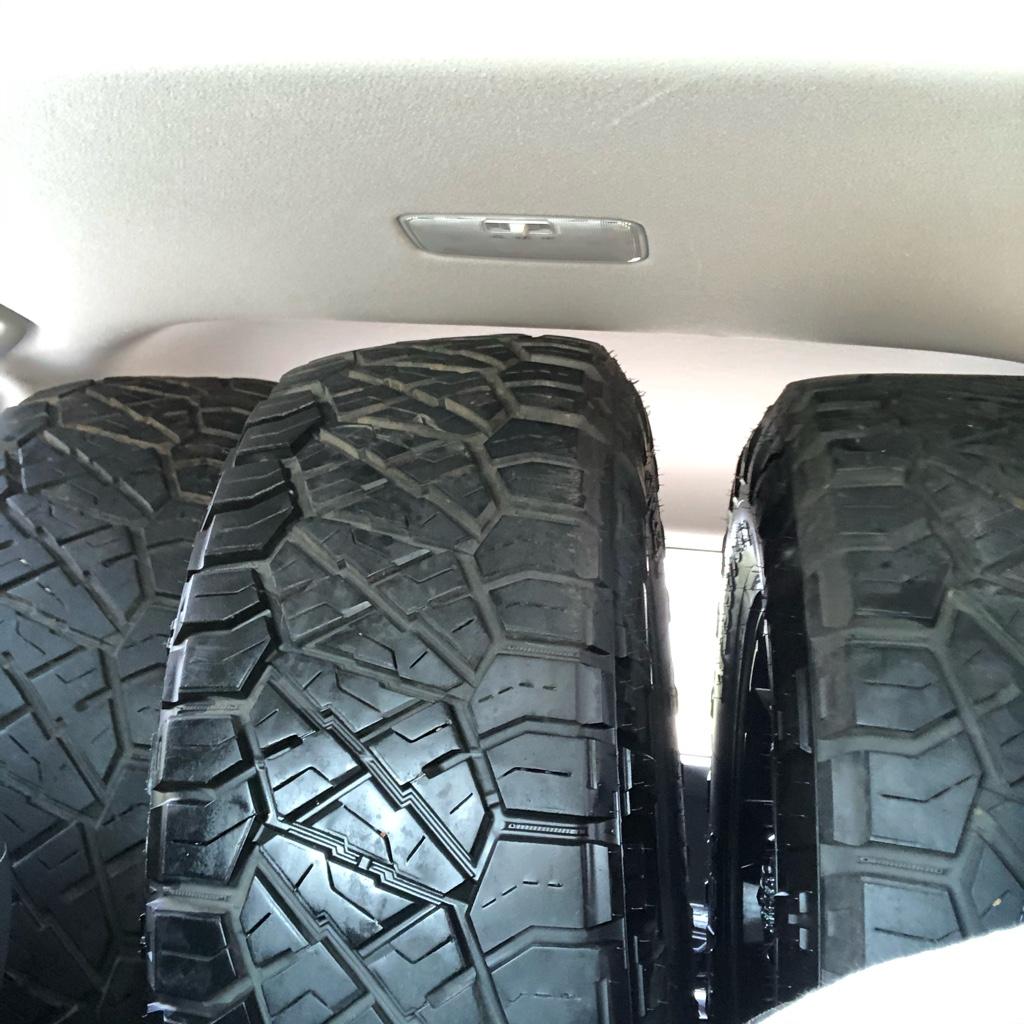
I was able to pick up this combo of wheels and Nitto Ridge Grapplers (295/70/18) for a decent deal. Person claimed they only drove on it 700 miles. The measurement isn't much off of my brand new single tire in my garage so it might be the truth. I bought these knowing that I wasn't going to keep the wheels. Once I get my front lift installed in place of the spacers and get a BMC done I'm going to swap over my Terra Grappler G2s and either my friend can take them or I'll just resell them.

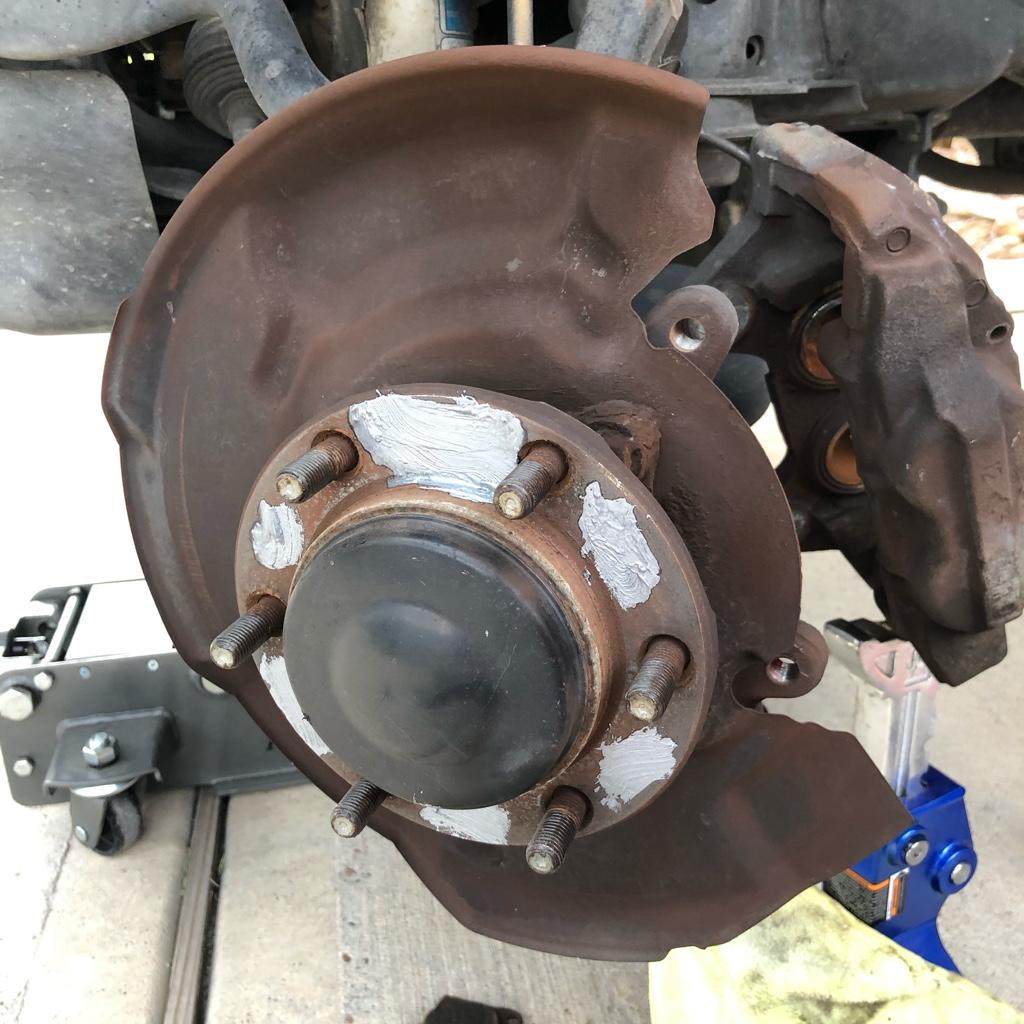
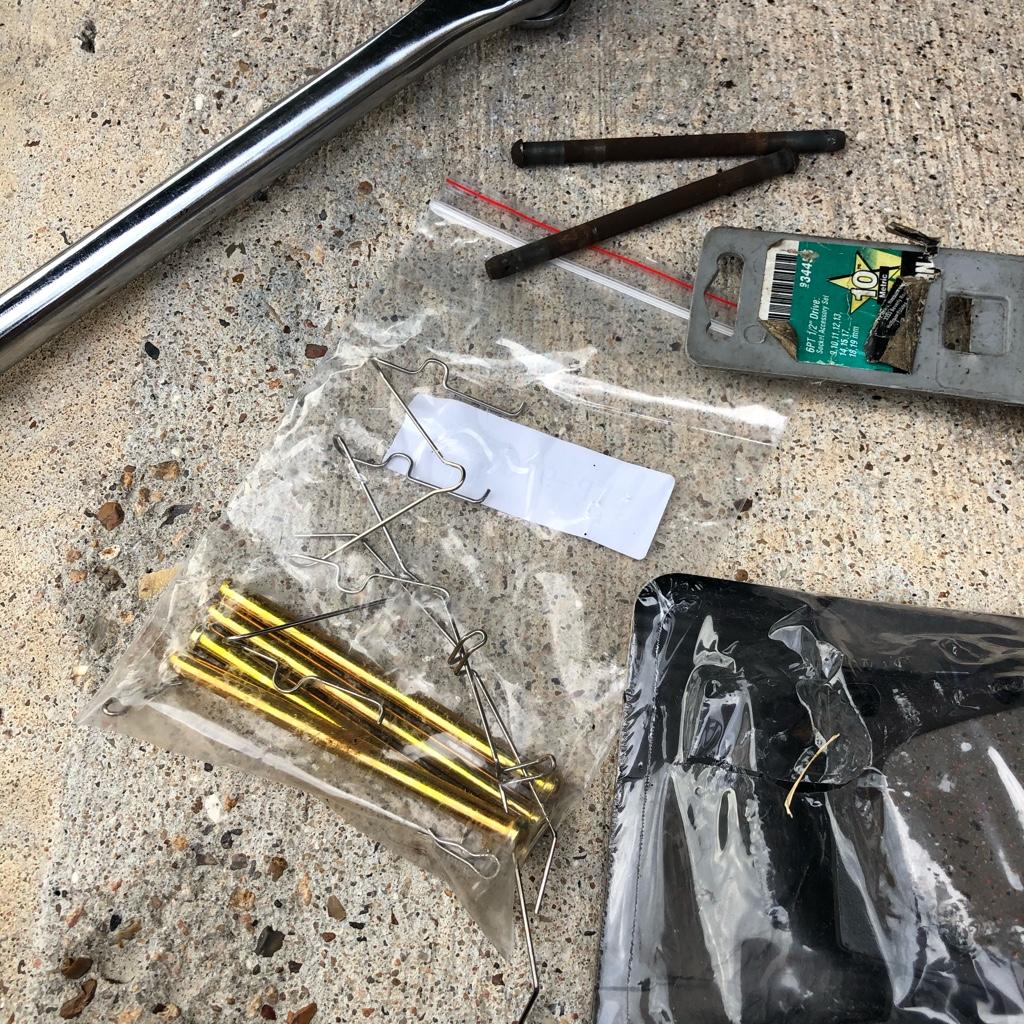
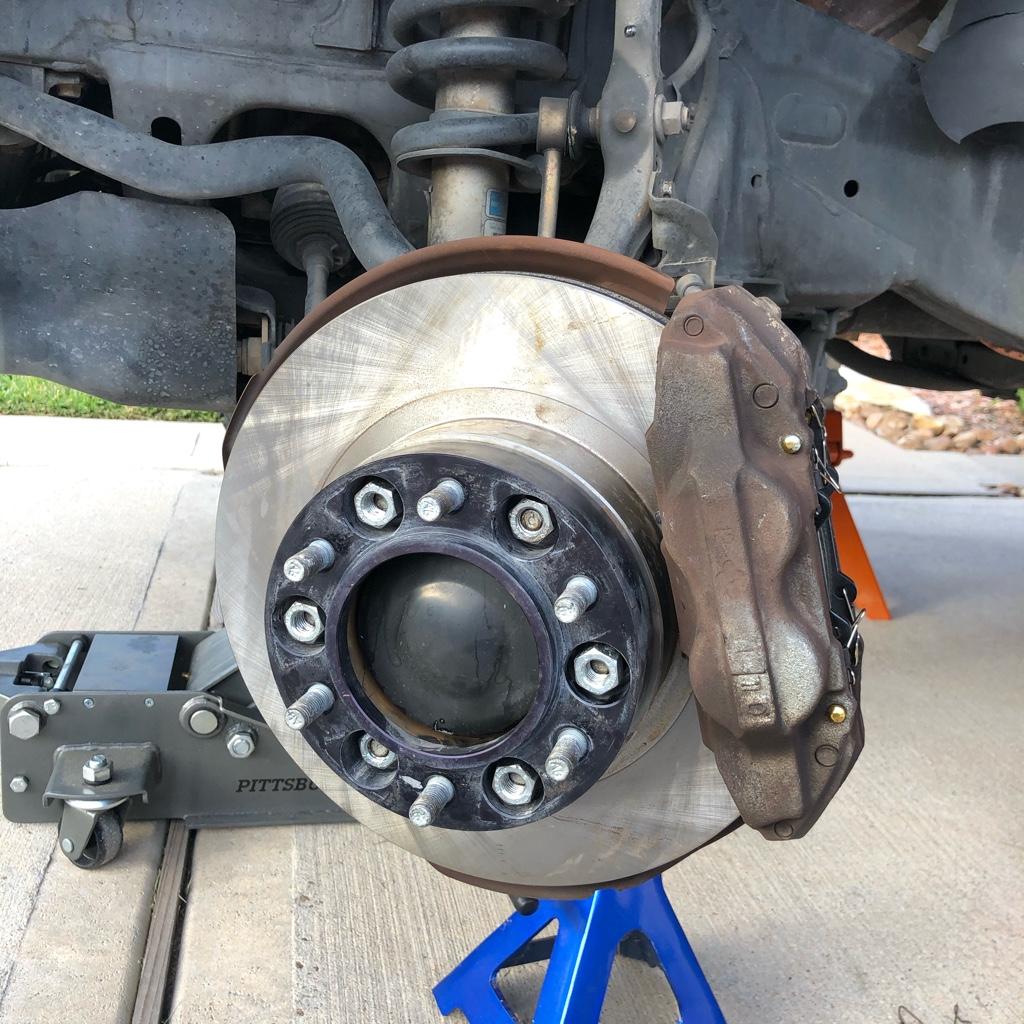
Some people might criticize the way I removed the rotor but I definitely wasn't going to reuse / resurface the old rotors. Second, the brake job will only be temporary while my Stoptech calipers get rebuilt, I just kind of have a lot of my plate to work on side projects right now. I just want to get the rig inspected and registered.

Rust welded rotor removal with a MFH - disclaimer - don't do this to your rotors if you're planning to keep / reuse them

904fd0d92944788f3aa8c8953e51e3f9.jpg

Added anti-seize to prevent the rust from welding the new rotor back onto the hub again.

60fac99e04dfcc66bf80ee7f23e87e24.jpg

I bought a pad / rotor kit on amazon. It was nice that they included new pins / clips. The clips did not fit so I had to reuse some of the stock ones.

c7295db26addb6d06e484c748f2ebe58.jpg

a043891cd7fdd5b8c5ca5e2ac8bad202.jpg

I did foolishly try to run the 34s up front but could not even leave the drive way. So 34s in the back...31s in the front :rofl:

Parts Installed / Acquired:
- XD 18x9 wheels / Nitto Ridge Grapplers 295/70/18
- stock front brake maintenance
- Spidertrax 1.25" spacers
 
Last edited:
07/07/20 - rear suspension install

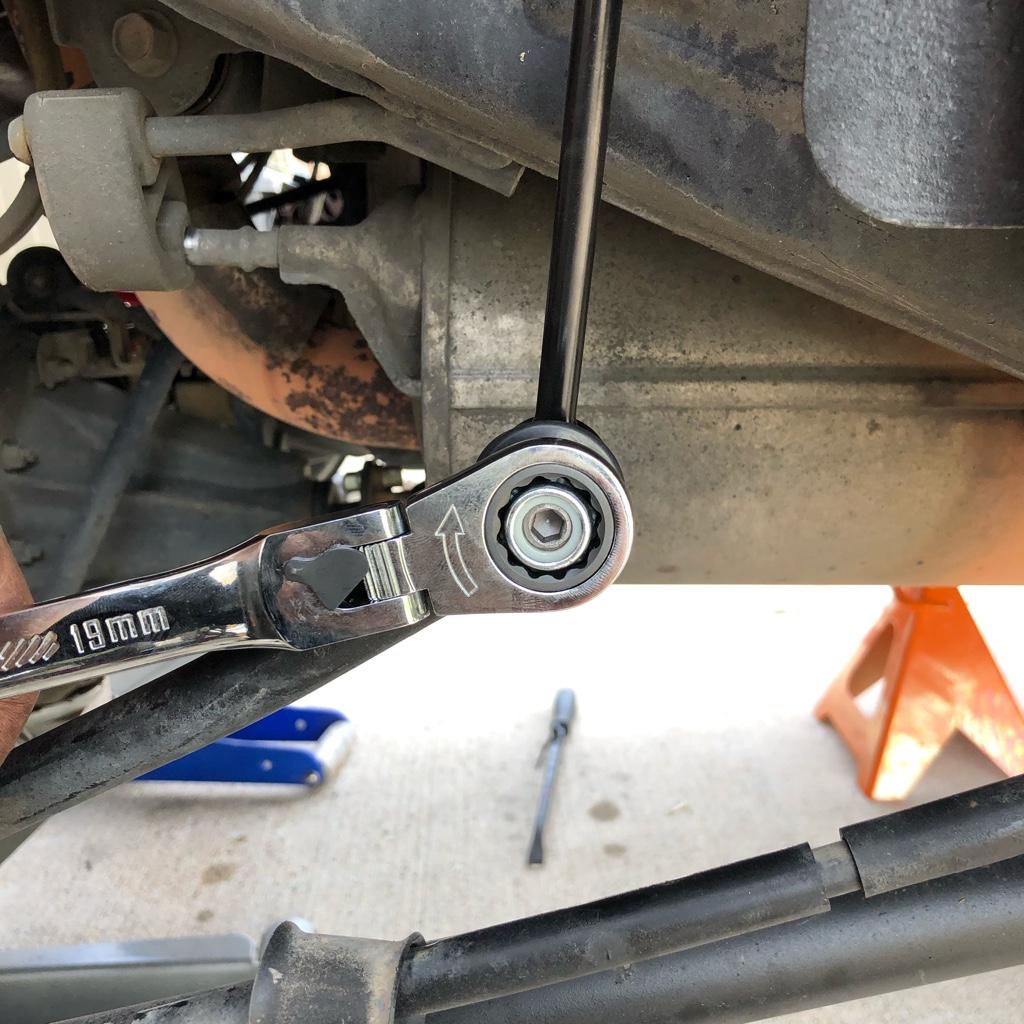
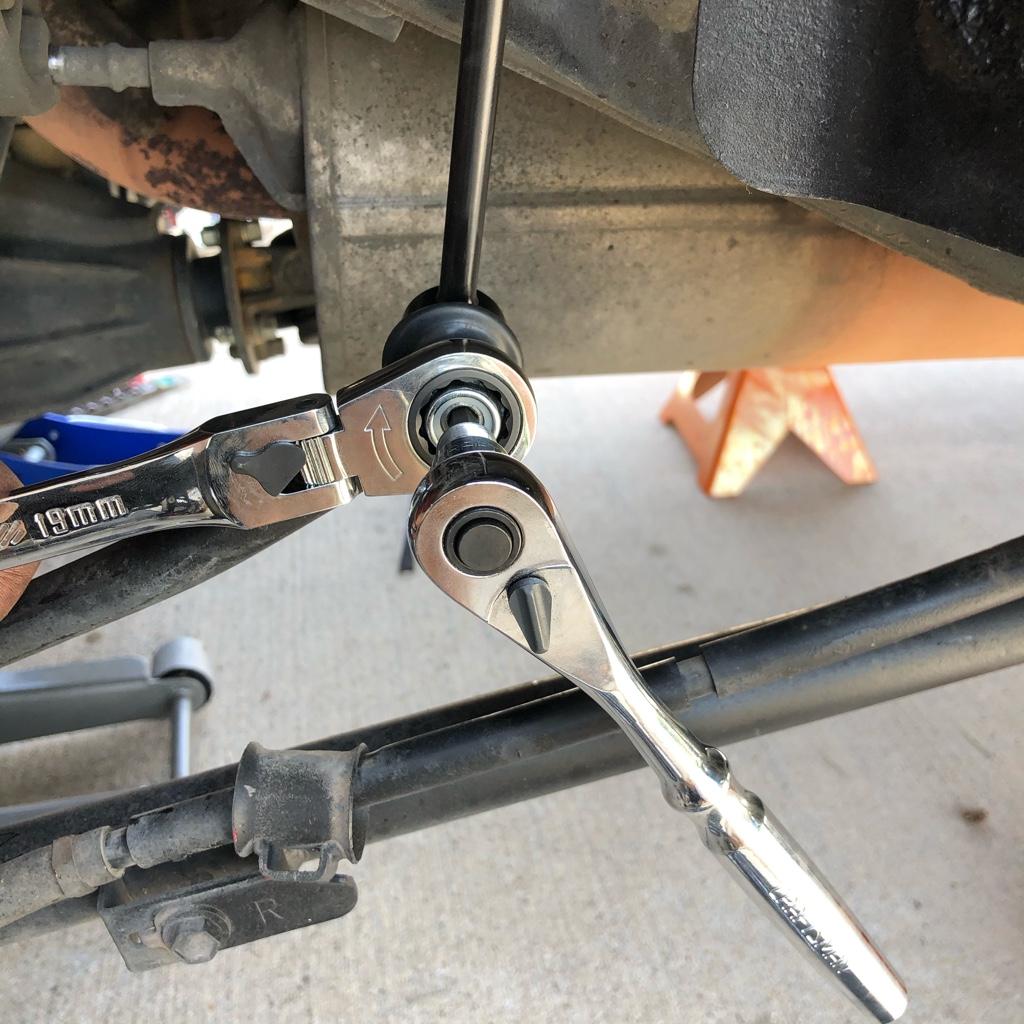
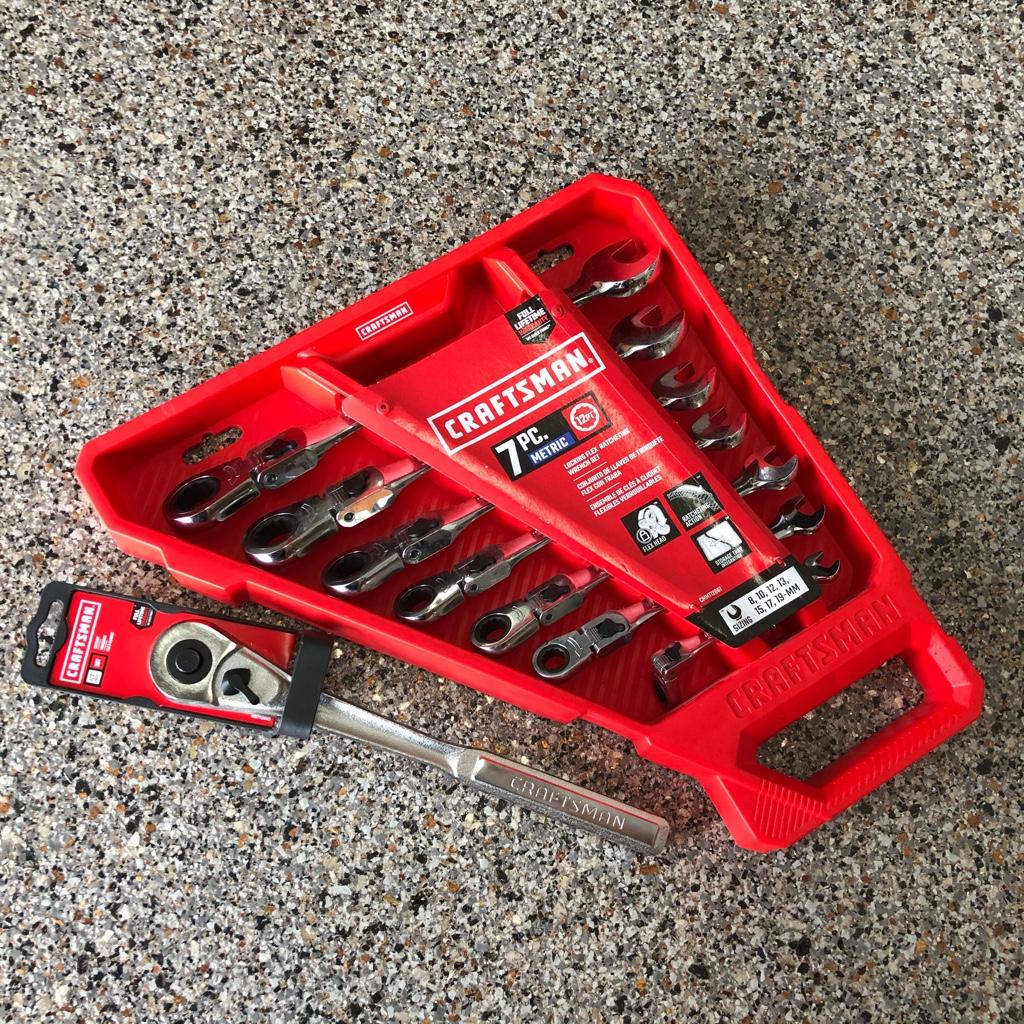
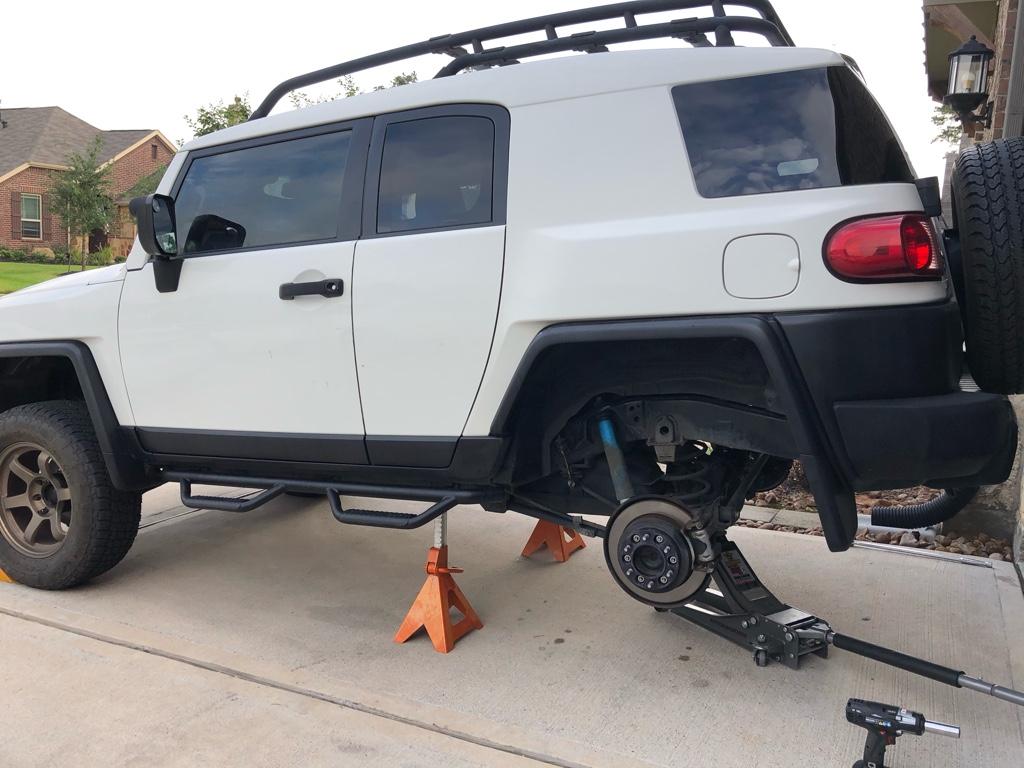
Initially I was going to pay a shop to do the whole suspension. Ended up deciding to do the rear since it wasn't too hard. I went ahead and bought some new tools for the occasion. Made the endlinks and shocks infinitely easier to work with. Also replaced a 1/2" socket wrench that some how got lost in the past 2 years.
07390a538d503f3bb9e3cb34277df191.jpg


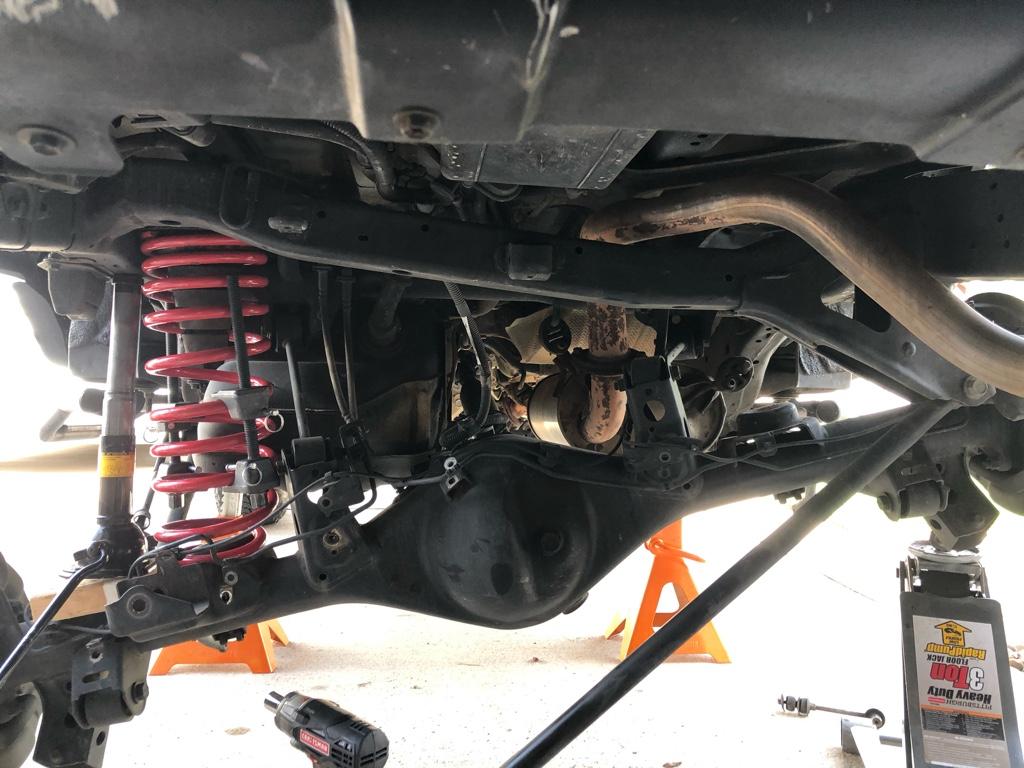
I left the jack there in case of emergency but the jack stands are pretty solid.
44c76839b6332ebd8bce7a2231e73999.jpg


bc16bc8d26ccd572b13945eb1841cf09.jpg

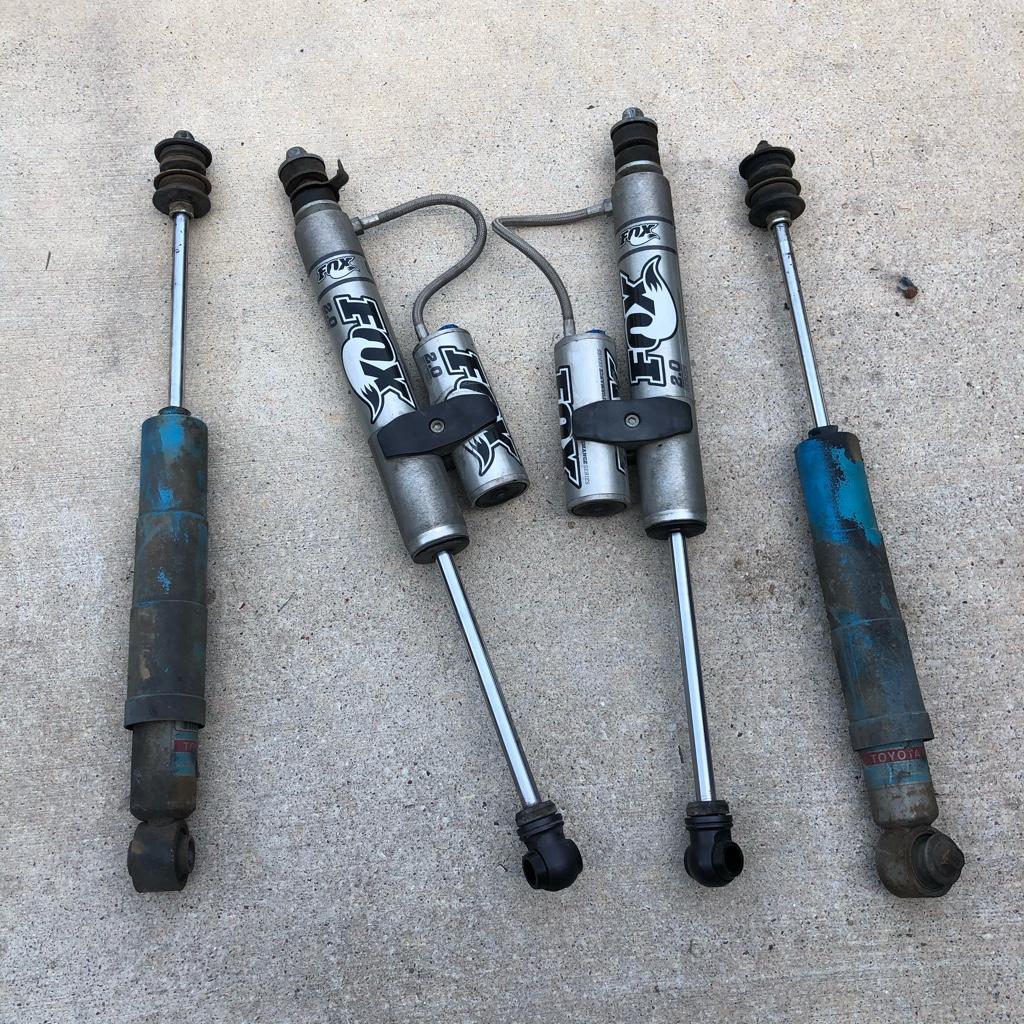
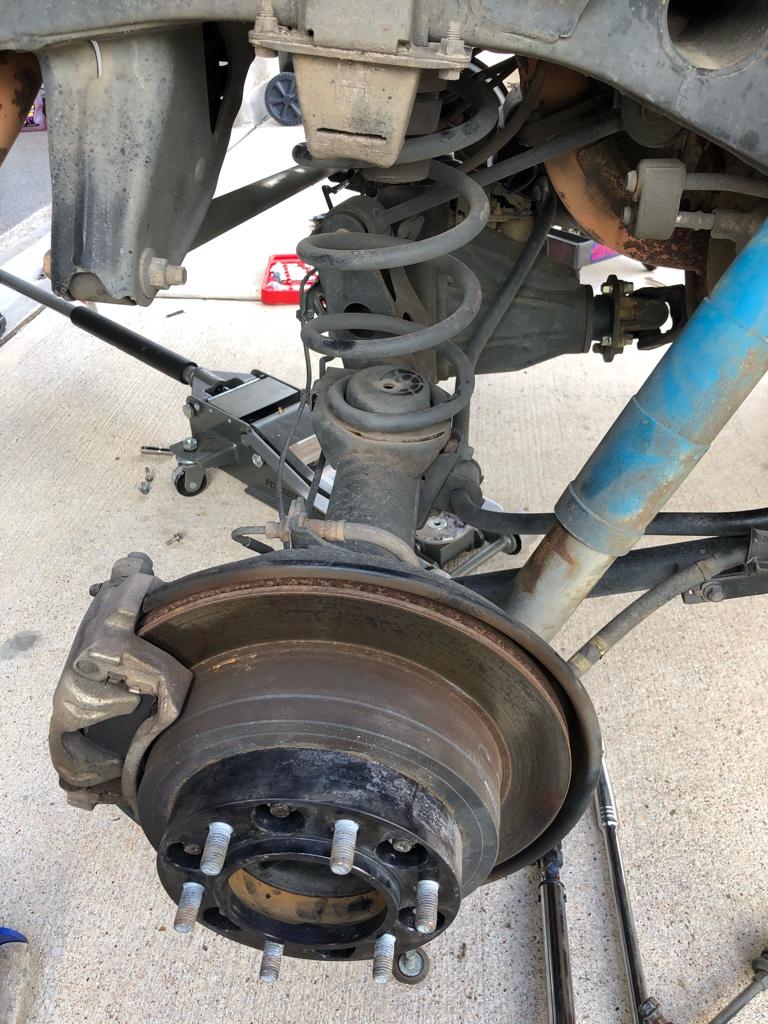
Original OEM shocks with over 150k on them.

f5d4e0abb9581112a9eb7a3db4ccf328.jpg

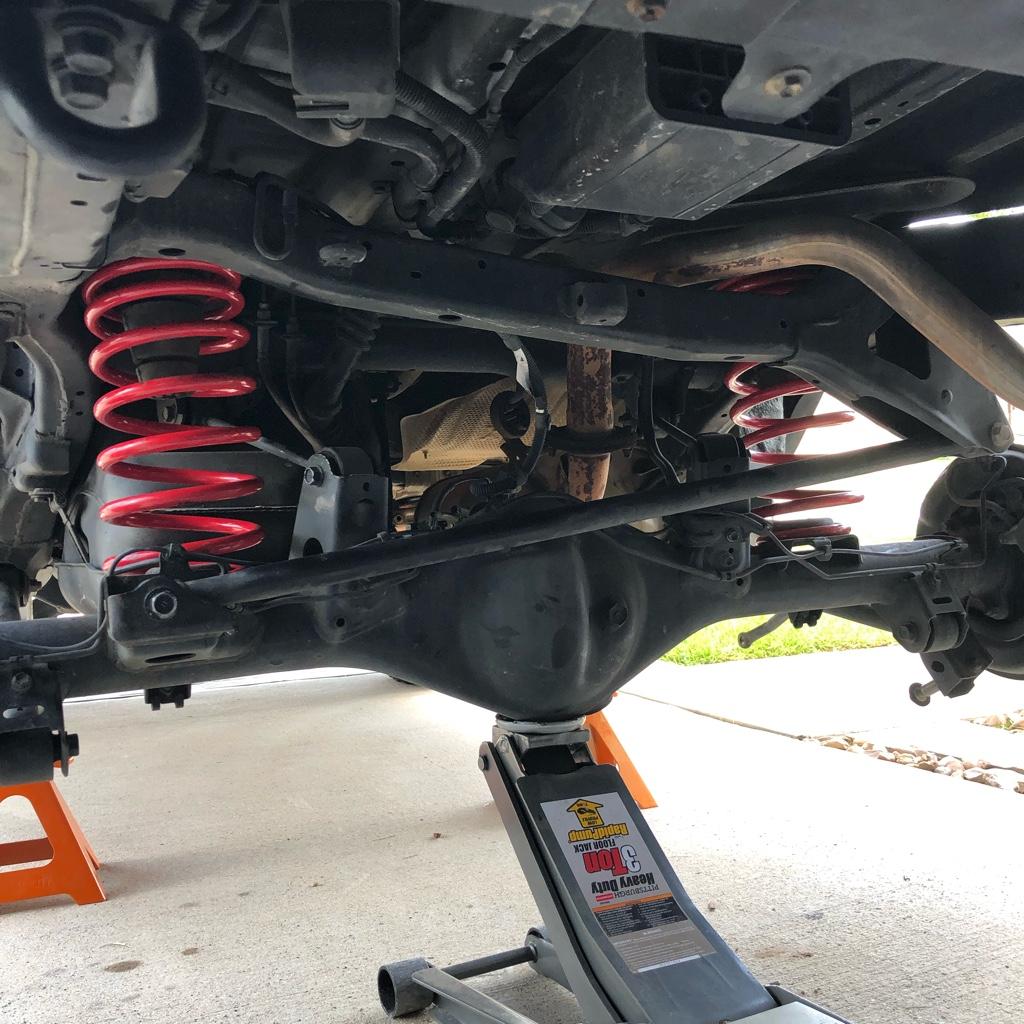
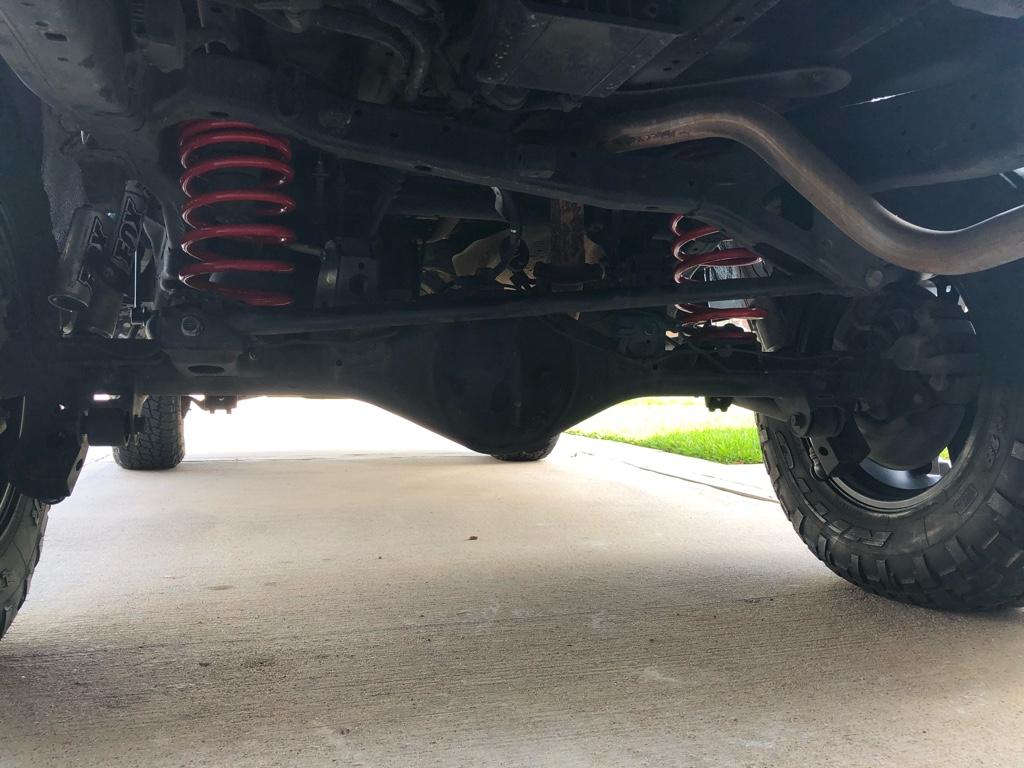
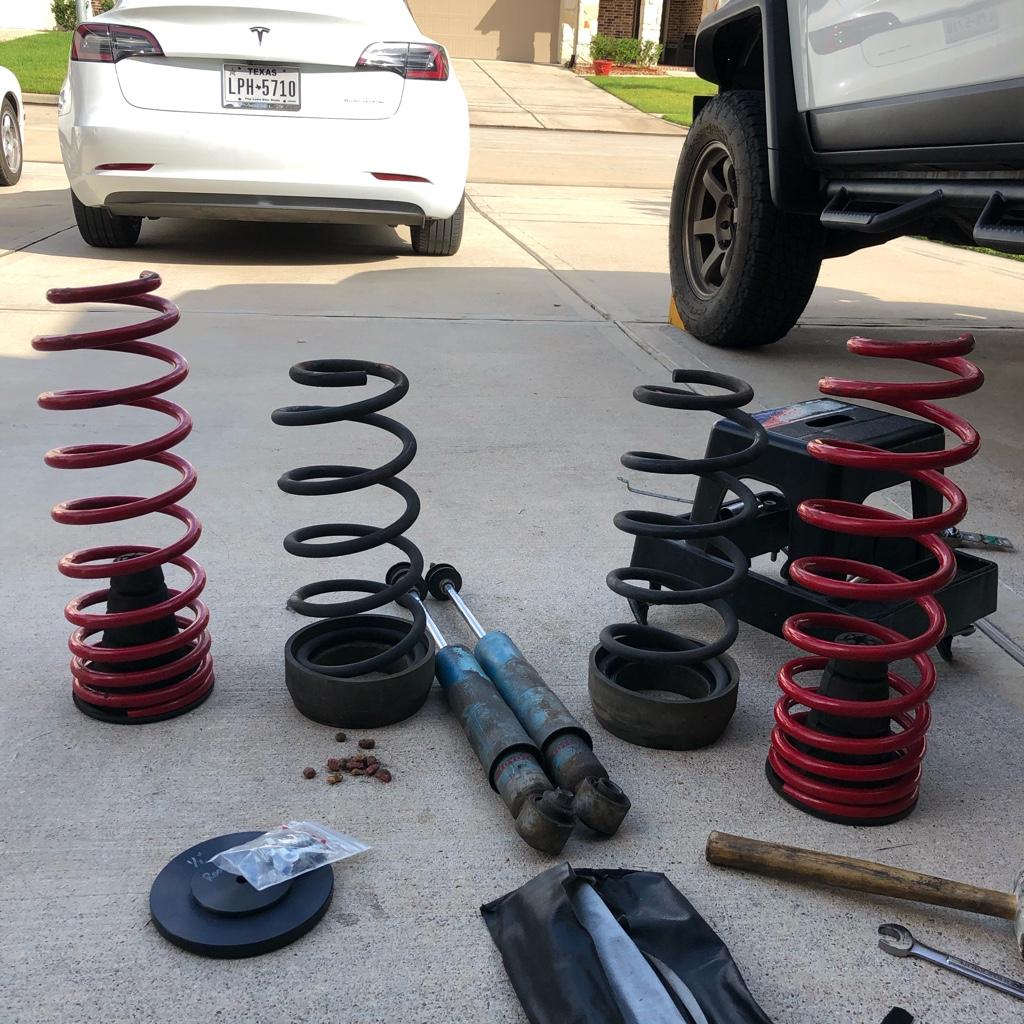
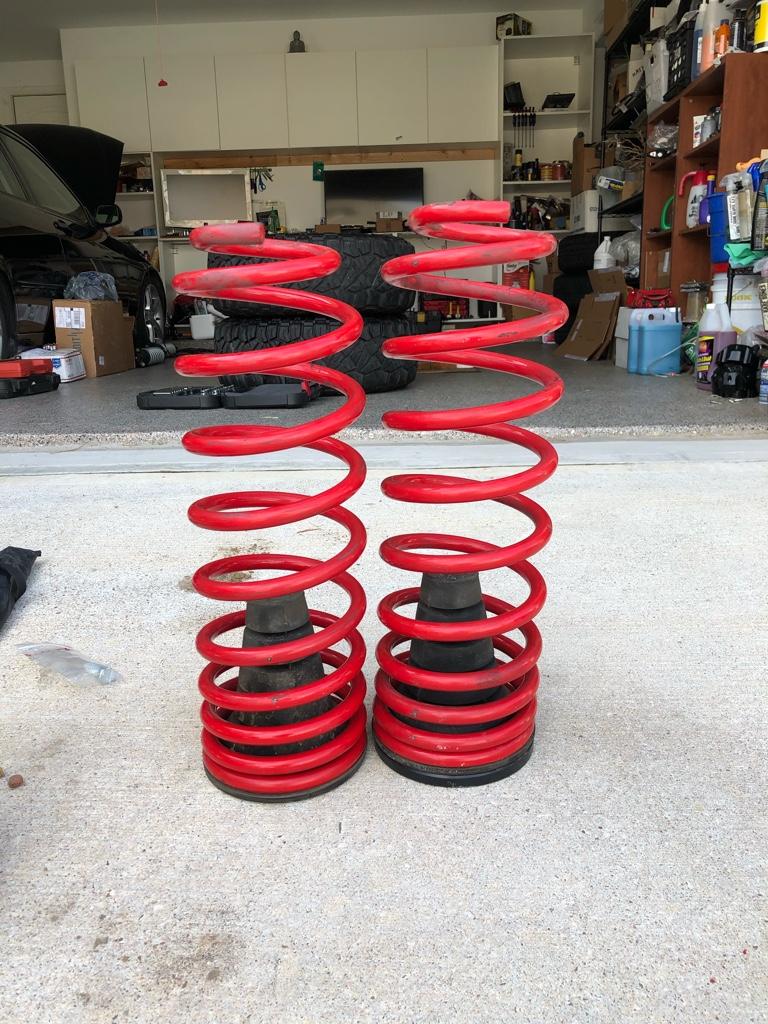
Dobinson 677 springs tower over the stock ones with the spacers on them. I found some dog food inside the bump stop...that was kind of weird.

5377177f054a50c1a62427e2cc10da64.jpg

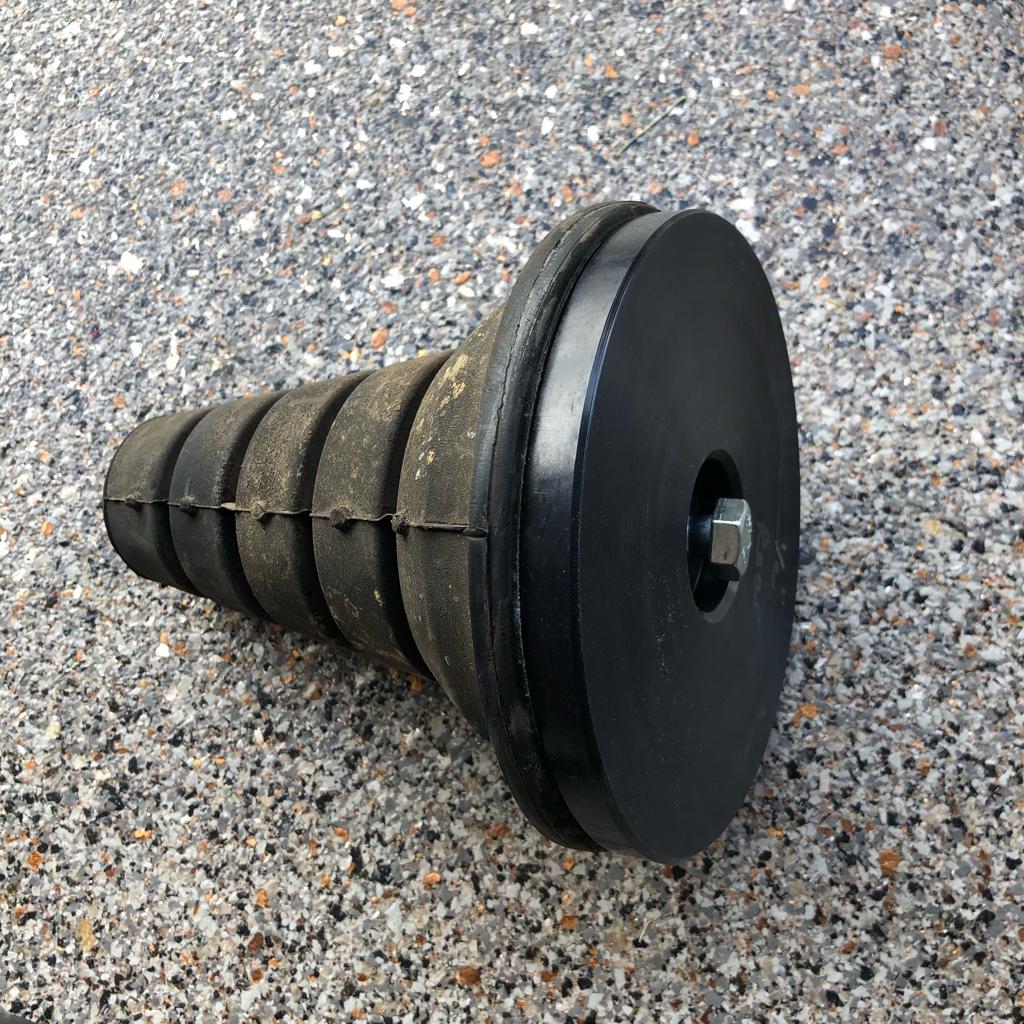
I installed this 1/2" cornfed spacer onto the bump stop since I had issues with driver lean on the 4Runner. Dobinsons sells a 10mm spacer and Wheelers sells 5mm trim packers to help with this too. I just decided 1/2" was the way to go.

8406fbdd77cd37bcc961f6b2393ca7af.jpg

Now it should sit without any lean. Stock springs should be setup where the driver side is slightly taller or firmer to account for the weight of the gas tank. The Dobinson's rep said their springs do not have a driver / passenger side.

1cffb285169aaccce6b009959b63bc4b.jpg

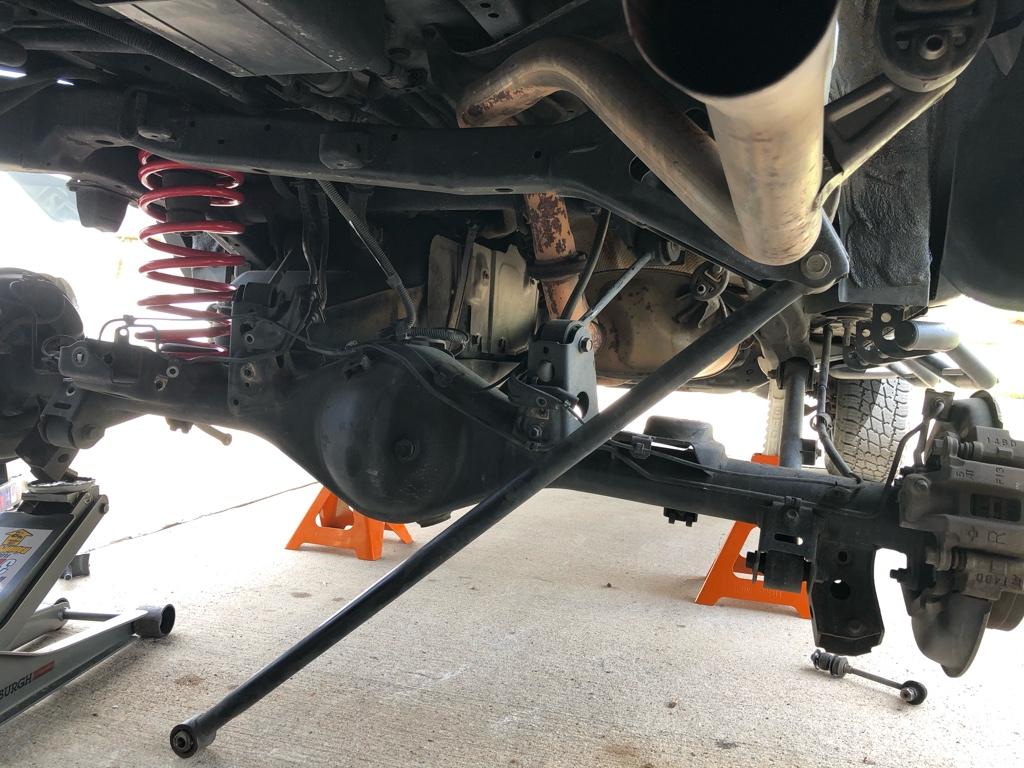
I don't really like the use of spring compressors but it was the only way to get the spring onto the axle with the spacer plus the driver side being harder to install on. This was my issue anyway. I would recommend getting a portable hydraulic equipment kit from Harbor Freight for doing this instead of using the jack like I did. I did have the jack slip once from the passenger side but it didn't fly off like I thought it would.

ed333da3a11a86e546cec908b7f97276.jpg

0cd92967fd65e66b854f03c06105a11e.jpg

Passenger side went in with less issues partly because there was no gas tank in the way. I was at the 2 and half hour mark by now. Pretty hot down here and took several water breaks and a couple of sitting / staring off into the distance breaks.

affc851ca72e23d4936bab0ccbd18699.jpg

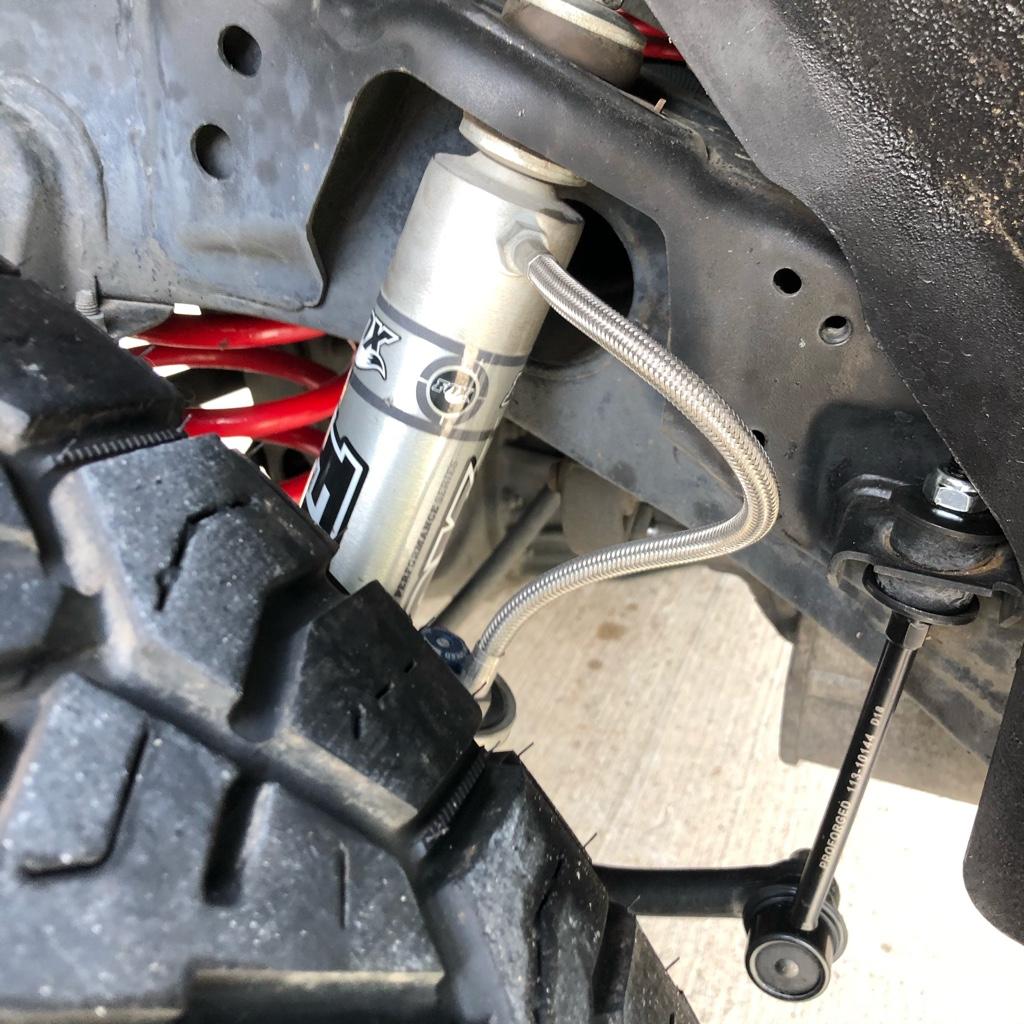
Fox 2.0 DSC resi shocks

8206319601bf9a2afa405891d826dcee.jpg

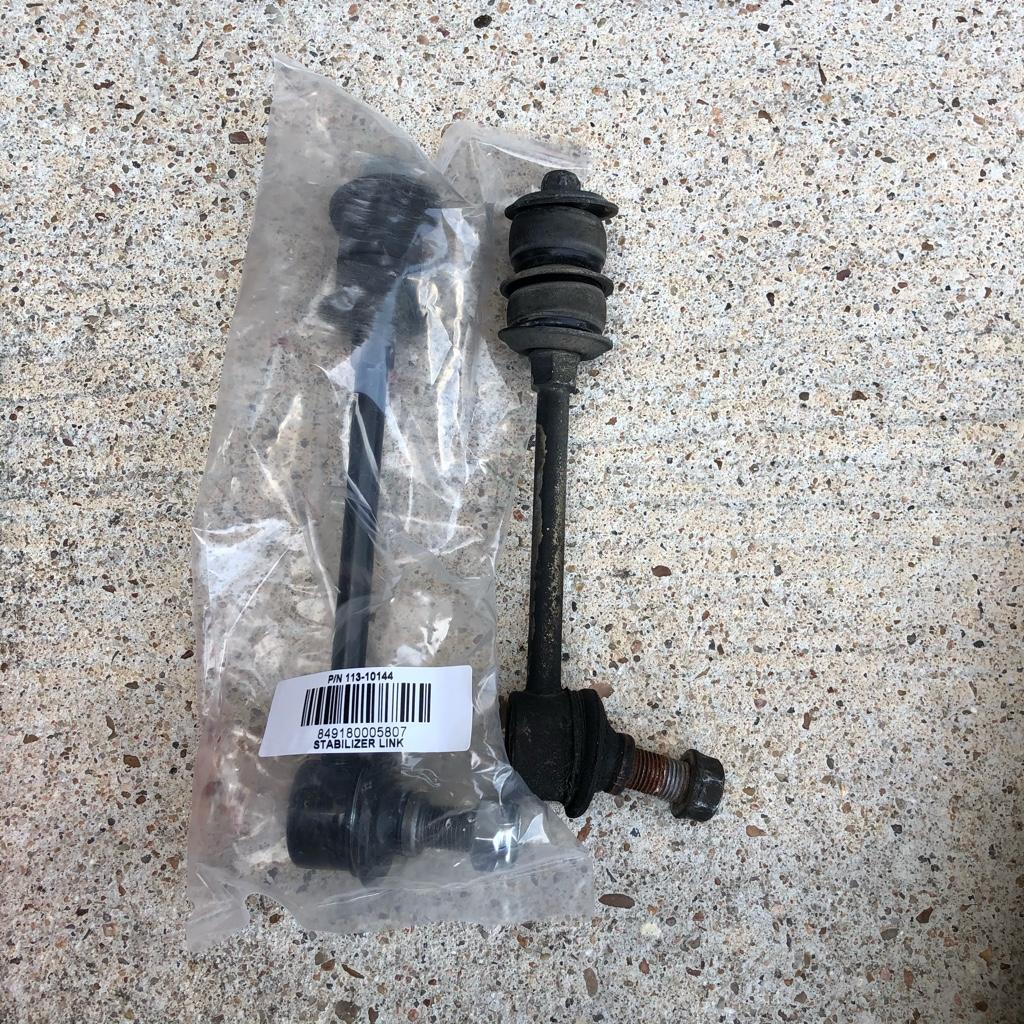
I have to thank [MENTION=63060]rickashay[/MENTION] for mentioning the use of 2nd gen 4Runner endlinks on his 4th gen build. I bought these Proforged 2nd gen endlinks from rockauto from before I installed the suspension on my 4th gen but never had the chance to. Partly because of all the rust and out of sheer laziness.

38cee75626af7e65b6fe065e1ff8d6ee.jpg

f04242a3cf3a7667164a4217911fcbf4.jpg

I really like that they have an allen key to lock the endlink while you tighten it onto the sway bar.

f71dfad591c9c349decb30bcb47d1b47.jpg

fd8dc6f779a6b11bf2b7fead1500f027.jpg

I forgot an after picture but I did have the endlink backwards earlier.

8cad1edcc09d025e9dde5b8ff7e57a5f.jpg

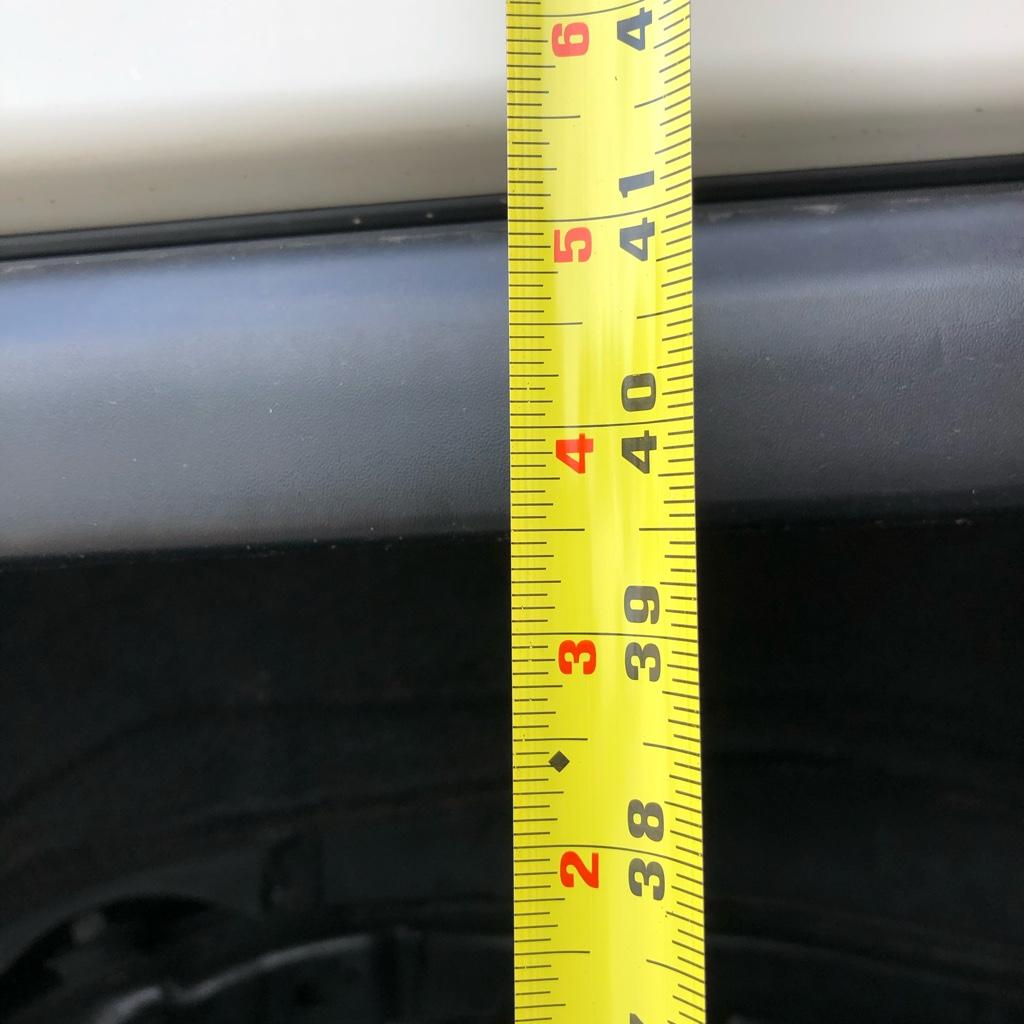
Driver side rear before measurement to ground.

57a91d66b81a5ca9d74d4e969cf81296.jpg

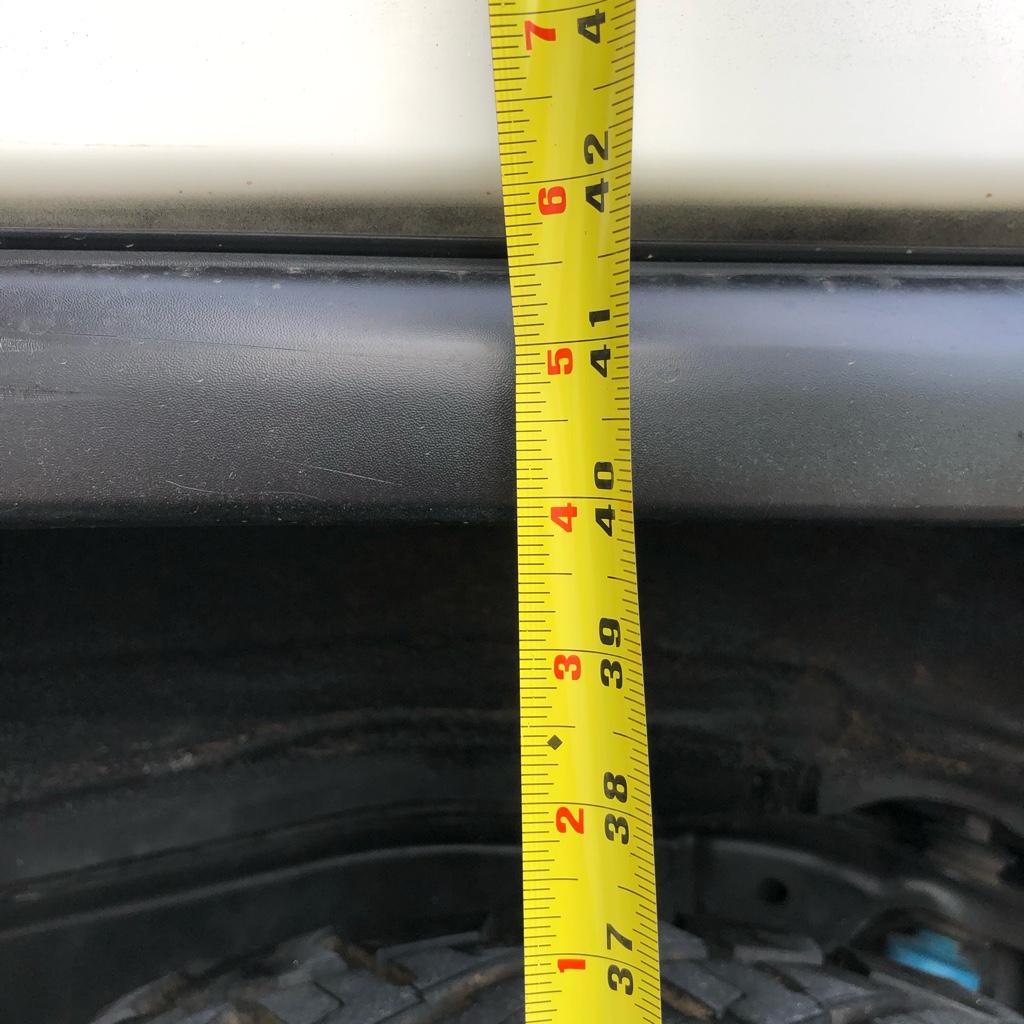
Passenger side rear before measurement to the ground.

53538059046163800cdb405bc6fa3cfa.jpg

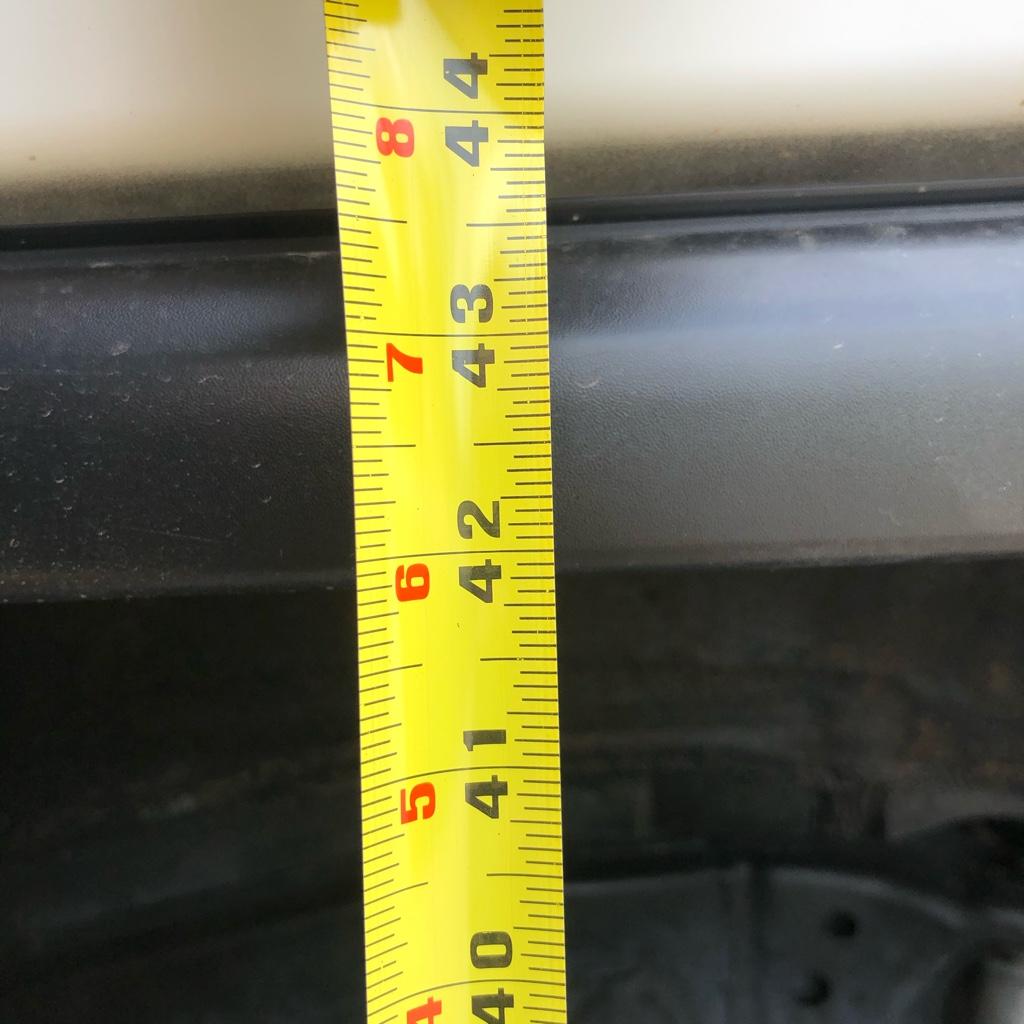
Measurement after install of springs / 34s to the rear. Both sides are within mm of each other so I only had to post one measurement.

904e78747d833df11c7631d186106b08.jpg

So if it were questionable whether I would fit in the garage or not when I first got my rig, it definitely won't fit now. Even if I were to delete the roof rack, the skin would still scrap the garage going in and that's with my door maxed out. The install did not go without any hiccups though. I ended up cross threading the panhard axle bolt. No worries because I'll have to install the eimkeith PCK next week so I'll have my rig towed out to the shop. It'll be the same shop that'll install my front setup anyway. Ordered some new hardware that should be here by then. I'm just glad to start making headway on the rig and reaping some rewards. Have a trip planned next month to Austin already too.

Parts Installed:
- Dobinsons C59-677V rear springs
- Cornfed 0.5" spacer on driver bumpstop
- Fox 2.0 reservoir DSC shocks
- 2nd gen 4Runner Proforged Swaybar endlinks
 
Last edited:
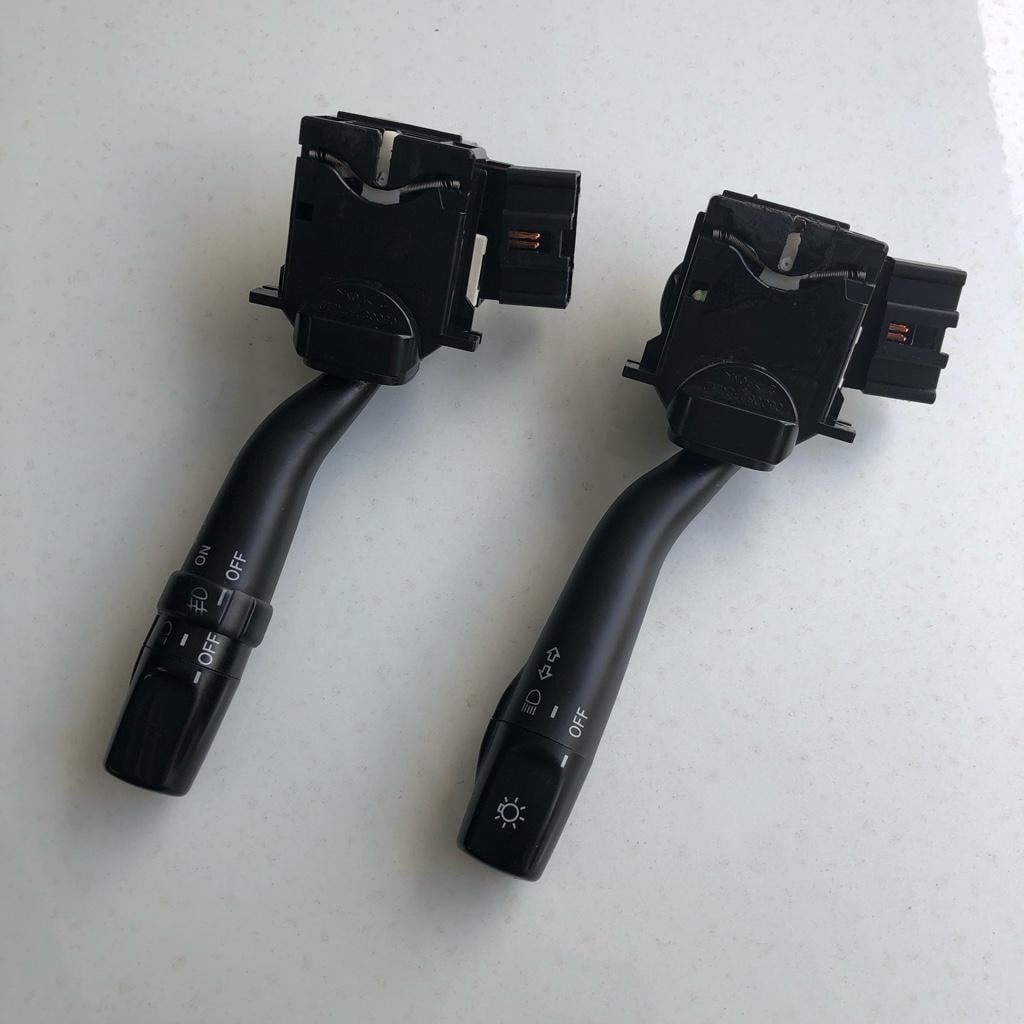
07/09/20 - AJT keyfob case / turn signal switch compare

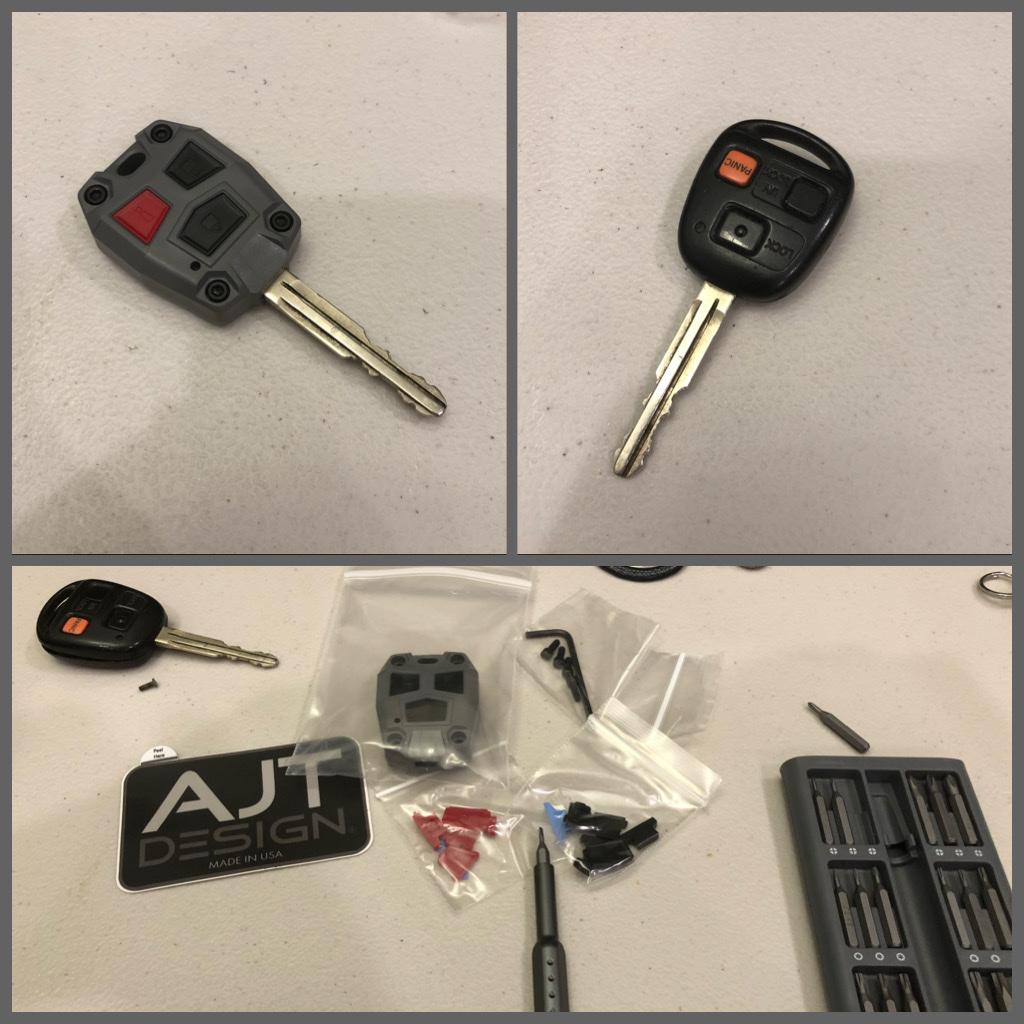
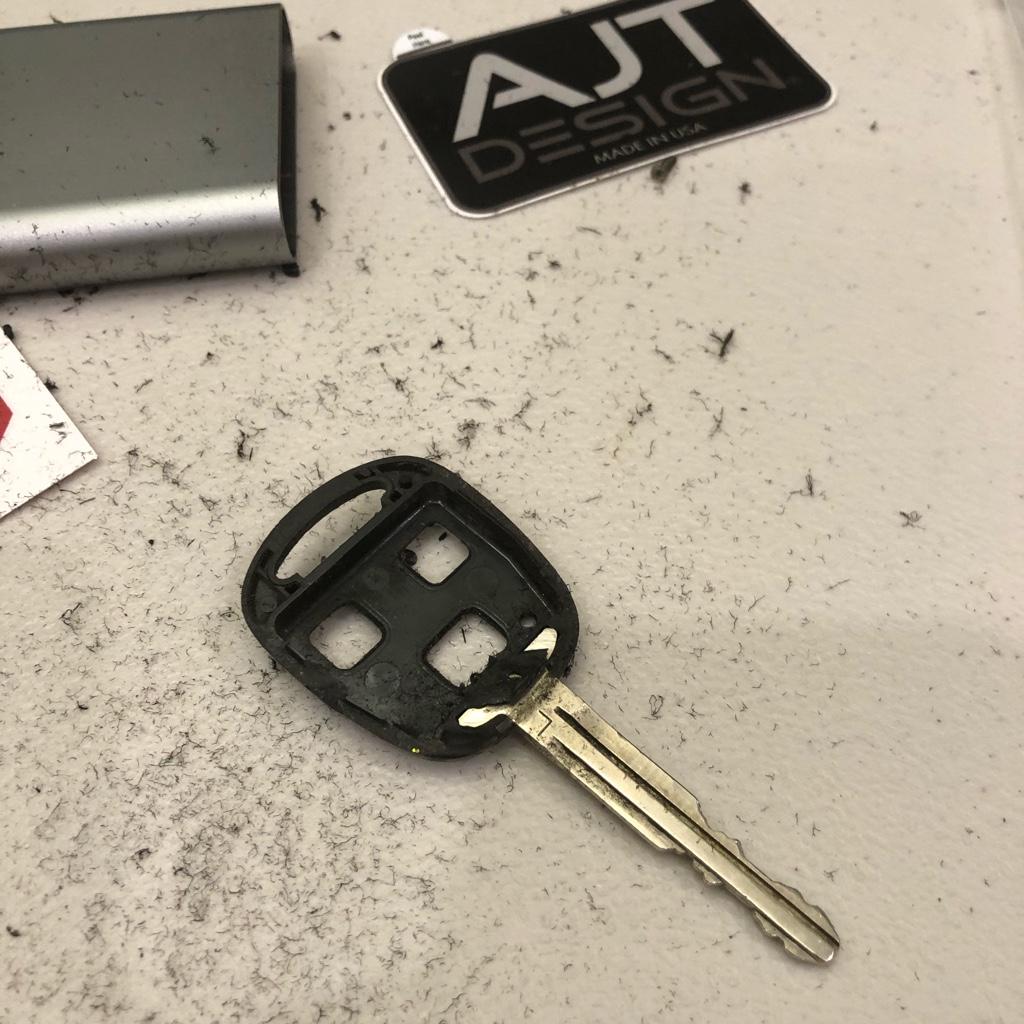
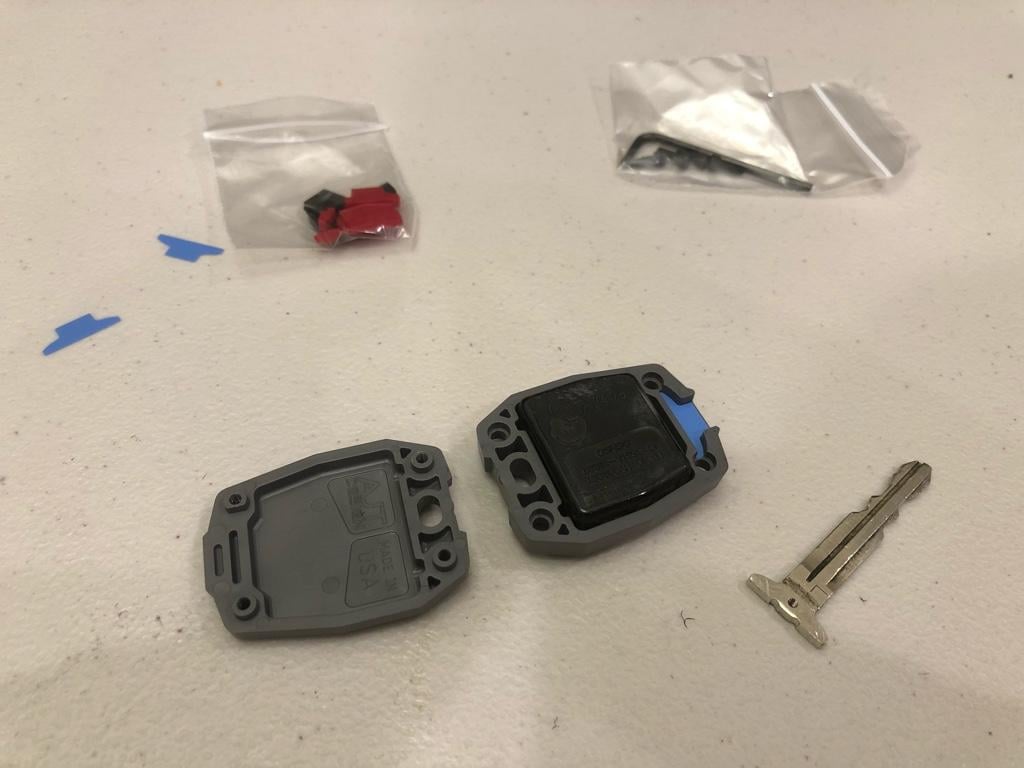
One of the parts I ordered before I even got the car here. An AJT keyfob case in cement grey. I would have done black but I wanted it a bit different, the only problem is that it blends in with my counter top.

5ce52f9102c5c47a8ca17f4269a48495.jpg

f93e0f0f4bfaa38a1c3cb2889ab873a5.jpg

3314c69b4070bc625a920eab14aea92d.jpg

c63fcb3d7a1f4017d3fc39cf3e6ea124.jpg

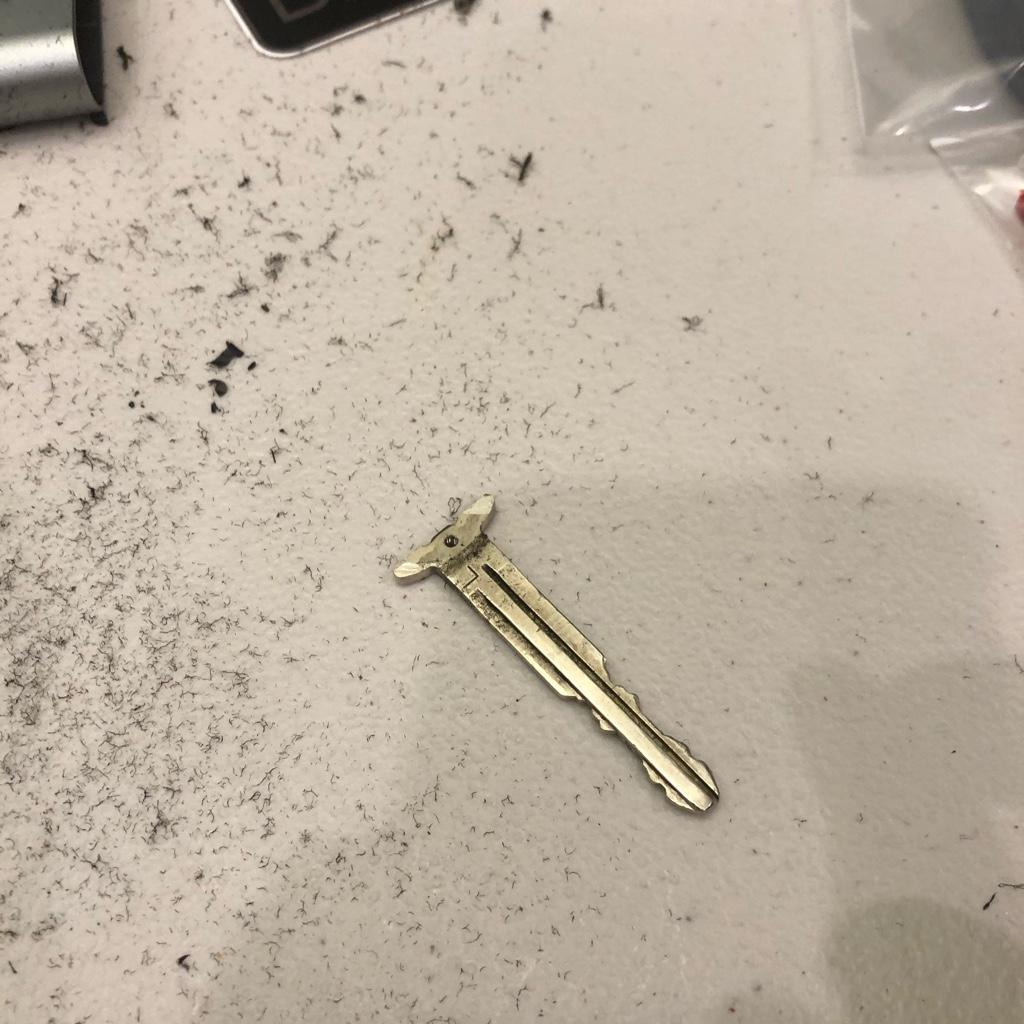
Pretty straight forward process as explained by the video. I couldn't really use a knife to cut off the plastic so I resorted to a dremel tool. My key ended up needing two shims to properly seat without any wiggling. I bought two sets of buttons just so I could have the red panic button. Only thing I missed out on was the TRD etching in the back and that was probably an issue with Toyota. They used to have TRD engraved in the back but not anymore. The case also fits my IS300 keyfob but I thought it would look out of place on that so I will not be getting another case. I need a second keyfob so I'll probably buy the same 2-in-1 flip key I had for my 4th gen.

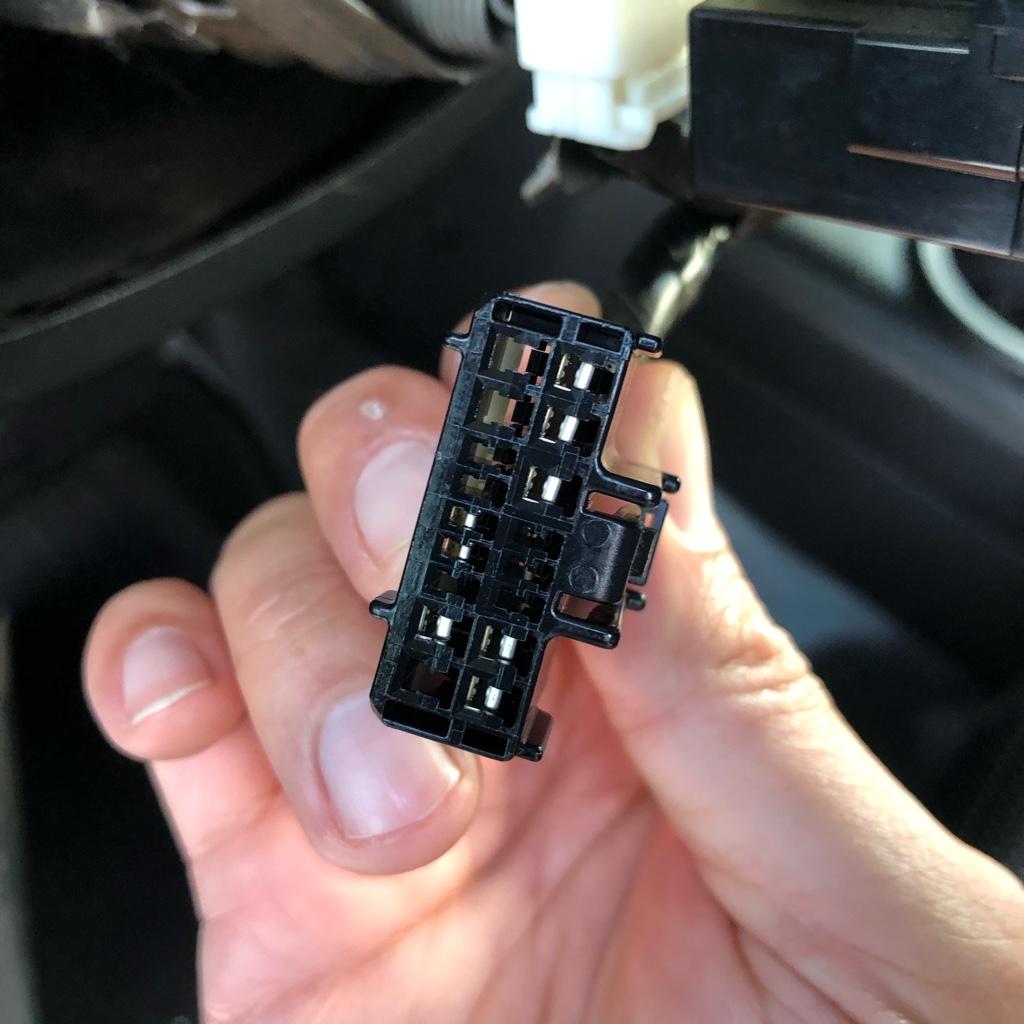
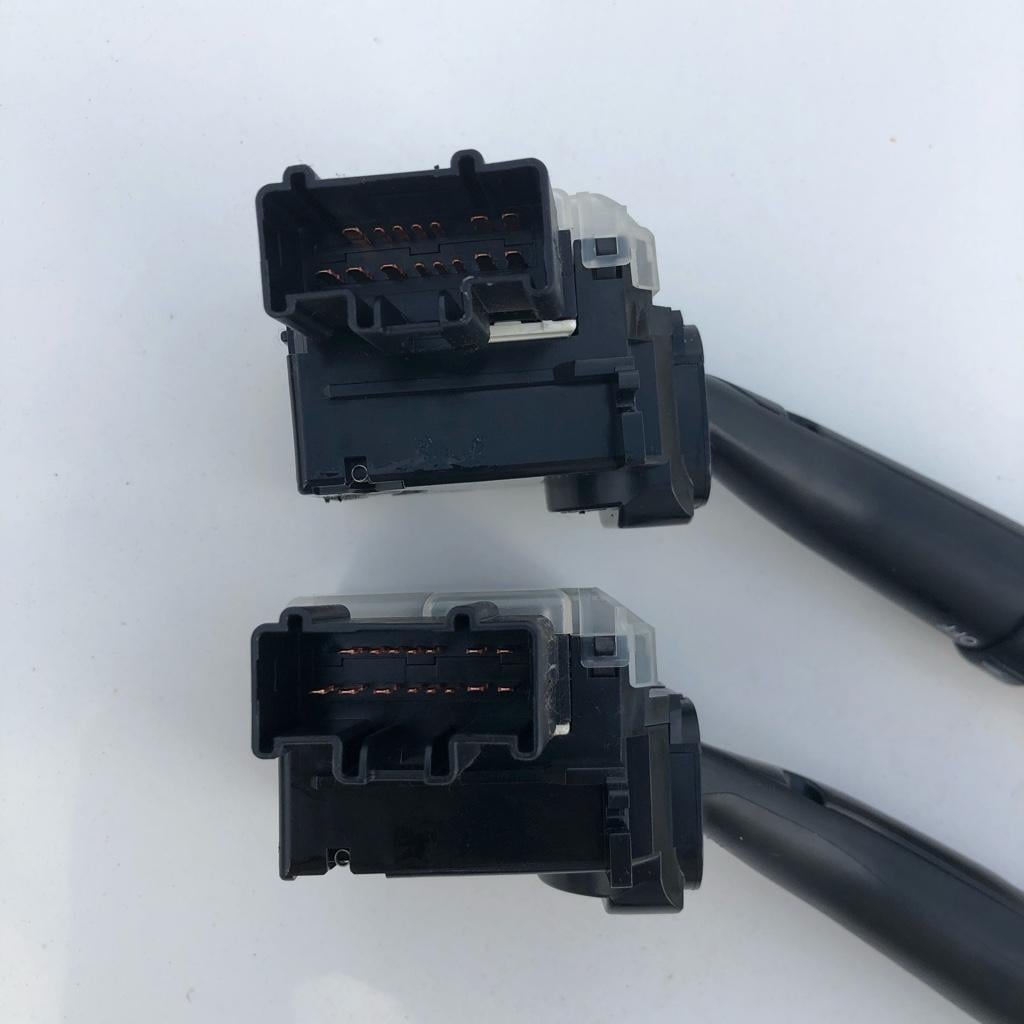
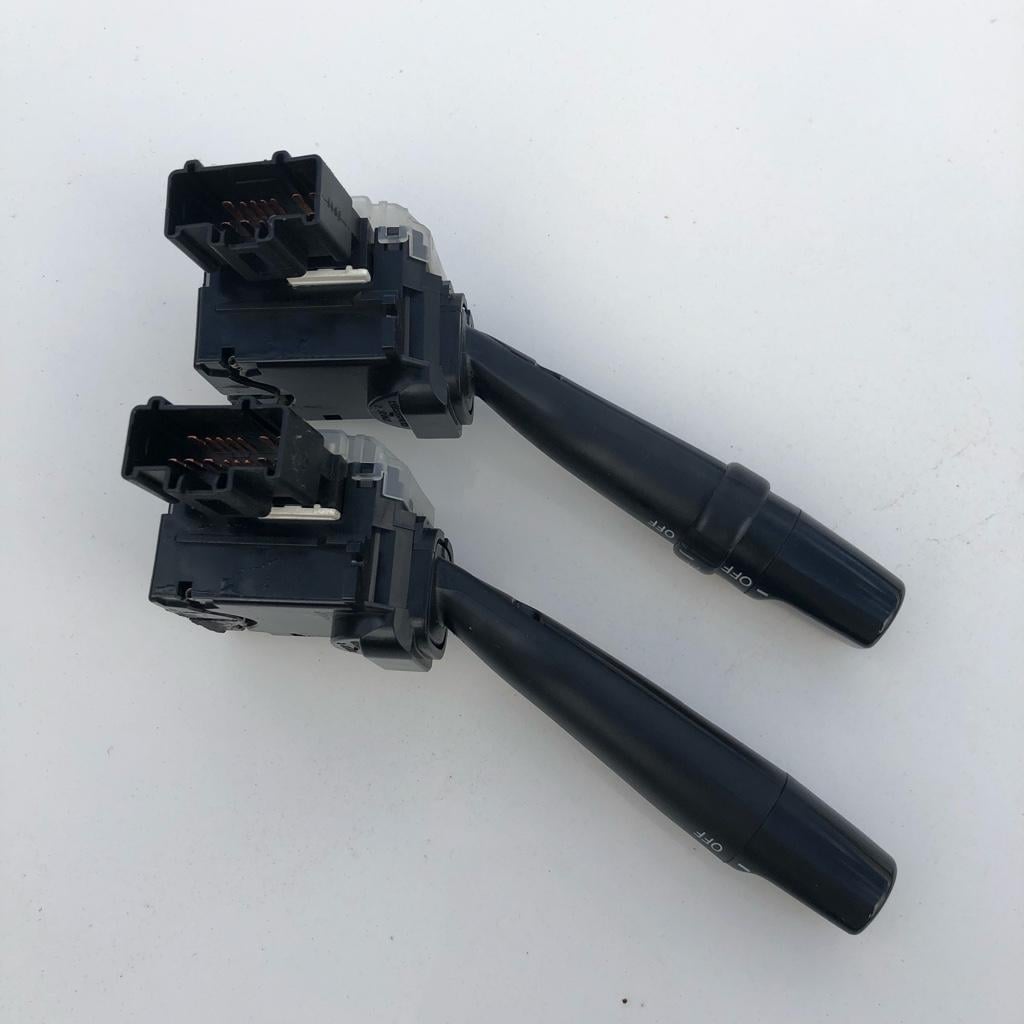
My next project at some point will be to wire up auxiliary / fog lamps and use a turn signal stalk that has the built in fog lamp switch like both my 4runners did. The FJ is the black harness, which is missing pins 10/11/12 and 17.
15b6e52acde203e027299b0b36147303.jpg

d3b12e218f512638c3225503fb7f6e4f.jpg

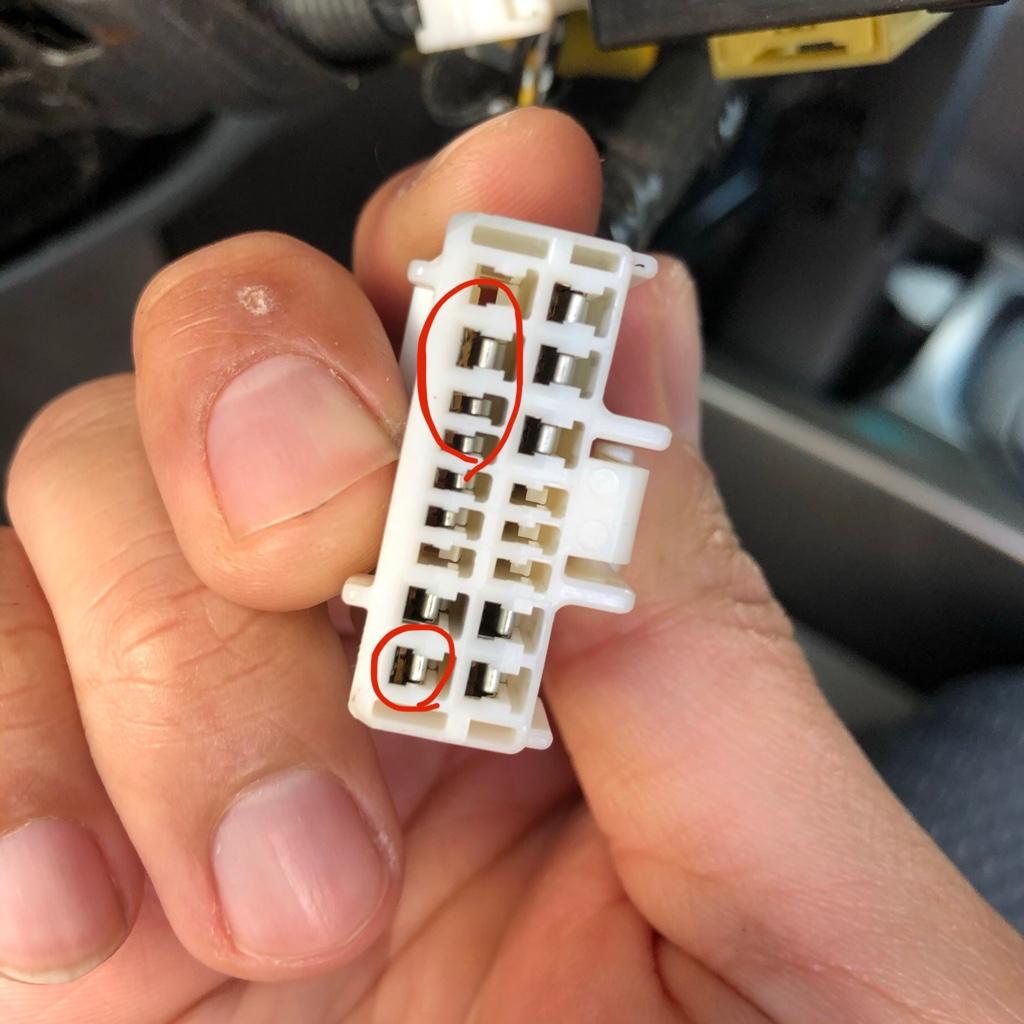
I circled the ones present on the 4Runner harness. I was able to figure from the constant on fog light mod page that pin 17 grounds 11 which ends up bridging to 10. In theory, this means all I have to do is wire up pins 10 / 11 with an aftermarket wire kit and should be able to use the fog switch on the turn stalk. I know the FJ has the 5 blanks available under the radio but I like the option of operating it from the turn stalk. I'm not sure if this is really known in the FJ world but thats the benefit from owning multiple types of cars. Can combine different worlds and make them all work together.

21aeeb5894ec6ad30ac585116d4c8cc9.jpg

4686236a1bd990ac6971c9f3a9ee0014.jpg

3ddd5e898fb86622918be9e9b8254d79.jpg


As you can see, they're pretty much identical. I found other hits online that point to similar ones that can be used from other Toyota cars too. I won't list them since I can't guarantee what will work. Just what I've encountered in my build so far. 5th gen parts from the steering column won't work here because of the different harness connection.

Mod:
- AJT keyfob case
 
Last edited:
07/16/20 - Factory Tweeter Swap

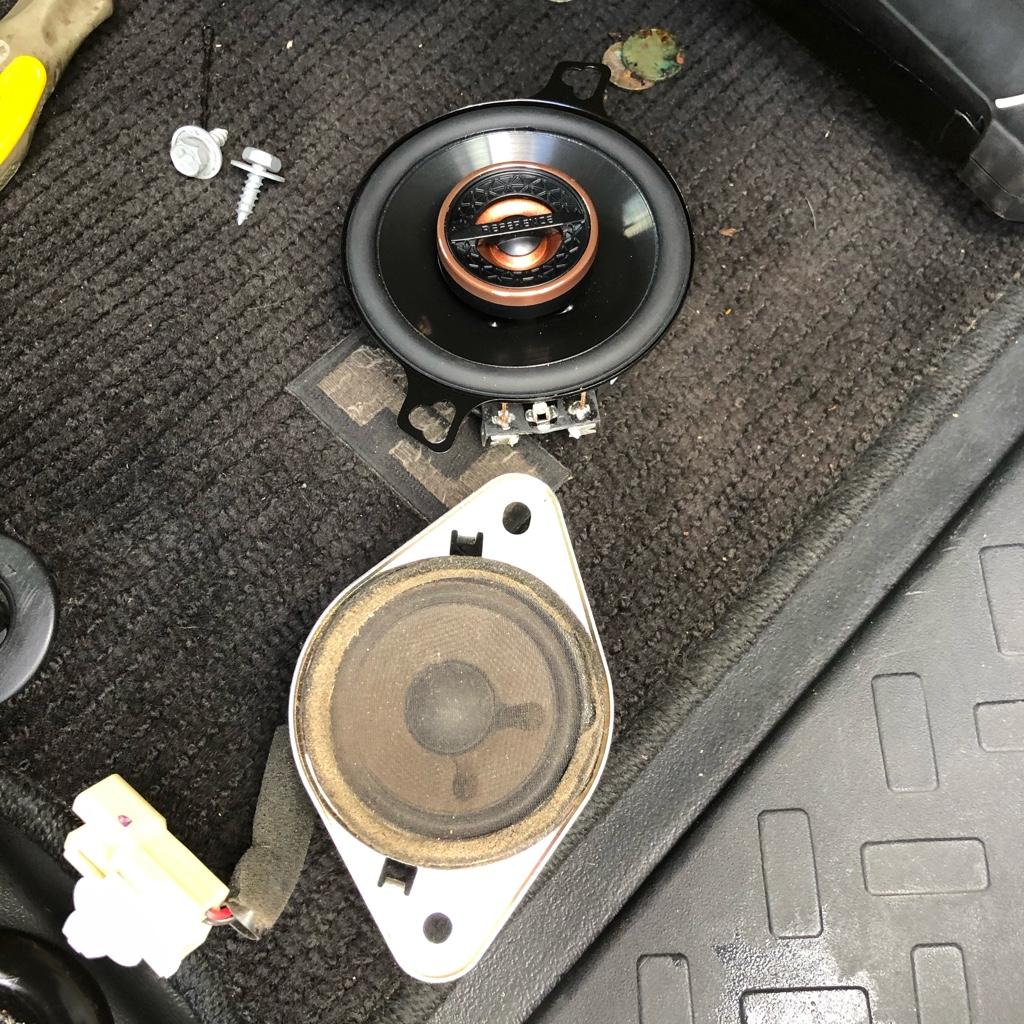
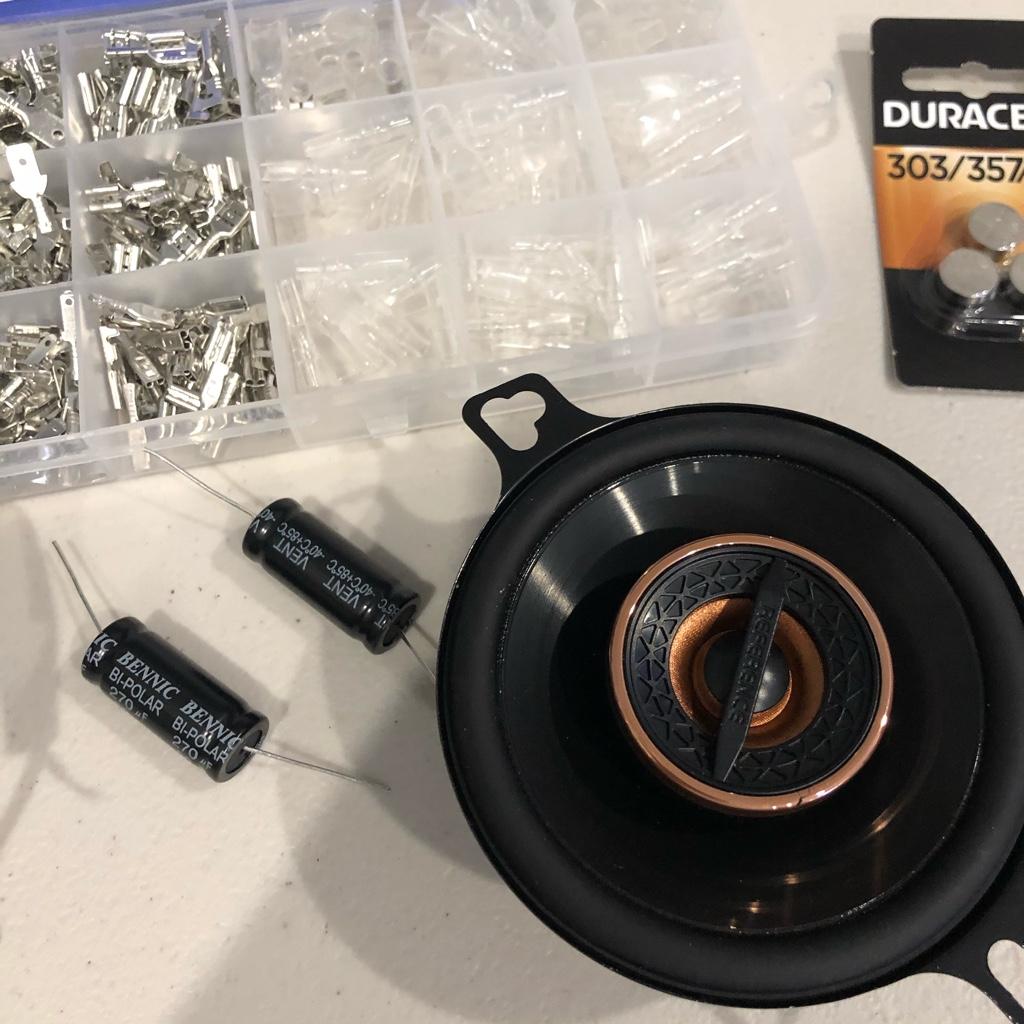
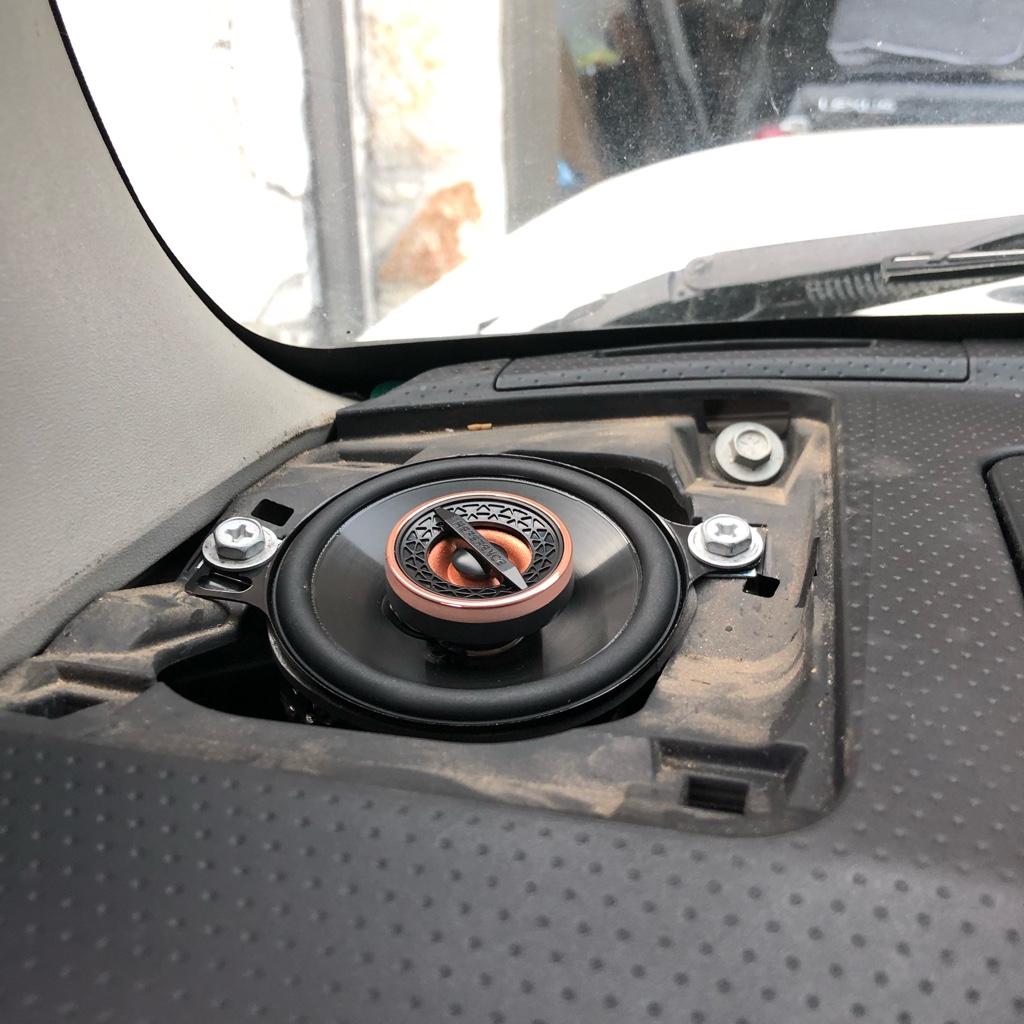
I originally bought these to install in place of the tweeter in the 4th gen doors but they also work in the factory location on the FJ. I know that a 3.5" speaker isn't the ideal sound staging for the dash panel, but without having to go into running new wires for a component setup, this was the best solution for now.

c861a393e15b95ec0a999bb2c8367b9a.jpg

67a40988b6a128dd39c46cde29b1e03f.jpg

c5261f65120226f392217f9eb54ed173.jpg


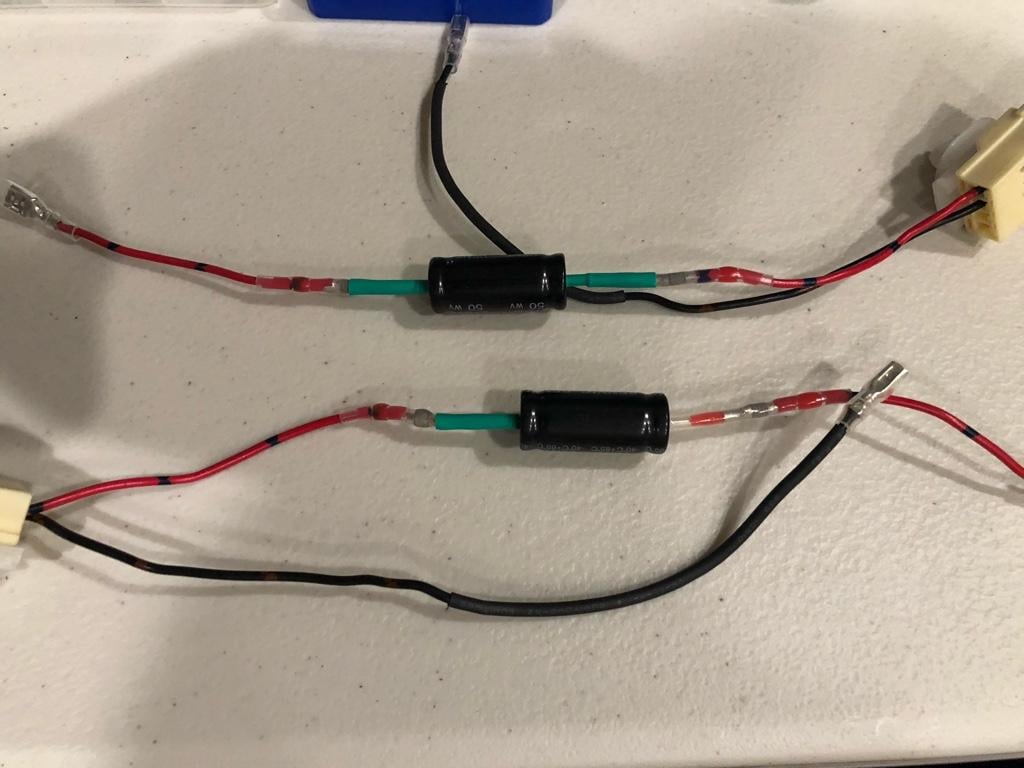
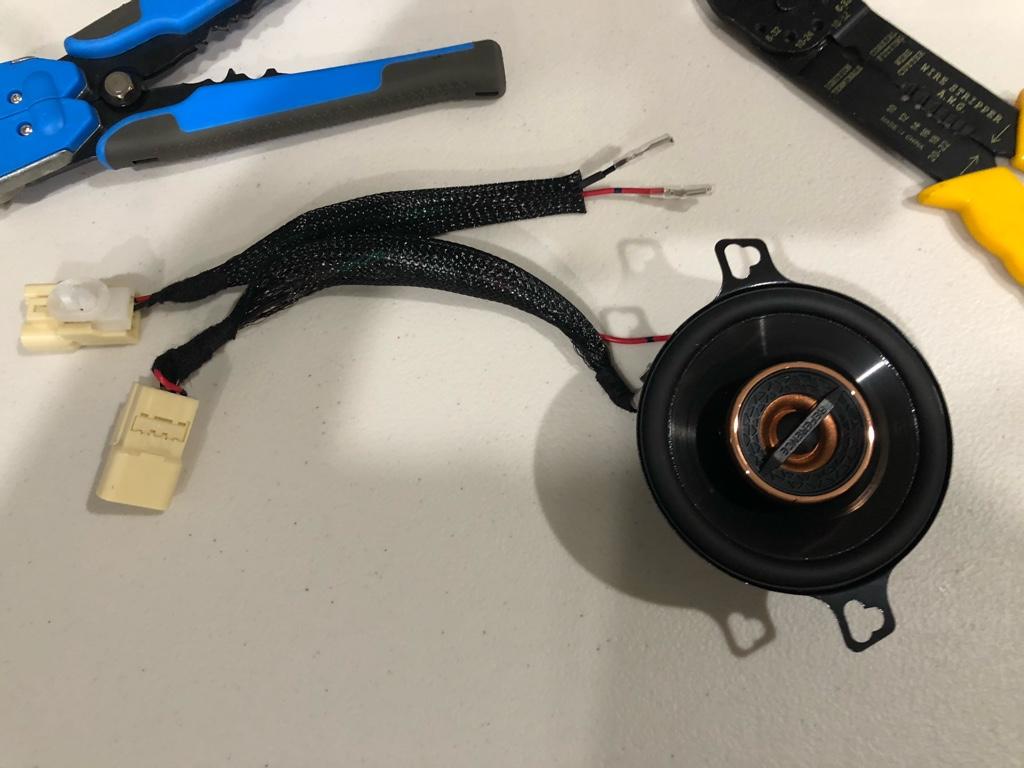
Went ahead and soldered up the bass blocker / "crossovers" that came with the speakers. Had some spare loom laying around to make it look sort of factory like.
9ee3072b83b80dcd0b473b0cb97f8ca8.jpg

e2ff0d9ccf9f66ff405ce635bbefc0bd.jpg

18366c9bef7eefa23636fa8159905a73.jpg

d54f390a0d276eba77bb9fba50be37dd.jpg


I just have to drill out the factory tweeter cups to put the panels back on but they sound pretty good. I think the bass blockers may have deleted the bass to the 6x9s in the door panel though. Slightly more crisp highs than before and a bit more vocals coming through now.

Mod
- 3.5" Infinity 3032cfx 2 ways in place of factory tweeters
 
Last edited:
07/16/20 - factory reverse camera tap / sport brake pedal

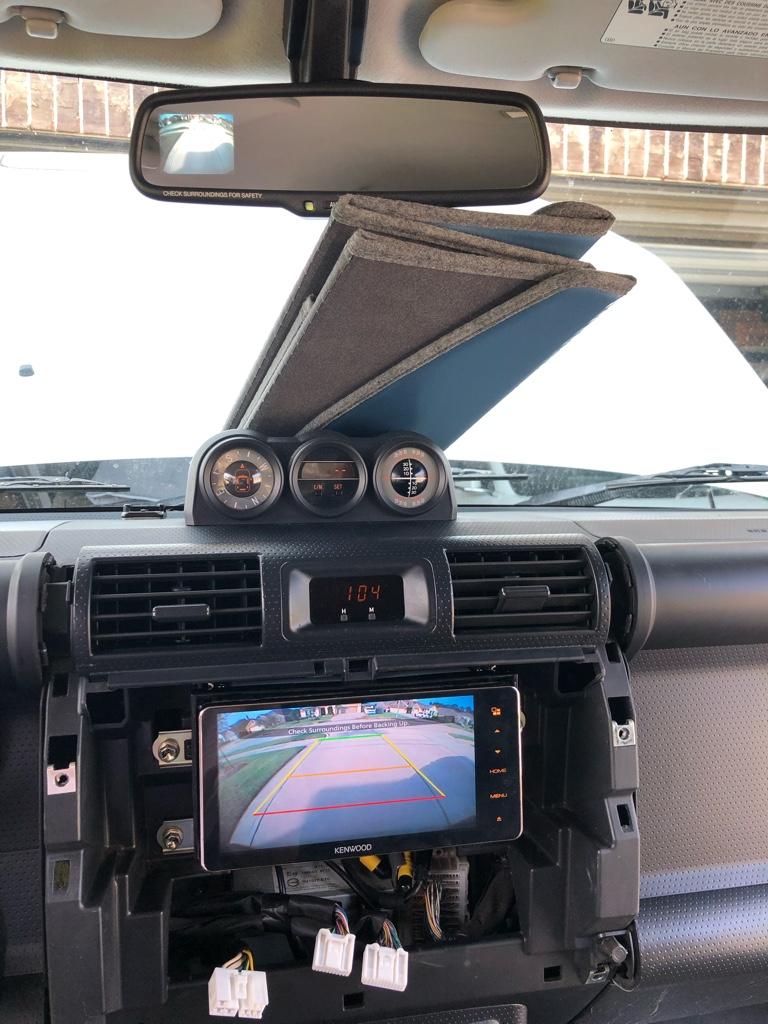
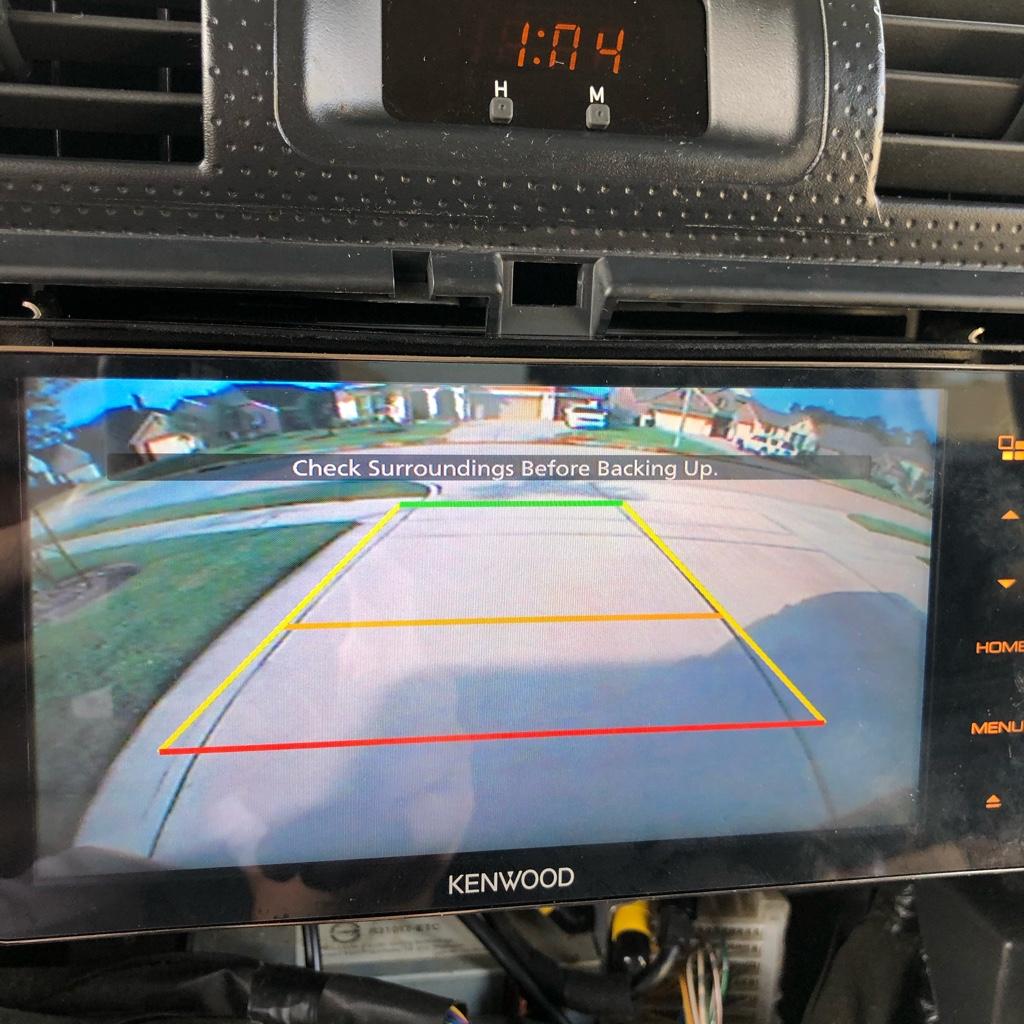
The next part I wanted to get out of the way was tapping the factory reverse camera signal to use on my factory head unit. Like late model gen 2 Tacomas, Toyota opted for reverse camera view in the rear view mirror. I followed this shops instructions on tapping the signal.

Using stock backup camera w/ aftermarket Nav system

Ideally I would have spliced and soldered the connections but I went for the traditional wiretaps. I'm sure they will have to be redone but it was too hot to spend time in the car with a soldering iron / heat gun.

c2443115ba4a4da2d305817073f0122e.jpg

b5bf2791f5b0baadf4d717ed0820170f.jpg


I was able to get both signals to work. Apparently it doesn't work for everyone. It is advisable though, to disconnect the battery so maybe the rear mirror got shorted for some folks. I might switch out the rear view mirror down the road anyway for a rimless one like my 4Runner had.

83893c2902577358cb48896de997b5e1.jpg

17a5c15c02980785fb849b270781748e.jpg


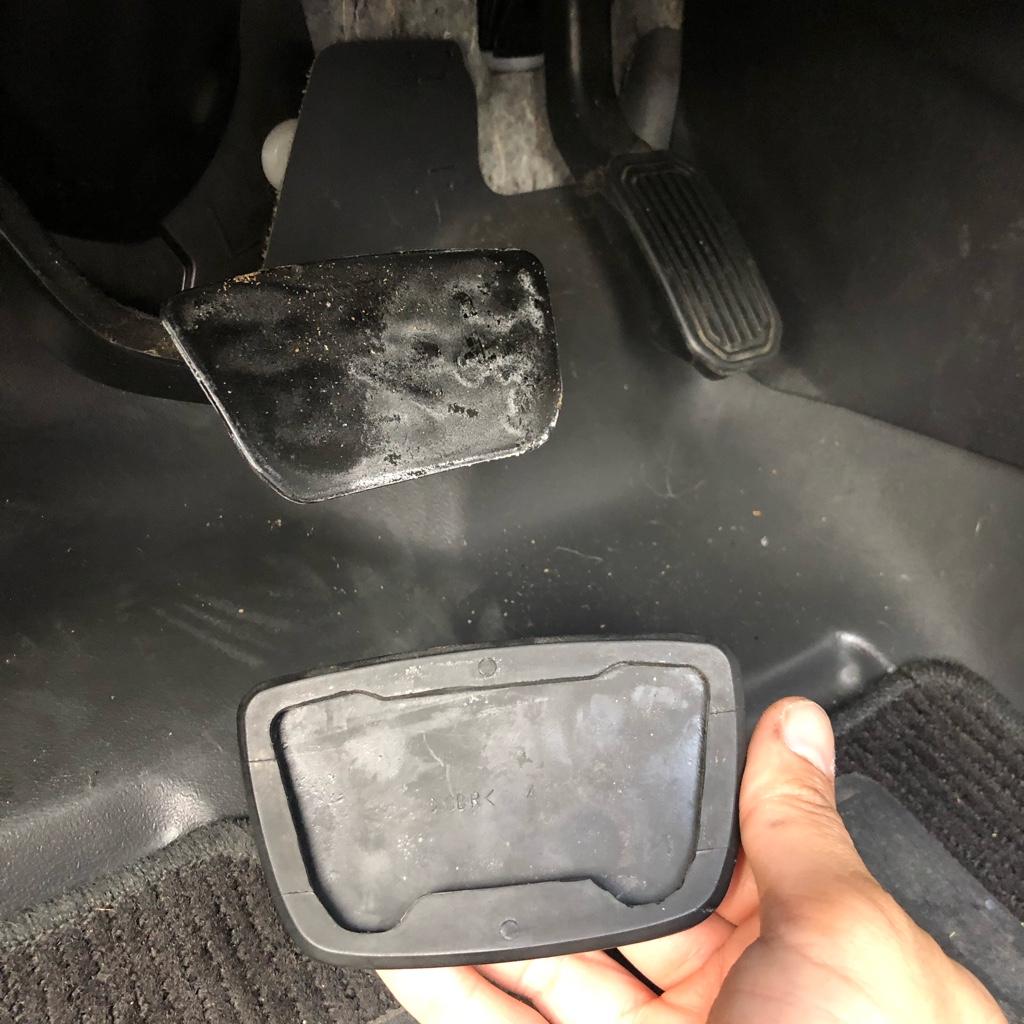
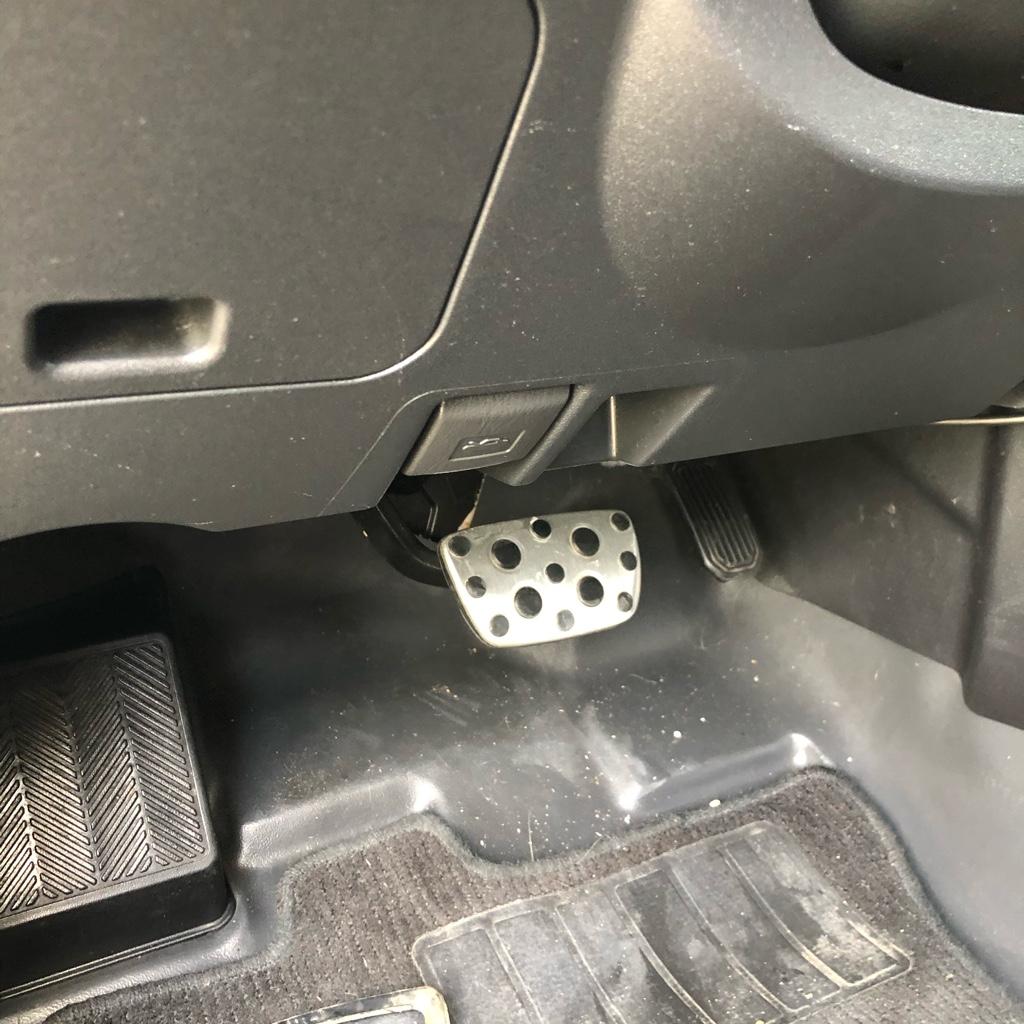
Also installed the "sport" pedal. It is just the stock pedal off of an IS300. Hard as heck to get on though.

30579b666f8e7c8413cc6cc9f98e61b6.jpg

0501cd22b576b94b931feeaf7cc1c362.jpg


I'll probably replace it with a newer pedal cover down the road. I also figured out a potential update for the gas pedal and dead pedal but I need to fact check a few things before I post anything on it.

Mods Installed
- factory reverse camera tap
- IS300 brake pedal cover
 
07/19/20 - Pre Front lift / small mods

I decided to have a friend of mine do the install for the front since it needed some welding and he could get the alignment done all in one go. The [MENTION=28464]eimkeith[/MENTION] PCK, body mount chop, and rear reservoir install were originally meant for the 4th gen. Those were what I was headed to the shop for when I lost the 4Runner in the first place. In any case, figured I'd save myself the trouble and have him dial it all in for me.

I bought the eimkeith PCK after finding it in this thread: panhard correction kits 4th gen fix panhard bar angle Bought over 2 years ago... I remember telling him about how the bracket should fit 4th gens if he designed it for the 5th gen axle.

b3e04a0b17c5a6a422817d8bd5576ca9.jpg

I got these Dirt King LCAs from the classifieds. They came off a 5th gen and I got the sleeves for the 4th gen to end up not even needing them. The other parts came off my 4th gen of course.

216f177be305166f7a82540b7e7ec54a.jpg

9b063ba1d69d9779a2f831c7eda555fd.jpg

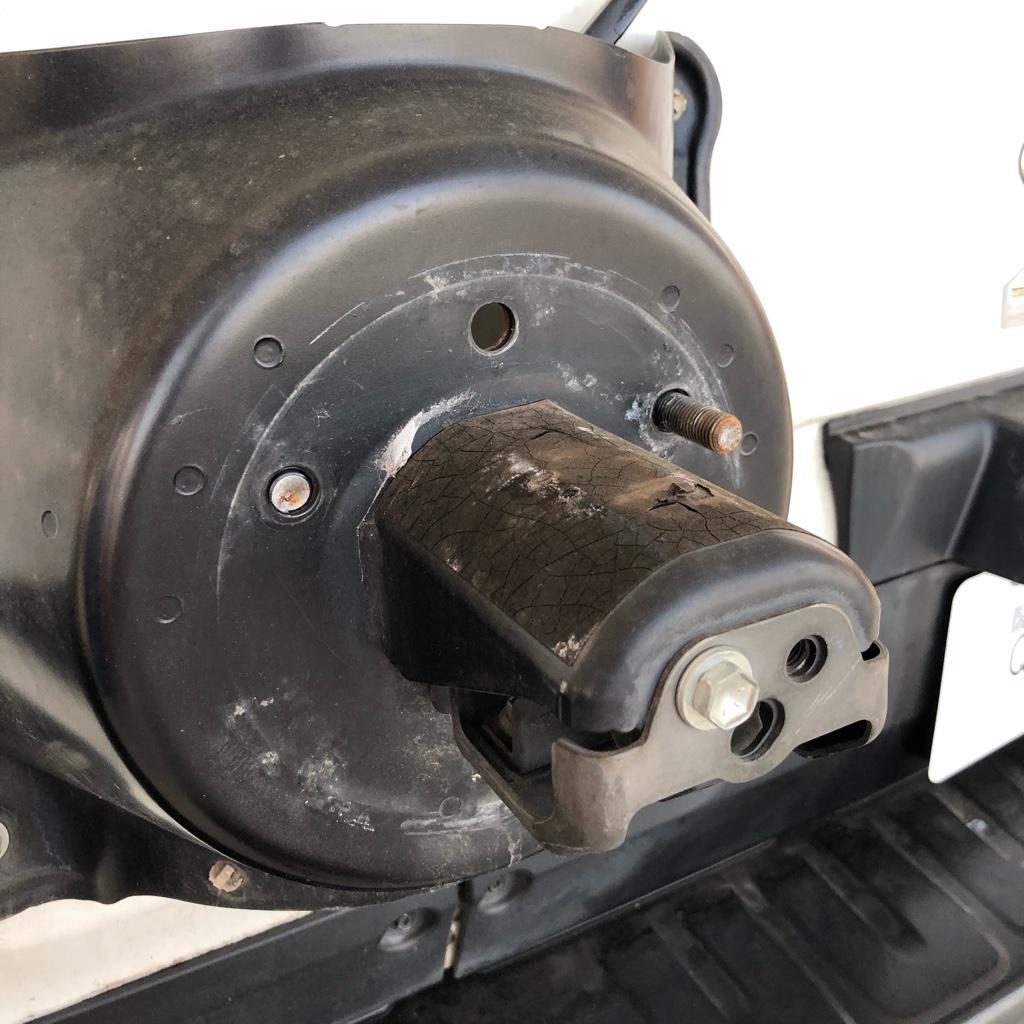
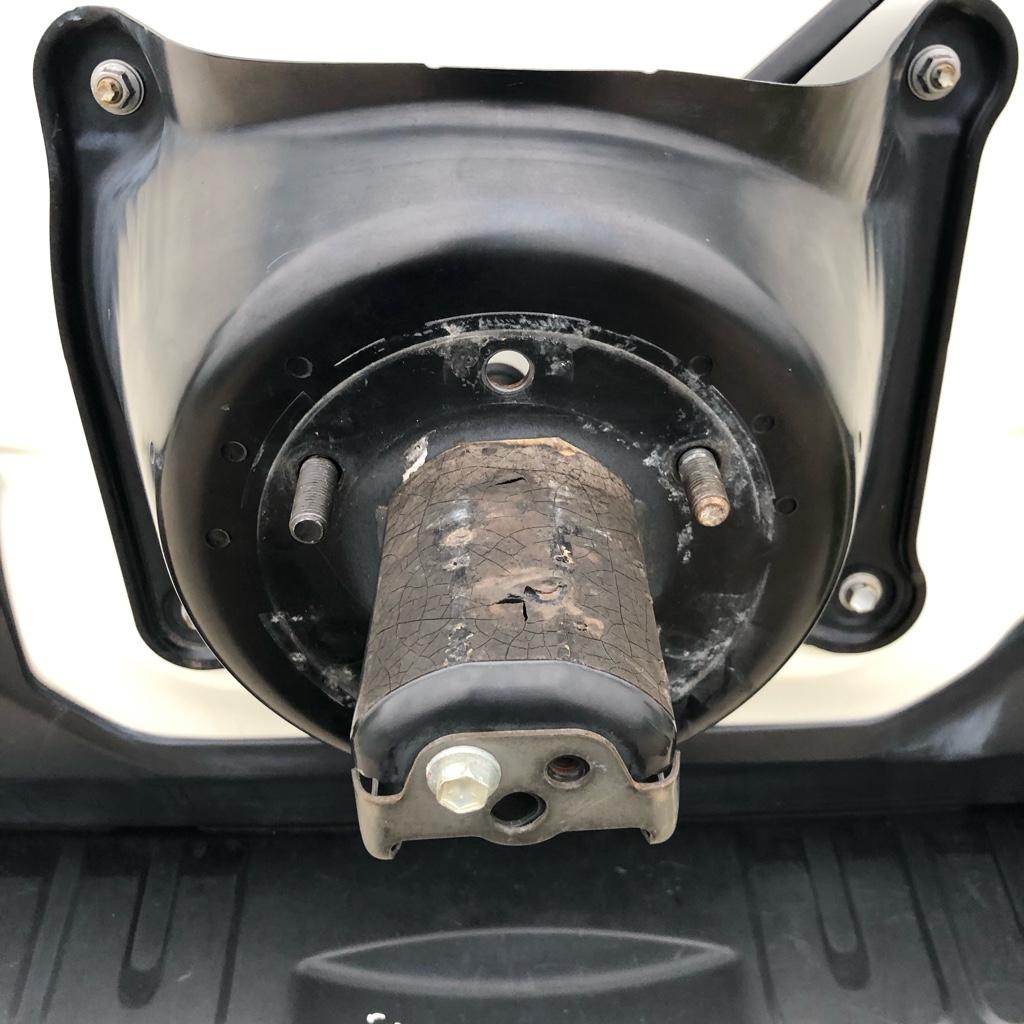
I discovered when I first got the FJ home last month, I was missing one of the studs for my rear tire carrier. Also scary was, I made the 800 mile trip with the other two lugs loose. I didn't think to check them prior to getting on the road. Was lucky that it didn't come off. This will also be fixed. I got a bag of black brake bolts (M12-1.5 x 35mm) off eBay meant for a BMW brake job for this. That was the closest length that matched the stock ones. I didn't want to get a hardware store variant because I didn't want to hunt down a black one (didn't want to constantly have to paint it).

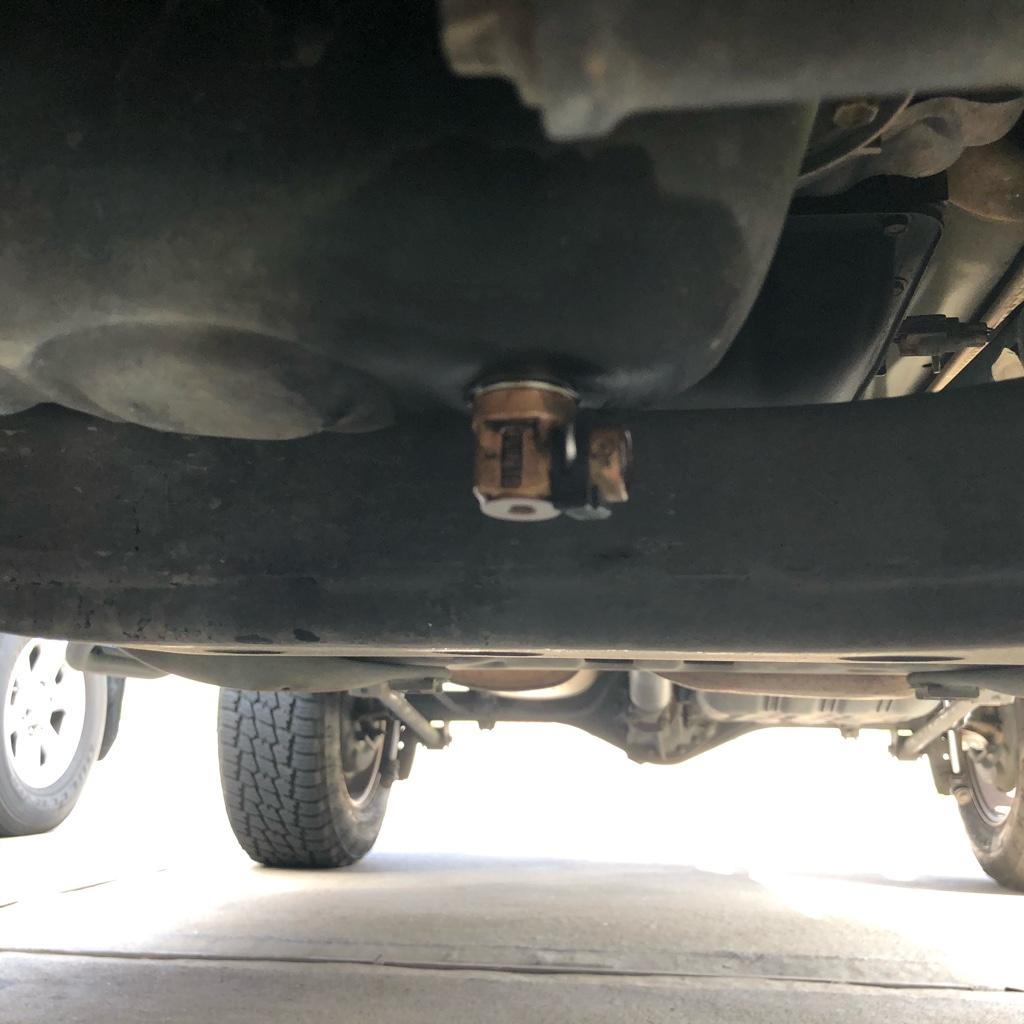
Prior to sending her off to the shop I did the first oil change for her in the driveway. Installed my F-133 Fumoto valve that I took off my 4th gen. Same size as most Toyotas since my IS300 also uses the same one. Won't get too deep into it but its a great product.
39b9a0e3fe4d7ae8ce90cc1eb82171f5.jpg

0de89ce5f471bbee52316215996e63e7.jpg


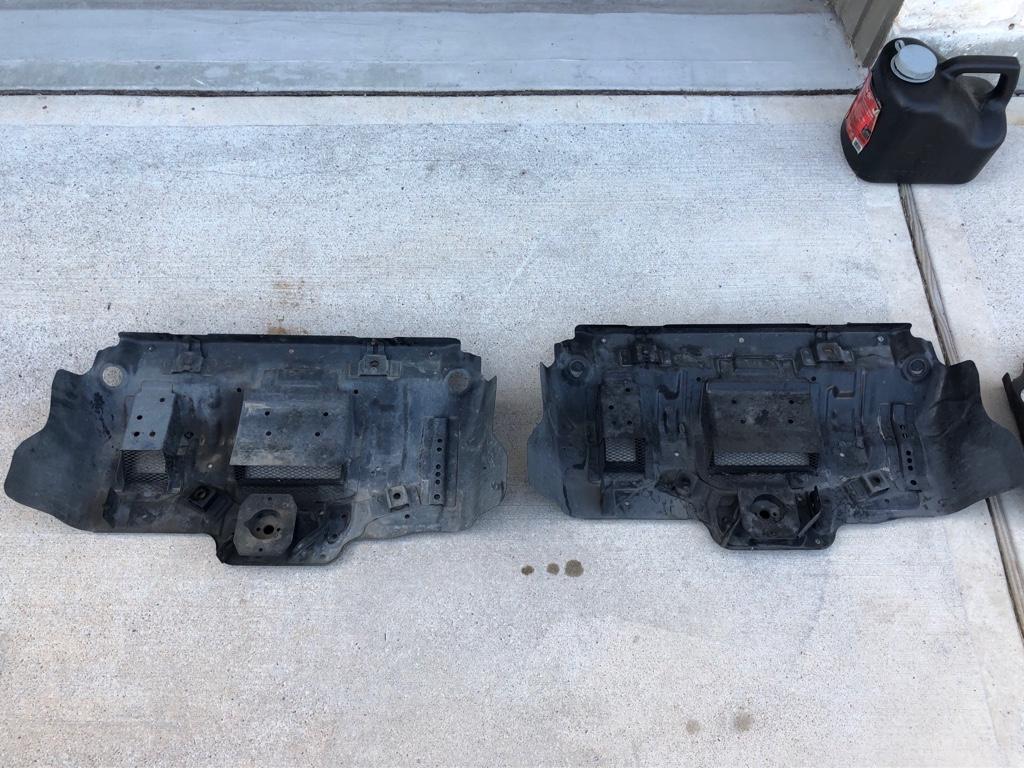
I did a comparison between the skid plates on my friend's 5th gen and my FJ. Pretty much the same thing. I wanted to see if I bought 2010+ skid plates for a 4Runner, if they would work on my FJ.
1469f9527ffbe010e66bde89110fb916.jpg


Parts are being installed quicker than I can update the thread. That is if I was on as often as I was before.

Part Installed
- Fumoto F-133 valve

Future Parts
- Fox 2.5 extended travel coilovers
- TrueTravel UCAs
- Dirt King LCAs
- eimkeith PCK
- custom BMC
 
Last edited:
08/01/19 - PCK installed / new Icon DJ UCAs

I dropped it off the week before but it's been slow going because we discovered that the UCAs needed new uniball bearings. I decided to just order a new set of Icon Delta Joint UCAs because I prefer the bushings over heim joints that my TrueTravels had. I also dropped off new uniball bearings for the Dirt King LCAs. Glad I did too because the old ones were real frozen on their and required a 100 ton press to get them out. New ones were pressed in with antiseize to prevent issues in the future.
2e888f457b0cc484df7093b9f48f82d7.jpg


The panhard bar is now horizontal thanks to the eimkeith PCK.
7c1824ce4a08c4c2520cbb0366de5029.jpg


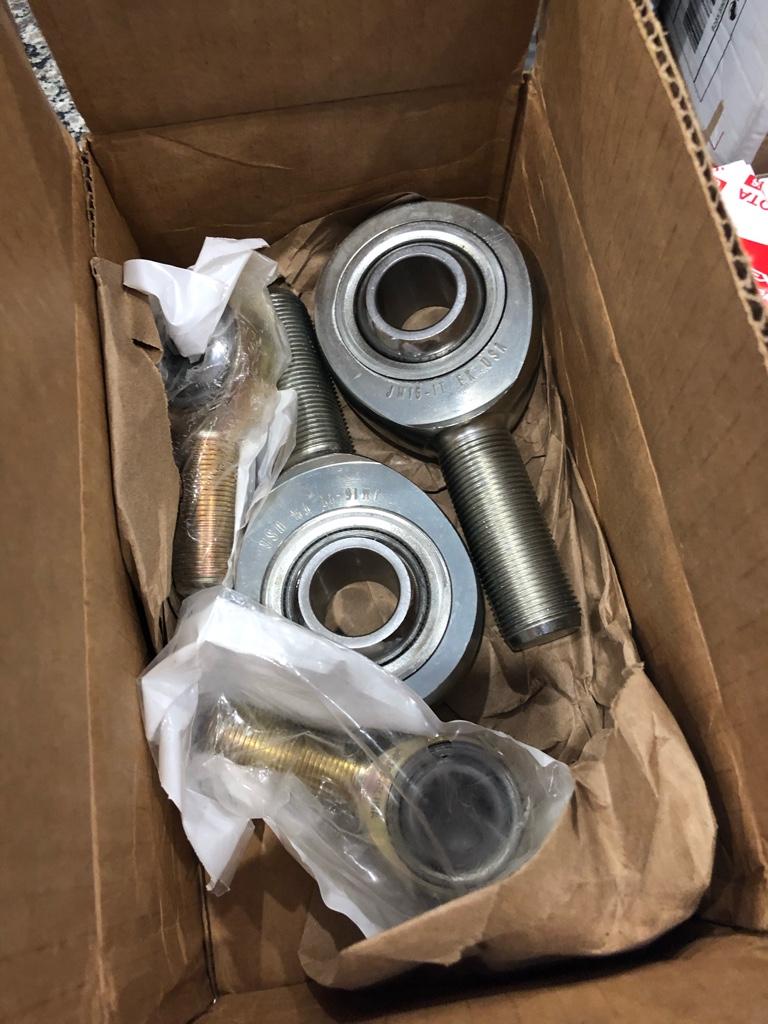
Also received some new rod ends for some parts I haven't listed on the build thread yet. I'll be posting them once I get around to replacing the rod ends and subsequently installing them.
e704dd0955c056dc53dcbed6677244f6.jpg


Parts Installed
- eimkeith PCK

Future Part
- Icon tubular Delta Joint UCAs
- replacement 1" uniballs
 
Last edited:
08/18/20 - almost done

A month had almost passed but between other shop projects and getting parts in by snail mail, the job was almost done. My friend had sent off the shocks to be rebuilt by ORW but they said the wait til would be 3-6 months because of COVID. I'll need a rebuild down the road but I might just get 2.5 adjustables by then.

2cbe117e0536c2dc2121e023d1bb7404.jpeg

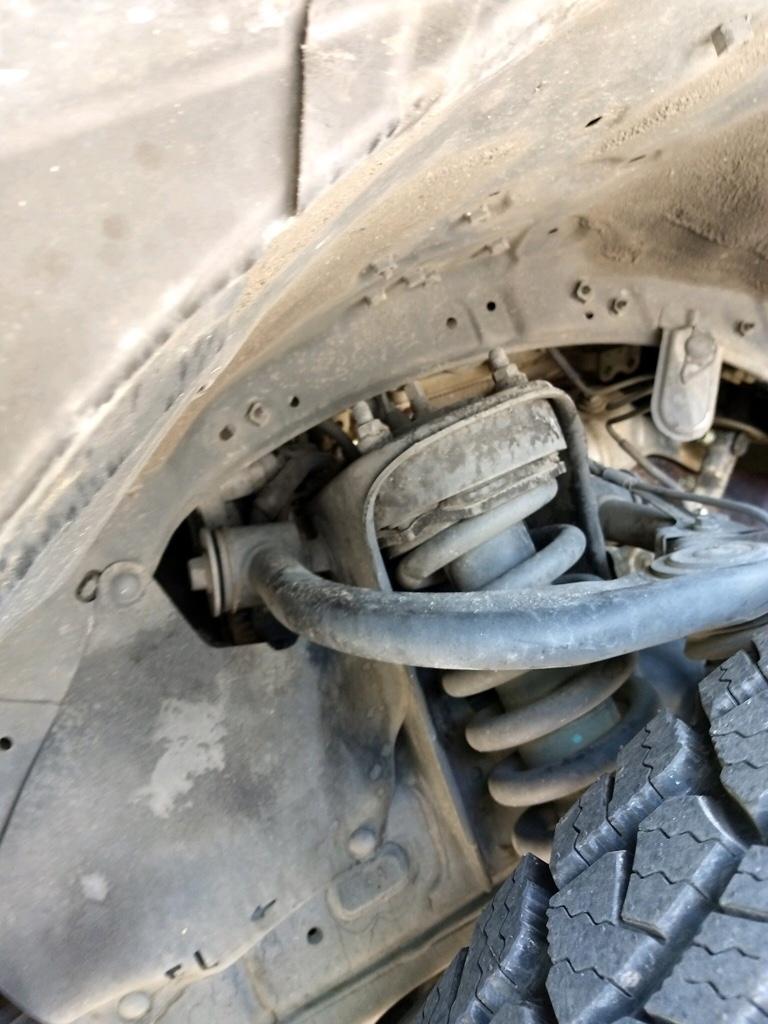
I didn't have a clean before picture except for this one showing the spacer that was on there prior to me getting the front end done.

0969e9130008266808b1925ff45efe0e.jpg

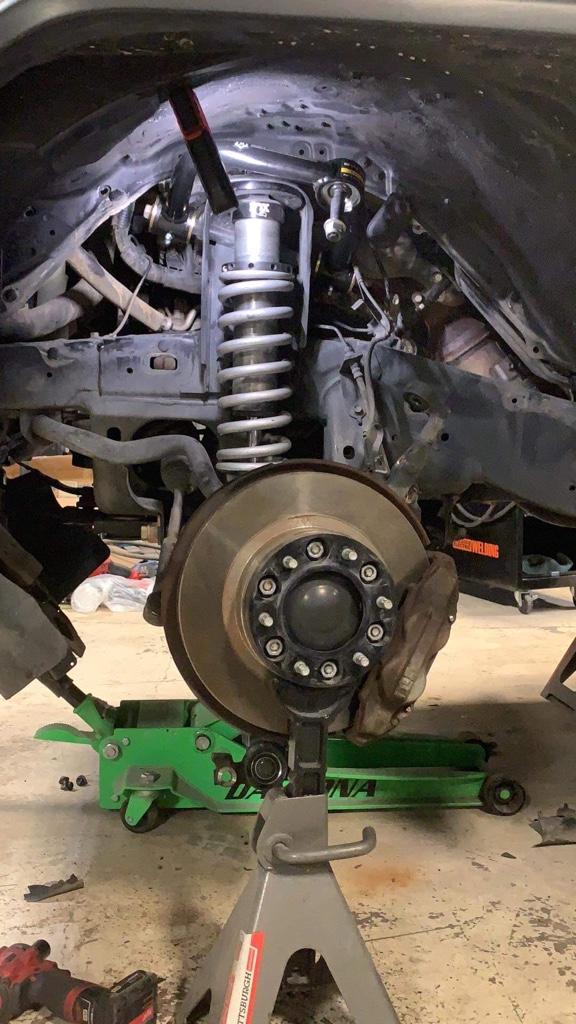
I had trouble a while back trying to adjust the height on my coilovers and it turned out for some reason the collar had to be spread for it to even move without the spring on there. Looked like an issue that he was able to fix once he had the coilover on the bench.

b3151f05995c688fc3c2eff88c01ff65.jpg

2e81d59ec667715cffa39343c6af1b9c.jpg

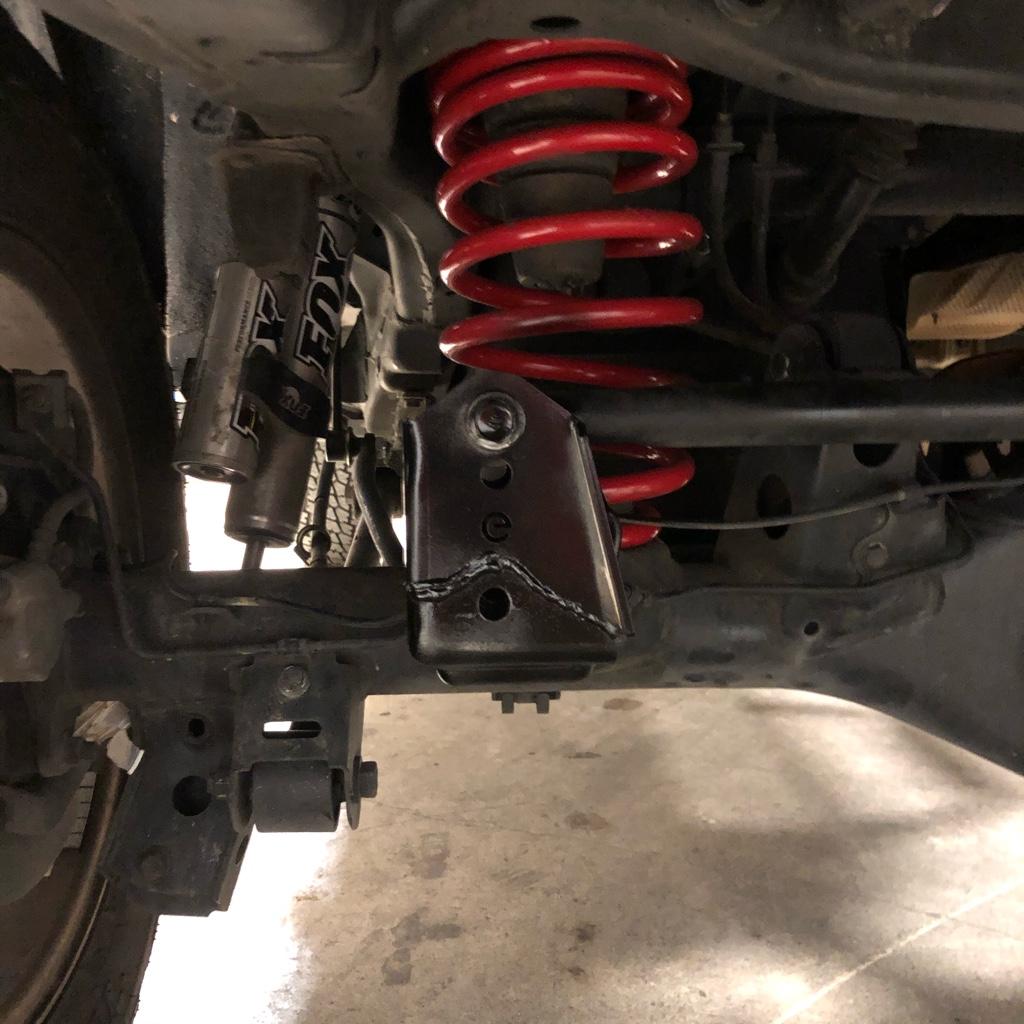
Originally I had ordered the RSG BMC because I liked the design, but there were a few forum posts showing that there could be issues running 34"/35" tire setup with it. I had him go ahead and just fab up a slightly different design.

All he has to do now is drive it around, dial in the height, and get the alignment done.

Parts Installed
- Fox 2.5 extended travel coilovers
- custom BMC
- Icon Delta Joint UCAs
 
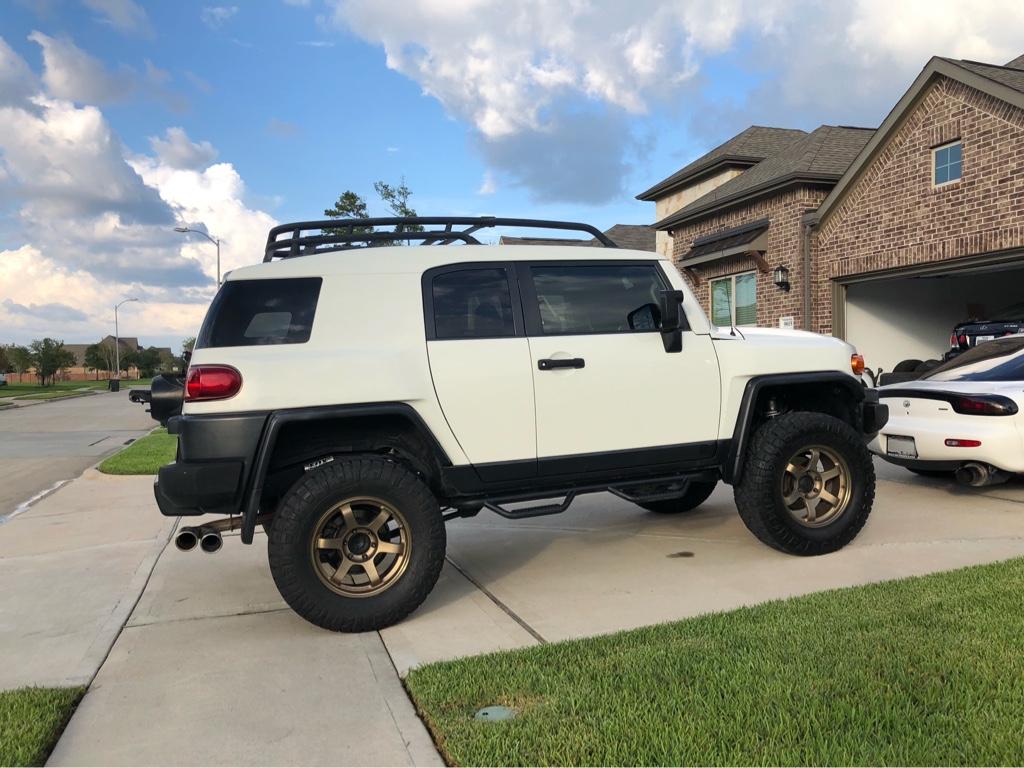
08/30/20 - suspension completed...for now

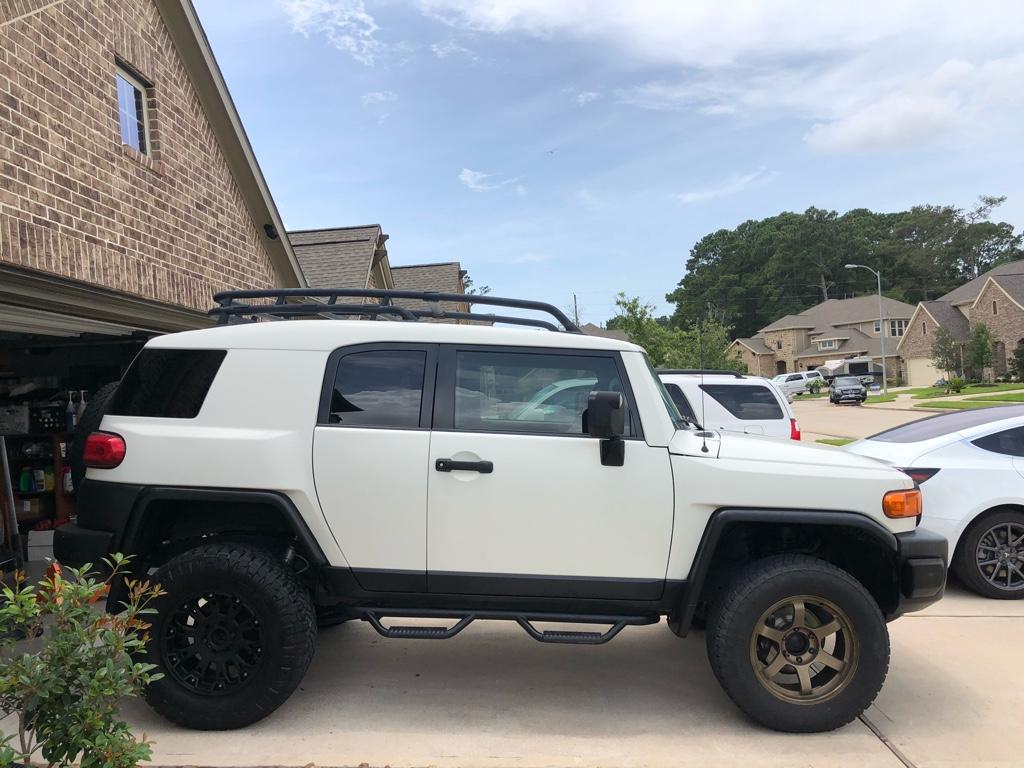
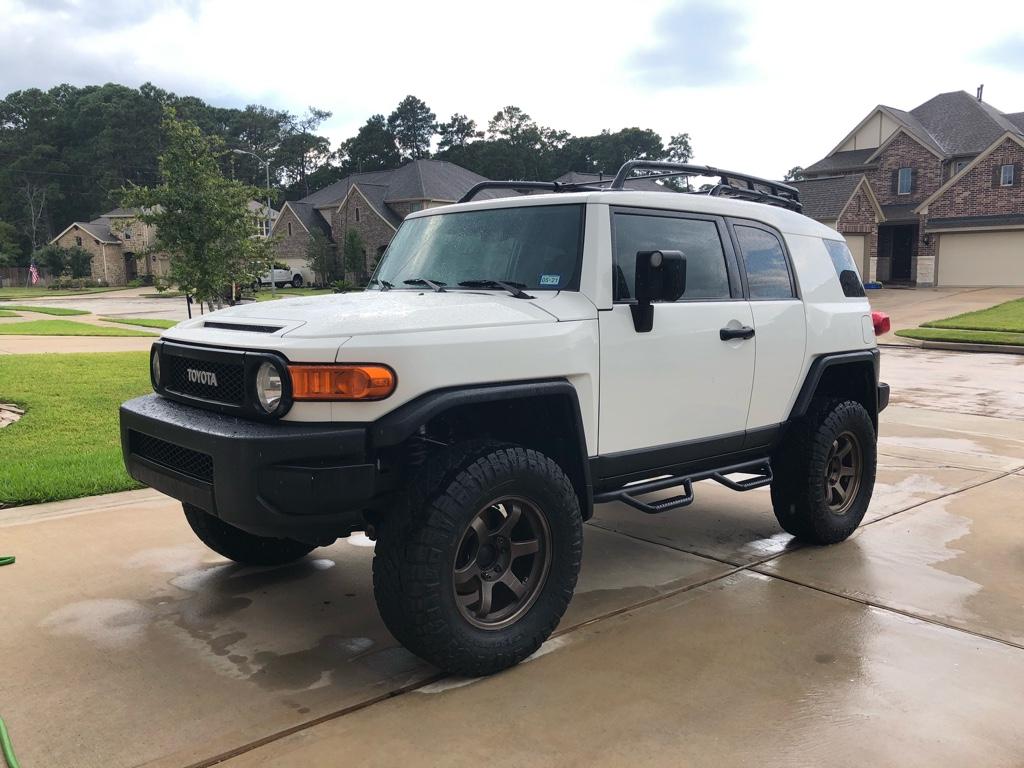
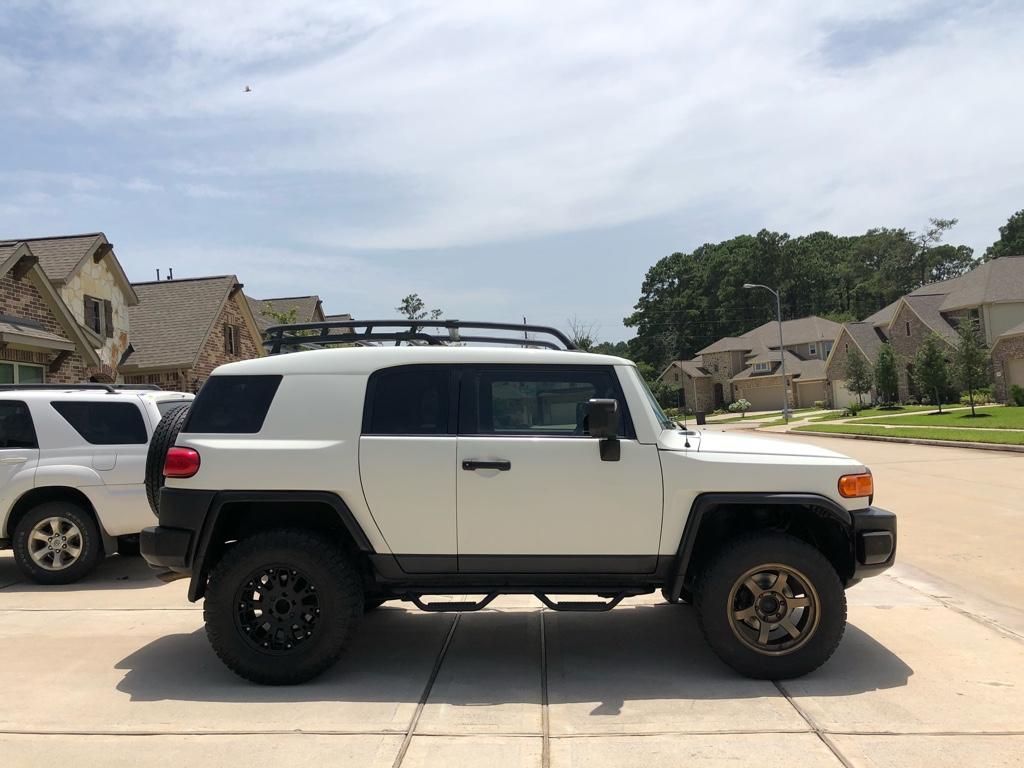
It took a bit longer than expected but I was glad everything was done and double checked. Any other place would have installed the parts without going through the check process he put everything through. He spent almost a week trying to dial in the lift to clear the 295/70/18s. I almost forgot I had an FJ cruiser since it had been gone from the driveway for so long.

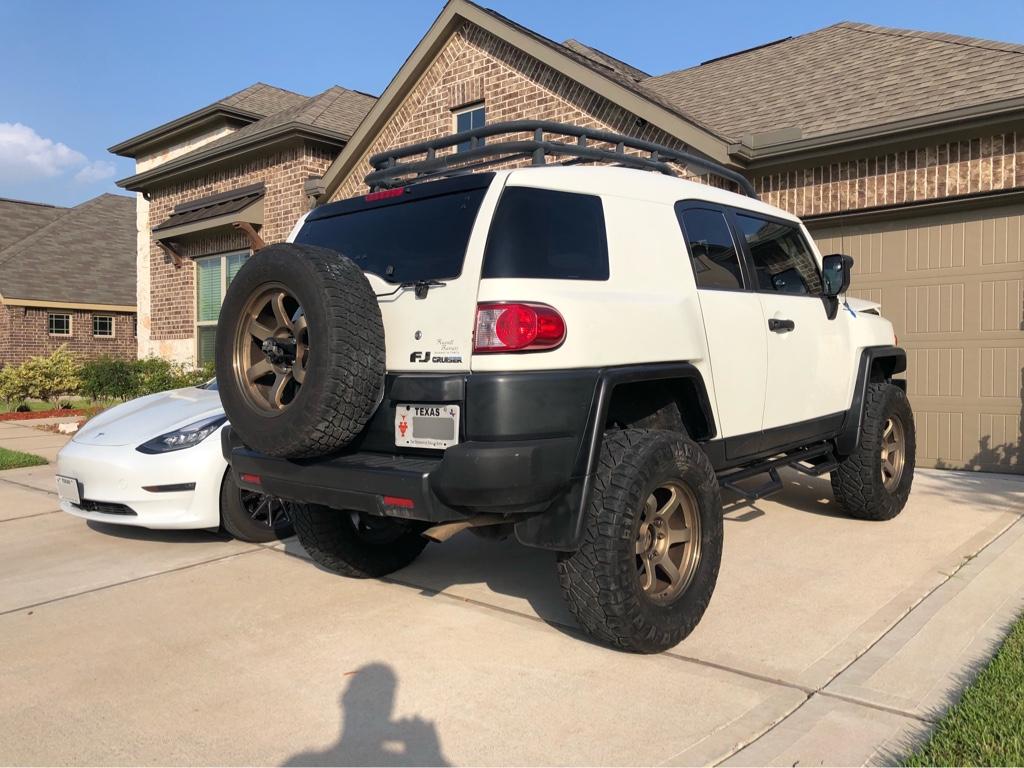
The "money" shot.
25c987d5b35994829672bbea9832a23d.jpg

The "money" shot. I still have to install the sway bar spacers, but that's like a tiny part of the big picture.

7176123823e5c8b3ca7e77d66f5d1a3e.jpg

5a7143dfea1bc679746859e942ae470c.jpg

b3a92620ae476c7b183a4d0475bee562.jpg


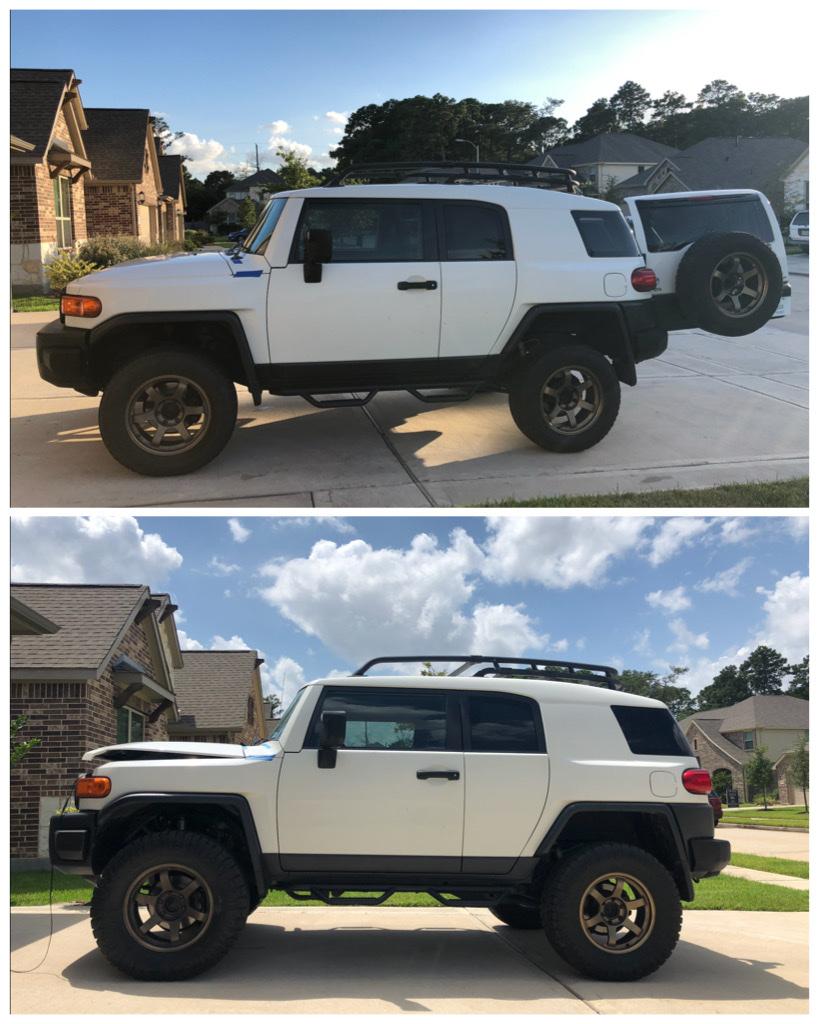
A couple shots of the completed work including a before and after. It may not look like it changed much but the 34s really complete the project. Can't wait to take her wheeling next month. I'm just glad to have a major chunk of parts out of my garage.

Parts Installed
- Dirt King LCAs with new uniballs
- 295/70/18 Nitto Ridge Grapplers

Pending
- Fox sway bar relocation spacers
 
Last edited:
09/11/20 - 1 step correction / sealant

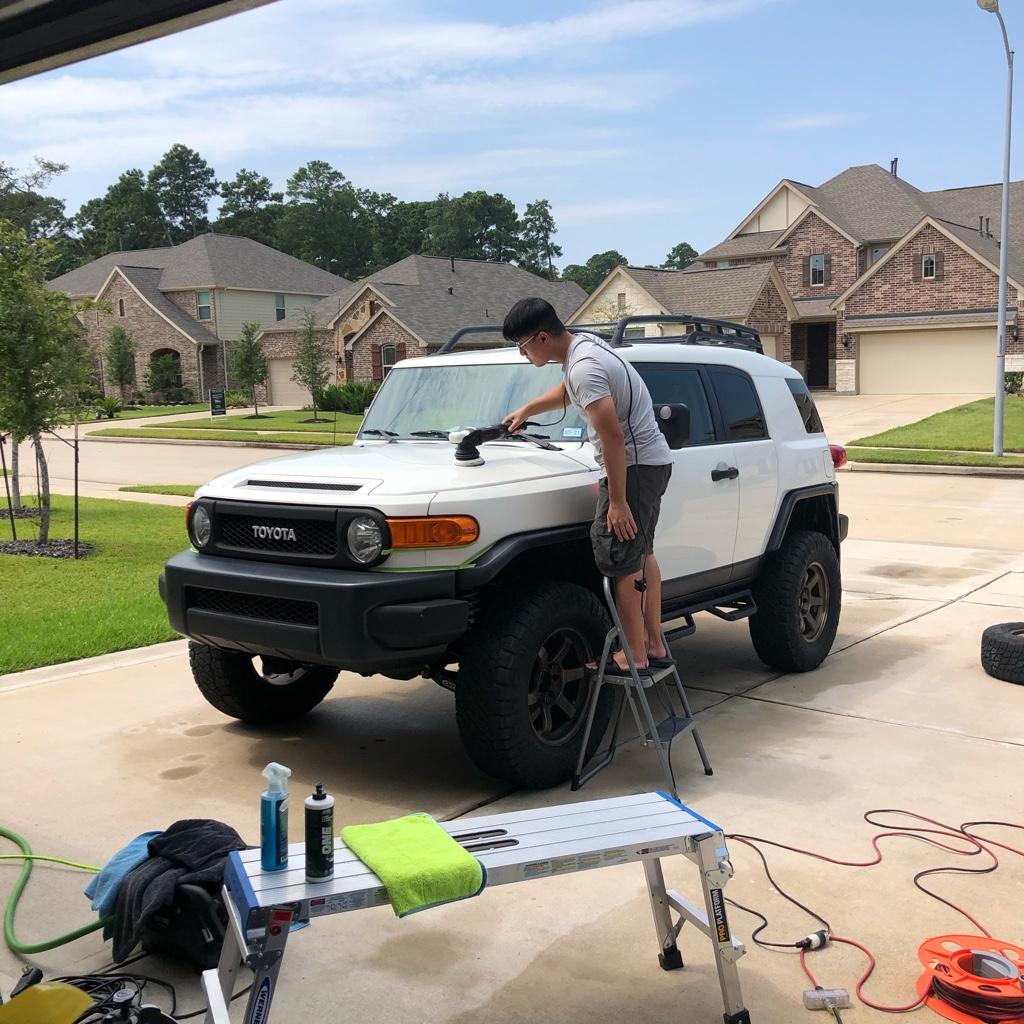
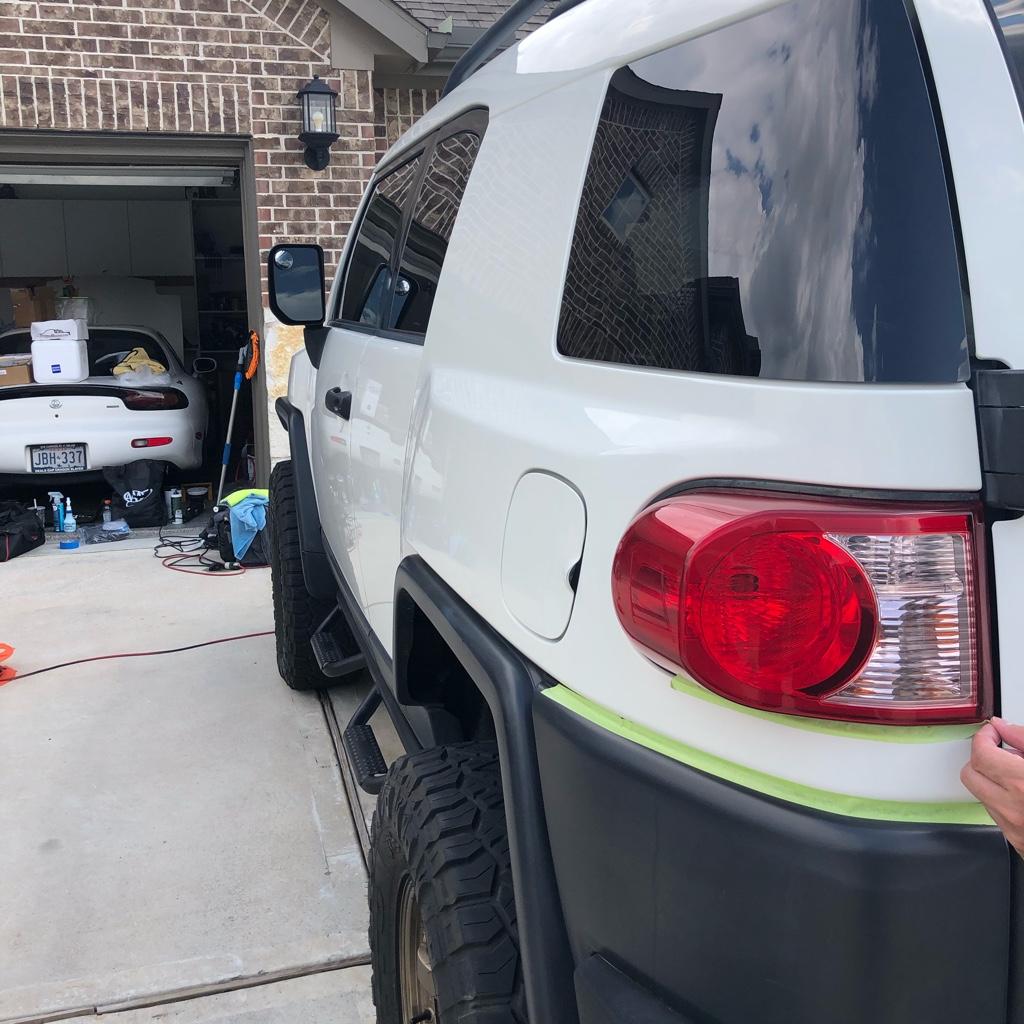
I know some folks will say its a waste to spend on a nice detail job for a trail rig but I wanted a good baseline from where I can keep up with maintenance for paint. There's also the argument that white doesn't show changes as well but I can say it does.

b5bae78ed54a27769c0b13996194e895.jpg

d83d8b550a0f946d3556b445eae26fe0.jpg

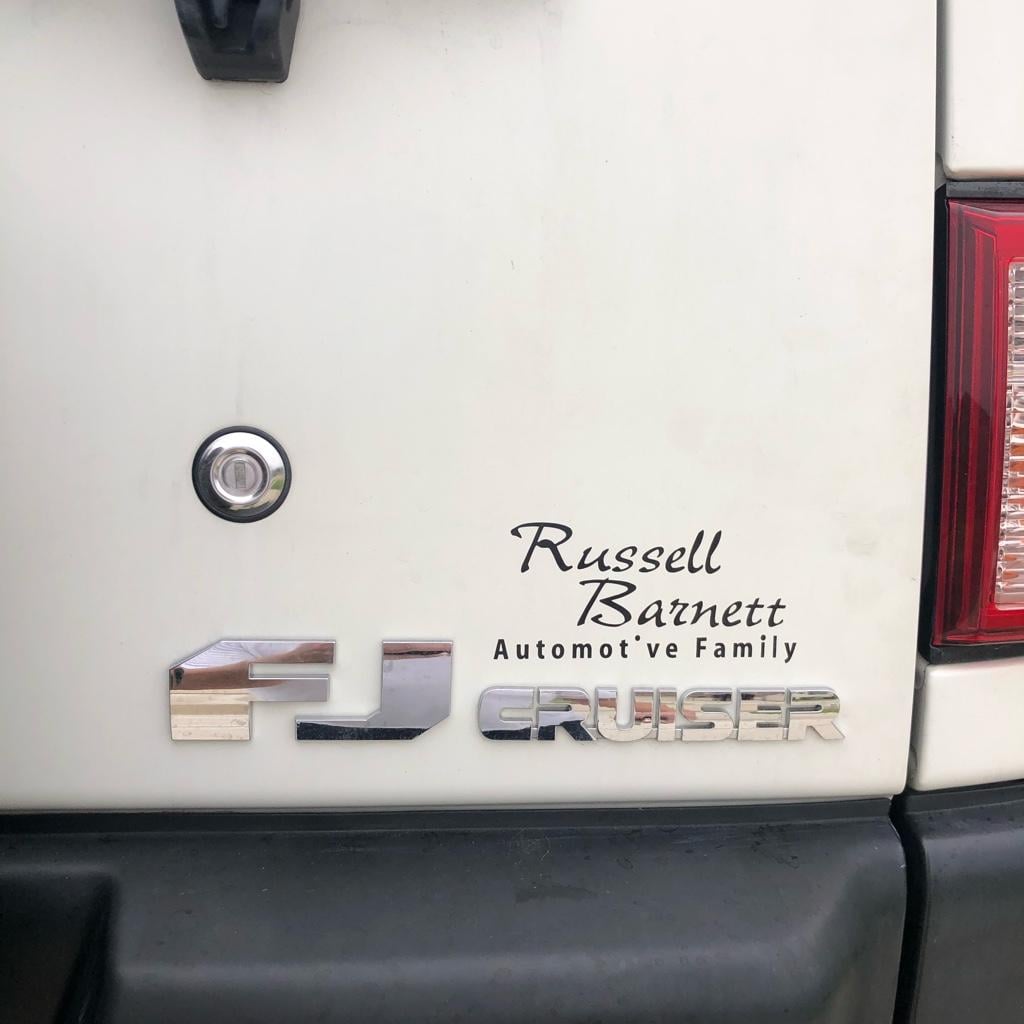
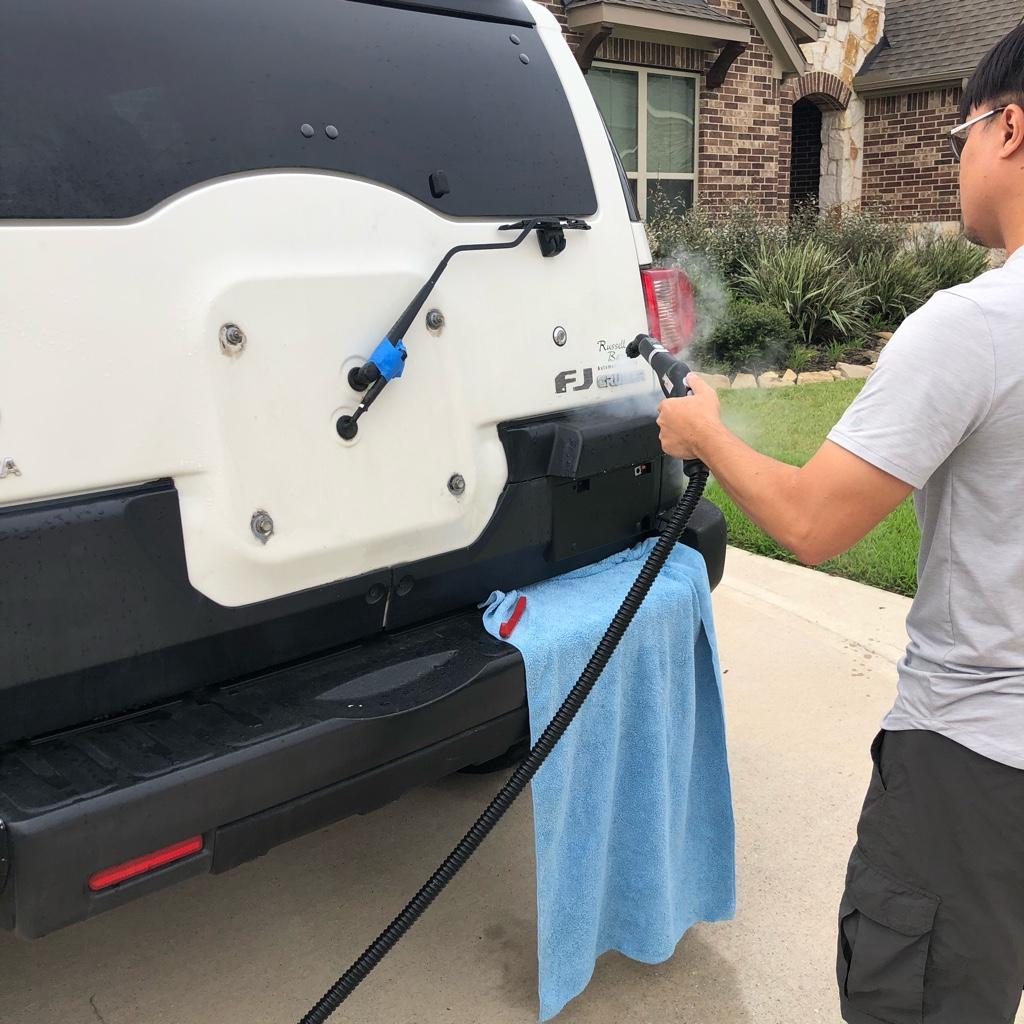
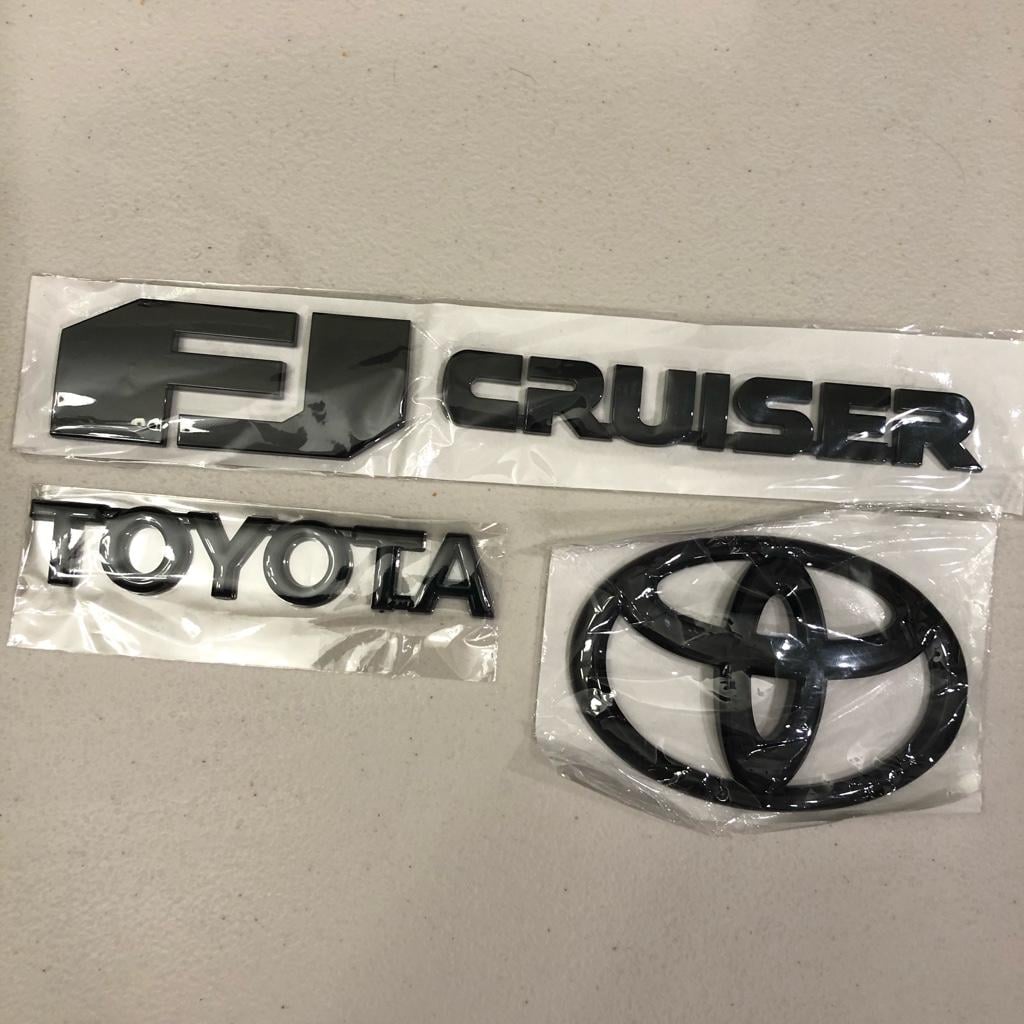
I had the guy debadge in the rear as I was either going to leave it blank or put on black emblems.

f85ffb8b01777e6551e3dd2303c6b663.jpg

I got these off eBay. Not really sure if they're real or not because they're in generic plastic bags without any Toyota part numbers. Look good enough though.

5a4b7d7a7faa2718207156f09ea092c7.jpg

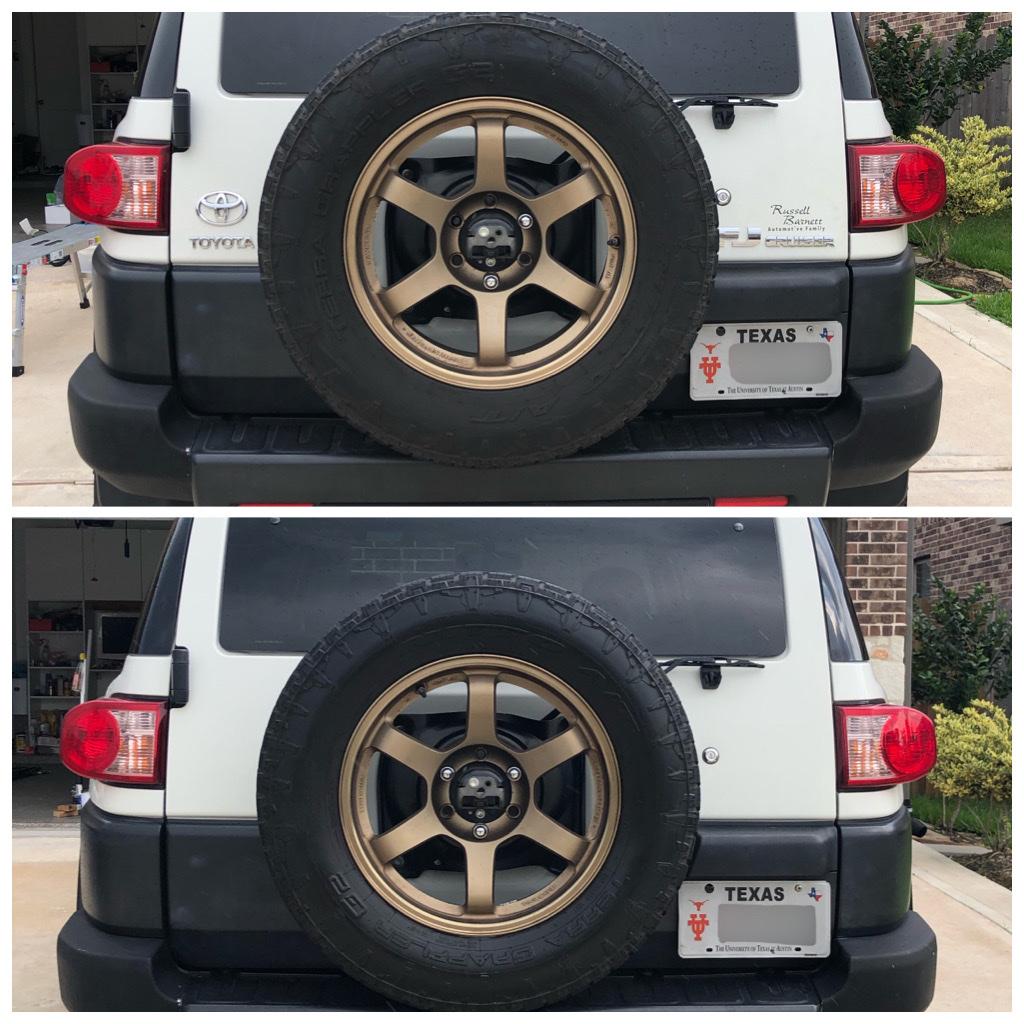
Here is a before and after. I might roll around with it blank for a little while at least.

9dc94f09e9273da6f80de6499a71899c.jpg

0e8effb9f2346b57bf1745b0e3730037.jpg

27def29395480817b547a9b8b5d3b701.jpg

After the first section of the hood was done, the iceberg white some how became whiter than it was before. I wanted ceramic coating but I knew the rig would be sitting outside so I didn't want to spend 3x the base price to get ceramic coating put on. Luckily I did not because a short 30 min rain storm came in right after he finished putting on the Meguiar's Fast Finish. Still looked great in the drizzle though.

7611969aec05bf9eacd0c9b1478dcc99.jpg

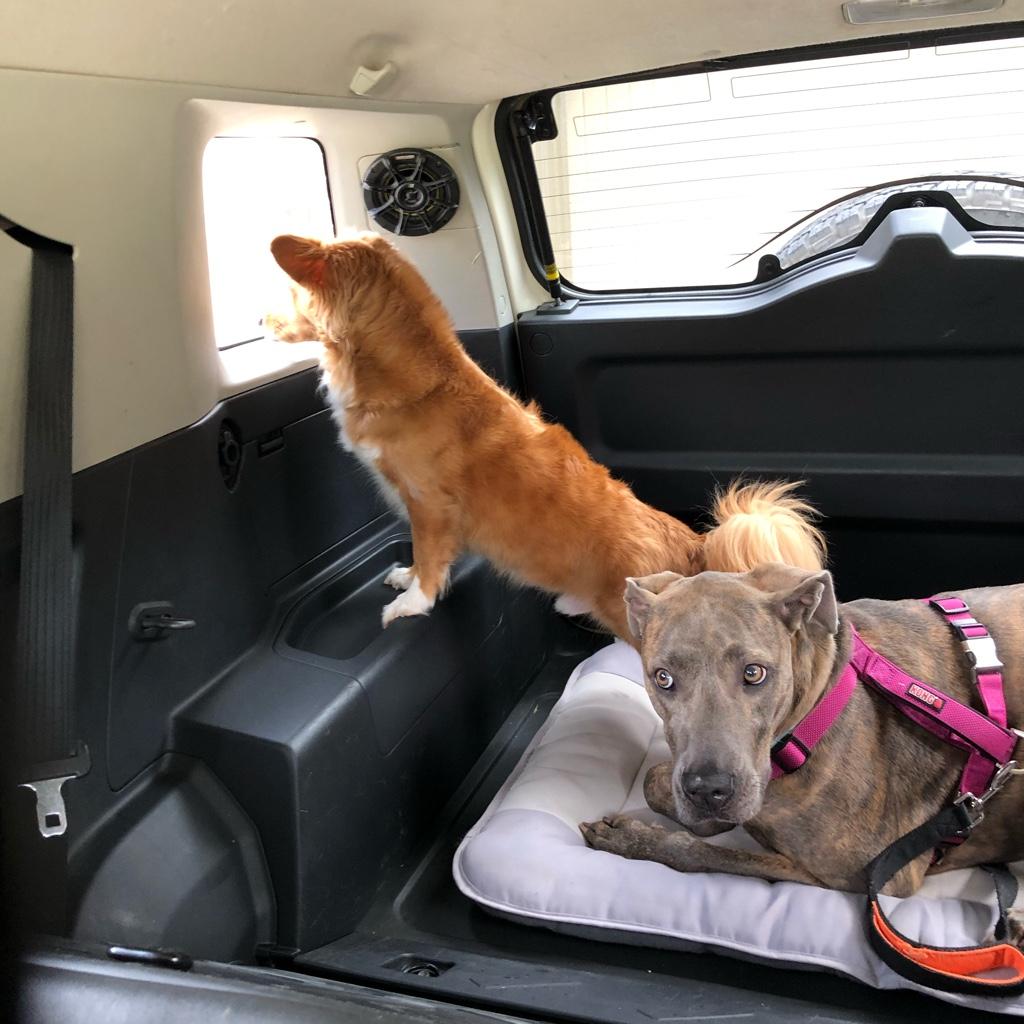
Also took the pups for their first ride in the FJ since I bought it back in June. I wanted to be sure the interior was cleaned out. I had it shampooed and deep cleaned back in July and this guy did a light cleaning after doing the paint on it. My jack russell dachshund loves to look out the window for some reason. He does that the whole time. My great dane mix always lays down.
 
Last edited:
09/12/20 - PDR / Gibson 4th gen exhaust hack

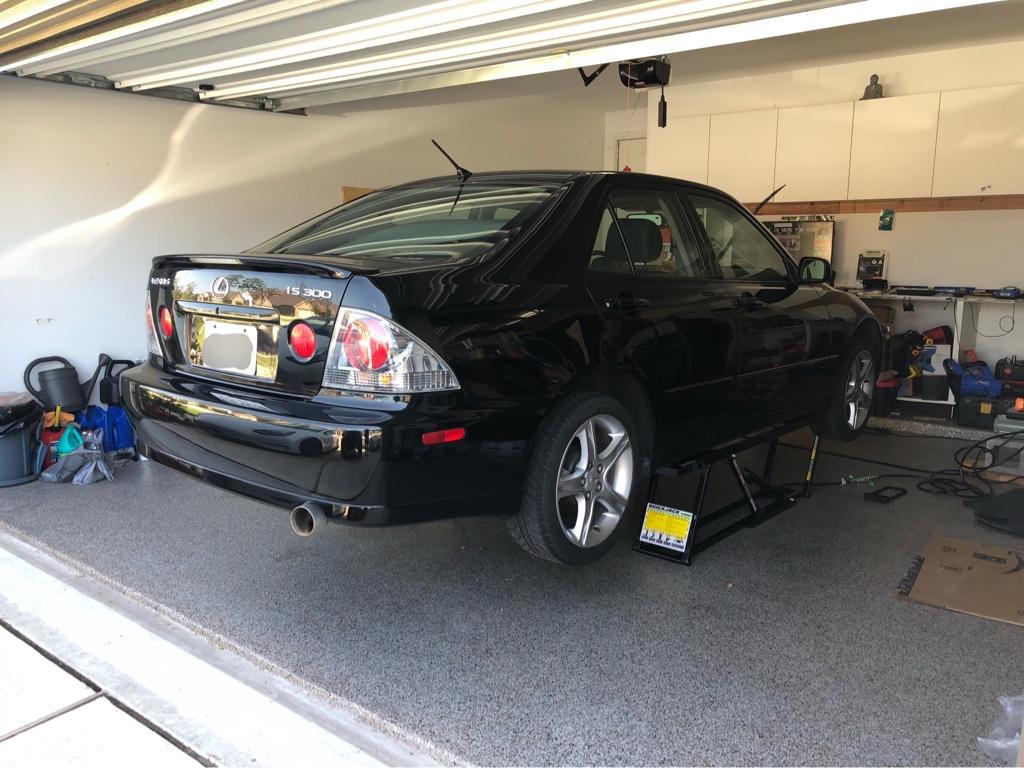
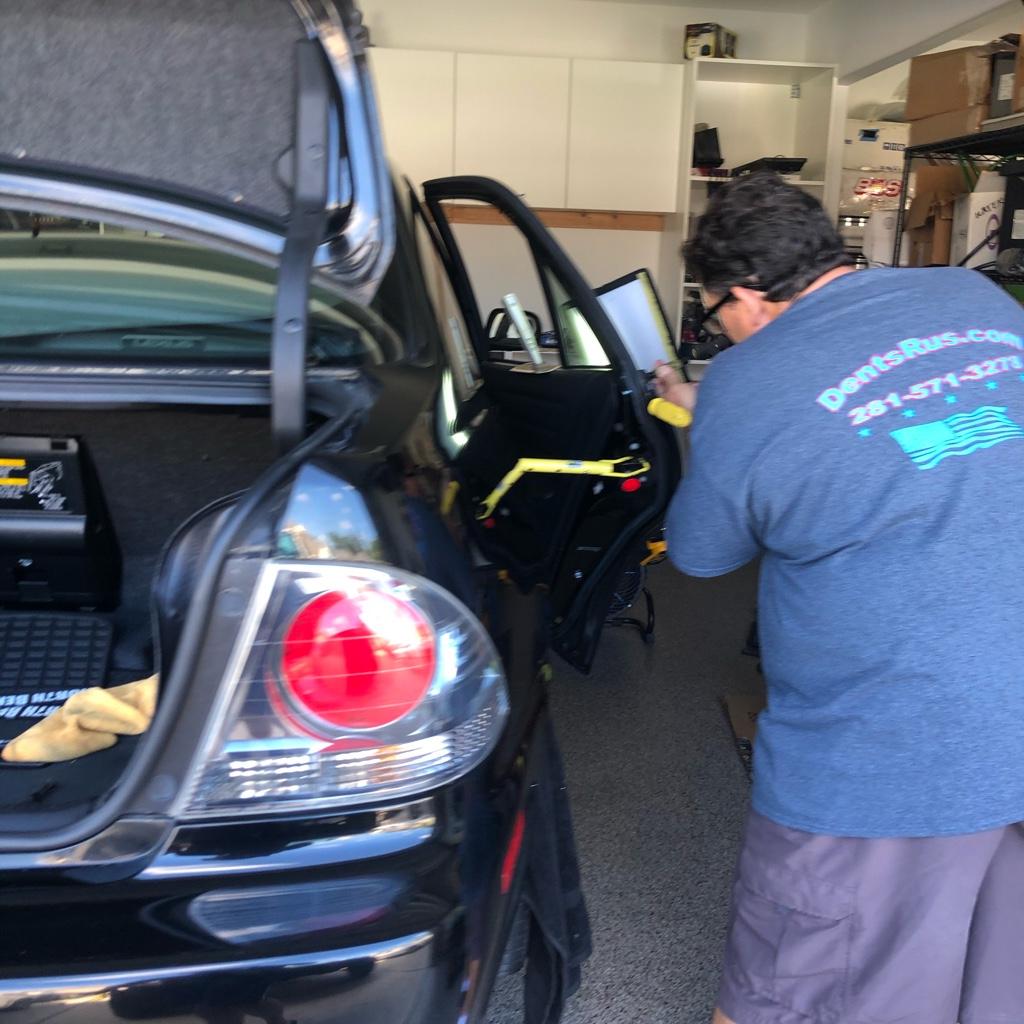
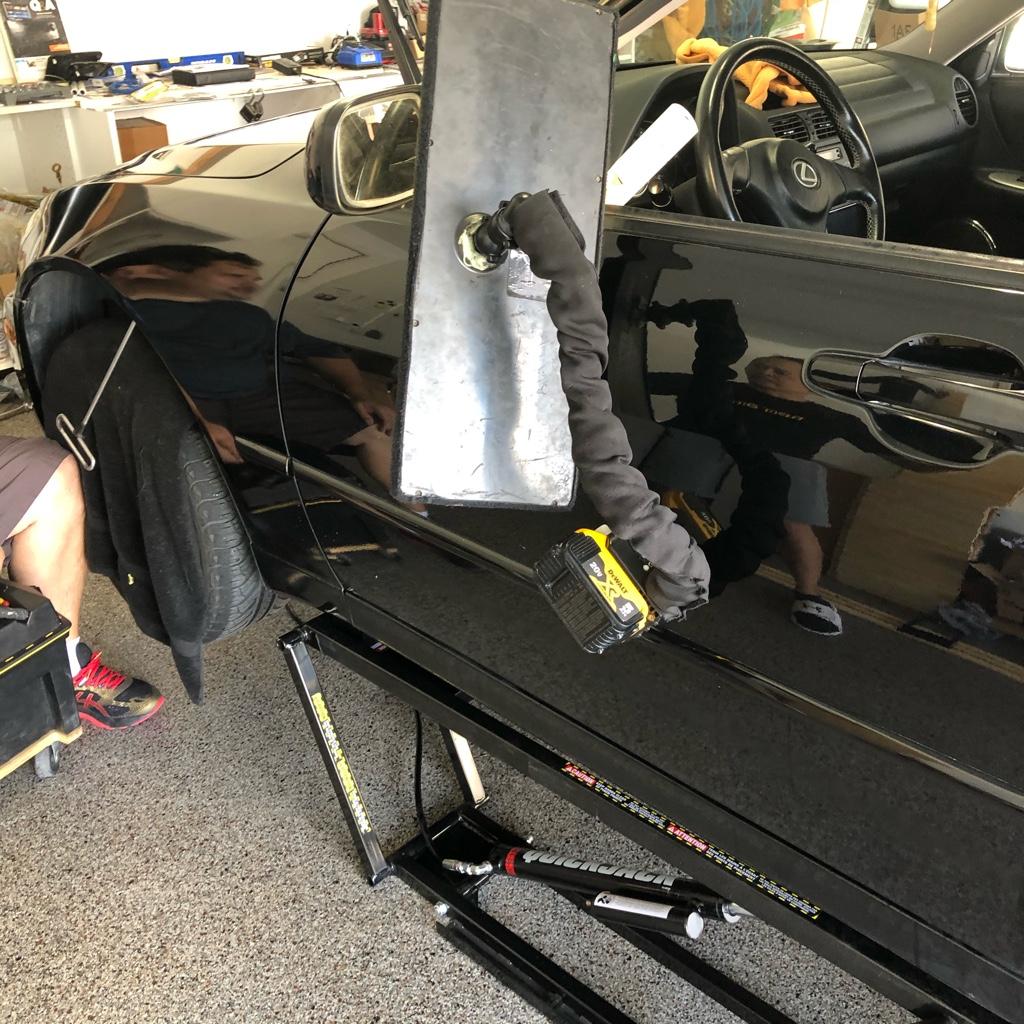
I had a local guy come by and do some paintless dent removal on my IS300. I went ahead and had him perform it on the FJ as well. The FJ had probably 15+ dings on the driver side door. Most likely parked next to the same car that put in all the dings with the previous ownership. They were all in the same region.

69d14c33bb2b681742b65e3a5f41eff7.jpg

I also put together my QuickJack 5000SLX yesterday so it was a good day to test it out. I was going to do some height adjustment on the coilovers later in the week.

fb7f334b9bafc00030f8ee7de1425672.jpg

76886d4e791fb70840b07b35de515556.jpg

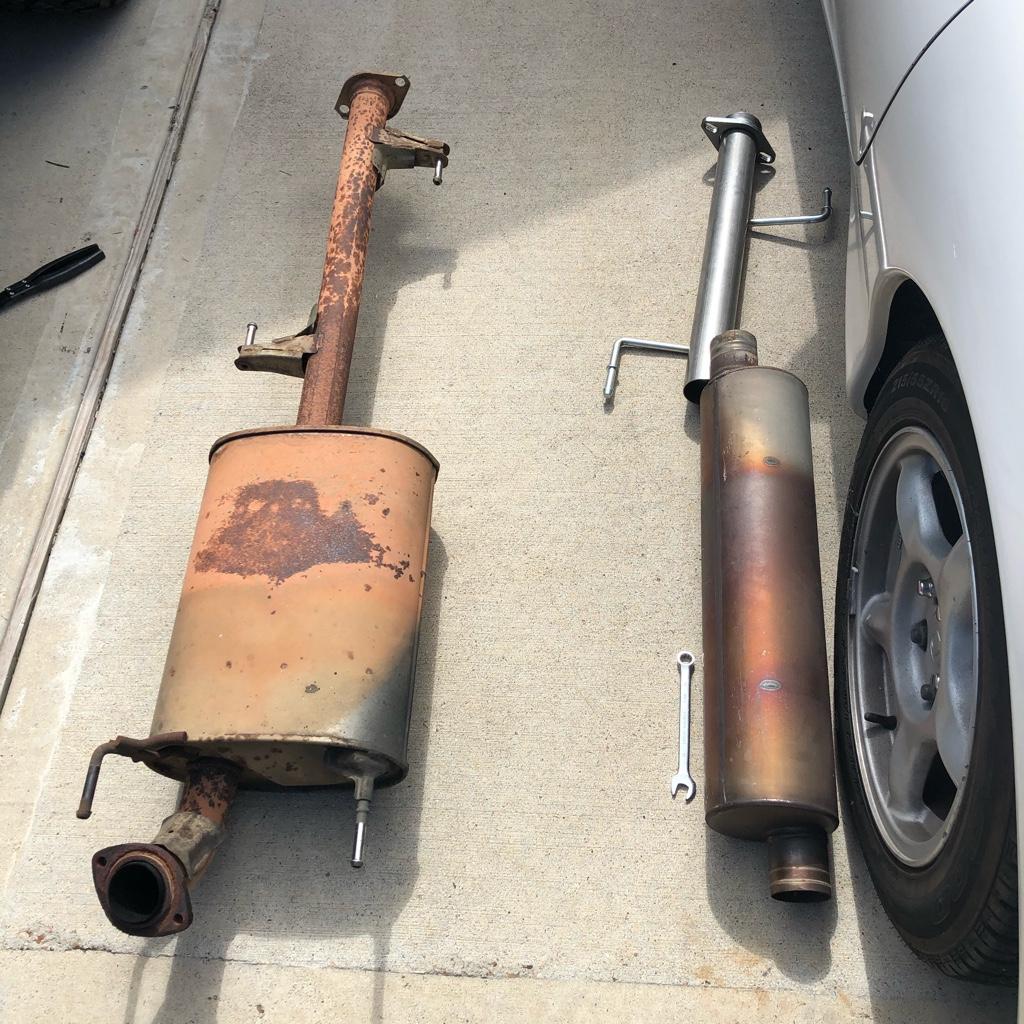
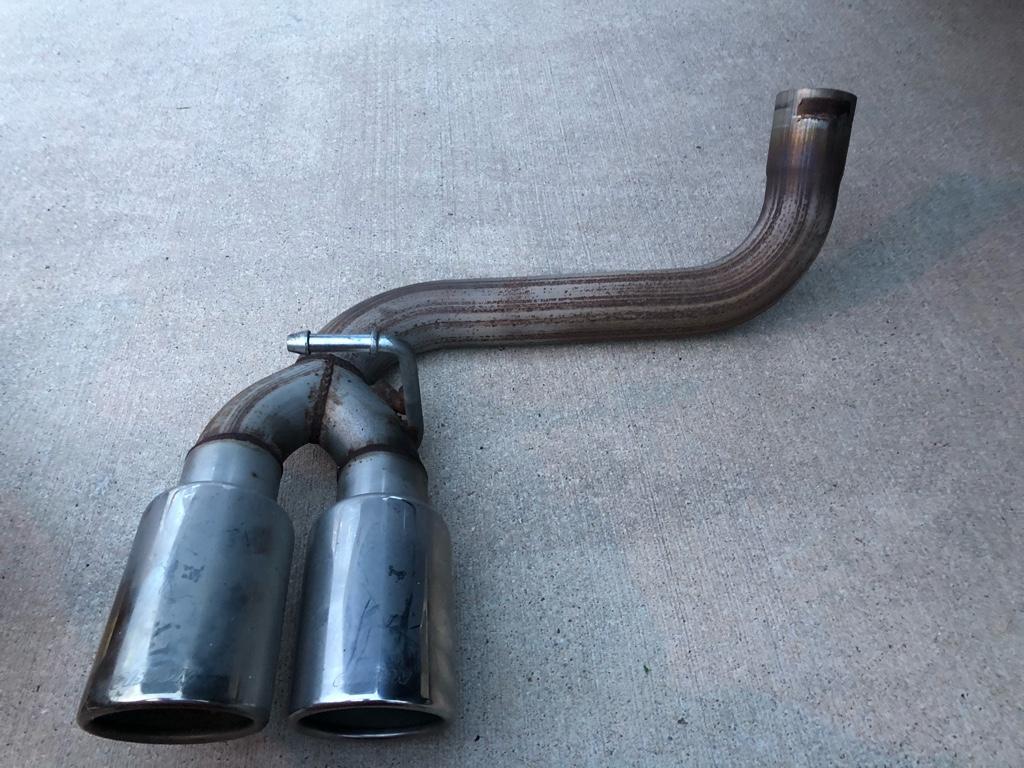
While he was at it, I tried my hand at installing the Gibson exhaust I removed off of my 4th gen V8. They looked slightly off side by side.

47c8dcd928cb0ab79cfc07831154a4da.jpg

3ed30961a49db79c6e82687466fd1f02.jpg

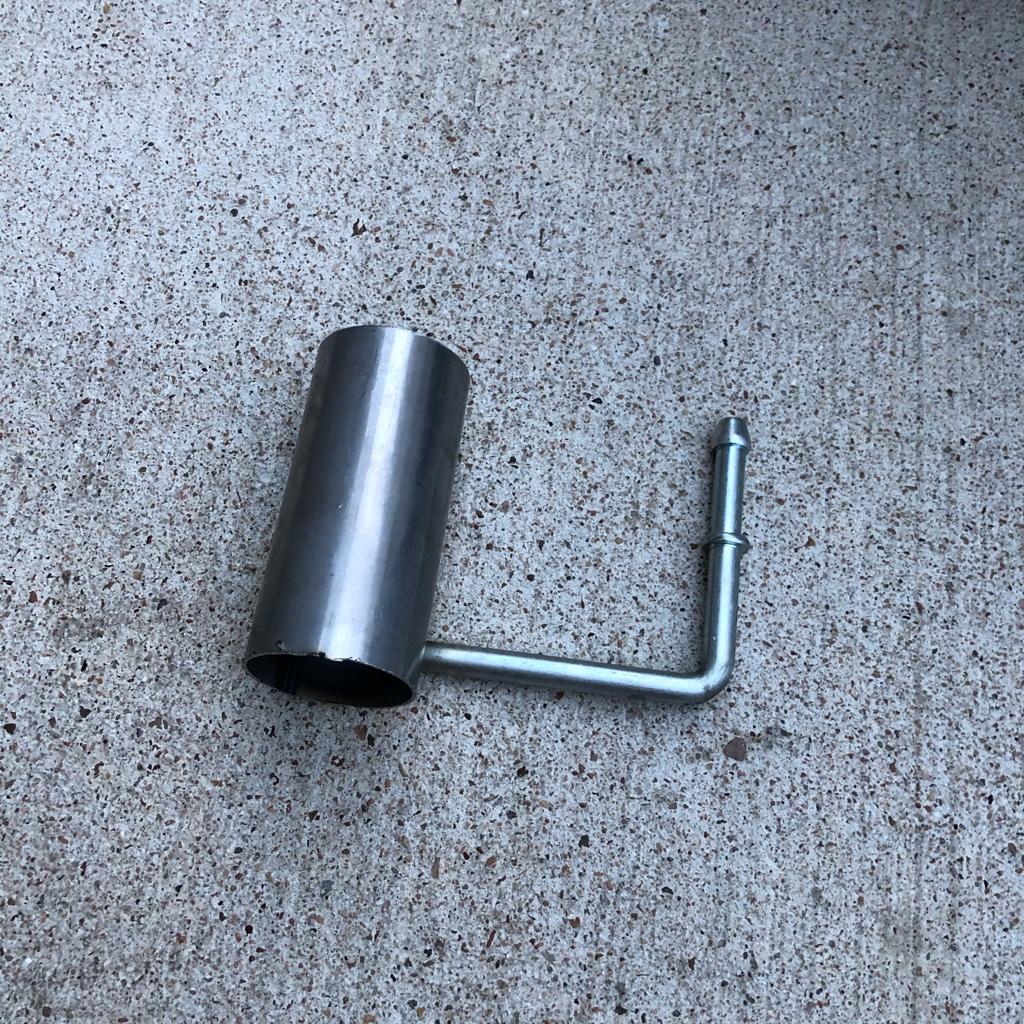
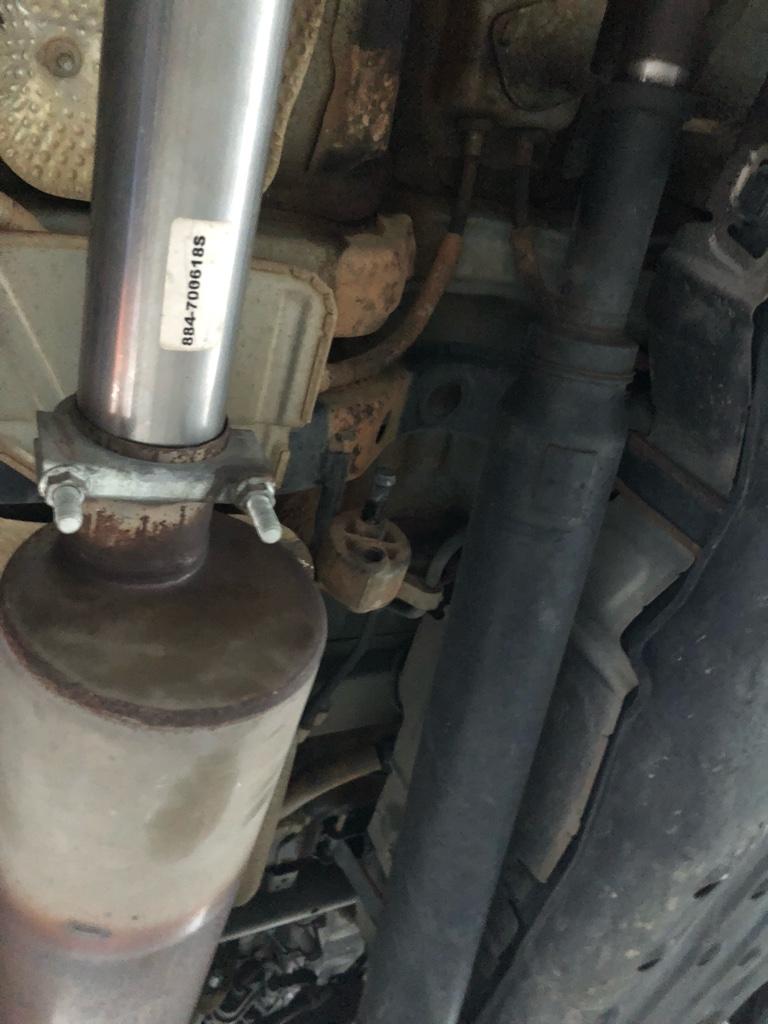
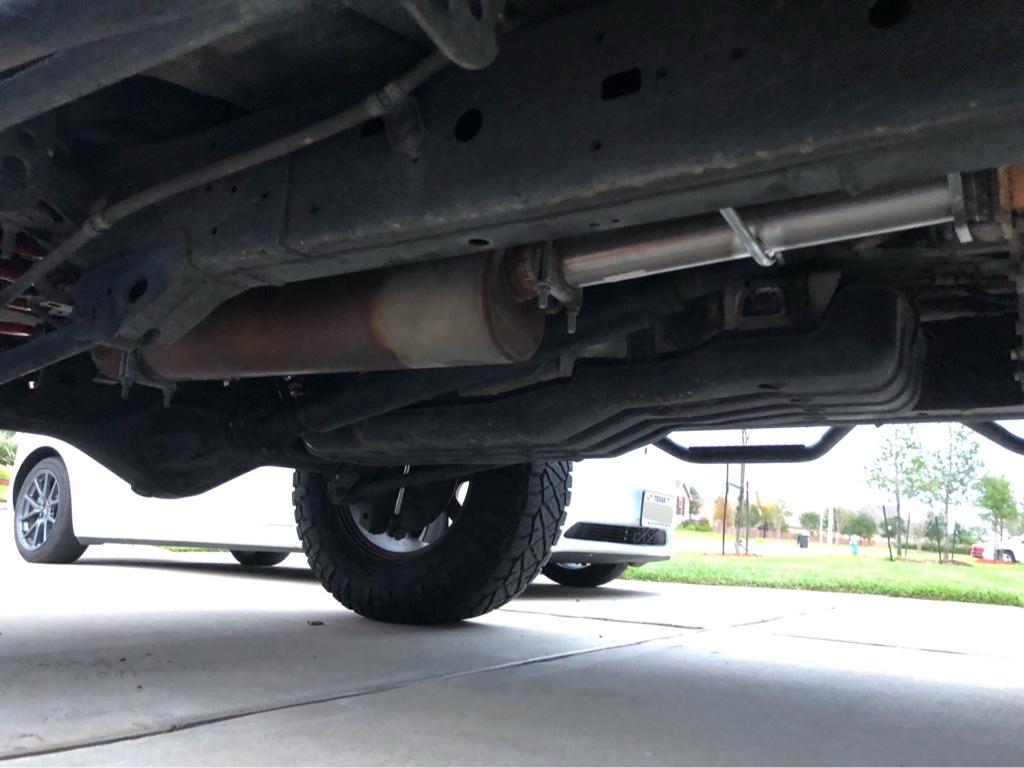
Gibson included the midsection for both the V8 and the V6 for some reason, with the V8 being longer. Turns out it was slightly longer than it needed to be for the FJ. The second hanger for the mid section didn't reach the stock FJ exhaust hanger so away it goes.

0014f76607980fcce2019de5f4f03c10.jpg

32b2cd2e3f87600c1220efcd9944bb09.jpg

So from the Y pipe to the axle, it fits now. I almost had to go to a shop to get the mid section cut, but the PDR guy lives in my hood and let me borrow his sawzall. Cut through the pipe like butter, even with the old ass blade.

7ae5330bcbdc46fe958c3e68b1504ea7.jpg

ce3e57c5d0380d343dde56e77d57b594.jpg

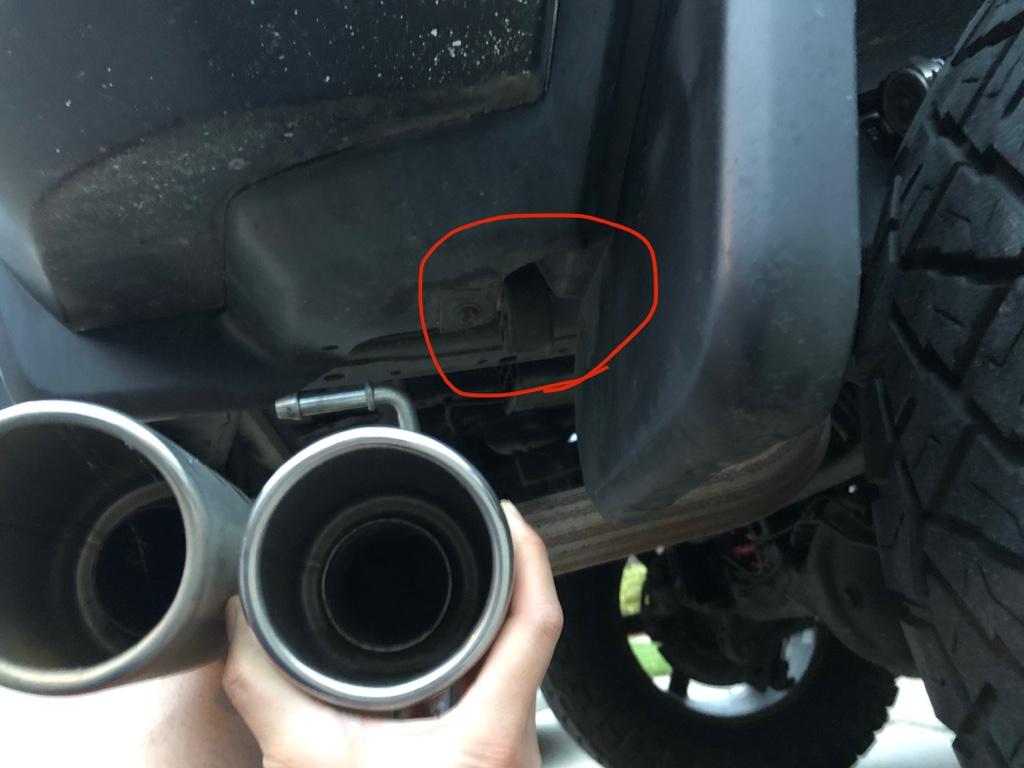
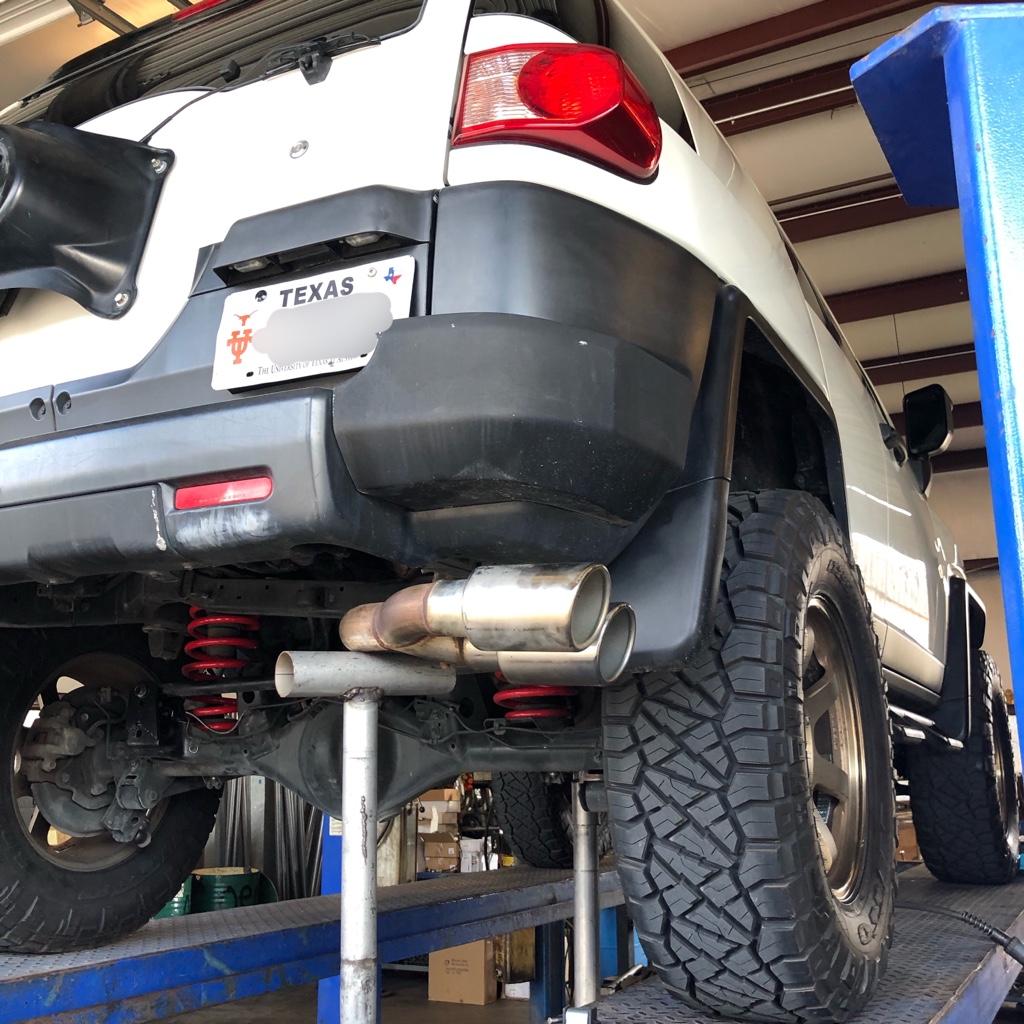
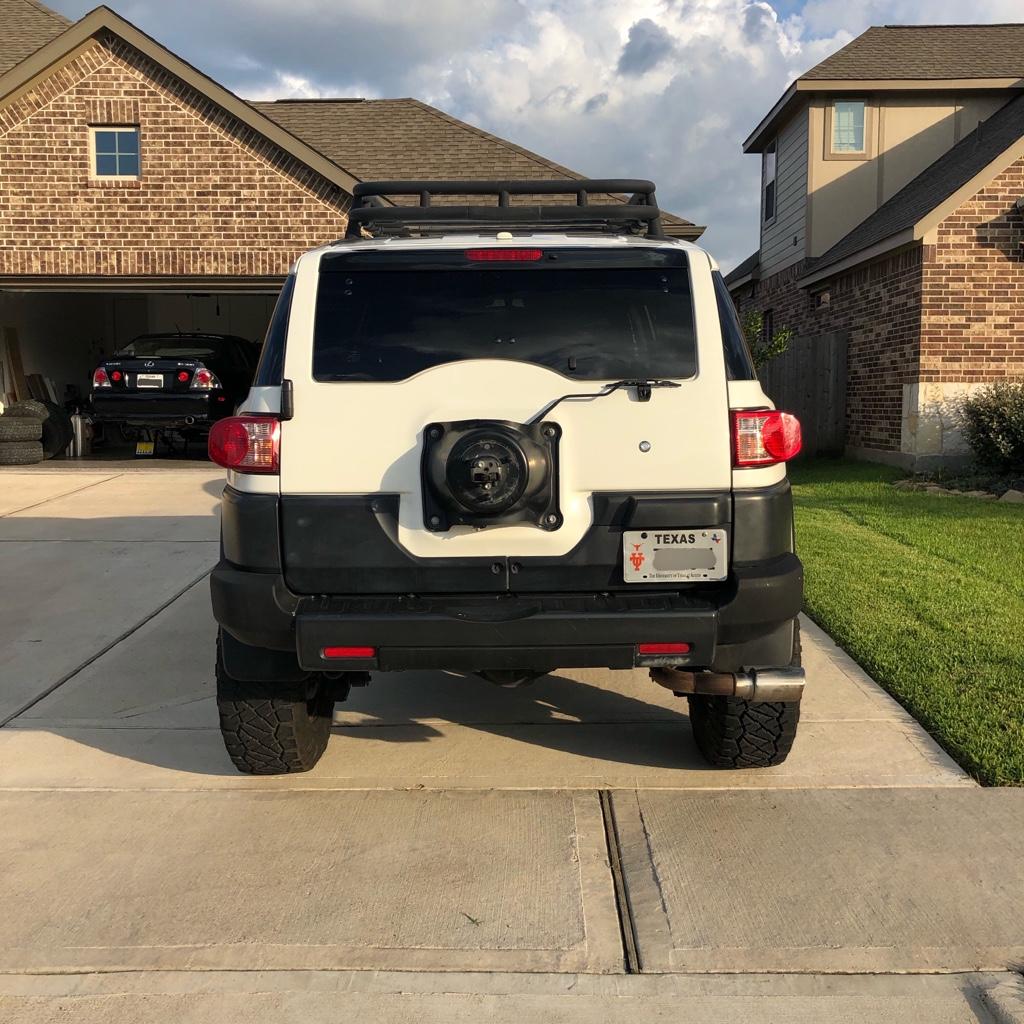
The stock FJ exhaust hanger sits a bit too far foward despite the wheel base being the same. A trip to the shop is in order for the install to be finished. For now I guess the exhaust will end slightly above the axle.

Parts Installed
- Gibson modified 4th gen exhaust system
 
Last edited:
09/13/20 - exhaust hanger install / left over wheels

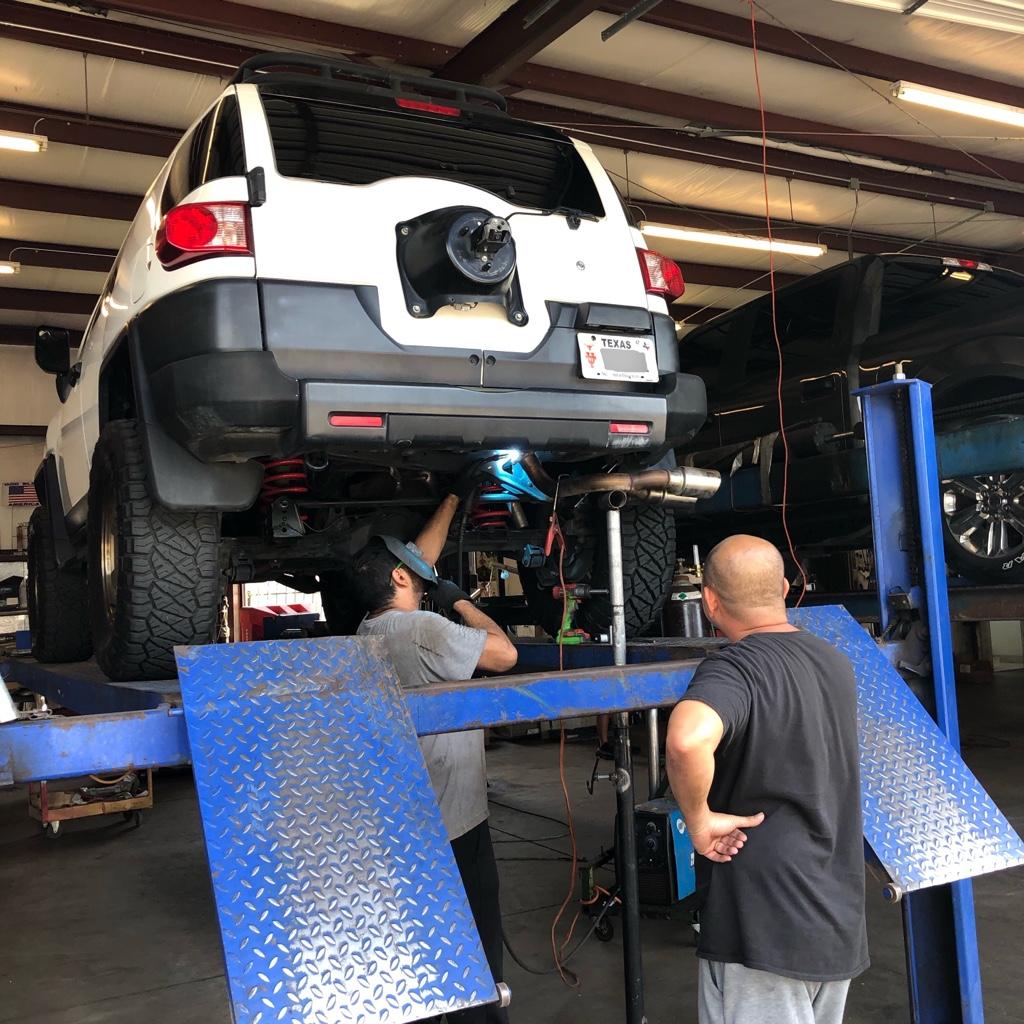
I went to this exhaust shop I went to almost 18 years ago for my first 4Runner to get a new hanger installed.

7d7a41270f0bbd0f728b741b05b265f8.jpg

2a1f0286d941db89905b61684b34345d.jpg


4dcf68fefa29dae0fe45f76fa95184f4.jpg

12aabf9bdf85e9977e9d937986d44faf.jpg

I couldn't tell from the angle I was at but it definitely hangs too low. I also understand why most aftermarket setups come out at an angle because the side exit shows too much of the exhaust piping. I'll have to return to the shop to get it modified again. It still ended up being much less than how much I was originally quoted (~$200) at another unnamed shop. I would have just bought a completely new setup for that price.

2011 FJ Cruiser with Gibson exhaust

Sounds great though, no not very raspy and no drone on the freeway. Can't ask for more than that. I also bought a couple of things last month that I didn't get to post til now.

b87e1640a1c9222213182a97c9fa36ef.jpg

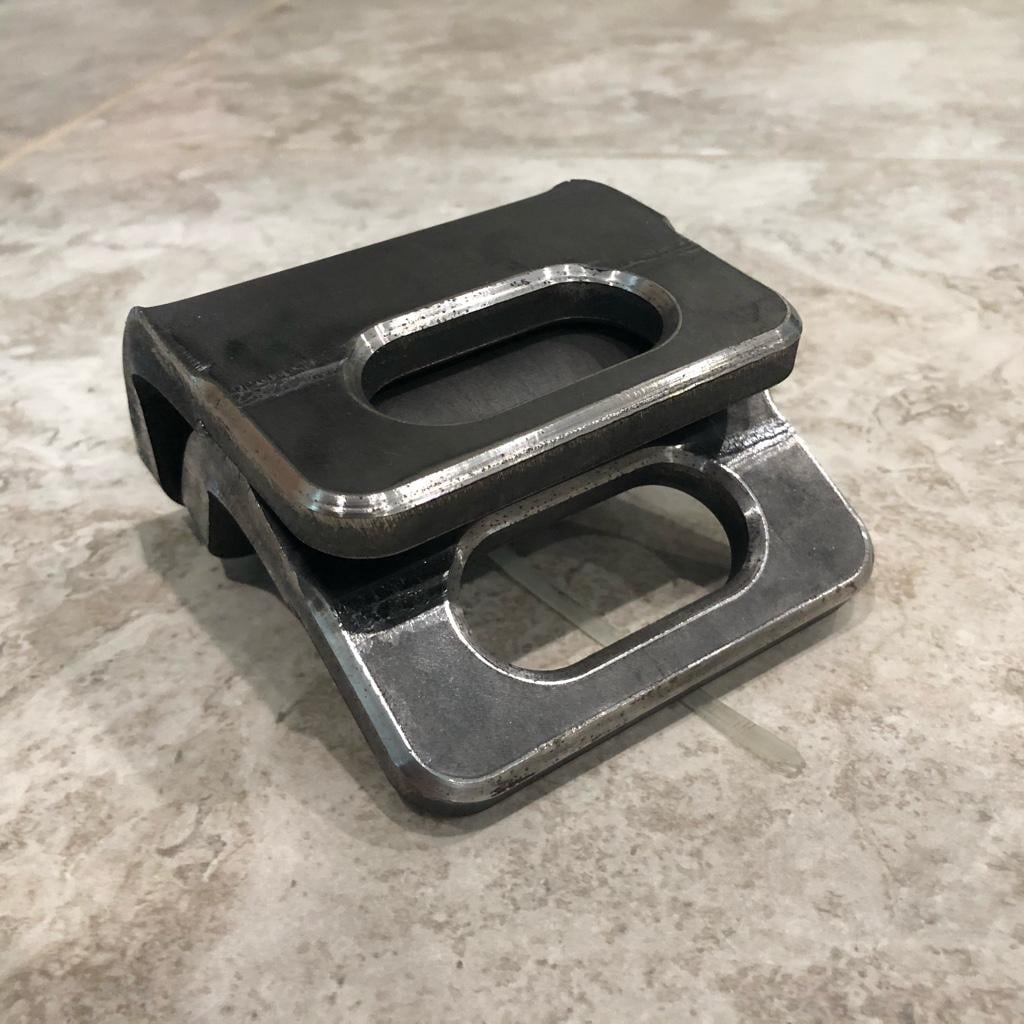
I bought these recovery points off a thread I found on the FJ forums titled "Iconic Recovery points" but it turns out it was our own [MENTION=130999]Inv4drZm[/MENTION]. Same ones from this thread: Rear Recovery Points

cbe3e58080df9c21de18a18732f9dad2.jpg

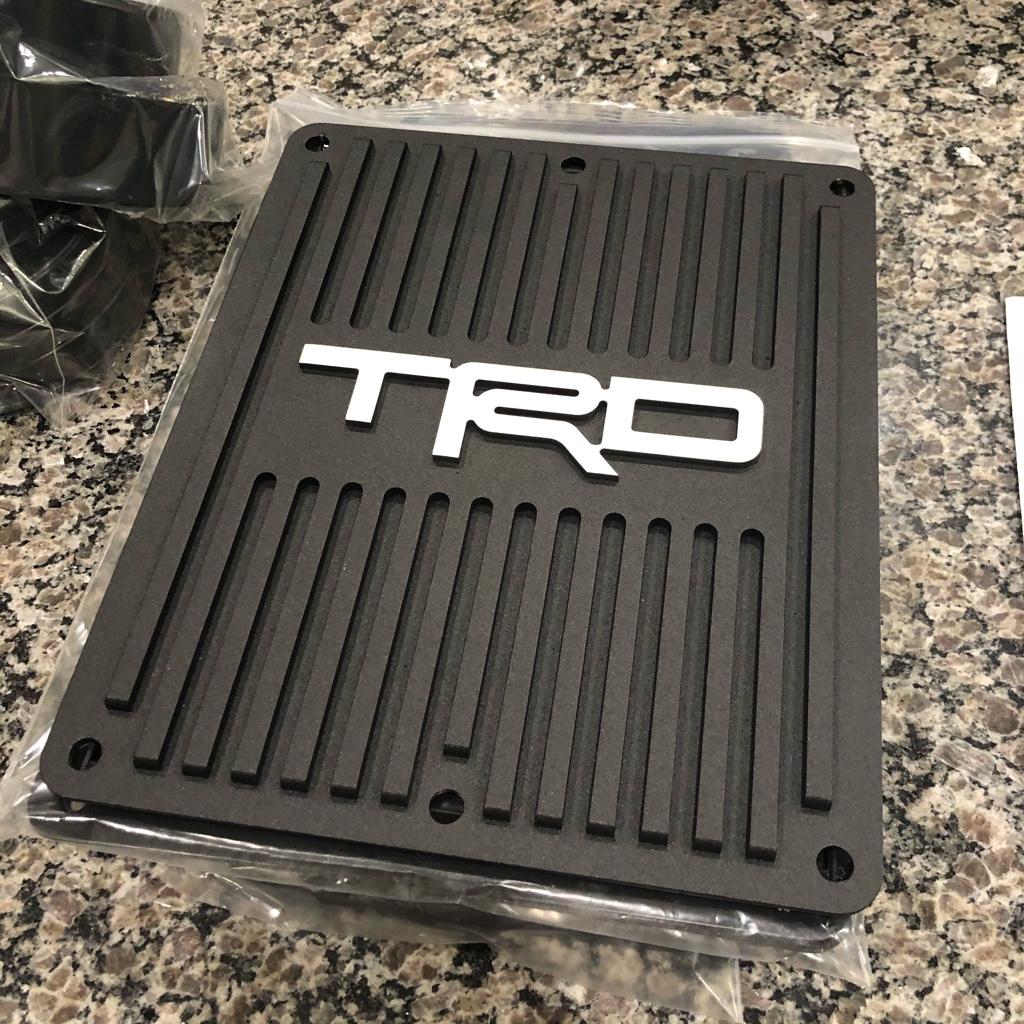
I have had this sitting around for two months now. Will be doing the install soon...

Future Parts
- Inv4drZm / Iconic rear recovery points
- some TRD plate looking thingy
 
Last edited:
09/26/2020 - aFe/TRD intake etc...

Small potatoes first. I never posted the fixed spare tire stud.

67aba8a0a3e701cc2f6782314f162f04.jpg

c2549af0ec9f33a4ef012a4d19570a5c.jpg

Pretty straight forward. Looks almost stock unless you look out back where you can see the new welds and paint.

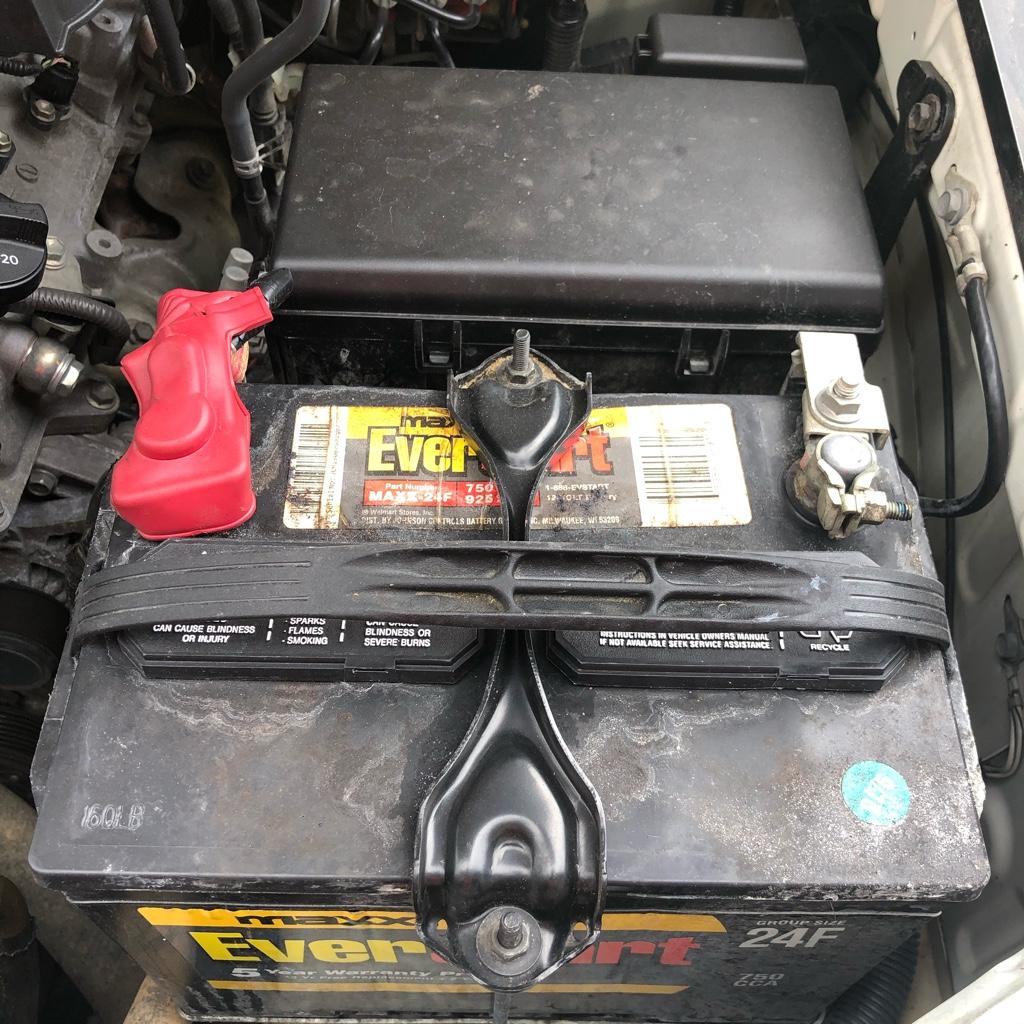
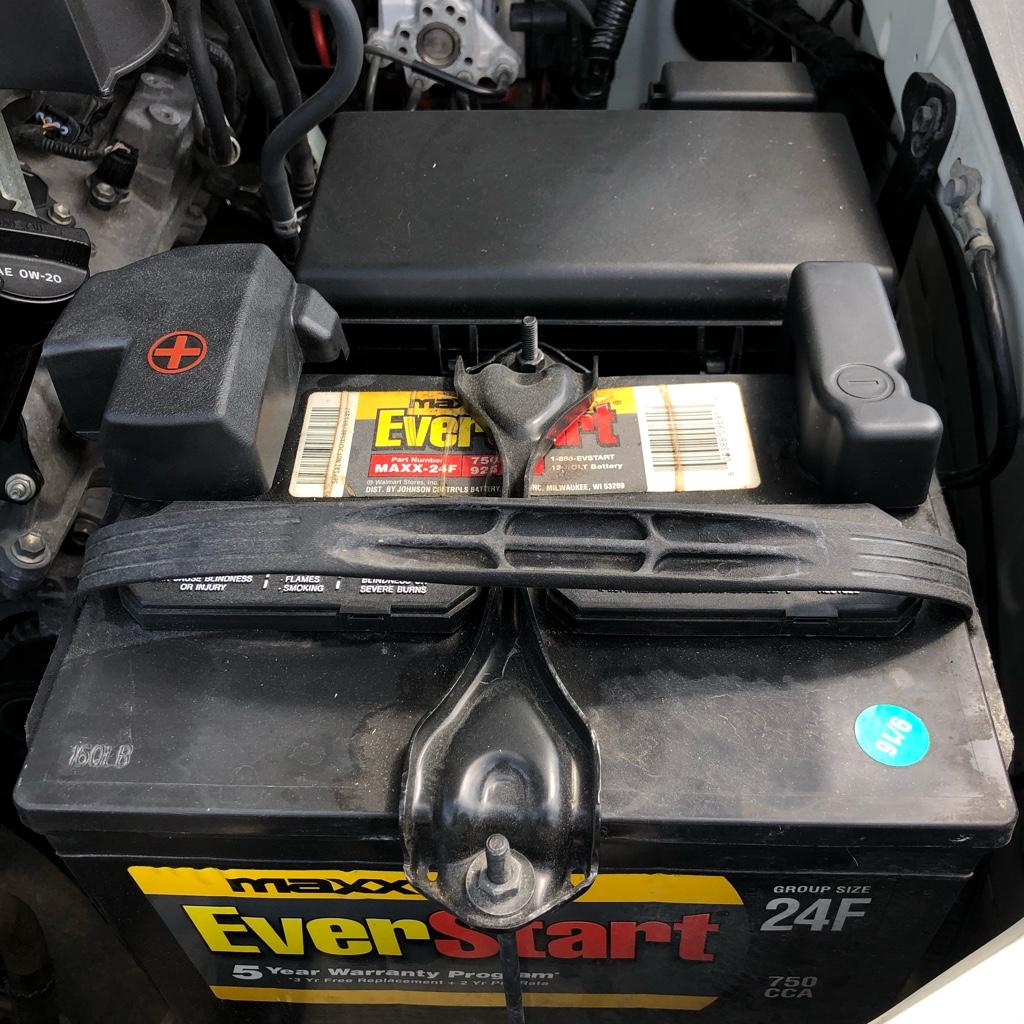
Thanks to [MENTION=171043]kingofthehill[/MENTION] I bought a positive terminal cover from a 5th gen to replace my positive cover. I actually installed this back on 7/18/20 but forgot to put it in the update. Part number is 82821-60270 and costs around $10-15 depending on where you source it from. Also bought a negative terminal cover to "match". It was only $3 dollars on eBay but took about 3 weeks to get here.
afcd4a754631f59adcf11fcc6d1c9bde.jpg

f0b744e250b07c84a33058bd1374edc6.jpg


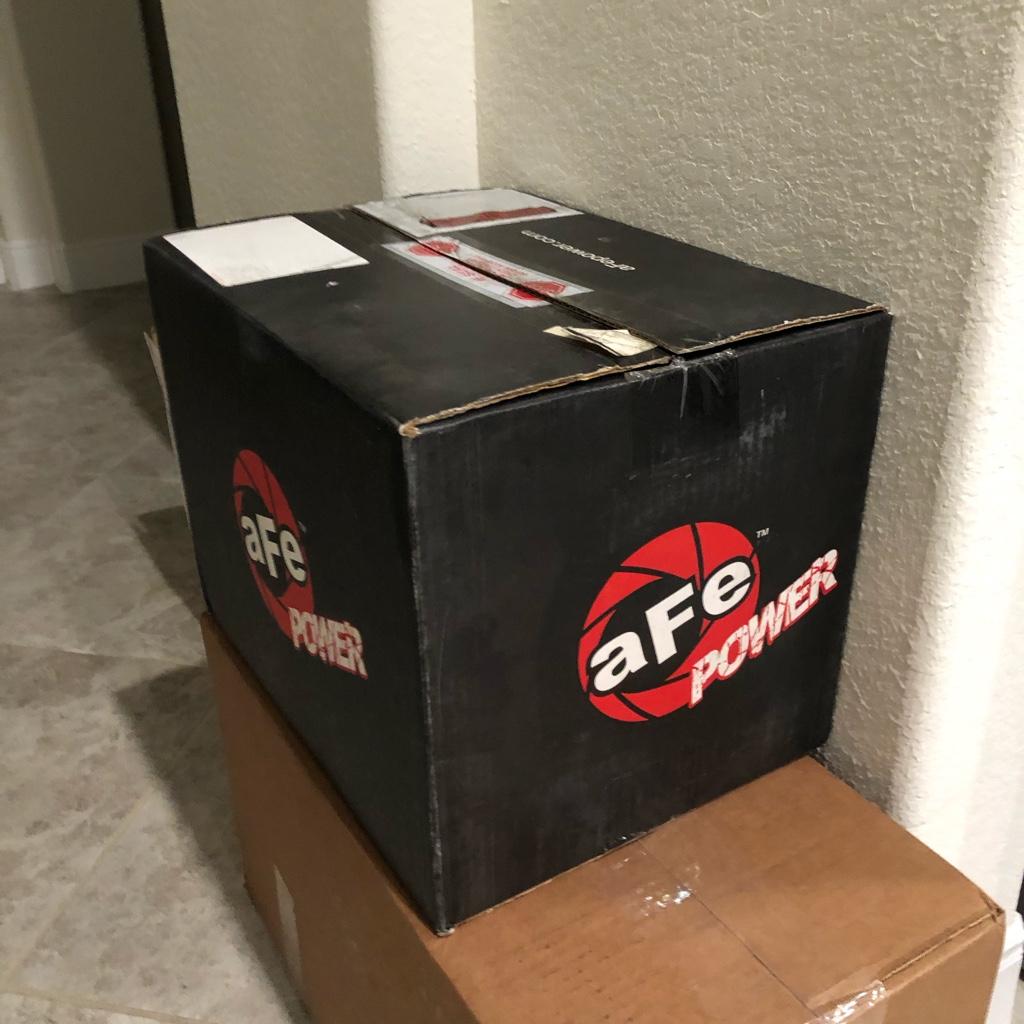
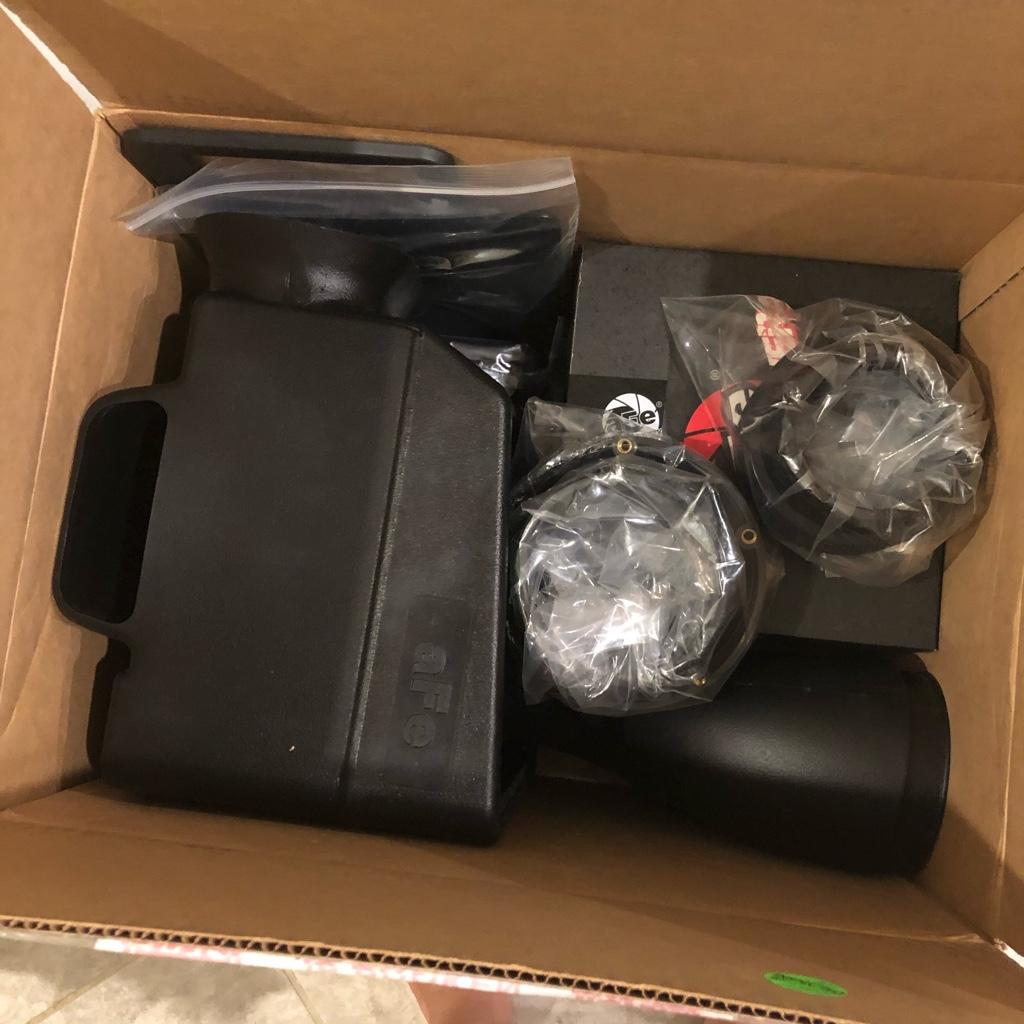
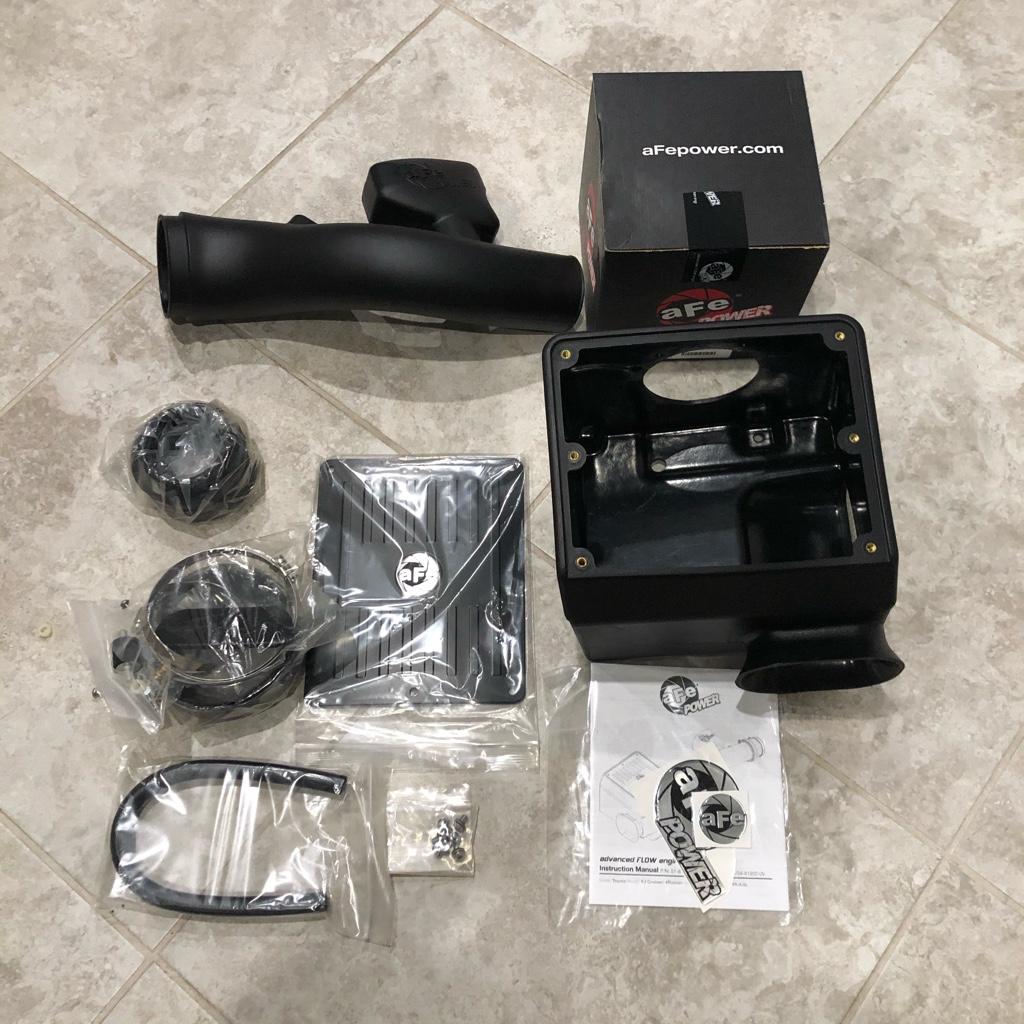
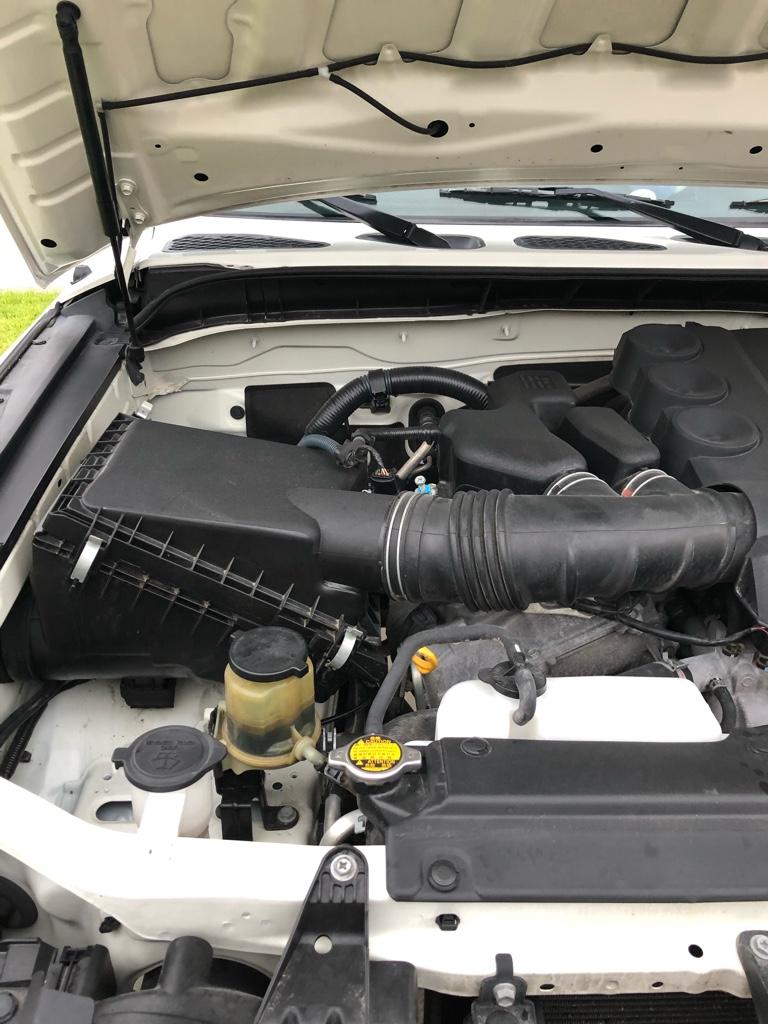
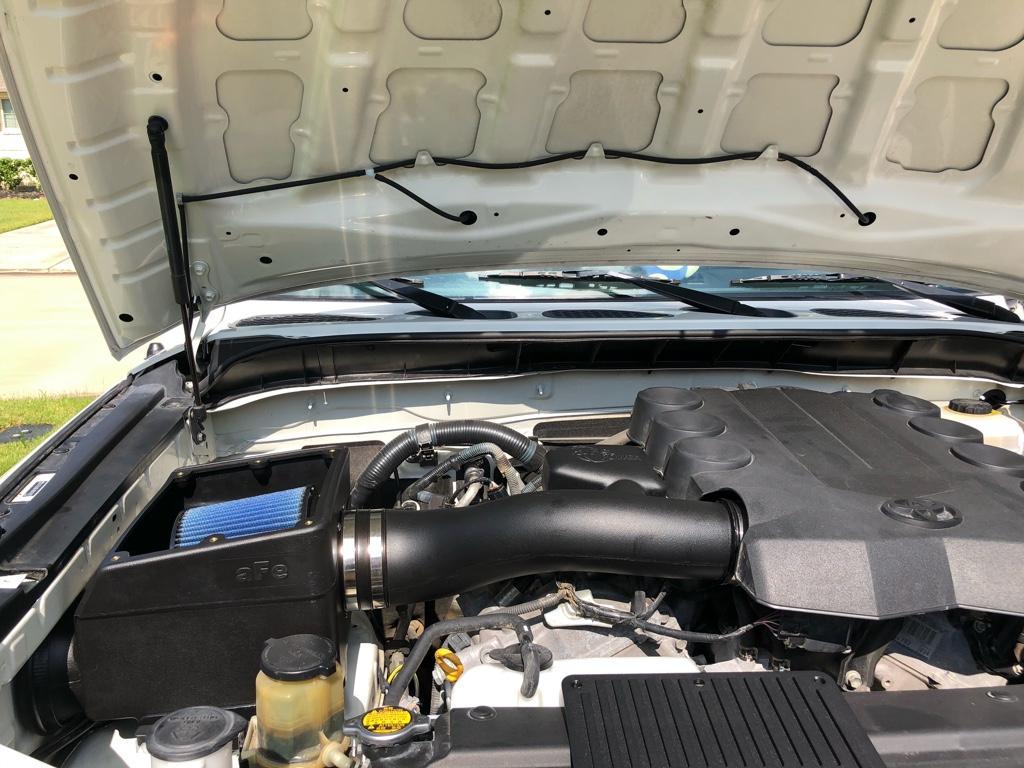
I got an aFe intake and they used to make TRD intakes pre-2010 before TRD decided to just reuse the OEM box with a drop in filter / intake tube. If I knew about it I would have passed on the volant setup for the aFe. I know intakes don't do much but I like the induction noise.

facb53796e543f05c4f0798507306d8b.jpg

807b00b39510a5d3c39e3cbb610cd05d.jpg

b844711a3c8551ce226db4169555804b.jpg

I do have to say that the plastic is nice but it doesn't feel like the price the intake retails at. I didn't pay retail but I did get a brand new one.

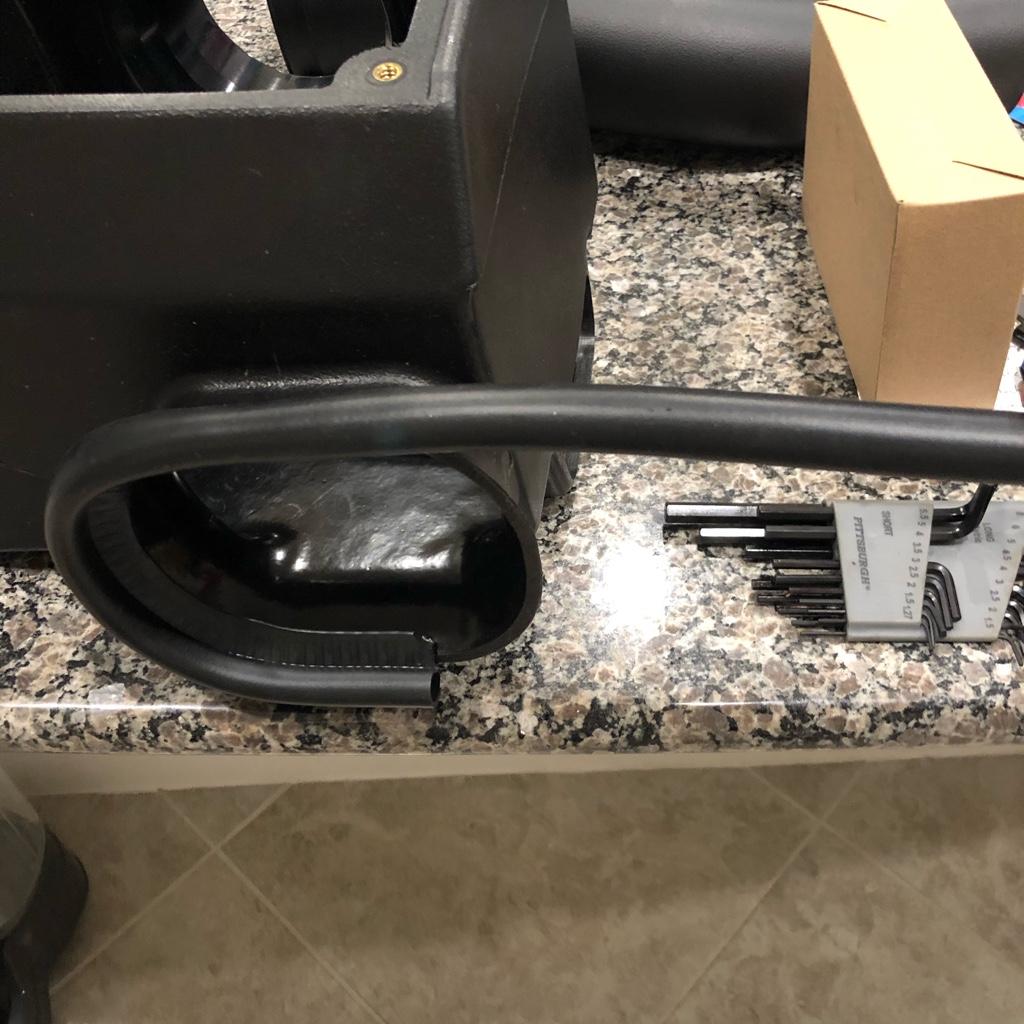
This gasket for the "cold air" access is pretty stout. Took me about 30 minutes to get it onto the intake box.
3f1b0f6a914a74af479c87a3f777eb5f.jpg


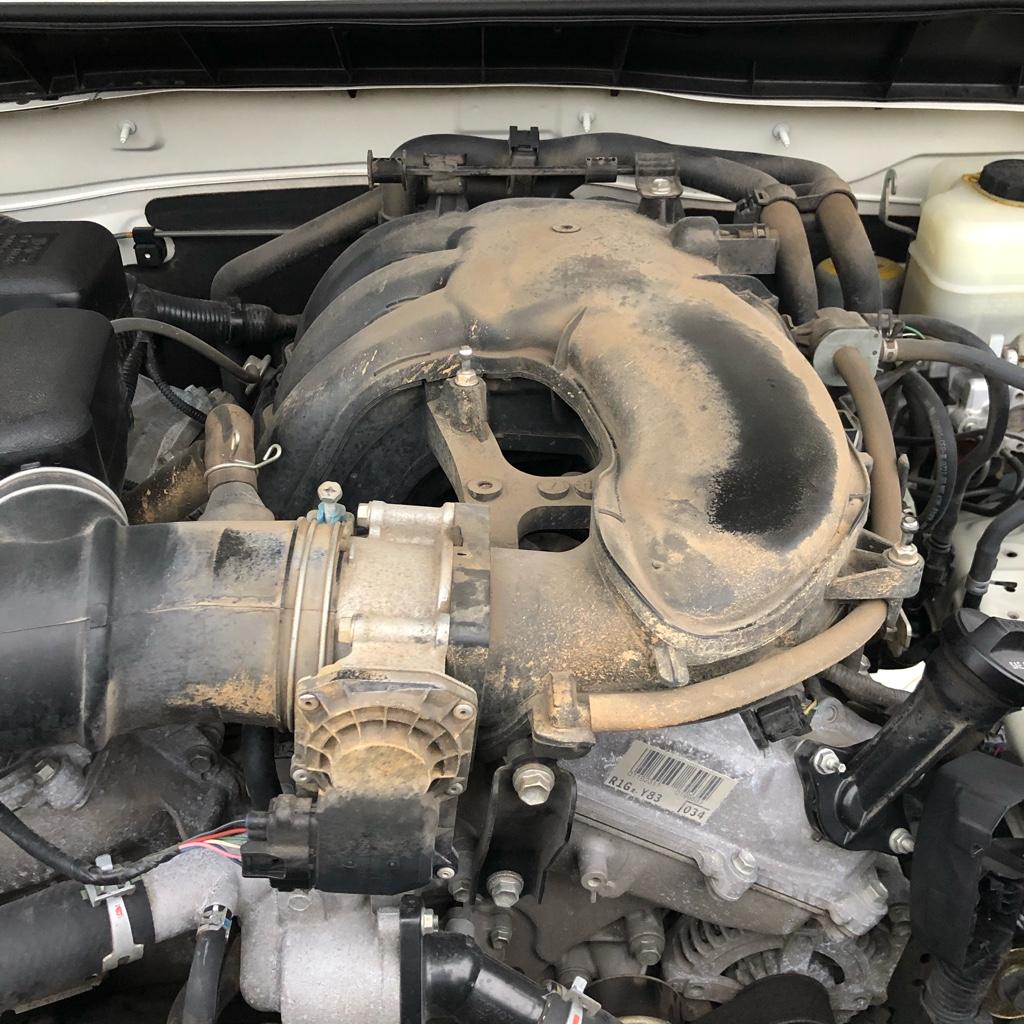
The person that had this car before may have did light off roading or lived on a dirt road because there was a lot of caked dirt under the engine cover and deeper into the engine bay. I noticed it weeks ago when I was working under the car as well. I did clean all of this but didn't take a picture of the aftermath.
124e3ca8c6ce4ef6dc95bba405a3593d.jpg


Nothing special here. Just the final engine bay pics for now.
f81dd7078f9dd1c041ac9382c357da1d.jpg

89891e3b1ffc8ad84a85fab9e480ce08.jpg

4c8fb22c437a08f41100ab070469929a.jpg

The TRD cover I got from a guy that used to custom make them on TacomaWorld. He stopped making them unfortunately. Maybe a cease and desist after 5+ years of making them. I wanted the clear window variant he made prior the the powder coated aluminized version, but he ran out of them so I settled for this version. It's a nice look over the aFe cover and makes it look more OEM+.

Parts Installed
- aFe 54-81932 intake with TRD plate cover
- positive 5th gen 4Runner oem terminal cover (installed 7/18/20)
- negative terminal cover
 
Last edited:
Members online

Forum statistics

Threads
278,316
Messages
3,554,113
Members
248,016
Latest member
Advally Service

Trending content

Back
Top