Midmo_Tundra
New member
I wanted to post a generic DIY for installing the MiniH1 projector retrofit for the 2010-2013 5th gen 4runners.
First step is to remove the bumper cover (other threads describe how to do this). Coming from a Tundra where I never had to do this to remove the headlights, this was the most annoying part of this build.
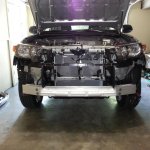
Now it's time to open the headlights, I baked them in a convection oven at 270 degrees for roughly 10 mins. Then remove the screws and pry off the lens and remove the reflector from the housing. Repeat for other headlight.
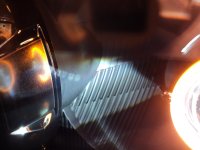
Now is where you need to trim the back of the reflector to allow for the MiniH1 shaft to go through the bulb socket and install the nut with enough threads. (I do not have any rear pictures of the MiniH1 installed with the lock ring installed, I have pictures of the cut before I smoothed out the ridges).
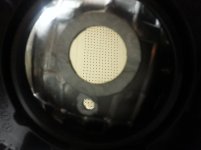
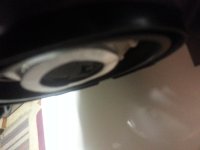
Next step I painted the reflector that the projector will be attached to. I know a lot of people complain about excess glare from the projectors after doing a retrofit. By painting the OEM reflector you can eliminate the glare from the projectors.
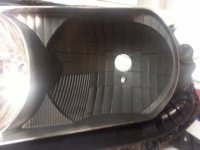
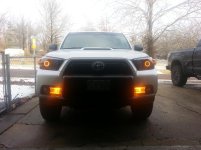
These headlights were for my father, and he wanted me to install amber halos or angel eyes on this build. I know that I personally don't see many halos on 4Runners for the simple fact that majority of people use these for extensive offroad use.
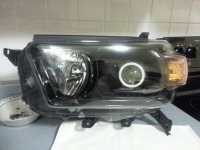
Reinstall the headlights and the bumper cover by reversing step 1.
Now some light output shots:
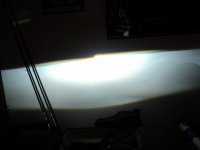
Low beams:
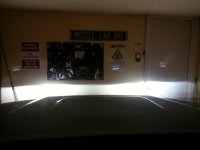
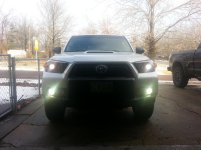
Quad Highbeams (bi-xenon + Drop in HIDs in factory high beams)
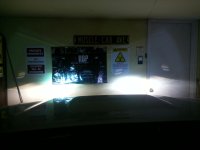
First step is to remove the bumper cover (other threads describe how to do this). Coming from a Tundra where I never had to do this to remove the headlights, this was the most annoying part of this build.
Now it's time to open the headlights, I baked them in a convection oven at 270 degrees for roughly 10 mins. Then remove the screws and pry off the lens and remove the reflector from the housing. Repeat for other headlight.
Now is where you need to trim the back of the reflector to allow for the MiniH1 shaft to go through the bulb socket and install the nut with enough threads. (I do not have any rear pictures of the MiniH1 installed with the lock ring installed, I have pictures of the cut before I smoothed out the ridges).
Next step I painted the reflector that the projector will be attached to. I know a lot of people complain about excess glare from the projectors after doing a retrofit. By painting the OEM reflector you can eliminate the glare from the projectors.
These headlights were for my father, and he wanted me to install amber halos or angel eyes on this build. I know that I personally don't see many halos on 4Runners for the simple fact that majority of people use these for extensive offroad use.
Reinstall the headlights and the bumper cover by reversing step 1.
Now some light output shots:
Low beams:
Quad Highbeams (bi-xenon + Drop in HIDs in factory high beams)
Attachments
-
 20140119_103057.jpg122.1 KB · Views: 3,384
 -
 20140119_103038.jpg136.2 KB · Views: 3,323
 -
 20140119_103017.jpg132.4 KB · Views: 4,356
 -
 20140109_191934.jpg130.8 KB · Views: 6,254
 -
 20140109_205121.jpg129.1 KB · Views: 3,448
 -
 20140109_205140.jpg118.7 KB · Views: 3,338
 -
 IMG_20140109_175550.jpg122.3 KB · Views: 8,460
Last edited: