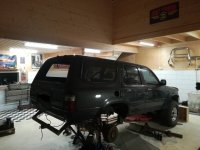
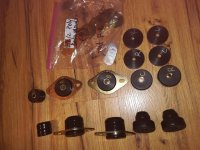
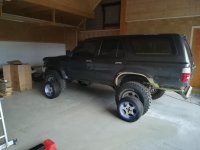
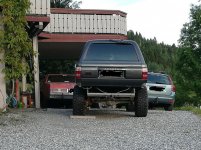
4R from North, *Accessories build time.

4RunnerSafari

New member
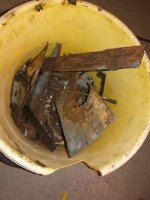
Hello,got this car in Juni 2018, it looks good outside but rust was hidden as i aspected,but it came more and more..

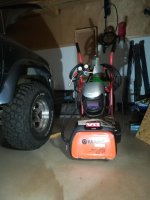
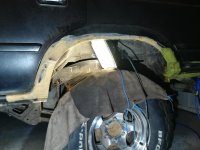
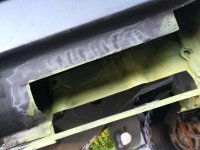
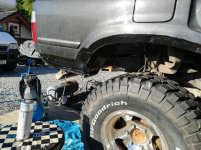
Taking all rust of it that i can find and will take care of it in the future... both rear fender is fixed, and ready to get the fender flares install again outside.

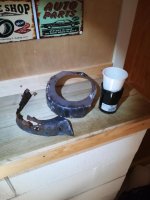
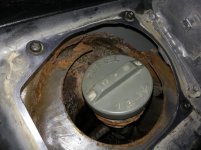
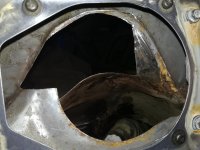
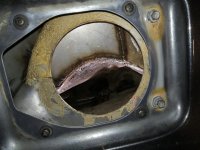
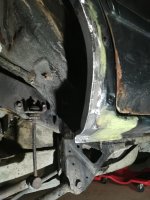
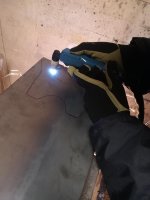
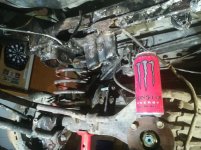
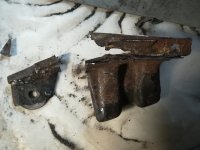
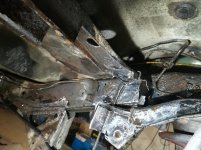
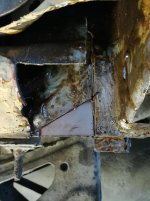
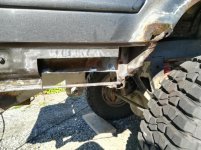
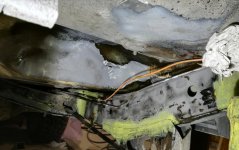
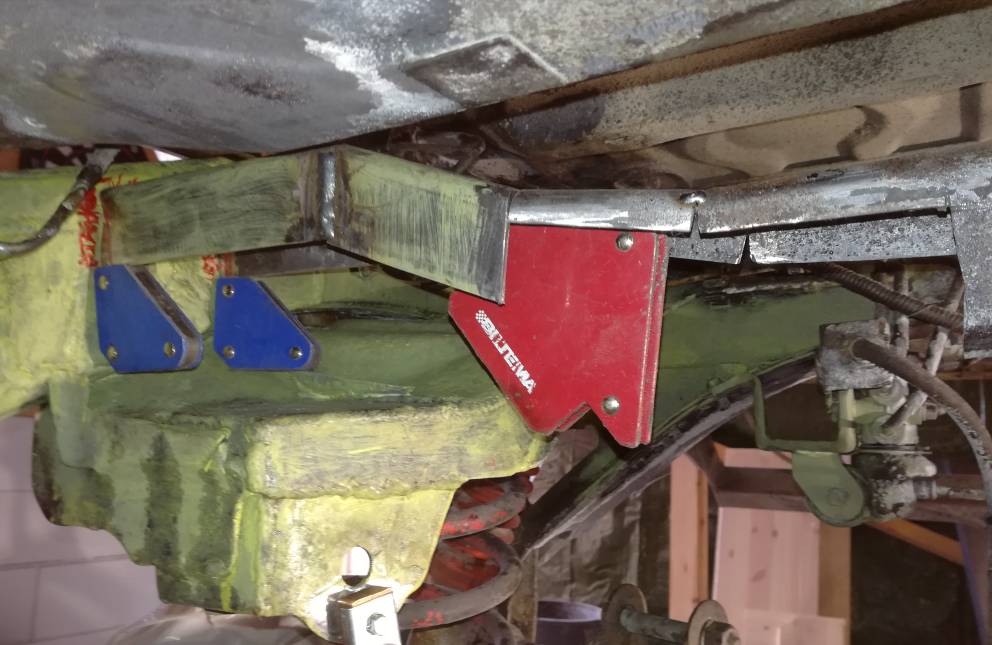
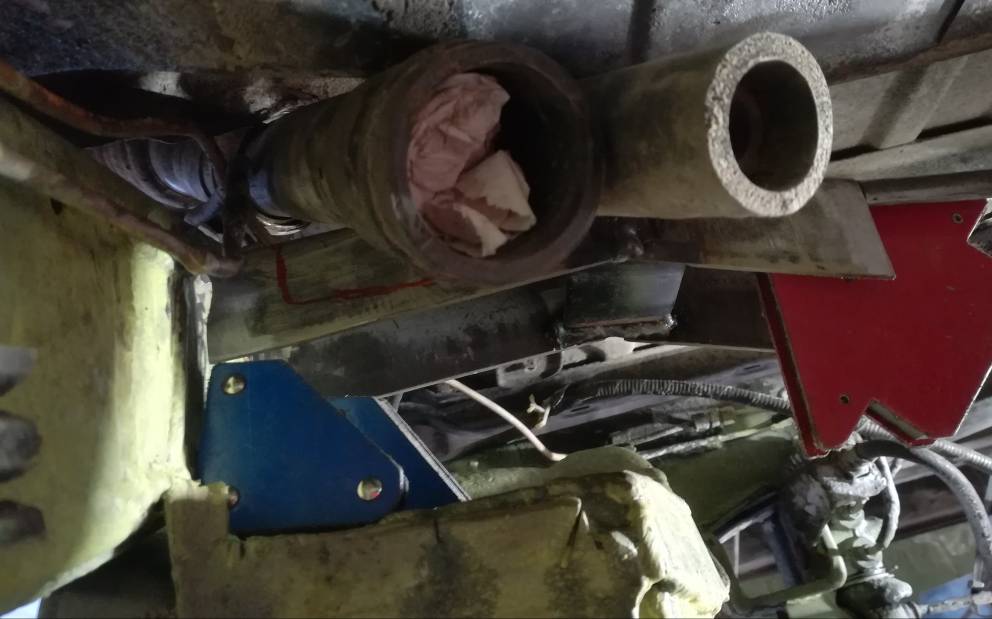
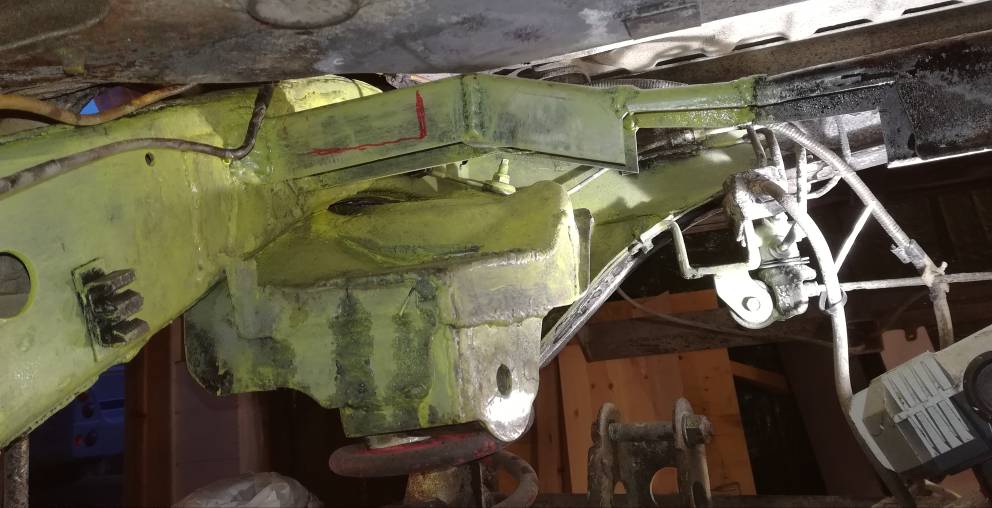
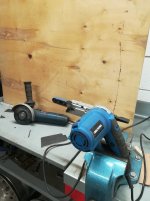
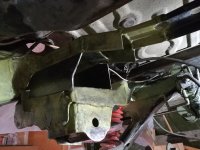
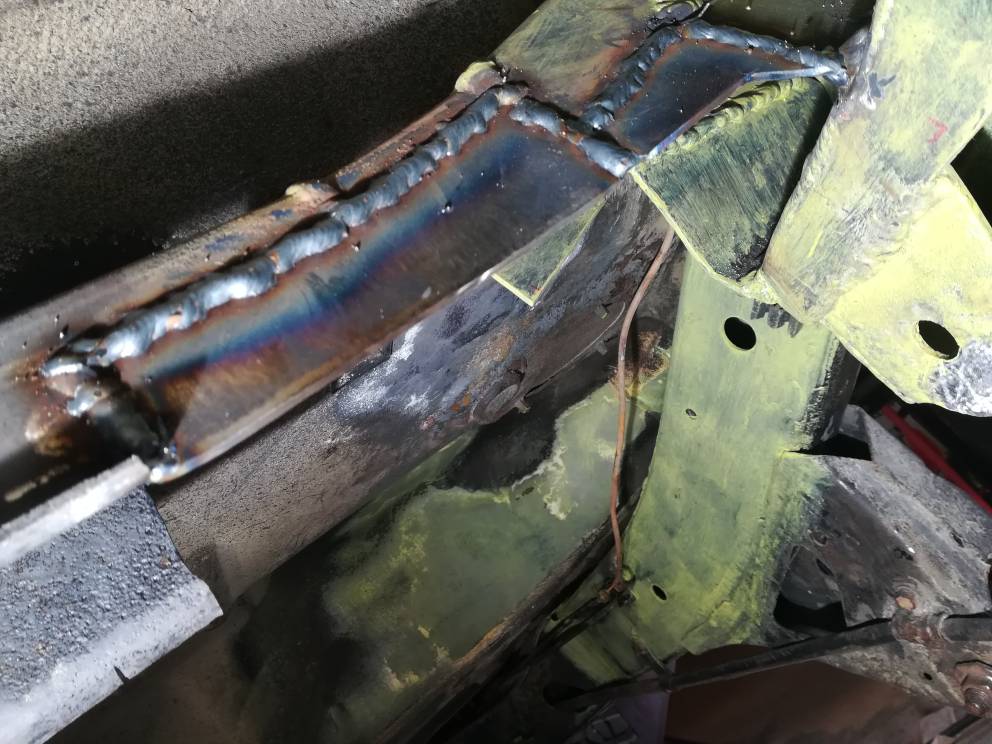
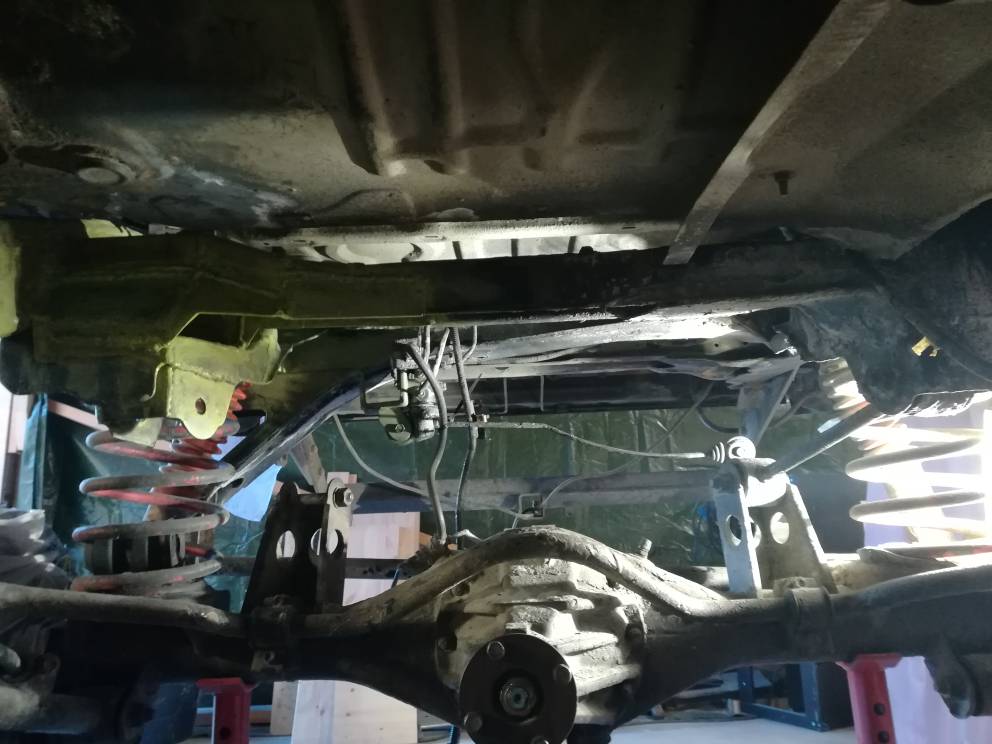
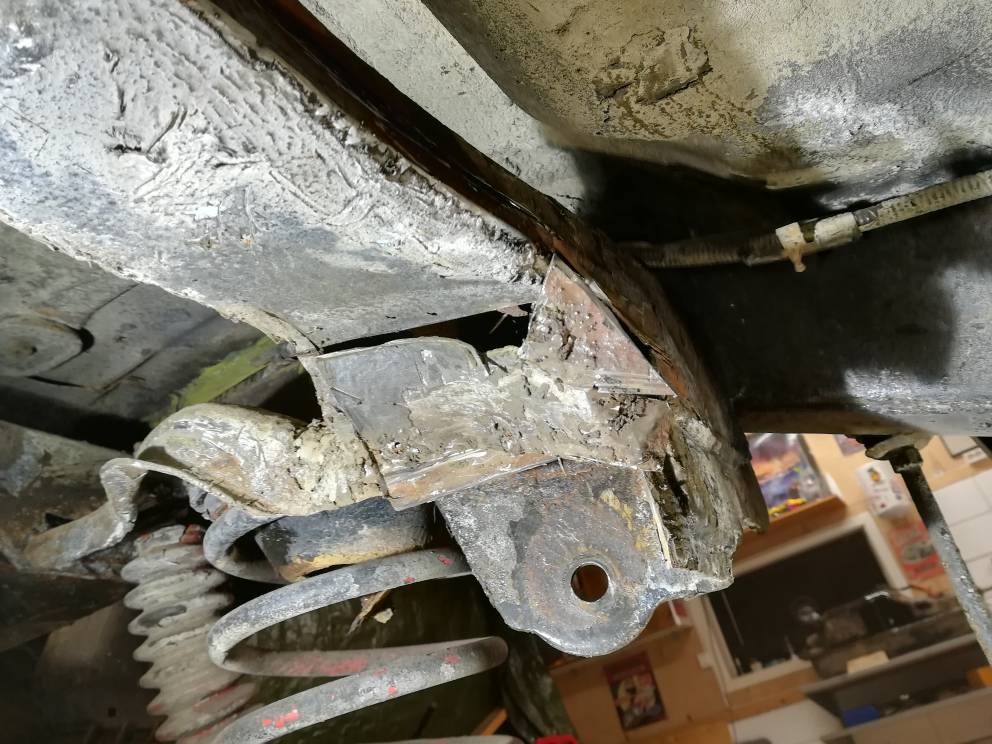
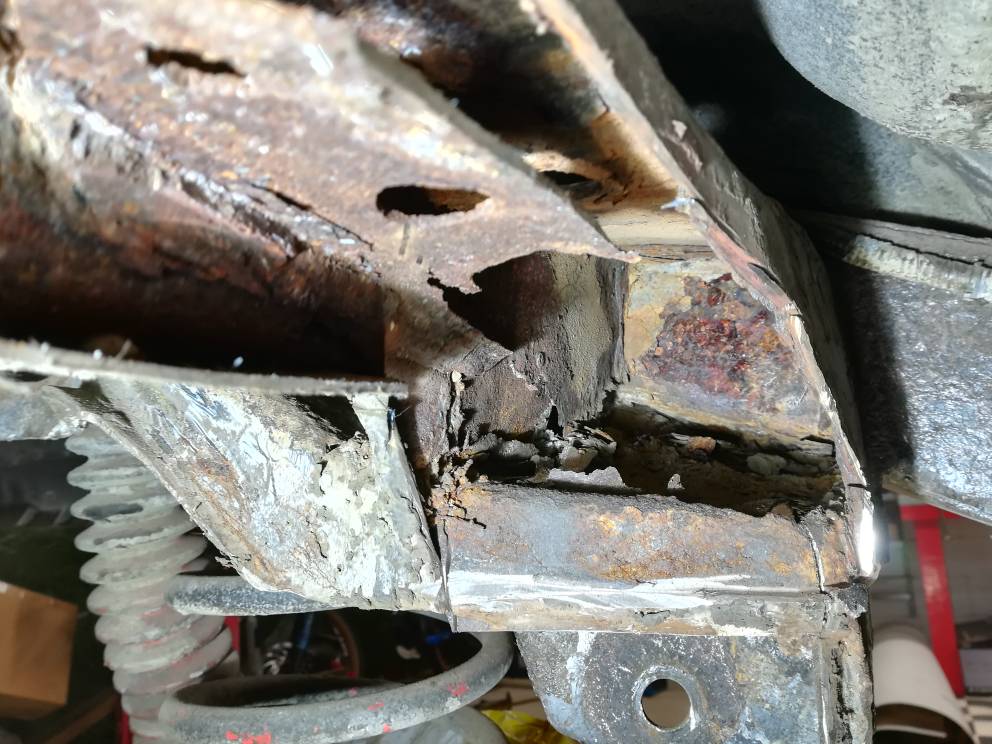
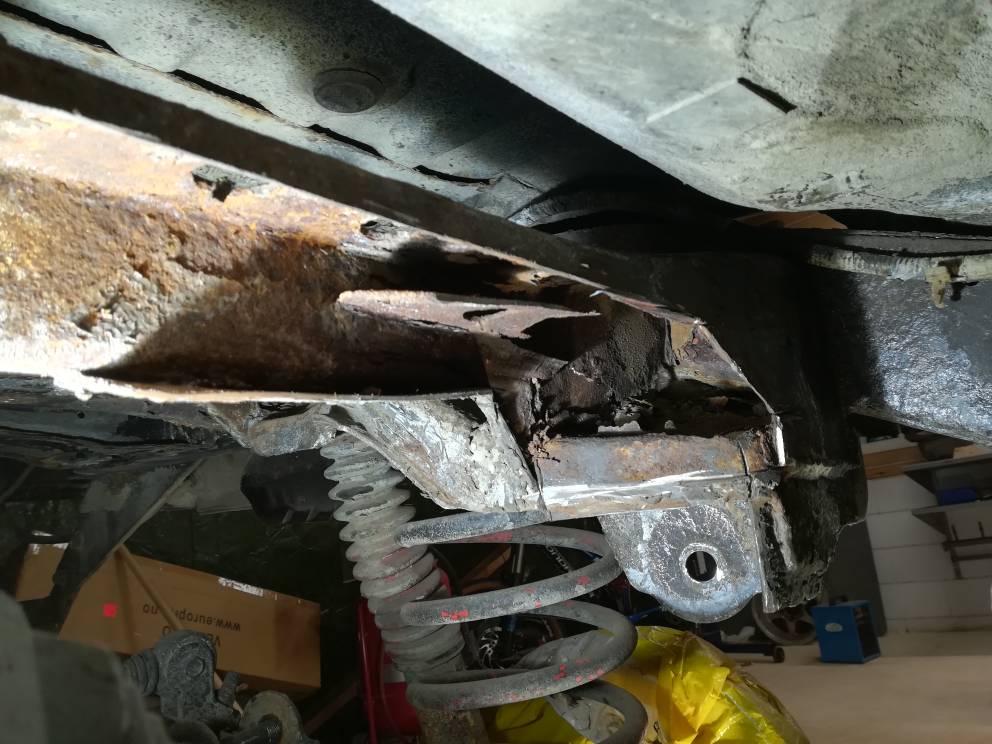
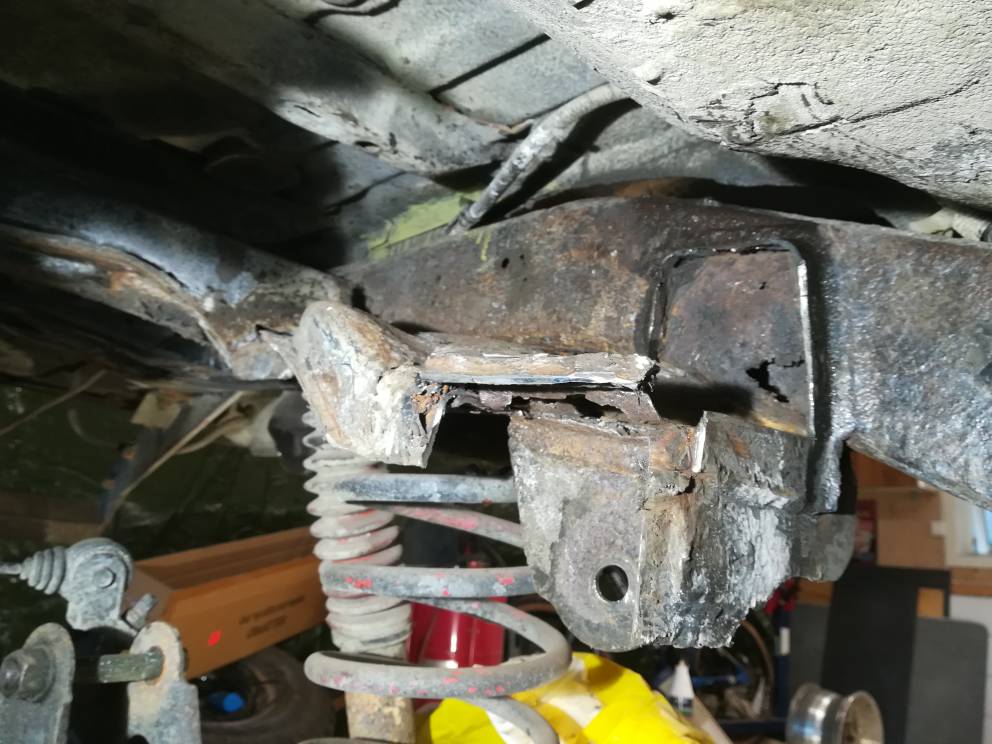
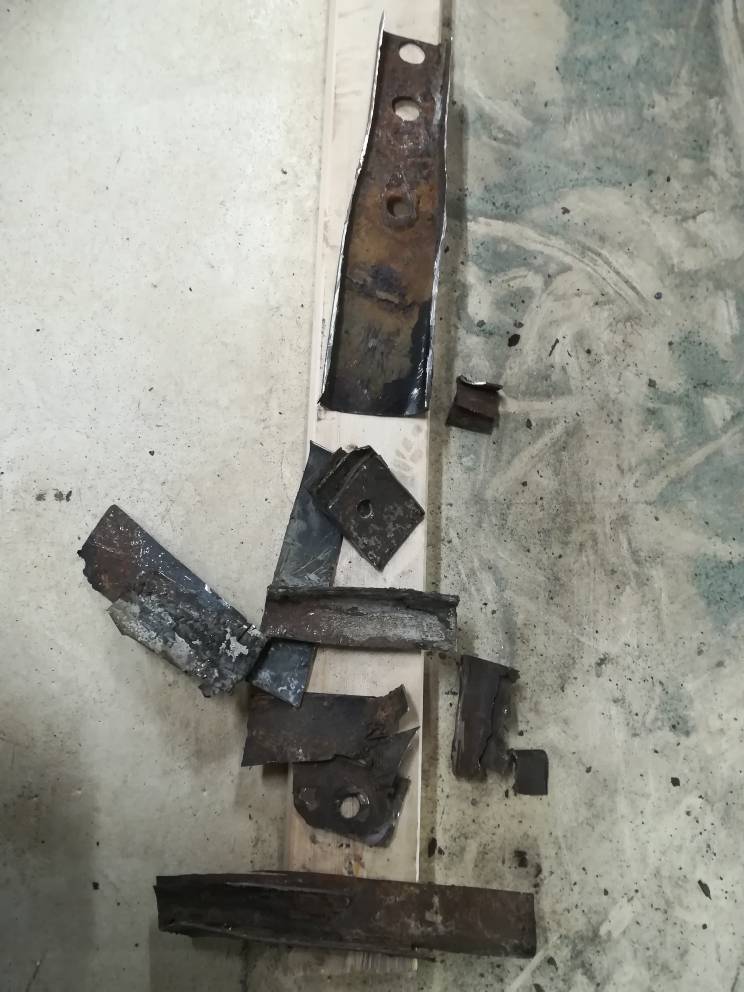
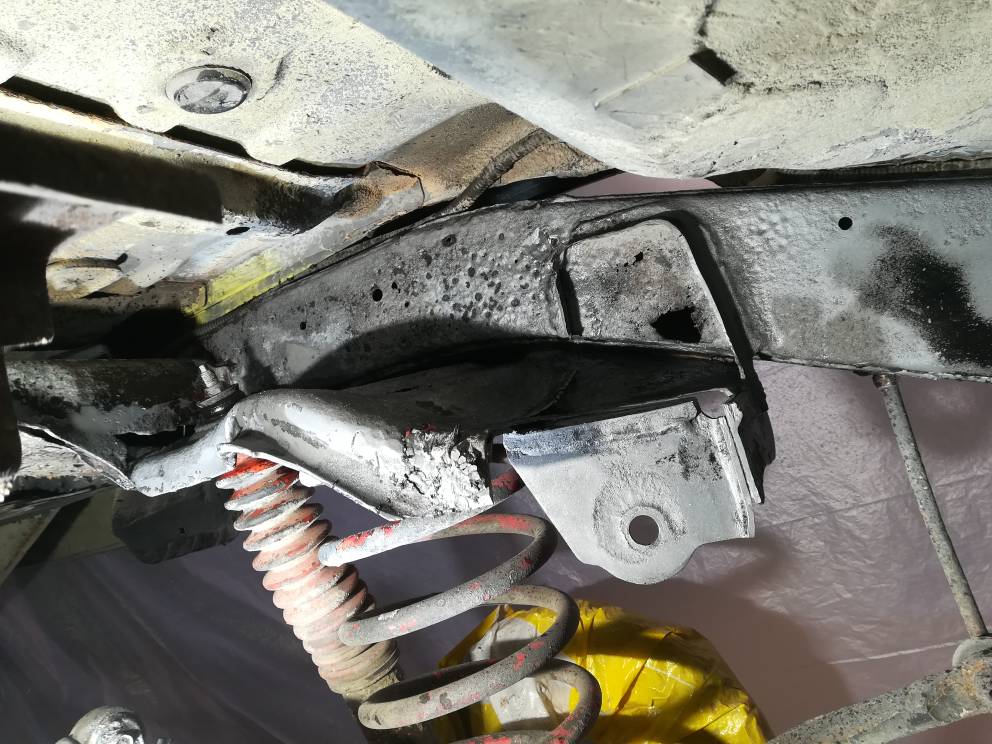
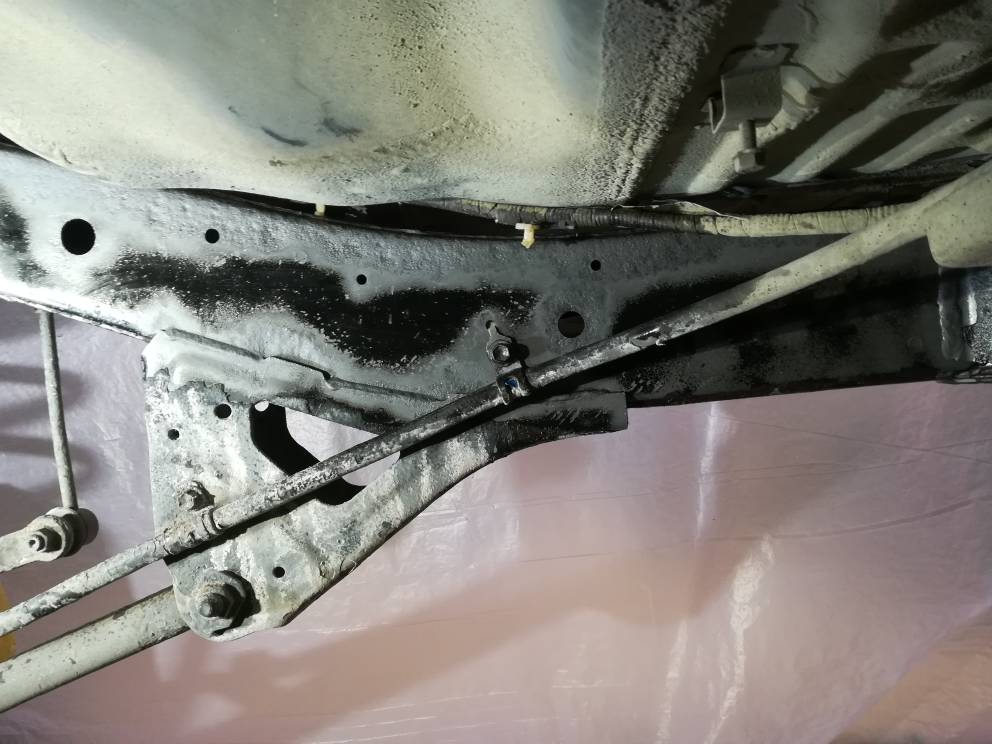
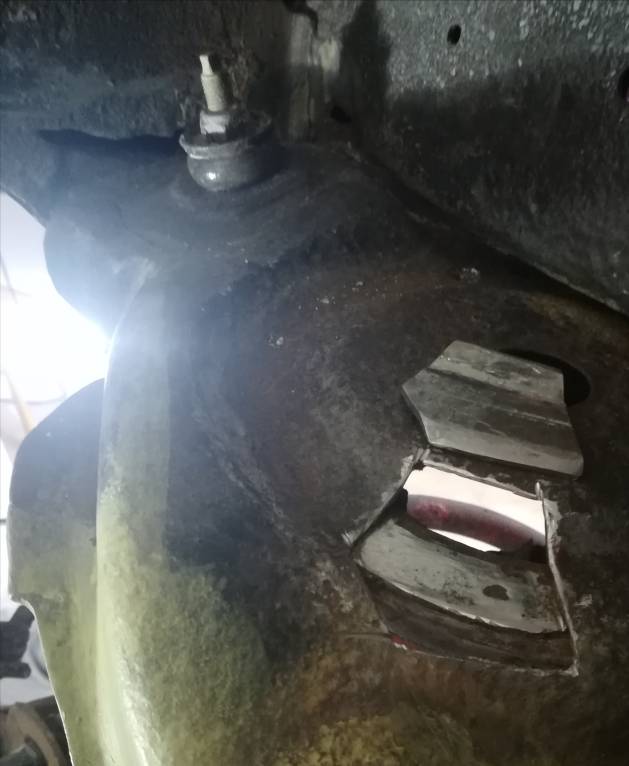
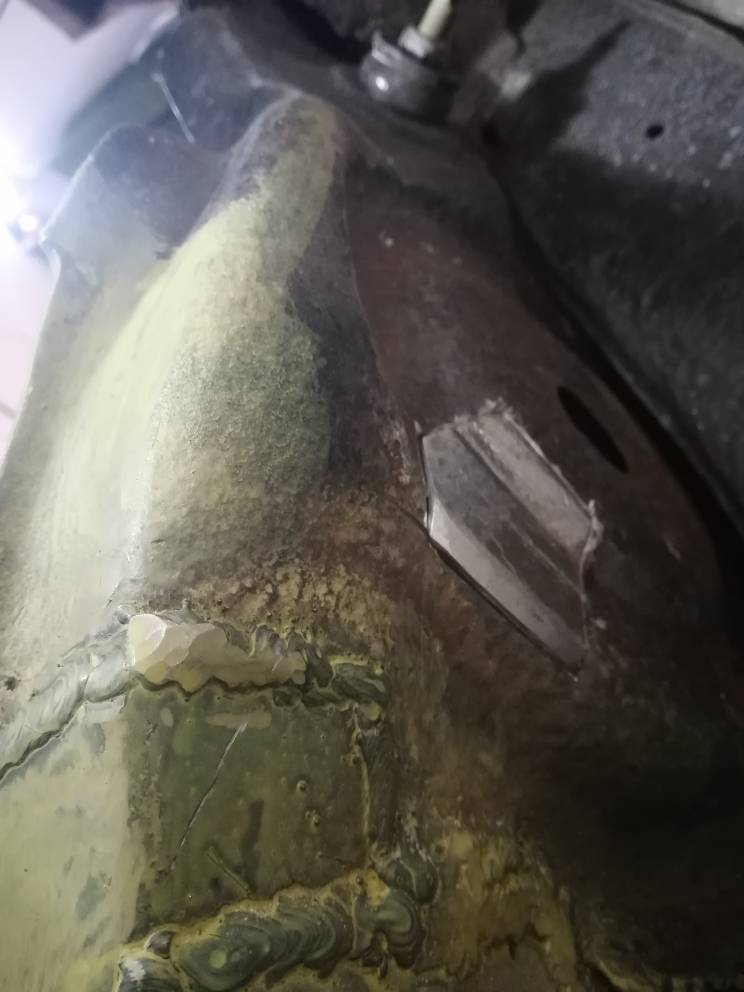
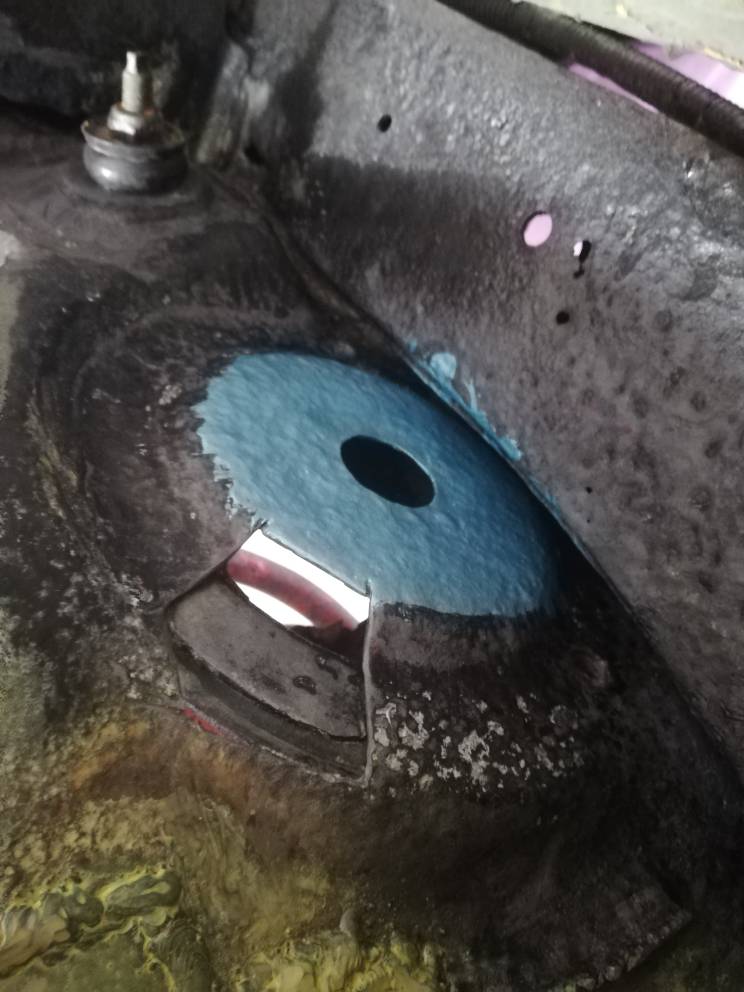
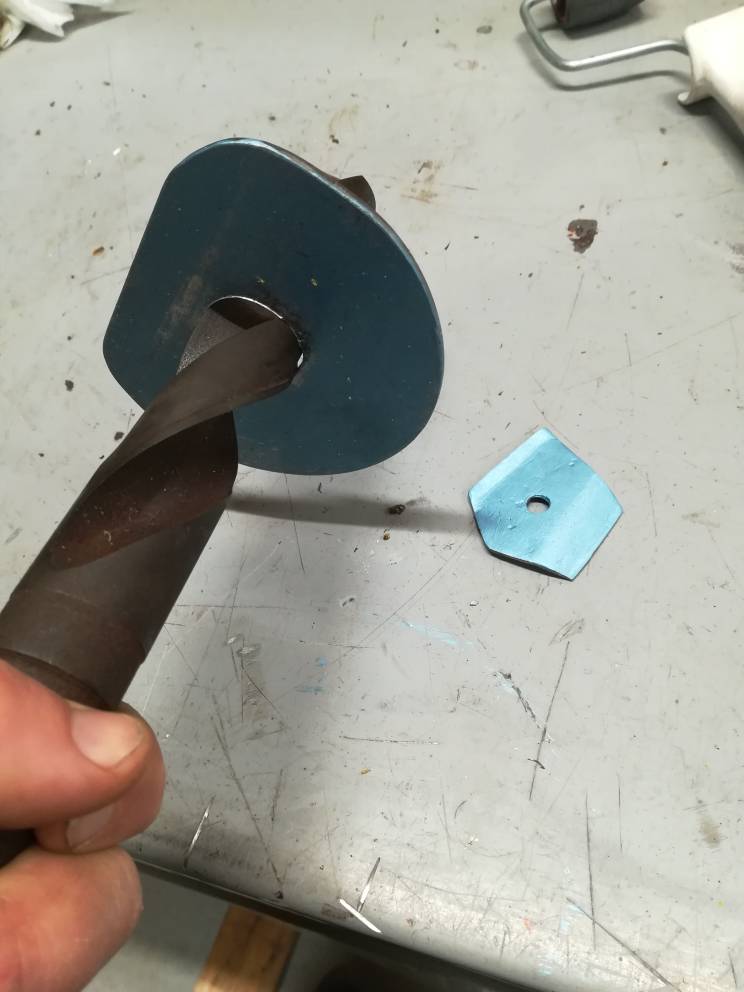
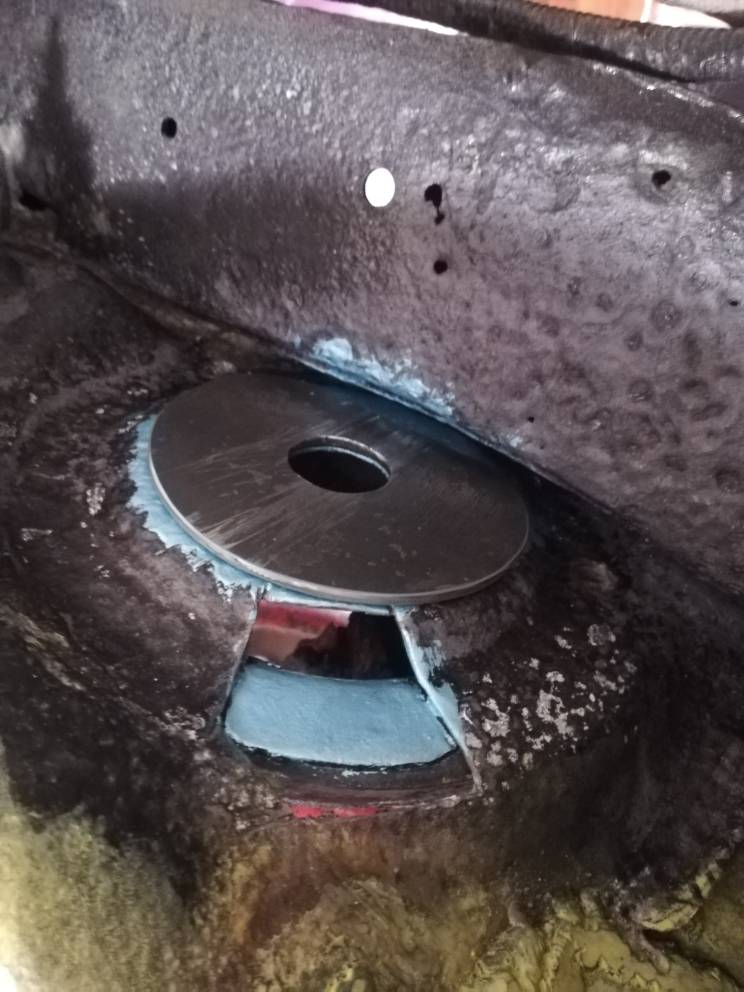
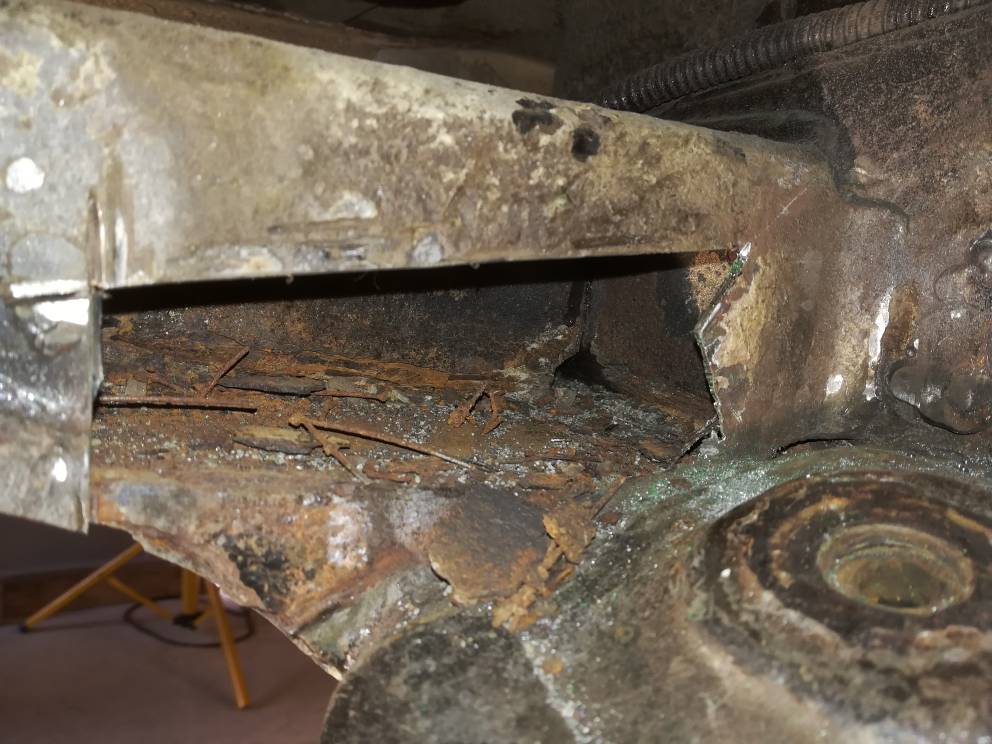
Next Chapter was the rust on the frame parts, took down the fuel tank, sandblasted area around etc.. now im welding the frame some places it is crispy rust or thin sheet metals around... i have many pictures so i will upload when i have time...

After all rust is taken and protected i will begin to replace some parts on the car.
 

Attachments
  • sveis2.jpg
    sveis2.jpg
    127.5 KB · Views: 2,750
  • 4rgarage.jpg
    4rgarage.jpg
    131.3 KB · Views: 3,121
  • framekit.jpg
    framekit.jpg
    134.3 KB · Views: 2,578
Last edited:
Register to hide this ad
Another from the North

My 2nd gen 1990 T4R was bought in Canada, and came to us in my father-in-law's will. He'd kept it garaged so much that in 2003 it had 18,000 miles on the clock. Then I had to store it on an outdoor lot for six years and the front rotors rusted so badly they had to be replaced. I hope your rotors did better.

mm
 
Some more older Pictures..
 

Attachments

  • 8.jpg
    8.jpg
    136.2 KB · Views: 2,558
  • 7.jpg
    7.jpg
    139.7 KB · Views: 2,588
  • 10.jpg
    10.jpg
    134.2 KB · Views: 2,497
  • 4.jpg
    4.jpg
    124.6 KB · Views: 2,430
  • 9.jpg
    9.jpg
    109.5 KB · Views: 2,538
  • 11.jpg
    11.jpg
    130.5 KB · Views: 2,501
  • 14.jpg
    14.jpg
    112.3 KB · Views: 2,446
  • 1.jpg
    1.jpg
    103.4 KB · Views: 2,574
More old pics.
 

Attachments

  • 12.jpg
    12.jpg
    124.3 KB · Views: 2,806
  • 13.jpg
    13.jpg
    99.1 KB · Views: 2,497
  • 15.jpg
    15.jpg
    131.6 KB · Views: 2,832
  • 16.jpg
    16.jpg
    97.2 KB · Views: 2,741
  • 2.jpg
    2.jpg
    130.4 KB · Views: 2,470
  • 3.jpg
    3.jpg
    129.4 KB · Views: 2,533
  • 6.jpg
    6.jpg
    136.8 KB · Views: 2,430
  • 5.jpg
    5.jpg
    83.8 KB · Views: 2,367
More old fixes.
 

Attachments

  • 19.jpg
    19.jpg
    135.5 KB · Views: 2,503
  • 21.jpg
    21.jpg
    138.8 KB · Views: 2,398
  • 20.jpg
    20.jpg
    81.2 KB · Views: 2,505
  • 23.jpg
    23.jpg
    139.8 KB · Views: 2,472
  • 18.jpg
    18.jpg
    127.9 KB · Views: 2,552
  • 17.jpg
    17.jpg
    66.8 KB · Views: 2,253
  • 22.jpg
    22.jpg
    145.8 KB · Views: 2,334
WOW! off to a great start. I admire your determination, a lot of folks would have said screw it. Lot of work!:hatsoff:
 
Some sandblasting today before protect it and will begin to weld back together the crossover..
 

Attachments

  • IMG_20190309_015725.jpg
    IMG_20190309_015725.jpg
    130.8 KB · Views: 2,362
  • IMG_20190308_233454.jpg
    IMG_20190308_233454.jpg
    120.9 KB · Views: 2,398
  • IMG_20190309_015946.jpg
    IMG_20190309_015946.jpg
    136.4 KB · Views: 2,388
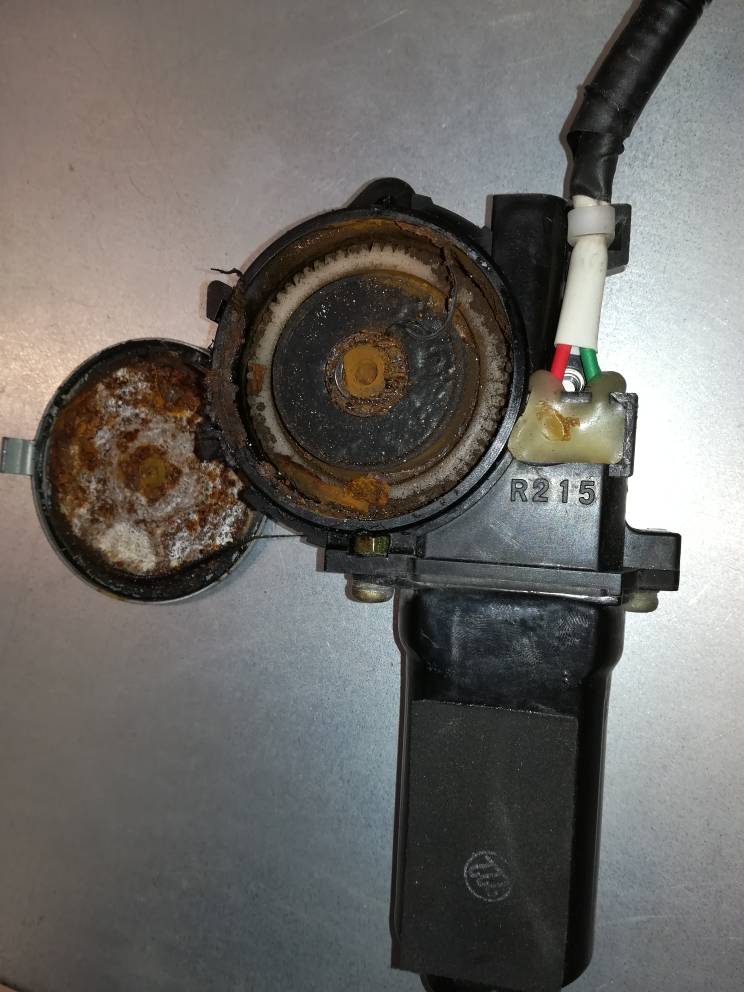
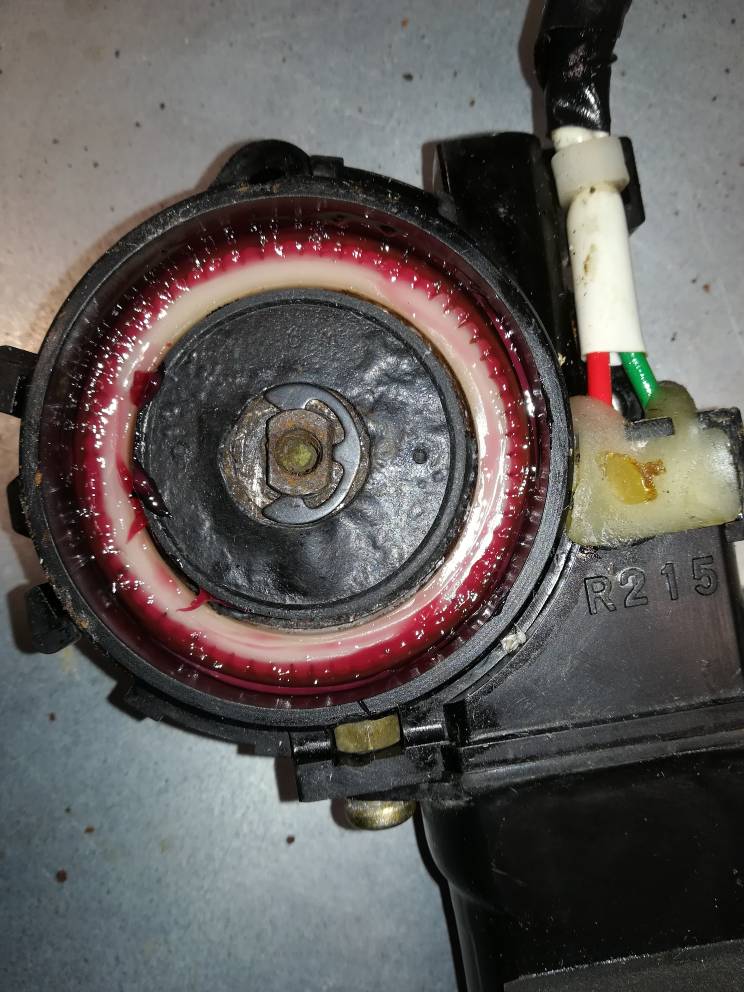
Some welding today.. and fixed the passengerside window motor yesterday, it was totally stuck, full of crap, i did a good clean and turn the motor from hand, and lube it aswell to the end. good as new.
7408f7c4353bf5a785f810572f7ed482.jpg
8ef46a9501be1e11916df64e6b570b9c.jpg
adefee454d954cd51e69b3889e43a023.jpg
8dd400dcc3d109d92363c983872461ac.jpg
c62387b6c7a98ff96c5a5b733337fb8f.jpg
c04f18530907022831ac7a83c88b7792.jpg
4ff142ee85fcf9a74ef0d39ab5282e31.jpg
b0fee92f273cc8f97f96ac607cd8921d.jpg


Sent fra min WAS-LX1 via Tapatalk
 
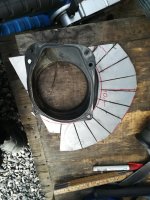
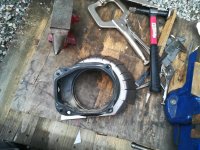
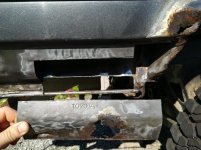
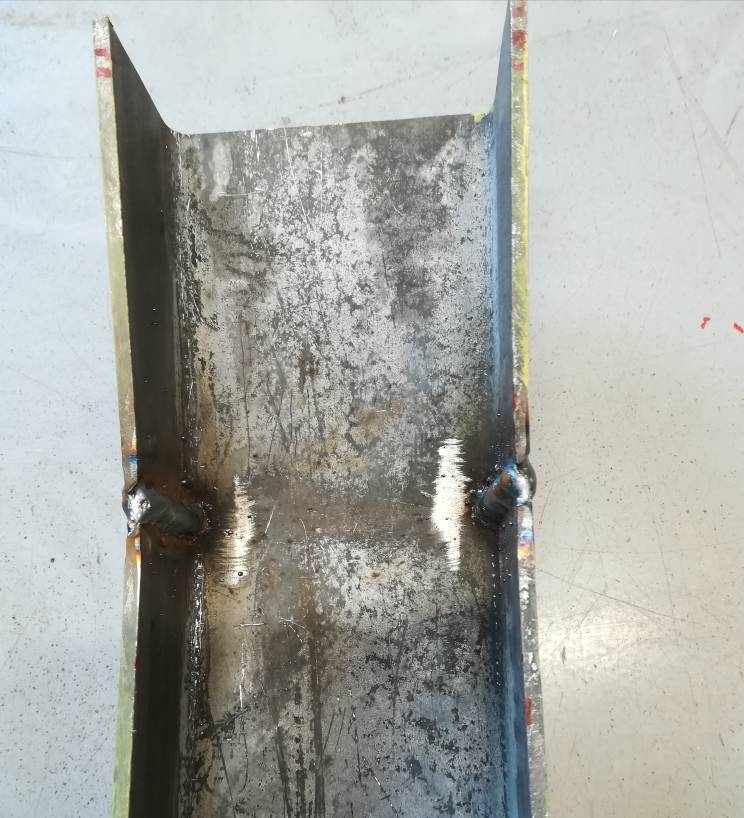
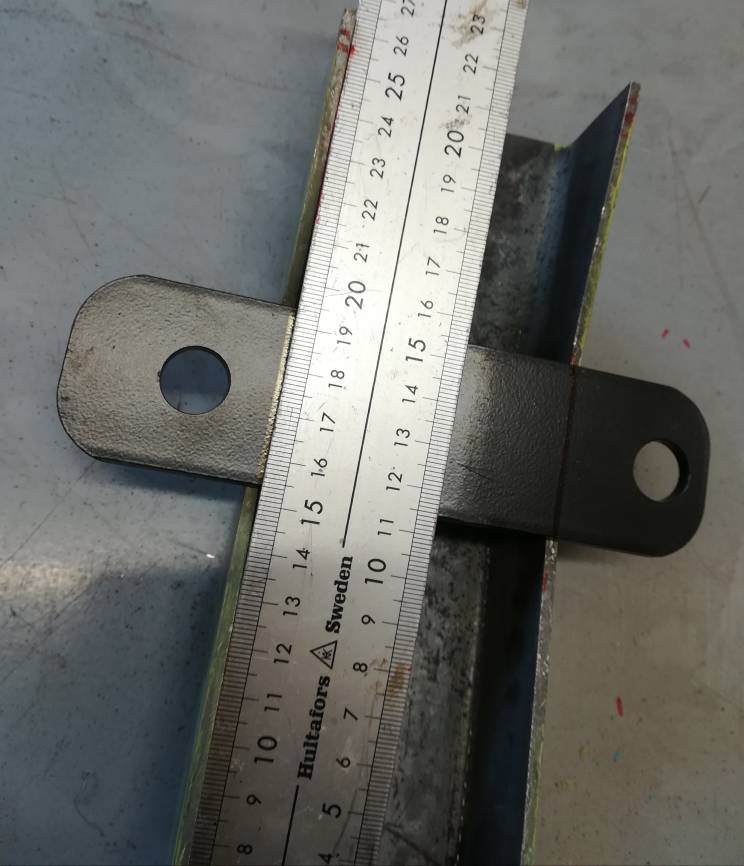
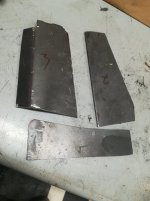
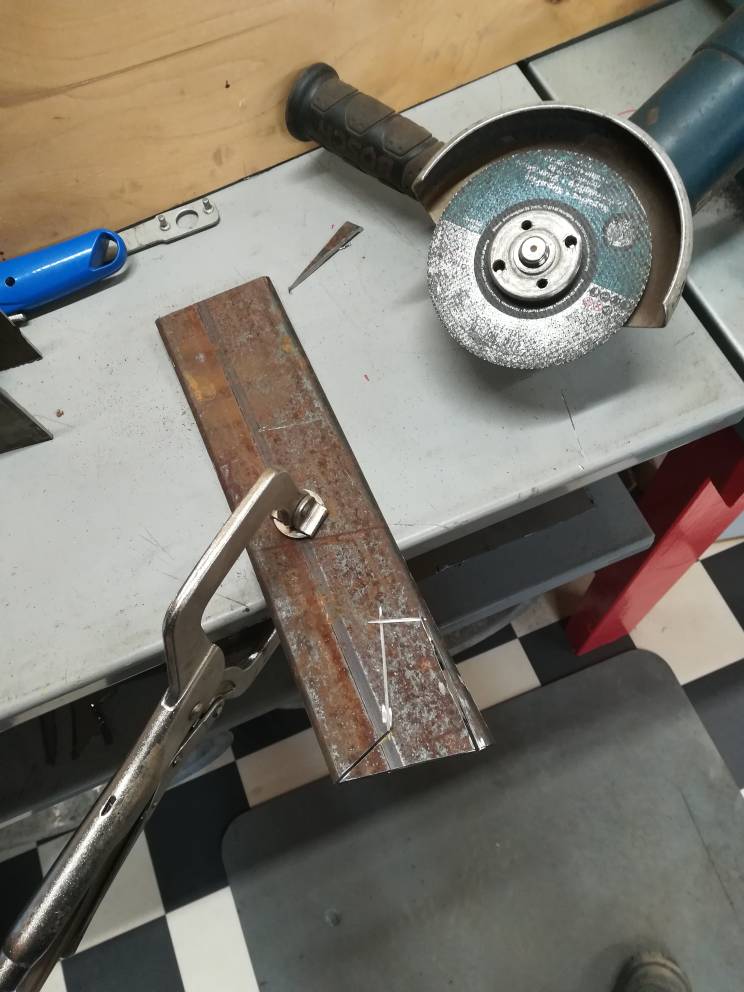
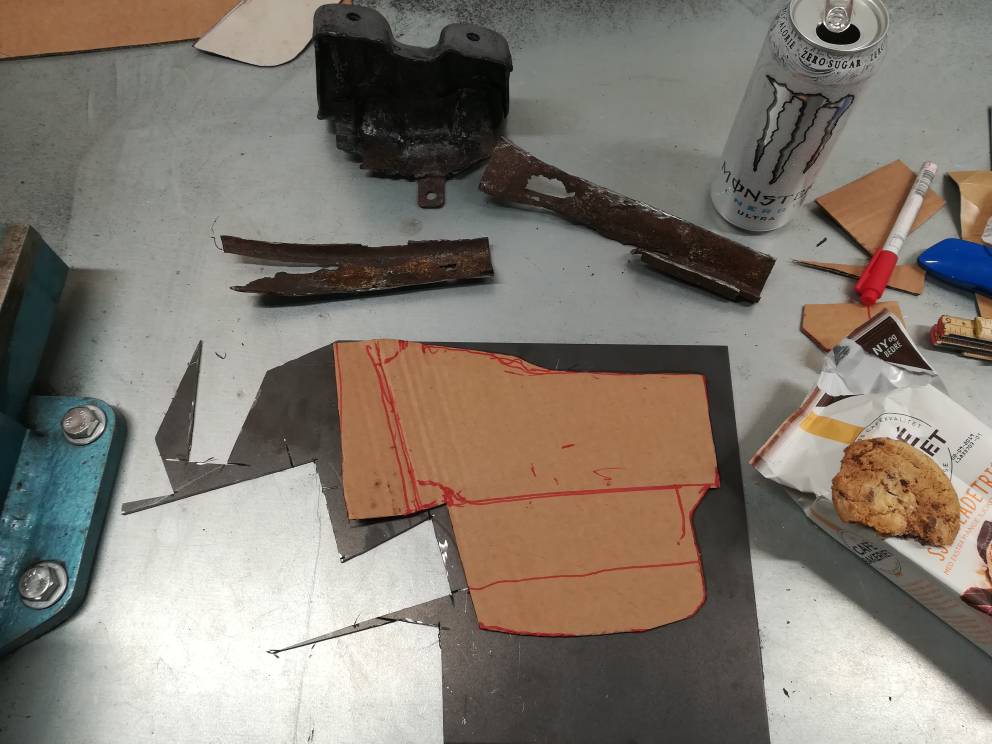
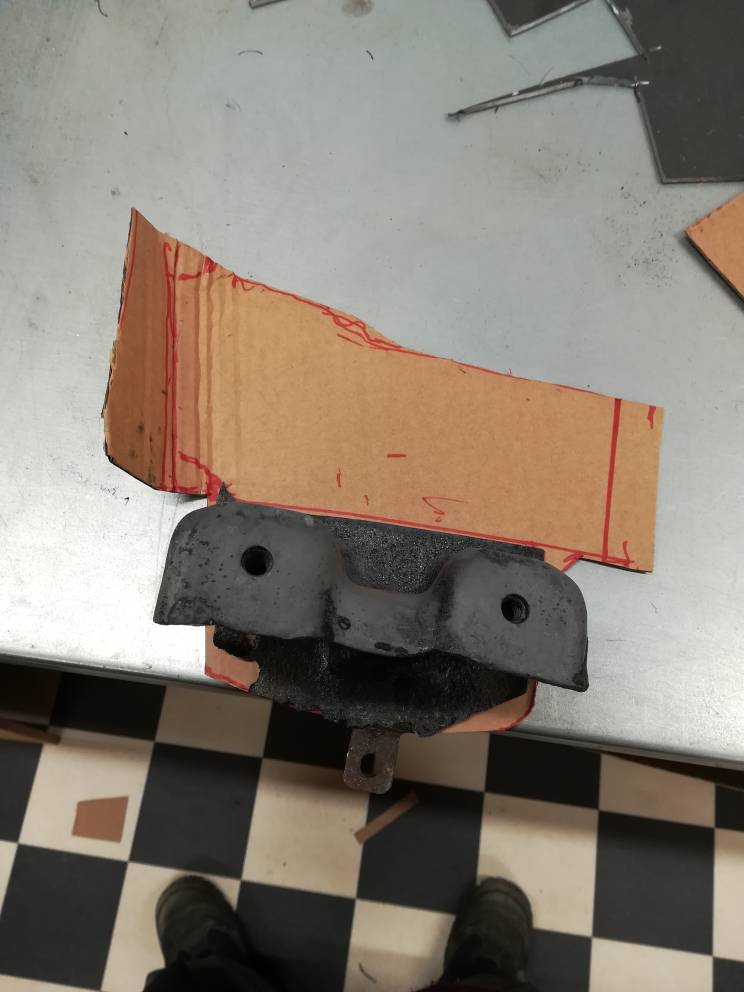
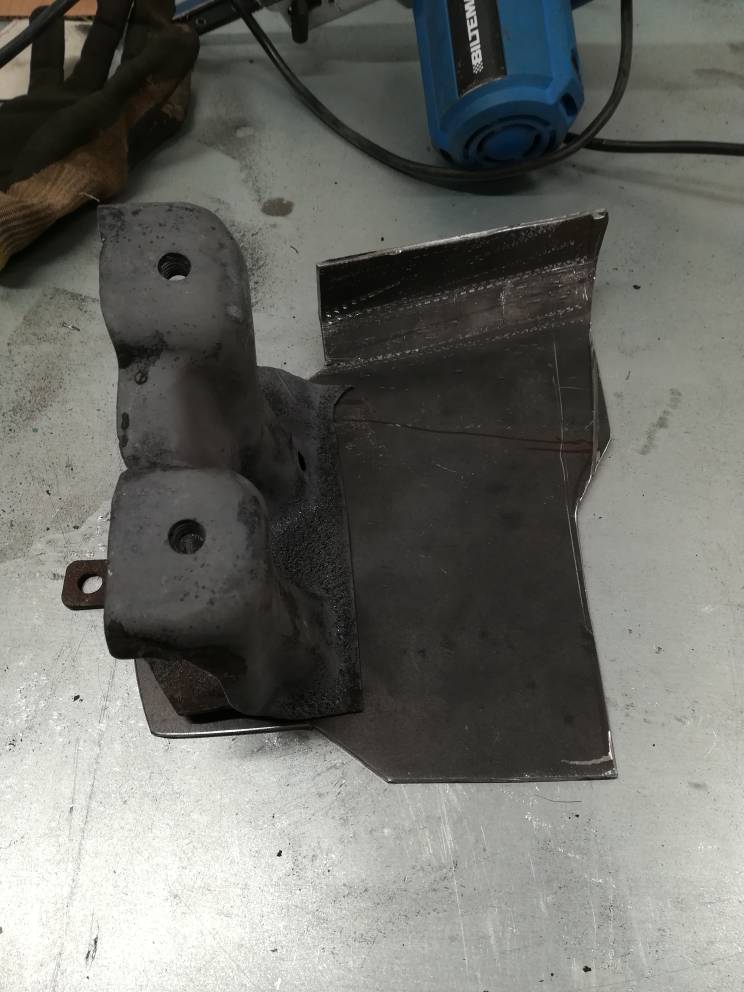
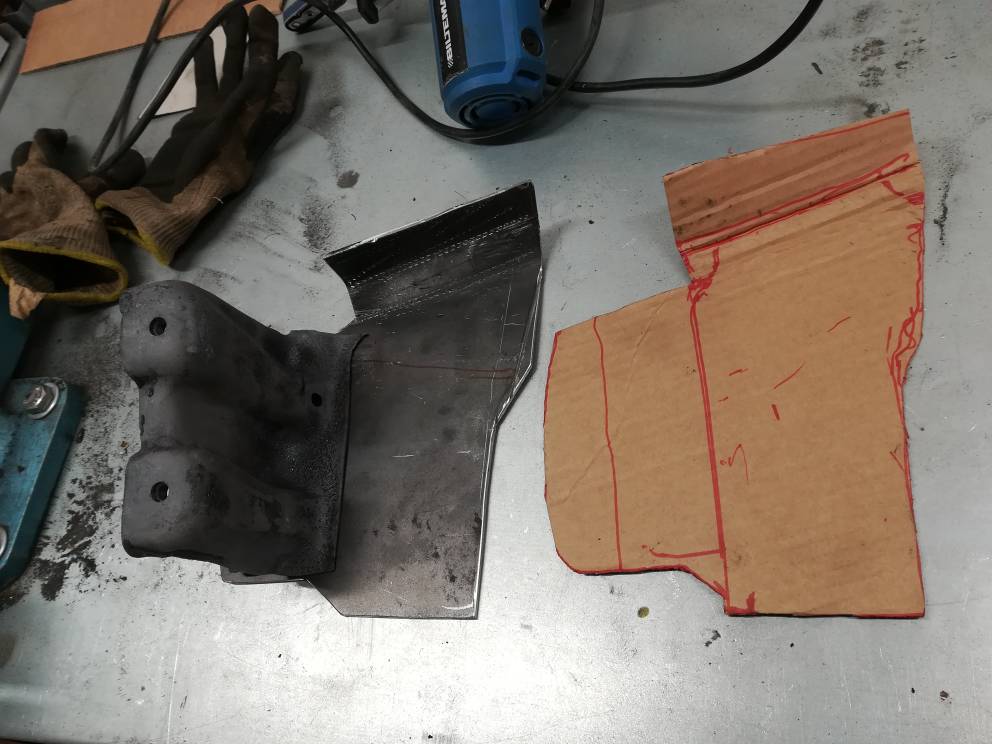
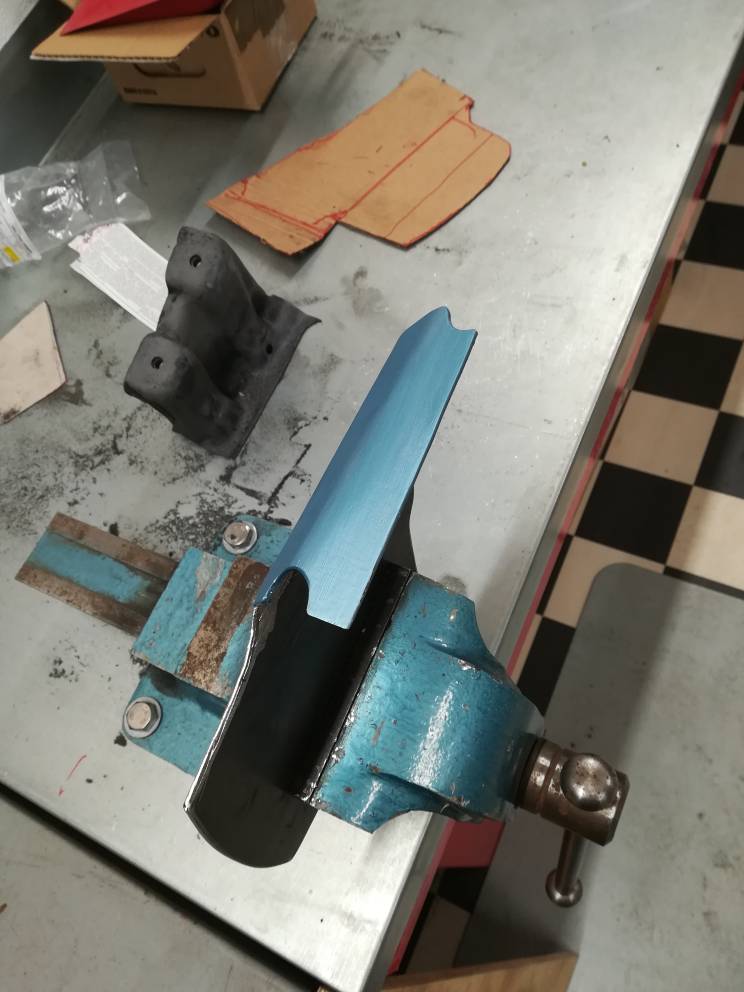
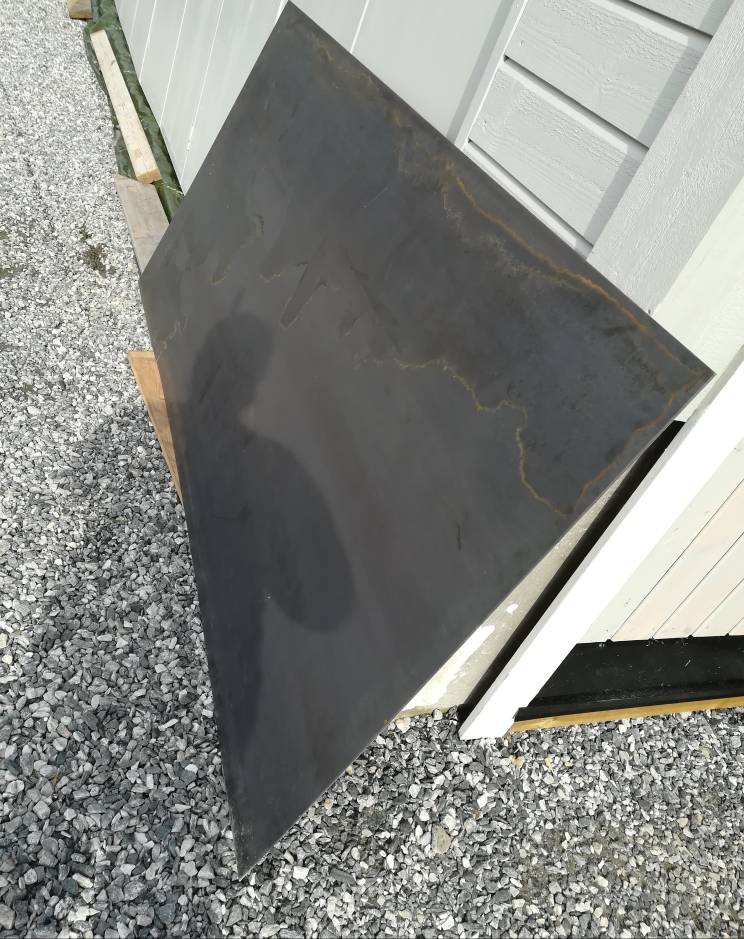
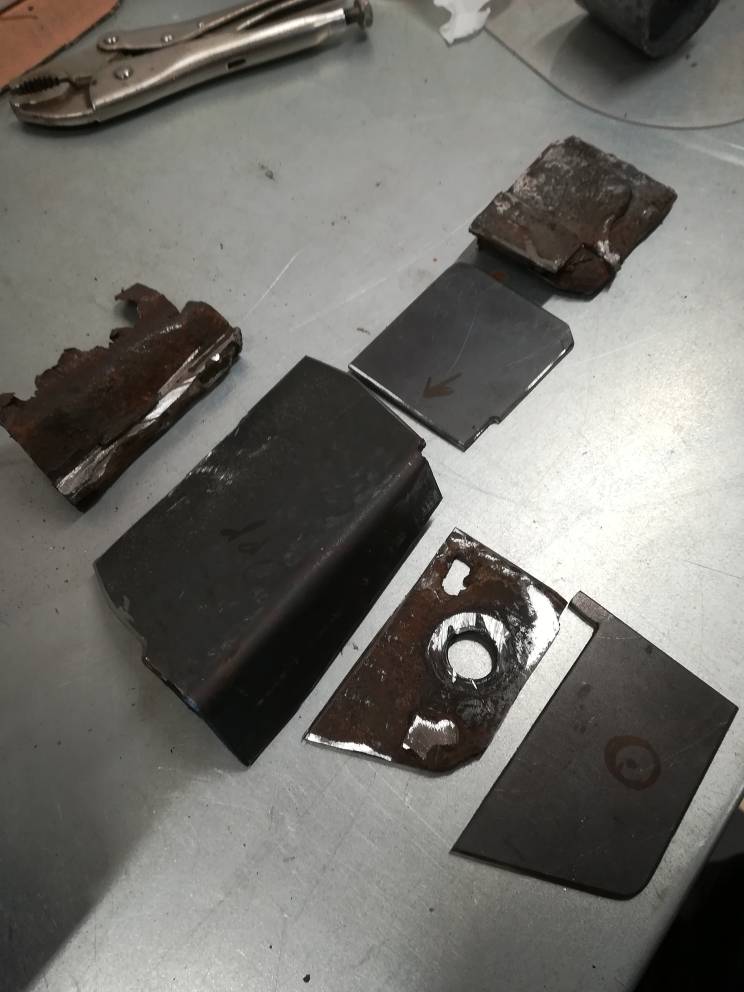
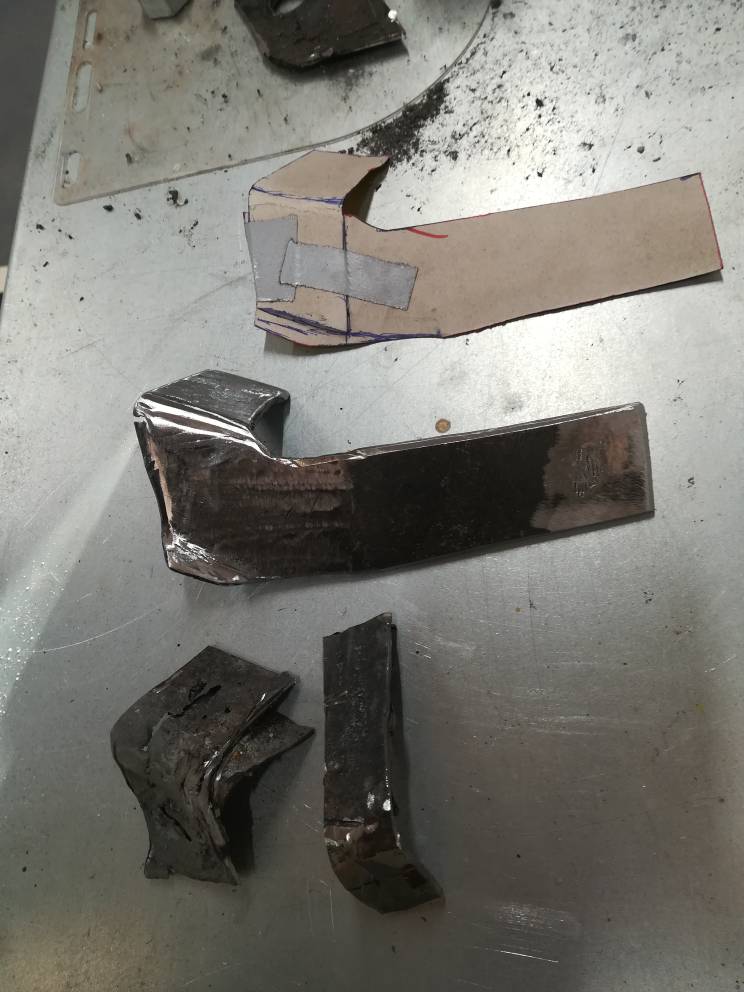
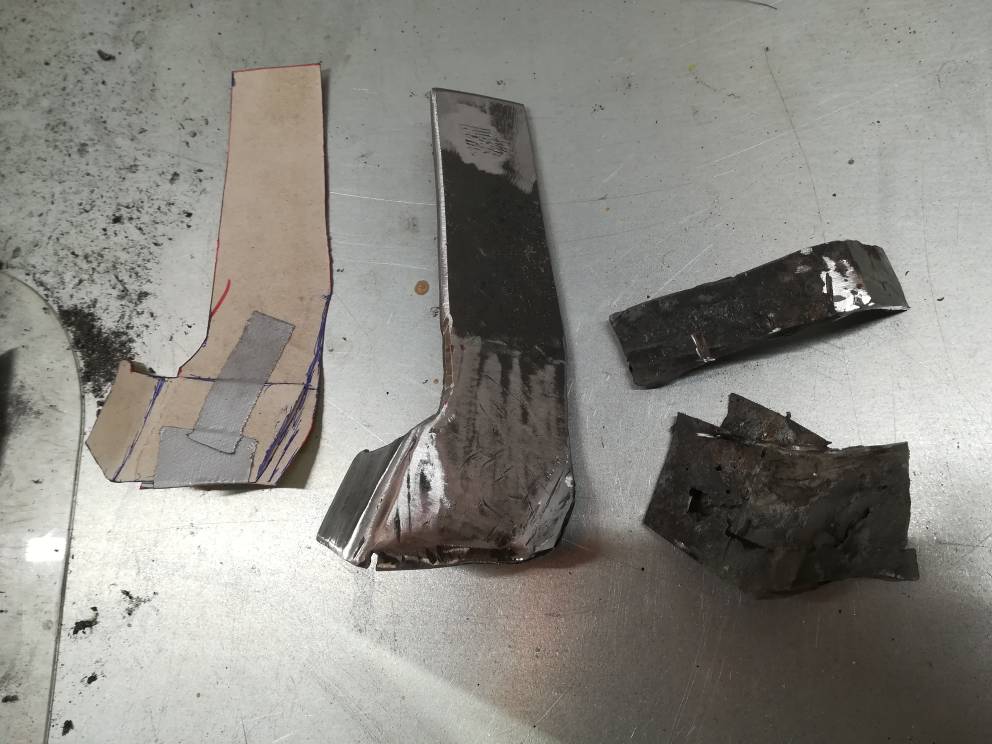
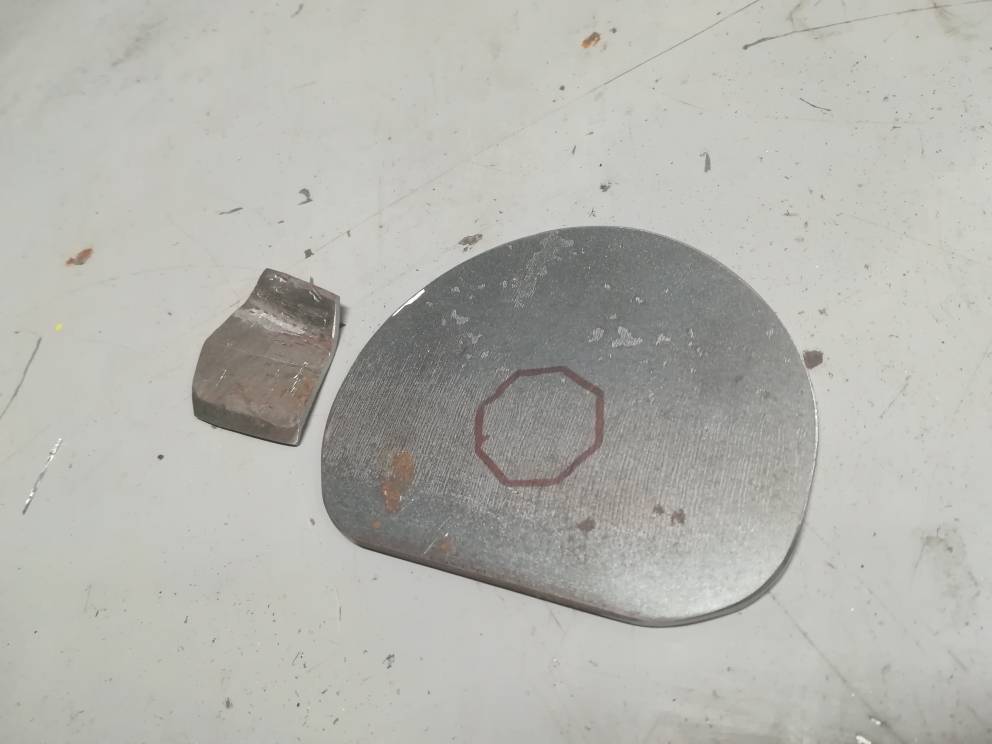
Got a little time to prepare some new sheetmetals yesterday..
 

Attachments

  • IMG_20190313_203157.thumb.jpg.45e45a859ceafe20e1429d0df89009b8.jpg
    IMG_20190313_203157.thumb.jpg.45e45a859ceafe20e1429d0df89009b8.jpg
    84.3 KB · Views: 2,688
  • IMG_20190313_202308.thumb.jpg.c0aeeec64947c3f09b43bcb553cff9fe.jpg
    IMG_20190313_202308.thumb.jpg.c0aeeec64947c3f09b43bcb553cff9fe.jpg
    80.9 KB · Views: 2,334
  • IMG_20190313_202130.thumb.jpg.e1a0d7de6b340579c6f750130fc442ce.jpg
    IMG_20190313_202130.thumb.jpg.e1a0d7de6b340579c6f750130fc442ce.jpg
    66.7 KB · Views: 2,329
  • IMG_20190313_211101.thumb.jpg.72e2d51d87b60113f13b48aa3a1aca9c.jpg
    IMG_20190313_211101.thumb.jpg.72e2d51d87b60113f13b48aa3a1aca9c.jpg
    76.4 KB · Views: 2,623
  • IMG_20190313_211009.thumb.jpg.4eaa73104d99a325f51f719b27a18bb8.jpg
    IMG_20190313_211009.thumb.jpg.4eaa73104d99a325f51f719b27a18bb8.jpg
    122.6 KB · Views: 2,650
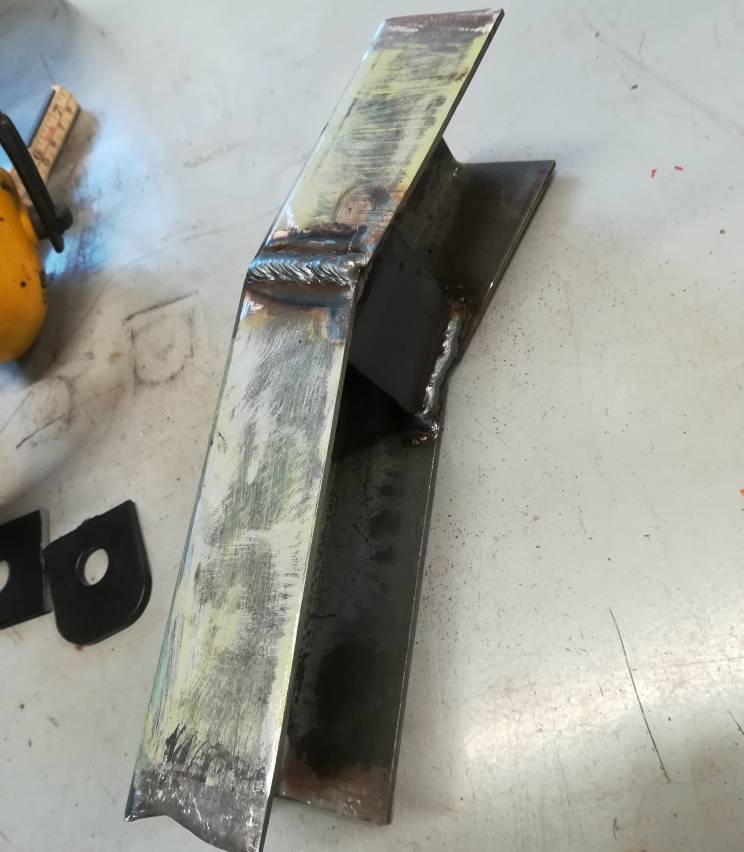
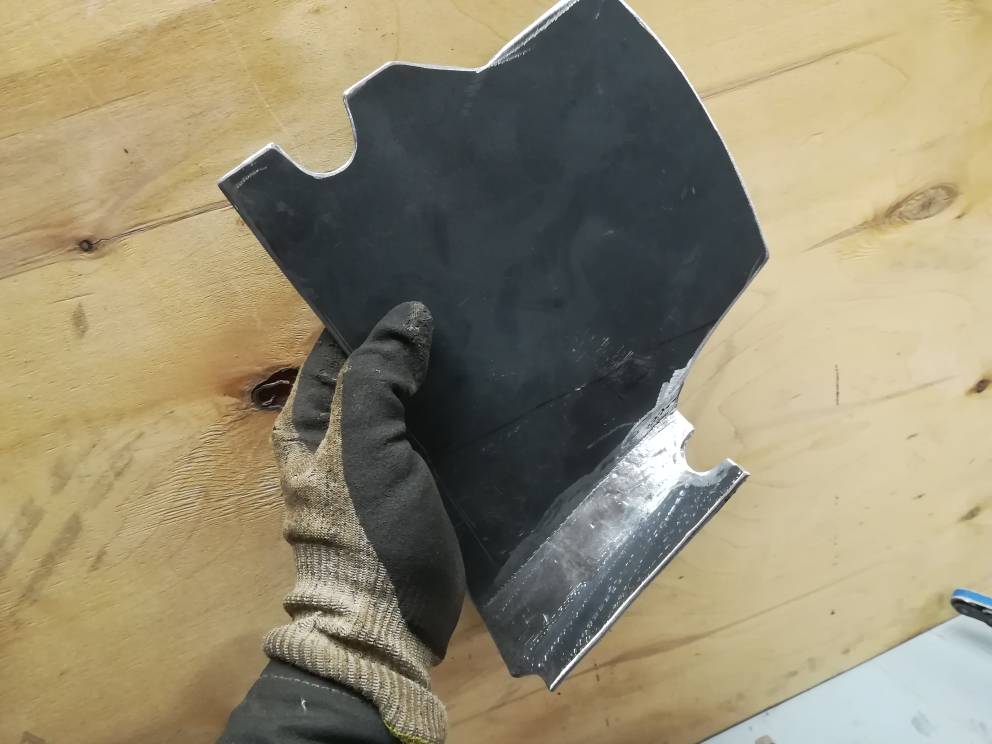
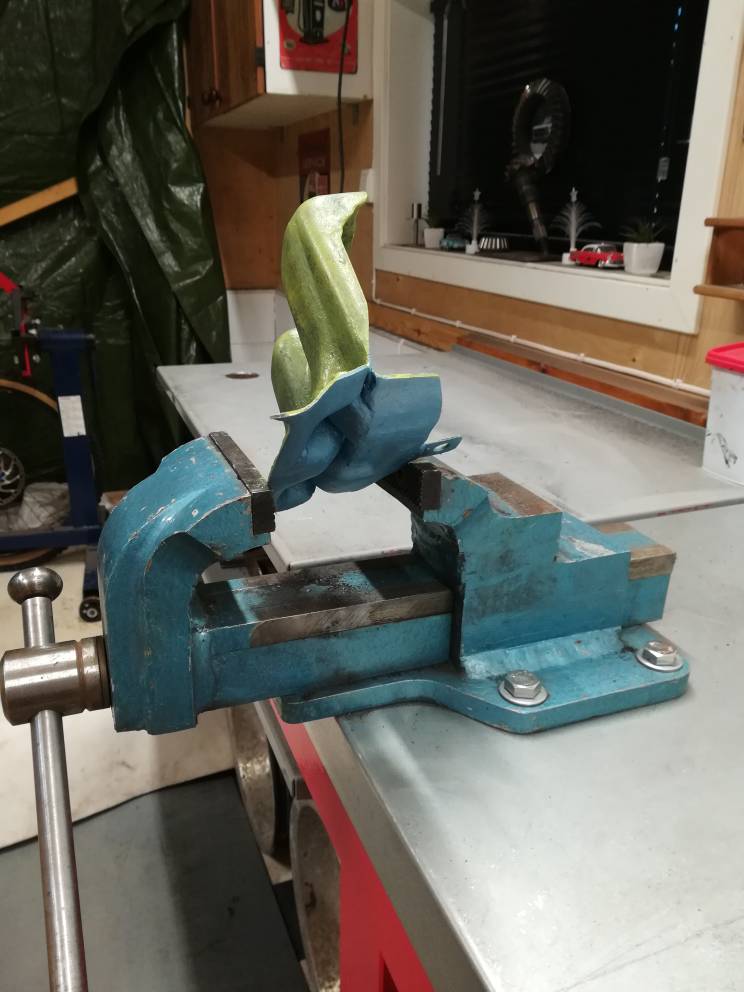
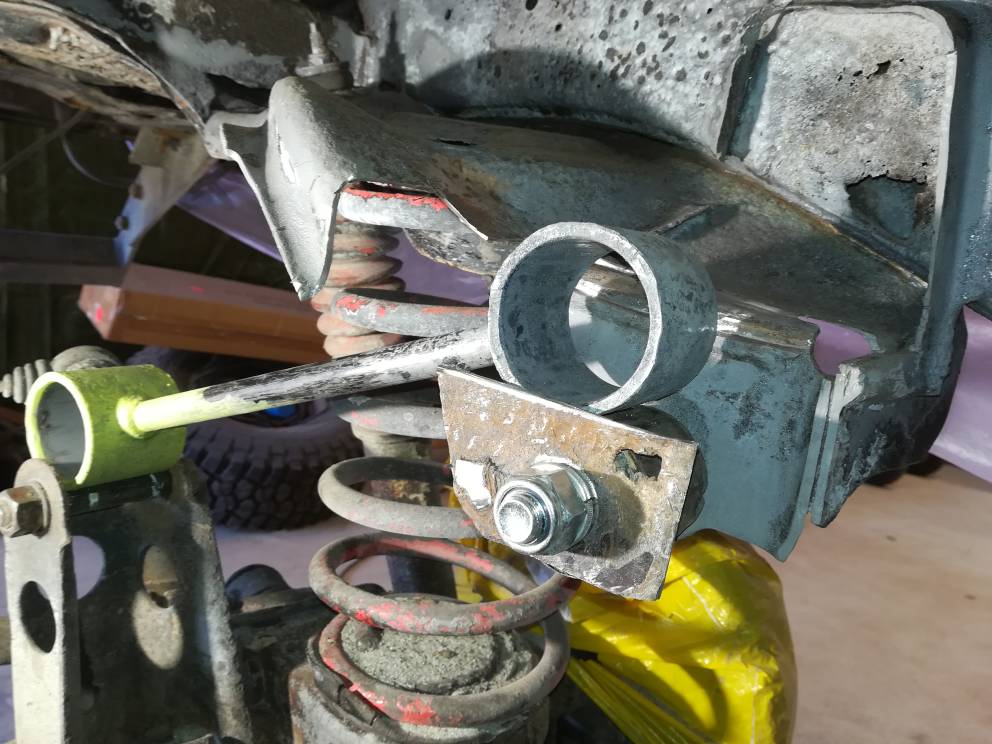
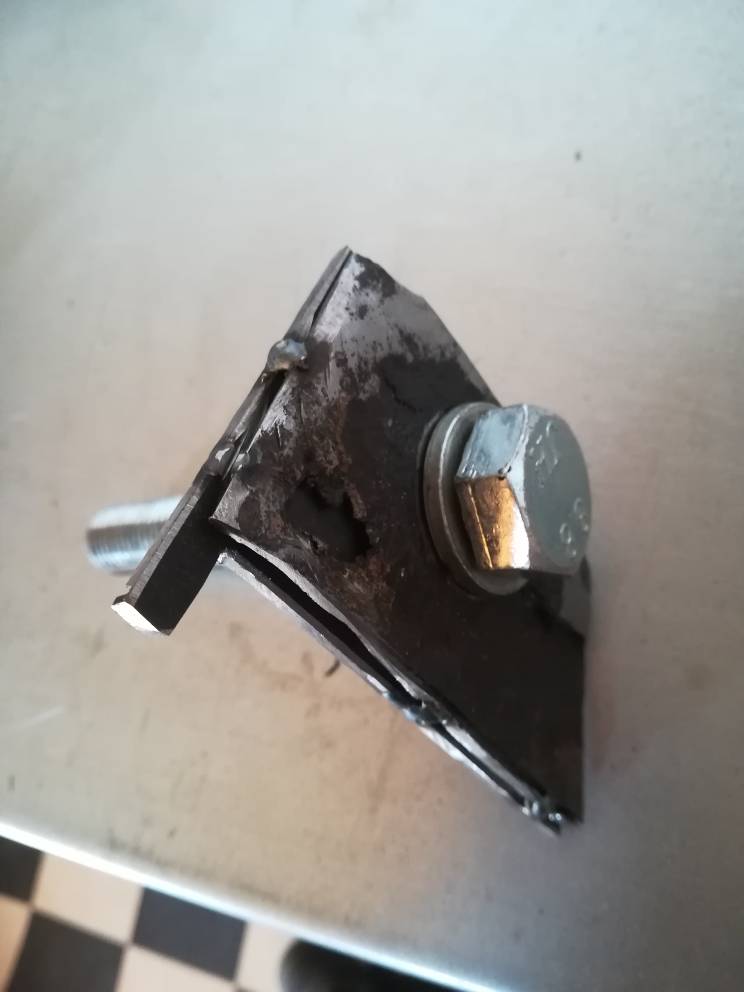
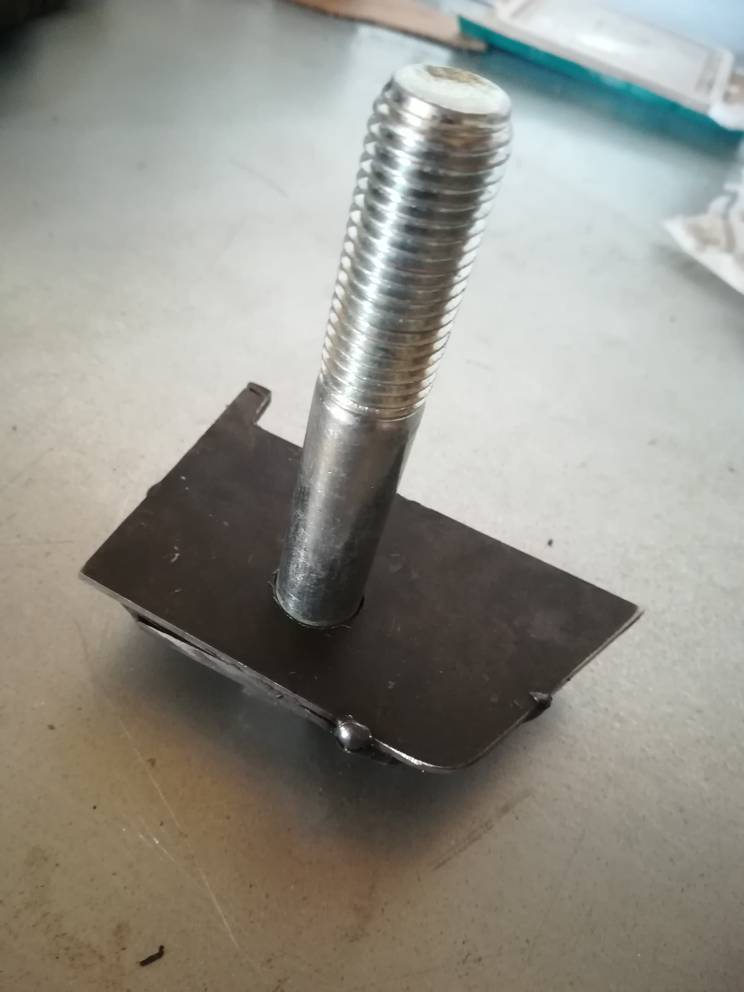
New bracket for the fueltank hangerbracket. all new sheets are in 3mm thickness.
1a65fad65f0c7e37c323a1914d6ce469.jpg
e3b5691626eecda4a4b1038f3364c80b.jpg
24f18b9a1298f4033555151e8fe2c37a.jpg
9165921e762275e80b3fce2a96b889c1.jpg


Sent fra min WAS-LX1 via Tapatalk
 
Last edited:
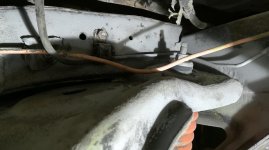
Pretty impressive and intensive. You've got to have passion and skills to get this far on this project. Congrats!
 
Thanks, many future plans for the car keep me motivated to fix it, but very interesting in mechanic works too.

.

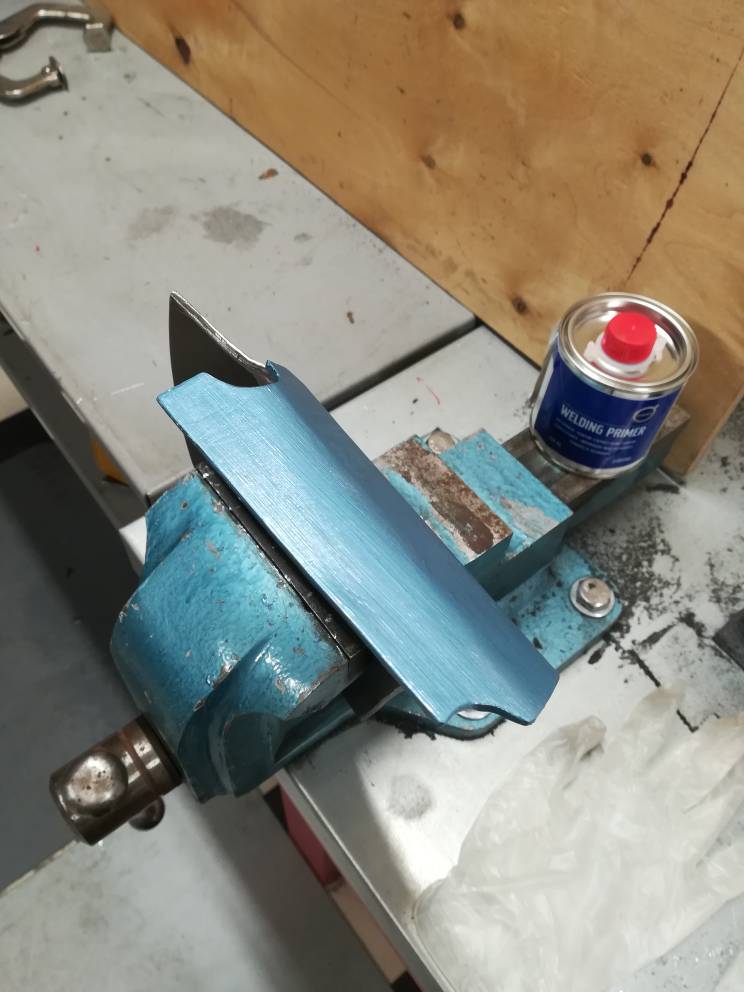
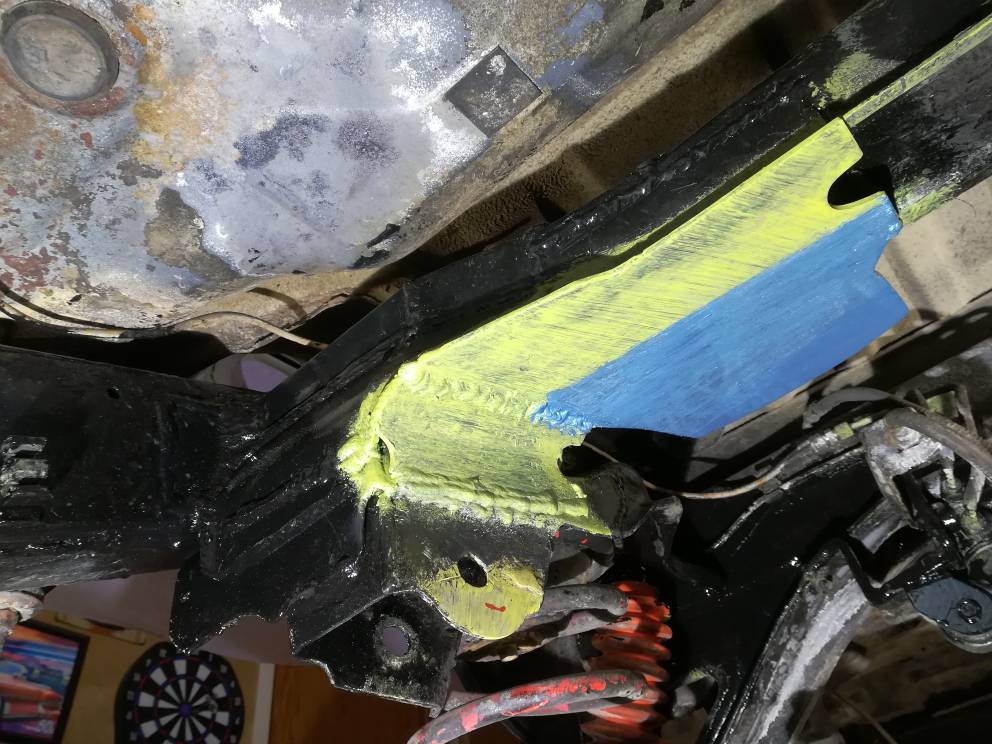
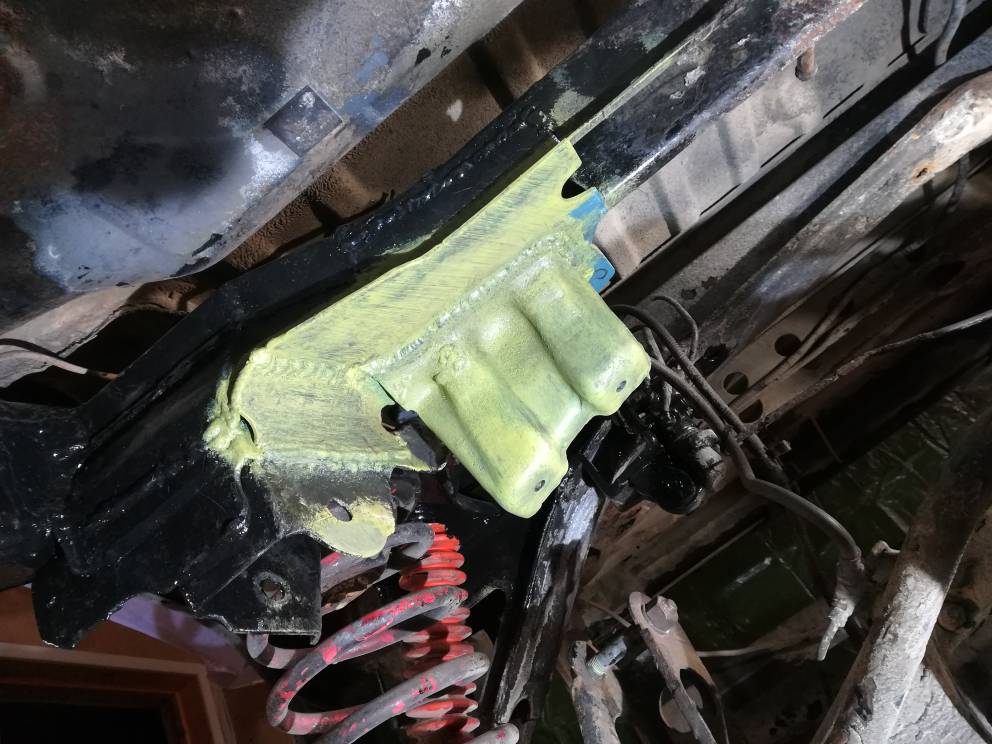
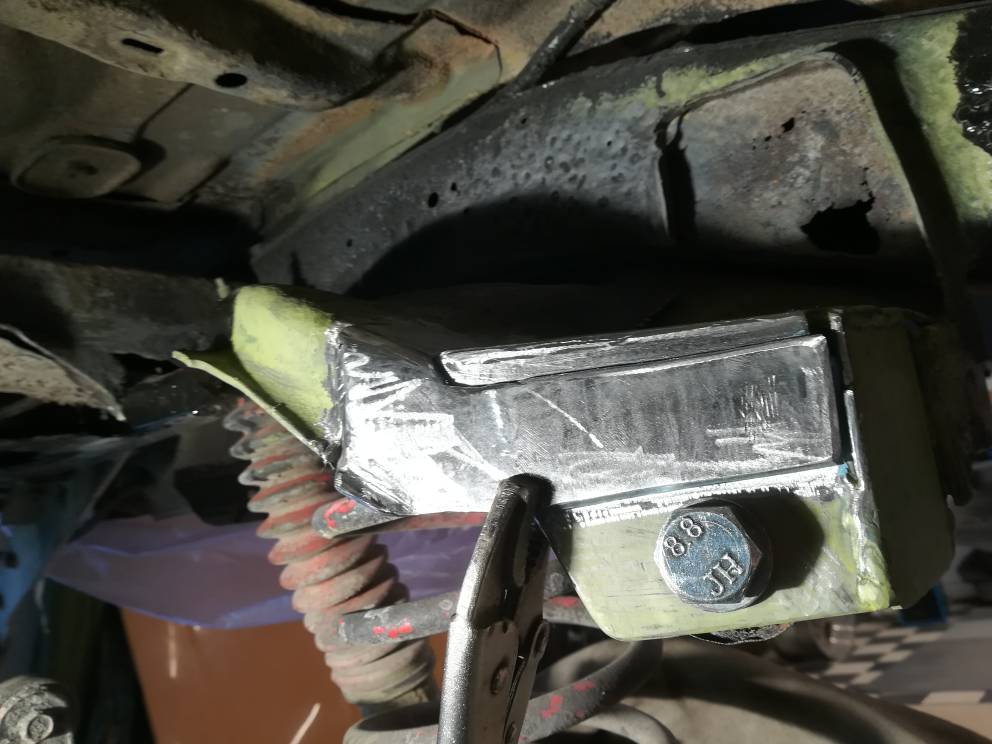
Just some finish details on the bracket today, and add some weldingprimer so it will dry for tomorrows welding.
537026f9764991b6a2a2edc1ac9c8818.jpg
cf4e0de3b884badde688a52ce26129de.jpg
4cc43ae71f1d40c91575e21fe4429695.jpg


Sent fra min WAS-LX1 via Tapatalk
 
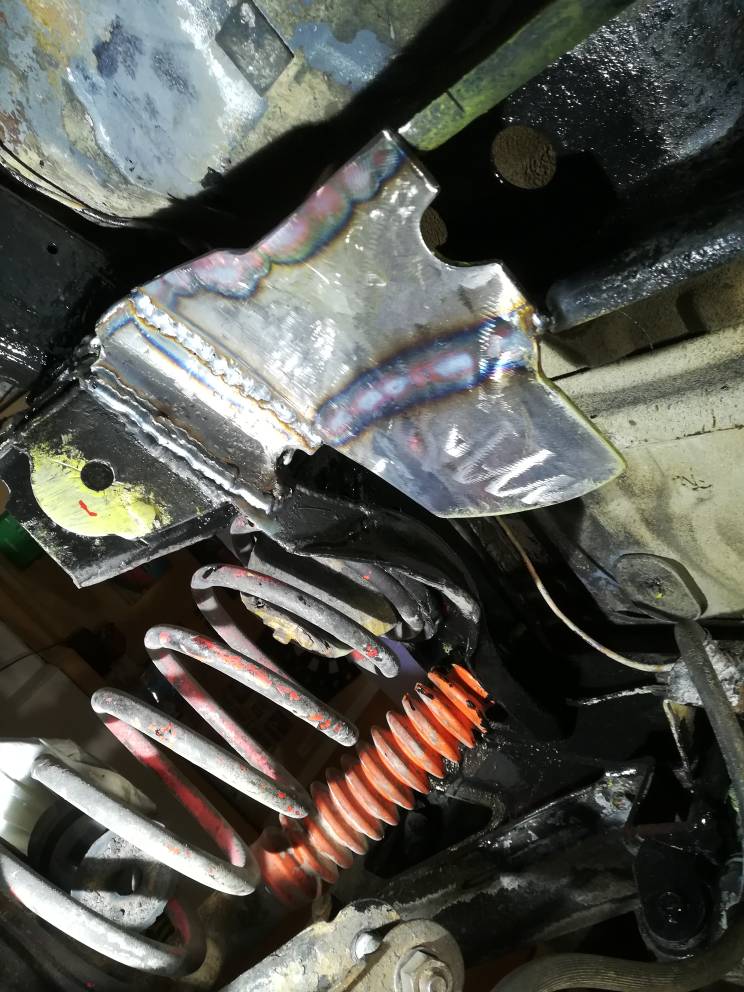
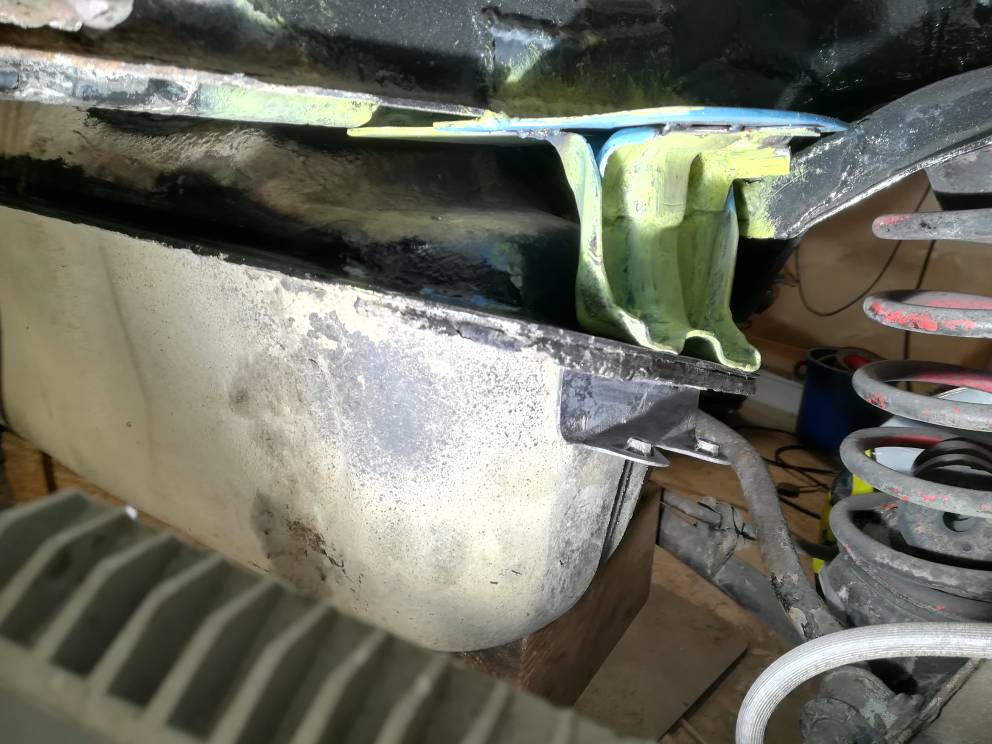
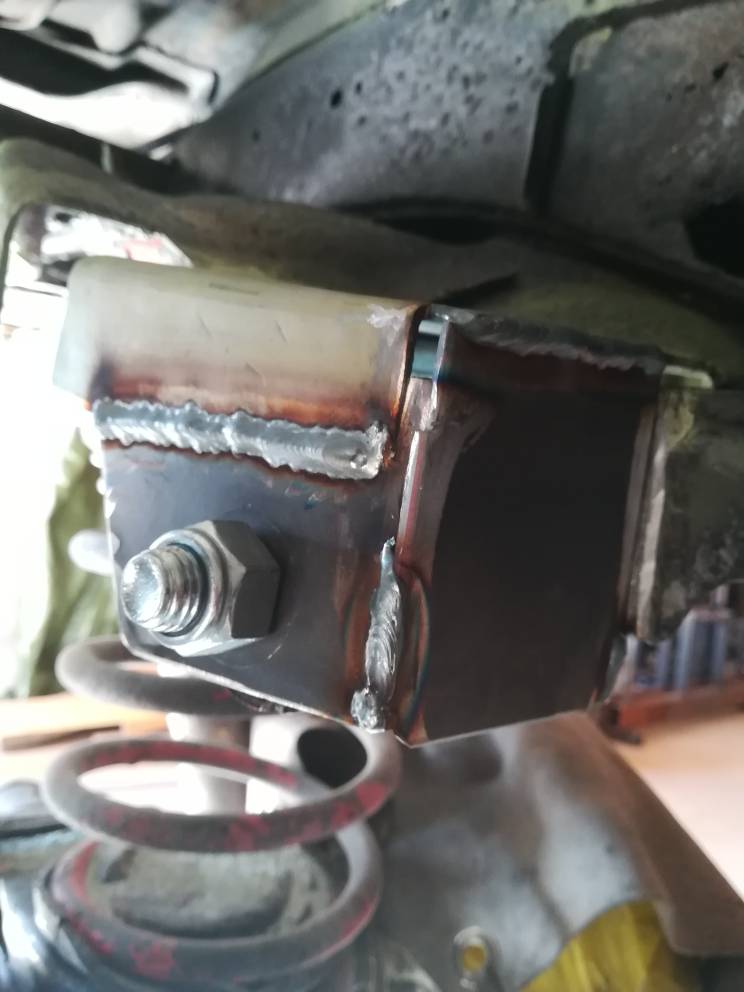
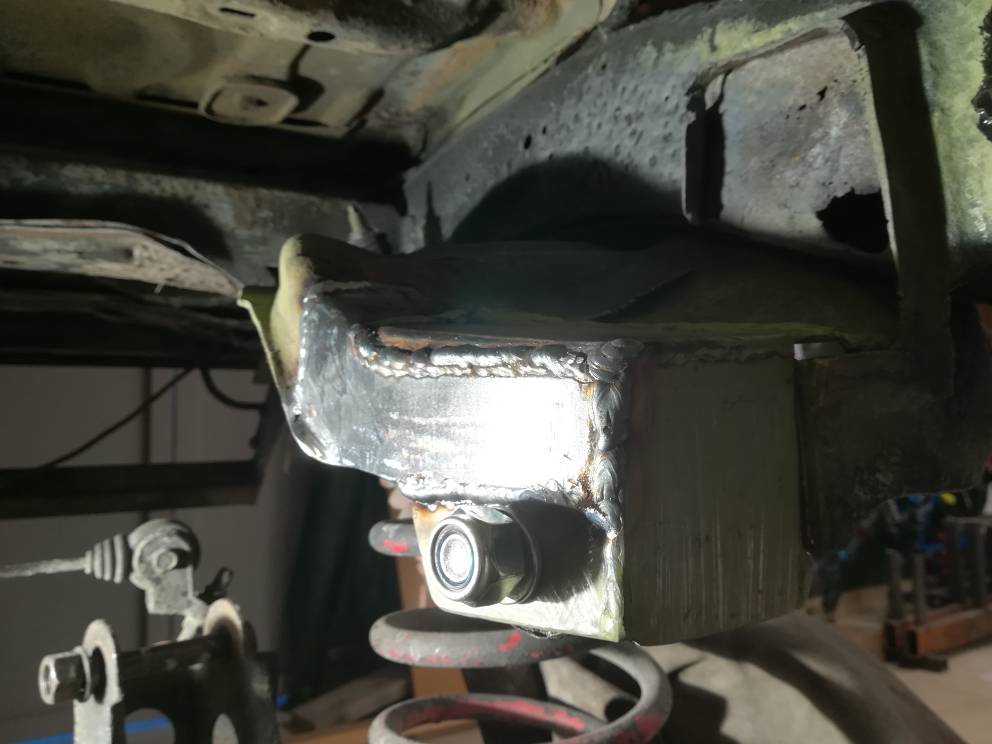
Testfitted the tank with hangerbracket, spot welded it in right place, took it down again and welded it..
ad8872224734b9312fdb03c42687ebfc.jpg
38385dac01b3c00b740998efd89445bd.jpg


Sent fra min WAS-LX1 via Tapatalk
 
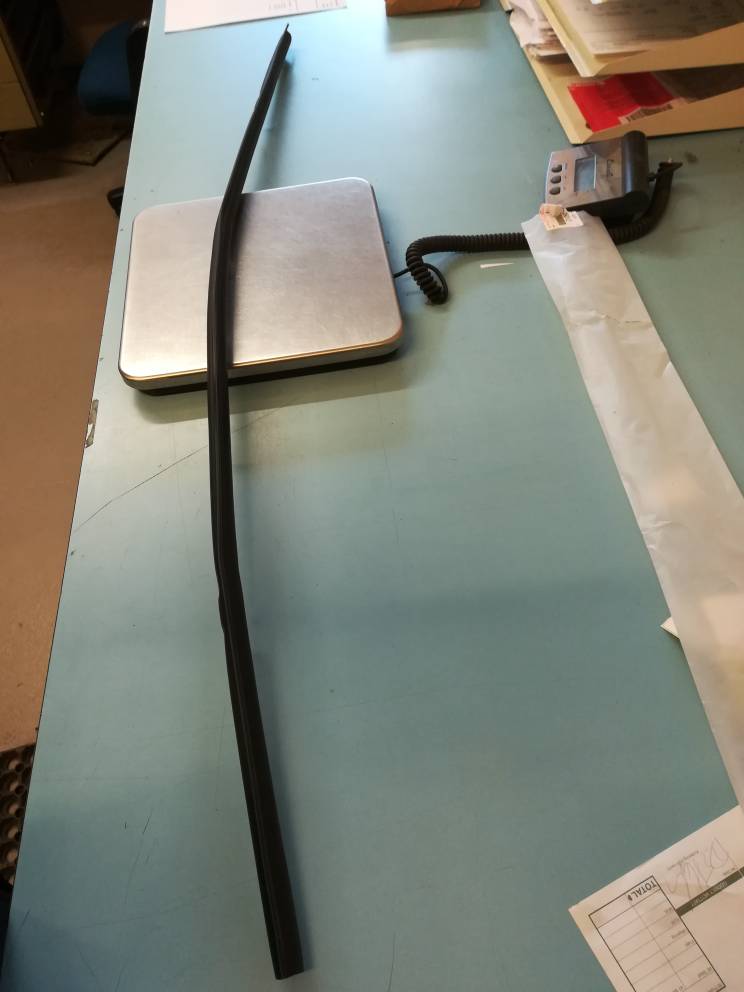
Got a new sealingstrip for the tailgate window, but it was so bended and damage in transport that i getting a new one soon. I could probably fix it but i think it will not seal 100% then.. the old one is not sealing at all, it have a big gap all the way..
ac74004f08648acce05f224ada8ad774.jpg
 
Last edited:
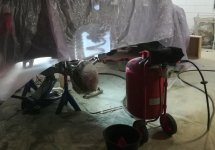
Members online

No members online now.

Forum statistics

Threads
278,312
Messages
3,554,083
Members
248,016
Latest member
Advally Service

Trending content

Back
Top