5th Gen Install

Packr12

New member
SKIP THIS FIRST POST AND GO TO POST 2

G KEY
If anyone knows how to delete attached photos without deleting the whole post please let me know. It says it will delete the entire thread since this is the first post.
 

Attachments

  • RM.jpg
    RM.jpg
    135.3 KB · Views: 6,309
  • RM 1.jpg
    RM 1.jpg
    132.7 KB · Views: 6,445
  • RM 2.1.jpg
    RM 2.1.jpg
    70.6 KB · Views: 6,207
  • RM 3.jpg
    RM 3.jpg
    78.4 KB · Views: 6,876
  • RM 4.jpg
    RM 4.jpg
    67.6 KB · Views: 6,229
  • RM 5.jpg
    RM 5.jpg
    58.2 KB · Views: 6,237
  • RM 6.jpg
    RM 6.jpg
    128.3 KB · Views: 6,265
Last edited:
Register to hide this ad
Trying this again, take two..Sorry some pics are sideways, I'm not sure how to correct this.

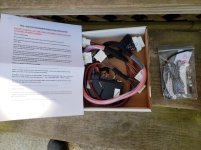
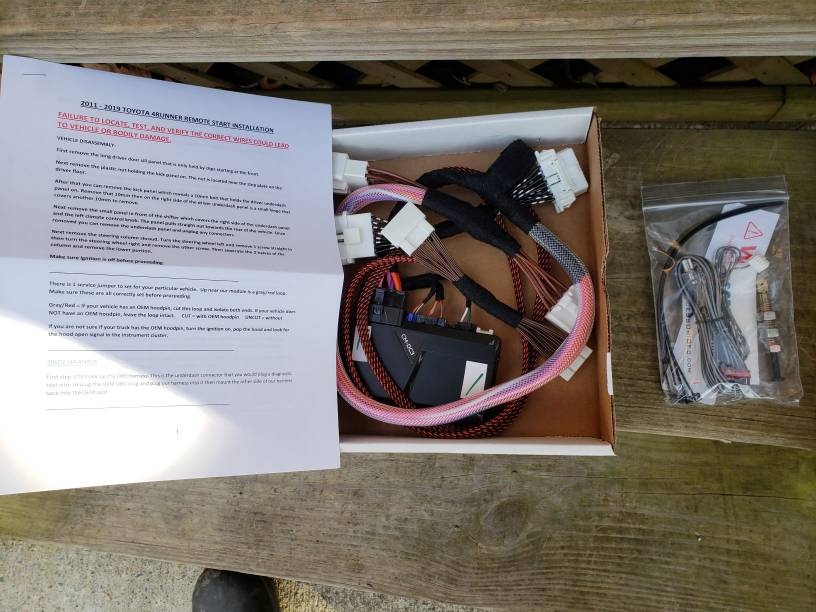
Thank you Accessorides for making such an incredible product! All directions are taken directly from the extremely easy directions sent with this kit.

Accessorides remote starter! G KEY
9dfddea810e449d191ffc827e96bb295.jpg


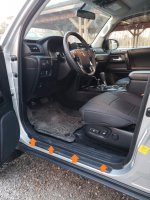
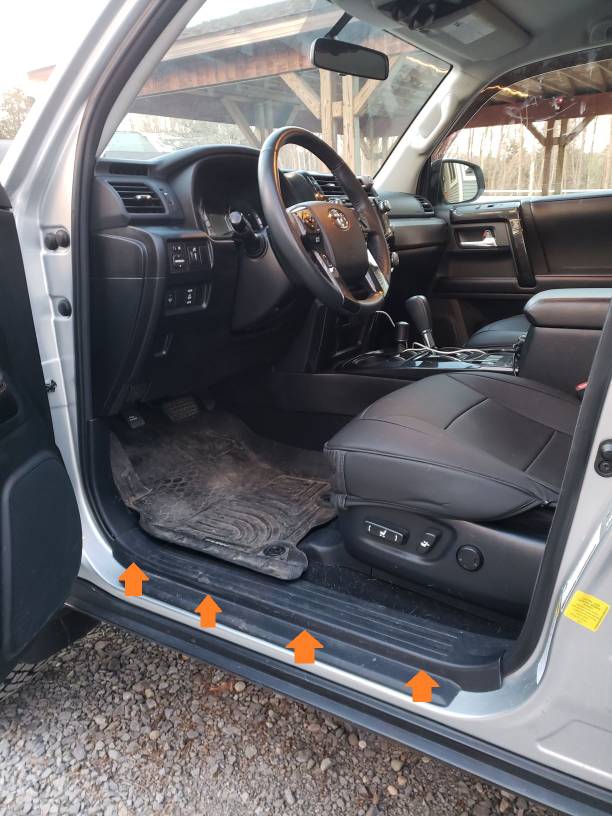
Remove the long driver sill panel that is only held by clips starting at the front.
a5581c2d40a44f63d35275d98413e0b7.jpg


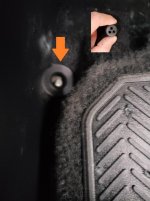
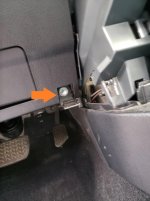
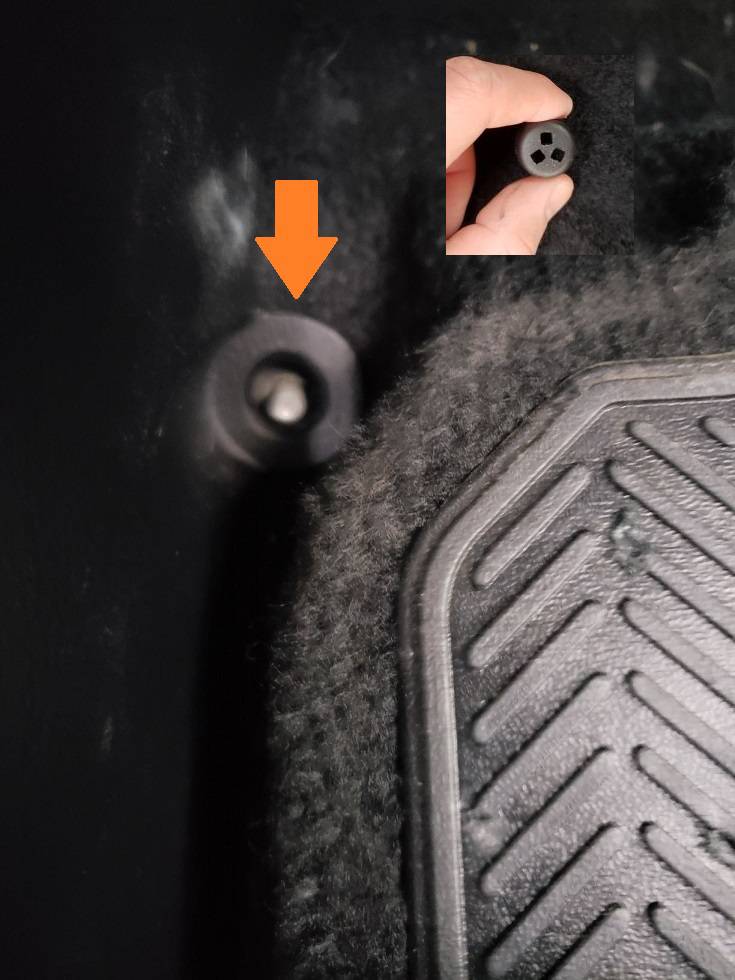
Remove the plastic nut holding the kick panel on.
e77ef729b83c97036f28903fec89bddf.jpg


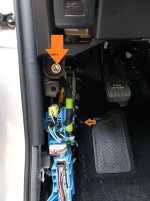
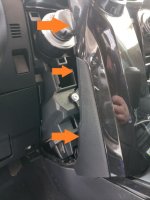
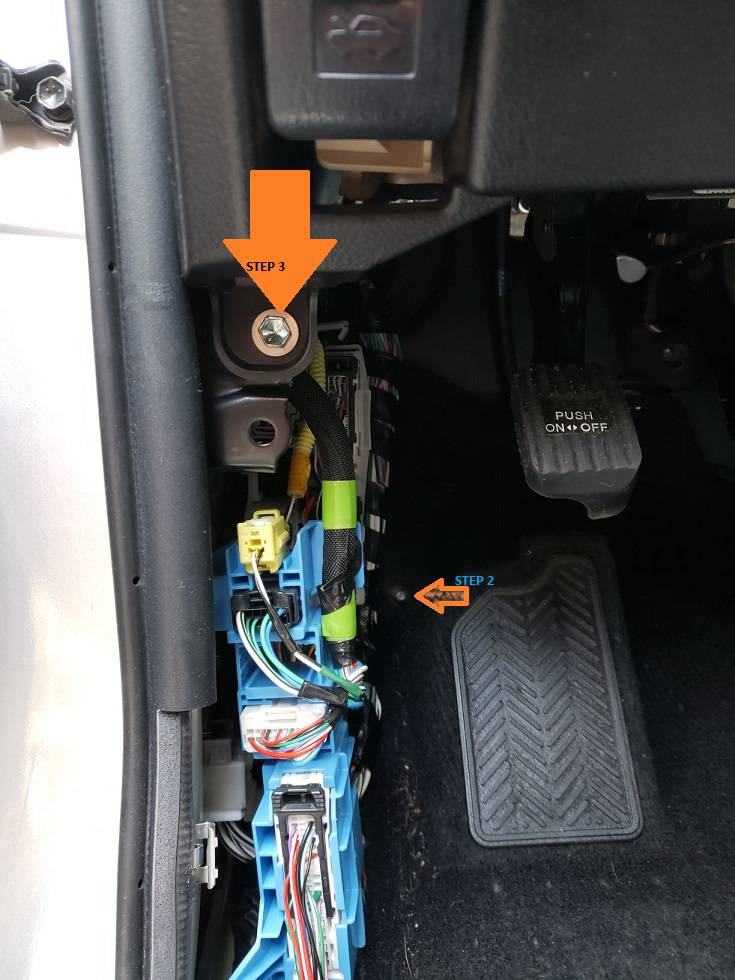
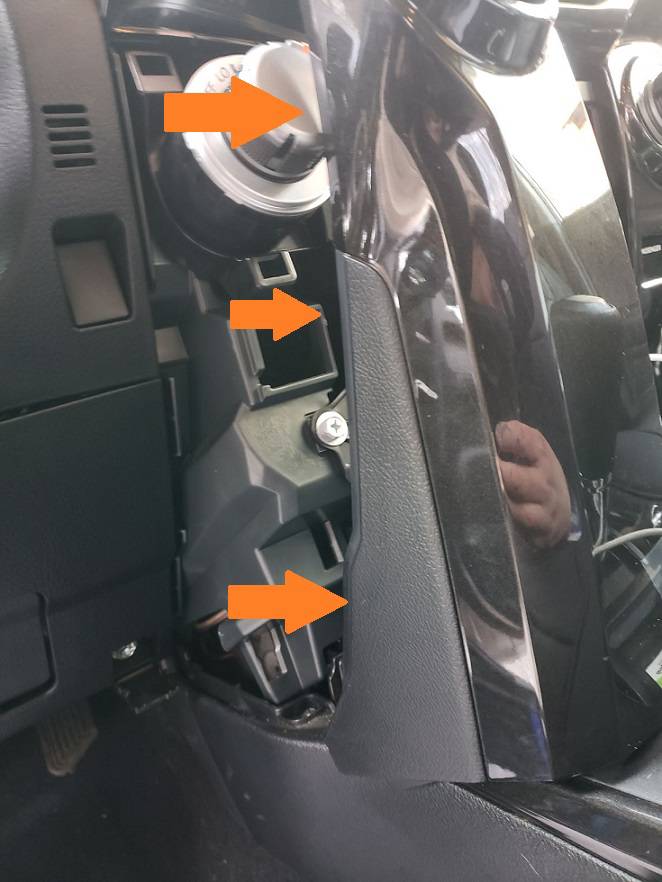
After you remove the kick panel which reveals a 10mm bolt that holds the driver underdash panel on.
510ba18bf77b564f064d2e401b0594a6.jpg


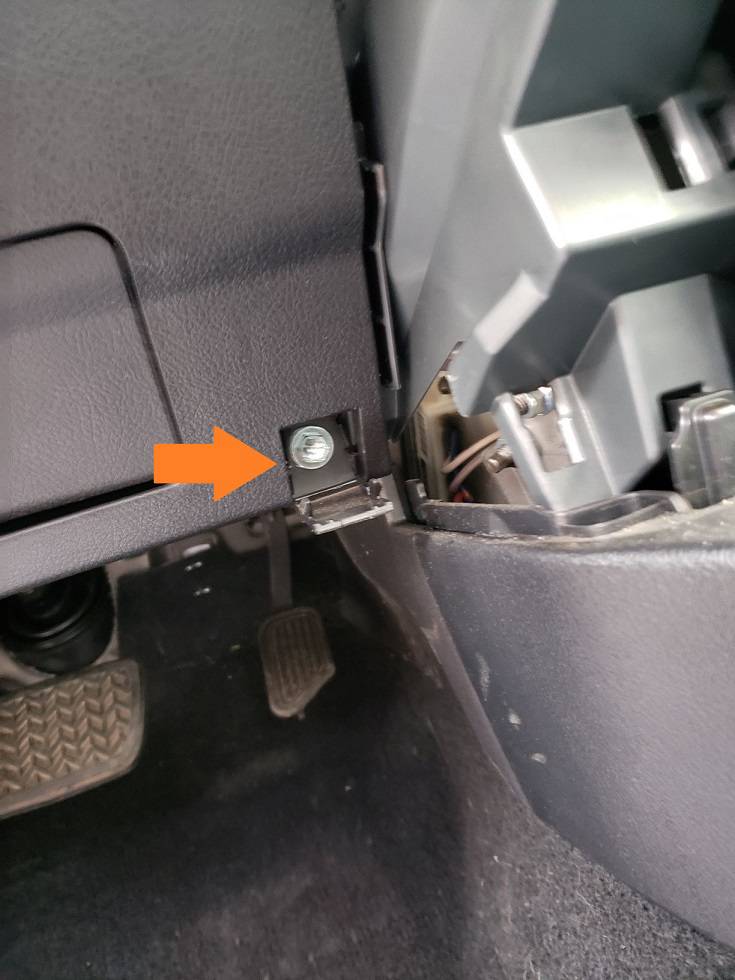
On the right side of the driver underdash panel is a small hinge that covers another 10mm to remove.
37804c68a3bf7356f79ee5dd8298bdec.jpg


Remove the small panel in front of the shifter which covers the right side of the underdash panel and left climate control knob. Panel pulls straight out towards the rear of the vehicle
3f35c83d6bee45c2cc4ea4c2ccf68ab5.jpg


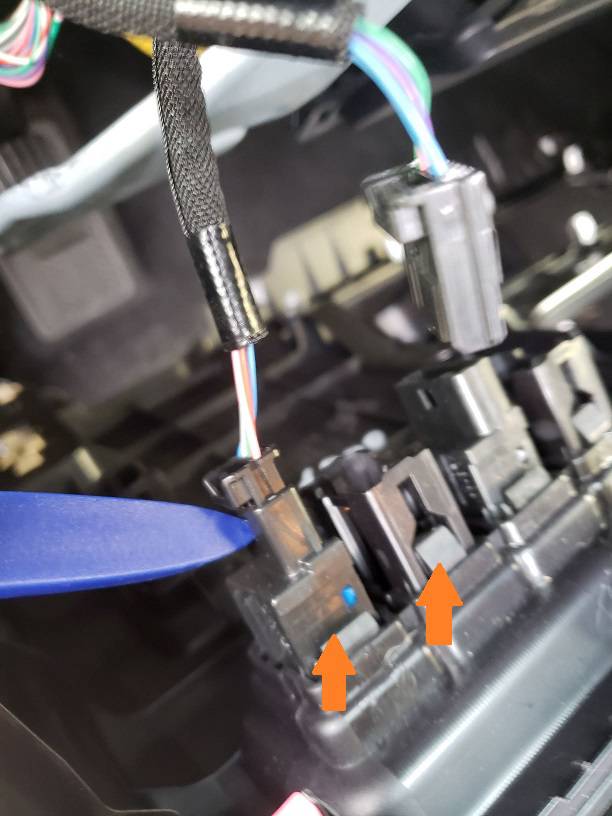
Remove the underdash panel and unplug any connectors
1f4f2d32b8d0525a8785cd8c12c540b0.jpg
 
Last edited:
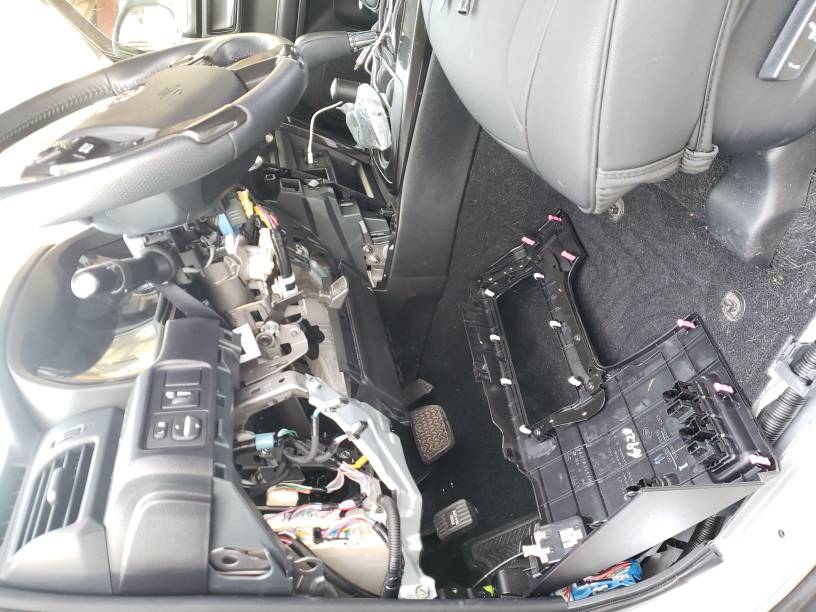
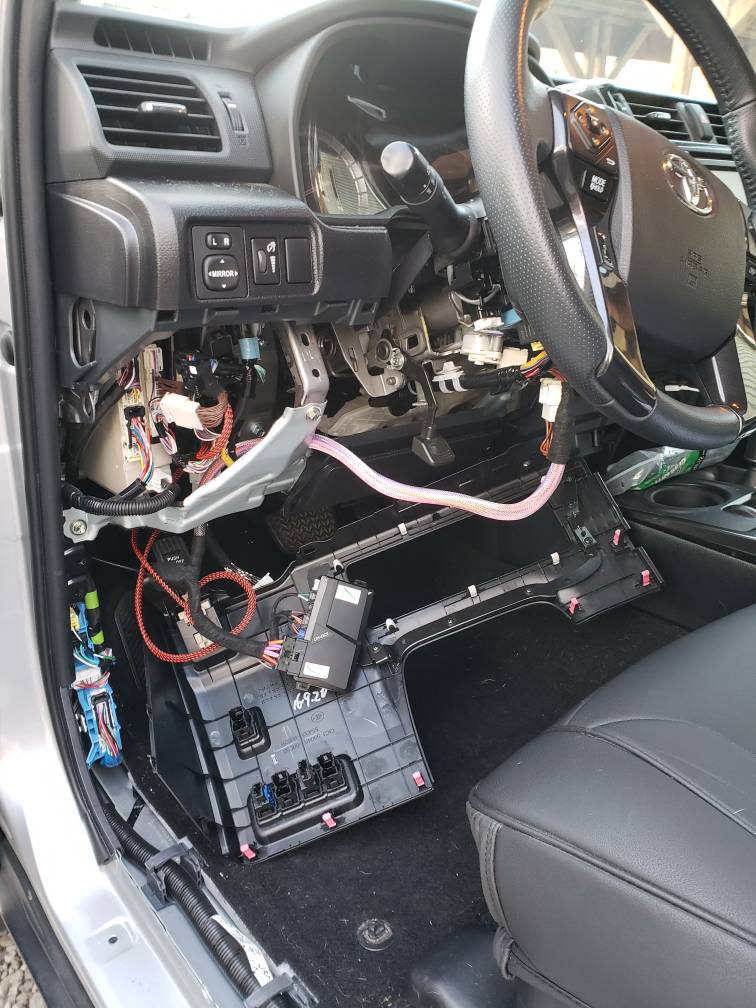
Underdash panel removed.
e50fdd848547bcf1ae3096ed2f423d3e.jpg


Next remove the steering column shroud. Turn the steering wheel left and remove 1 screw straight in then turn the steering wheel right and remove the other screw. Then separate the 2 halves of the column and remove the lower portion.
FOR WHATEVER REASON I DON'T HAVE A PICTURE OF THIS STEP.

Make sure ignition is off before proceeding.

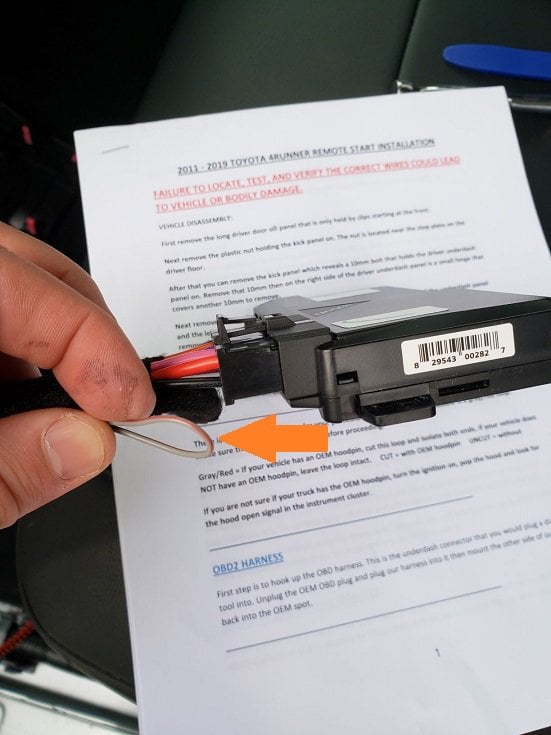
If your vehicle has an OEM hoodpin, cut this loop and isolate both ends. If your vehicle does NOT have an OEM hoodpin, leave the loop intact. CUT=with OEM hoodpin UNCUT= without
ac76a3d53e68fbfbce38f876170c6815.jpg


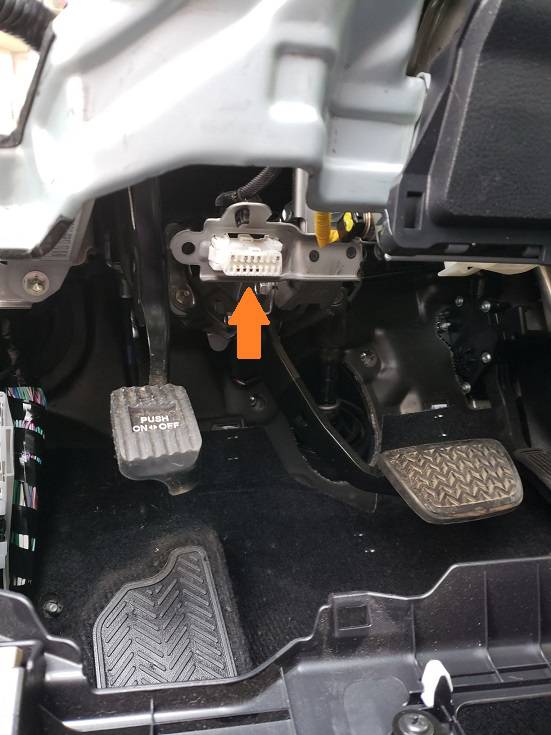
Locate OBD2 connector that you would plug a diagnostic tool into.
b8b31e2339a4ee342b777b411d2c7c88.jpg


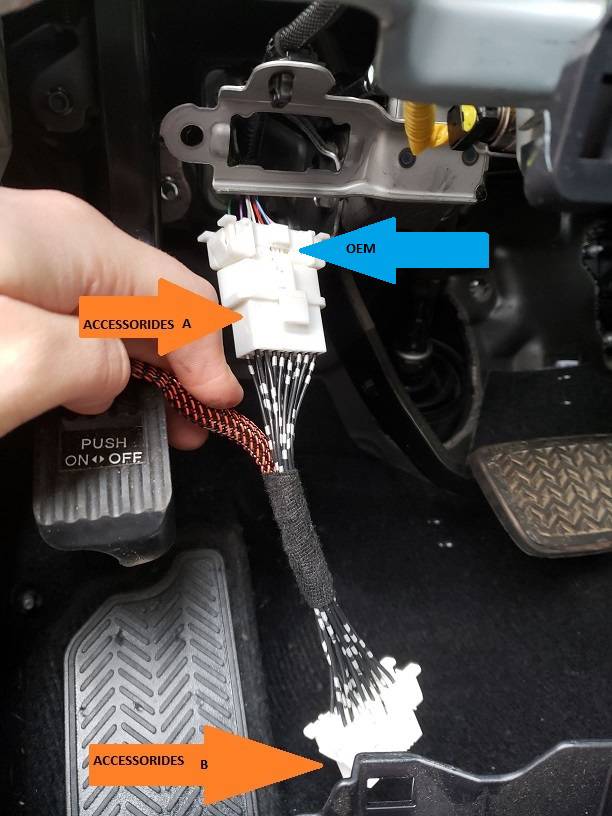
Unplug the OEM OBD plug and plug the new harness into it.
56f58e34fbf88d27bdb086811bc597a9.jpg


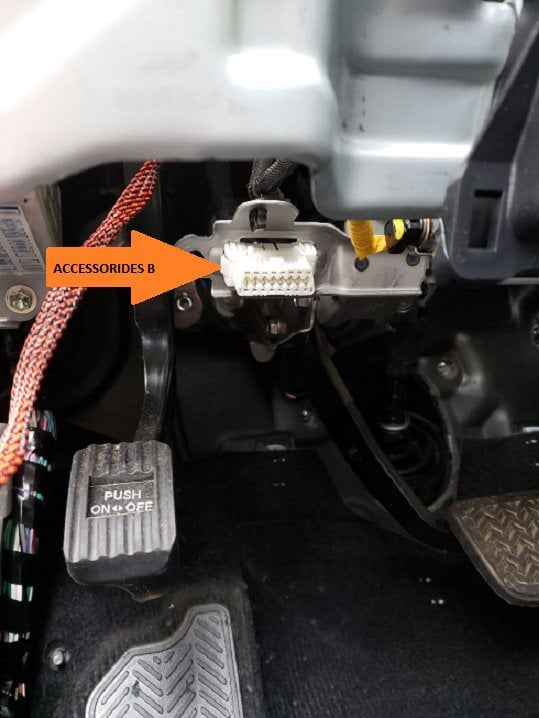
Then mount the other side of the new harness back into the OEM spot.
e5b11c647d7095a3a180f4988c462ec7.jpg


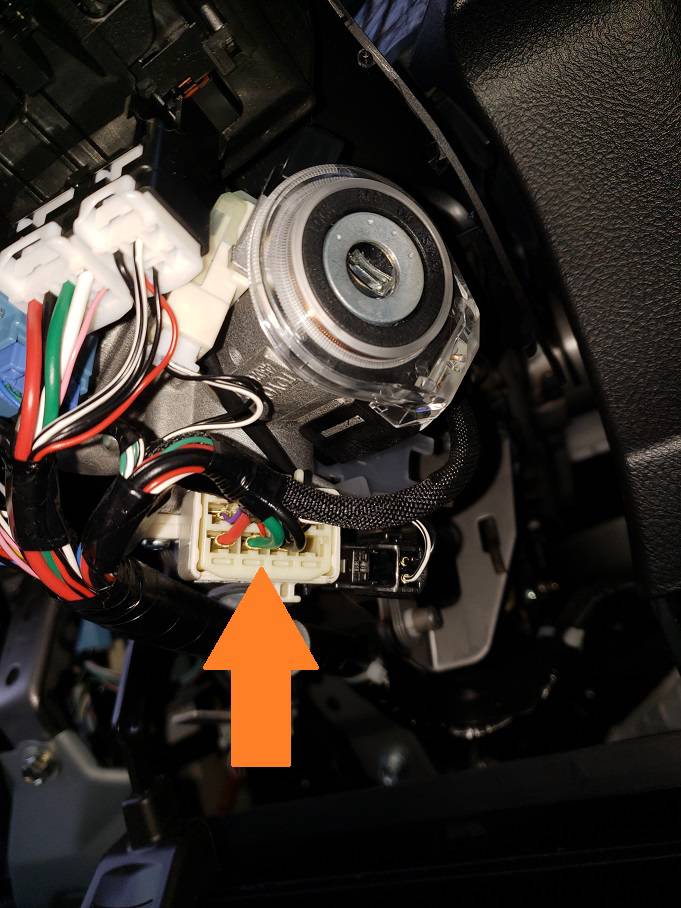
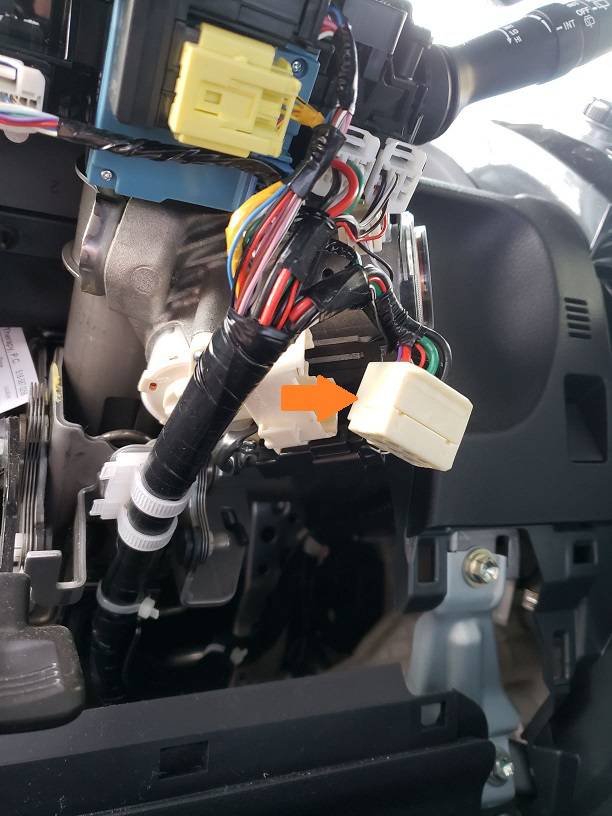
Locate the ignition switch harness under the ignition cylinder.
6becc49c2baec0572106885436d49310.jpg


Unplug the OEM ignition plug.
b036e959c58aa43b16ade330f55aa0d3.jpg


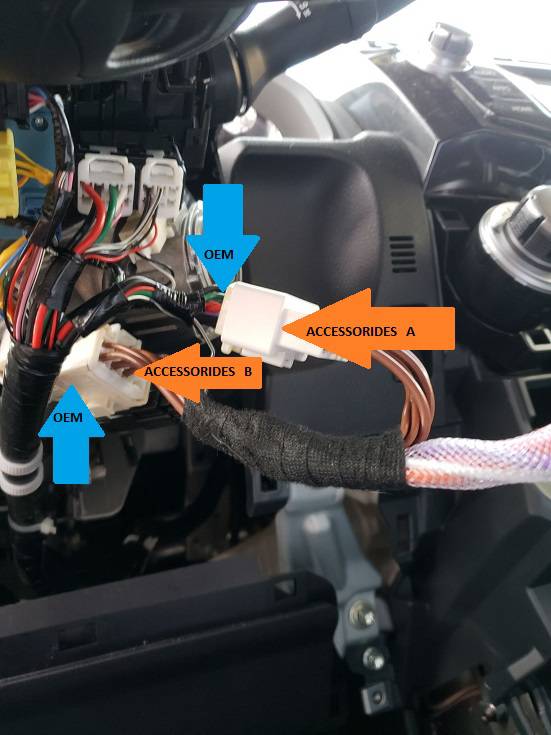
Plug in the Acessorides harness. Be sure to telescope the wheel in/out and keep the harness away from any moving parts using the provided wire ties
5ac2759f5dc055d0770992dac31d49cf.jpg
 
Last edited:
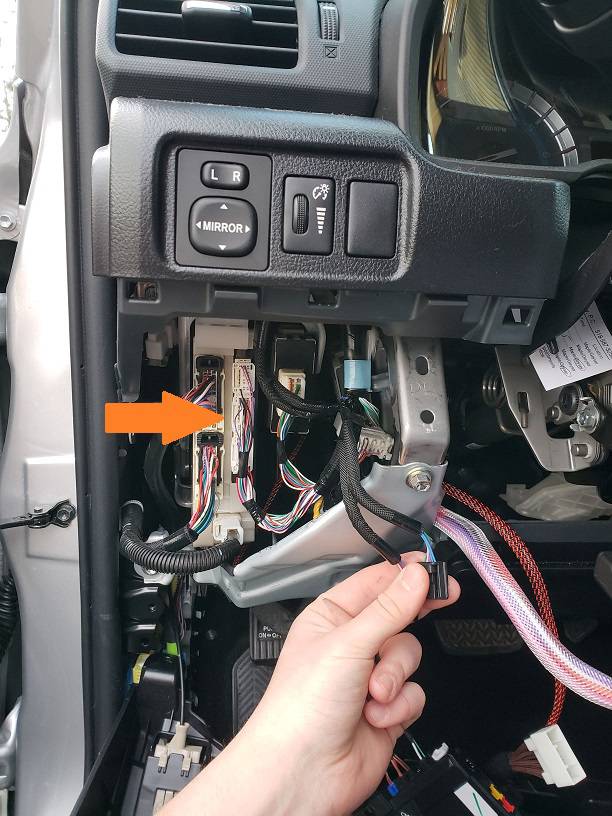
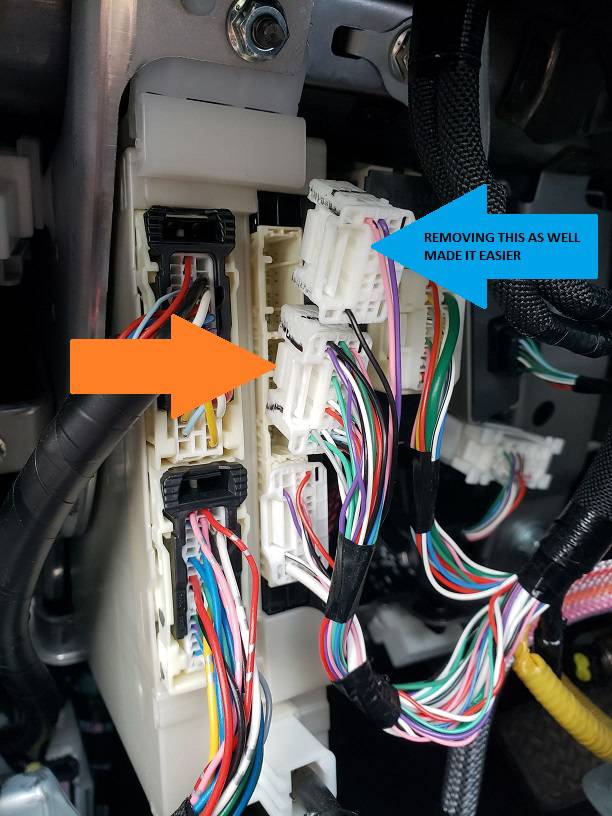
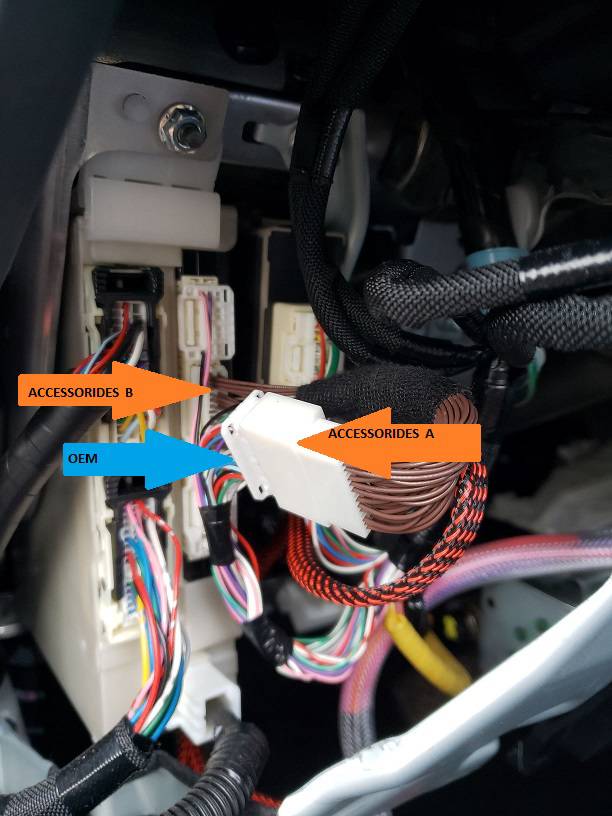
Locate the BCM to the left of the steering column. Find the 30-pin BCM connector (typically white in the middle.)
f4de3688df6a6a5868b1a788f2d4f3c0.jpg


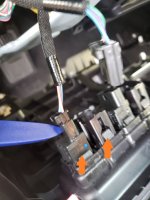
Make sure the ignition is off and carefully depress the tab and unplug the connector.
9e8f2d3cff3af0e7124e28c1f1eab9ab.jpg


Make sure to line the connectors up straight and plug the Accessorides connector in place then plug the OEM BCM connector into the other end of the Accessorides harness. Be sure to plug the connector all the way in.
716ee0a33655c898b8ab970c1467c637.jpg


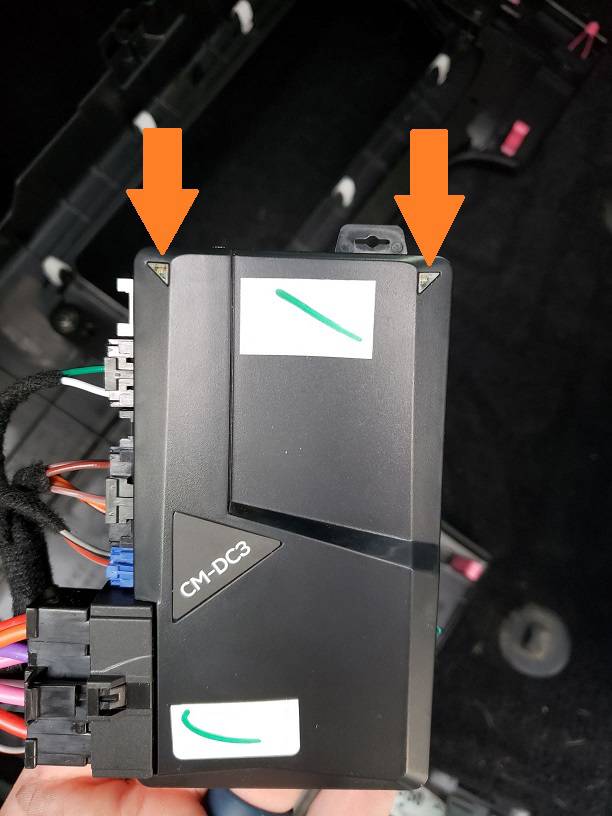
Locate the LED's on the top corners of the module.
ec922037dd2f0da6040d415318f23326.jpg


Insert the key in the ignition and turn the ignition on without starting it.
e2def3600f2dc7ba6afd15d76831e33f.jpg


The light on the module will turn solid RED and then solid green for 2 seconds and then go out. The bypass is programmed. Turn the key off and remove.
Unfortunately I wasn't fast enough to get a pic of the LEDs but it worked as advertised.

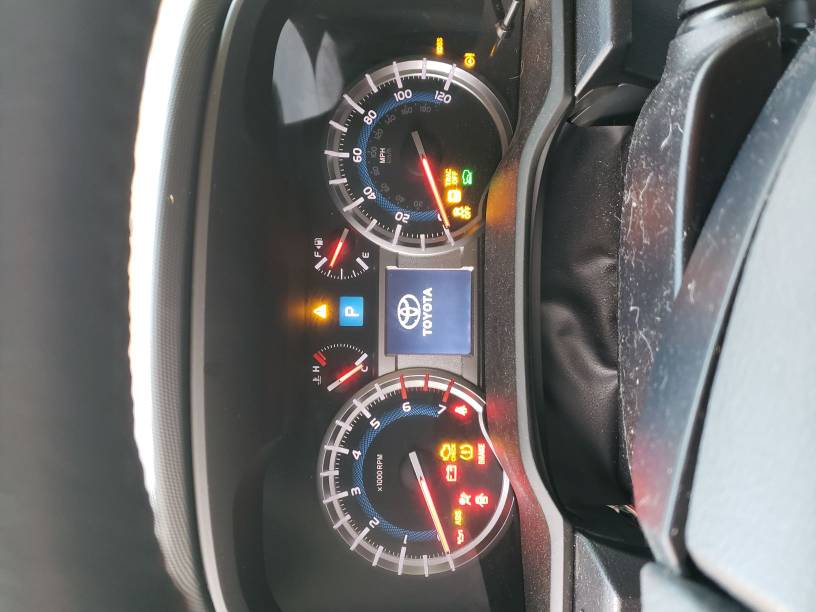
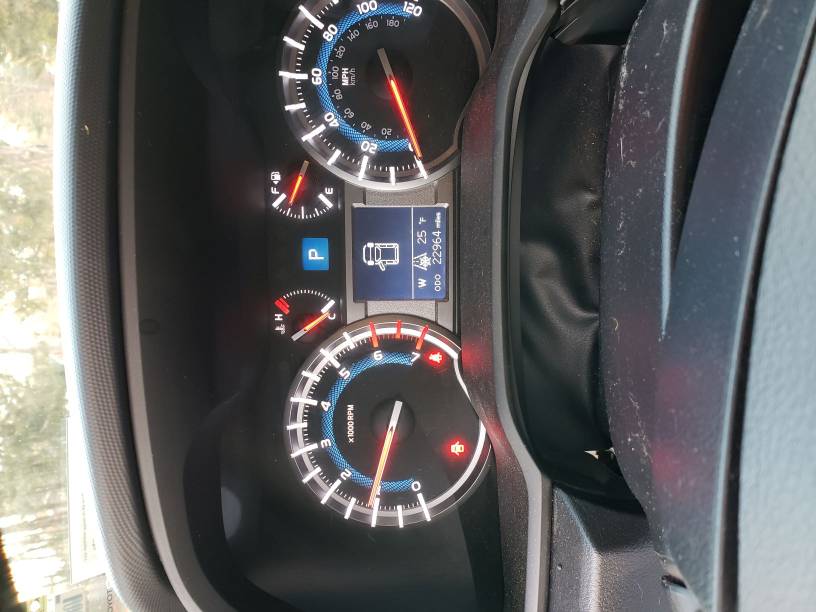
Re-insert key and start the vehicle. Let it run for 10-15 seconds to let the idle come to a normal level.
ac593b1b801e030d0def5cc0514a325b.jpg


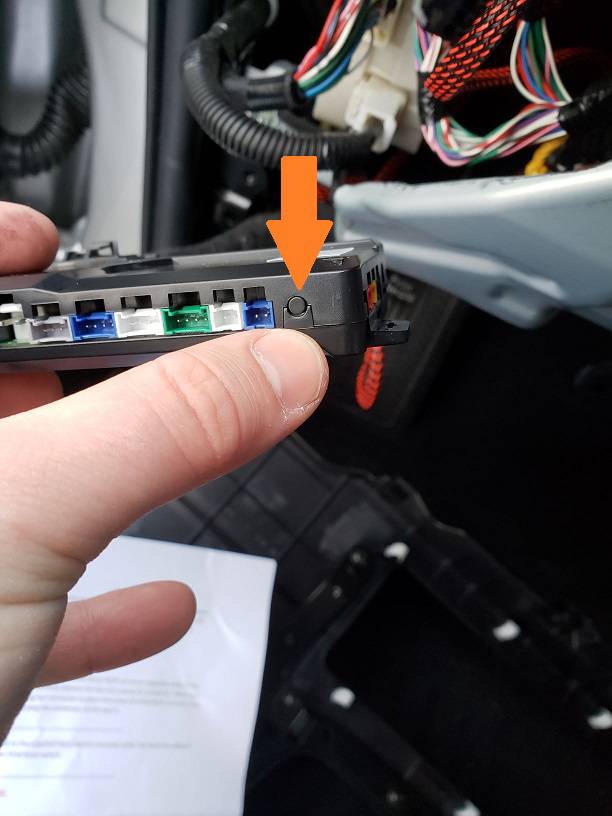
Press and hold the brake pedal. Without releasing the brake, press and release the push button on the side of the module once and then release the brake. The module LED will flash green and go out.
083fc355374cd9f42824b110f04968ac.jpg


fa01b8b5ab8279ce696c91bc527831bd.jpg


No further programming is necessary. Close all doors and hood. Now hit the lock button 3 times on your OEM key fob. The parking lights will flash and a few seconds later the truck will start and run.

 
Last edited:

Members online

Forum statistics

Threads
278,307
Messages
3,554,054
Members
248,016
Latest member
Advally Service

Trending content

Back
Top