99+ Center Console install thread

JohnsD90

New member
So i get the console on monday and that is when the rest of the can be done.

I have completed now is moving the rear window switch from my current spot to where a e-locker equipped runner would have its e-locker switch (there are other spots to put the switch though).

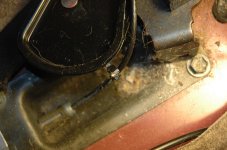
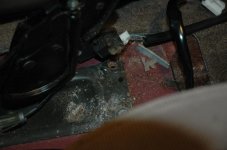
Doing this was quite a b1tch. The rear window wires were taped with the e-brake sensor wire for nearly the whole length of the wires. So i had to unwrap and cut the tape between them and all that fun stuff.

Updates to come.
 
Register to hide this ad
Here are some pics, and the roof console, im kinda tired after that install.
Write up will be tommorow, let me say this is way harder if you have rear heat than if you didnt.
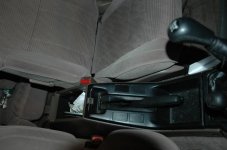
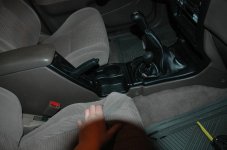
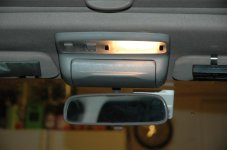
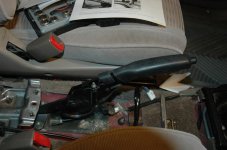
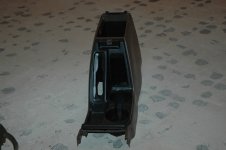
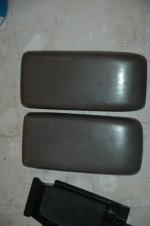
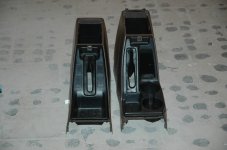
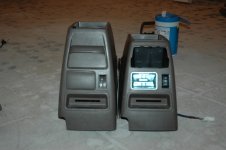
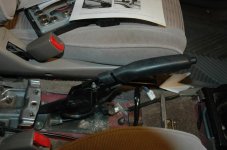
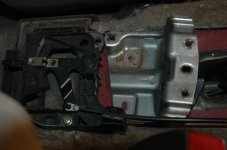
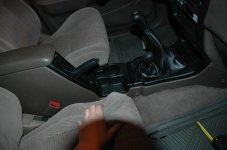
Top is the old one, middle is the new one, the third is the roof console upgrade, the 4th is the amount of my e-brake wrap i cut. This console took me about 4 hours, it will take anyone else 2 hours, i was distracted throughout the whole install.
 

Attachments

  • oldresize.jpg
    oldresize.jpg
    63.1 KB · Views: 468,670
  • new resize.jpg
    new resize.jpg
    68.1 KB · Views: 473,581
  • roofresize.jpg
    roofresize.jpg
    52.4 KB · Views: 22,085
  • ebrakeresize.jpg
    ebrakeresize.jpg
    90.4 KB · Views: 17,758
Last edited:
Ok here is the writeup.

DO AT YOUR OWN RISK, THIS WRITEUP IS FOR DEMONSTRATION PURPOSES ONLY! YOU HAVE TO DRILL INTO YOUR CAR, YOU HAVE BEEN WARNED!

1. I removed the first console which is 1 screw on each side of the front of the center console where it meets the shifter side covers, and two 10mm bolts inside of the console. (when removing the console be sure to remove the black knob on the rear heat adjuster)

2. Start to remove the console by removing the rear window switch and putting it to the side for now, and you also pop the rear heat fan switch and put it to the side too.

3. Take the console completly out.

4. On the 99+ console flip it over and cut any of what looks like useless black plastic that is sticking out past the cupholders/console trim. You do not need to trim the outside of the console to do this install, it fits perfect without it.

5. Remove the two 12mm bolts on the ebrake assembly (if the ebrake is from a 99+ than you can skip all off the steps that have to do with the ebrake) then on the bottom of the assembly there is a little bendable piece of metal that hold the ebrake cable in, you will cut 1/8 of an inch off that and bend the rest bake to holding the cable.

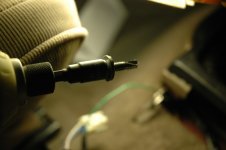
6. Then you will reinstall the ebrake assembly using only the rear bolt, then pull the e-brake assembly as far to the right as possible (about 15 degrees) and mark with a sharpie in the front bolt slot and then re-remove the e-brake assembly and (1/8in bit i think) drill out the newly marked front hole.

7. If you have self-threading bolts you will be fine but if you dont you will have to use a tap to thread the newly drilled hole.

8. Once the hole is threaded, re-attach the E-brake assembly in its new spot and trim the rubber on the e-brake (as shown in the pic).

9. At this point you should look at the rear window switch and you will notice it is taped together with the e-brake sensor, you will have to unravel that tape and remove the under steering dash which is four 10mm bolts in the 4 corners of it, I choose to put the rear window switch in the spot right next to the steering wheel (behind the steering wheel adjustment), and if you cant do that the wire will pretty stretched if you try to put it in the further slots.

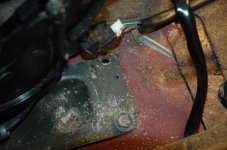
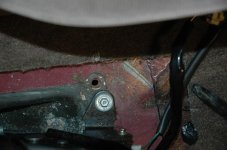
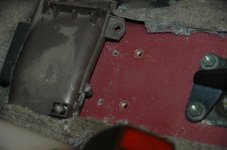
10. Here is were it got hairy for me, look at the next step to see a better way to do it, Bob's writeup on 4runners.org was very helpful to me up to this point but i had to figure this part out myself. It would seem his model 4runner didnt have rear heat but mine does. Might i suggest on this next part is you find your own measurements and do it yourself because neither his nor my measurements came out right and i had to drill new hole in the silver bracket. So what i did was i moved that silver bracket back 3/4" and drill 2 holes with the same bit (as used earlier), and used 2 self threading bolts to hold it down. Now reattach the bracket.

STEP 10, The proper way (Written by Asmara) "What I did instead of drilling tapping etc was measure the height of the bracket and where the holes needed to be. Then I got out the vice grips and bent the bracket down. Then I used a hammer to turn the S shape of the bracket into more a Z shape. You only have to move it about 1/2 in back. A couple of bends and a couple of taps and it was done. Holes lined up perfectly. "

11. If done correctly you will be able to reinstall the console (reverse the directions on removing the console), and you will have a nice center console with way more storage and a nice set of cupholders that arent in the way.

After your install is done make sure your E-brake doesnt rub and pop up, if it does like mine did, just trim a little more until it no longer rubs.

I would suggest you use this writeup in conjunction with Bob's at 4Runners.org - The "Cupholder" Mod as his was very helpful during mine, and his is way more in depth.

I would also suggest that you use the 12mm bolt that is now an extra from the e-brake move, and put it back in the original hole so there isnt any chance of anything getting into the car from this install.

If there are any questions just ask.

 
Last edited:
Pics.
 

Attachments

  • DSC_4210.JPG
    DSC_4210.JPG
    131.9 KB · Views: 17,493
  • DSC_4211.jpg
    DSC_4211.jpg
    56 KB · Views: 17,346
  • DSC_4224.jpg
    DSC_4224.jpg
    61.4 KB · Views: 27,147
  • DSC_4226.JPG
    DSC_4226.JPG
    126.1 KB · Views: 26,484
  • DSC_4231.jpg
    DSC_4231.jpg
    78.9 KB · Views: 17,250
  • DSC_4232.jpg
    DSC_4232.jpg
    76.3 KB · Views: 17,344
  • DSC_4233.jpg
    DSC_4233.jpg
    65.4 KB · Views: 17,256
  • DSC_4236.jpg
    DSC_4236.jpg
    68.1 KB · Views: 17,299
More Pics.
 

Attachments

  • DSC_4238.jpg
    DSC_4238.jpg
    99.9 KB · Views: 18,254
  • DSC_4239.JPG
    DSC_4239.JPG
    103.4 KB · Views: 17,135
  • DSC_4242.jpg
    DSC_4242.jpg
    81.2 KB · Views: 17,192
  • DSC_4243.jpg
    DSC_4243.jpg
    67.3 KB · Views: 17,156
  • DSC_4245.jpg
    DSC_4245.jpg
    59.9 KB · Views: 17,668
Last edited:
Bravo! Thanks for the great pictures and write-up!

I'm definitely going to have to give this a try..

Any writeup coming on the roof console install?

Thanks again for taking the time!
 
Bravo! Thanks for the great pictures and write-up!

I'm definitely going to have to give this a try..

Any writeup coming on the roof console install?

Thanks again for taking the time!

Thanks, its definetly worth it, I may do a roof console install writeup, but 4runners.org has a great one. Probably after christmas.
 
Can you buy a 99-02 e-brake lever so you don't have to drill the holes?

yes, but that elimantes only the drilling required for the ebrake, and it was really easy like only 5 minutes total to do, i feel it would be a waste of money to buy the 99 assembly for a total of 5 minutes saved.
 
nice...

good amount of pictures that is always a big help. This will be a nice upgrade to your ride. And here you have helped some others following along and likely to do the same thing.

You're a 5 speed guy! I knew I liked you.
 
Here are two write ups. I am going to do this mod sometime soon too!

4Runners.org - Retrofitting a 99 Center Roof Console

4Runners.org - The "Cupholder" Mod

The site is pretty good. It has a lot of info.

Yeah, this was basically to solve any questions that one might not of covered. His writeup is way better too.

And Ron, Thanks, i love the features of the 99+, i am just glad i dont have one, i love to modify, and having it done already takes the fun out of it for me.
 
Last edited:
Ok, so I want to let everyone know that i did do something to prevent rust in the body where i drilled and where the open spots were. I got some like plumbers puddy and filled the drilled holes in. i will take a pic of what i mean when i see the car this weekend.
 
I have my power window and etc power button in my 97 center console. If I were to do this mod (for the cup holders) where do I put my buttons?
 
I have my power window and etc power button in my 97 center console. If I were to do this mod (for the cup holders) where do I put my buttons?

You can put them in the dash to the left of the steering wheel if you have any blanks. Since I have a diff lock switch I'll have to add length to one or two of my connectors.

Right now I have them in the plastic surround by the shifters.
 
I pulled the panel surrounding the instrument cluster, by removing four bolts, and ran the rr window switch wire closer to the steering colunum. Doing so allowed just enough length to place the switch in the location described by CJ80 without requiring additional connectors/extensions to the wire harness.

Additionally.........if you intent on doing the overhead console mod; make certain you purchase the overhead console and it's mirror assembly together.

Check the OHC mod write-up contained within 4Runner.org website. On page 5/6 take notice of the mirror base; it differed from my 97 mirror and needed to complete the mod. When I purchased the OHC, I did not realize I needed the mirror that came with the console until I had everthing rewired and ready to reinstall. :cry: My stock 97 mirror did not work nor could be modded to work, therefore I had to hunt one down. :redbrick:

Hope this helps...........Regard 8sm
 
Last edited:

Members online

Forum statistics

Threads
278,305
Messages
3,554,043
Members
248,016
Latest member
Advally Service

Trending content

Back
Top