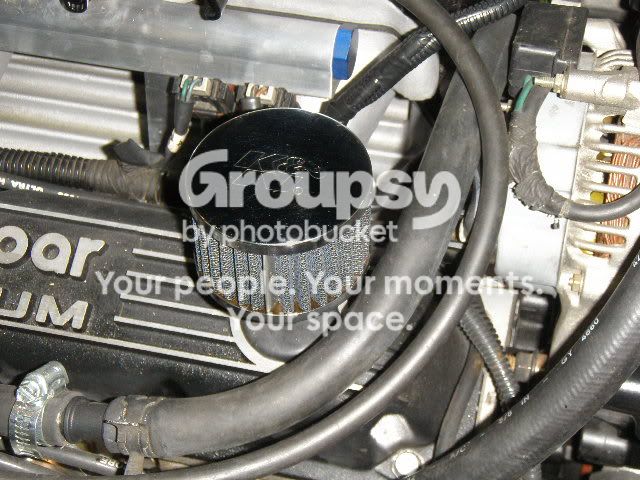
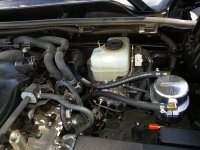
I had an air oil separator installed on my Tacoma that I would empty in between oil changes and would typically get between an 1/8 and a 1/4 inch of oil in a small 8 oz. plastic cup so decided to install one on my 4Runner as well.
A typical air oil separator or “catch-can” is placed between the crankcase vent and air intake manifold, where manufacturers have a hose running directly between the two as part of the PCV system. The goal is to put a container with a filter media that allows air to flow but traps any blow-by or oil mist/vapors that can get into your intake tract and gunk things up. The picture below shows the hose, on the driver side valve cover, that needs to be removed to install the catch-can.

There are many options out there but I have always used the Moroso large body unit. I like the drain valve on it and since it is larger I don’t have to worry about checking or emptying it more frequently. They have many different applications out there, including a small body that also comes in black, but no specific kit for the 4Runner so if you decide to get a Moroso get one that comes with the 3/8 inlet and outlet fittings, and a similar bracket to the one you’ll see below if you plan to mount it in the same spot I did. Jegs has a really good selection of them.
Here is what I got…


I mounted it on the driver side inner fender, which is the same spot where I had it on the Tacoma. I had to cut the bracket and drill new holes in order to bring it closer to the fender to ovoid hitting or being too close to anything else in that area.
Here is a picture of the trimmed bracket with new holes…

…and the bracket mounted.

Here is another view of the bracket from above. Also note if you decide to mount it in this spot you’ll need to find a bolt that fits, the one you see in the picture is not part of the kit.

With the bracket on, it was time to do some test fitting and decide how to run the hoses.


I originally planned to run the hose from the valve cover close to the firewall and behind the break fluid reservoir but instead decide to take a shorter path and come through in front of it instead. I also got a straight fitting from a local auto parts store to replace one of the elbows and make it a little cleaner. I decided to route the outlet hose down towards the fender and over to the intake manifold.

I put Teflon tape on and permanently mounted all the fittings while waiting for the paint to dry on the bracket. Here is what it looks like all assembled…

With the bracket painted and dry it was time to do the final mounting.

I also tie-wrapped the hoses in a few spots to keep them from moving around or resting on any engine parts.


Lastly, I ran a hose from the drain port to the wheel well to make draining easier.

I plan to put on at least a thousand miles before I drain it and see what I get.
A typical air oil separator or “catch-can” is placed between the crankcase vent and air intake manifold, where manufacturers have a hose running directly between the two as part of the PCV system. The goal is to put a container with a filter media that allows air to flow but traps any blow-by or oil mist/vapors that can get into your intake tract and gunk things up. The picture below shows the hose, on the driver side valve cover, that needs to be removed to install the catch-can.
There are many options out there but I have always used the Moroso large body unit. I like the drain valve on it and since it is larger I don’t have to worry about checking or emptying it more frequently. They have many different applications out there, including a small body that also comes in black, but no specific kit for the 4Runner so if you decide to get a Moroso get one that comes with the 3/8 inlet and outlet fittings, and a similar bracket to the one you’ll see below if you plan to mount it in the same spot I did. Jegs has a really good selection of them.
Here is what I got…
I mounted it on the driver side inner fender, which is the same spot where I had it on the Tacoma. I had to cut the bracket and drill new holes in order to bring it closer to the fender to ovoid hitting or being too close to anything else in that area.
Here is a picture of the trimmed bracket with new holes…
…and the bracket mounted.
Here is another view of the bracket from above. Also note if you decide to mount it in this spot you’ll need to find a bolt that fits, the one you see in the picture is not part of the kit.
With the bracket on, it was time to do some test fitting and decide how to run the hoses.
I originally planned to run the hose from the valve cover close to the firewall and behind the break fluid reservoir but instead decide to take a shorter path and come through in front of it instead. I also got a straight fitting from a local auto parts store to replace one of the elbows and make it a little cleaner. I decided to route the outlet hose down towards the fender and over to the intake manifold.
I put Teflon tape on and permanently mounted all the fittings while waiting for the paint to dry on the bracket. Here is what it looks like all assembled…
With the bracket painted and dry it was time to do the final mounting.
I also tie-wrapped the hoses in a few spots to keep them from moving around or resting on any engine parts.
Lastly, I ran a hose from the drain port to the wheel well to make draining easier.
I plan to put on at least a thousand miles before I drain it and see what I get.