Amsoil Full Flow & Bypass install.

Koz

New member
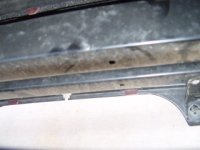
The first thing to do was, find a mounting location as close as possible to the OEM filter. I found the perfect spot (it
 

Attachments

  • 4-23-05 077.jpg
    4-23-05 077.jpg
    15 KB · Views: 5,000
Register to hide this ad
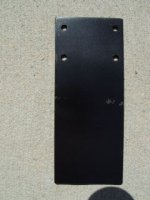
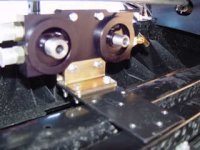
To mount the bracket at the right height I fabricated a plate. In this pic you will see that I pre-drilled it to attach the bracket that comes with the bypass system. This plate is 3" X 7.5" X 3/16" with 1/4" holes drilled.
 

Attachments

  • 4-23-05 074.jpg
    4-23-05 074.jpg
    15.2 KB · Views: 4,846
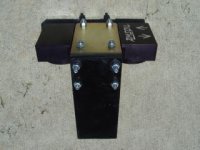
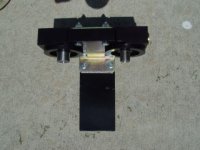
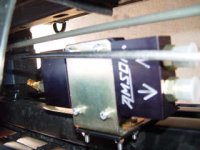
This is a pic of the the mounting bracket, filter block, and plate attached together (back side).
 

Attachments

  • 4-23-05 078.jpg
    4-23-05 078.jpg
    14.8 KB · Views: 4,862
To attach the assembly to the vehicle
 

Attachments

  • 4-23-05 085.jpg
    4-23-05 085.jpg
    14.9 KB · Views: 4,845
Last edited:
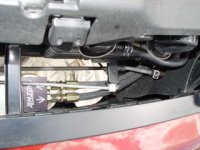
Top view between radiator and front grill.
 

Attachments

  • 4-23-05 080.jpg
    4-23-05 080.jpg
    15.1 KB · Views: 4,804
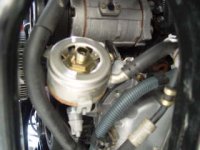
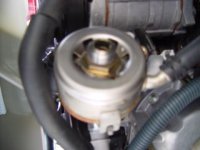
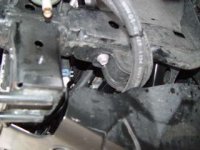
After removing the front skid plate and OEM oil filter, I drained the oil. This pic shows the OEM Filter mount/ oil cooler without the filter.
 

Attachments

  • bypass 037.jpg
    bypass 037.jpg
    15.2 KB · Views: 4,840
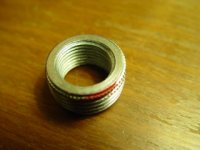
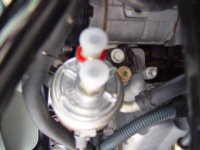
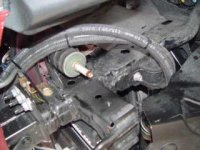
This pic shows the adapter nipple that needs to be attached over the threaded hollow center post that the oil filter screws onto. Make sure you follow the instructions concerning the use of thread sealer and the amount of torque for all the nipples and adapters. The reason for this nipple is so you can screw on the adapter that replaces the OEM filter (it has a different tread size).
 

Attachments

  • bypass 047.jpg
    bypass 047.jpg
    15.4 KB · Views: 4,809
This is a pic (little blurry) of the adapter nipple attached.
 

Attachments

  • bypass 045.jpg
    bypass 045.jpg
    14.7 KB · Views: 4,816
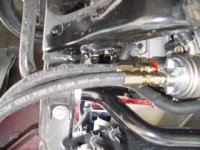
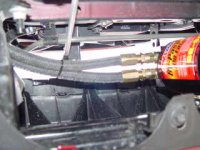
This is a pic of the adapter screwed onto the OEM filter cooler, so that the hoses can be attached. The hoses that go to the remote filter block attached to the frame rails.
 

Attachments

  • a.jpg
    a.jpg
    14.8 KB · Views: 4,789
I cut the supplied hose in half (8 feet, 2-4 footers) then attached one supplied hose end on each hose and attached the hoses to the adapter.
 

Attachments

  • bypass 053.jpg
    bypass 053.jpg
    15.4 KB · Views: 4,822
Koz said:
After removing the front skid plate and OEM oil filter, I drained the oil. This pic shows the OEM Filter mount/ oil cooler without the filter.

Koz, do you see those two plugs that are next to (not part of I don't think) the oil cooler/filter housing... what are they for?
 
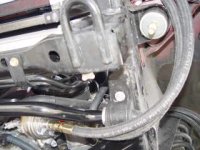
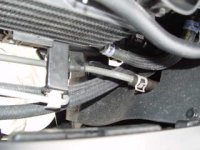
This pic shows the routing of the hoses to the filter block. I left the other hose ends off so that after routing them to the filter block, I would mark and cut hoses to the exact length.
 

Attachments

  • bypass 055.jpg
    bypass 055.jpg
    15.6 KB · Views: 4,794
This pic shows the routing from the last pic. going through the rubber curtain near the back of the headlight, to the filter block.
 

Attachments

  • bypass 057.jpg
    bypass 057.jpg
    14.7 KB · Views: 4,786
This pic shows the hoses attached/routed to the filter block.
 

Attachments

  • bypass 056.jpg
    bypass 056.jpg
    15 KB · Views: 4,721
This pic shows the hoses secured and wire tied so they don't rub anywhere.
 

Attachments

  • bypass 060.jpg
    bypass 060.jpg
    15.2 KB · Views: 1,740
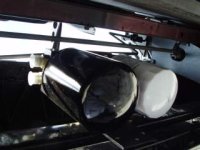
There are Two filters, one is a full flow filter (works like the OEM filter but better filter material and more capacity, changed every 12.5K miles) and one by-pass filter (filters out contaminants and water, changed every 25K miles).

 

Attachments

  • bypass 038.jpg
    bypass 038.jpg
    14.9 KB · Views: 1,722
This is a pic of the system installed and the skid plate put back on.
 

Attachments

  • bypass 062.jpg
    bypass 062.jpg
    14.7 KB · Views: 1,703

Members online

Forum statistics

Threads
278,310
Messages
3,554,076
Members
248,016
Latest member
Advally Service

Trending content

Back
Top