TLDR:
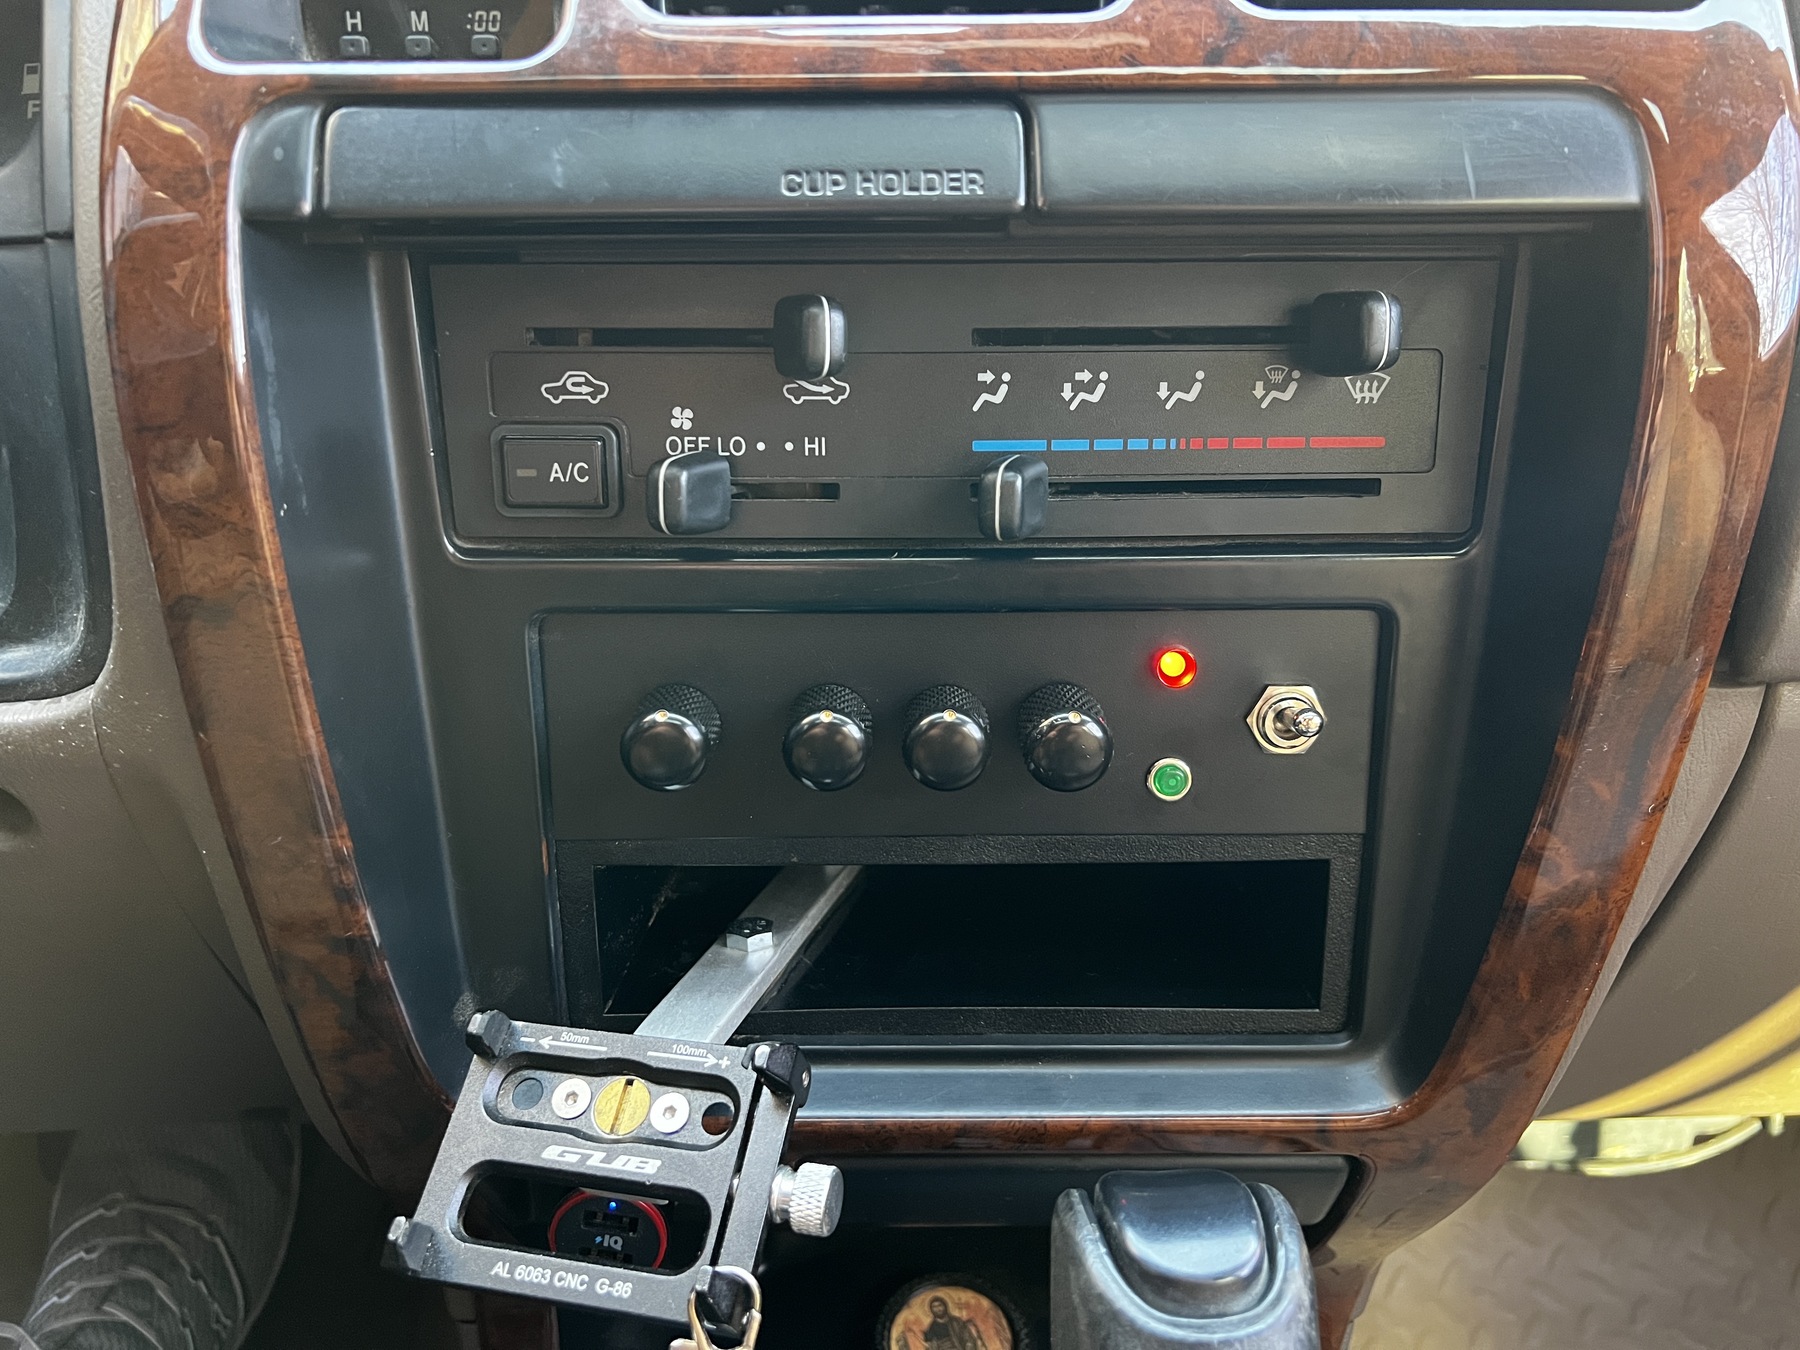
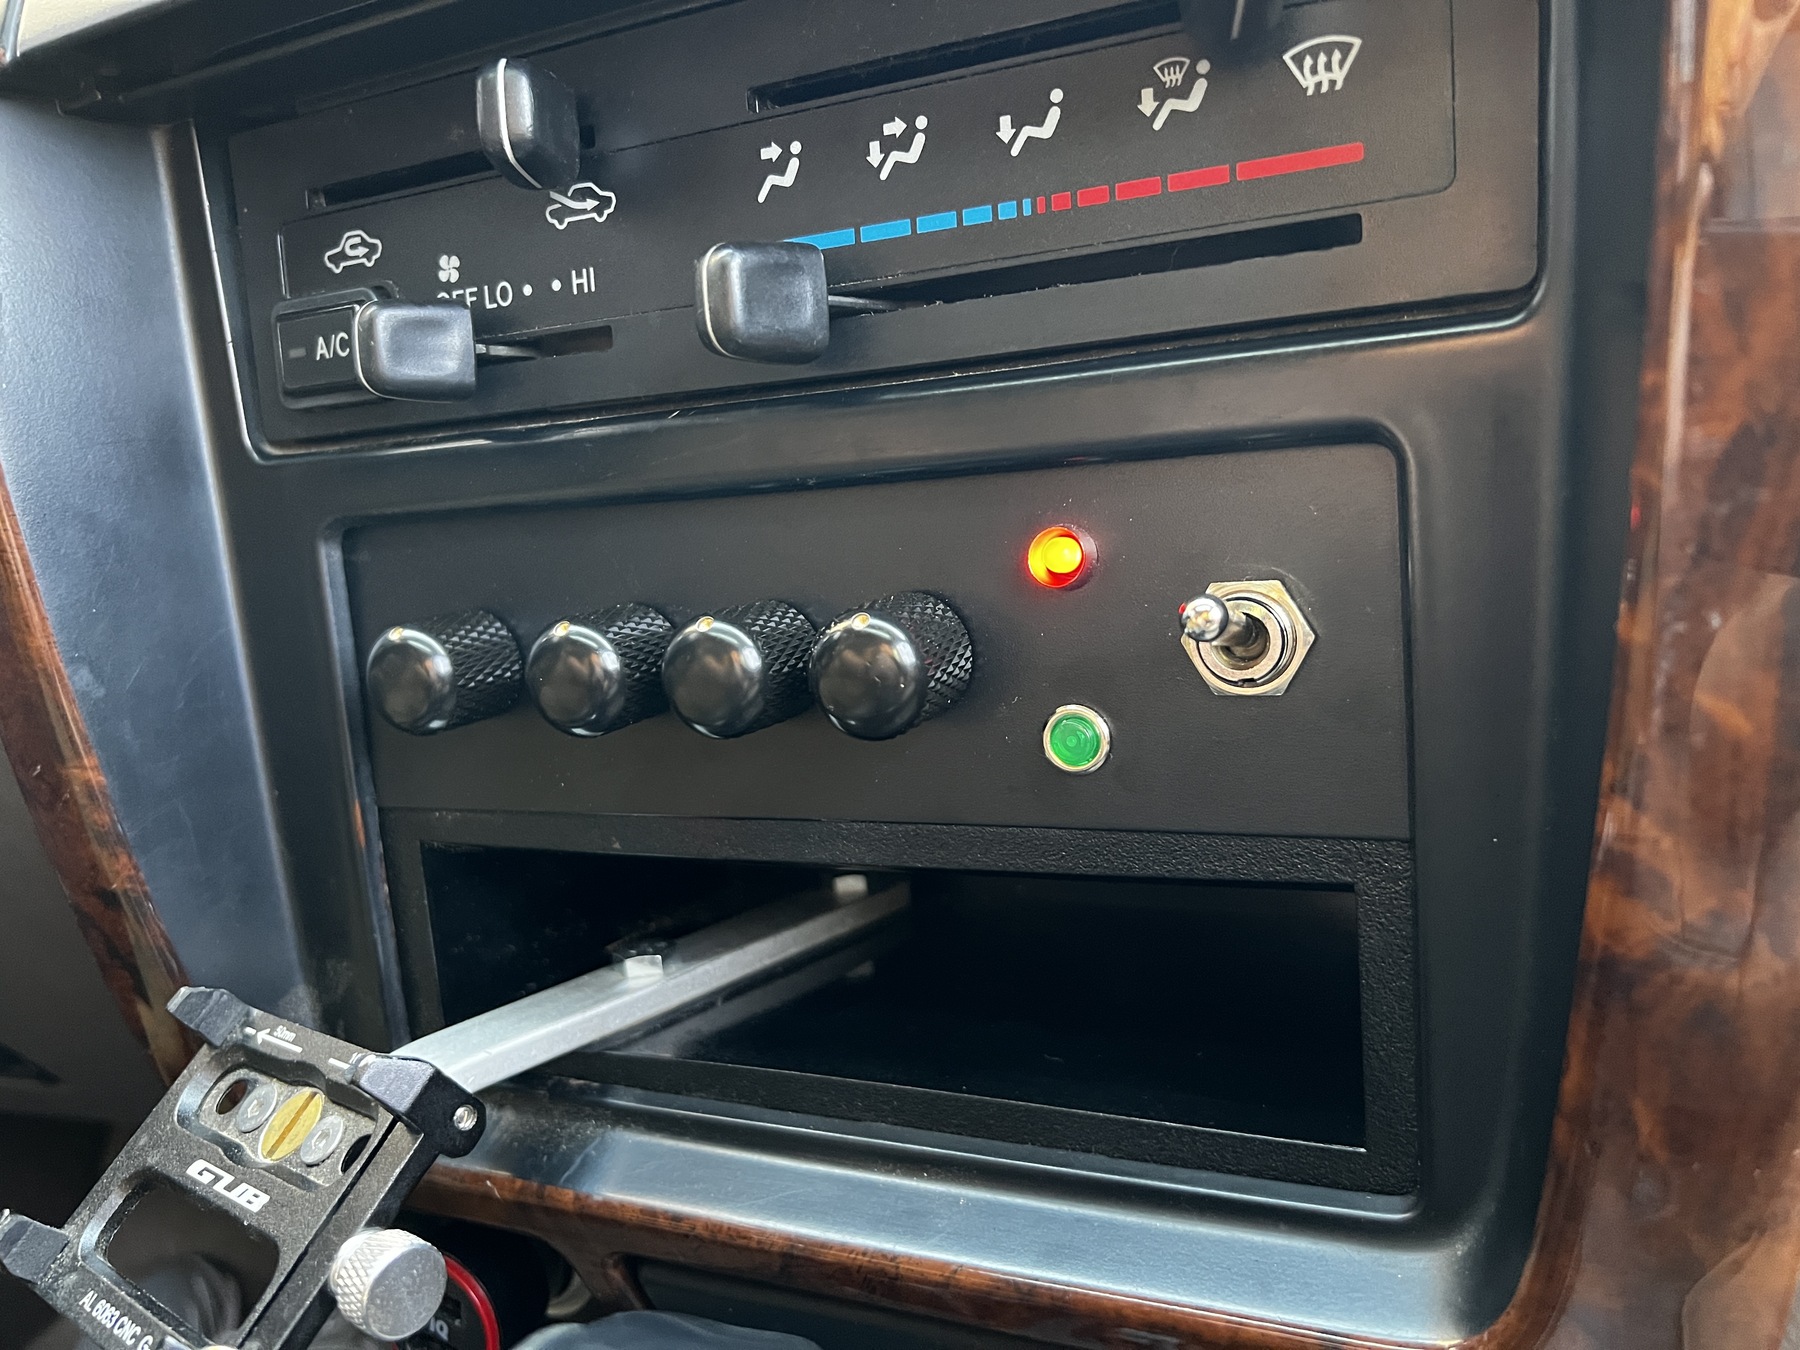
Analog'ish in a digital world...
---
Obviously car audio is a massive rabbit hole. There are a thousand different ways one could go, and up until I guess last week, I was content to leave the system in this 4runner that I've had for over twenty years, basically the same as it's been for fifteen of those years.
Essentially this simple (sorry for the dust), and admittedly reliable deck that I got at a circuit city pre 09' bankruptcy fire sale has done its job, using only that 1/8 jack for most of that time. But since no phone really has a headphone jack anymore, and for some reason I couldn't bring myself to spend $9 on an adapter - down the rabbit hole we go
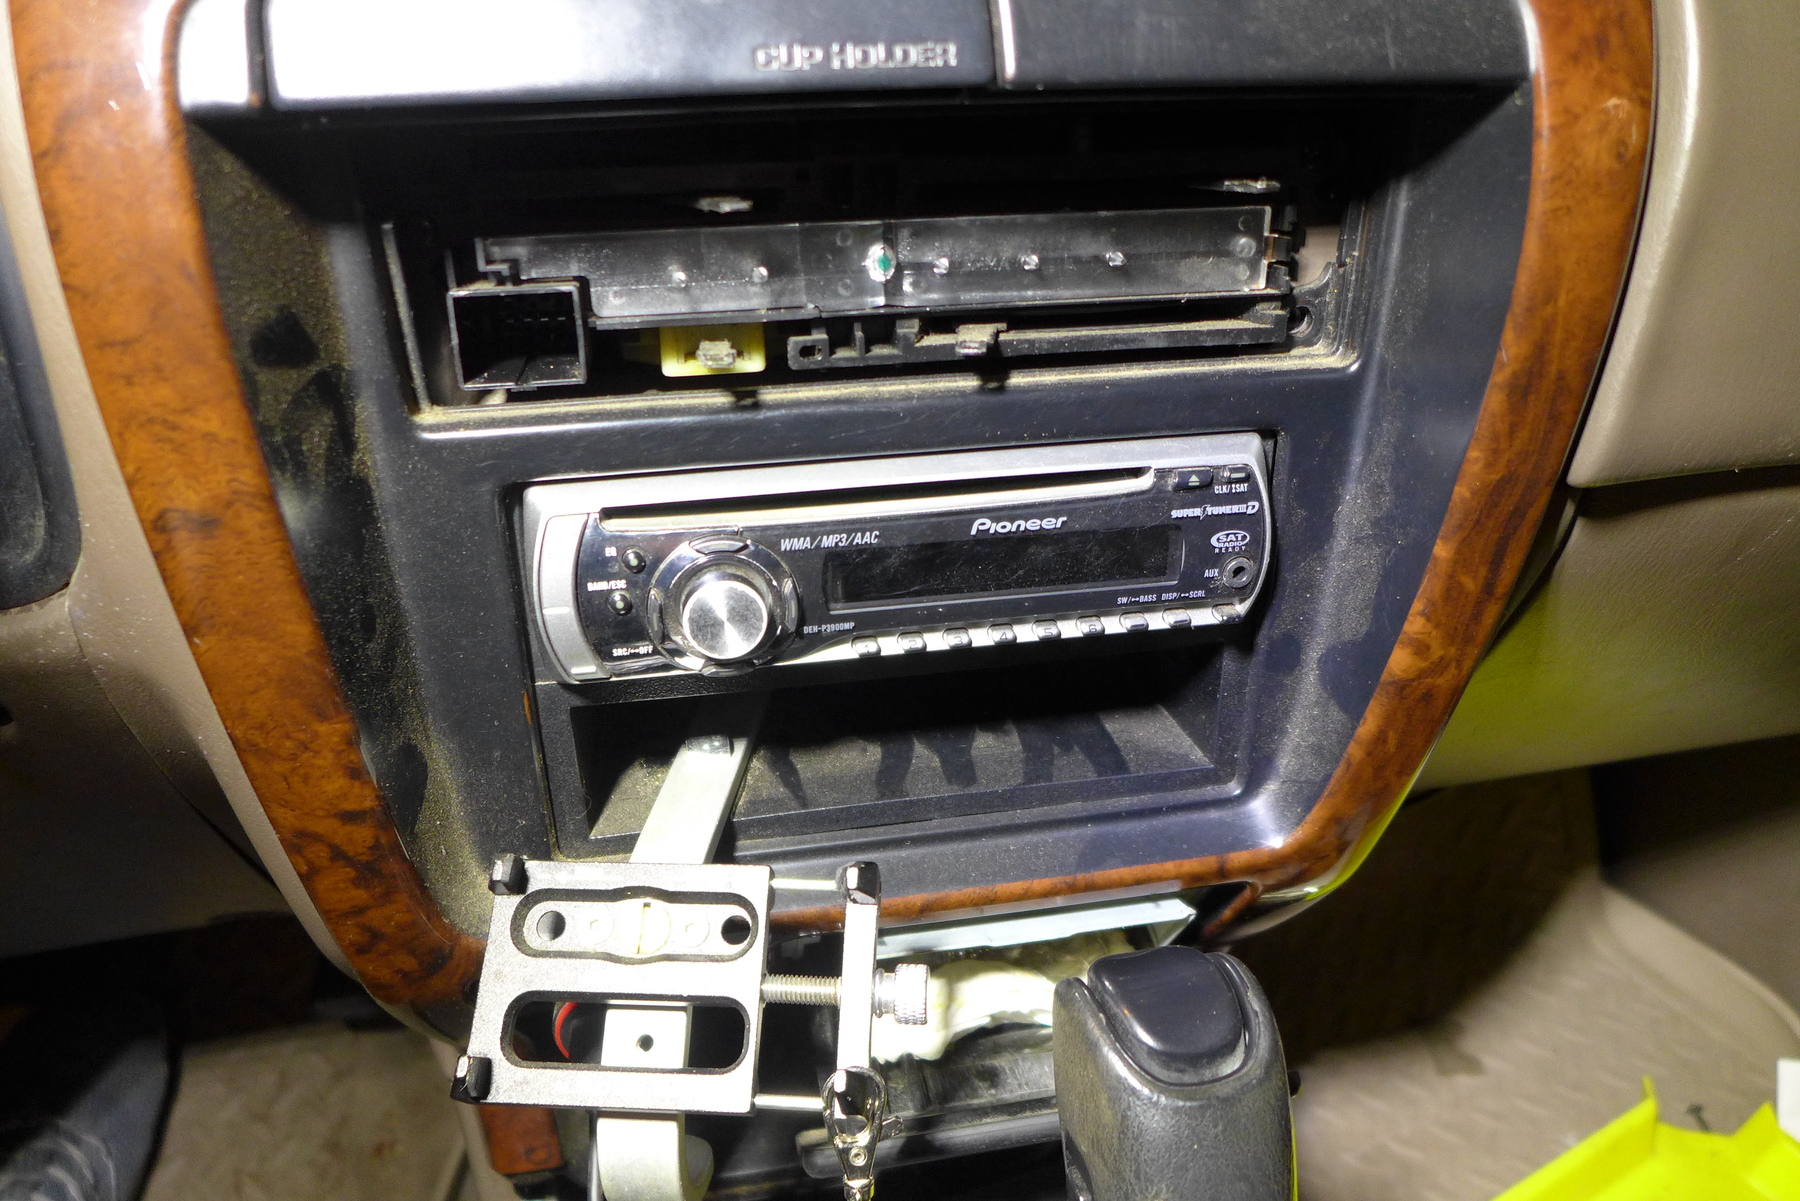
Trying to find a simple single din stereo that doesn't look like crap is pretty difficult these days. Although every car manufacturer's idea of breathtaking design is just to slap iPads all over new car interiors as well, so I can't really fault the third party manufacture's alone.
I had narrowed it down to either the Alpine ute-73bt or the Sony DSX-GS80. These looked fine, and I appreciated the internal amp with the Sony, but if you look into the specs - it's crazy that in 2023 they are using Bluetooth 3 which came out in freaking 2009.
And if you have any memory of bluetooth in 2009 - it wasn't great.
So yeah, I guess they've both given up.
Somehow I ended up on a miata forum during my search and I was struck by this guy's setup:
[NA] Looking for single din "retro looking" headunit recommendations - MX-5 Miata Forum
Obviously those speedhut gauges are gorgeous, but I was more interested in the idea of just moving past the oem's for a stereo and into something more minimalistic and that actually has what I want, without any of the superfluous crap. Sorry, but I'm not burning a jump drive with mp3's or listening to AM radio in 2023 - I just want generally reliable bluetooth and some decent power - plus points if it's not rocking that strip mall laser tag aesthetic most of the replacement stereos are going for.
So I probably would have ignored his post as he's using a cheap chi-fi board, but I have a little experience with the class D amps on these boards and they are way better than you'd expect.
I bought one on a lark once to power some old speakers in my shop that a buddy had given me. Not expecting much for I guess the $20 I paid at the time, I stripped an old laptop psu and hooked it up and was stunned how much better it sounded than the ab amp I was using in the house.
I ended up buying another one for the office and, paired with a literal $10 usb dac into my computer, I was again stunned at how well these worked.
I bought a third (this time from a proper maker, smsl, and dumped the AB amp I was using - and have been much happier since. So I thought I'd give it a try for a fourth.
I didn't want to just forsake the rear speakers, so I went looking for a 4 channel amp - and found two options from Dayton:
Dayton Audio KABD-430 4 x 30W All-in-one Amplifier Board with DSP and Bluetooth 5.0 aptX HD
Dayton Audio KABD-4100 4 x 100W All-in-one Amplifier Board with DSP and Bluetooth 5.0 aptX HD
Both of them very reasonable.
I decided to go for the 430 as I wanted everything to be solid state without any fans. And judging by my other little boards like this, they've all been plenty loud. Thankfully these boards have modern bluetooth 5.0.
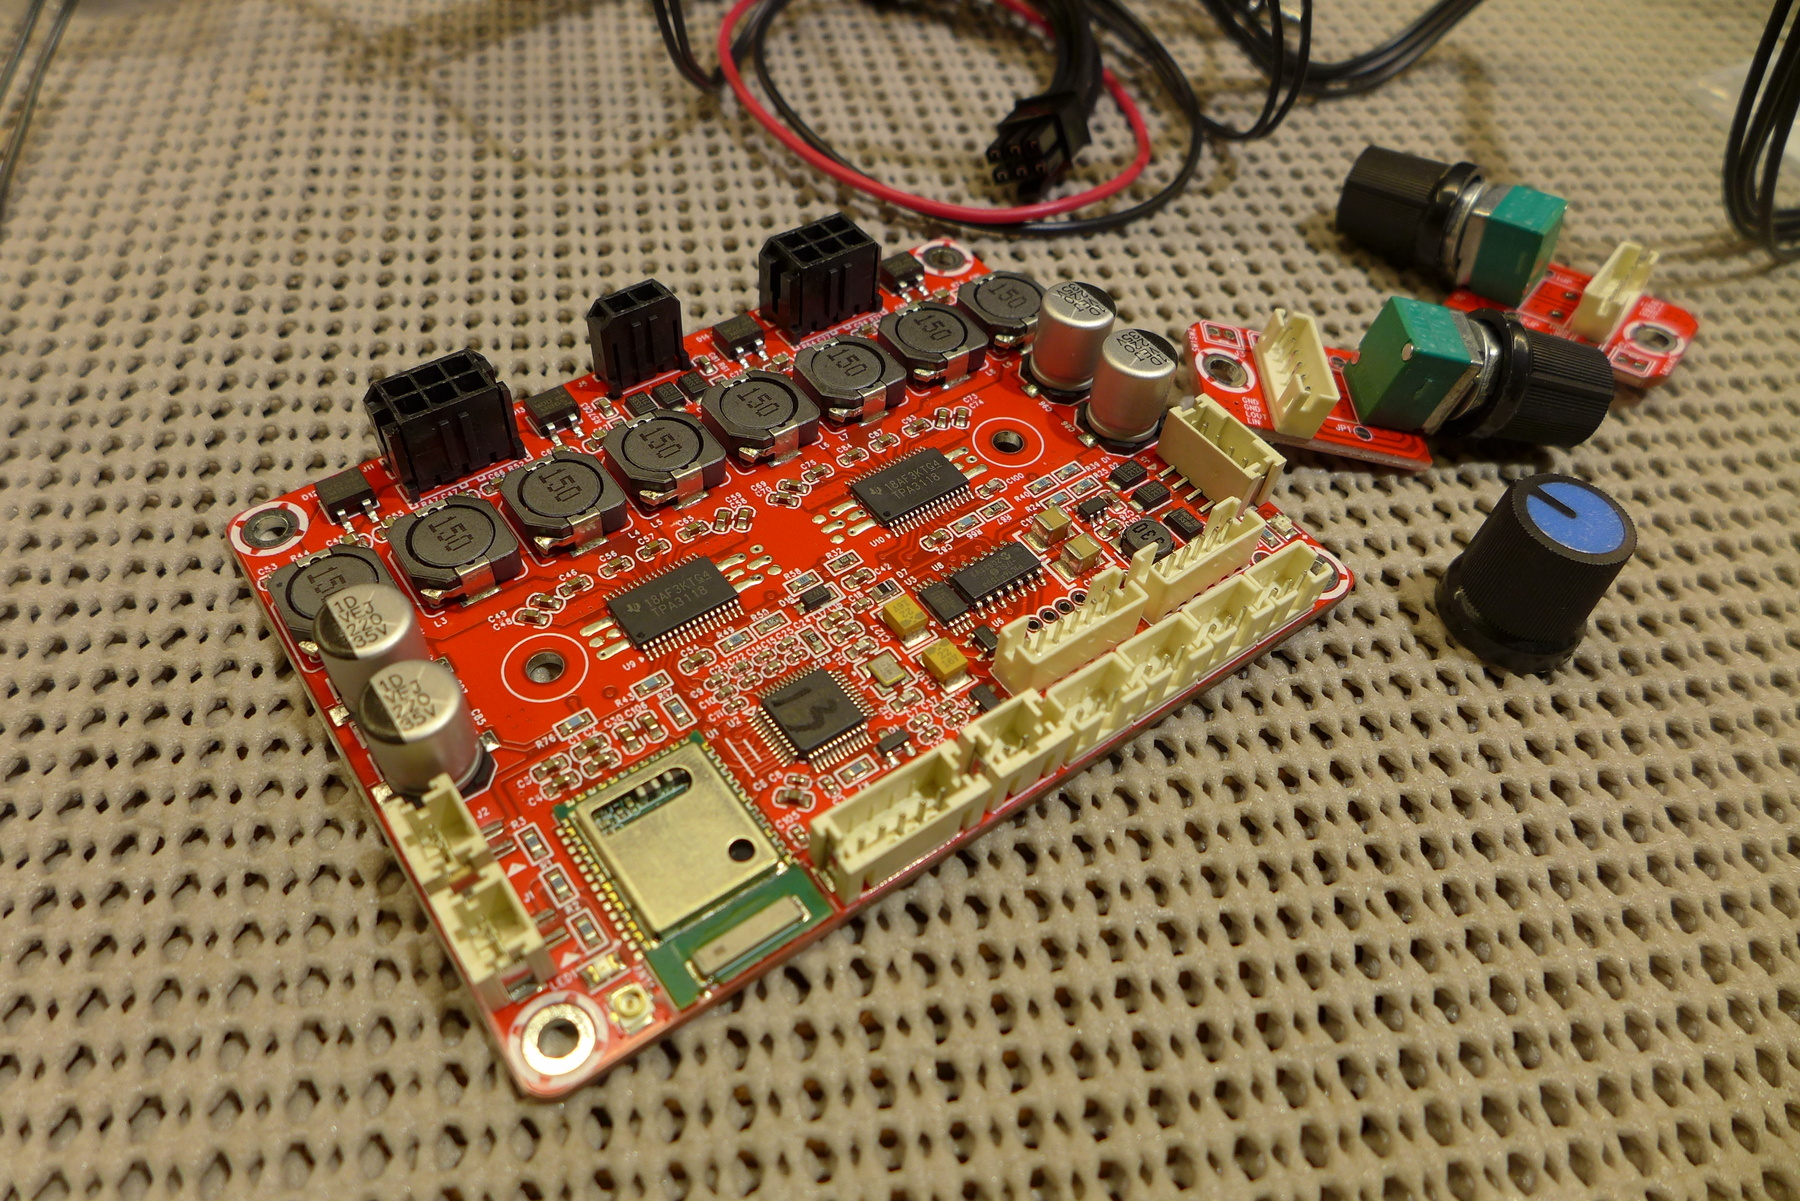
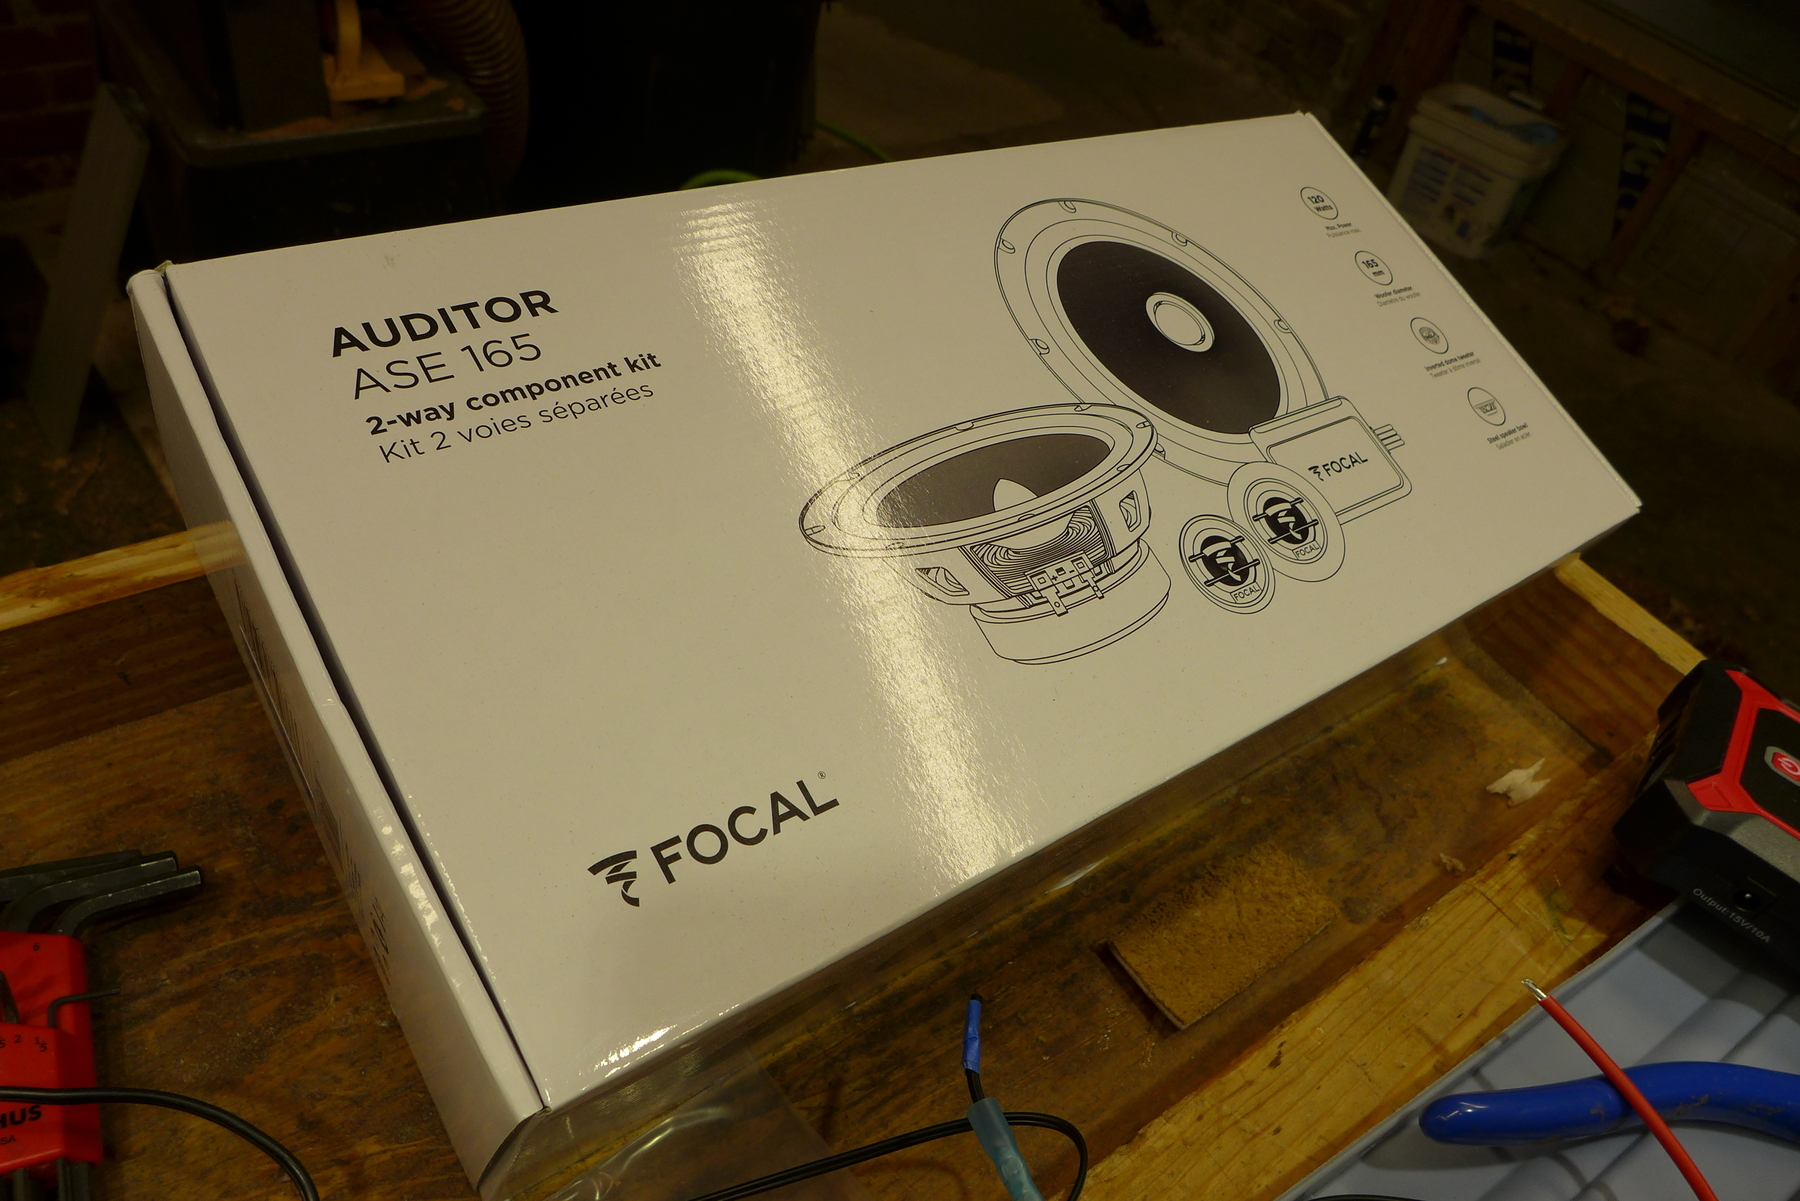
And since I was going to be digging into the stereo anyway, I decided to go ahead and pick up some new components as well.
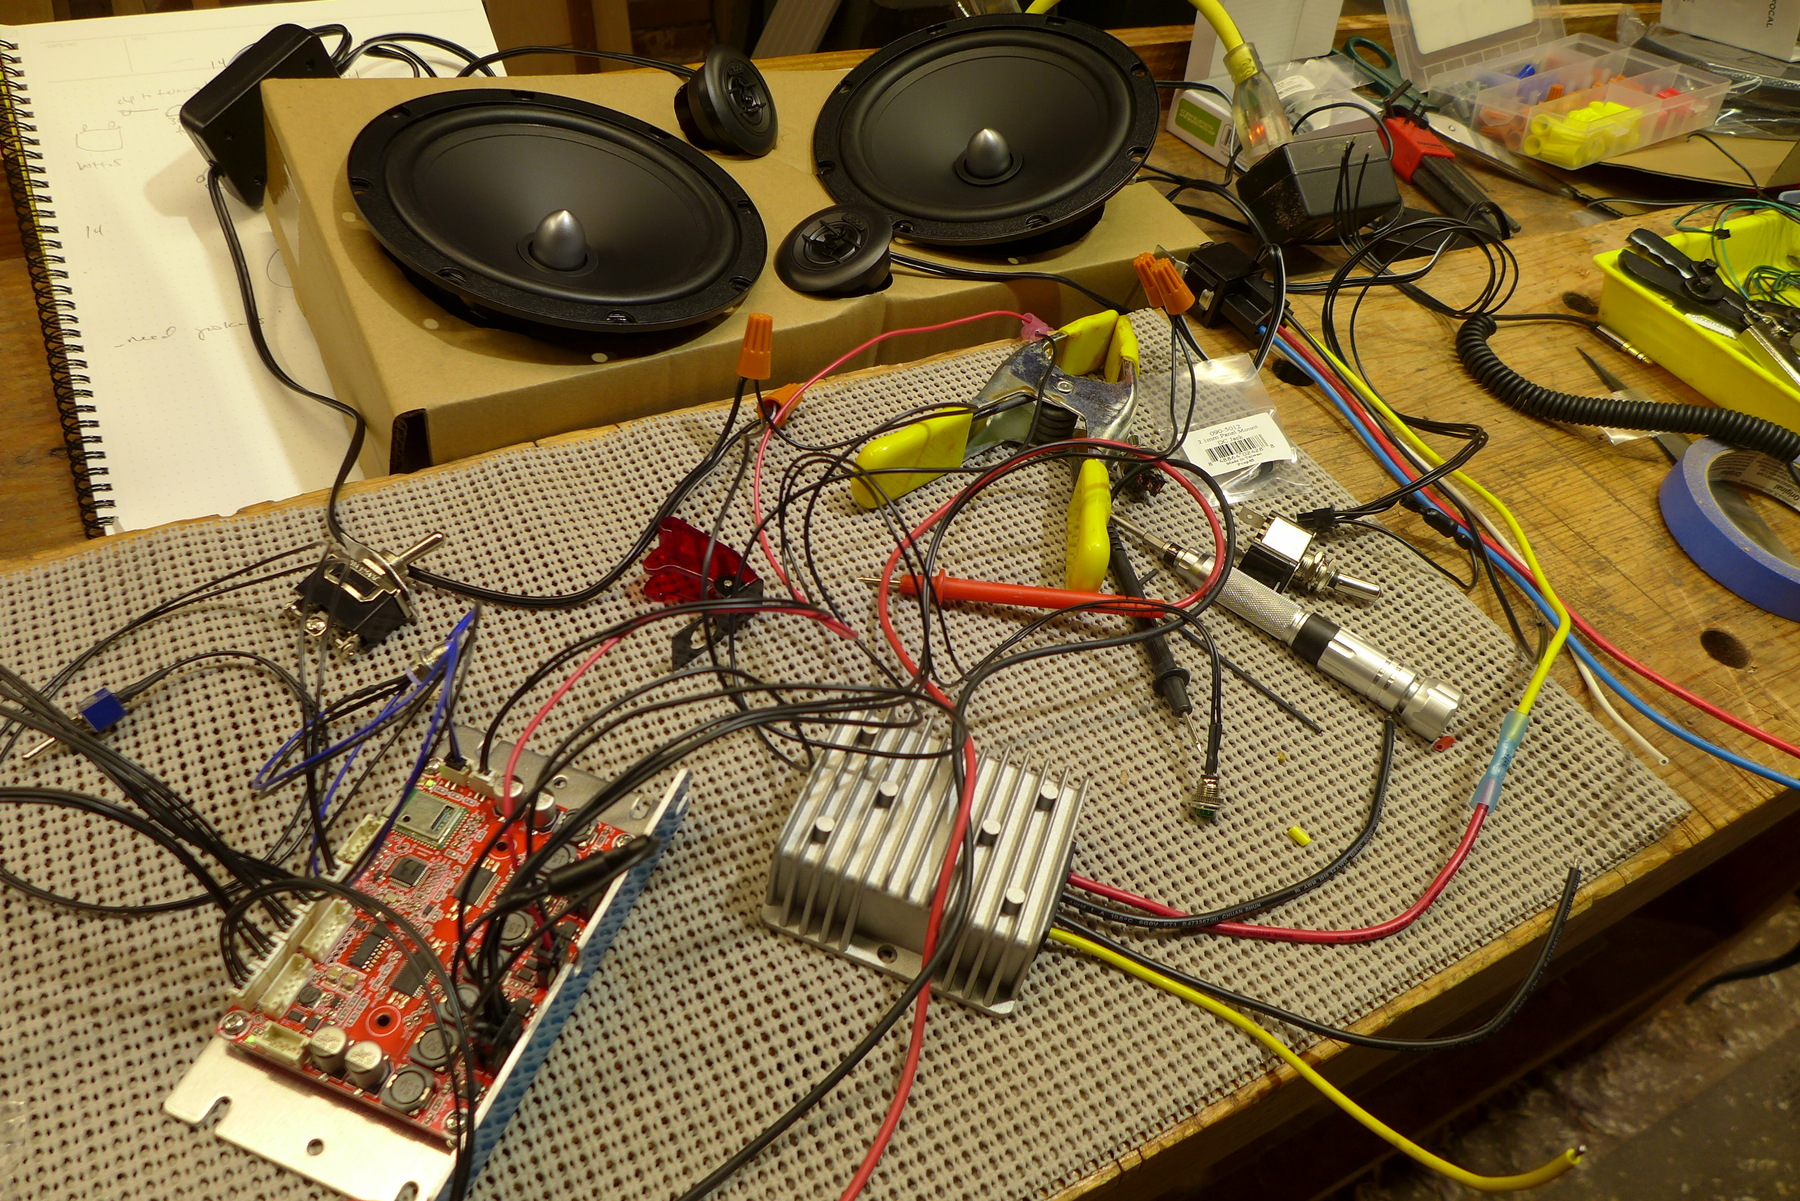
After some fiddling, I tested the stereo with a little 1 amp 12 volt wall wart and it worked fine.
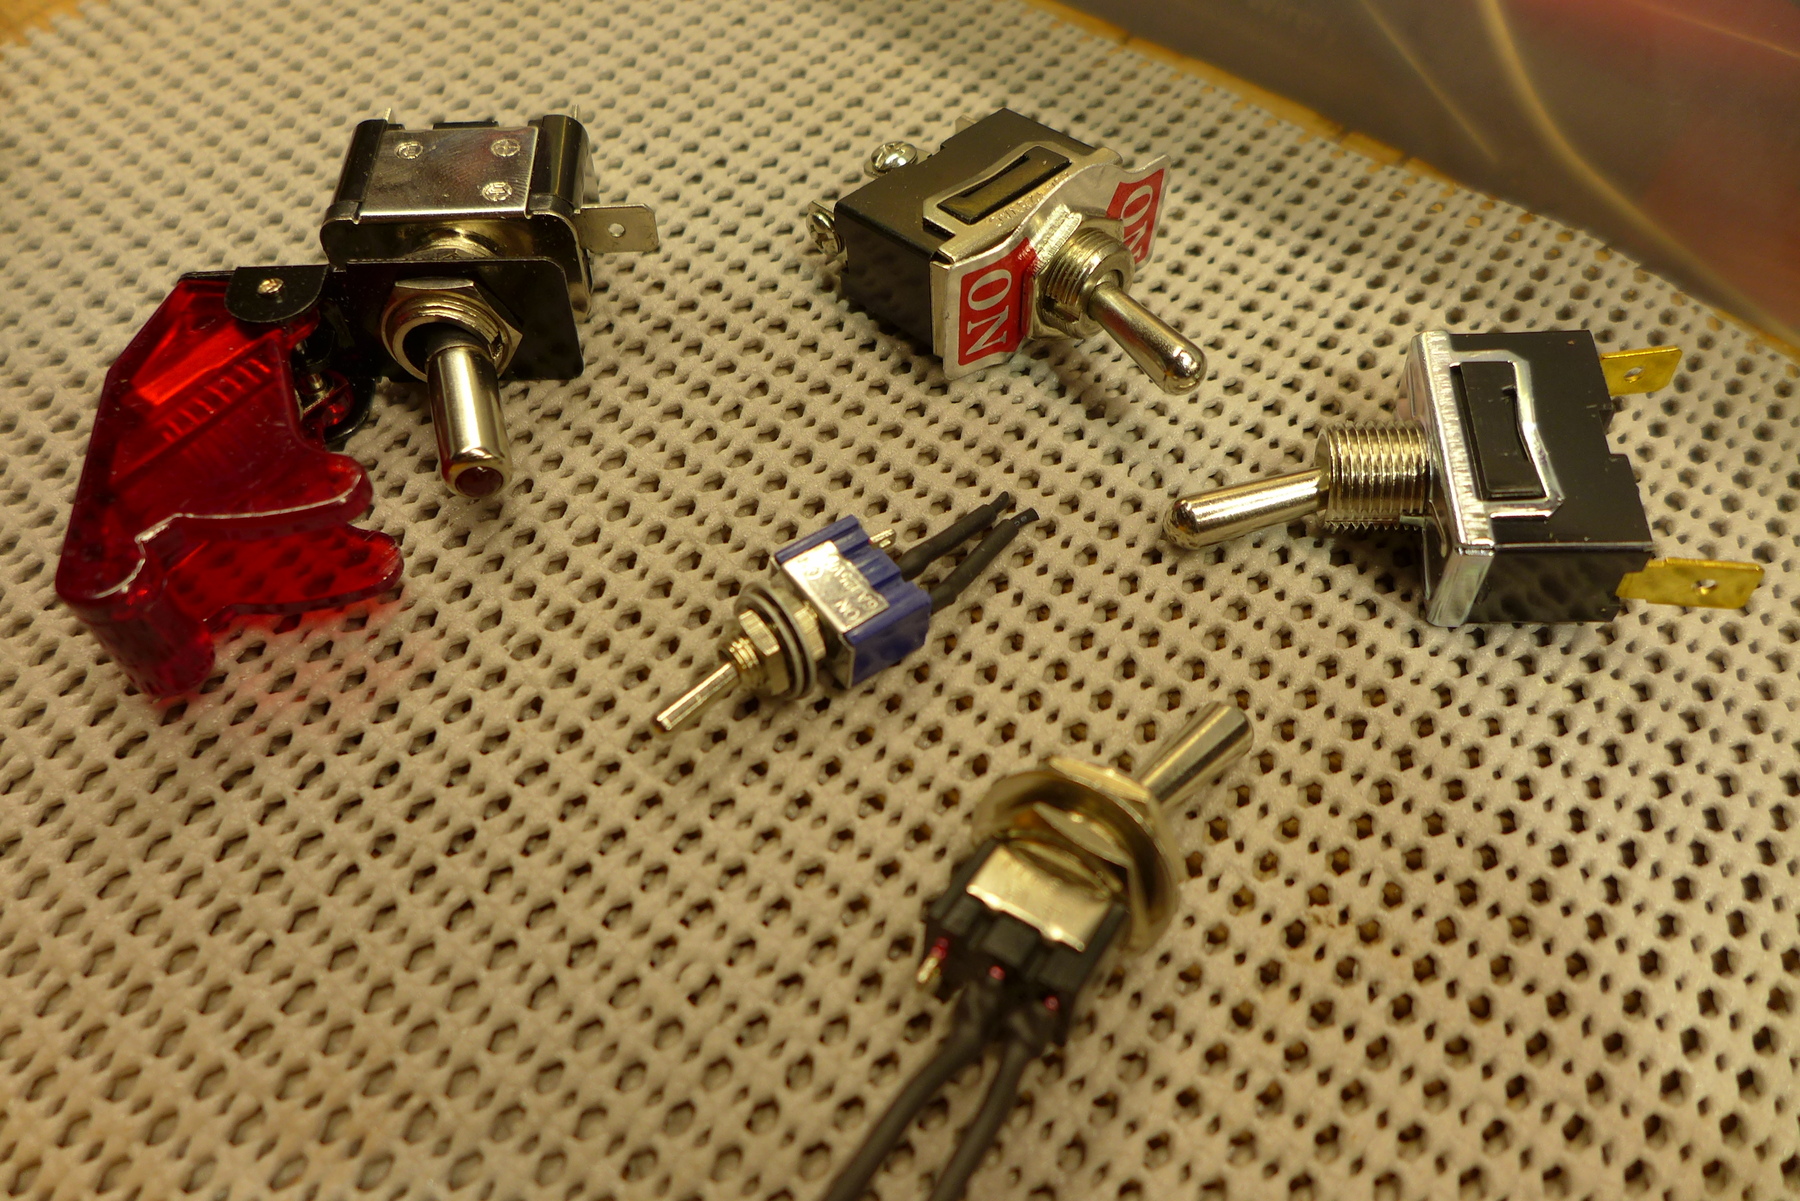
I also ordered a handful of different toggles to make sure I found one that had the best feeling "click" - ended up being this one: SPST Mini Toggle Switch with Tapered Knob
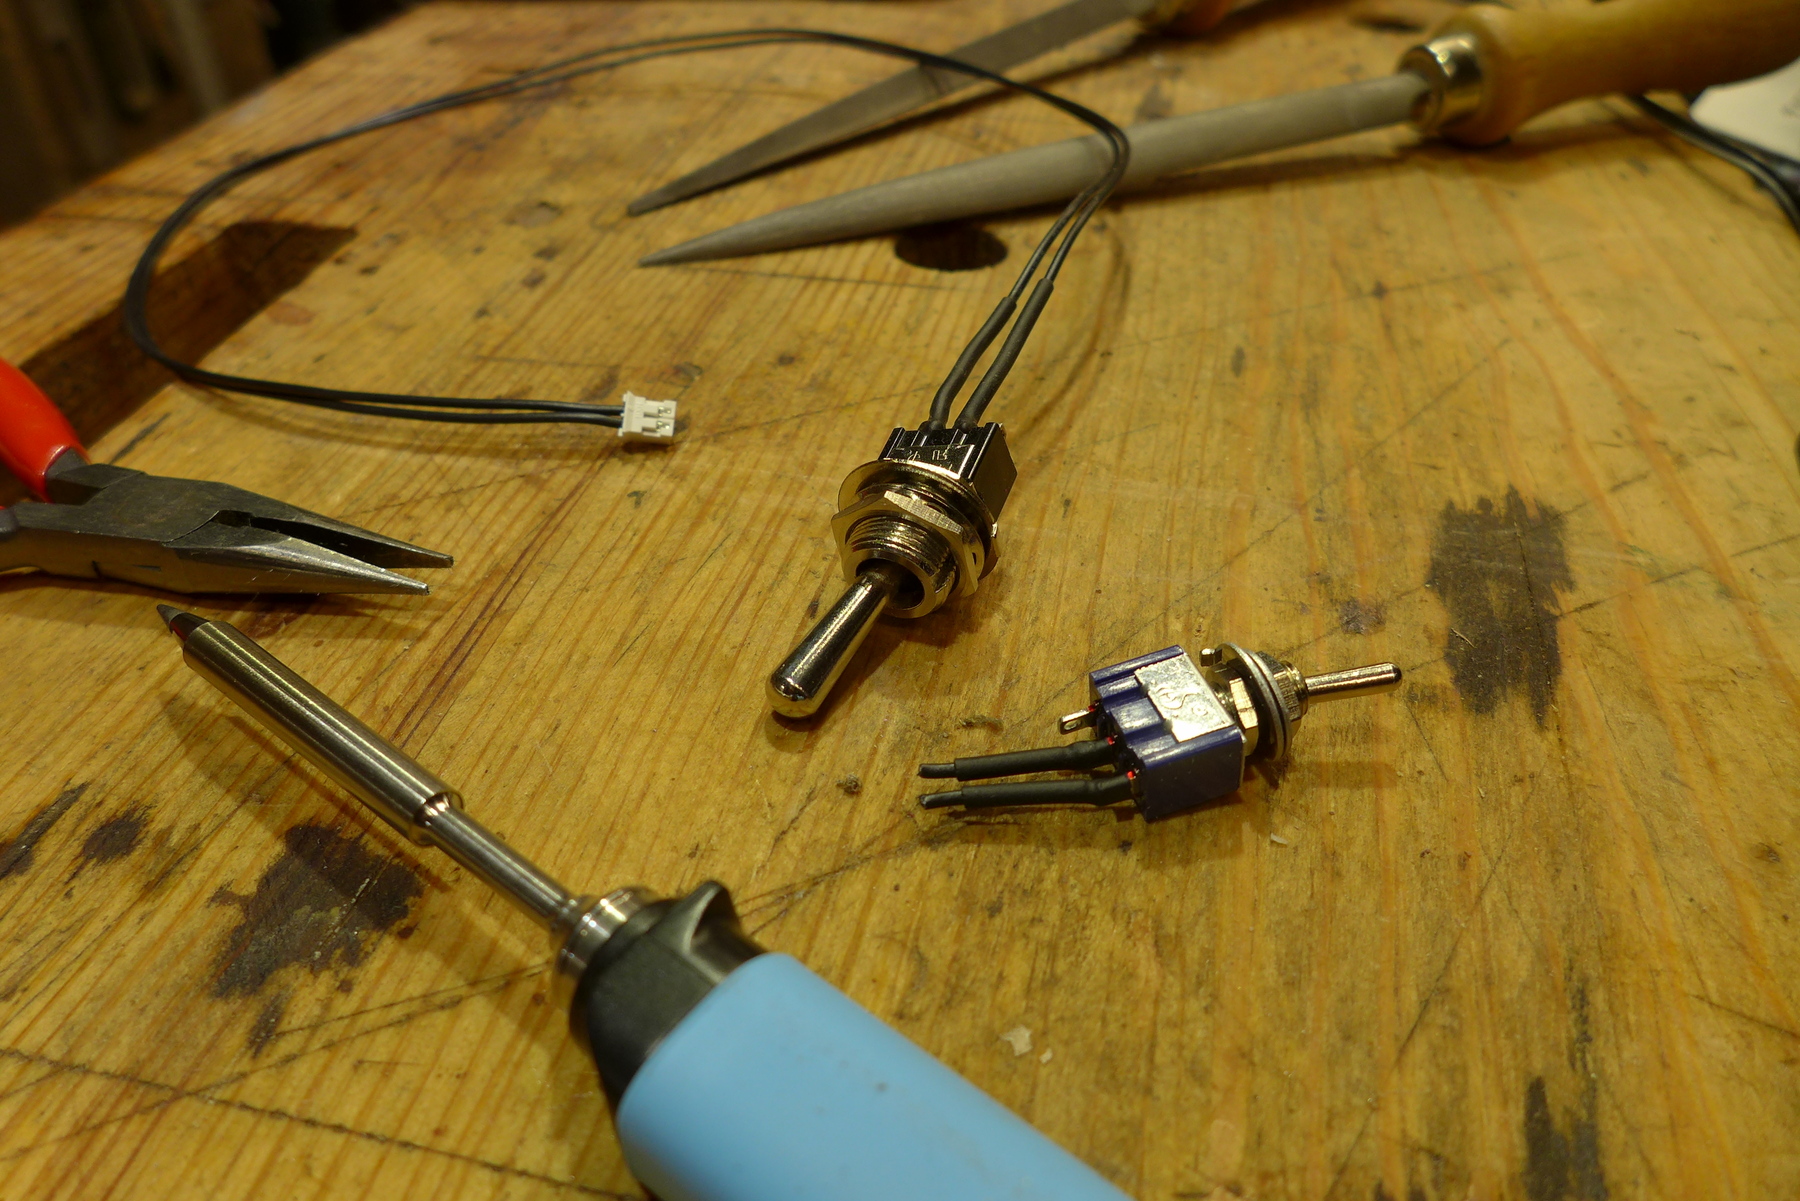
I soldered it onto the leads that comes with the necessary parts kit for the 430 board and everything worked fine.
At about this time I started to follow the brief instructions the miata guy had outlined and made a simple mount out of some aluminum stock I had lying around to attach the 12 to 24 volt converter.
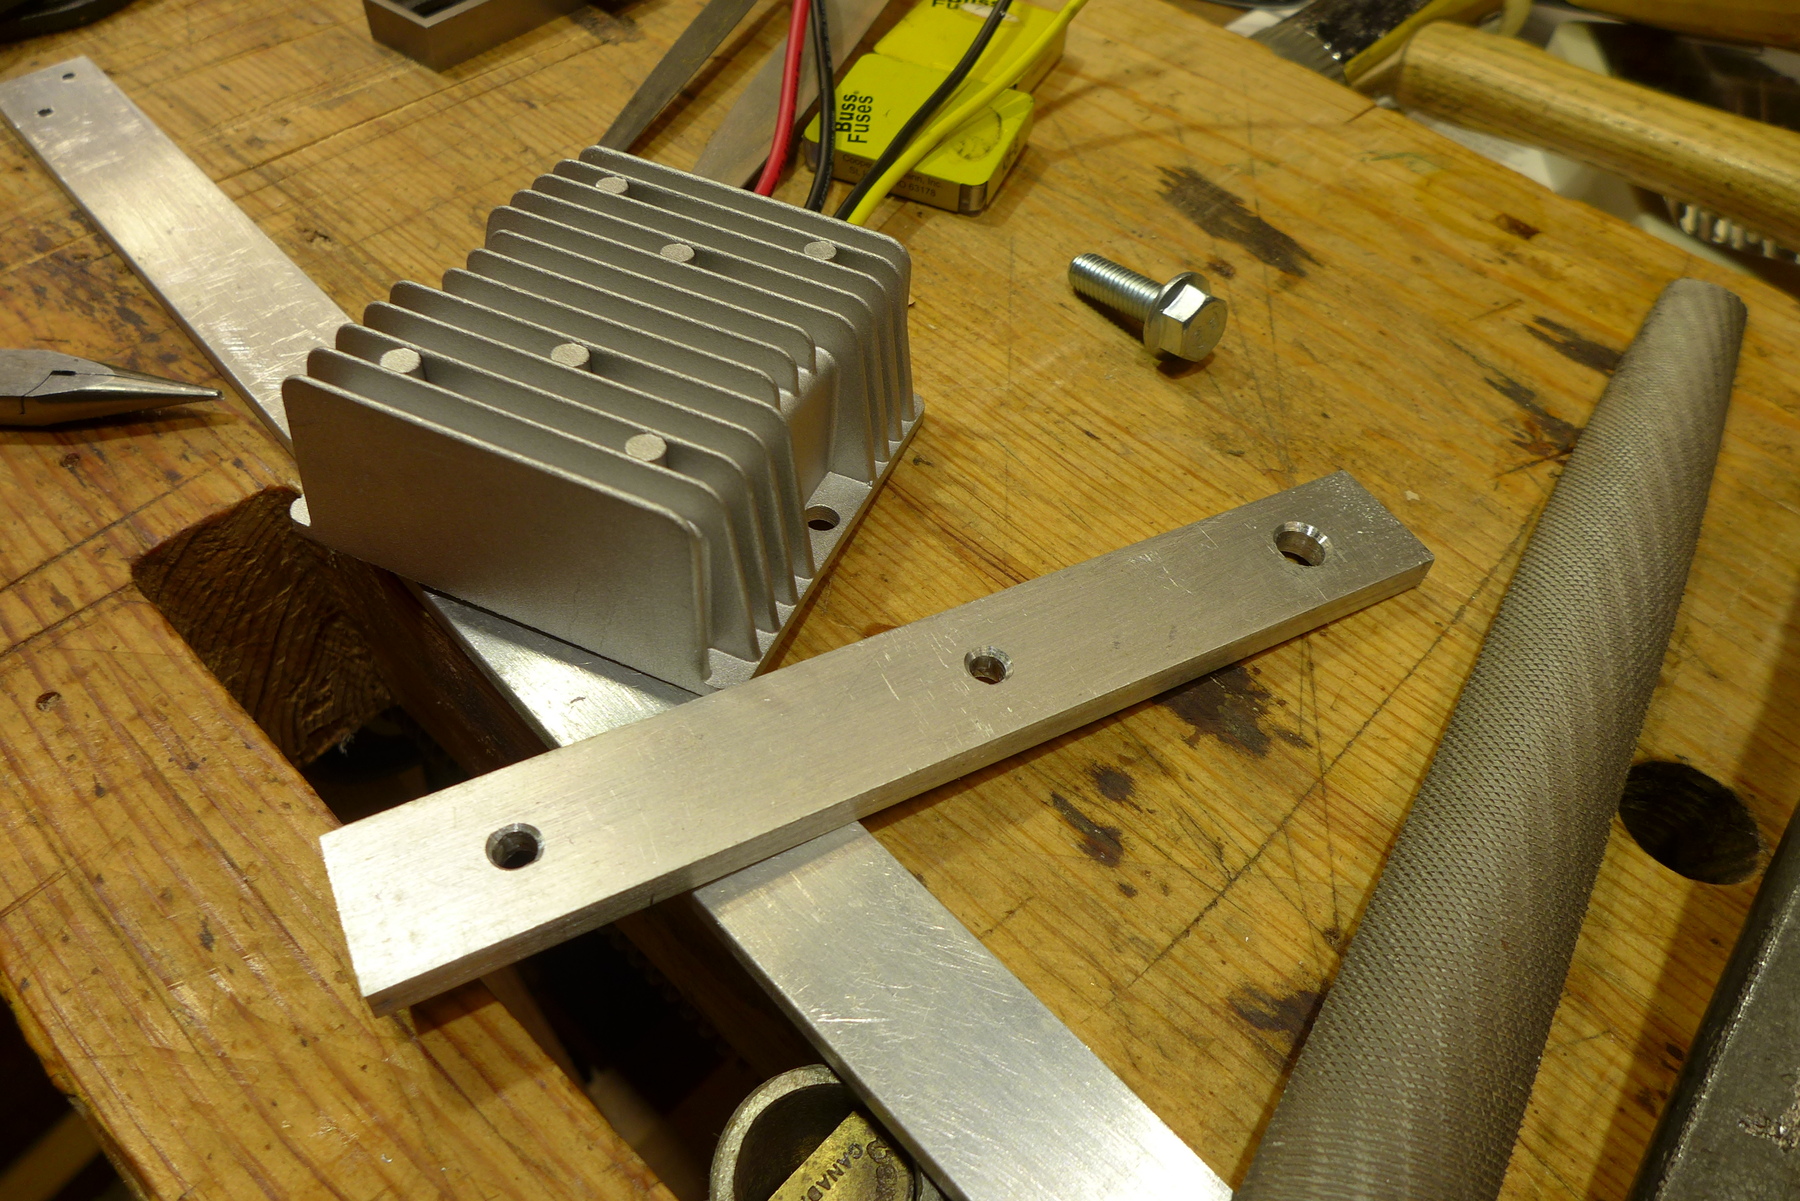
Then I tucked it into this little corner.
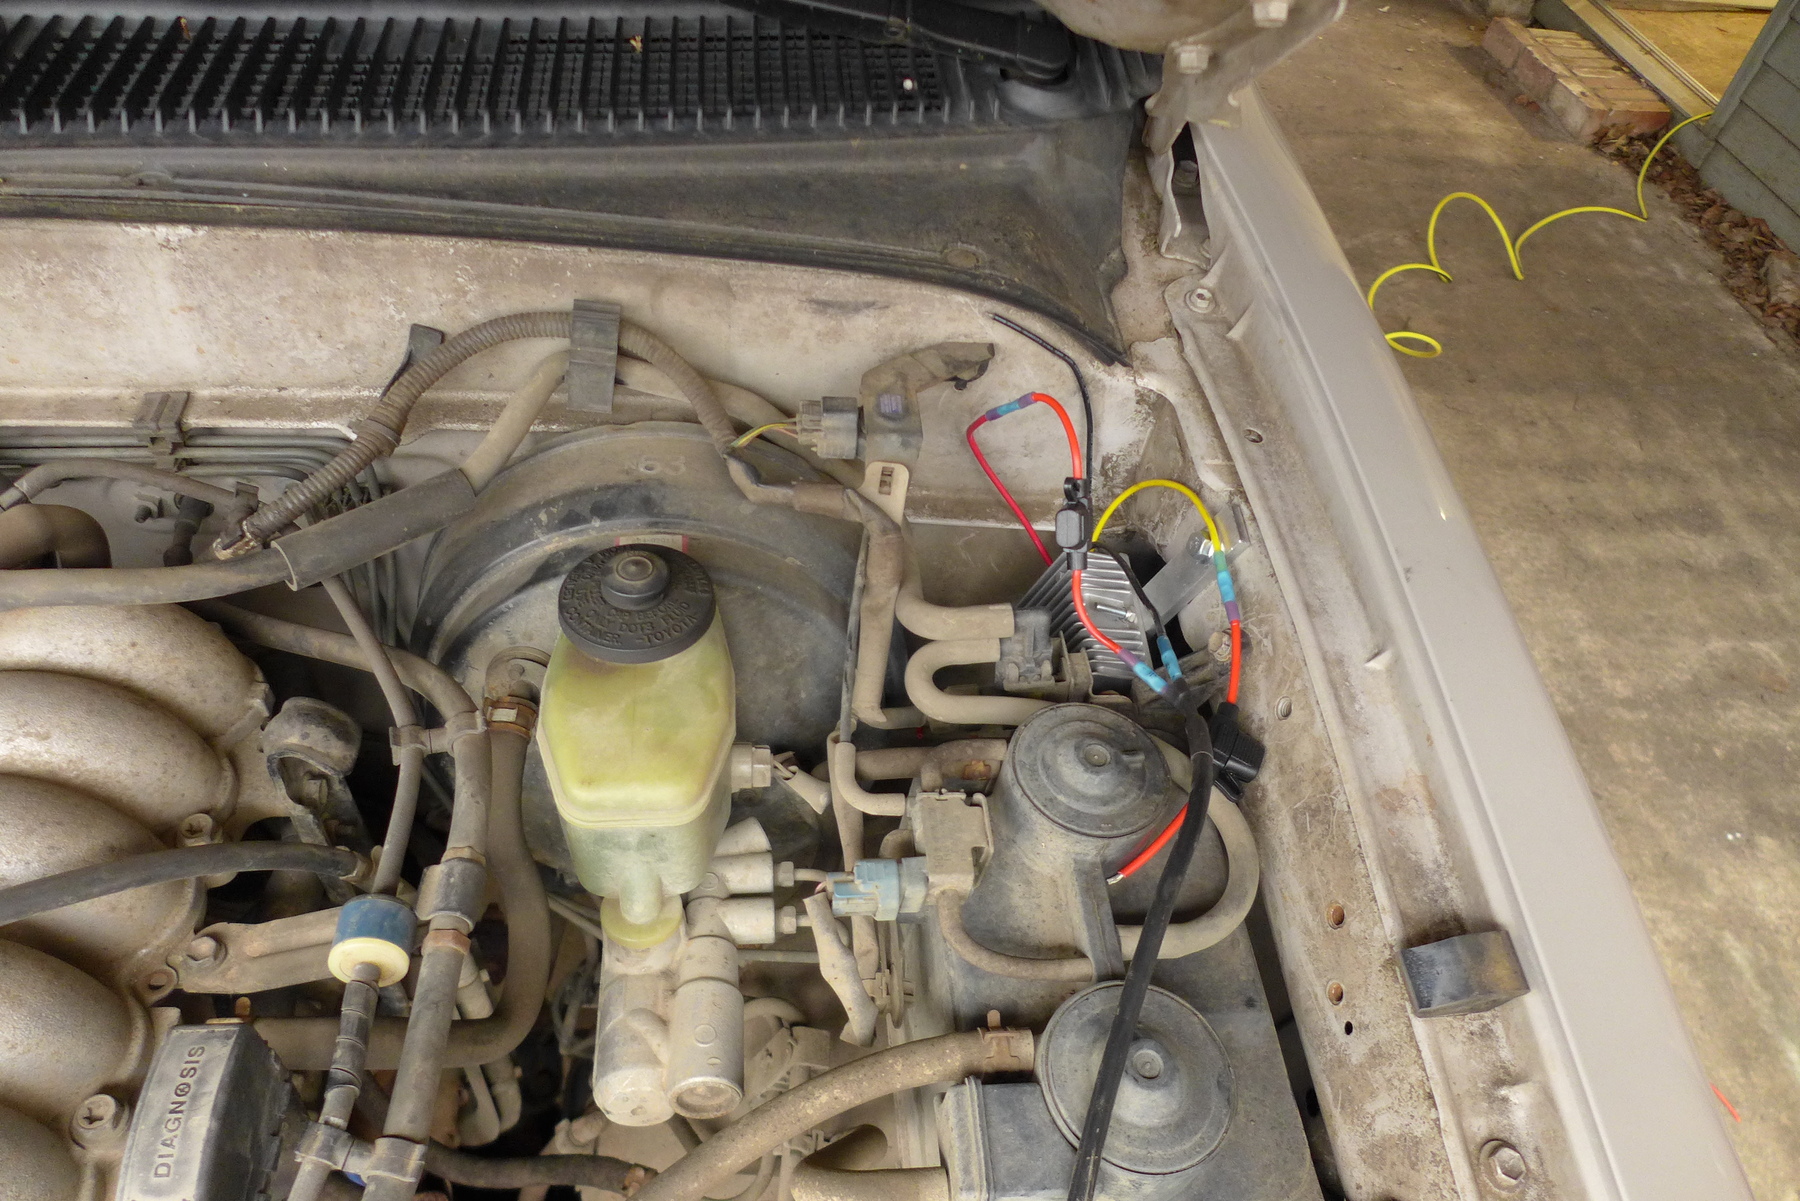
At about this moment I realized I had no clue how I was going to mount everything into the dash. I called around a couple of car audio shops to see if they had any blank din plates or something that would work. None of them were remotely helpful.
I searched the internet quickly for something that might work, but didn't really want to wait around so I decided I'd see if I could cannibalize the old Pioneer.
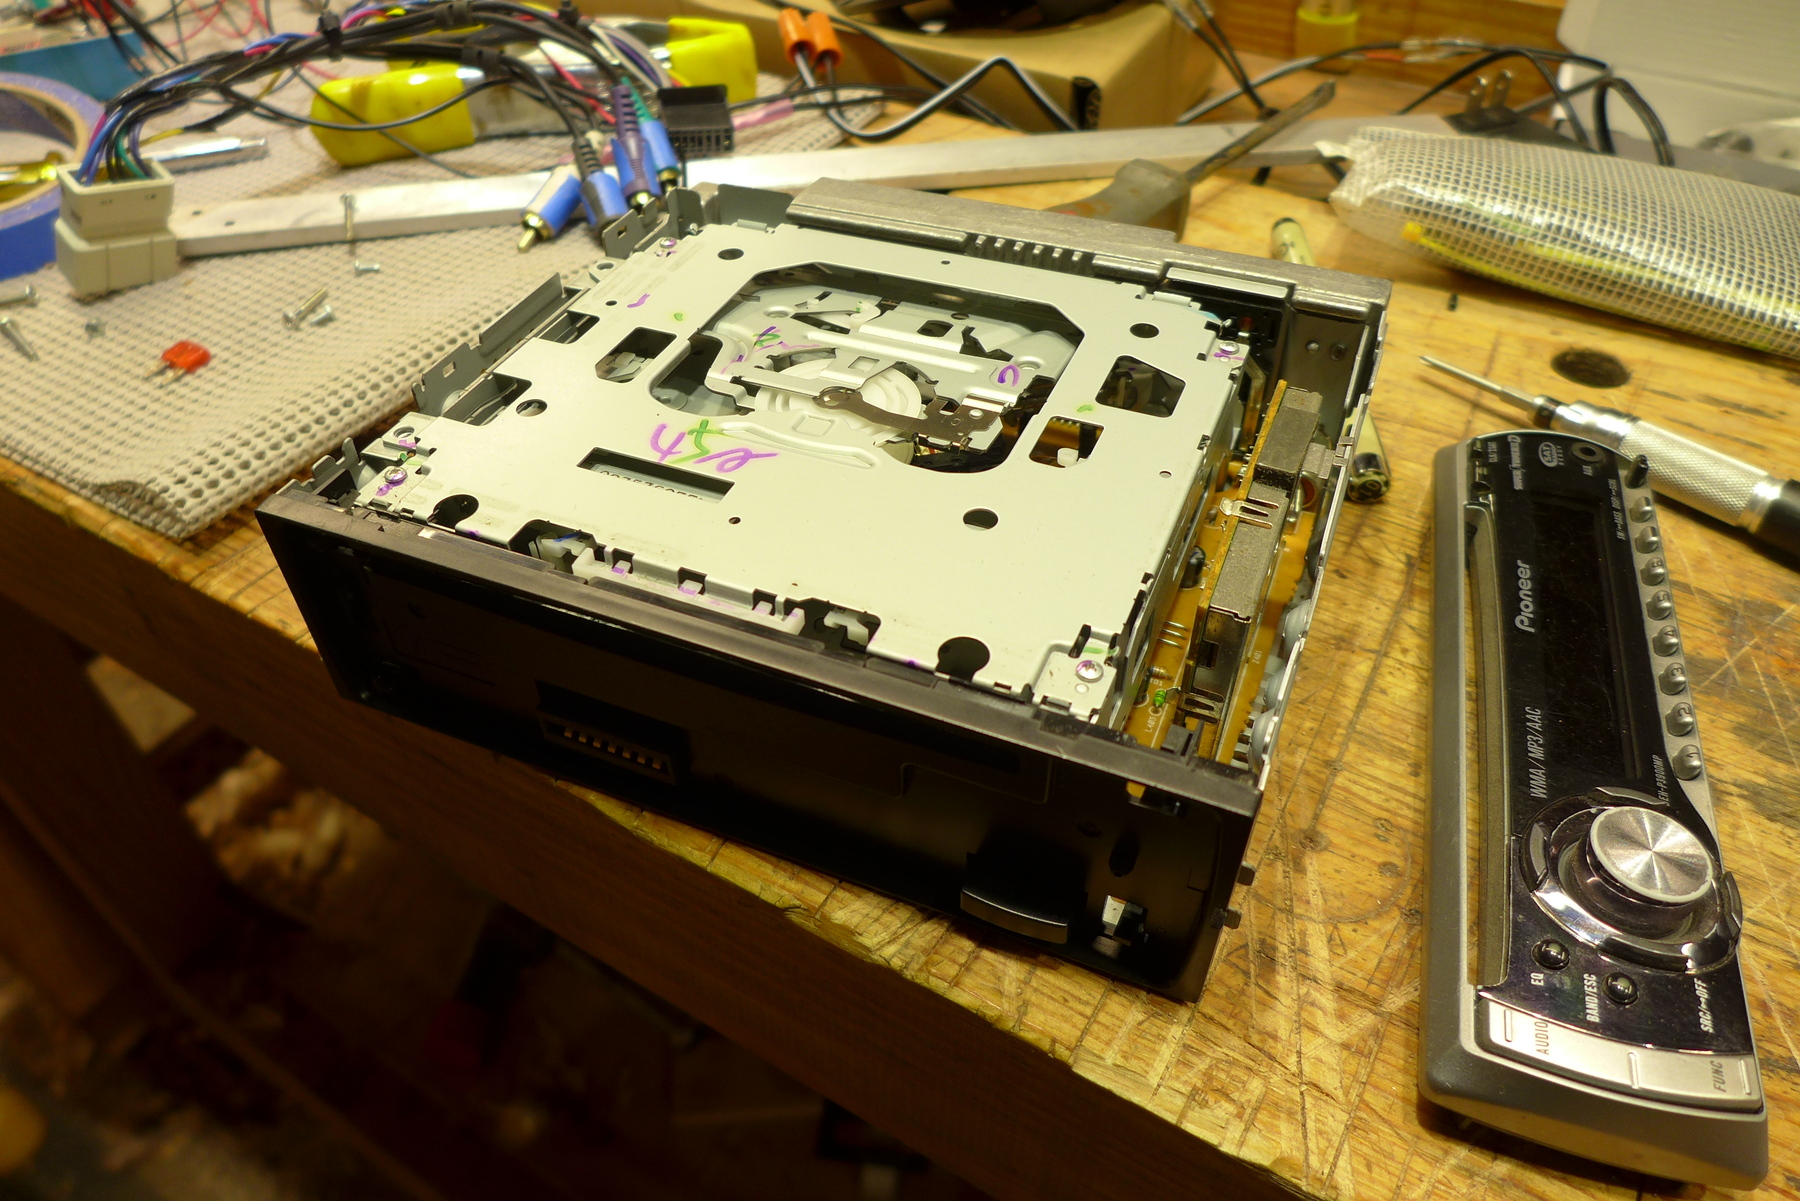
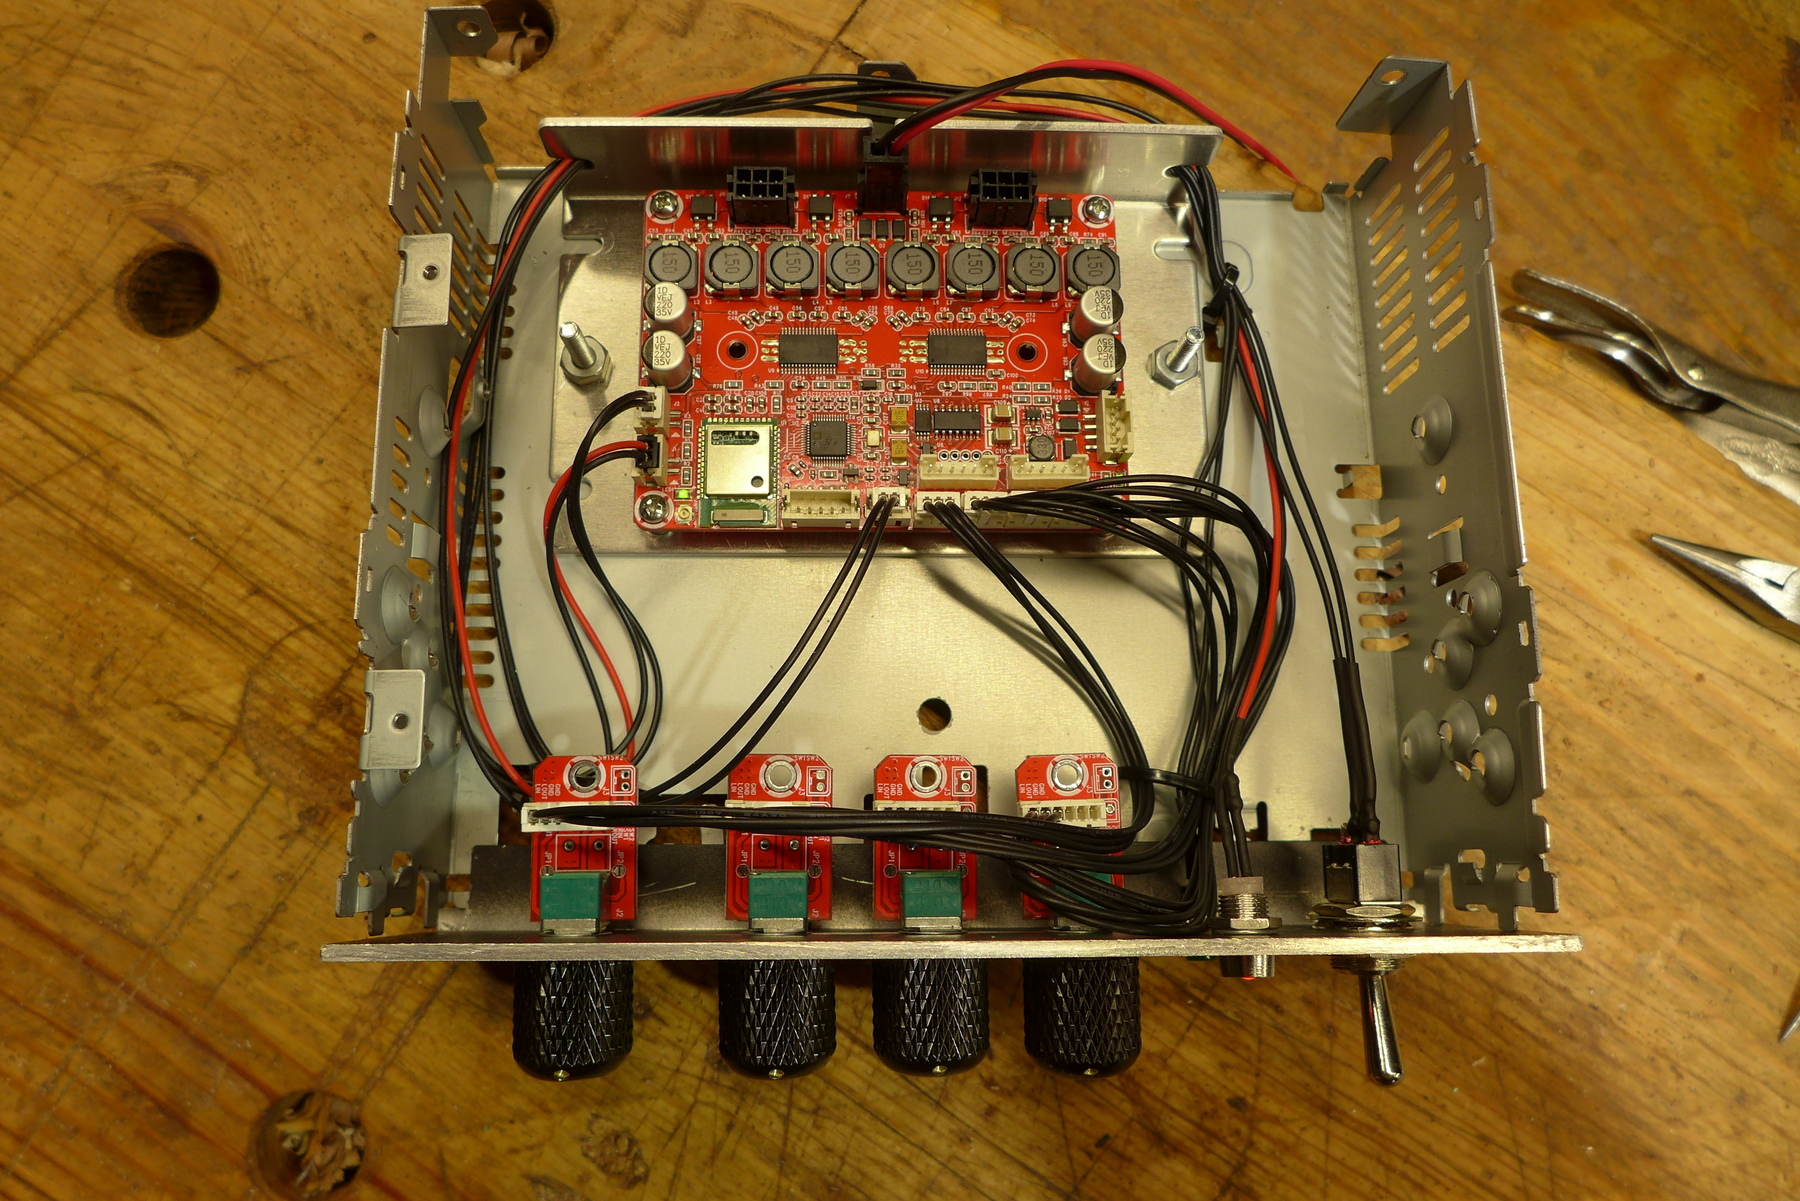
Once I gutted everything I thought, this might work - but I had no idea how to make a proper face plate.
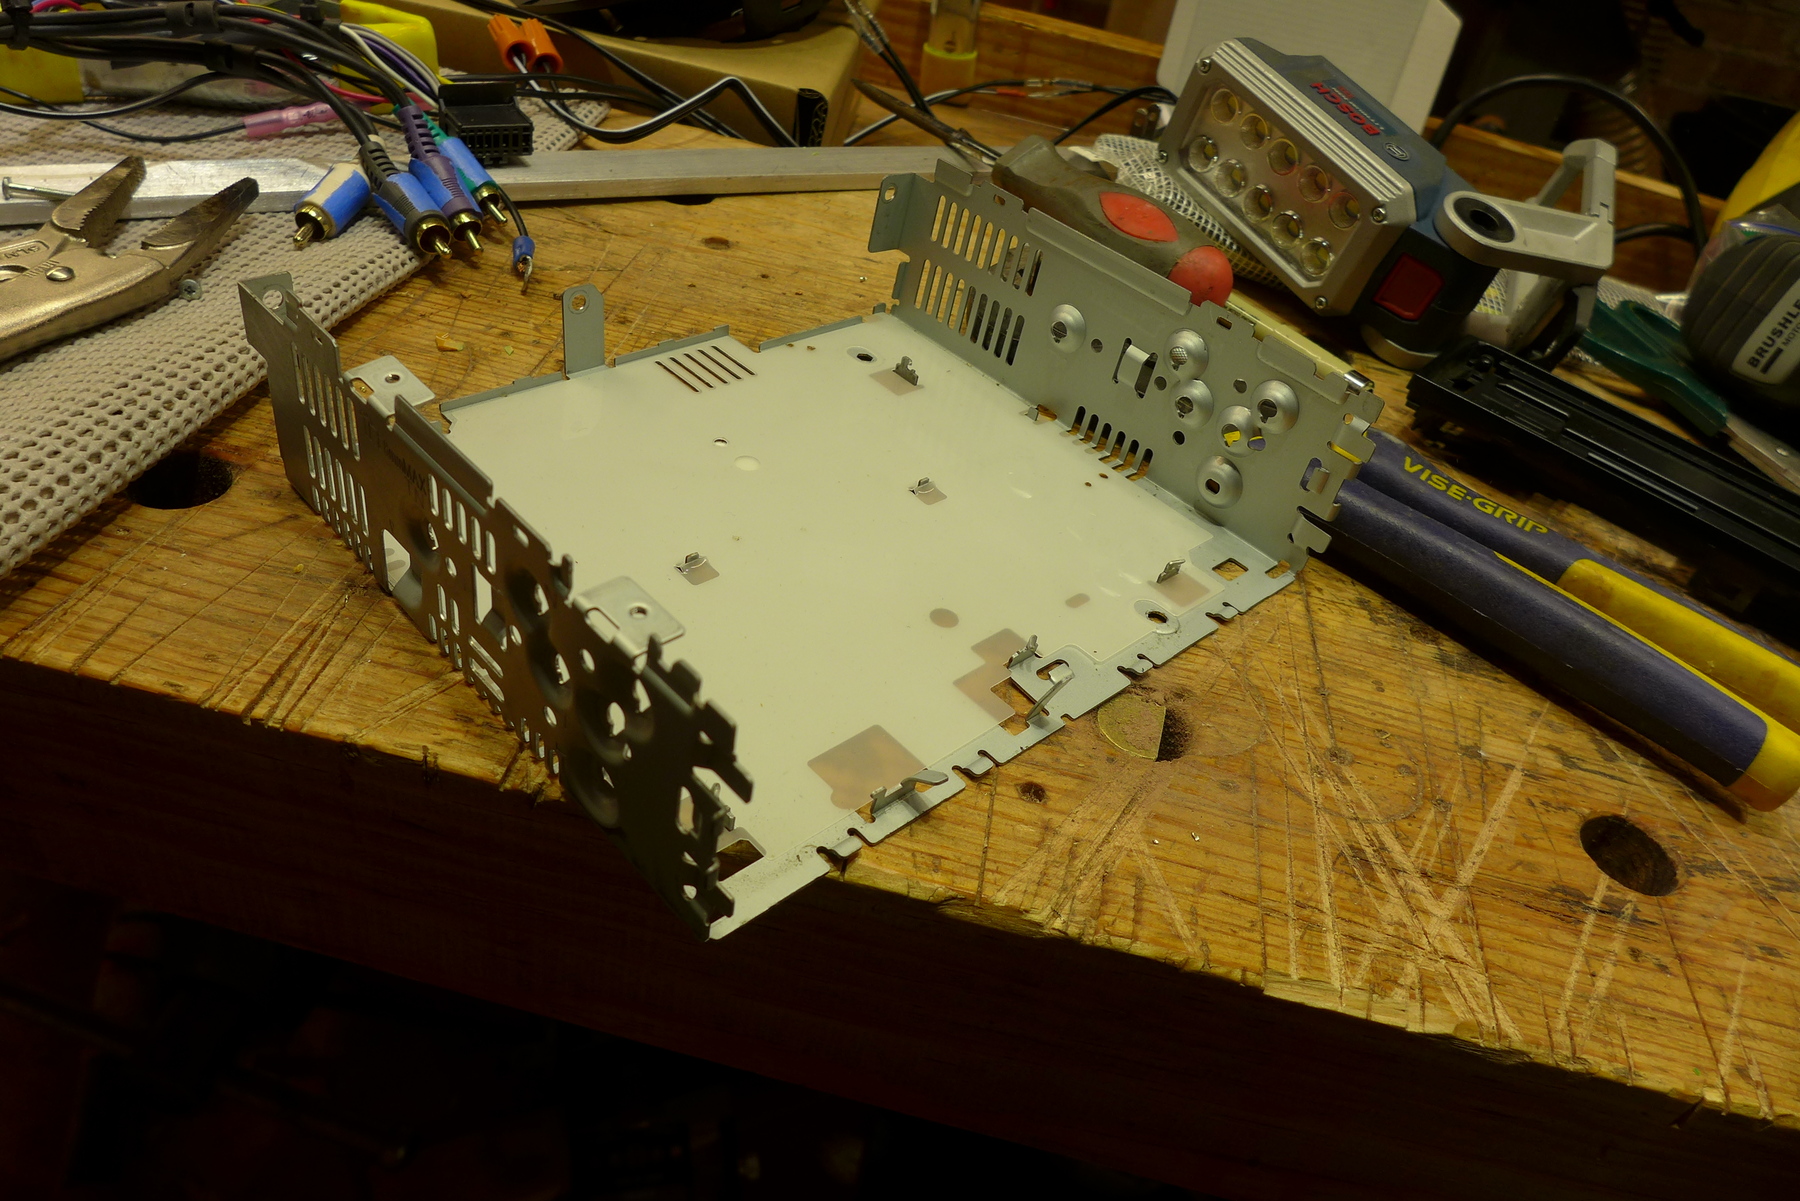
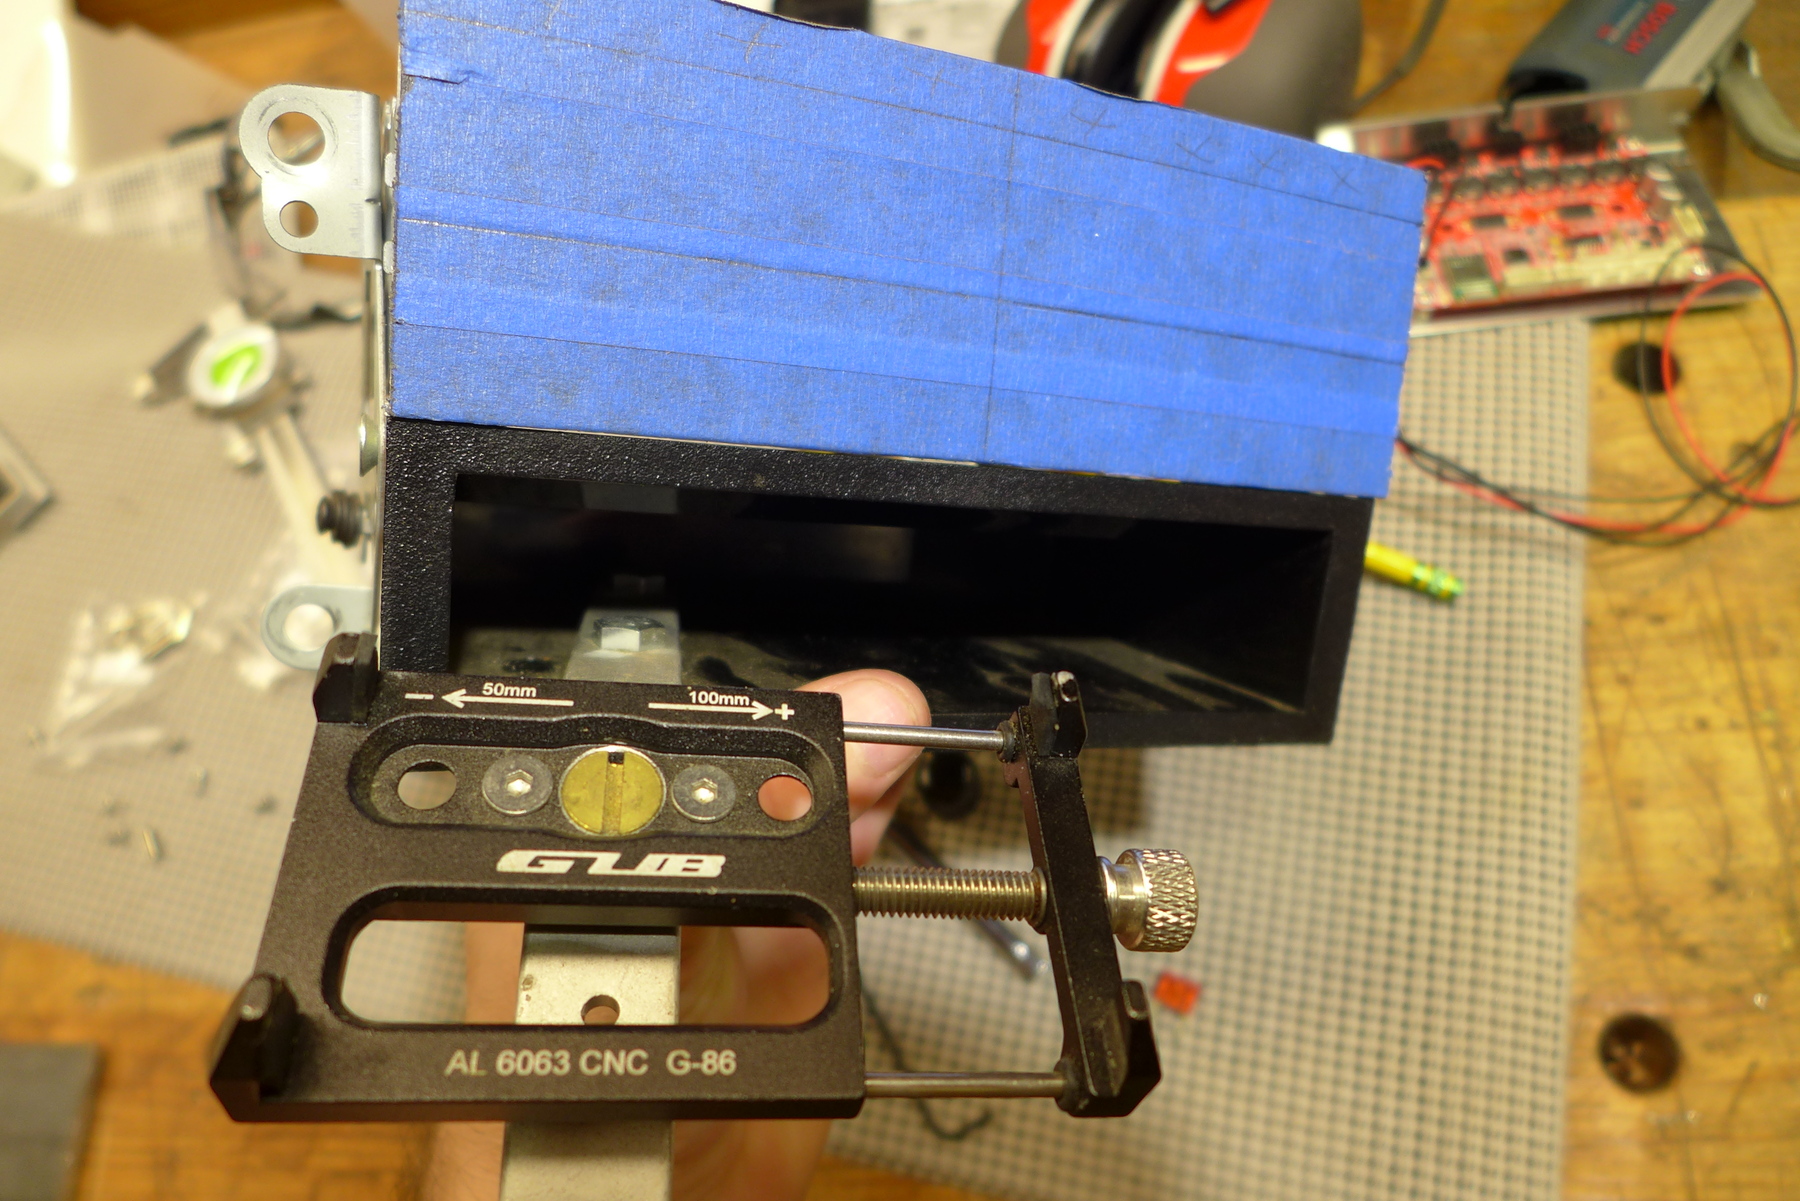
I went to the hardware store and they didn't really have much. I had a piece of black plate steel, probably a good 1/4 thick - which I figured would be way too heavy for this application. Then I remembered I had the old AB amp that I was going to toss, and decided to cannibalize that as well just for aluminum. It was the right thickness and was already painted - so it would save me some time. It might seem wasteful, but one channel was already gone on this amp and honestly, after having much better luck with the class D amps - I figured its time had come and gone.
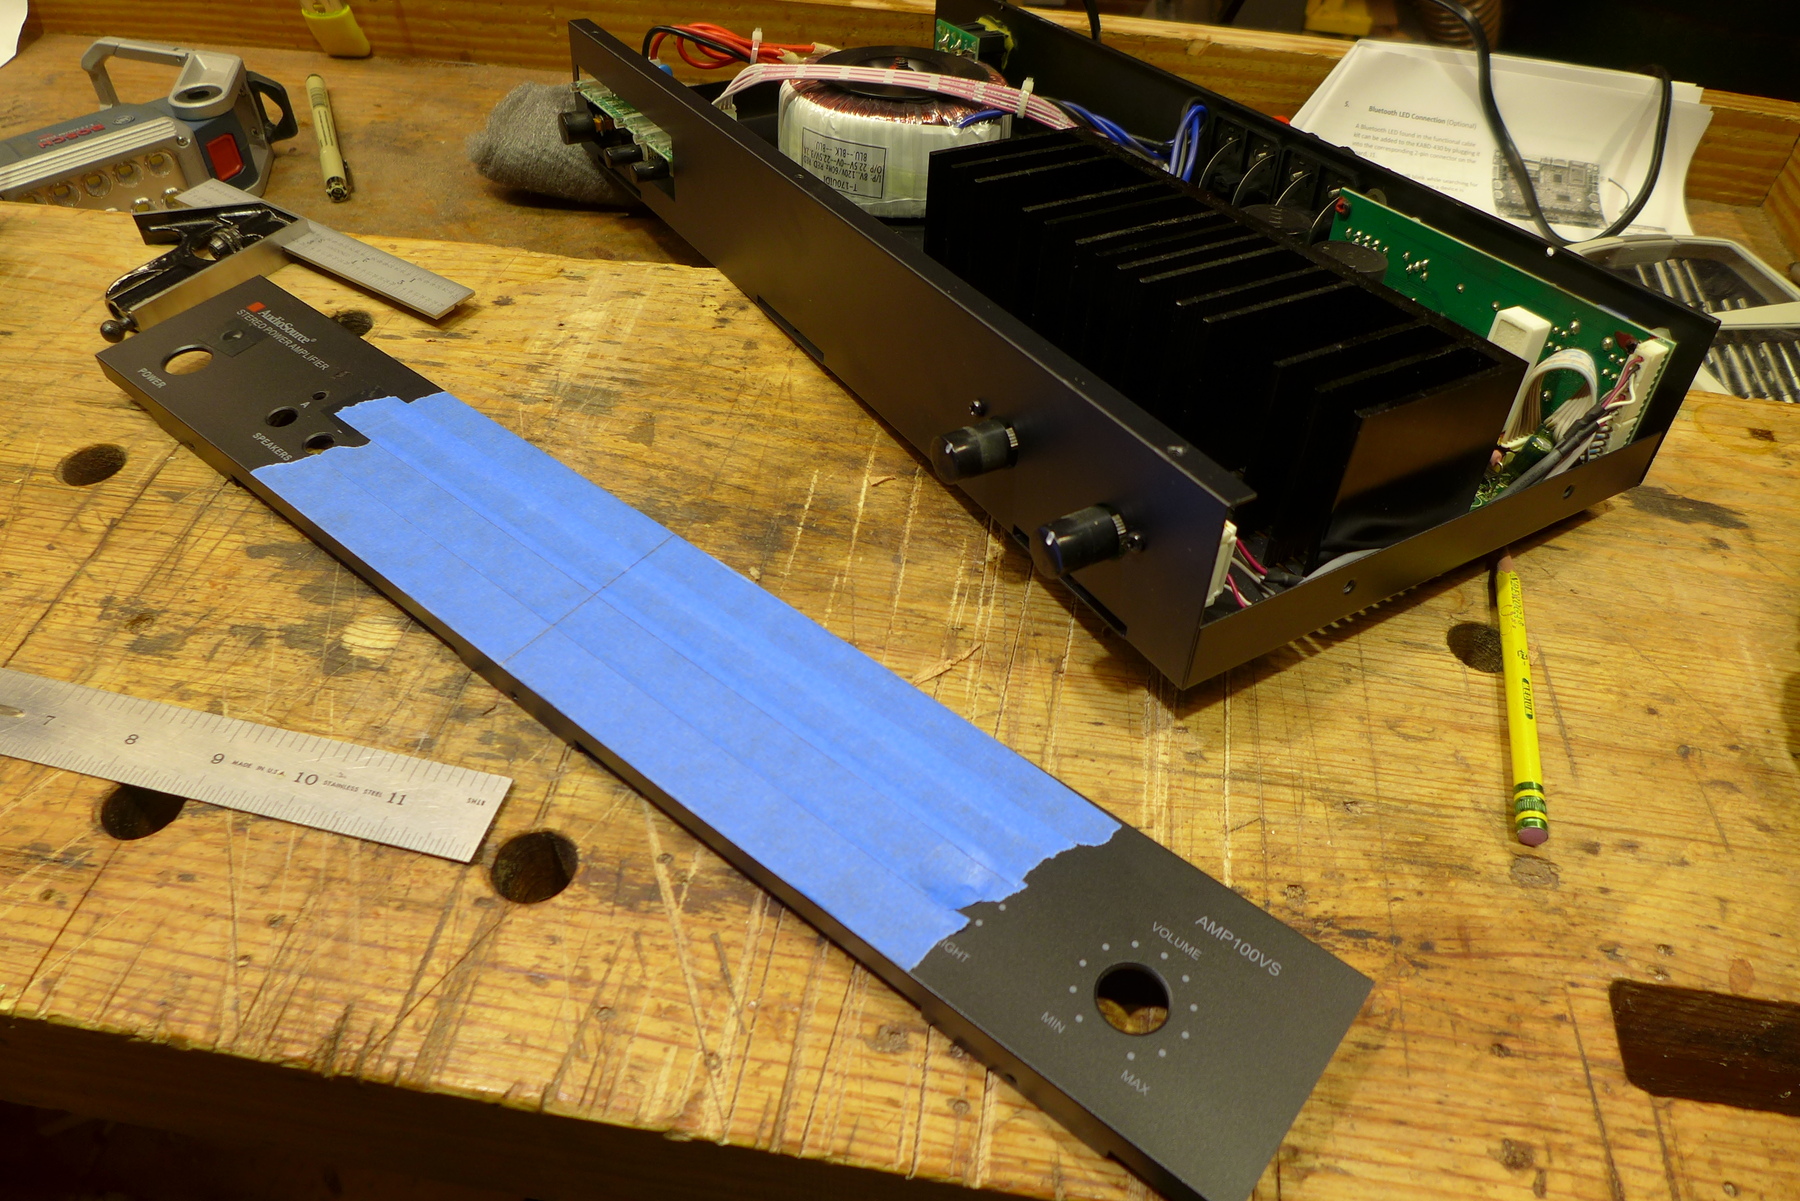
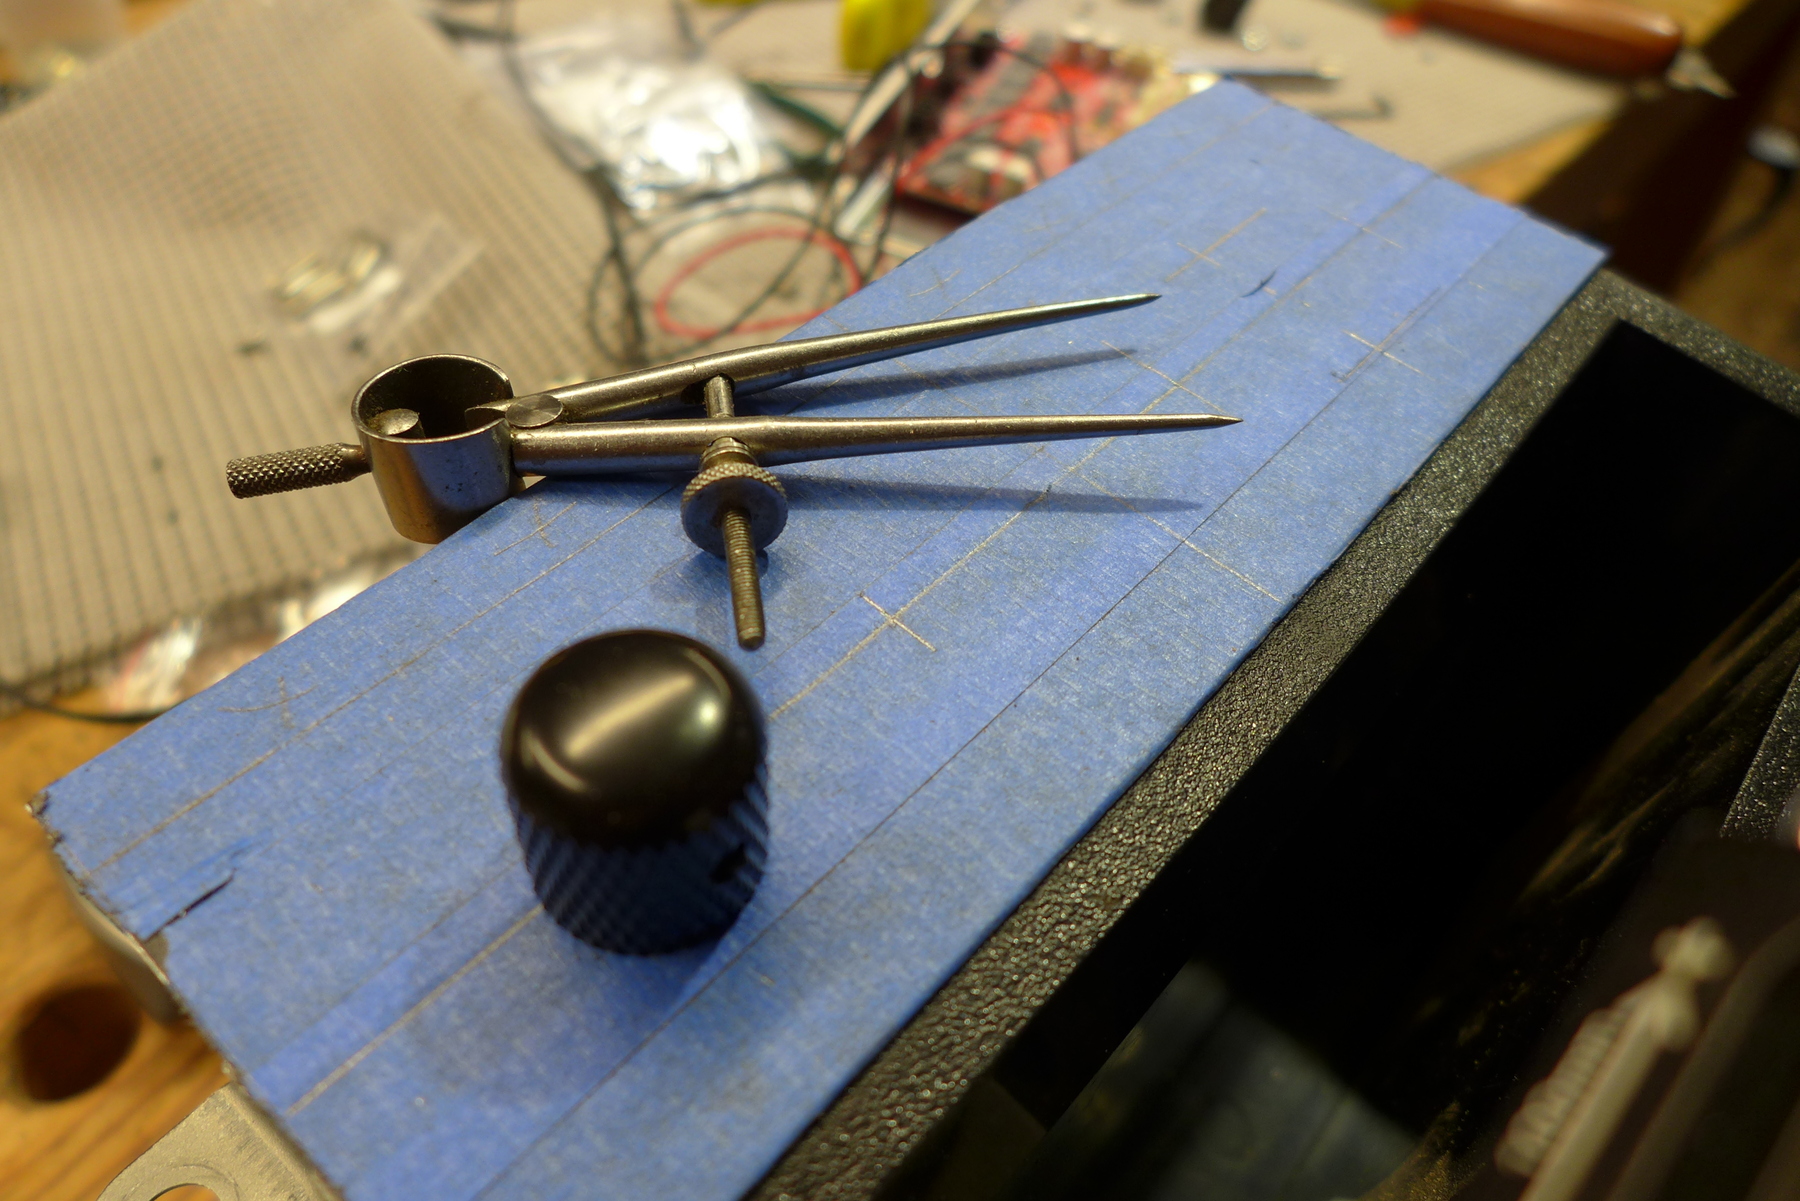
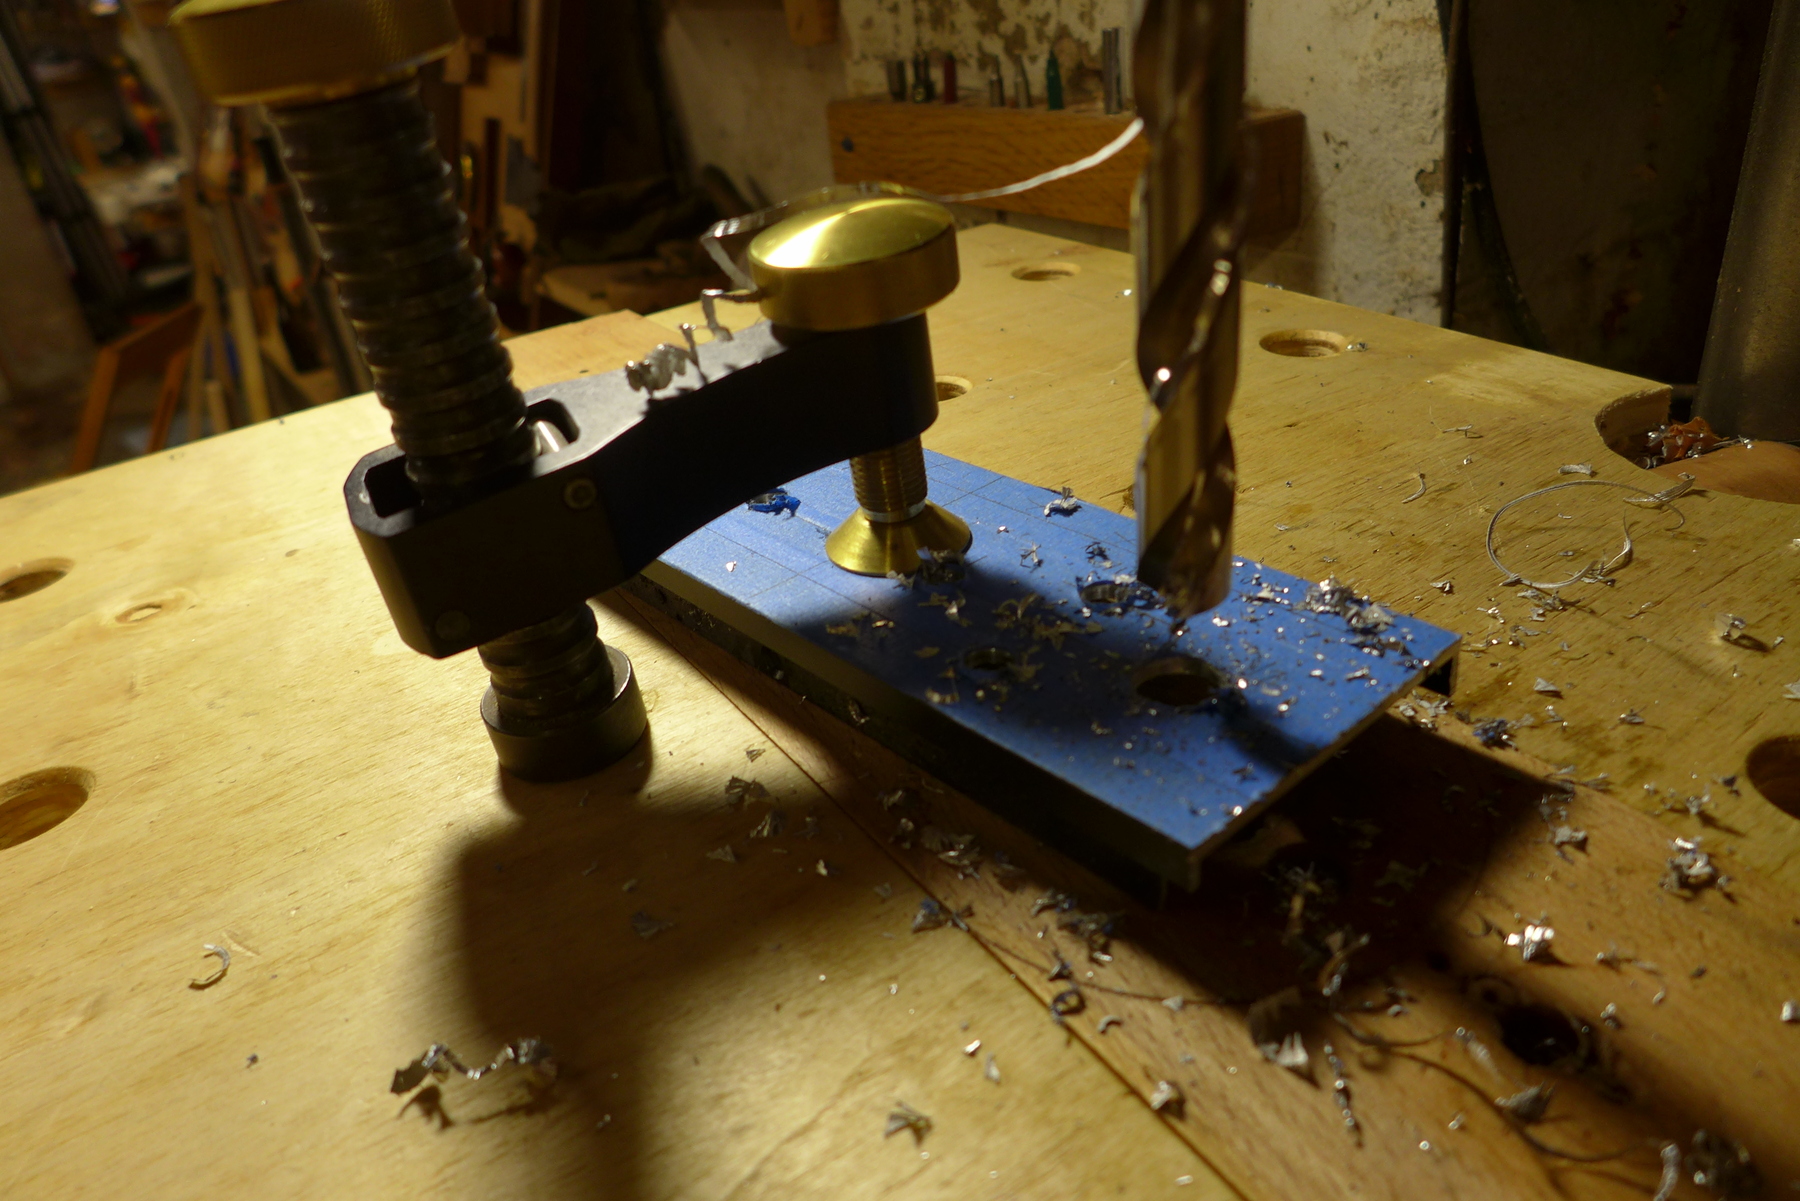
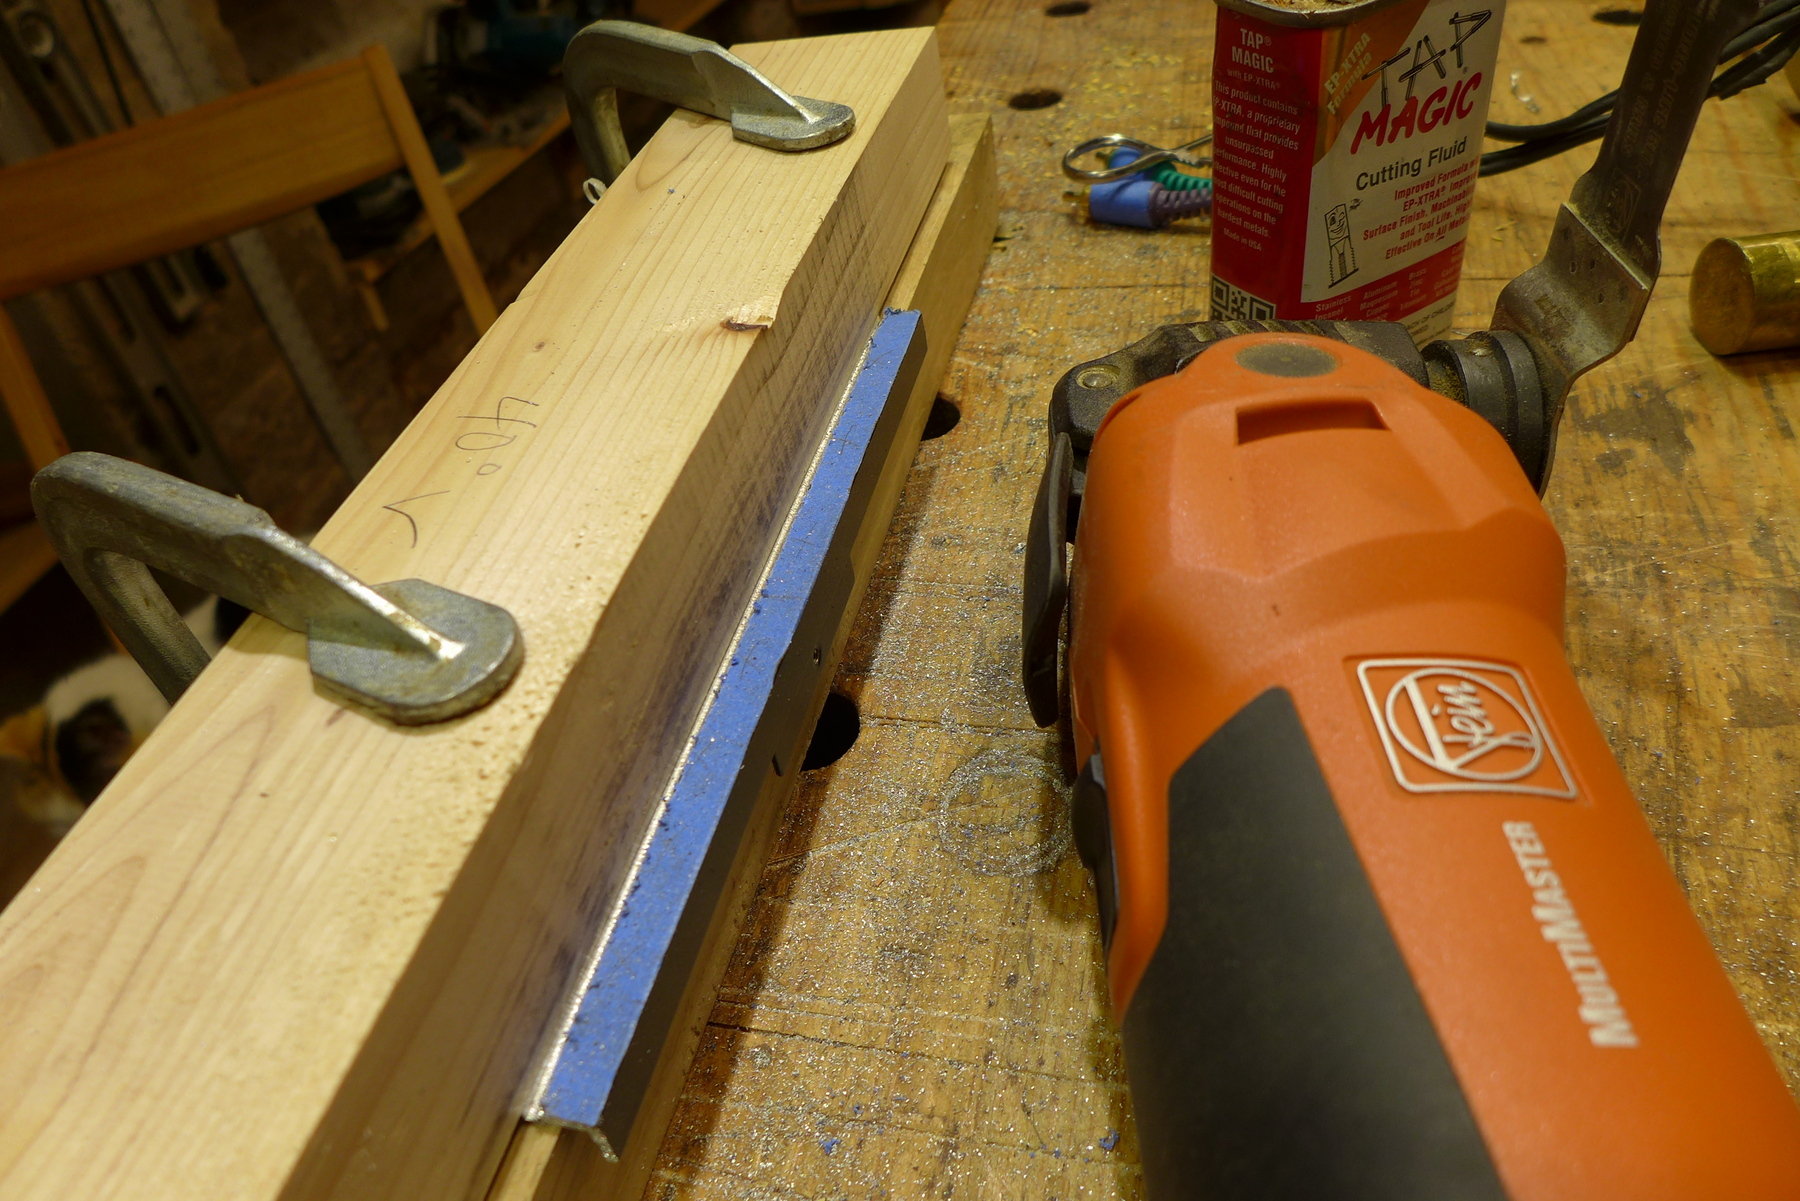
I marked out the dimensions and got to work with a hacksaw.
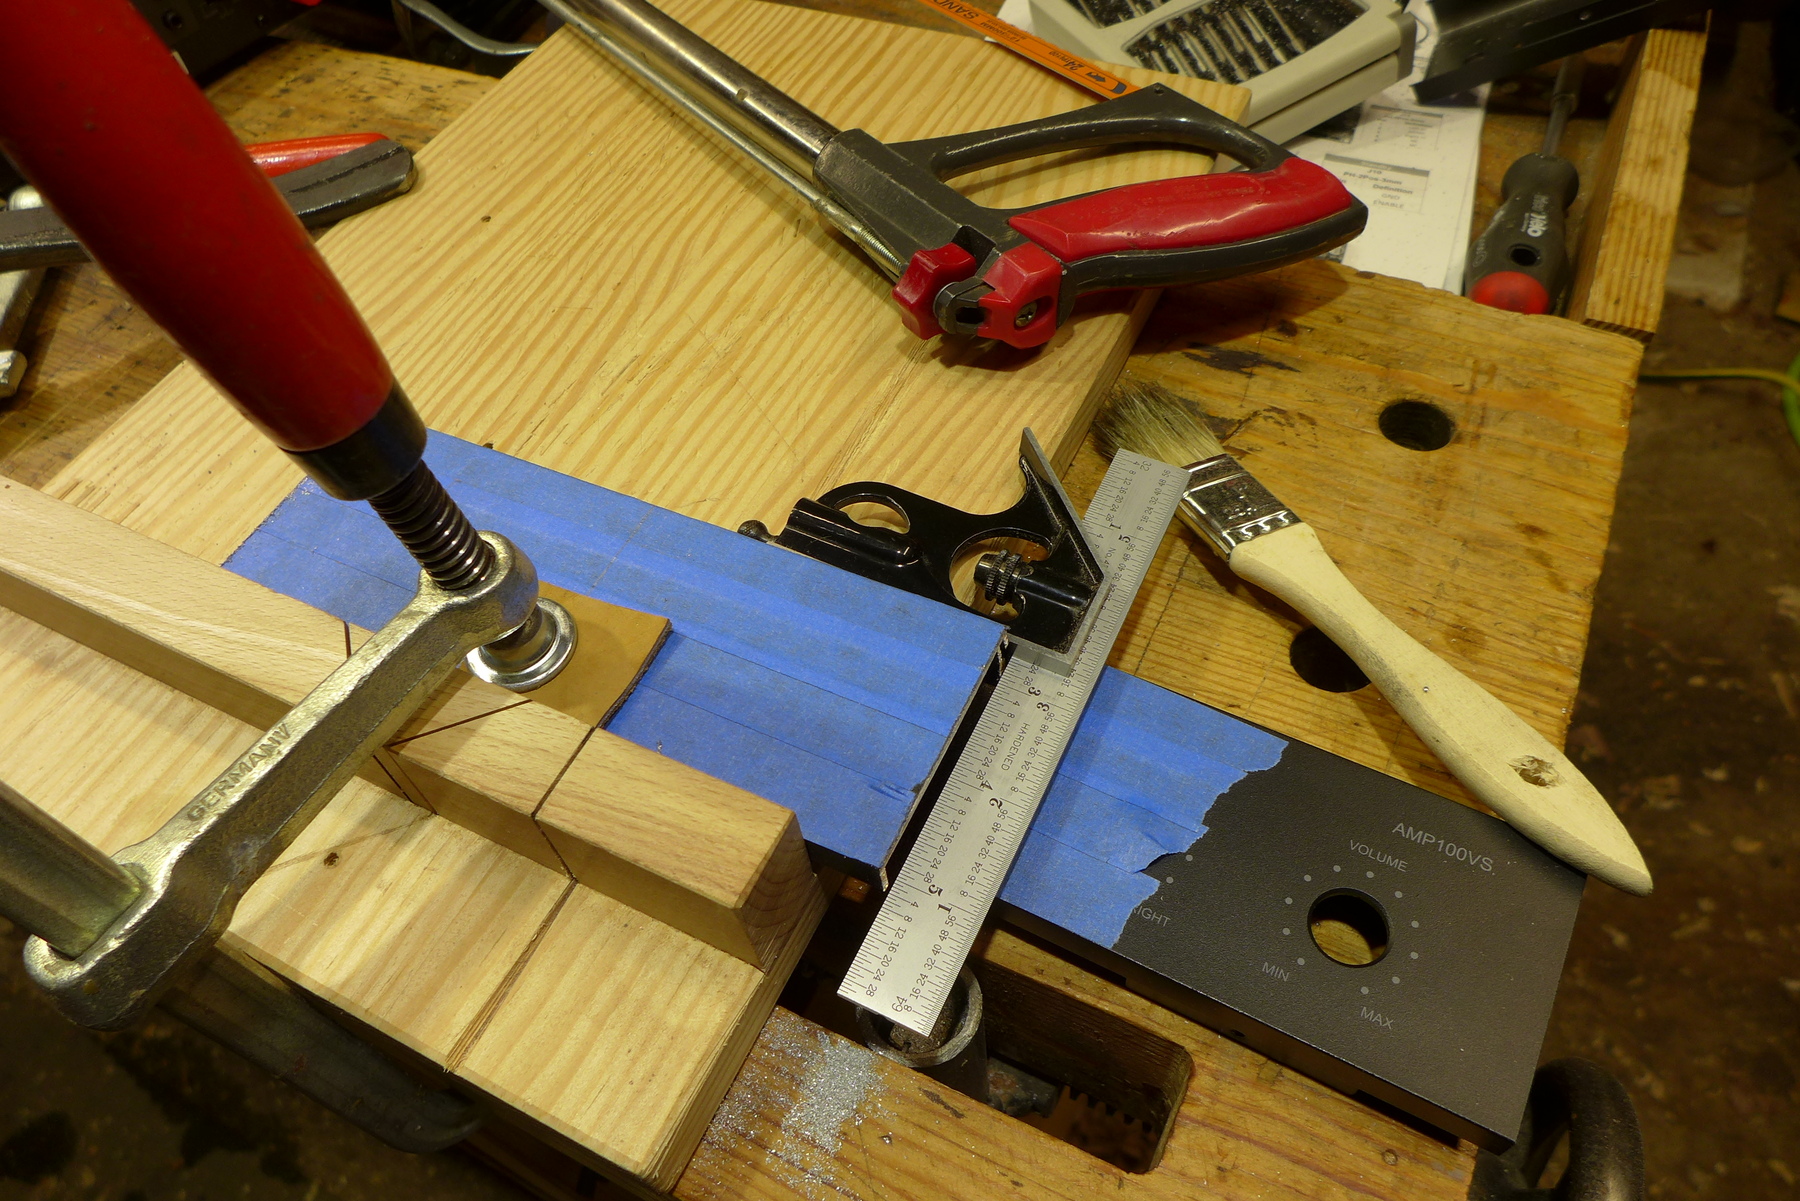
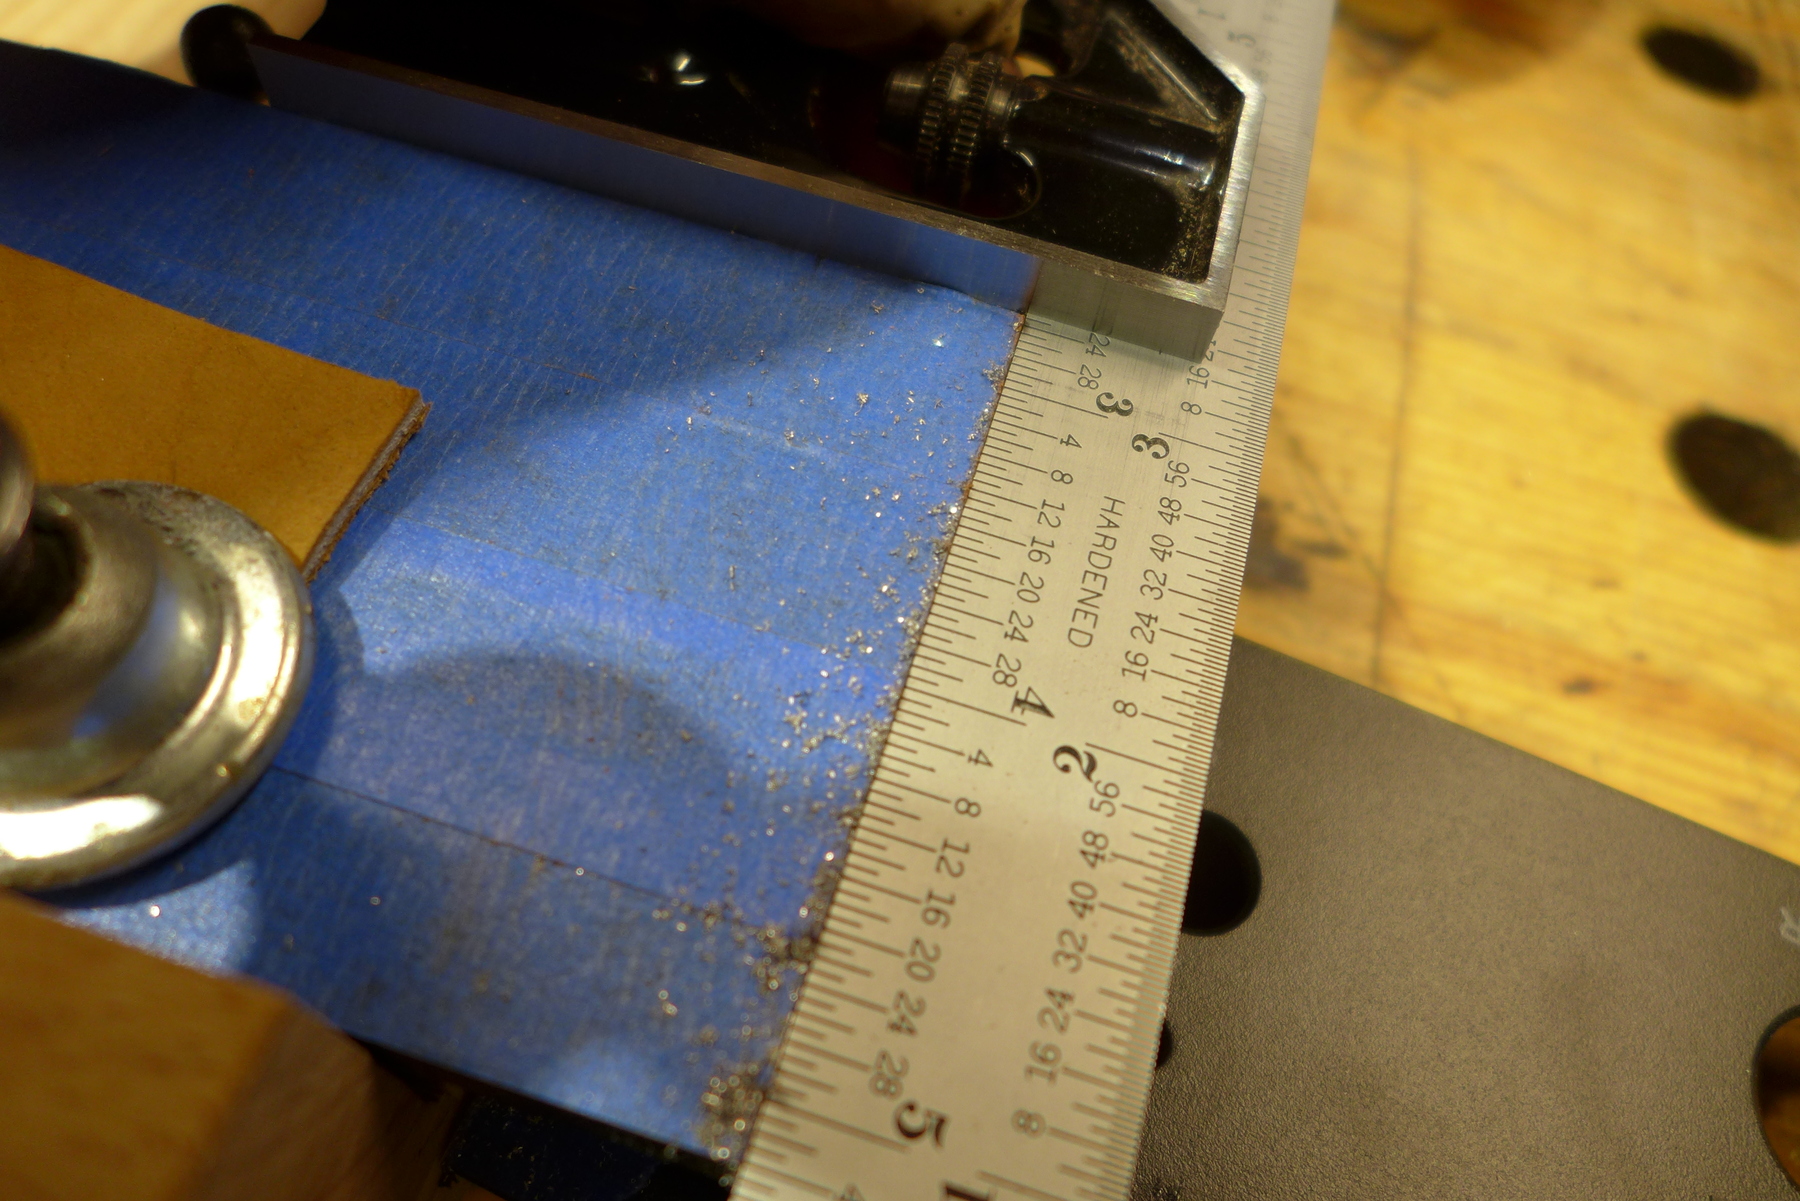
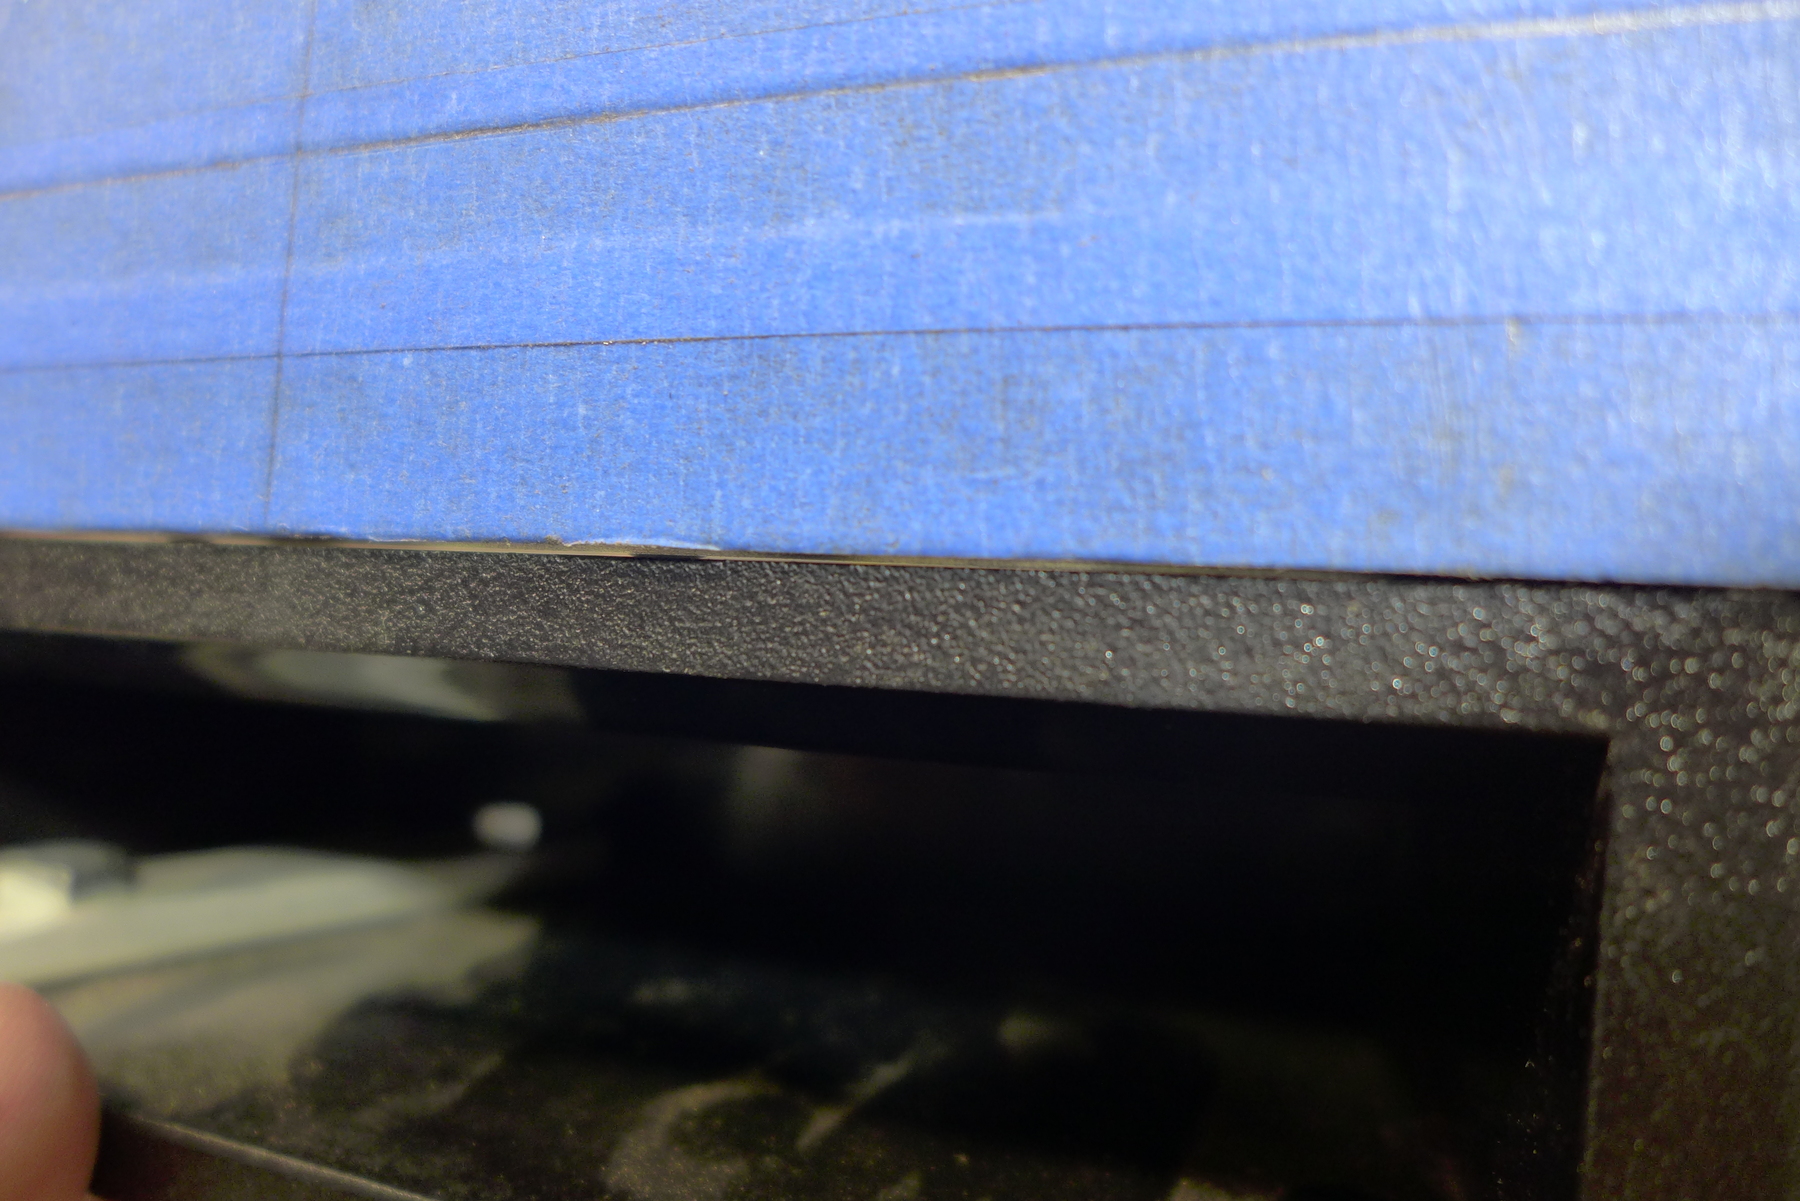
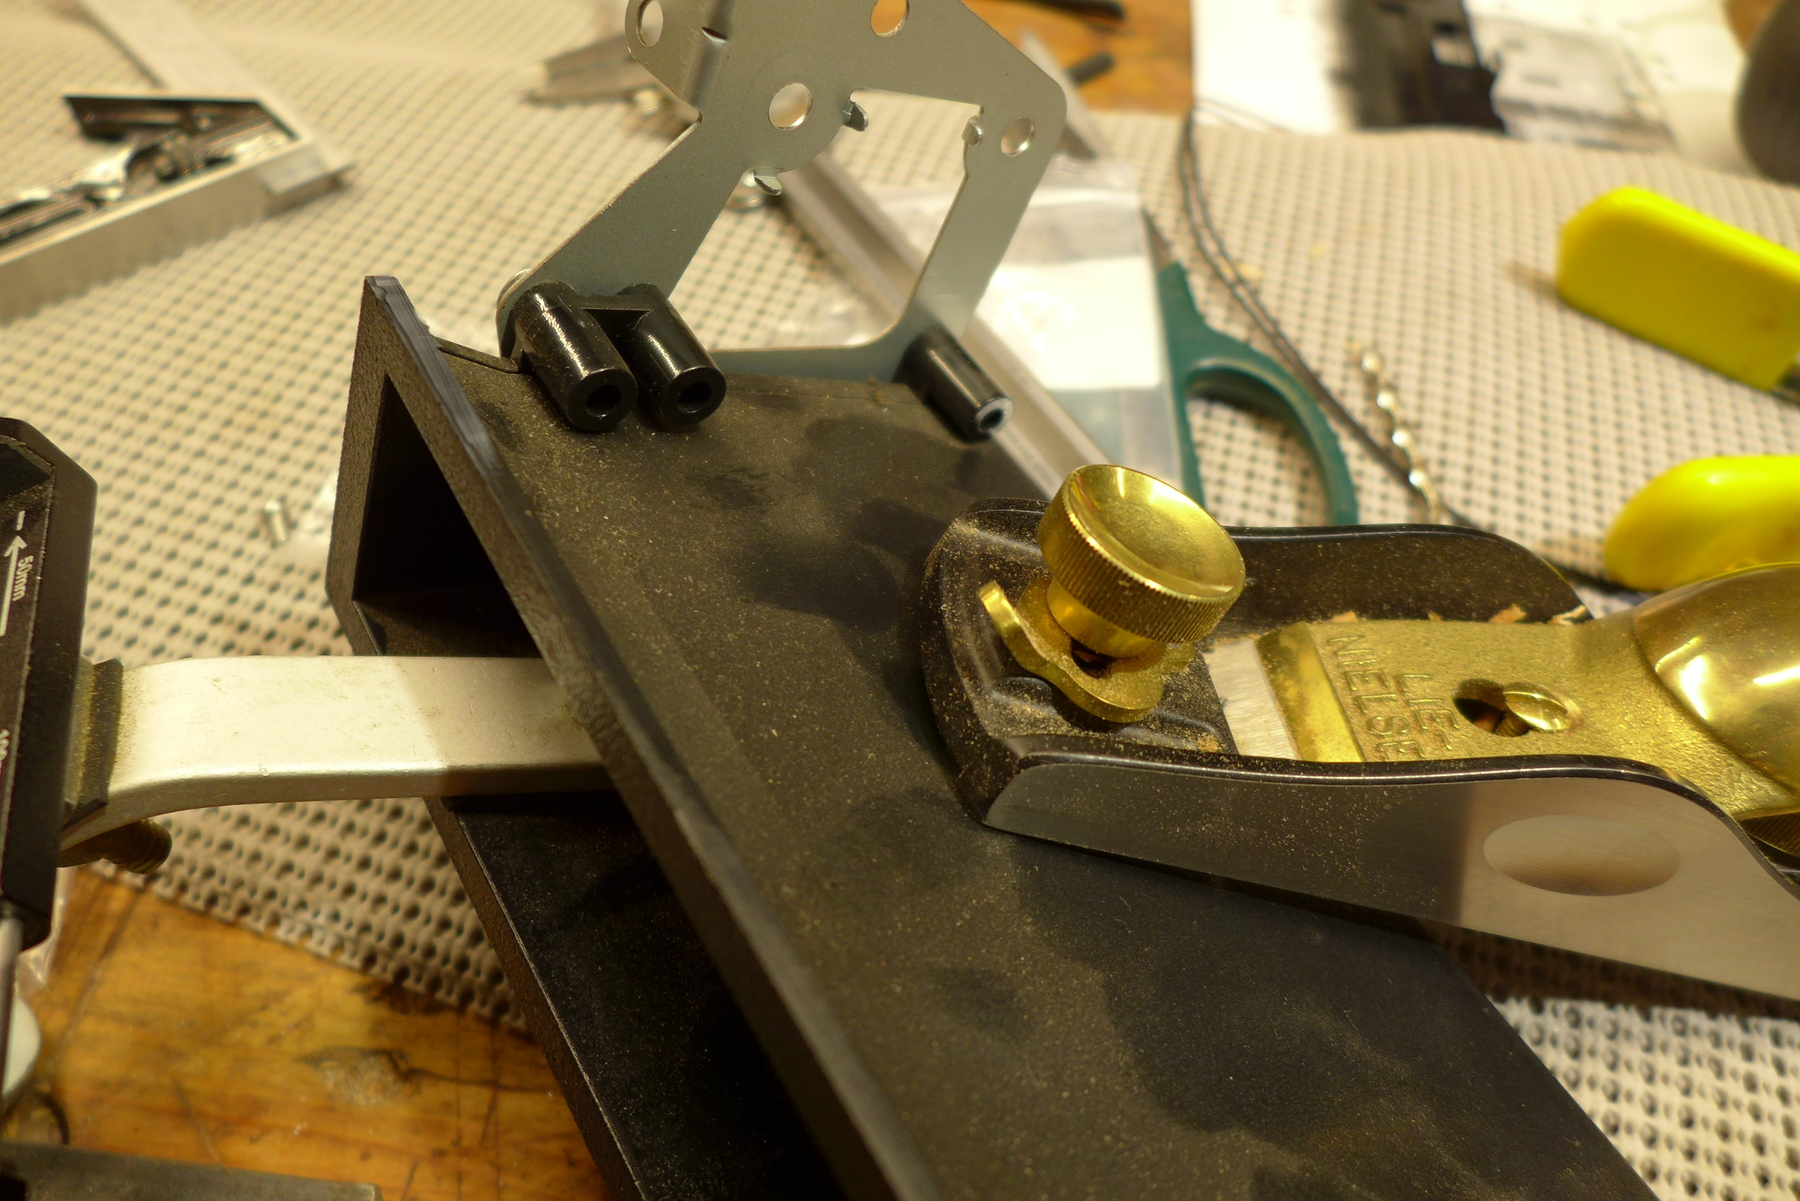
Some niggling corners, etc. that I "fixed" with a nice whap of a chisel.
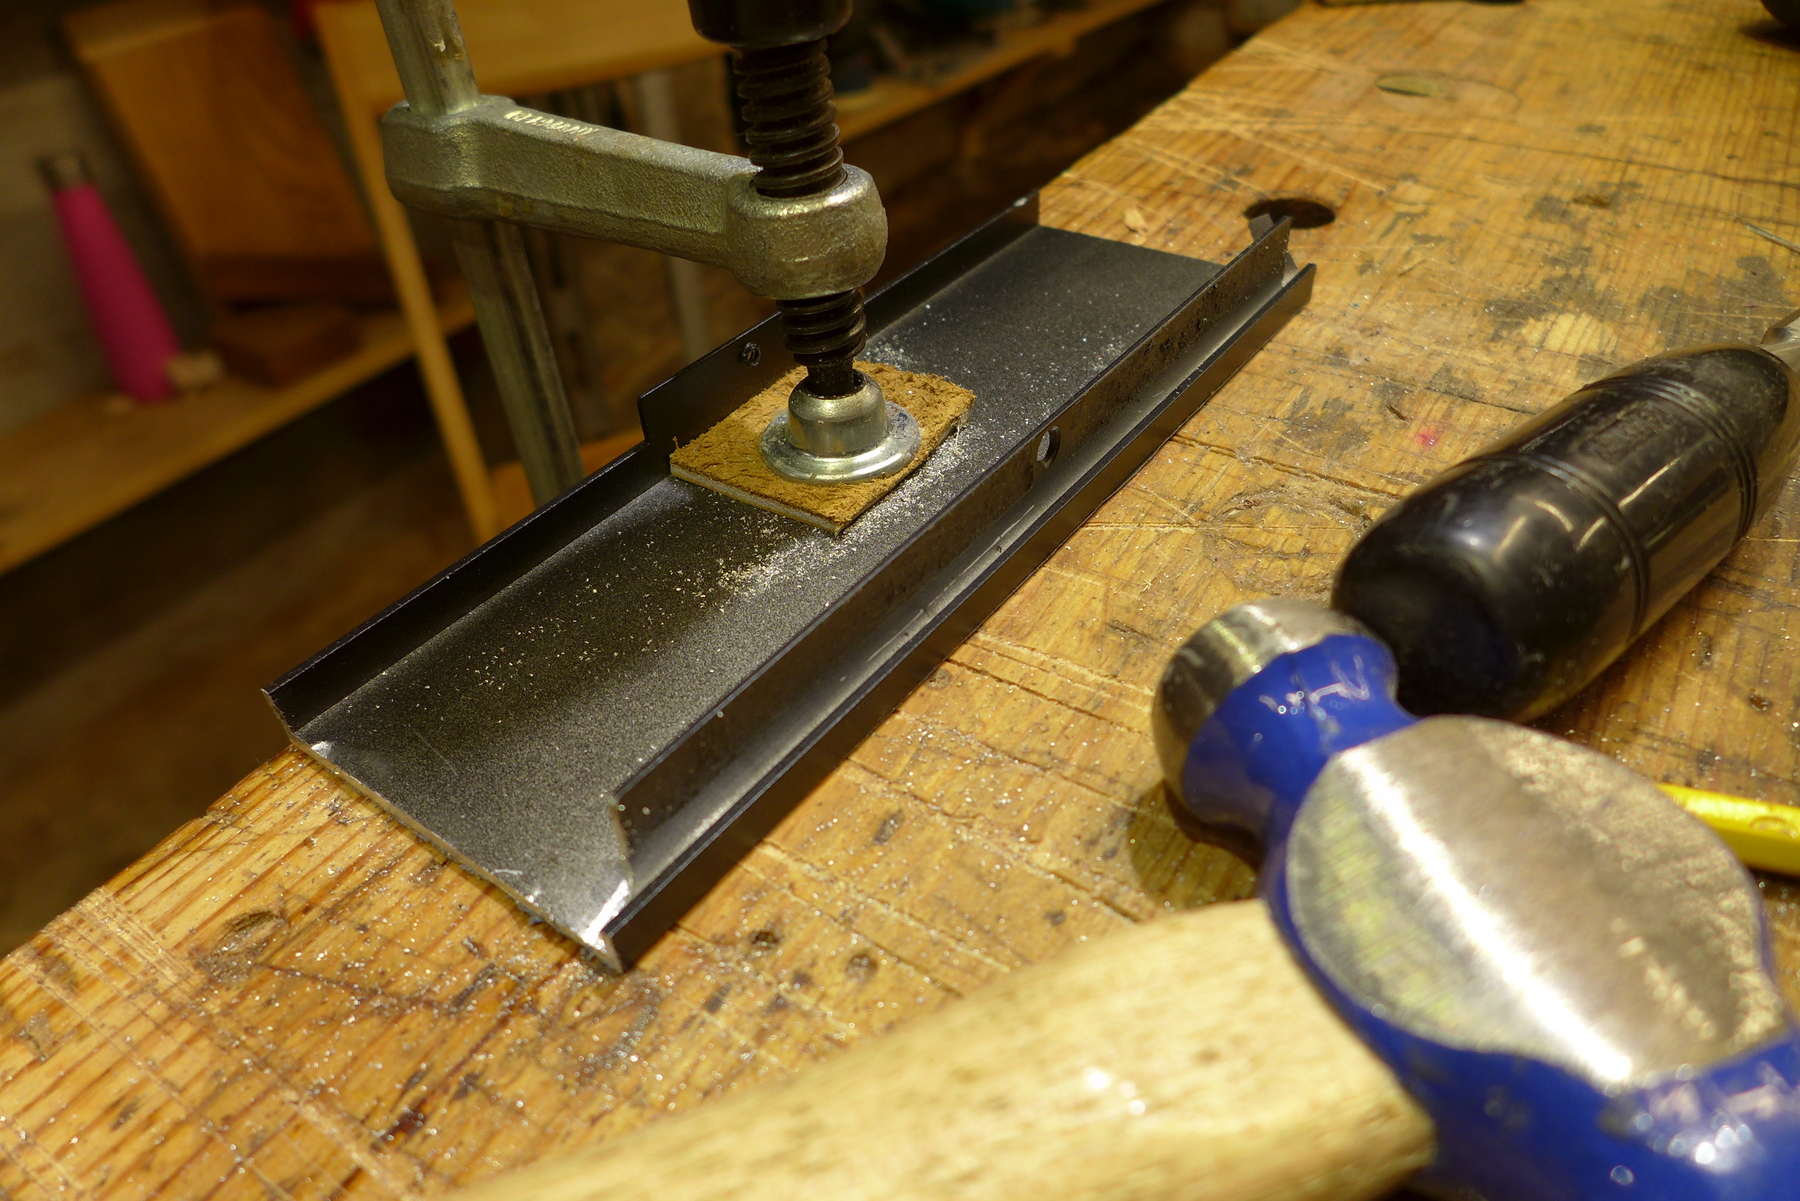
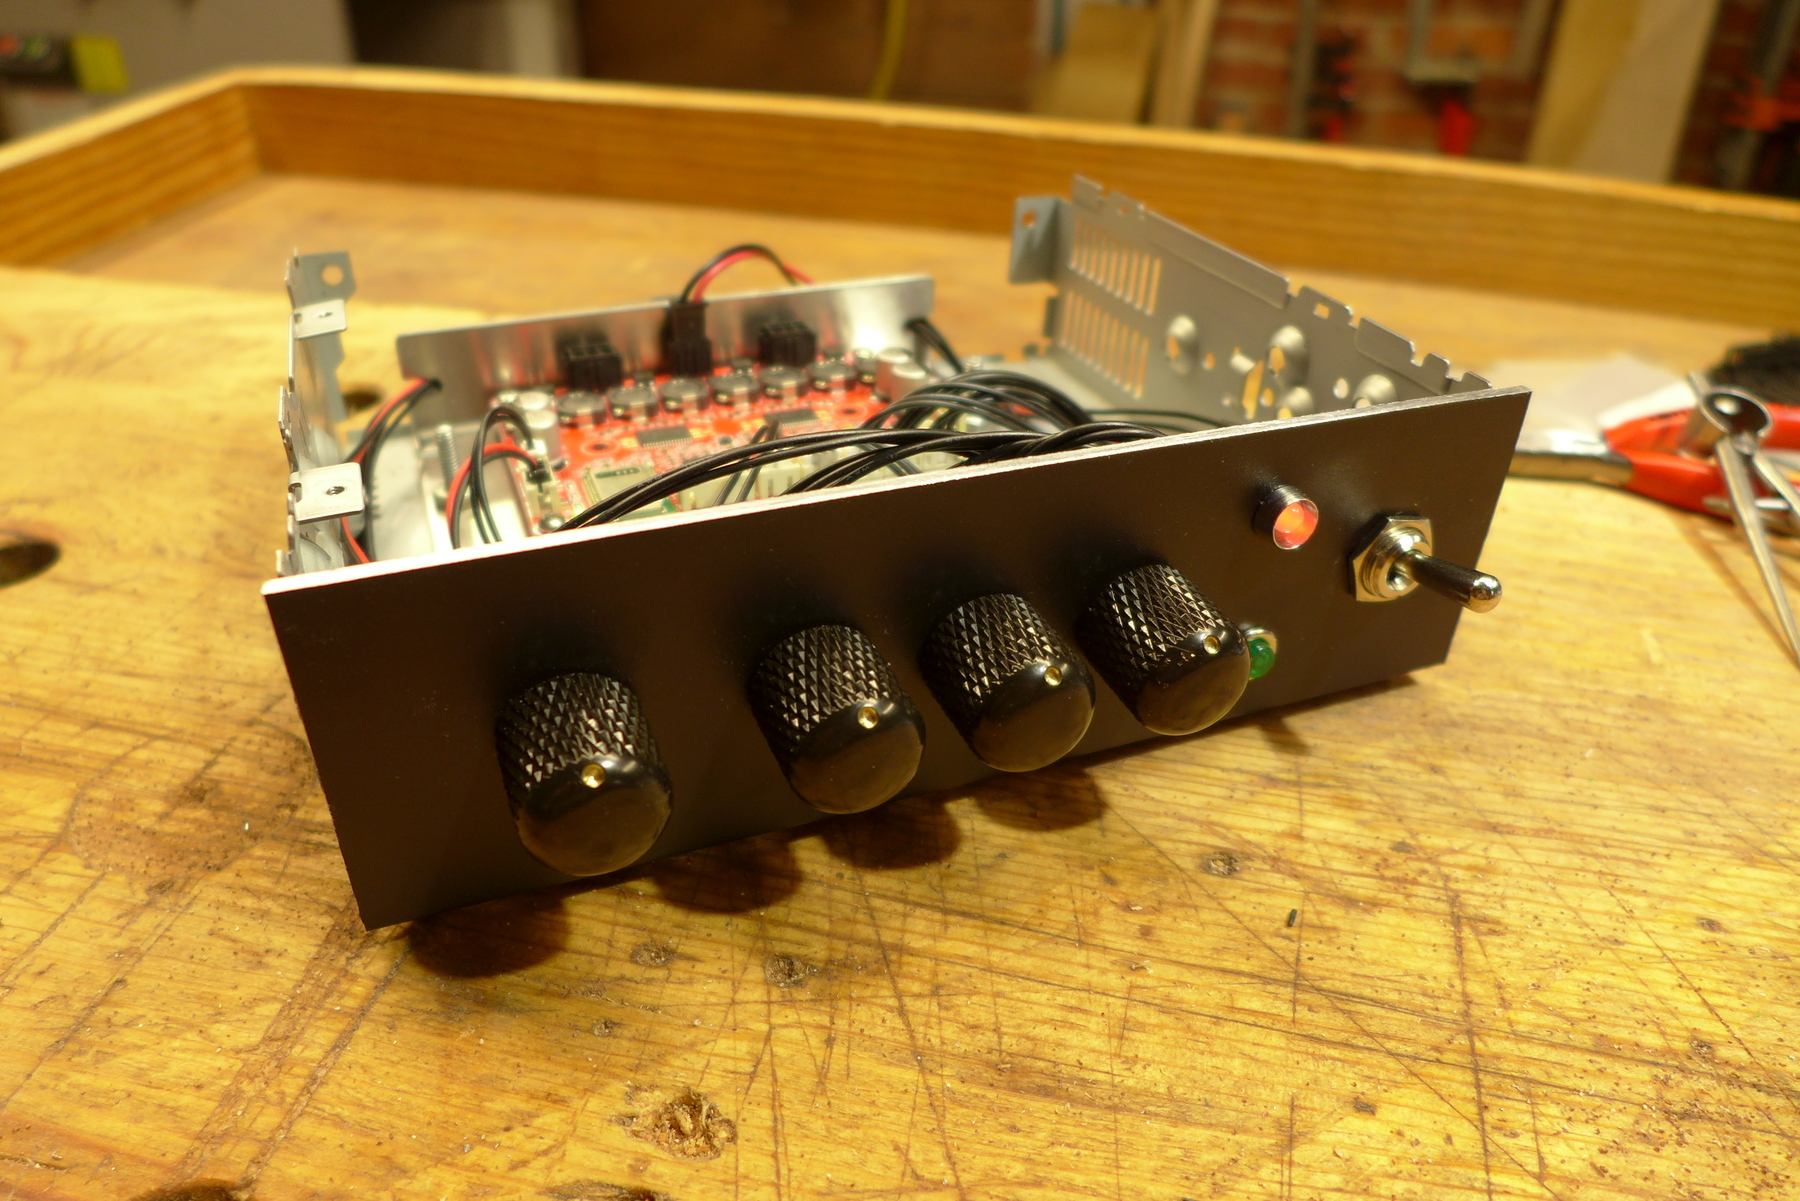
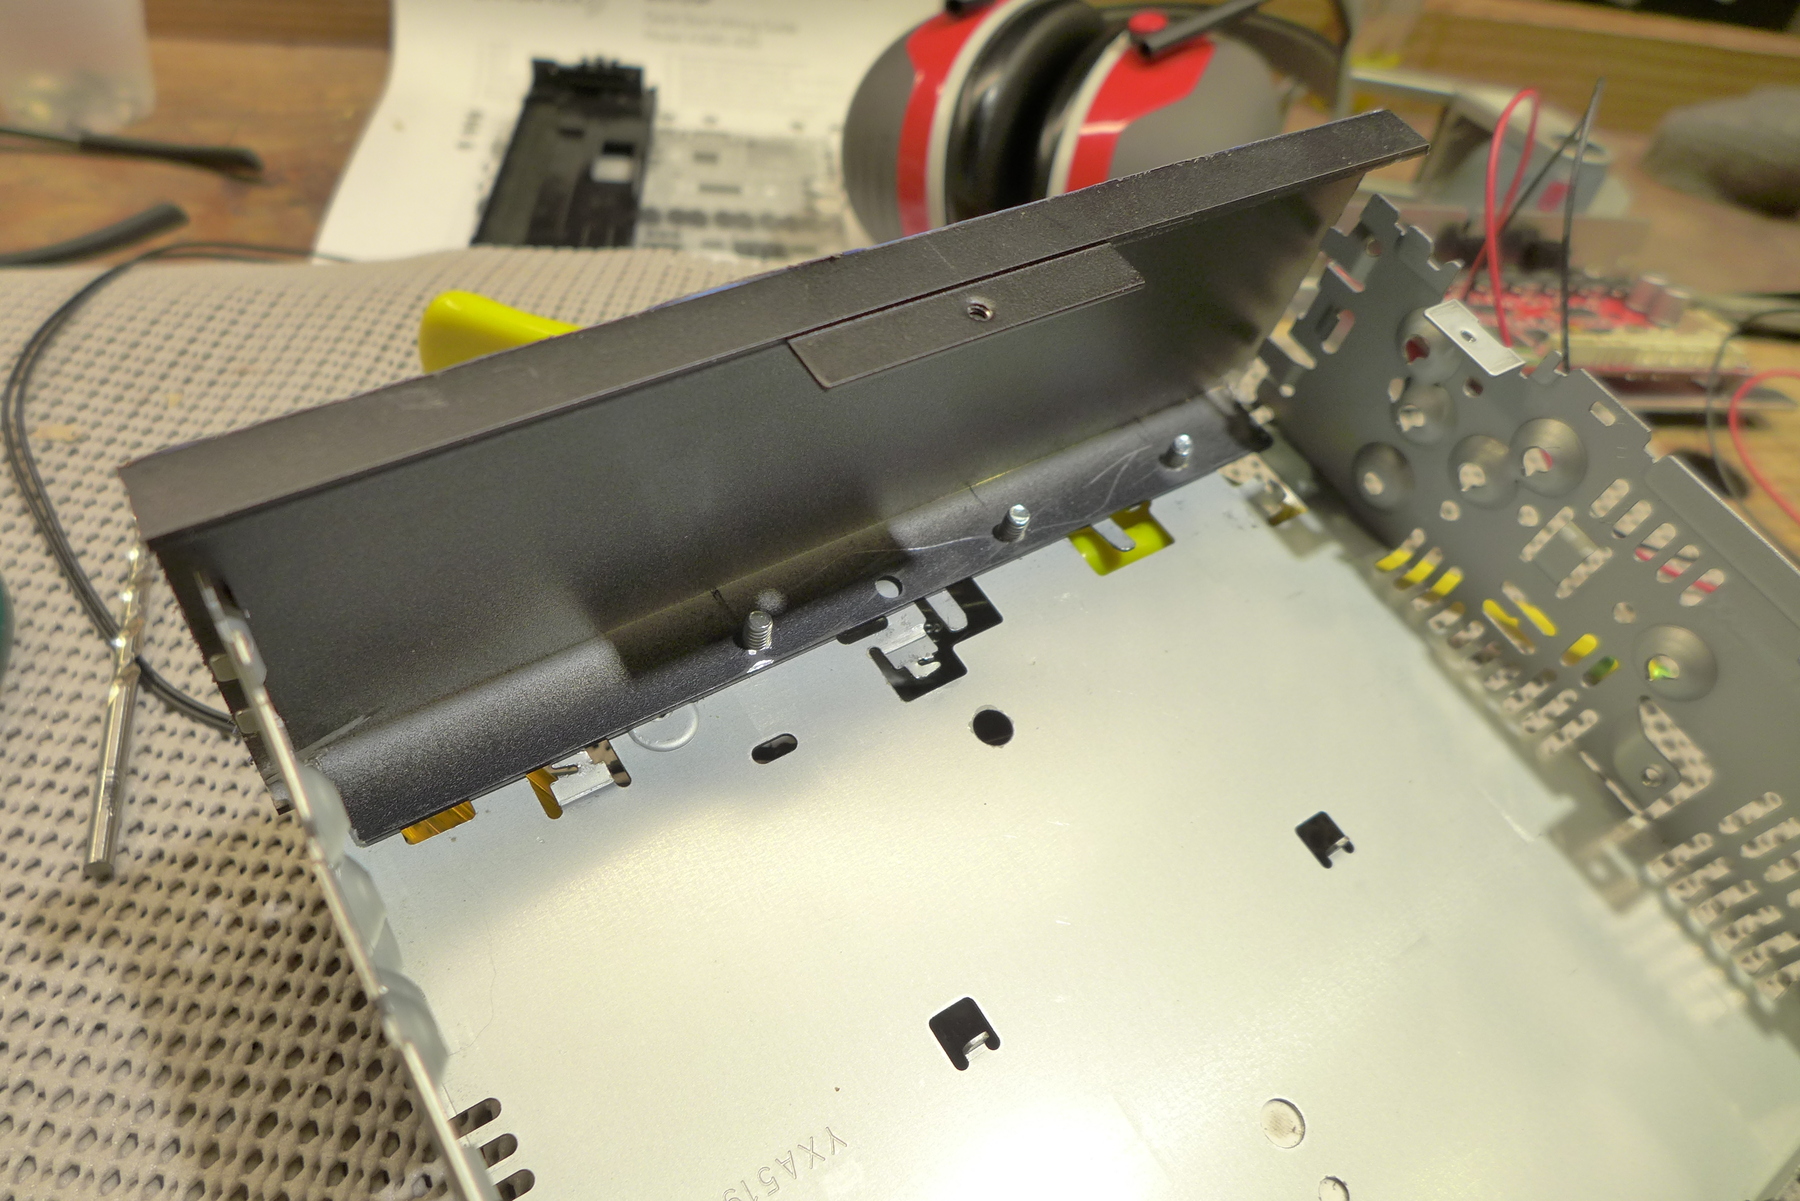
And then I test fit it to the gutted Pioneer and it seemed promising.
Analog'ish in a digital world...
---
Obviously car audio is a massive rabbit hole. There are a thousand different ways one could go, and up until I guess last week, I was content to leave the system in this 4runner that I've had for over twenty years, basically the same as it's been for fifteen of those years.
Essentially this simple (sorry for the dust), and admittedly reliable deck that I got at a circuit city pre 09' bankruptcy fire sale has done its job, using only that 1/8 jack for most of that time. But since no phone really has a headphone jack anymore, and for some reason I couldn't bring myself to spend $9 on an adapter - down the rabbit hole we go
Trying to find a simple single din stereo that doesn't look like crap is pretty difficult these days. Although every car manufacturer's idea of breathtaking design is just to slap iPads all over new car interiors as well, so I can't really fault the third party manufacture's alone.
I had narrowed it down to either the Alpine ute-73bt or the Sony DSX-GS80. These looked fine, and I appreciated the internal amp with the Sony, but if you look into the specs - it's crazy that in 2023 they are using Bluetooth 3 which came out in freaking 2009.
And if you have any memory of bluetooth in 2009 - it wasn't great.
So yeah, I guess they've both given up.
Somehow I ended up on a miata forum during my search and I was struck by this guy's setup:
[NA] Looking for single din "retro looking" headunit recommendations - MX-5 Miata Forum
Obviously those speedhut gauges are gorgeous, but I was more interested in the idea of just moving past the oem's for a stereo and into something more minimalistic and that actually has what I want, without any of the superfluous crap. Sorry, but I'm not burning a jump drive with mp3's or listening to AM radio in 2023 - I just want generally reliable bluetooth and some decent power - plus points if it's not rocking that strip mall laser tag aesthetic most of the replacement stereos are going for.
So I probably would have ignored his post as he's using a cheap chi-fi board, but I have a little experience with the class D amps on these boards and they are way better than you'd expect.
I bought one on a lark once to power some old speakers in my shop that a buddy had given me. Not expecting much for I guess the $20 I paid at the time, I stripped an old laptop psu and hooked it up and was stunned how much better it sounded than the ab amp I was using in the house.
I ended up buying another one for the office and, paired with a literal $10 usb dac into my computer, I was again stunned at how well these worked.
I bought a third (this time from a proper maker, smsl, and dumped the AB amp I was using - and have been much happier since. So I thought I'd give it a try for a fourth.
I didn't want to just forsake the rear speakers, so I went looking for a 4 channel amp - and found two options from Dayton:
Dayton Audio KABD-430 4 x 30W All-in-one Amplifier Board with DSP and Bluetooth 5.0 aptX HD
Dayton Audio KABD-4100 4 x 100W All-in-one Amplifier Board with DSP and Bluetooth 5.0 aptX HD
Both of them very reasonable.
I decided to go for the 430 as I wanted everything to be solid state without any fans. And judging by my other little boards like this, they've all been plenty loud. Thankfully these boards have modern bluetooth 5.0.
And since I was going to be digging into the stereo anyway, I decided to go ahead and pick up some new components as well.
After some fiddling, I tested the stereo with a little 1 amp 12 volt wall wart and it worked fine.
I also ordered a handful of different toggles to make sure I found one that had the best feeling "click" - ended up being this one: SPST Mini Toggle Switch with Tapered Knob
I soldered it onto the leads that comes with the necessary parts kit for the 430 board and everything worked fine.
At about this time I started to follow the brief instructions the miata guy had outlined and made a simple mount out of some aluminum stock I had lying around to attach the 12 to 24 volt converter.
Then I tucked it into this little corner.
At about this moment I realized I had no clue how I was going to mount everything into the dash. I called around a couple of car audio shops to see if they had any blank din plates or something that would work. None of them were remotely helpful.
I searched the internet quickly for something that might work, but didn't really want to wait around so I decided I'd see if I could cannibalize the old Pioneer.
Once I gutted everything I thought, this might work - but I had no idea how to make a proper face plate.
I went to the hardware store and they didn't really have much. I had a piece of black plate steel, probably a good 1/4 thick - which I figured would be way too heavy for this application. Then I remembered I had the old AB amp that I was going to toss, and decided to cannibalize that as well just for aluminum. It was the right thickness and was already painted - so it would save me some time. It might seem wasteful, but one channel was already gone on this amp and honestly, after having much better luck with the class D amps - I figured its time had come and gone.
I marked out the dimensions and got to work with a hacksaw.
Some niggling corners, etc. that I "fixed" with a nice whap of a chisel.
And then I test fit it to the gutted Pioneer and it seemed promising.