teotwaki
Senior Member
Just a friendly warning that the rest of this thread has been trashed by a couple of trolls with a weird agenda. Almost 6 pages of seemingly drug induced nonsense. I've combined all of the pictures and info into this first post and also on my blog (listed in signature)
I found the assemblies online and ordered a full set for $66 as opposed to $345 for the other brand, delivered via the free slow boat from China. The sales company is in England but is a Chinese owned and run business. No documentation available online nor supplied with your order. If you can't handle figuring things out for yourself or don't have any mechanical skills these boards are not for you.
Free shipping Front reading / Rear reading / Hatch lights Lamp Bulbs LED replacement For 2010-2019 Toyota 4Runner
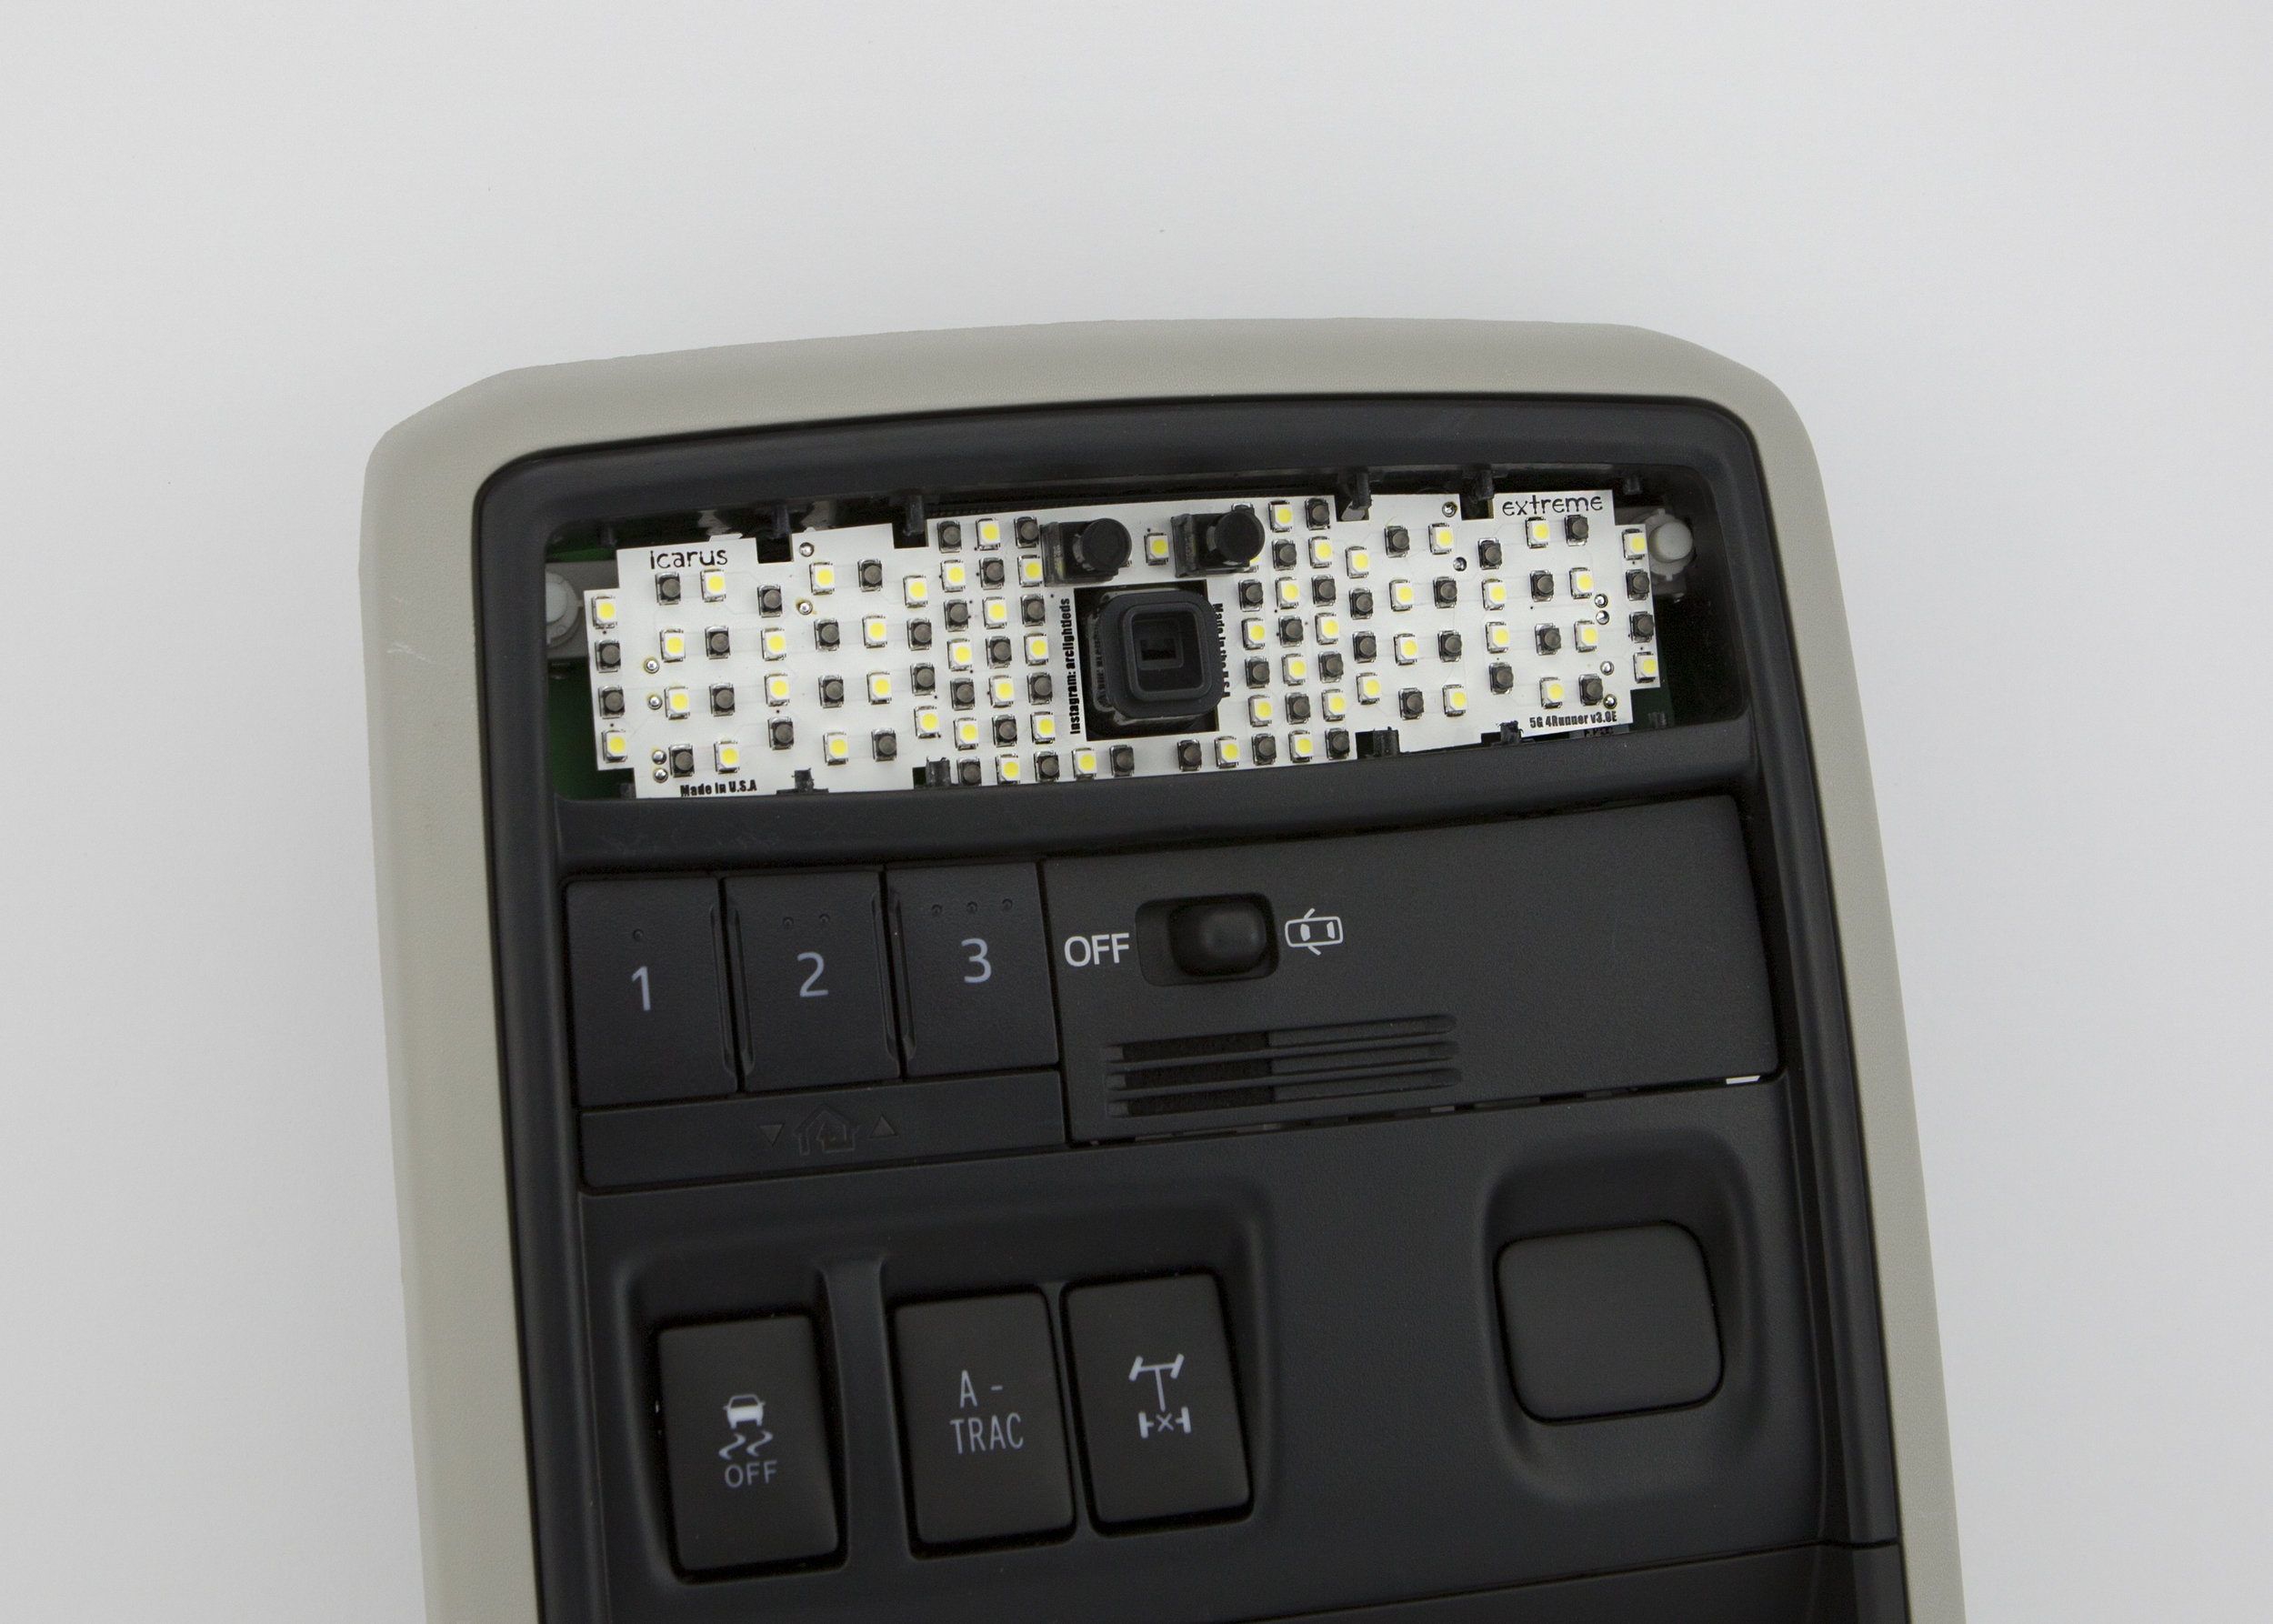
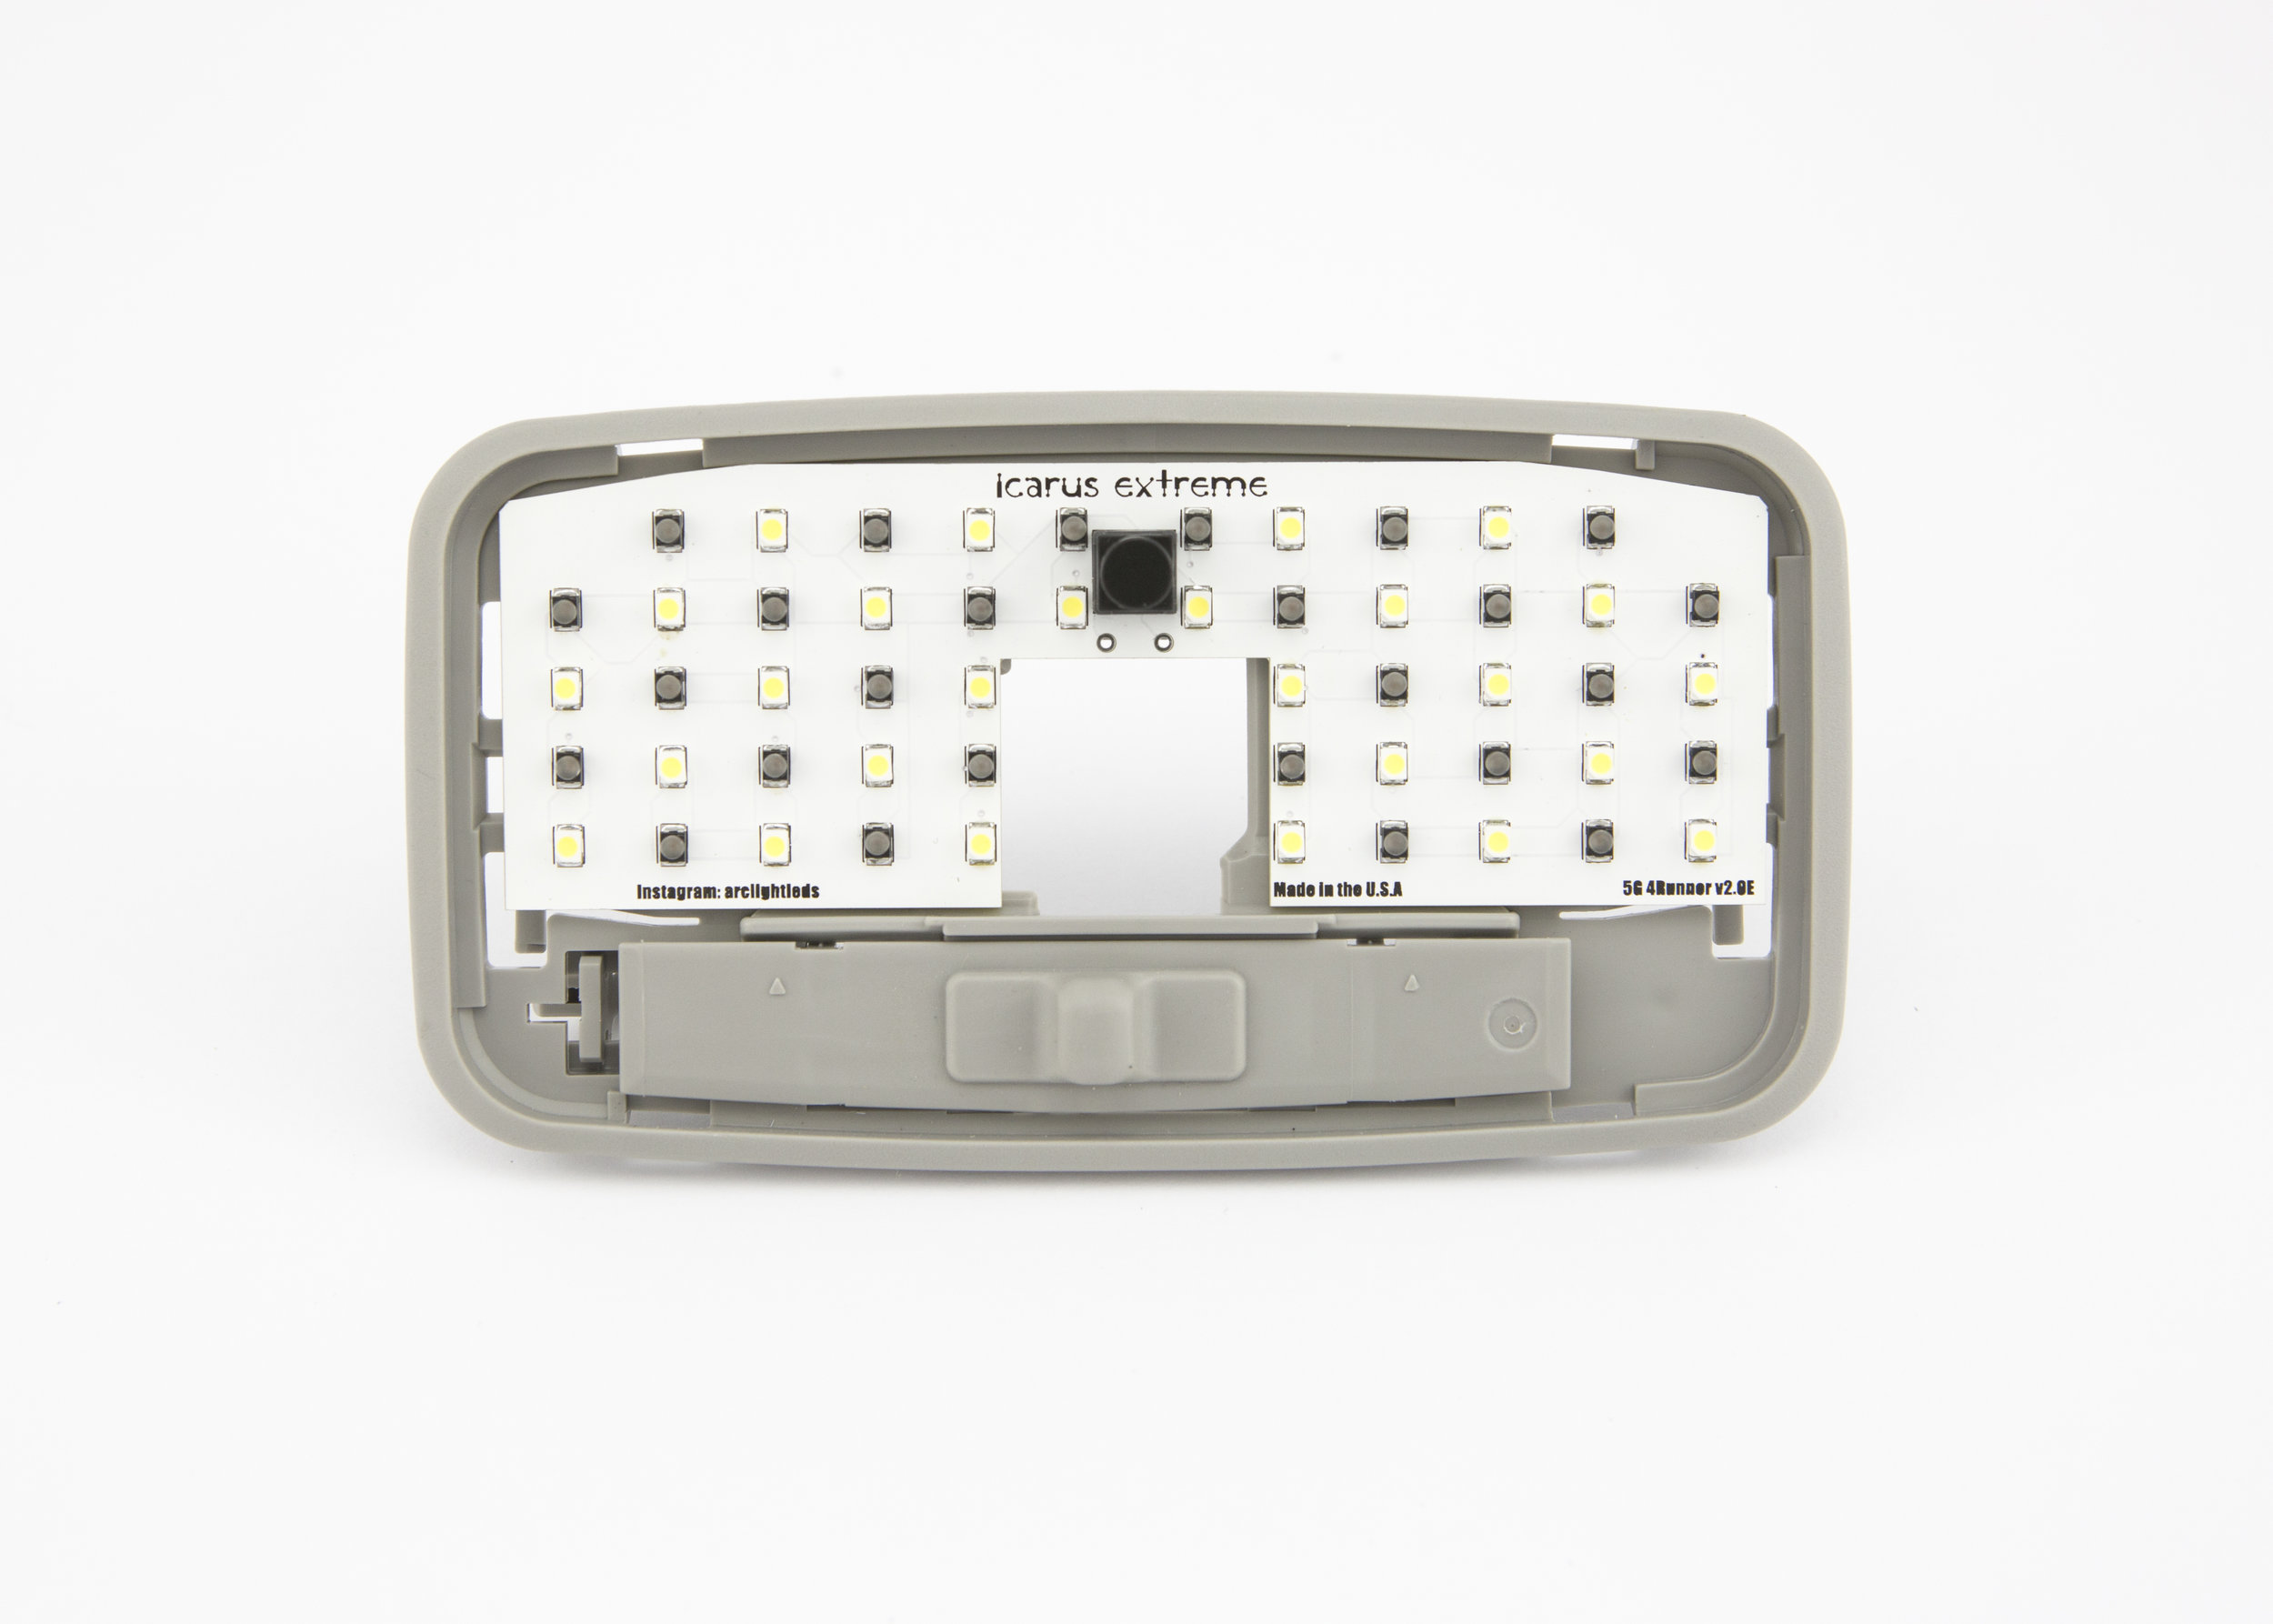
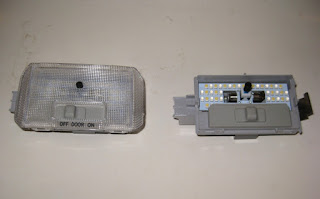
Two are for the rear hatch, one for the passenger dome light and one for the front map lights. The black module is a constant current circuit and it is not polarity sensitive.


Each module has the same count of chip LEDs controlled by a pushbutton: 26 Red and 26 White
The map lights are the only board with two pushbuttons and four sets of LEDs
With a 13.85v DC supply voltage typical current consumption for each board was: 360 mA for Red LEDs and 420 mA for White LEDs
All of the LEDs are driven in parallel and this can be seen on the traces on the passenger dome light board. Across each individual LED the typical voltage was: 2.36 volts for Red LEDs and 2.88 volts for White LEDs
A typical filament bulb pulls around 800 mA at 13 volts so you have less light for more watts, about 10 watts versus 5.8 Watts for the LEDs
My install pictures
Maplight board fits just fine. You must first remove the Toyota metal reflector lens and I did that by bending the small tabs inward and pulling the reflector down and out with bending it.
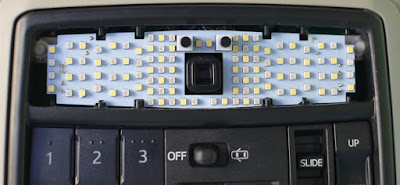
The two white plugs that plug into the 194 bulb sockets need to be shortened as they are too tall. The Chinese never performed any fit tests. My connectors ended up looking like this

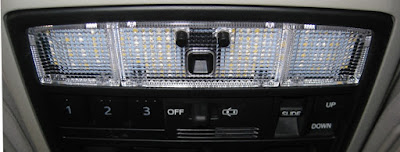
Note how you must drill two holes for the pushbuttons to stick through. Be accurate so the buttons move smoorthly.

Dome light installed. Note because of the close fit you will first drill a hole centered on the pushbutton then use small jewelers files to turn that into a small square hole. The body of the switch will fit through the hole.
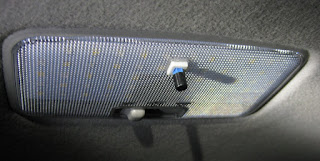
Hatch lights are pretty easy. I ran the constant current module to the outside and held it with 3m Double Sticky Tape, right above the slide switch.

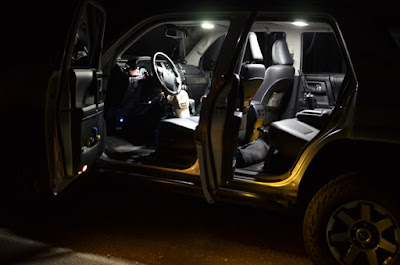
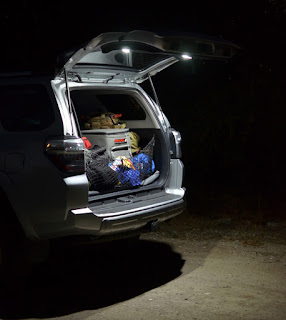
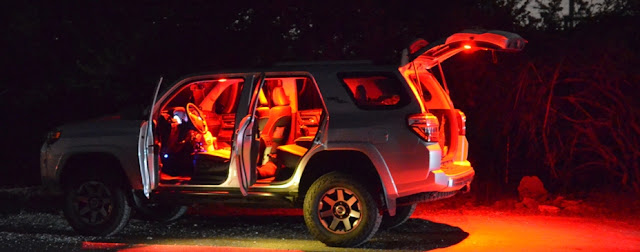
Lights in operation at night!

I found the assemblies online and ordered a full set for $66 as opposed to $345 for the other brand, delivered via the free slow boat from China. The sales company is in England but is a Chinese owned and run business. No documentation available online nor supplied with your order. If you can't handle figuring things out for yourself or don't have any mechanical skills these boards are not for you.
Free shipping Front reading / Rear reading / Hatch lights Lamp Bulbs LED replacement For 2010-2019 Toyota 4Runner
Two are for the rear hatch, one for the passenger dome light and one for the front map lights. The black module is a constant current circuit and it is not polarity sensitive.
Each module has the same count of chip LEDs controlled by a pushbutton: 26 Red and 26 White
The map lights are the only board with two pushbuttons and four sets of LEDs
With a 13.85v DC supply voltage typical current consumption for each board was: 360 mA for Red LEDs and 420 mA for White LEDs
All of the LEDs are driven in parallel and this can be seen on the traces on the passenger dome light board. Across each individual LED the typical voltage was: 2.36 volts for Red LEDs and 2.88 volts for White LEDs
A typical filament bulb pulls around 800 mA at 13 volts so you have less light for more watts, about 10 watts versus 5.8 Watts for the LEDs
My install pictures
Maplight board fits just fine. You must first remove the Toyota metal reflector lens and I did that by bending the small tabs inward and pulling the reflector down and out with bending it.
The two white plugs that plug into the 194 bulb sockets need to be shortened as they are too tall. The Chinese never performed any fit tests. My connectors ended up looking like this
Note how you must drill two holes for the pushbuttons to stick through. Be accurate so the buttons move smoorthly.
Dome light installed. Note because of the close fit you will first drill a hole centered on the pushbutton then use small jewelers files to turn that into a small square hole. The body of the switch will fit through the hole.
Hatch lights are pretty easy. I ran the constant current module to the outside and held it with 3m Double Sticky Tape, right above the slide switch.
Lights in operation at night!
Last edited: