ANTMAN'S Thread

Antman from your description above it seems appropriate to say "father like son".Thank you for sharing that story and wonderful priceless treasure you possess.
 
Carrol Shelby...epic legend..never duplicated, but often imitated..

anyone that knows the true Shelby(from the early days) experience, also recognized that in the early "hillclimbing" days.. nothing compared to, or since, the shear tenacity that the Shelby Team dedicated themselves to, to bring to the forefront and winners circle a product so unique, and so specialized, that I do not believe to this day , has come close to being even remotely duplicated...that's how spectacular they were....

Good call Antman..very few "true" heroes left anymore
 
Great post buddy, thanks. Being a Mustang guy for years - first car was a 1970 Grande 351 Clevland I've always respected the man did.
 
Holy crap! i just read this entire thread tonight. start to finish. i want to do so much to my beast but have to stay smart about it as i havent even made the first payment. dang it. awesome stuff antman....awesome. your an inspiration to me.
 
Nice post Antman, and you father had truly mad skills, being from Las Vegas I actually met Carol Shelby out at the LV speedway while I was doing a trackday out there on my motorcycle, and I almost took a job at his shop testing his vehicles. One of the nicest most humble persons I have met, he will be missed.
 
Started working on my auxilliary fuse box installation today after I came home from Virginia. Bonus! I was spotted by MuddyYota on 495, and actually got a thumbs up from a silver lifted 4th Gen. Lots of T4R guys in VA!

Back to the box...

Anyone following my thread knows I do things a little, well...differently. No exception here! To tell the truth, I have installed many fuse boxes in boats over the years, but it never occurred to me to install one in my vehicle. :redbrick: Duh. Considering all the crap I add that requires a power source, I could kick myself. Thanks guys- you inspired me!

So... I checked out Okki's excellent writeup in his build thread for some ideas. I have no need for an ignition-only fusebox, (not yet @ least) so this will be powered directly from the battery. Basically, it's a place to easily distribute fused power that is reliable and done "right".

I can sell my Stock in mini fuse-taps now...:)


I started by fabbing up some aluminum brackets- different than Okki's, but along the same lines. After 3 designs, I still wasn't too happy with the results- then I saw it. It was calling me to make it into something special. It was a Coleman plastic cutting board that you take camping. Never been used.

Why would I use such a thing? I'll tell ya.

In the marine industry they have a product called Starboard. It is an expensive, but extremely versatile material. It's used to make lids, cupholders, rod holders- basically anything you would make out of wood. Starboard is very similar to cutting boards, but has UV stabilizers and such to make it bulletproof in the marine environment. There aren't too many UV rays under my hood these days, so I'm good with what I have here...

Basically, this cutting block can be worked just like wood. Cut on a table saw, drilled, tapped, sanded, etc. It won't rot or warp, and holds up to heat relatively well (I wouldn't go making exhaust hangers out of it, but you get the idea). With the fuseblock mounted to the board, I have an excellent platform that is sturdy, and a great insulator from electrical shorts. It also protects the wires from chafing.

Here's what I have so far...

DSCF1125.jpg~original


DSCF1127.jpg~original


DSCF1128.jpg~original


DSCF1129.jpg~original


DSCF1130.jpg~original


Oh yeah- the box is a BlueSea Systems ST Blade unit. It provides 6 individual 30A circuits- not exceeding 100A total, and grounds. All the hardware is stainless, contacts are tin plated copper, and the cover is Lexan. It also comes with labels for your circuits. High quality stuff, for around 40-50 bucks.

Power will come directly from the battery, into the main 60A fuse (just a standard setup you would use for, say, an amplifier hookup), and is routed into the box. The board will mount on top of the driver's side wheel well, directly behind the factory engine compartment fuse box. The studs on the board will line up with some fenderwell holes, and I will attach it in the wheel well with some stainless locknuts. All the hardware is stainless, BTW. I think I'll also utilize the grounding terminals on the fuseblock for accessories like the CB. Maybe I can get rid of some of the interference that I currently have.

CONTINUED......

Picked these up at Ikea this morning for $2.99 for the pair!

zl1wql.jpg~original


I'm going to see if I can put them in place this afternoon to create a platform on the passenger side for the fuse box mounting. Although, I will admit my mounting solution on top of the air intake box is growing on me... I showed 4ShoreRunner and he didn't make any weird faces. So, if push comes to shove I'm sticking with it! :surfer:
 
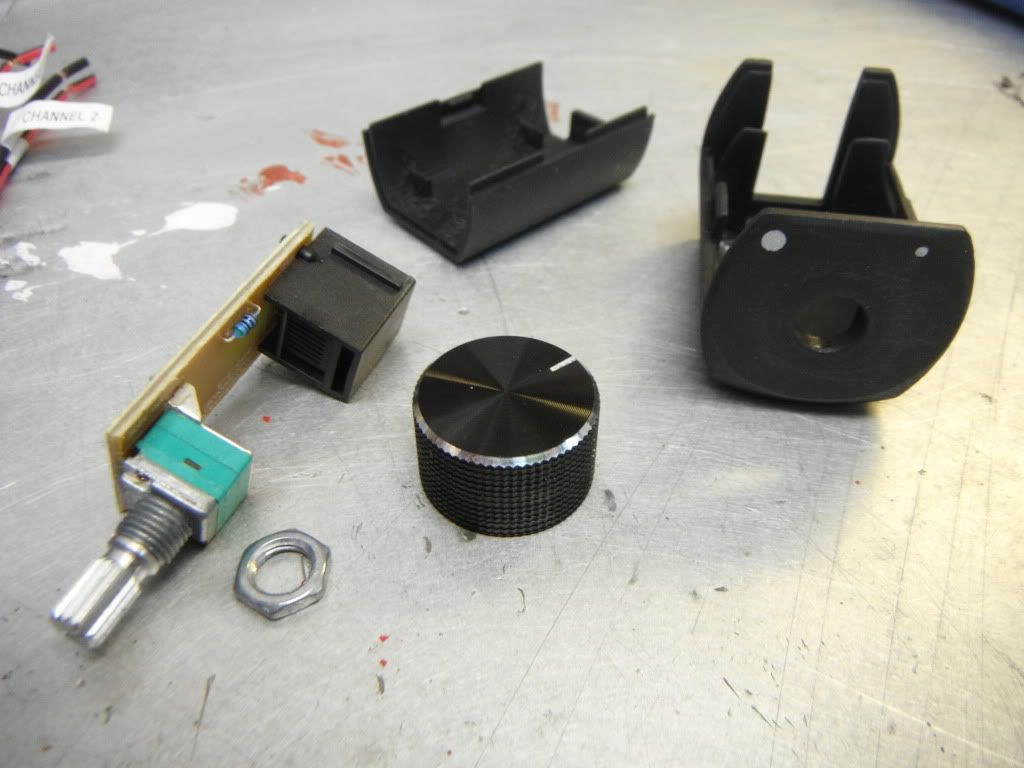
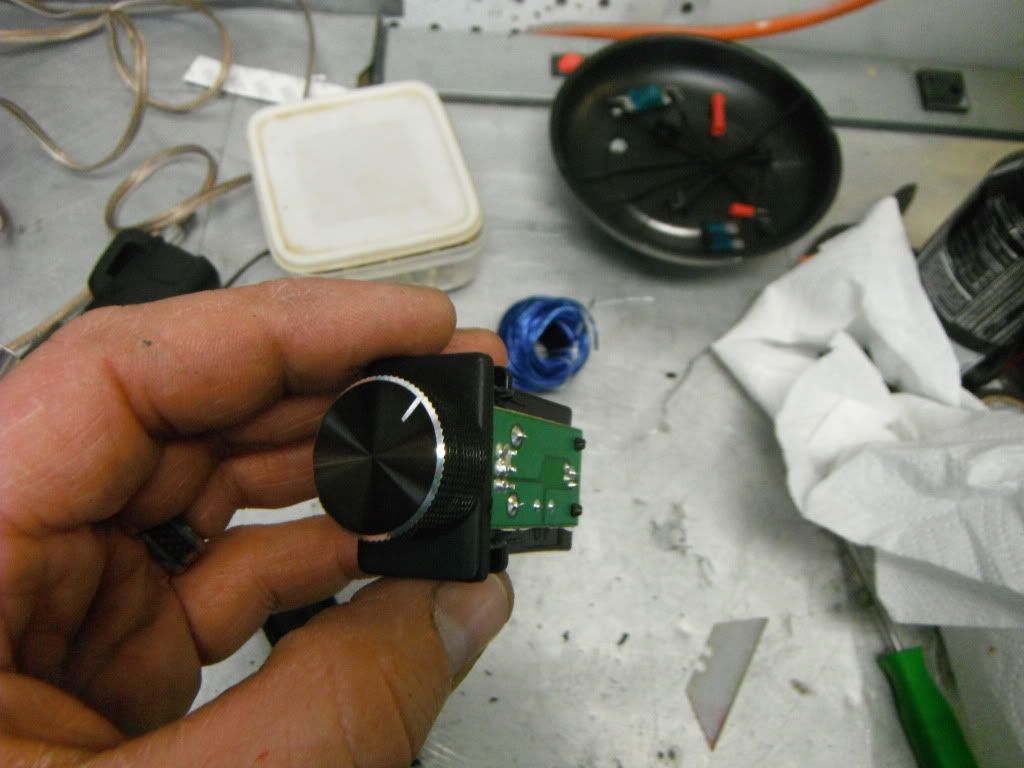
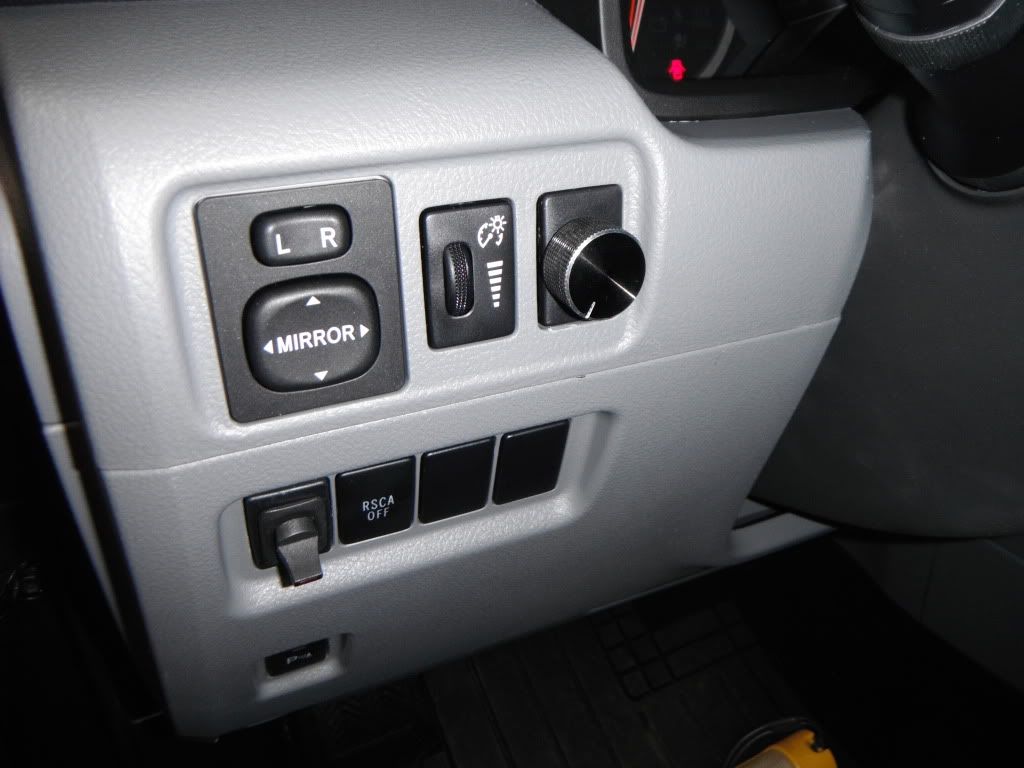
This sub comes with a nice wired remote to adjust the level. It plugs into the amp, and then you can run it wherever.

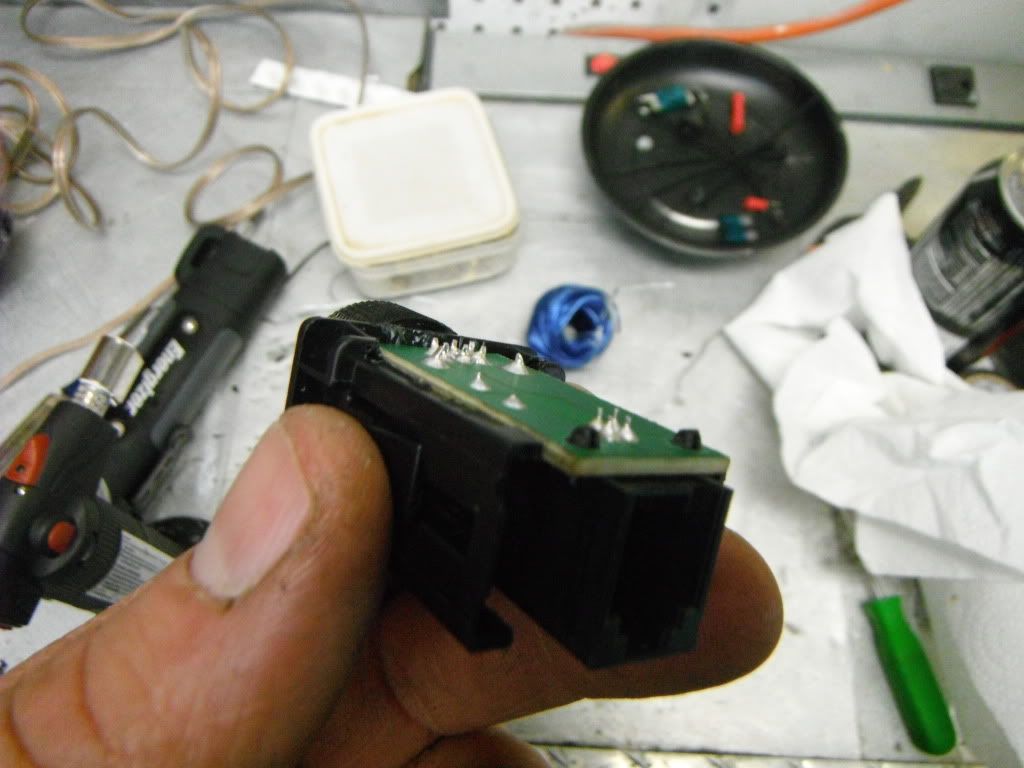
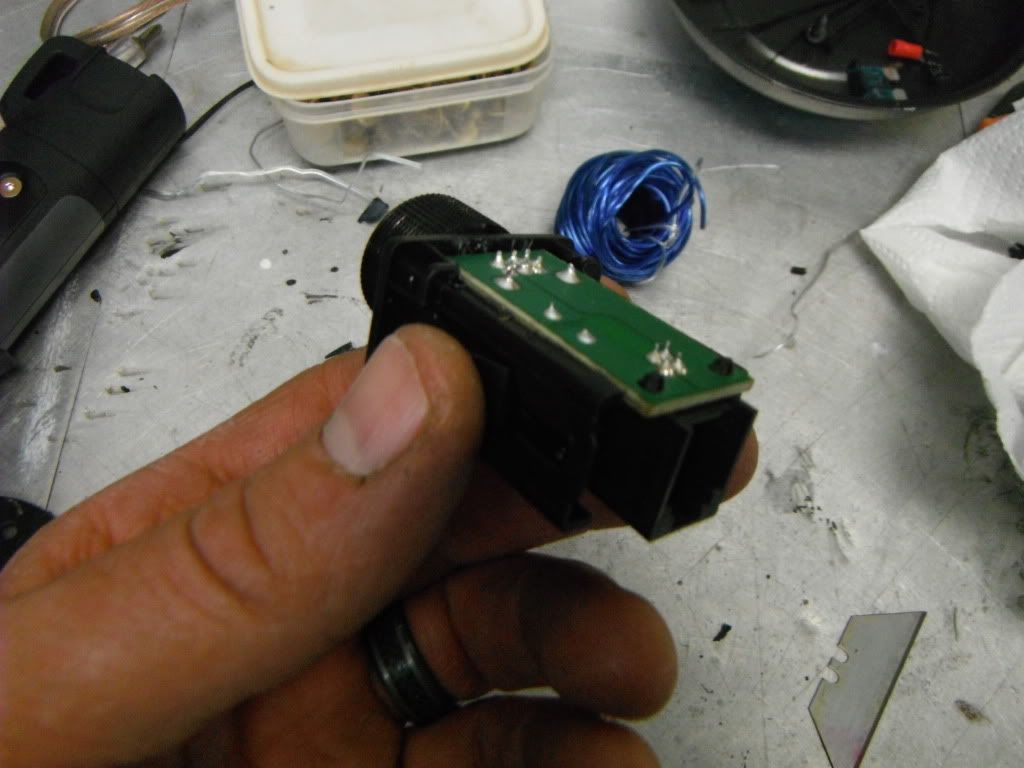
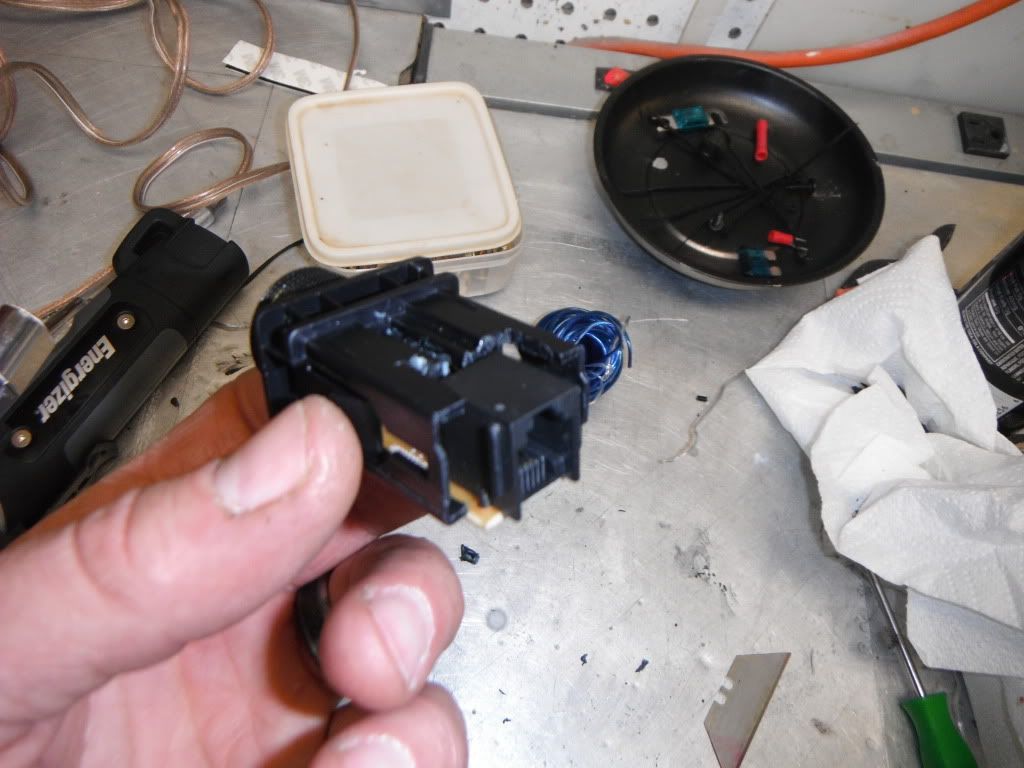
I took it apart and mounted it in a switch blank on the dash.
DSCF0964.jpg~original


DSCF1006.jpg~original


DSCF1005.jpg~original


DSCF1008.jpg~original


DSCF1007.jpg~original

DSCF1010.jpg~original


Or...you could just mount it with the included sticky tape :lmao:


Bolt your seat back down, and push the plastic covers back on. Snap on your kickpanel and sill plate.

Don't forget to put a fuse in the underhood fuseholder. Connect your negative battery cable, and tighten it securely!

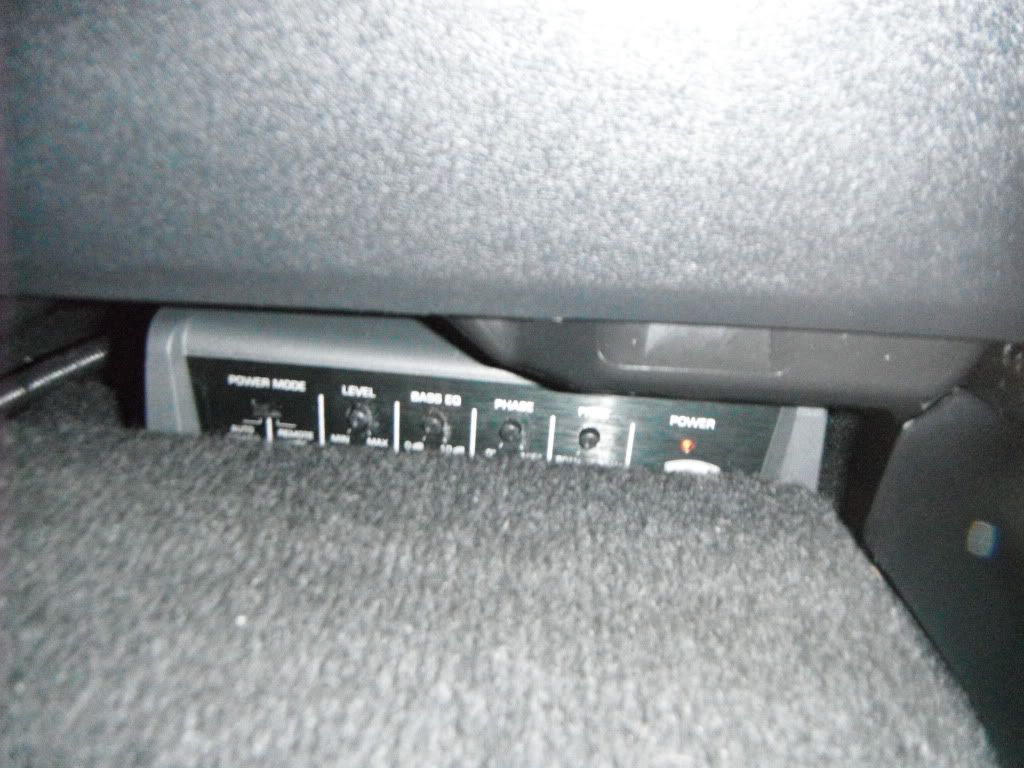
Here's the amp under the seat. It clears with no obstruction whatsoever- up/down, forward/back.

DSCF1011.jpg~original


That's it! Not too hard, right? You need to play with adjustments on the amp to get it sounding right- read the included instructions...


Happy Modding, Gentleman!

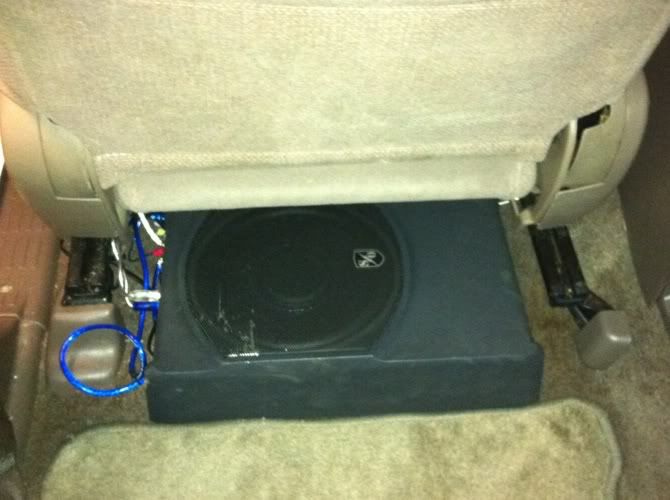
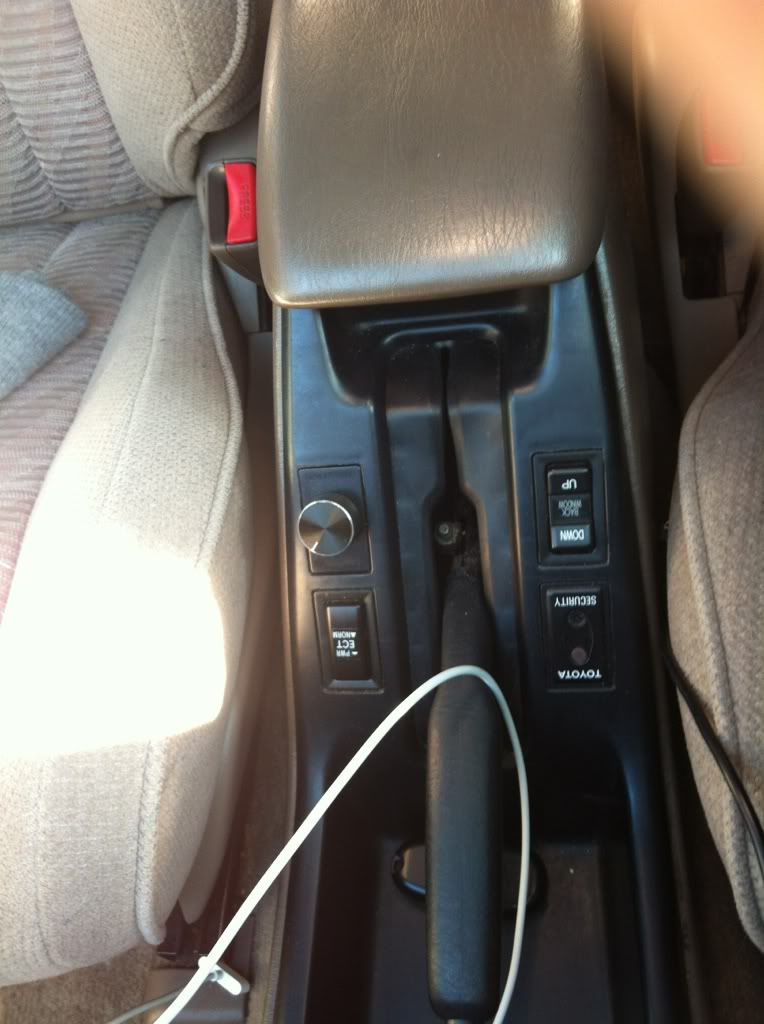
Just ran across this...nice install. I have the same sub, and mounted it in the same place on my 3rd Gen. You probably have a little more clearance than I do, my seat just scrapes the top of the sub. And I mounted my remote like you, but used an empty center console spot.

Before cleaning the wires up...
IMG_5051.jpg~original


Remote mount...easy to access while driving
IMG_8204.jpg~original
 
TIME FOR SOME REAL ONBOARD AIR!


First of all, thanks to shawn719!

I was looking at his thread yesterday and saw this compressor that he had installed http://www.toyota-4runner.org/5th-gen-t4rs/115059-shawn719-plagiarism-slow-build.html#post1063686. So, I picked up a smokin' deal on it from Harbor Freight. It's on sale for $60! This unit comes mounted on a diamond-plate base, and includes a 25' coiled hose with gauge and attachments. It's quiet and appears to be pretty good quality.

I already have an onboard compressor (Honestly, I'm surprised the $20 thing is still working!) for my rear airbags. But...

This compressor is going to be great for airing up everything from the kid's bikes, to my camper to my boat. I have a flat repair kit in my "Zombie storage box", so I figure as long as I don't puncture a sidewall no flat tire is killing my trip any time soon!

Shawn mounted his compressor in front of the airbox, but I decided to mount mine behind the airbox. There are 3 factory studs on a bracket back there that worked great as attachment points after a little drilling in the base. OK, actually I only used the front 2 studs. The rear stud is about an inch lower than the others. I made a spacer out of starboard (cutting block :) ) so the bracket would sit level. It's more than strong enough with the 2 attachment points.


DSCF1183.jpg~original


I removed the airbox to make things easier. DO THIS! It's only 3 bolts, a plug and a screw to take it off. Sooooo much easier that way!

DSCF1180.jpg~original


This unit comes with clips to attach to the battery, but I hard wired it in (duh).

In order to use the mounting studs already there, I had to relocate the white and black plug (just pull it out of it's hole and move it aside) and a ground for the MAF. I just unbolted it from the fenderwall, and used a threaded hole on the inner fender. I also ground the compressor here as well. If you look at the upper right in the picture, the ground is the blurry bolt (ha!) covered in black liquid electrical tape.

DSCF1178-1.jpg~original


The "hot" wire is loomed up and ran across the firewall to my auxilliary fuse block. This sucker takes a 35A fuse!

DSCF1186.jpg~original


DSCF1191.jpg~original


ALL DONE!


DSCF1188.jpg~original


DSCF1189.jpg~original


I covered the air-hose with some wire loom to protect it from chafing, and I also mounted a small bracket to secure the hose when not in use.

DSCF1182.jpg~original


This is the supplied coil hose that comes in the box. It has a quick connect, and an air gauge right on there. The business end screws onto the valve stem so you don't have to sit there and hold it. As you can see, it easily reaches the farthest rear tire with room to spare!

DSCF1184.jpg~original


DSCF1185.jpg~original


Very happy with this one!

UPDATE ON THE COMPRESSOR HERE!

Happy Modding!
 
Last edited:
Well done, as usual! Do keep us updated on how that compressor works. I like HF for cheapo tools but they seem to be trying to improve their quality. Im just in the middle of installing one of their 3k winches to one of my tractors. With a sale and coupon it was about 100 bucks including a 2 year extended warrantee. Crazy cheap! Just hope it lasts.
 
Sweet! I've been using the same exact compressor now for a couple months and love it. I'm going to be doing the same install as you. Thanks for the post.
 
Antman-- looks great, another fantastic post.

Maybe I missed a post somewhere, but didn't you already have a compressor set up in the back for your Airlift? If so, how come you wanted to add another?
 

Members online

No members online now.

Forum statistics

Threads
278,306
Messages
3,554,045
Members
248,016
Latest member
Advally Service

Trending content

Back
Top