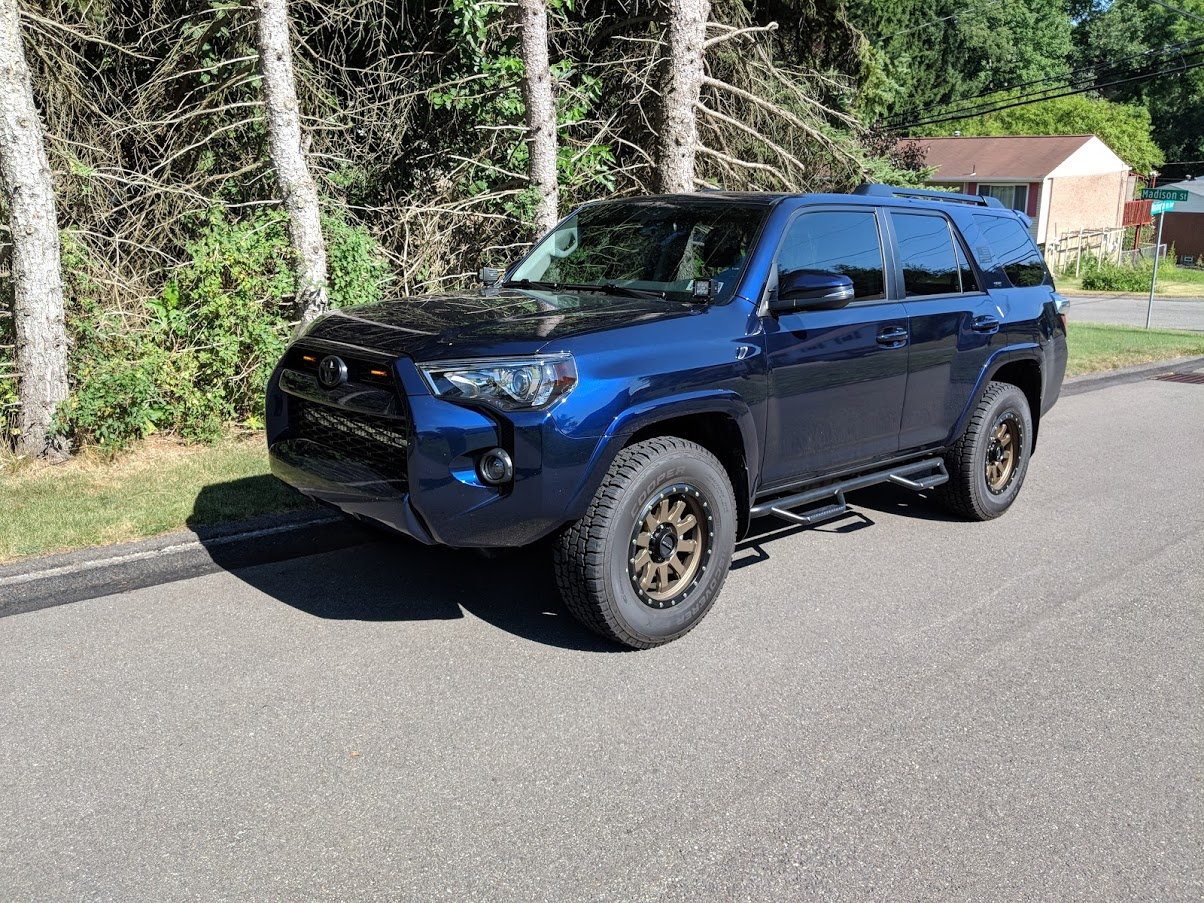
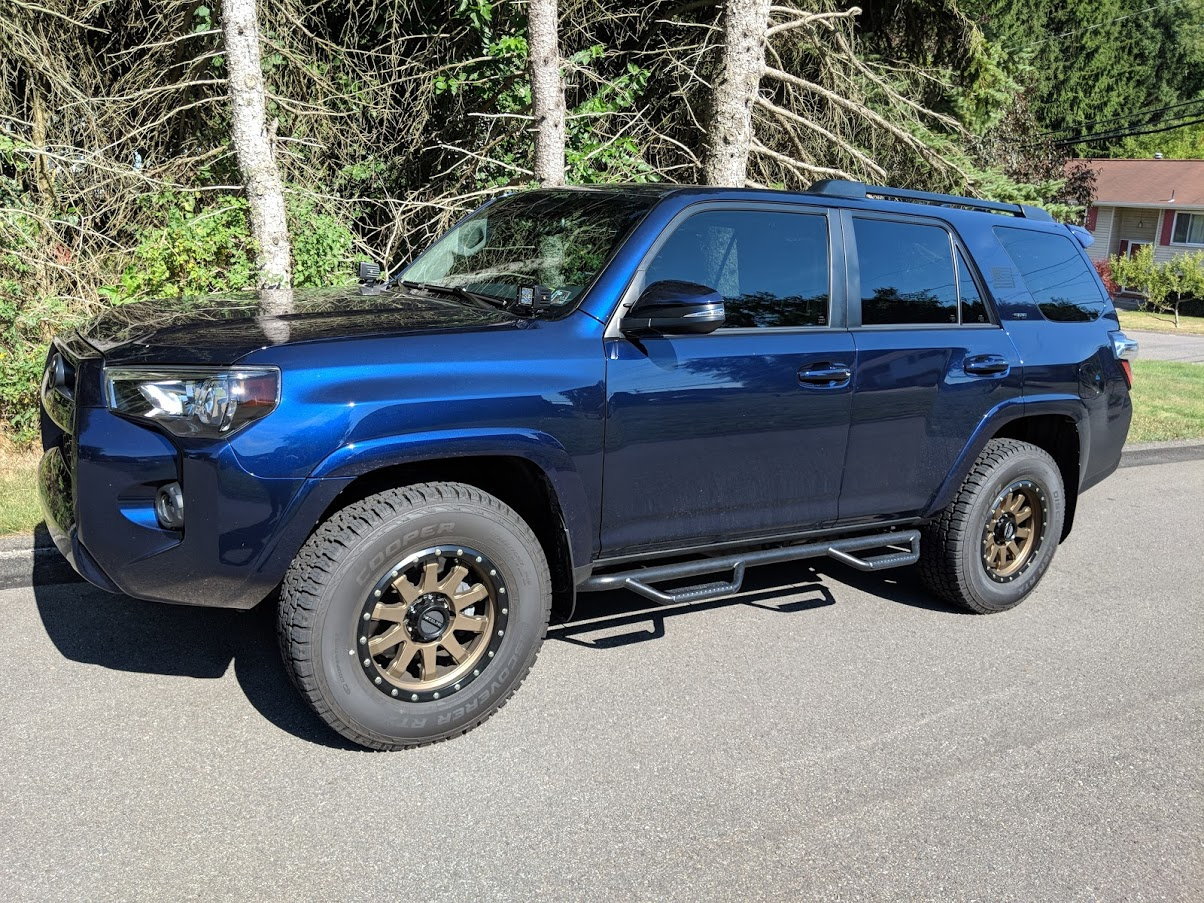
BlackAck's 5th Gen 4Runner thread

Ill have to now look into these! Been looking for DRLs/ Highs that'll match my switchbacks and hids! Awesome build btw :)

Sent from my SM-N950U using Tapatalk
 
Ill have to now look into these! Been looking for DRLs/ Highs that'll match my switchbacks and hids! Awesome build btw :)

Sent from my SM-N950U using Tapatalk

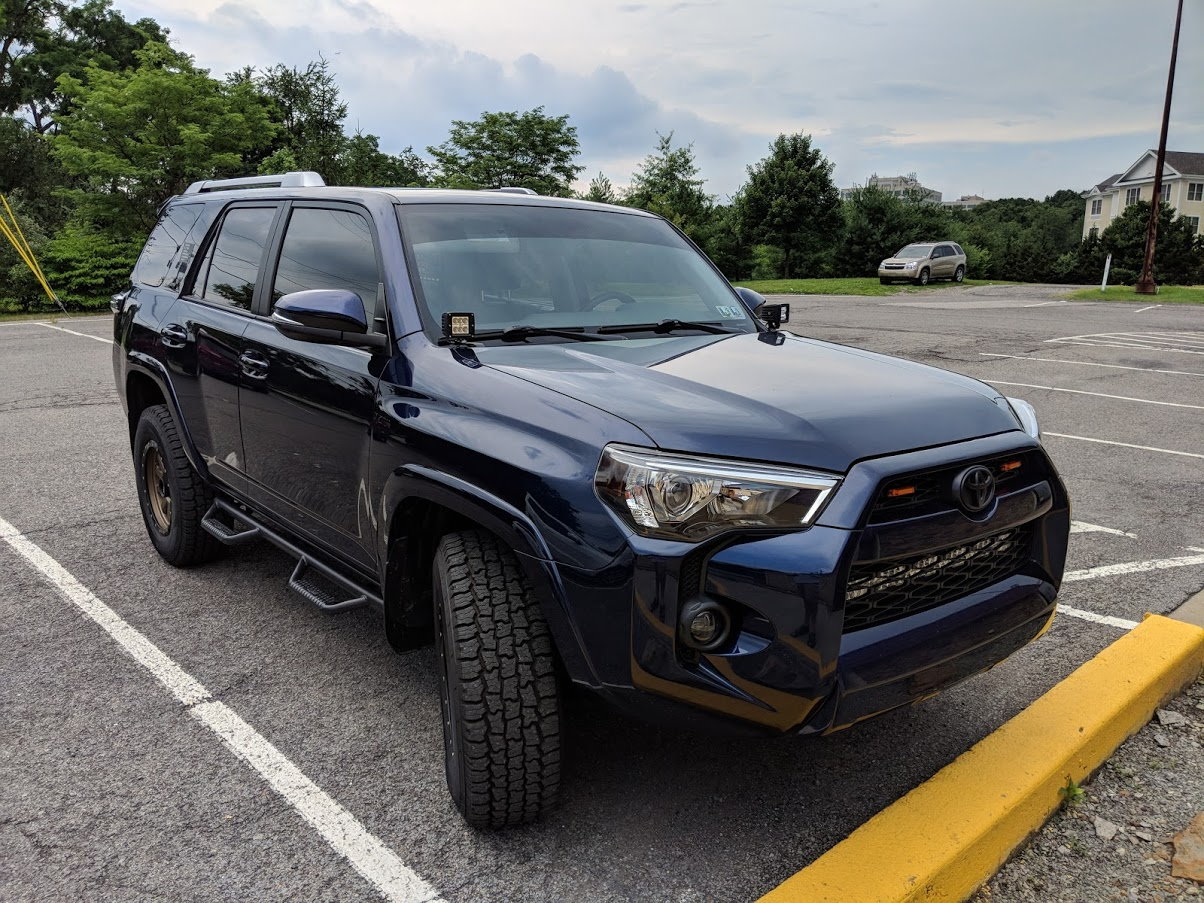
I'm super impressed with them so far, the DRL's are ridiculously bright but look nice and white. I had a 10% off coupon so only paid like $45 for them, it was well worth the money for the upgrade and I haven't noticed any flickering at all as DRL's
 
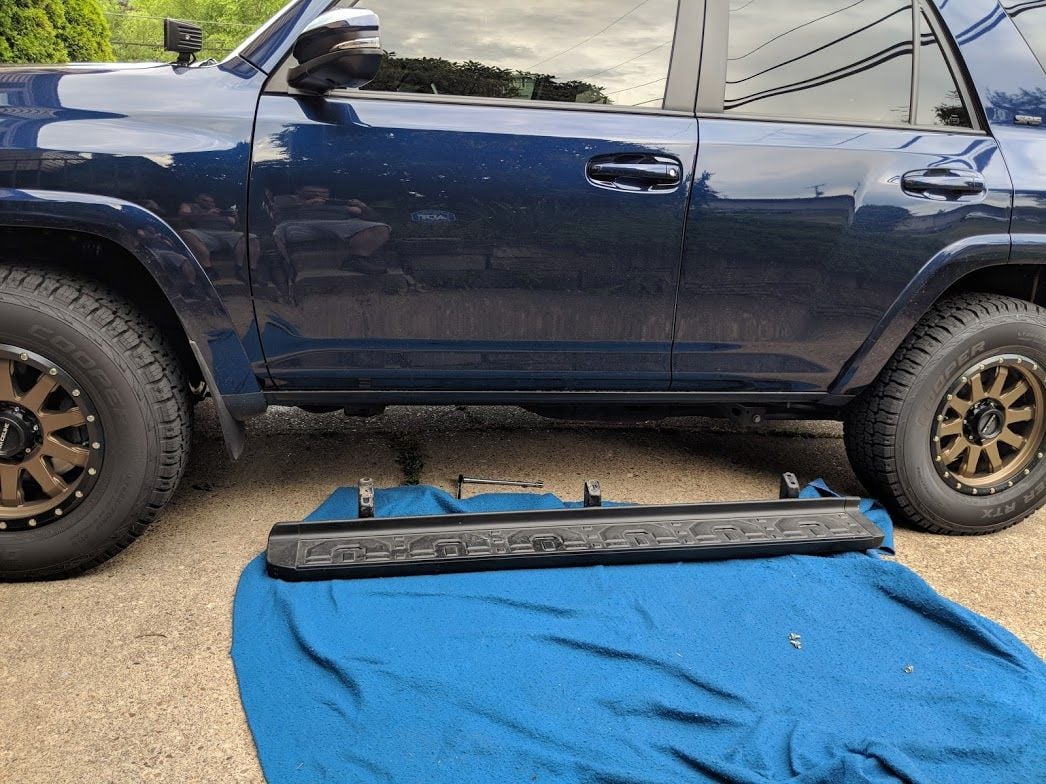
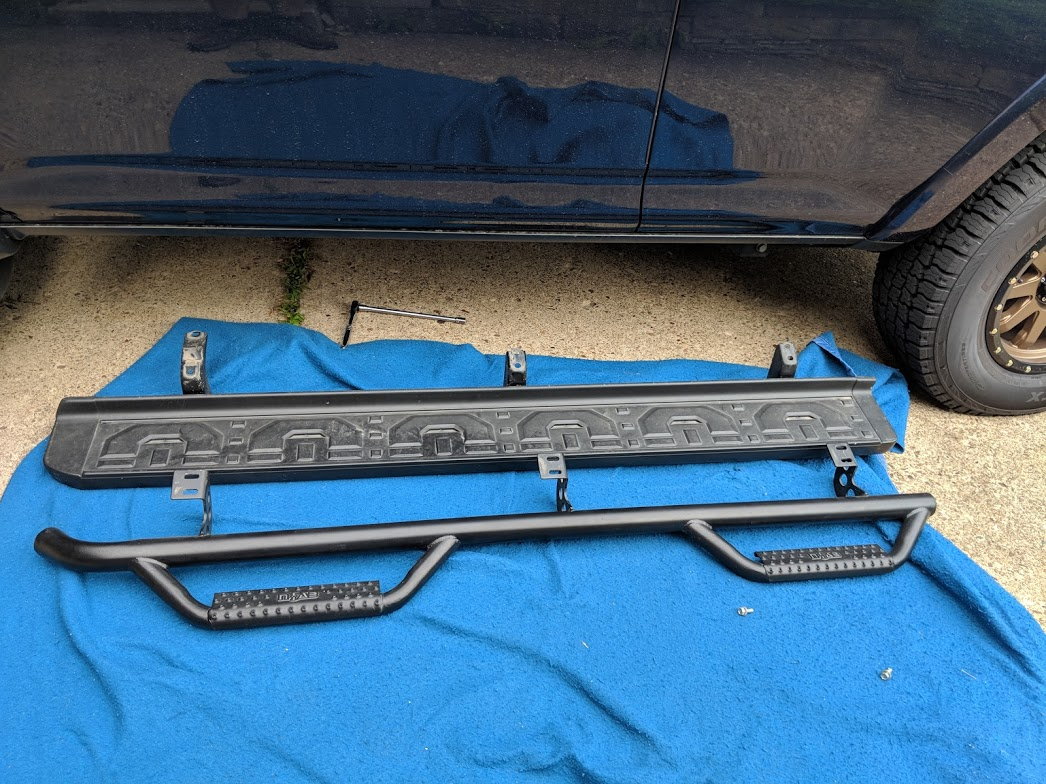
Small update, I swapped out my stock running boards for some N-Fab steps.

img_20180621_171242_278768e756053a4c8fe9e7654b784c10ebec0cdb.jpg


Side by side with the new ones

img_20180621_171822_122b7e4e3f85b3e6634e854522b0e819f14c05bd.jpg


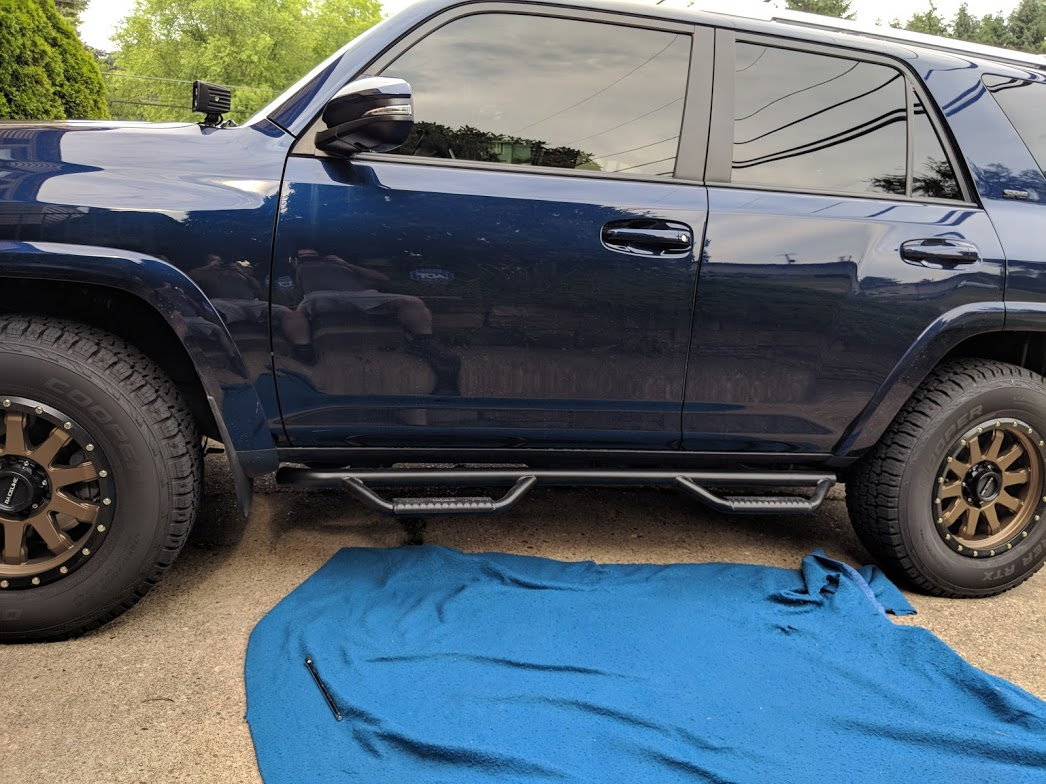
I really like the look of these, I think they give the truck a more aggressive look, they also help the truck look a little taller

img_20180621_172712_401af202fc980016618e30c5384db88236dba213.jpg


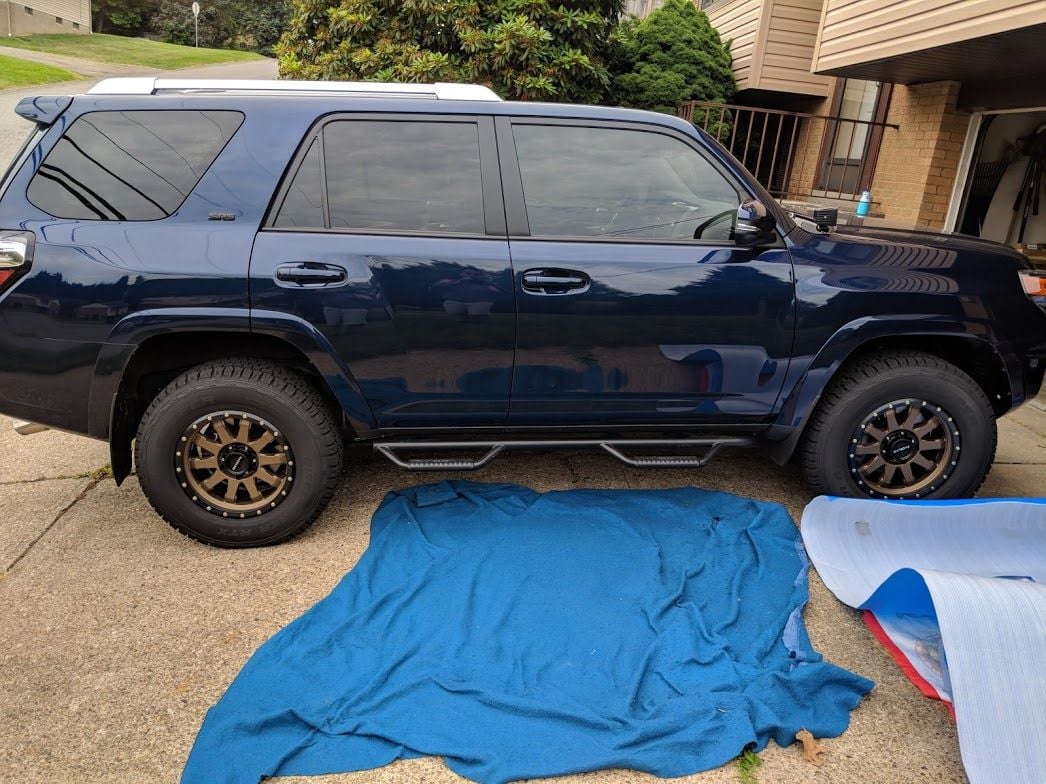
All installed, I installed them all the way forward, debating if I want to center them more but the steps line right up with the doors so I'm going to see how I feel after I get used to it.

img_20180621_174329_bf84a5f8726e9ce1af341c4a7c7ac6447795b477.jpg
 
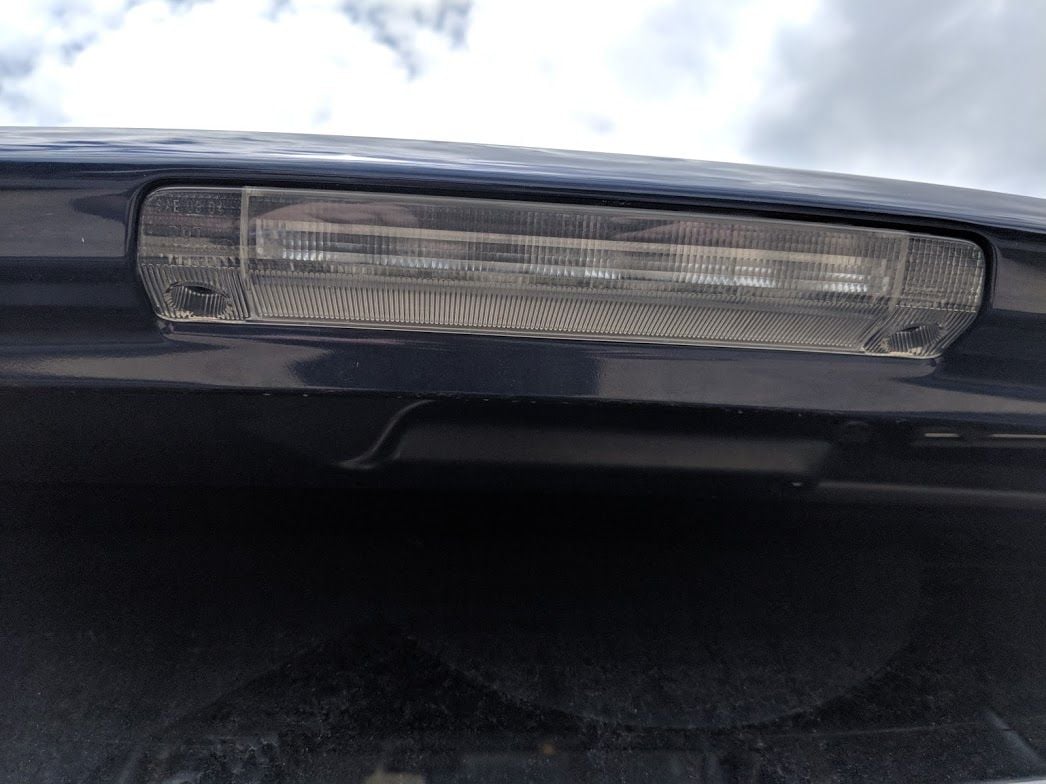
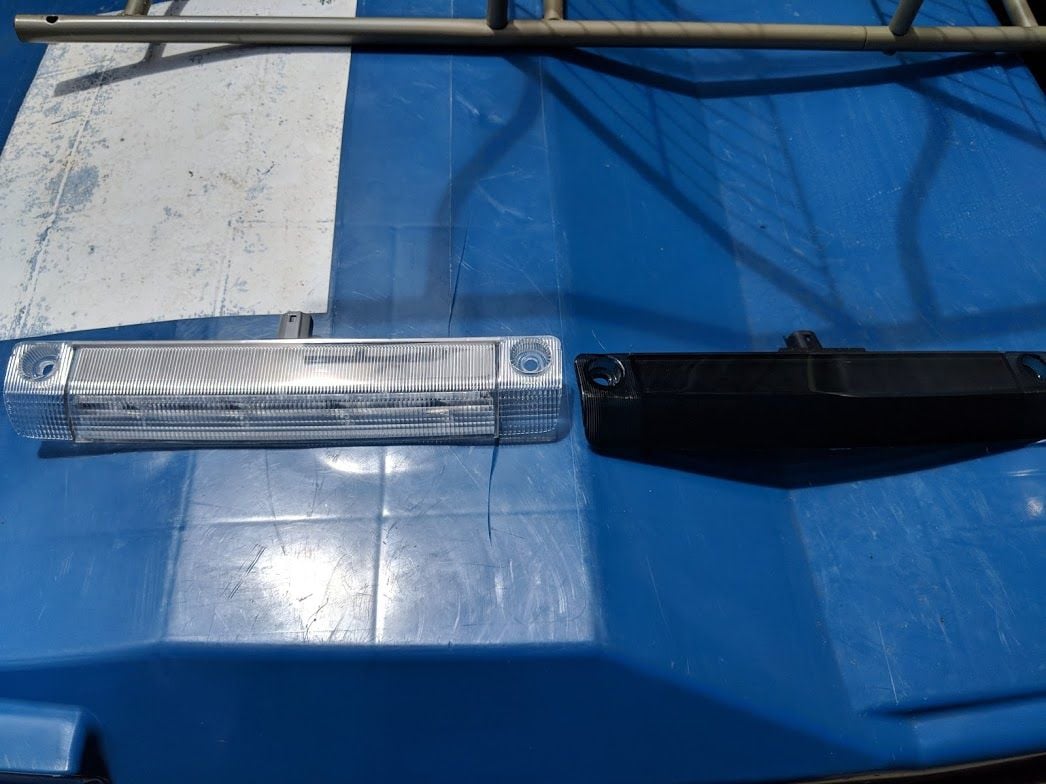
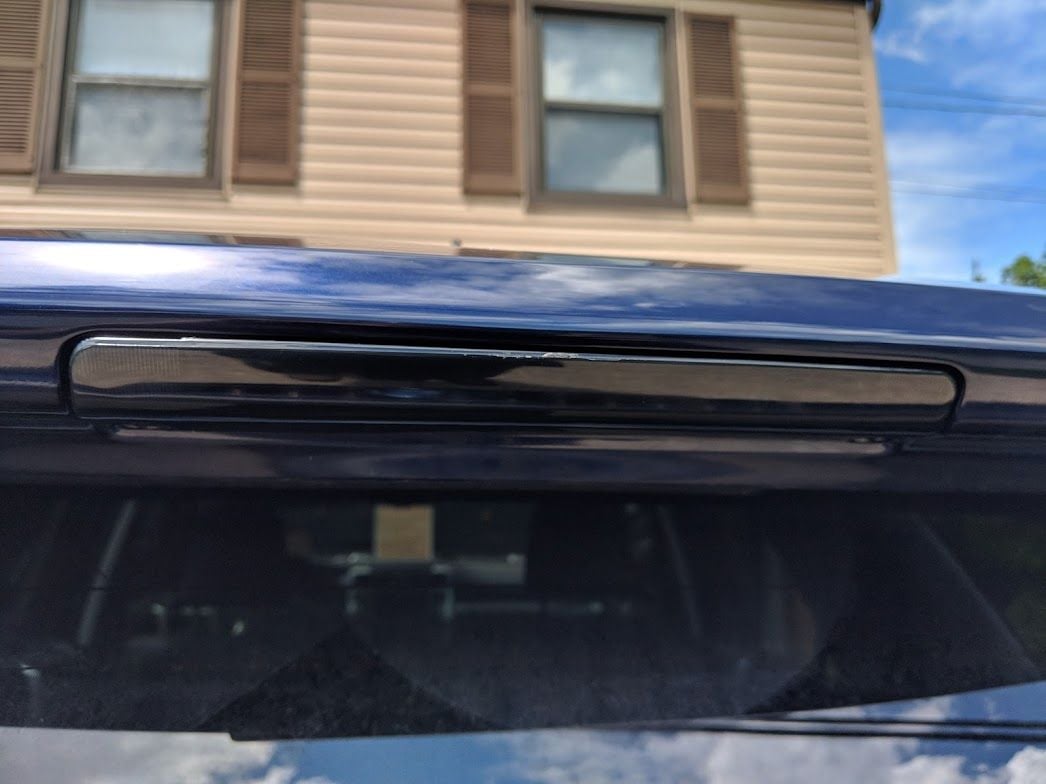
Couple small updates yesterday in my continuing the subtle black outs on the truck. Installed a smoked black third brake light. Here's a before


img_20180624_134829_c02d2691f17b0afc209d06c9449385705186b527.jpg


And a side by side

img_20180624_143046_cfd18797248a0aafb88ed1fa876d1c9e7780045b.jpg


And installed

img_20180624_144134_be1f54aa1401f345aa064f65e4f7e55522a49d85.jpg


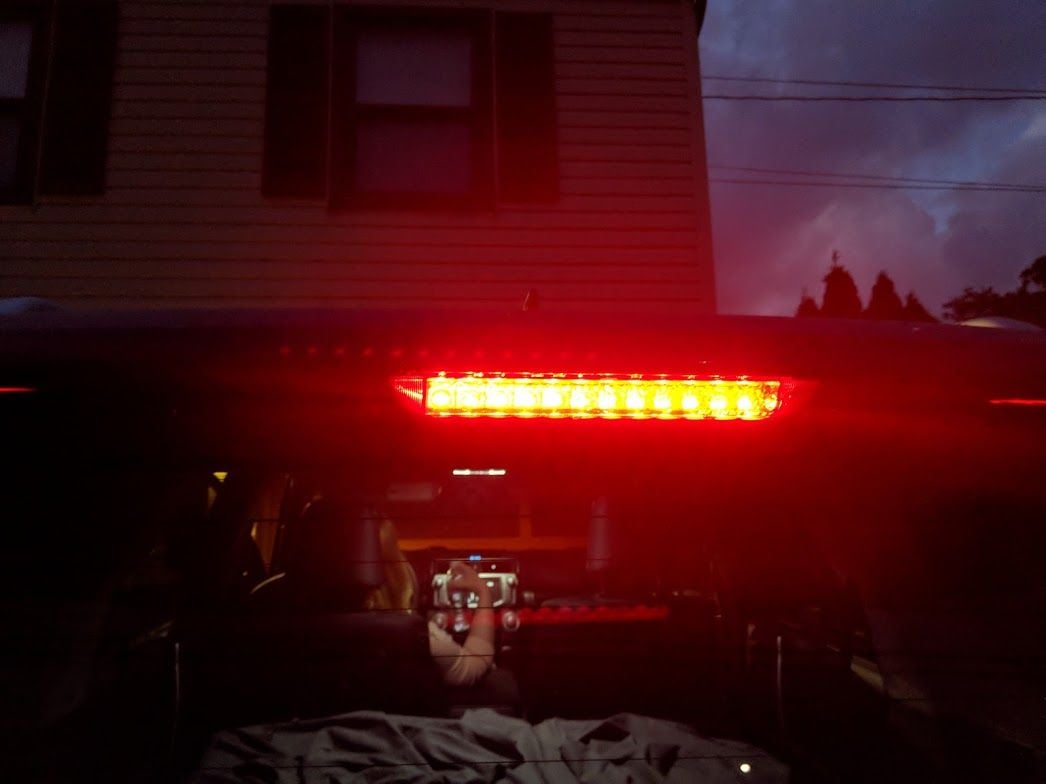
Had to have the gf sit in the truck and push the brake pedal so I could make sure everything works. Looks good!

img_20180624_212712_3f84d4aaadce376705c6be3387a36f1db7ed235e.jpg


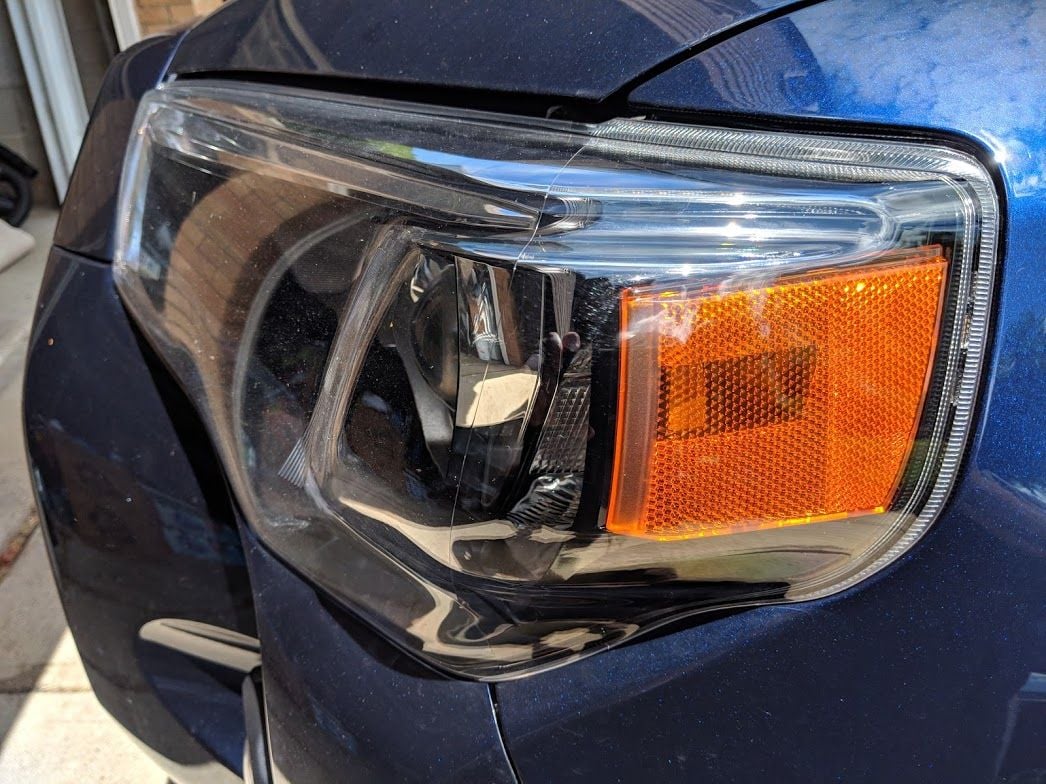
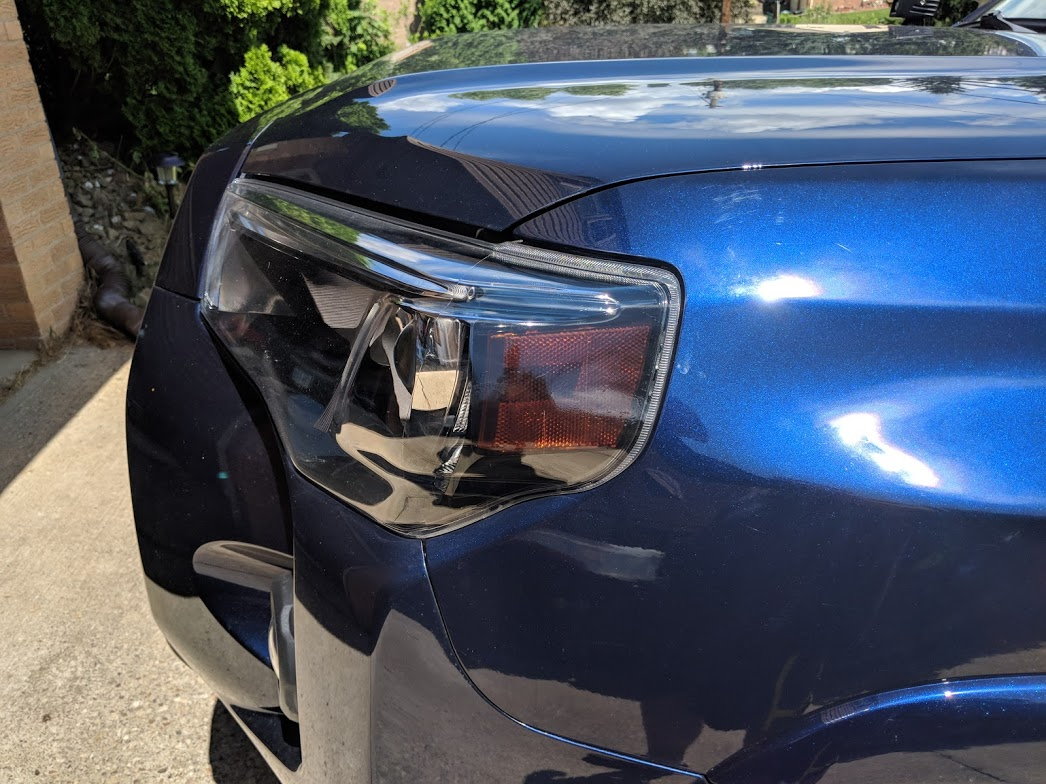
I also did the amber delete. Before

img_20180624_144355_4ed98e3052fcf6e9fe9fea0b4d93a2f550dfe19f.jpg


img_20180624_150809_2cedde1e79c6ba95da799f16ea1dc06b5a054a09.jpg


I'm not entirely happy with how this came out and probably will redo it at some point. I was installing it in direct sunlight and it made the vinyl very difficult to work with. Overall I like the look, just probably will redo it at some point to please my OCD
 
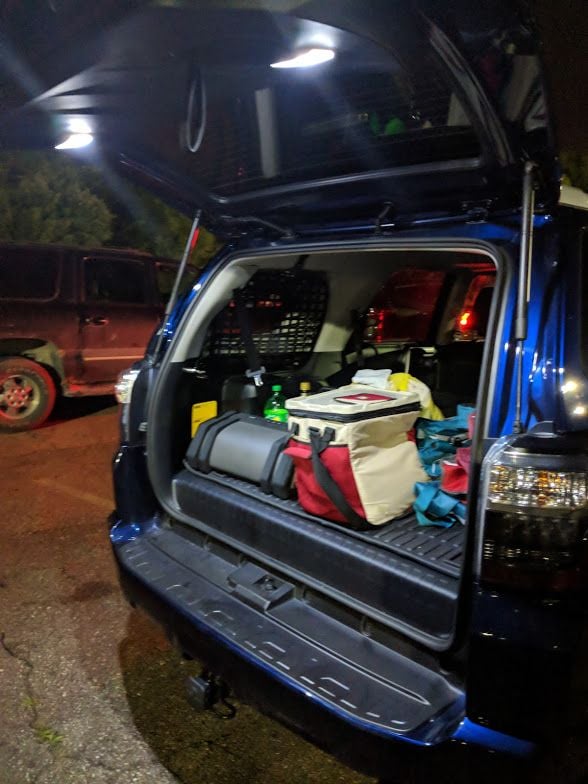
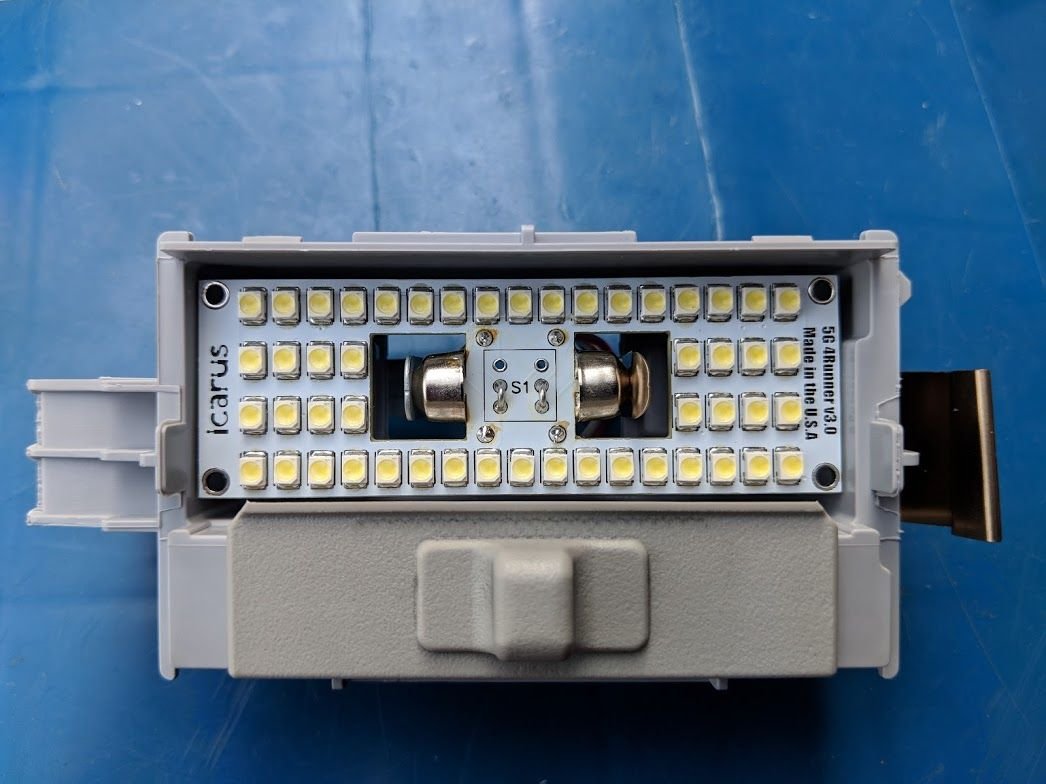
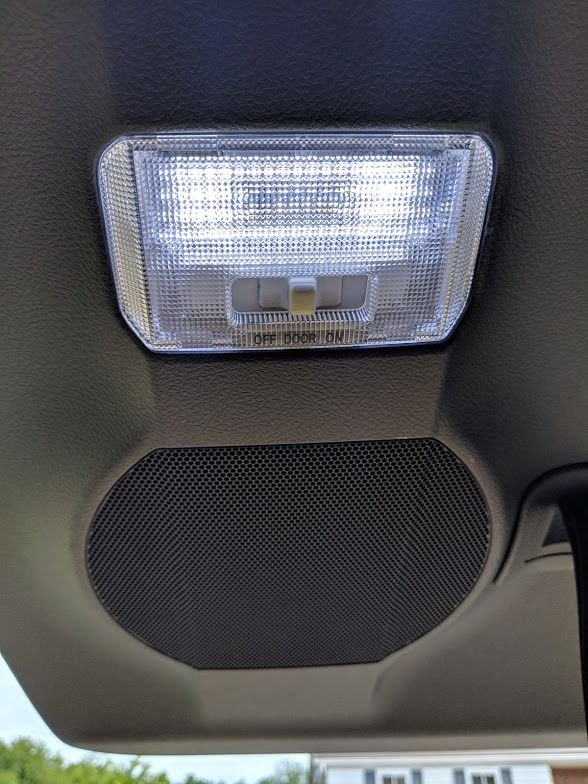
Another small update, since I'm an LED whore. I picked up a set of the Arc Light LED panels made for the rear hatch lights. Probably over kill since the LED bulbs I had in there were plenty bright. This is a pic of the old bulbs at the Slayer concert a couple weeks back

img_20180609_221128_afaf0087725c3f545c165d9099193df9b5d10d9c.jpg


I can't just leave things alone, here's a little comparison shot of the old vs the new

img_20180625_174748_32cd41f5425da04aad4936cb120a8e681e7da989.jpg


And the new panel all installed

img_20180625_174936_2197202757335edec8a8bbfa6ee3ccd7348b45cf.jpg


The new one really fills out the light and uses all available space

img_20180625_175021_498342c2cc8d4db3d363ee9e540ac7e2415b5b4a.jpg


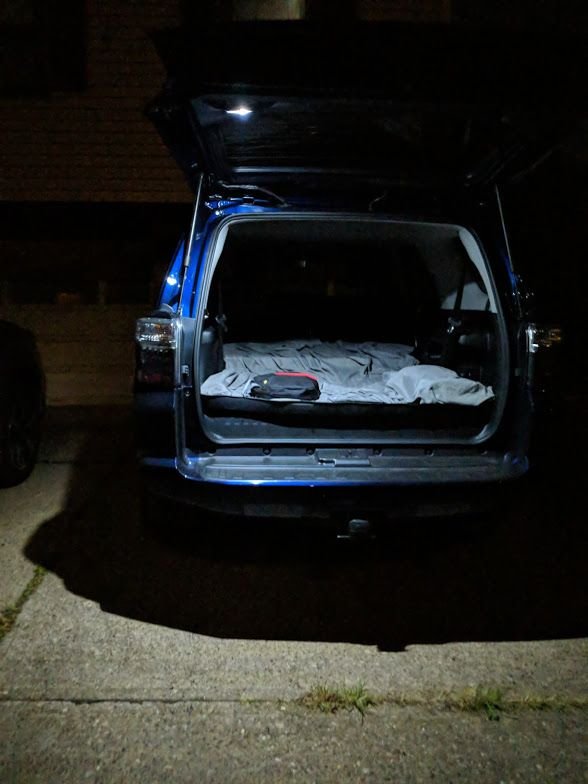
I did a side by side shot at night, this is just the single old LED bulb on the driver's side

img_20180625_231414_95c52e0e3d59830a49814dbe8af5f659910d1dc8.jpg


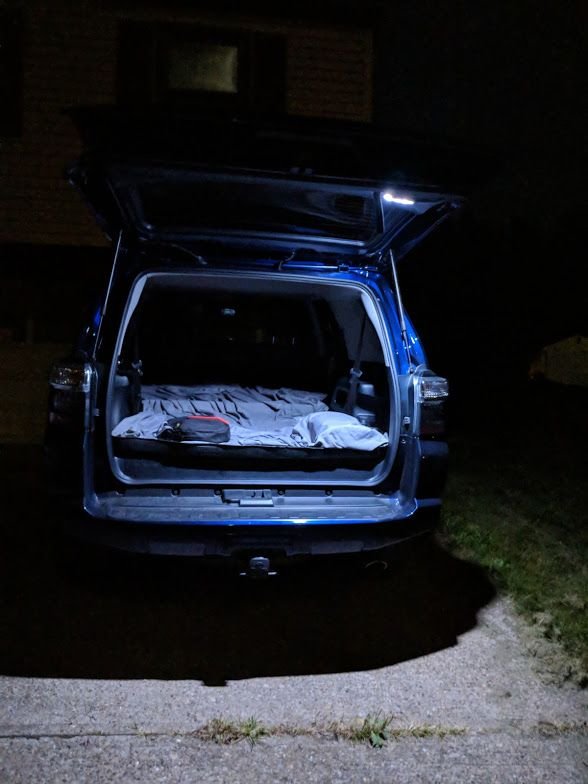
And this is the new LED panel on the right, it's blindingly bright. I had sun spots for 15-20 mins after I took this lol. But you can see just how powerful they are with just one replaced

img_20180625_231432_3754735e7695b8b9e1b36595d0d1796335fe3f35.jpg


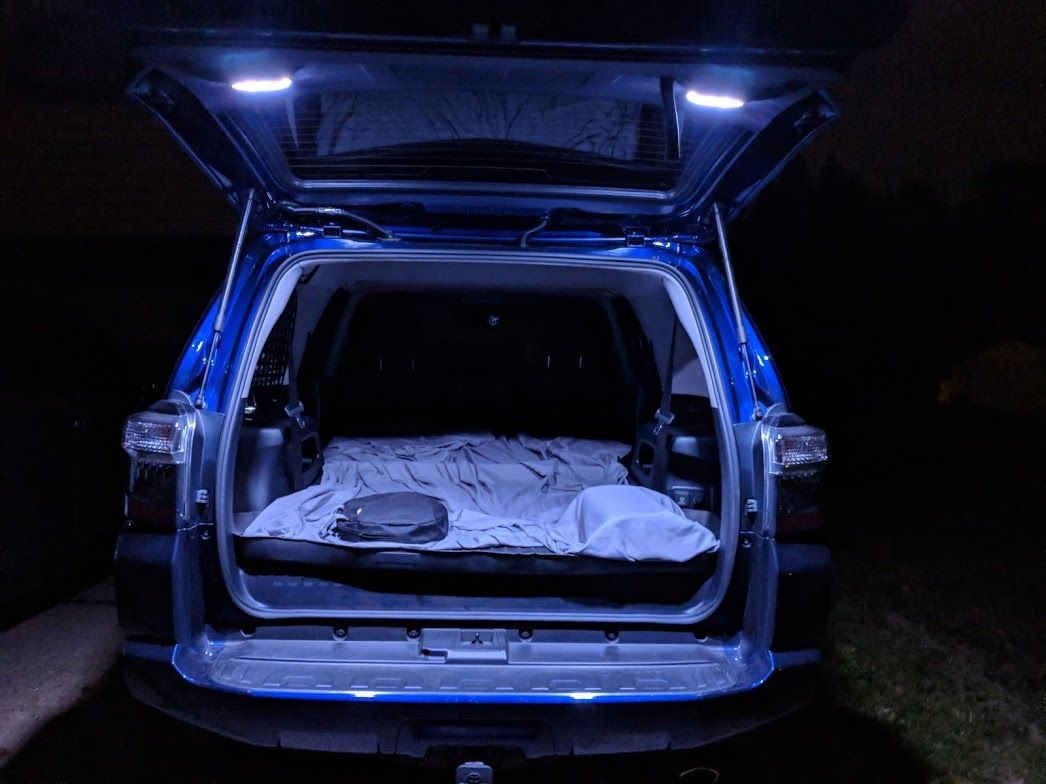
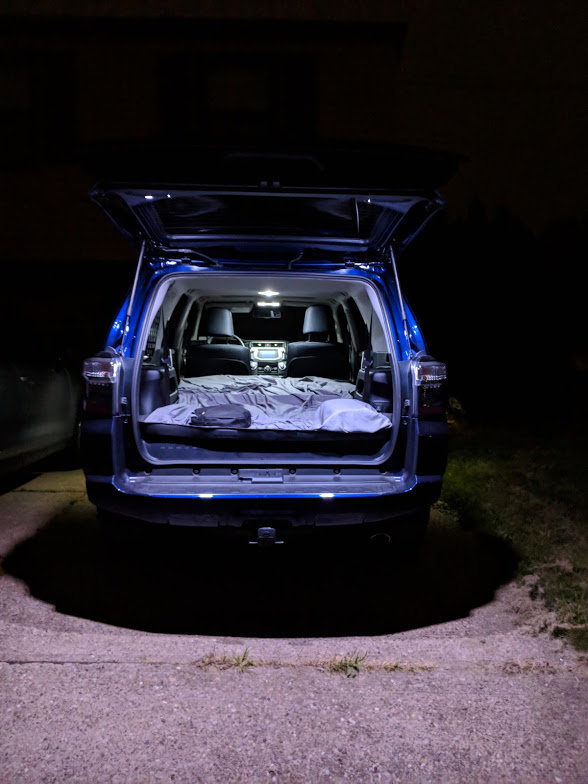
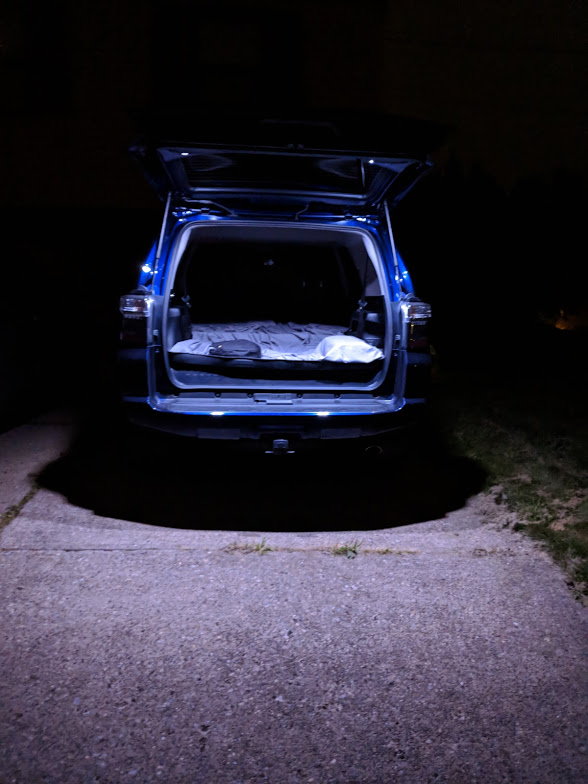
Installed the other side, couple of night shots, these things are incredibly bright!

img_20180626_224522_93df749264b57fb8e35d7724563cc7def4cca136.jpg


img_20180626_224512_3da023322564f93d4745cf9f382625196049e7e1.jpg


img_20180626_224516_dfb691c9b46cbb58cbffc04efb2b7e6682e7d414.jpg
 
Last edited:
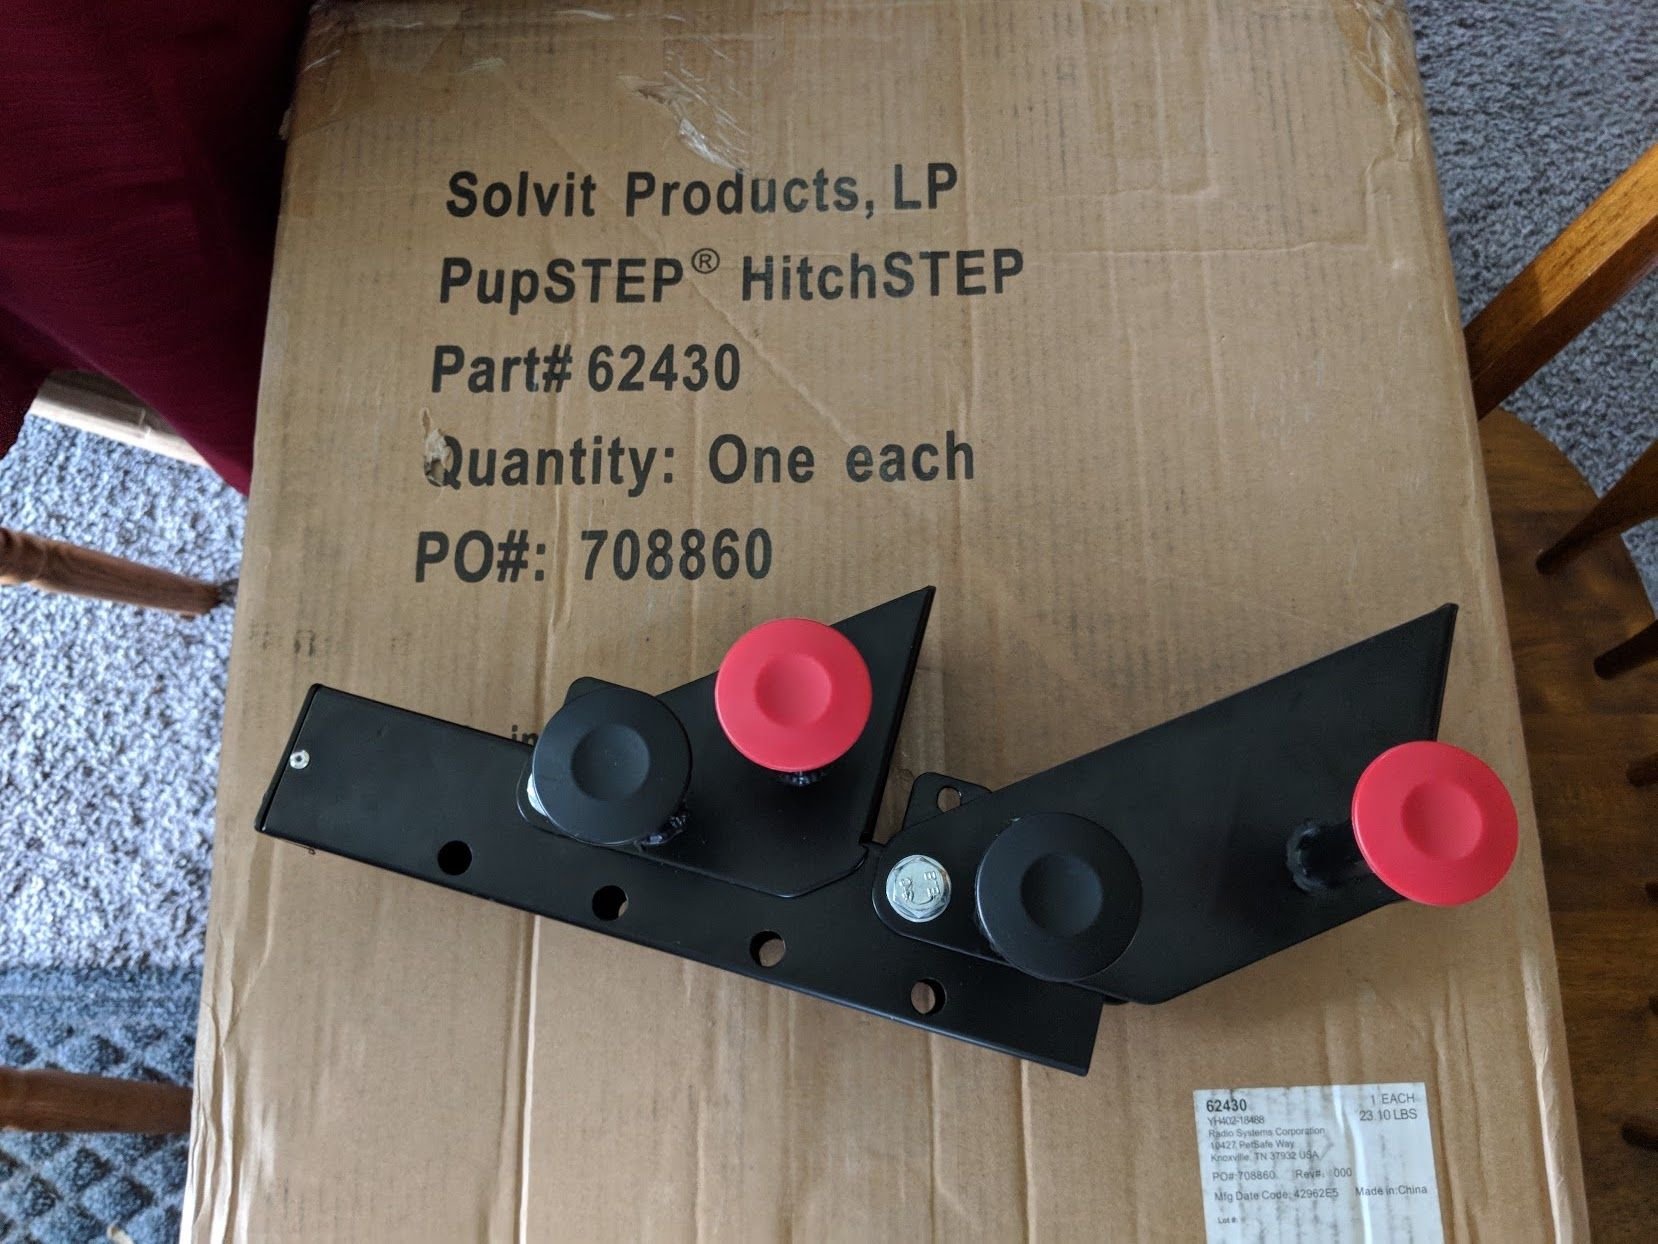
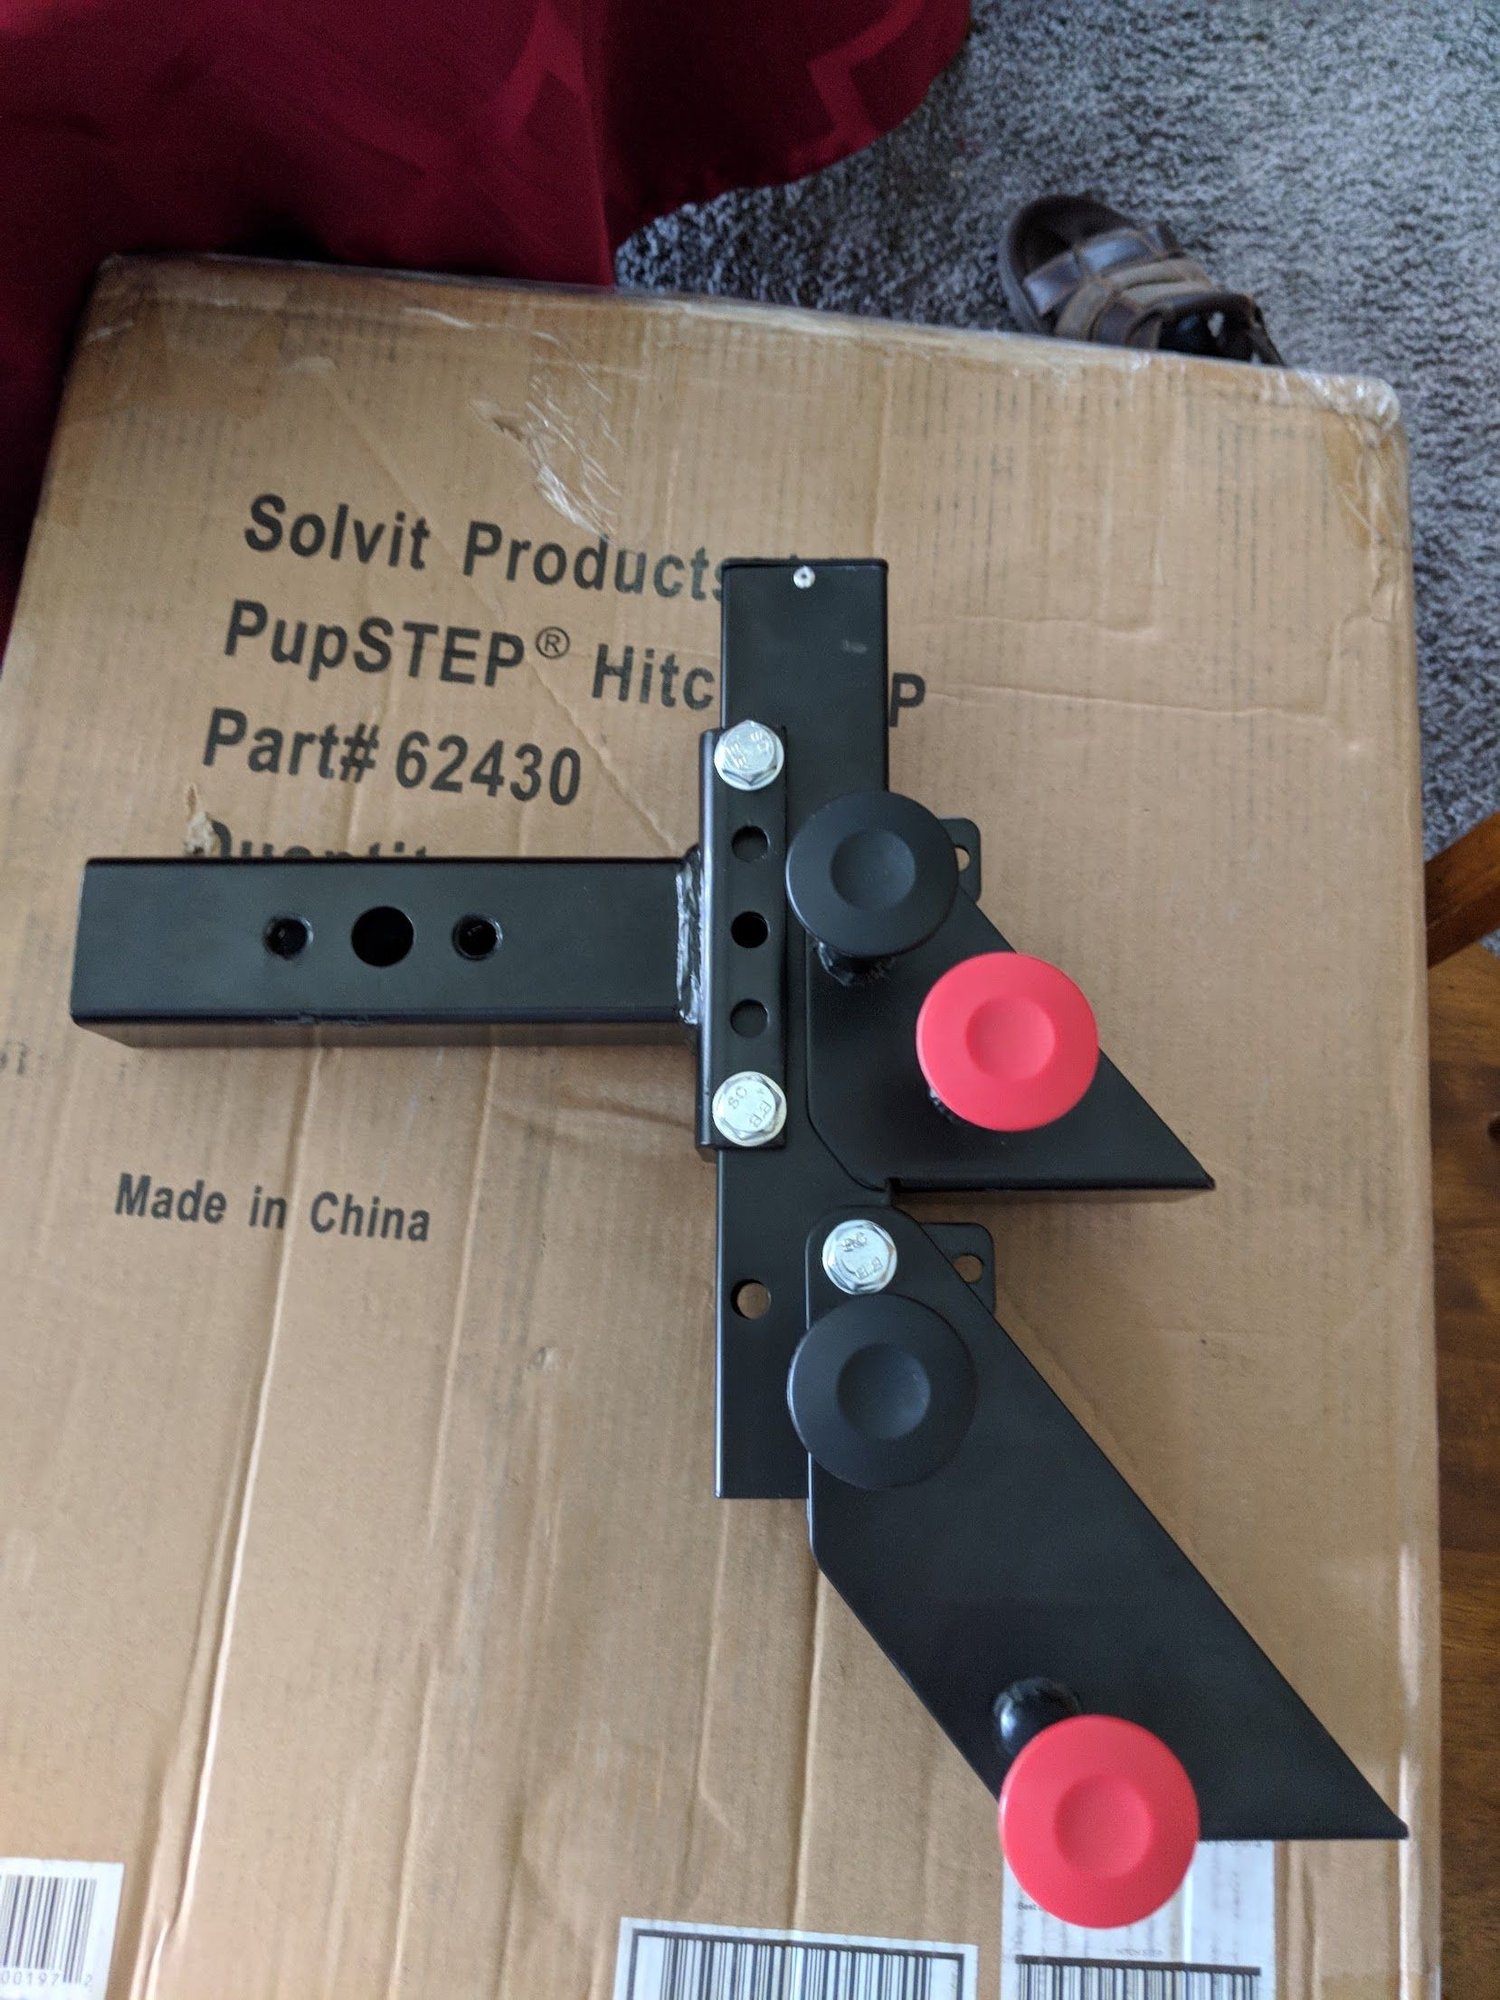
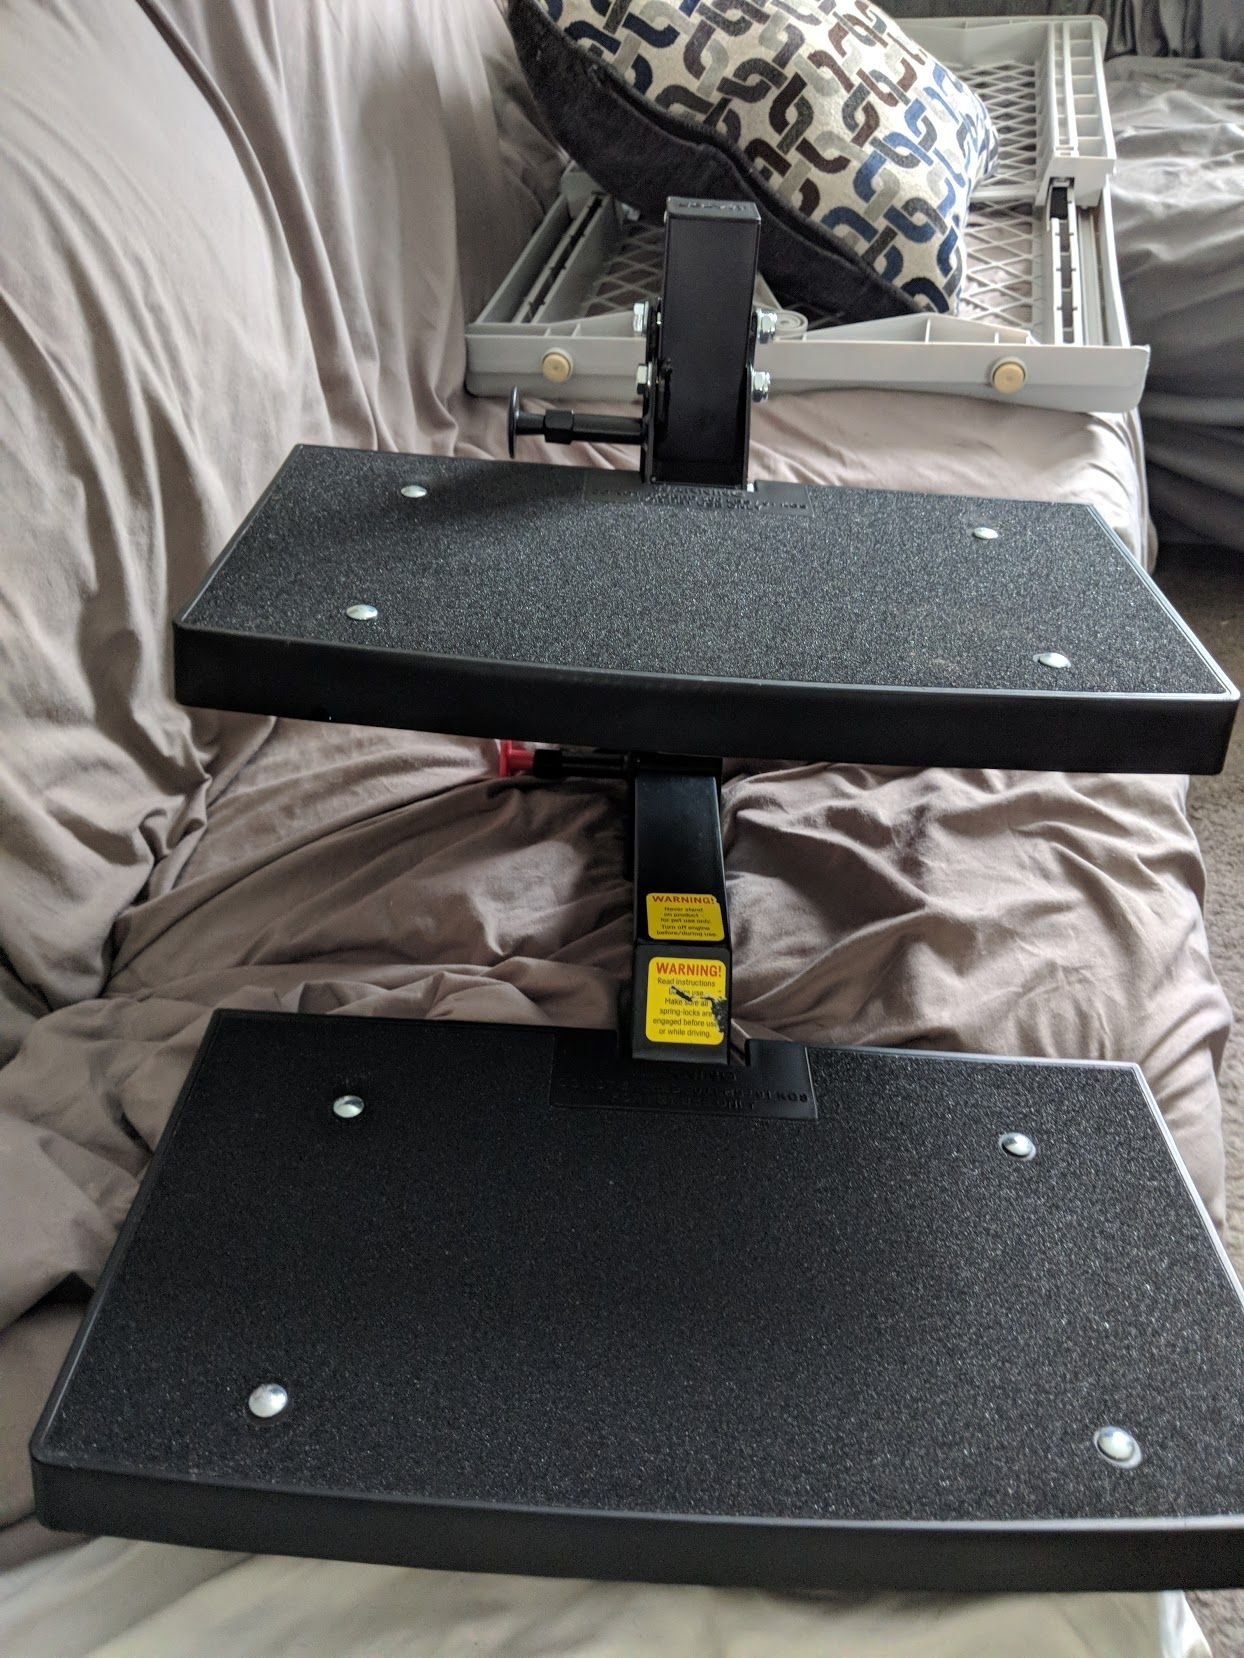
Small little update, my dogs have a heck of a time jumping up to the rear seat, and with my older one pushing 12 years old and starting to show signs of arthritis, I've been looking into alternatives for them to get up and down from the truck, especially after swapping out the running boards for steps. So I found a solution, I ended up getting an open box which saved me about 40 bucks on this, so I was excited to put it all together.

img_20180630_140202_e4051f5b6172ca5cf2661f1521784080e4155743.jpg


img_20180630_141005_4efaf0fac979f8e8daed39f797a0dfbe6aab1e85.jpg


Assembly wasn't too complicated, however I did notice a small problem (probably why it was an open box lol) the one red pin for the upper step wouldn't lock into the hole, the drilled hole was a bit too small. So I broke out the drill and widened the hole until it snapped into place. Victory!

img_20180630_142931_c350df813e9eccb50e8d1d975775fe34fdd843c7.jpg


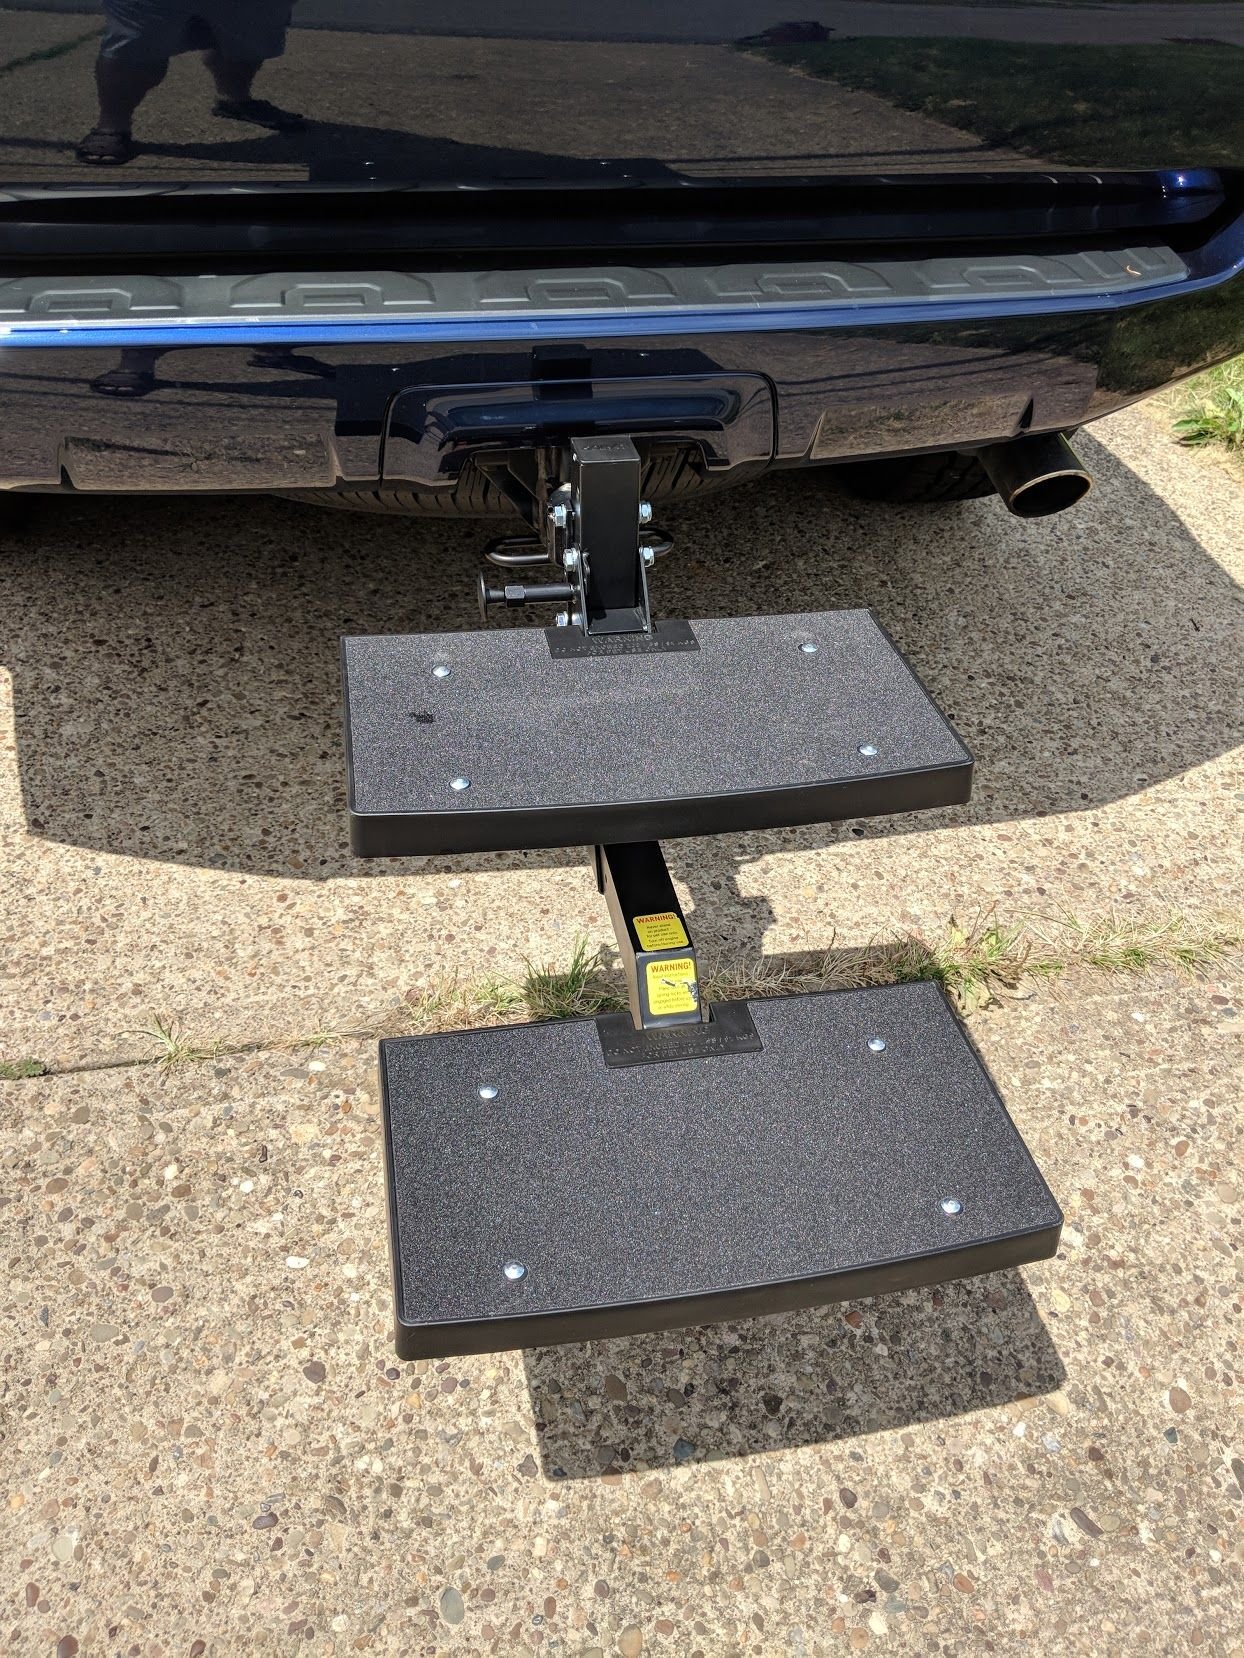
Even though it was 90some degrees outside I had to do a test fit and see how it looks. It folds up when not in use which should come in handy when we take the dogs on a road trip. I also wanted to see if the lift gate would still clear the steps, and it does!

img_20180630_143513_4f27057ccae4eaacb0c3ec869d37d869476716ca.jpg


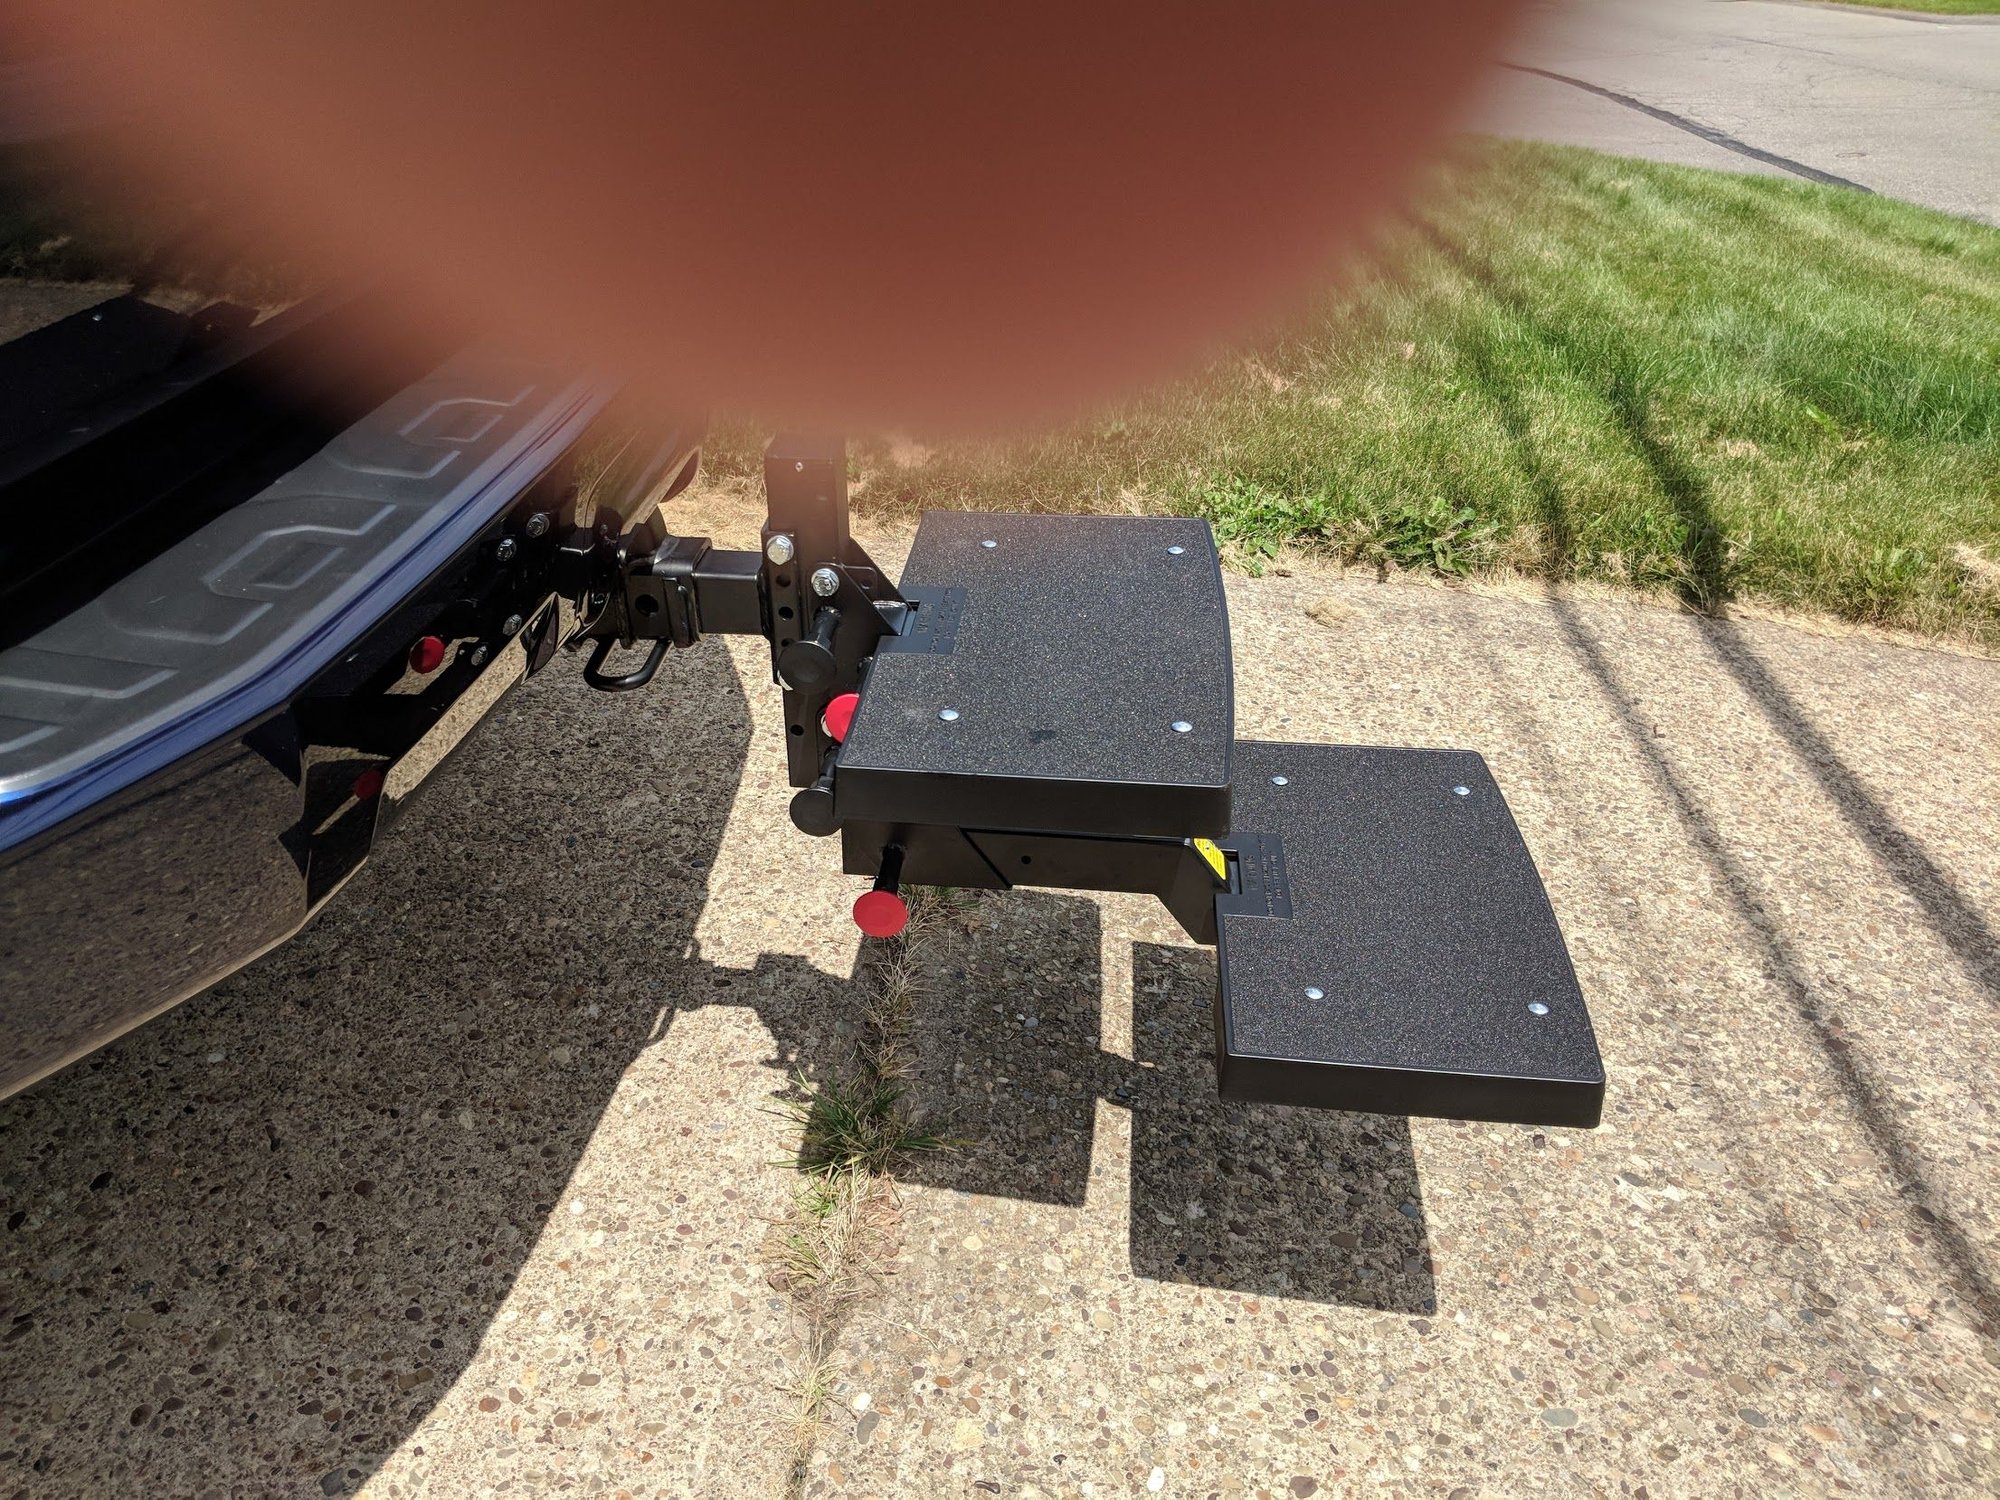
I'm still debating if I should raise the height up, but I will have to do some trial runs with the pups. I really think it won't be an issue and if I raise it anymore the tail gate won't open, so I think I'll leave the height as it is.

img_20180630_143542_b785622004b2a3f68f1e22601f2610287c399db7.jpg


Excuse my finger, this was the only side pic I took. My one dog is almost 12 and the other one is 105 lbs so I figured the steps would be a nice easy way for them to get up and down. I also have a full CanvasBack liner set that I will be using back there for them.

img_20180630_143536_fbadb22319306f03496e6fde9b47eddd0898d8fe.jpg


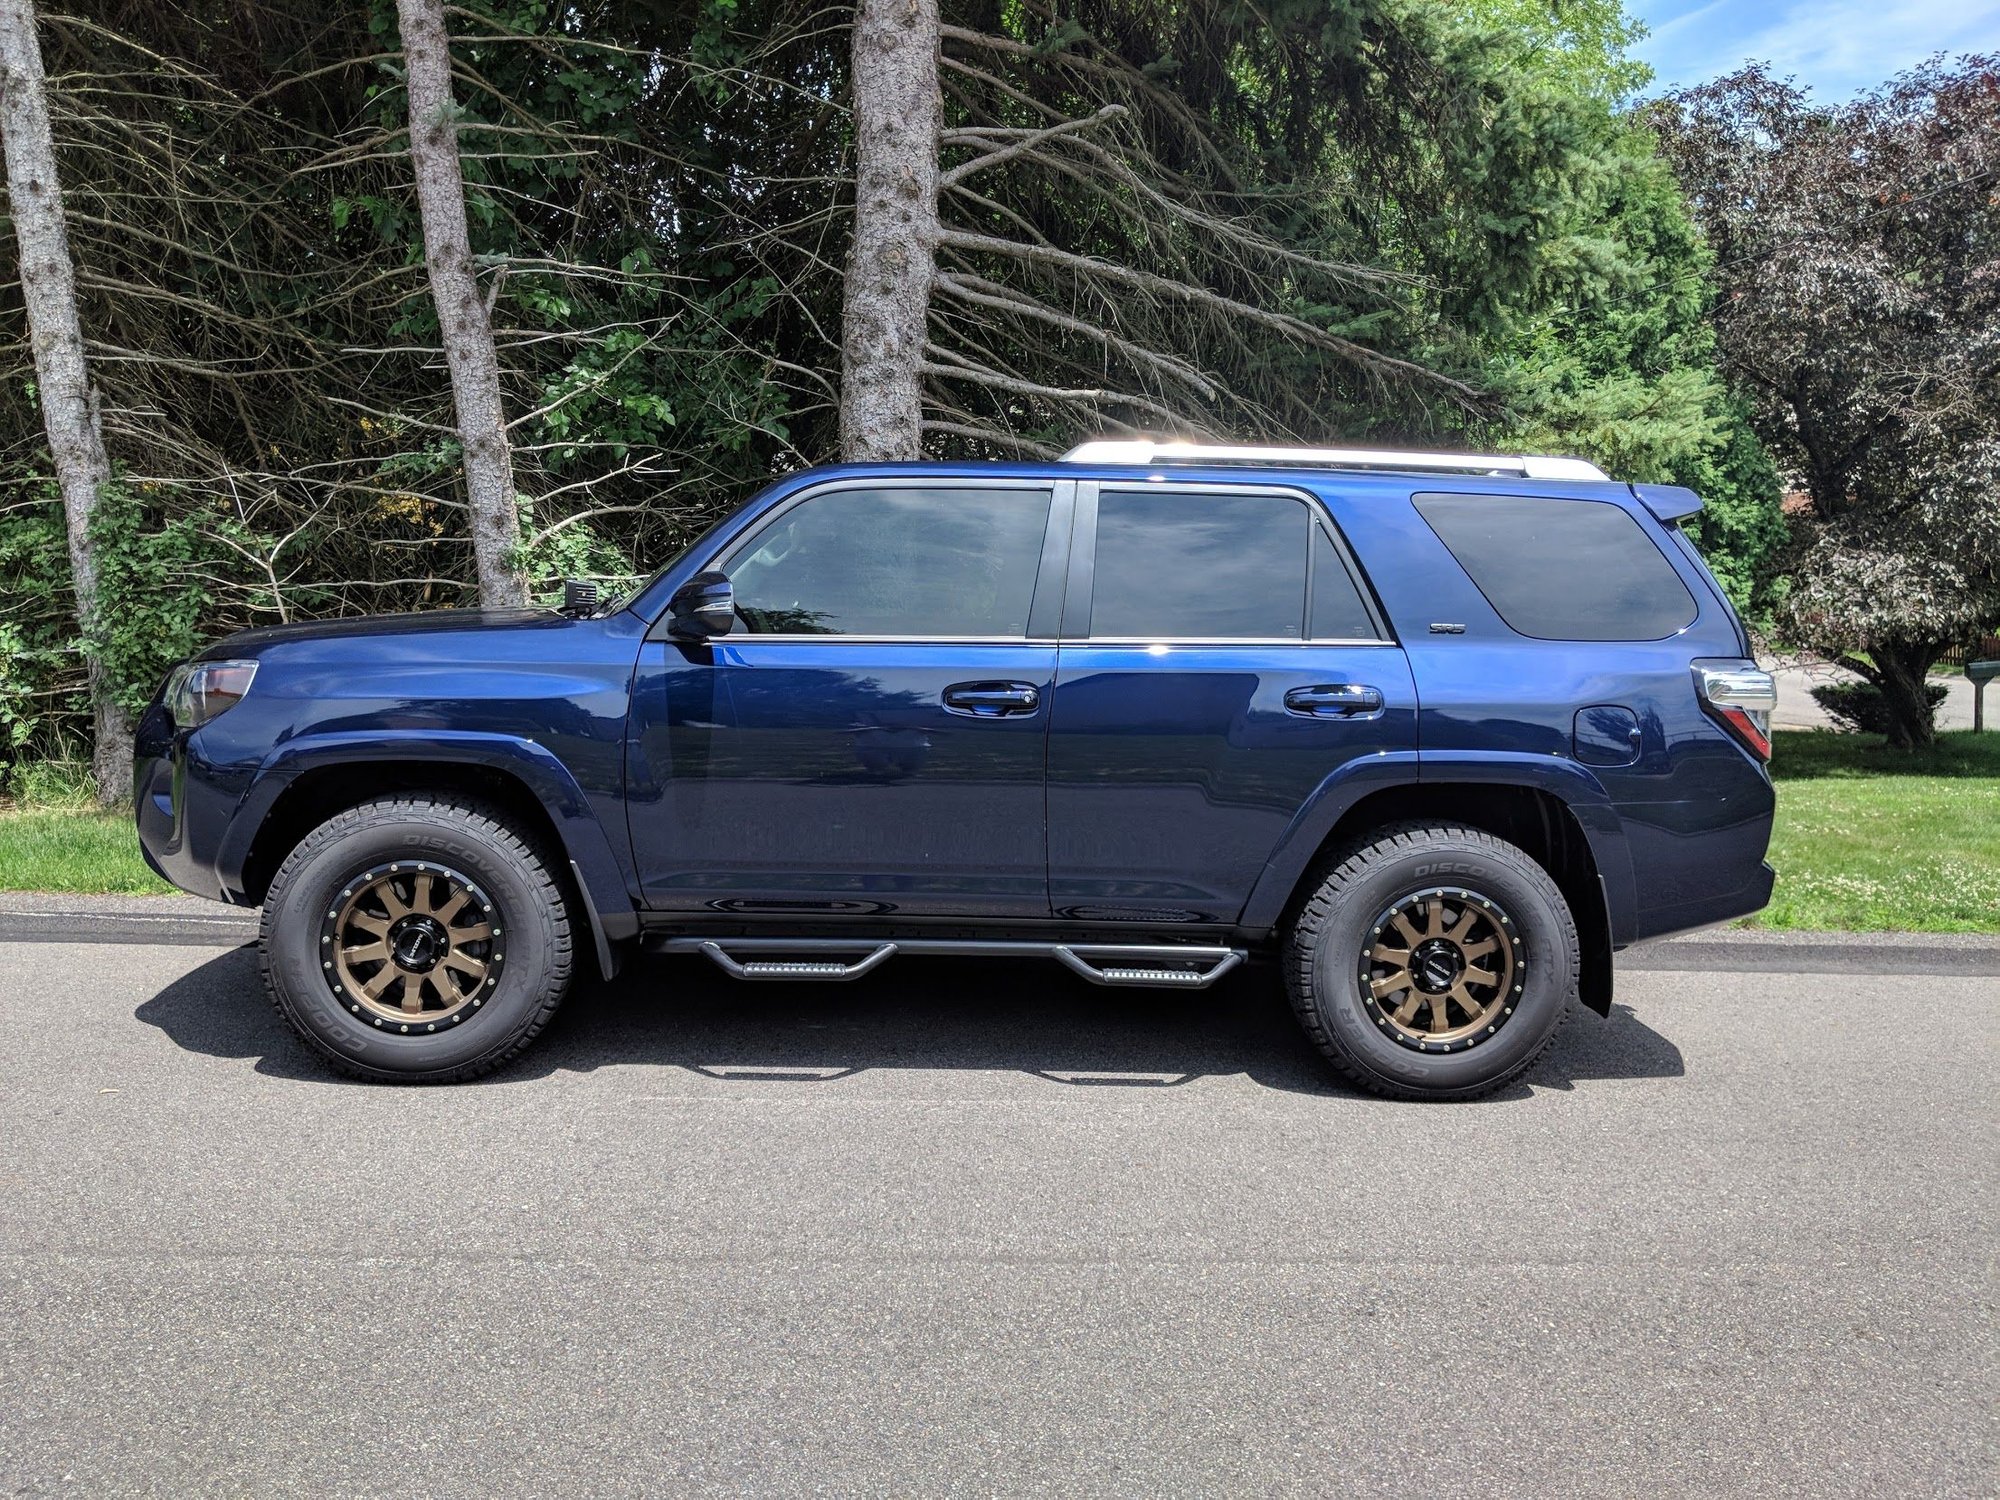
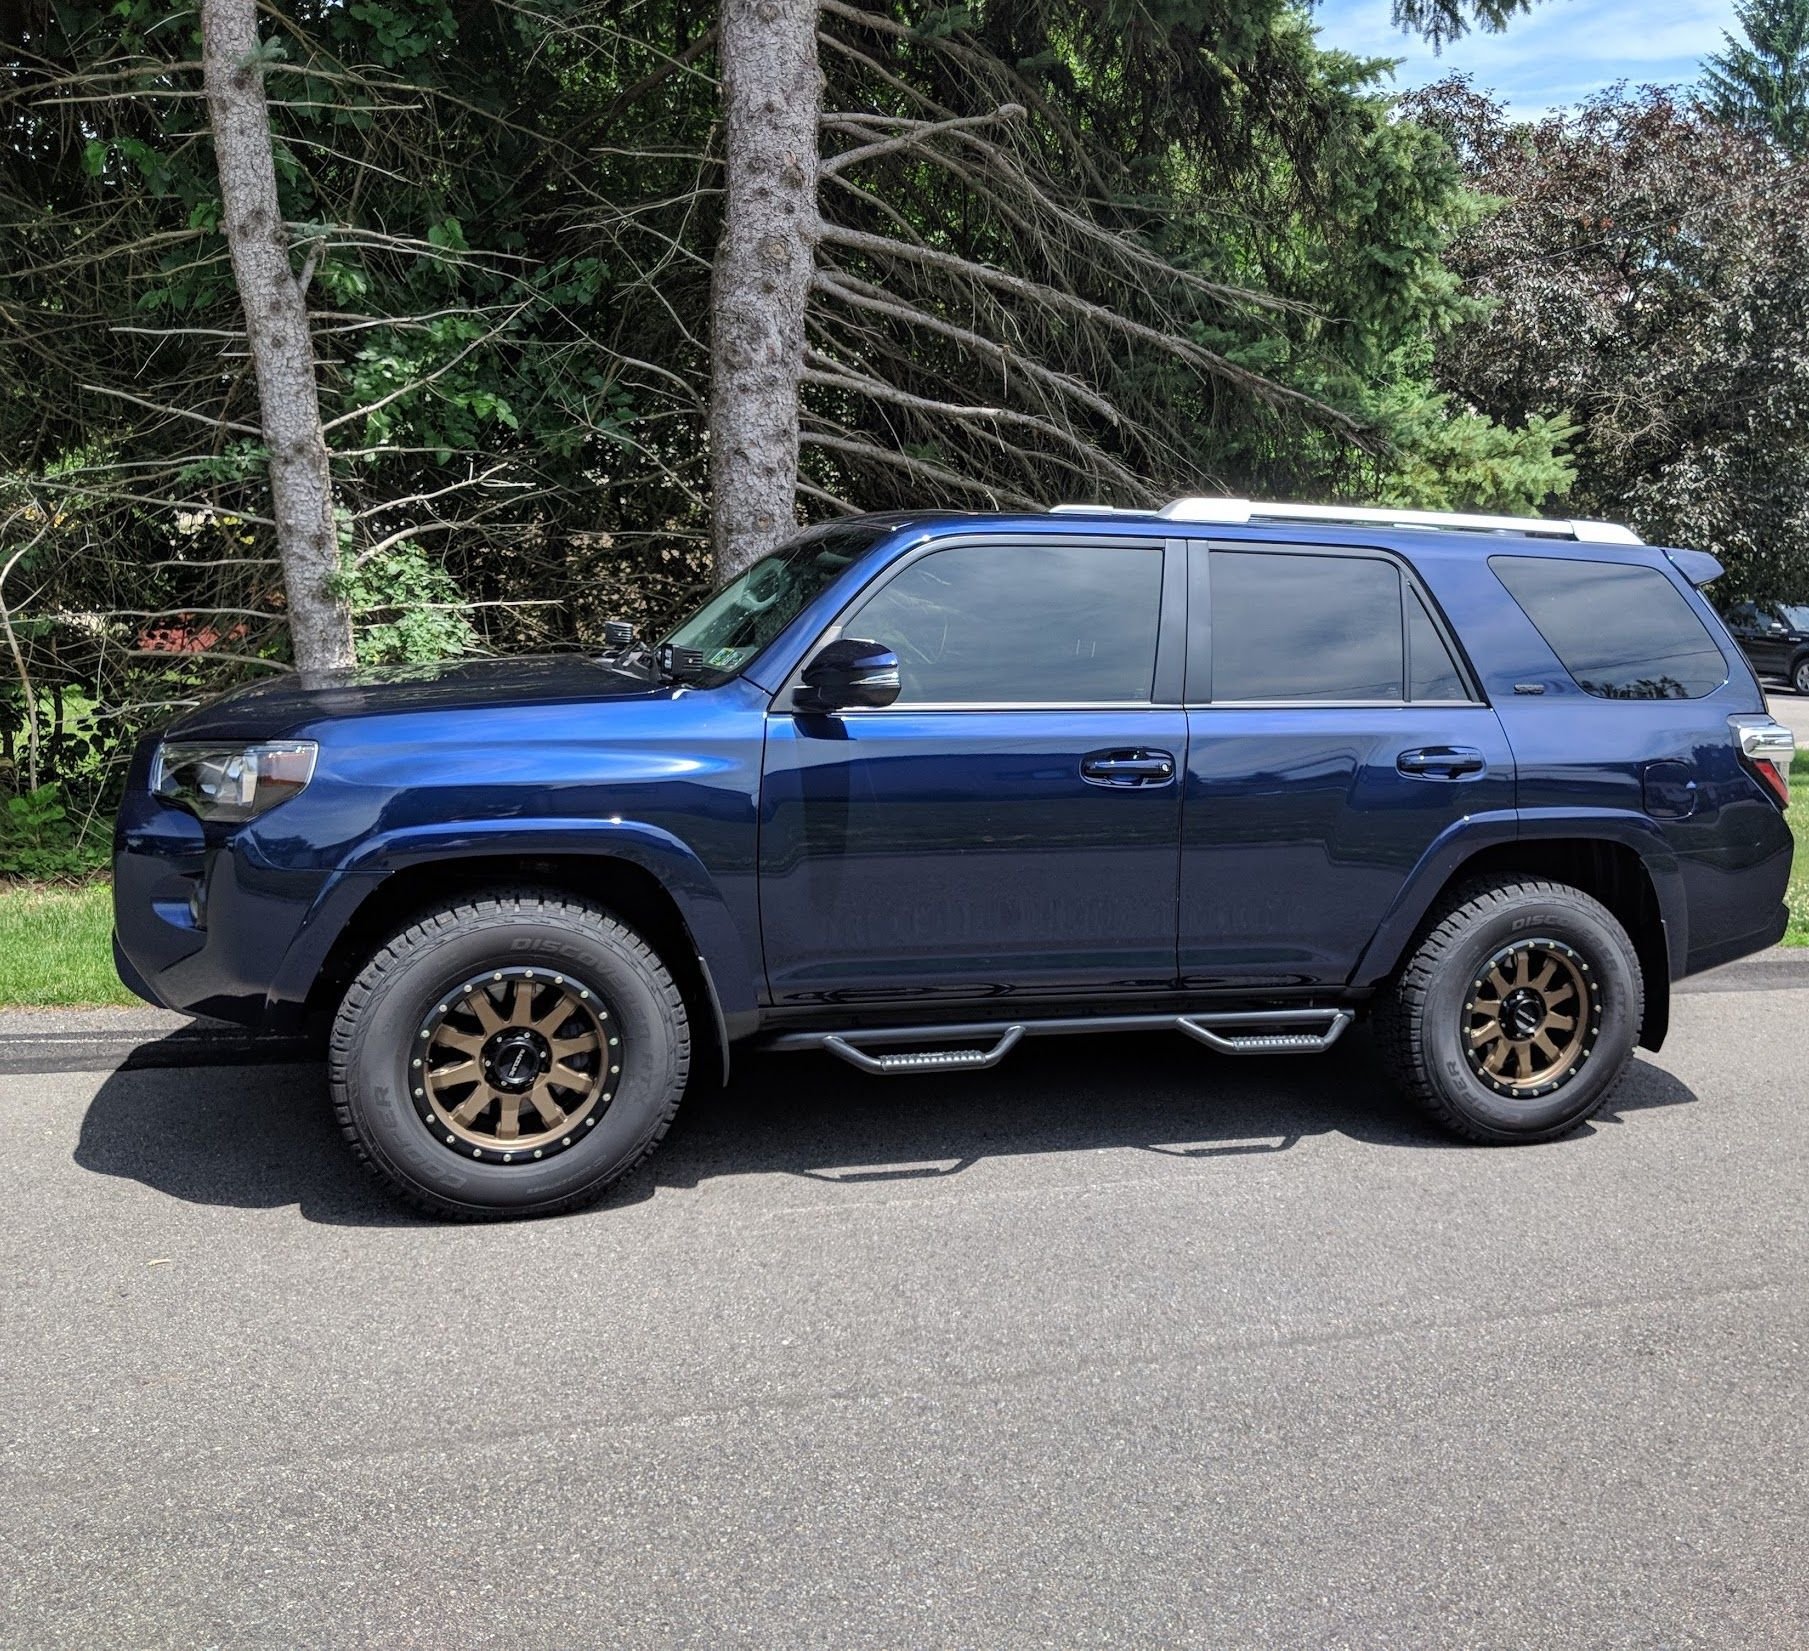
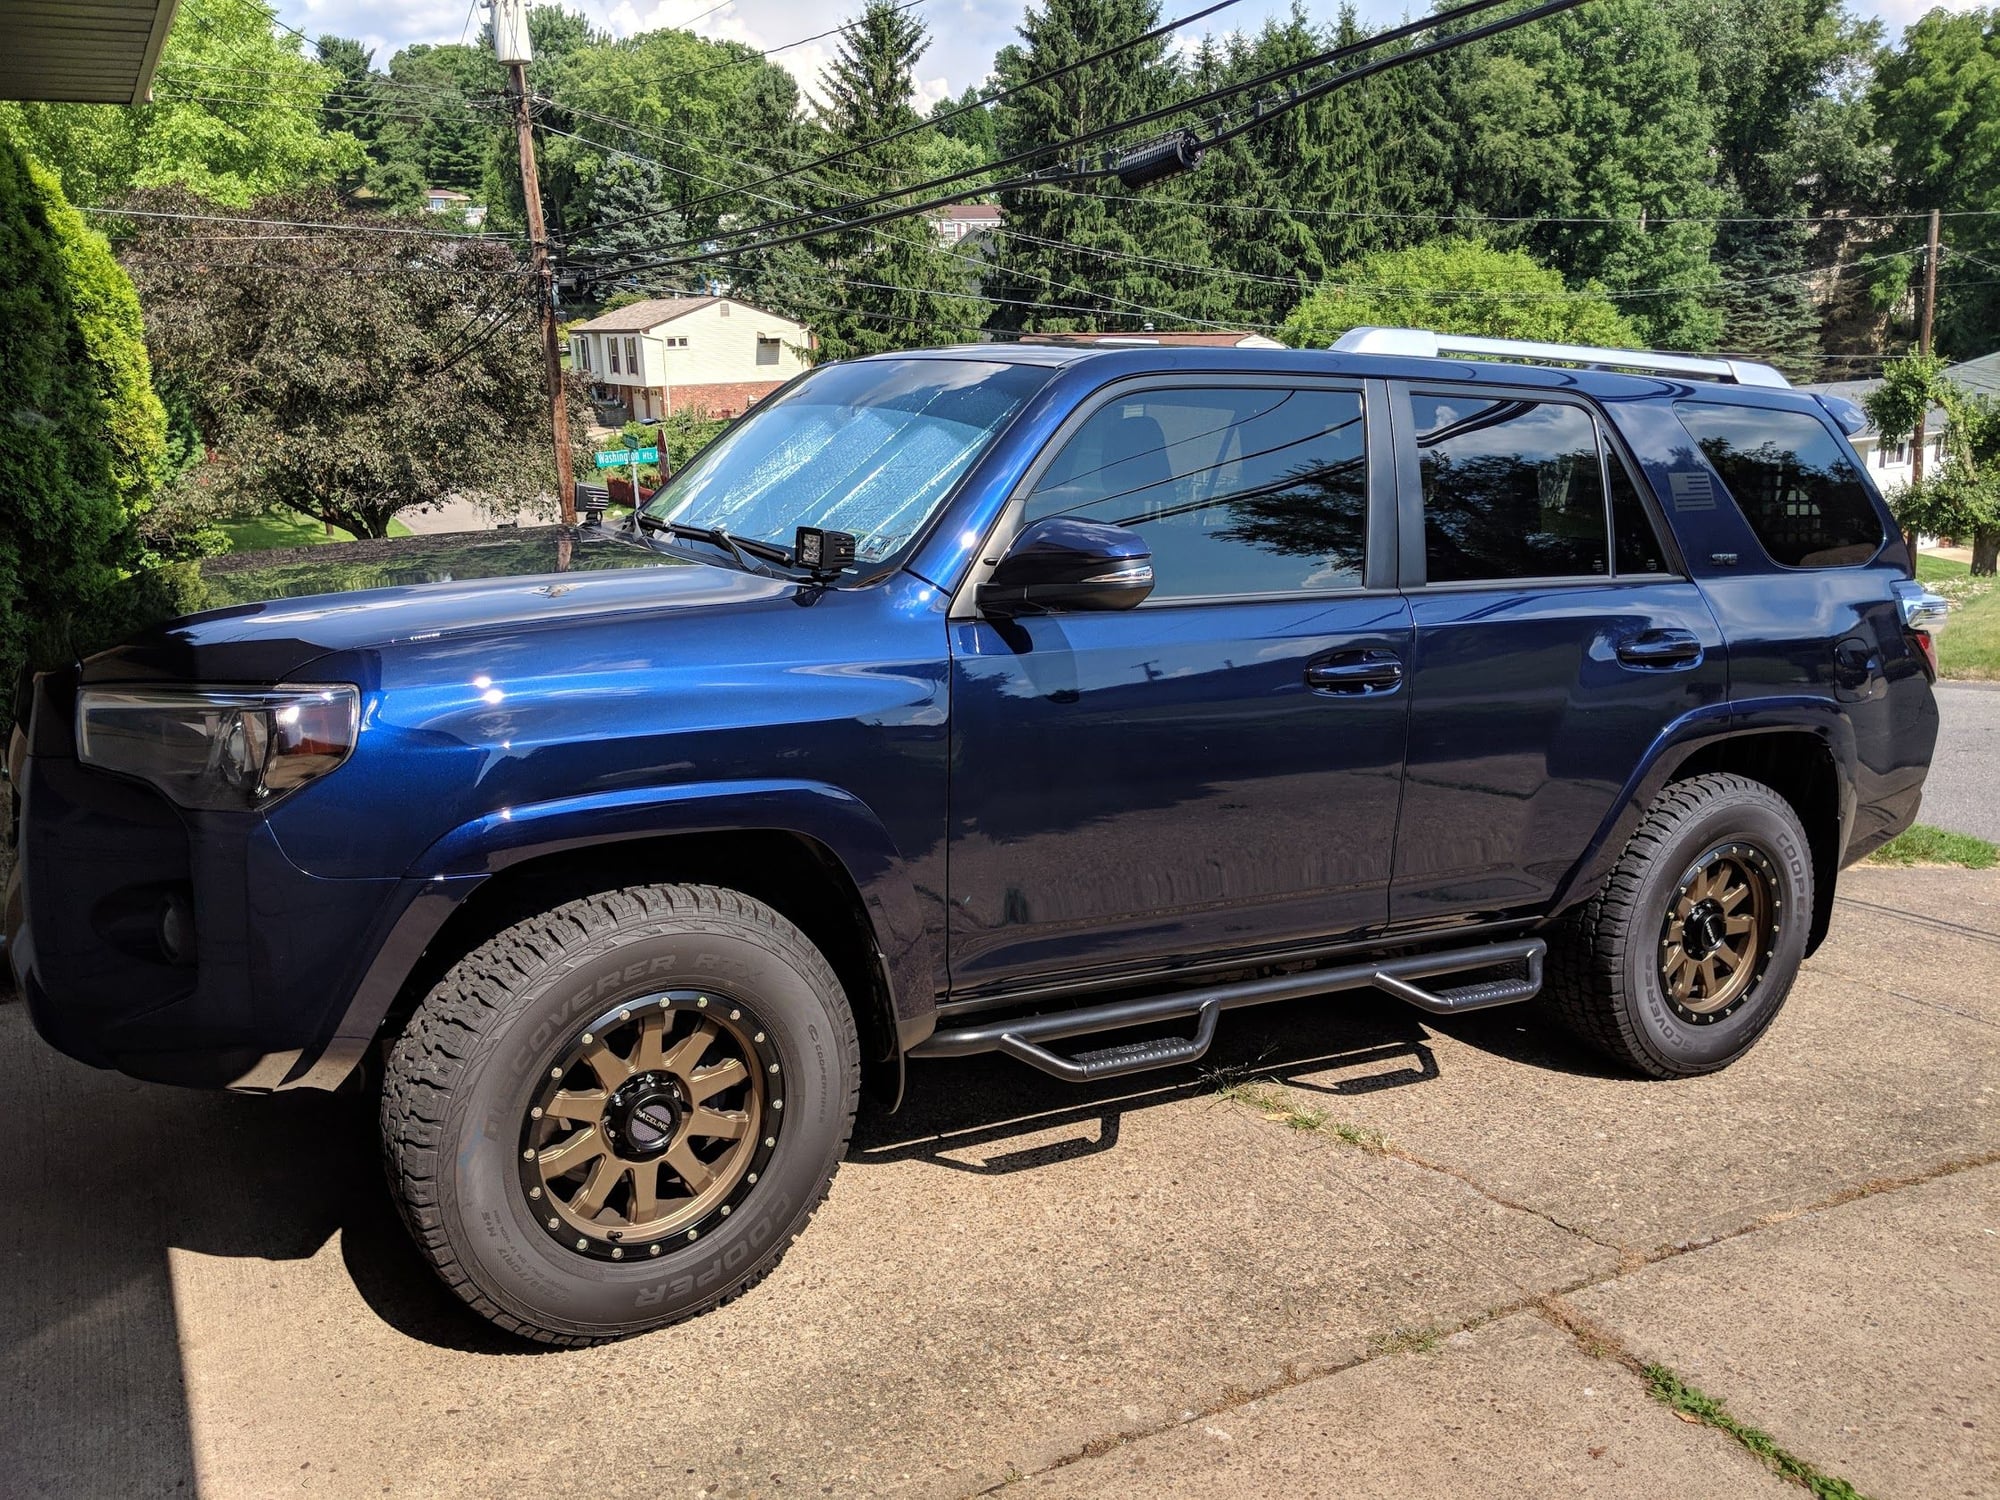
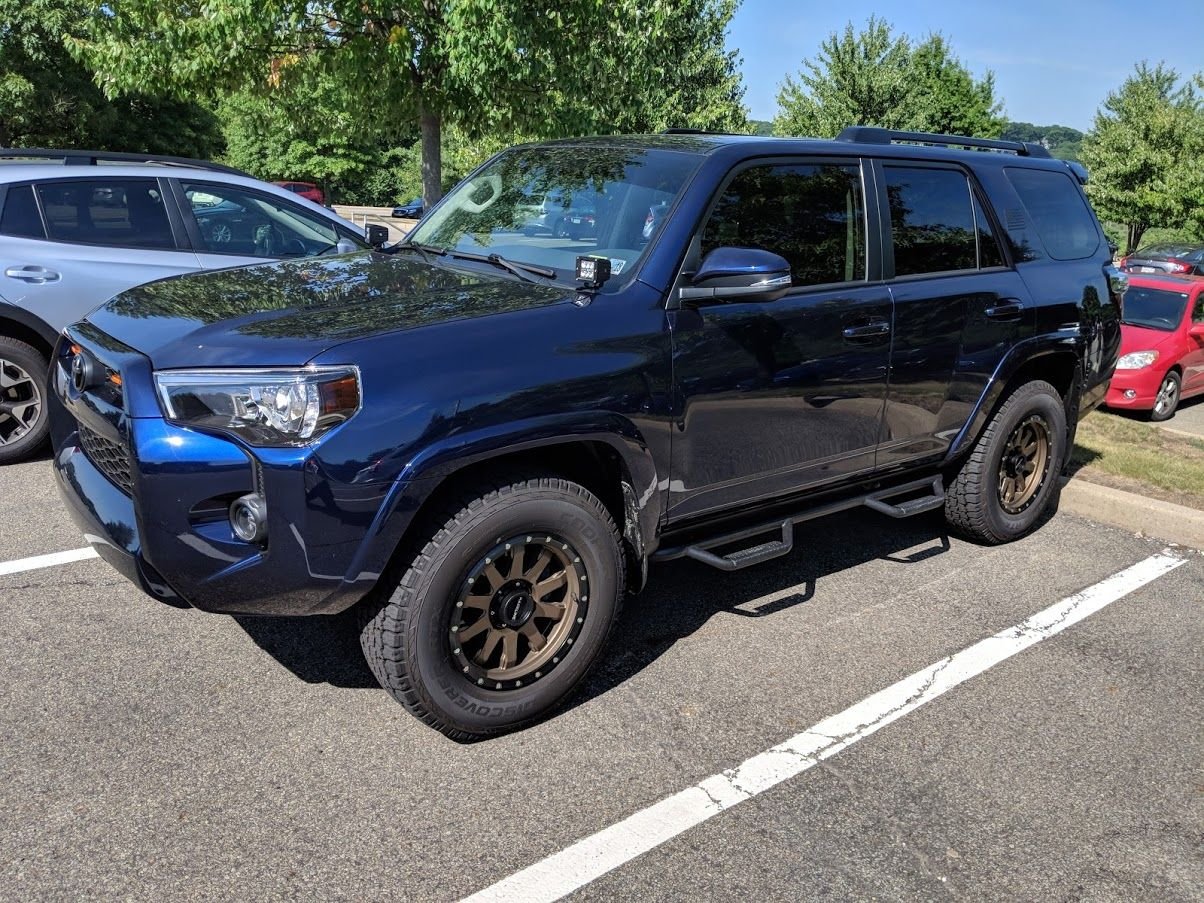
Since I had the truck out in the street, and had just washed it I had to snap some pics. Hadn't snapped any side shots with the new steps and amber deletes. She lookin sexy

img_20180630_143326_080a153261a6305a7d185ef0fe4dd2fa616d42eb.jpg


img_20180630_143320_5ea8fc8d4e18273129395782681e65173fea6d43.jpg


img_20180630_143315_3bce27b30d1f78b5ce62ea8ba1f4c9b9a9ec7f6e.jpg
 
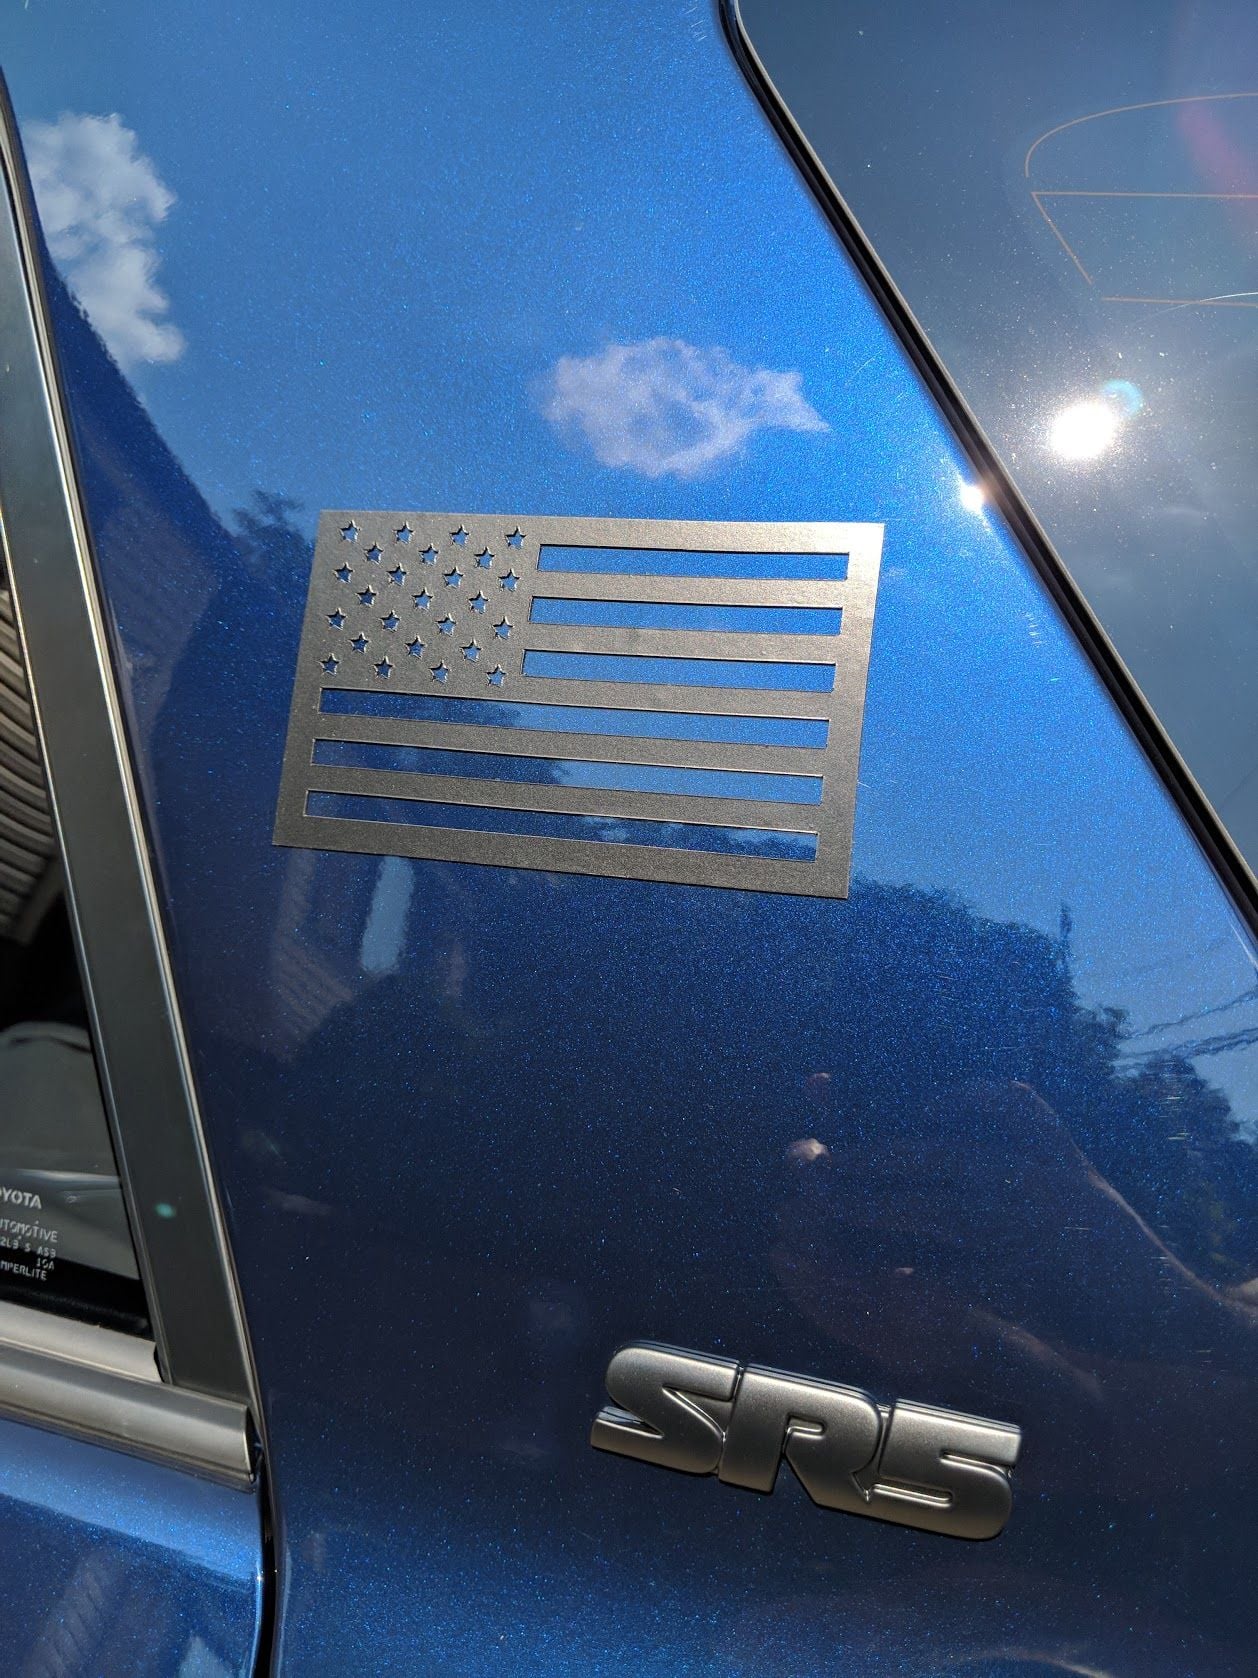
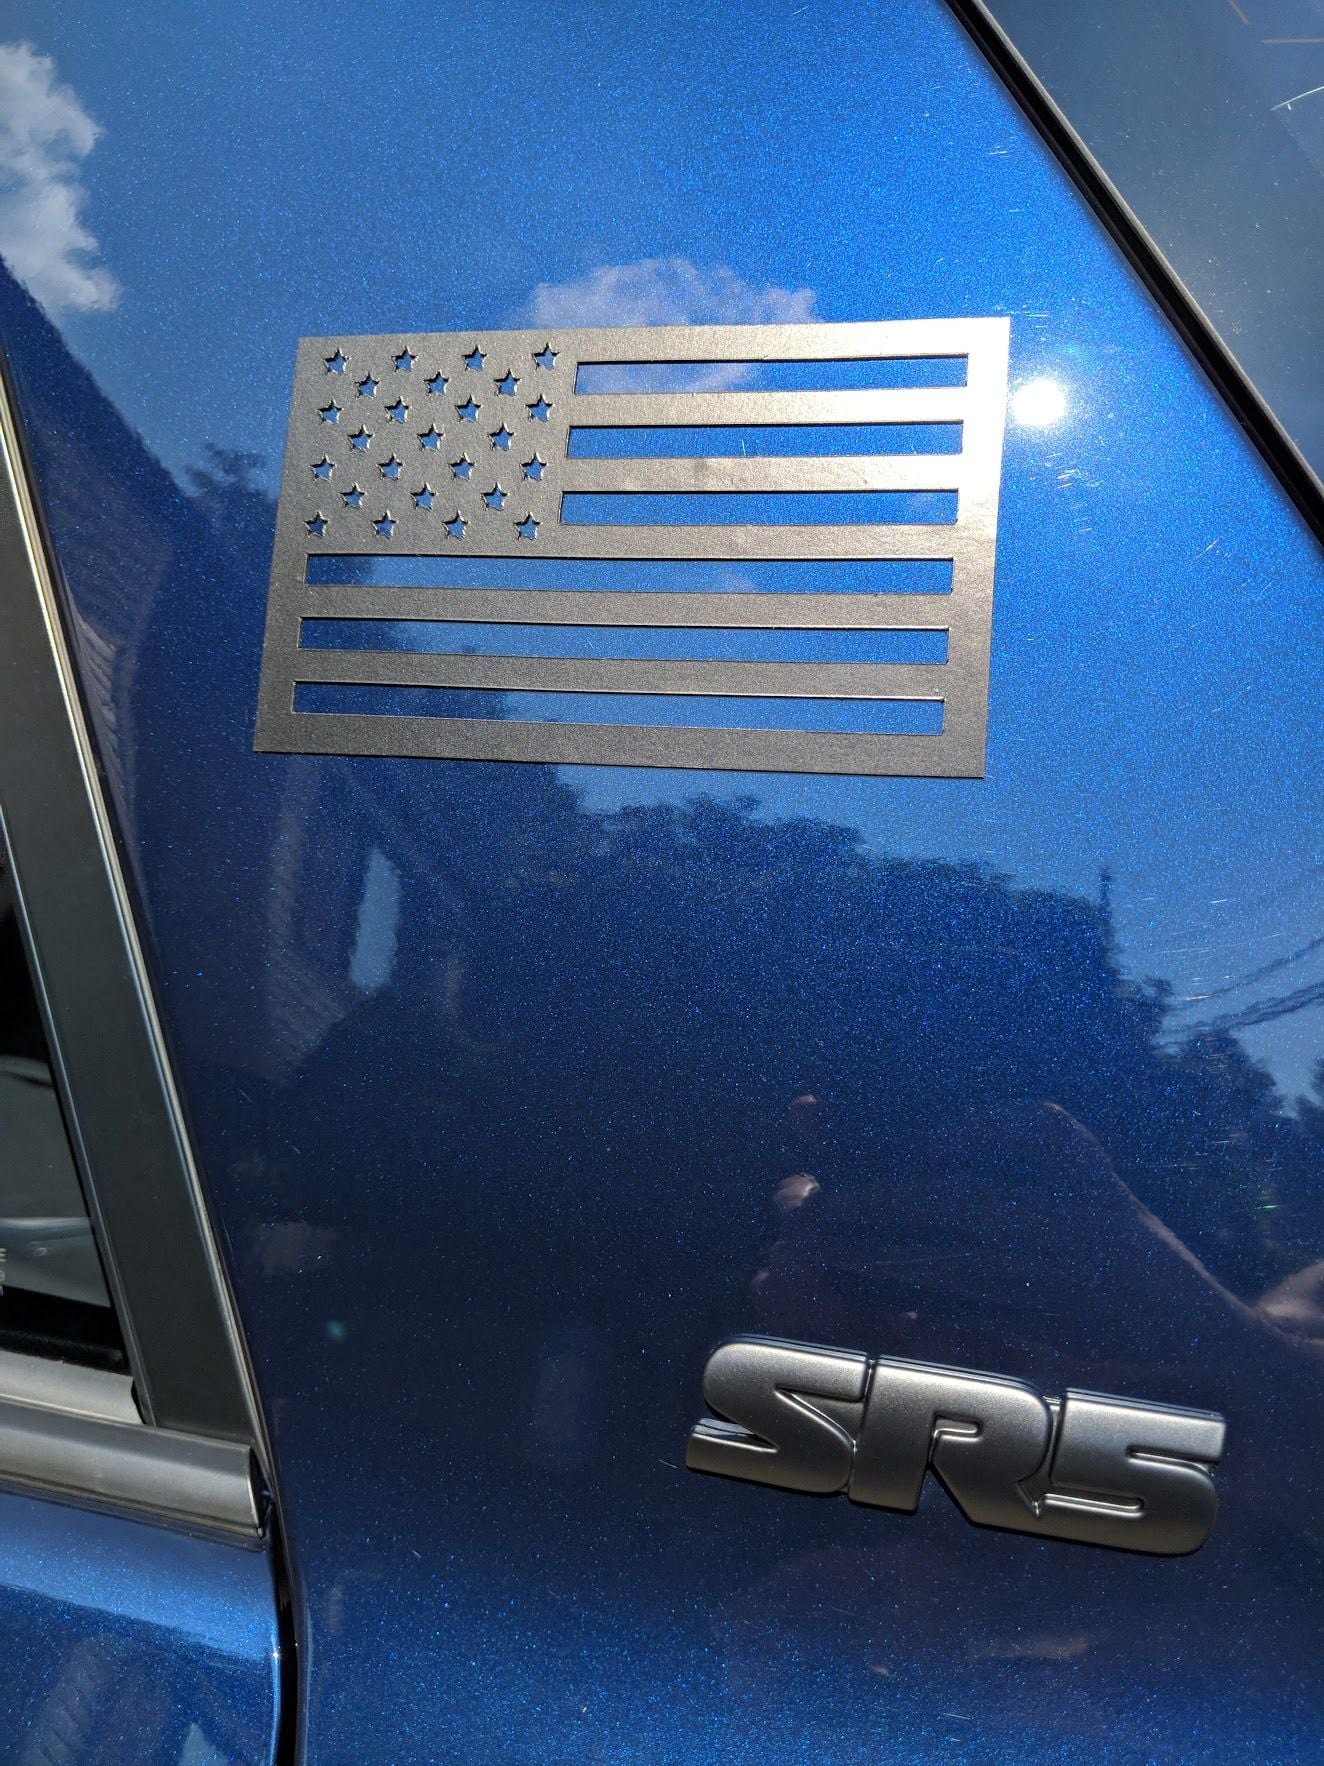
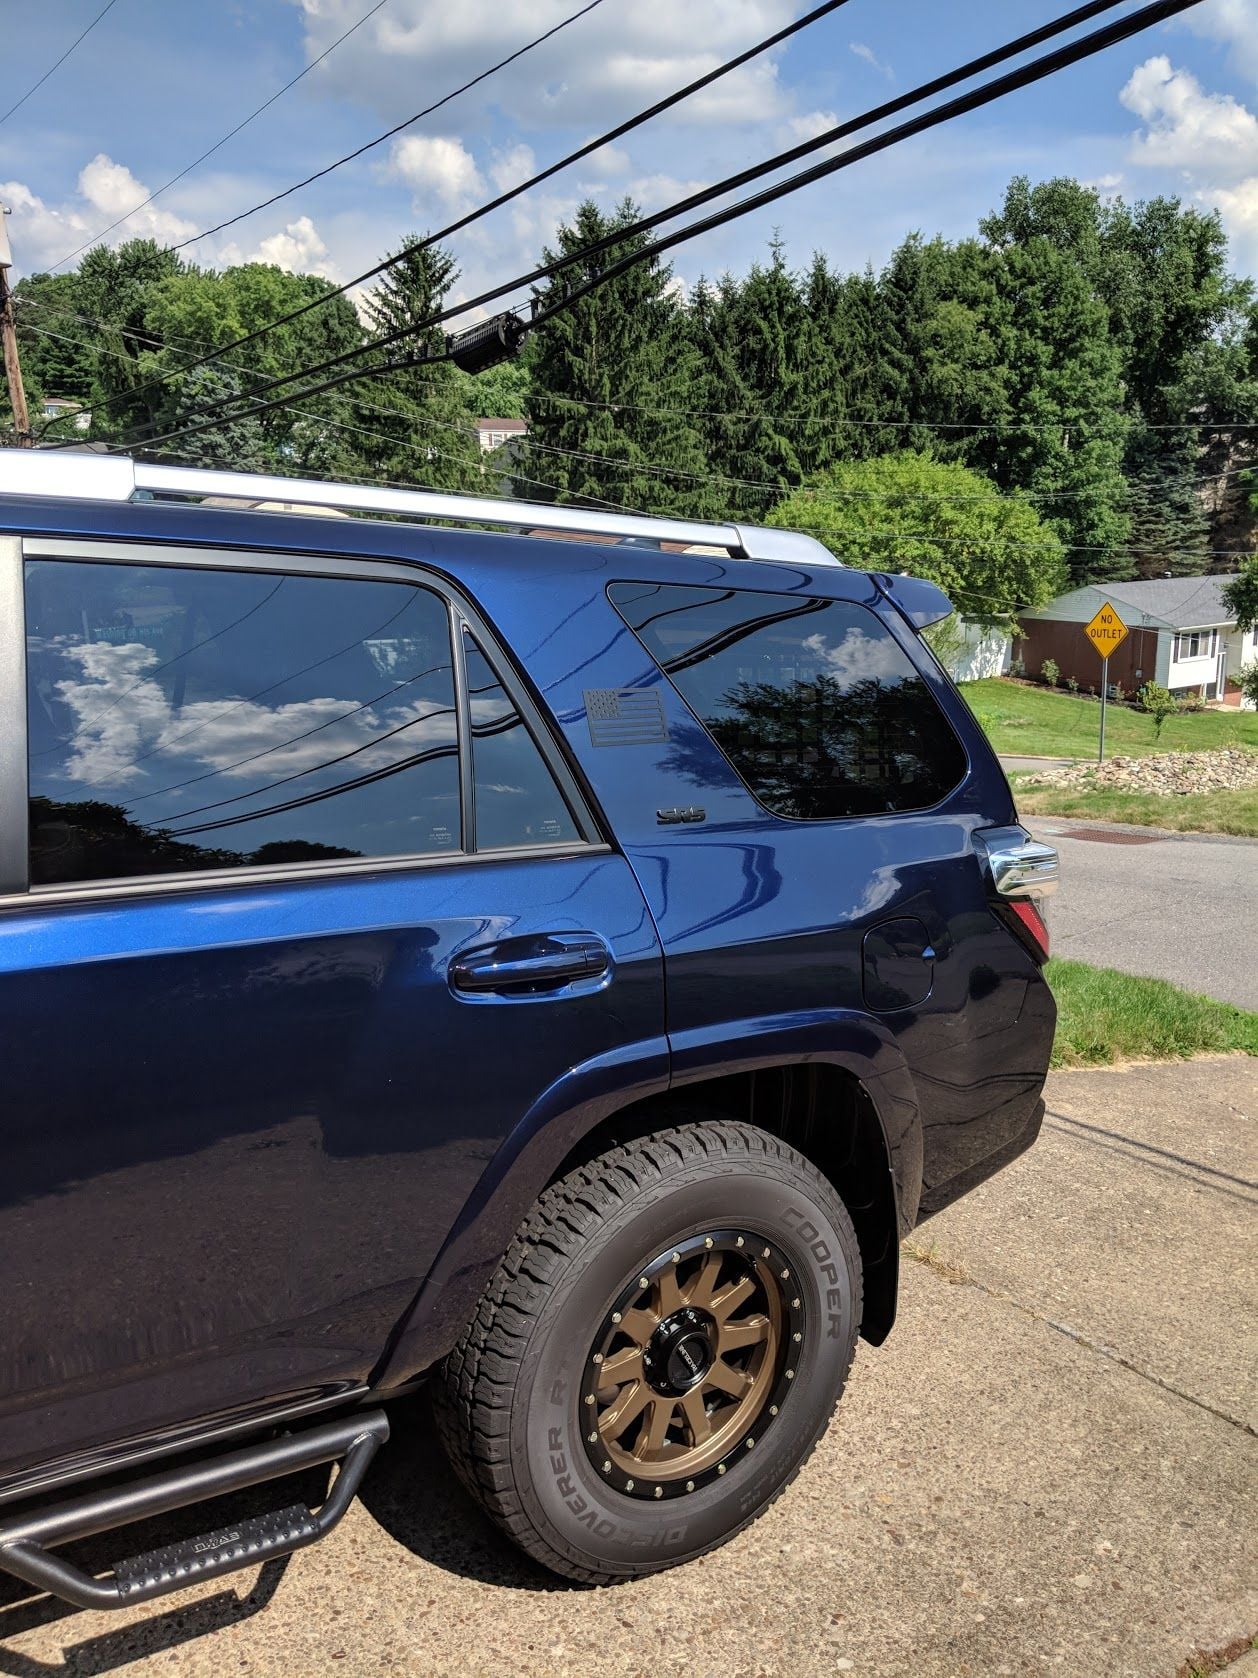
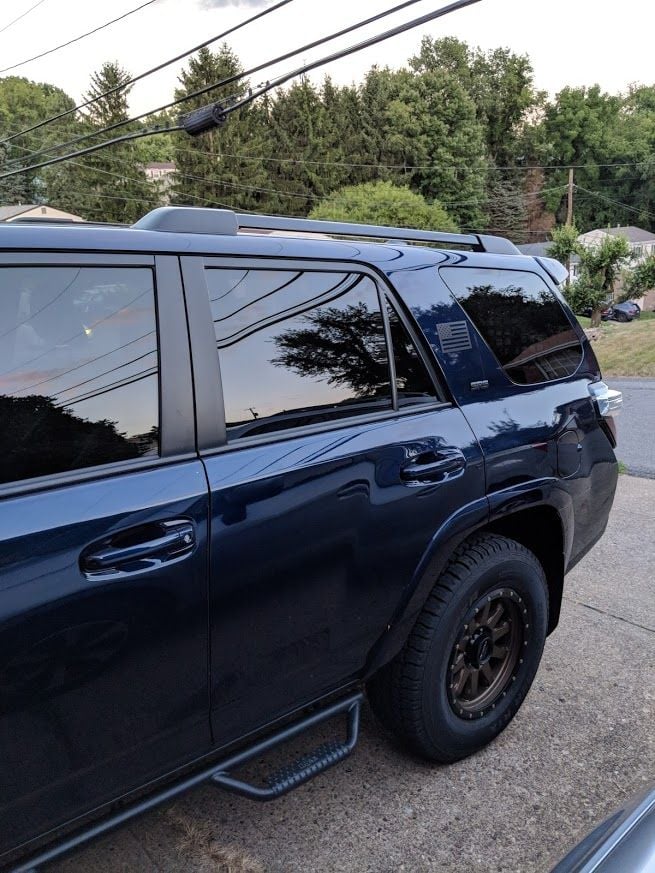
And for a little 4th of July accent I threw on these matte black magnetic flags. Not sure if I'll leave them on long term, but I like the look and they go with the blacked out theme

img_20180704_162035_d14ca09a758dbd3cd9ed214225b4d4971af8f643.jpg


img_20180704_162037_ac32a16715afc655cfffb3487b7f619583dbf778.jpg

img_20180704_161507_389e061dc85276e7d67f264dcbee625ad581c2e8.jpg


img_20180704_161455_5238ceae50120688621acd6ef74f1b0757b75f7f.jpg


img_20180705_143921_2b6ebe13e5f279f974566e5f95f11f19260ded0b.jpg
 
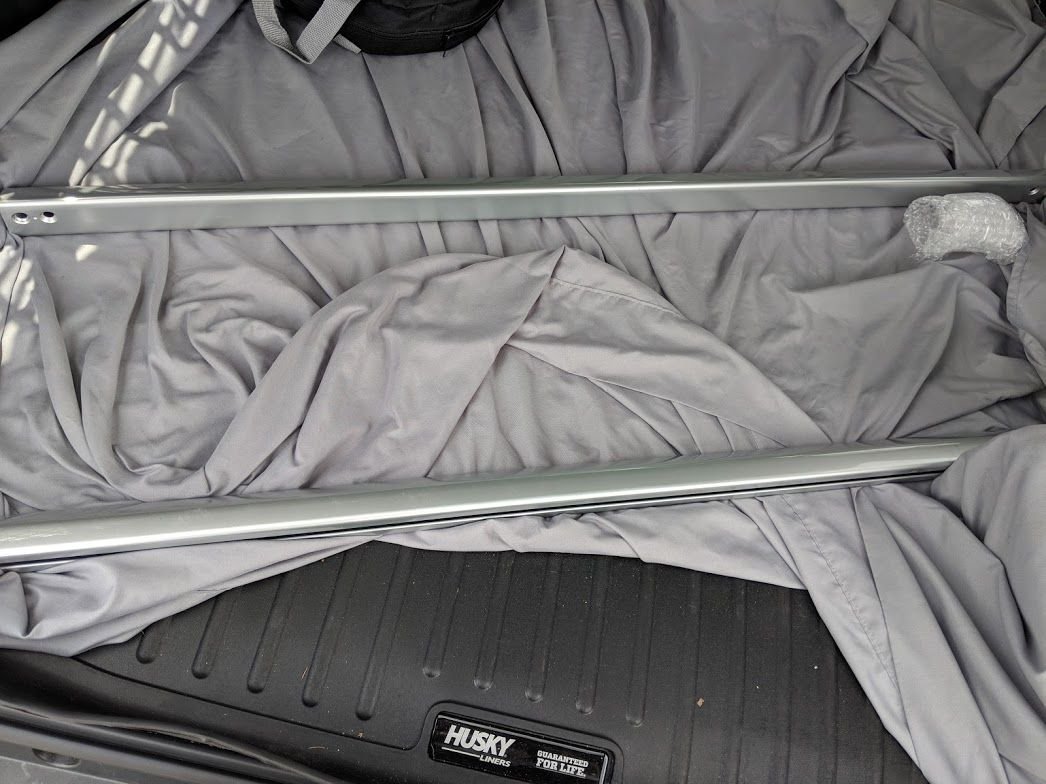
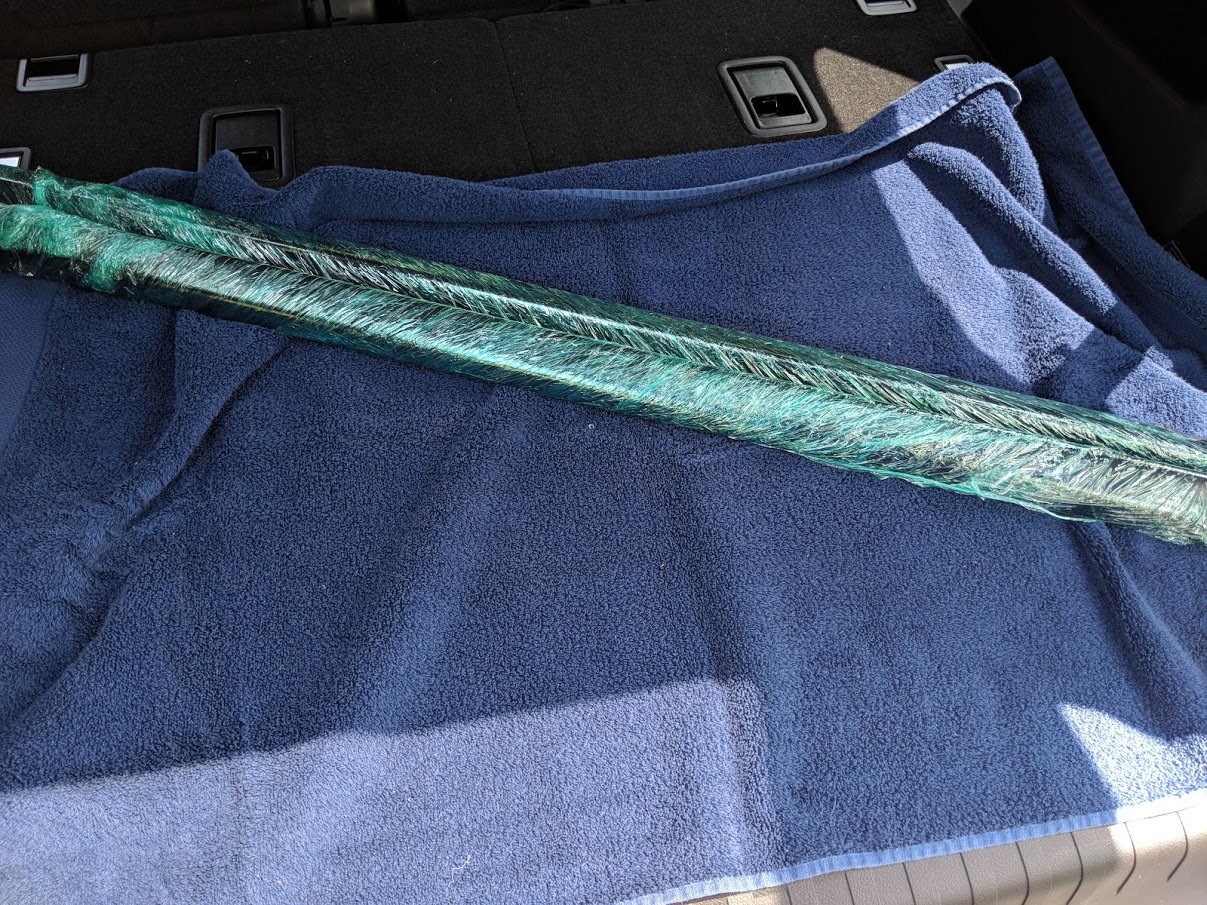
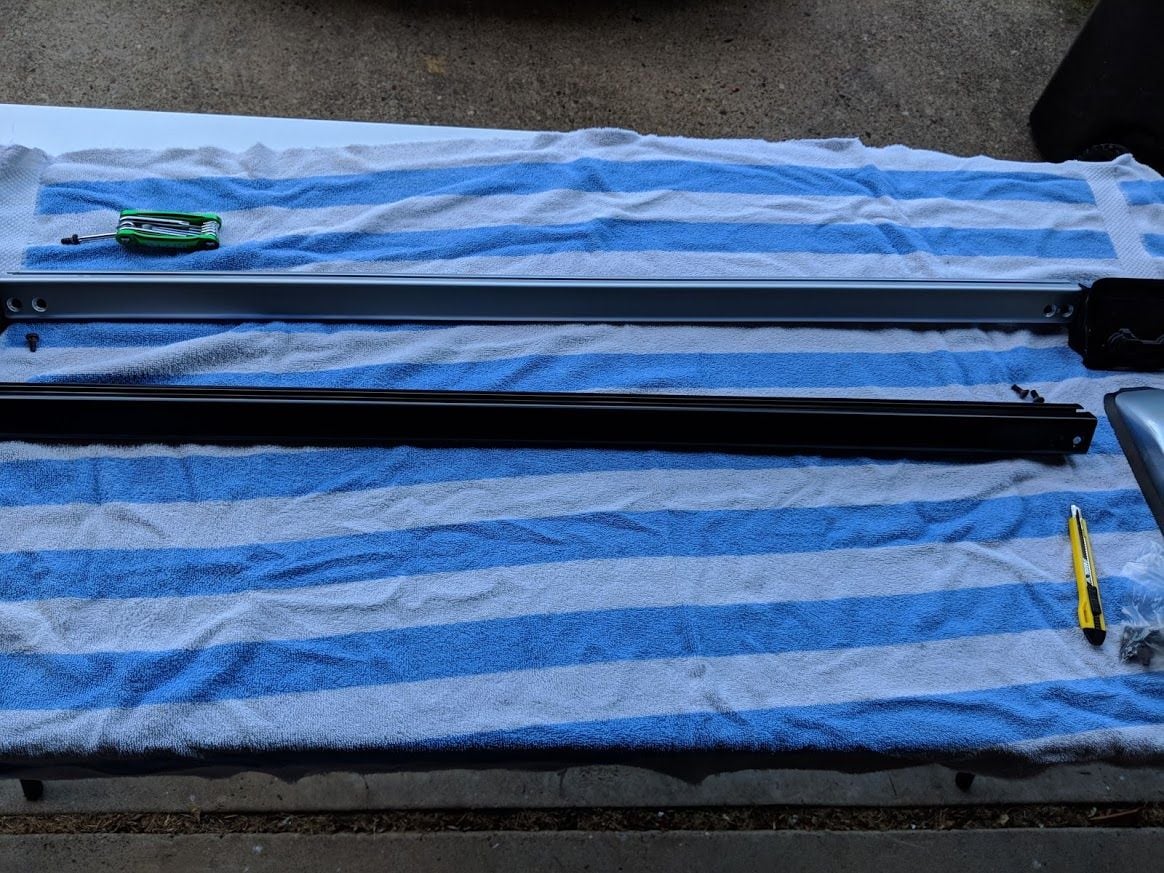
Dropped these off at the powder coater

img_20180625_141115_8ed2805d1284c3f1935fe1d02114033c23cbba5d.jpg


After a long wait, I went and picked up the roof rails today!

img_20180711_145357_4946584a70e7045754bc0a93e883a854d0c2df4d.jpg


Bad lighting but you get the idea

img_20180711_151909_d4f0195b8c5d77ed82ef8ff062227b710a93acde.jpg

*
Can't wait to install these with my ARB awning!
 
Are these plug and play with the adaptors and no affect on the tweeters? I remember reading some where that the tweeters are part of the main speaker and extra steps are required.

Is that the case or am I confusing my cars?

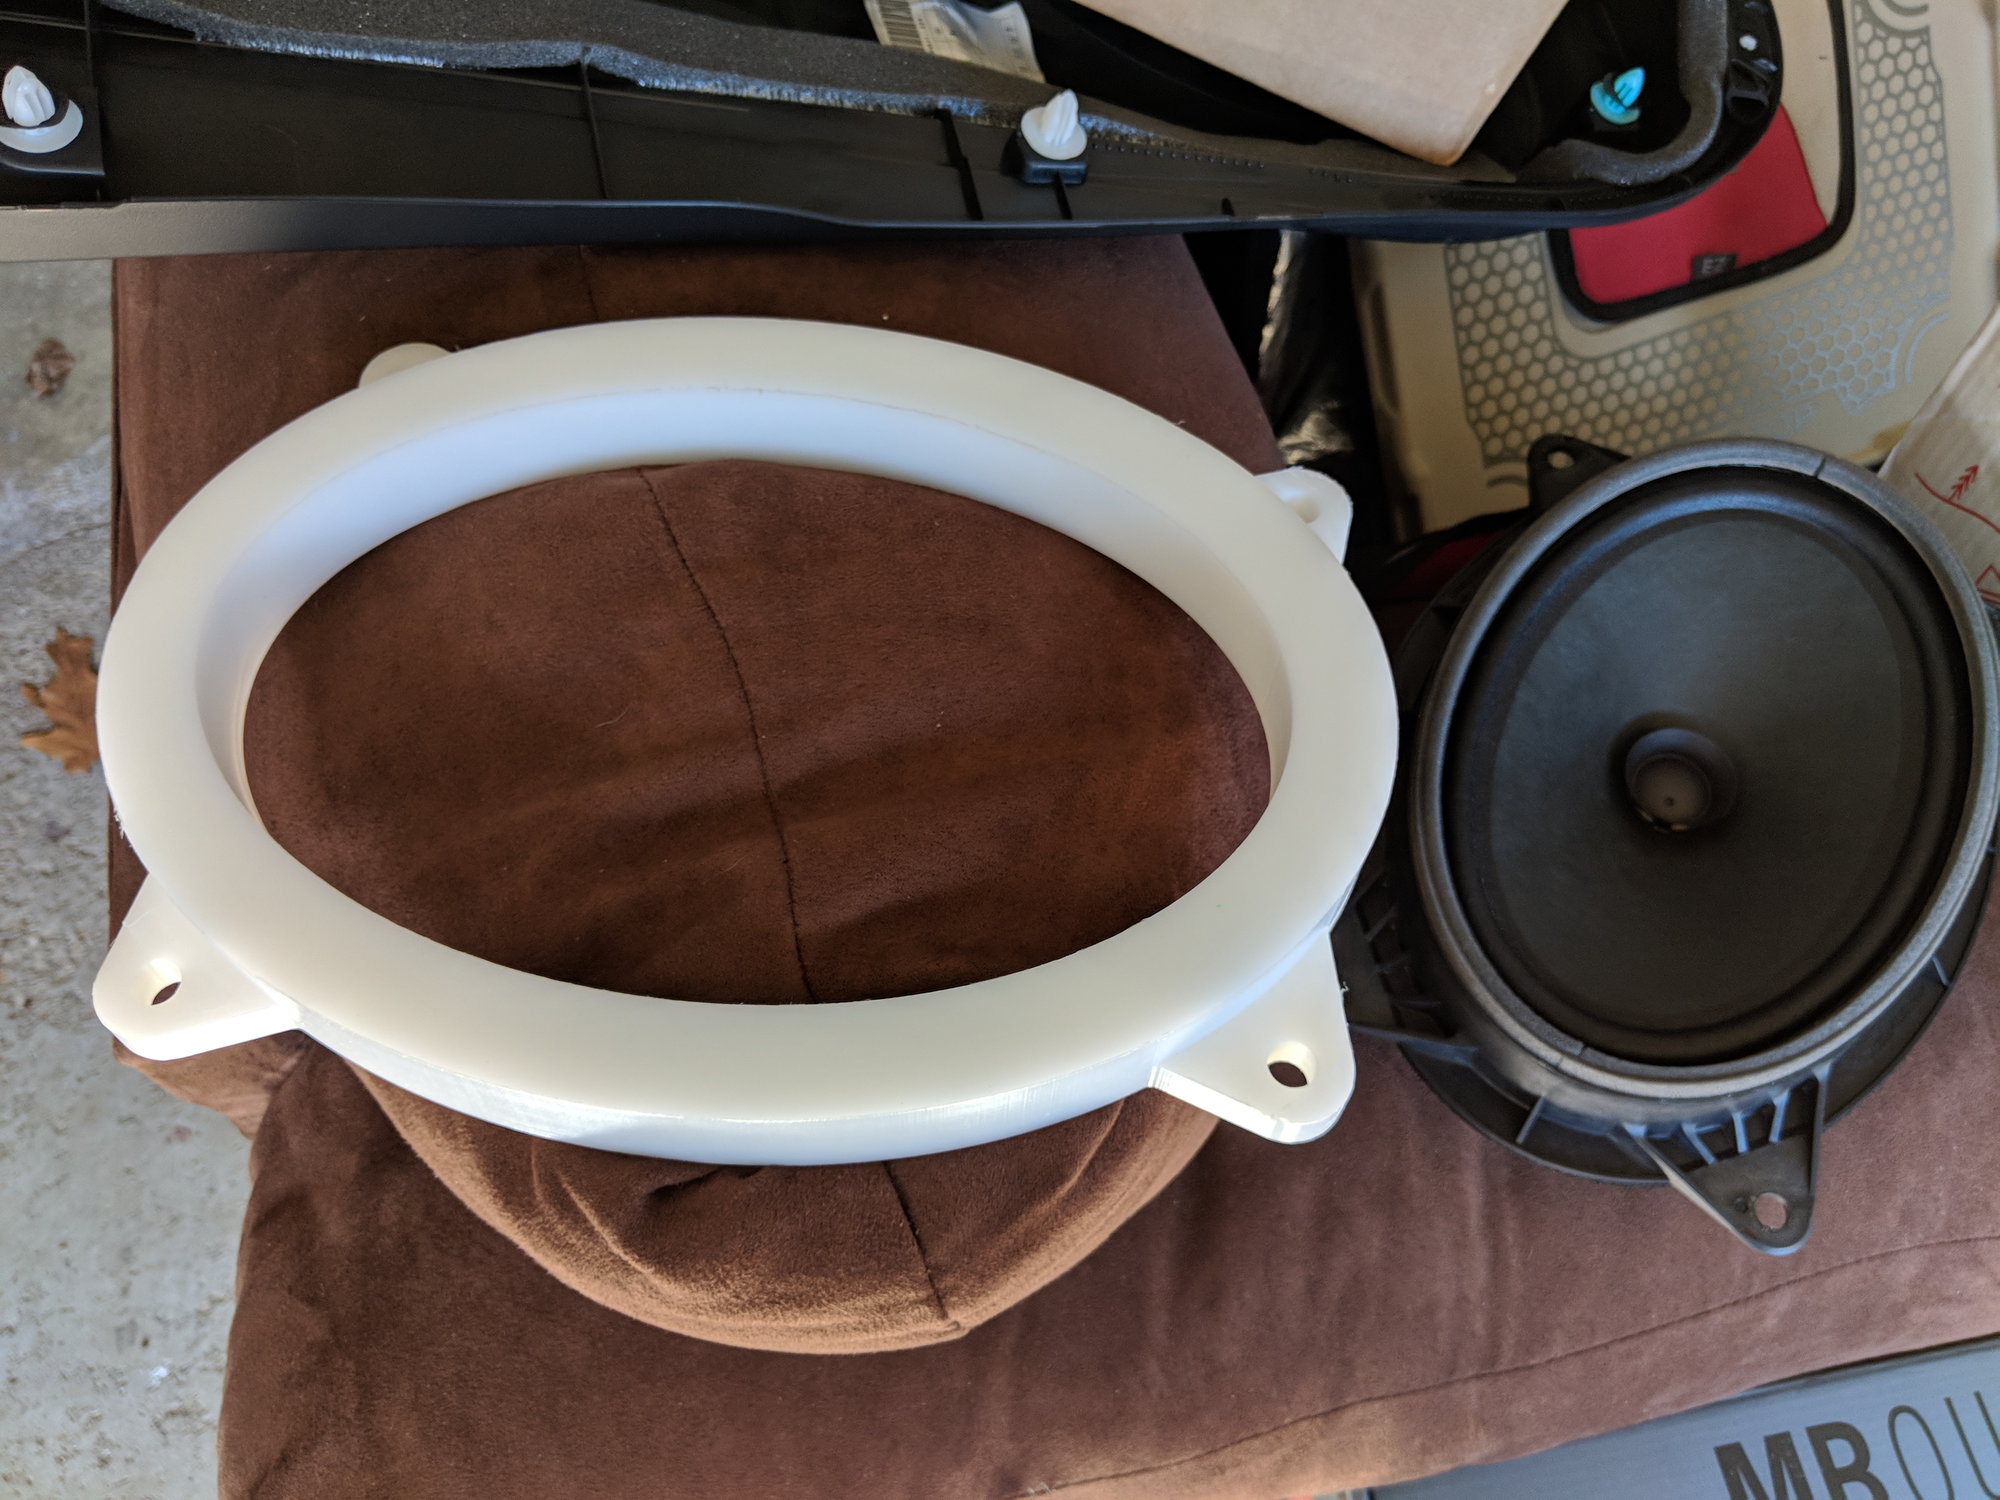
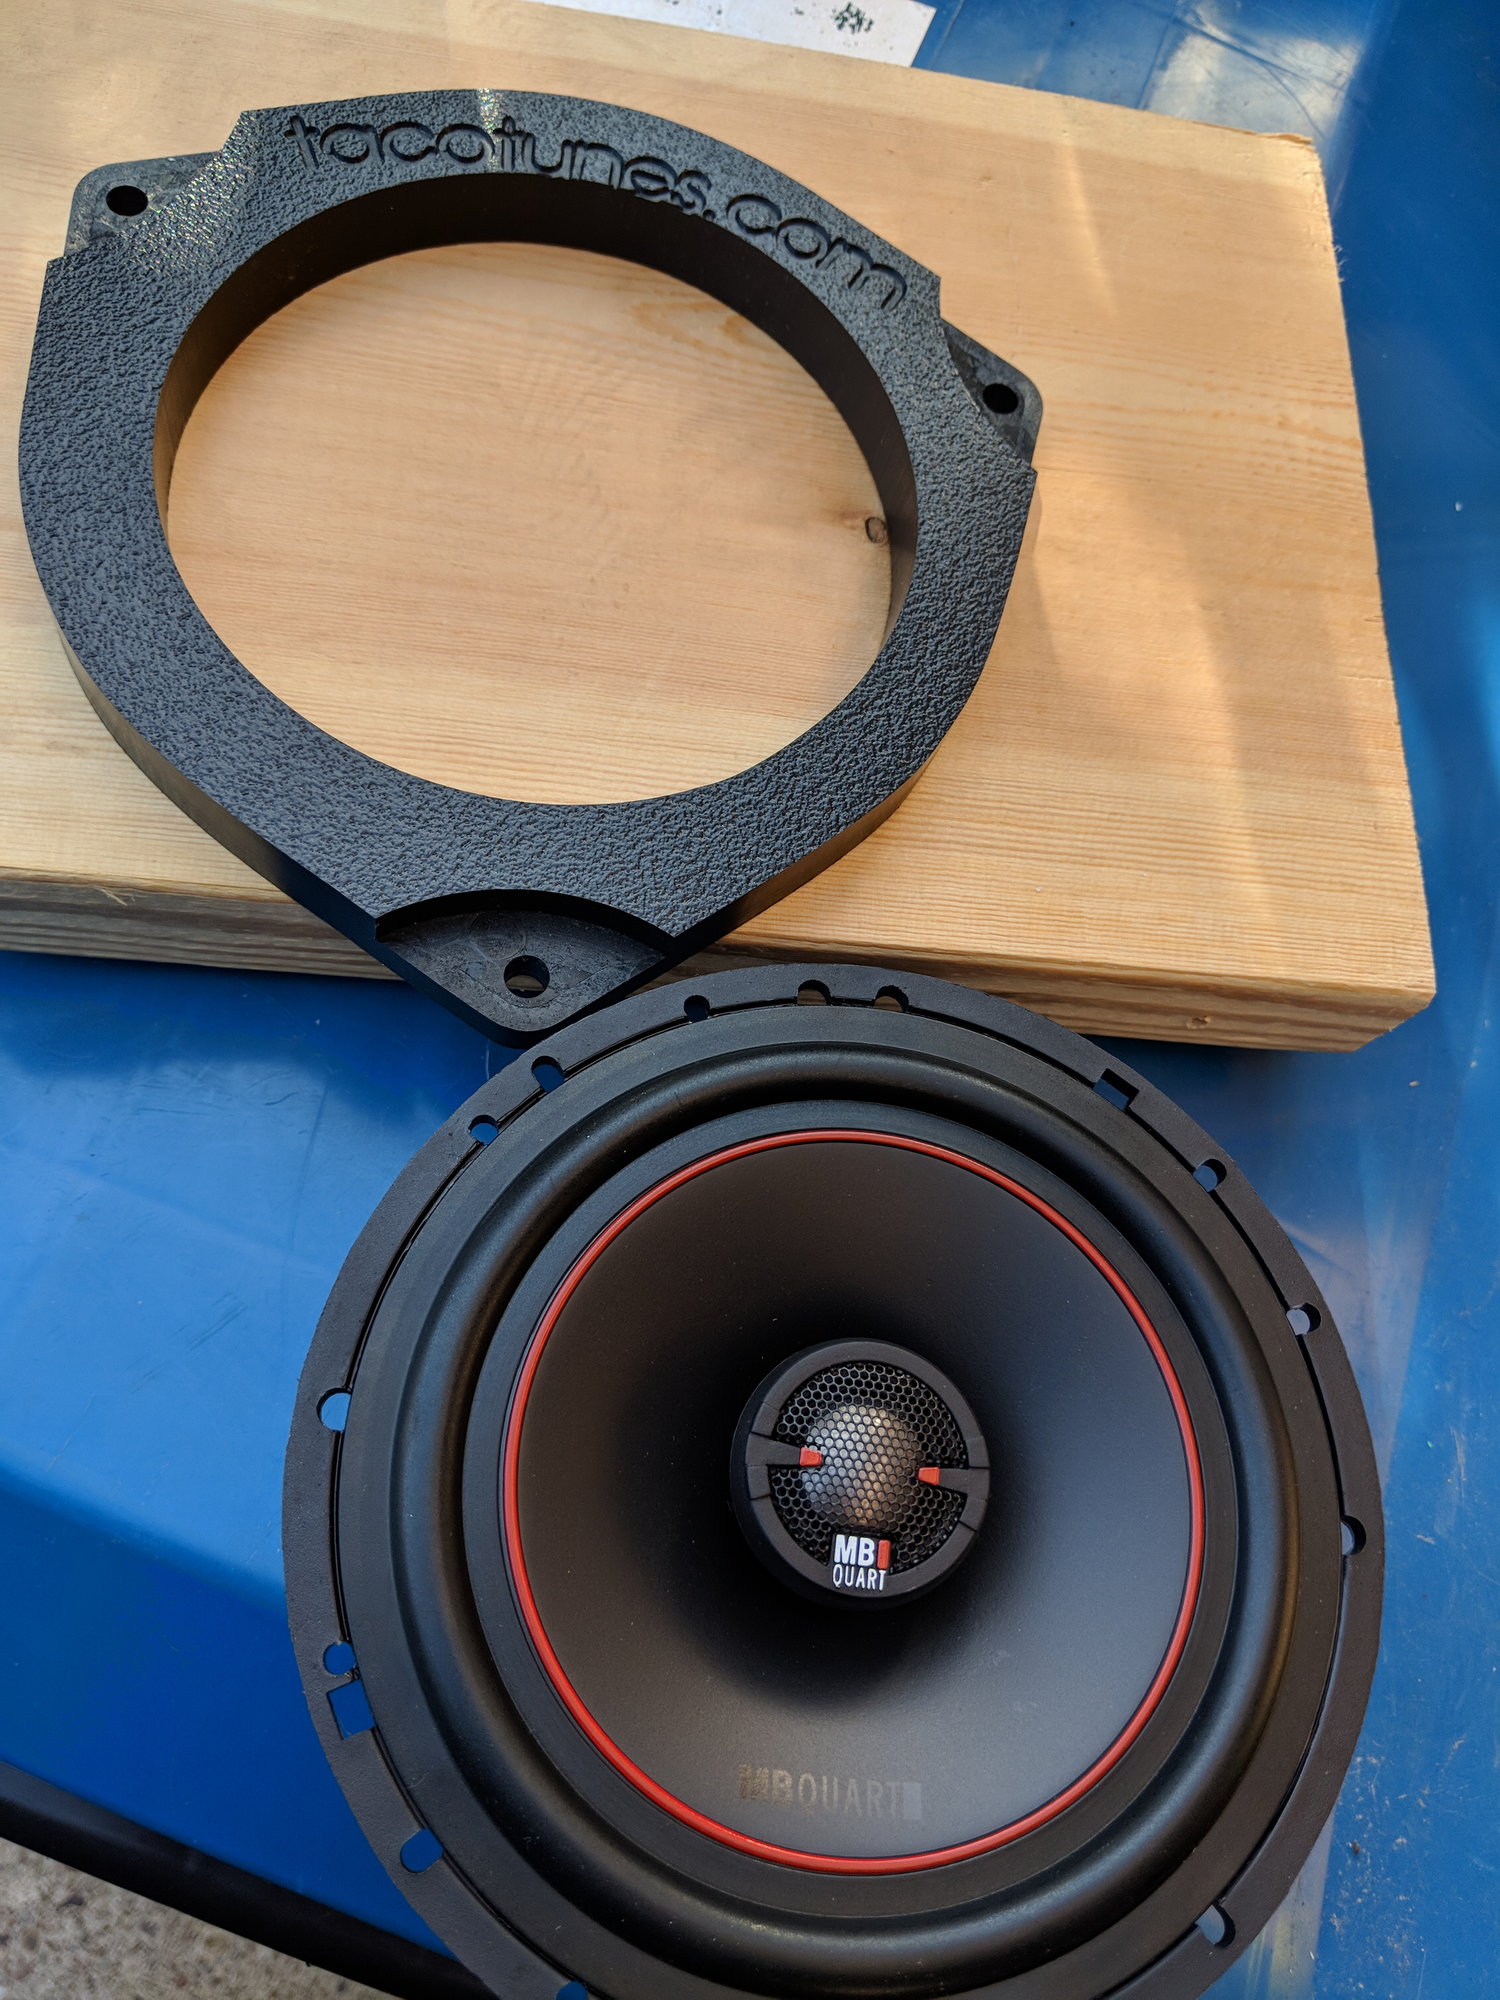
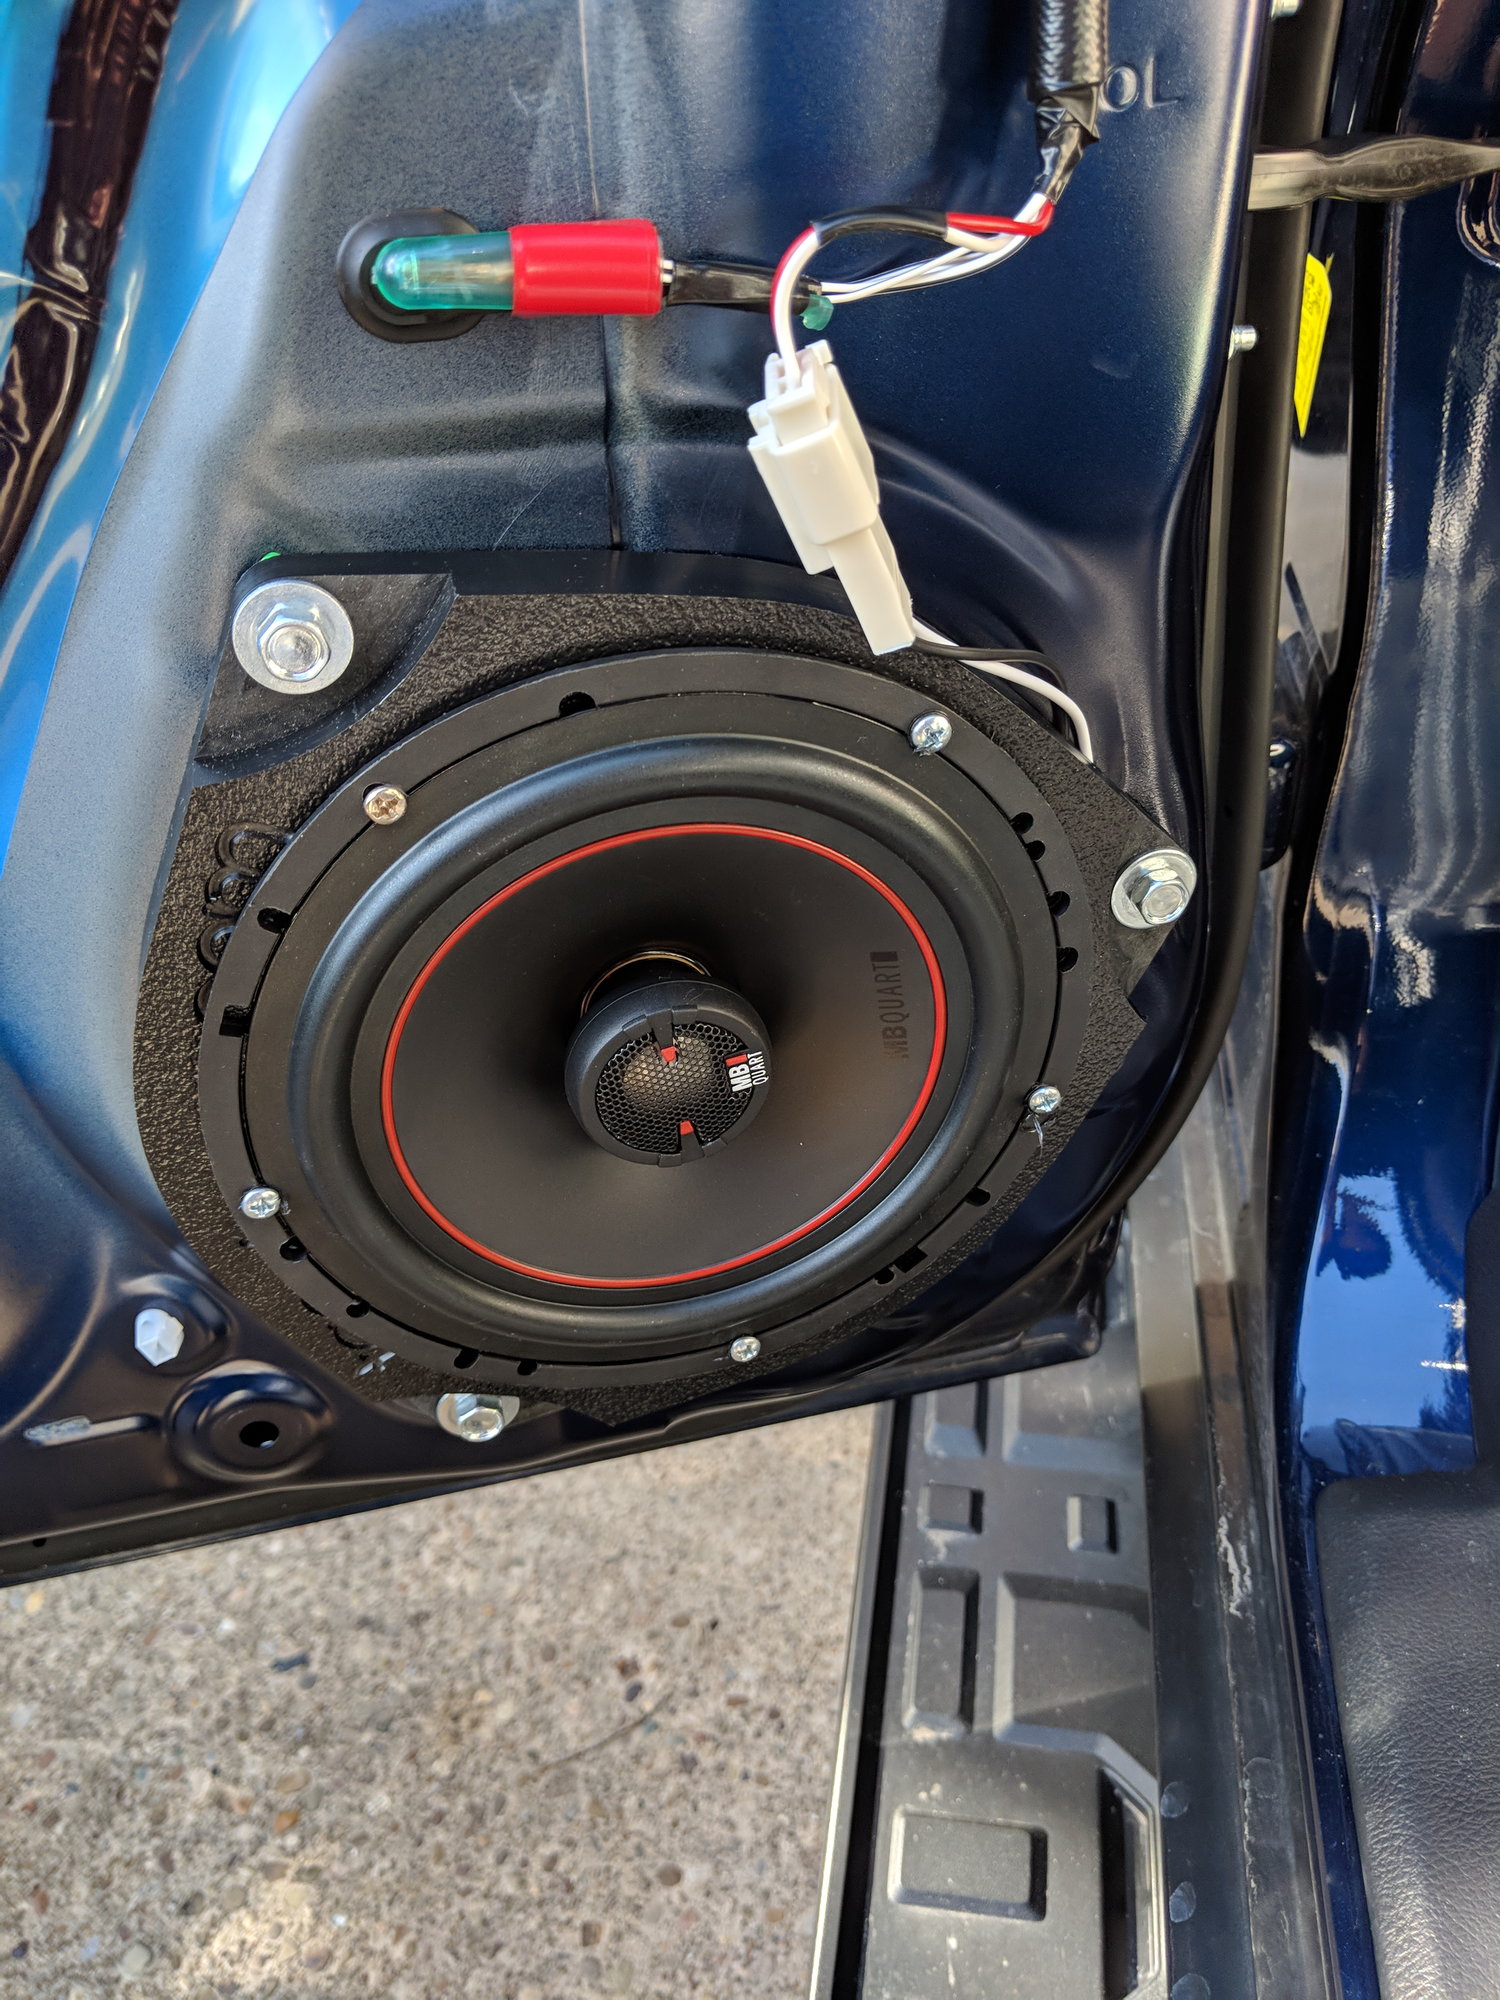
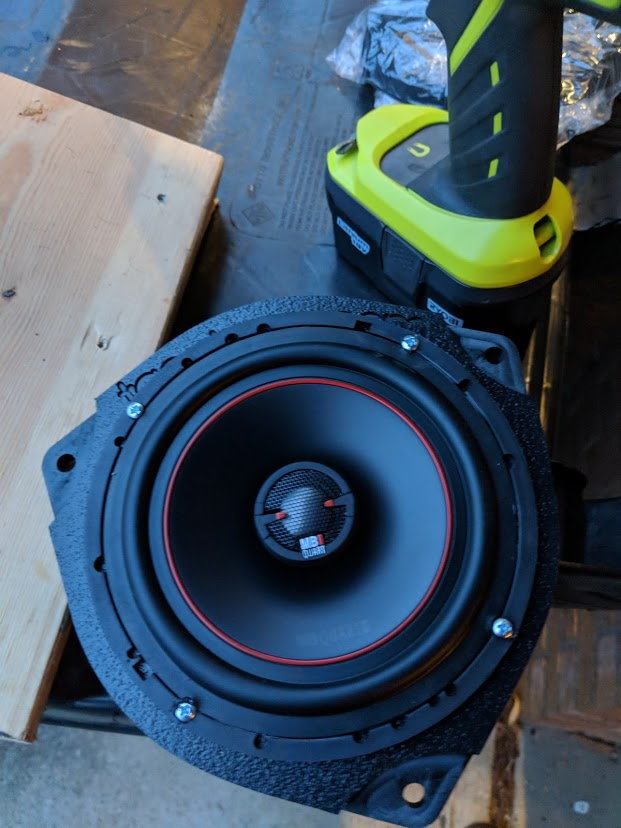
And since I had to buy all new TacoTunes adapters since the ones from my 4th gen didn't fit, I finally had all the right pieces to install
img_20180326_153300_36ba8c845e9b99545b5d88b6bb565ec31ff3d1c8.jpg


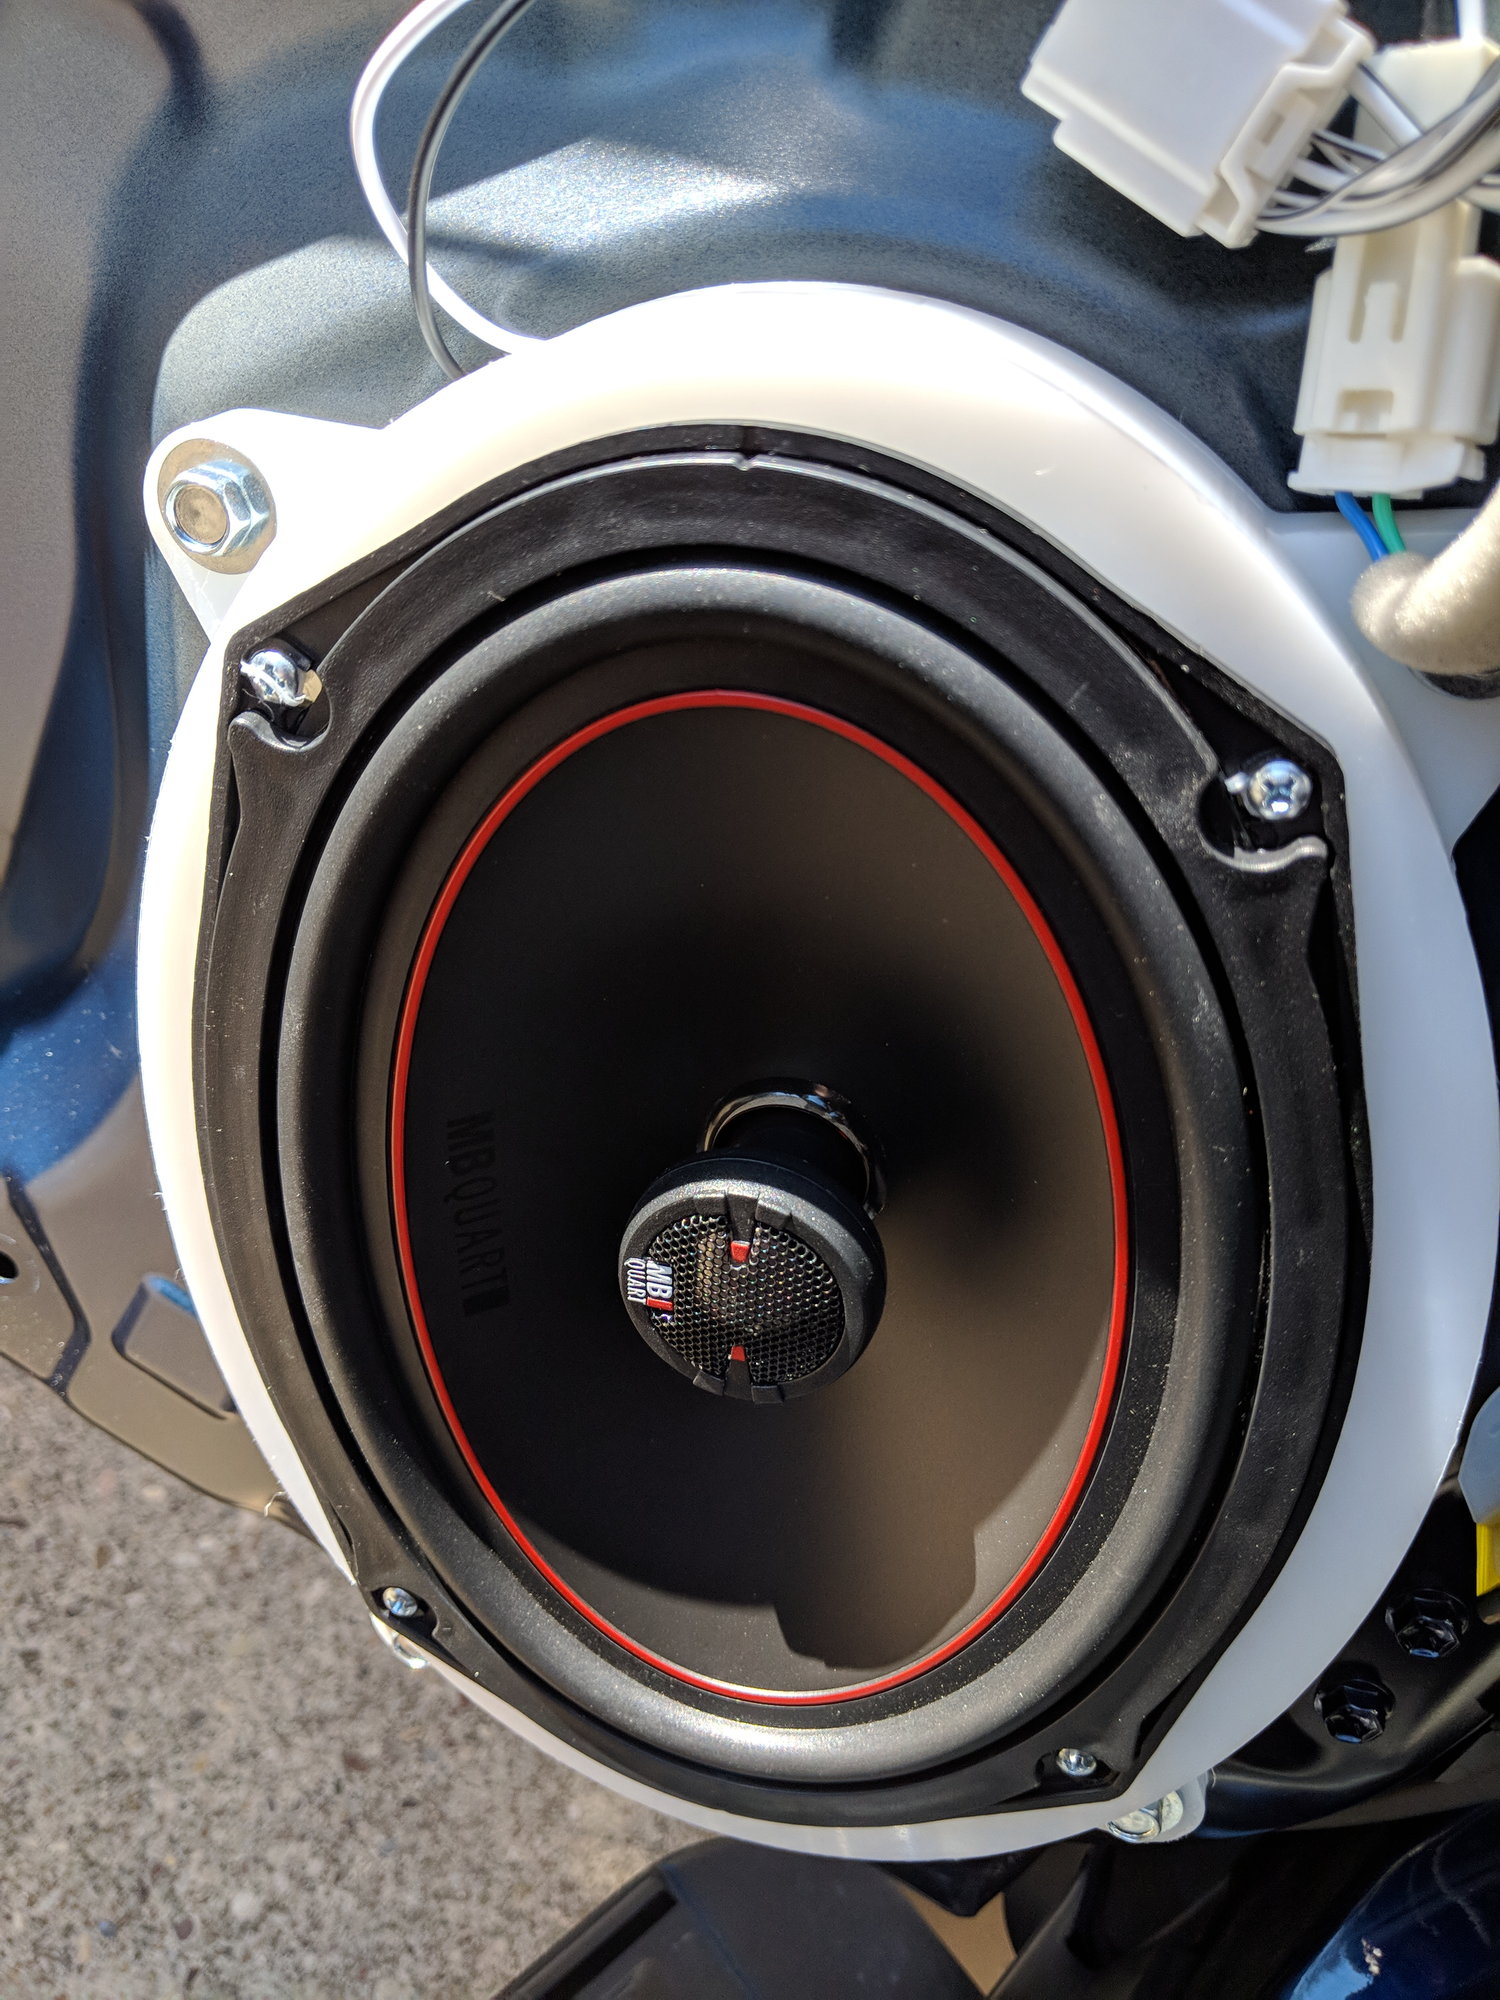
All ready to go in the doors!
img_20180326_155640_324c80a638f4cbd2ccb7f4f3a95ddcceddadab49.jpg


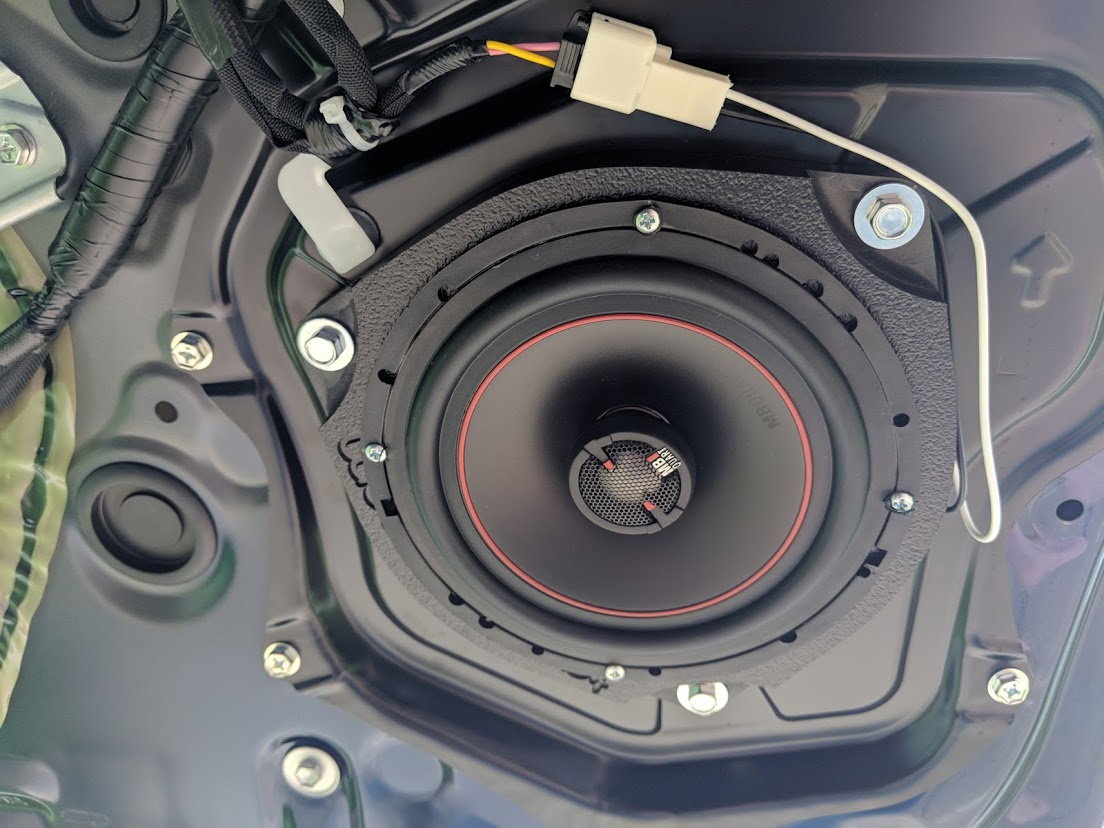
And installed!
mvimg_20180326_160125_7188ec3b45b2f6749e2a4e2a01470c2378d58257.jpg


Getting ready to mount
mvimg_20180326_163815_f5afc2fae912ba8b482b9e6d2f0fd6ed3c9dfd73.jpg

And installed!
mvimg_20180326_165257_1a8095c94f8d74364933bd3ebed67ff86c83fc72.jpg


And all mounted up and ready to go

img_20180505_201743_2a9bfe9d5f18c069a6f06bed89f3a1398cc94e23.jpg


I go to a lot of concerts and do a lot of tailgating, so these will definitely get some good use, had to flip around a bit to get the holes lined up, no biggie

img_20180506_144108_fa087ef6b75b5d9a4fda3f7449522572a0637fcc.jpg


And got them both installed, took about 10 minutes once I had the right brackets lol

img_20180506_150036_859f025d45fbbaa7a7a5dbde26c2a6bd8b899af6.jpg
 
Are these plug and play with the adaptors and no affect on the tweeters? I remember reading some where that the tweeters are part of the main speaker and extra steps are required.

Is that the case or am I confusing my cars?

With the wire adapters yes they are plug and play. The tweeters are wired in series but are not affected if you're powering off the stock headunit. I'm planning to swap in 3.5" speakers for the tweeters, and those will need a little extra wiring but they won't be impacted by the other speakers
 
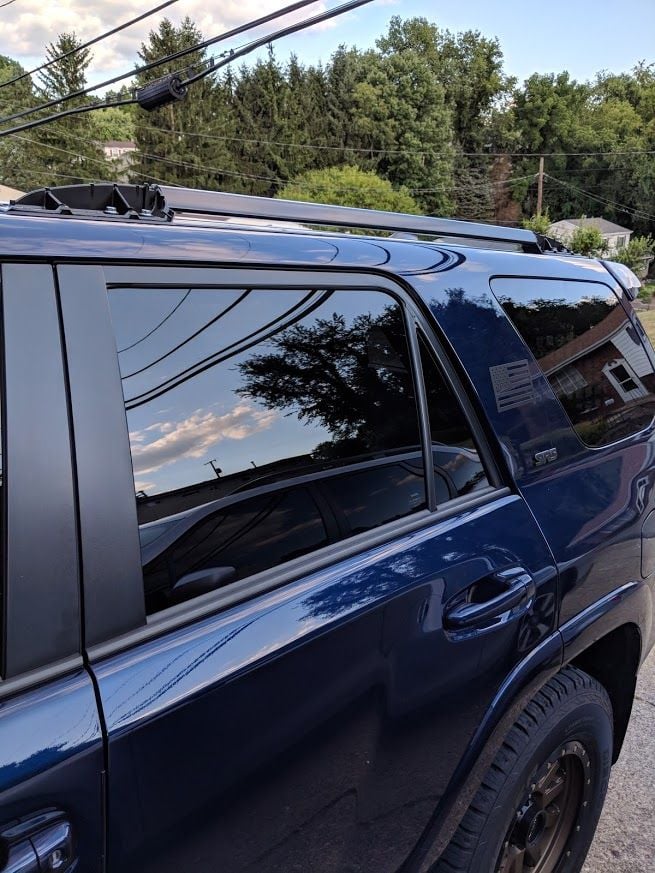
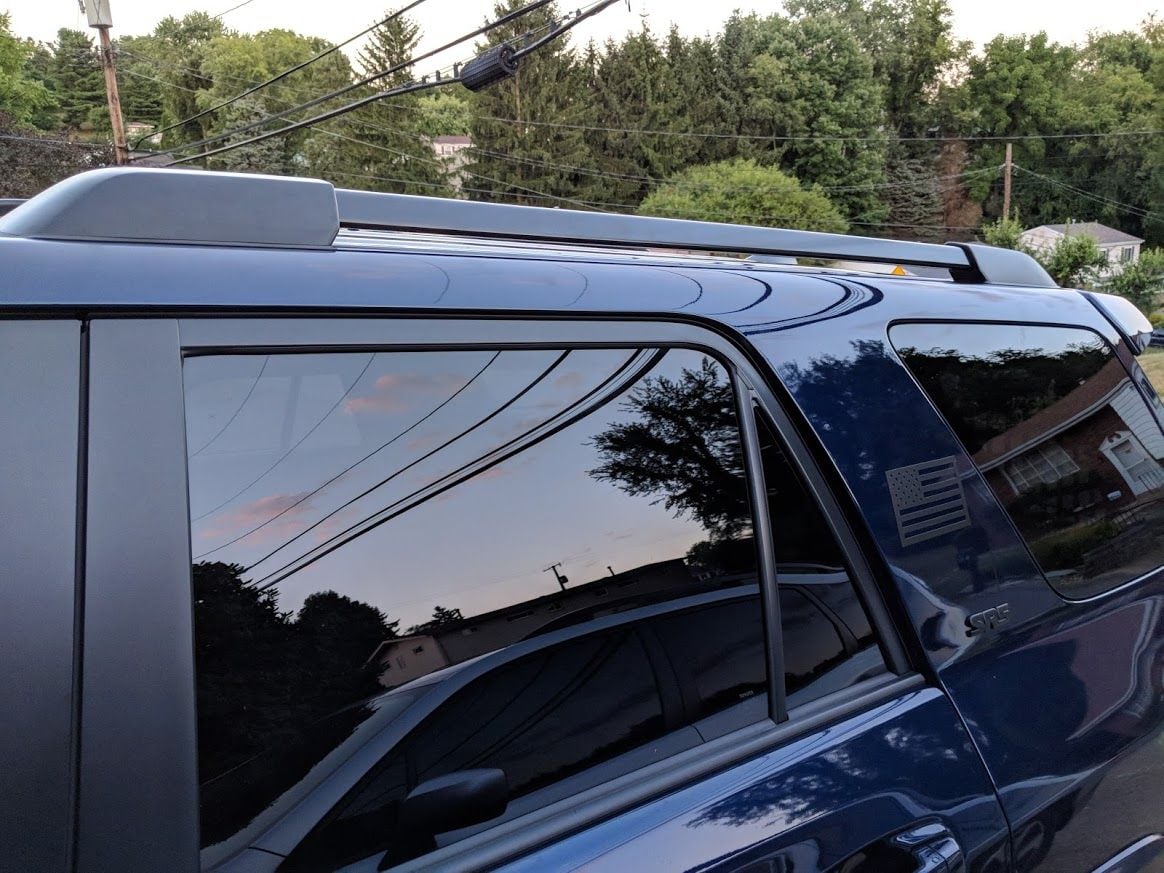
Well, after weeks of waiting I finally got the satin black roof rails installed on the truck. Here's a little before and after side by side

img_20180718_184156_db0c3853fa7825c24b596355e6905600644cb3ae.jpg


Driver's side installed

img_20180718_185905_0e0934019158c4566929fa858cb1abf2cd1762ea.jpg


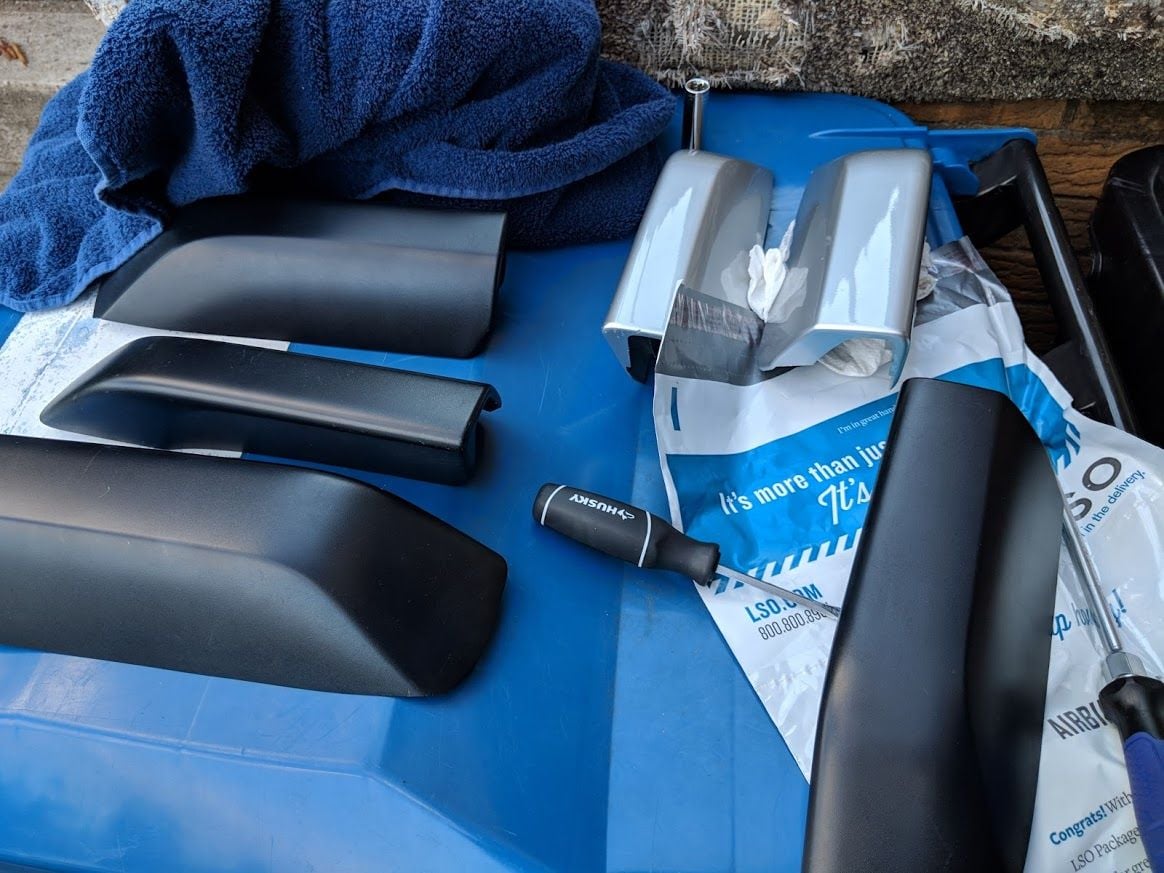
I was able to use the stock Toyota OEM black roof caps so I was able to avoid painting the stock silver caps which I now have 2 sets of and swapped them out for the black

img_20180718_190216_24de6b04dc6e4bf32a0489c1929cfb0002f97804.jpg


I was trying and planning to mount an ARB awning on the passenger side roof rail for use when I go to concerts but after nearly 2 hours of fighting with the provided mounts from Rago I discovered that the powder coat thickness was preventing the bolts from going in correctly. Frustrated I scrapped the awning mounts for now and mounted the other bar.


img_20180718_203147_8d21ce47d7785adc6b534fb0e31c9fea250e44a0.jpg


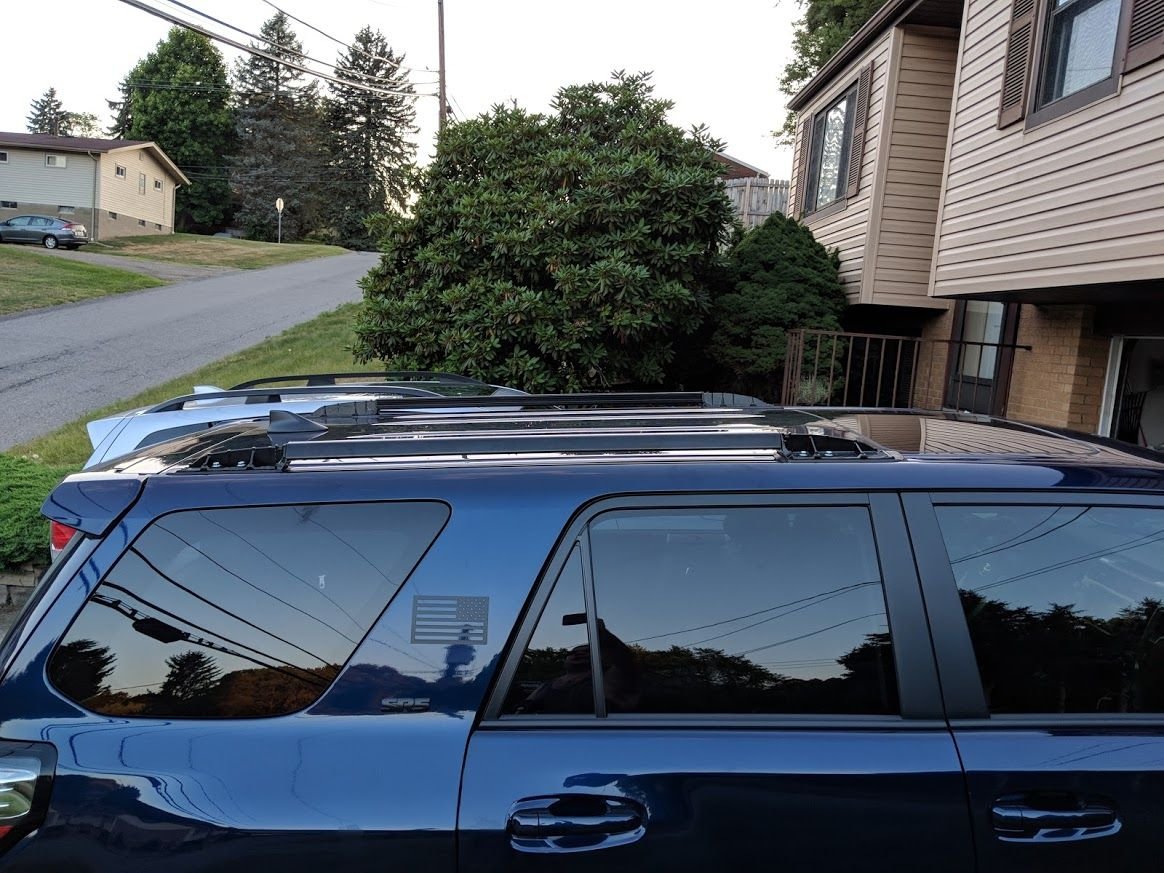
Overall I'm happy with the look of the new black rails and the silver delete. Here's the finished product with the OEM black caps installed.


img_20180718_204533_c51f2842fad2925bdbc90074e1a20449fda102f7.jpg


And both sides done

img_20180718_204539_bb919f08f365e5269d4e88f992f41aceafbe8b6e.jpg


Further back shot to show the black theme

img_20180718_204543_52637770f5368e31b8b9e68529949232cbd369ba.jpg
 
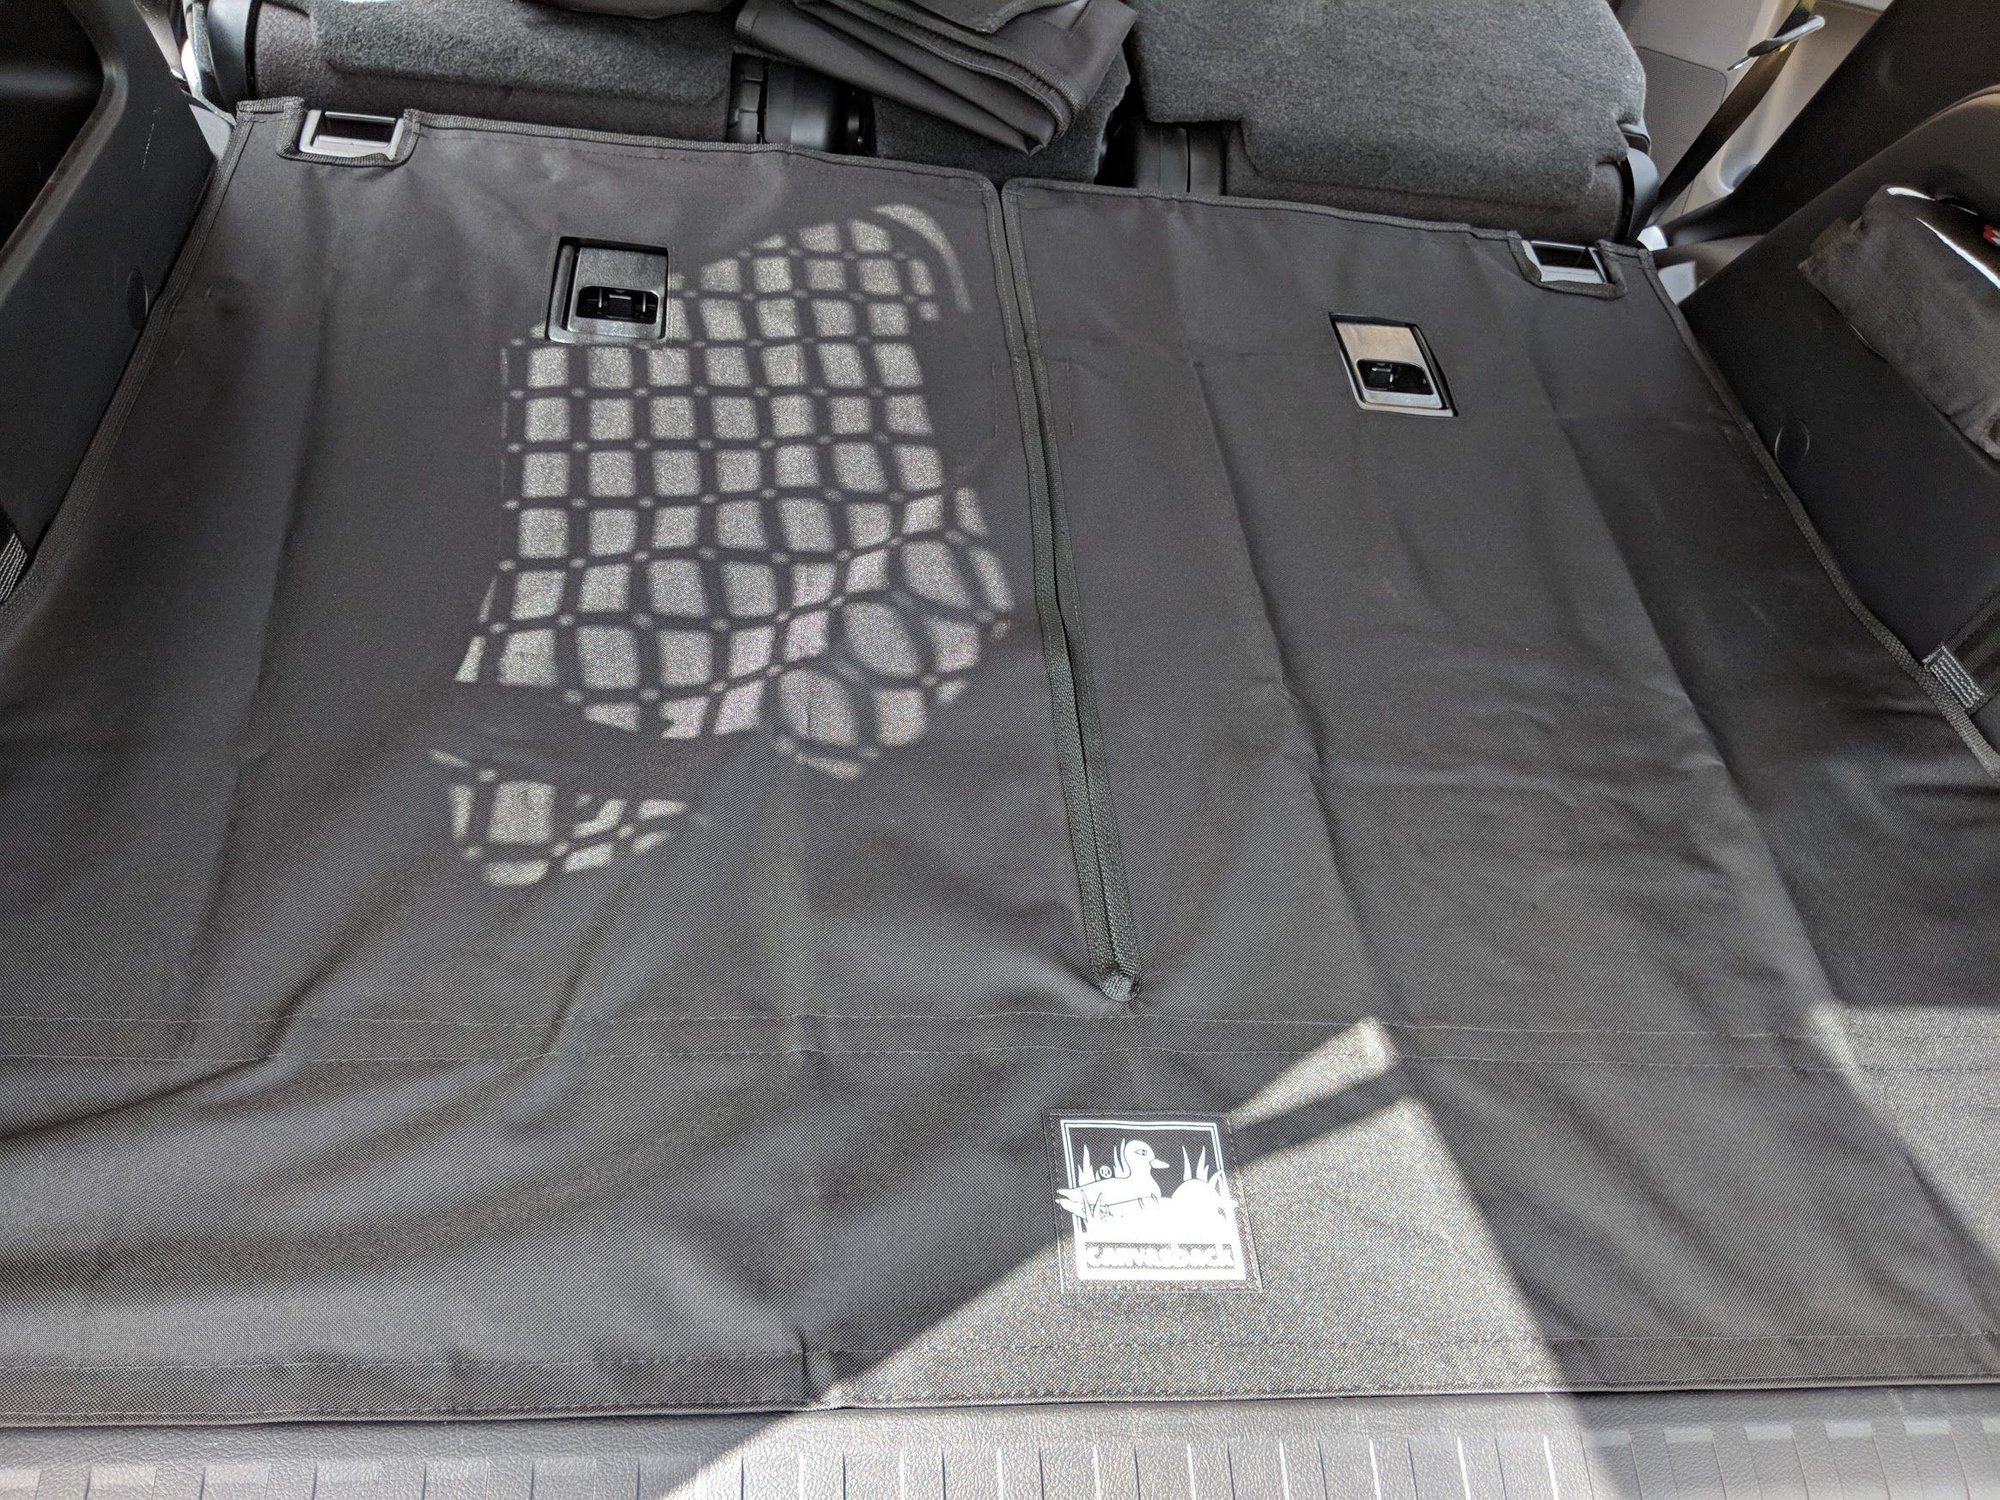
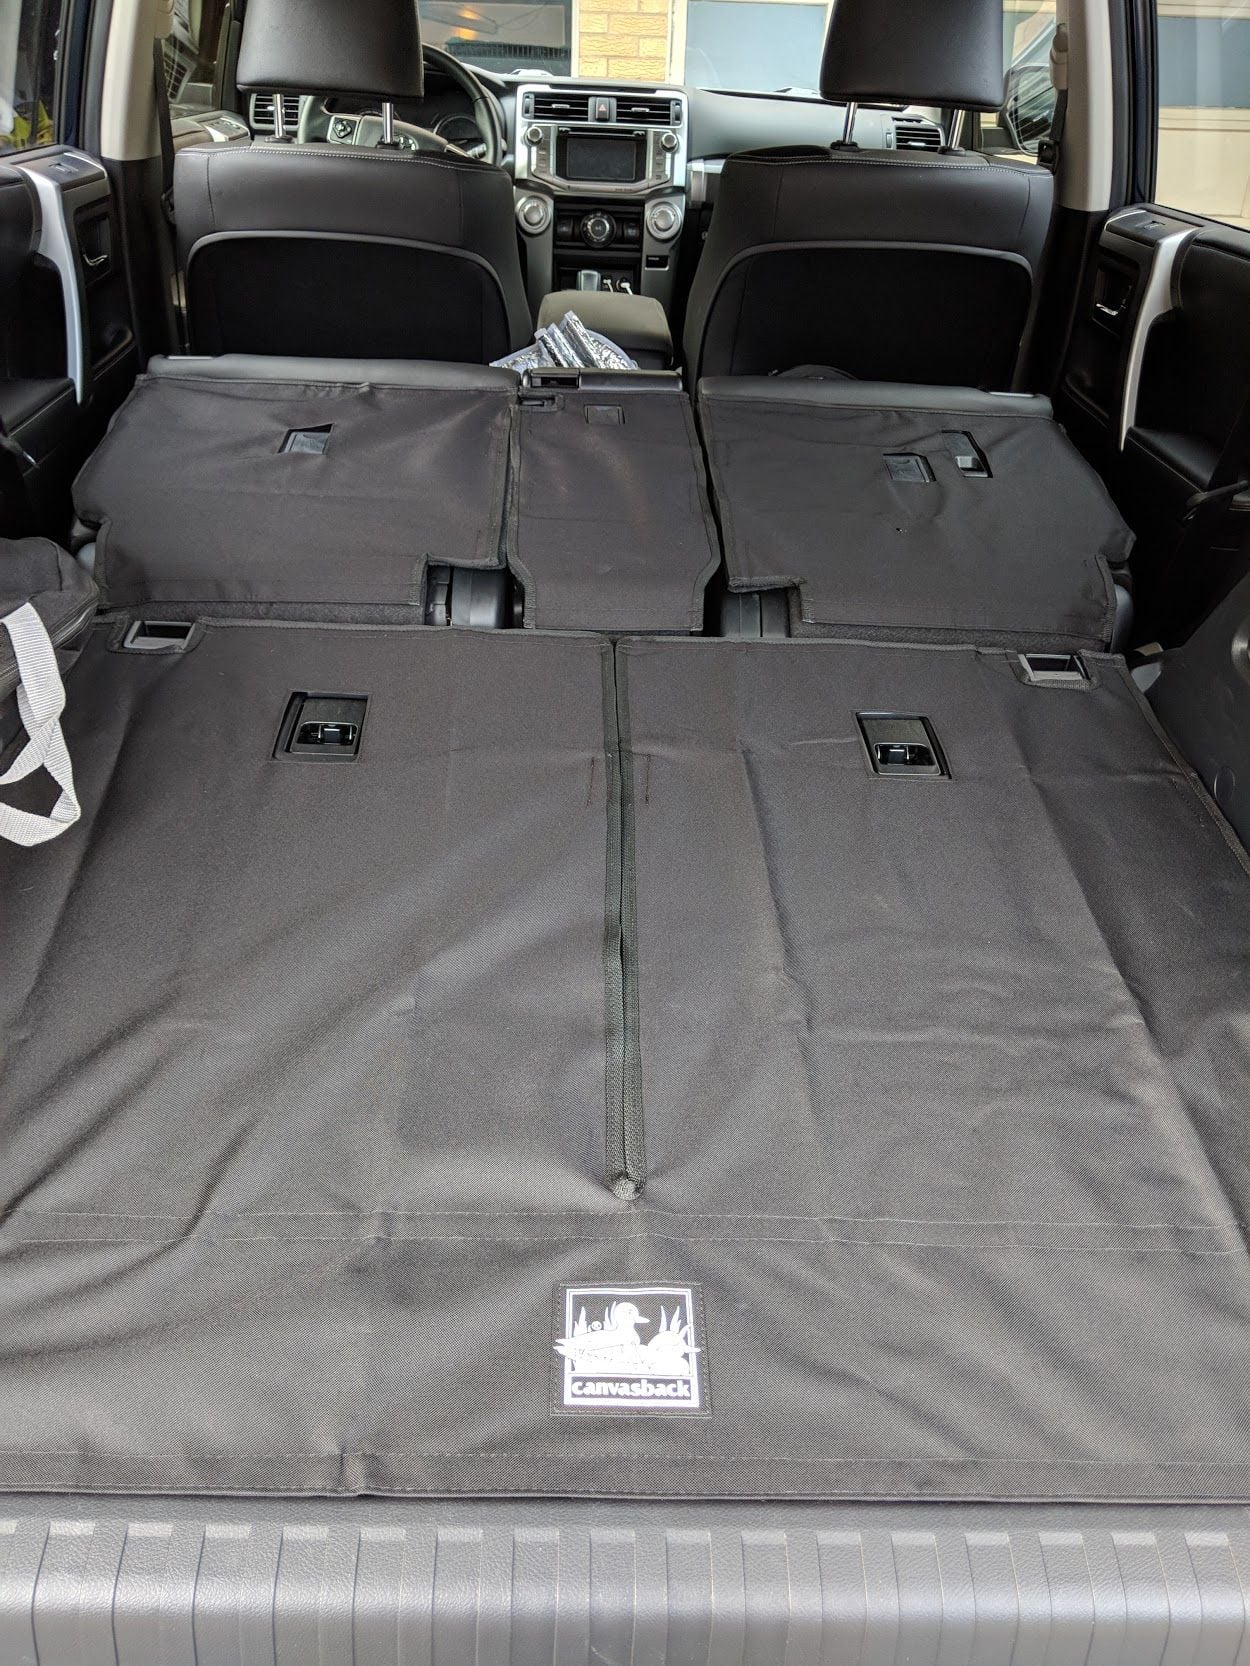
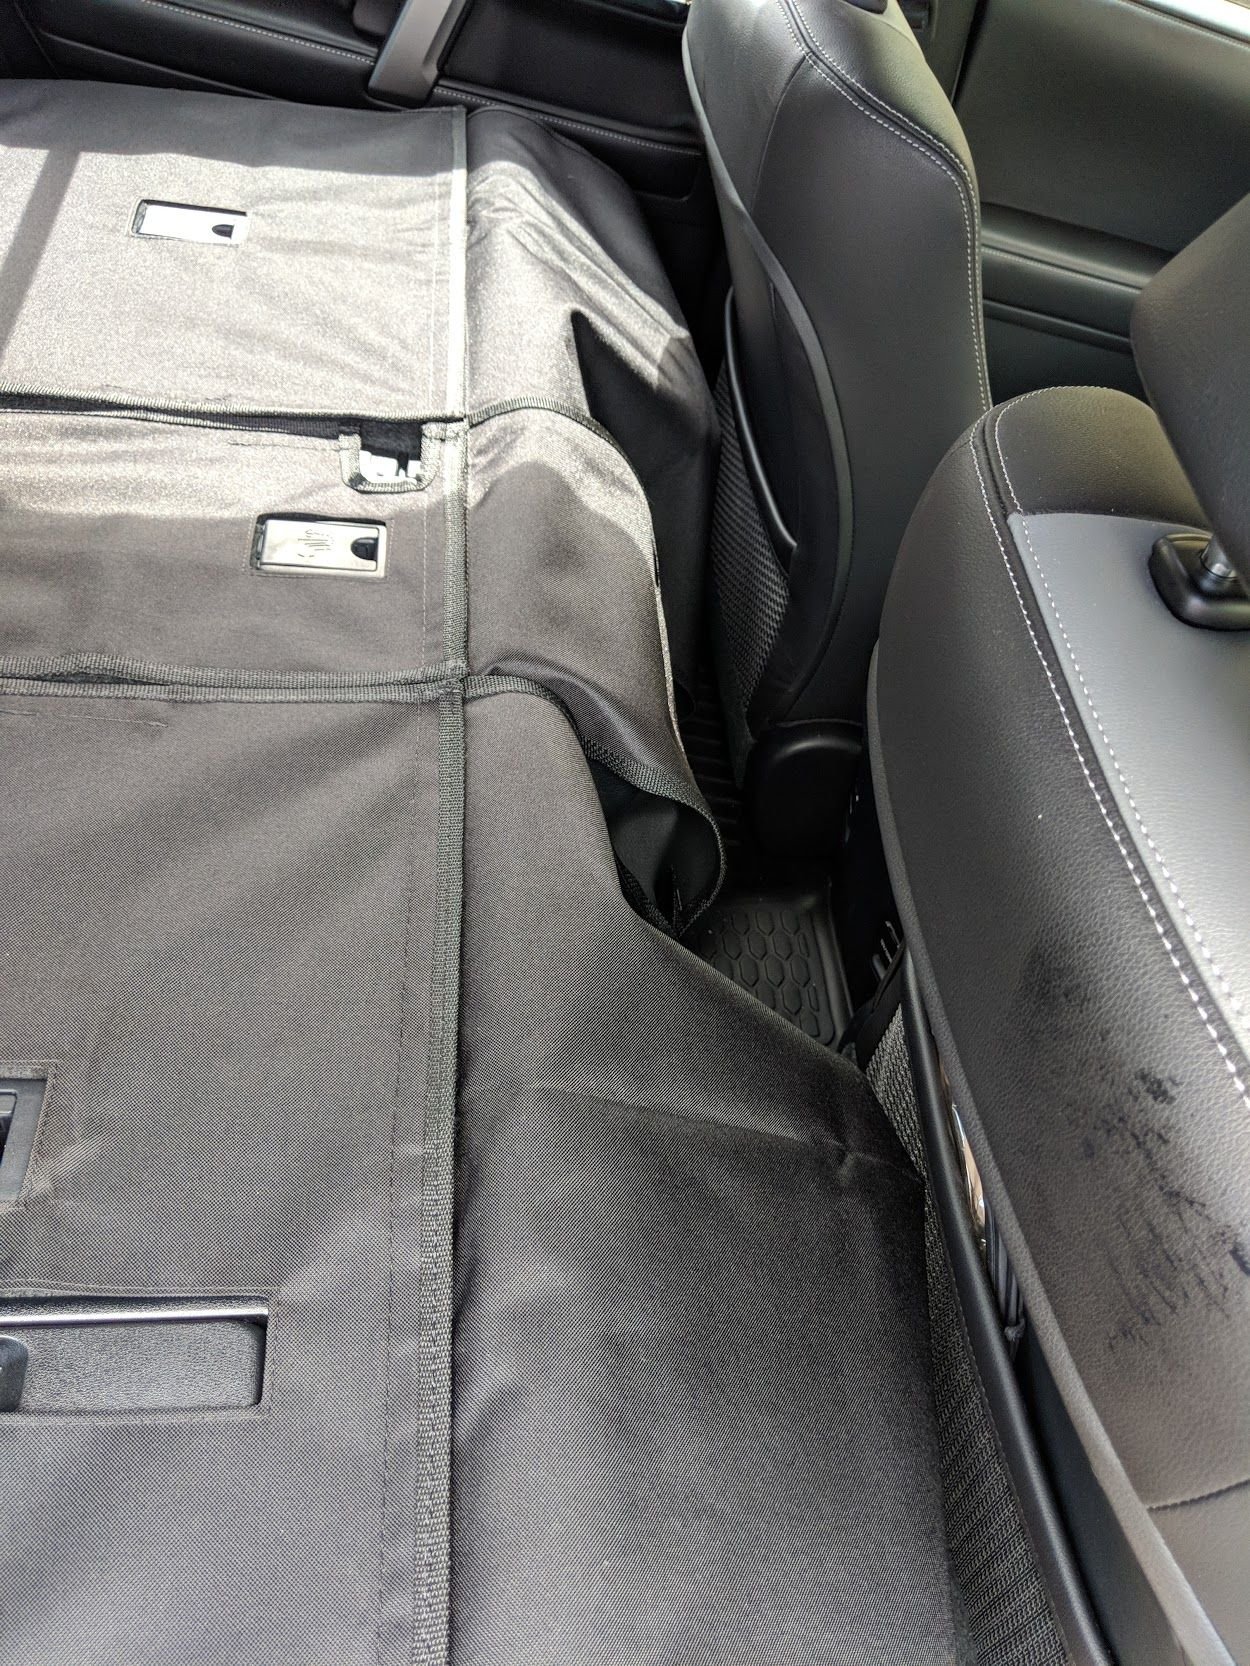
Went ahead and threw my canvasback liners in, I ordered them back in March and didn't want to put them in until I ripped the back seats out, but since they mount with velcro I figured I could always rip it out later. The fitment is great and they even include Milk Bones for your dogs

img_20180723_161405_b115346f0160fff9ba5fe046764463ef49776db0.jpg


Installation was super easy

img_20180723_161956_5a7d316f0e37cd6c0c615d78b06805d7dde4b2ca.jpg


I also got the additional flap that goes over the headrests, still planning to get something more solid to go over this area to keep the dogs from falling through

img_20180723_162719_1803a2392ba3deeb489c6ad93b010b1285c798ef.jpg


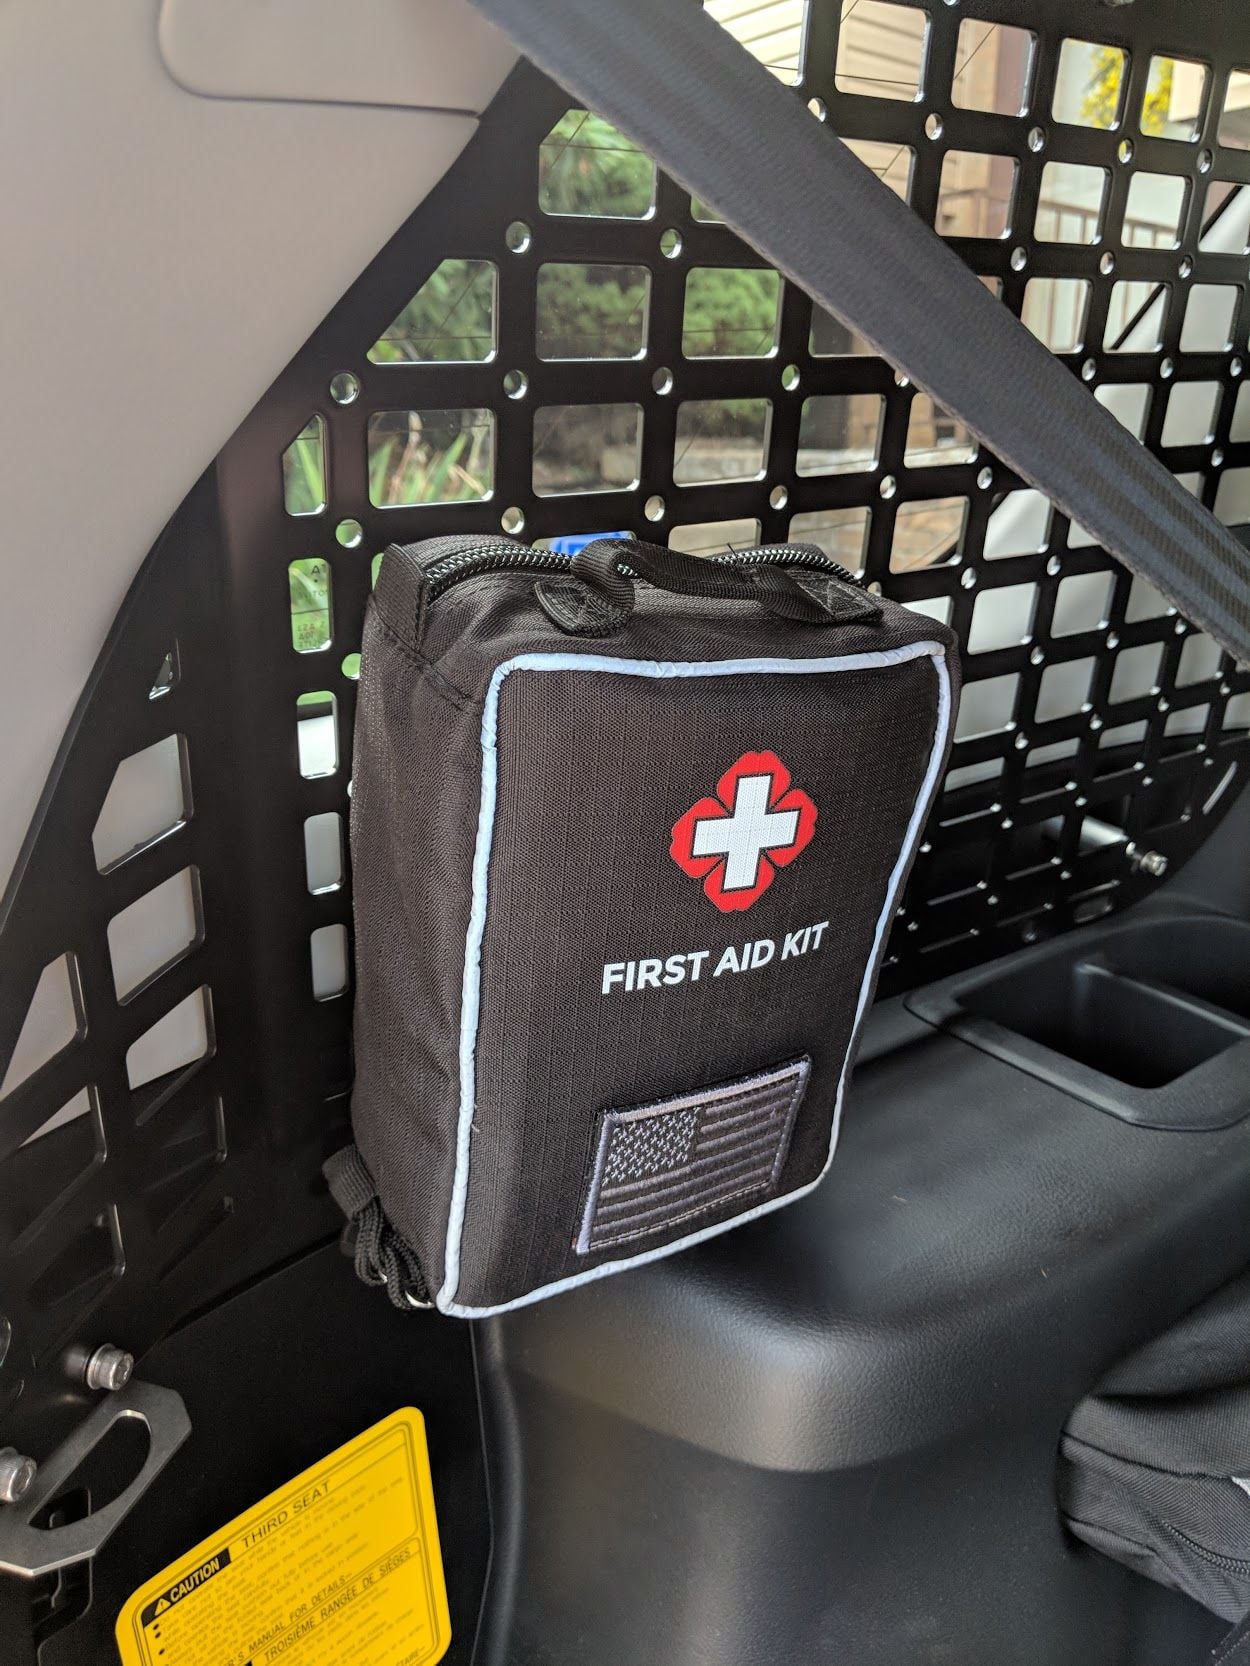
And, I went ahead and started populating my Rago storage panel, I have a lot of stuff to go on, but I figured the First Aid Kit should be front and center and easily accessible.

img_20180723_161948_56f34b6ab71e985e8461b4e26cf7ca09f49ebfa4.jpg
 
Last edited:
how are you liking those NFab bars so far? I hear alot of issues with rust and the step for the front being too far foward.
 
how are you liking those NFab bars so far? I hear alot of issues with rust and the step for the front being too far foward.

I like the looks of them better than the stock running boards, but I don't use them as much as I did the stock ones. I use to rest a foot on the boards when getting in and out but I don't find myself doing that as much with the N-Fabs. The steps line up perfectly for where I would need them, but I'm 6'5" so I don't really have a use for the steps anyway. They're more of a looks thing for me at this point.
 
the wife and i are definitely not that tall lol. the stock running boards always seem to get in my way though. it gets old.
 
the wife and i are definitely not that tall lol. the stock running boards always seem to get in my way though. it gets old.

Yeah, the N-Fabs are a definite improvement in that aspect. I used to rest a foot on the running boards because they were so in the way I didn't really have a choice lol
 
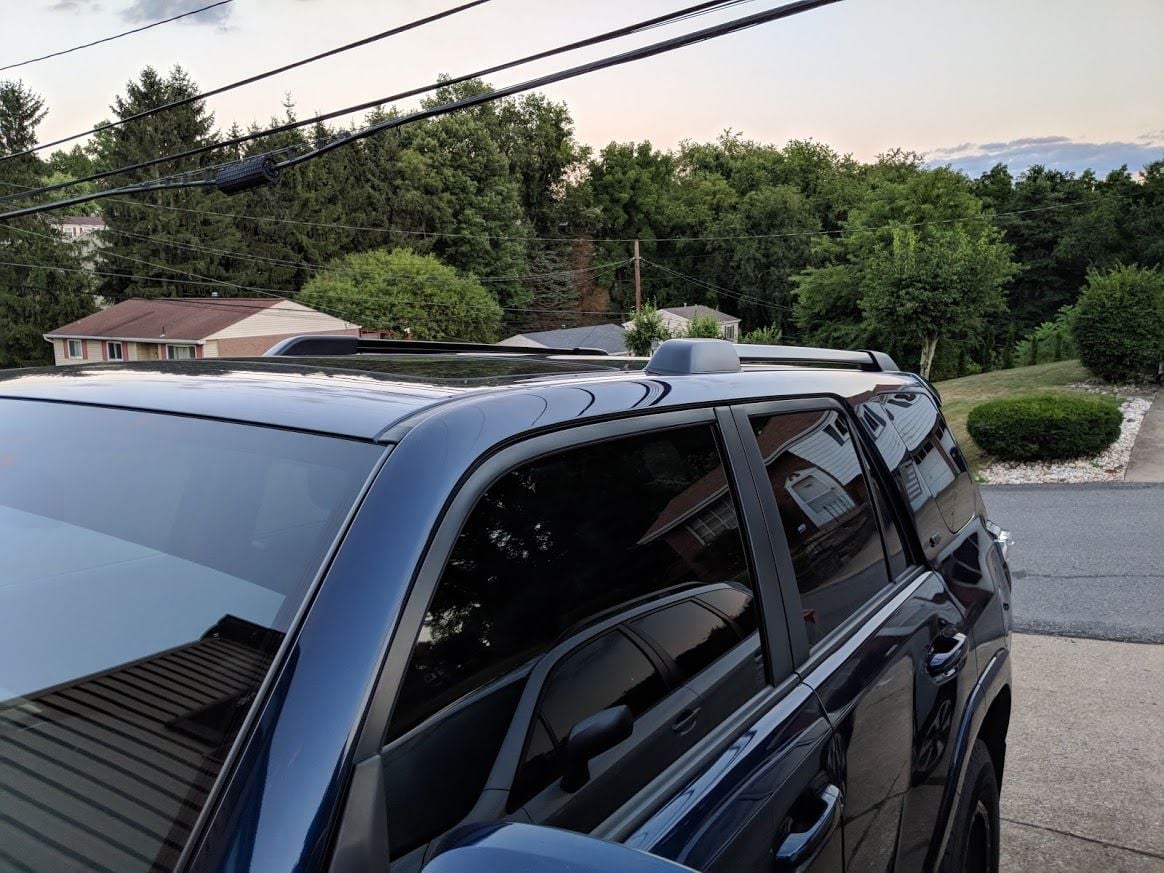
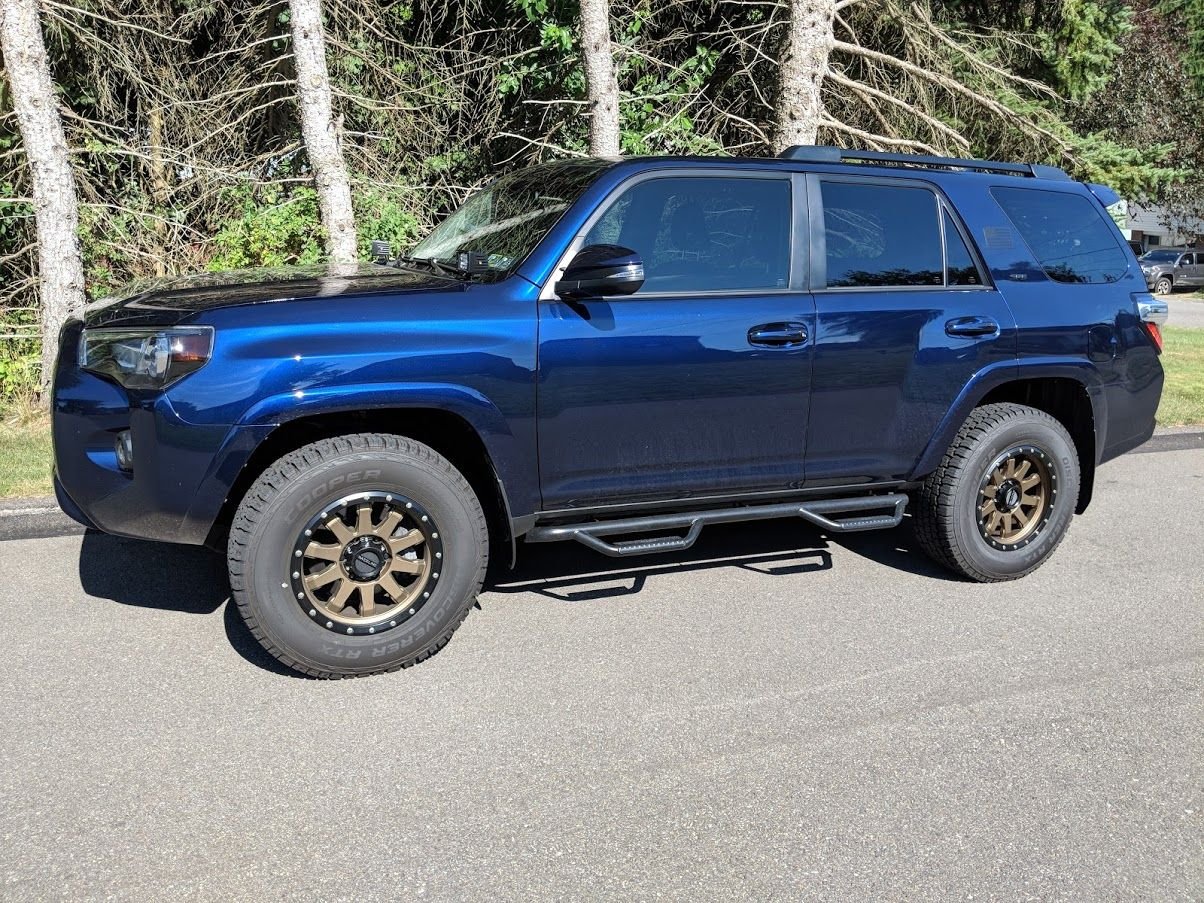
Could have sworn that I posted these pics with the black roof rails, but I don't see them in this thread so figured I'd throw them in here. Definitely loving the blacked out rails, they really complete the black on blue look

img_20180719_163538_275b2f289d15a9115d7ae95471f13a4549458328.jpg


img_20180719_165732_fee1c8bf5c85c3b426f7d96c723cbcb92856d981.jpg


img_20180719_165724_aba37ff004108673d6f0504e2c3bac2c1662ca45.jpg


img_20180719_165716_2cba318ef48bd8827177e77573b70b2d9bbd4c9c.jpg
 
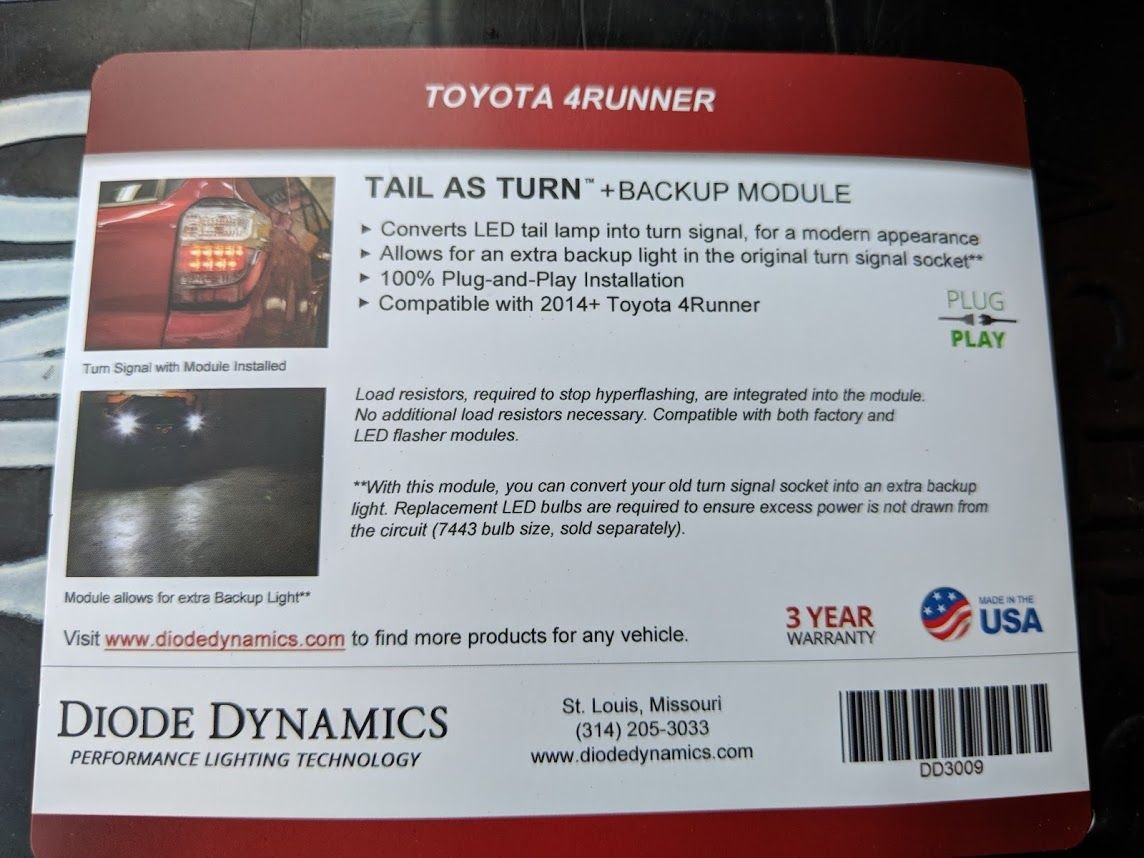
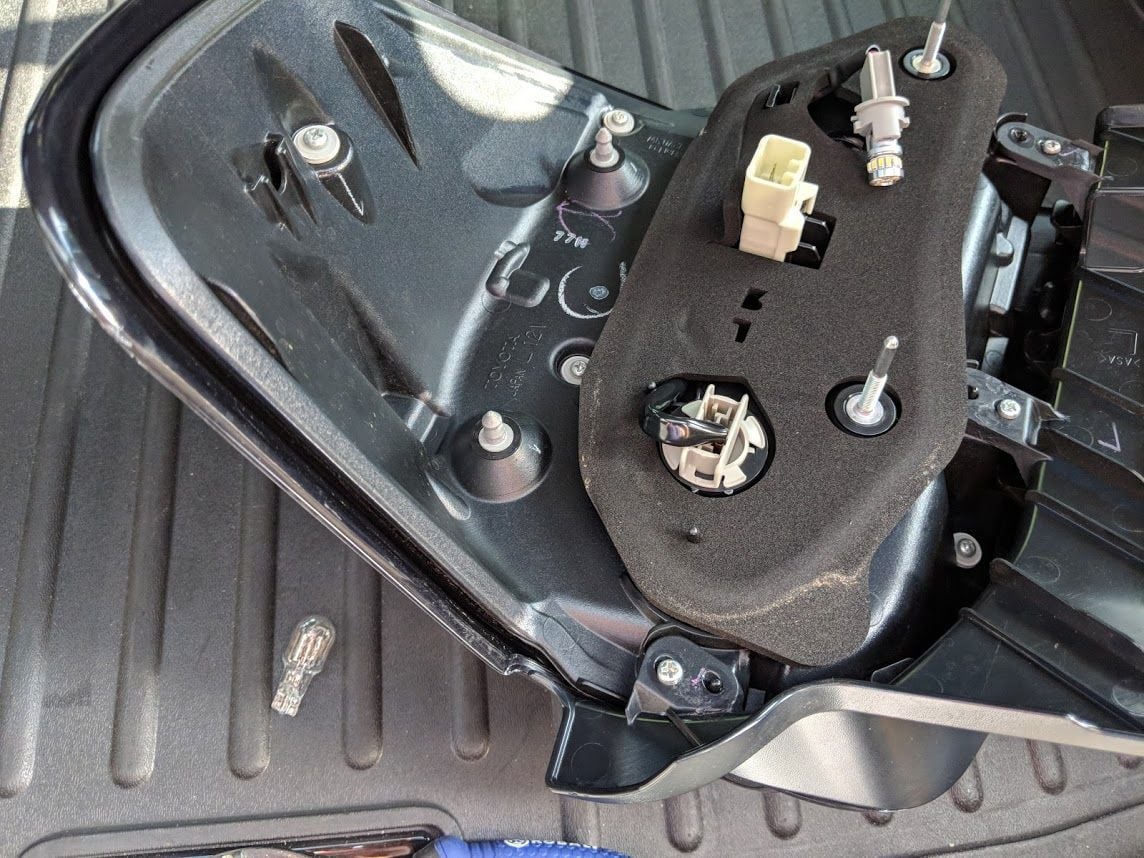
Threw on a little mod yesterday, installed the Diode Dynamics Tail As Turn Module. This changes your LED panel in the tail light to be your turn signal as well as your brake light. I've noticed a lot of cars these days with LED tail lights have this feature.

img_20180807_175840_86ab9805d970608ab170682c258458ba4ba5c4dd.jpg


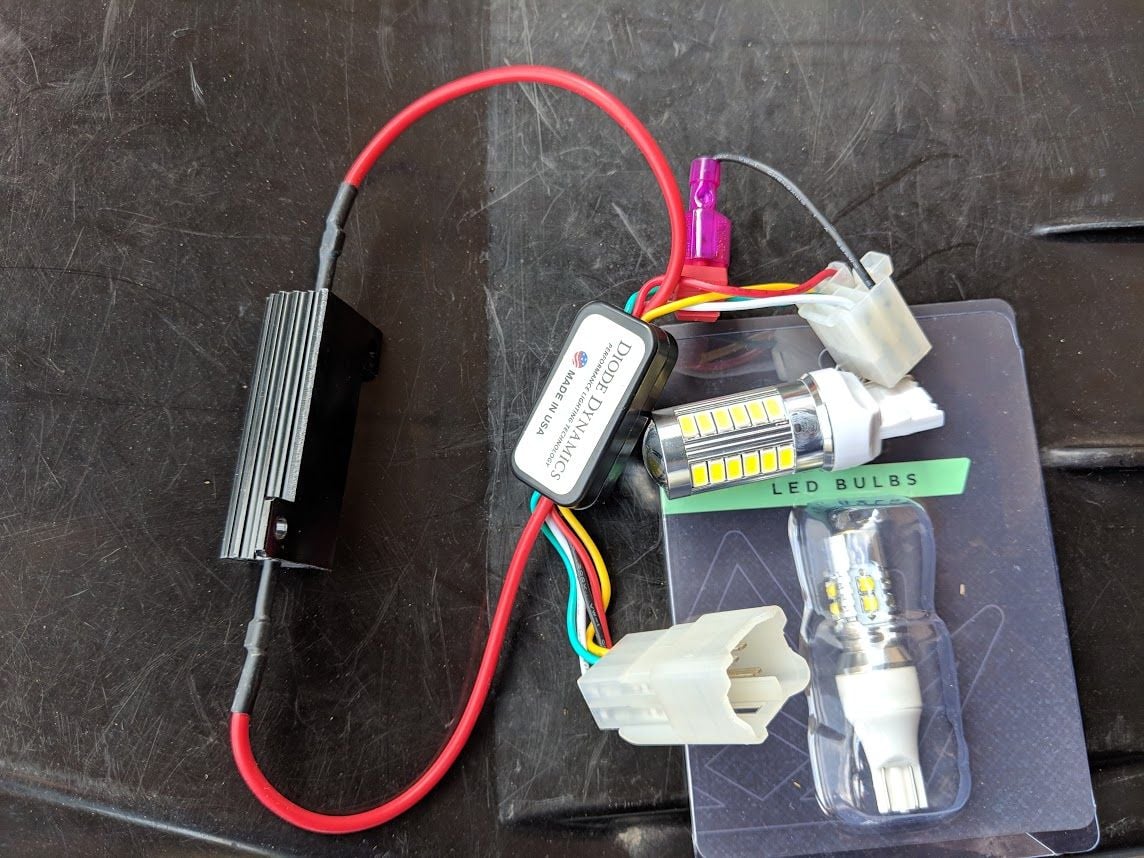
The module has the added feature of allowing the big clear turn signal at the top of the light to be converted to a second reverse light. Here's the module and the LED bulbs that I used. You have to tap the green wire in order to add the second reverse, I don't know why they don't just do this out of the box.

img_20180807_172116_5789f8aa0e590b7b71d99f5e0b04a62379a9f862.jpg


When I first got the truck I installed 194 wedge bulbs in the reverse lights, when I removed the stock reverse light bulb housing the stock bulb fell out and into the tail light housing and it's been in there for almost a year. So I figured this was the perfect excuse to get it out. Took a couple minutes but I finally got the stock bulb out of the housing

img_20180807_172143_4cb4c18f392103506b6cacb2e5840504f40d1ed7.jpg


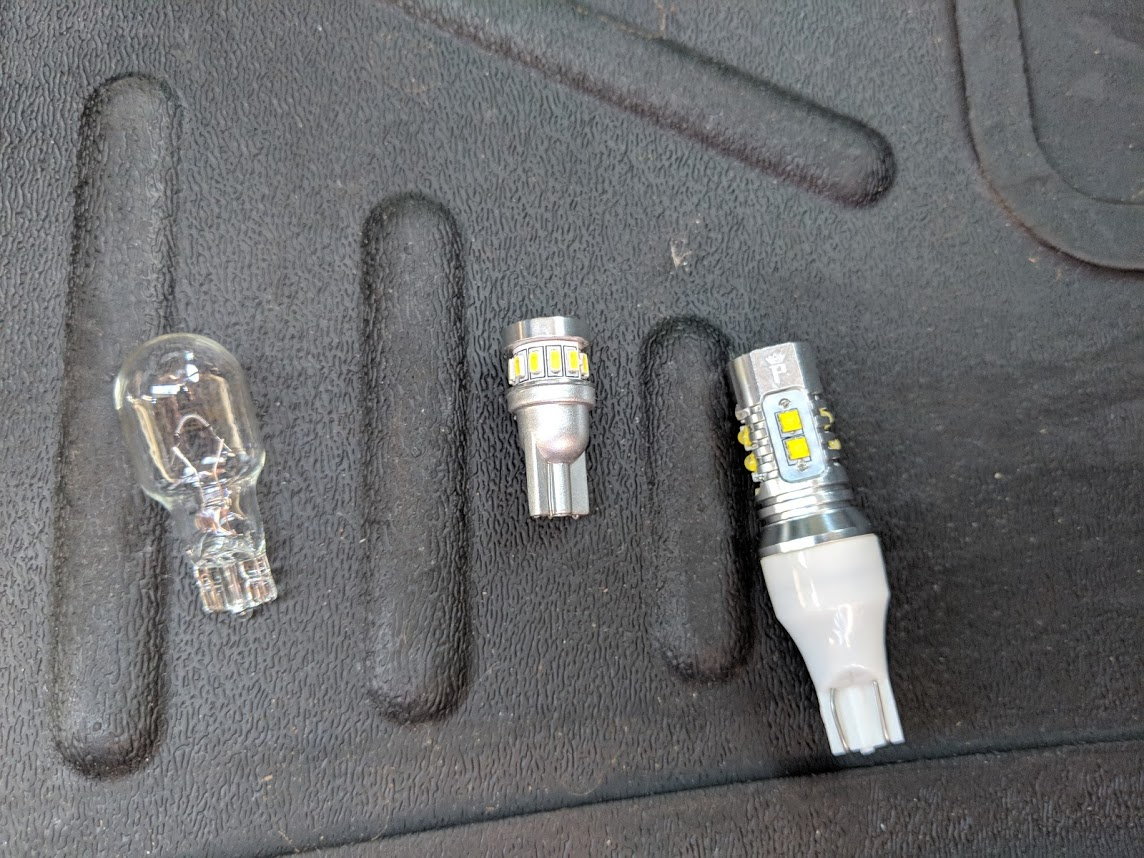
Here's a comparison shot of the stock bulb, next to the LED wedge I had in the reverse (same bulbs that I have in my interior), and the new 921 LED bulbs that I replaced as the lower backup lights.

img_20180807_172227_a9c2c5534bd33be0581795c608ed7969d4a5f2ac.jpg


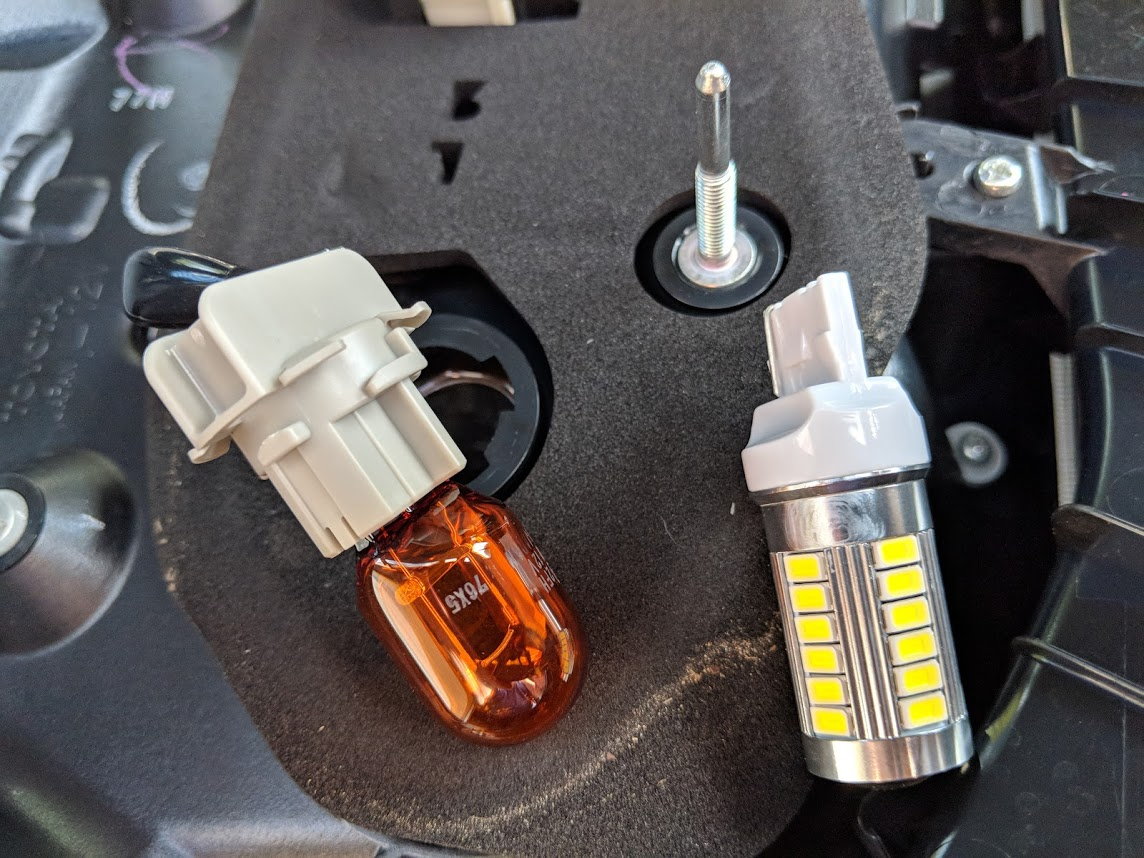
And here's the stock amber rear turn signal bulb, being replaced with an all white reverse light, this thing is huge and insanely bright!

img_20180807_172309_9a2893bd2c9a1414a94d0891763f9b3255ce4ee2.jpg


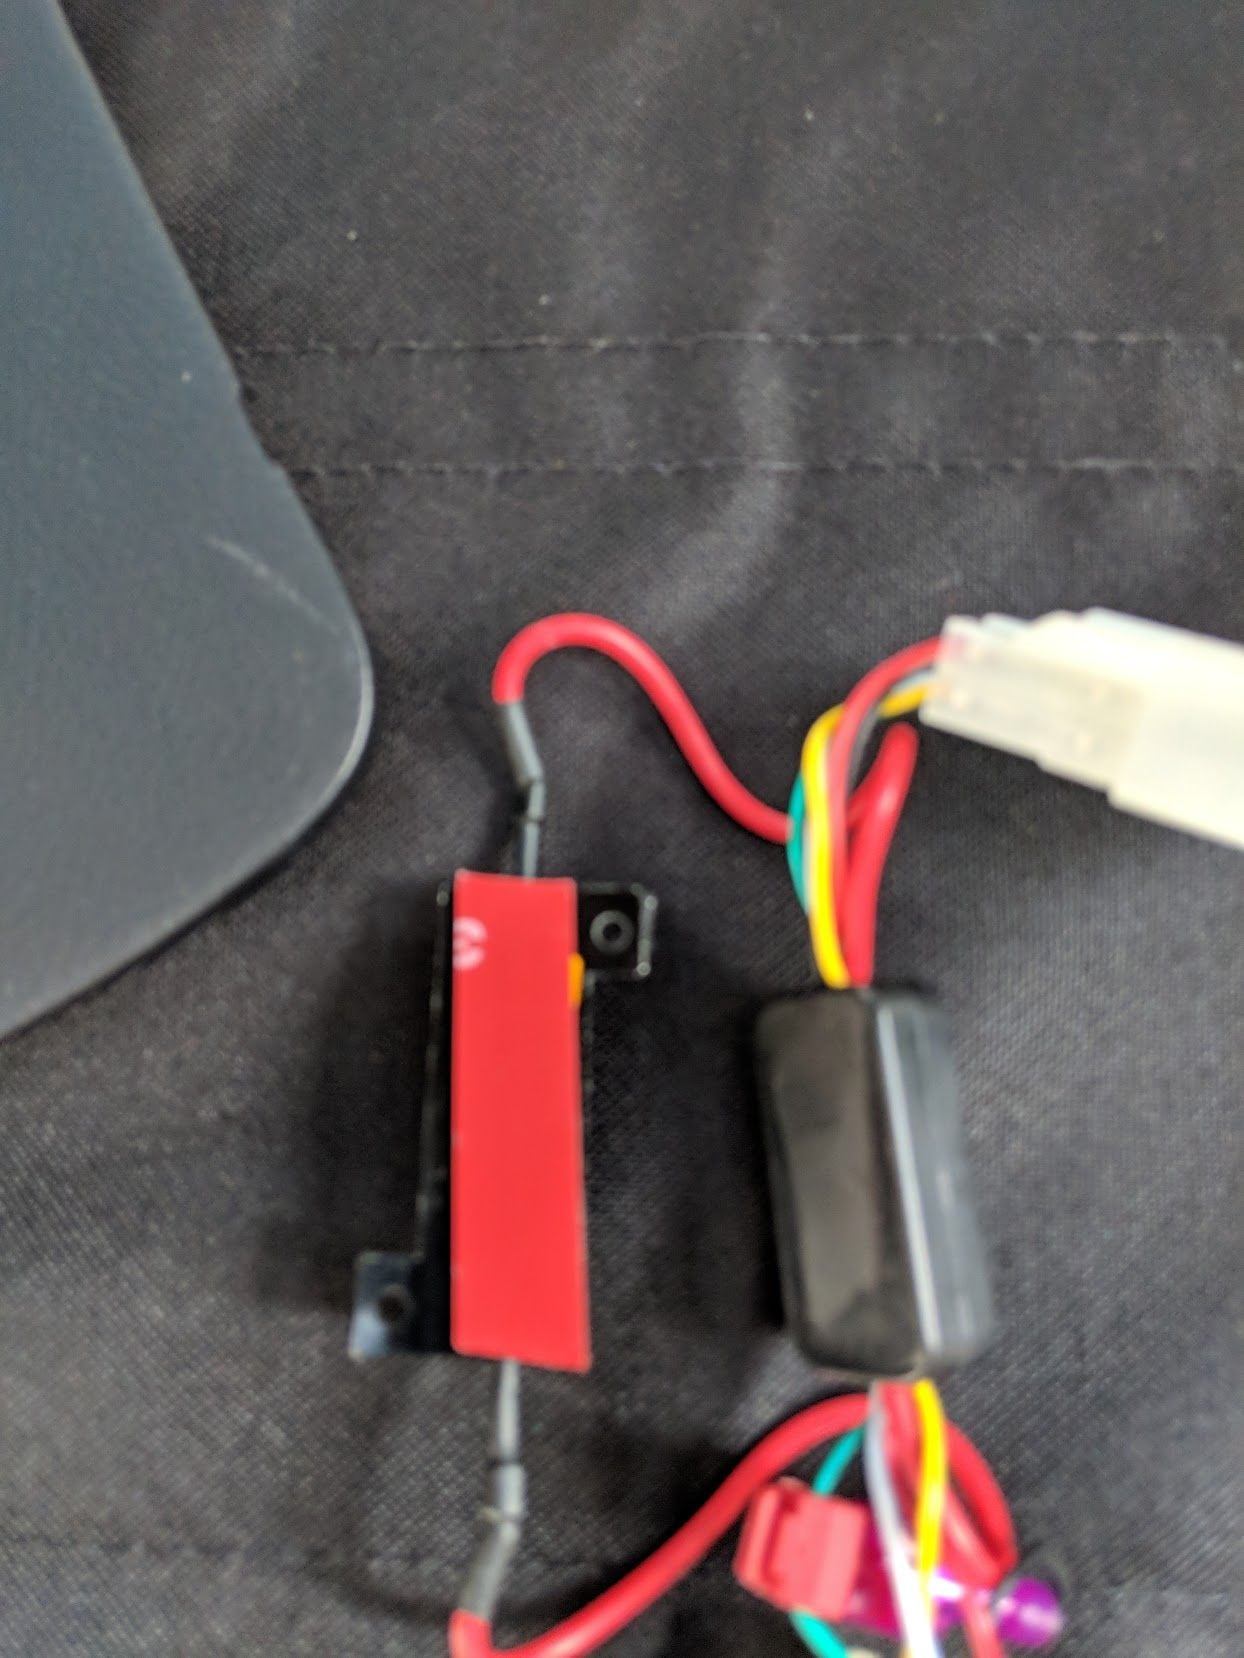
I broke out some 3M double sided tape

img_20180811_183212_f2706c1f83efeb5dc0514b26af8b451983c980c5.jpg


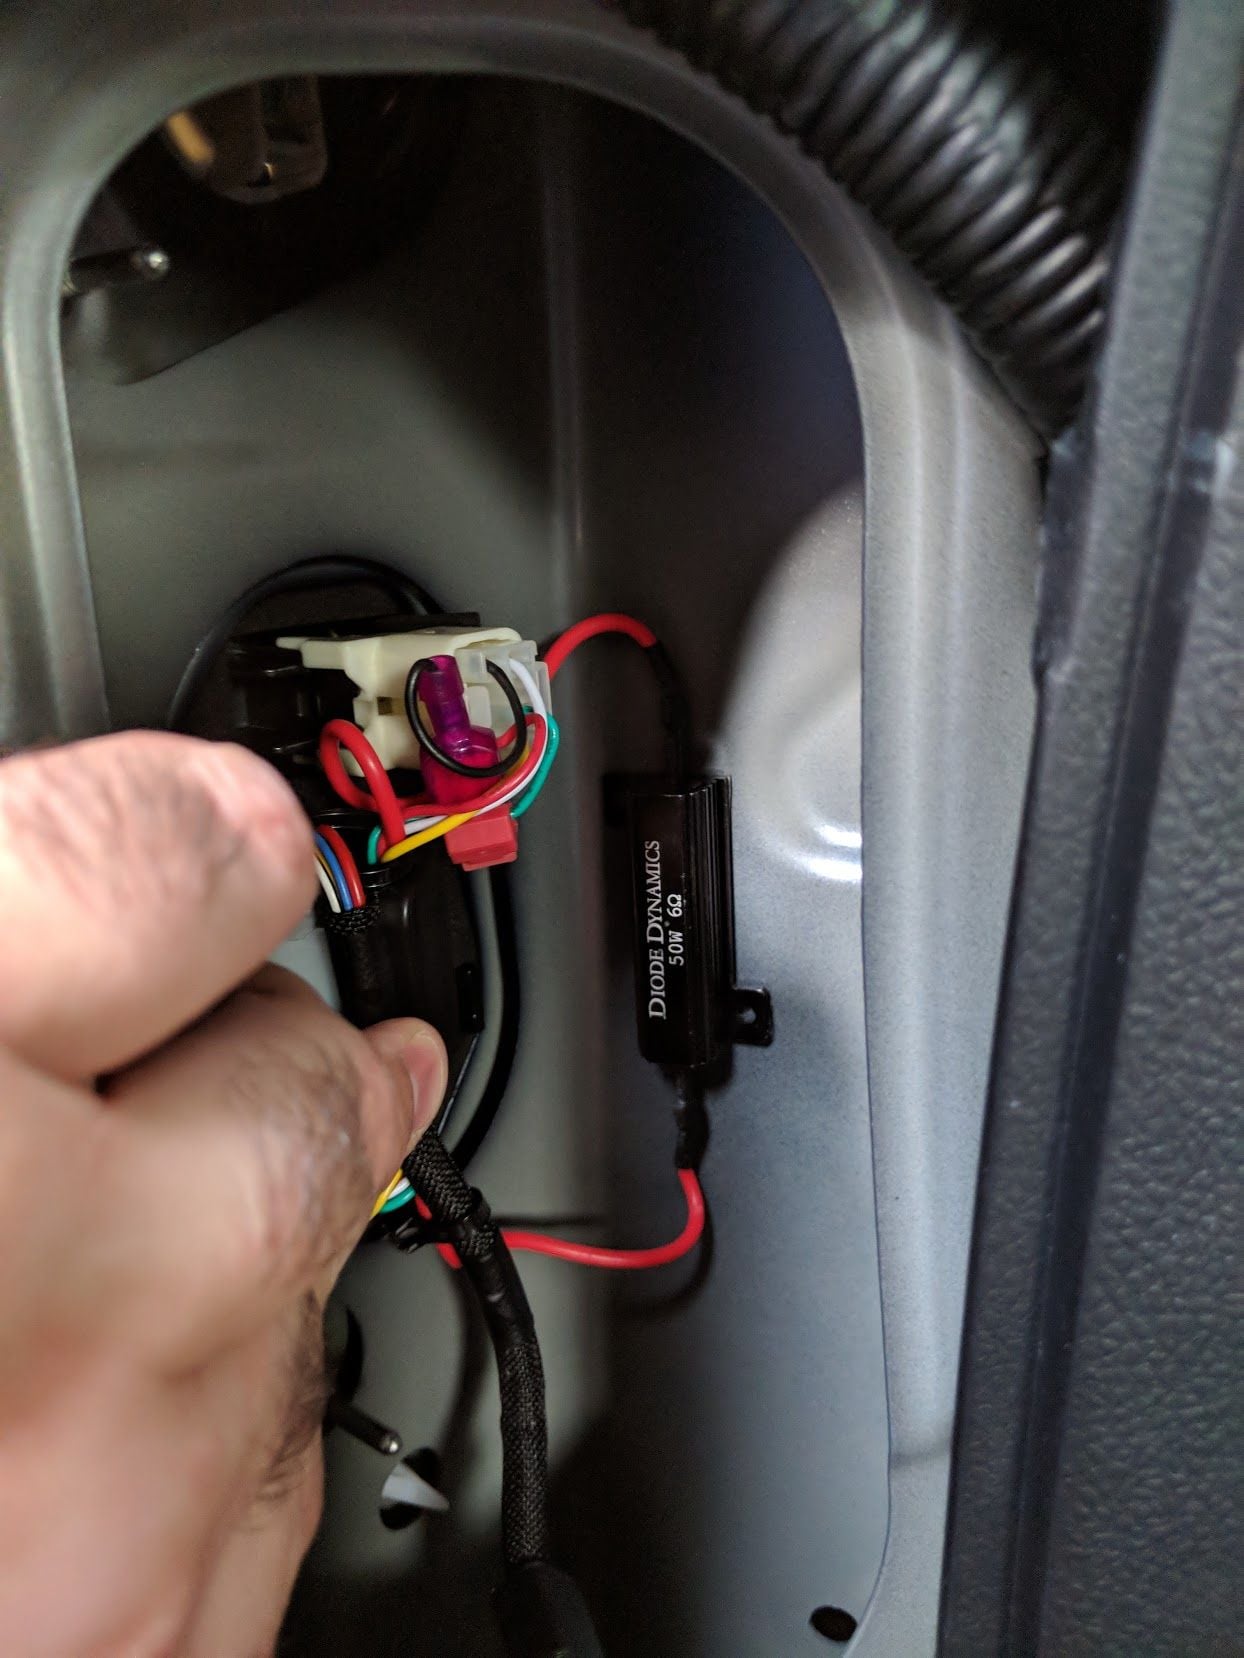
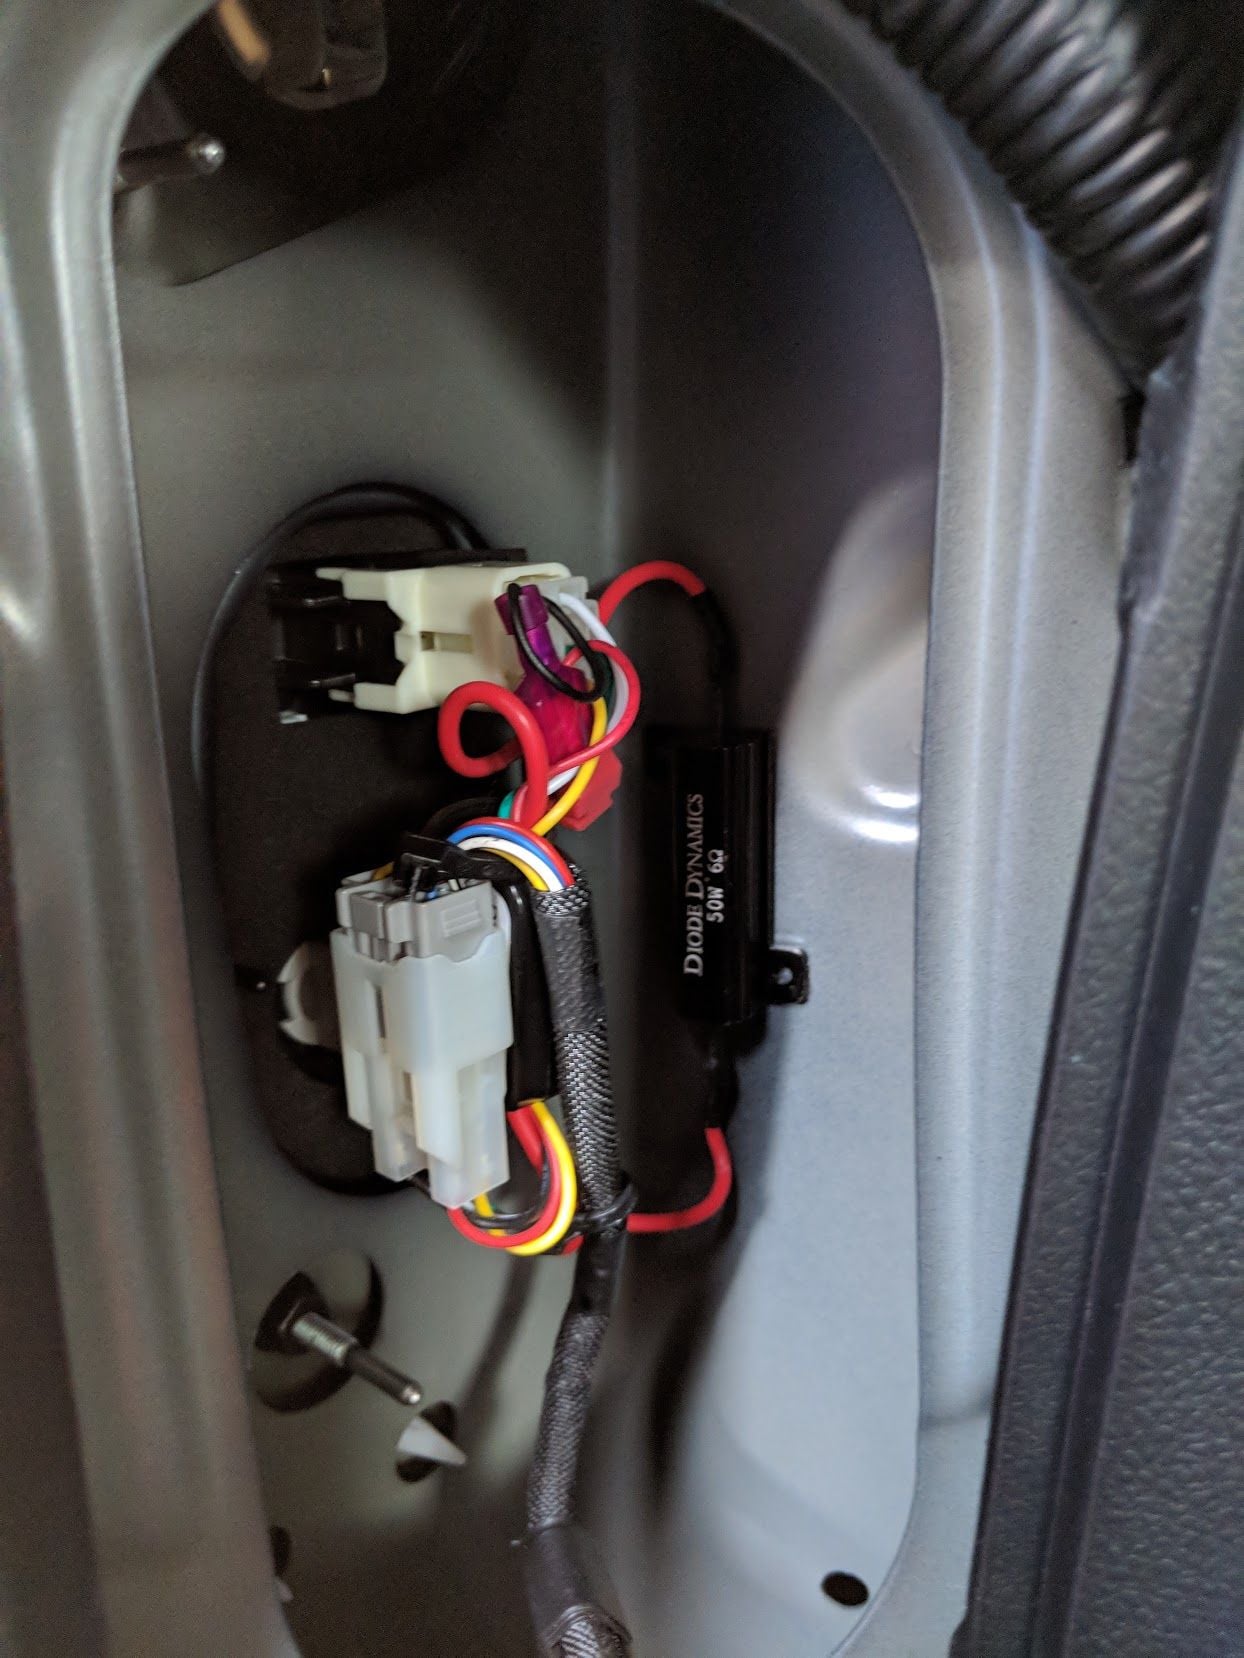
And mounted the resistors to the metal body panels away from all the other wiring

img_20180811_183723_71e41dec5196c5f84302c051350955ac4c37234b.jpg


Then tied up all the wiring.

img_20180811_183725_a1060b2724418adeaccae2233c6f585eff24dc72.jpg


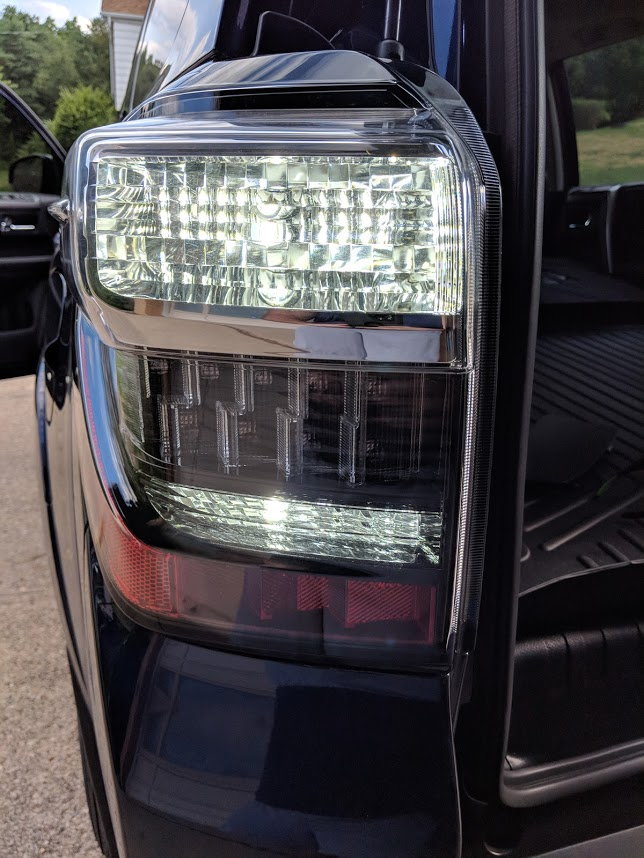
Here's a day shot of the reverse lights, I planned to get some night shots but it thunderstormed and was pouring last night when I was going to go out so I said screw it. You can see that both the upper and lower clear lense are lit now.

img_20180807_173149_cb3a4b5b69c75c1e1b33fceab5e11960f5151a55.jpg


I put the flashers on to test functionality and this is what the flashing turn signal looks like now, you can also see the new 921 Profile LED bulb in the lower reverse lense. I'll post some night shots hopefully tomorrow, I can't imagine how bright these things are going to be at night.

img_20180807_175805_7b543c78bc634fecd8a304cc76b0f4c9b6fdd13d.jpg
 
Last edited:

Members online

Forum statistics

Threads
278,307
Messages
3,554,050
Members
248,016
Latest member
Advally Service

Trending content

Back
Top