BlackAck's 5th Gen 4Runner thread

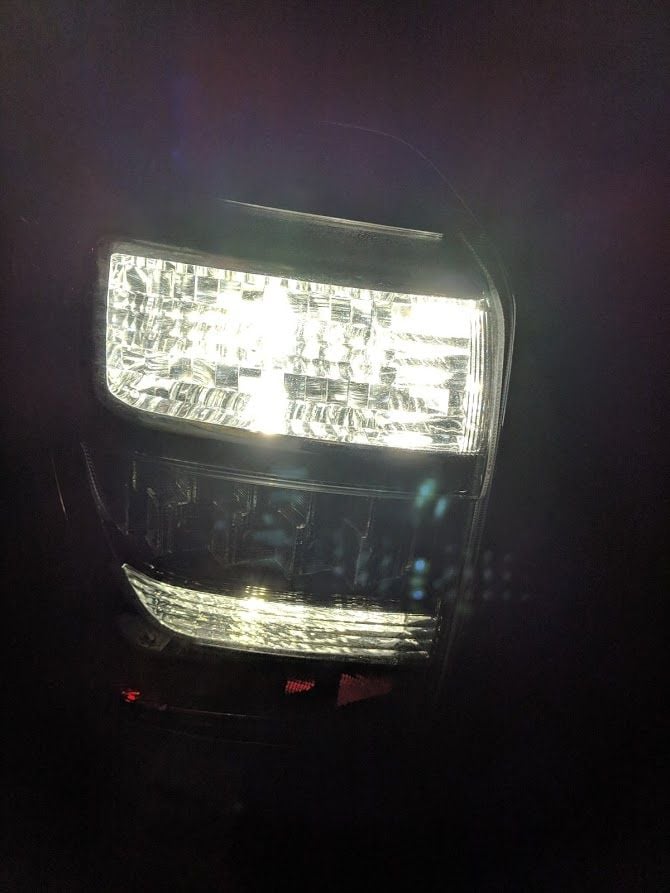
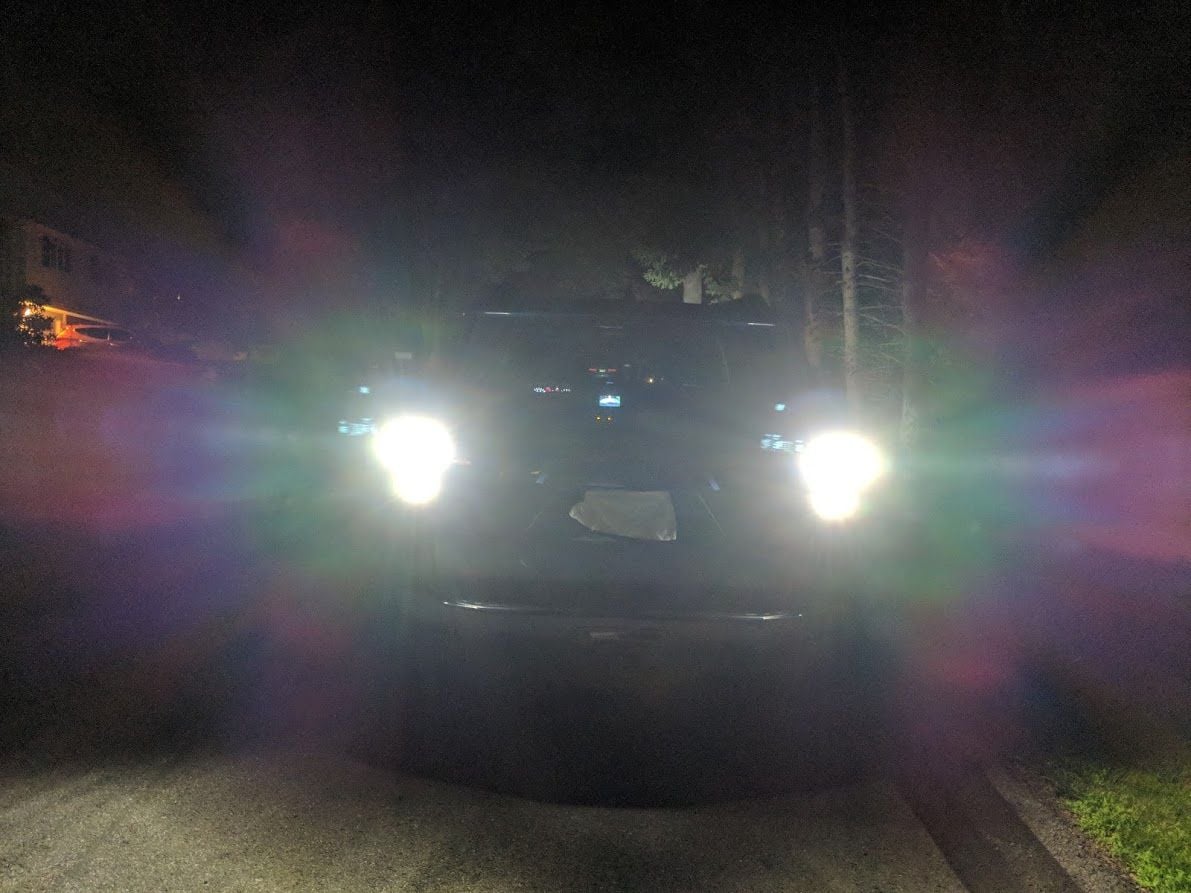
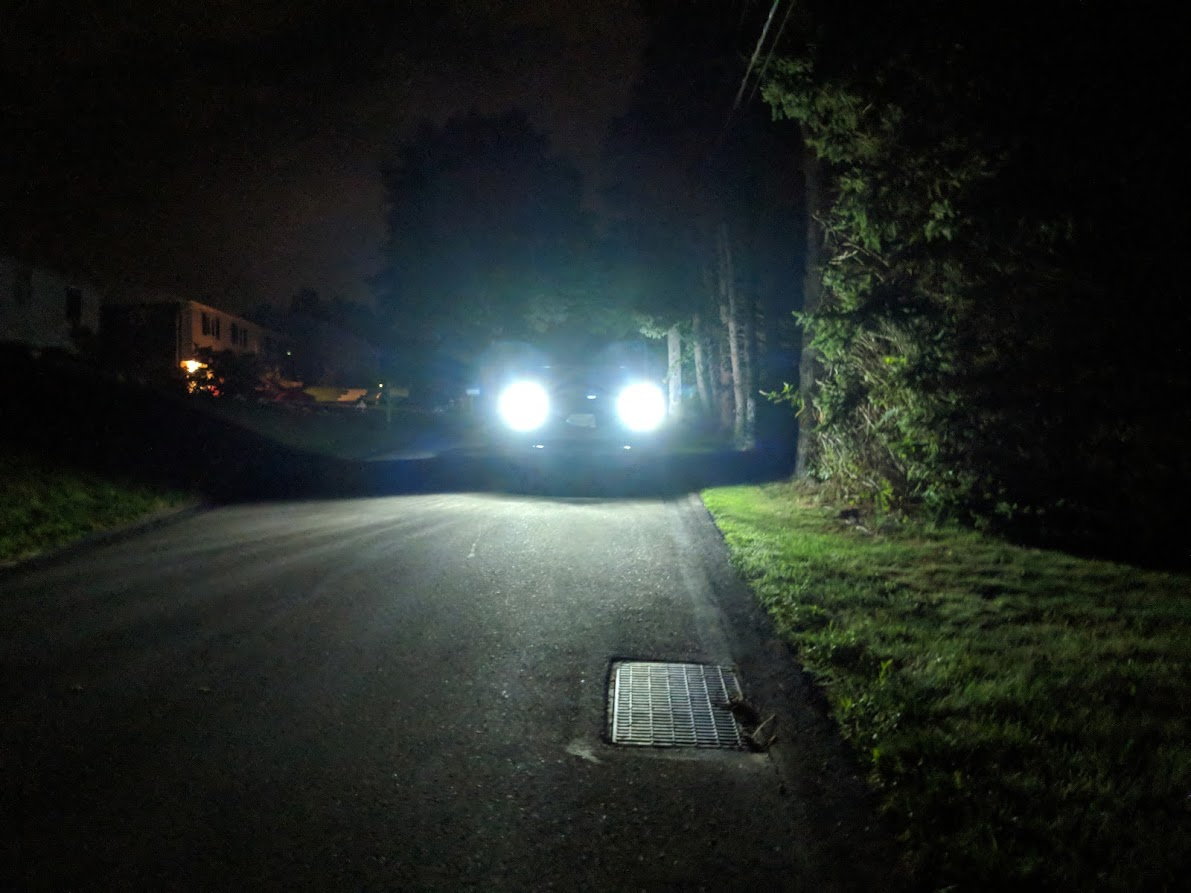
Took a couple shots of the reverse lights at night, holy heck are they bright! They definitely help light up what's behind you and help the backup camera really see at night

img_20180808_225438_57223facac0a9387d2dcd5ae042e819bb1c64e03.jpg


Up close

img_20180808_225330_de85be2f2485524abc388f9d5a5ba836d6106383.jpg


My fav shot, you can really see how they light up the road!

img_20180808_225417_776c4dba857190cf5d3889de826762e8327b2810.jpg
 
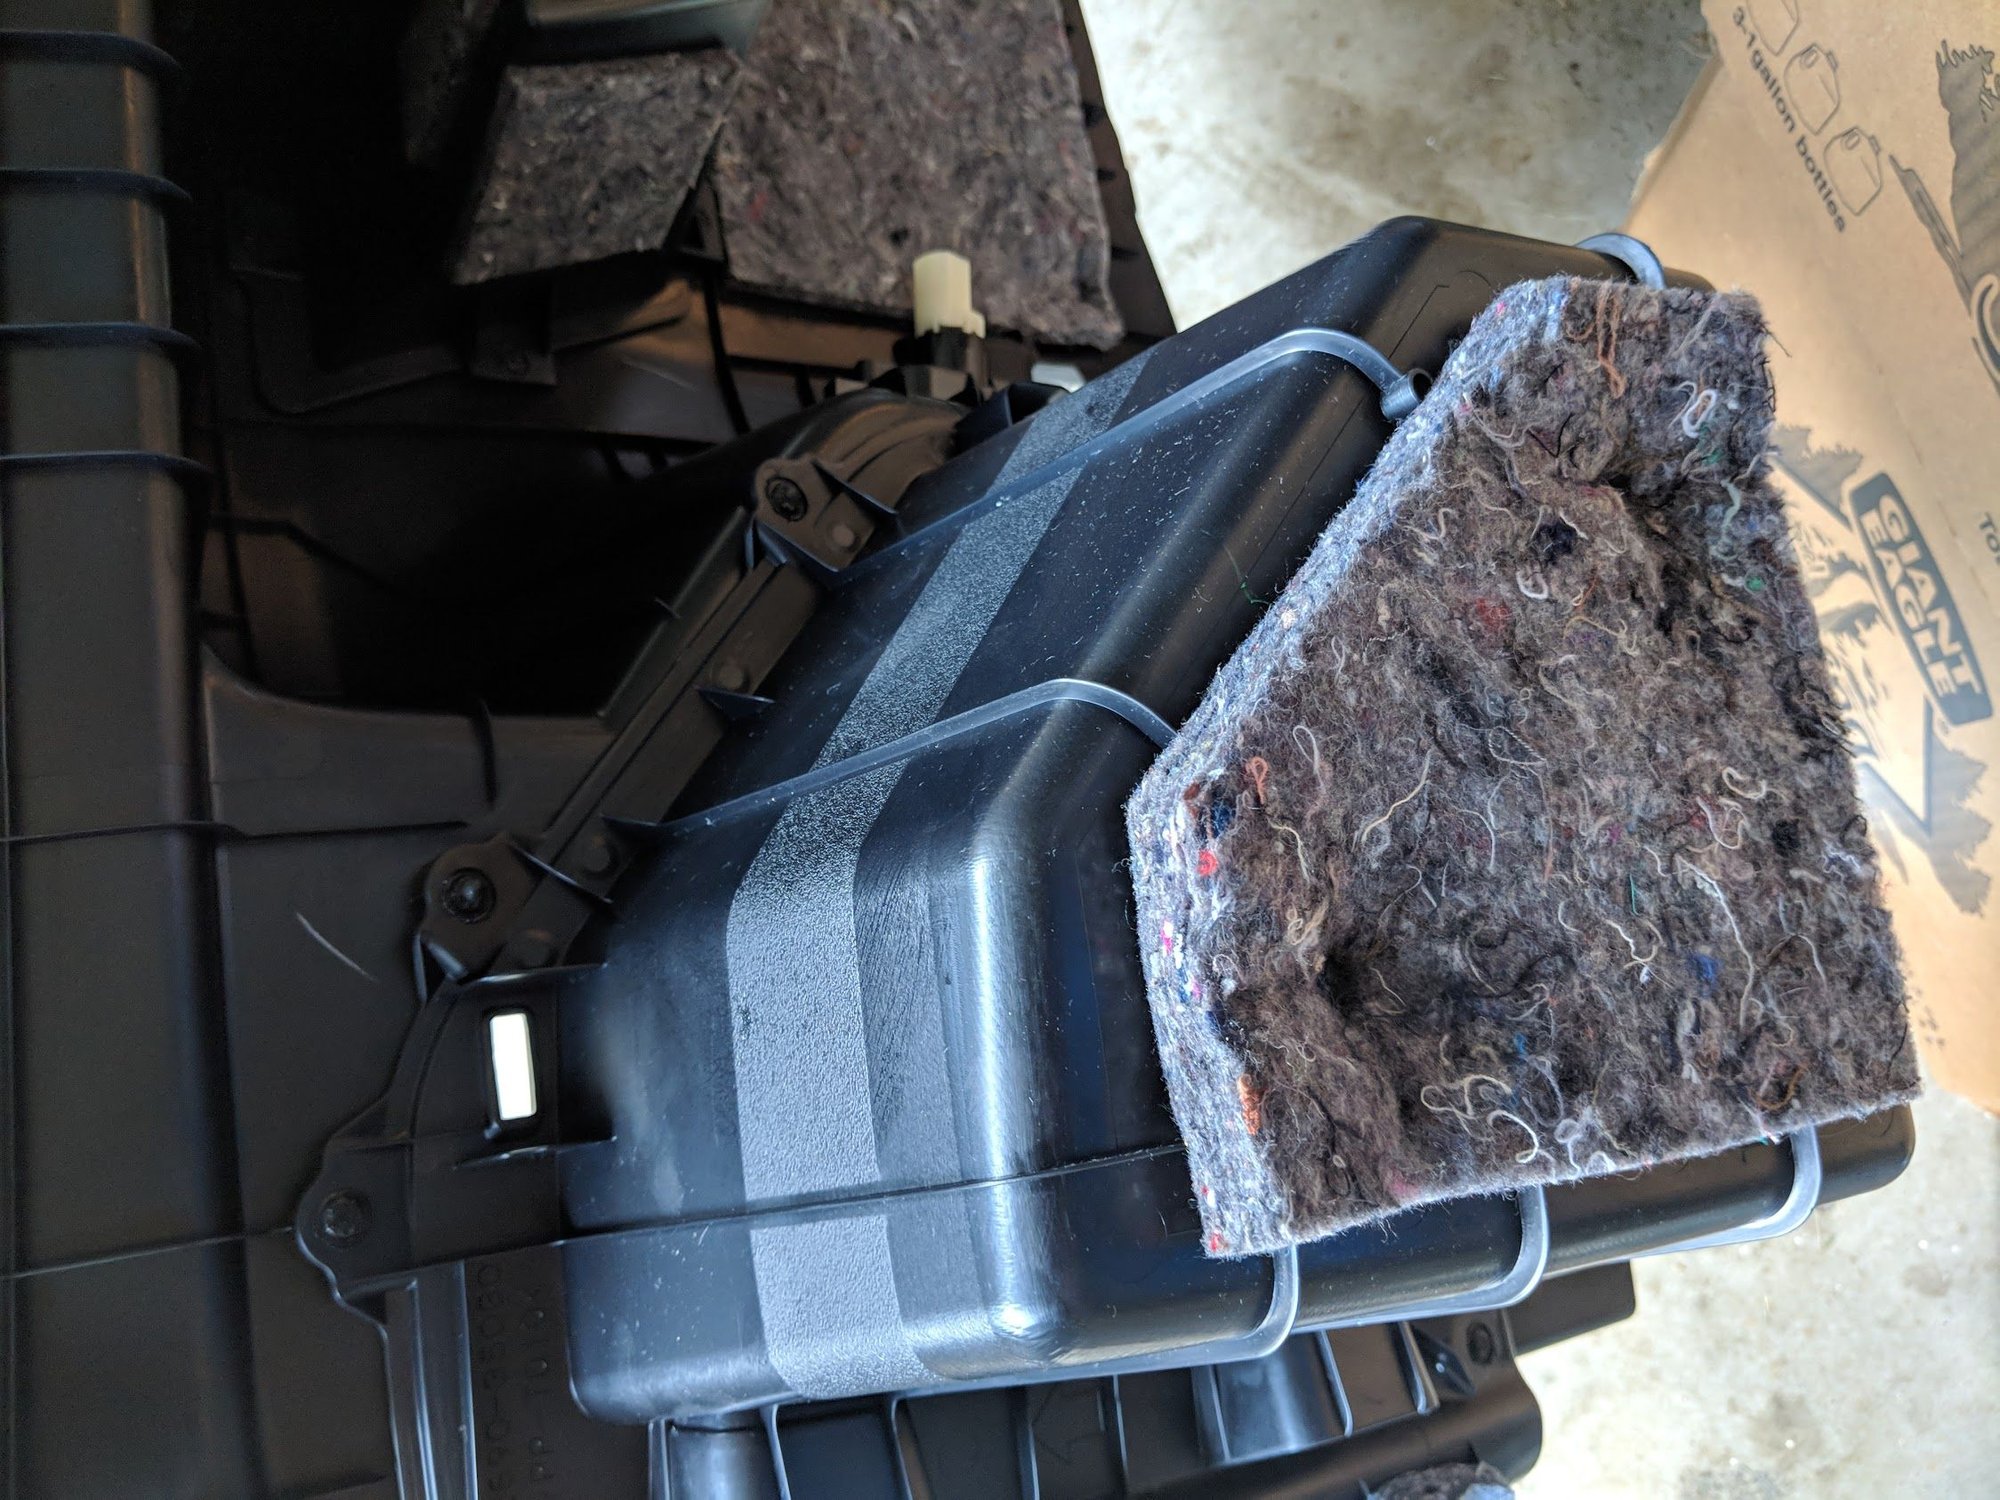
I wrapped tied up the modules and wrapped them in some piping insulation to keep them from rattling around.

Just FYI.. Those load resistors get extremely hot when in use. They are encased in relatively large heatsinks for a reason. In your pic, it looks like you might have them wrapped up together with the rest of the harness, which is probably fine for low duration turn signal use, but I'd personally be wary of using the hazards for any length of time if that's the case. I ended up mounting mine out of sight, to the sheet metal with 3M attachment tape, in hope of further facilitating heat dispersion, and I'm still somewhat apprehensive about leaving them on.

Also, instead of using the T-taps, I just cut the wire and spliced in a female connector. I leave my Aux reverse lights disconnected most of the time as I think they might be a bit too bright for around town, and I wasn't confident those T-taps would hold up to repeated handling.
 
Just FYI.. Those load resistors get extremely hot when in use. They are encased in relatively large heatsinks for a reason. In your pic, it looks like you might have them wrapped up together with the rest of the harness, which is probably fine for low duration turn signal use, but I'd personally be wary of using the hazards for any length of time if that's the case. I ended up mounting mine out of sight, to the sheet metal with 3M attachment tape, in hope of further facilitating heat dispersion, and I'm still somewhat apprehensive about leaving them on.

Also, instead of using the T-taps, I just cut the wire and spliced in a female connector. I leave my Aux reverse lights disconnected most of the time as I think they might be a bit too bright for around town, and I wasn't confident those T-taps would hold up to repeated handling.

I did end up removing the insulation and updating the post.
 
Last edited:
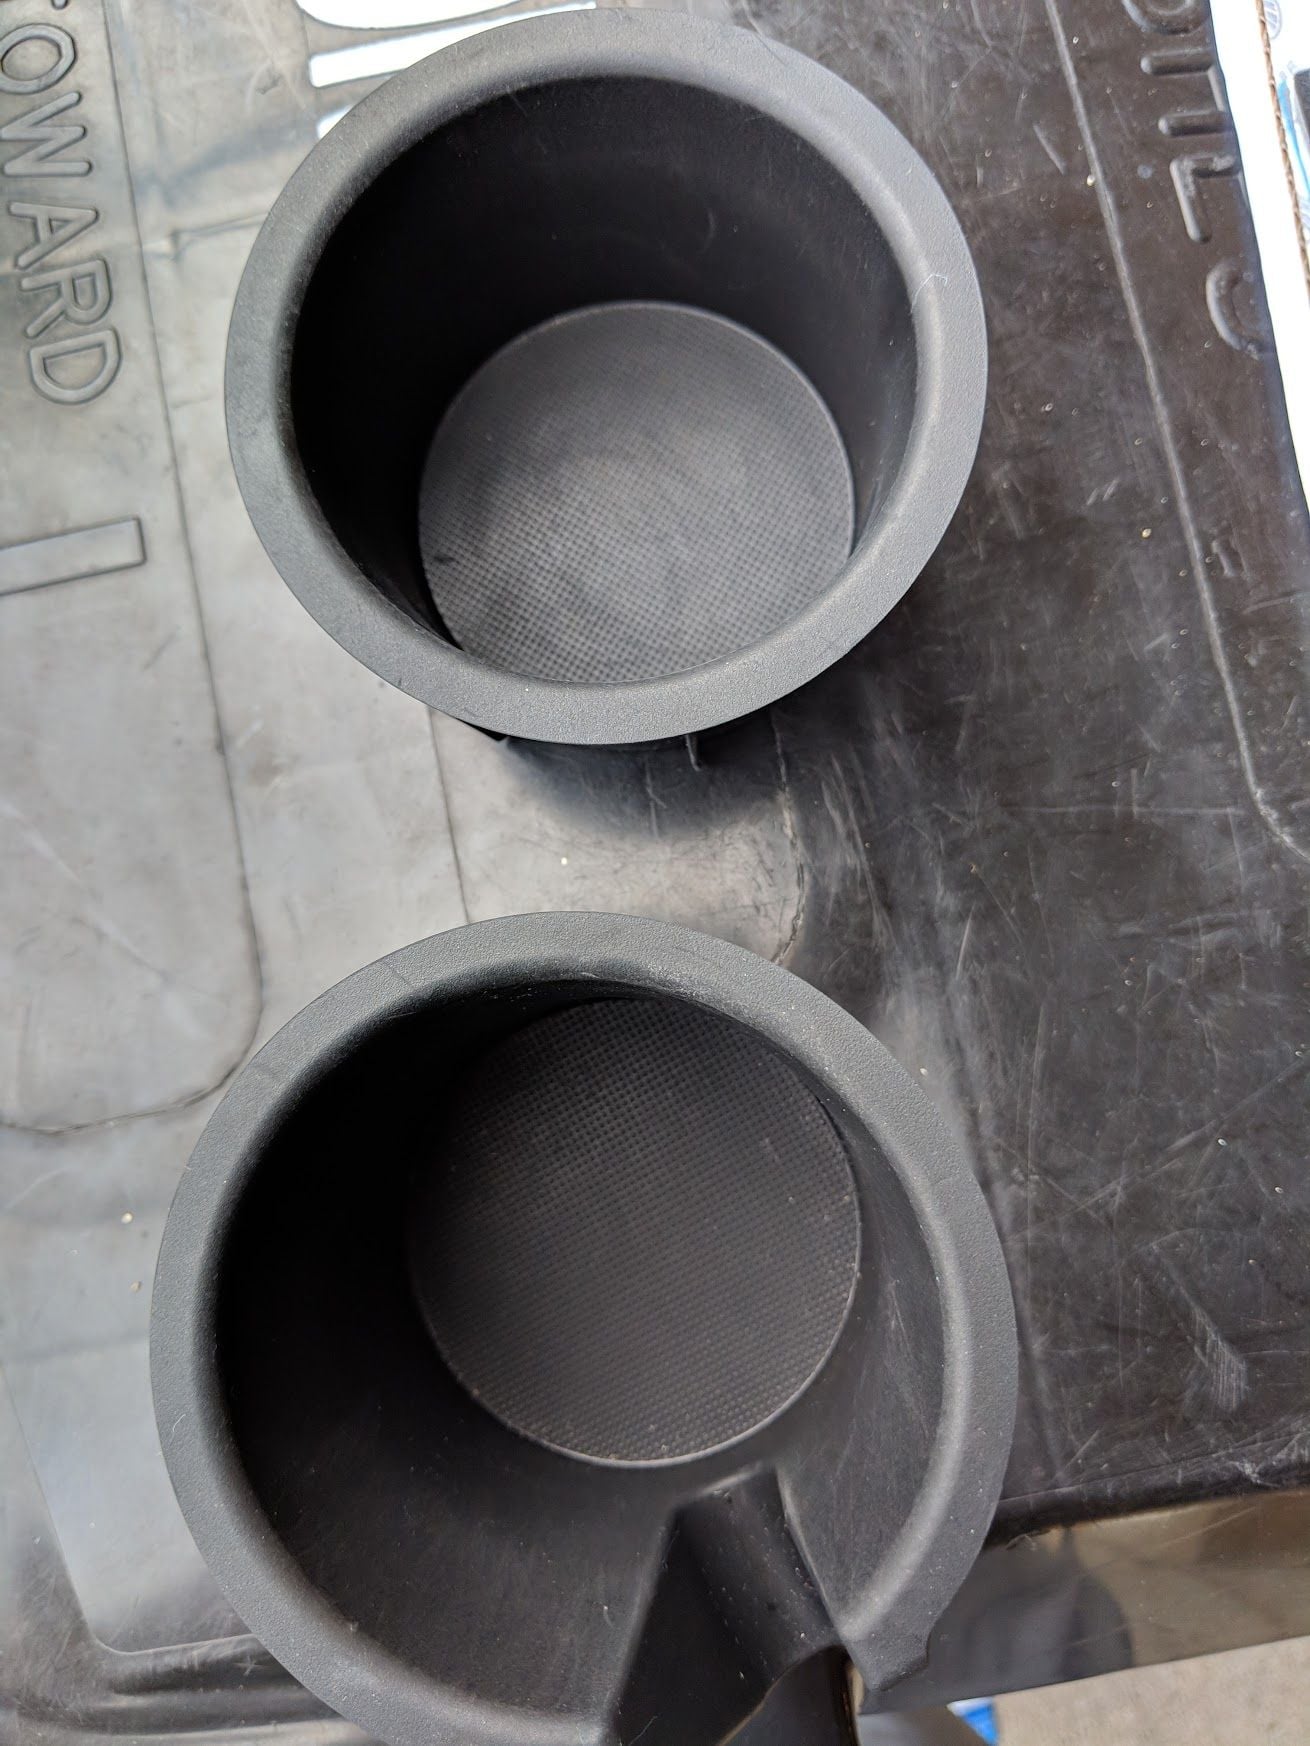
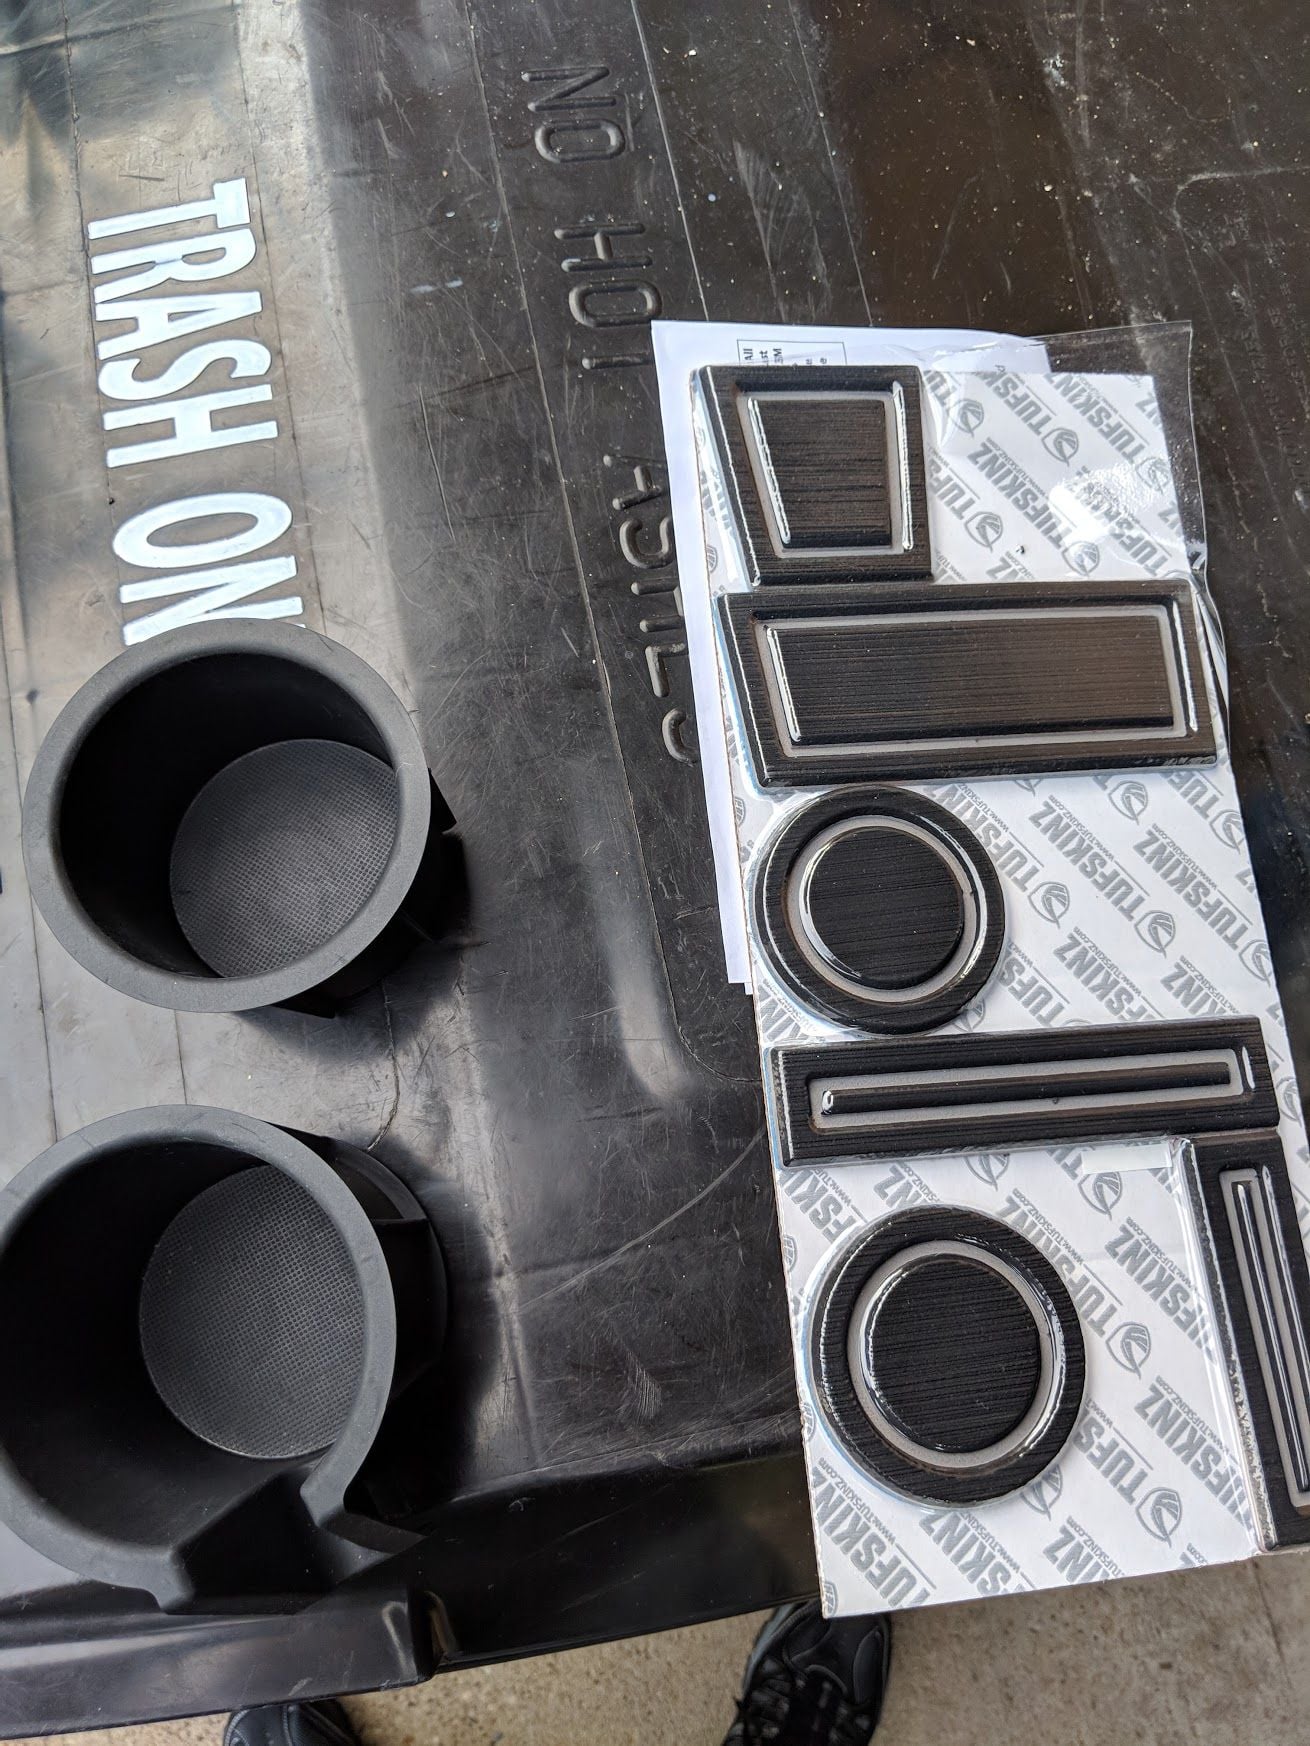
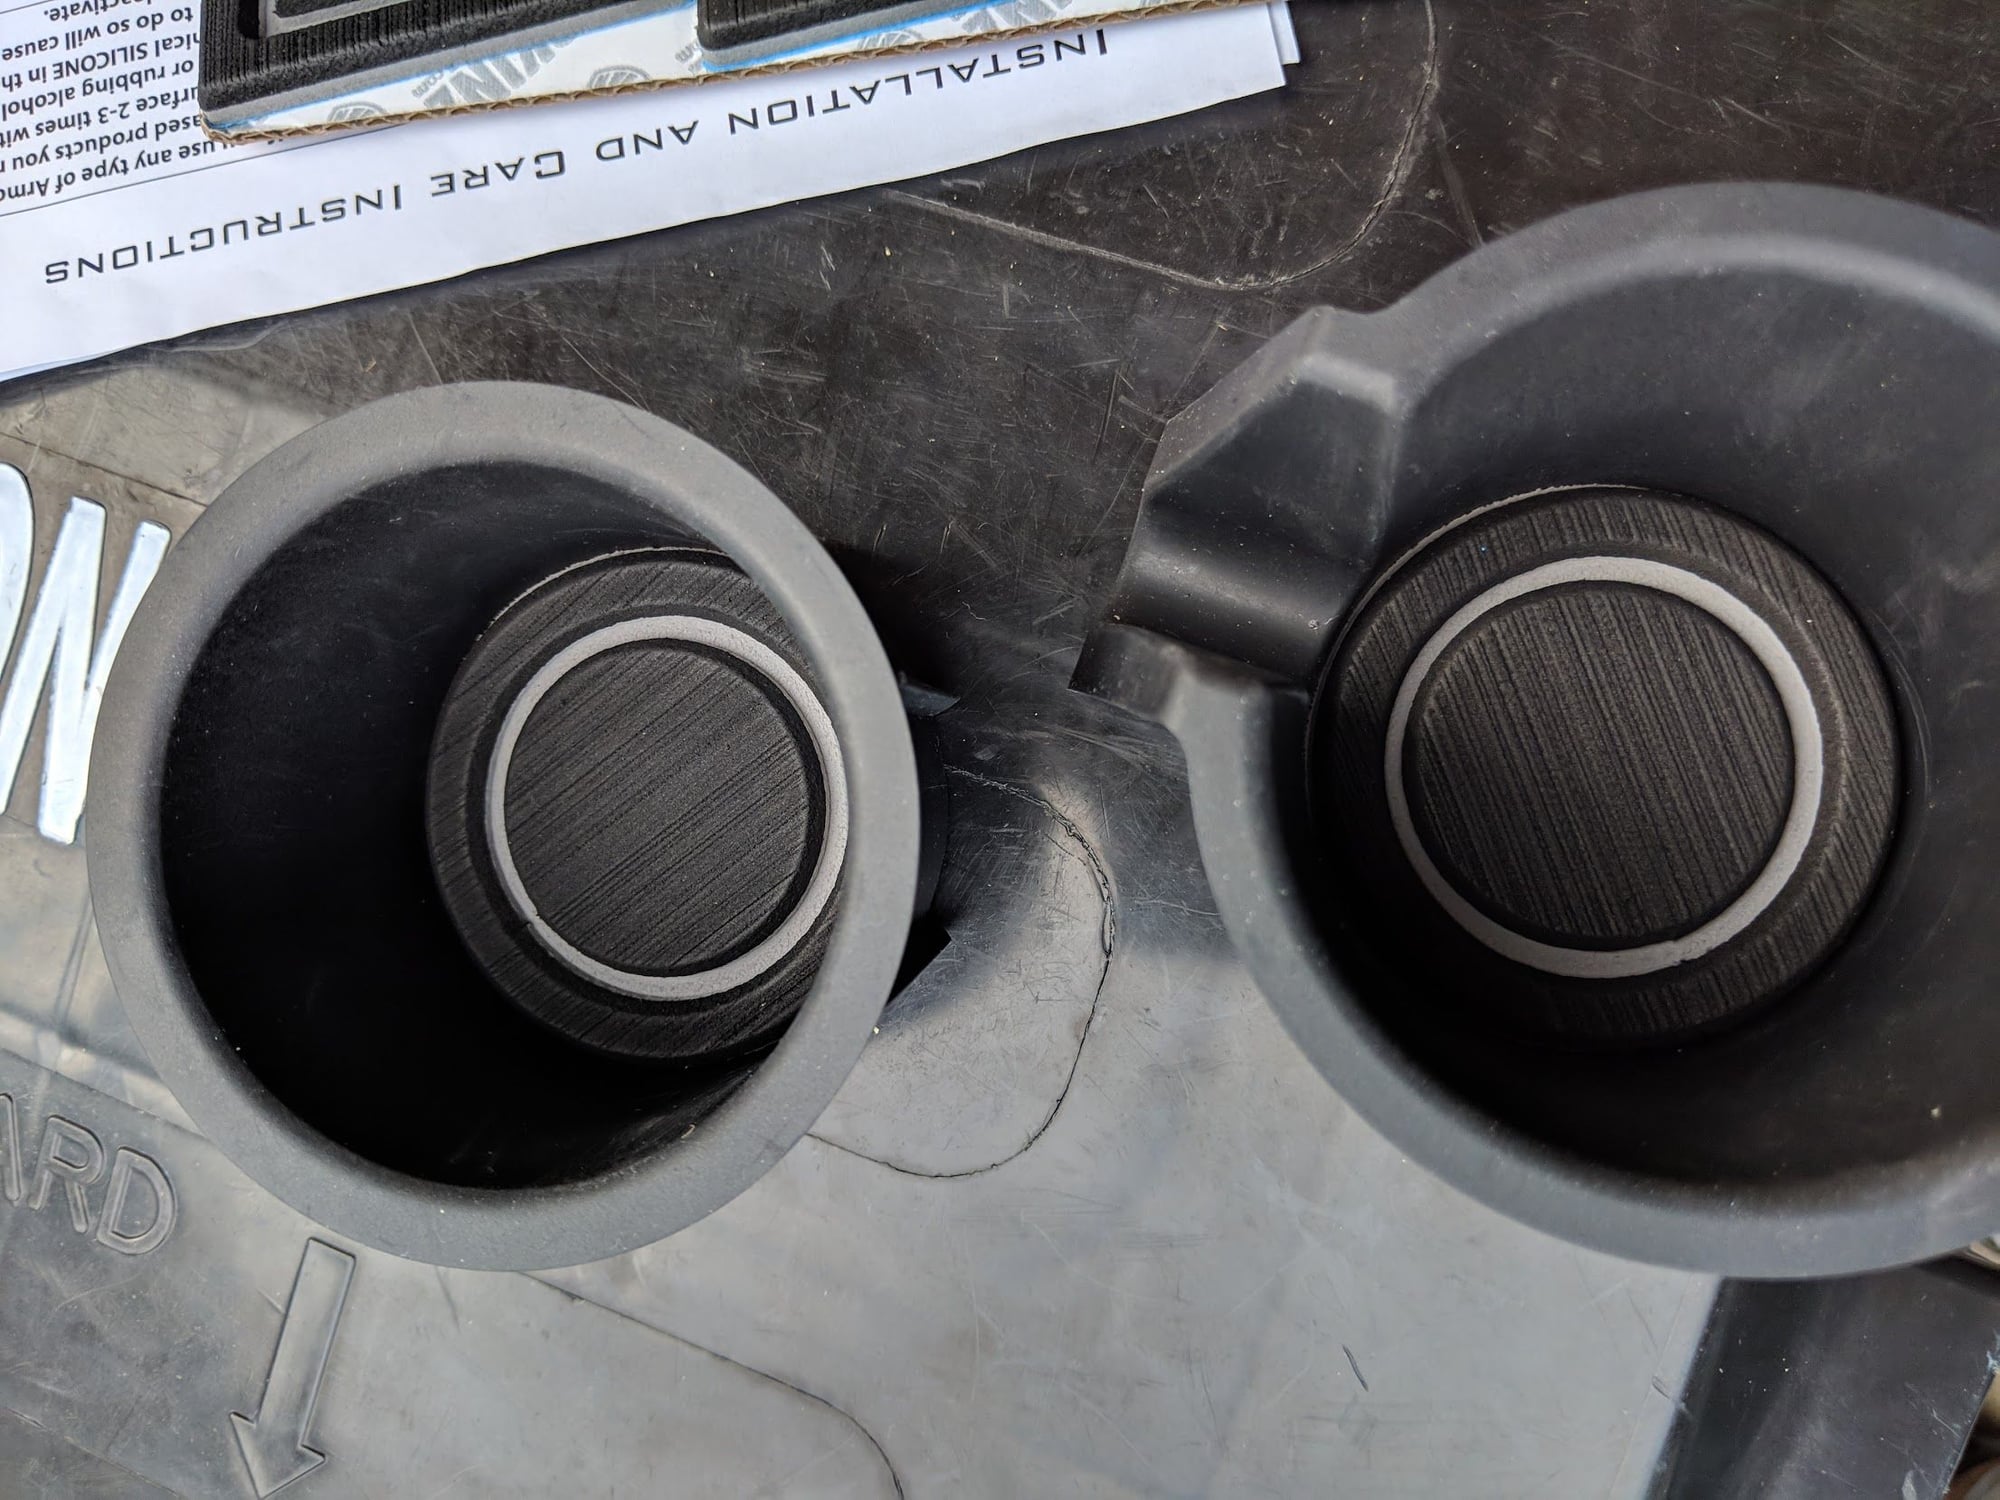
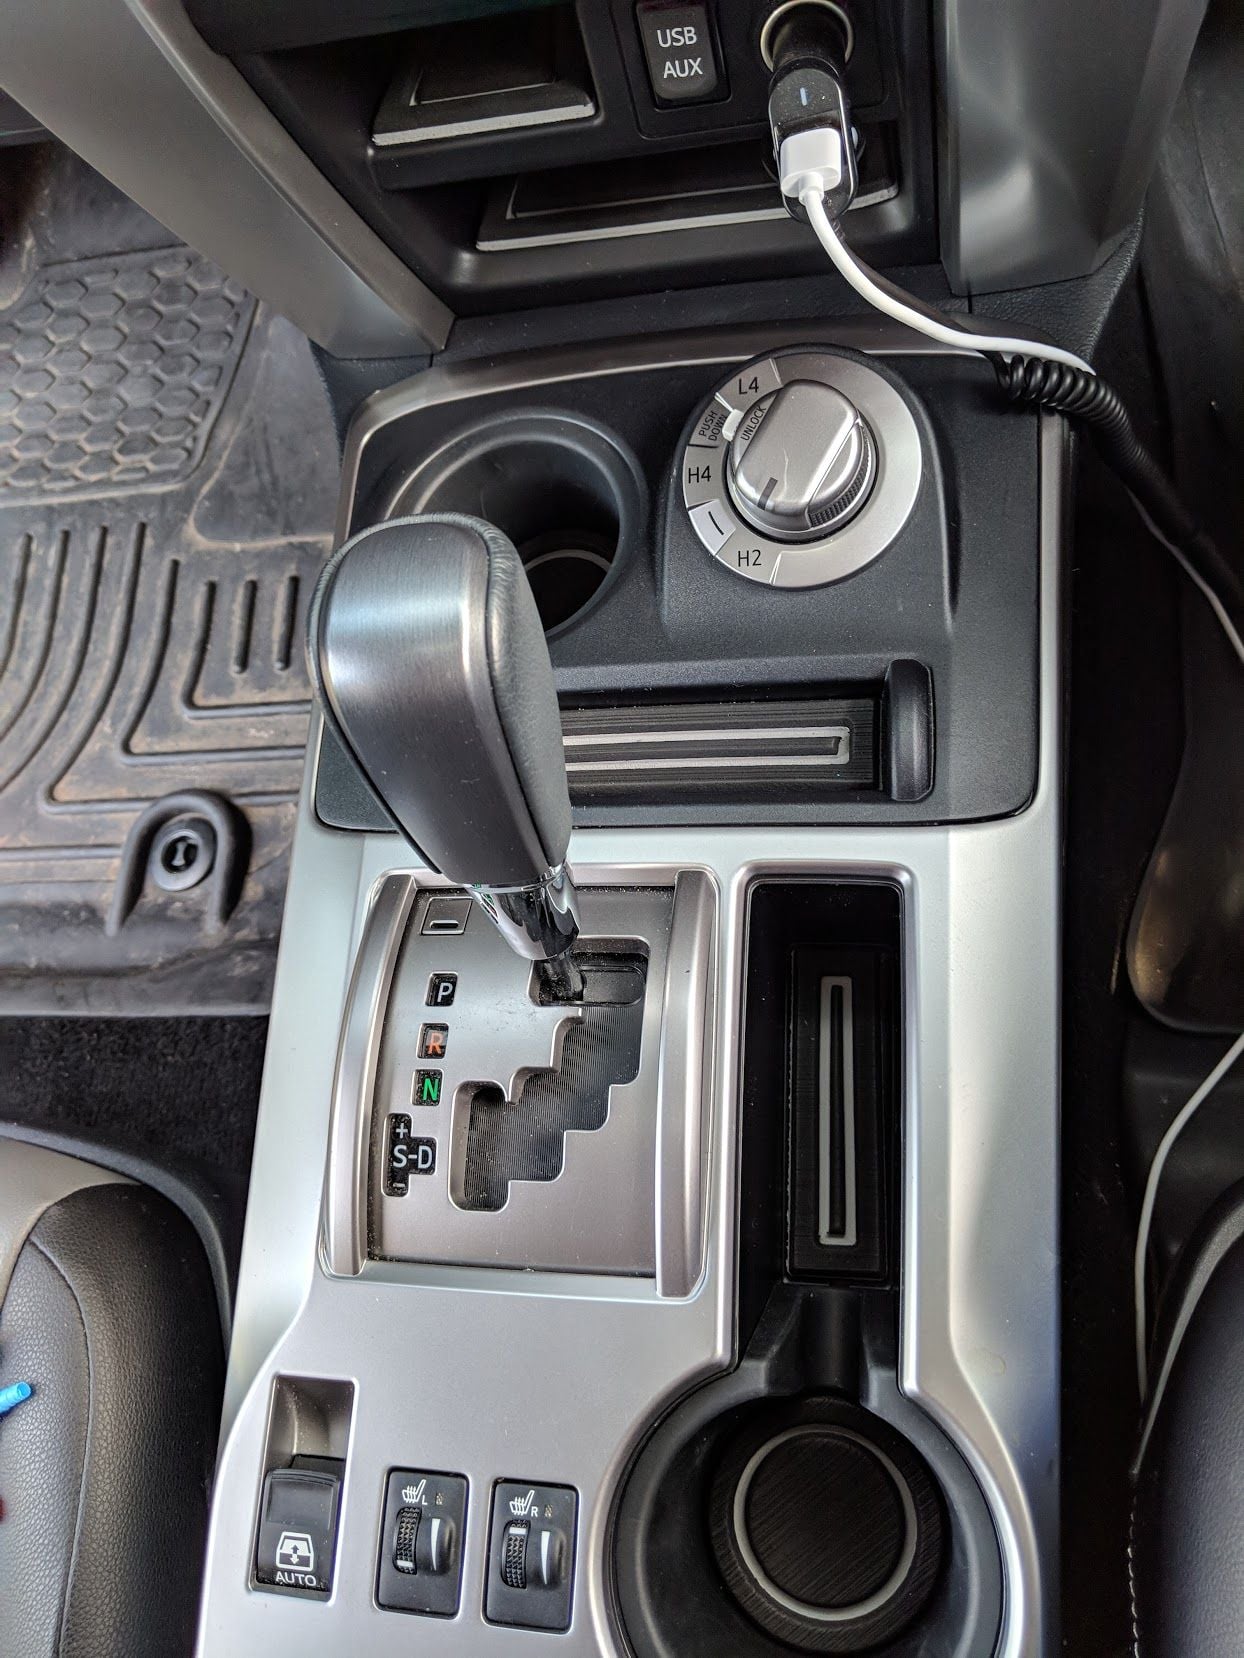
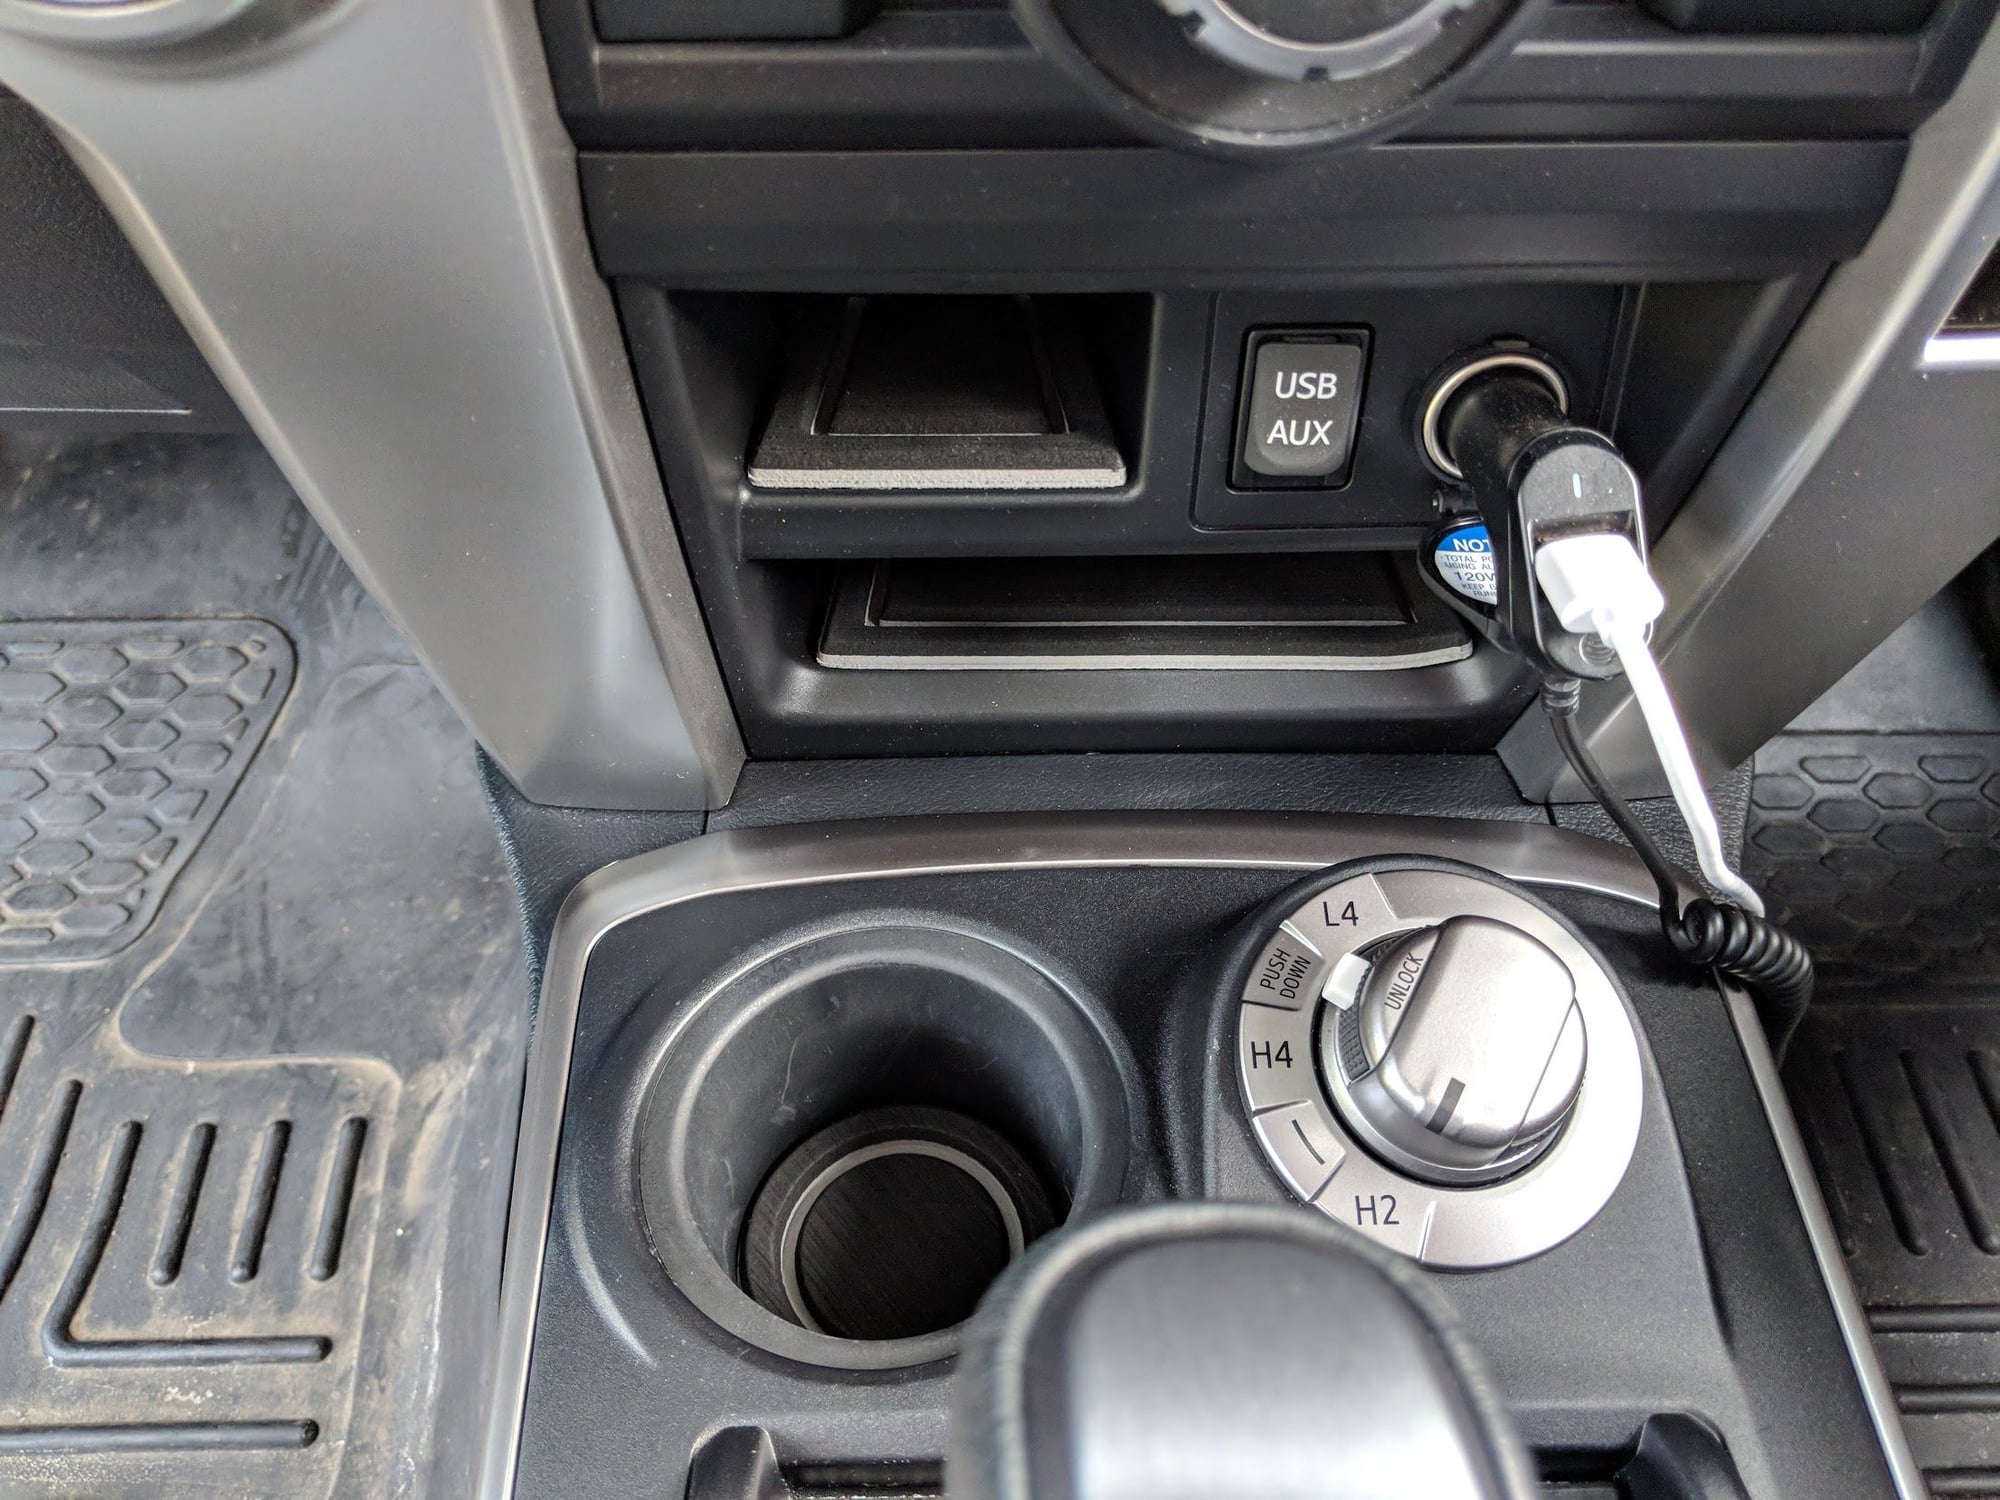
Just a small little mod, I installed my Tufskinz foam inserts into the center console. I went with black with the gray insert to match the black and gray dash. Quick and easy mod but it adds a nice contrast and will help protect the stock plastic which had started to get scratched up a bit. Before, as I was cleaning up the cupholders

img_20180811_181338_880200bb821a8105a6a1f5cf5c935183f89deb03.jpg


And here's the insert kit before install

img_20180811_181340_6429c7b3723575b50de0f63d221399ae6cc074e4.jpg


Installed the cupholders first

img_20180811_181509_0b1f4da1b46b283240ccc3a4fce1e092536fc372.jpg


And installed, I had originally thought about doing blue but thought it might look tacky, I'm really liking the accent look with the gray and black. Matches the dash nicely

img_20180811_181851_56f988a9668155f8672dd8895f155c6ac56ebf5c.jpg


img_20180811_181856_99b5533e0438112bce3d9eb31ac77a8f98208b76.jpg
 
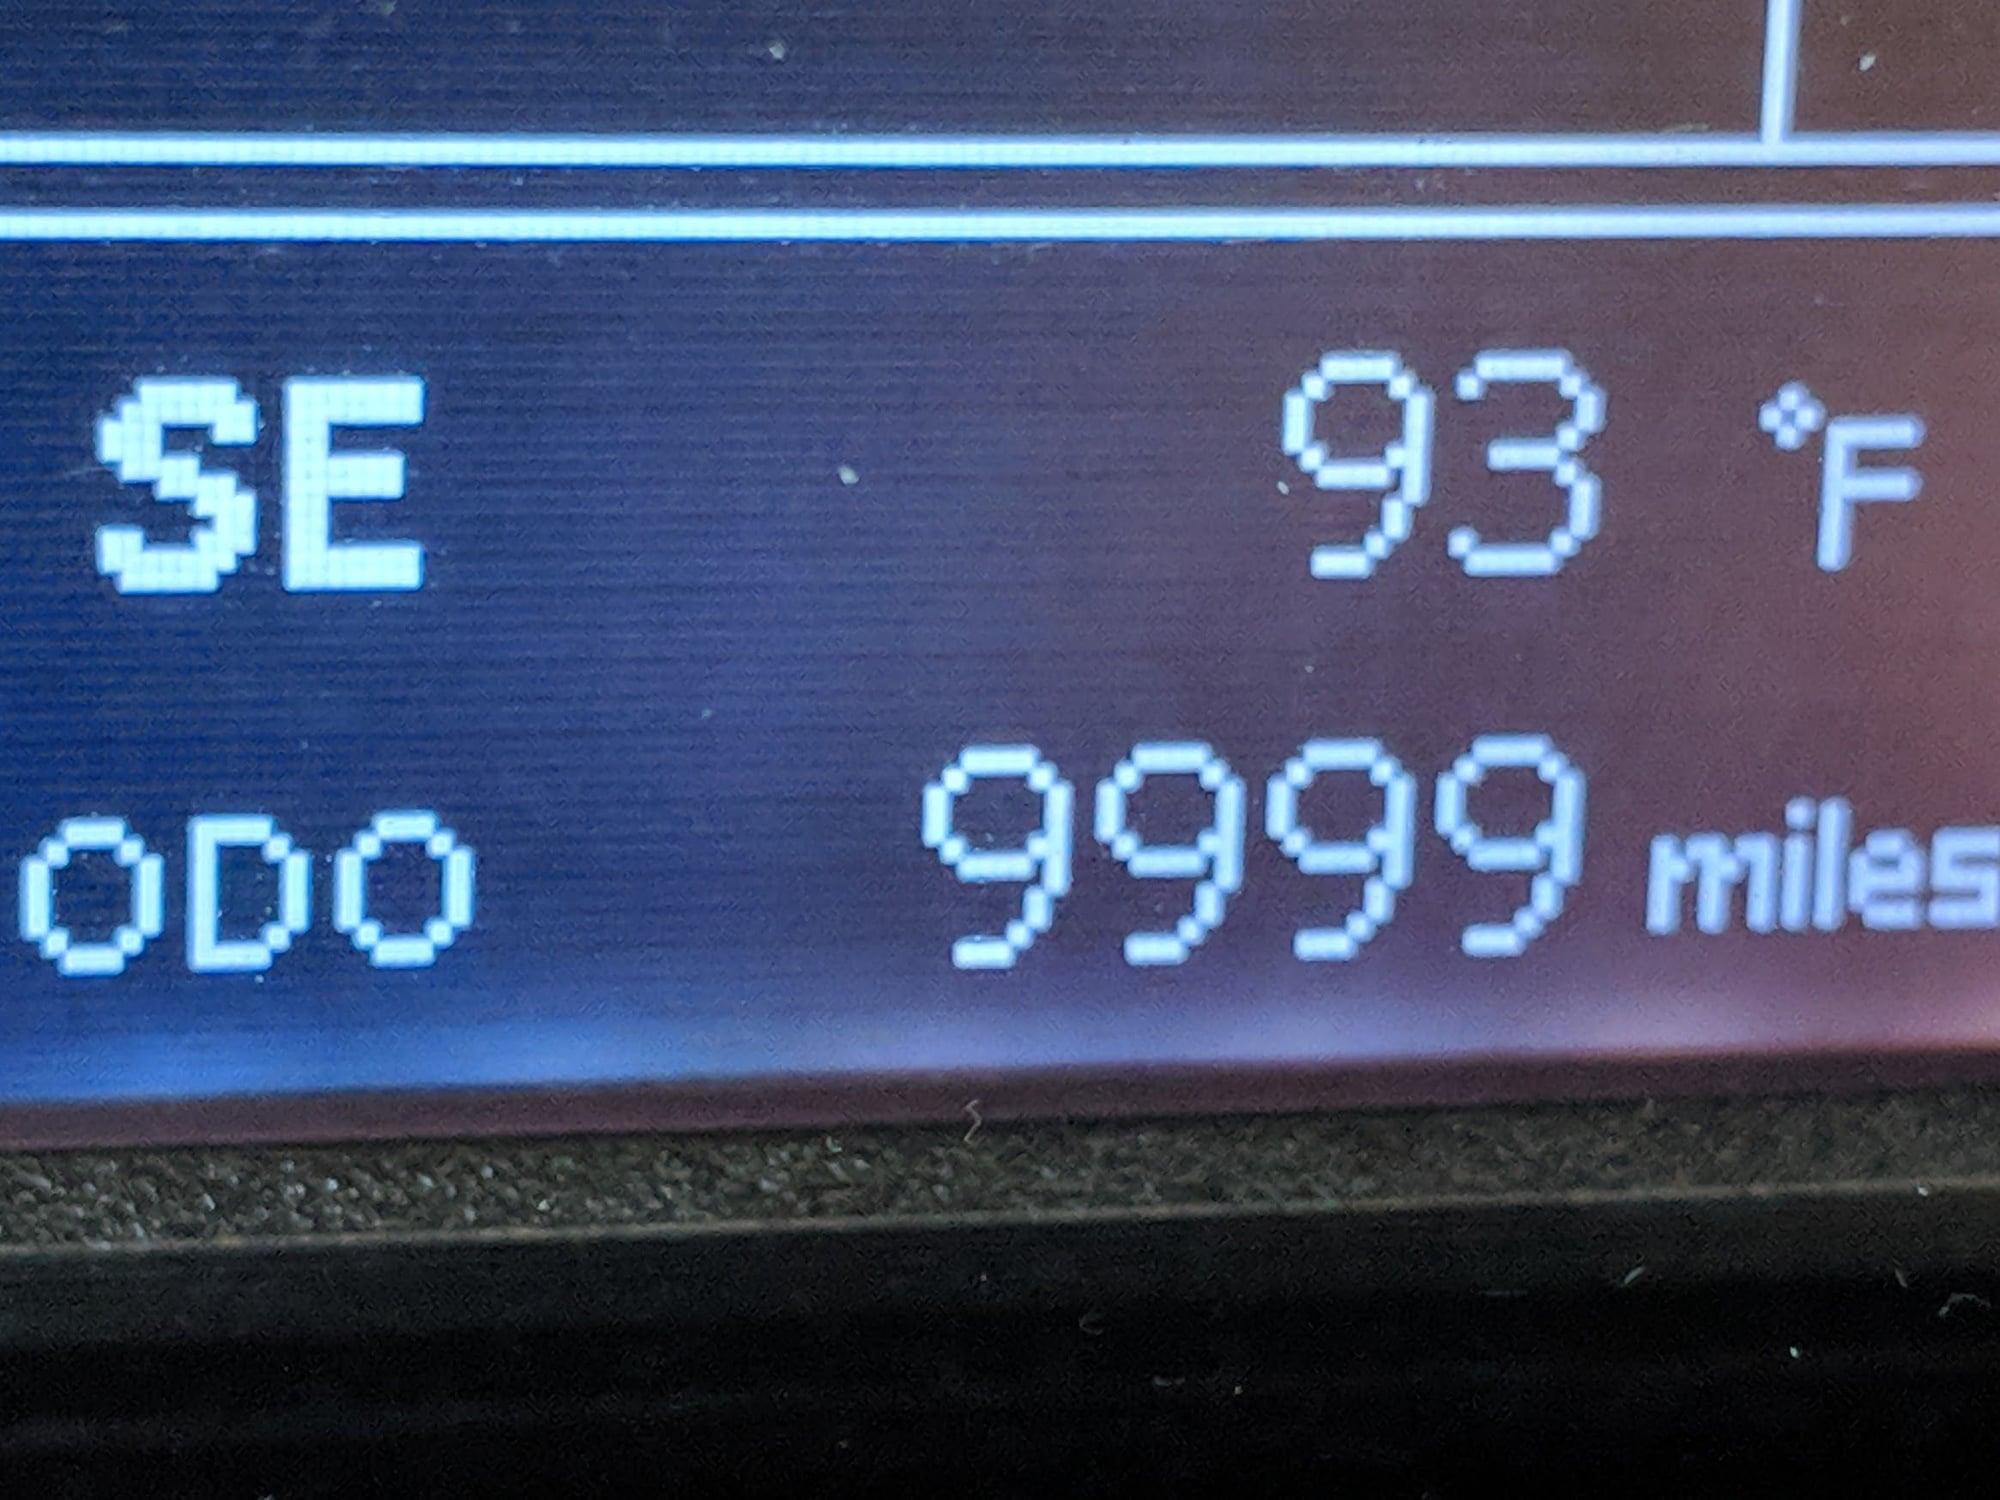
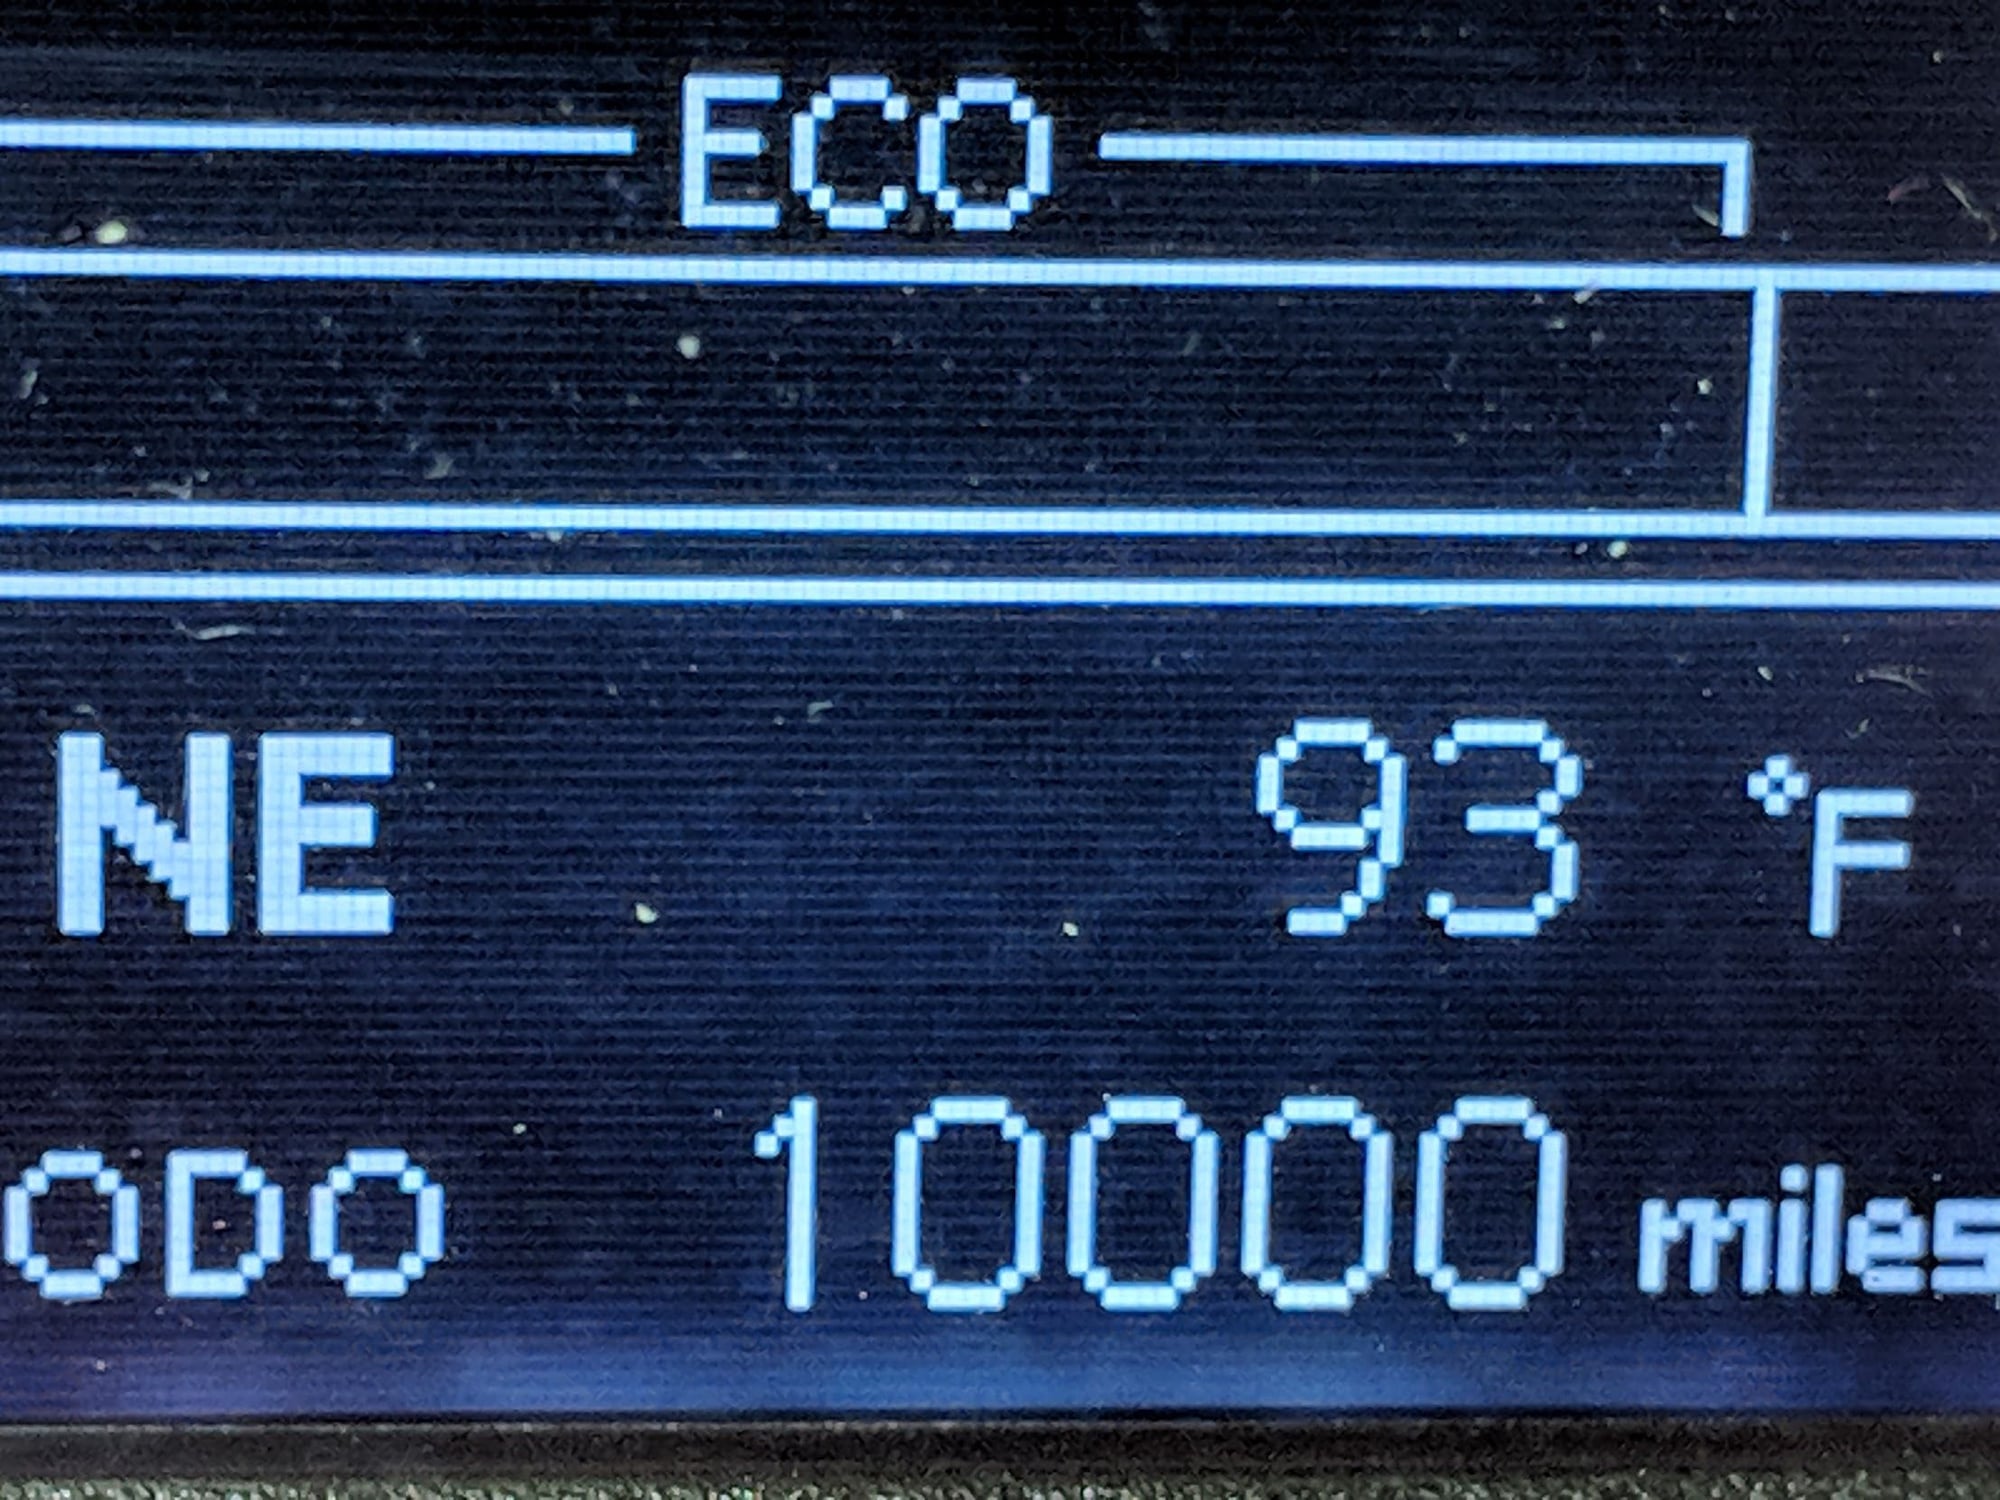
Just broke 10K miles on the truck yesterday. Had to take a pic at all 9's and then on to 10K

img_20180828_162423_18d3f2372d33c7a3799356a6ae9783a470b8f9e8.jpg


img_20180828_162627_22f9117ae97cac849d9efac5d50d67c05669c519.jpg


Almost 11 months to the day since I bought it. The shorter work commute has definitely lessened my mileage a lot. Today we celebrated at the dealership for her 10K month service, free oil change and had them do the state inspection while it was there. Passed with flying colors, even my tail as turn, double reverse lights and smoked amber corners passed. Yay :gheywave:
 
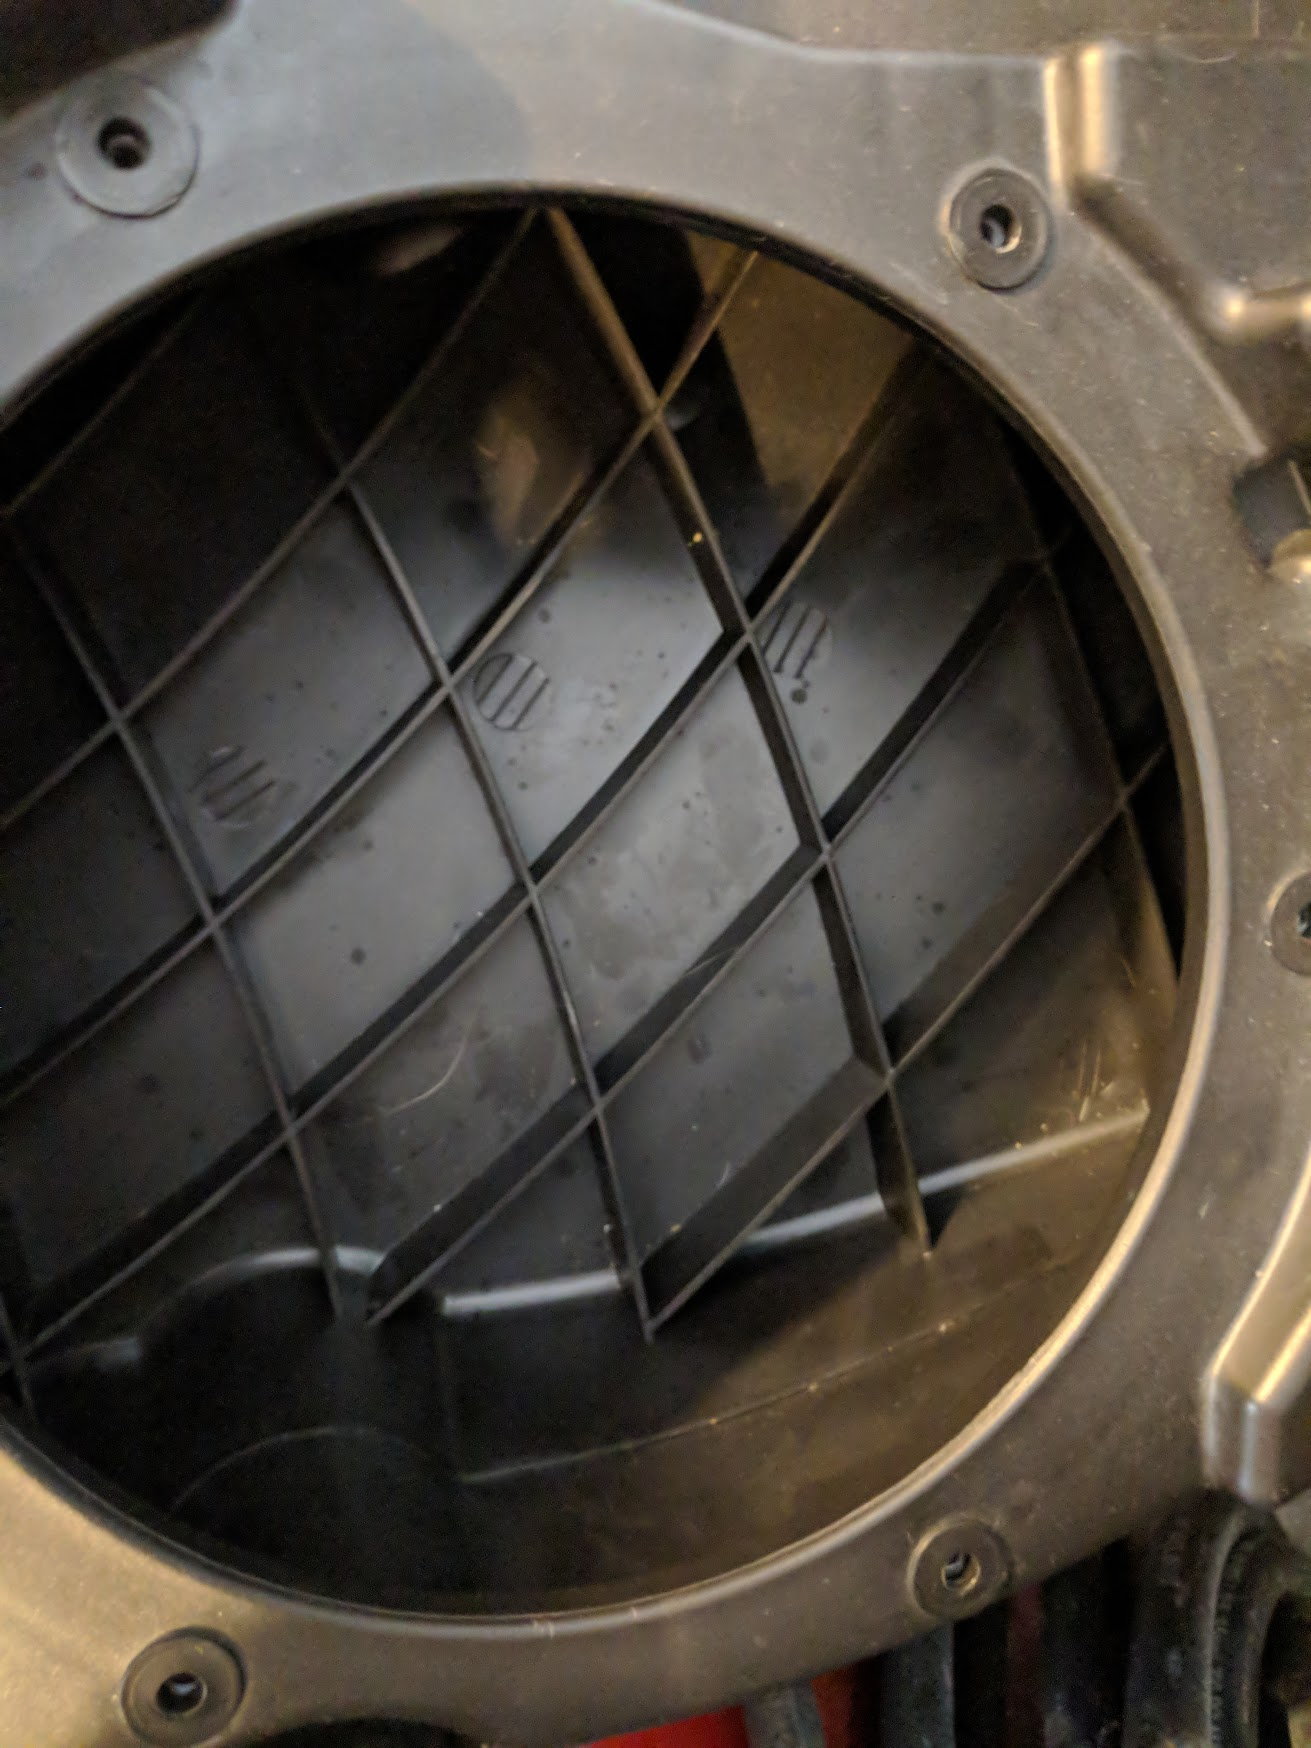
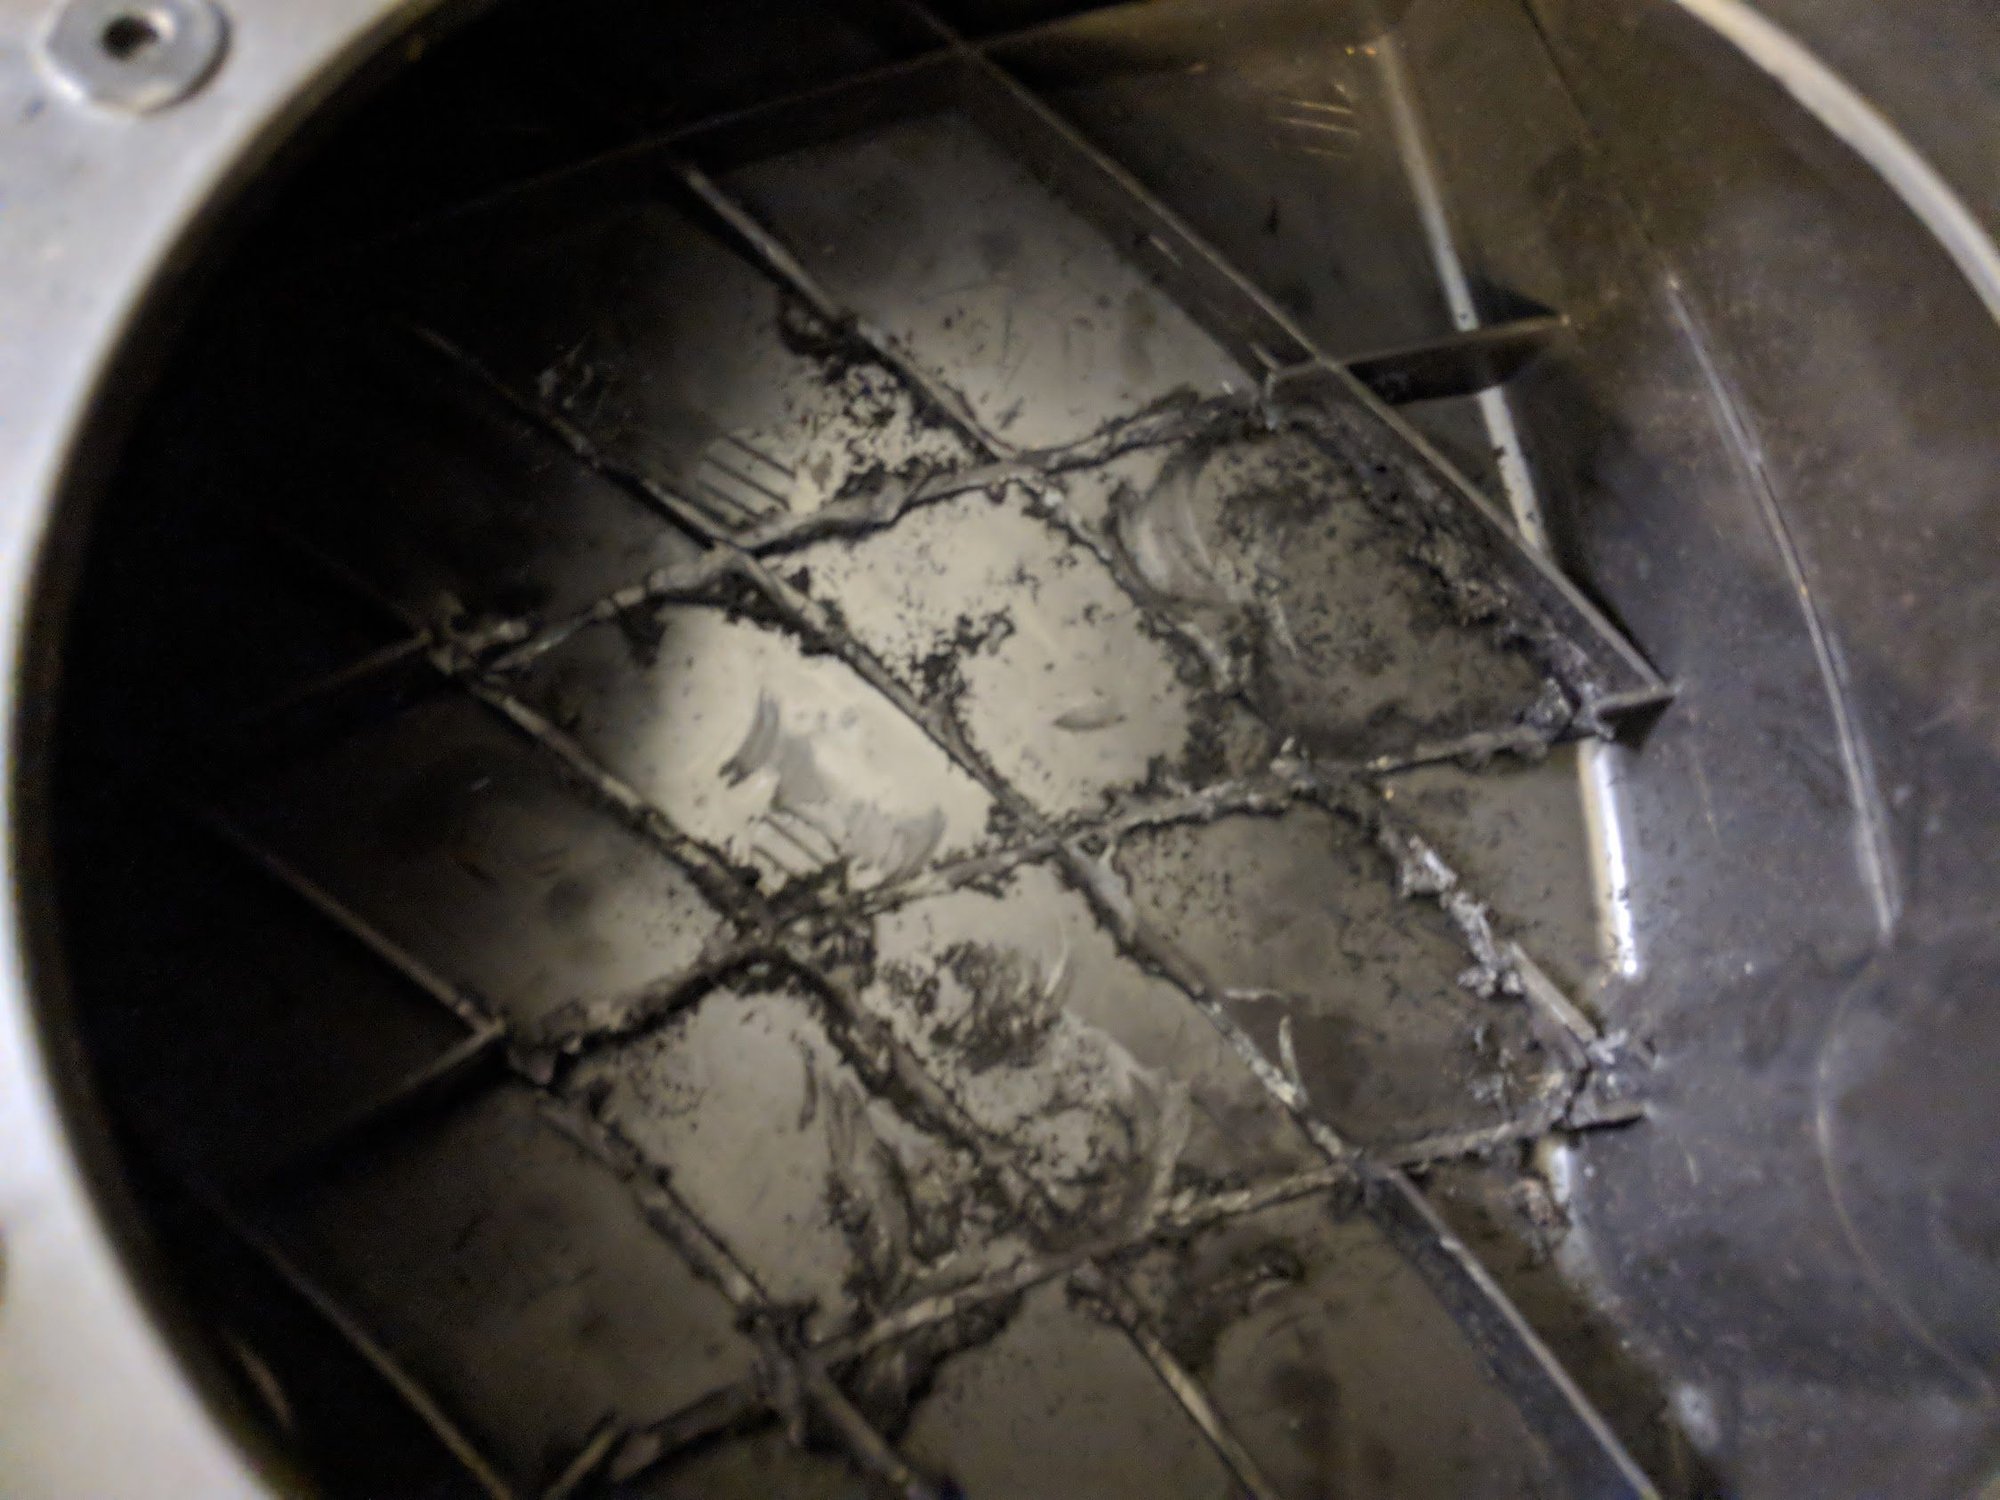
Got started on my project, had to come in and cool down for a while. First step was to modify the speaker box which I've done before. This is a stock JBL enclosure, and I'm modifying it to fit the JL 8w3

img_20180831_140112_803c705ba3d8484e0d585efad5314f5f94ed9414.jpg


Had to cut out the fins for the larger magnet

img_20180831_142908_c89b4da734cf93c87490ead9799a67d96f3e066c.jpg


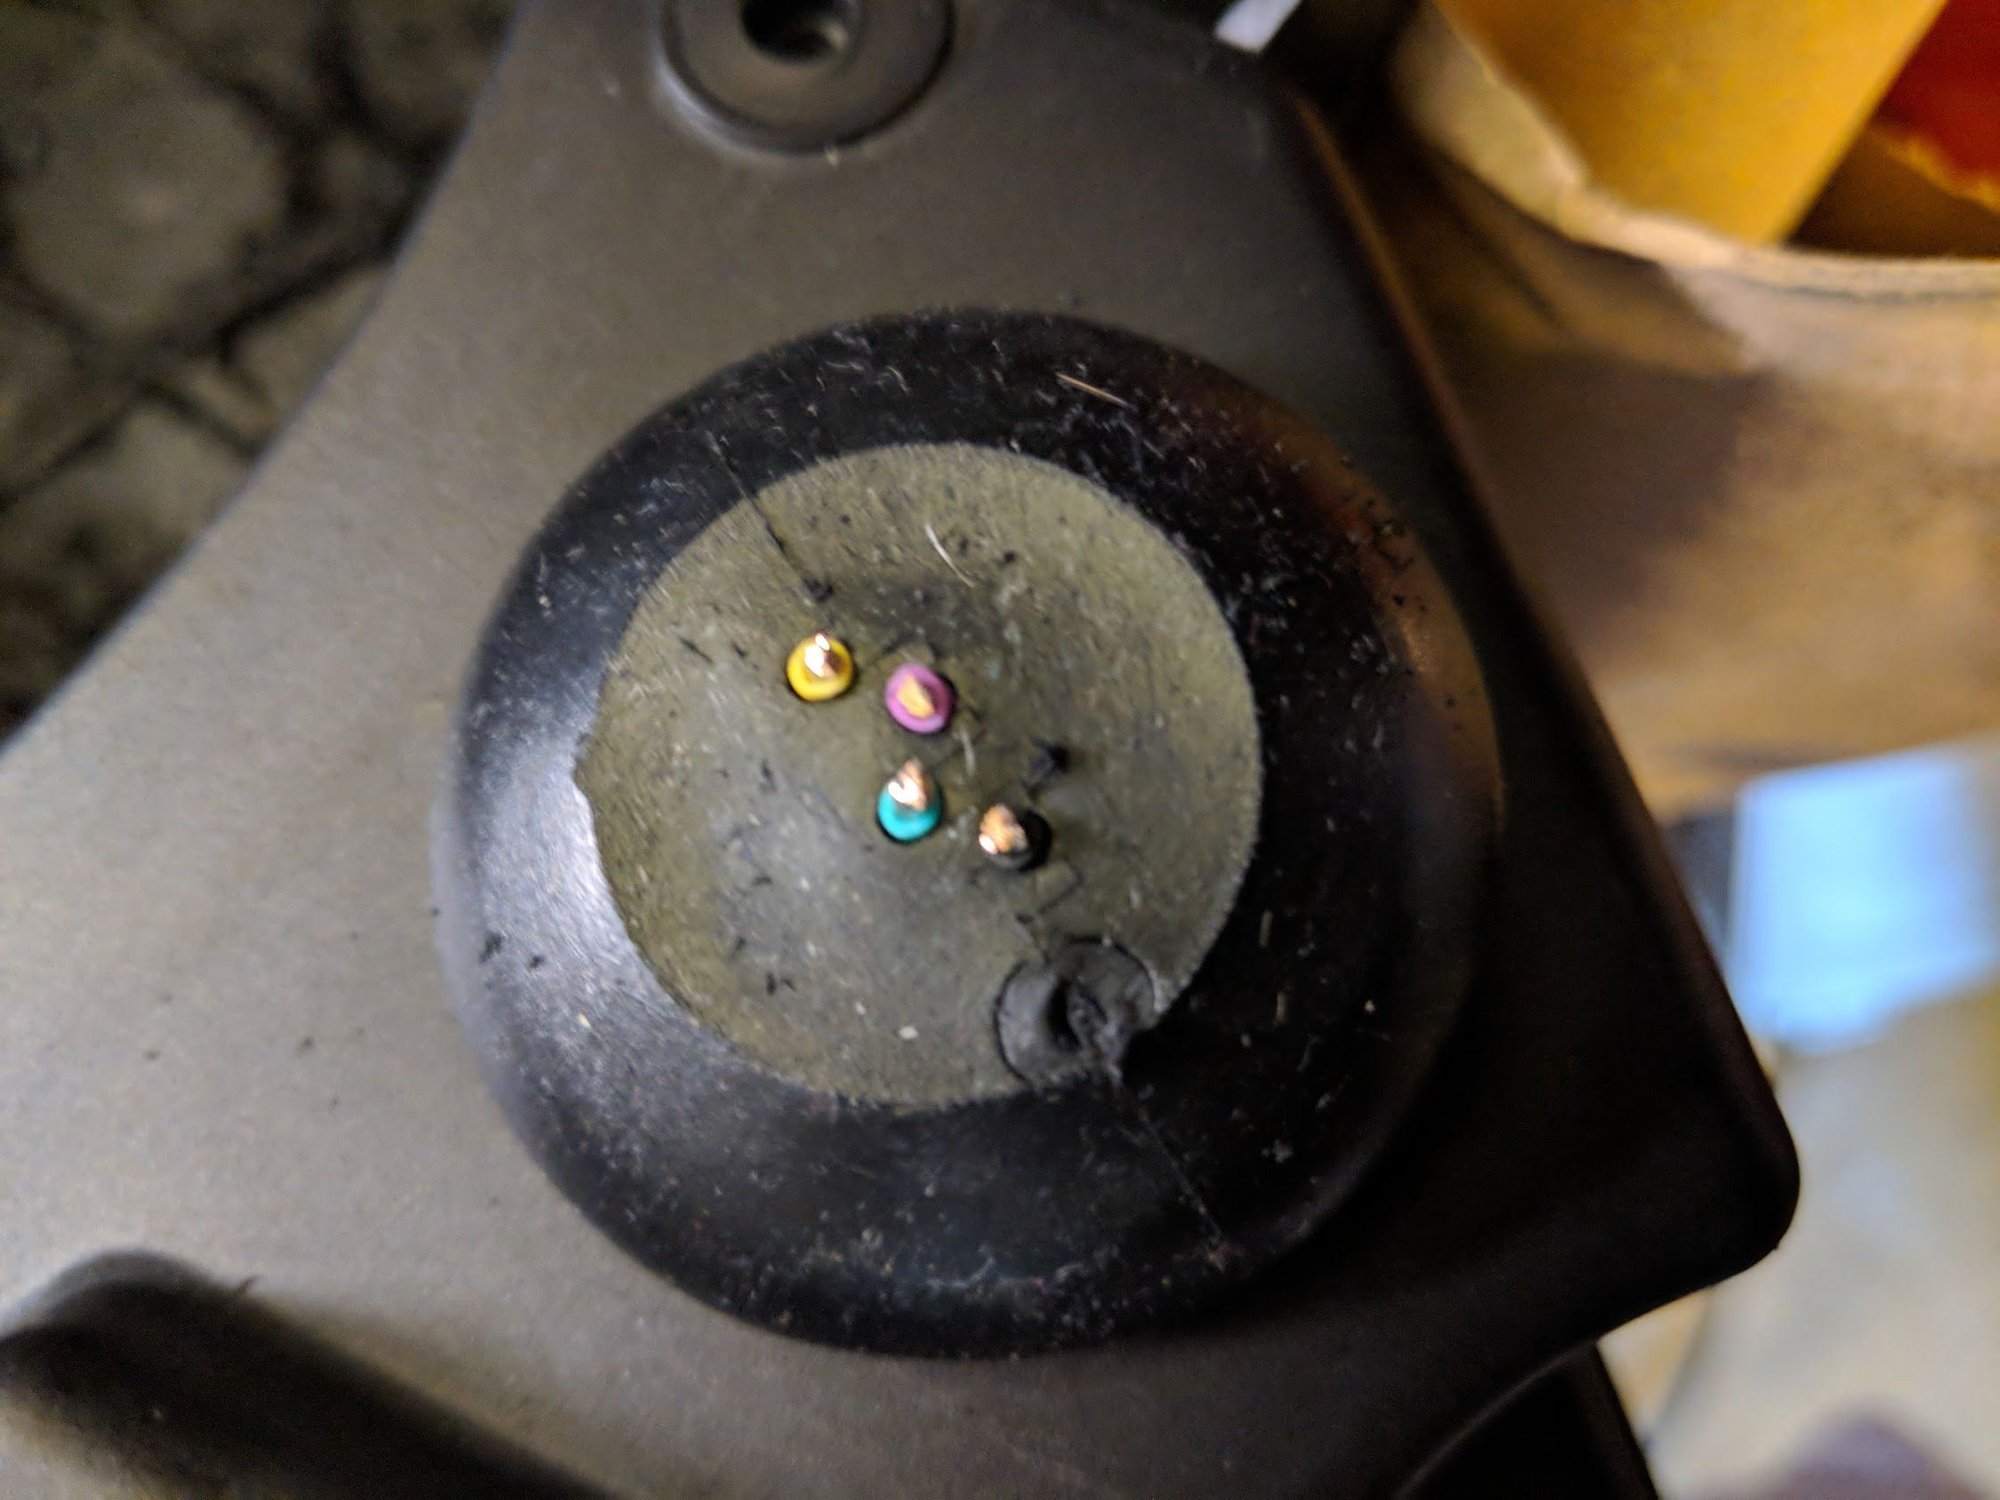
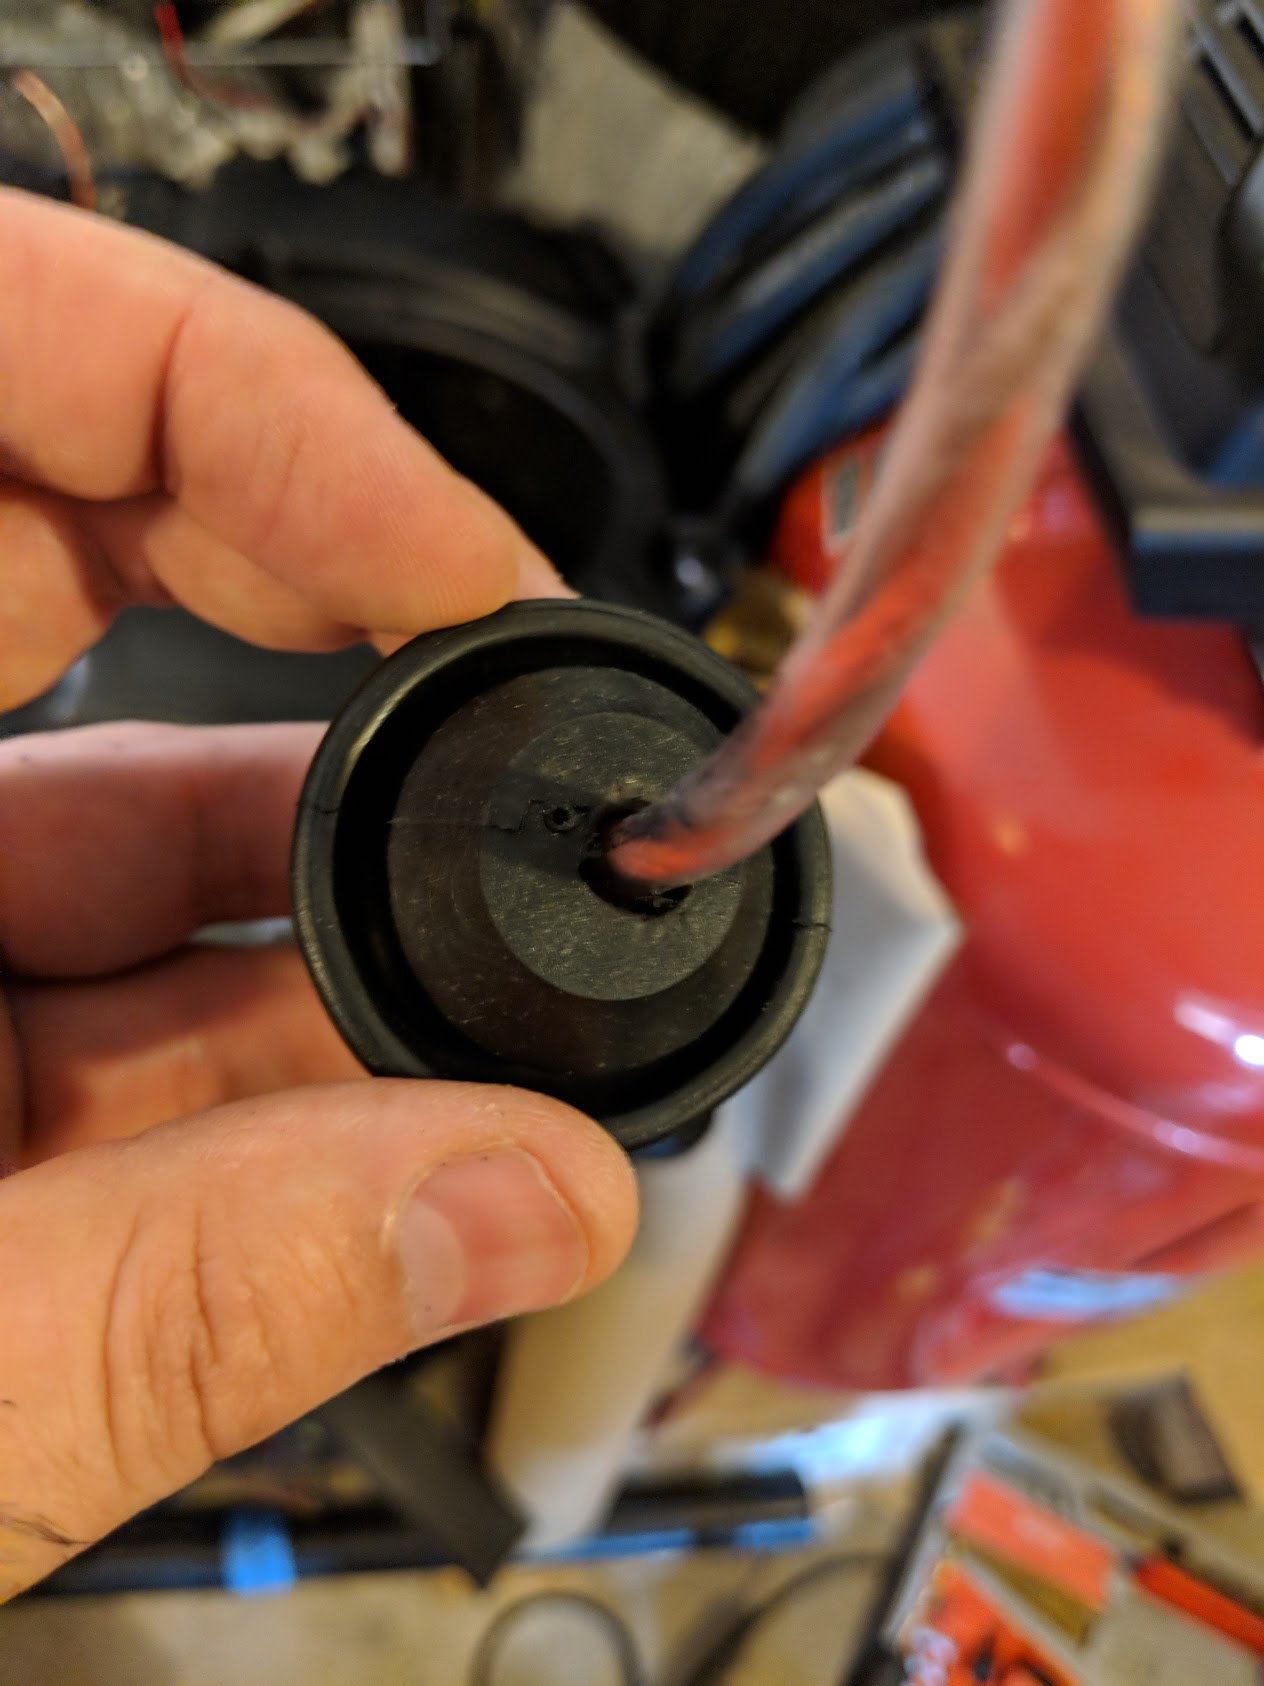
Also had to mod the stock wire grommet to keep the seal and let the larger wires in

img_20180831_142922_d431539820c49d9516082470eebfca943ac70732.jpg


All drilled out with the new Monster wires, these wires are the same that I had in my last truck

img_20180831_143750_cabcce9b93d36e00344c6e82fed7b4cacd868764.jpg


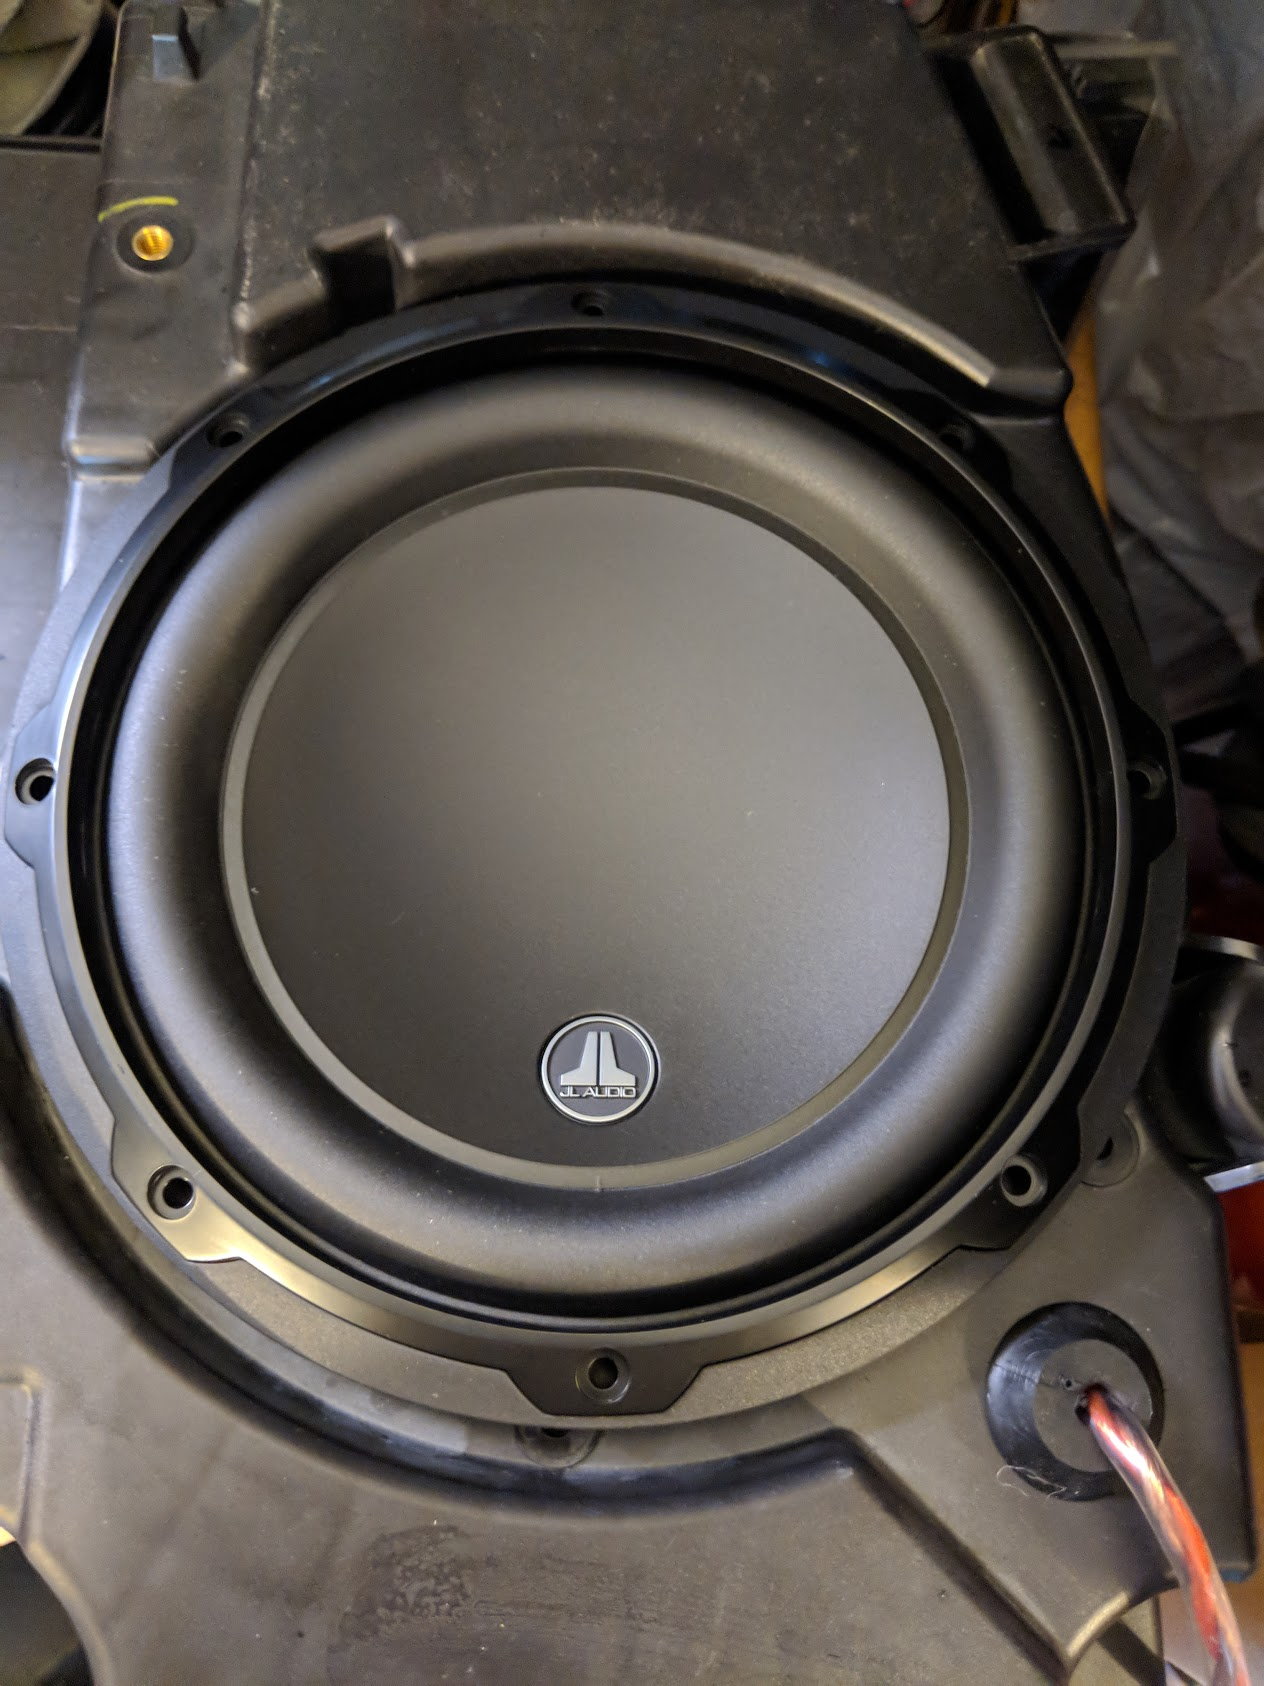
Got the speaker sitting flush

img_20180831_145052_d59f1f90fccb0541e769c821f3949dc4271d4ce8.jpg


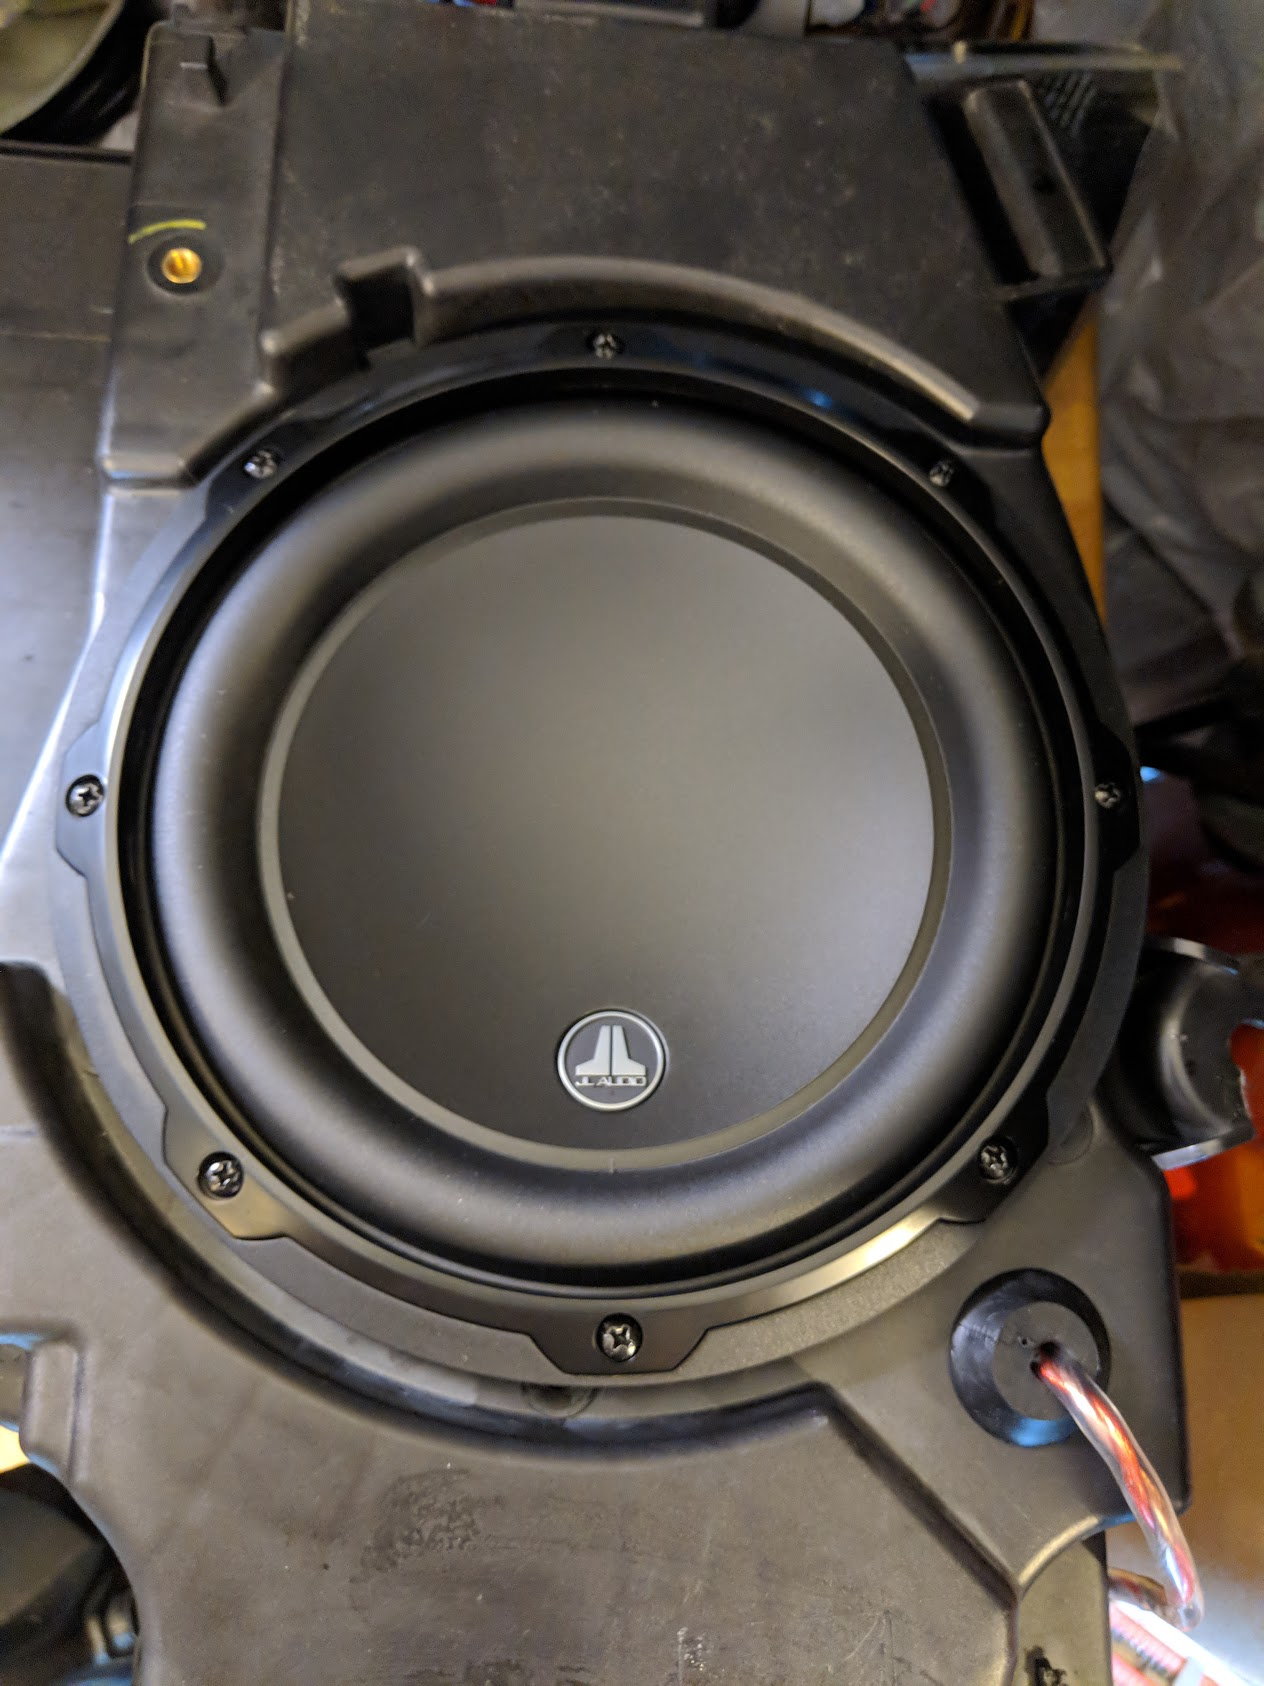
And screwed that ***** down!

img_20180831_150605_c54bd0e38576b33b28a5daf867f6e002644622c0.jpg


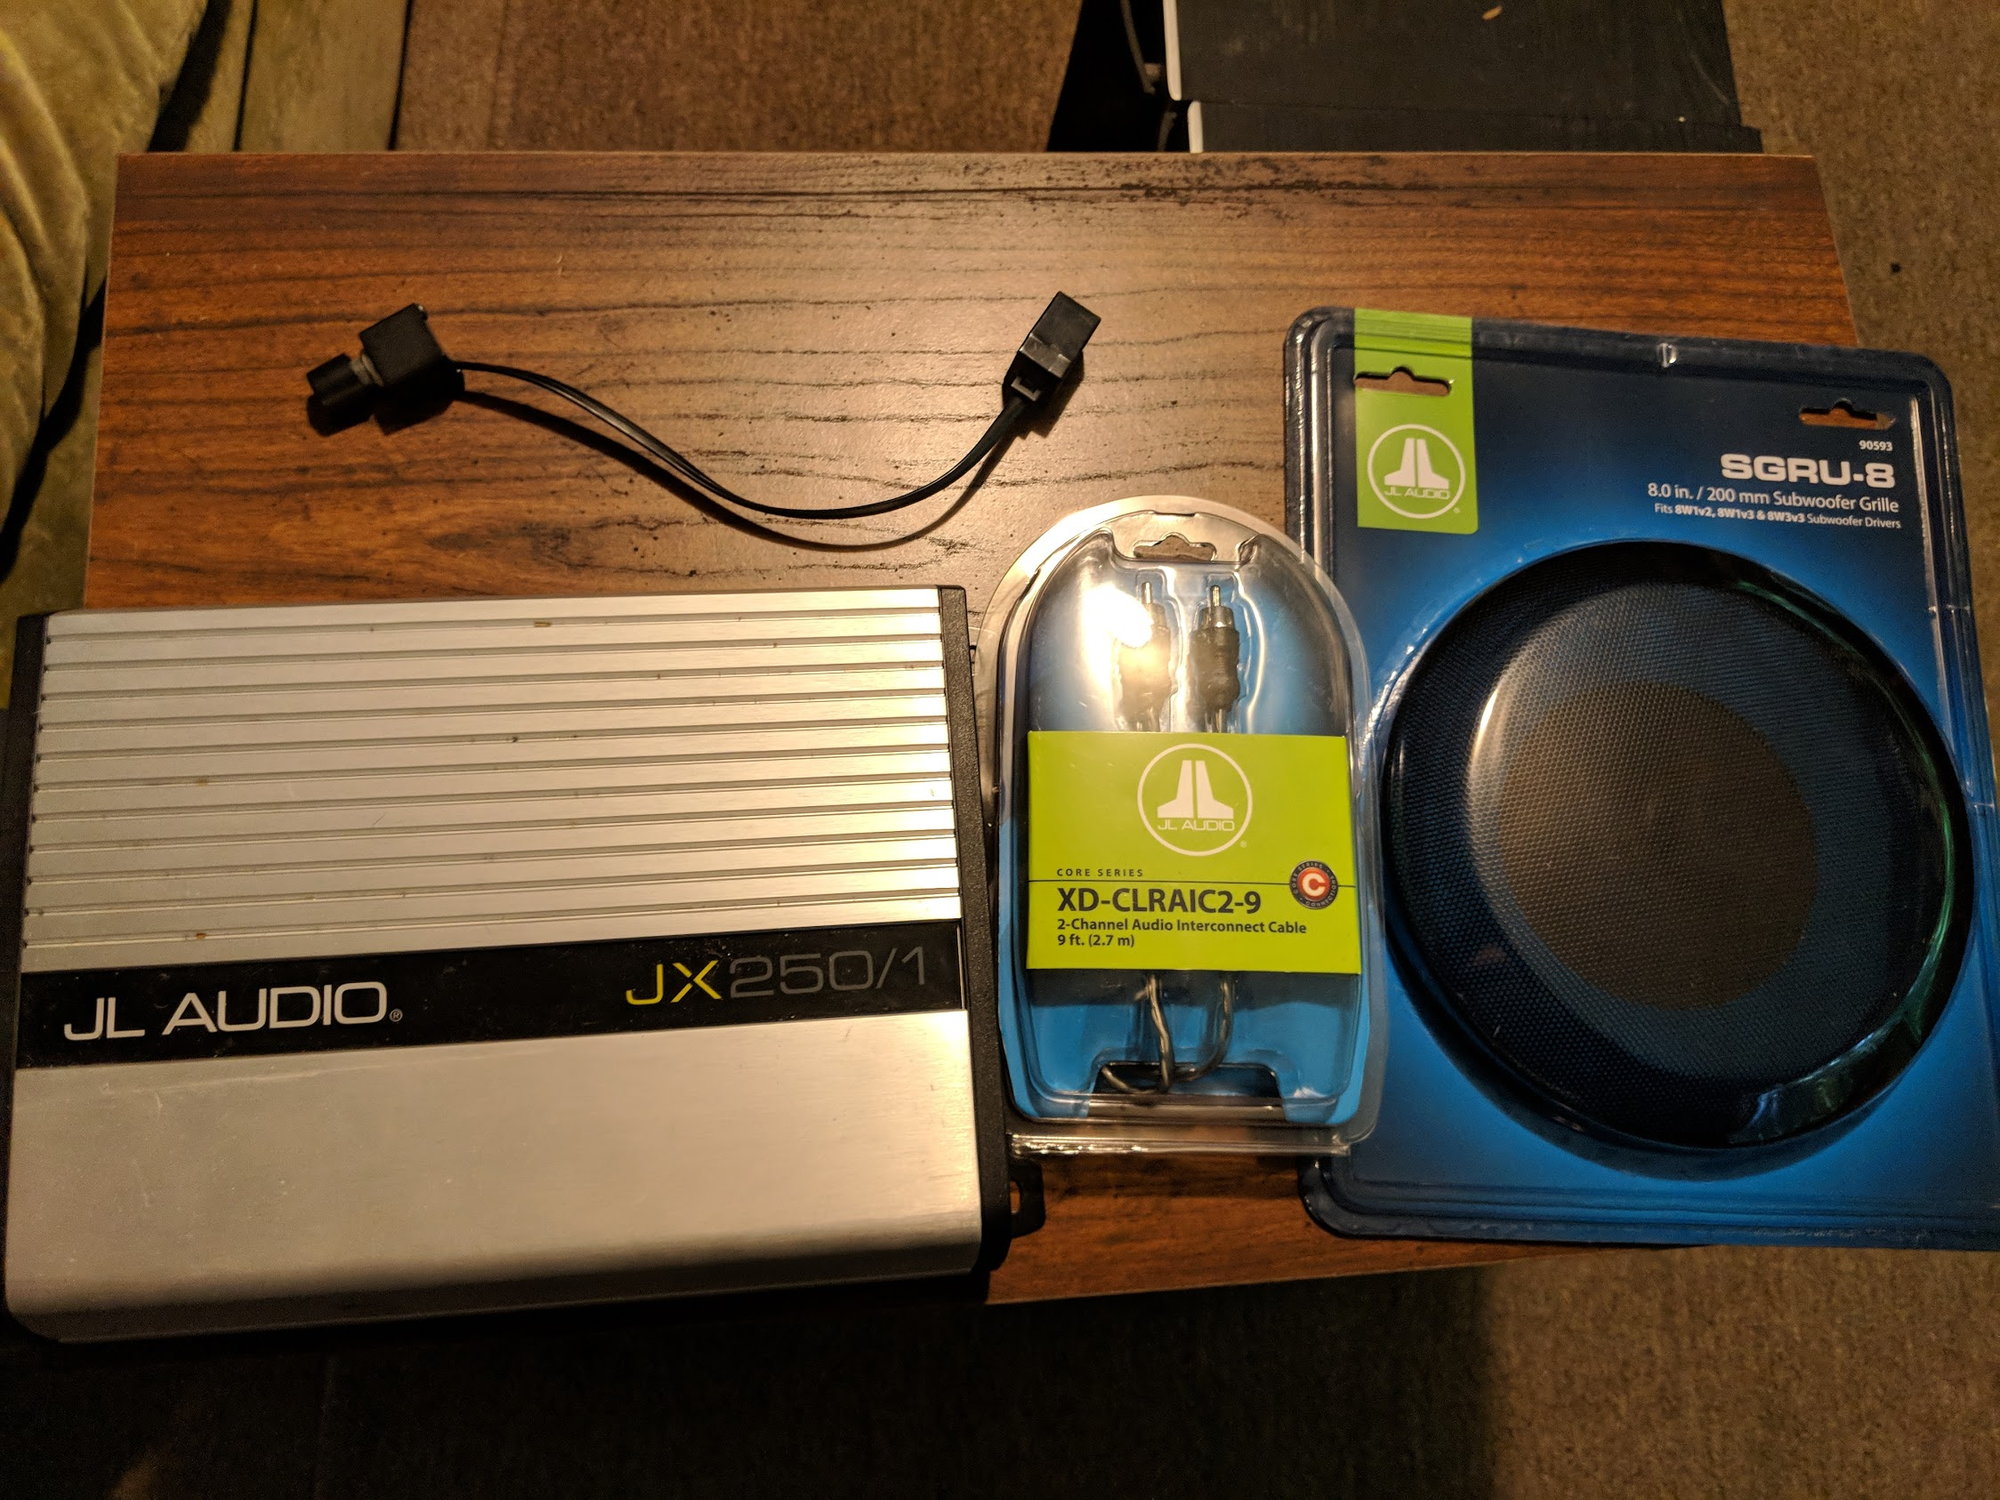
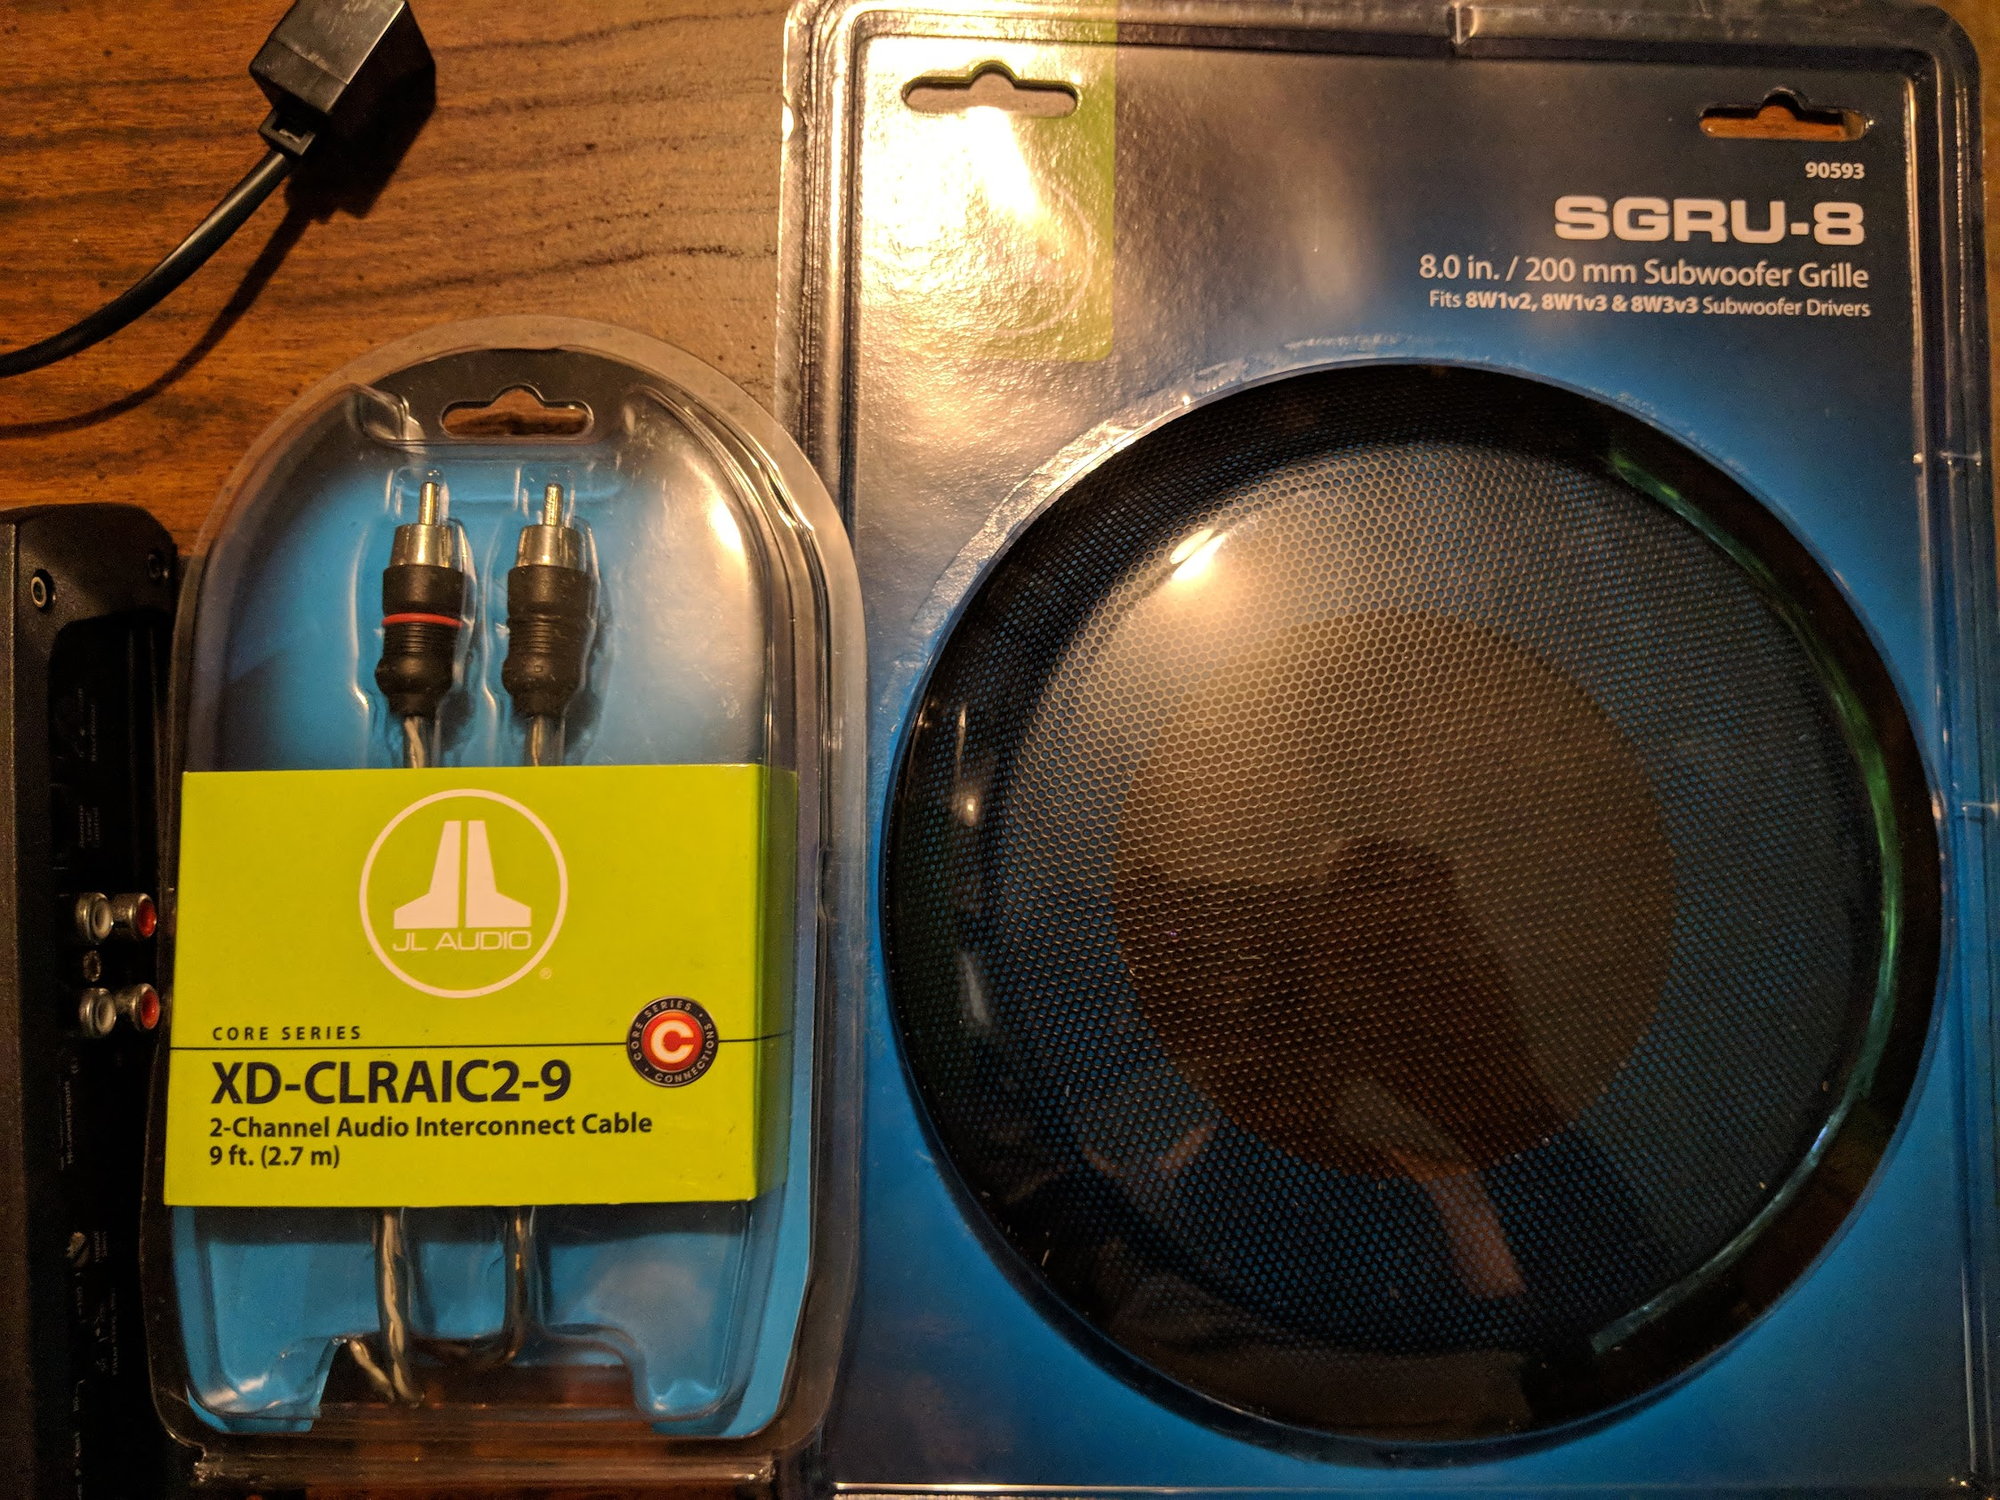
The old amp with all new accessories

img_20180831_144613_cb91d2ea304a7a5b025220dc41f059246d436228.jpg


All JL

img_20180831_144617_4188b623fb75c6bfb965b9c425fce4ac8d546f5d.jpg


And now for the fun part, a little before

img_20180831_151627_29be1583056db044016c70749eba6eec5ff30066.jpg


img_20180831_151636_8116945ea0e9b97e1a68023788566474ccde3eac.jpg


And this is hopefully where the speaker will go
img_20180831_151702_42f140b710b5891ed6d2933ecadea4c217faf4dc.jpg


img_20180831_151713_24502a0ff244666943accd8e5e8ed13d624b940d.jpg


But first to get all this crap out

img_20180831_151928_490a07853766f08bd57ca23d8683bf8650266351.jpg


More to come
 
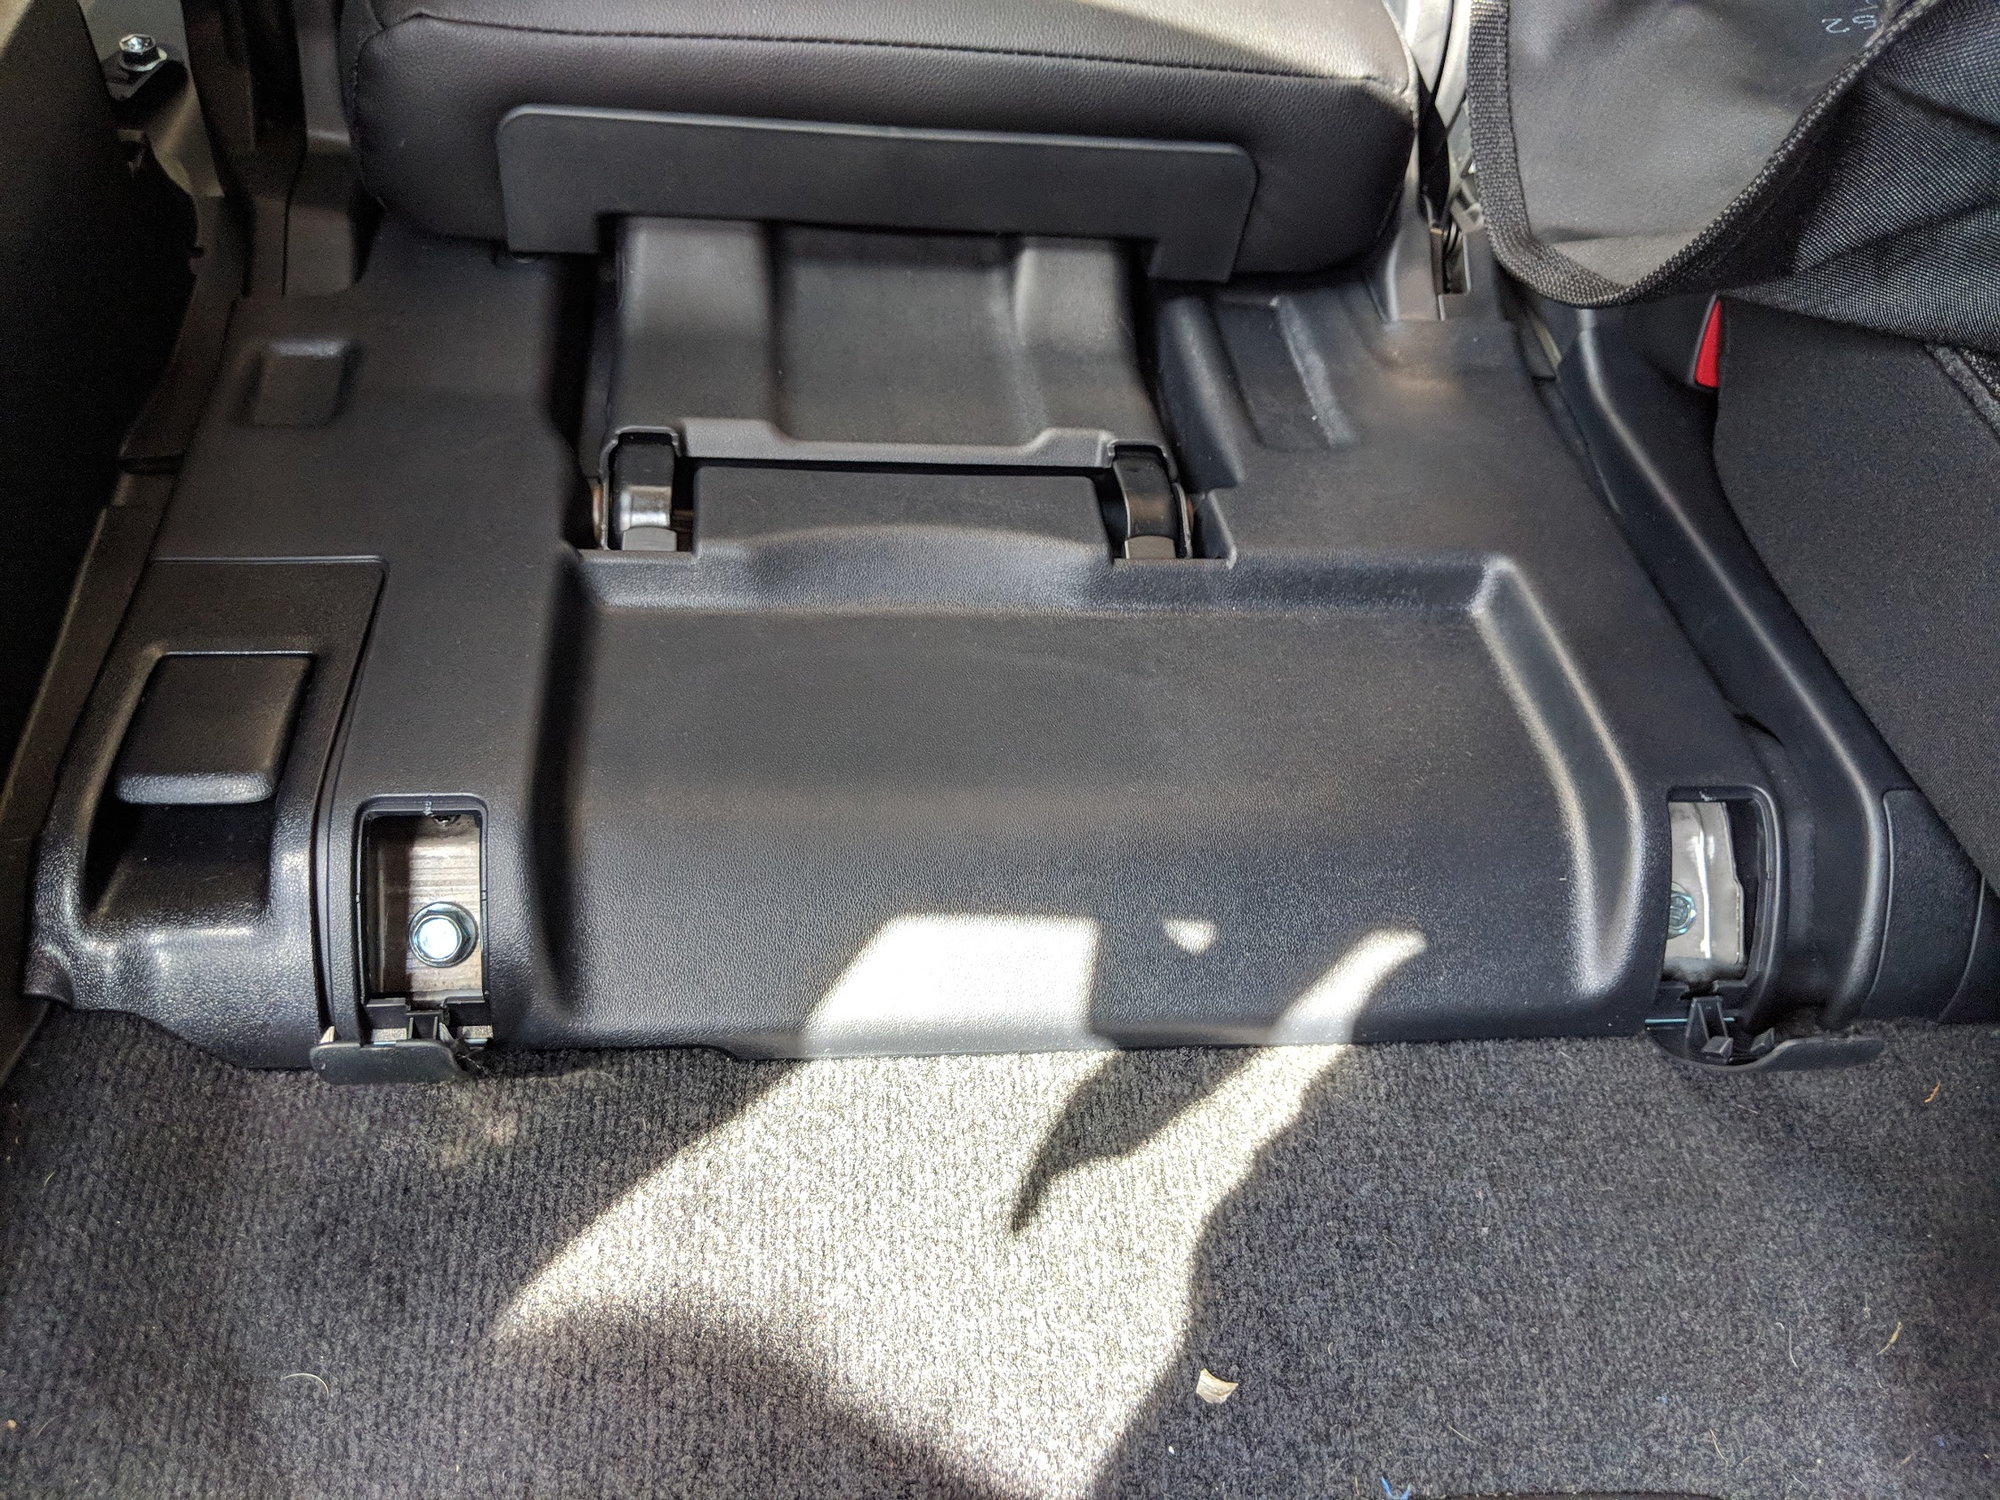
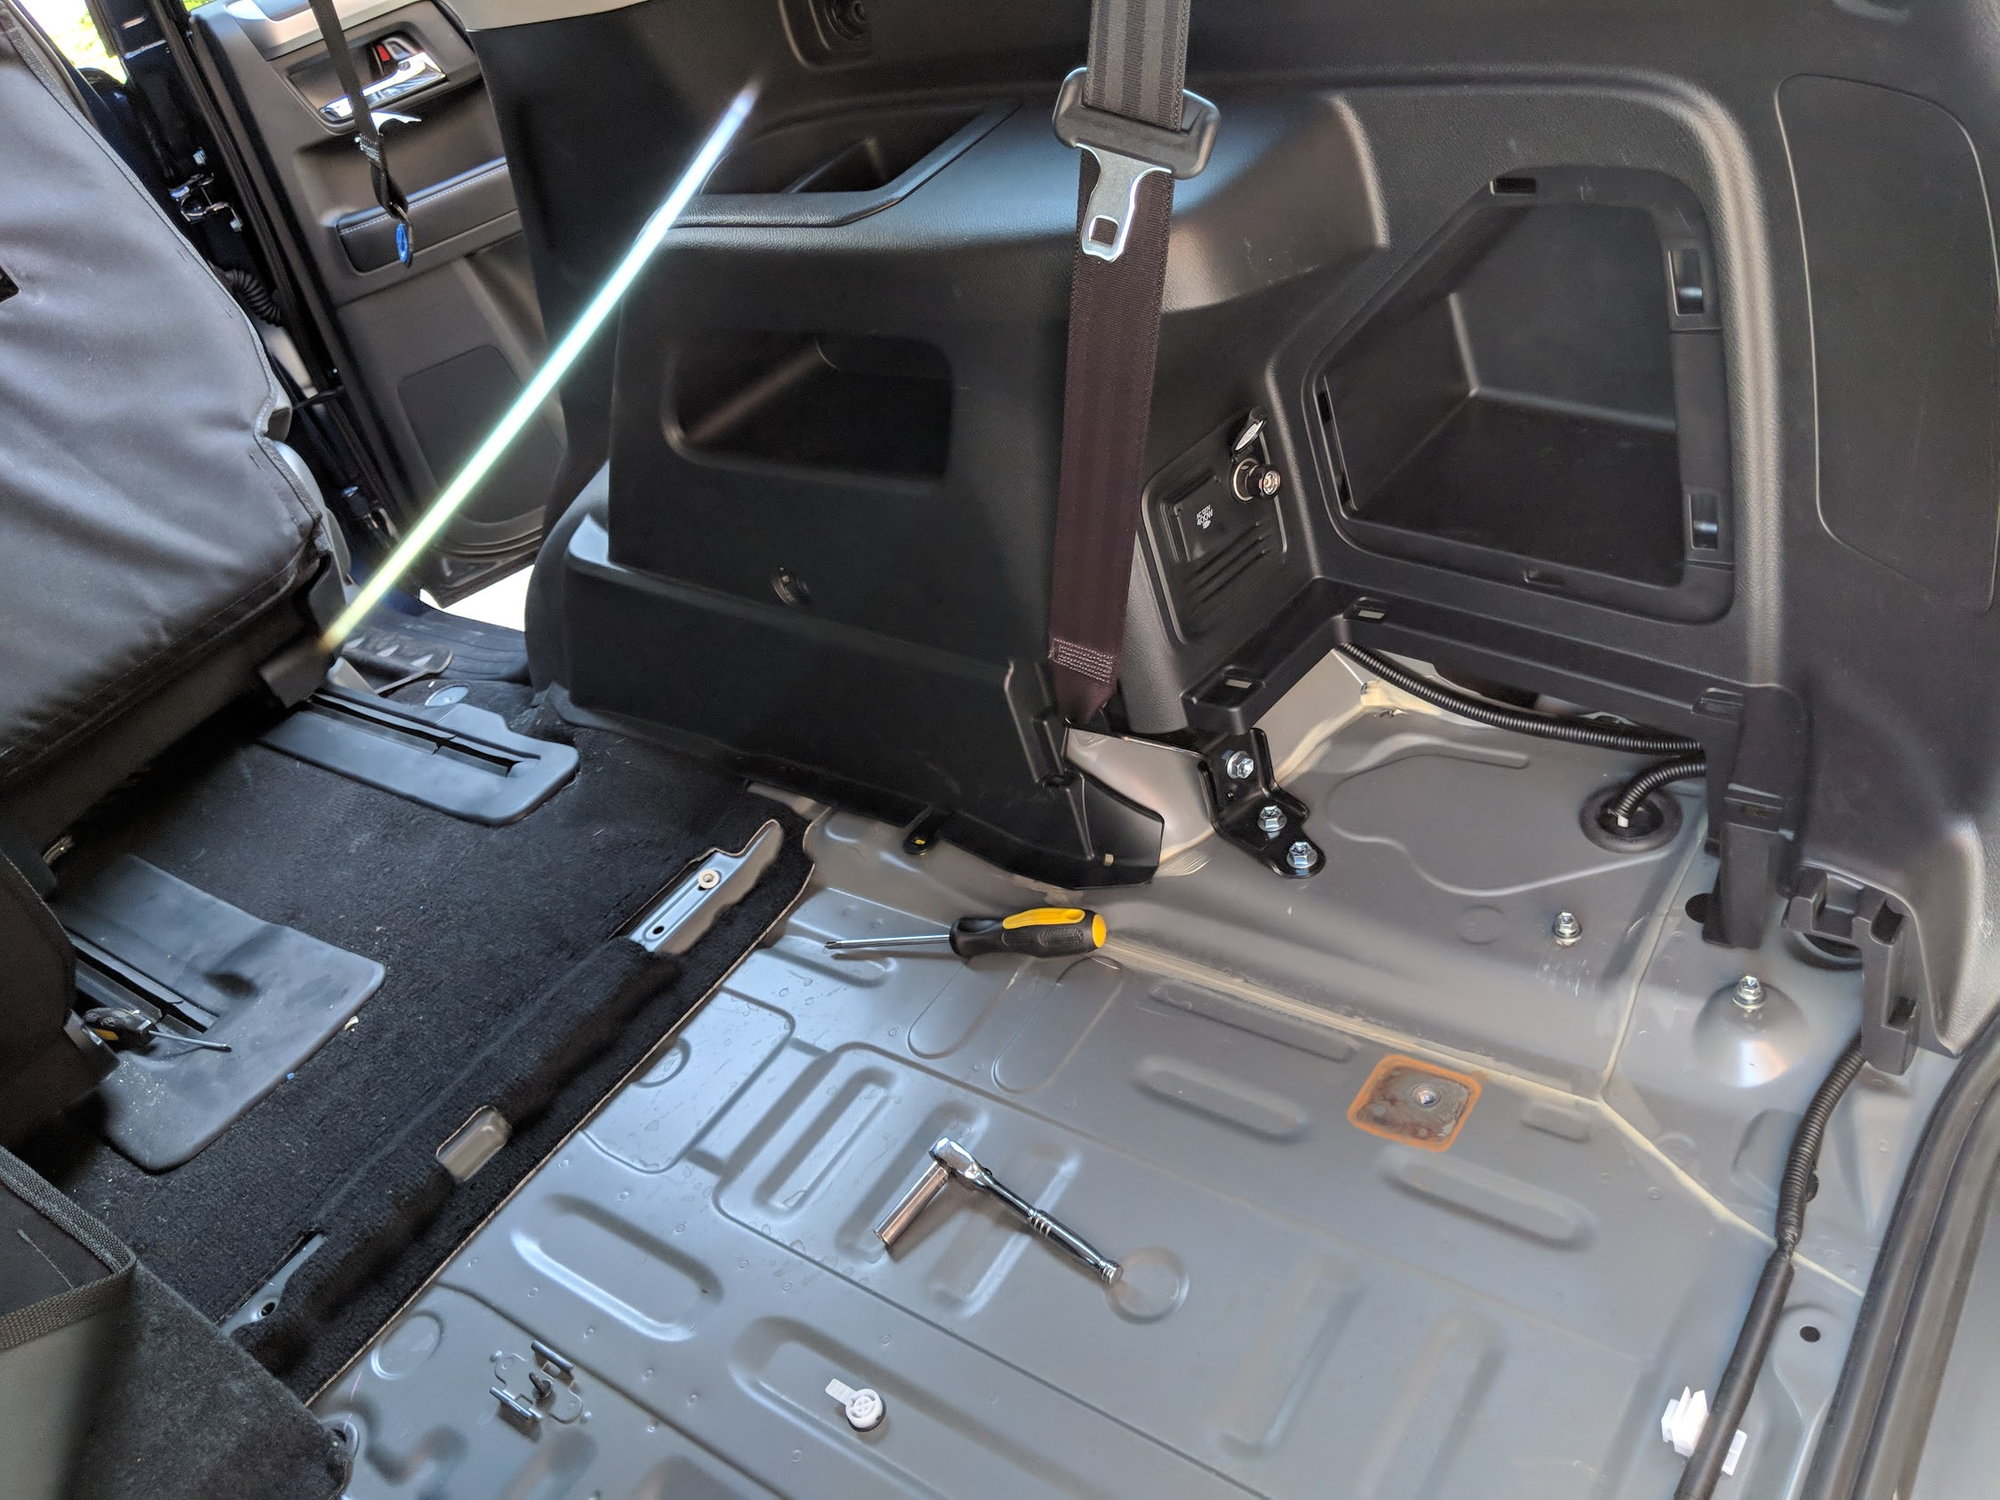
Made some good progress today, I removed all the trim and pieces to get the main panel out, which involved removing both passenger rear seat belts and the third row passenger seat.

img_20180831_153019_1__3581032440d857c20a4ab1a301abe5c251946496.jpg


Removing the third row seat, 4 bolts total. Not too bad, just a bit awkward

img_20180831_153717_1__8e2a39b26eaf19227811cd2b40d0efc3ae23e6ec.jpg


Third row seat removed

img_20180831_172147_1d975e74f18cc43eaead1ae59ed7d99258cdf16b.jpg


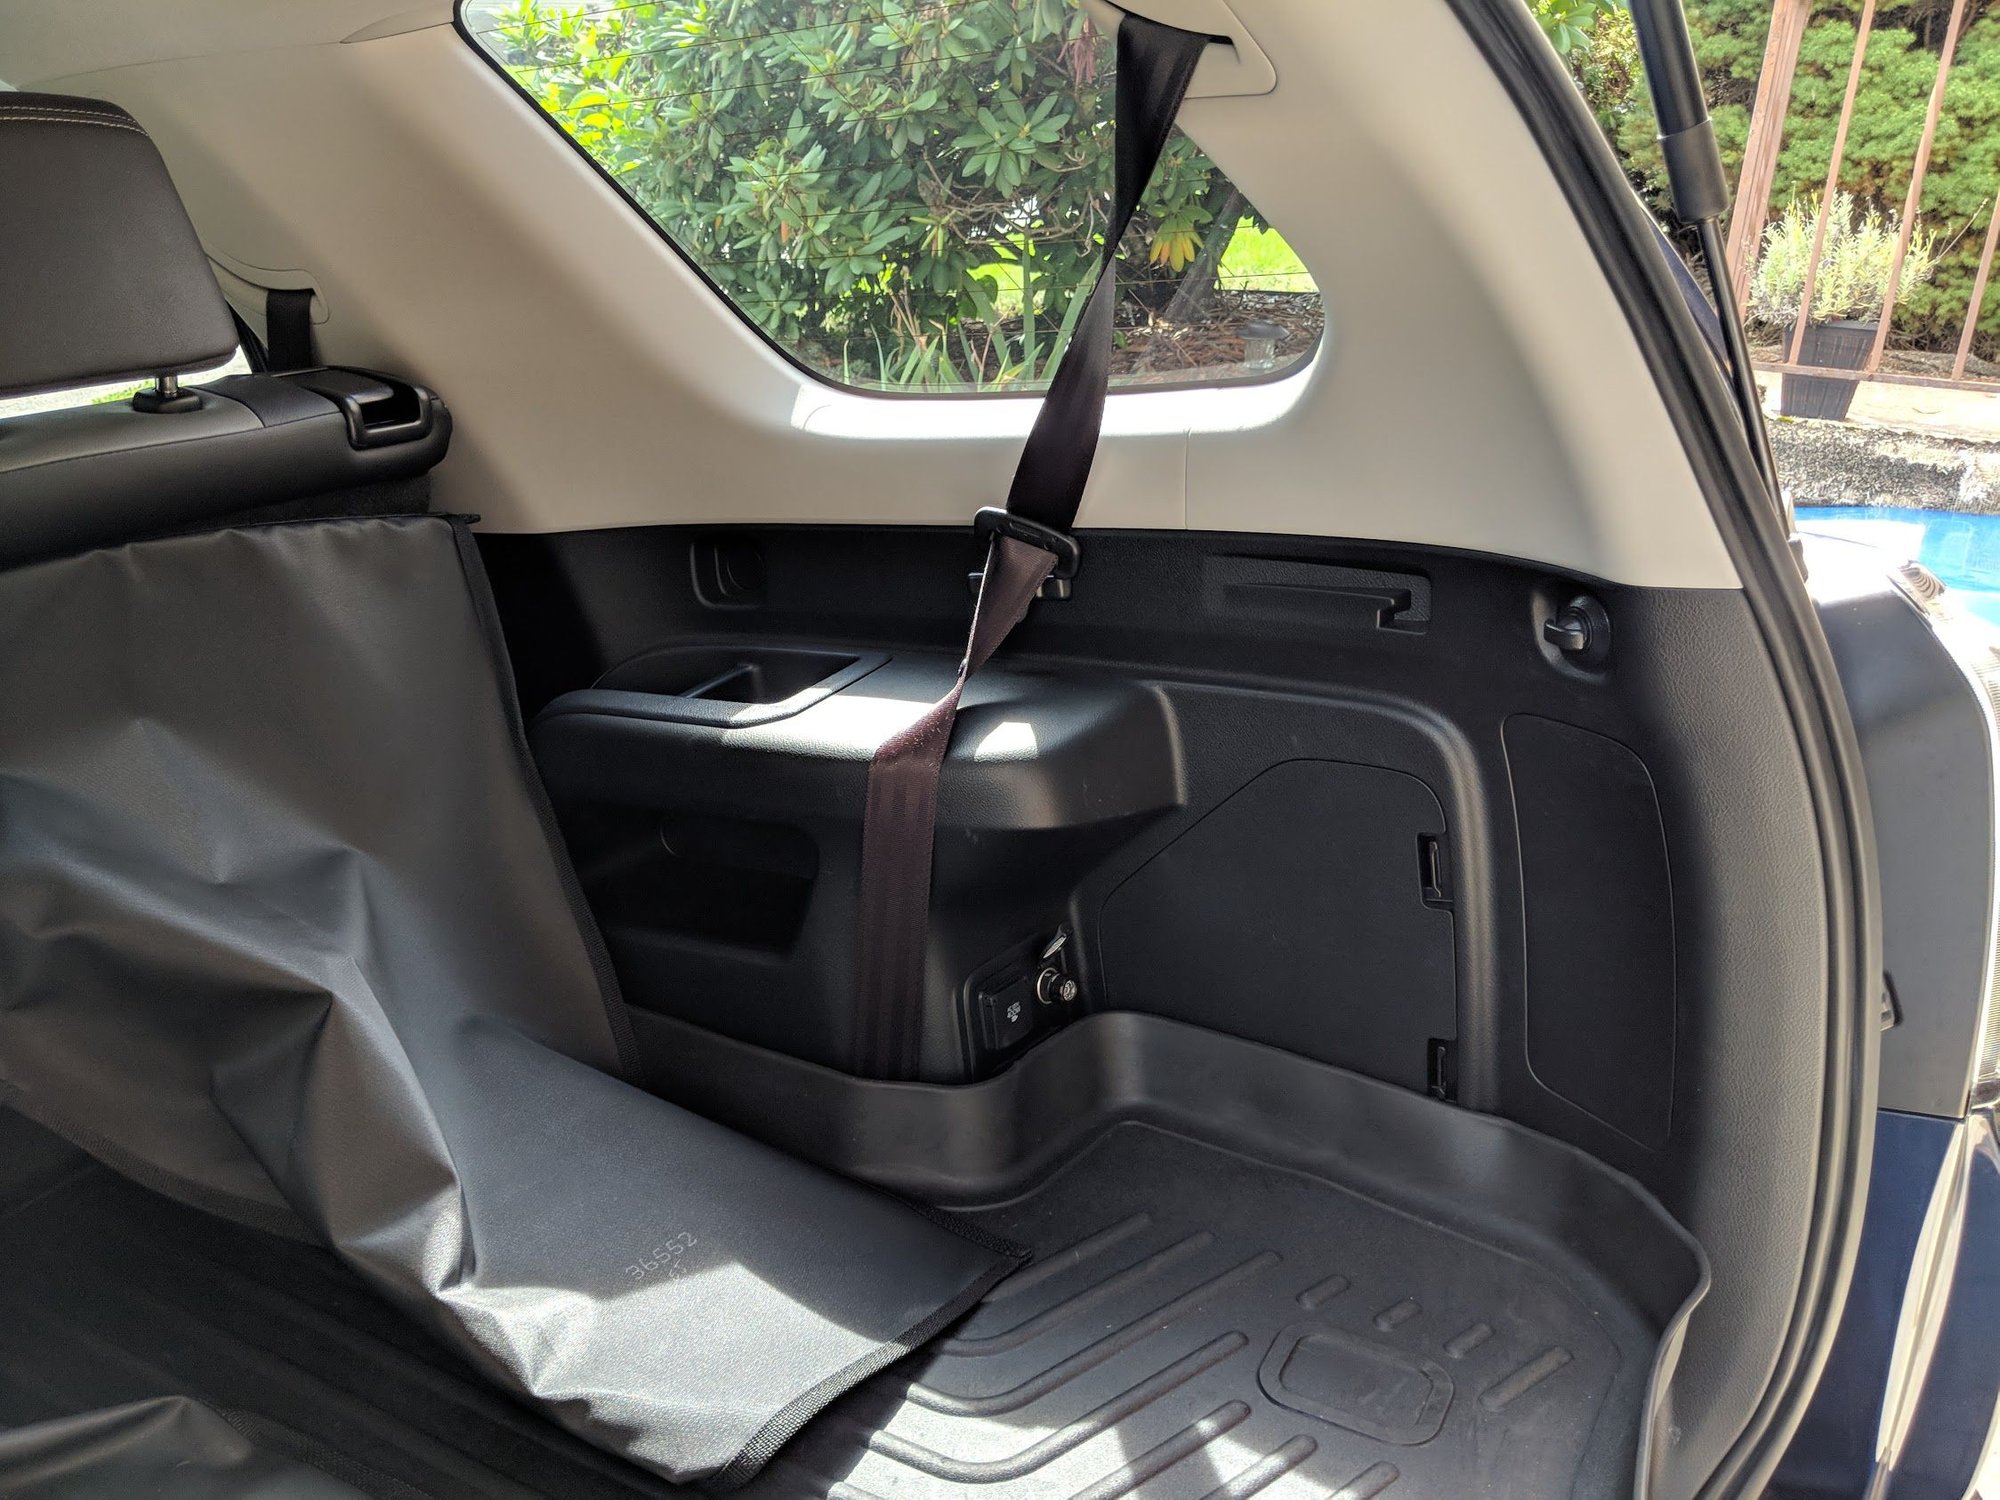
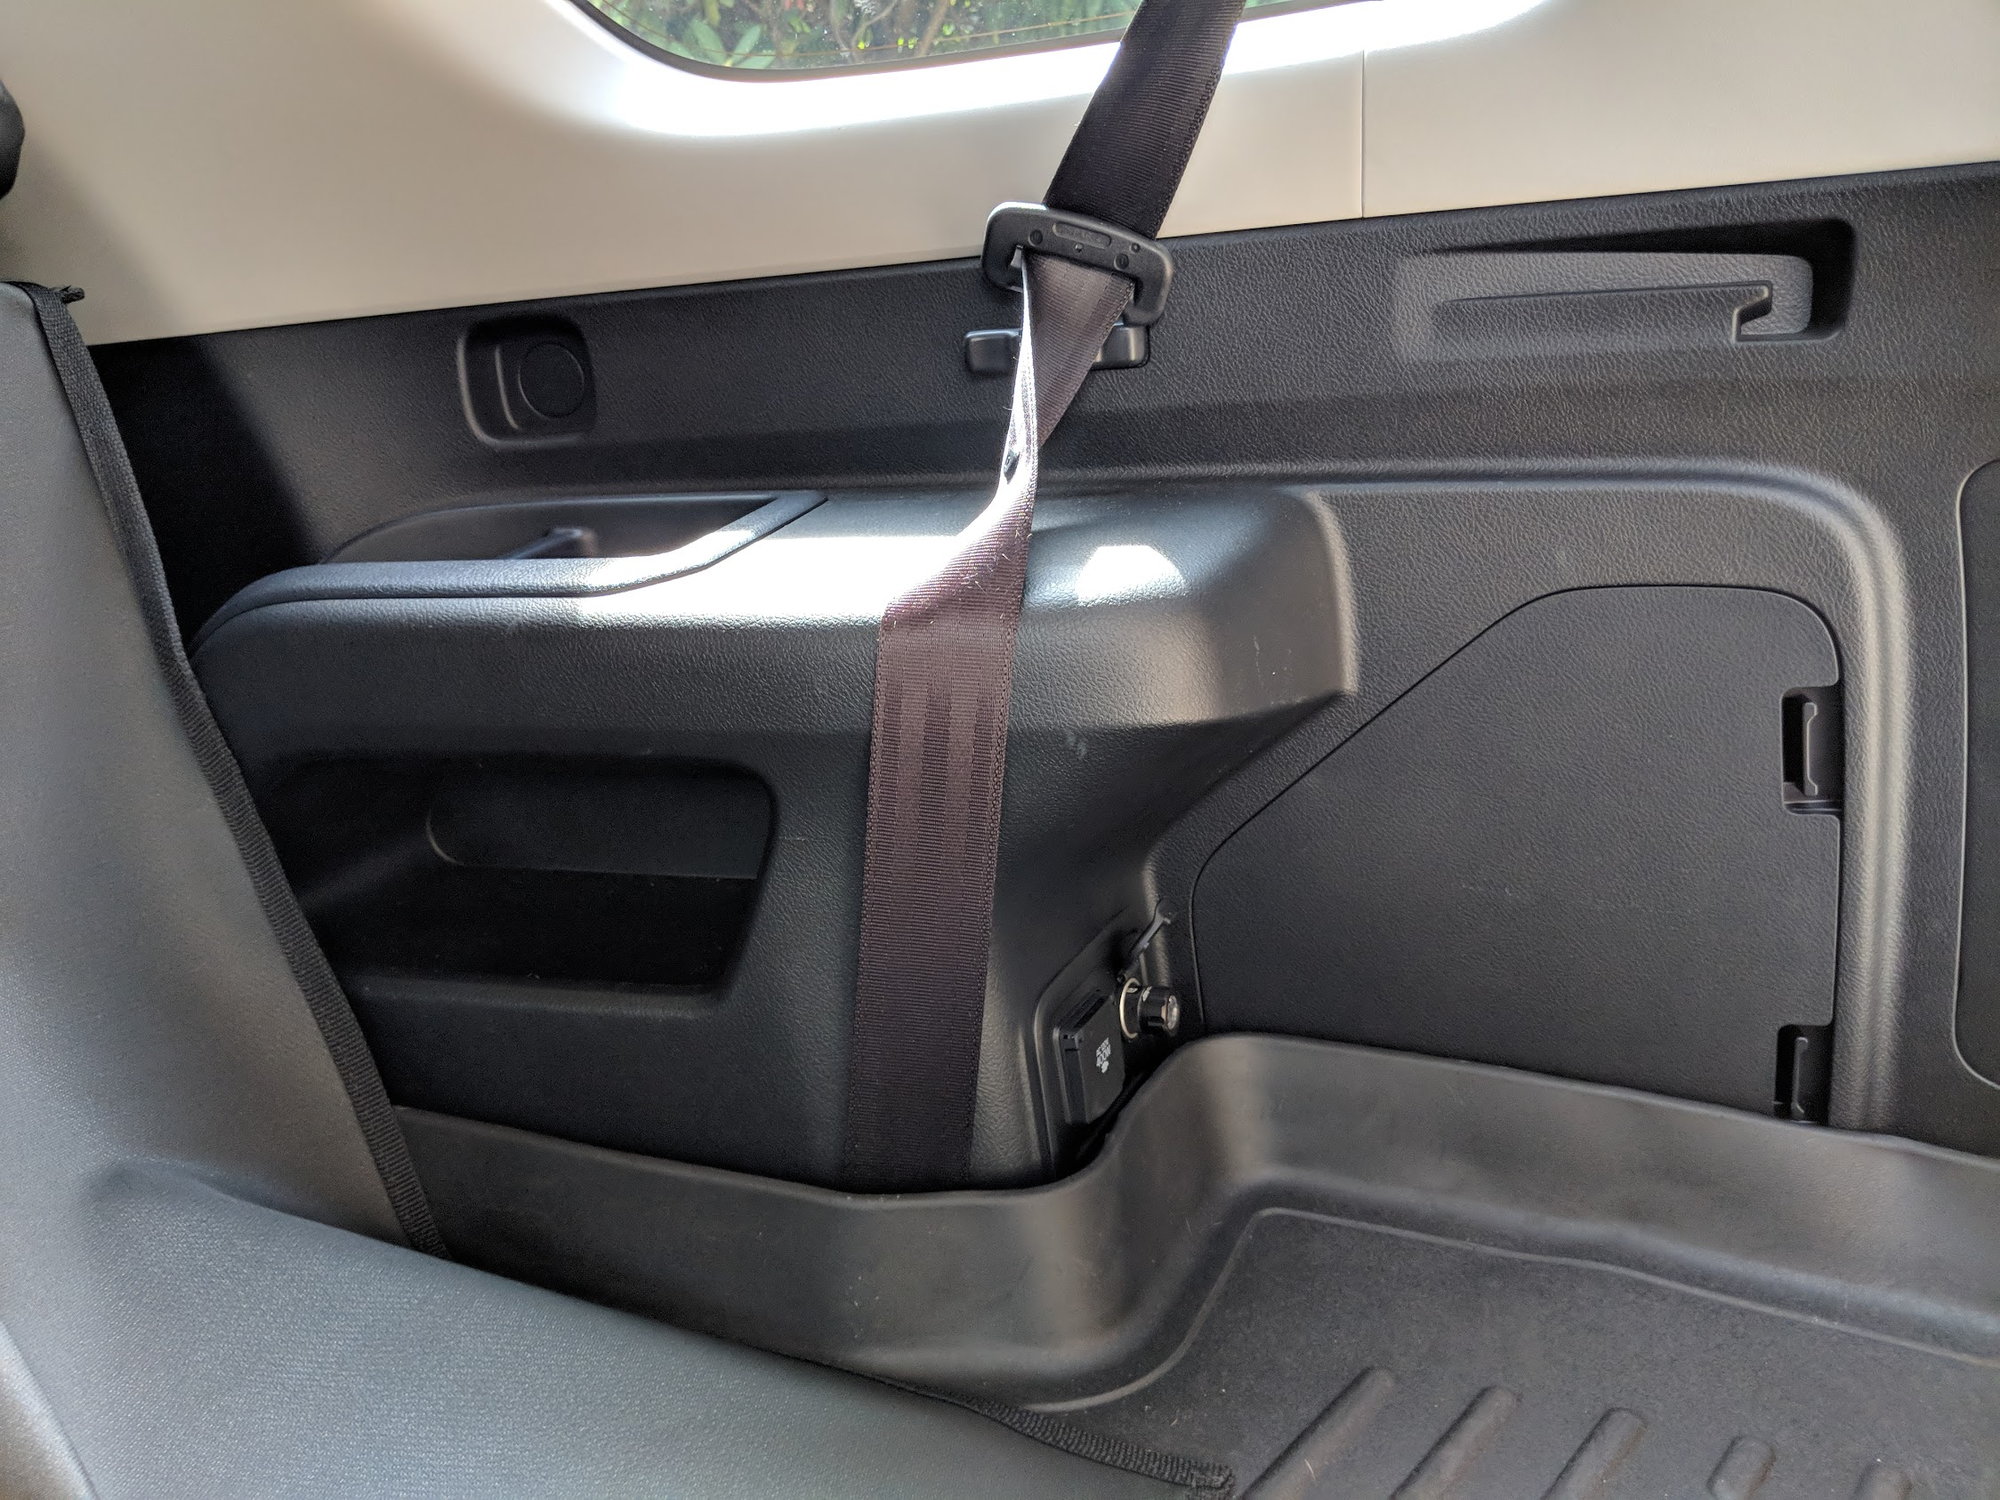
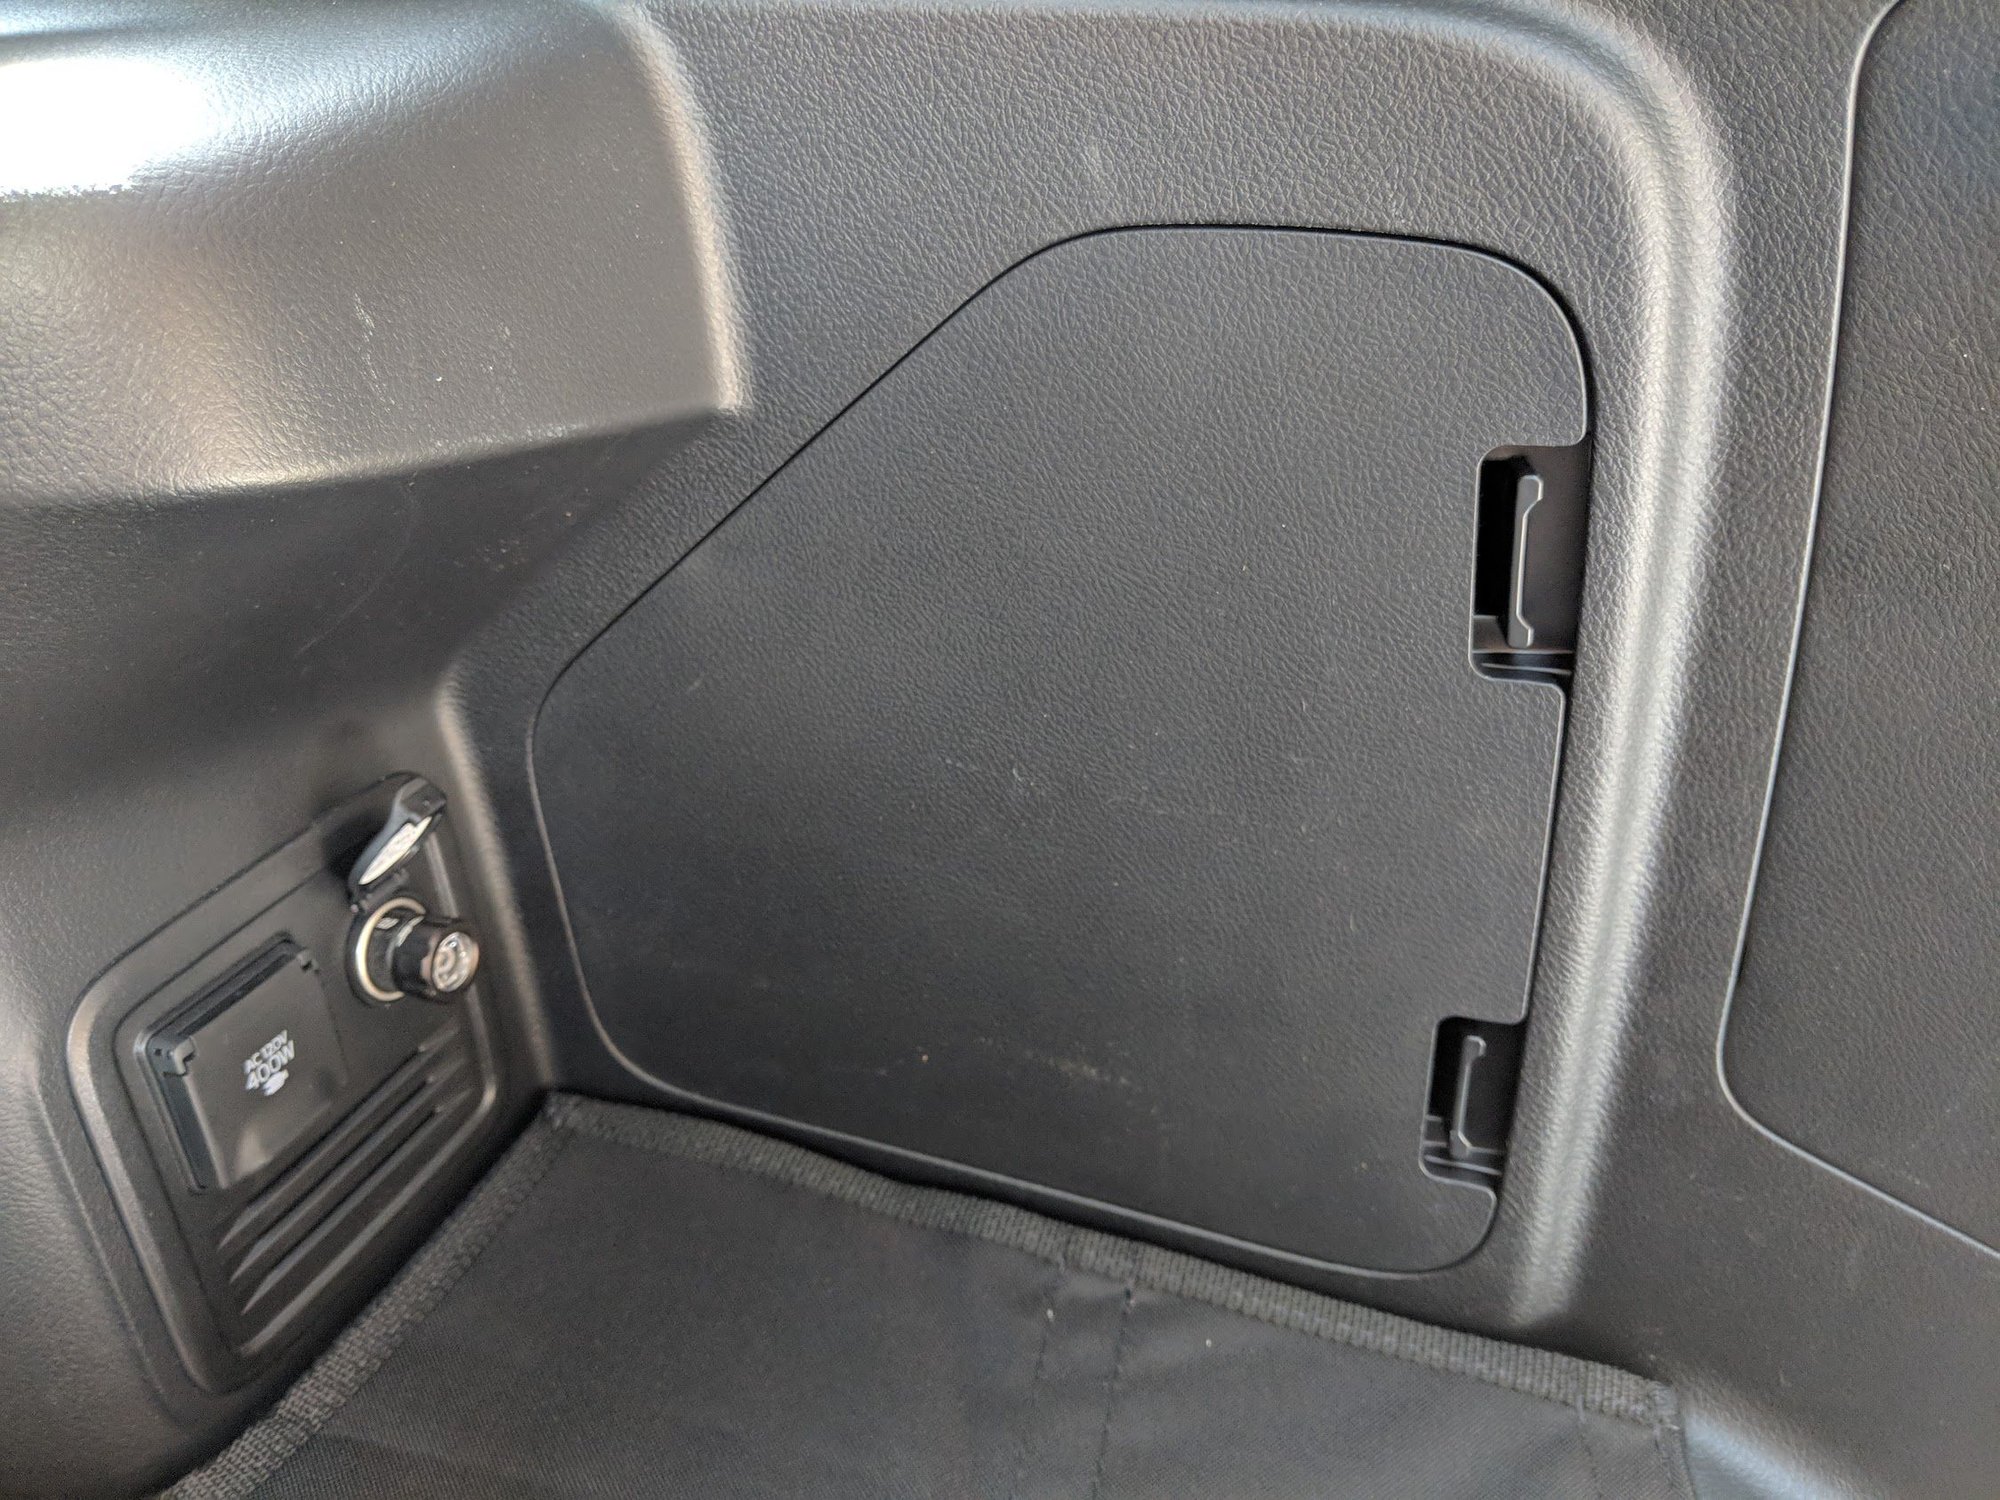
And all removed and ready for the subwoofer enclosure. The 4 stock holes are tapped and were ready for me to put bolts in

img_20180831_172829_fc2027391abcf804c8c1a7c876d25b363d3b32cf.jpg


And installed, the sun was setting and glaring right in the windows so this was the best shot I could get, but there will be plenty more

img_20180831_173856_2dafcf6bff12c3f1c6bf2c839184127d2348ff8f.jpg


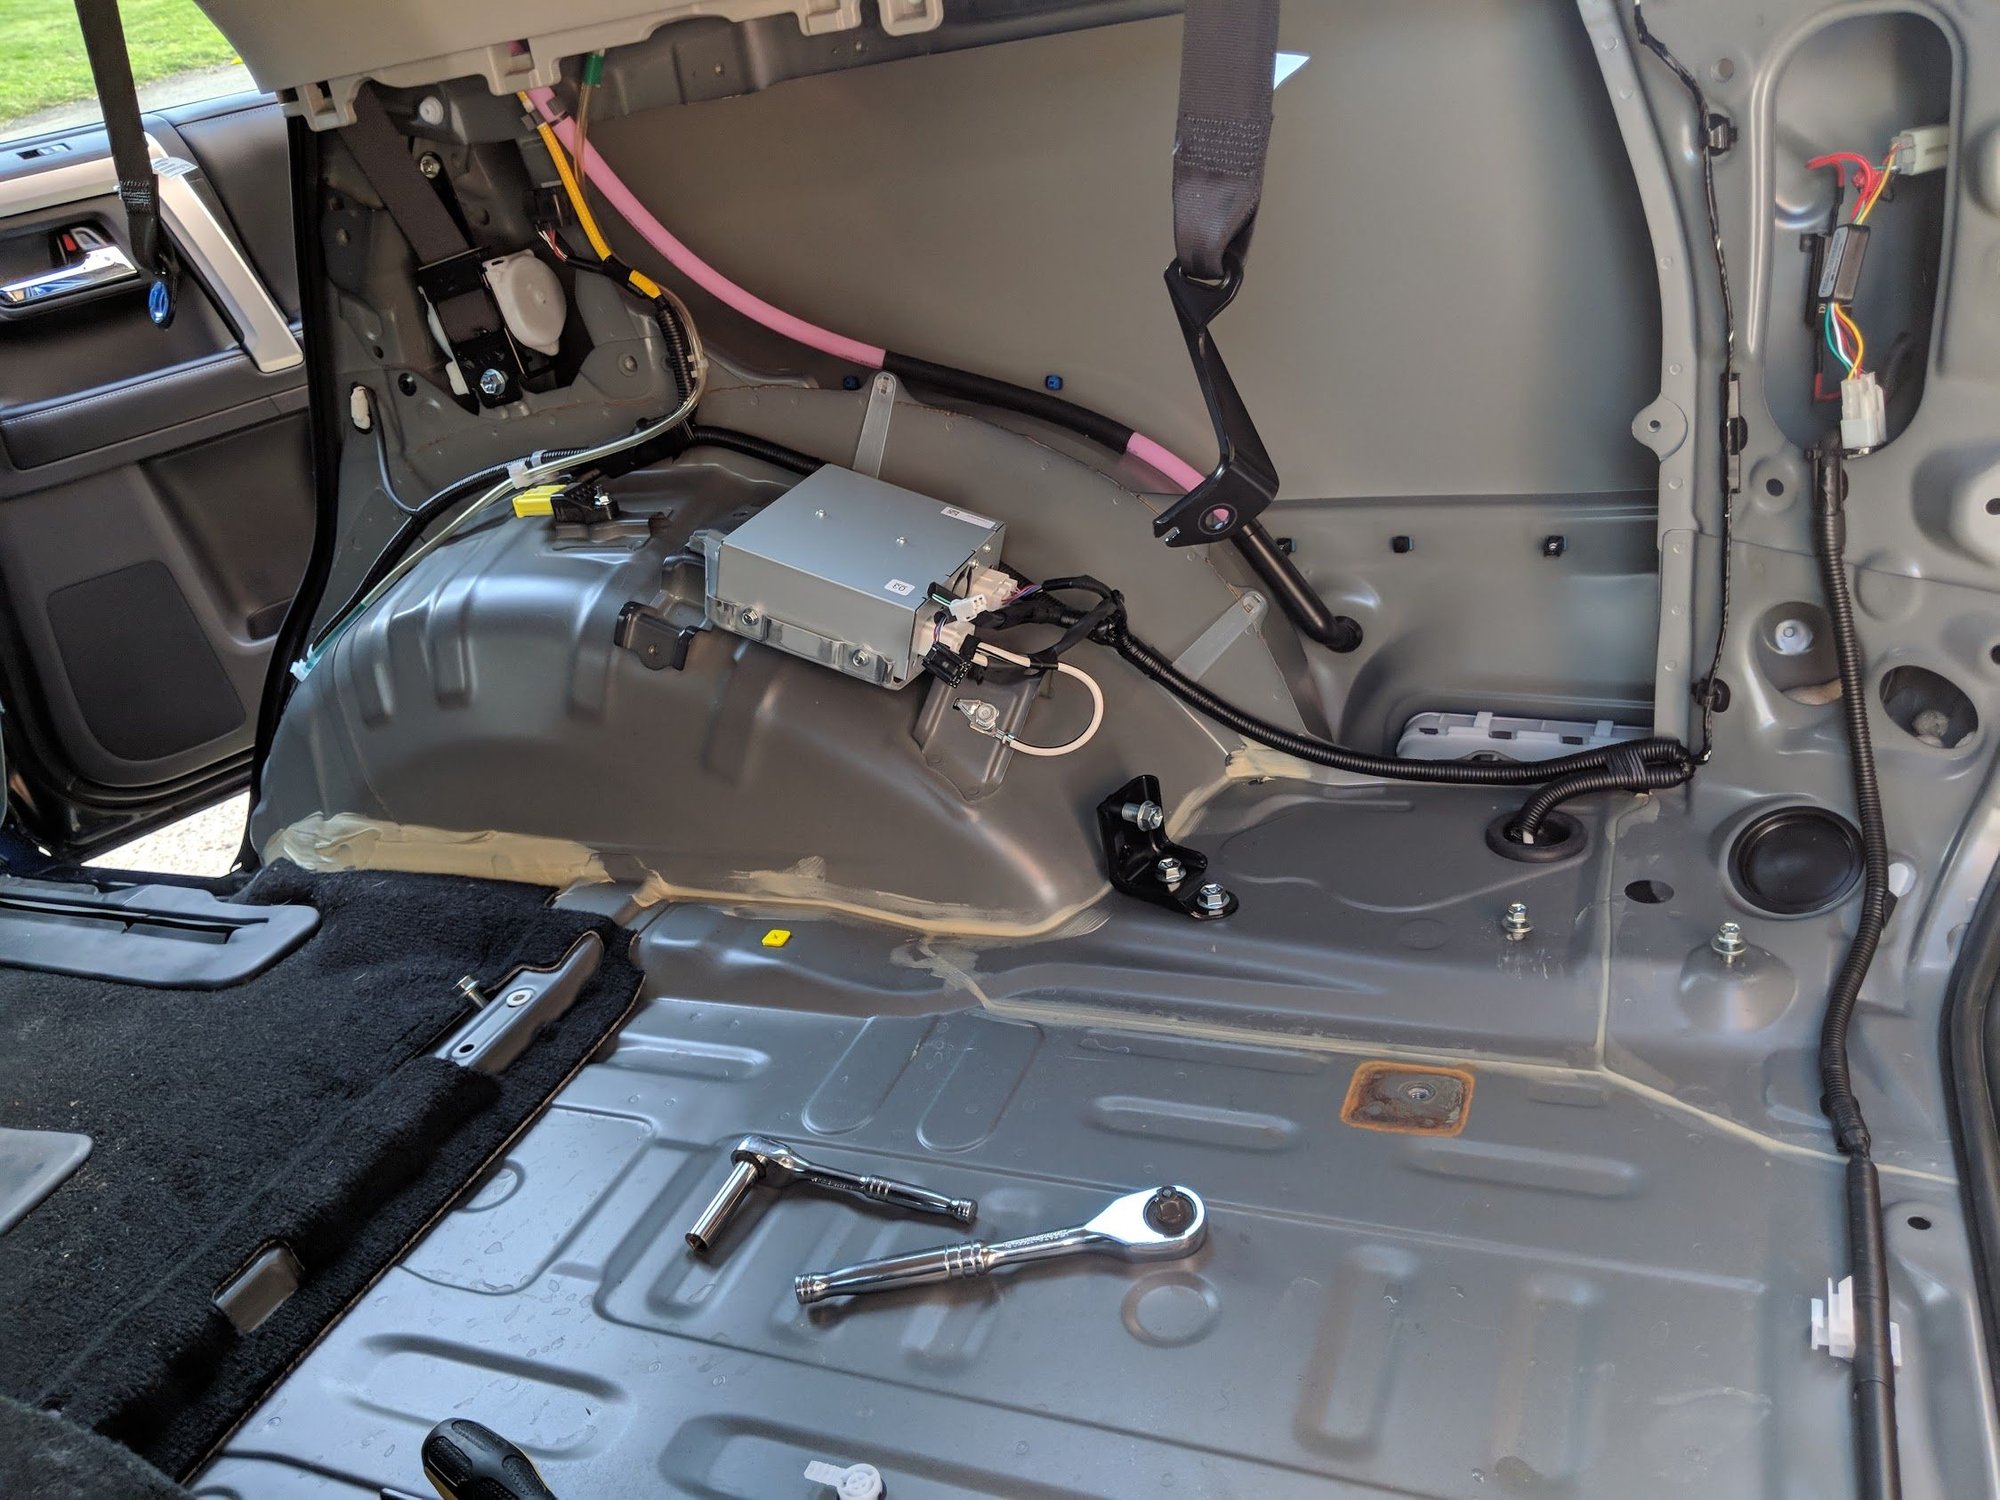
I lost about 5 lbs of sweat doing this work so I have plenty more to do tomorrow but I'm about half way there. Another fun step will be hacking up the stock panel and removing this pocket which is riveted / plastic welded to the main panel

img_20180831_151713_76cda959bf07d8d867c64381d7d25c00c72c8984.jpg


img_20180831_172907_f3e36290ca3335ce0155a4155586bec1f12836ae.jpg

*
 
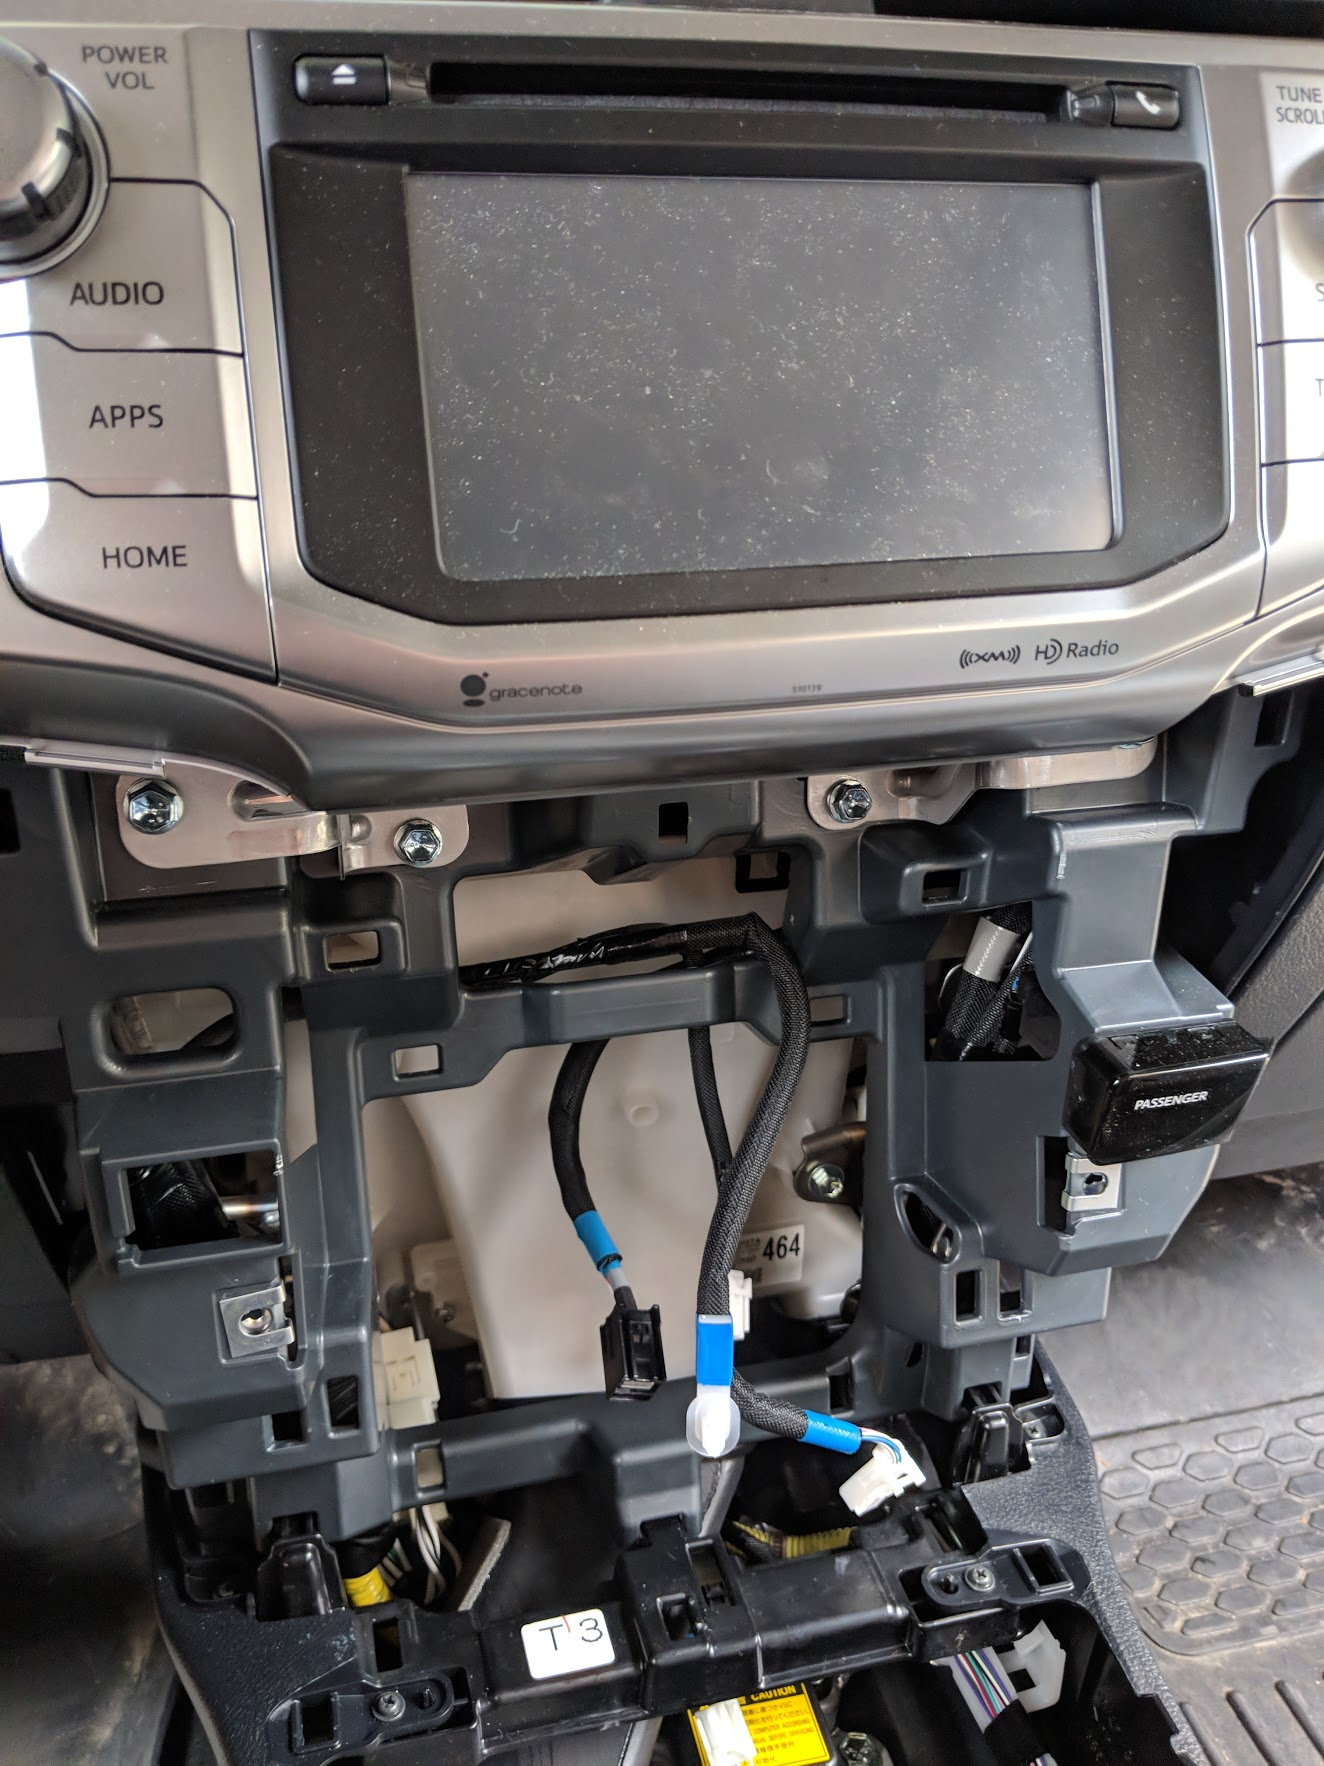
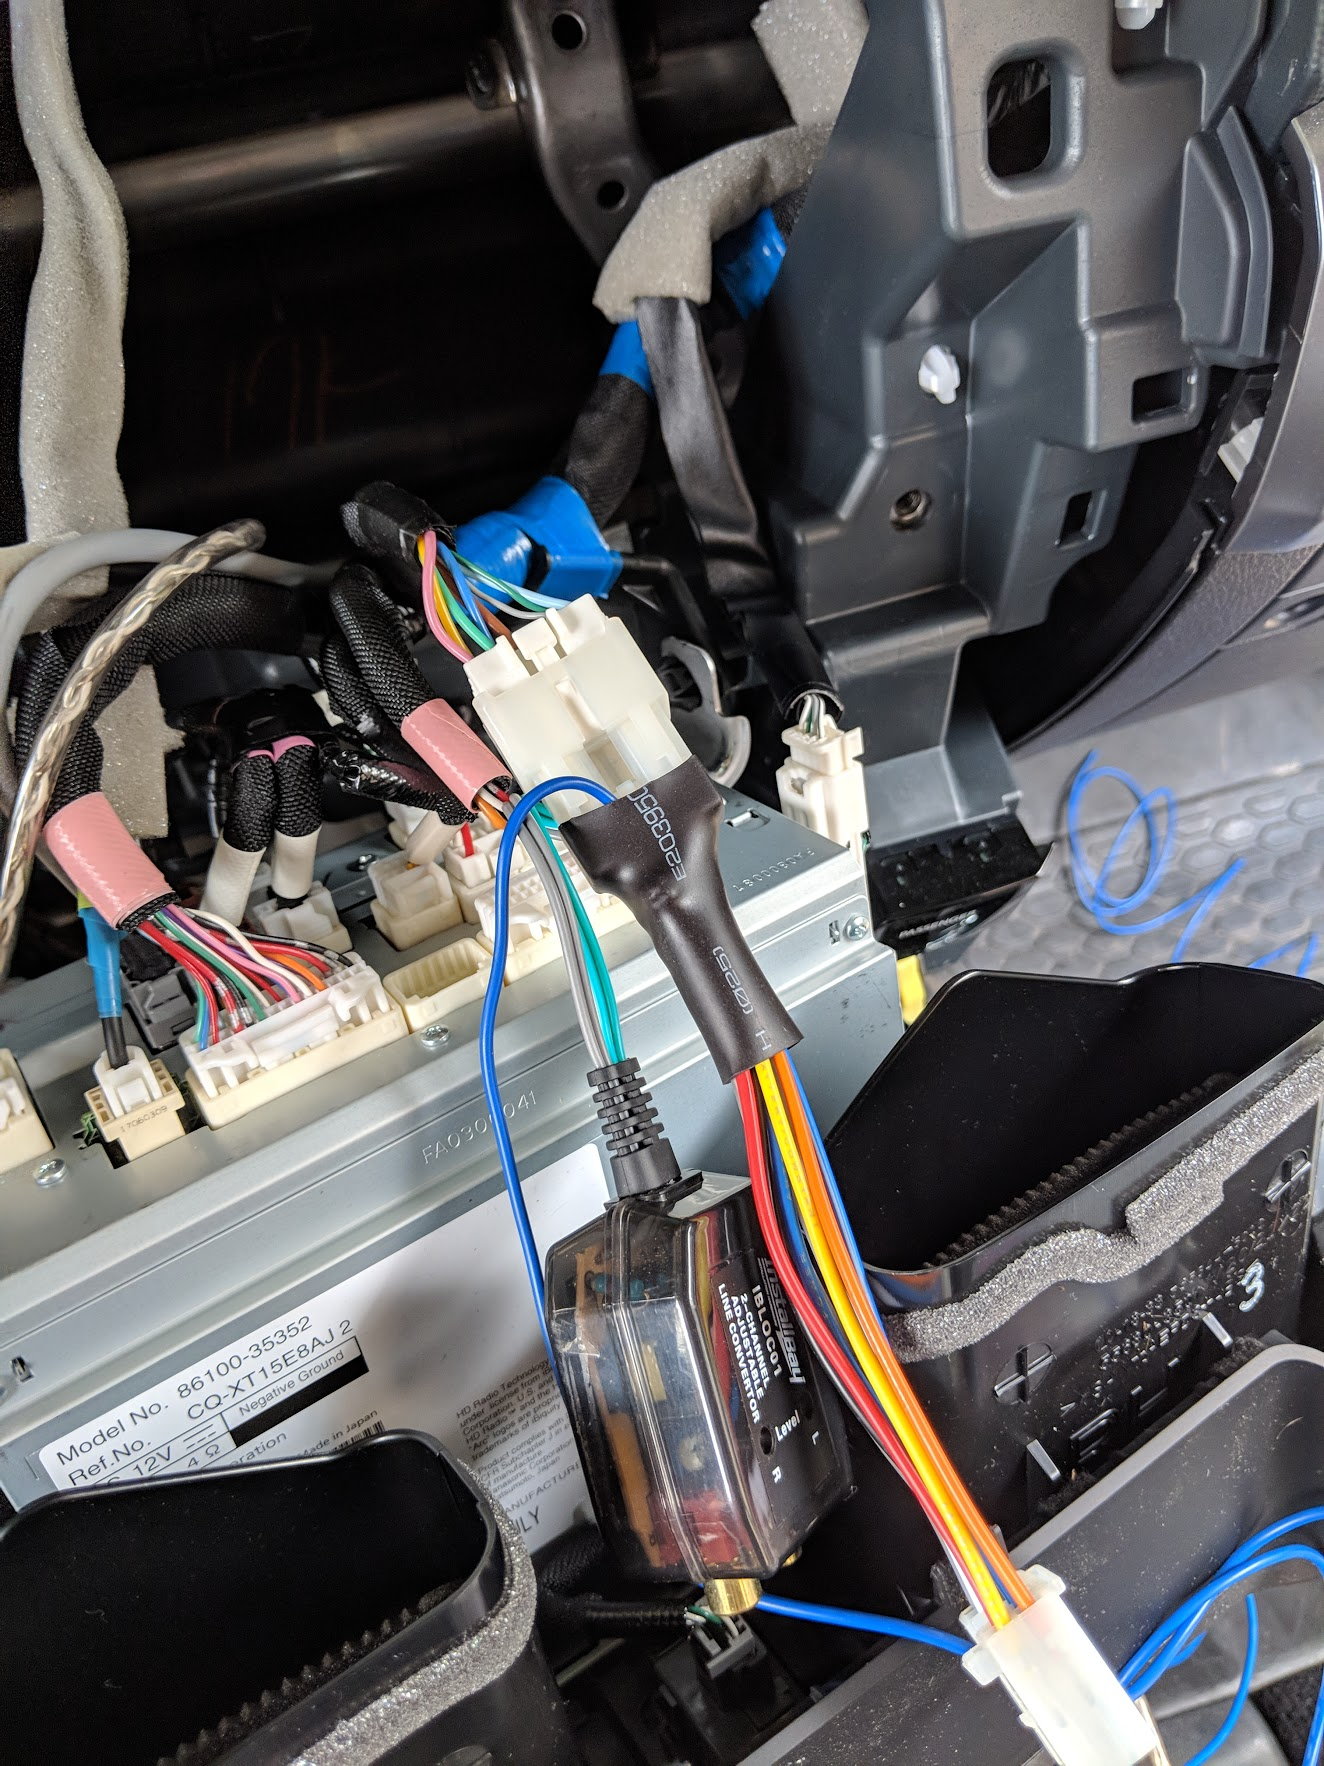
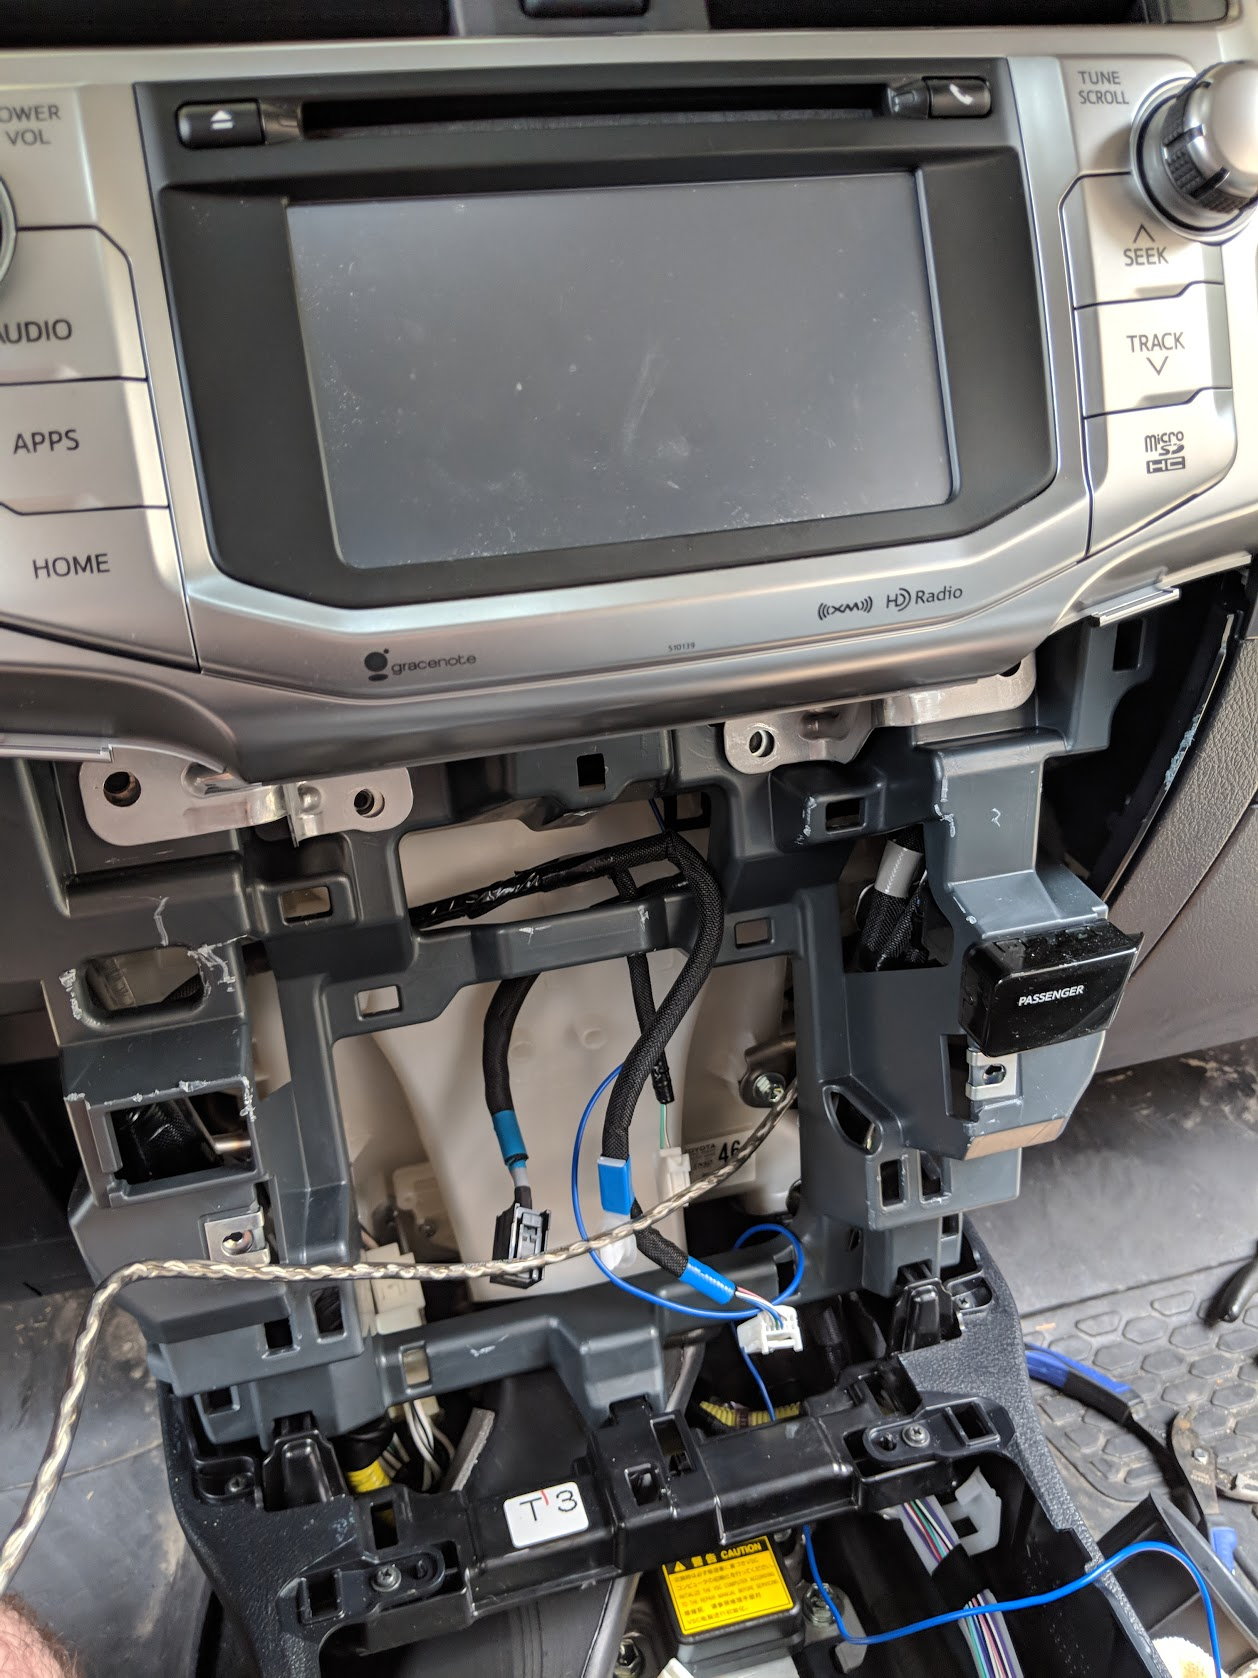
Made some good progress before the sun got directly overhead and I had to come in and take a break, spent a couple hours ripping out the dash and getting the LOC installed on the back of the radio

img_20180901_131726_10c3497105afc8044cd4e56ac0bad8ad2ec0811e.jpg


Here's the LOC all installed, I had to trim a piece inside the radio plug to get it to sit flush, it was a ***** without taking the radio out but I got it done.

img_20180901_132241_36e1a3eb5f2f79934ca5139408aa223a0aa9cd50.jpg


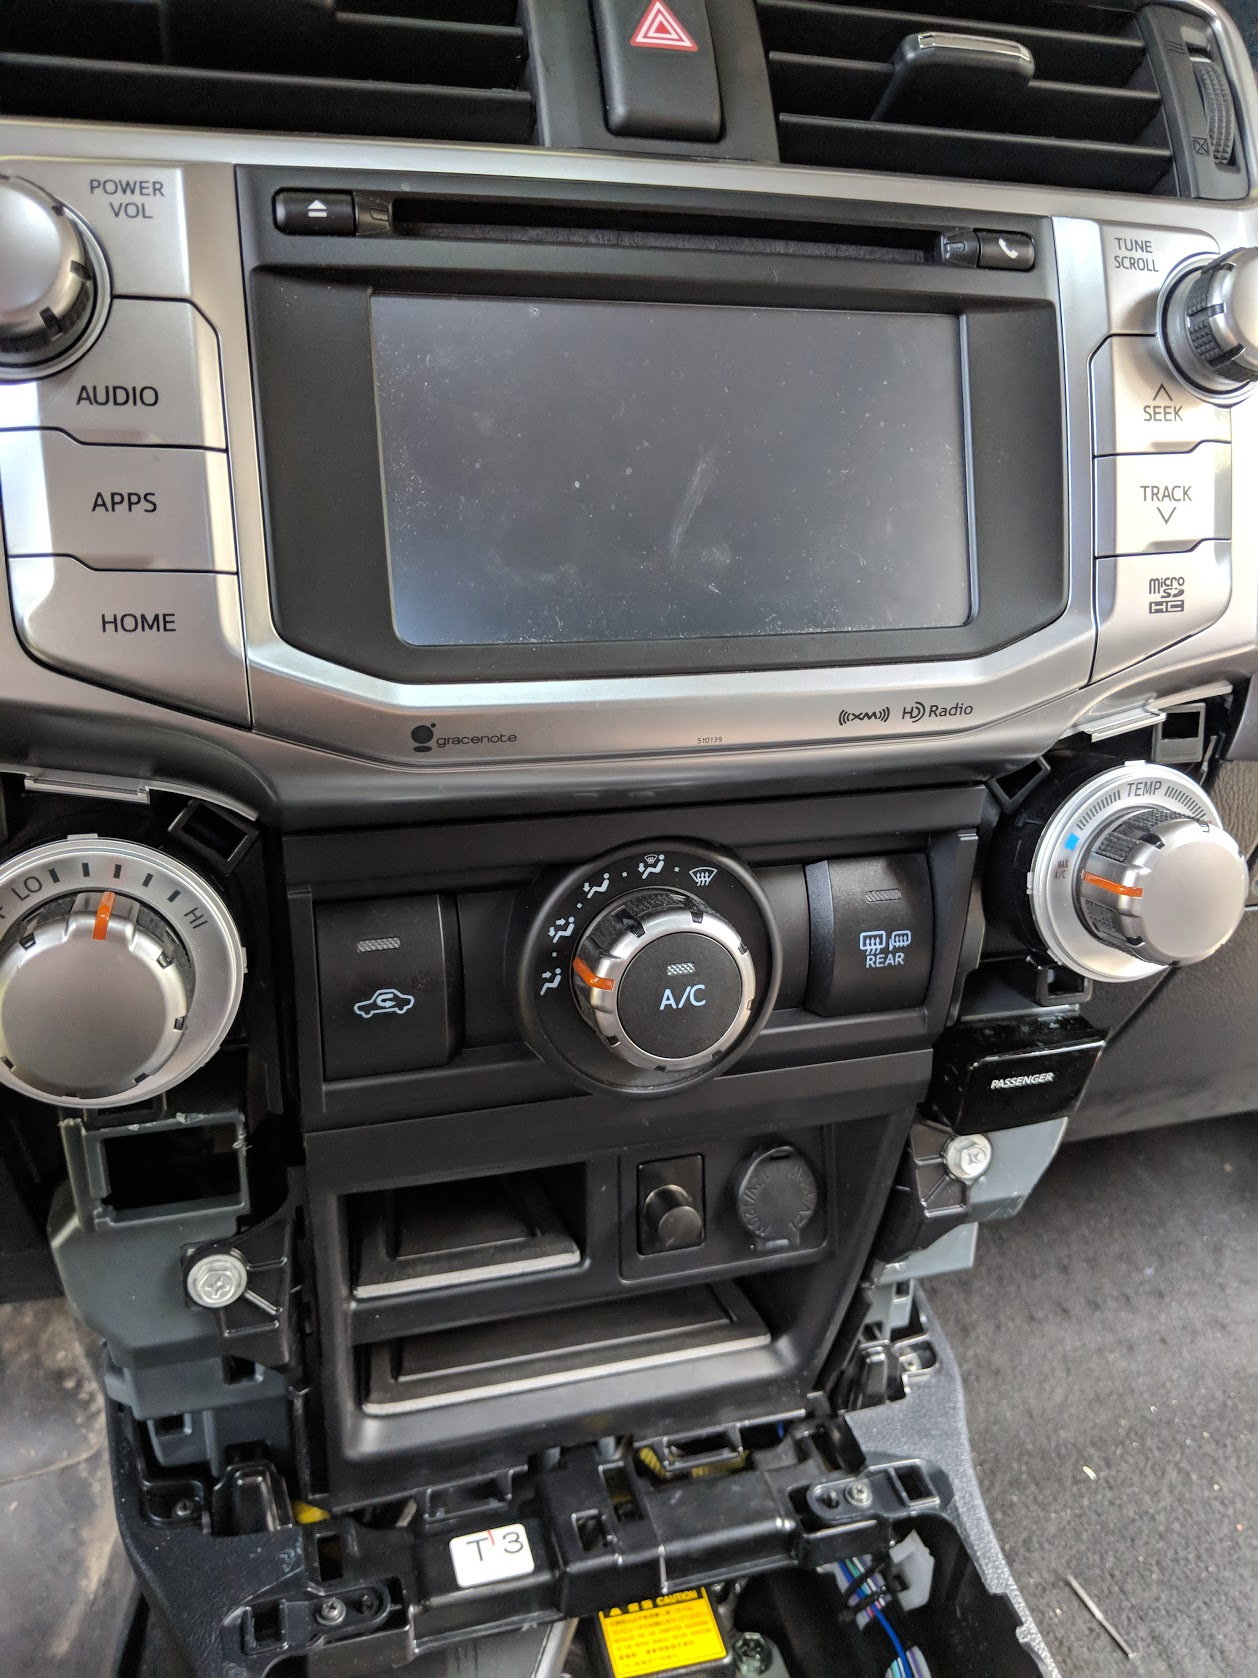
Here's the radio all reinstalled with the RCA's and trigger wire run down the center console (not wire tied yet) I also tested radio functionality and everything is working as it should

img_20180901_134153_0c64767acf430bcd1d66ec143374169422f34323.jpg


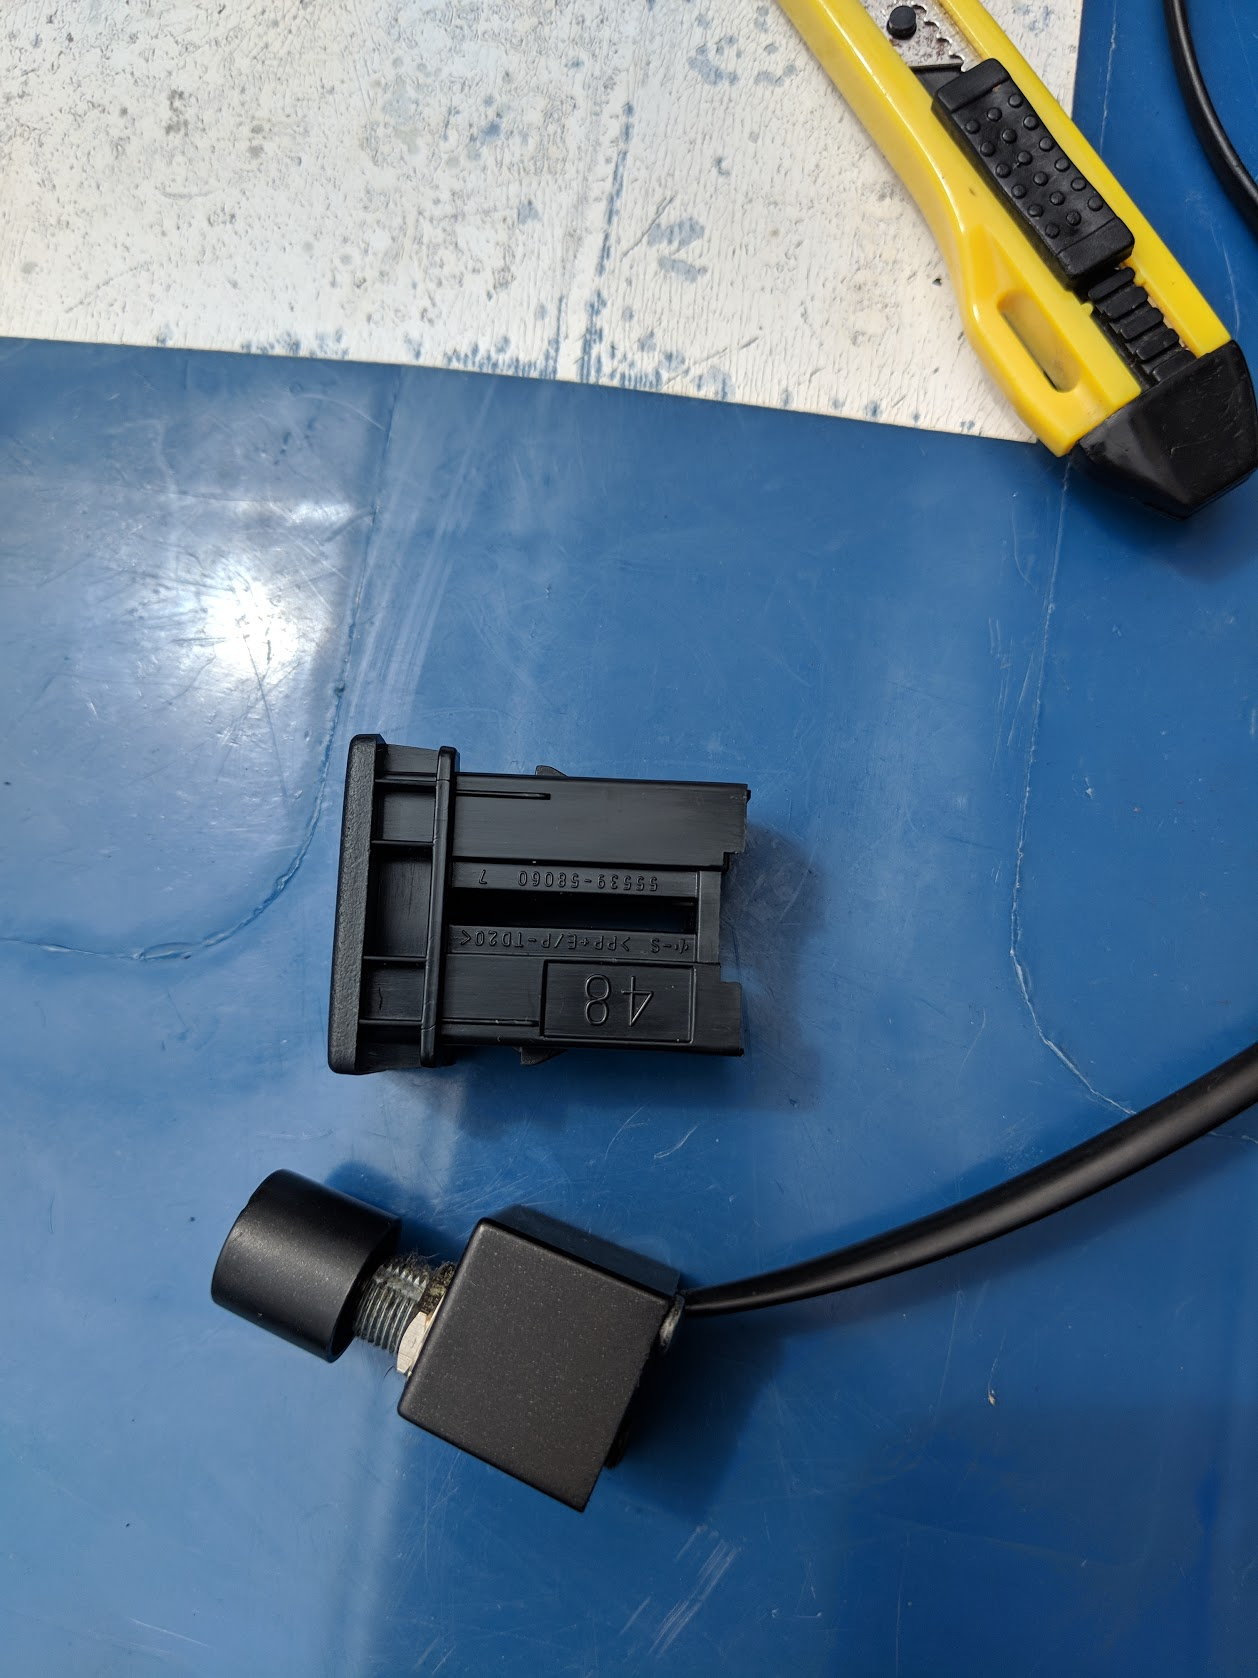
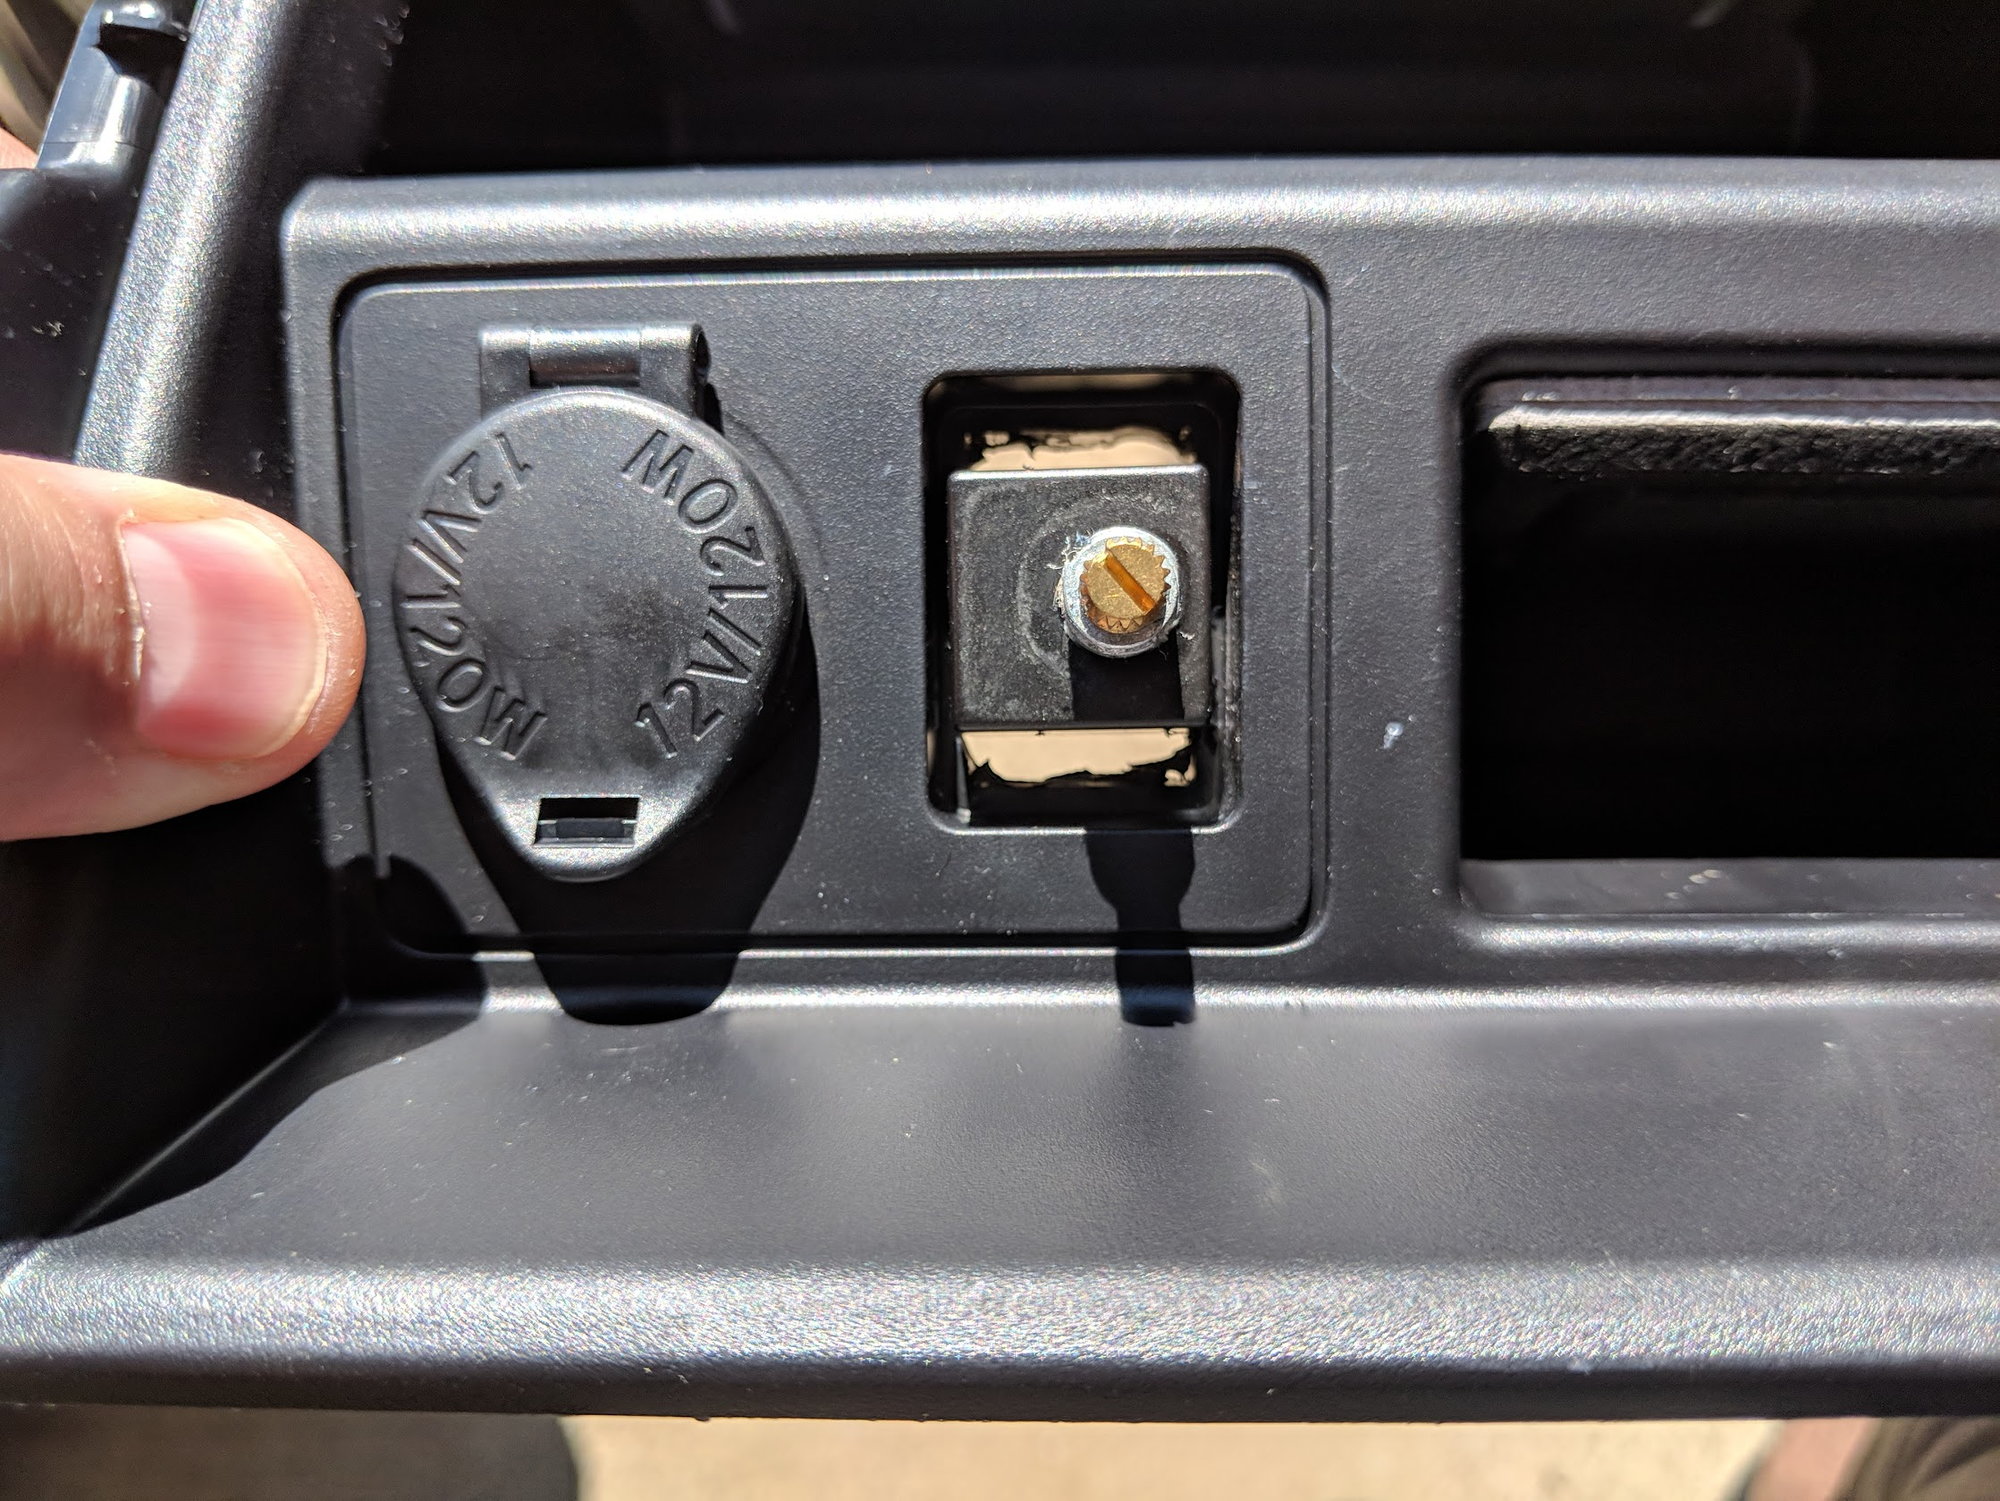
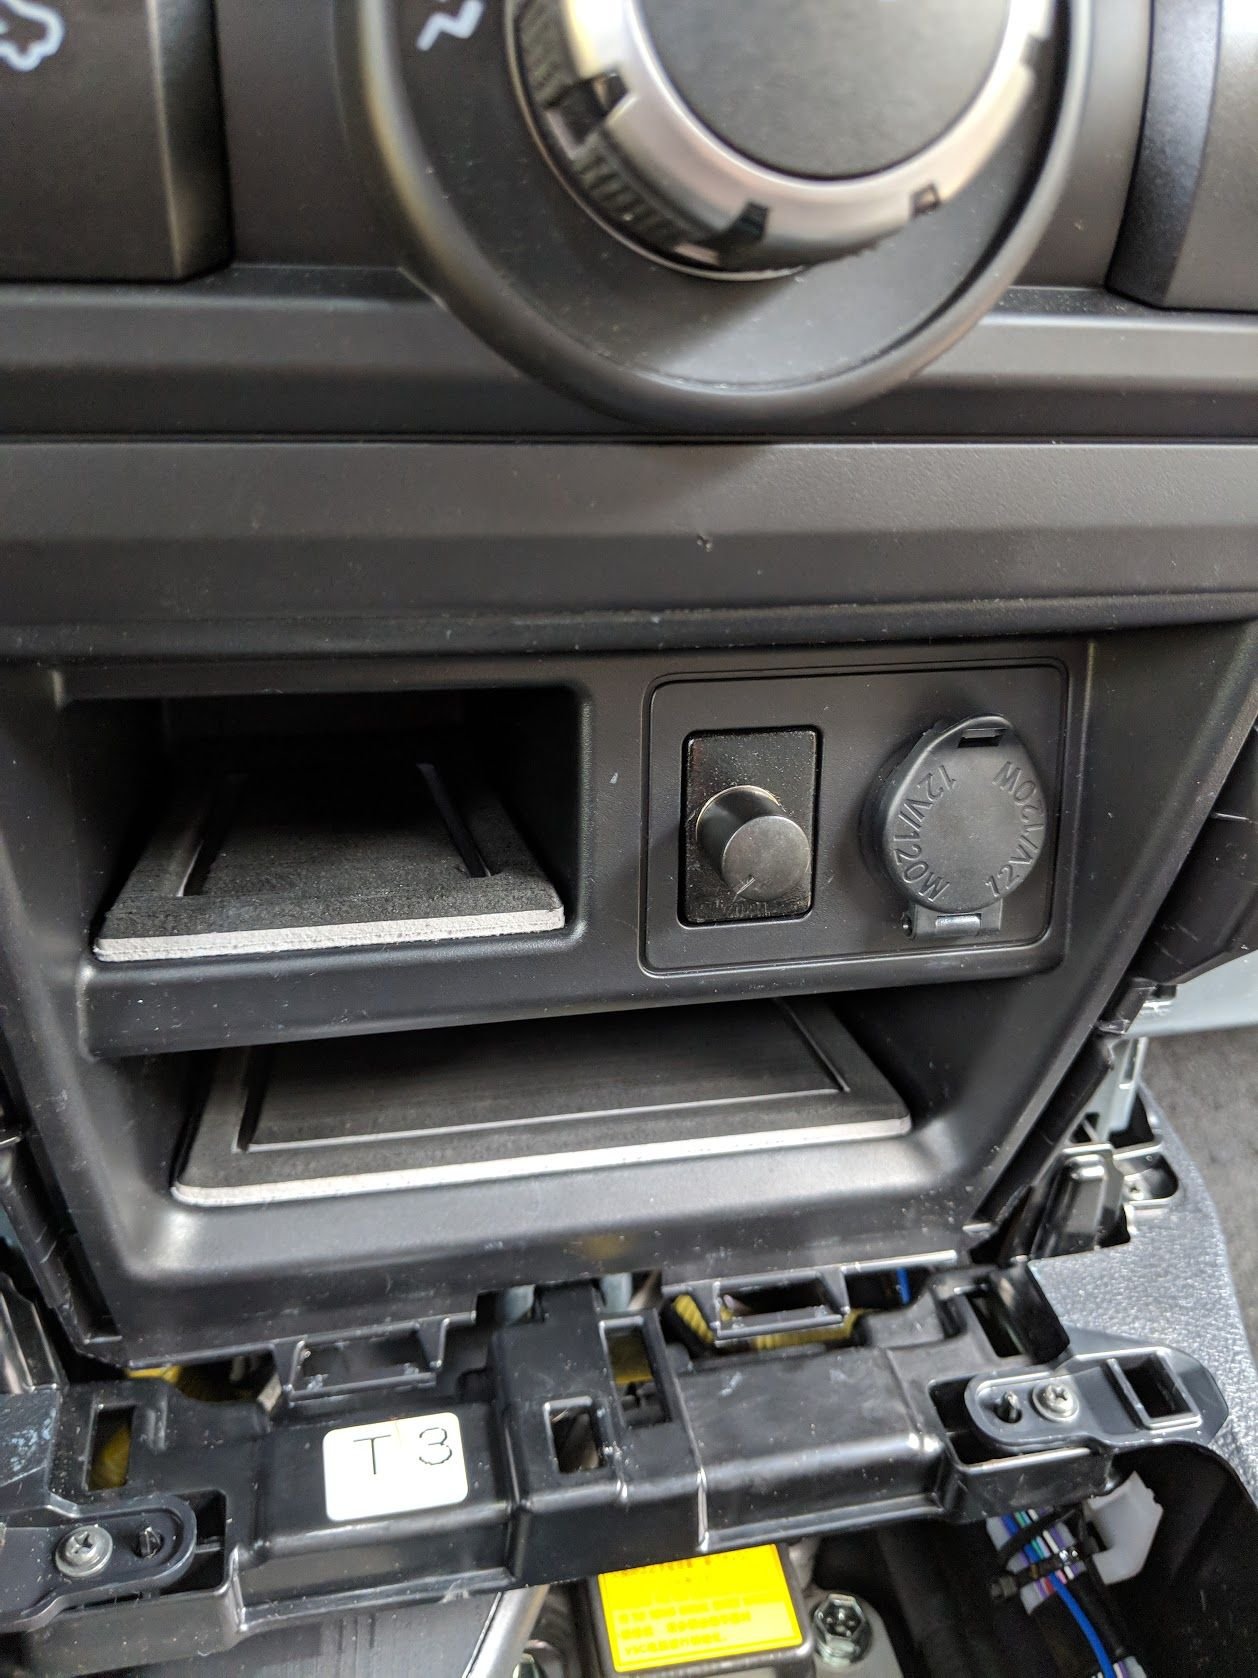
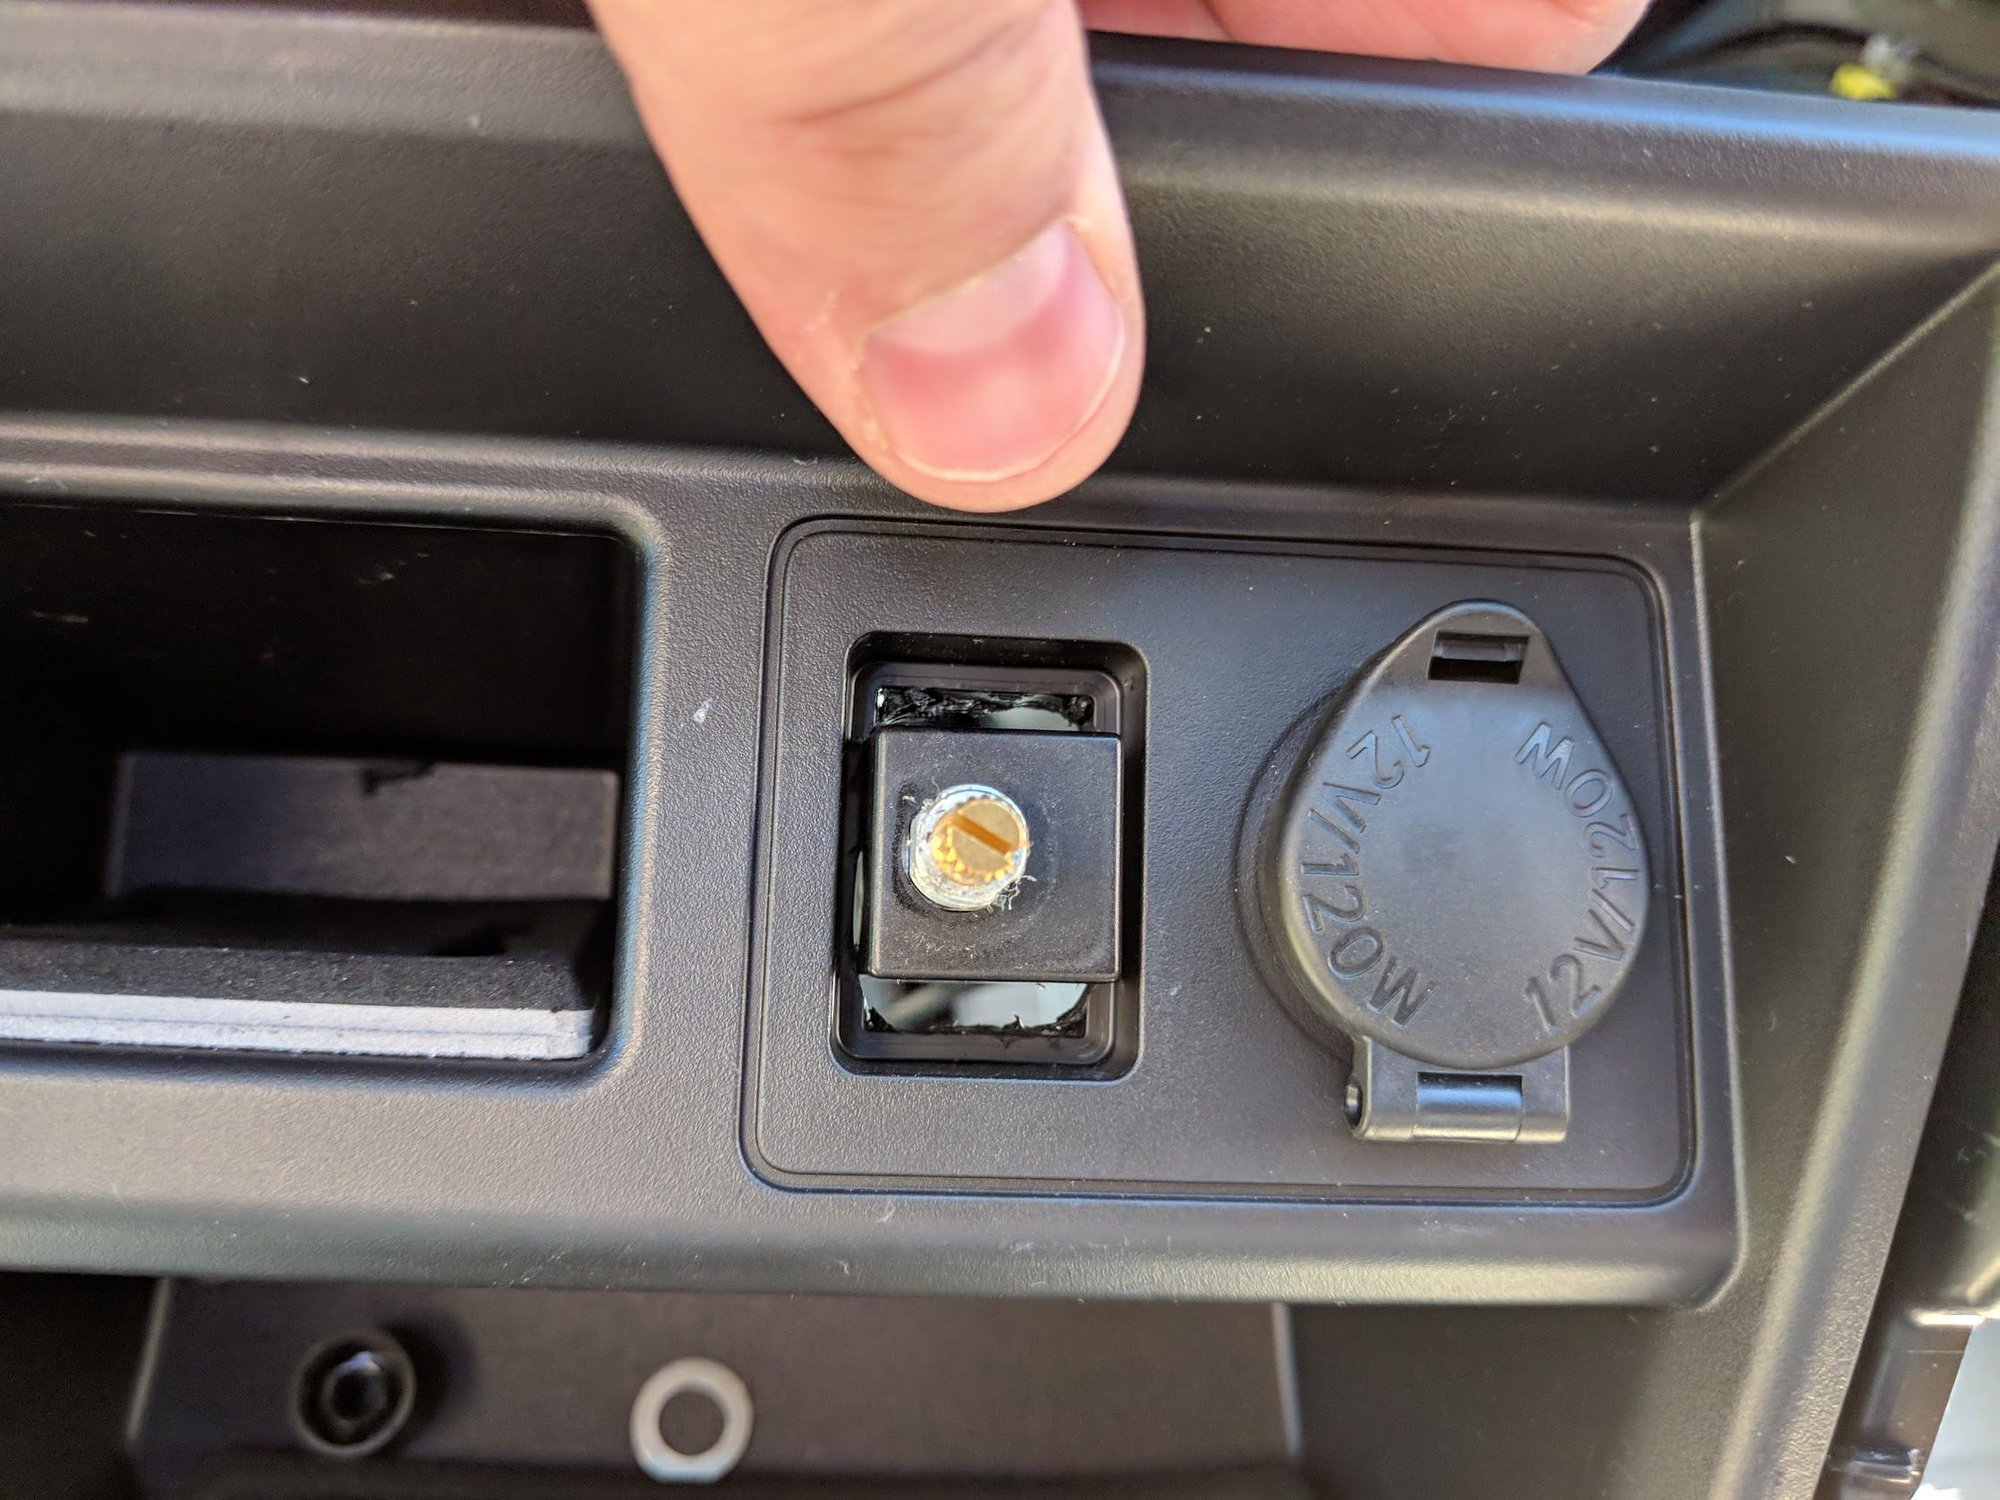
After I started putting the dash back together I decided to spend WAY too much time making this bass gain knob fit this switch blank.

img_20180901_140635_54d2a75f78b1858346d927277515d9a76c714c5c.jpg


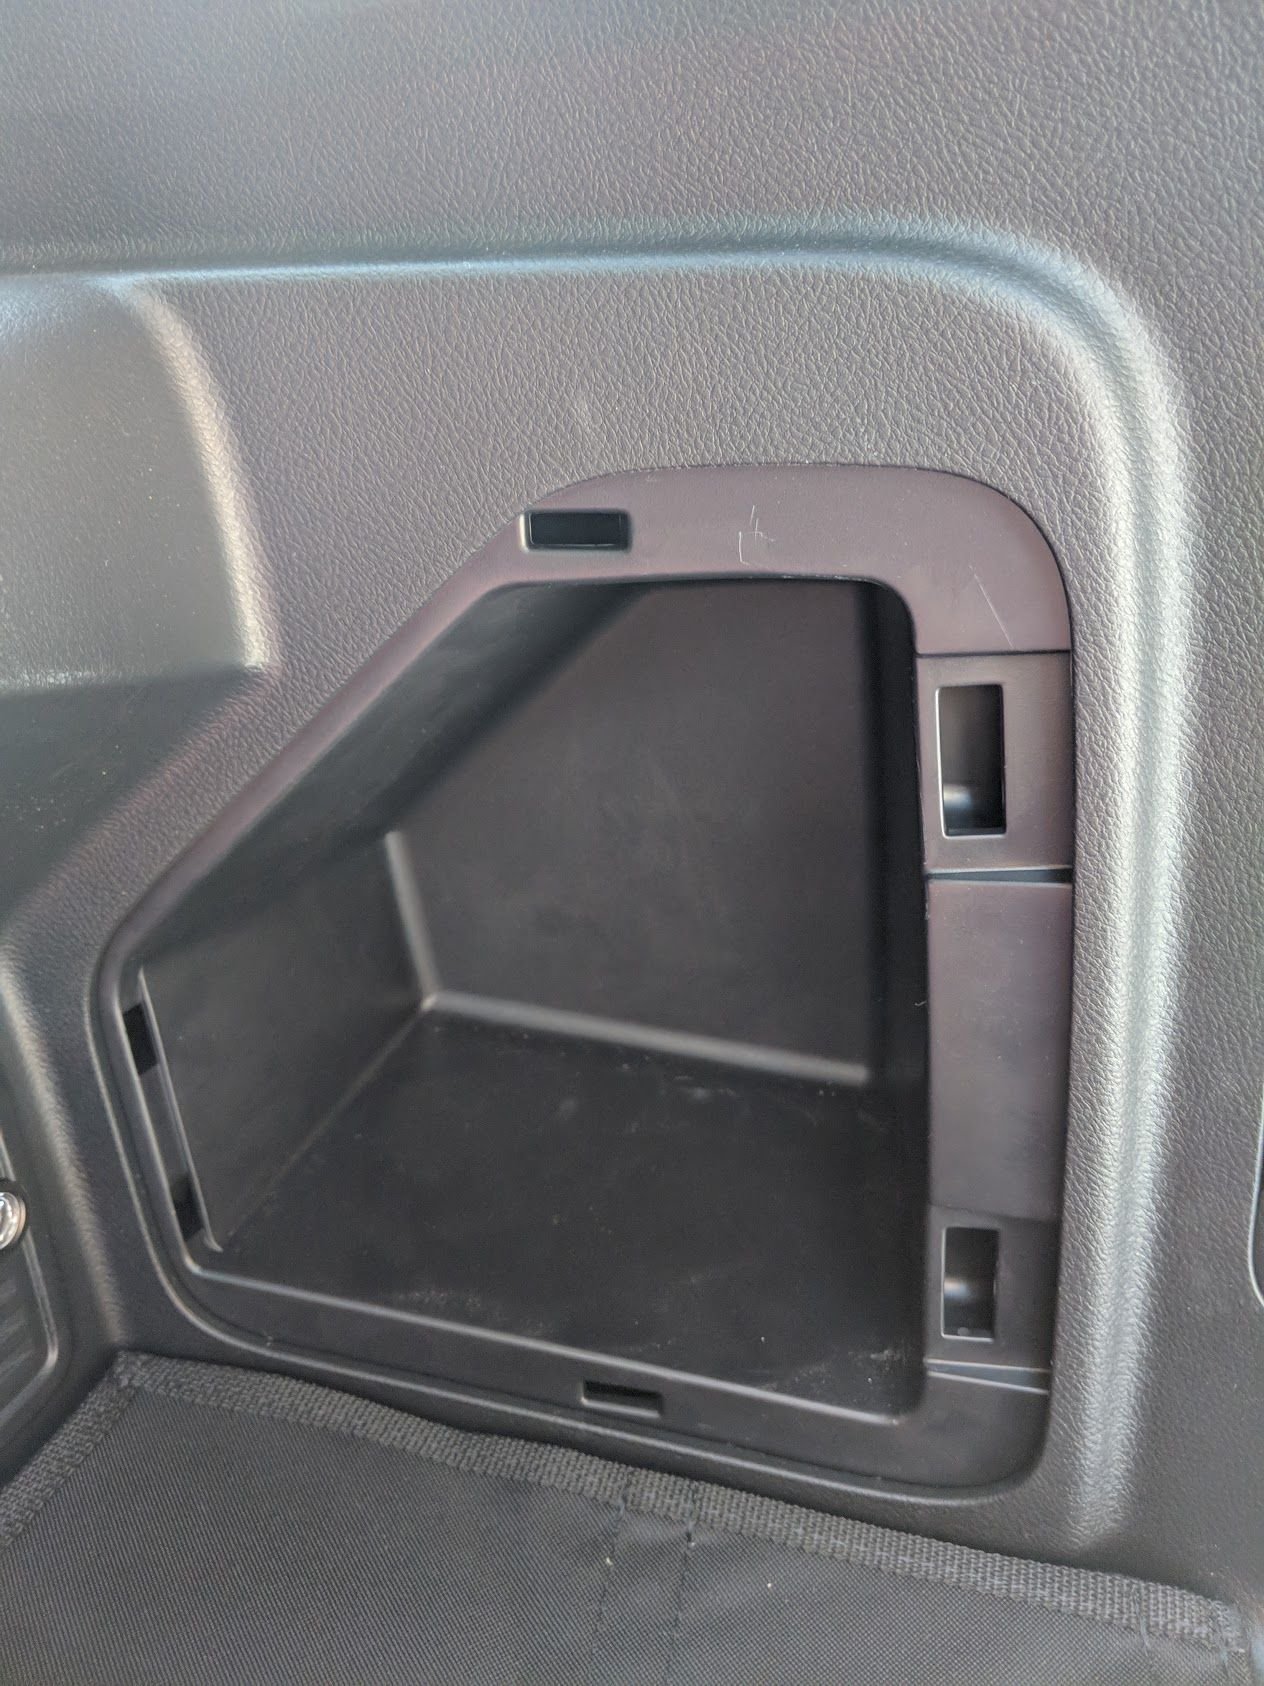
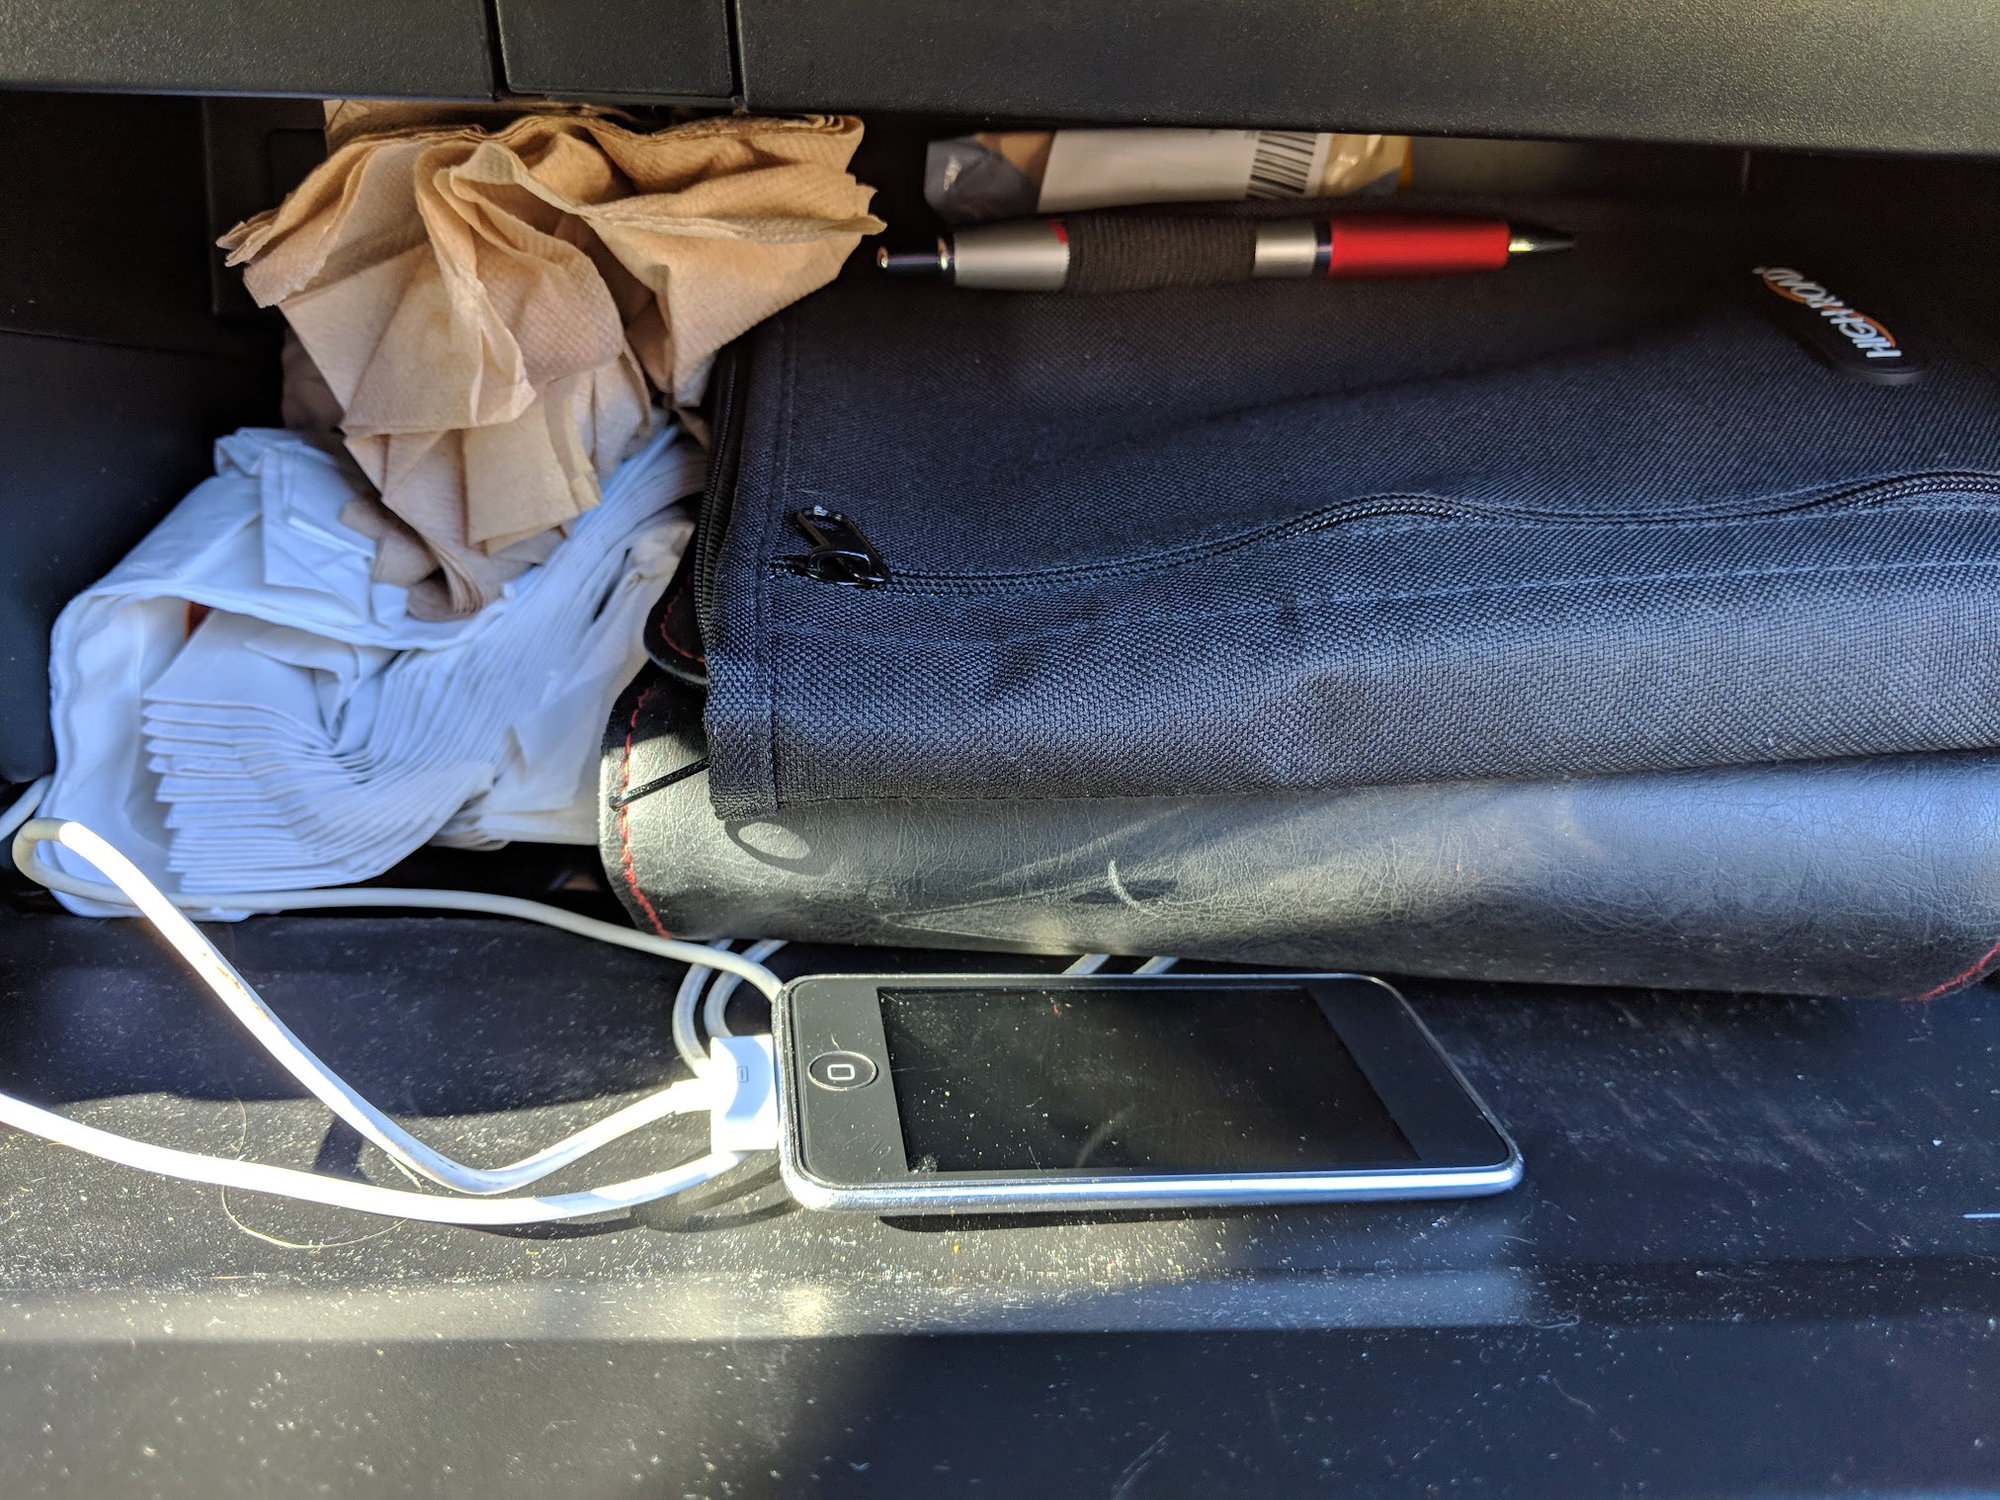
I routed the USB plug that was in the dash piece to back behind and routed my USB cable and my iPod into the glovebox so it is stealth and unseen and can be locked up. I also had to modify the dash piece and widen it to accommodate the bigger box for the bass knob, as you can see it did not want to fit

img_20180901_151341_16f187d08e5d208a4f6f2f64ddc664d7b058c9b5.jpg


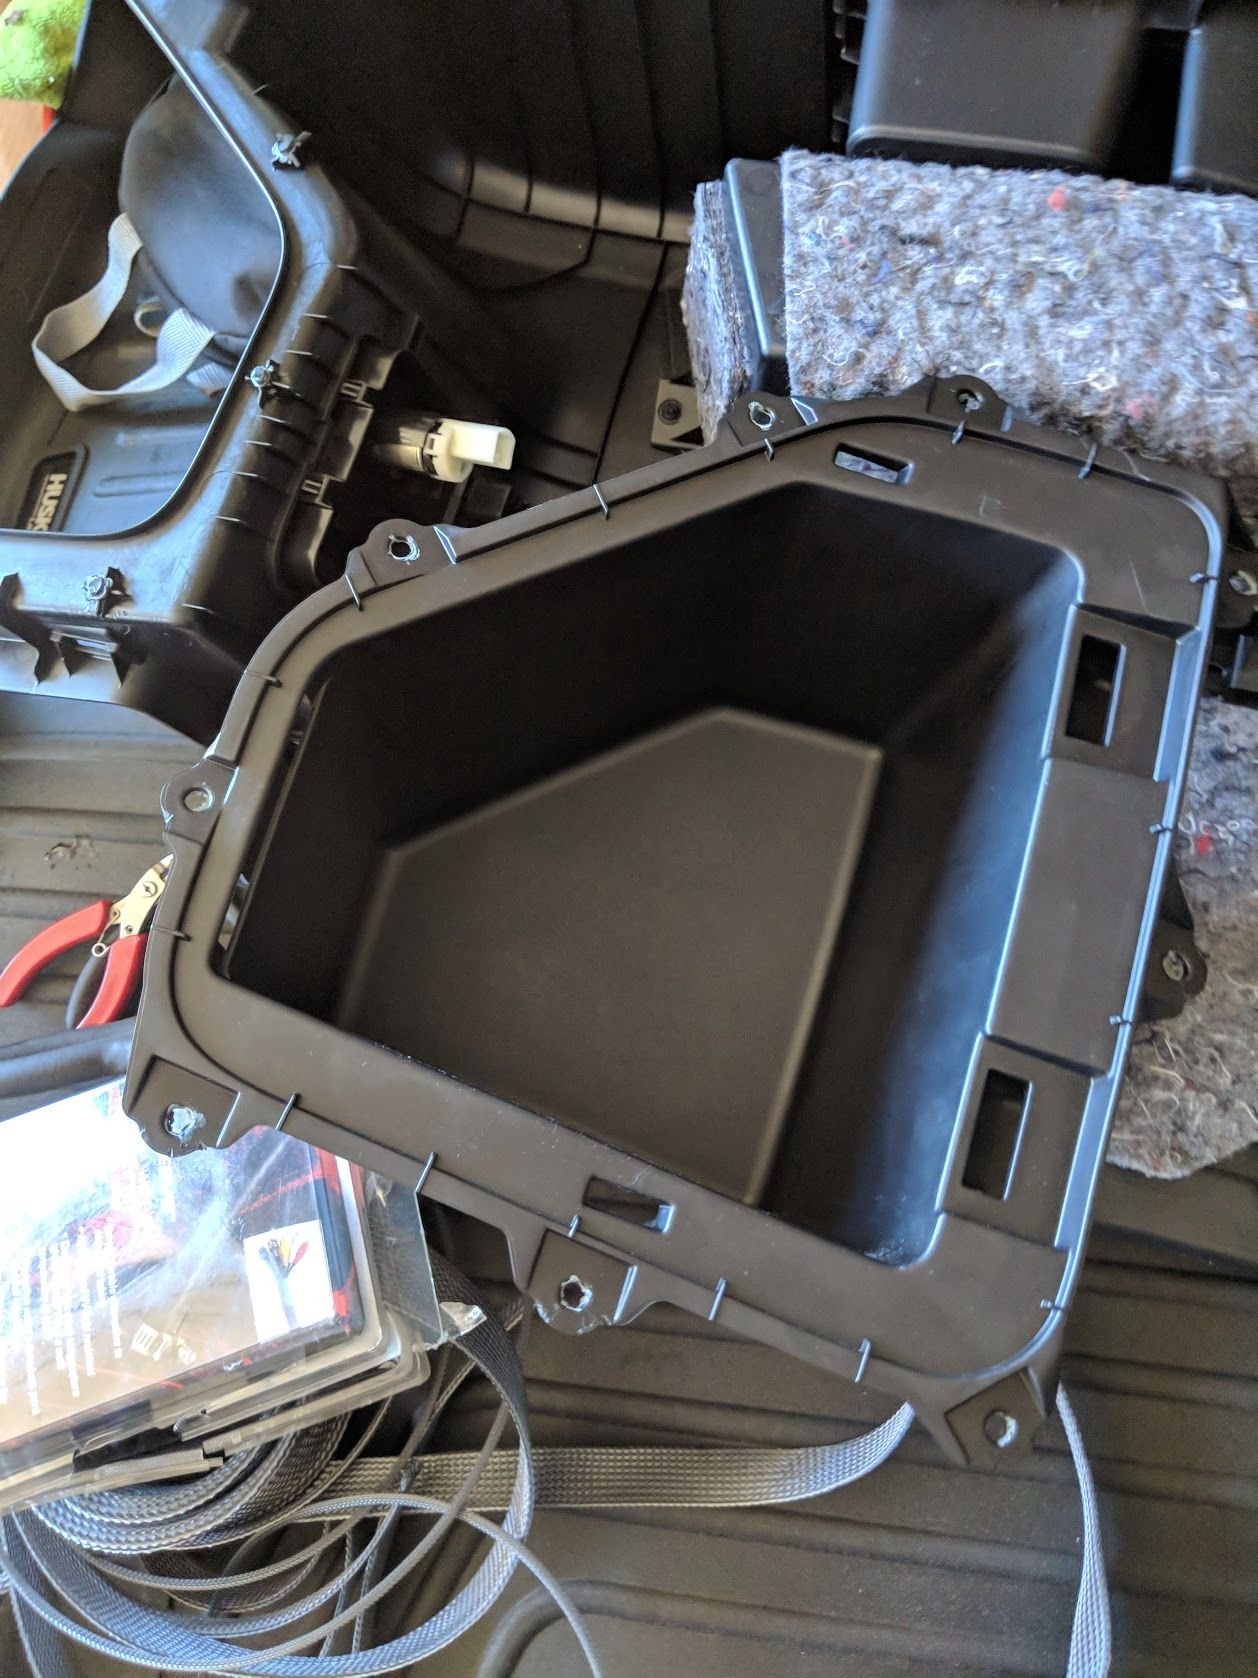
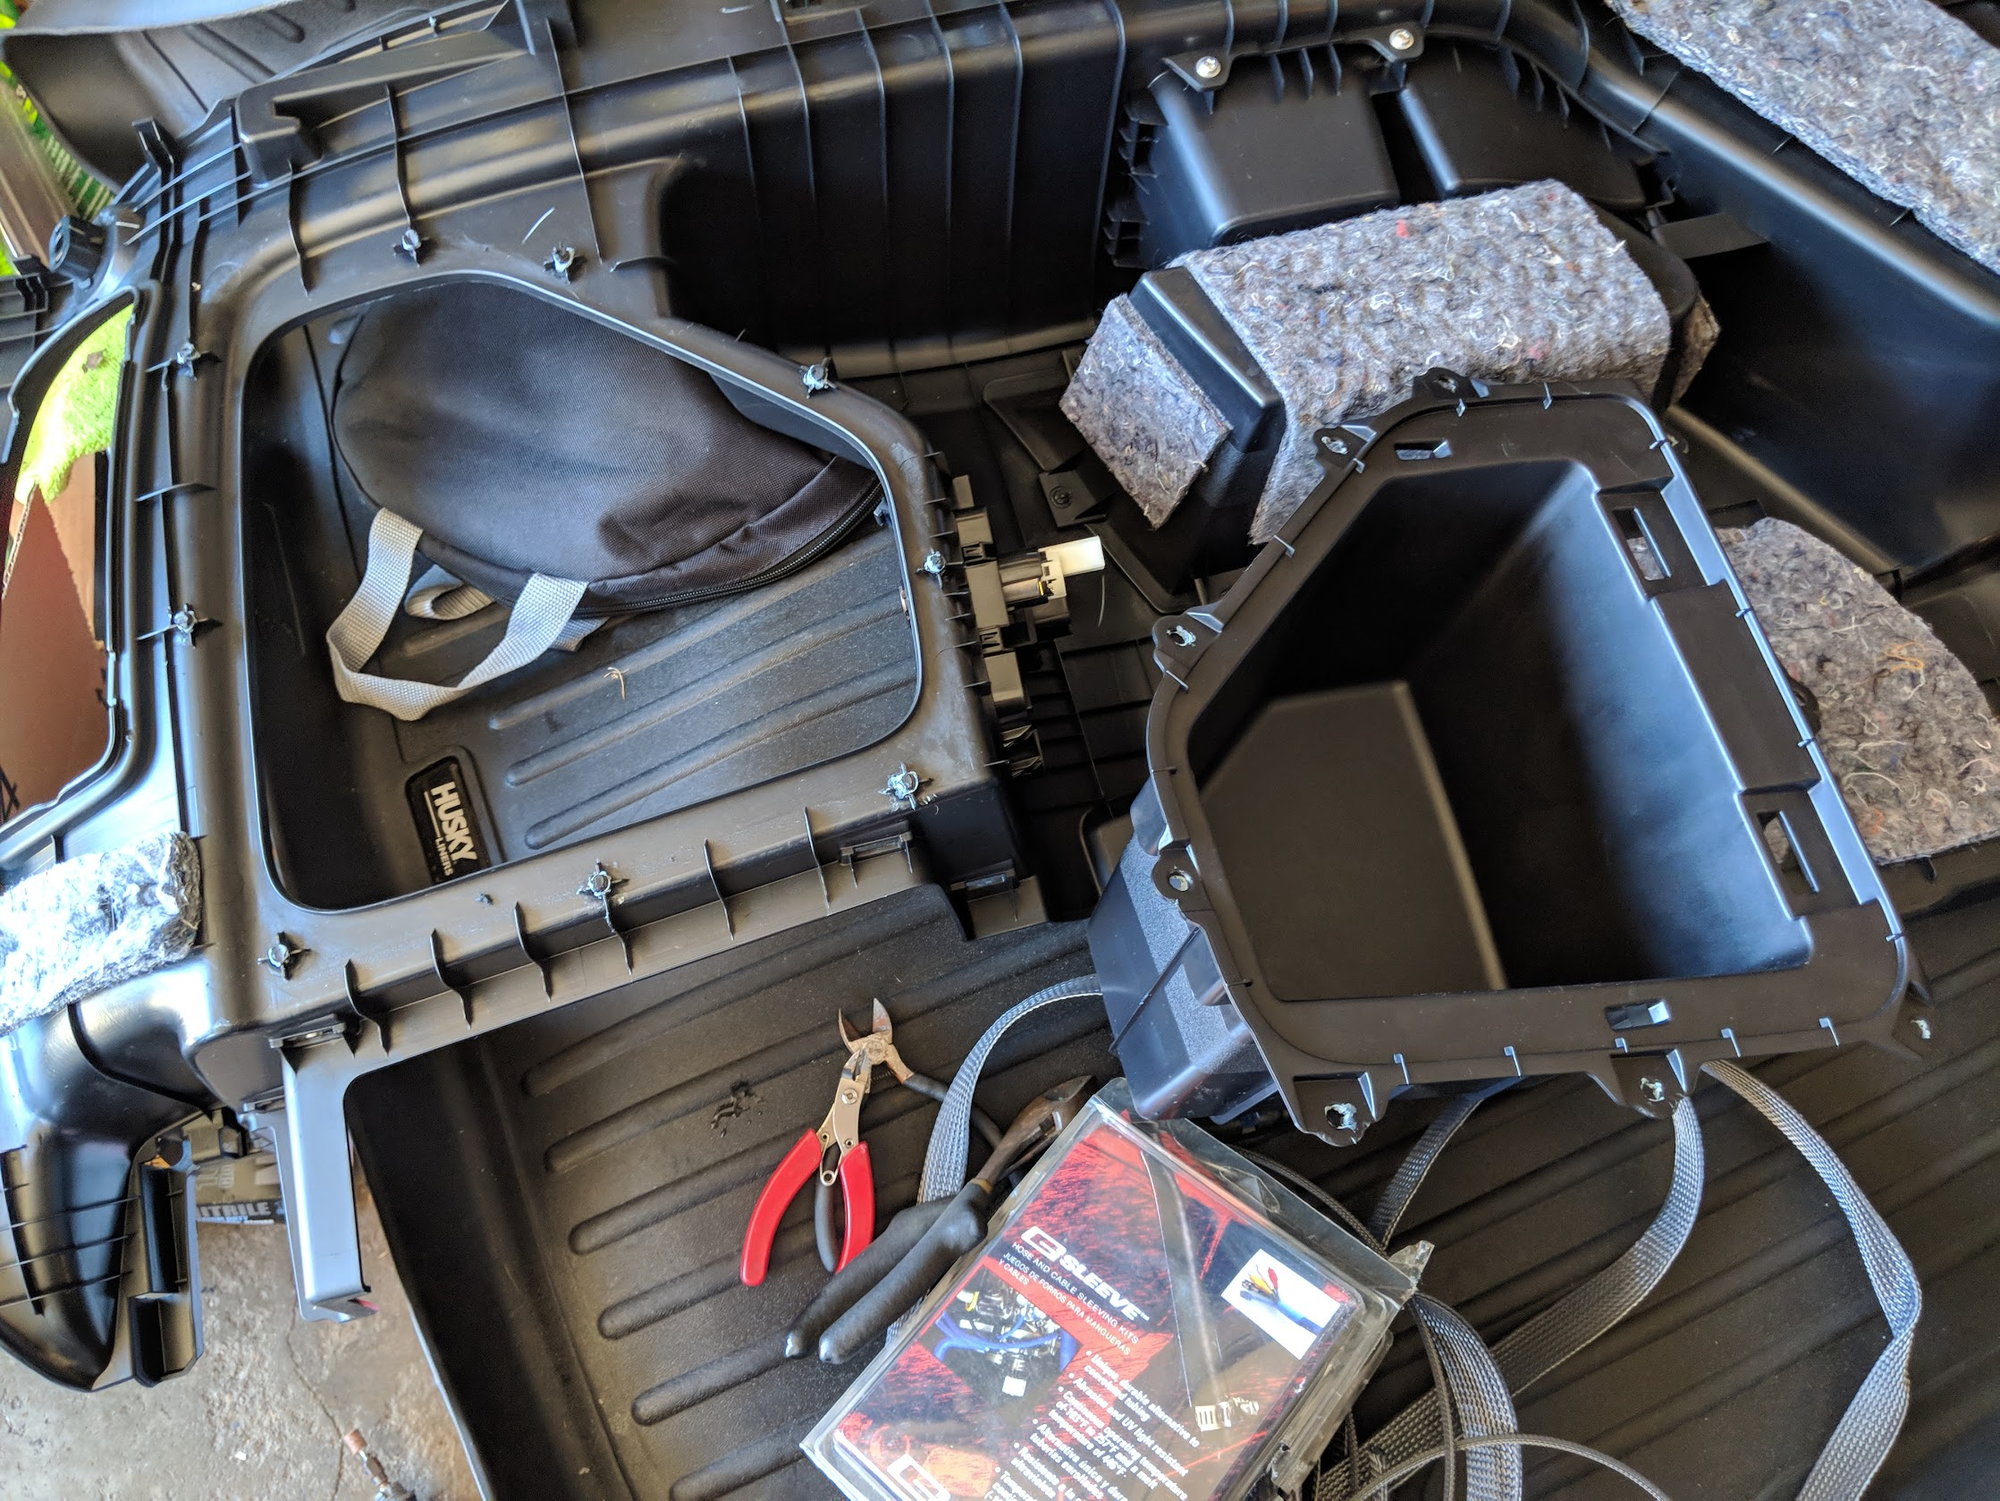
It got too hot to keep working in the driveway since my garage is still unusable for car maintenance so I moved into the garage and removed the pocket where the sub will go.

img_20180901_151211_b1e380b187fececfb3337e2678df2c1c85982f8d.jpg


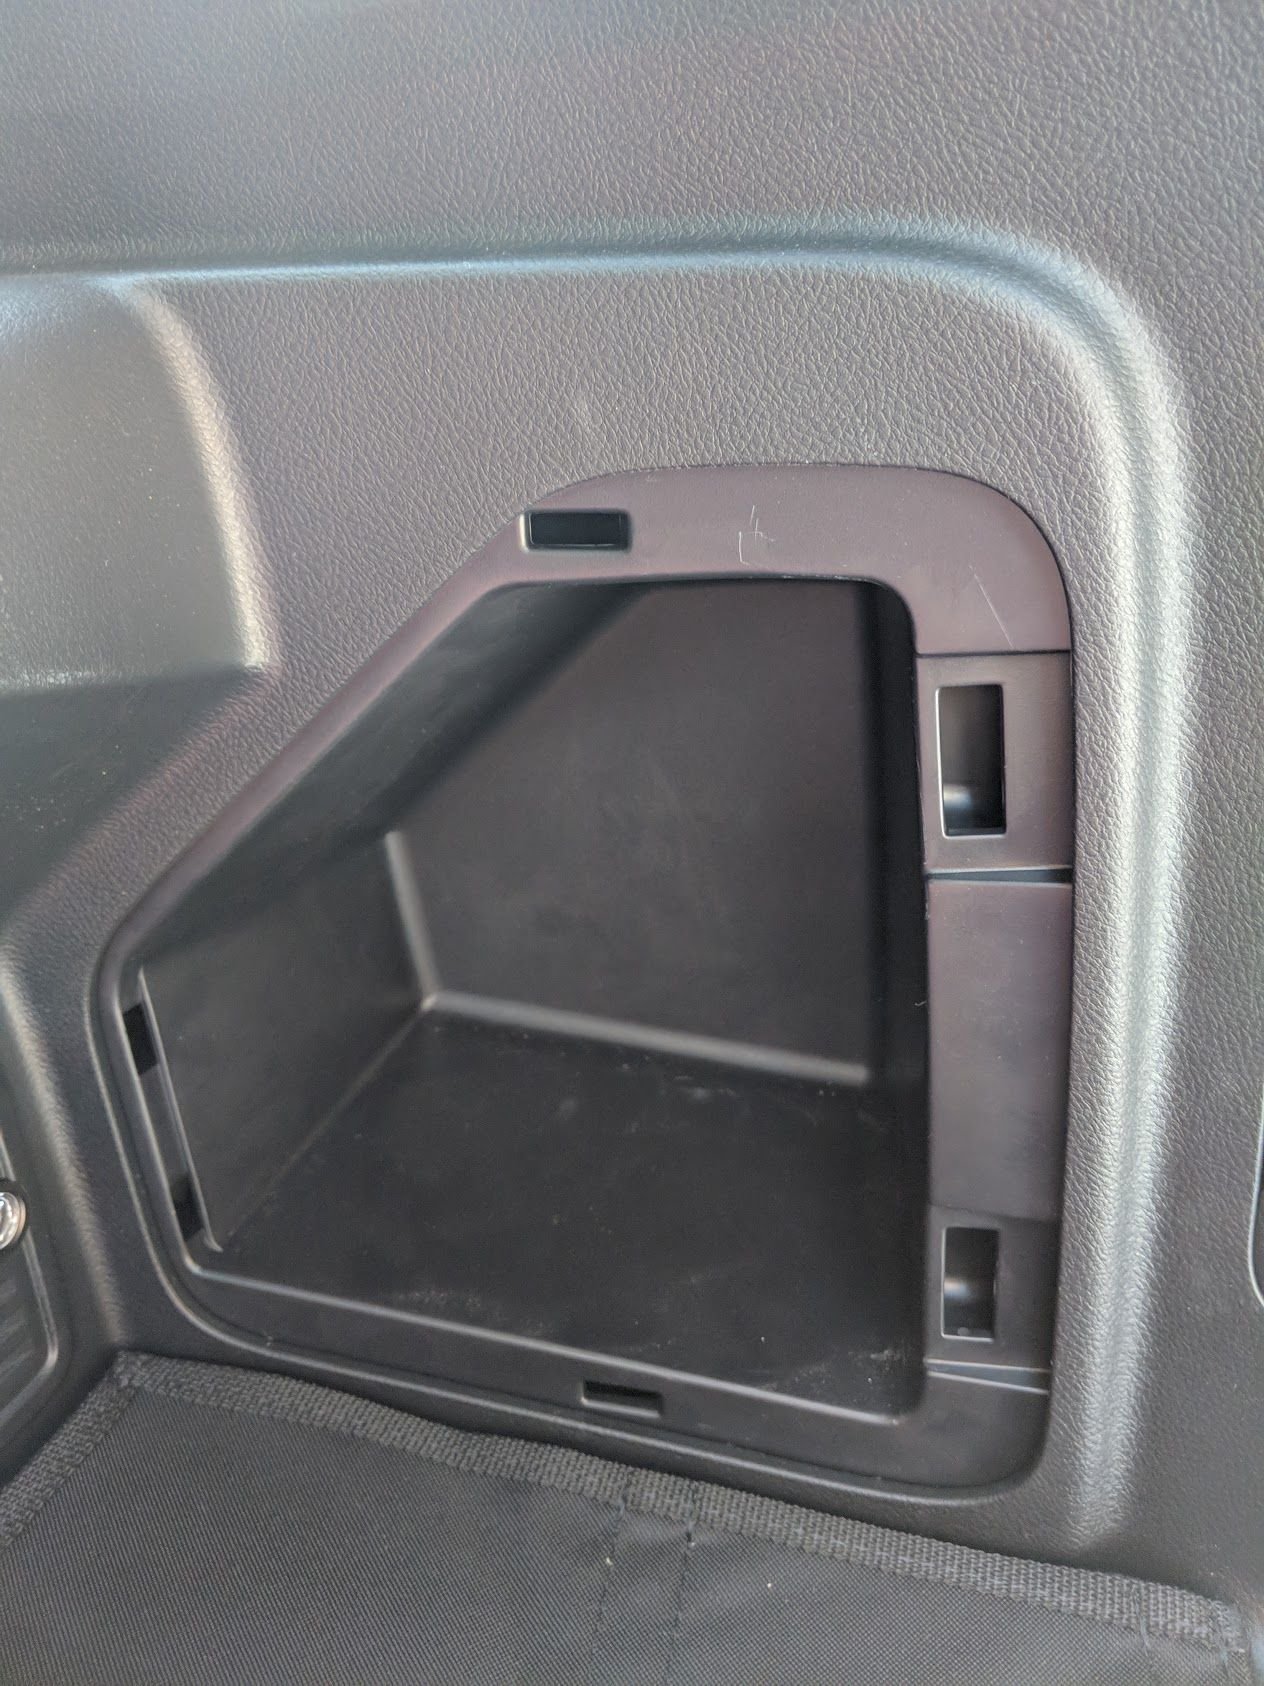
All removed

img_20180901_151205_34f0ee3756e29b68c0486343a6b2bbfd14be2156.jpg


All I did was grind down the plastic welds with a dremel and then pry up each pin one at a time and it came right off.

img_20180901_151208_76ed80ab6237a2ebaf6d6d6563211f1a658e639d.jpg


And finally the bass knob box fit inside the switch panel, success!

img_20180901_151302_0df79eff602a52b3a90189b744fcb6e9d56cfeed.jpg


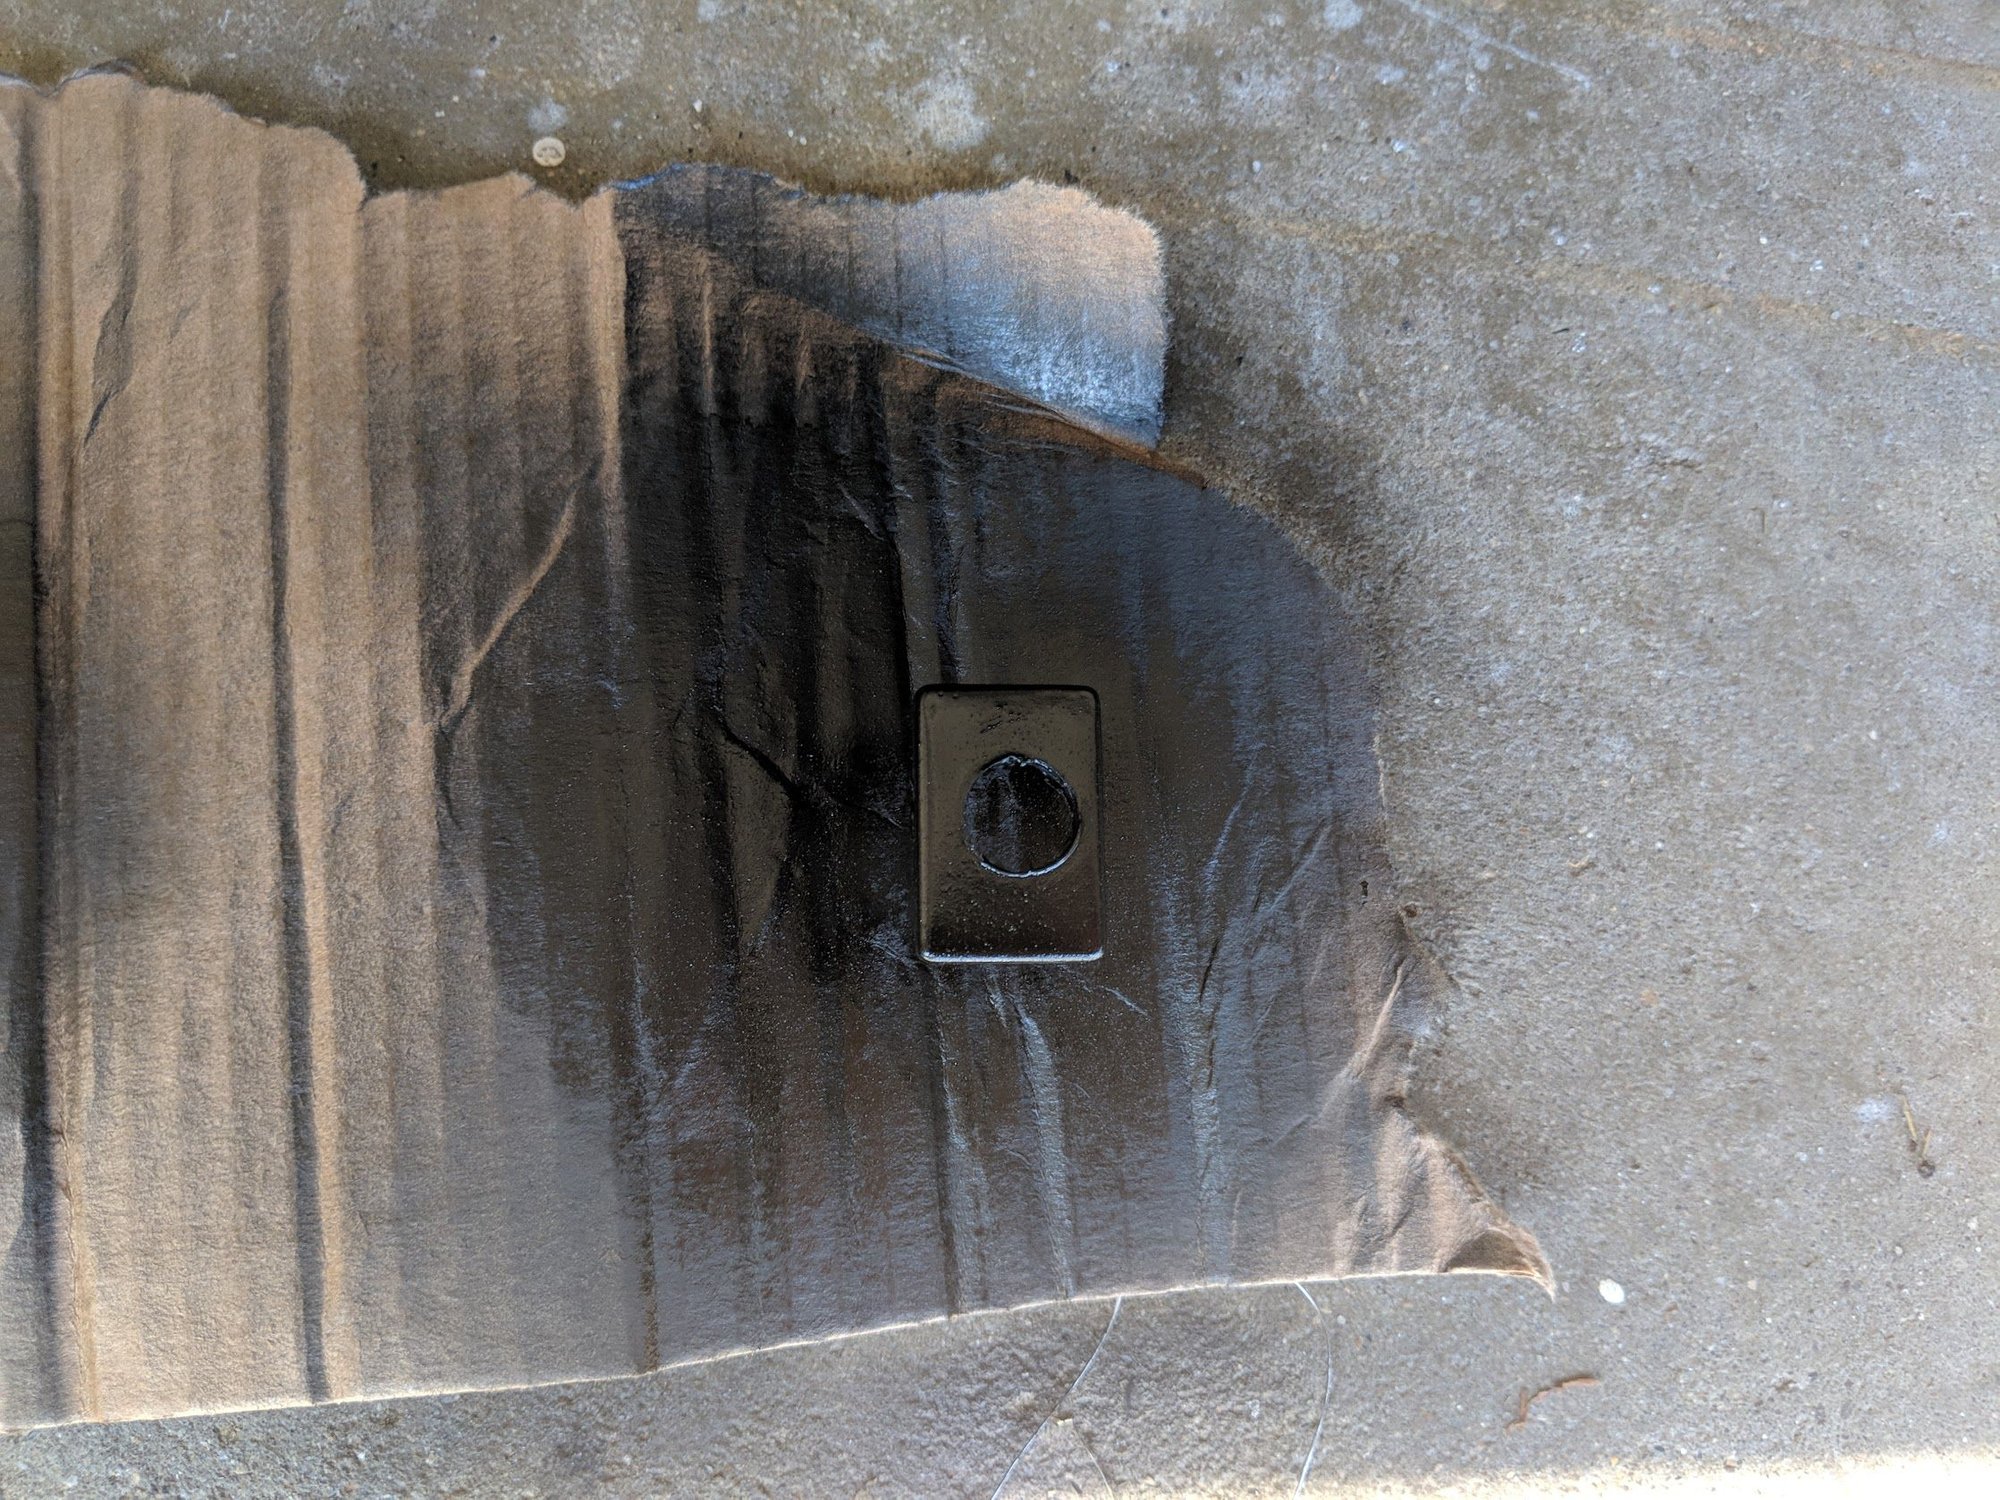
The switch blank got hacked down to almost nothing and got pretty scratched up from the drill as well as the plyers when I was test fitting the washer, so I threw a couple quick coats of satin black on it while it was out of the car

img_20180901_151352_e840757b6e70749f62e825f04cf1f05c8a22274e.jpg


And here's a better lighting pic of the sub enclosure. I have all the wires run except for the power wire and that will have to wait until the sun moves off the driveway and I have a bit more shade. Good progress though for sure!

img_20180901_151335_7420e80ef24c6dfbf98534cebca461f8a2b01fea.jpg
 
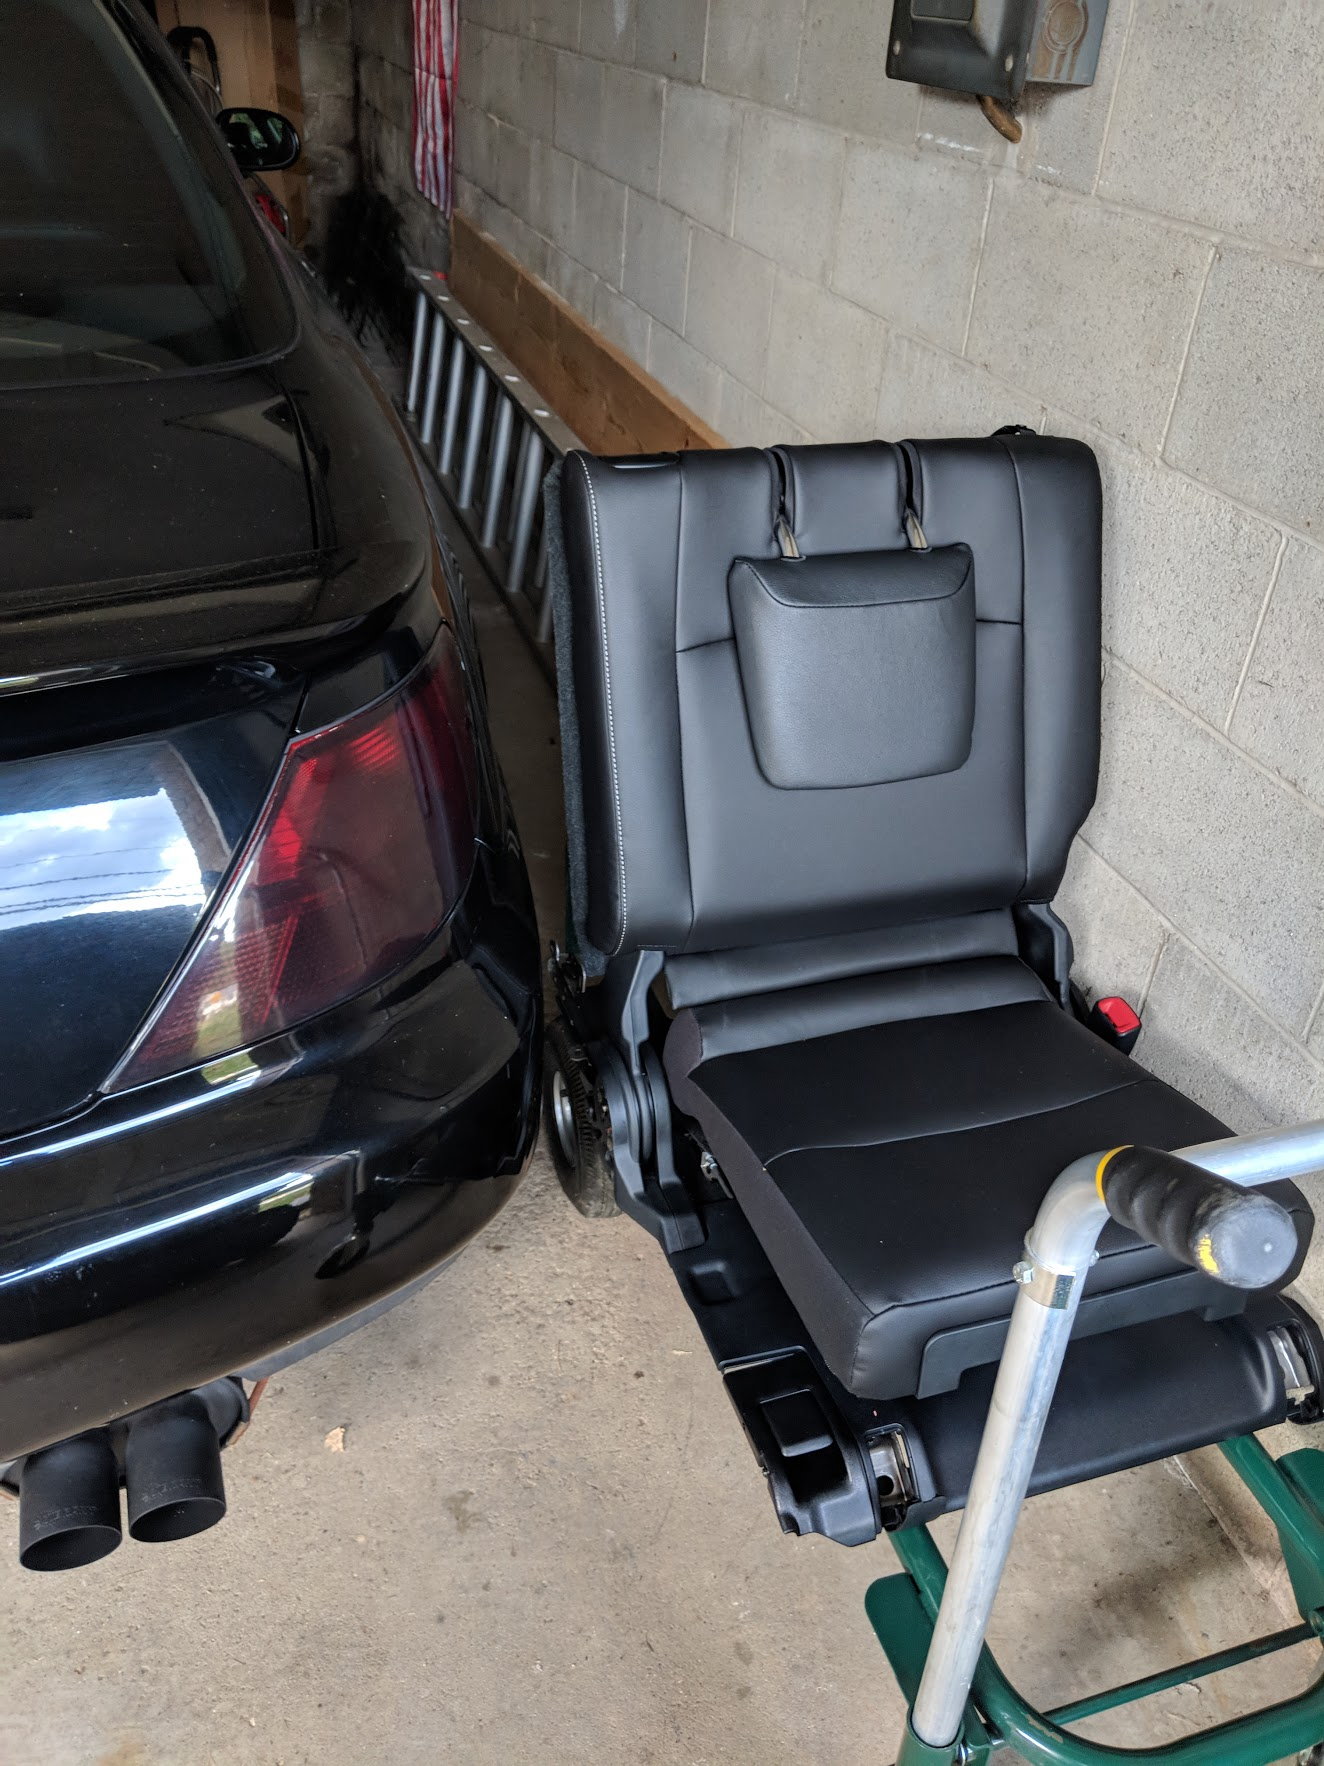
Made lots of progress again today, had to snap a pic of the third row seat chillin with the Ack, GF wasn't home so when I removed it I put it on the dolly and wheeled it out of the sun

img_20180901_180753_febcf71f9cbbca4af544bdc80b904d9a108a2533.jpg


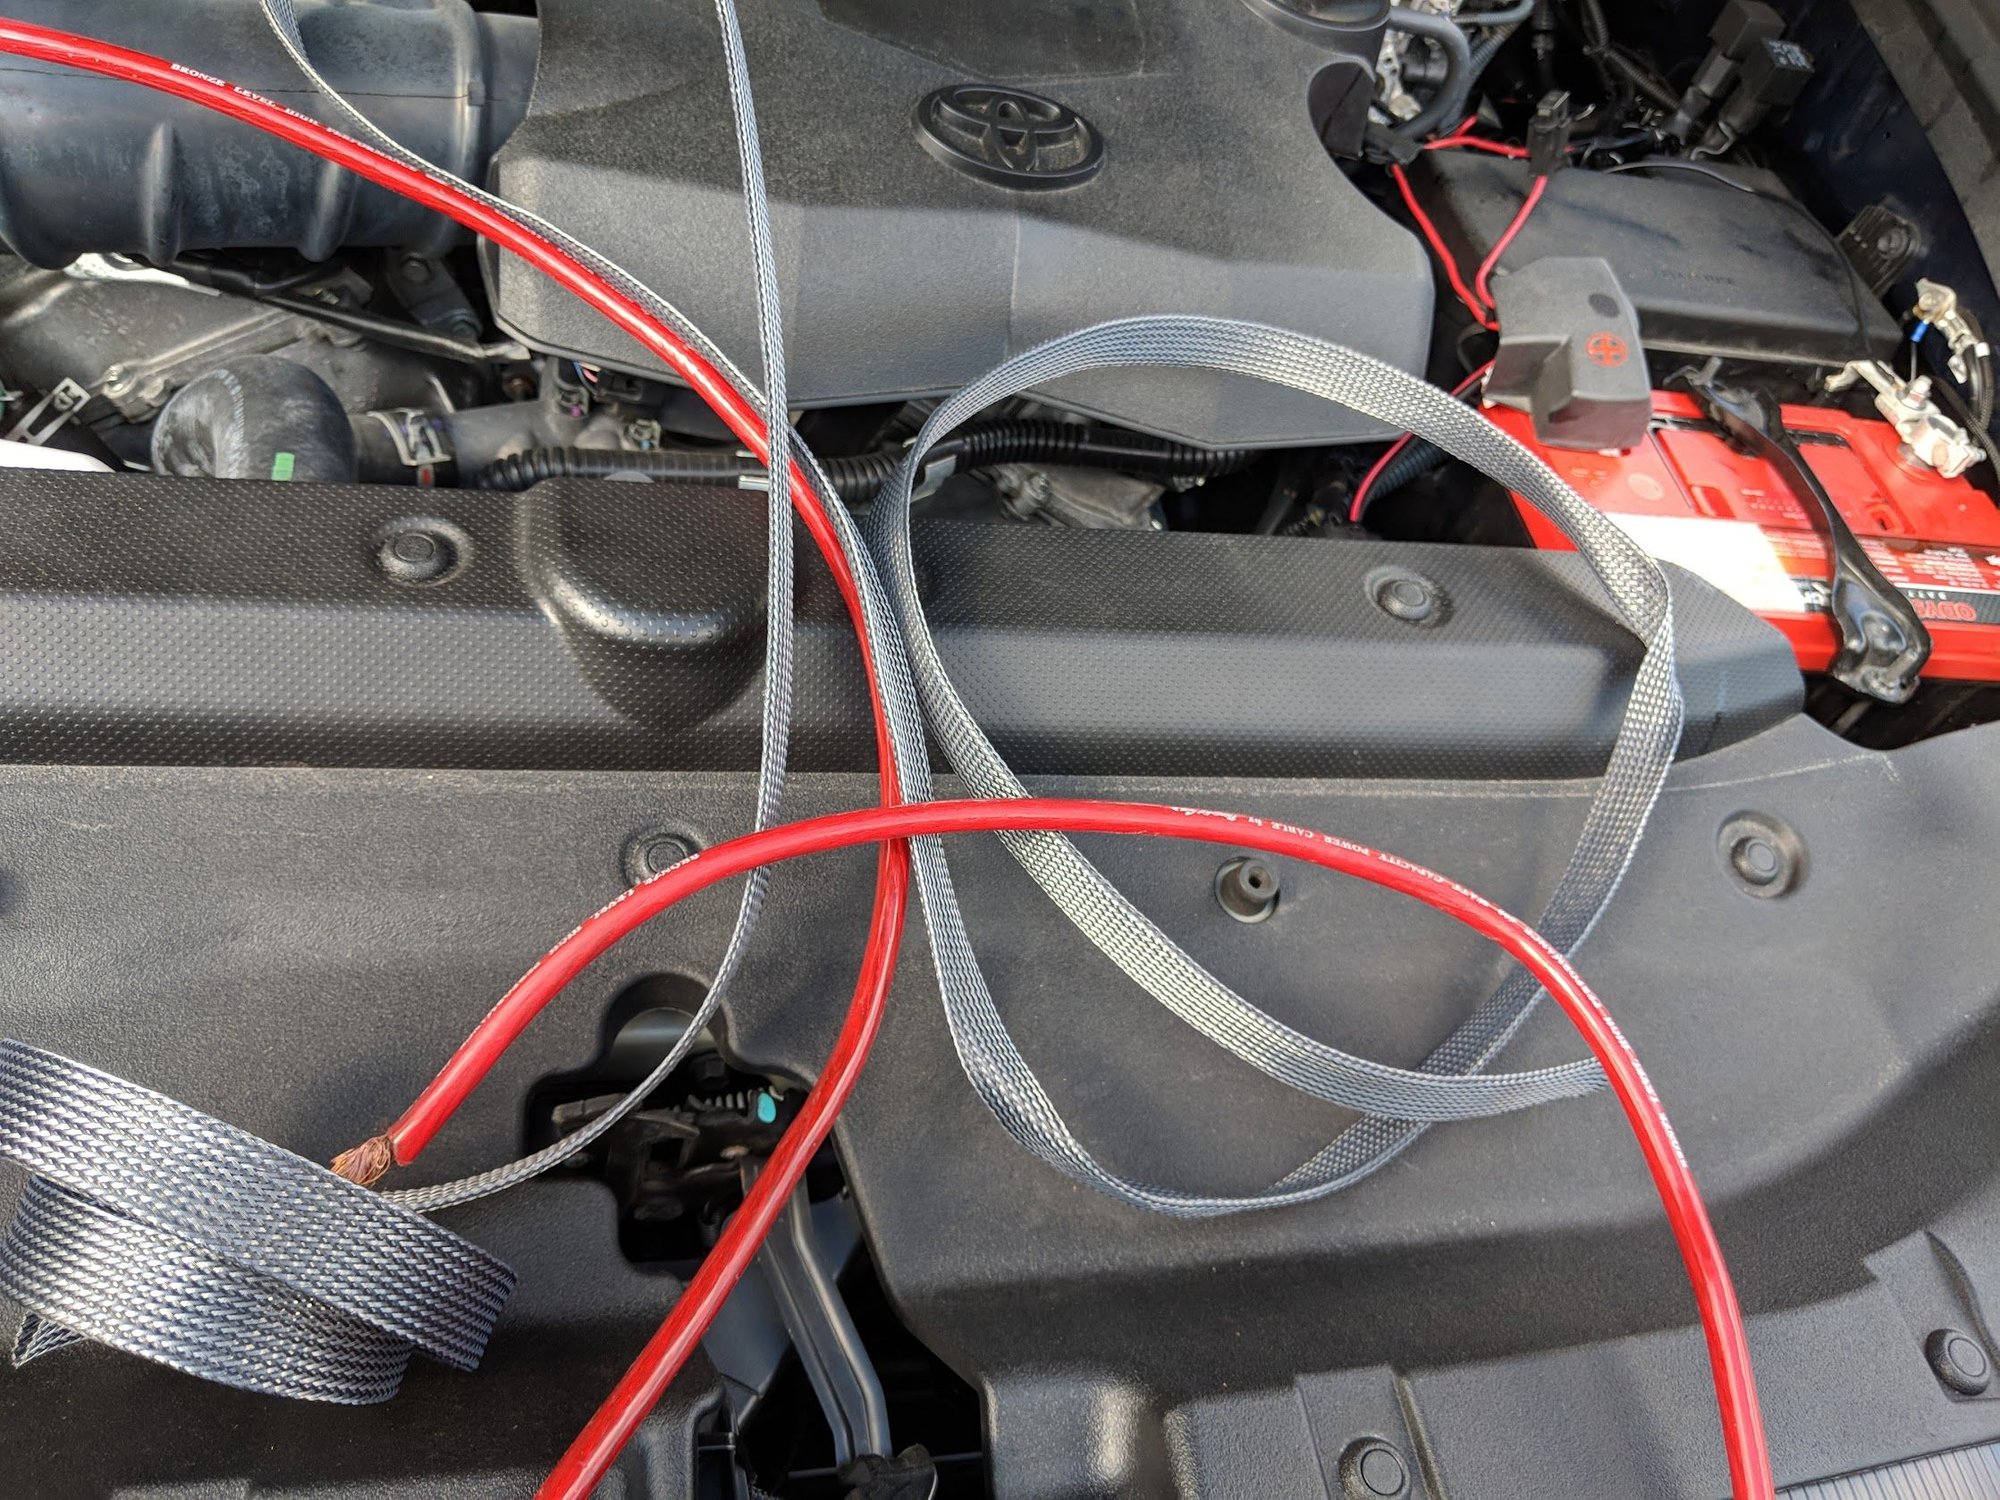
I spent way longer running the power wire yesterday because I because I decided to sleeve it and make it more stealthy. This is the same power wire from my 08

img_20180901_162338_3ce34de6a9c07683ea1569190a0dc6d2d225939c.jpg


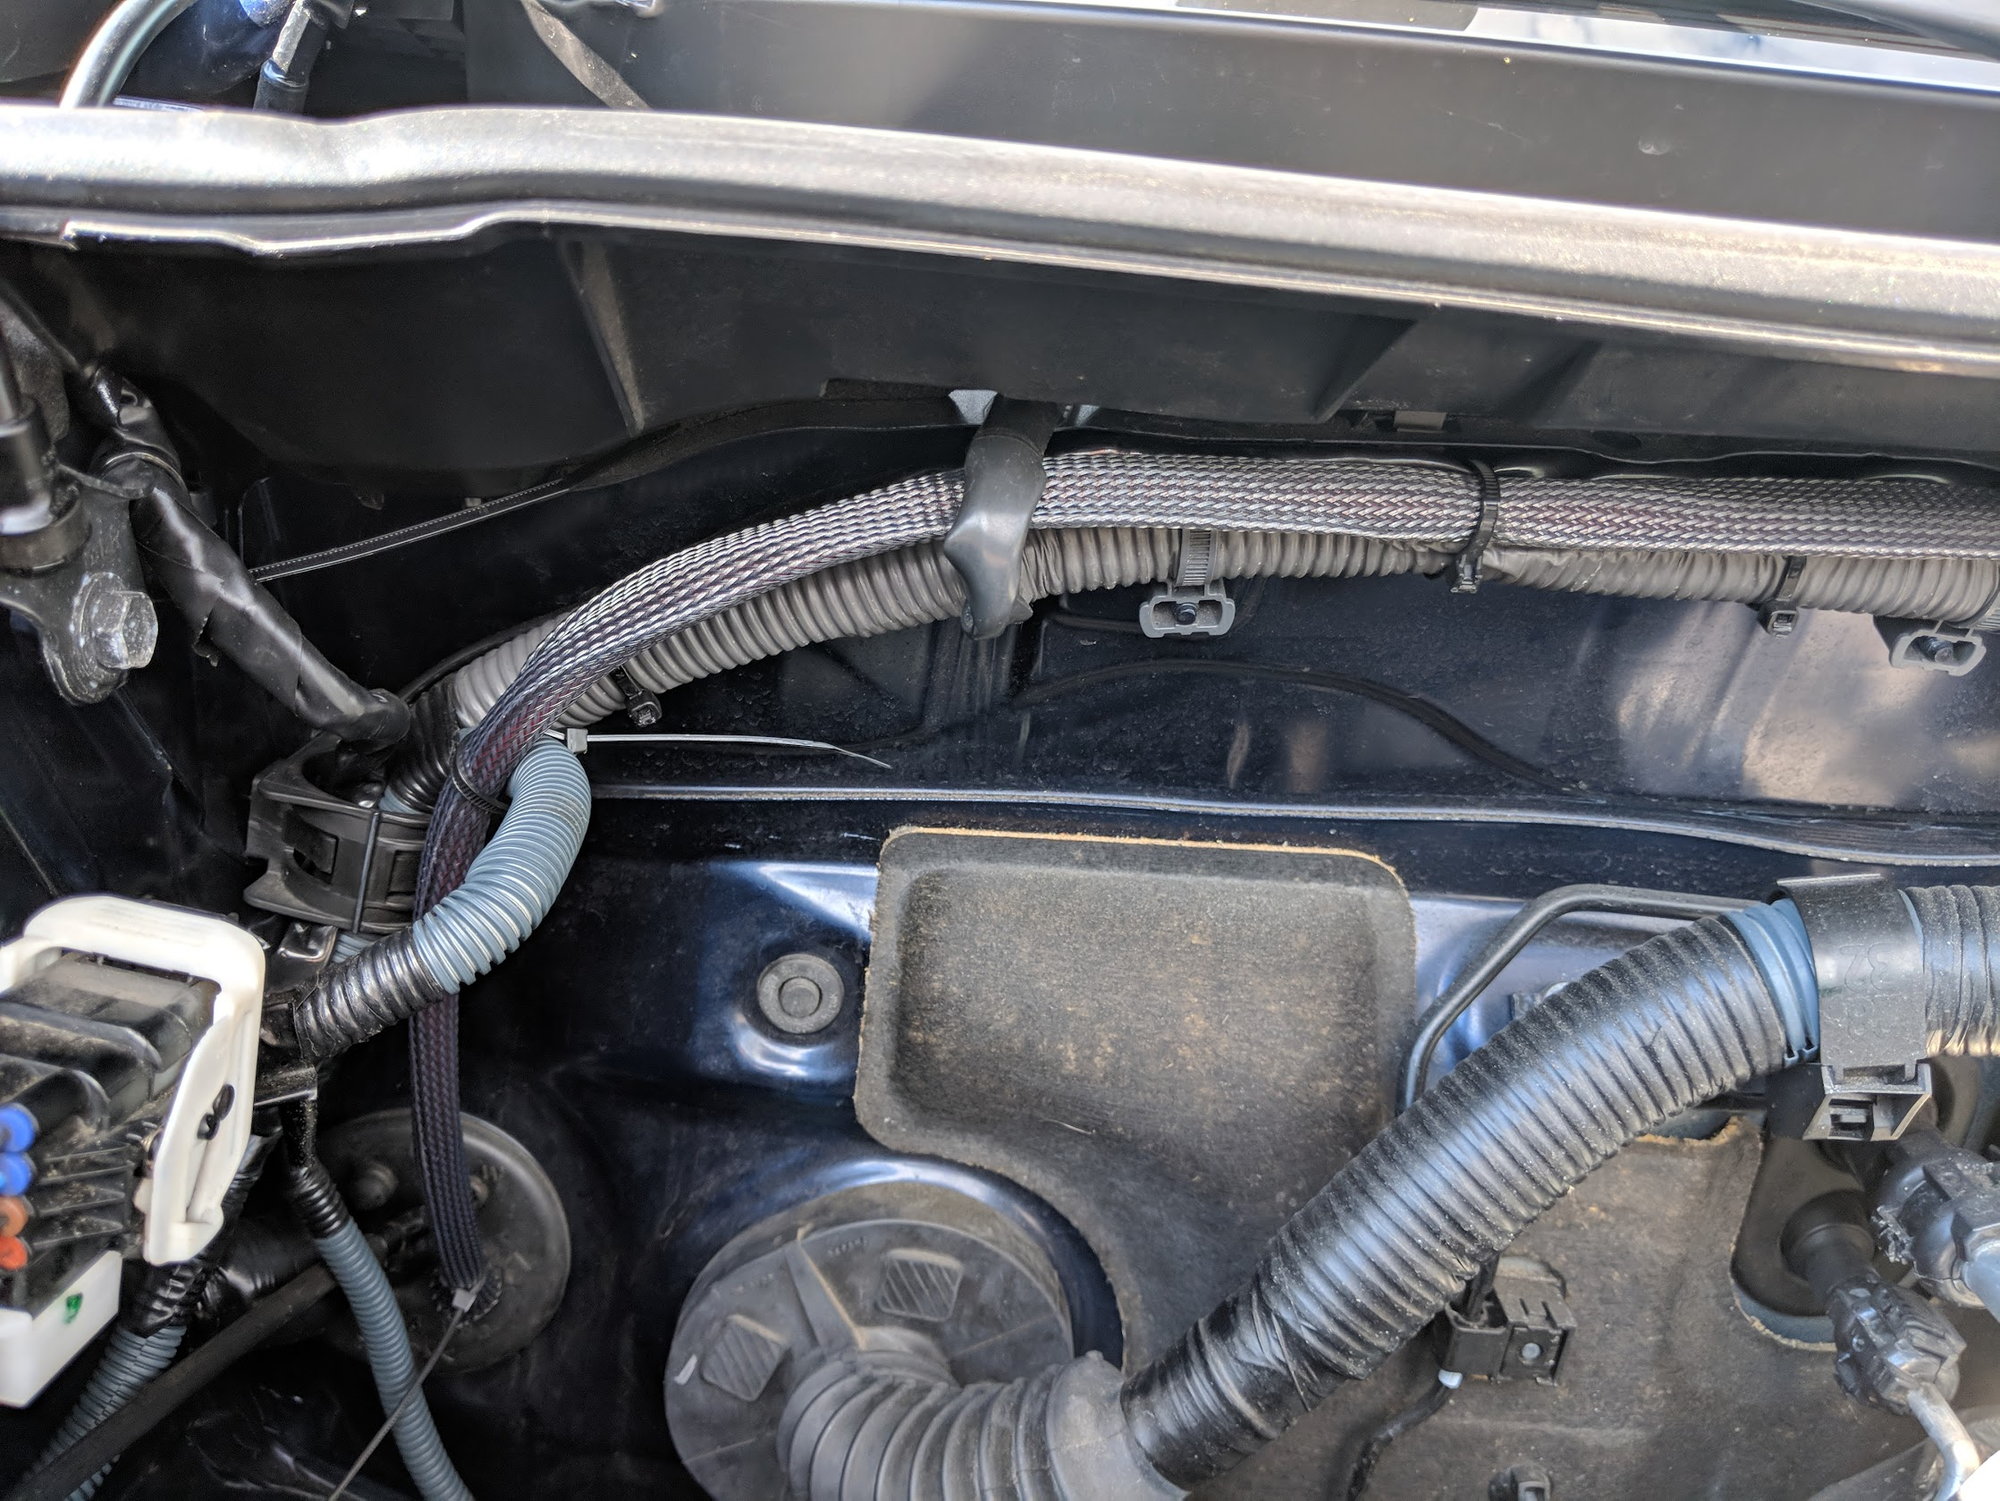
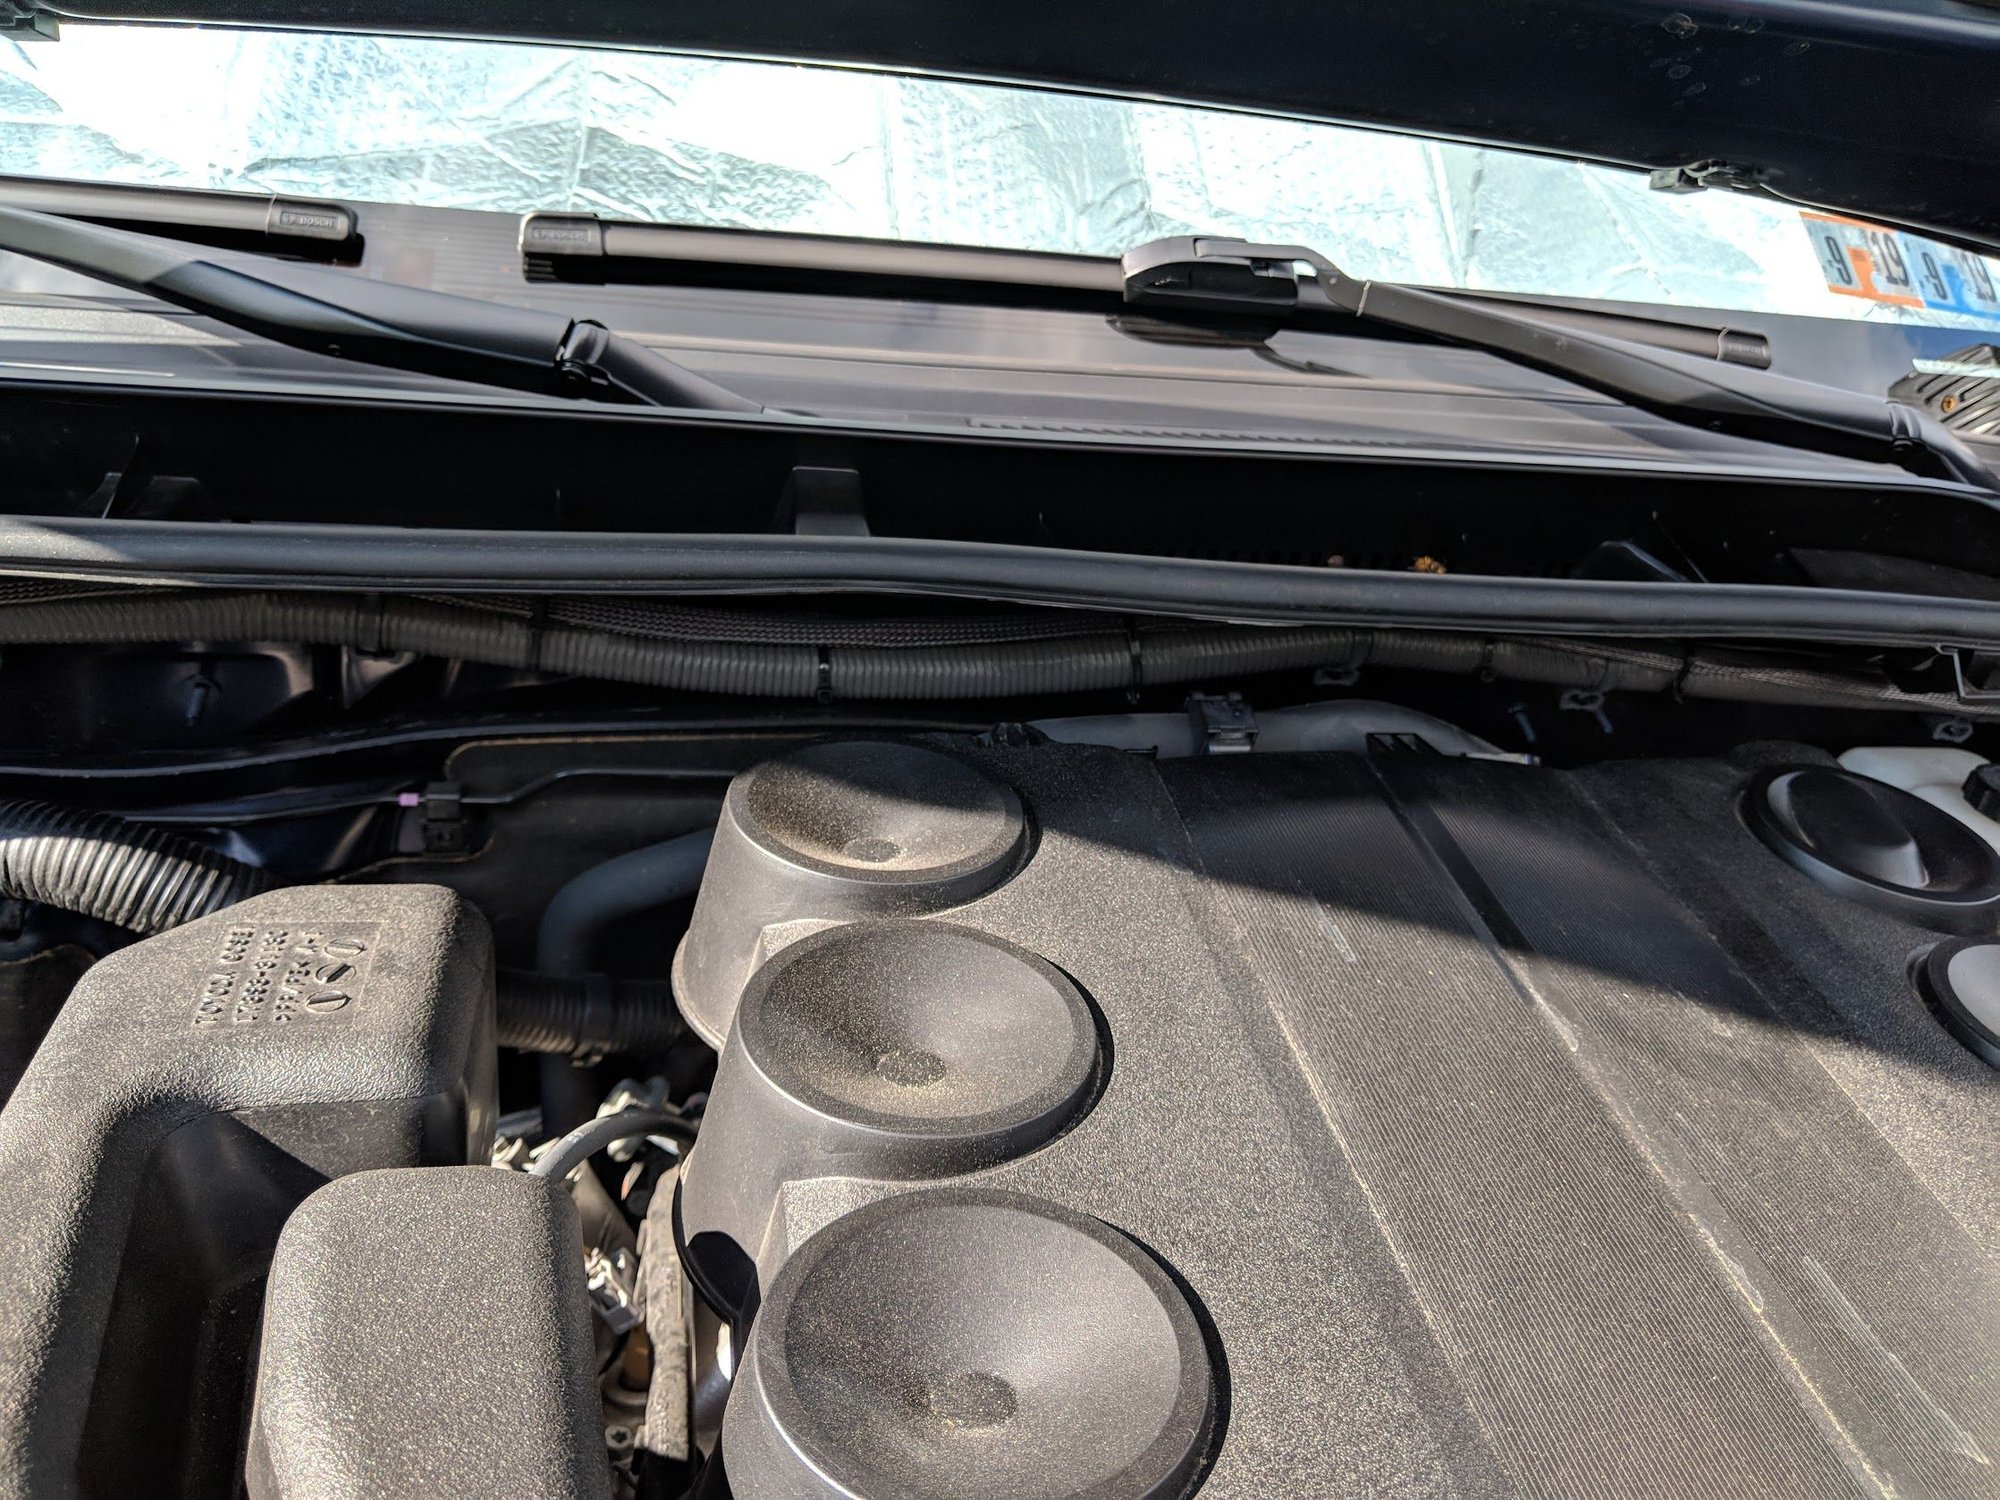
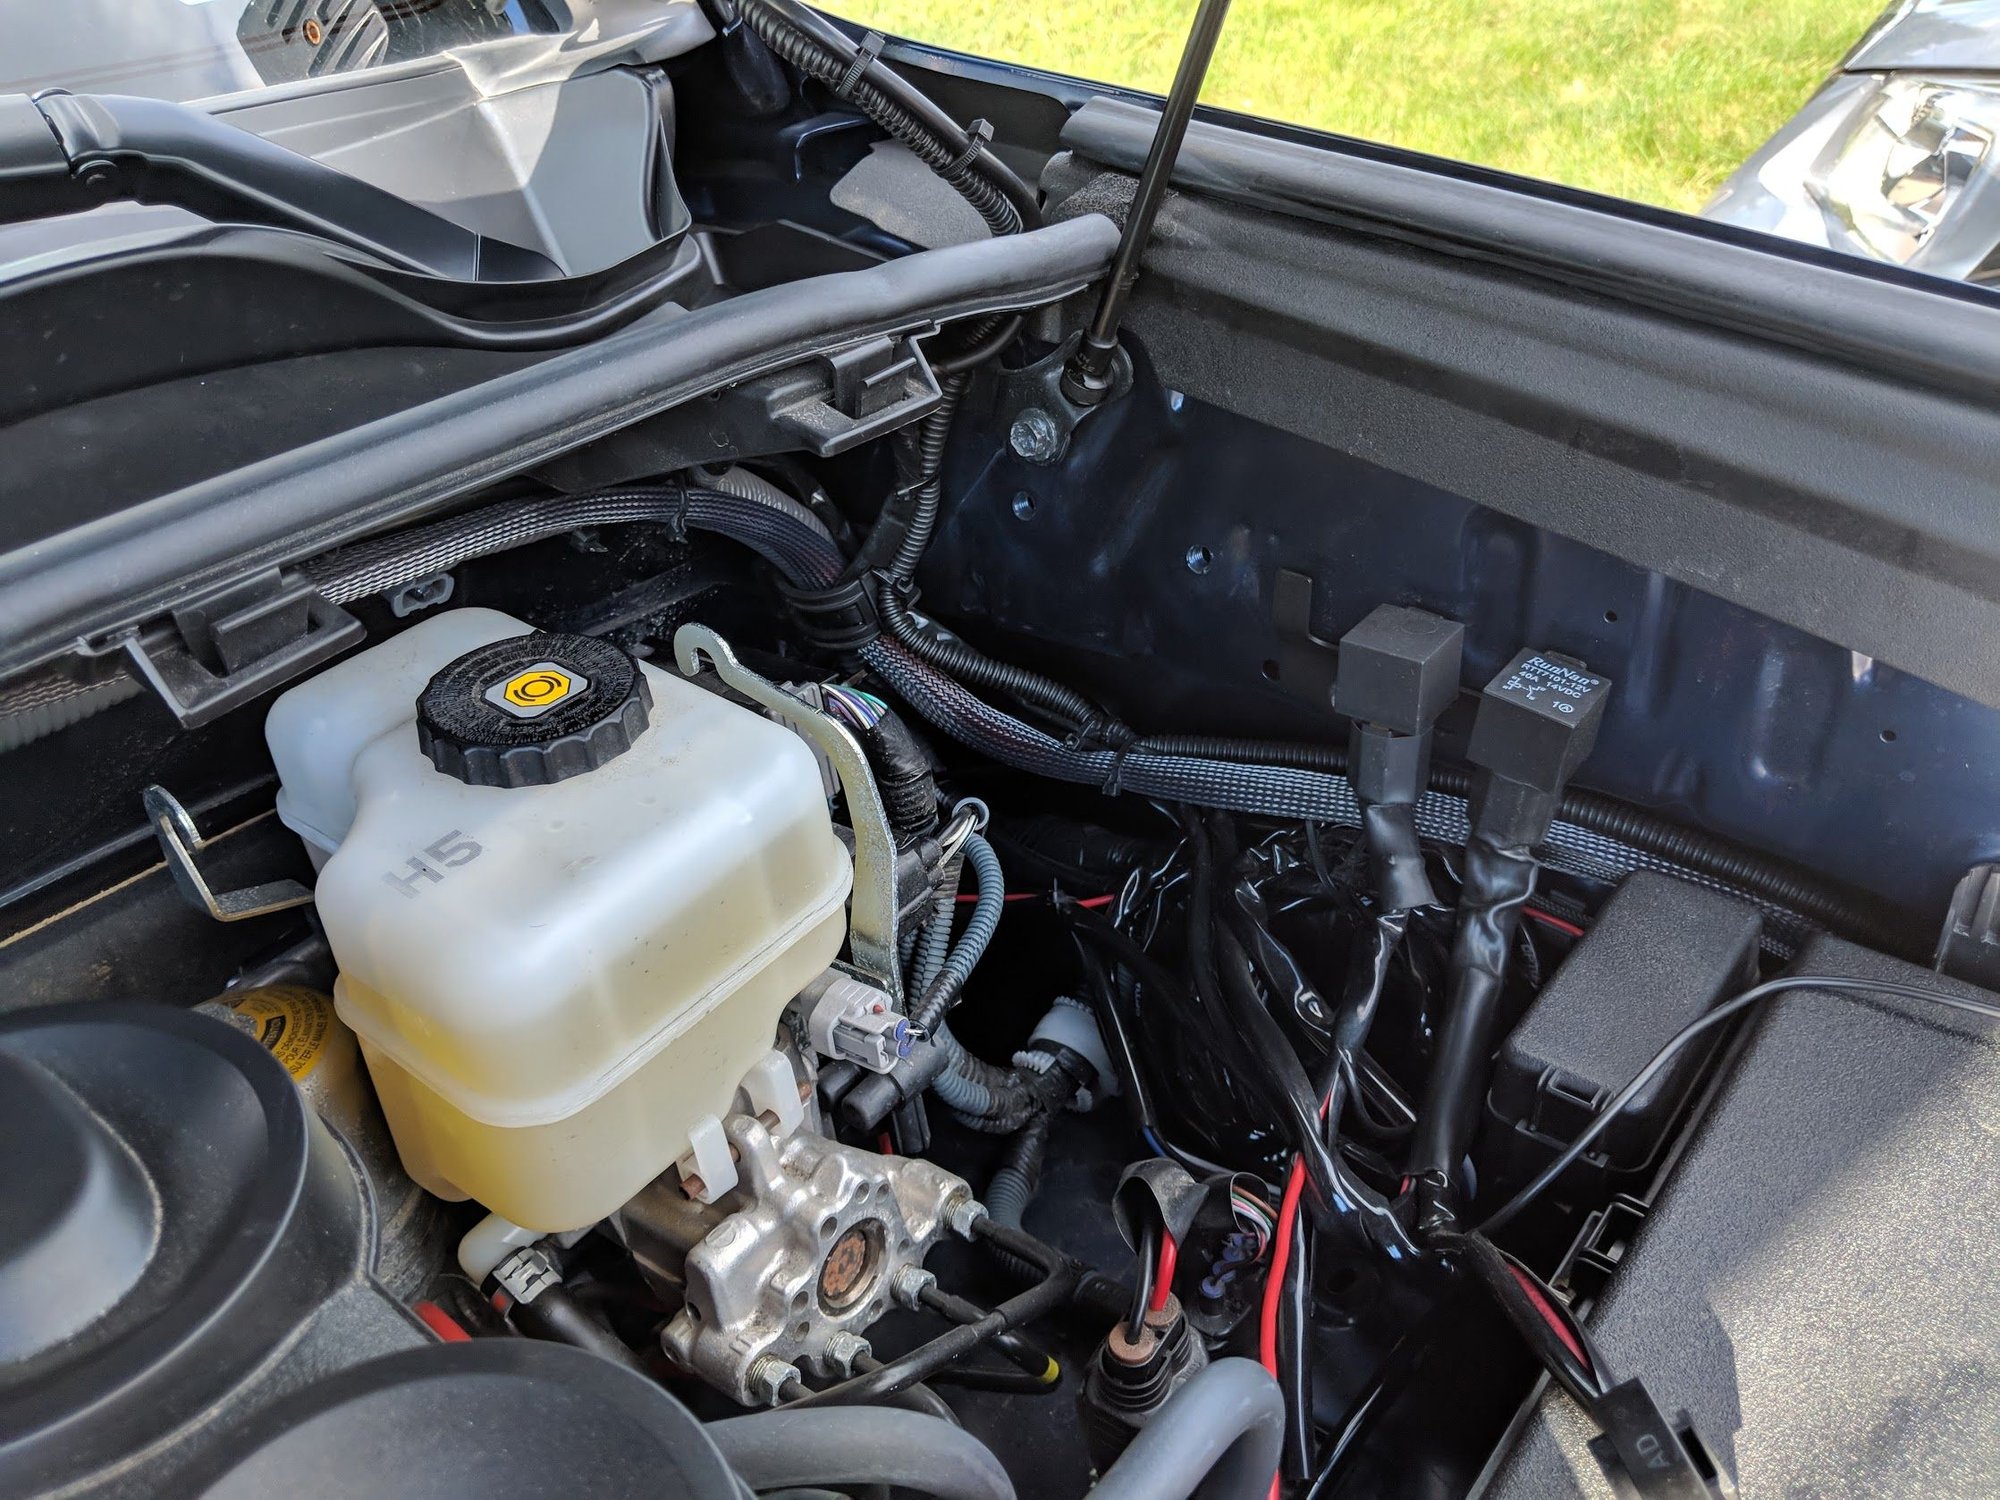
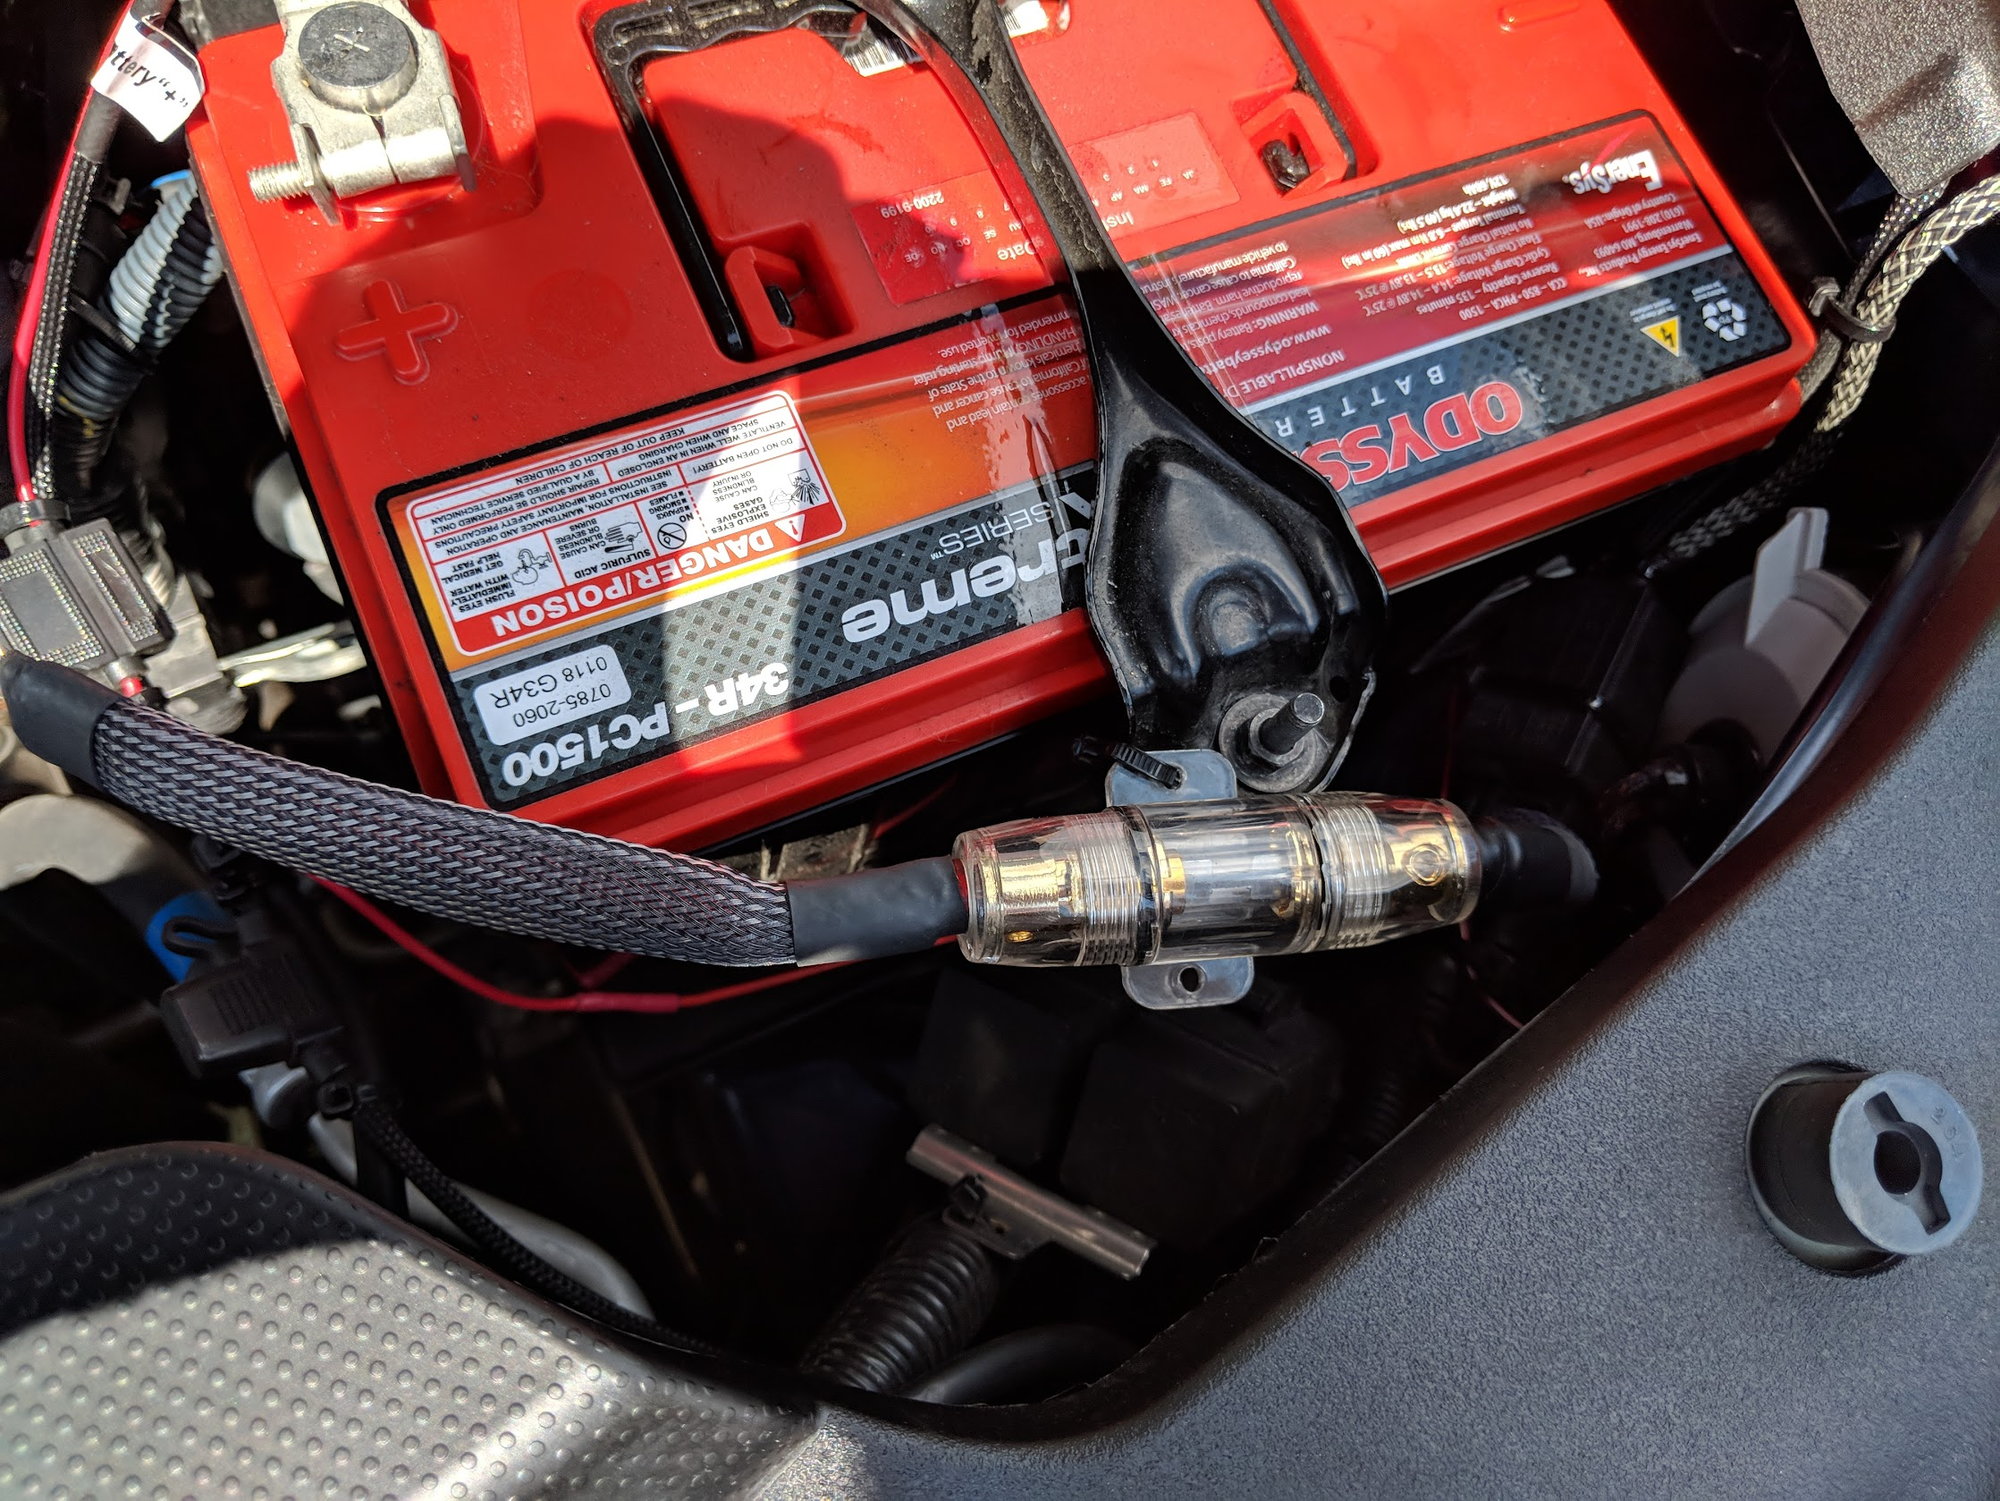
And I tied up everything in the engine bay to hide the wire and make it neat

img_20180901_170007_0552ab475fa50bf34520330d67f32b593eb7d863.jpg


img_20180901_170009_a67a11d5d1c11f76b4f709f3fb6cc77e31f6d953.jpg


img_20180901_170011_f6b38c051715d0e4292d194f673bb4424c04ea20.jpg


I like to be able to see my fuse holder at all times even though I've never blown a fuse

img_20180902_141352_d015e168f109a5a9398e0cdd4c6eaa6cf0669741.jpg


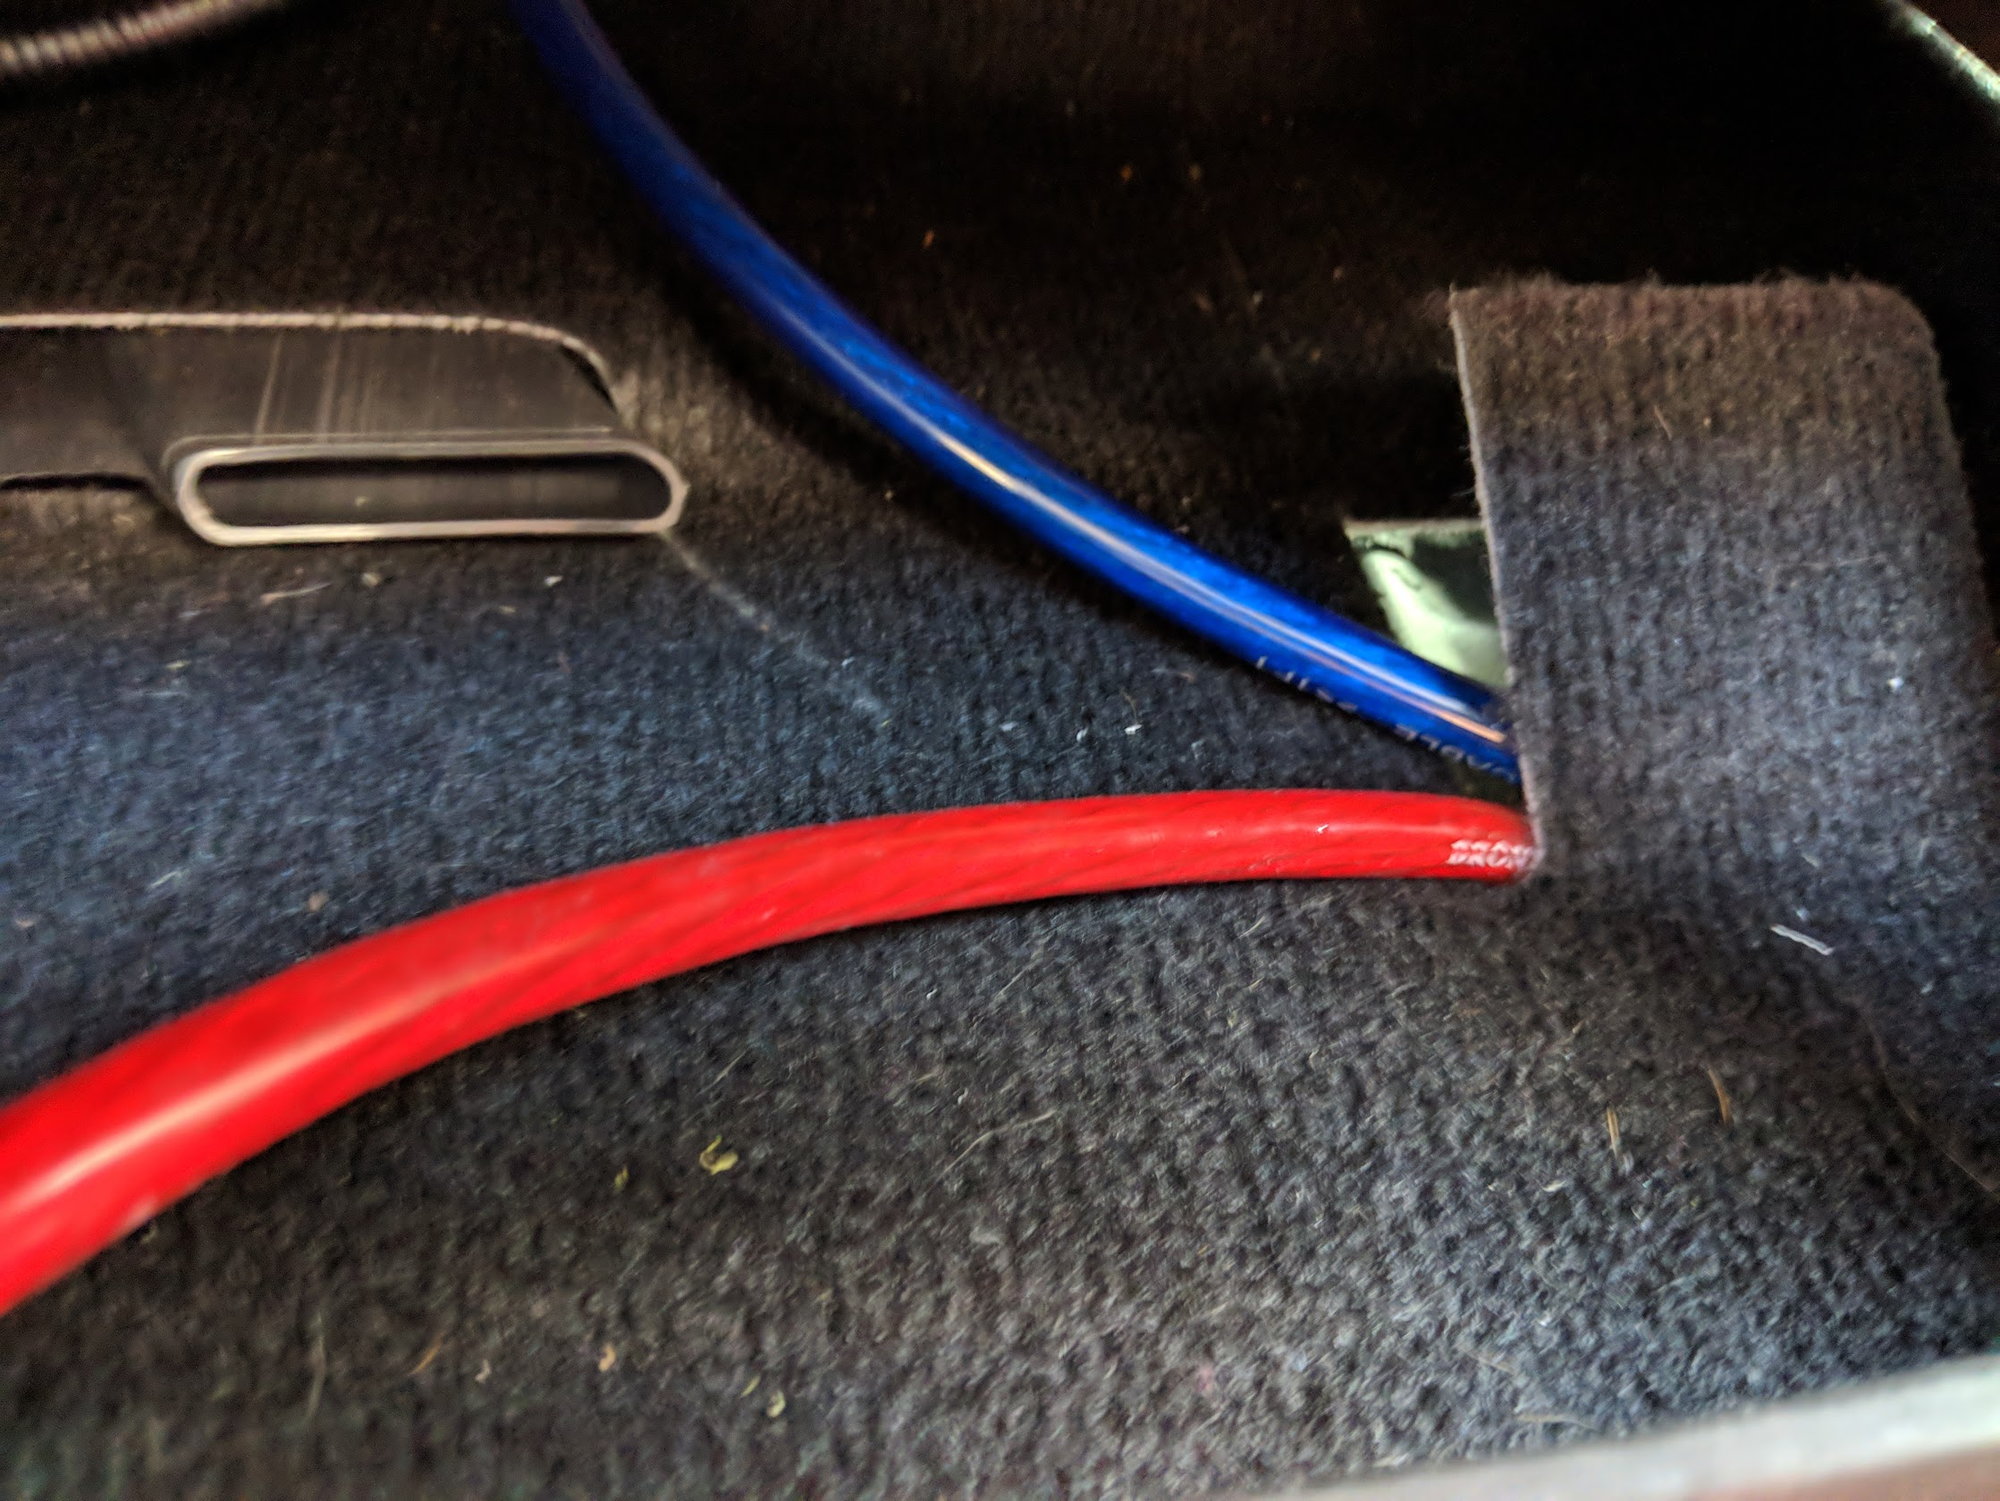
I fished the power wire through the passenger side firewall

img_20180901_165953_375024e04cb847f51d08aecec4cb0e7abce21160.jpg


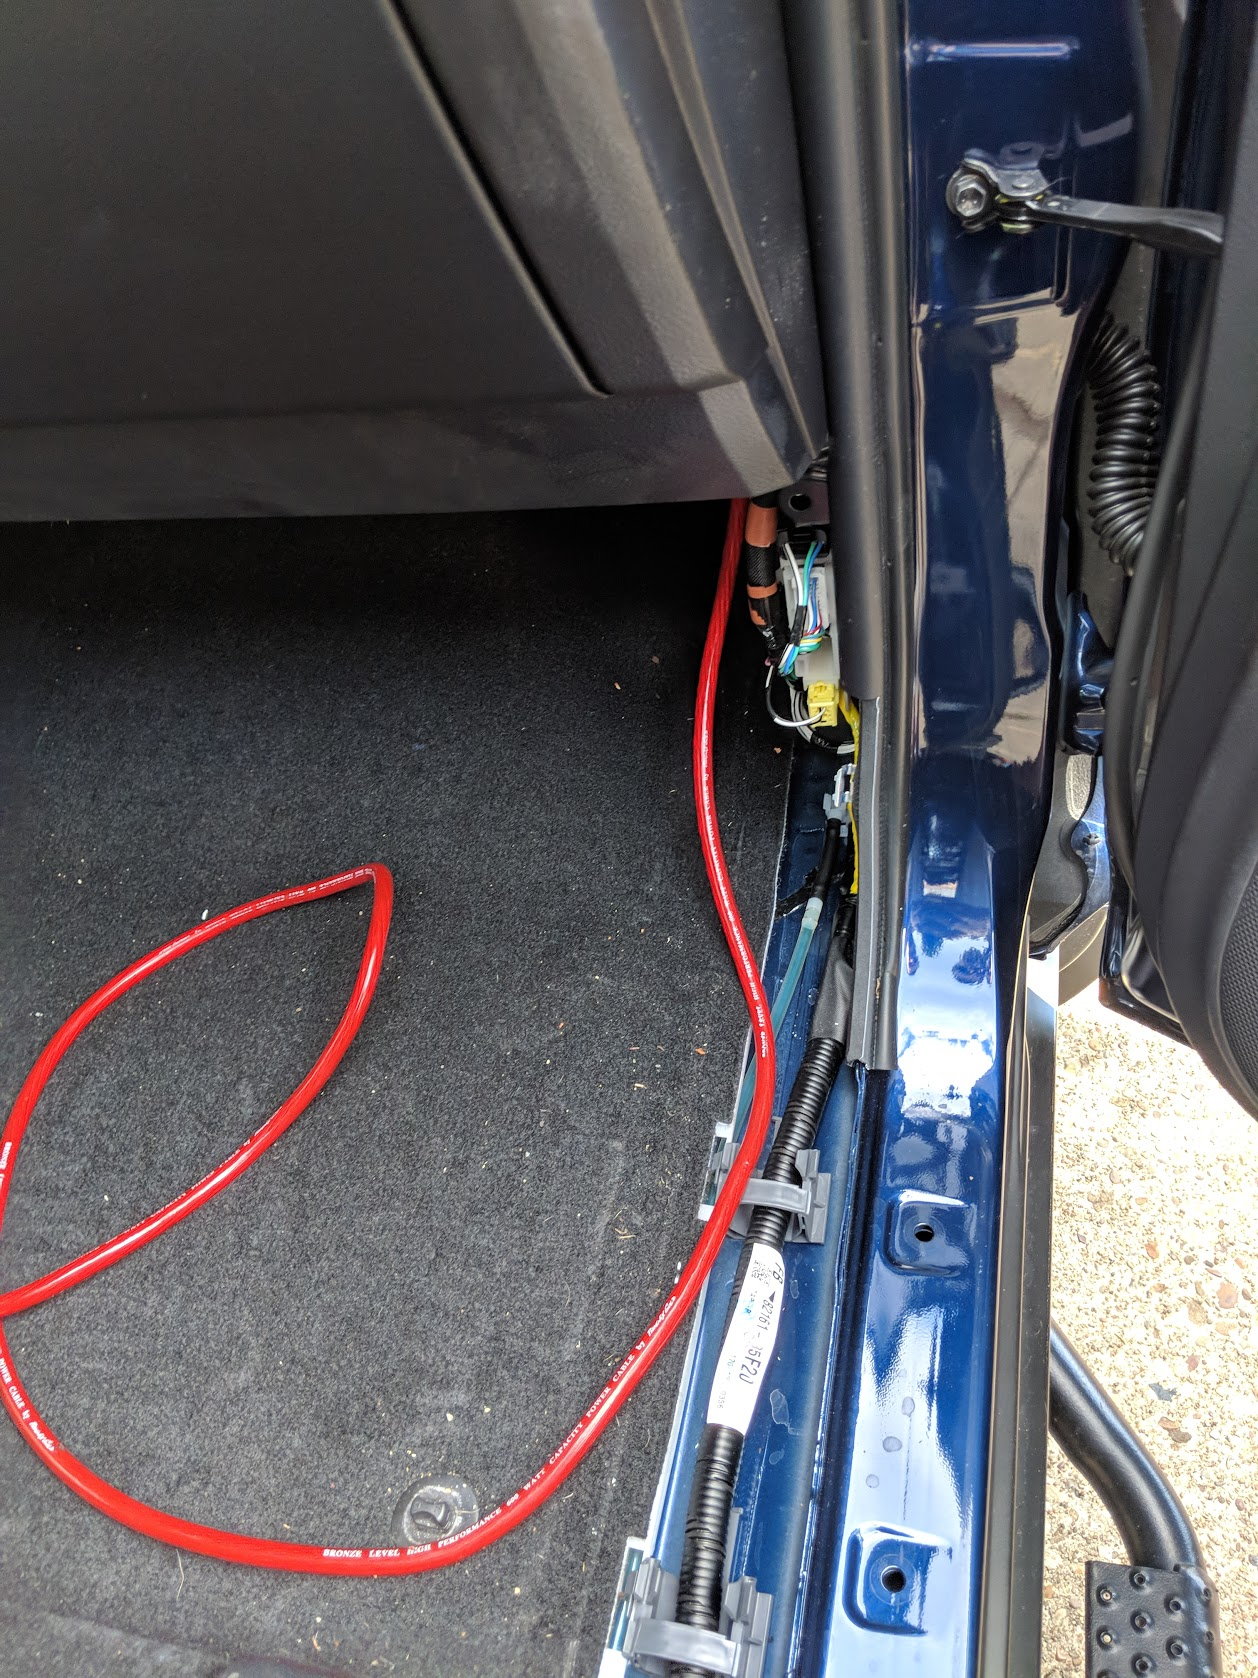
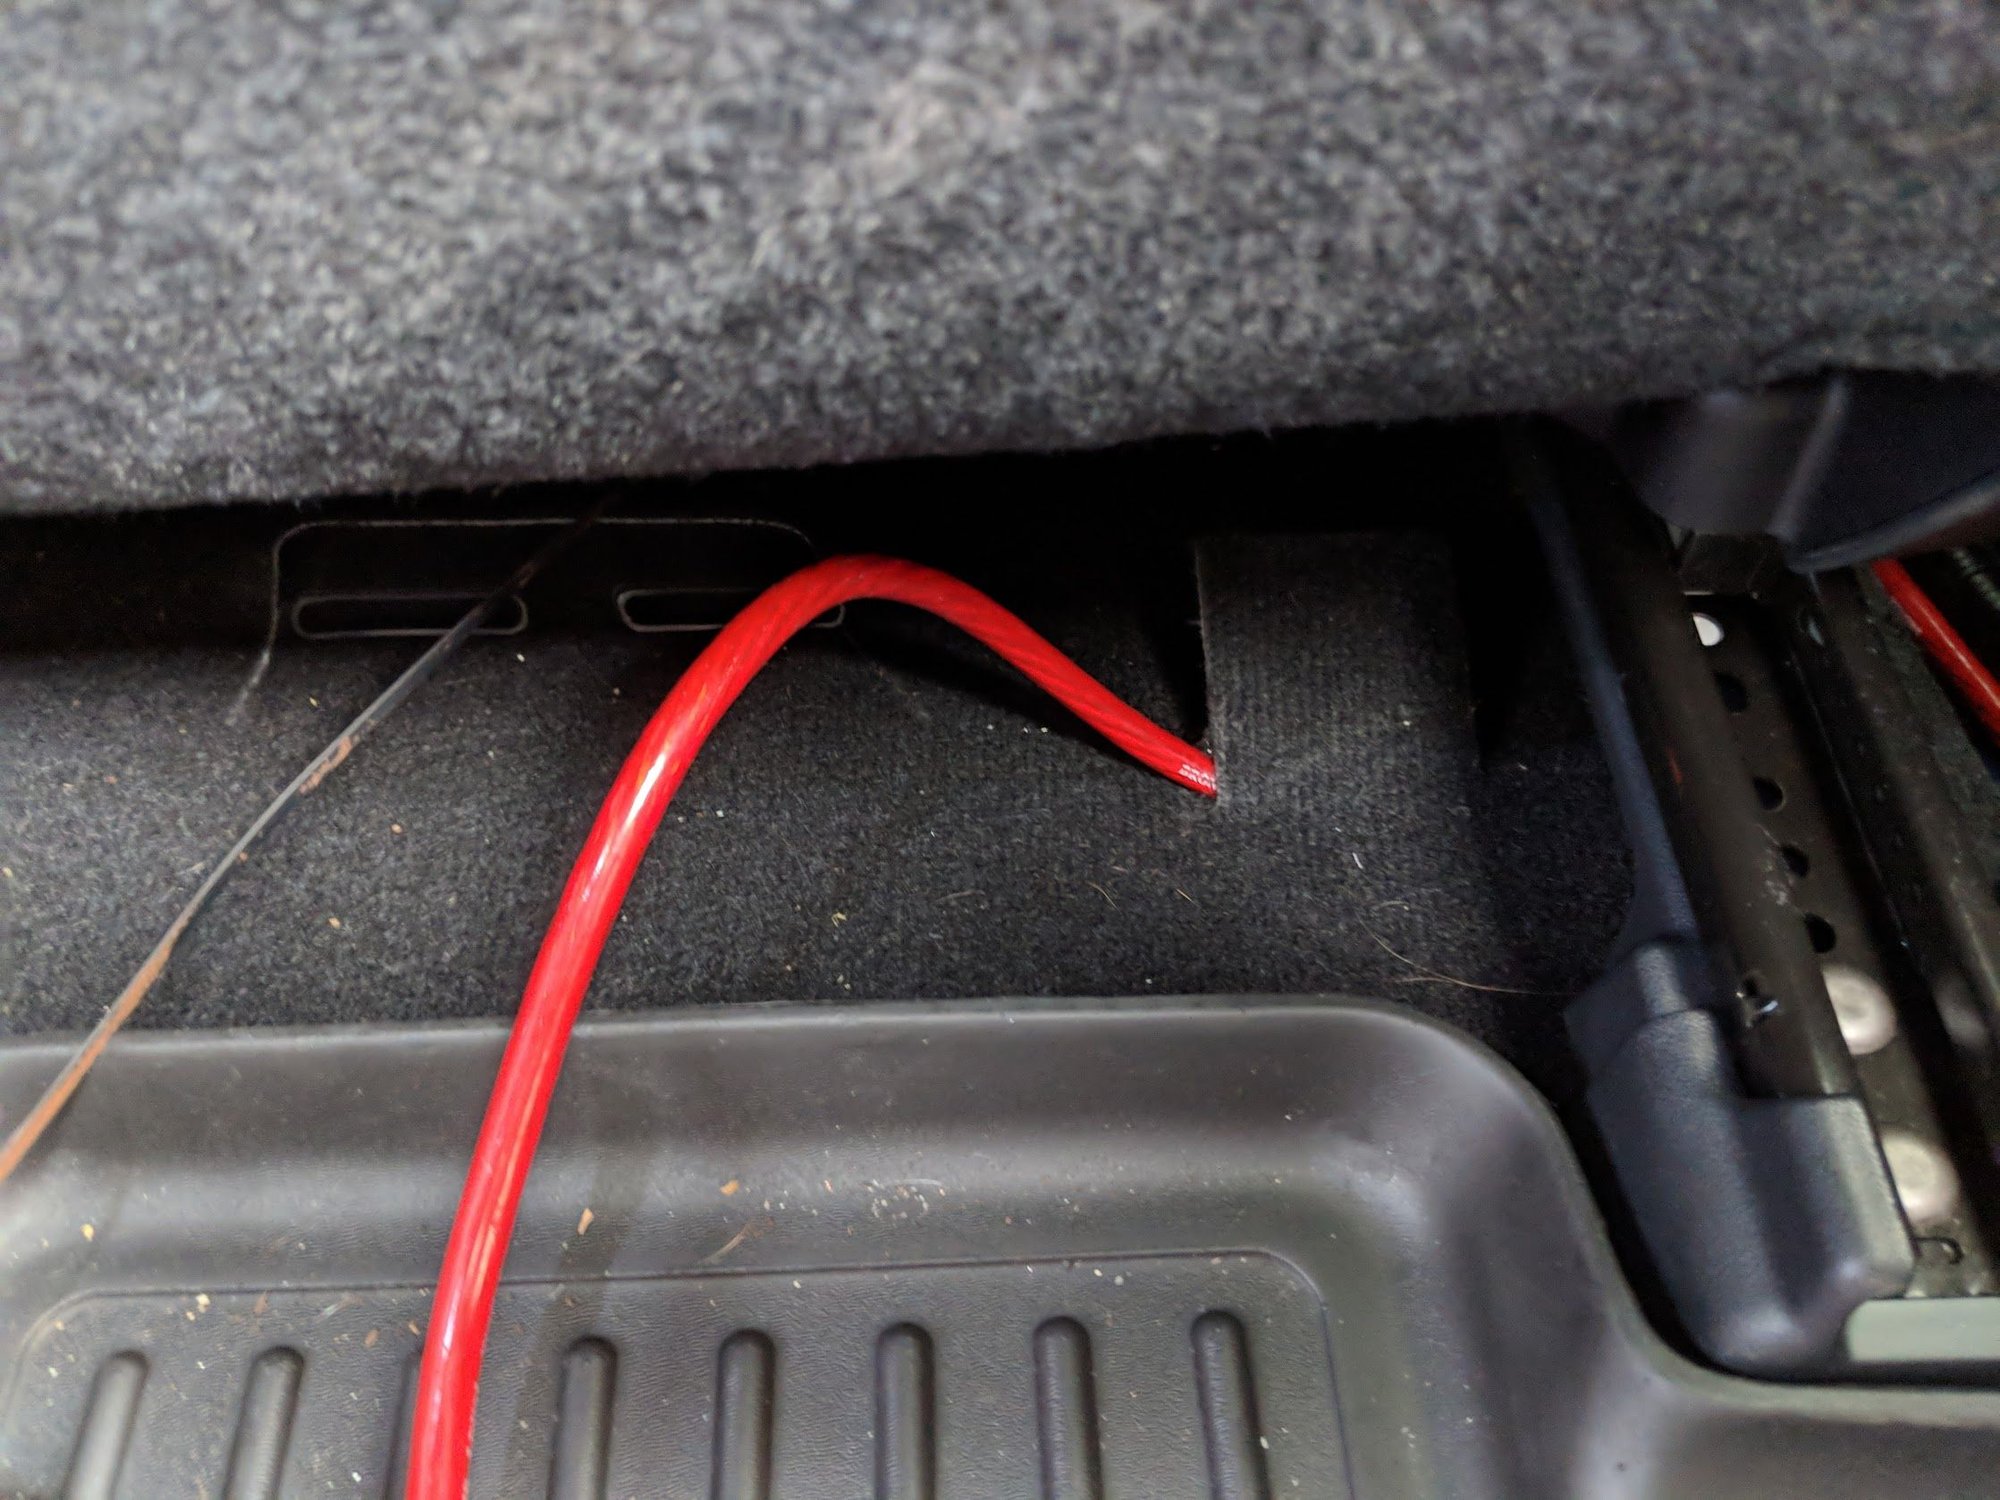
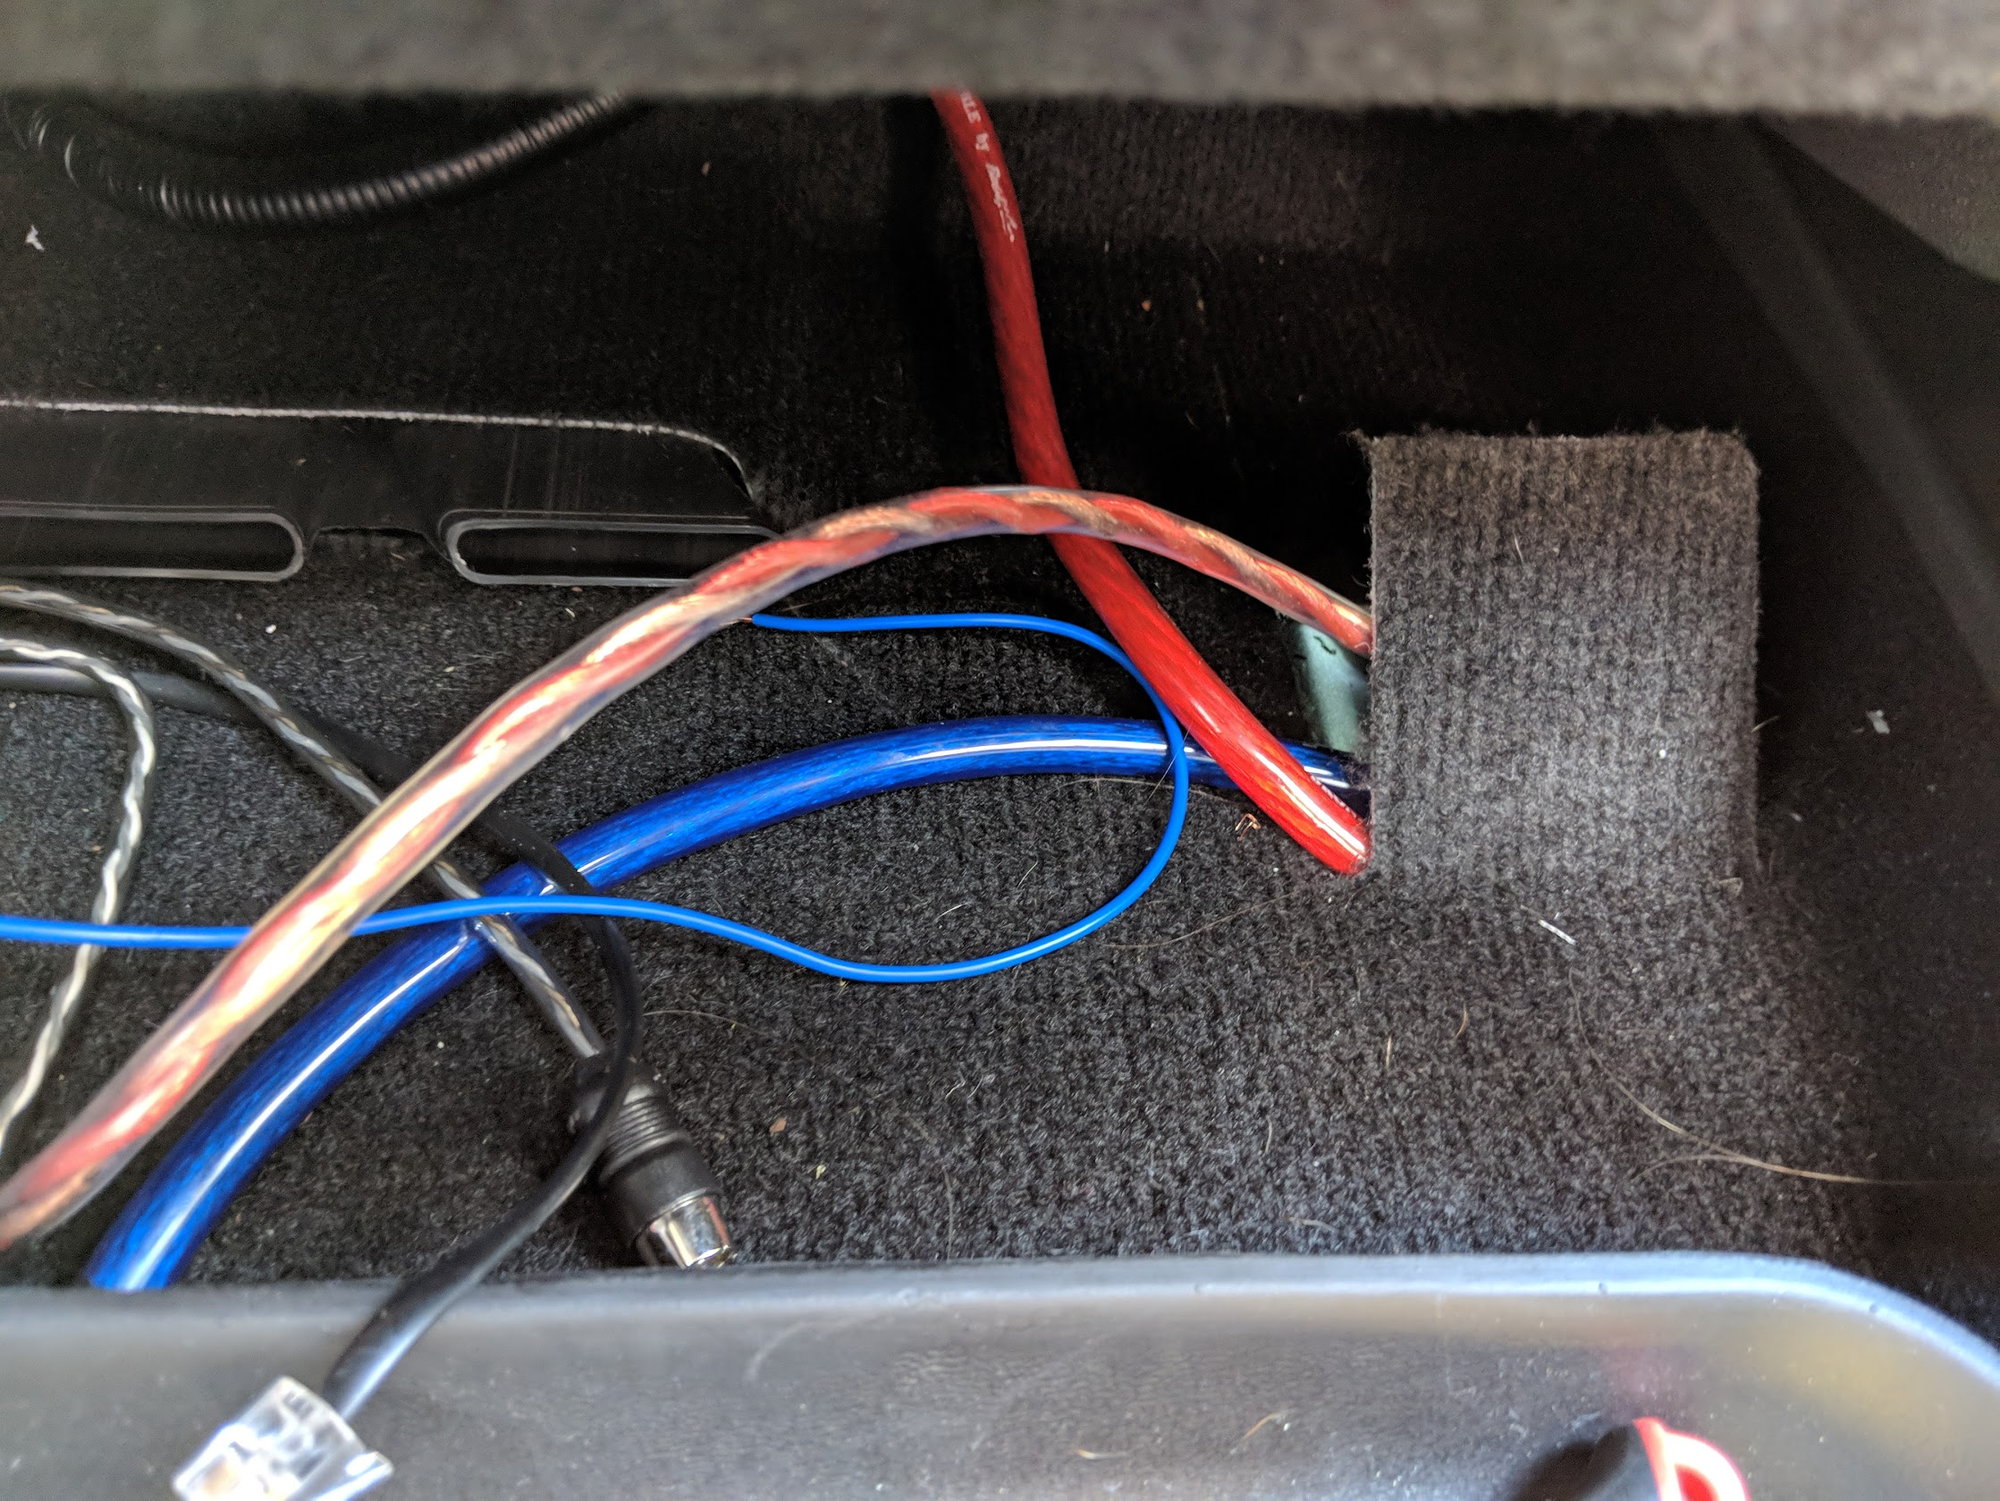
And fished it under the carpet and under the passenger seat

img_20180901_182714_9e9e5267f5b5494f4bc409bd02edc44853a1a9b5.jpg


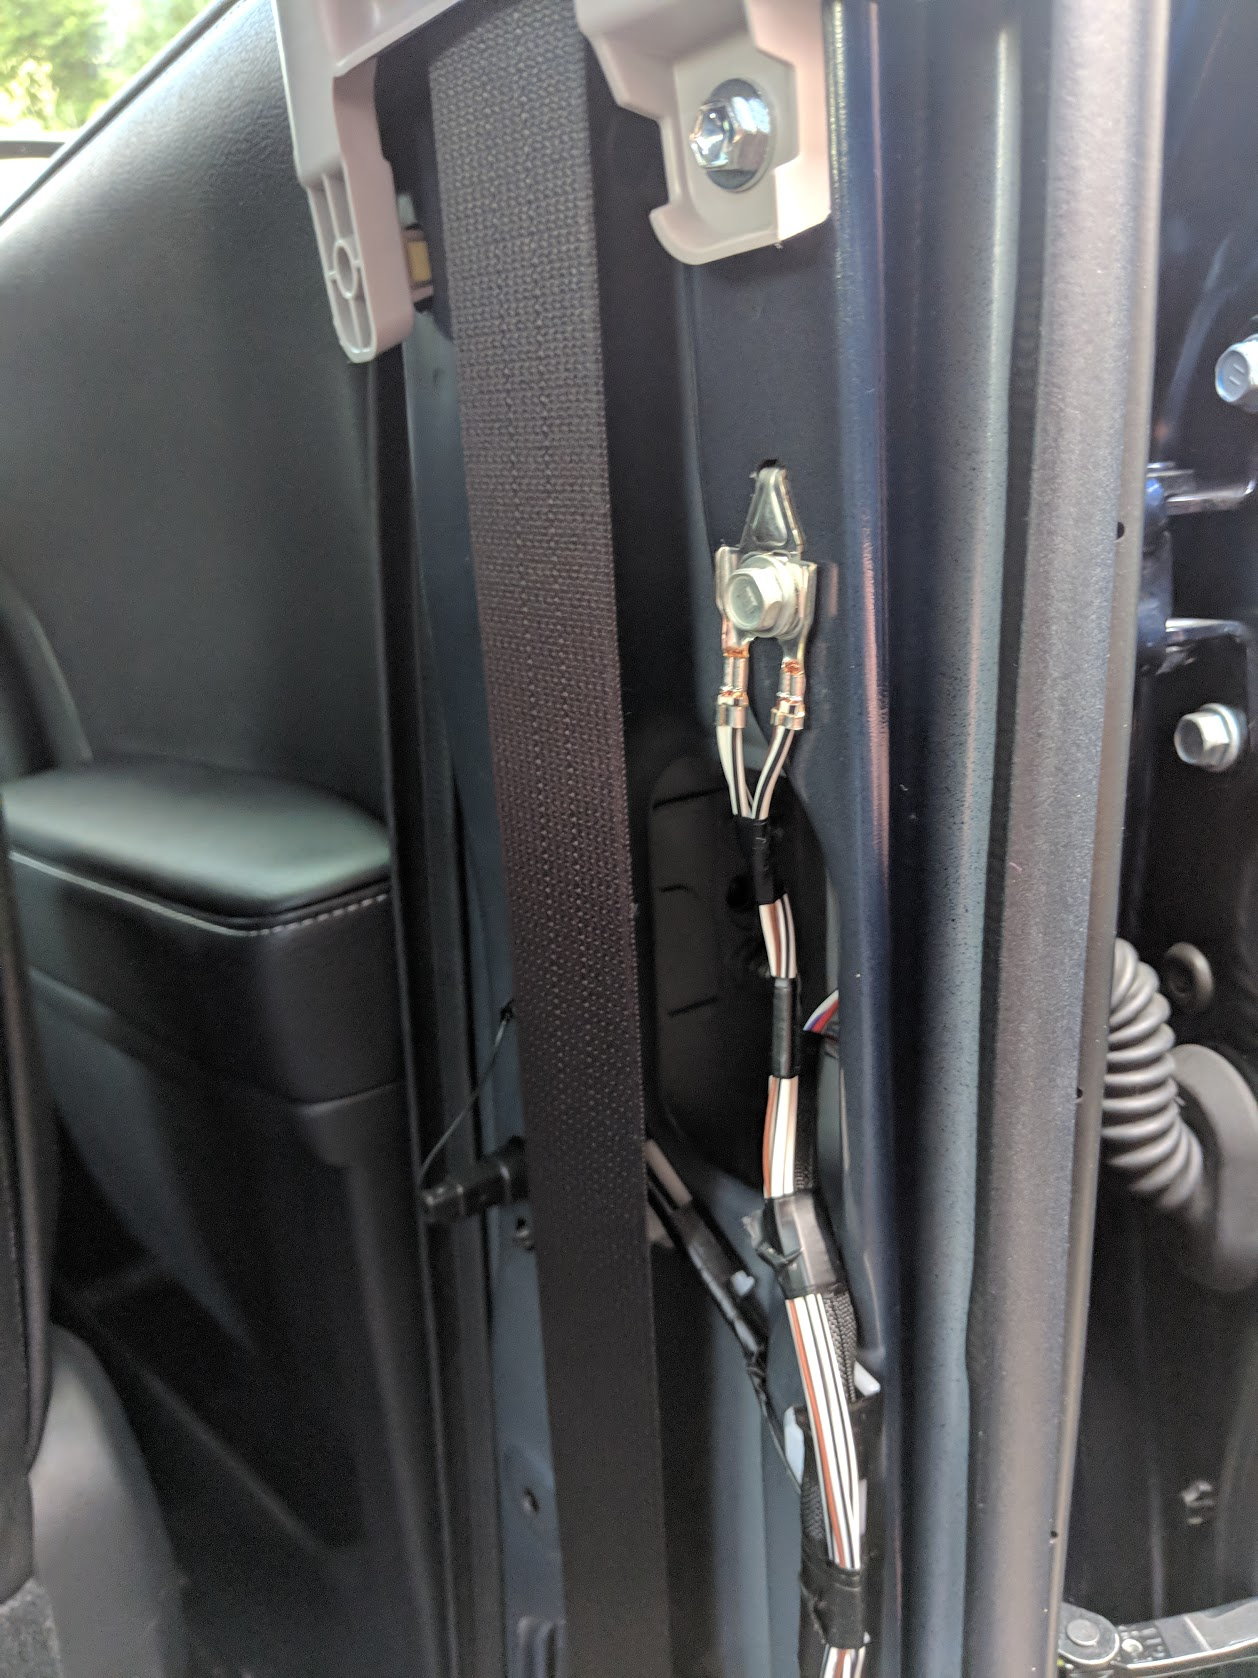
I located the ground point in the passenger side pillar and ran my ground wire down from there

img_20180901_183150_cd62a66712012ce943a8977ba02c87e3e63bd53c.jpg


And fished it under the passenger seat as well.

img_20180902_145417_e88a6d1bf2349cc7d16956359676631ff2d11a0b.jpg


I also fished the speaker wires under the carpet to keep everything stealthy

img_20180902_151211_c64aaa6d05667d38a1139abb62f949e53da327d3.jpg


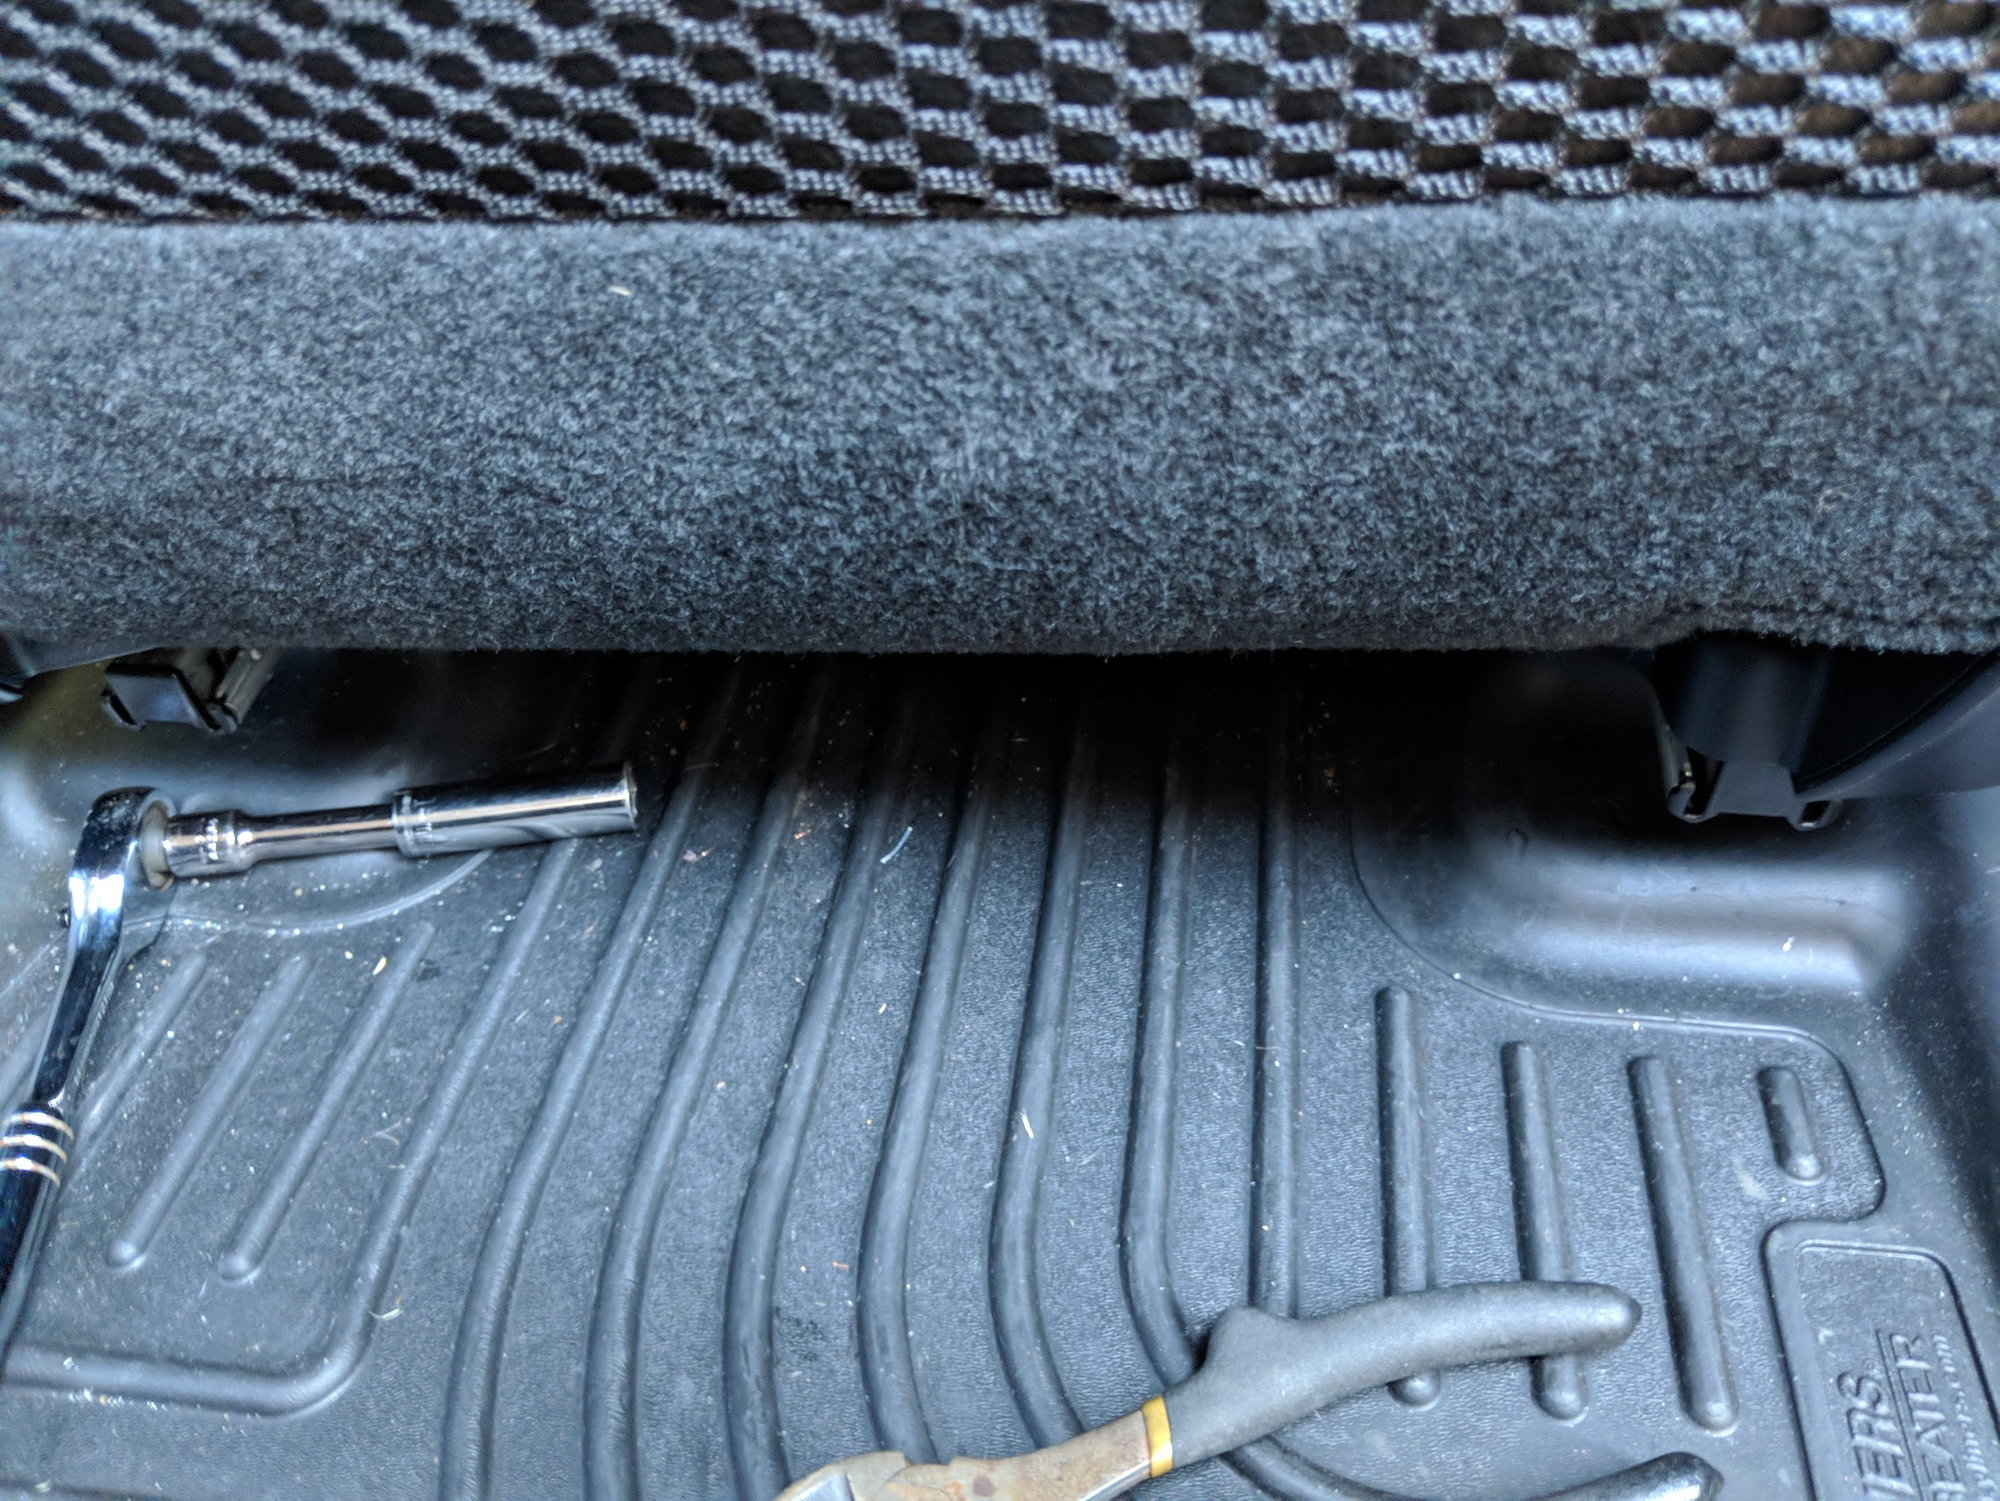
I got everything tested and it works great, so I went ahead and shortened all the wires and tucked the amp under the seat to make sure everything clears

img_20180902_153706_00c6f774bf4d9419e475735c00f5d8126507acac.jpg


Can't even see it which is what I was hoping for

img_20180902_153704_a72f5298033876a5654d3b93cc74f77b3e1676e5.jpg


Also I reinstalled this yesterday but didn't post any good pics, here's the bass knob installed and finished, looks like it belongs there. I'm so not used to it being easy to reach

img_20180901_181521_0ccc136db1954ccc036335665caf646b592e96b1.jpg


img_20180901_181524_30761be0b475500ab39f42176f06e37acdc8b8fa.jpg


The heat was brutal today and we were meeting with family from out of town so I quit after I got all the wiring tucked and complete. Tomorrow it will be hook the power up and put everything back together. Can't wait!
 
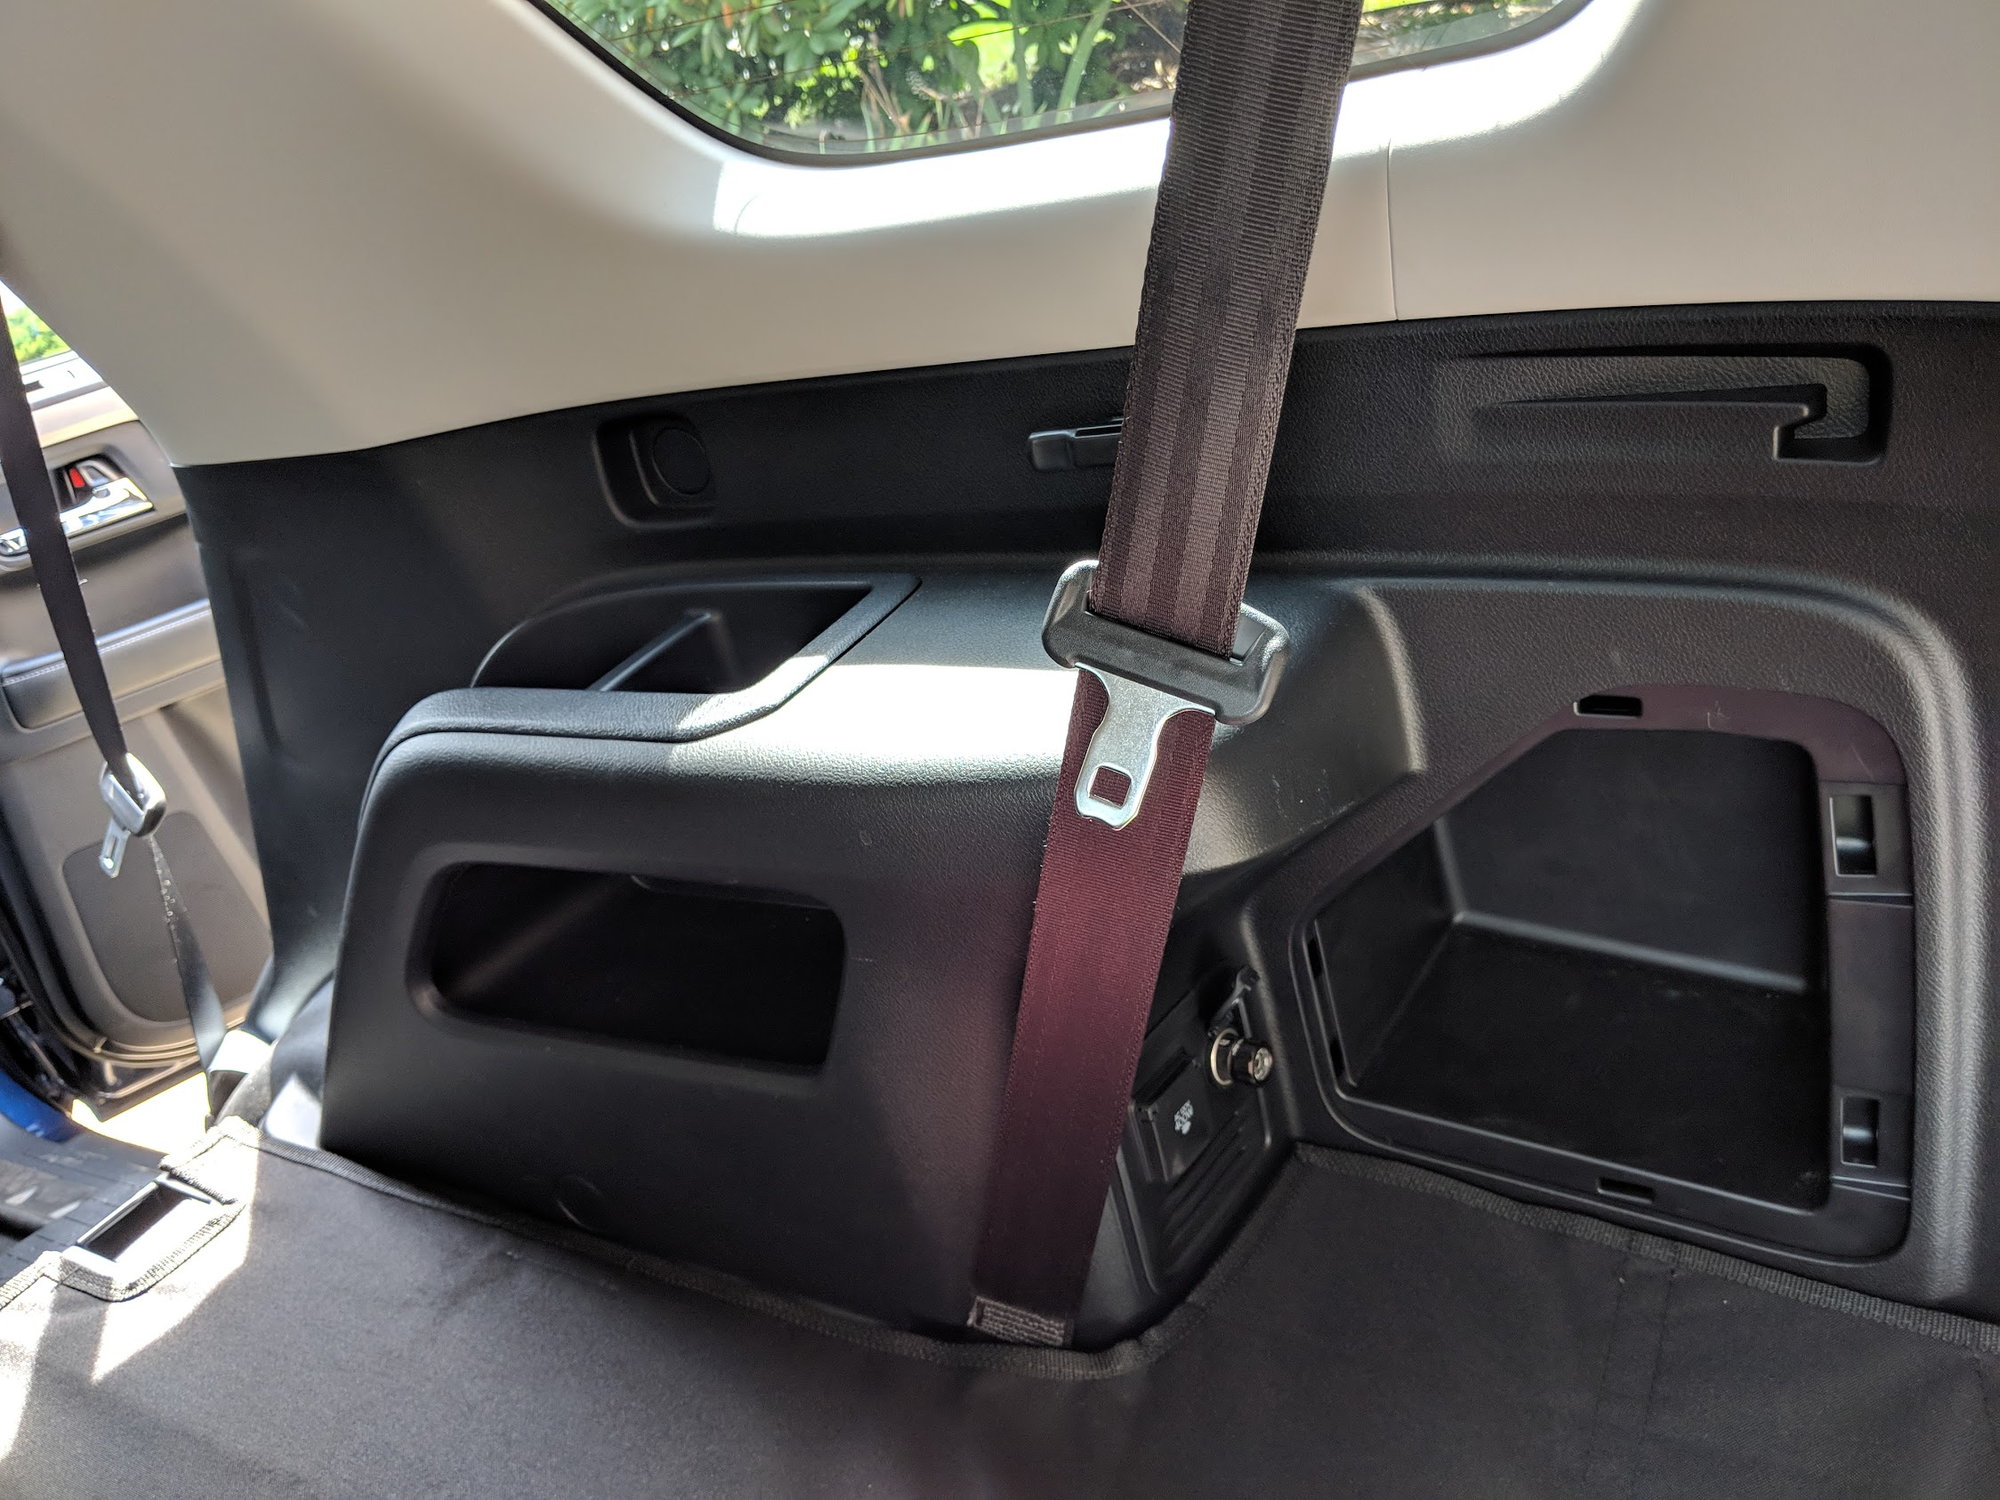
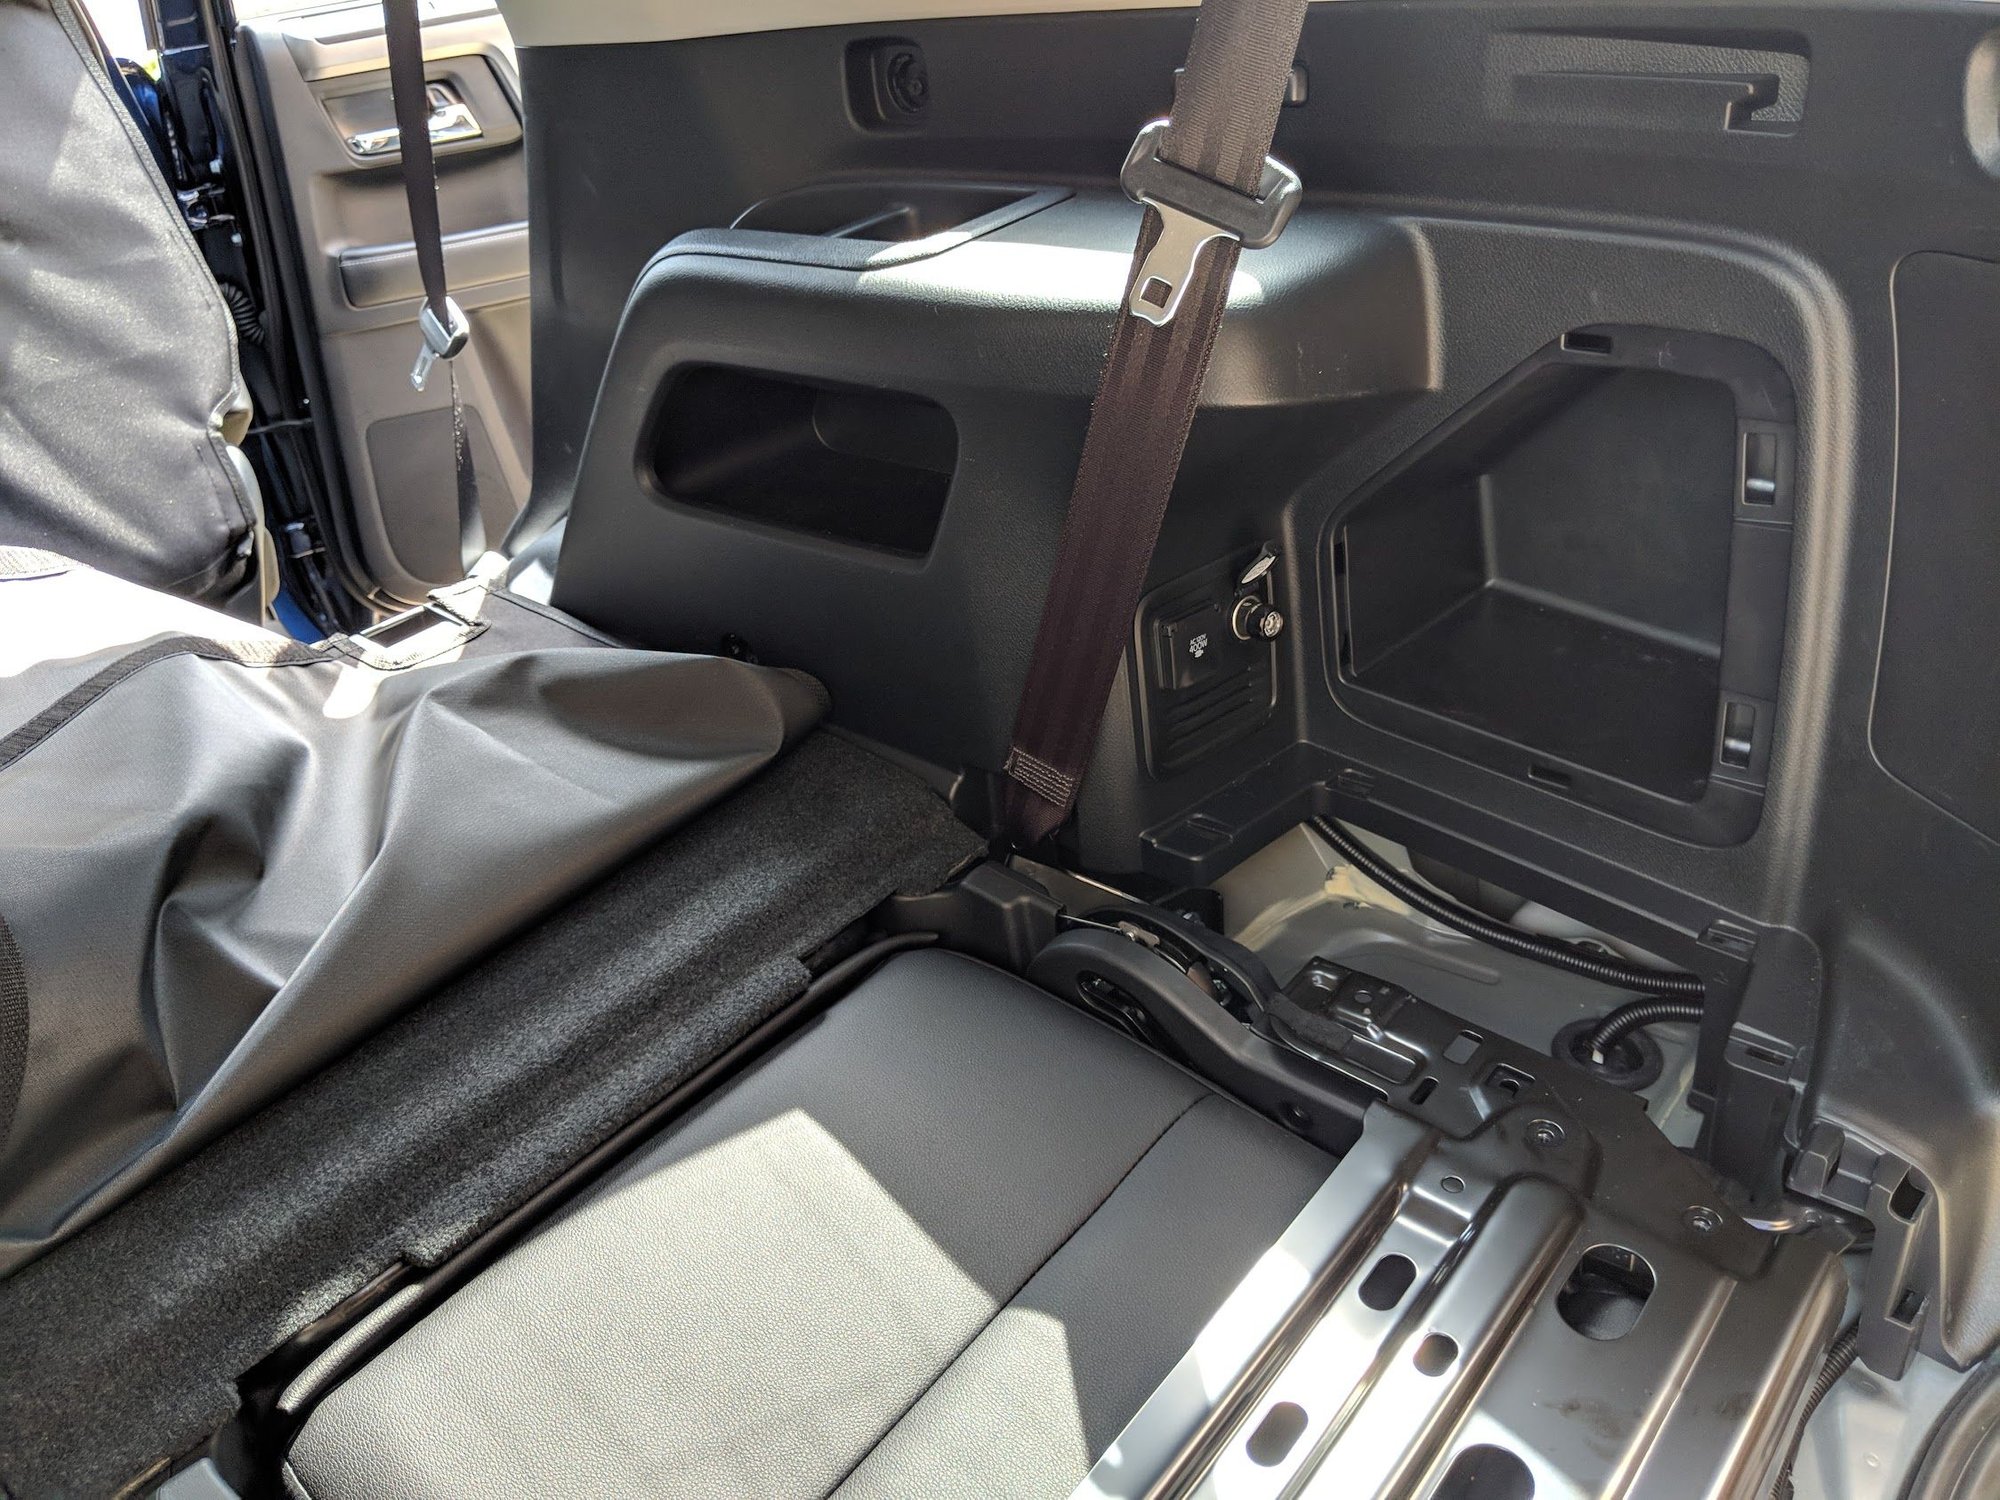
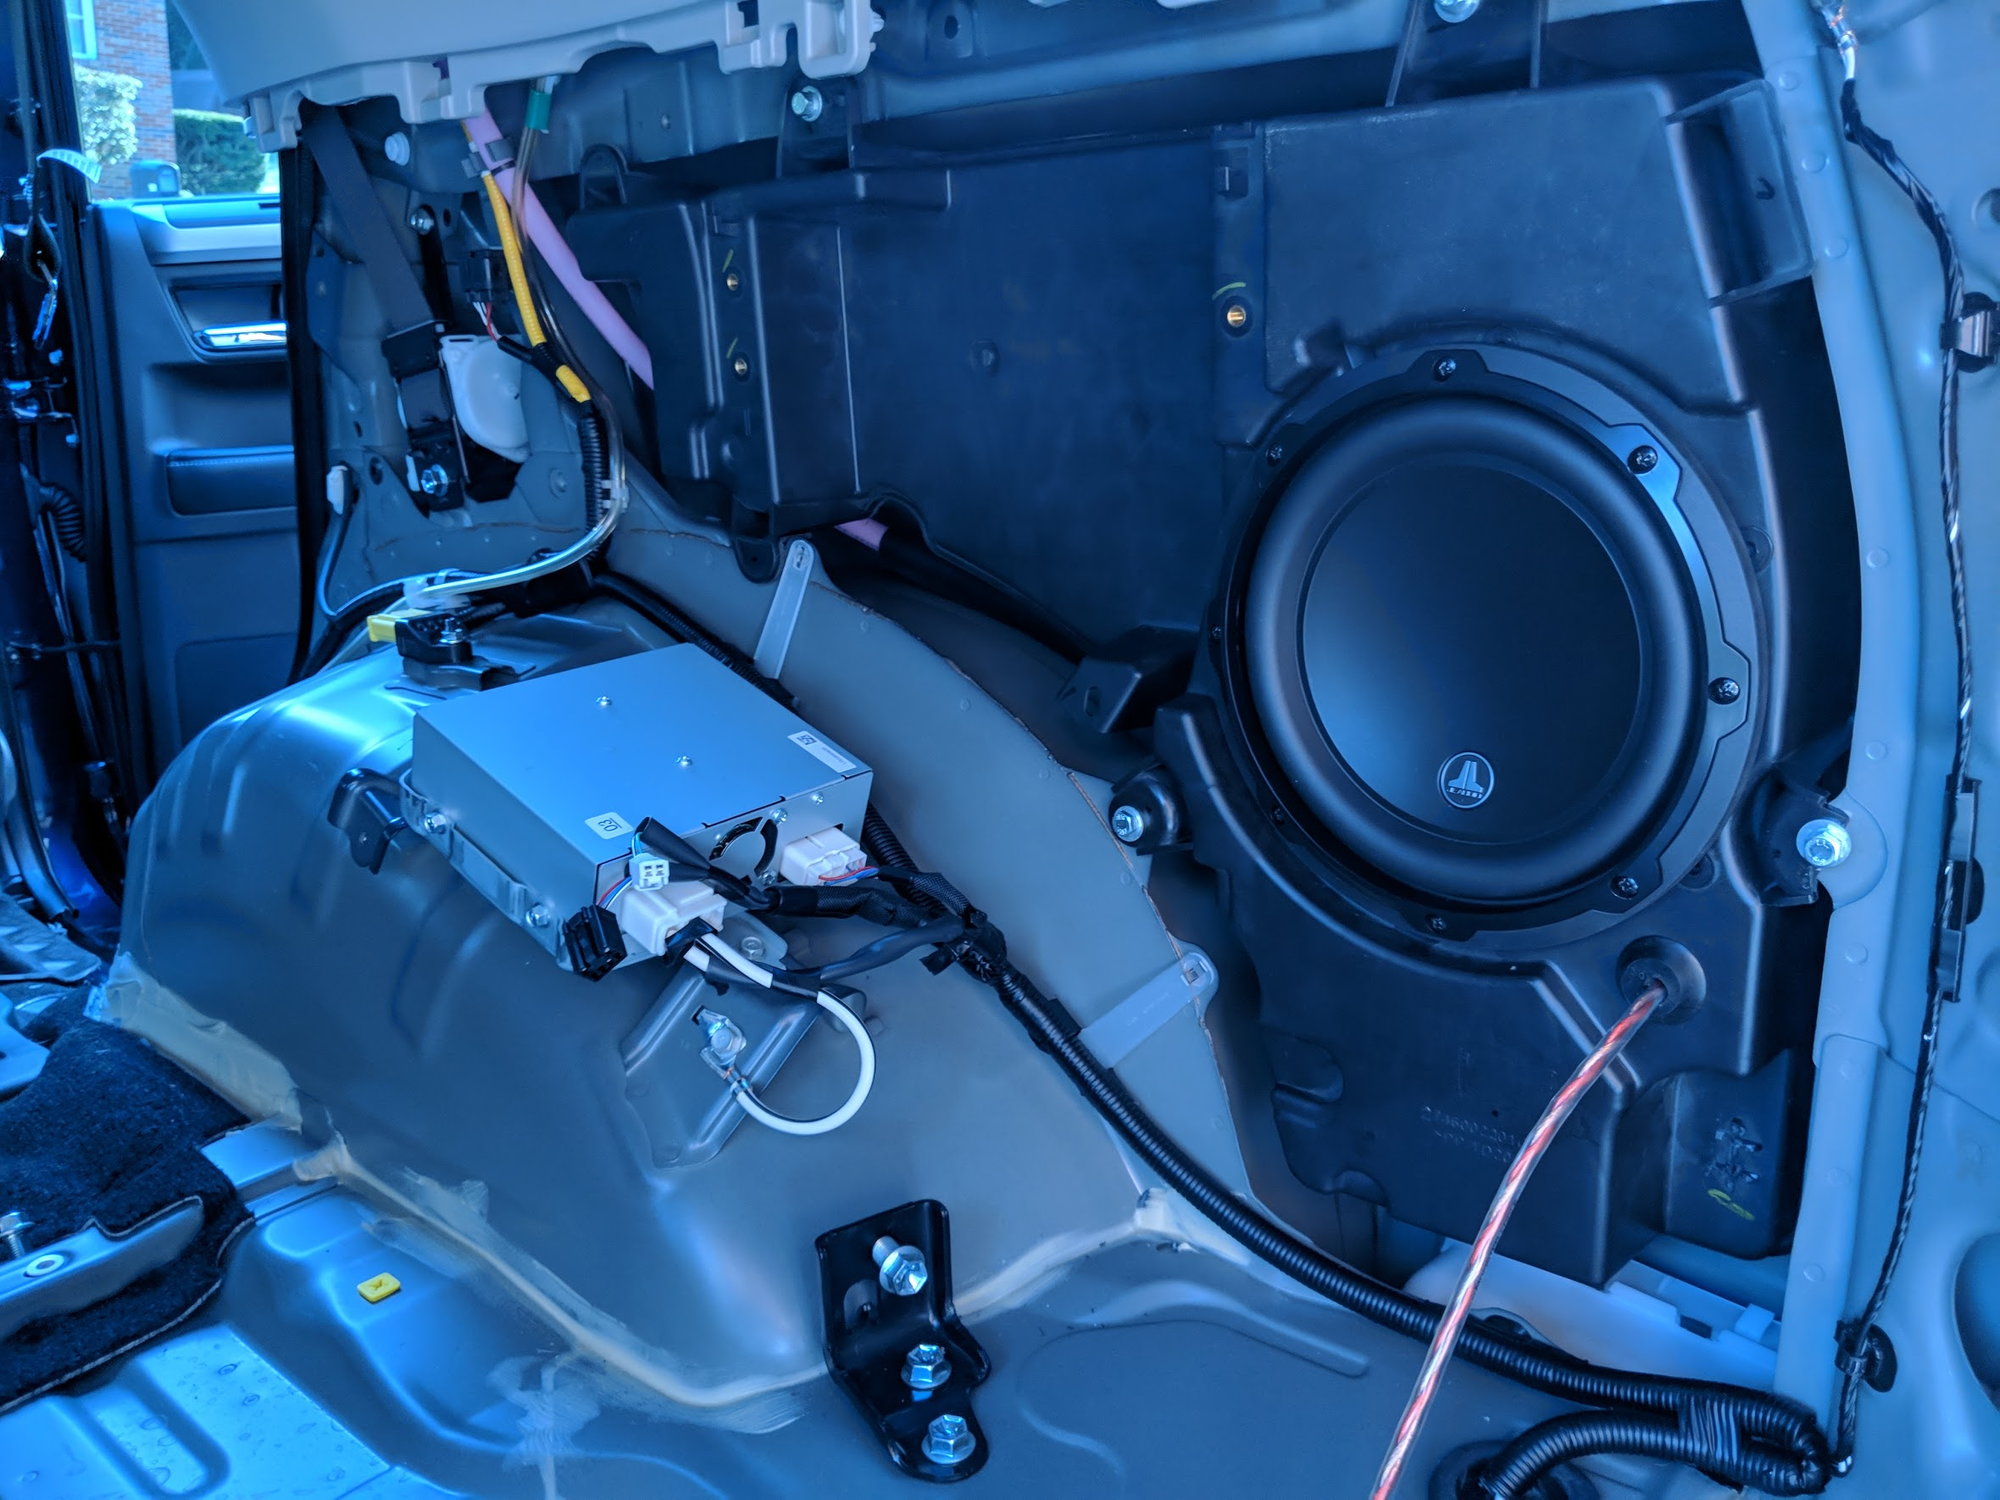
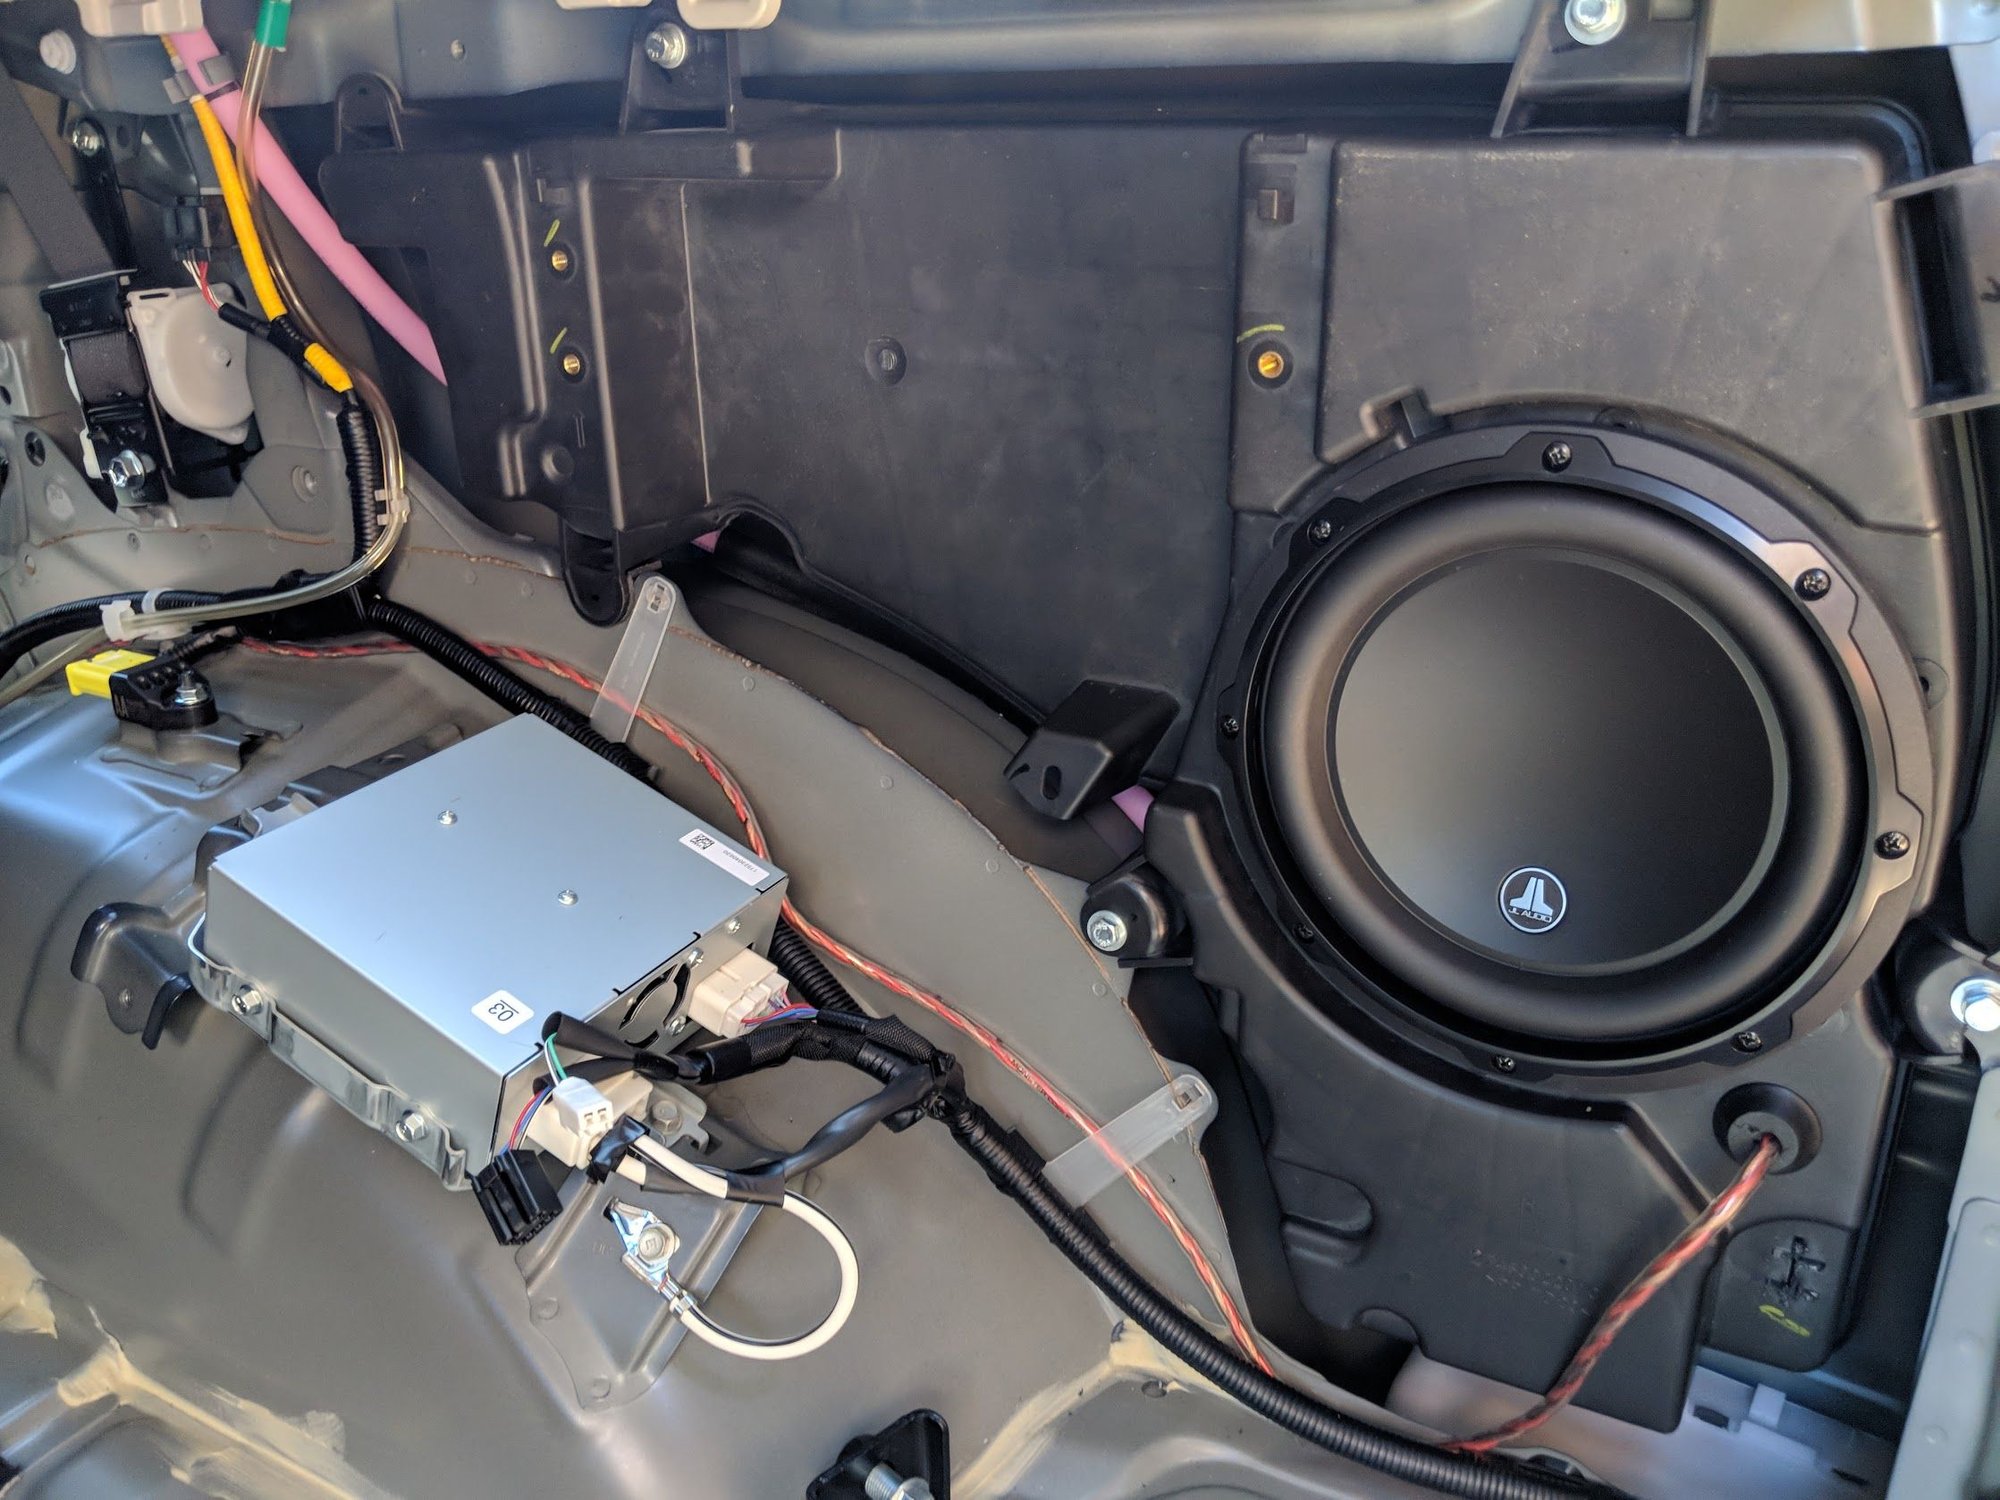
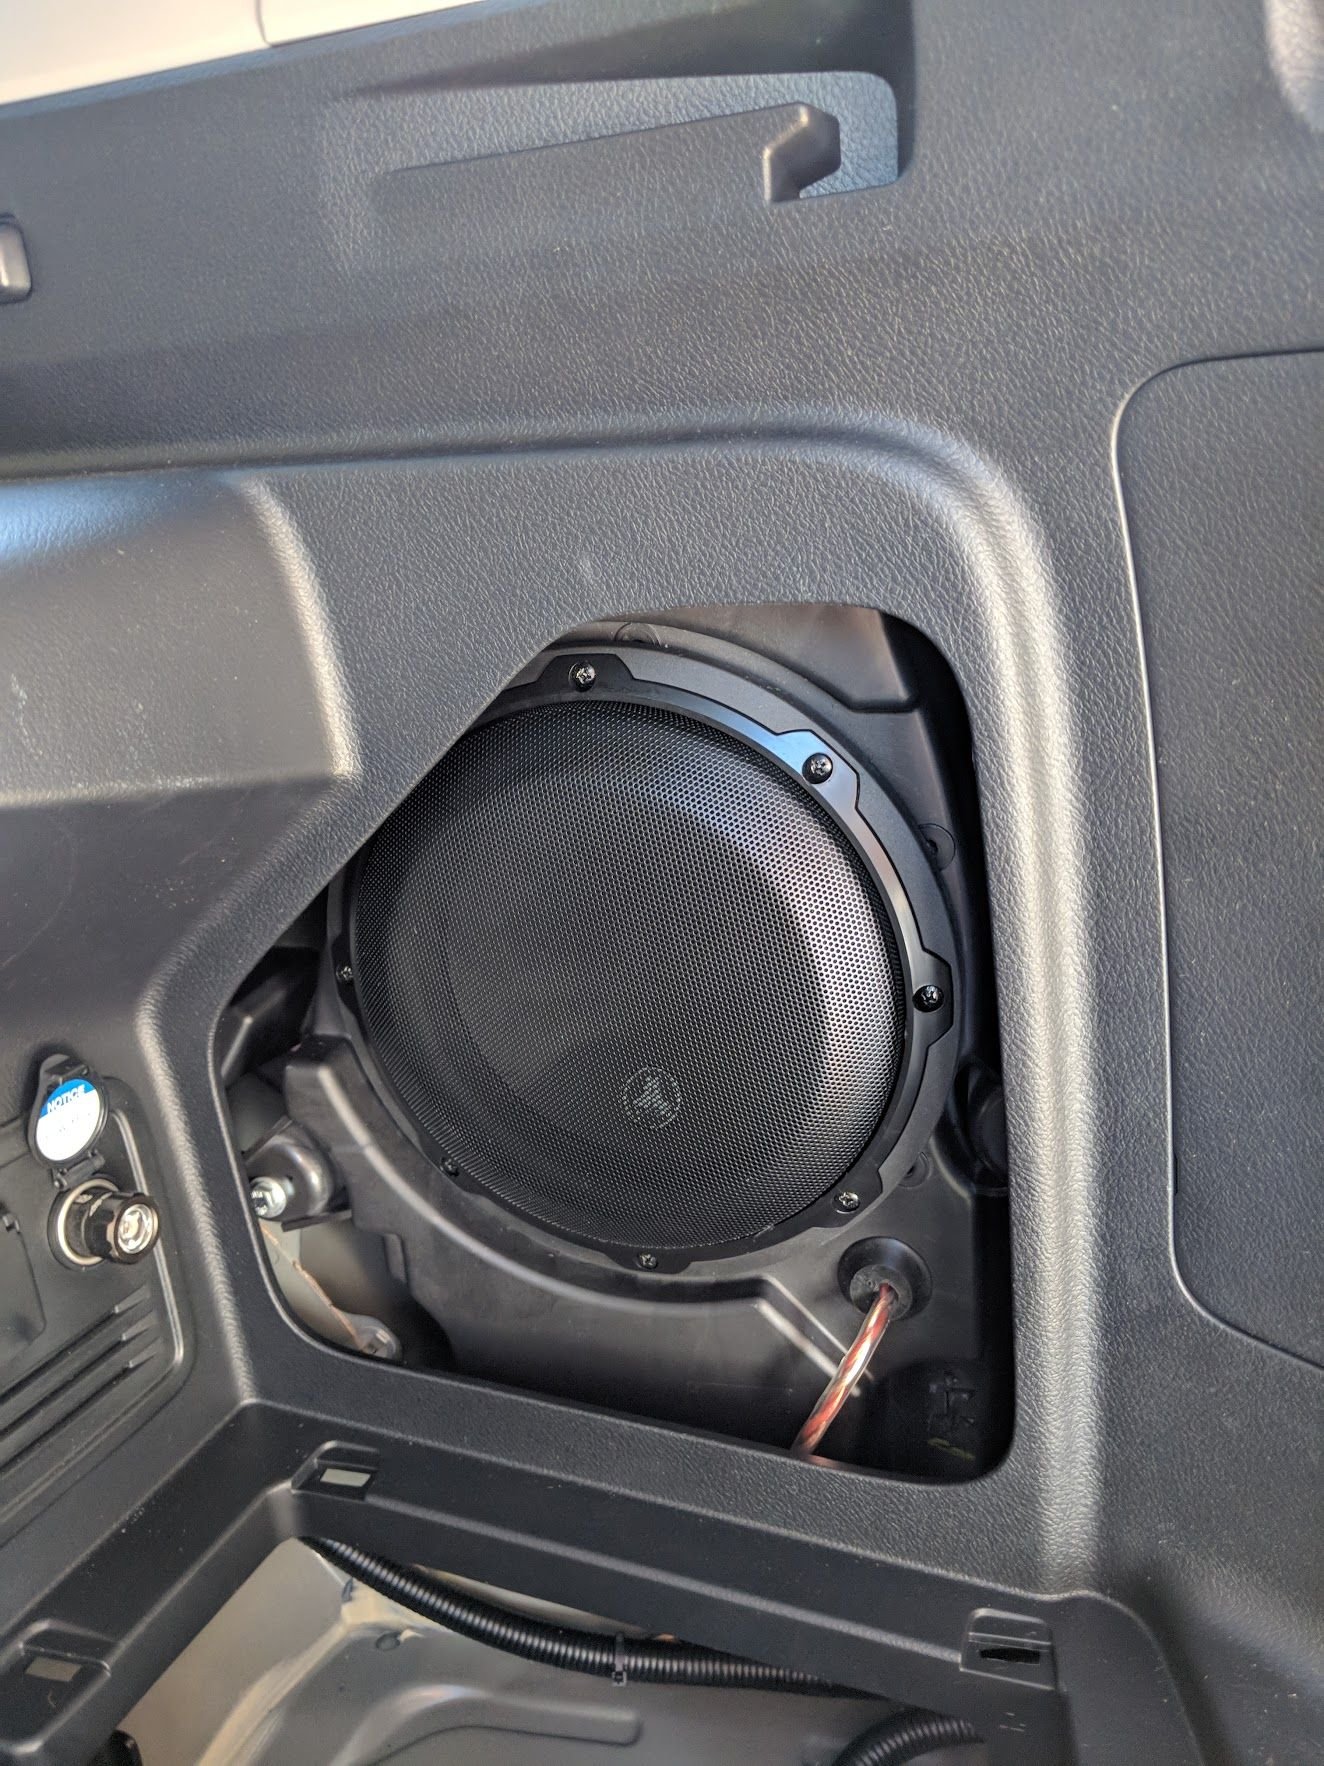
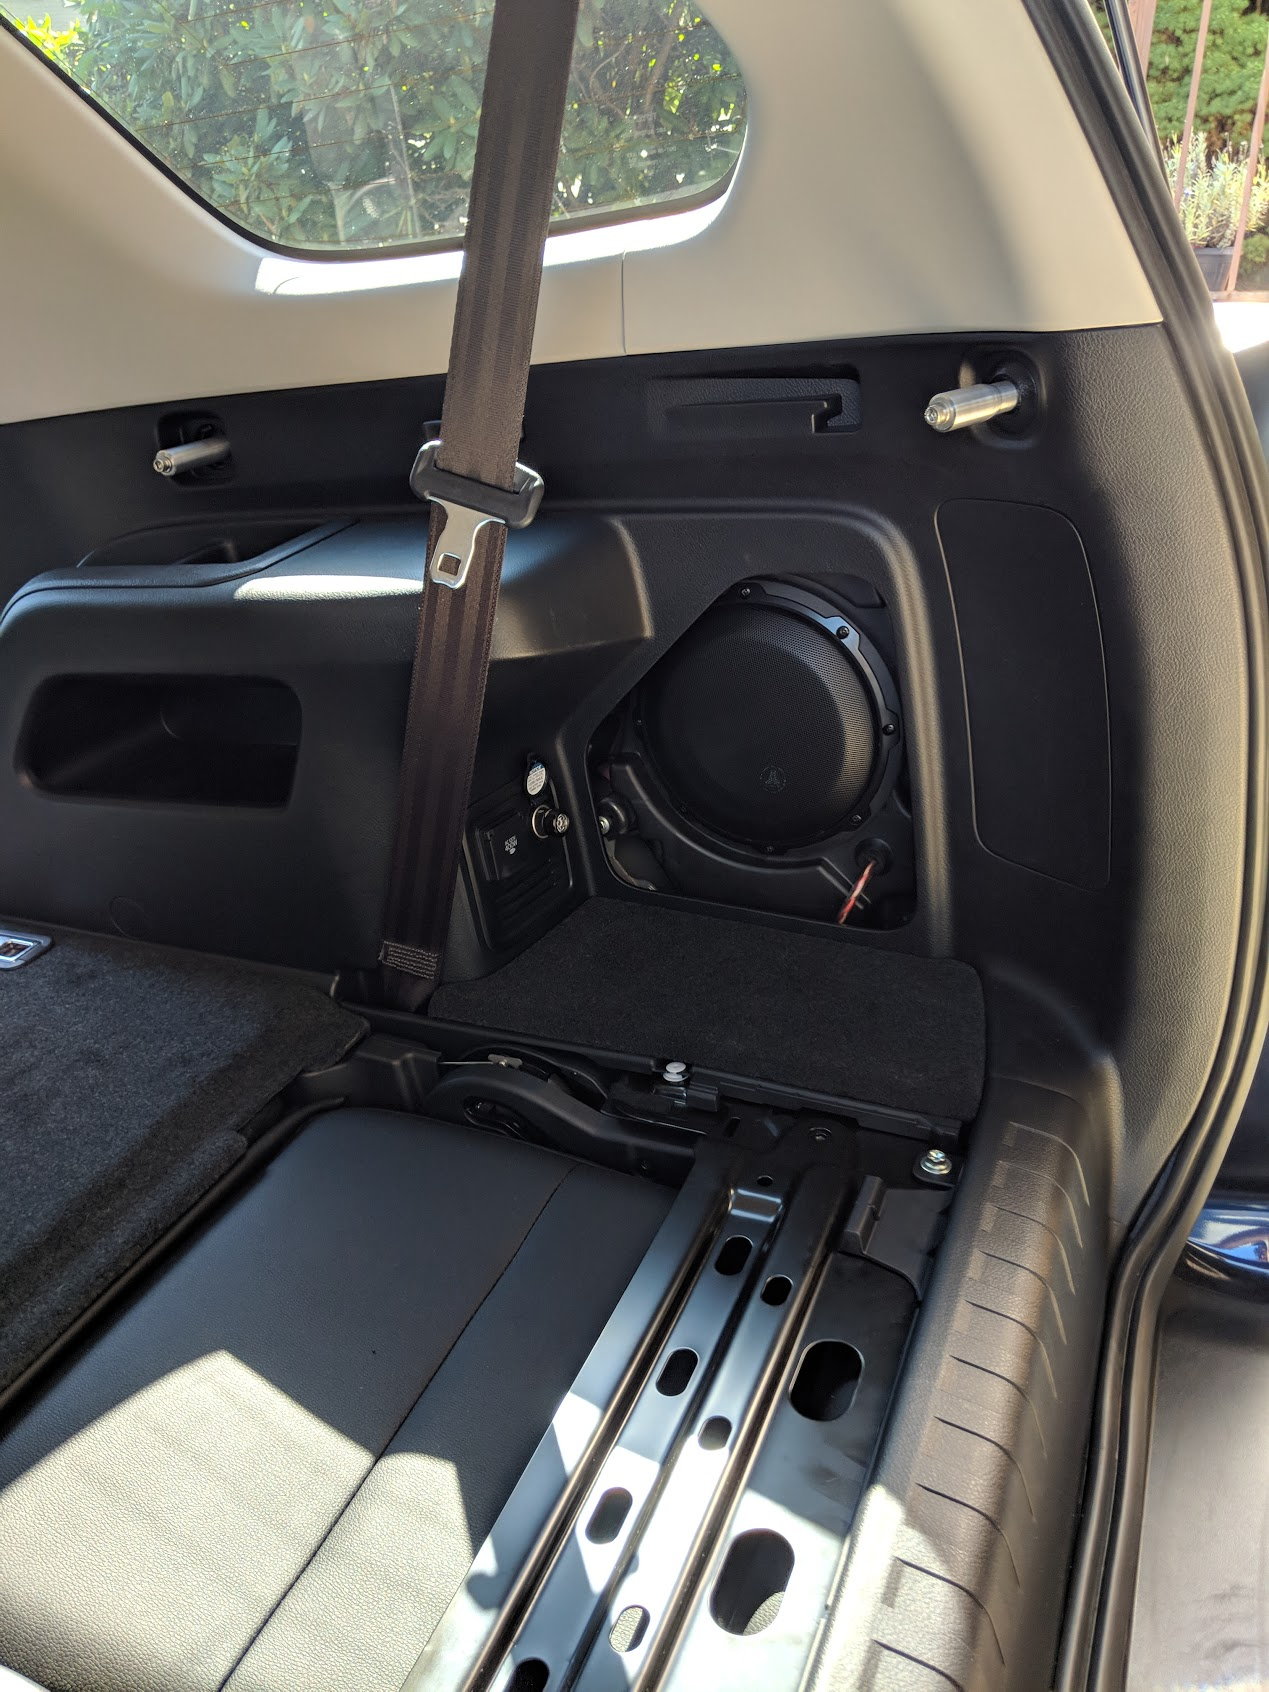
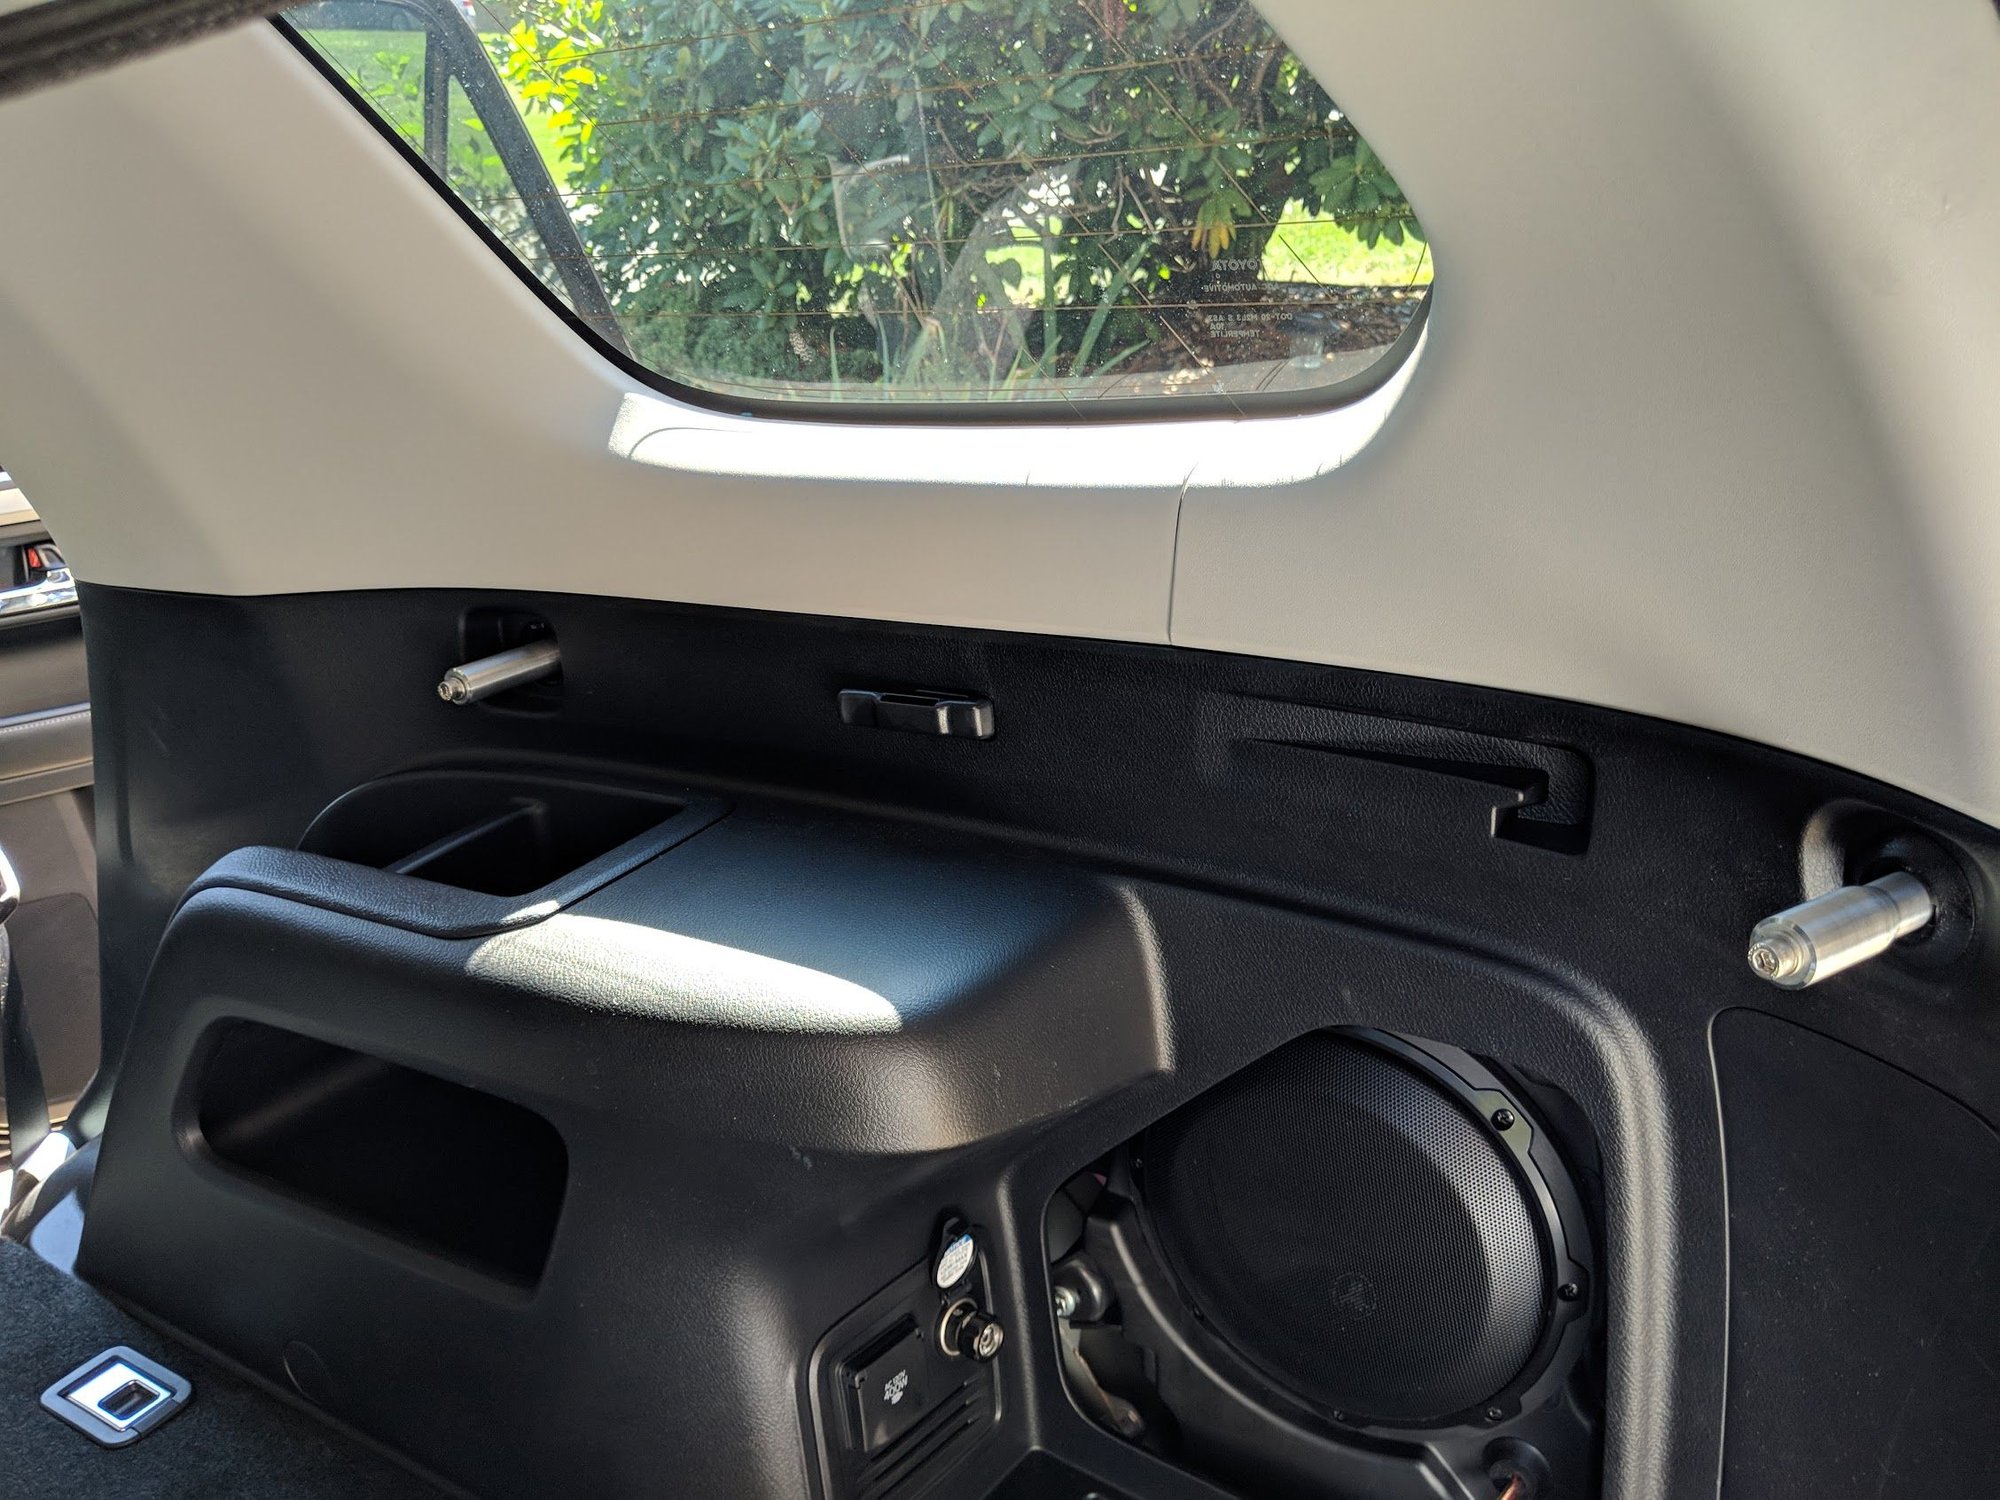
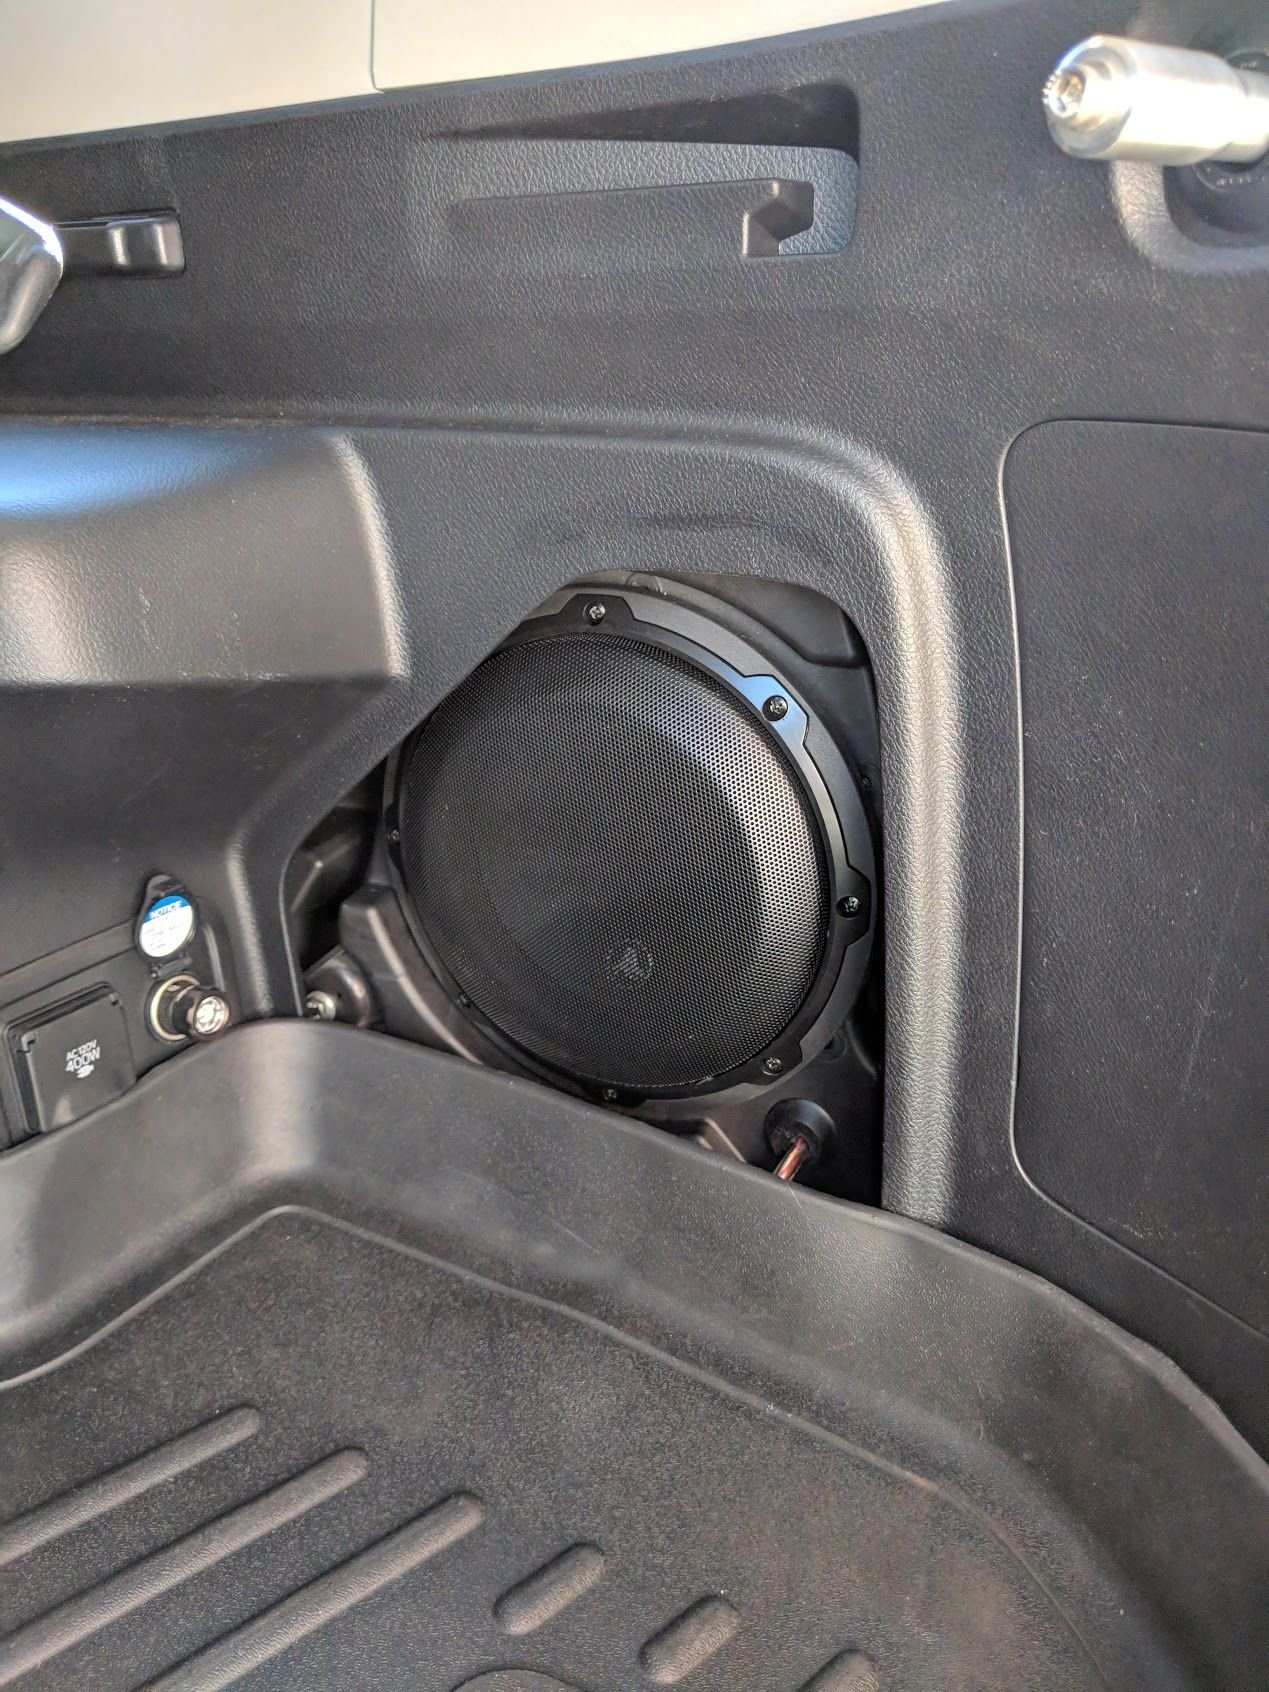
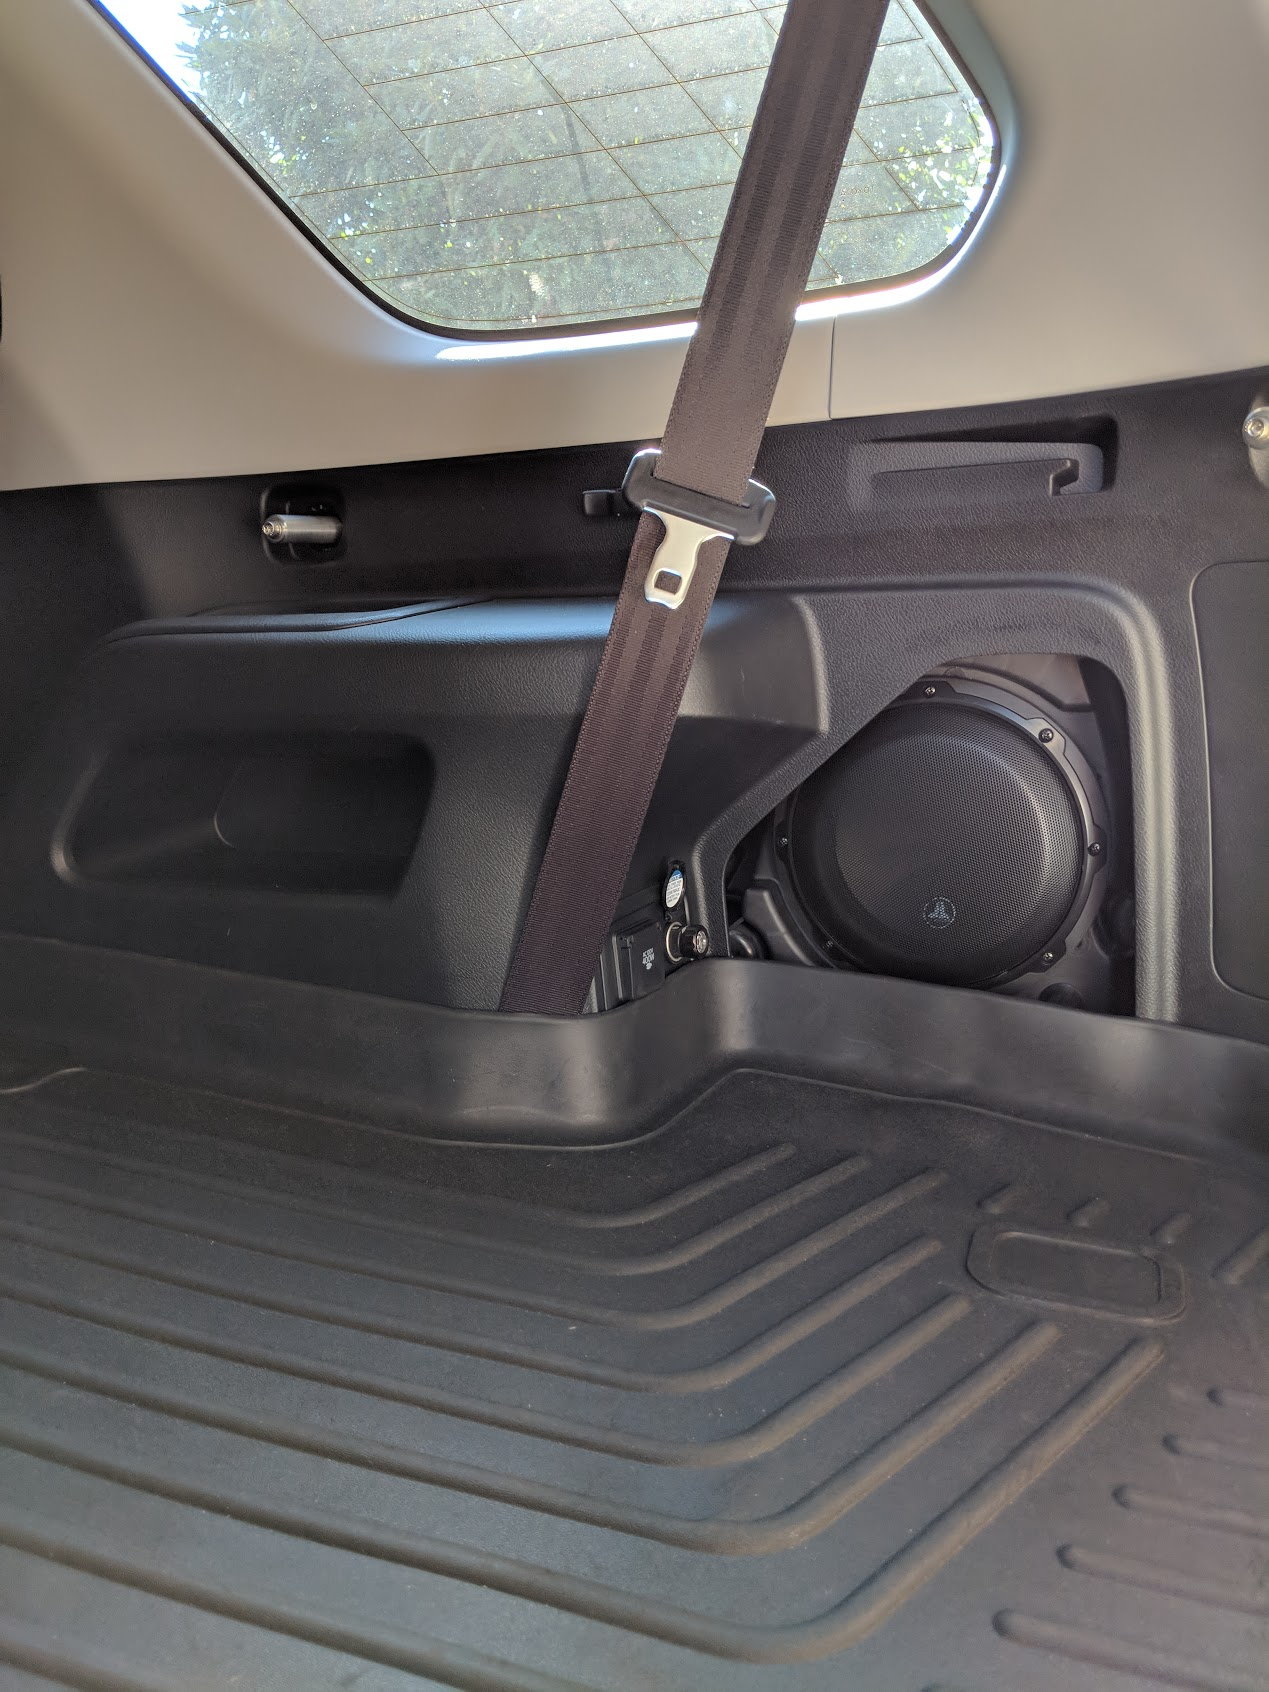
Got the truck all back together on Monday before the Stone Sour concert, didn't get a chance to post pics, here's a few pics of the finished product with the pocket removed. Still searching for the stock JBL trim panel, if I can't find one by spring then I will be fabricating some kind of trim panel, but for now I'm just happy to have everything installed and working correctly. Here's a few pics of how it fits in the stock panel after I removed the pocket to fit everything.

img_20180903_154210_5a3bb15591d7b323b22f4bafc621ad2783534159.jpg


After I put the third row seat in and mounted the brackets for the Molle storage panel. I added the JL speaker cover as a bit of a finishing touch but also to help protect the dust cap from things sliding around until I can get a better more permanent trim piece

img_20180903_155553_68f23c6a7fcd977003facd5b0a8f90ddc458880c.jpg


img_20180903_154213_a340cf5f72dc2f4d7906140b6a508b353510d1c3.jpg


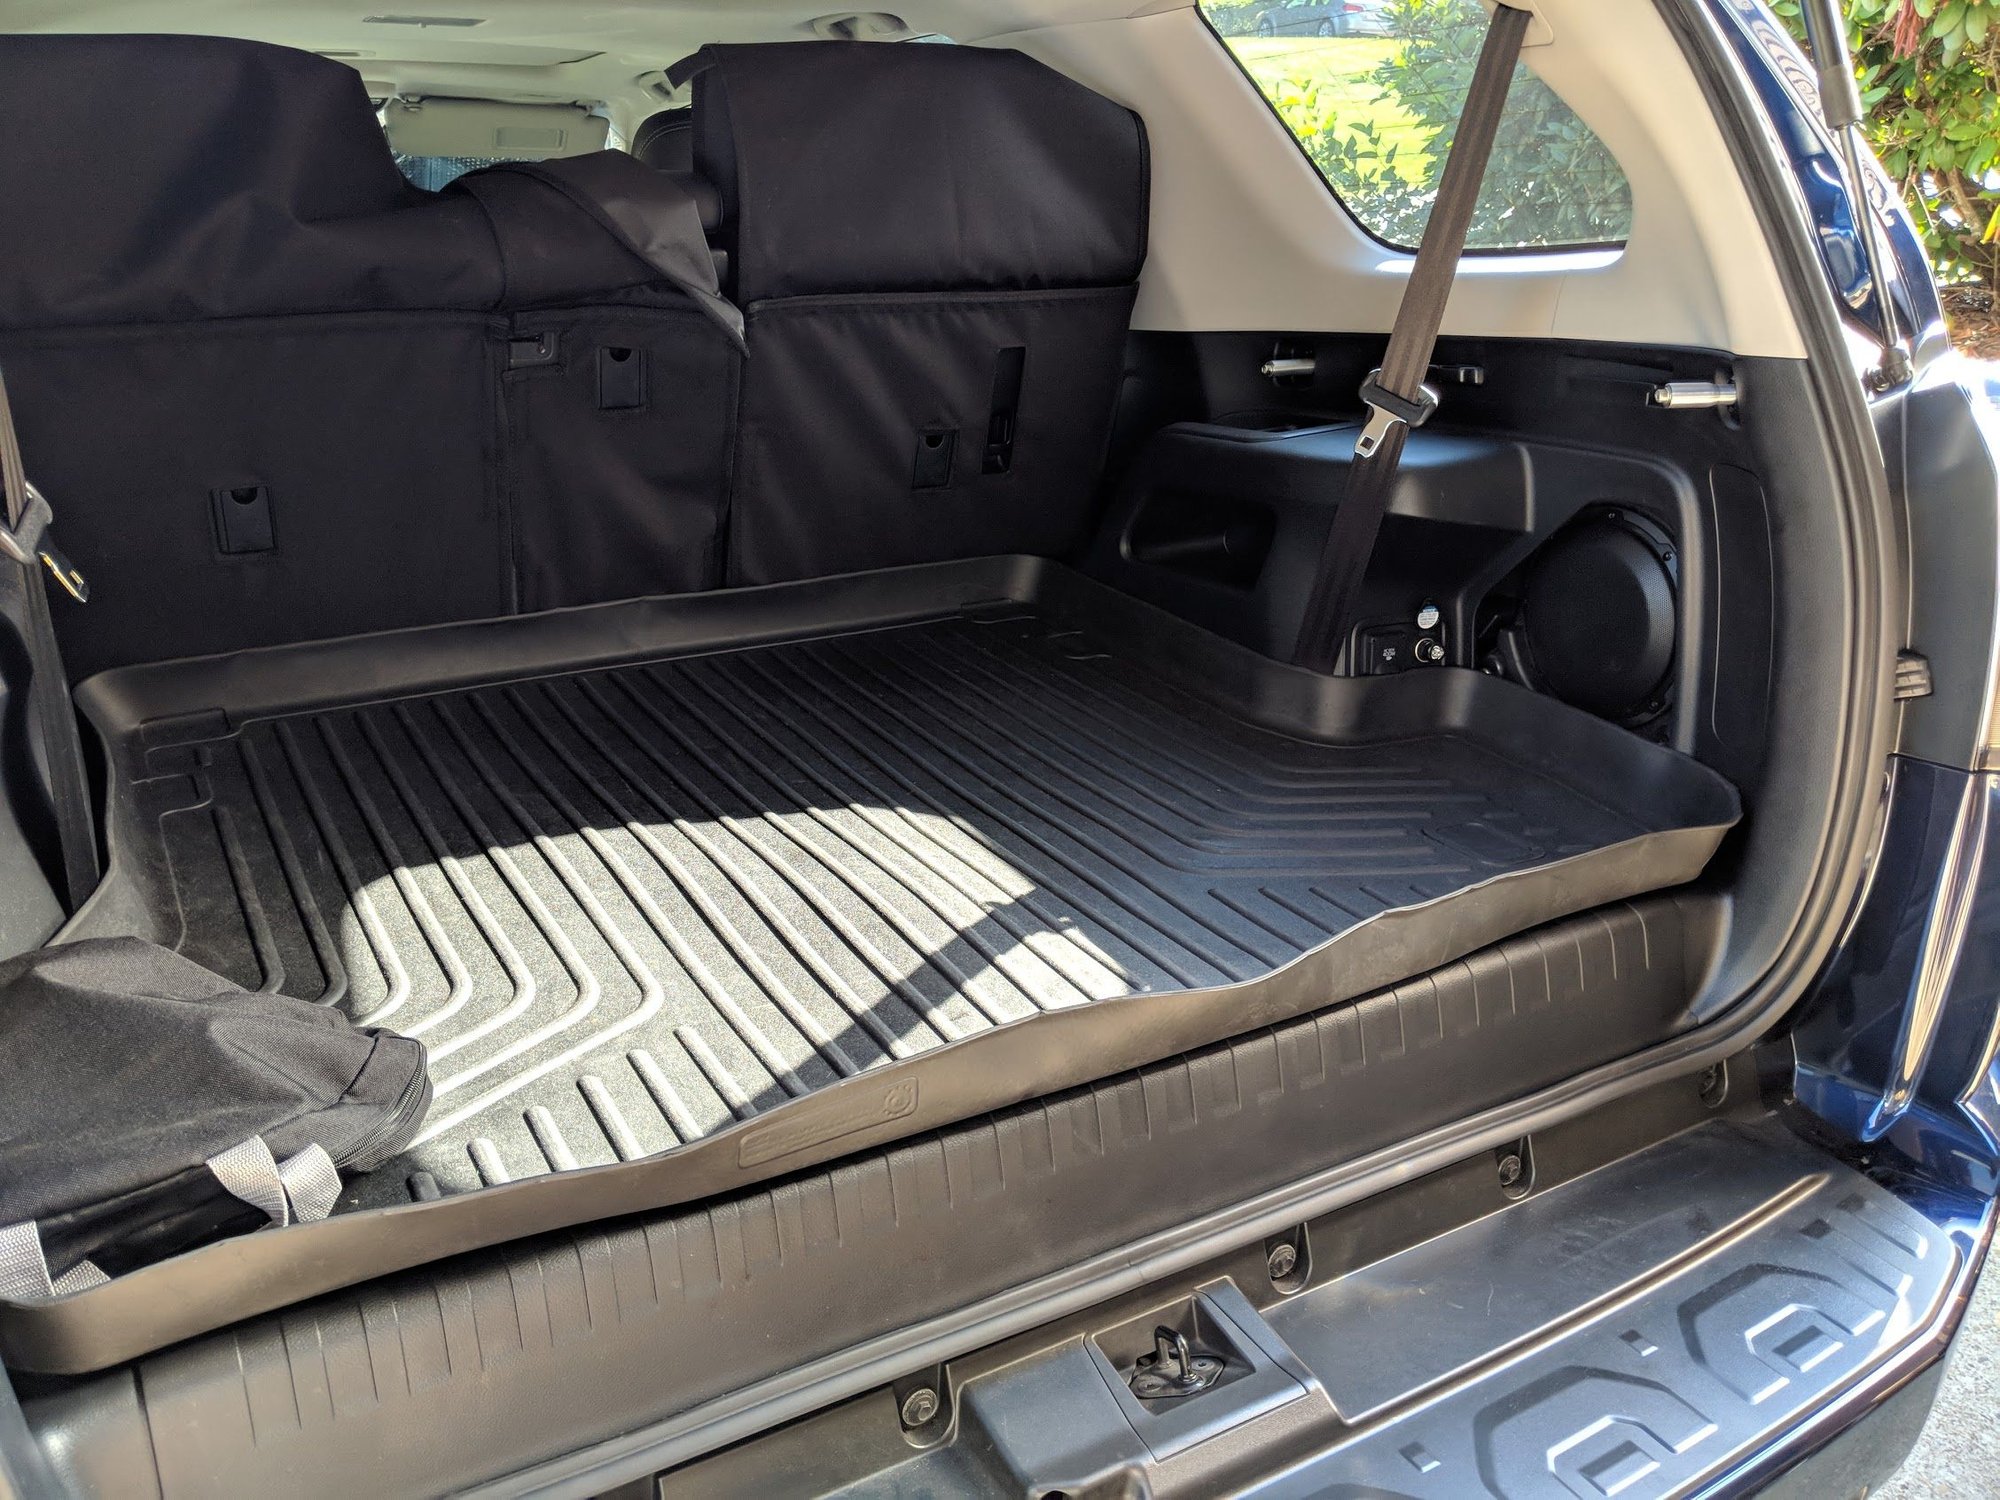
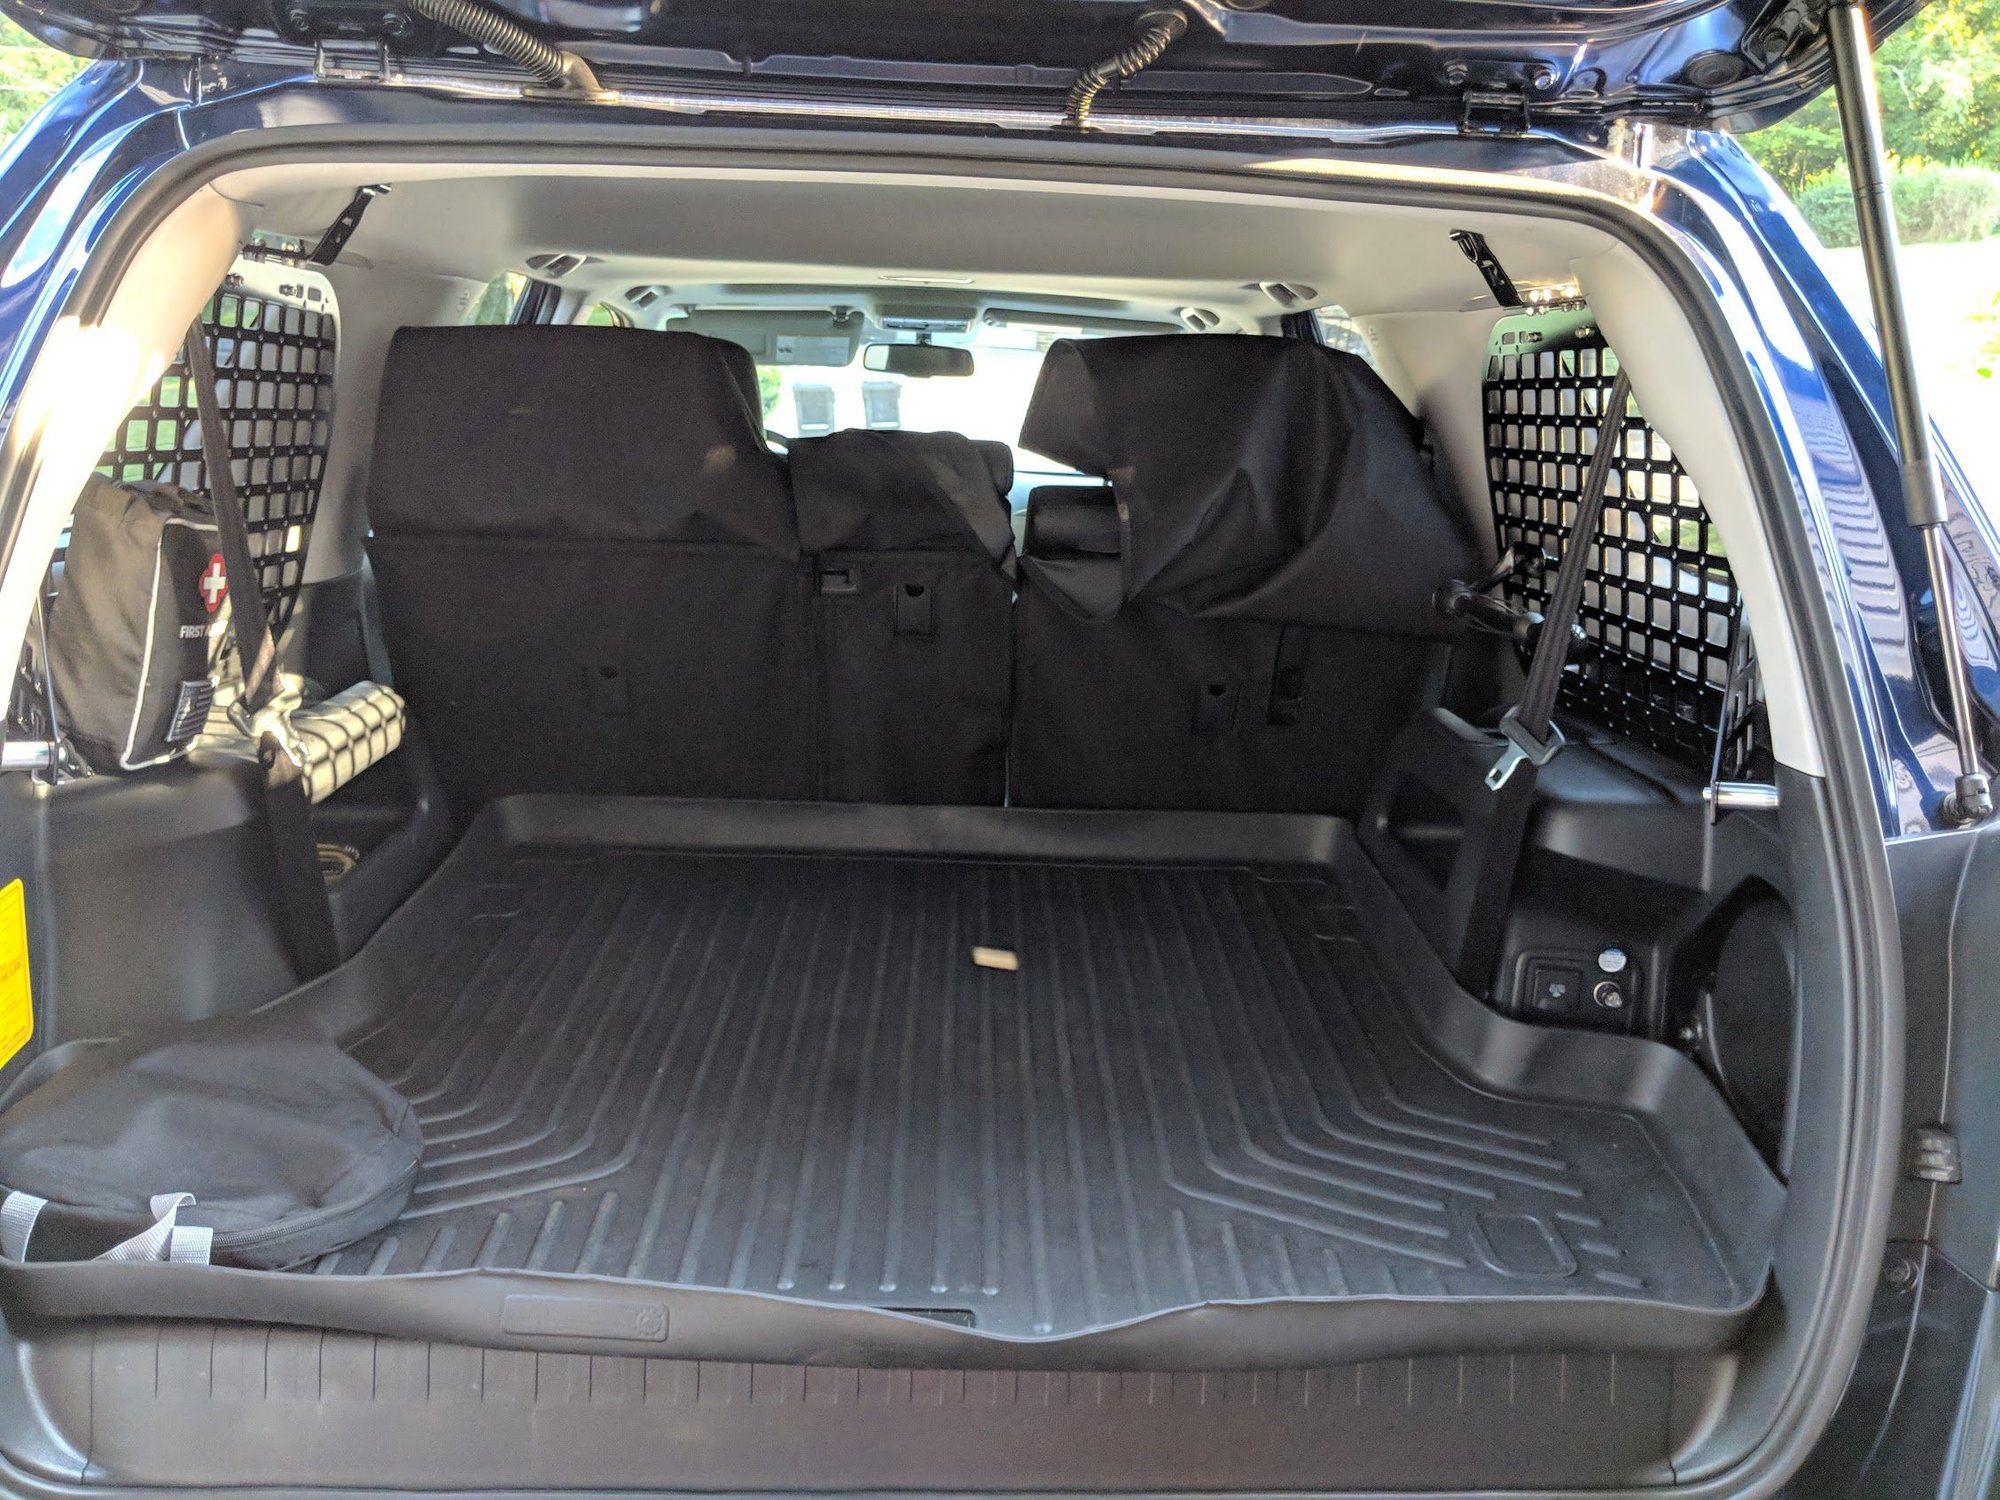
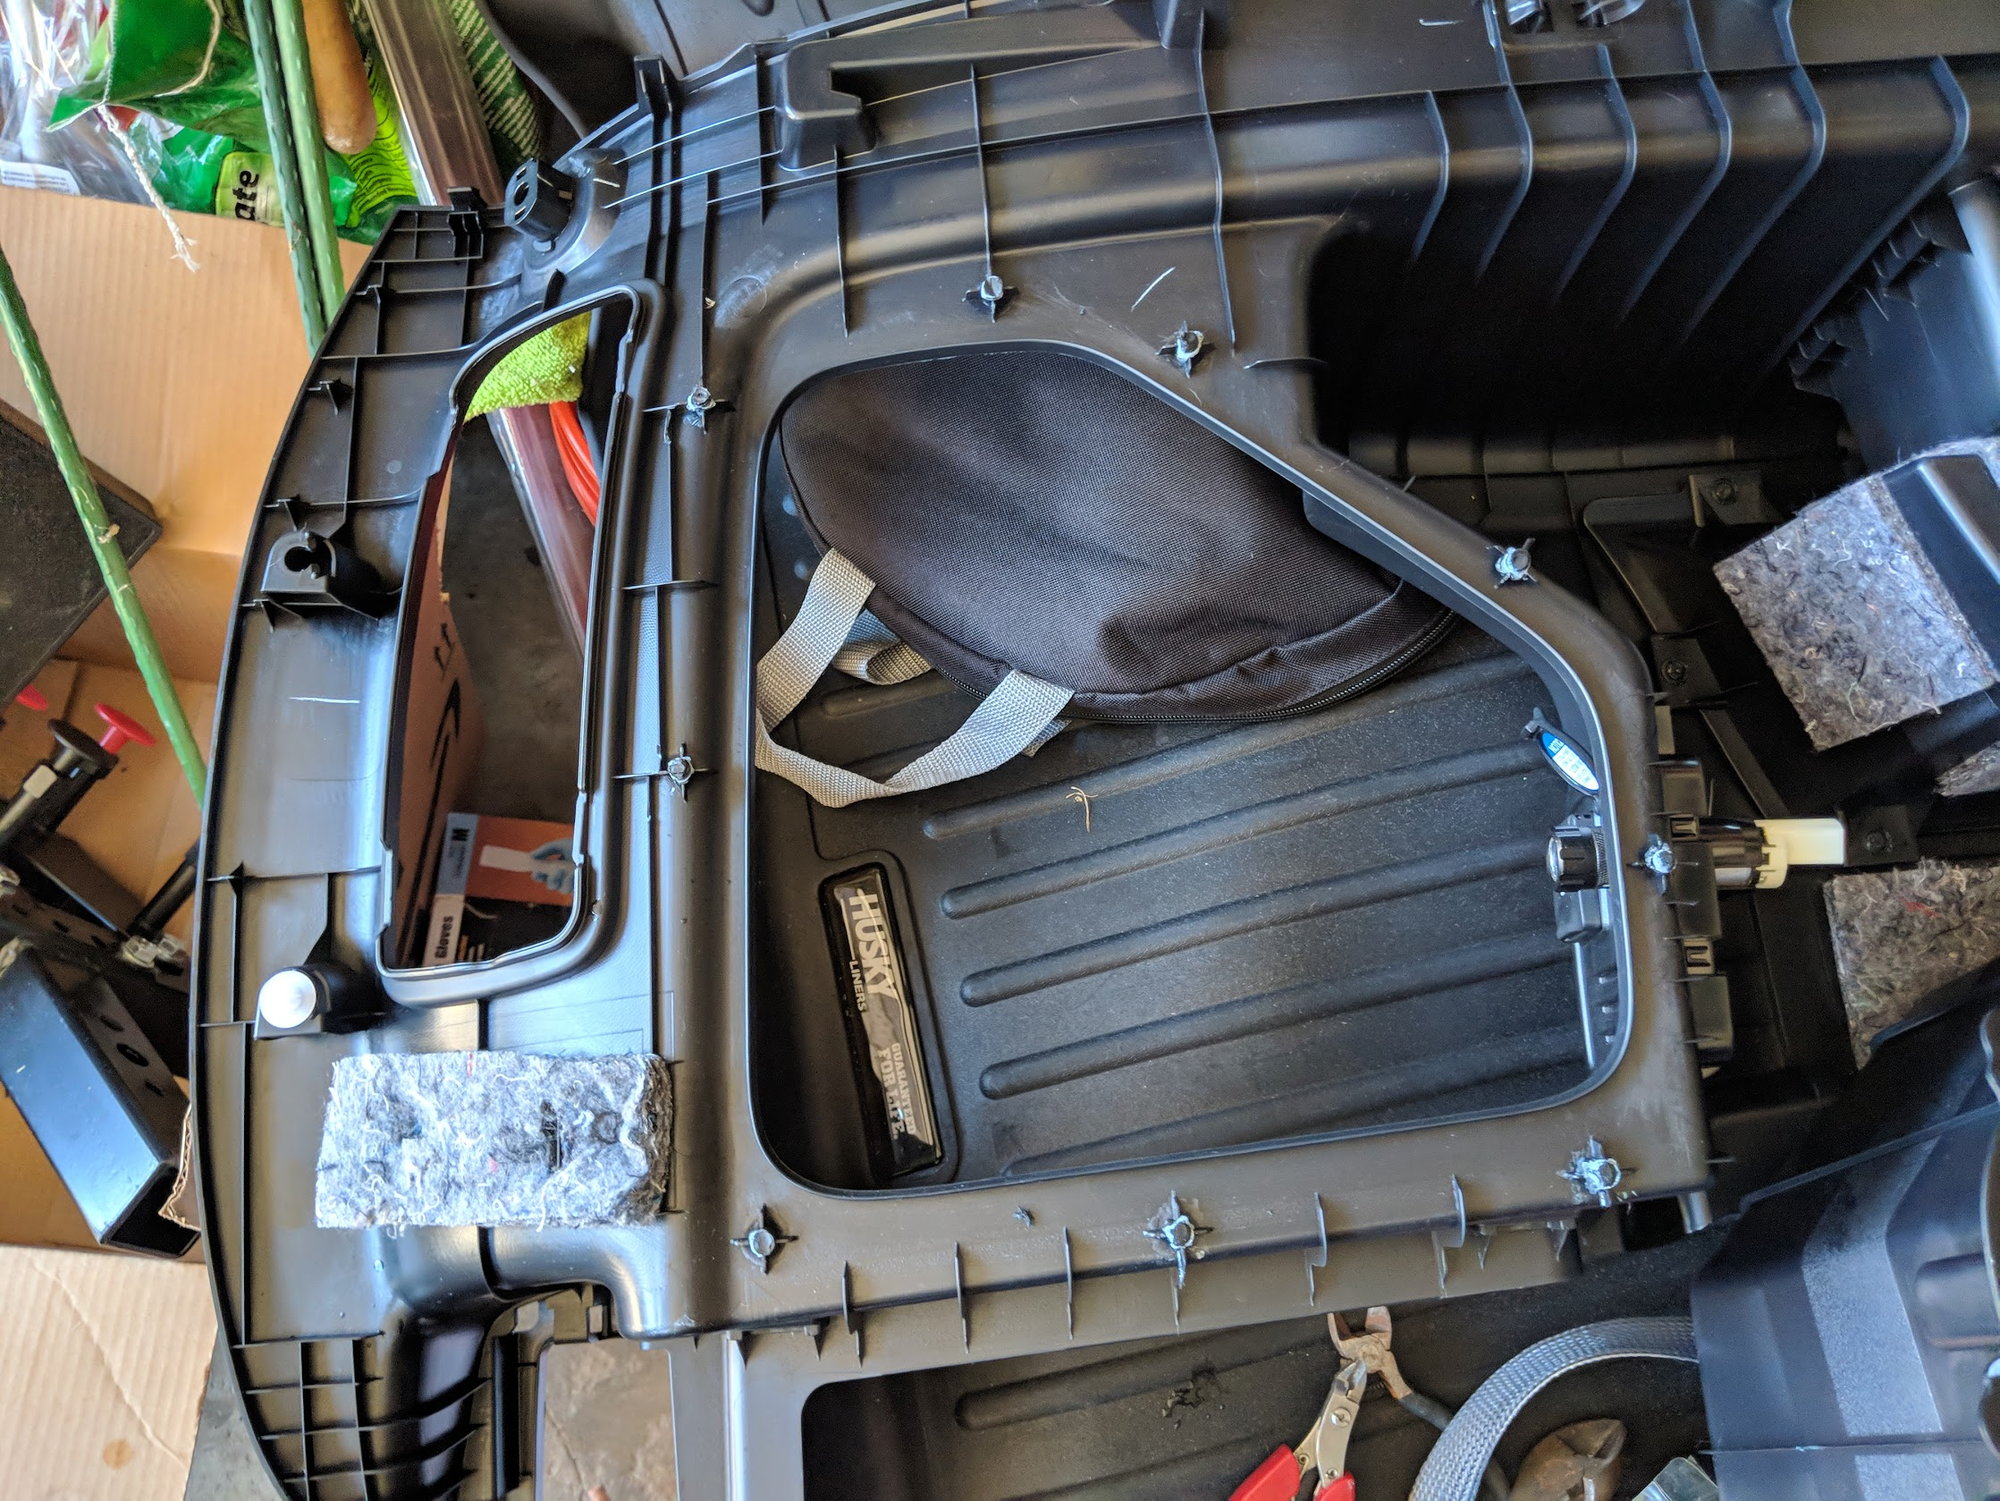
And here's the speaker with the Husky rear liner, it actually covers up most of the stuff I didn't want exposed which is nice

img_20180903_163750_74f370092c00e91002b530945d814a62bd1ffac2.jpg


And here's the rear all reassembled and put back together.

img_20180903_163755_dff43c771f53ac0034068d493501ca601f8d893a.jpg


And a wider shot of the rear

img_20180903_163801_b94fd67380d594f7ff6ad3ff1ad1457c65553612.jpg


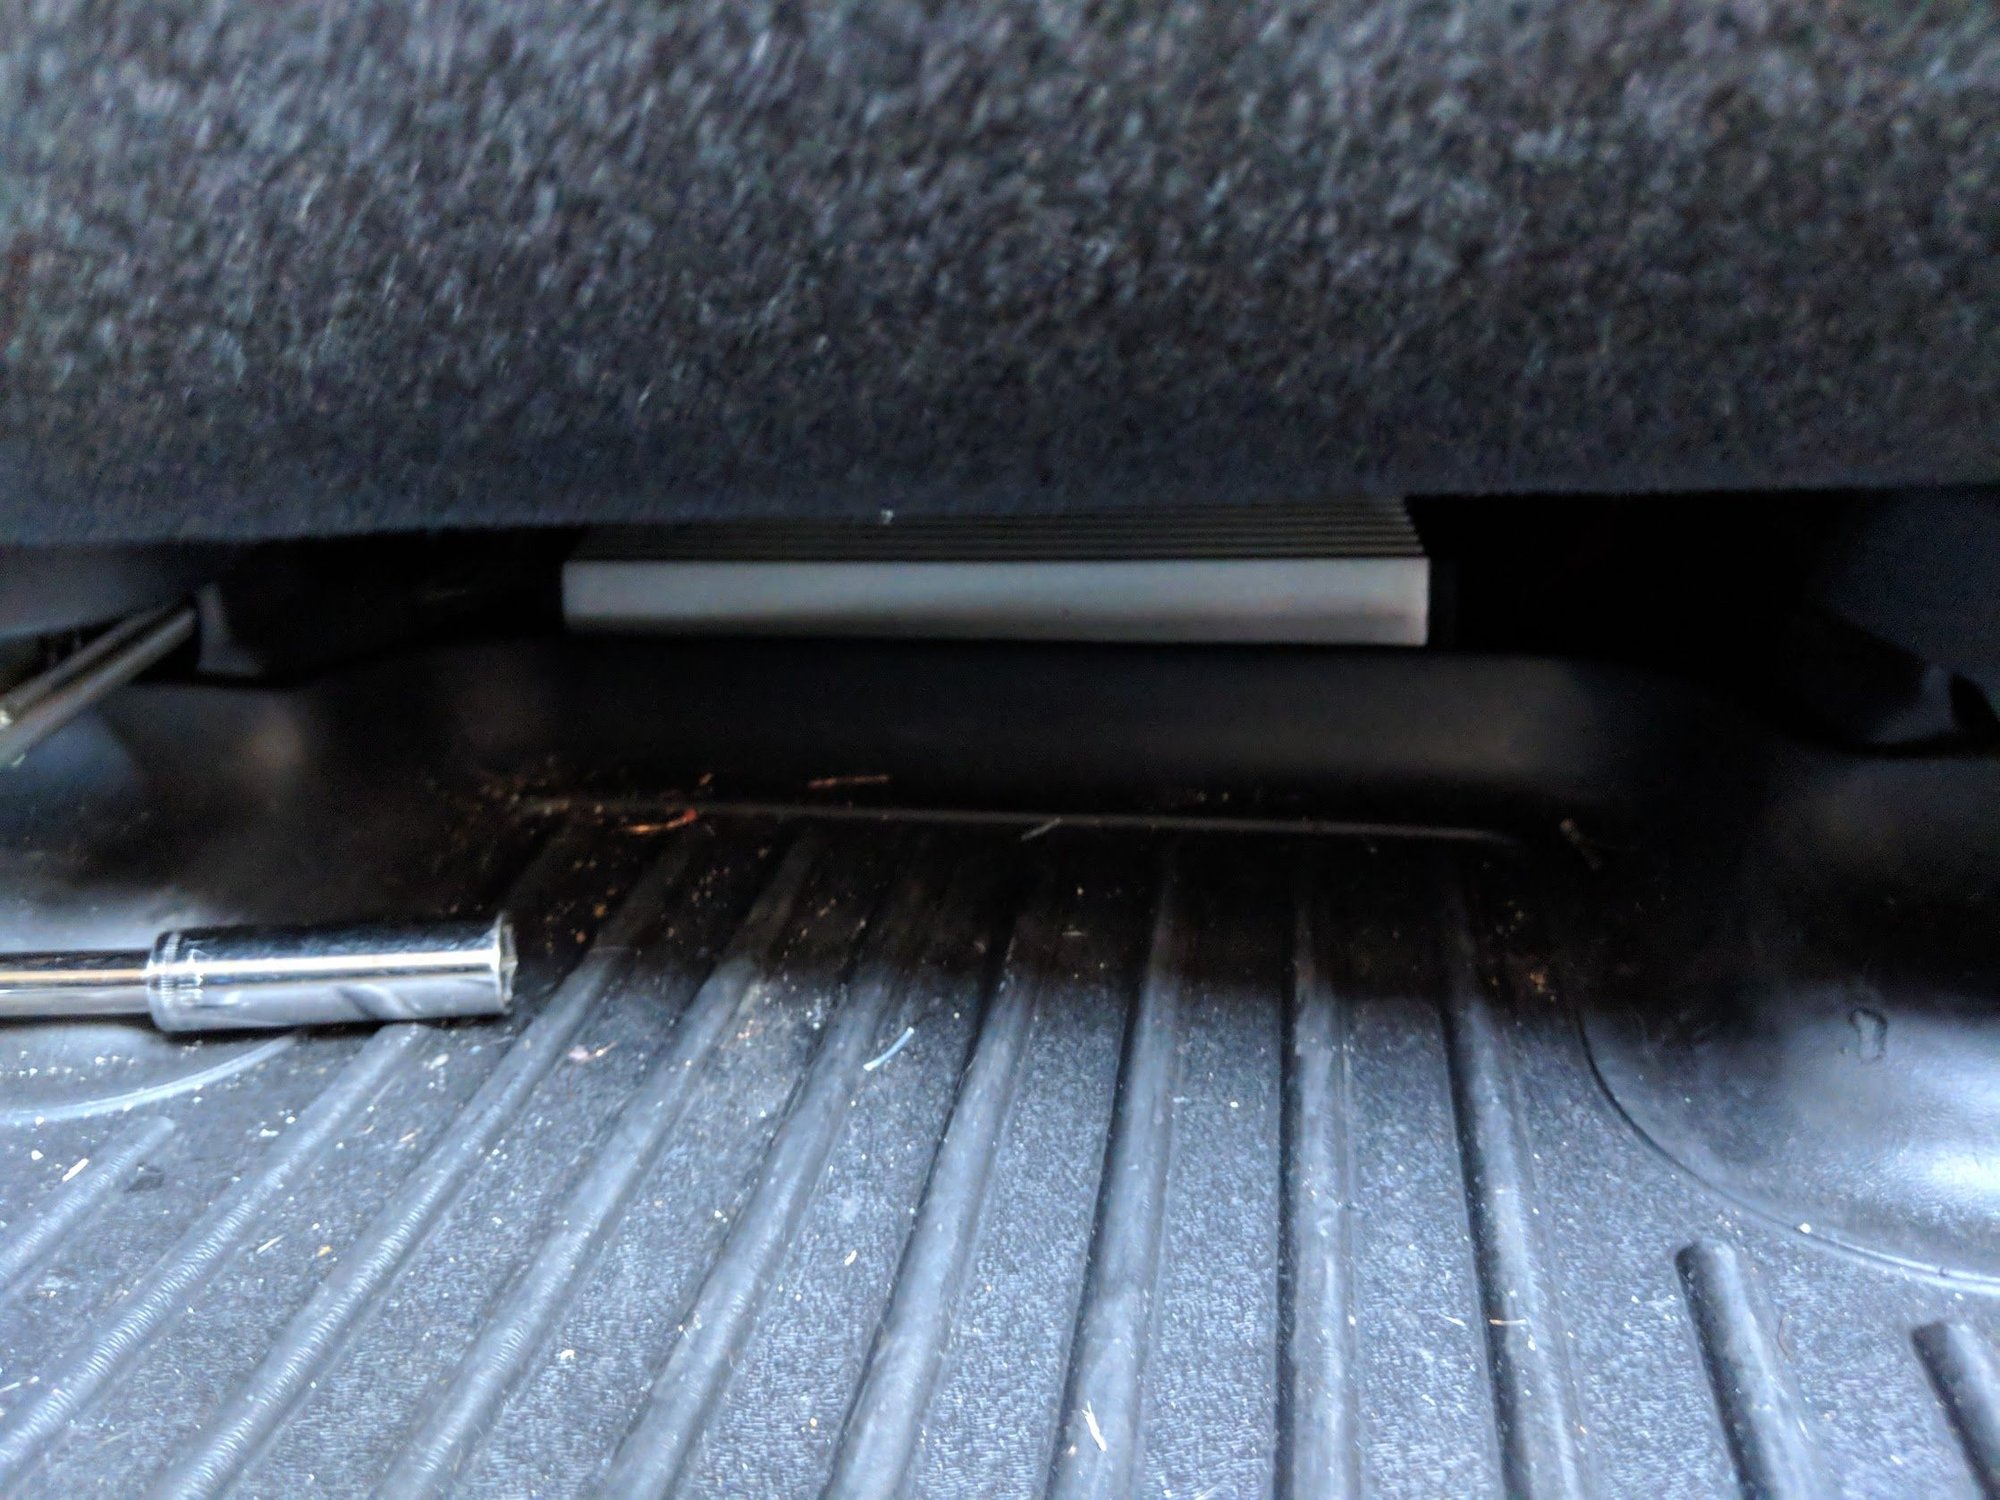
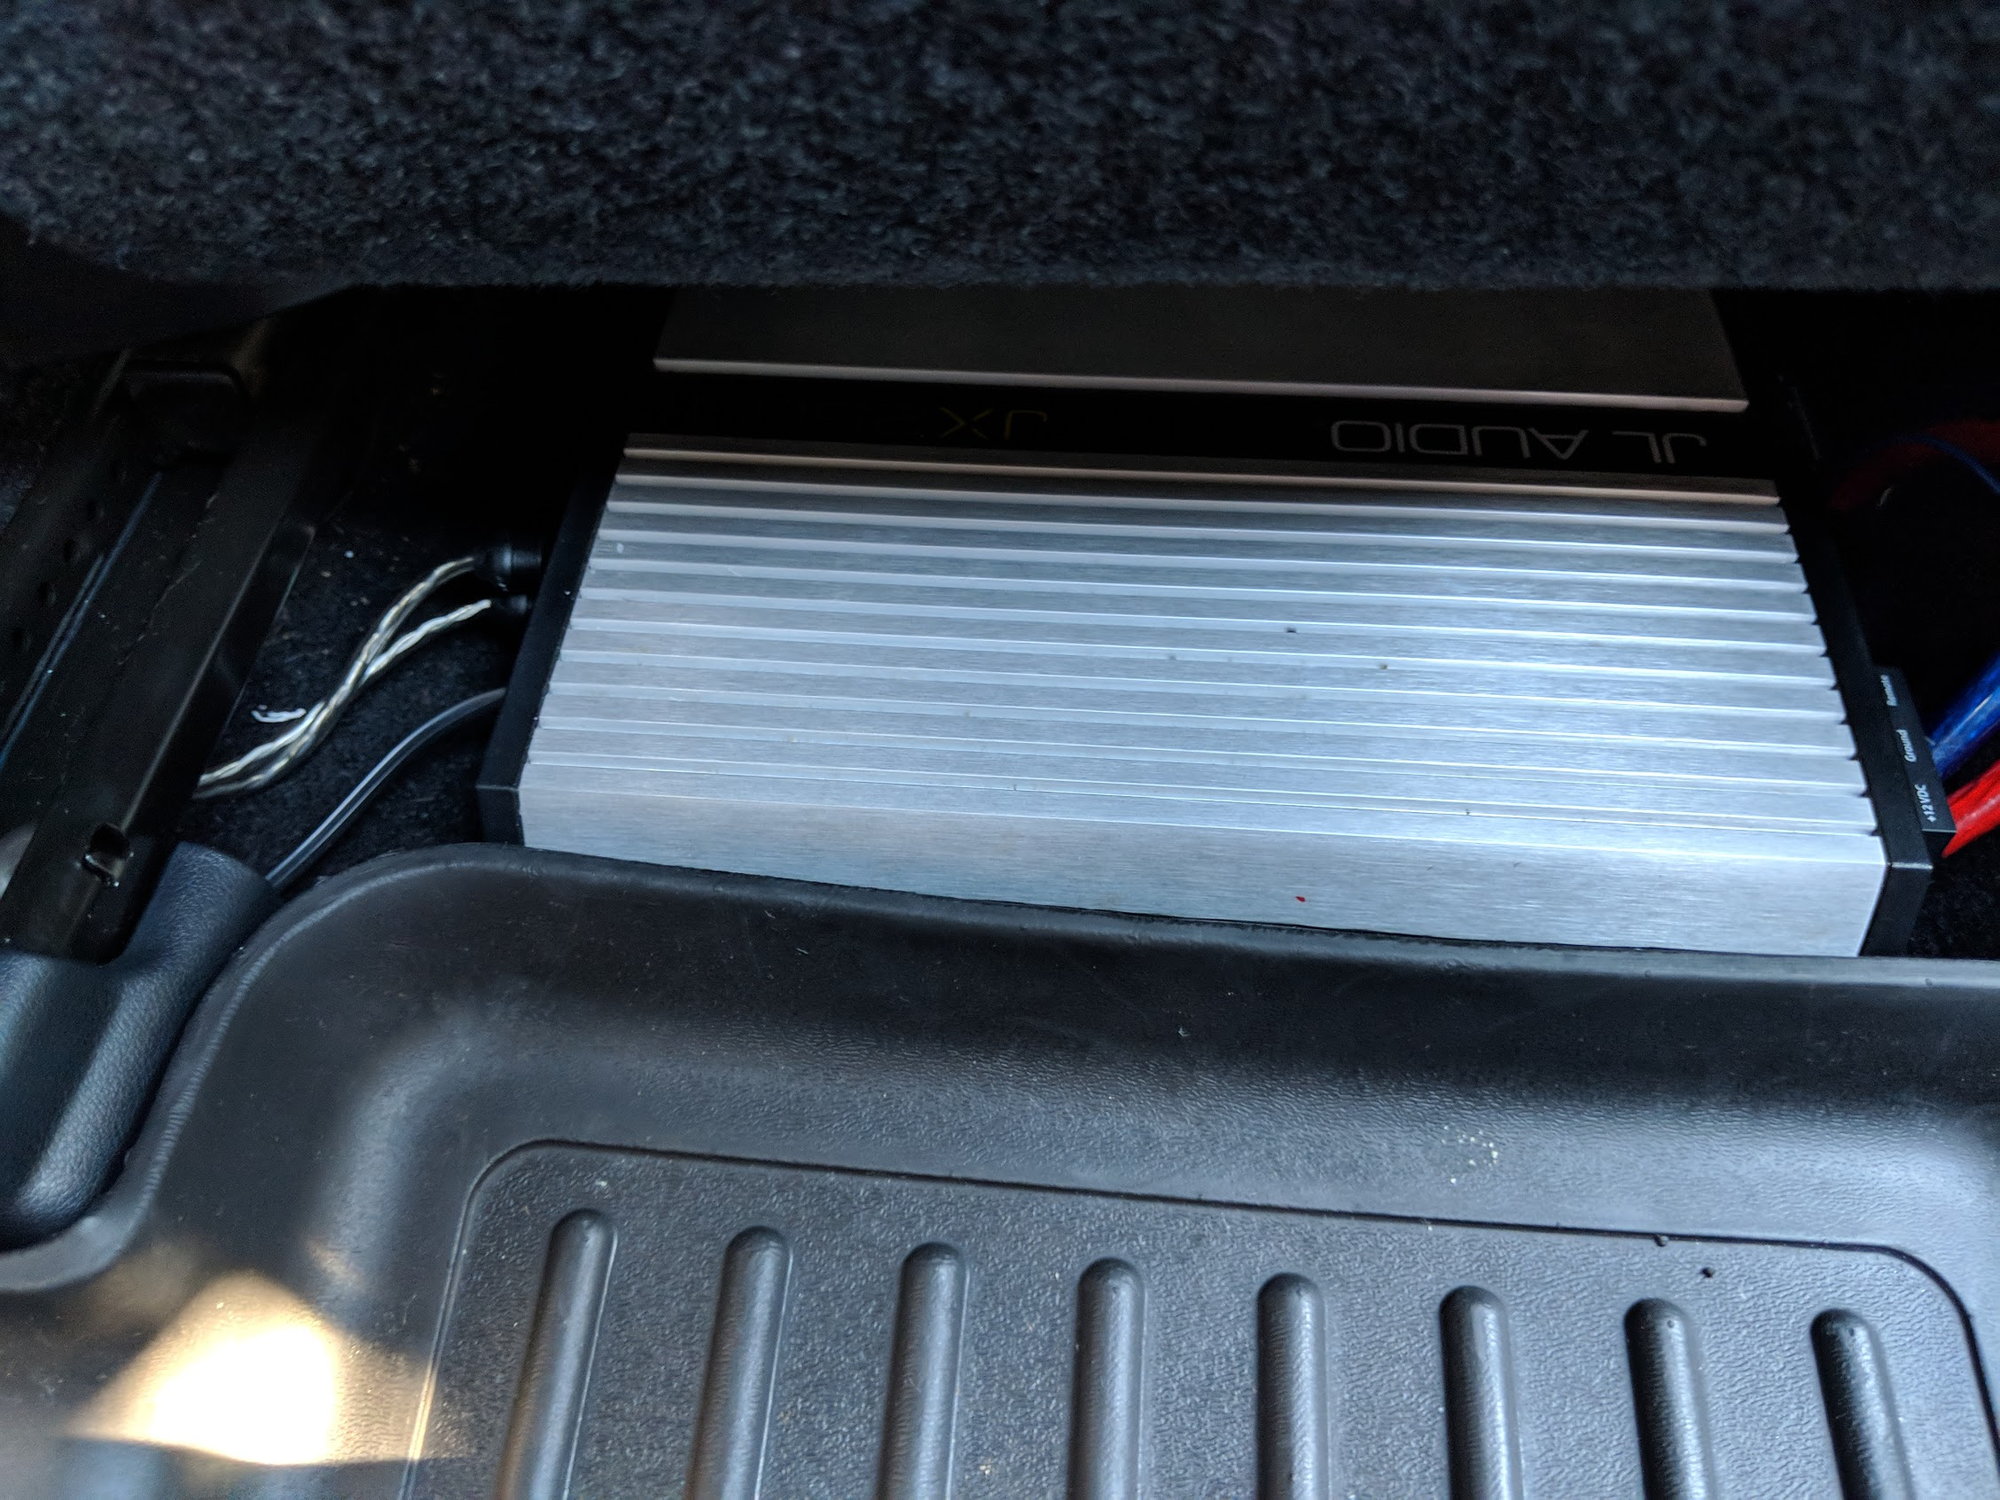
And here's a pic of the amp all plugged in and screwed down under the passenger seat. With the seat back it's not visible at all and is completely stealth which was the goal. I actually turned the bass boost back down to zero because it was "too loud" lol. Thing still slams and sounds amazing!

img_20180904_173056_214cce7bba343de2ac76aa36285a6e9018fb2387.jpg
 
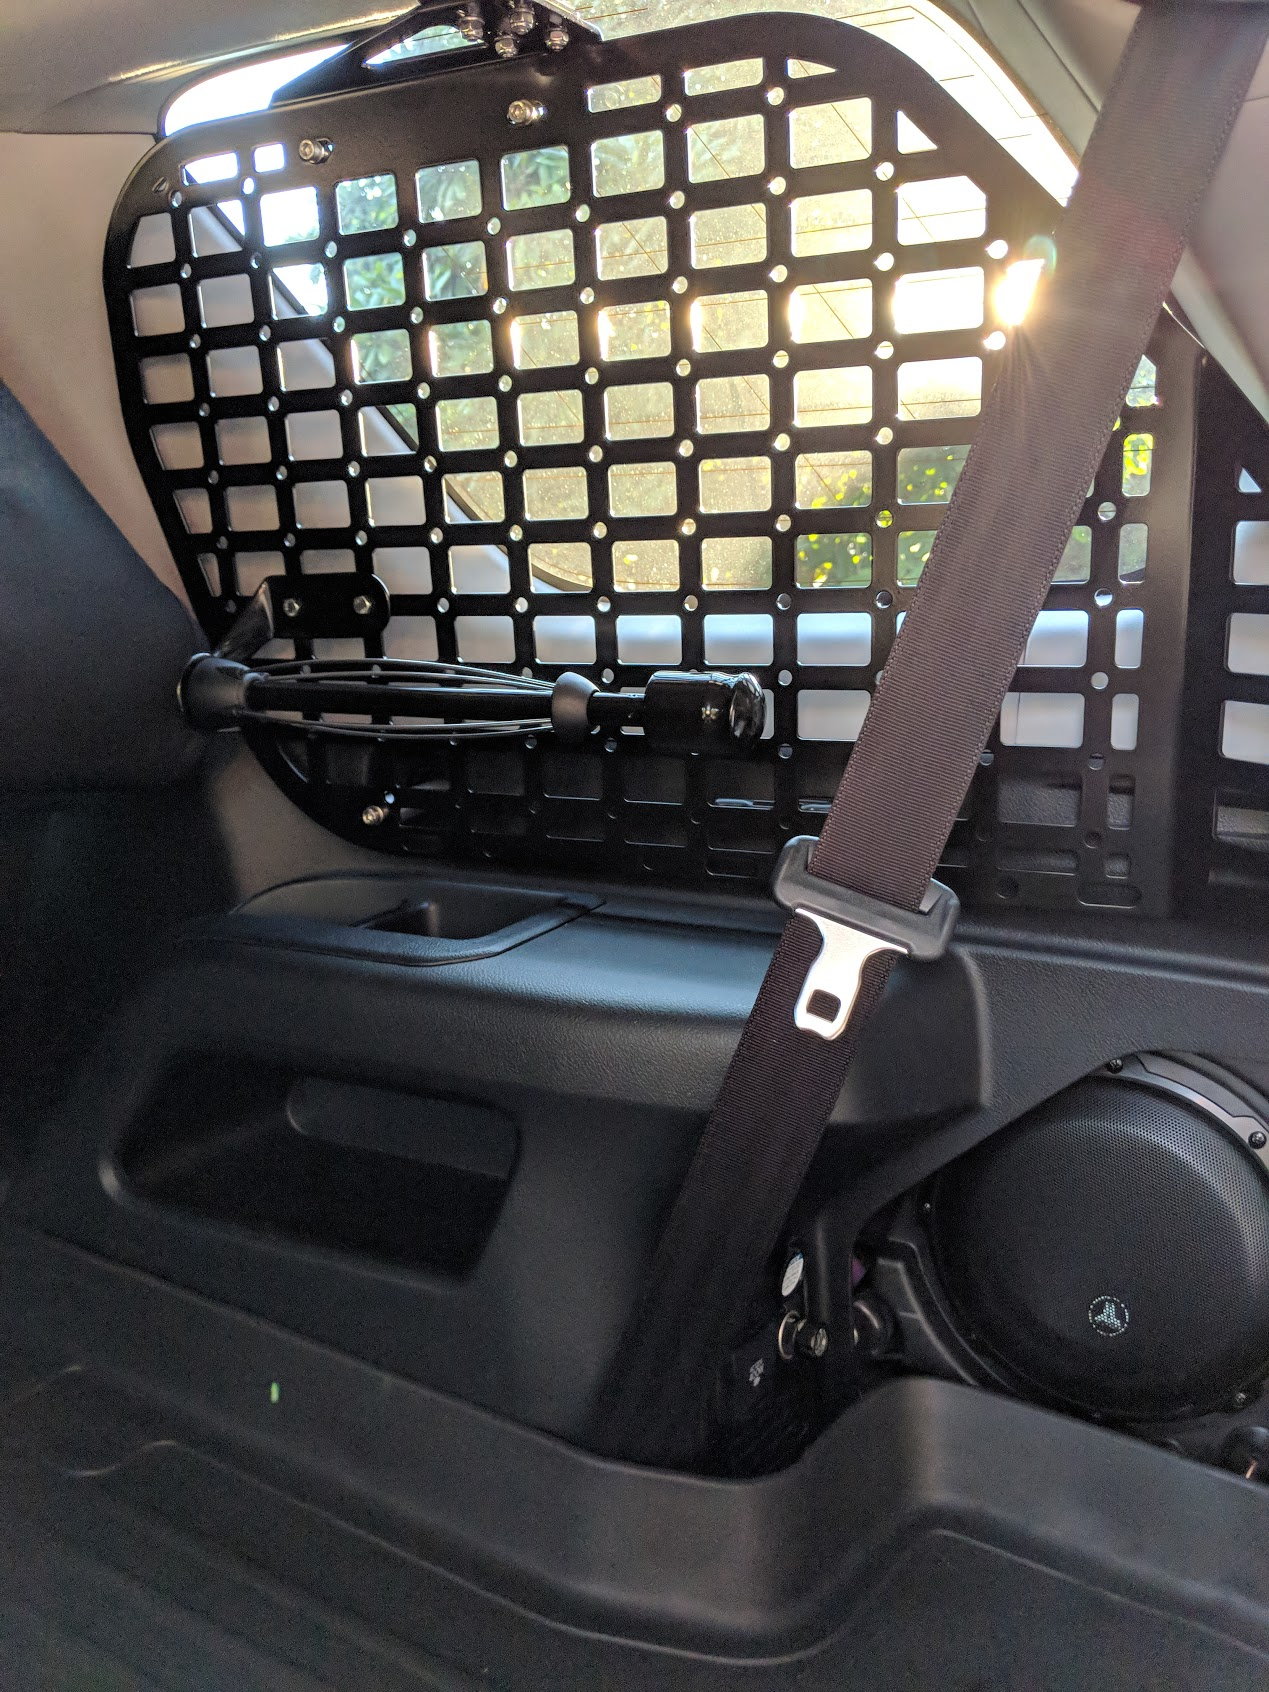
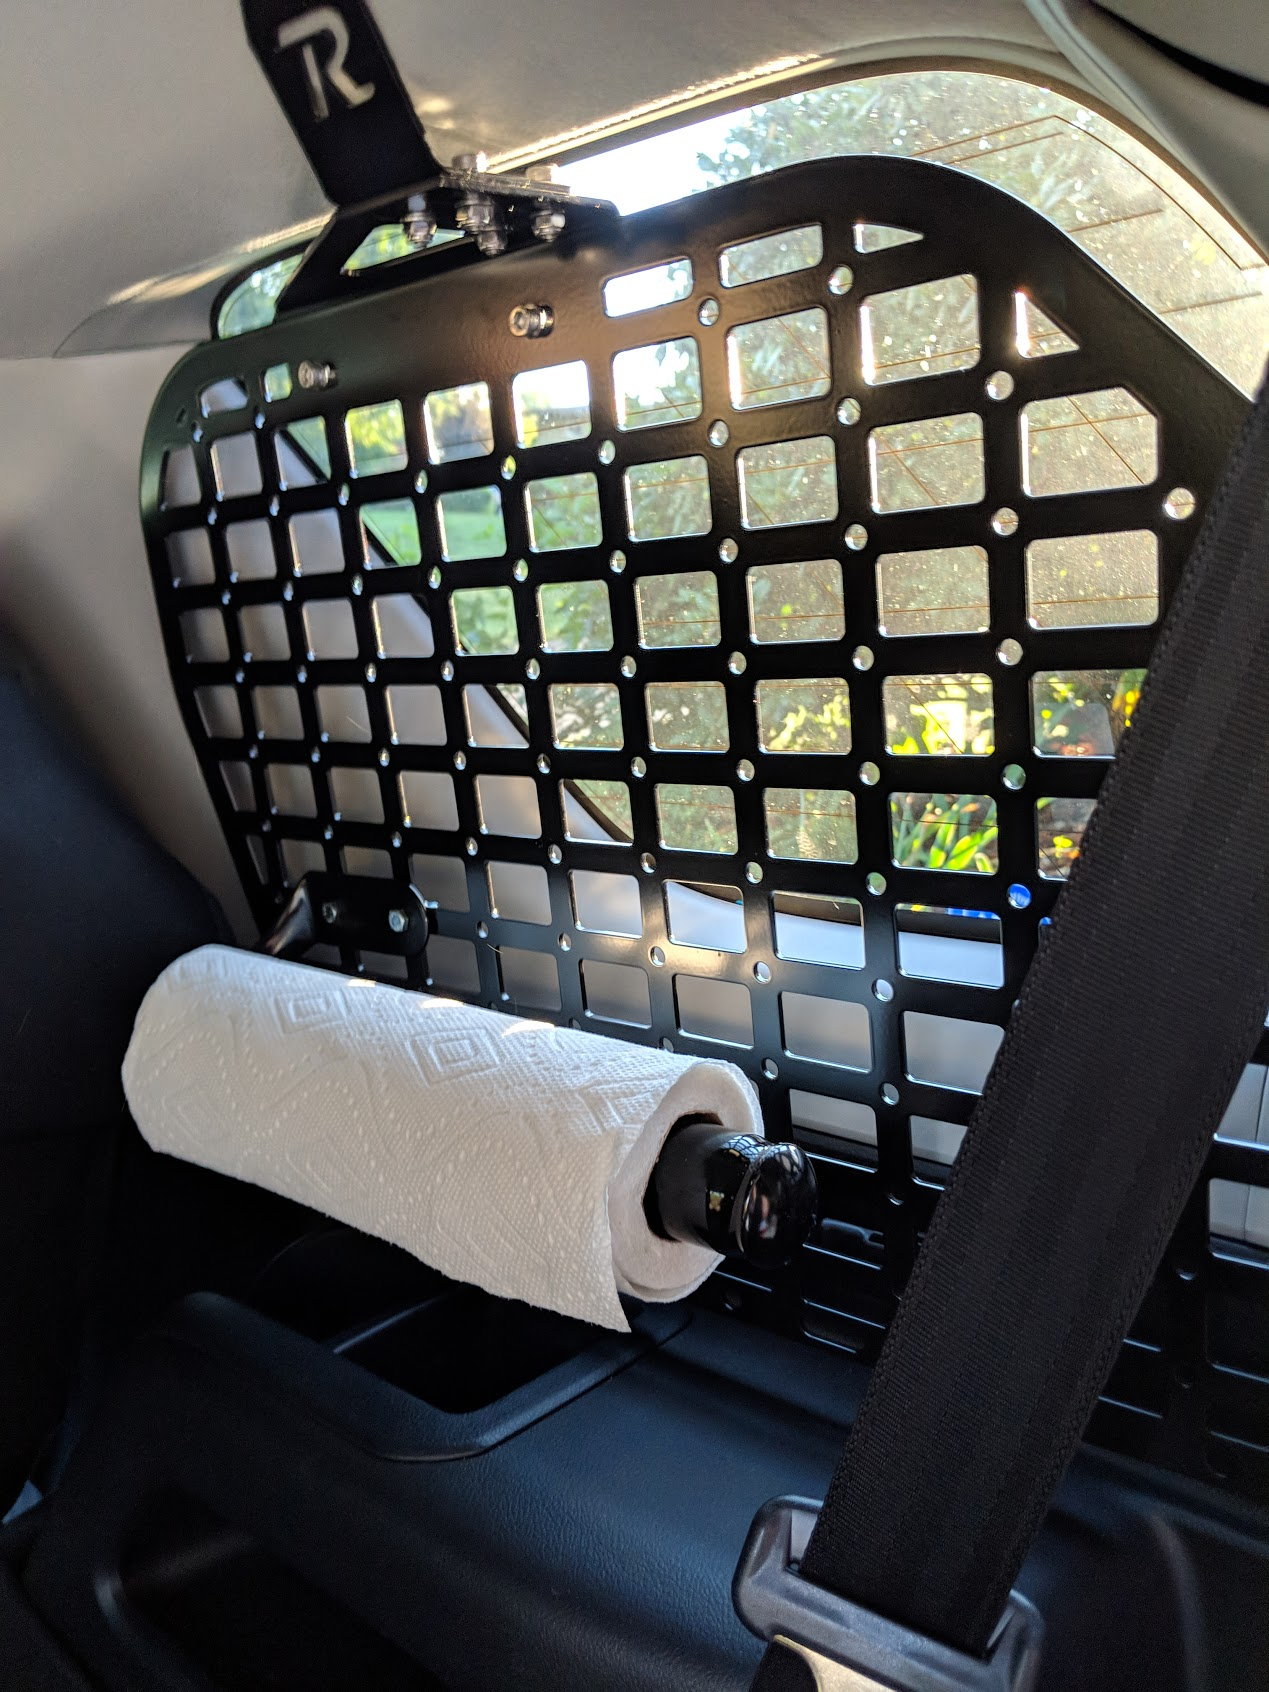
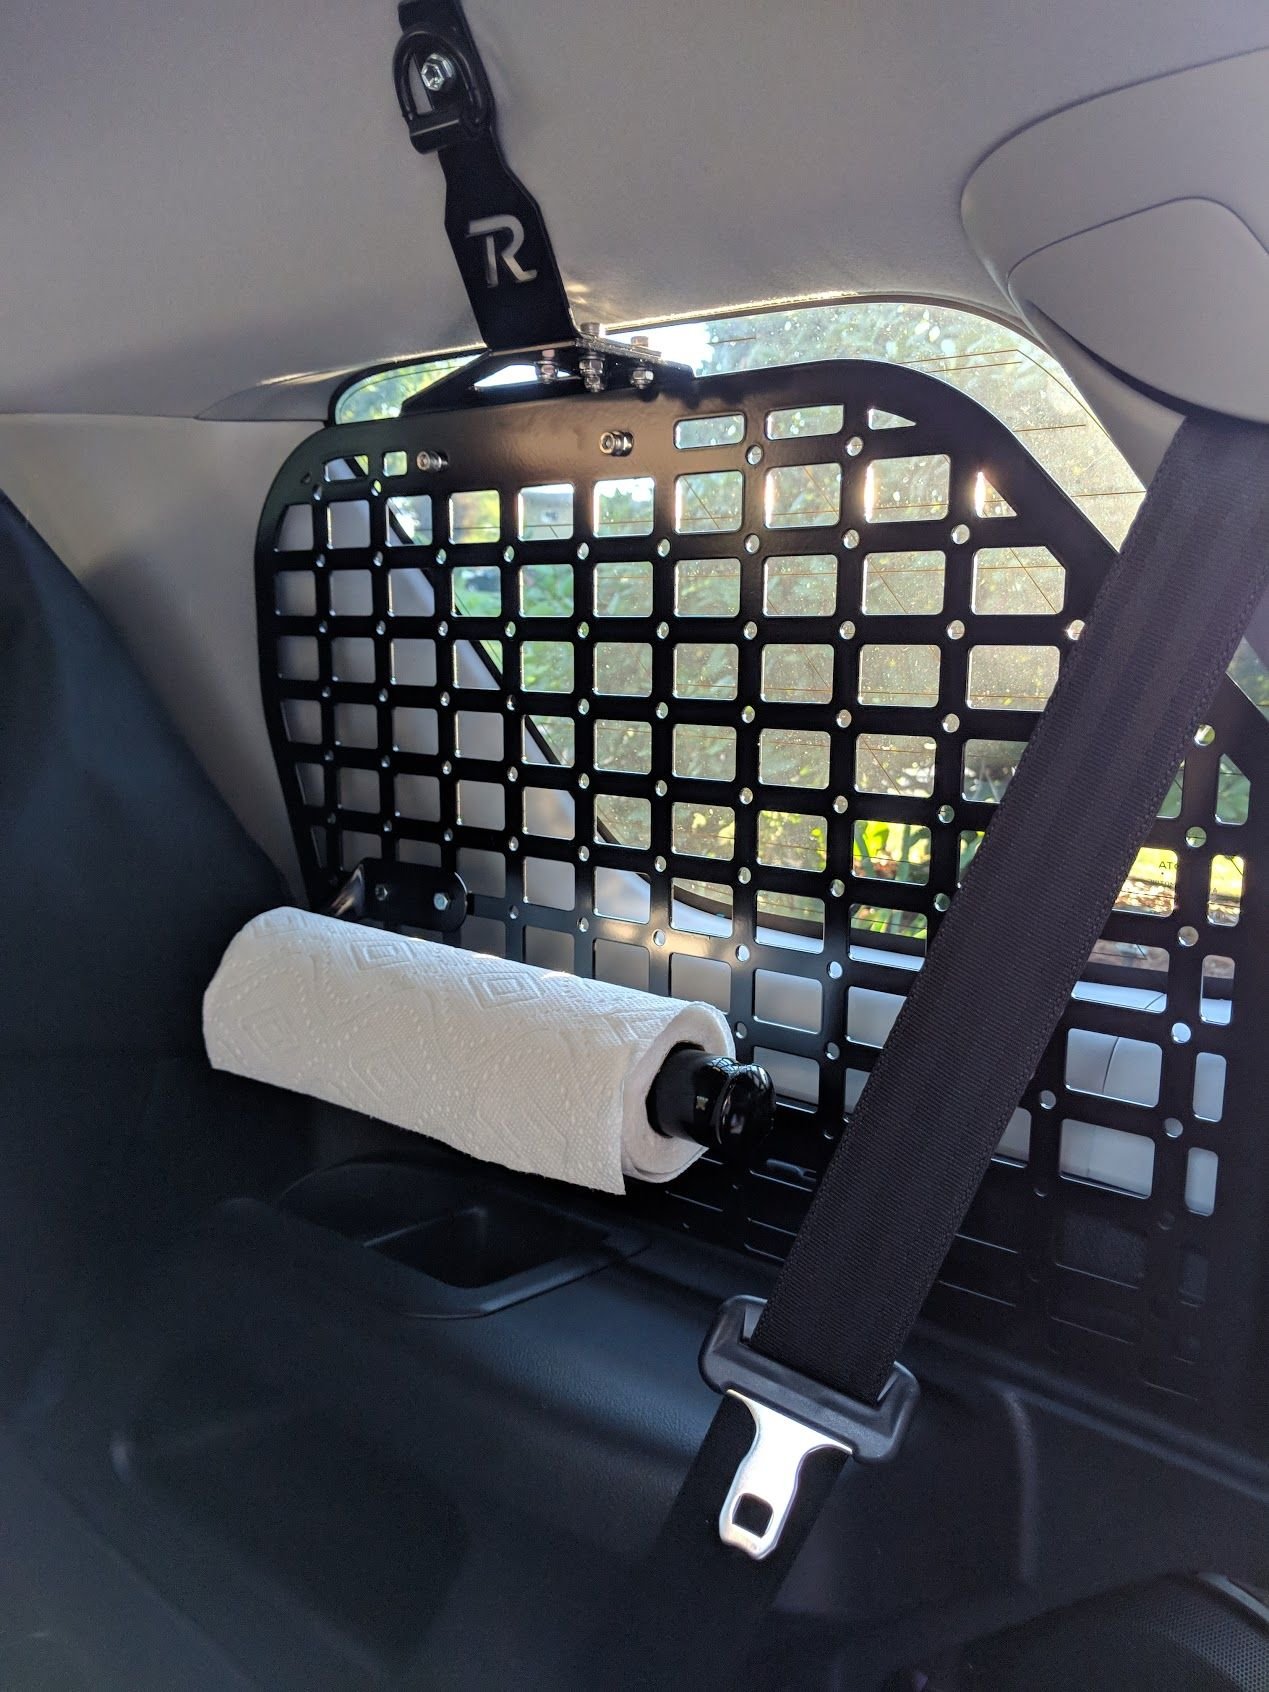
And lastly, here's the other Rago Fab Molle storage panel with paper towel dispenser all installed finally.

img_20180904_182242_119825309a68c73daeb47ce643372793ad200338.jpg


With paper towels, I actually had to raise the holder up because it was blocking the wheel well pockets and wouldn't turn properly with a full roll, but I like it

img_20180904_182356_b5422215e2fa3e9e2b9d0de14fe25c912170ed07.jpg


All bolted up and sexy

img_20180904_182357_d6634b989a8dbfd5c027471b00141a625fe53fbc.jpg


And the wide shot of the trunk, looks so much better with a matching set

img_20180904_182307_e77f672b343409d3aee831bbae06b953924d813d.jpg
 
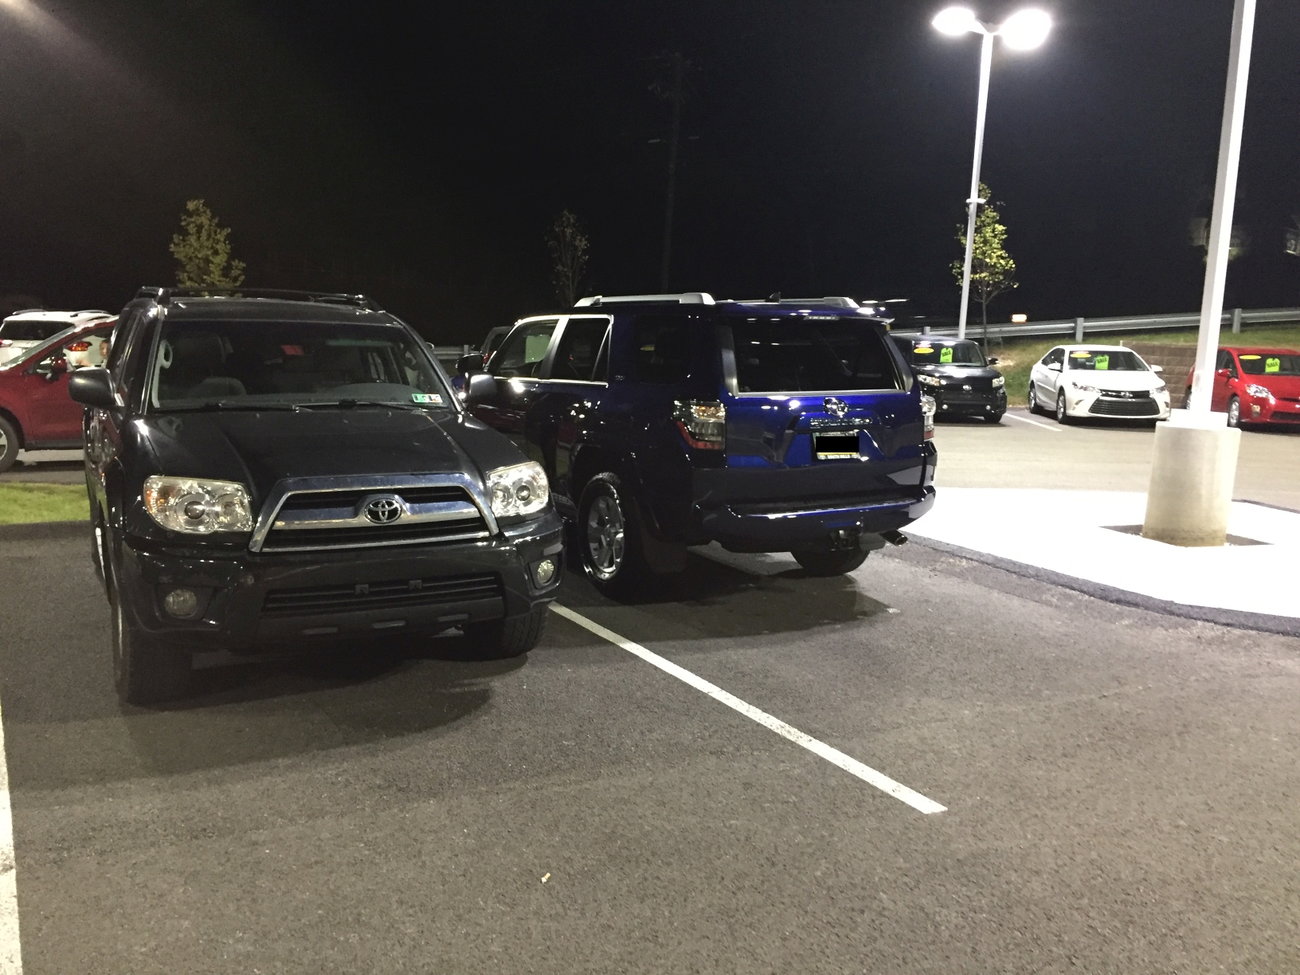
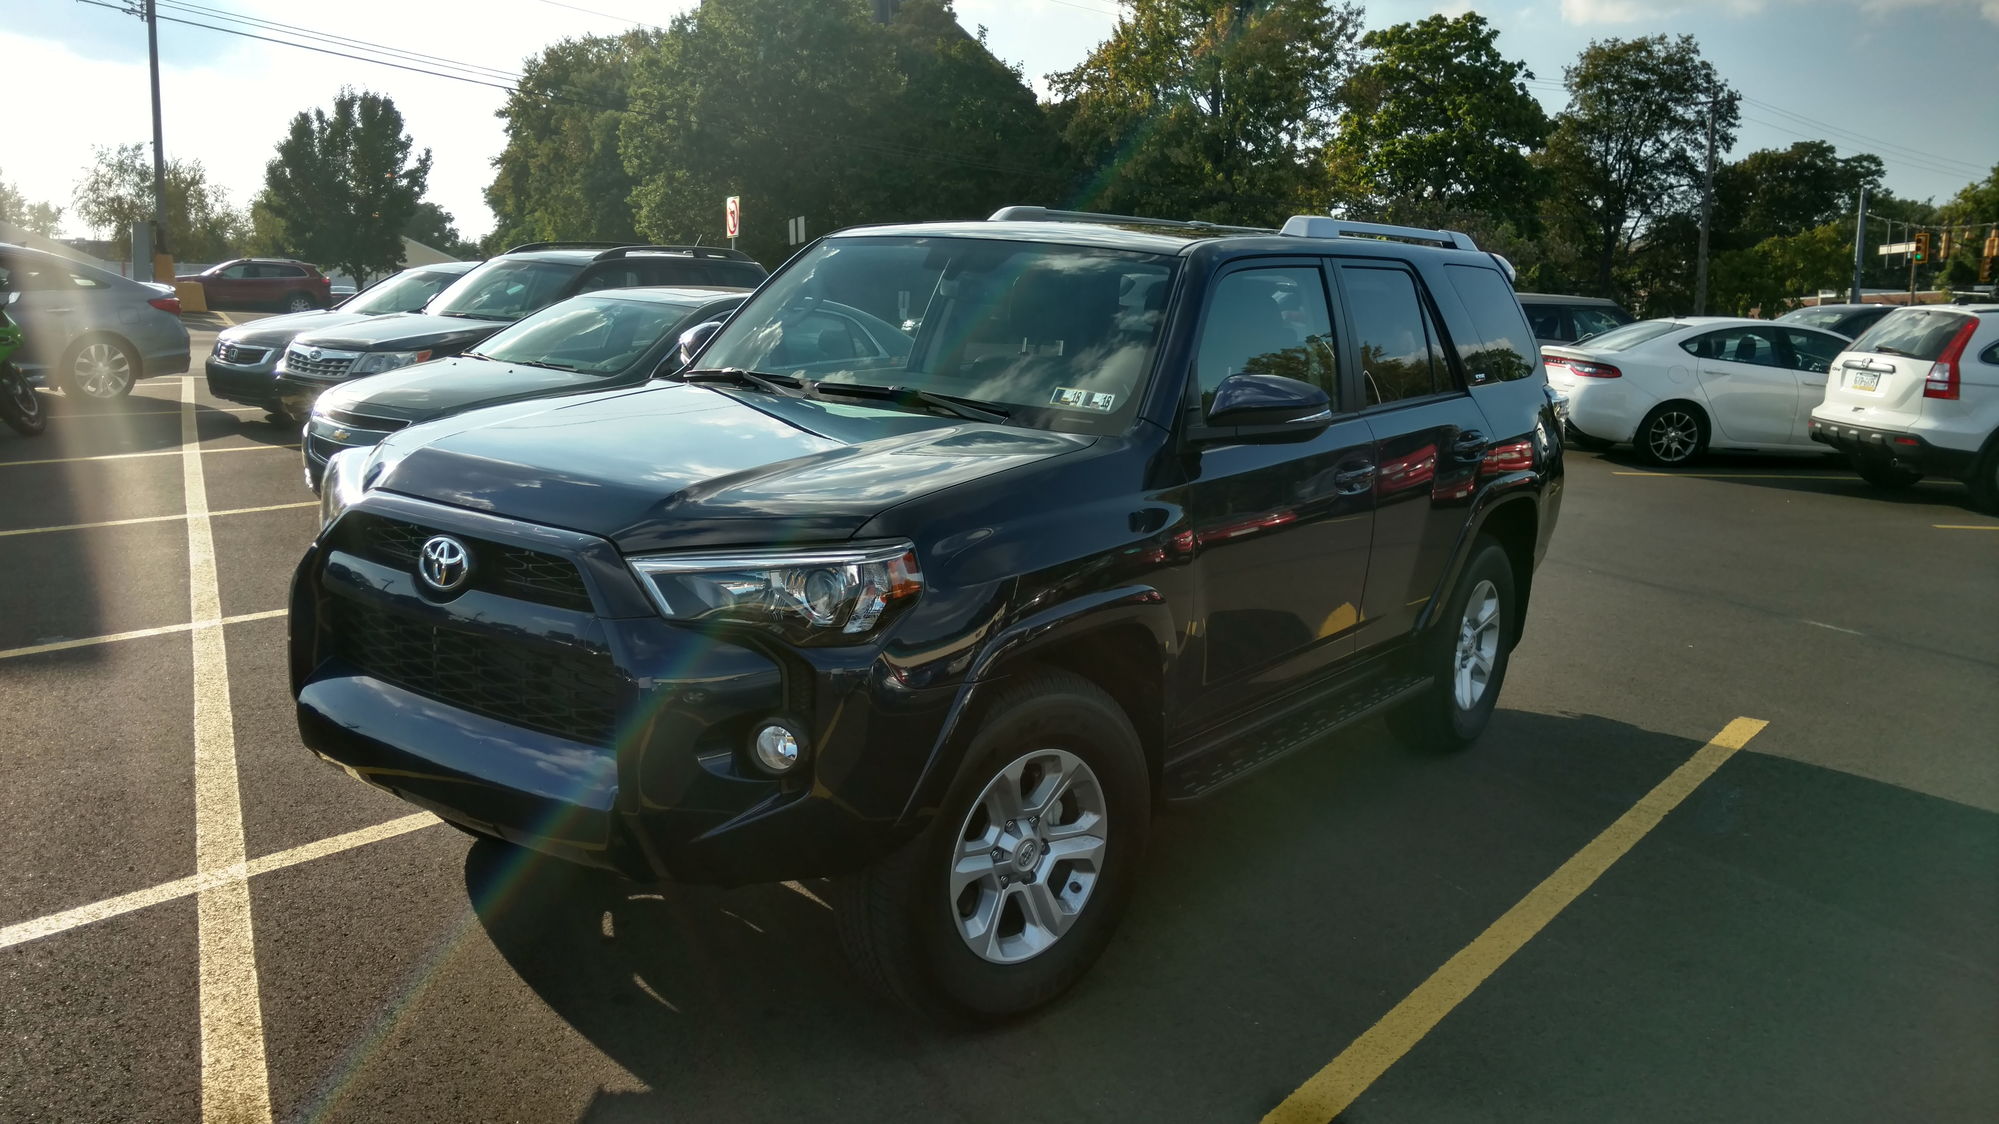
Hard to believe that it's been a year since I purchased my 2017 4Runner off the lot

img_0037_9721c49d2027b2213fd3c2c19114cfc7f616f2f5.jpg


What a difference a year can make

80-img_20170926_165854152_hdr_0563c4a4b1da90a79698868d3e5039e02c610c12.jpg


80-img_20170926_165900215_hdr_3424dea544ab9171e1f1c8ecbcd18496c1d03bc3.jpg


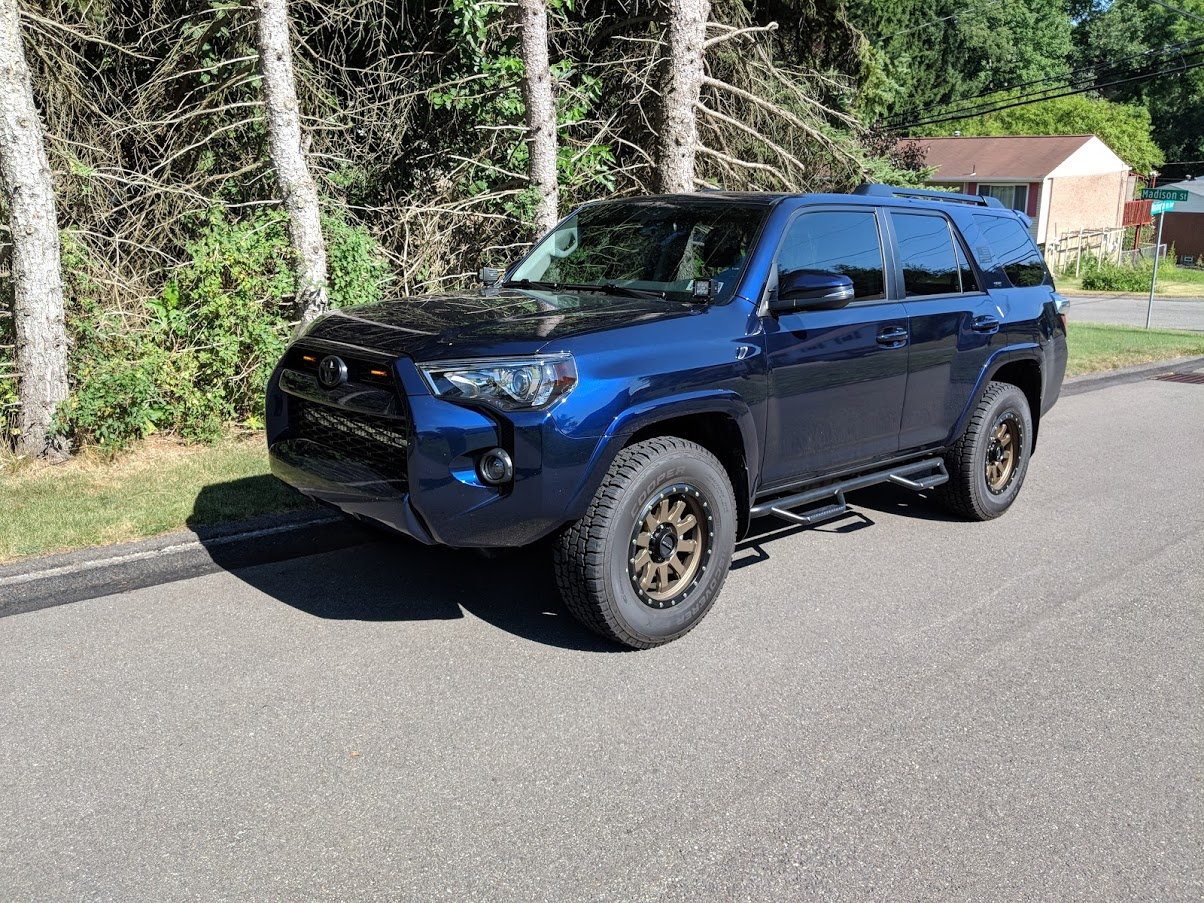
One year later

img_20180719_165724_aba37ff004108673d6f0504e2c3bac2c1662ca45.jpg


img_20180614_181858_3315dd994ace52164c685318c6032236a6bfad44.jpg
 
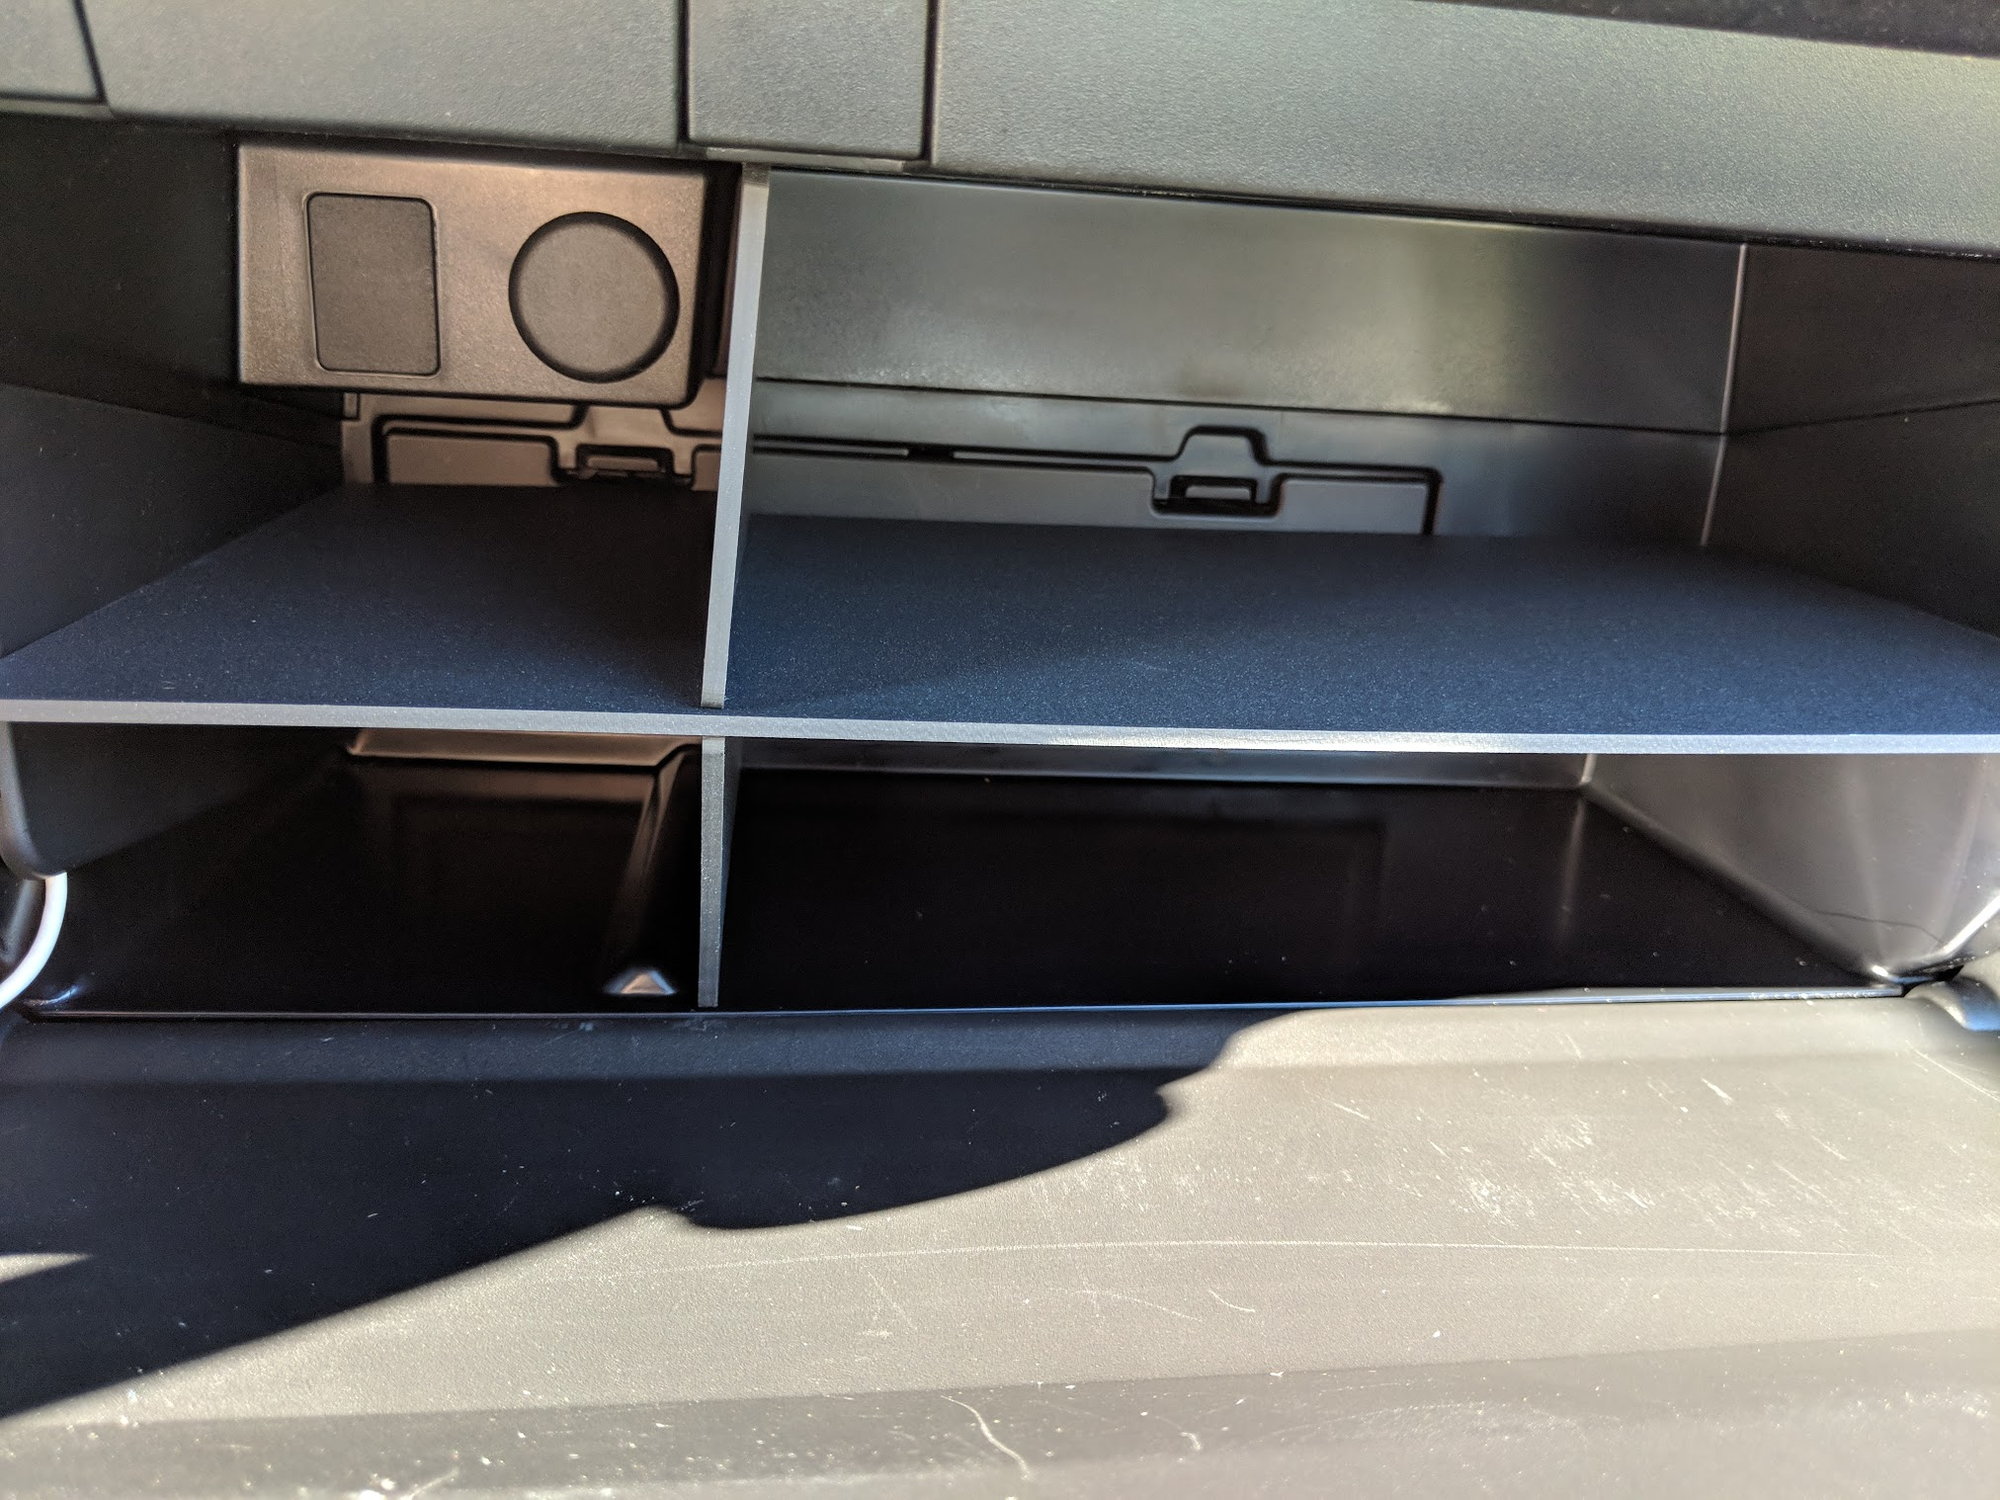
Celebrated the 1 year anniversary with a couple small updates, gf has been sick so I couldn't do any major installs, but did a couple small things. The glovebox has been bugging me, the napkins and just general disorder, especially since I just moved the iPod to the glovebox as well. Here's a little before

img_20180928_162524_f0429749f2790fb653d94073dae4051171374e77.jpg


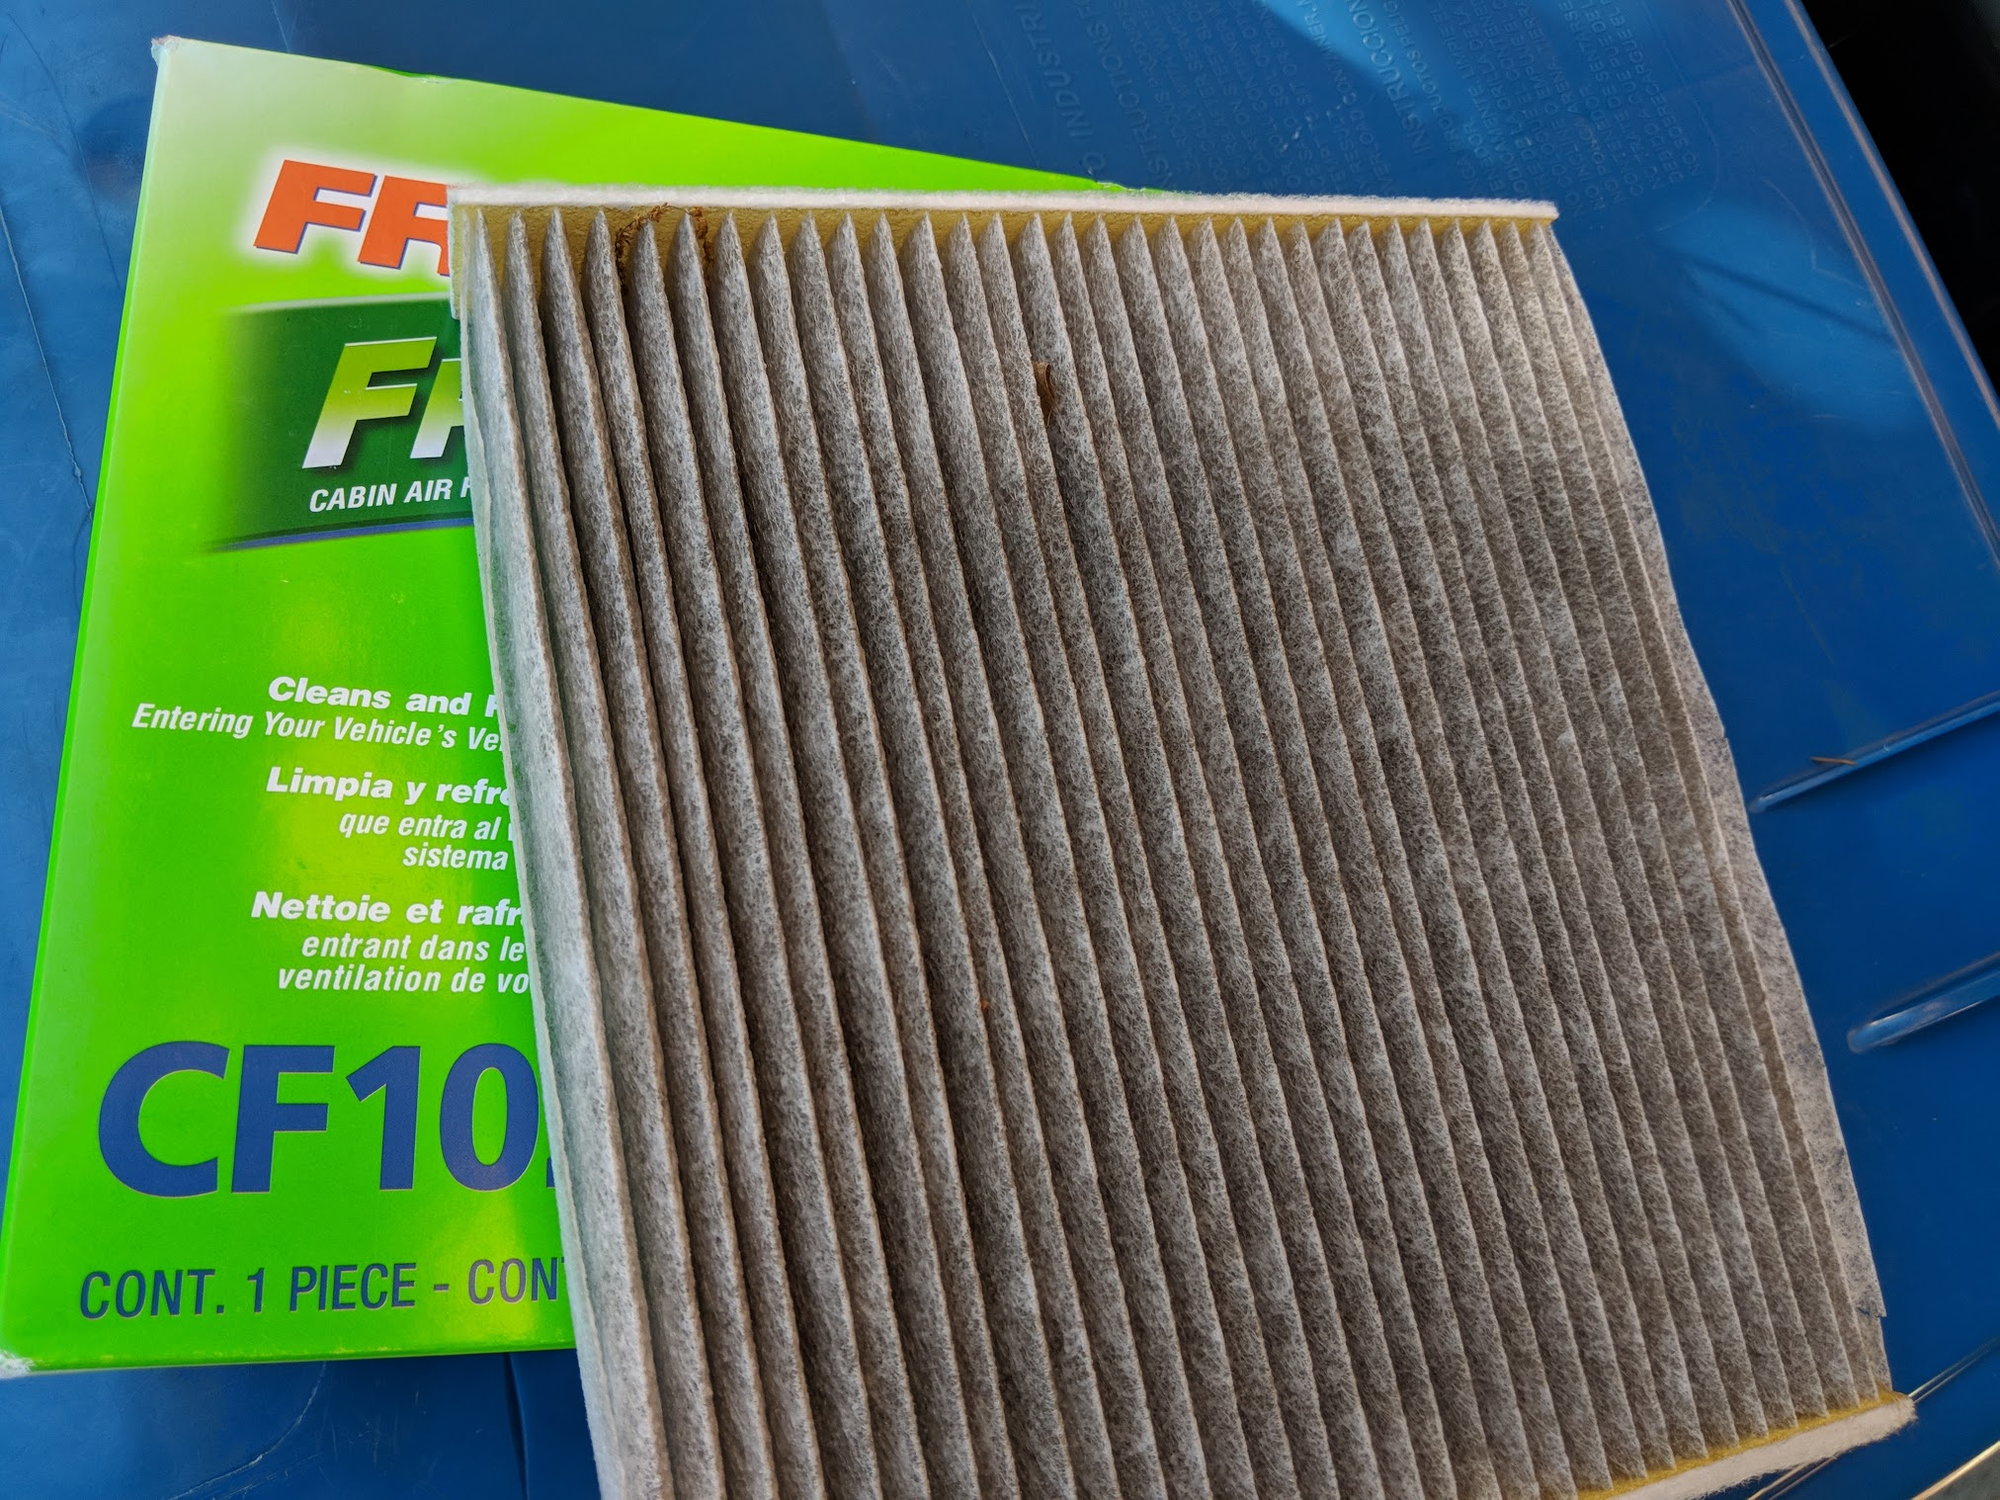
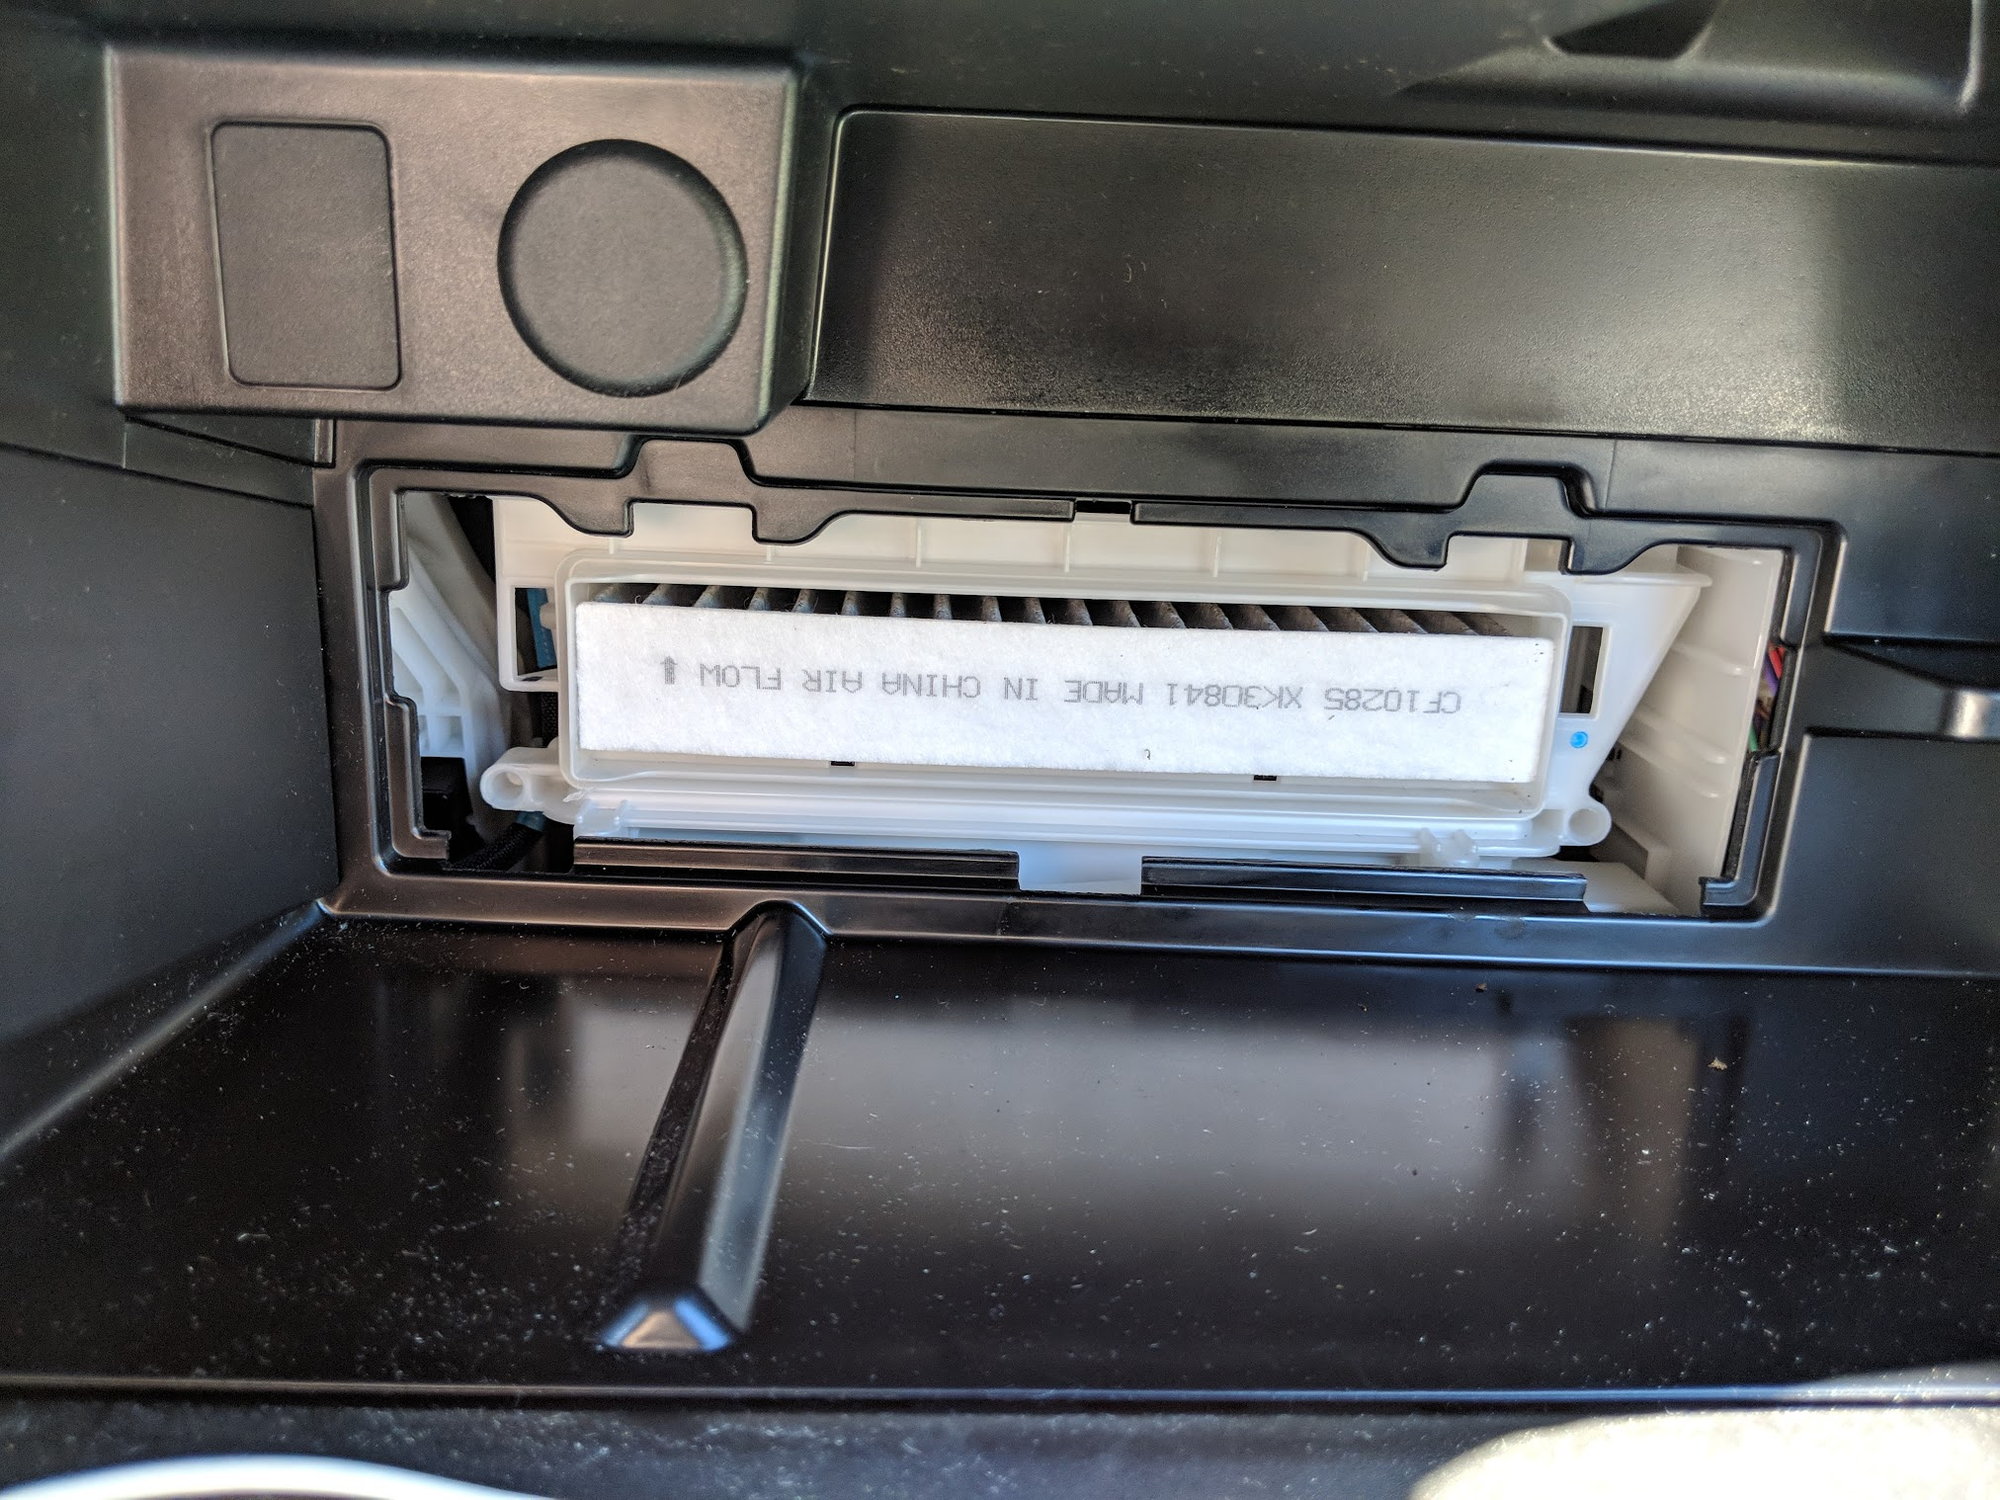
Since I would be pulling everything out I figured I would throw in my cabin air filter that I've had sitting around for a while.

img_20180928_162718_02425da85d245e2129808bec9d73097a7eaa6b82.jpg


This was the original factory cabin filter, it honestly wasn't even that bad but figured since I had the replacement I would yank it out.

img_20180928_162732_0002a432363e20ee7fbdf5e877d9d83116d1ac52.jpg


And it did have a fair amount of dirt, and a couple leaves, but wasn't that terrible.

img_20180928_162811_fe2731e9202bebe9659d4eb4b51d89a0c4f515ce.jpg


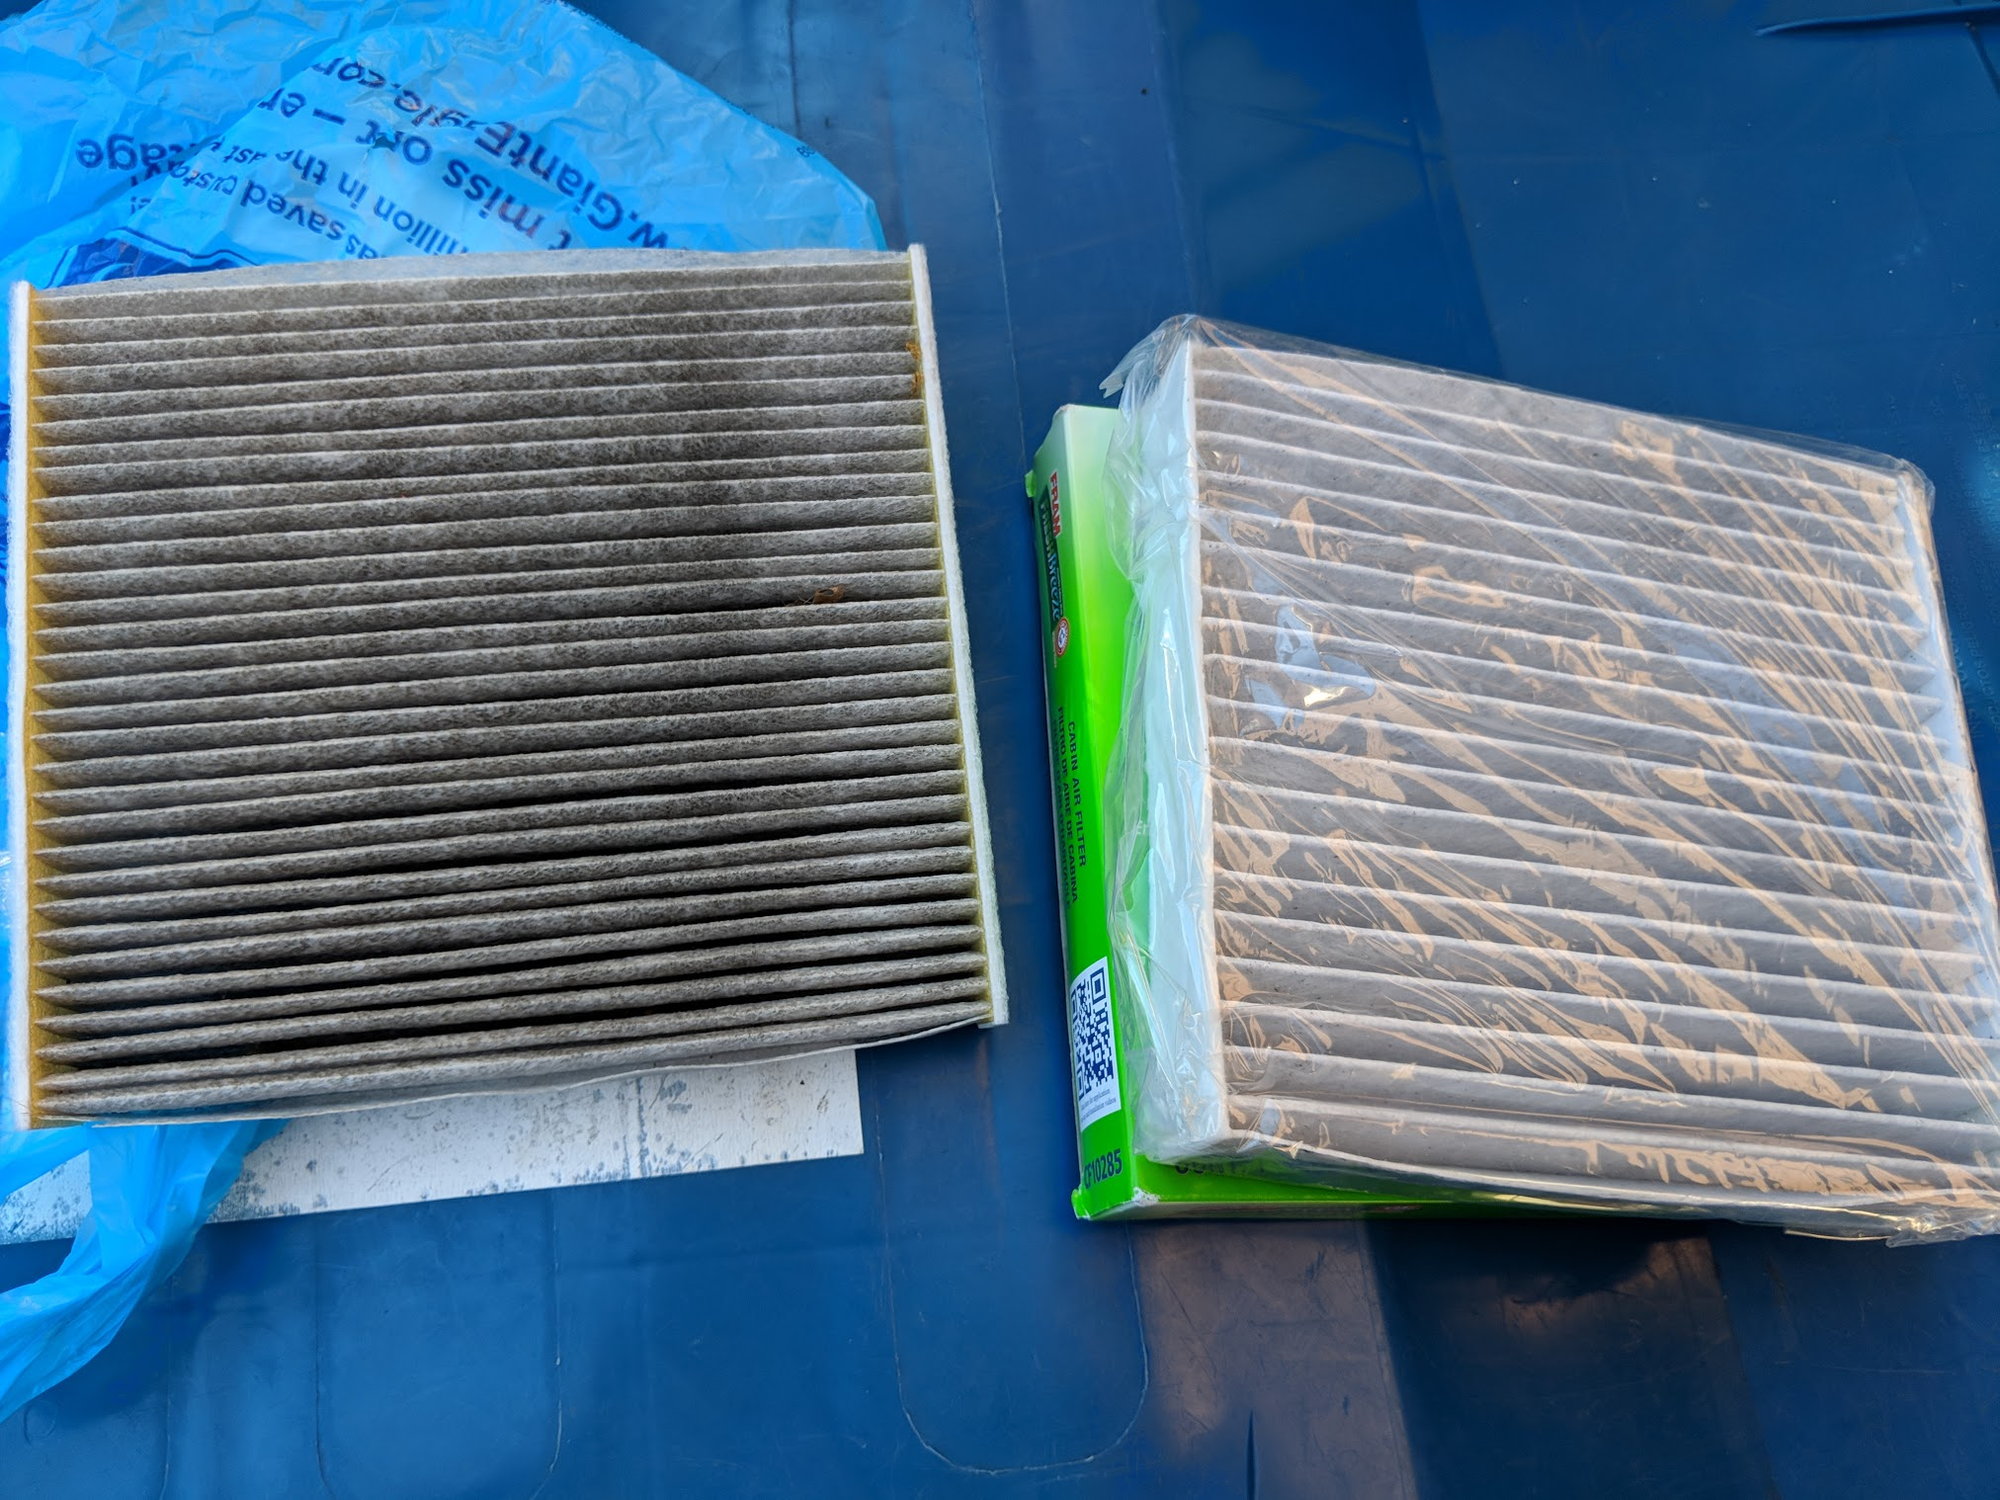
A little side by side of the new carbon filter

img_20180928_162834_c636787b0841650265e776dc539cfec71cc33316.jpg


New filter installed

img_20180928_162933_b258a25edb51f9c85fac733fb2e5461bcba26a77.jpg


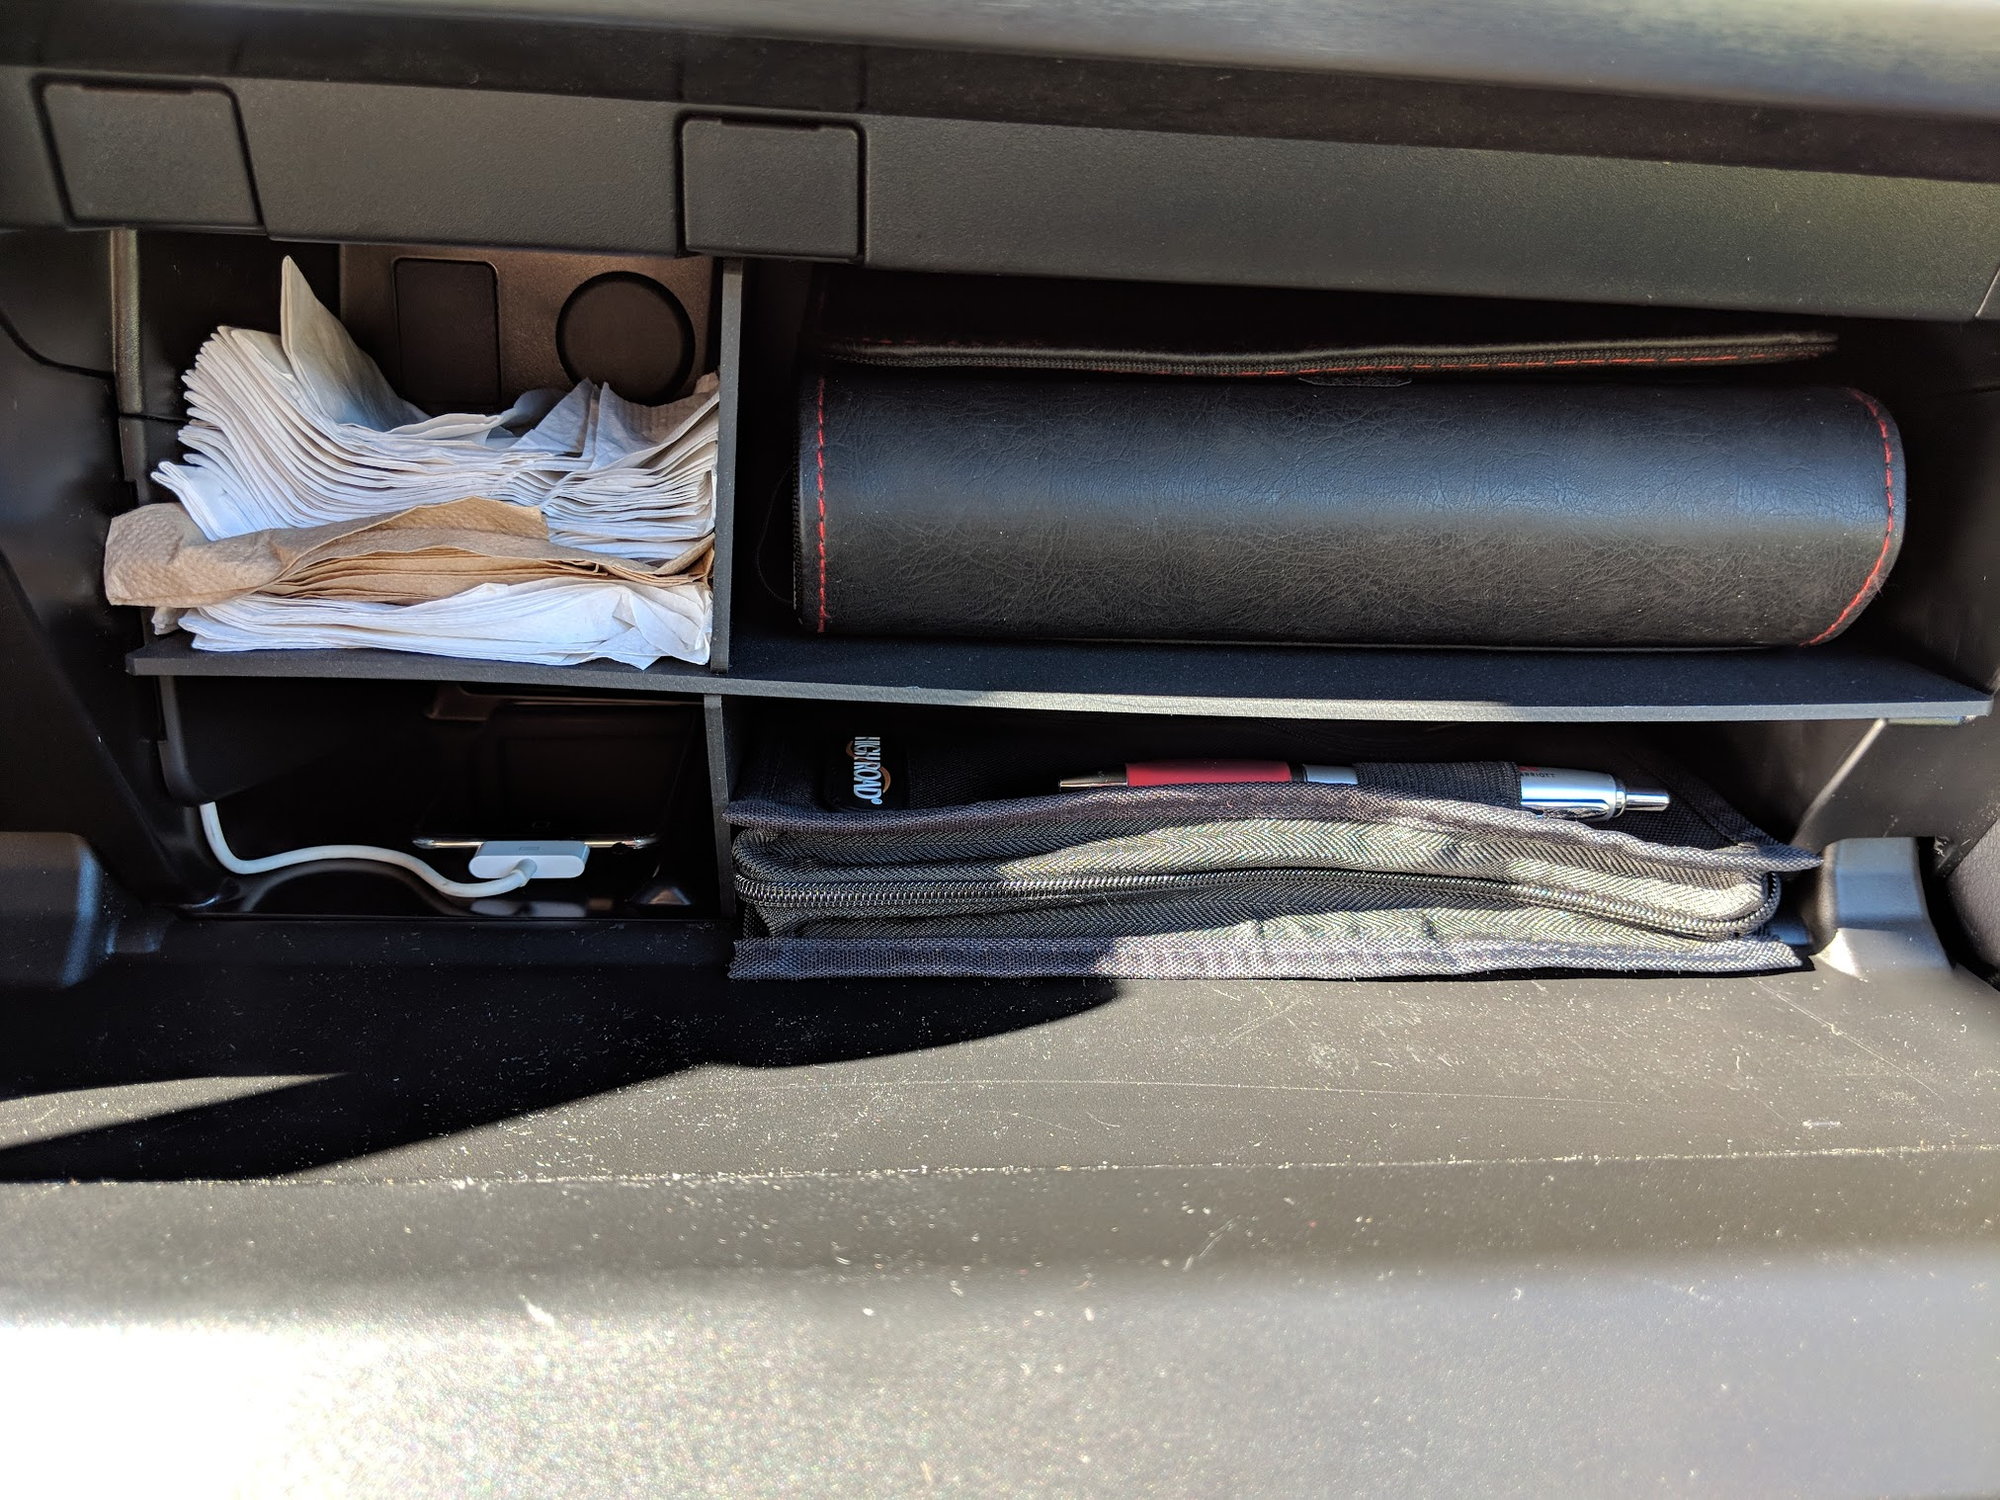
I also bought this little organizer on Amazon, not bad for 15 bucks and exactly what I needed.

img_20180928_163831_d7c0737ed866145f82b02ec00150f93af1d1b458.jpg


All installed and organized, the owner's manual and my registration pocket fit perfect. A little spot for napkins and my iPod as well. I also shortened the iPod wire and shoved it back behind the dash. I like it, nice and orderly. Once I use up the napkins I'll probably get some kind of tissue box or more organized solution, but it works for now.

img_20180928_164123_42d1c95dd75e1a813fdfe3be3be762ac7bd8178b.jpg
 
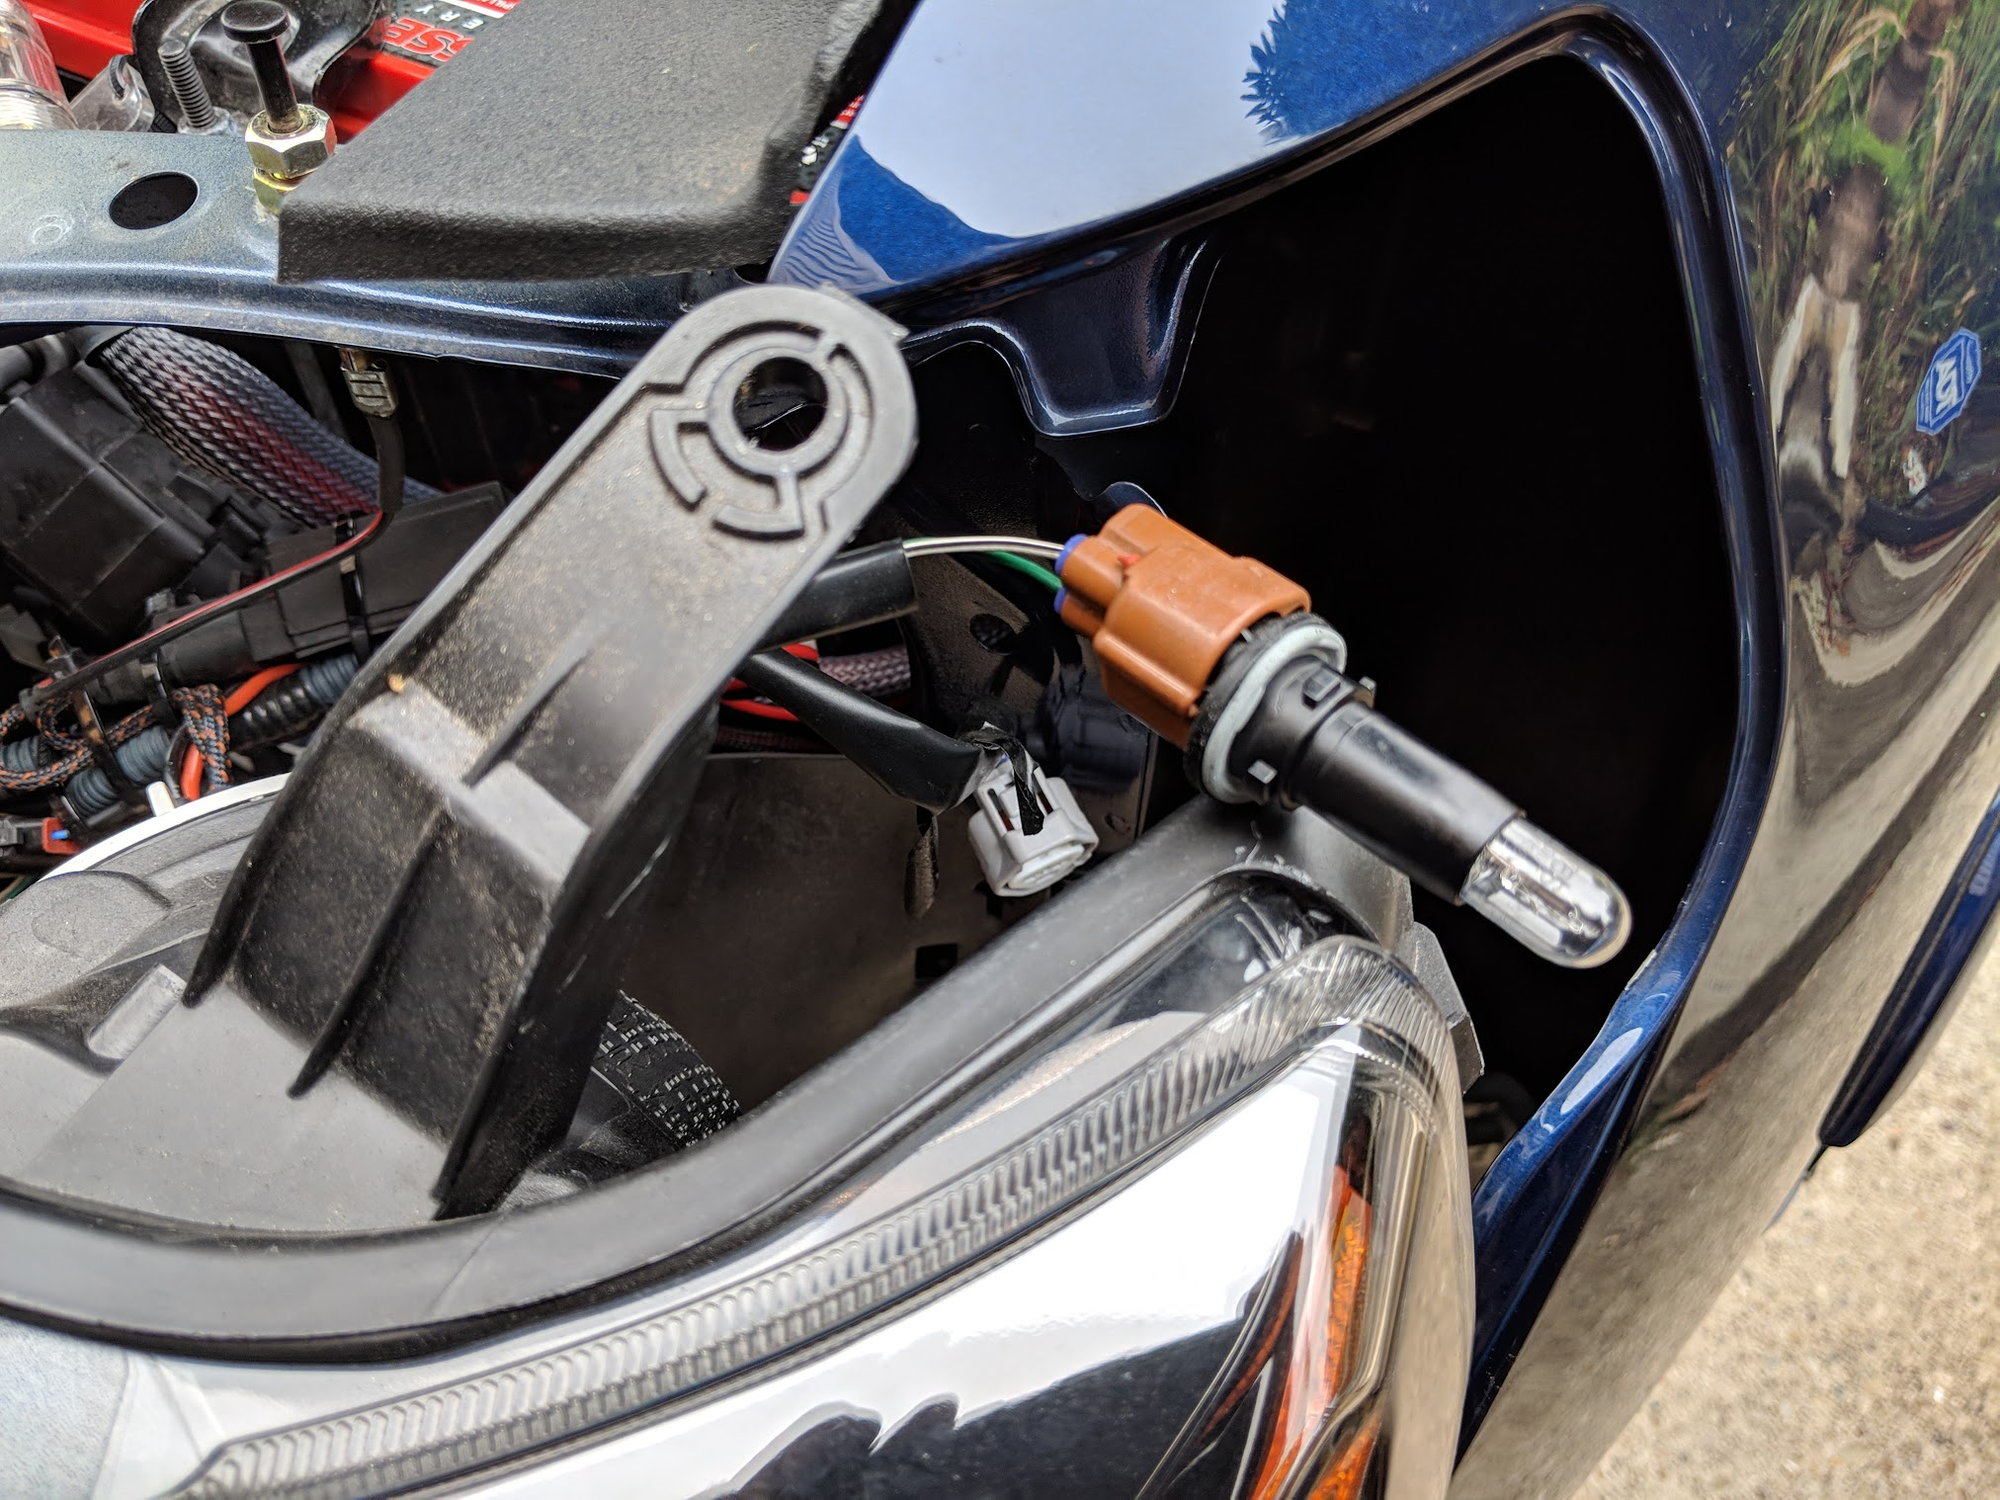
Busy day yesterday, I took my bumper off to try and install LED turn signals and corners, the space is so tight you're supposed to go through the wheel well, but I figured removing the bumper would be easier. I ended up having to remove the headlight housings just to get to the bulbs, but the corner swap was a snap. Here's the stock bulbs

img_20181005_124209_3baa1b8de44f56b268d8fe7252039d9737488826.jpg


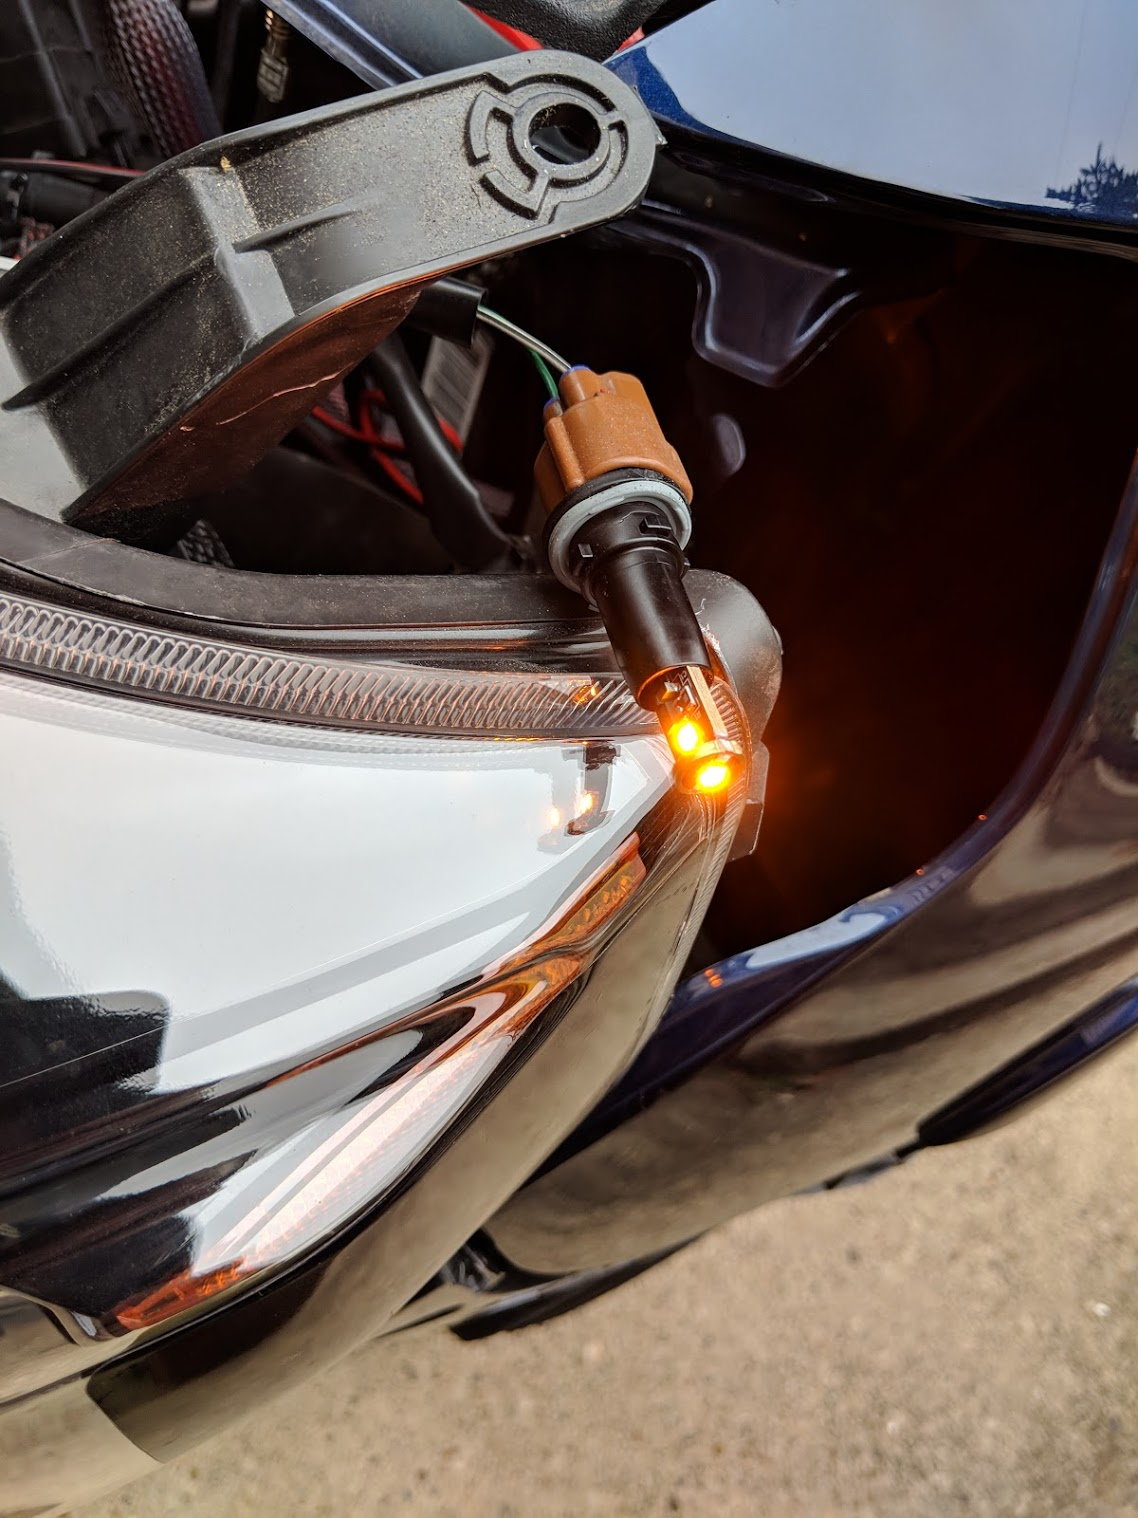
And here's a test shot of the new SMD LED amber bulbs for the corners.
img_20181005_124320_37826aea08bc05c494f75b4c26d33b4354e990c5.jpg


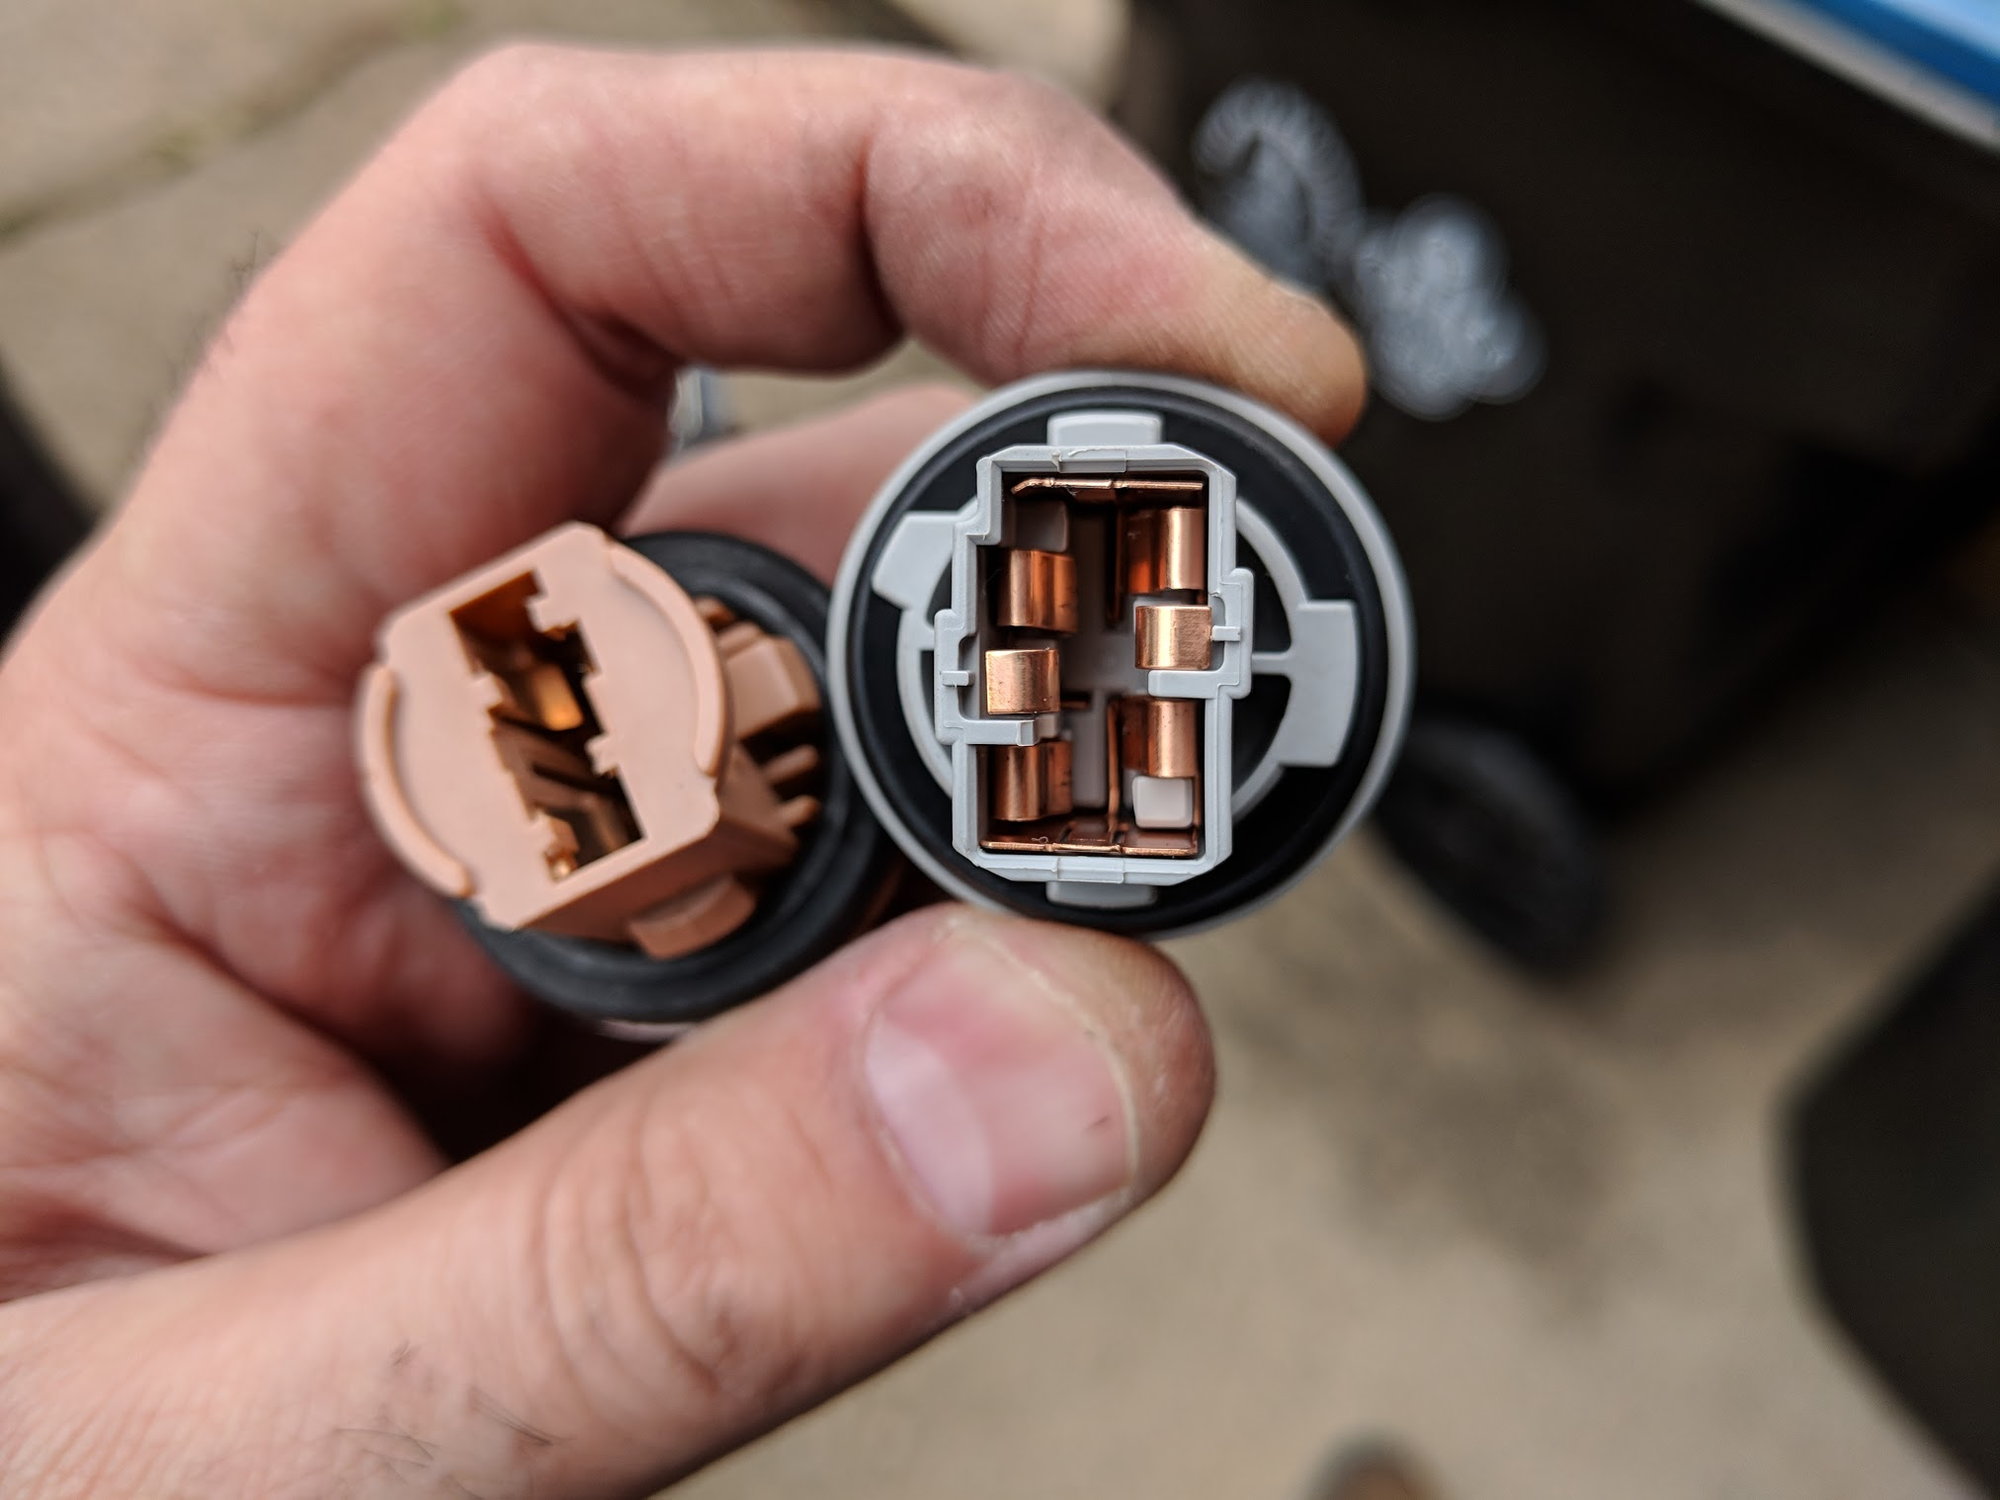
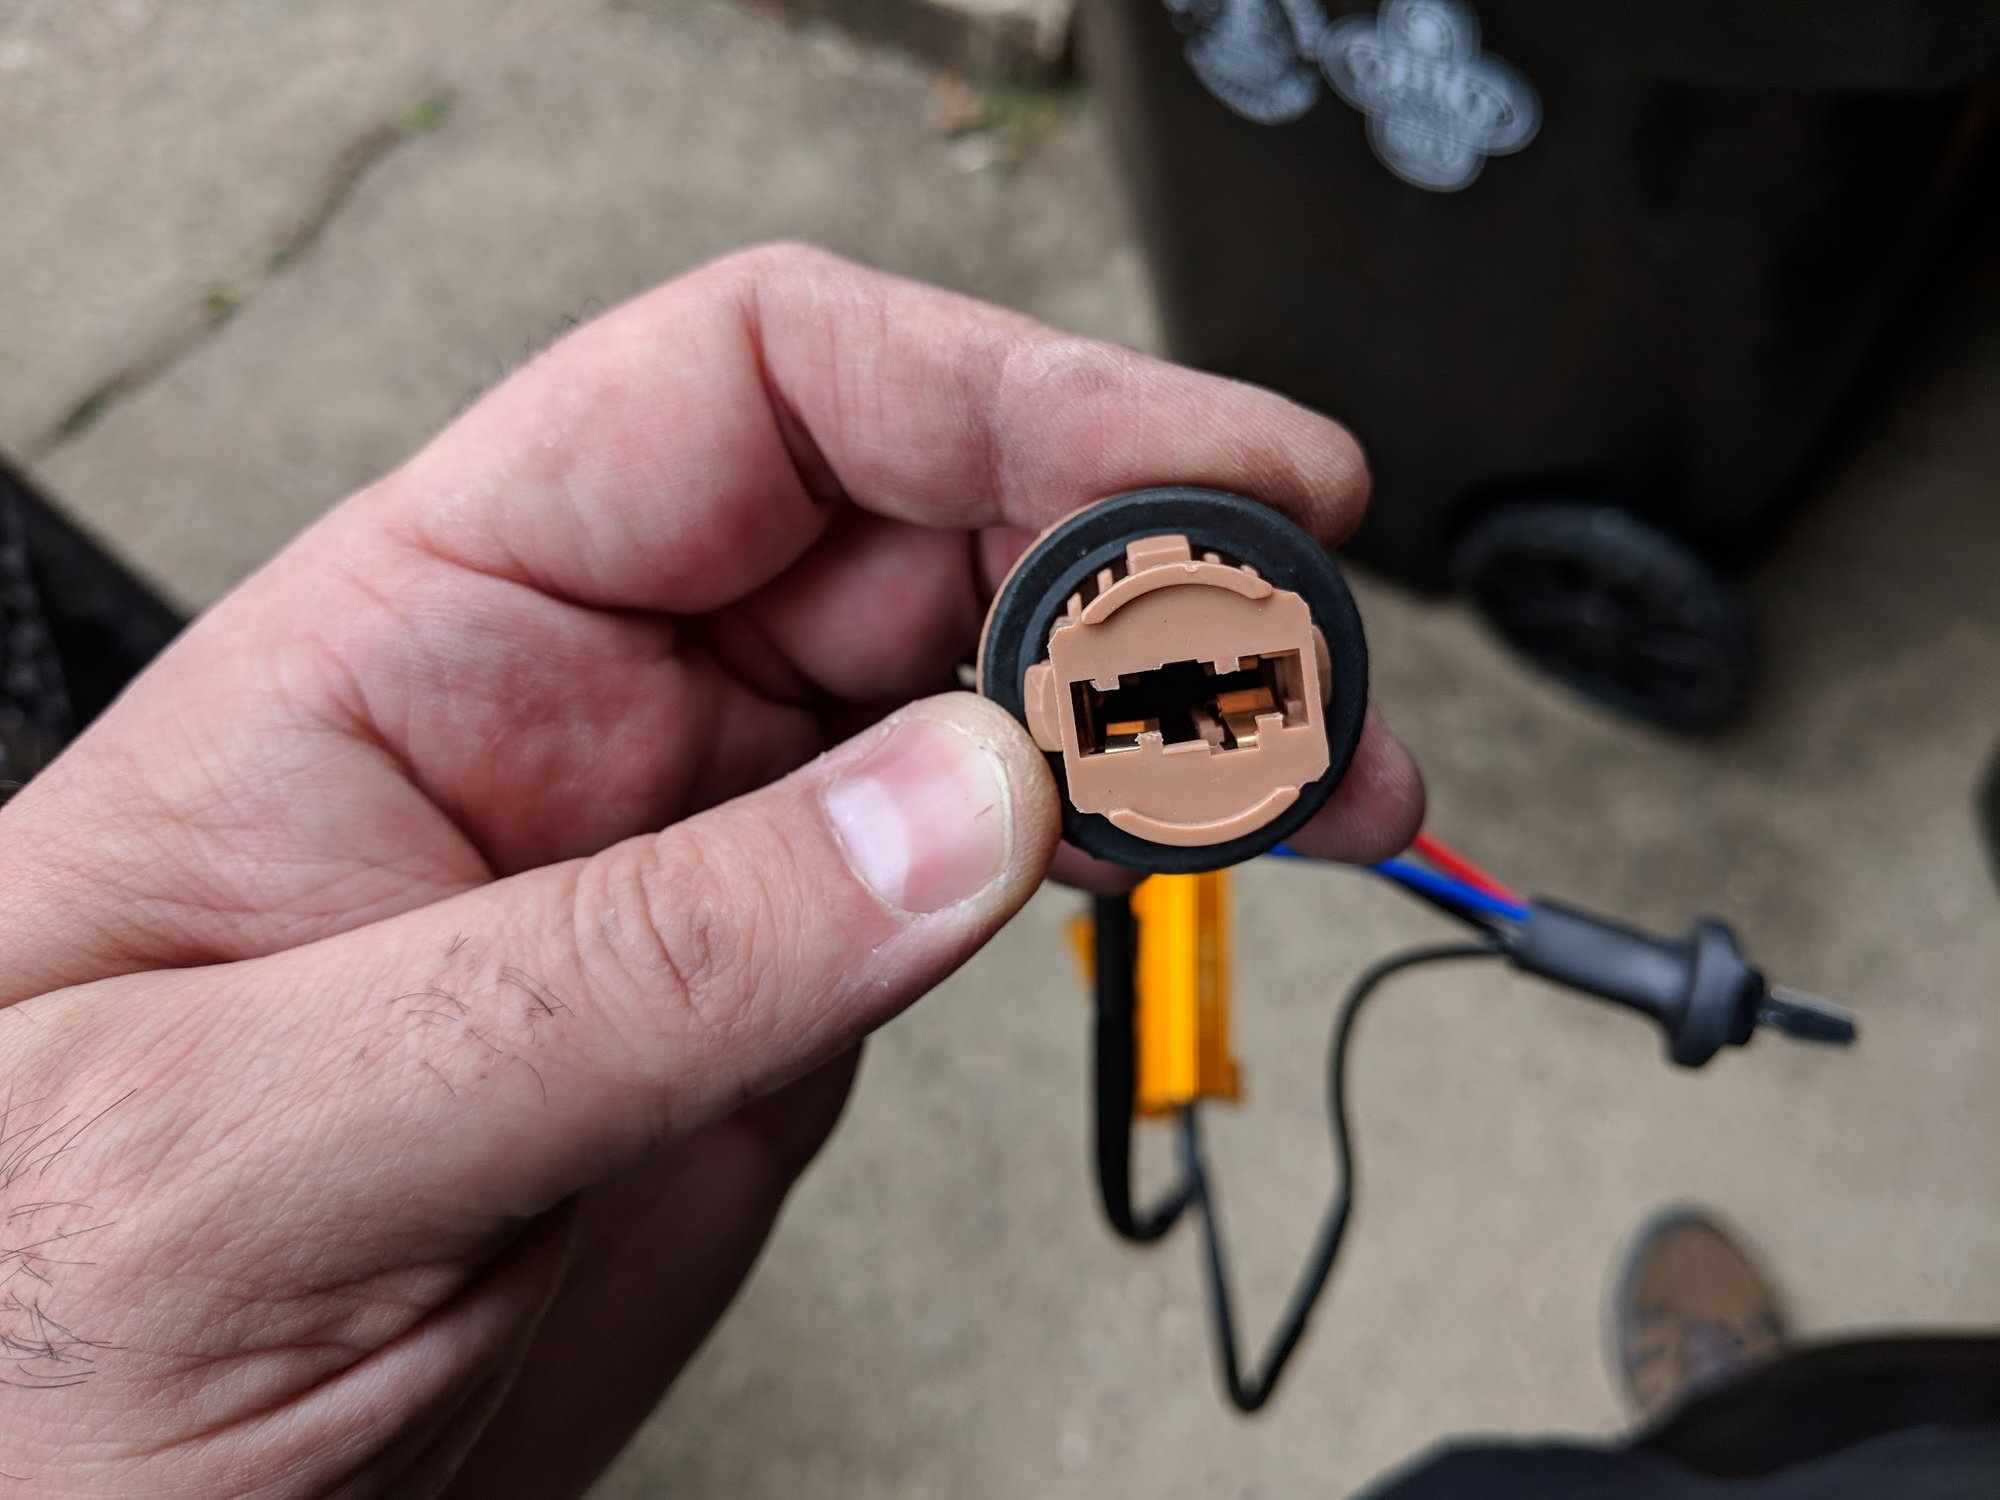
I ran into an issue with the premade harness that I bought for the turn signals that had resistors built in, the bulb end of the harness would not fit into the Toyota headlight sockets. Stock on the right, premade harness on left.

img_20181005_124358_866d192d8953e1f97fc75cf7e543627a4af37330.jpg


The tabs don't line up at all with the stock ones, so I'm going to have to Macgyver something together.

img_20181005_124411_d69365854d308981461c921f0ee8d3f207f81daf.jpg


It was time to update the amber LED lenses to something sleeker and more stealthy, so once I got the bumper back on, it was time to remove the ziptied amber lenses. (old pic didn't take a before)

img_20180618_173020_24694c9f7ef9402fd42c8675b0ed0e735c95d3bc.jpg


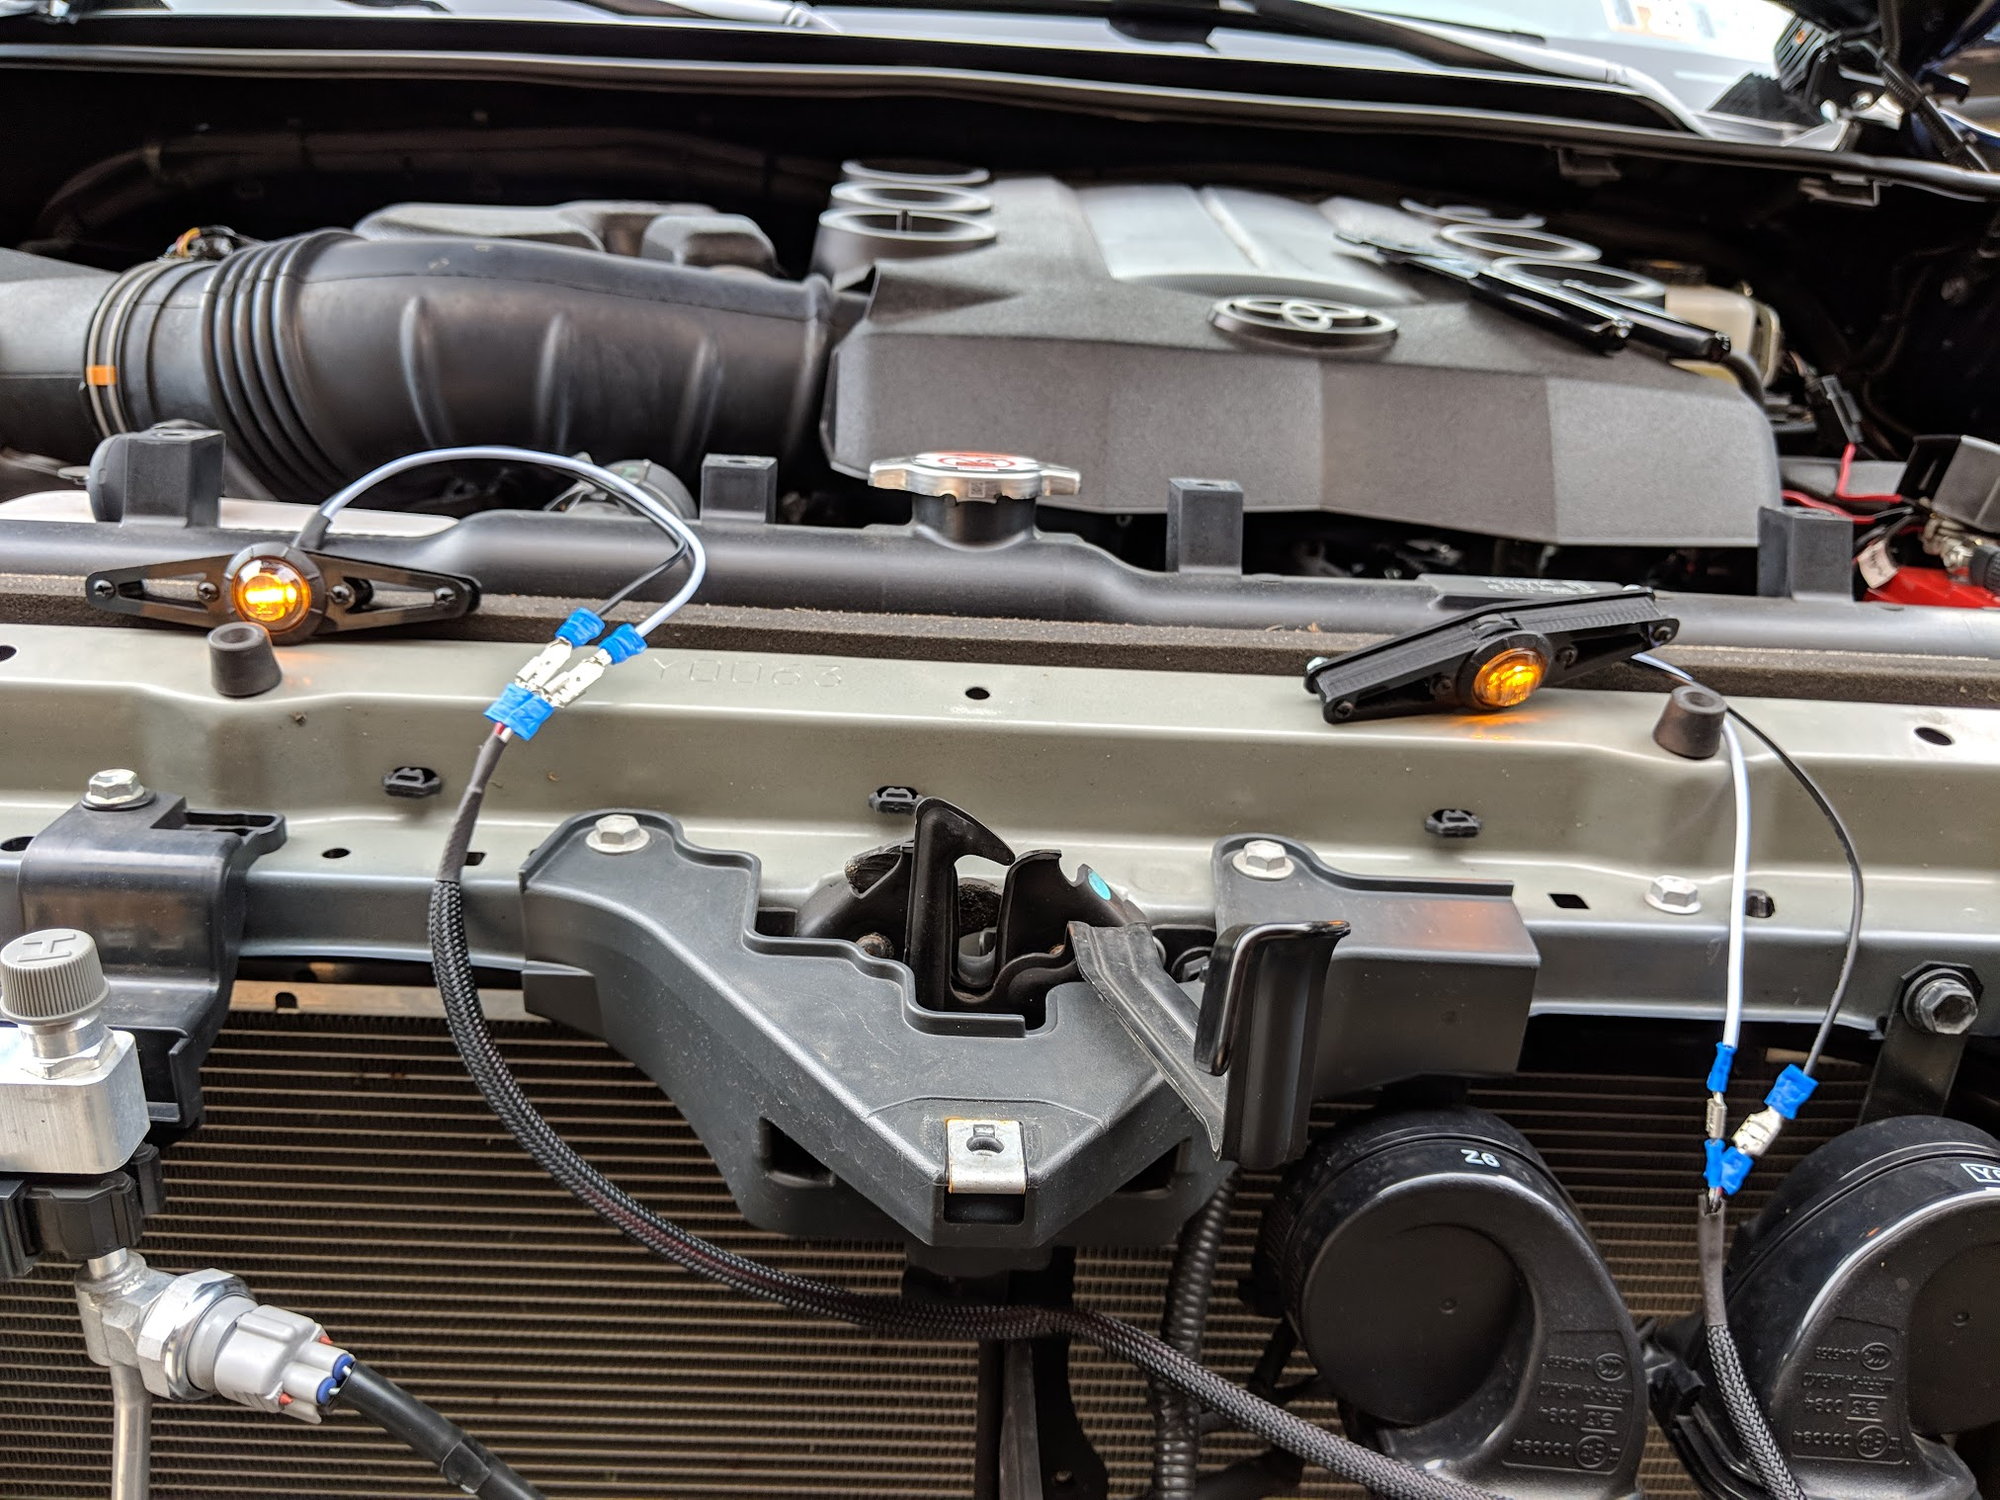
I hacked off the old 6 LED amber lenses, and added quick connects so that I can disconnect and remove the bumper in the future if/when the need arrises. This was the test to make sure all the wiring worked before putting the bumper back on

img_20181005_131612_a4e90279bc23ea919e9f91cfe9ba5ce86b5ca31a.jpg


Bumper reinstalled and amber LED's removed

img_20181005_134317_5398db29d5154a35d522ac17fa5723daaed4ed15.jpg


New 3D printed black light mounts with smoked amber SMD LED lights, not wired up yet.

img_20181005_140848_989edd01672b2a041af937b830459efe4565bf70.jpg


img_20181005_140846_51ed1da3c536c474d722e1765a37e5cad410753f.jpg


And here they are wired up

img_20181005_142302_1759cf9b79c89897b2ffefb75df82d549e0302b3.jpg


img_20181005_142243_7f1f0f715eed9e6439d2d1f51f05d0518a5f9d15.jpg


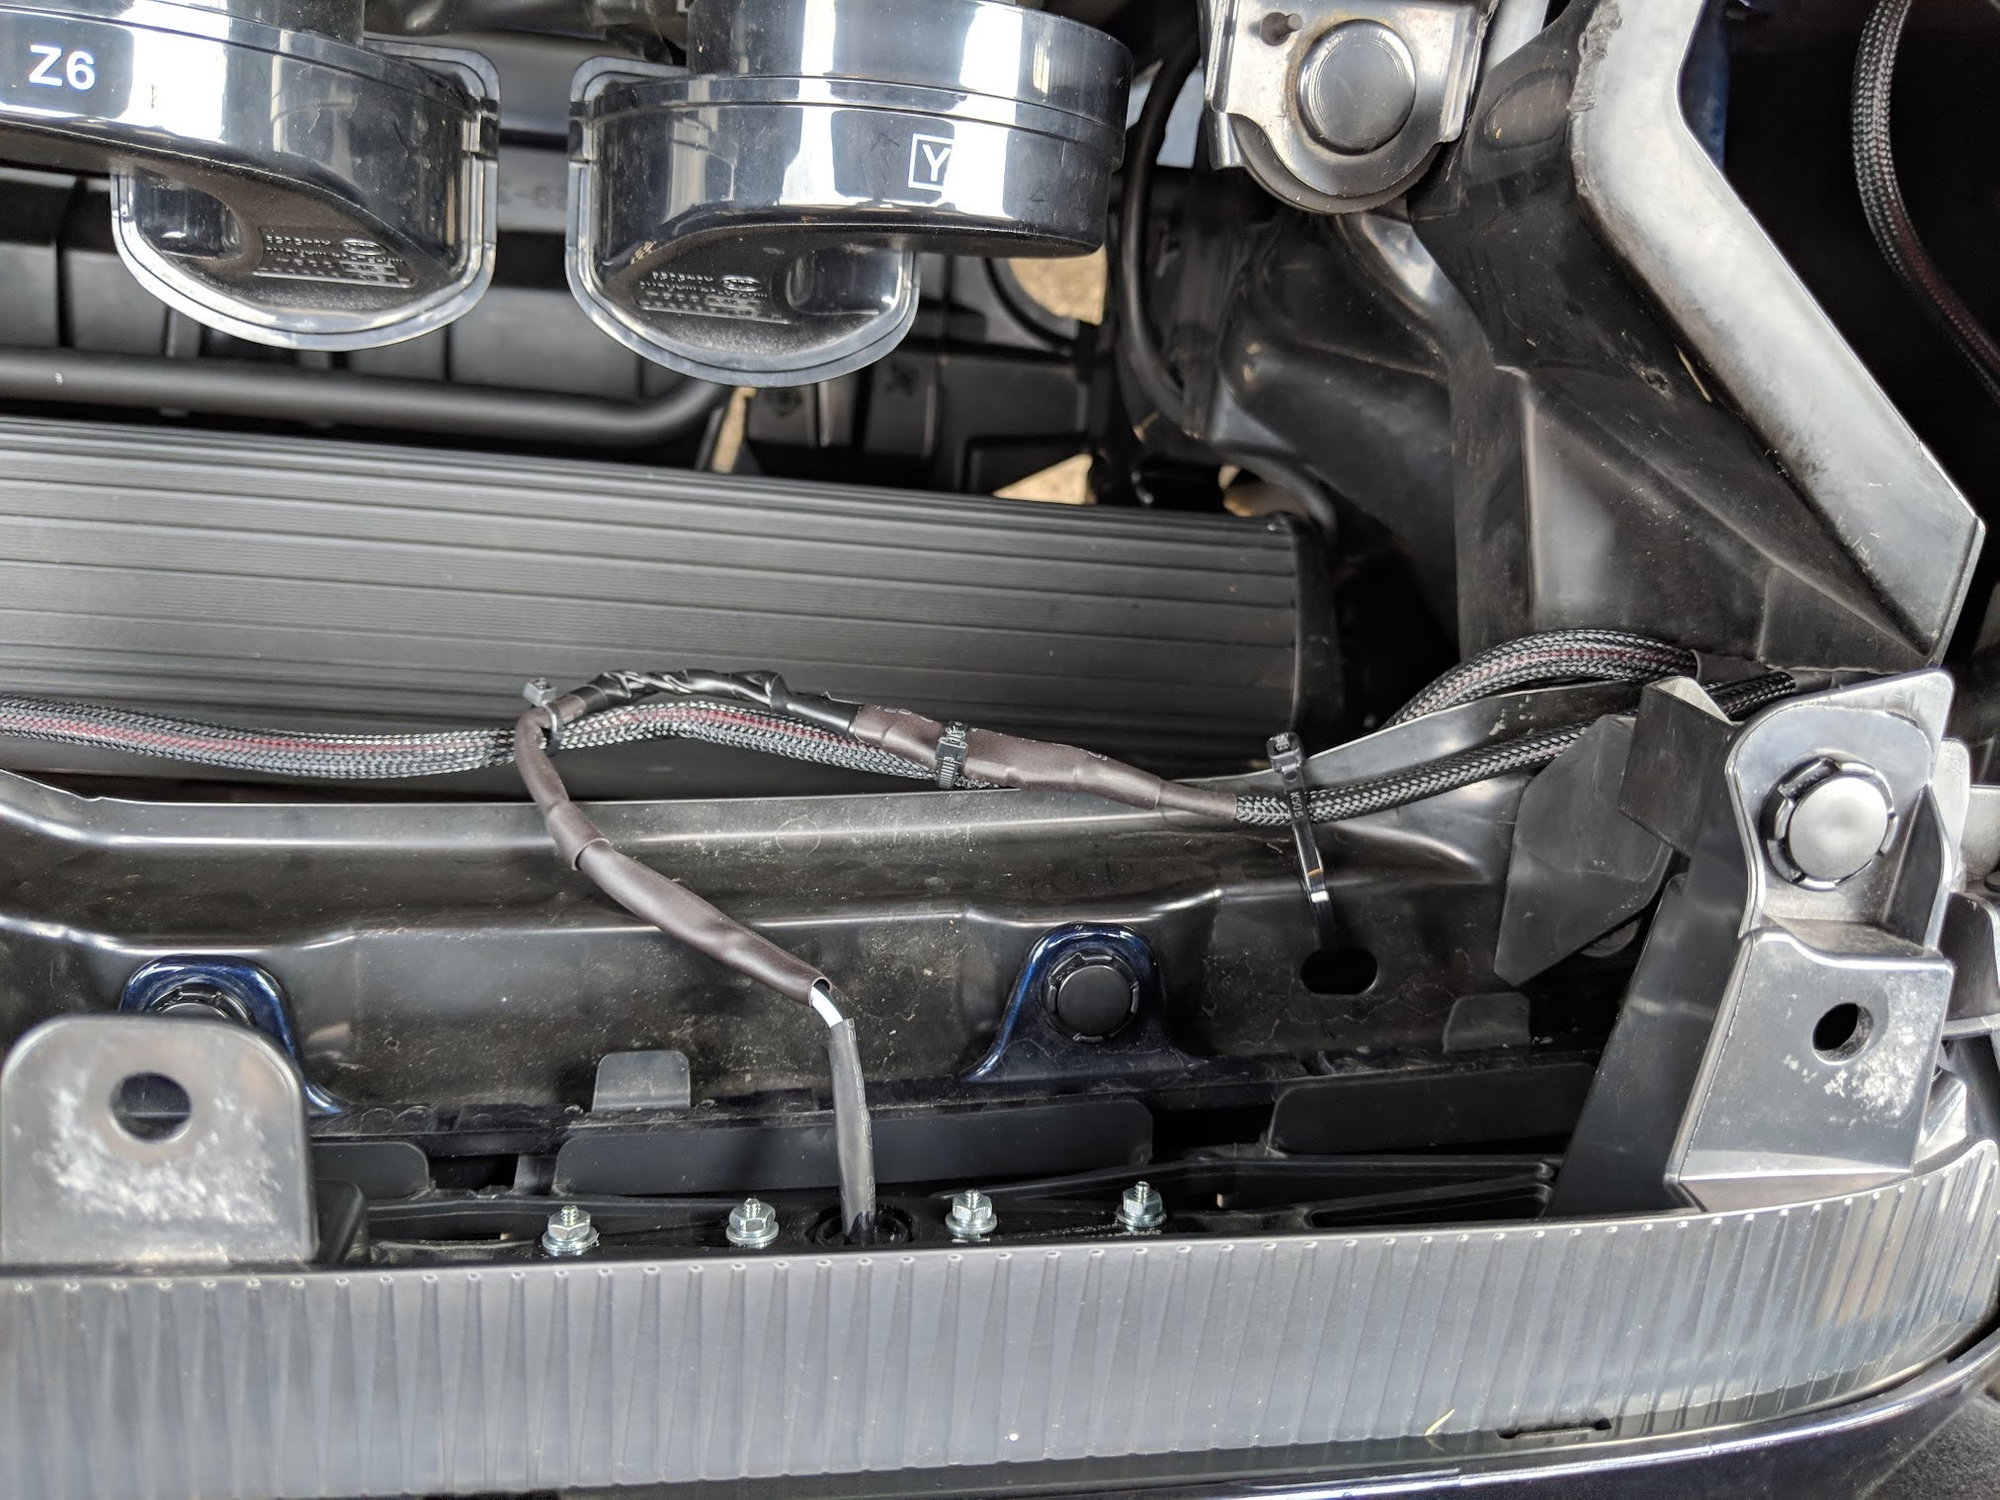
Then I heatshrinked all of the connections to make the wiring as water tight as I could. I reused the harness from the old amber LED's and wired to them so I wanted them to be as clean as I could

img_20181005_151656_720d36dfac98904553b724f5d2c6b4a31bcd5130.jpg


Then I tied up everything as out of the way as I could.

img_20181005_153438_dc1a89e5566bf9eabc1f2a2ab1375c31f5dcba93.jpg


img_20181005_153440_12b2584207676e009786304dbd58385f1bfdfbcf.jpg


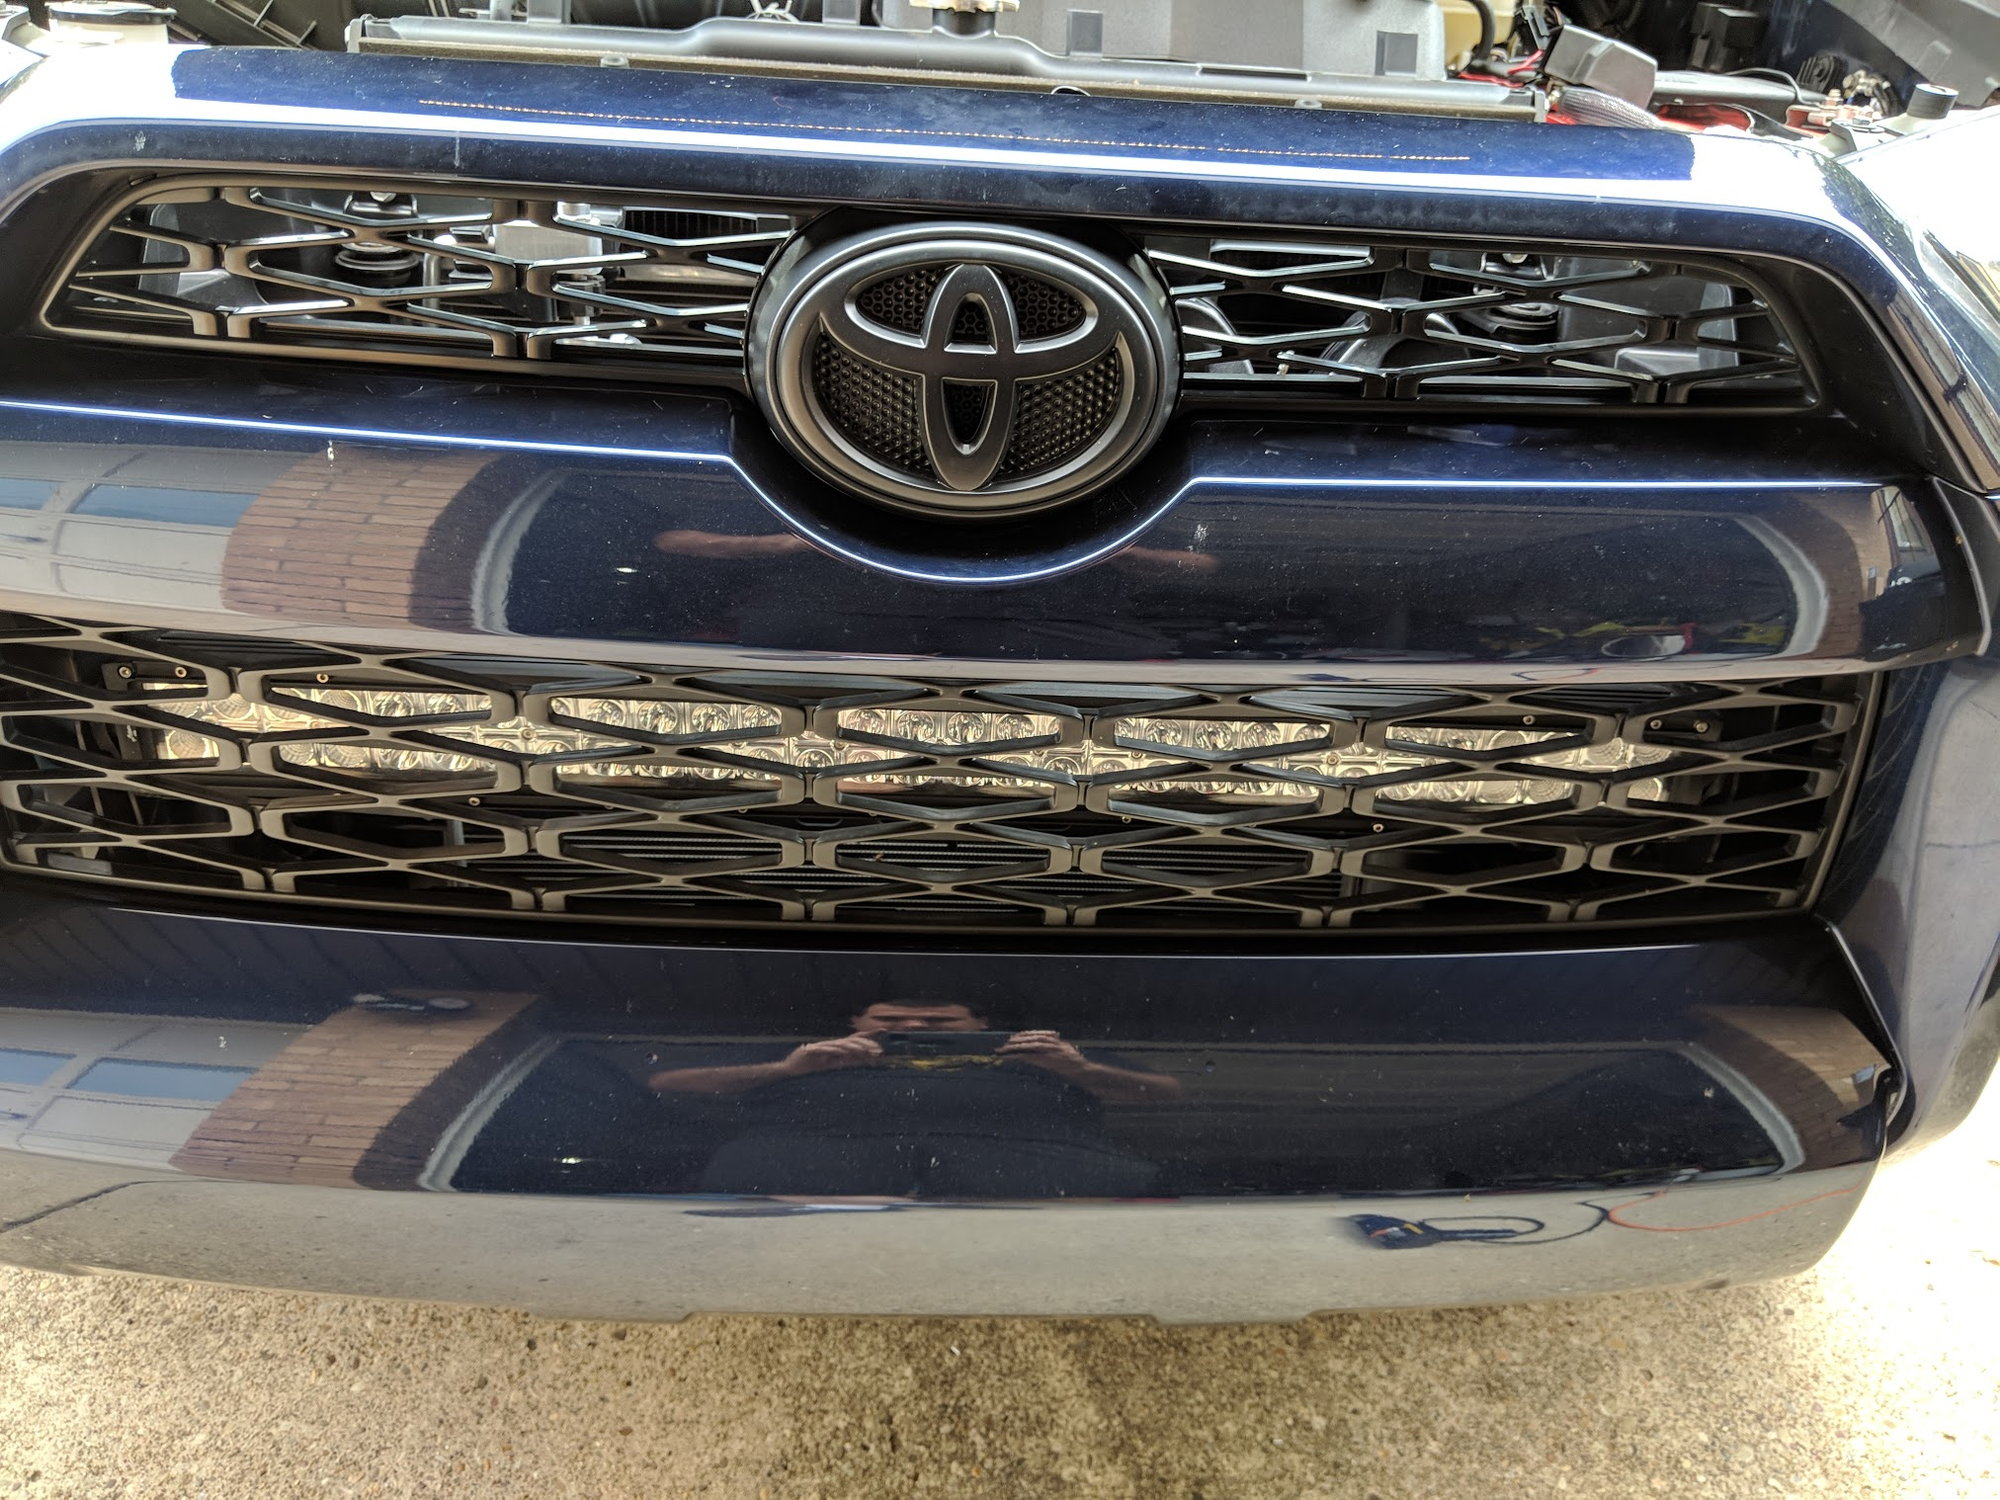
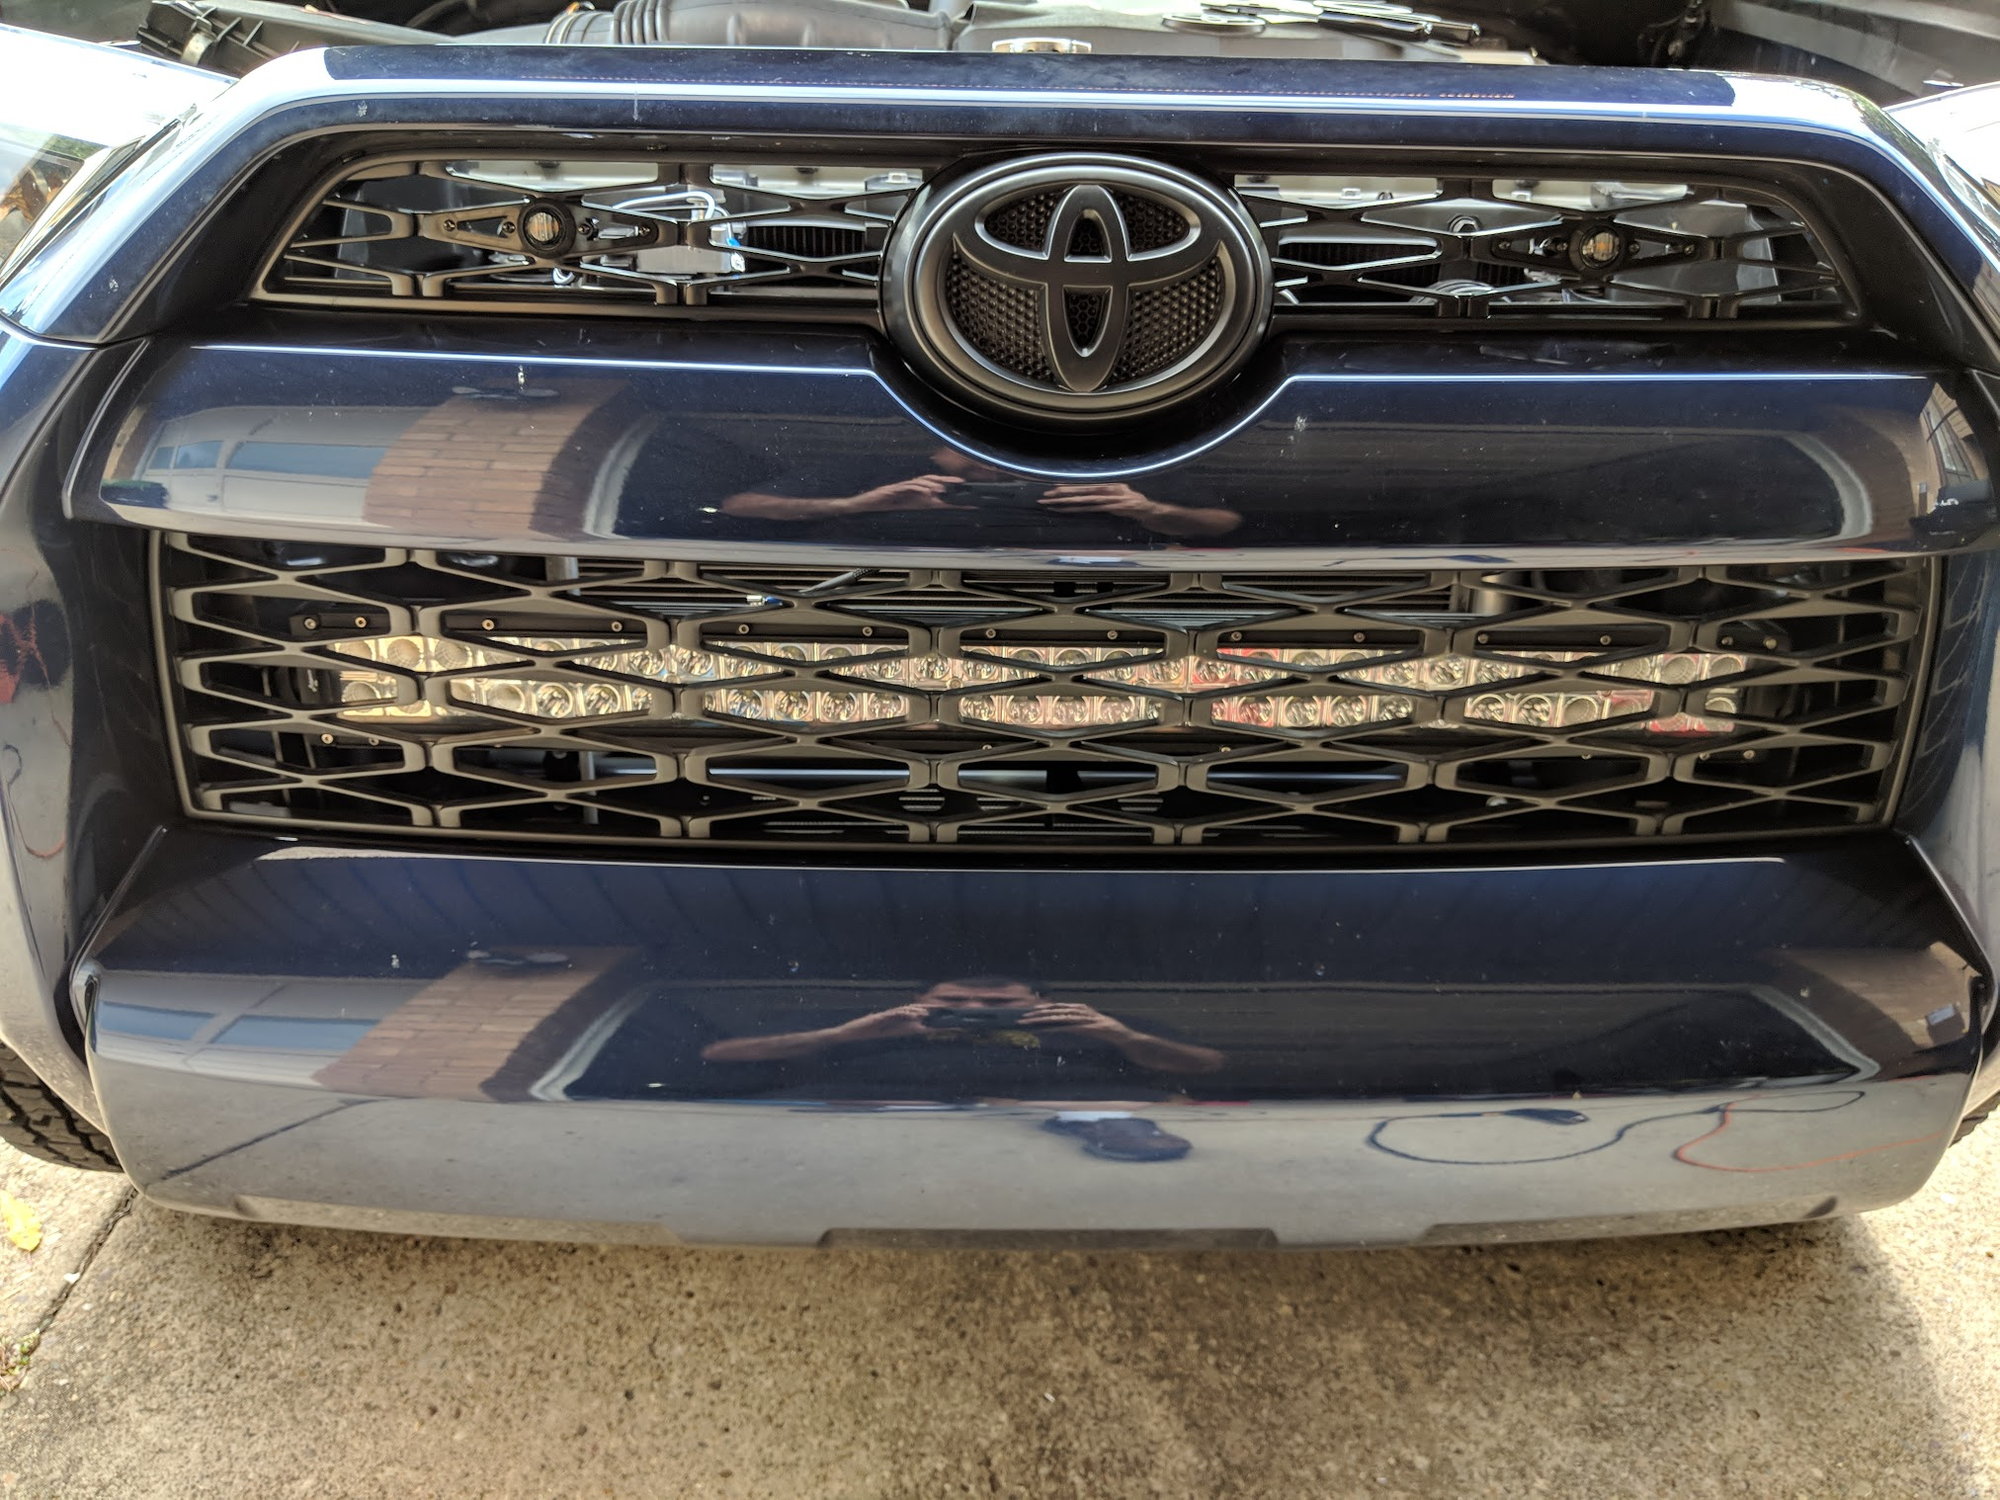
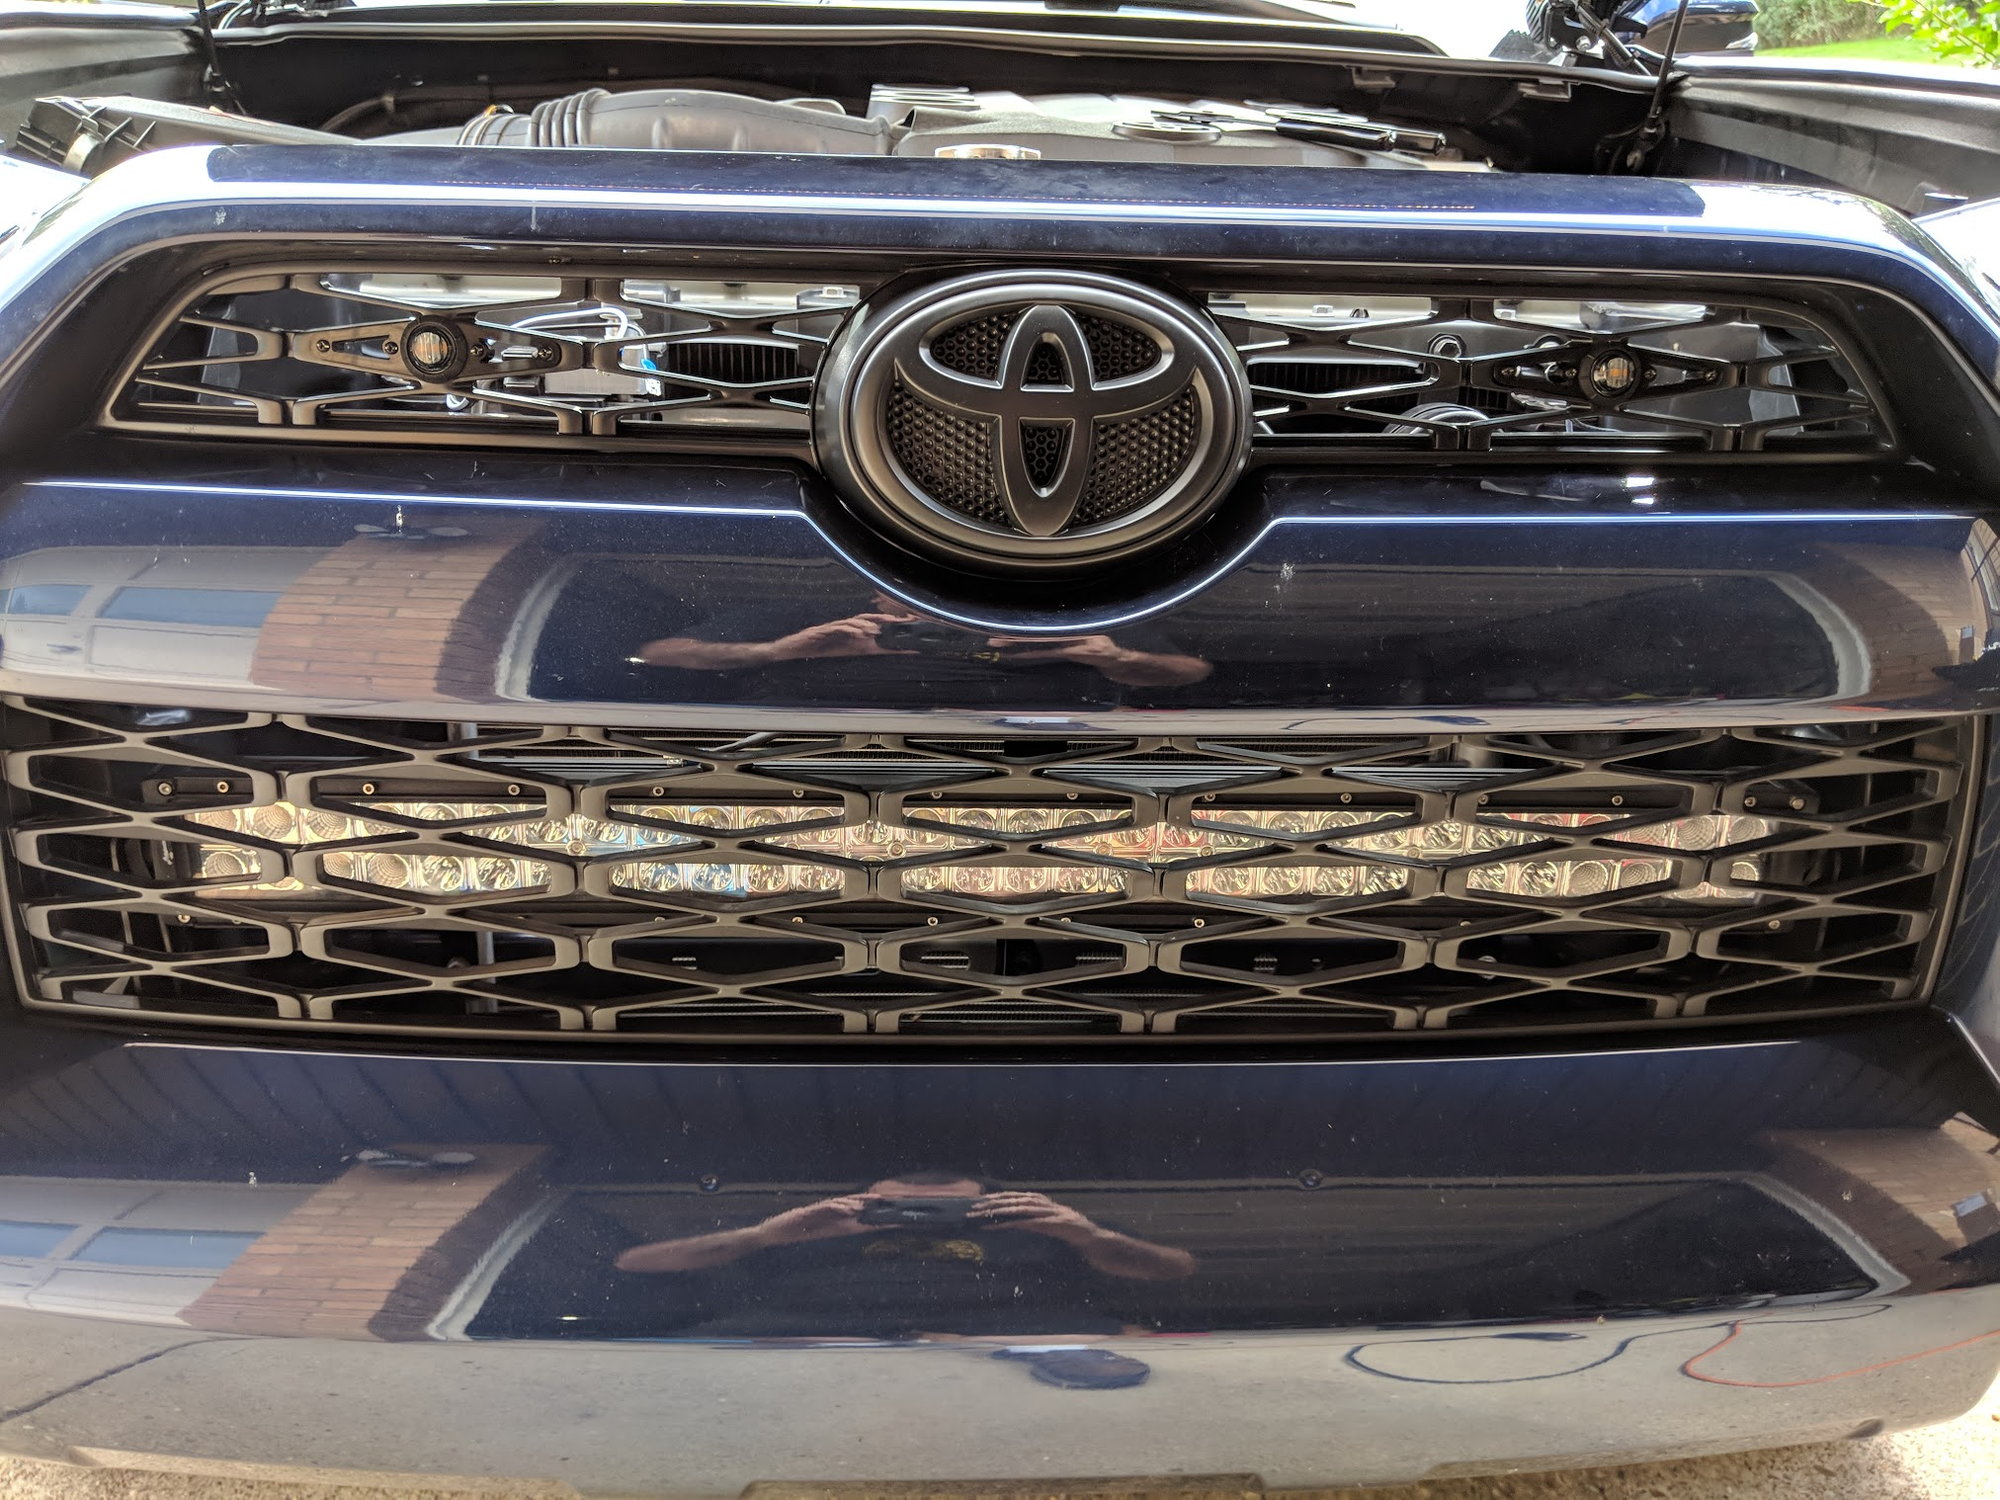
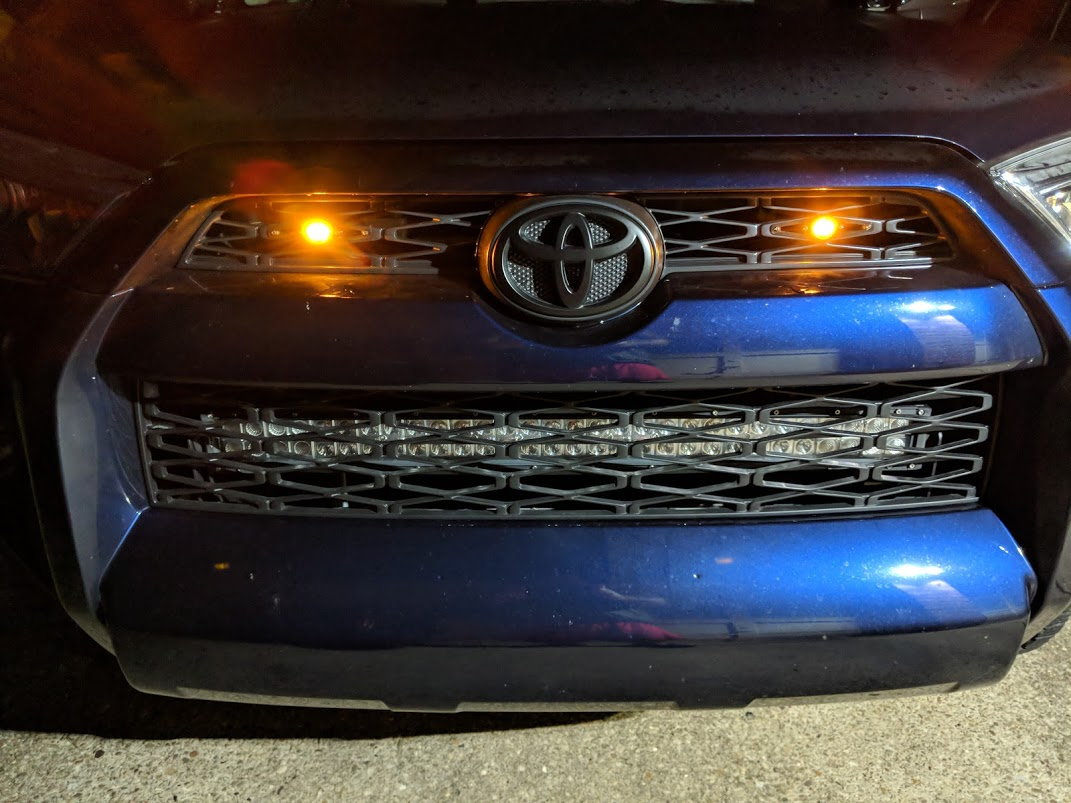
And here's the finished product, I did a side by side with the side amber corners.

img_20181005_152909_28ac78e2fed0033ca055424b134e9c21b0723be0.jpg


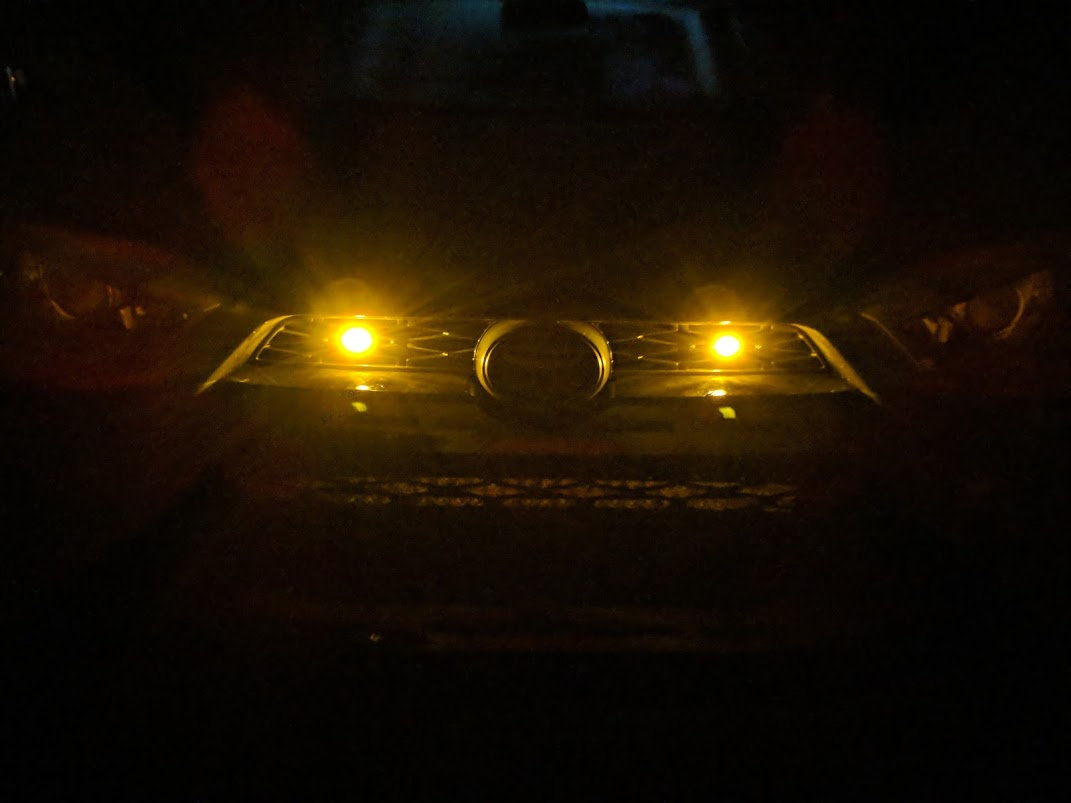
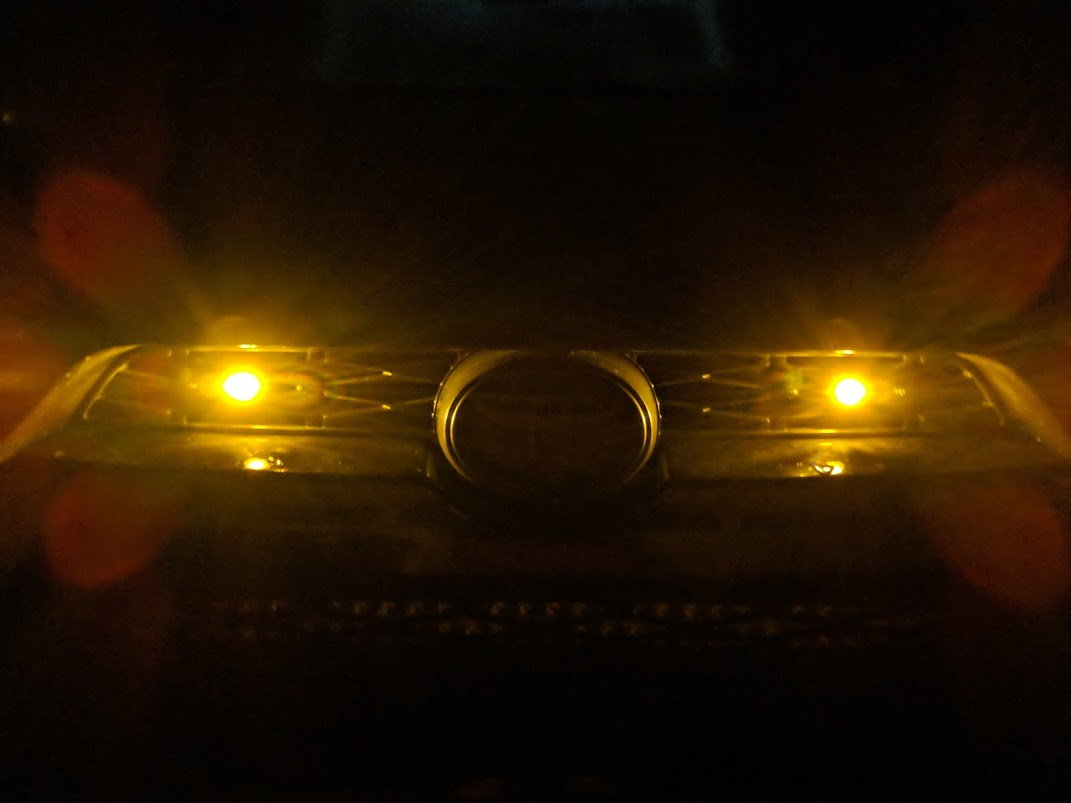
And here's everything all lit up, they defintely look awesome at night, I will have to grab a pic later

img_20181005_154407_167a4a75b593a975d6c7e4813b61b59cc7932687.jpg


And here's the new LED corners behind the tinted amber corners

img_20181005_154415_4968dfb125c53f003e7a677731c8d7a5170ce5e0.jpg
 
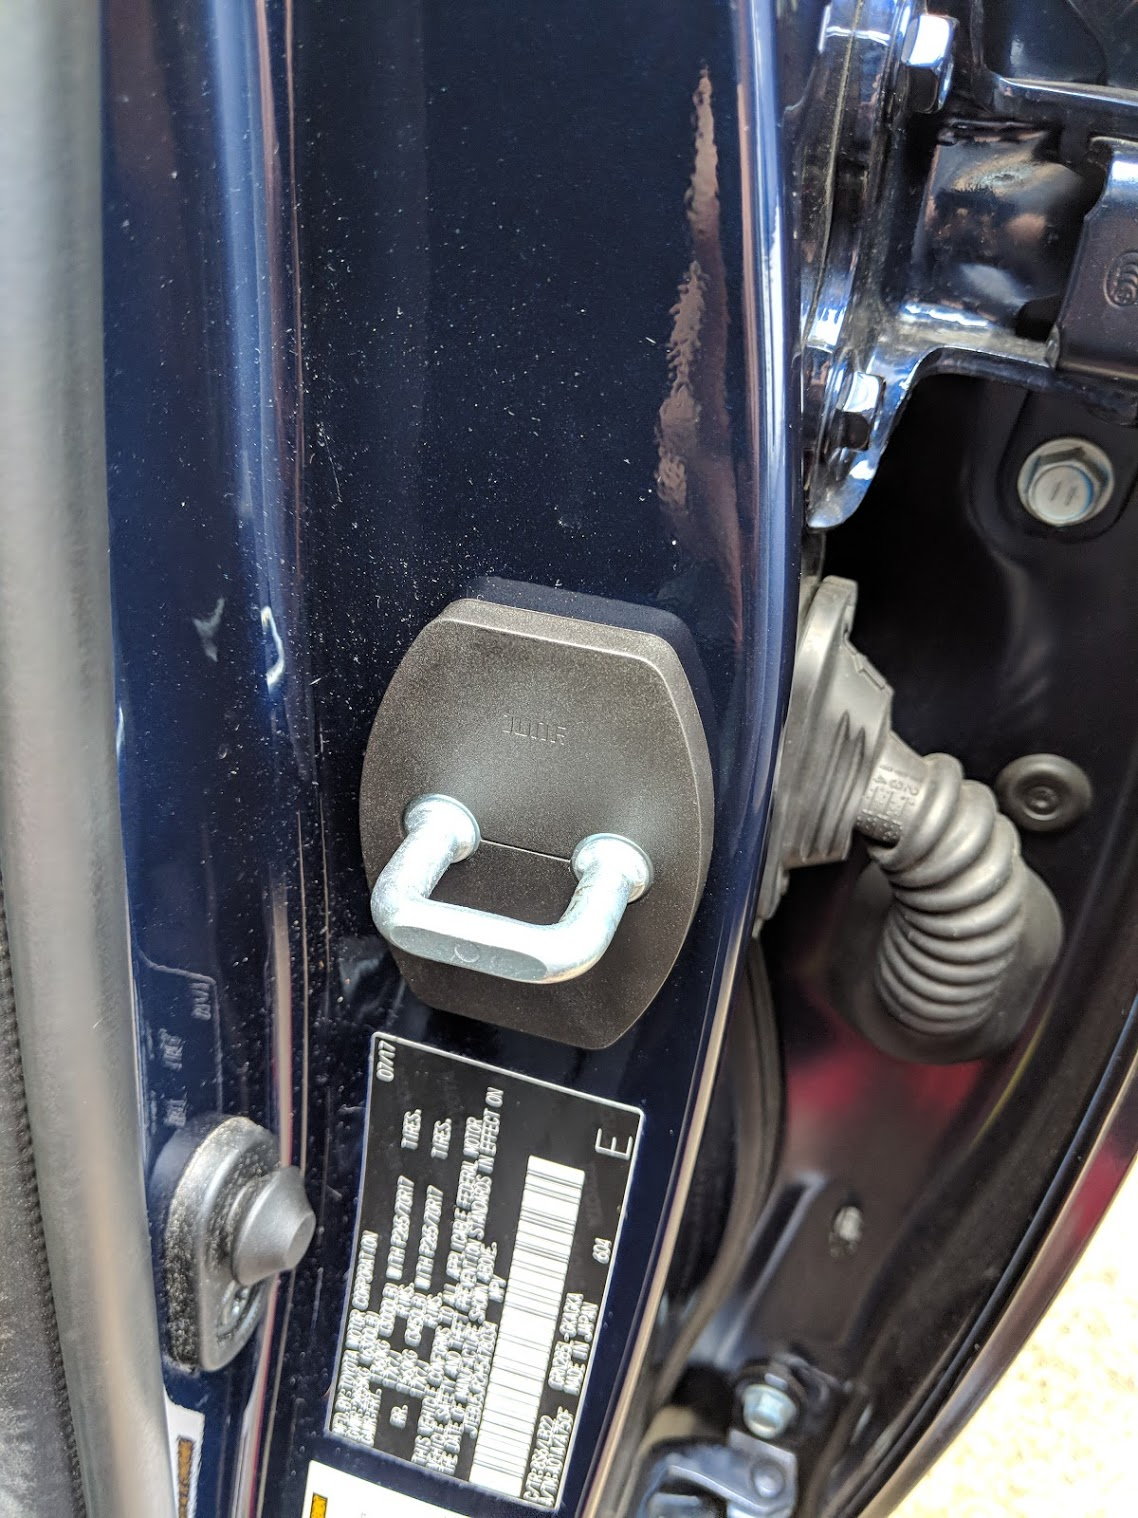
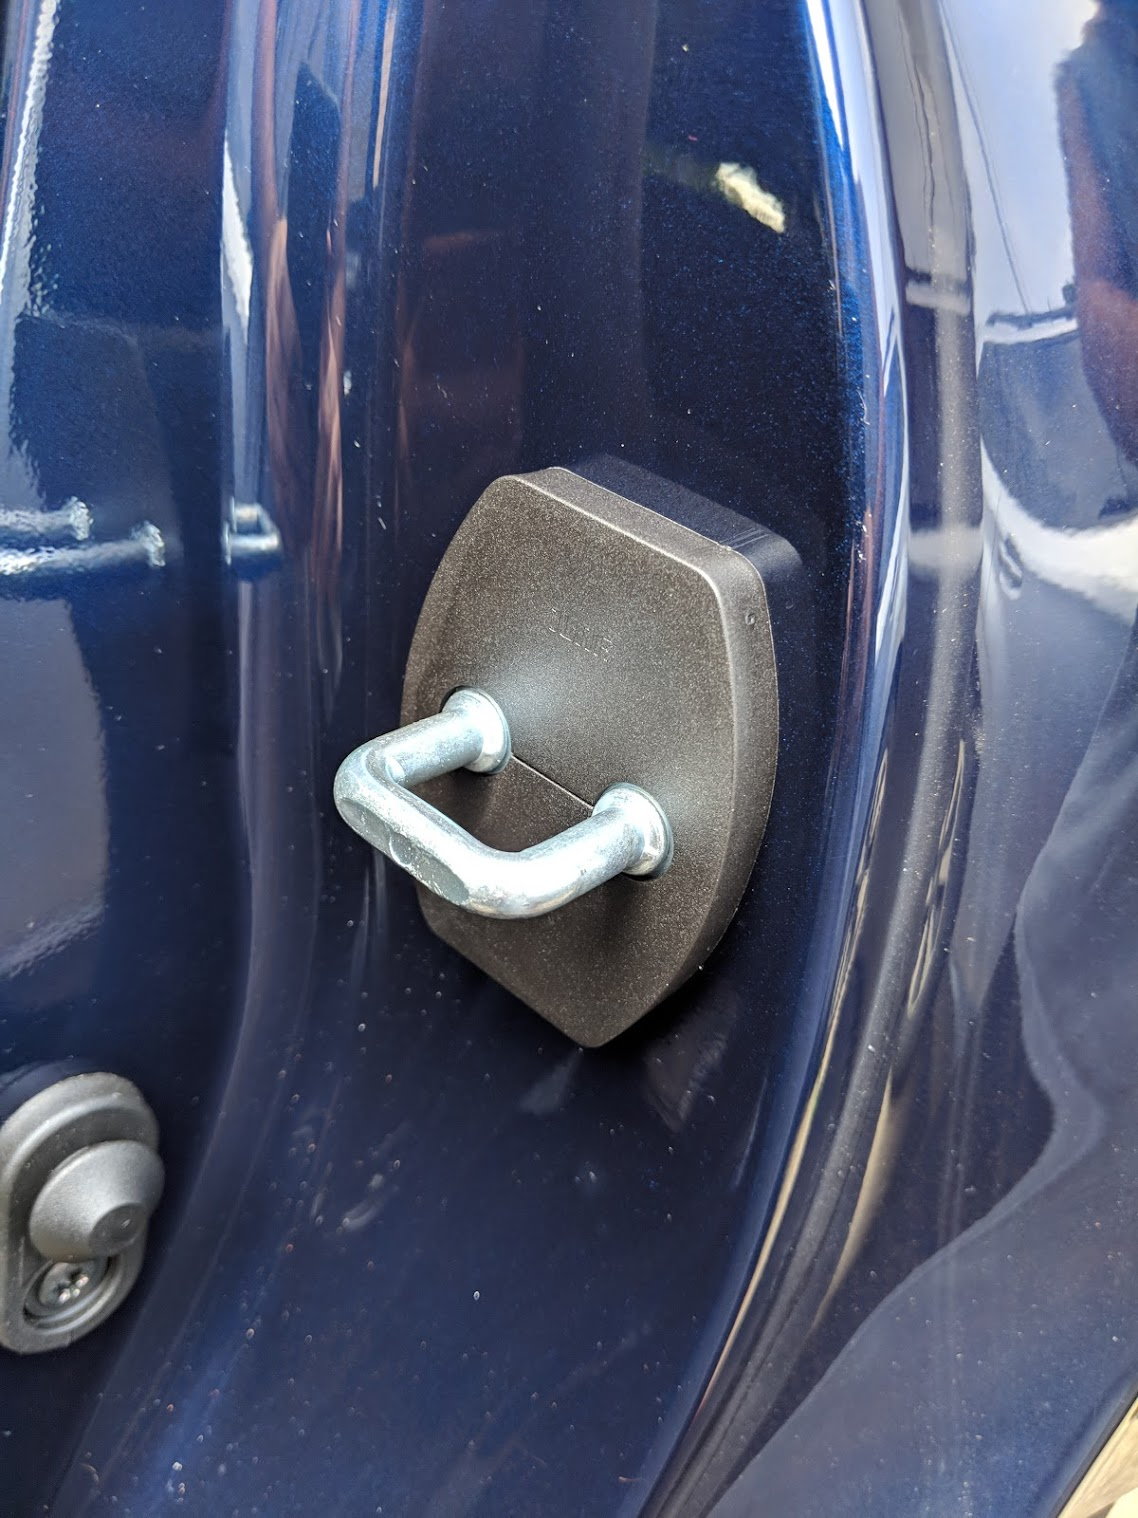
And here's a nice subtle $5 mod that I threw on, it helps with the black on blue theme and looks cool. A member posted these in the what did you do today thread. Doesn't serve much other purpose other than rust protection and appearance, but for 5 bucks wth

img_20181006_140435_89f3deeb2813a9ae48460ff9a2ad82611d668483.jpg


img_20181006_140457_8fa1a373ed0de20ea35ff9360d03be28d1e1108b.jpg


img_20181006_140533_d153bb3711d265213c46acff1b2a153b74386ef8.jpg
 
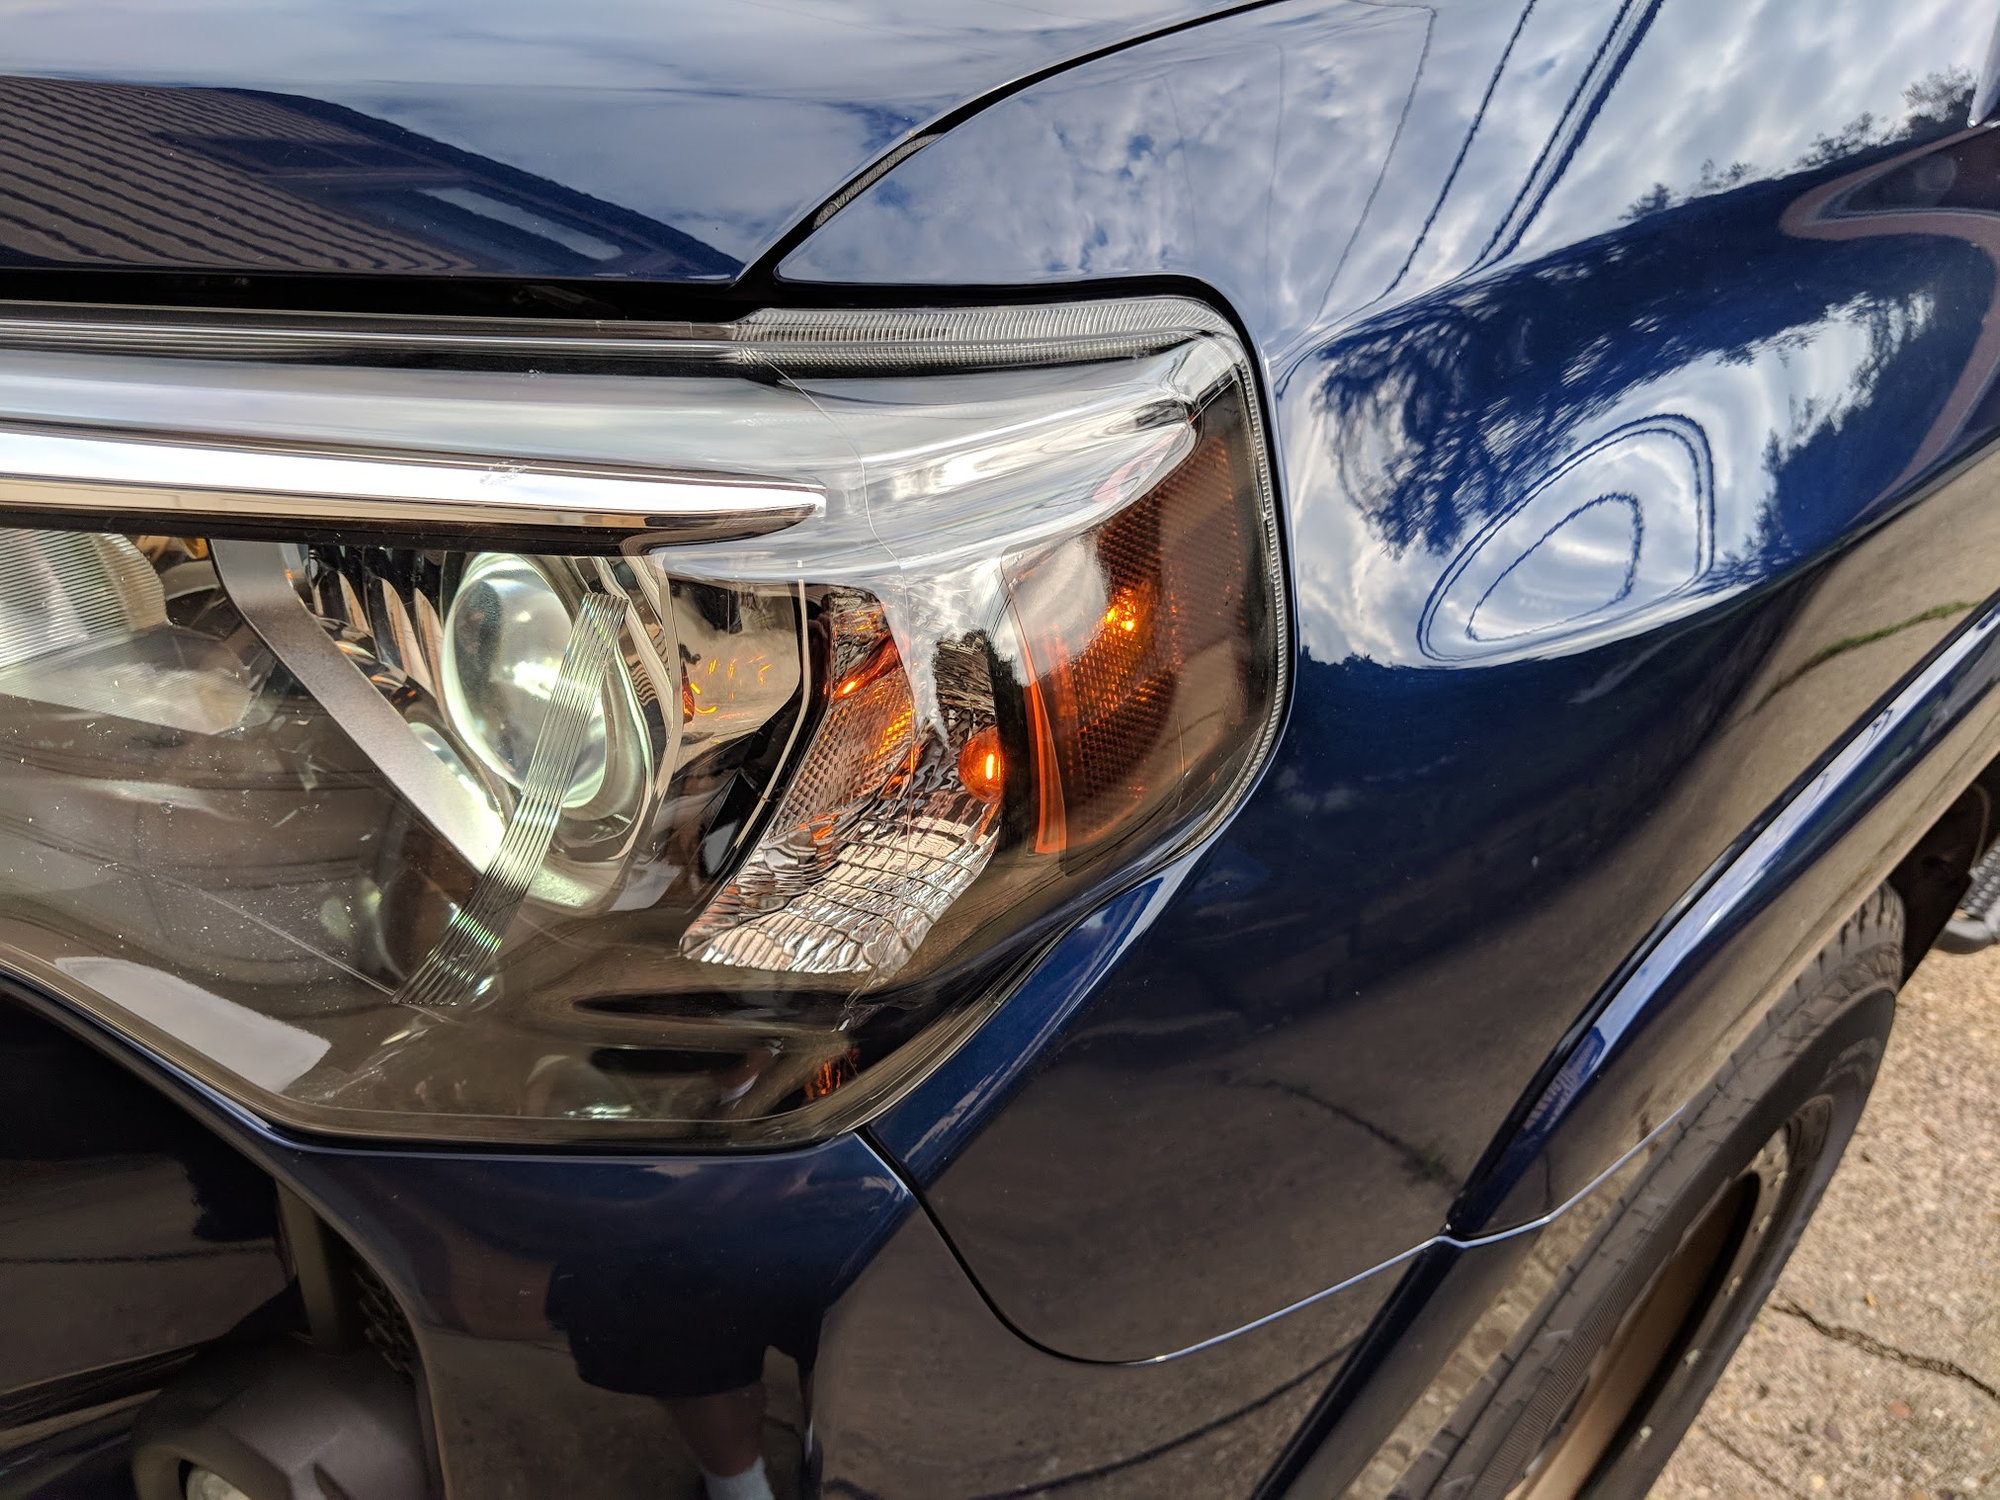
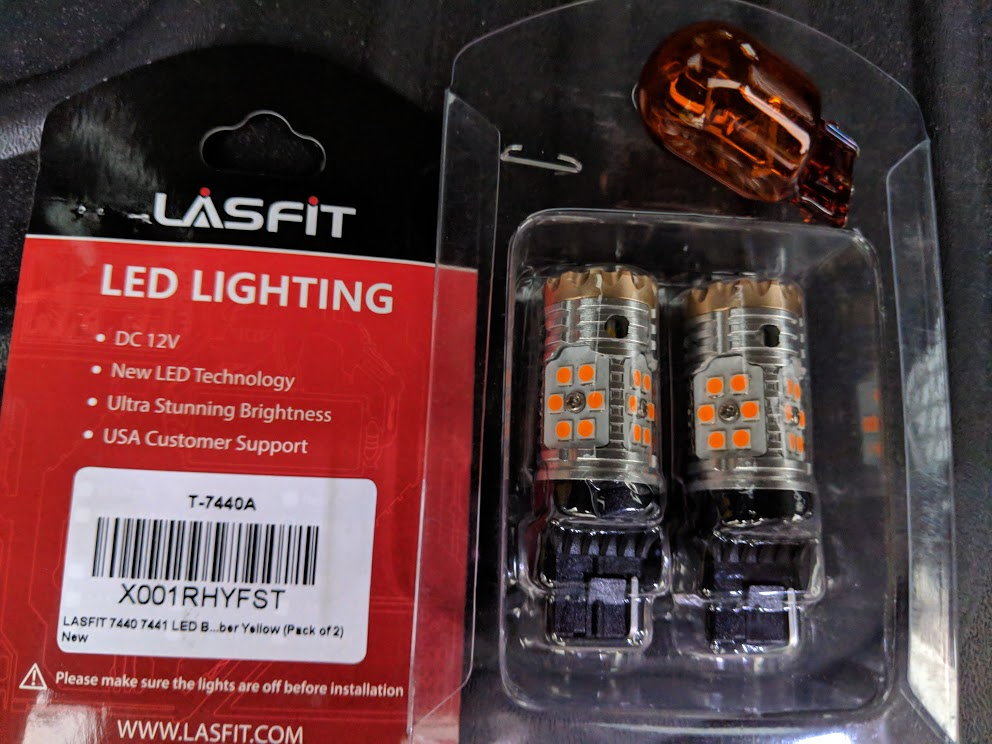
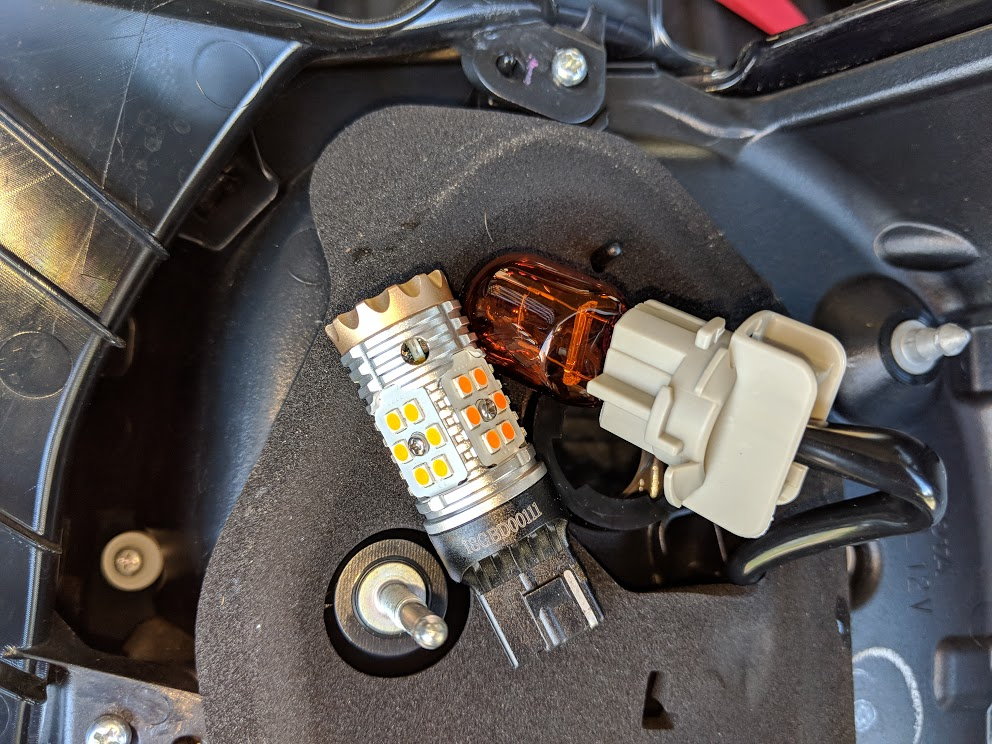
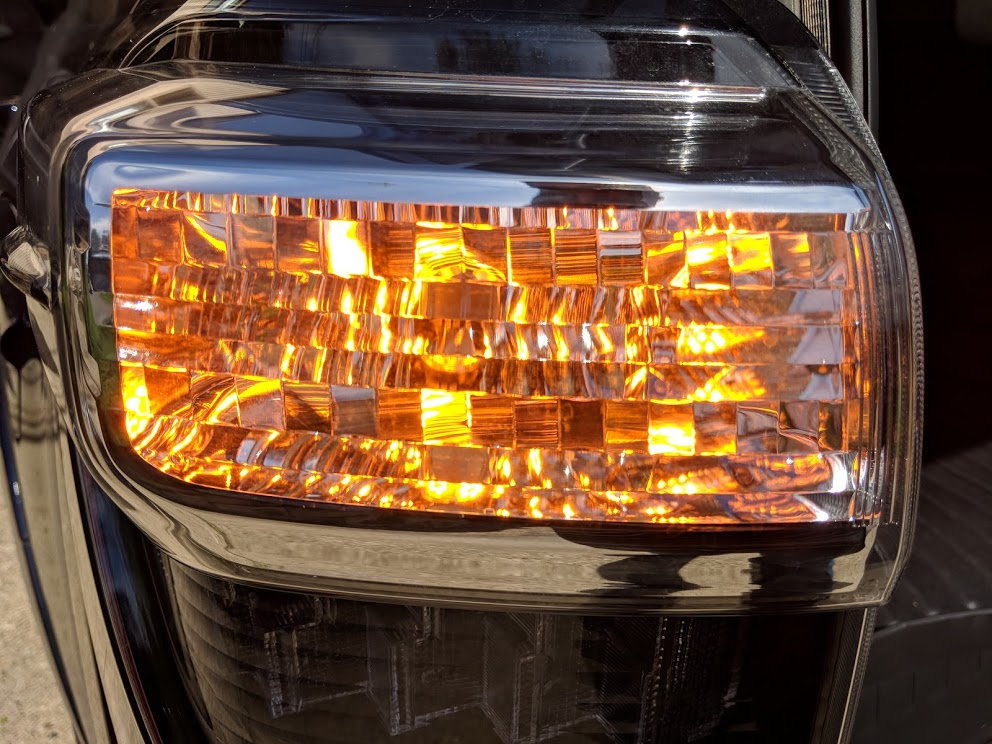
So I ended up selling and removing my tail as turn modules, I wasn't a big fan of the red brake lights acting as turn signals, and never really used the ridiculously bright double reverse lights, other than to blind a couple people in the parking lot. With the way people drive around here I figured bright as **** amber turn signals was the only way to go, plus when you locked or unlocked the truck the amber fronts and mirrors would blink with the red LED panels in the back and just didn't look right. So, my solution was to get the brightest amber LED turn signal bulbs I could find. These have resistors built in so that you don't need add on resistors to avoid hyperblinking so it was a win-win. I mostly drive in rush hour traffic, so I wanted my turn signals to be obvious, and 2400 lumens each is pretty obvious I'd say. I took a little side by side with the stock bulbs

img_20181015_173306_1c5955368370457bc1f2af881b16433eb6efa93c.jpg


img_20181016_131435_c56b867d698338bd5eedabe6c2940731d2e01ef7.jpg


They are super bright, I just put them in so will have to wait for a night shot, but here they are during the day

img_20181016_131656_ba518663c7eba0e0cb0fdad4207c41e34ff0215a.jpg
 
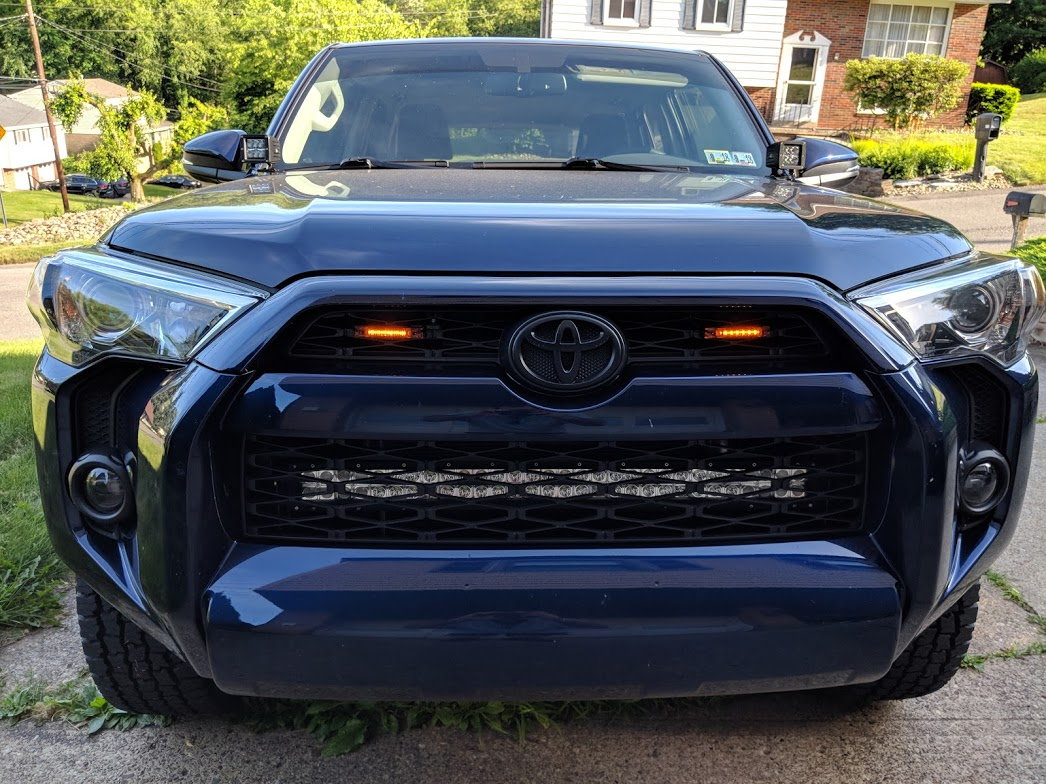
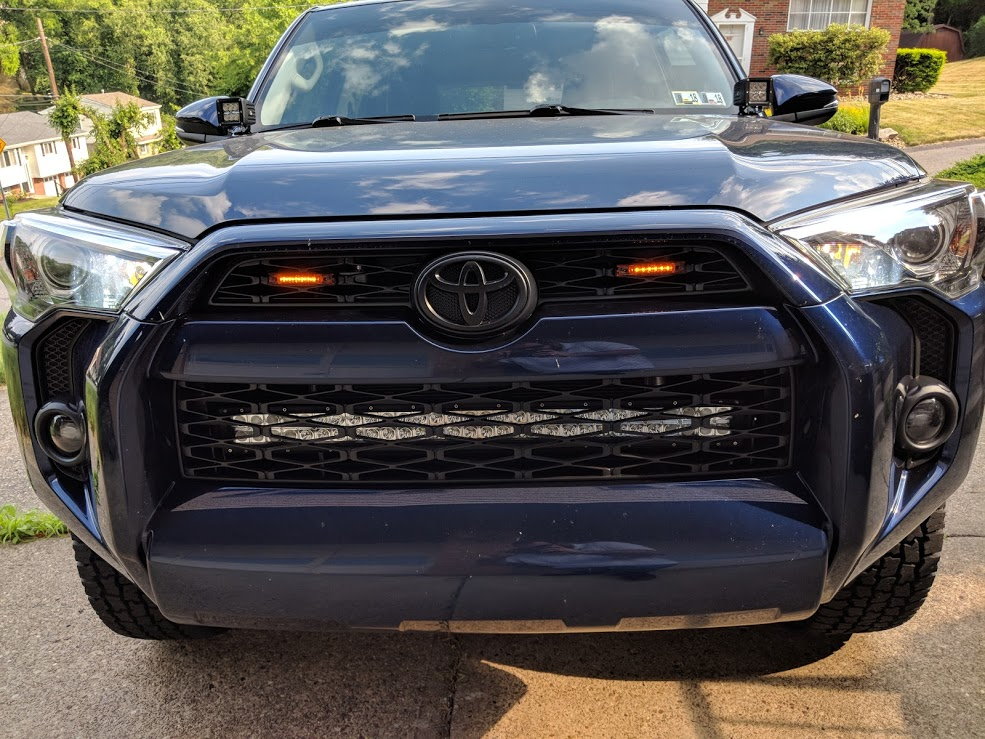
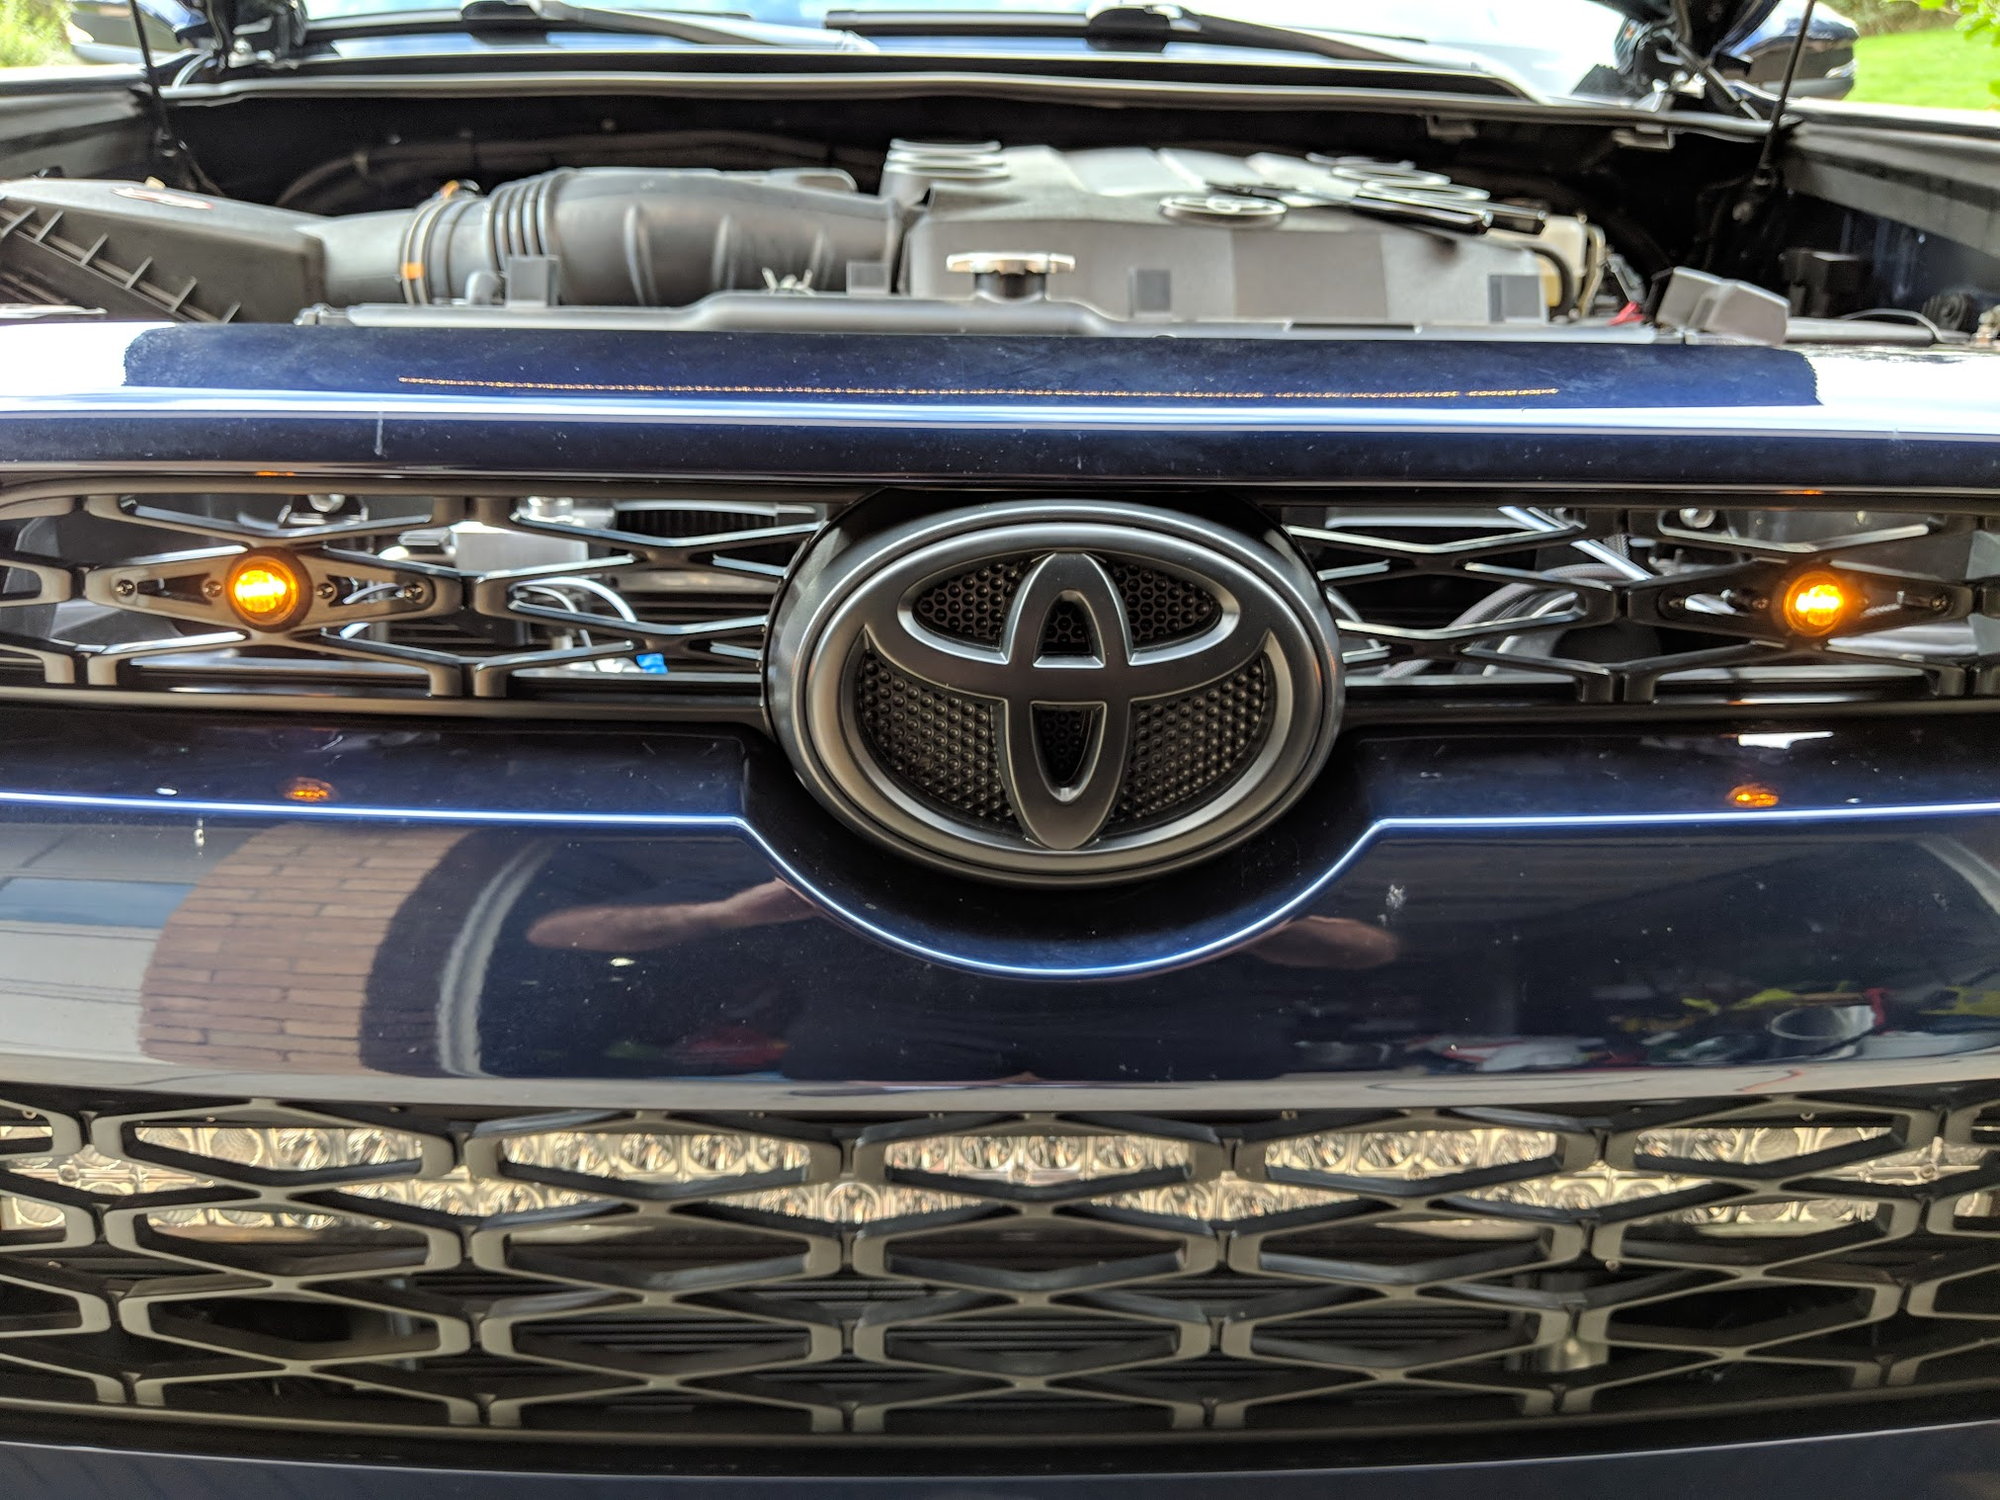
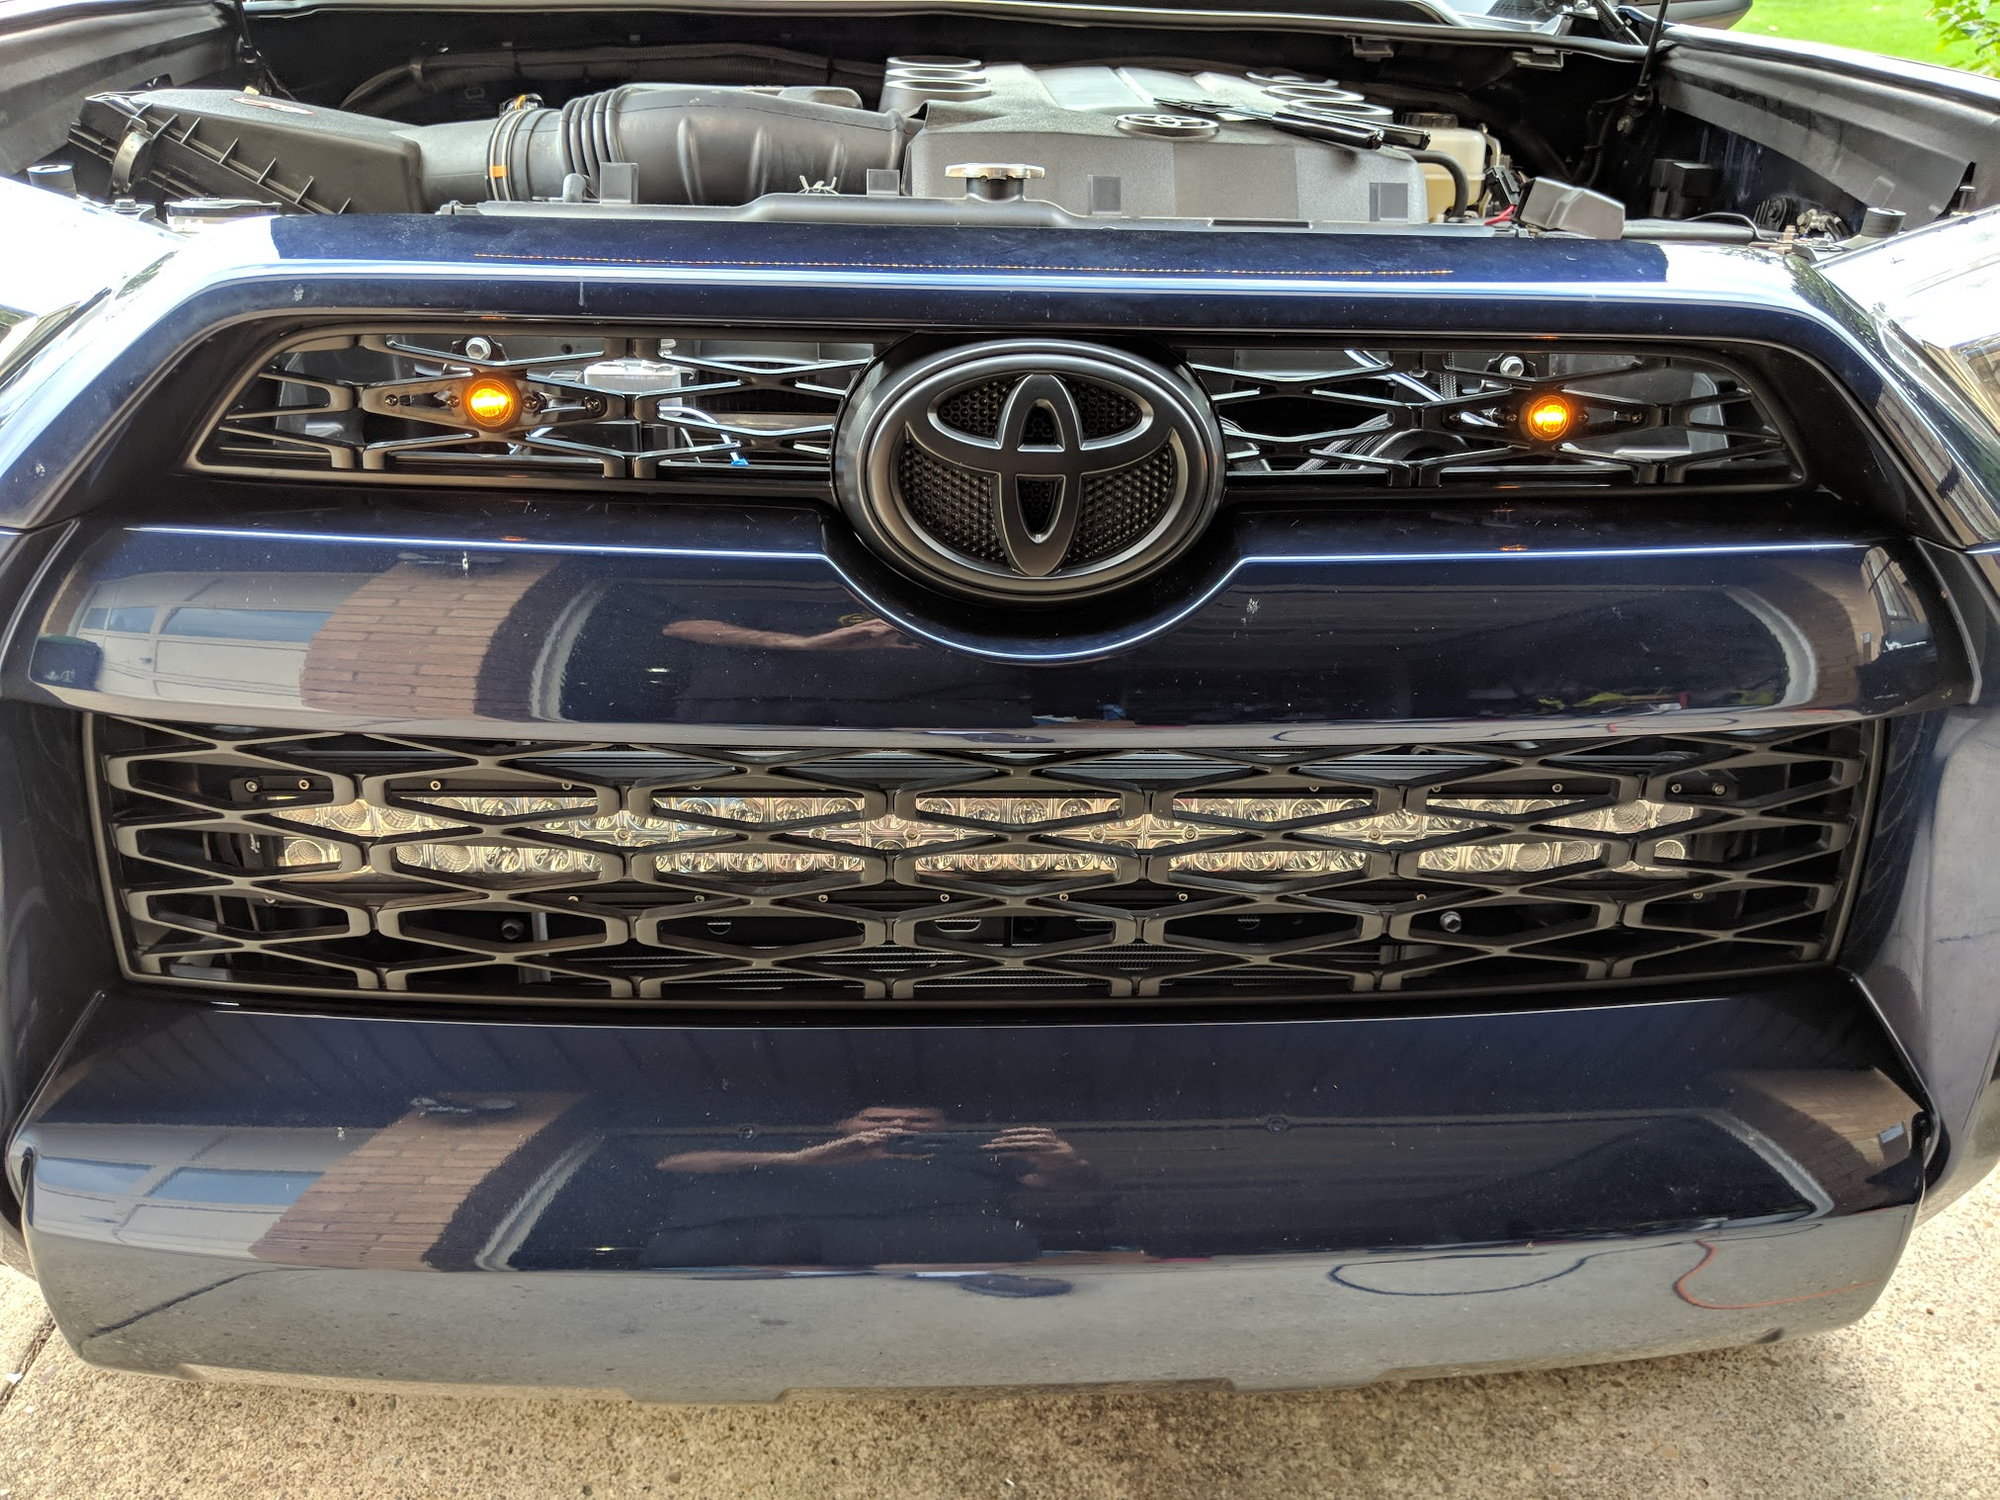
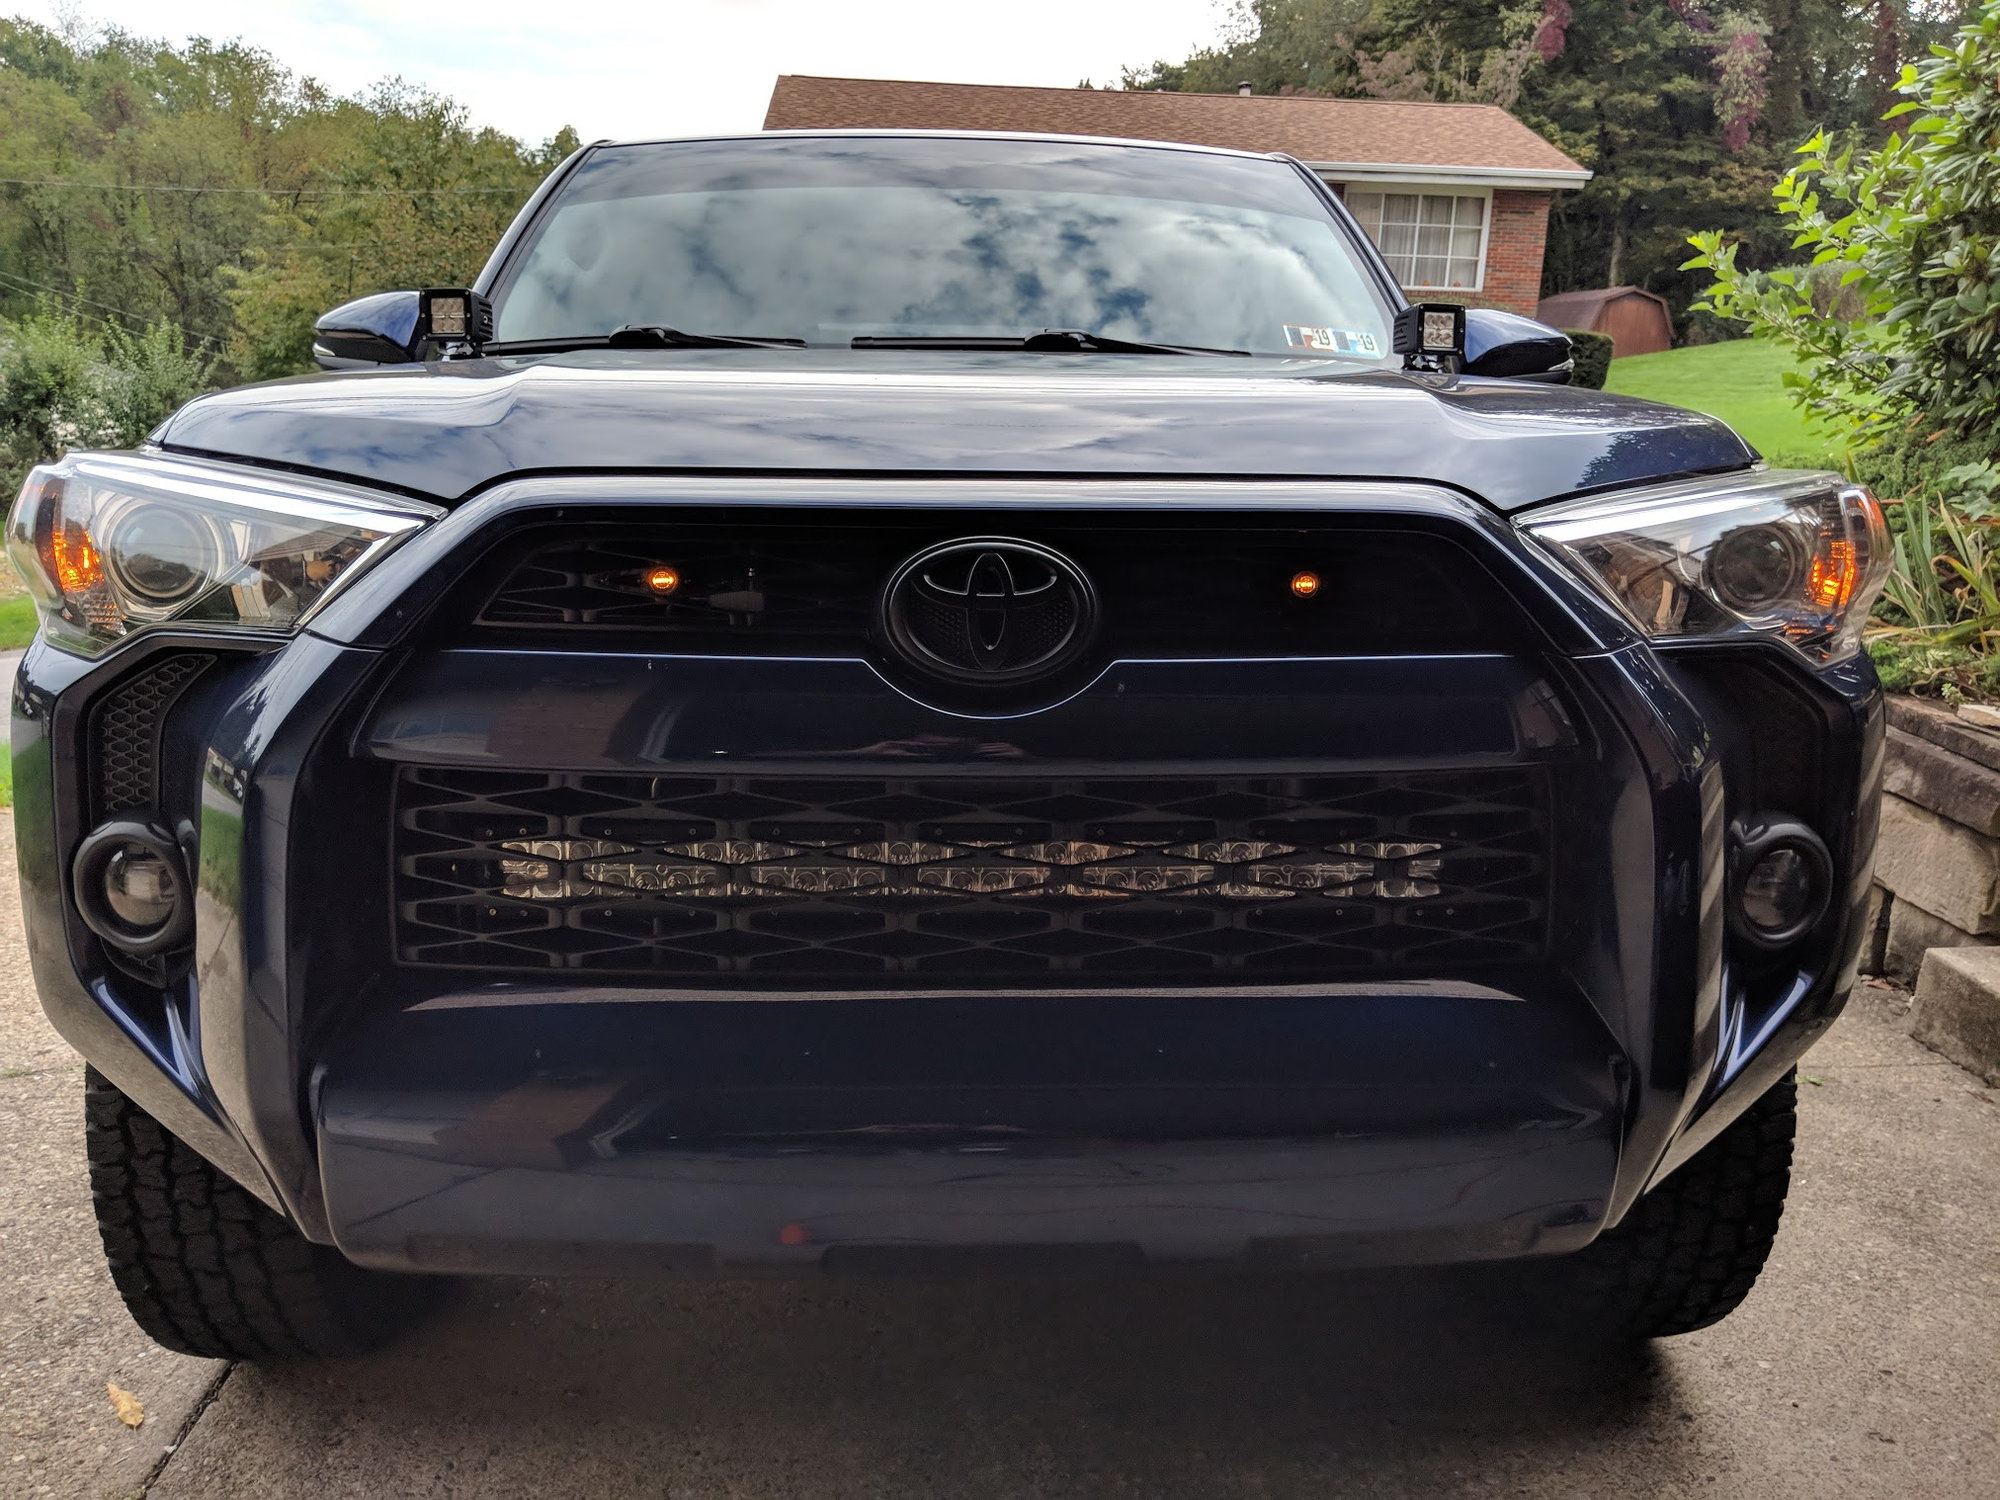
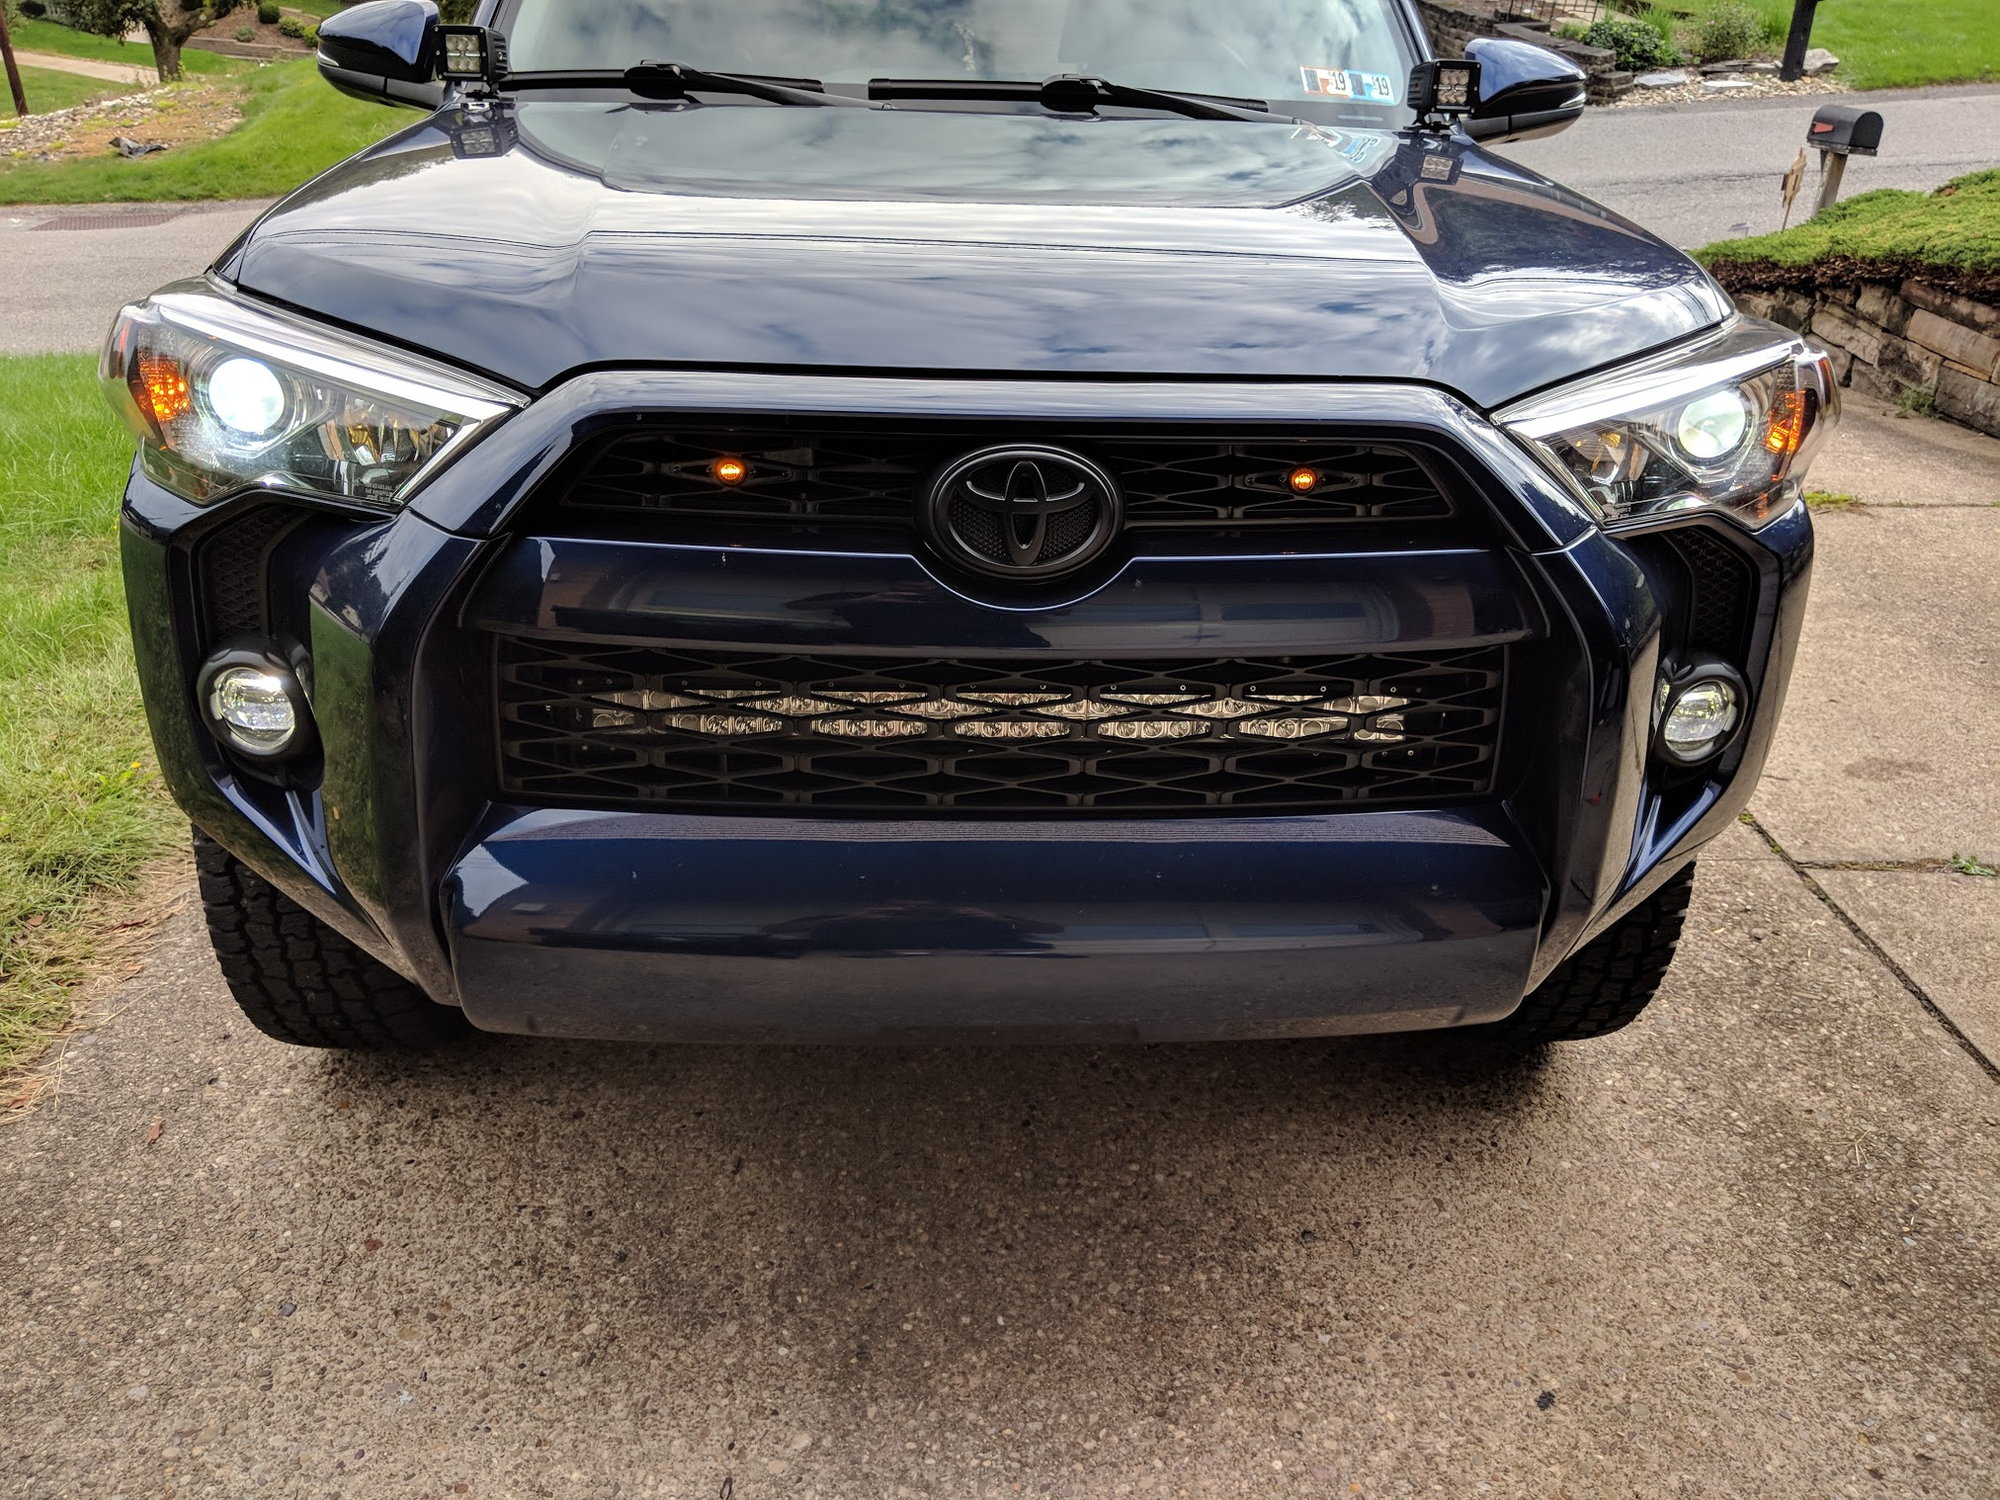
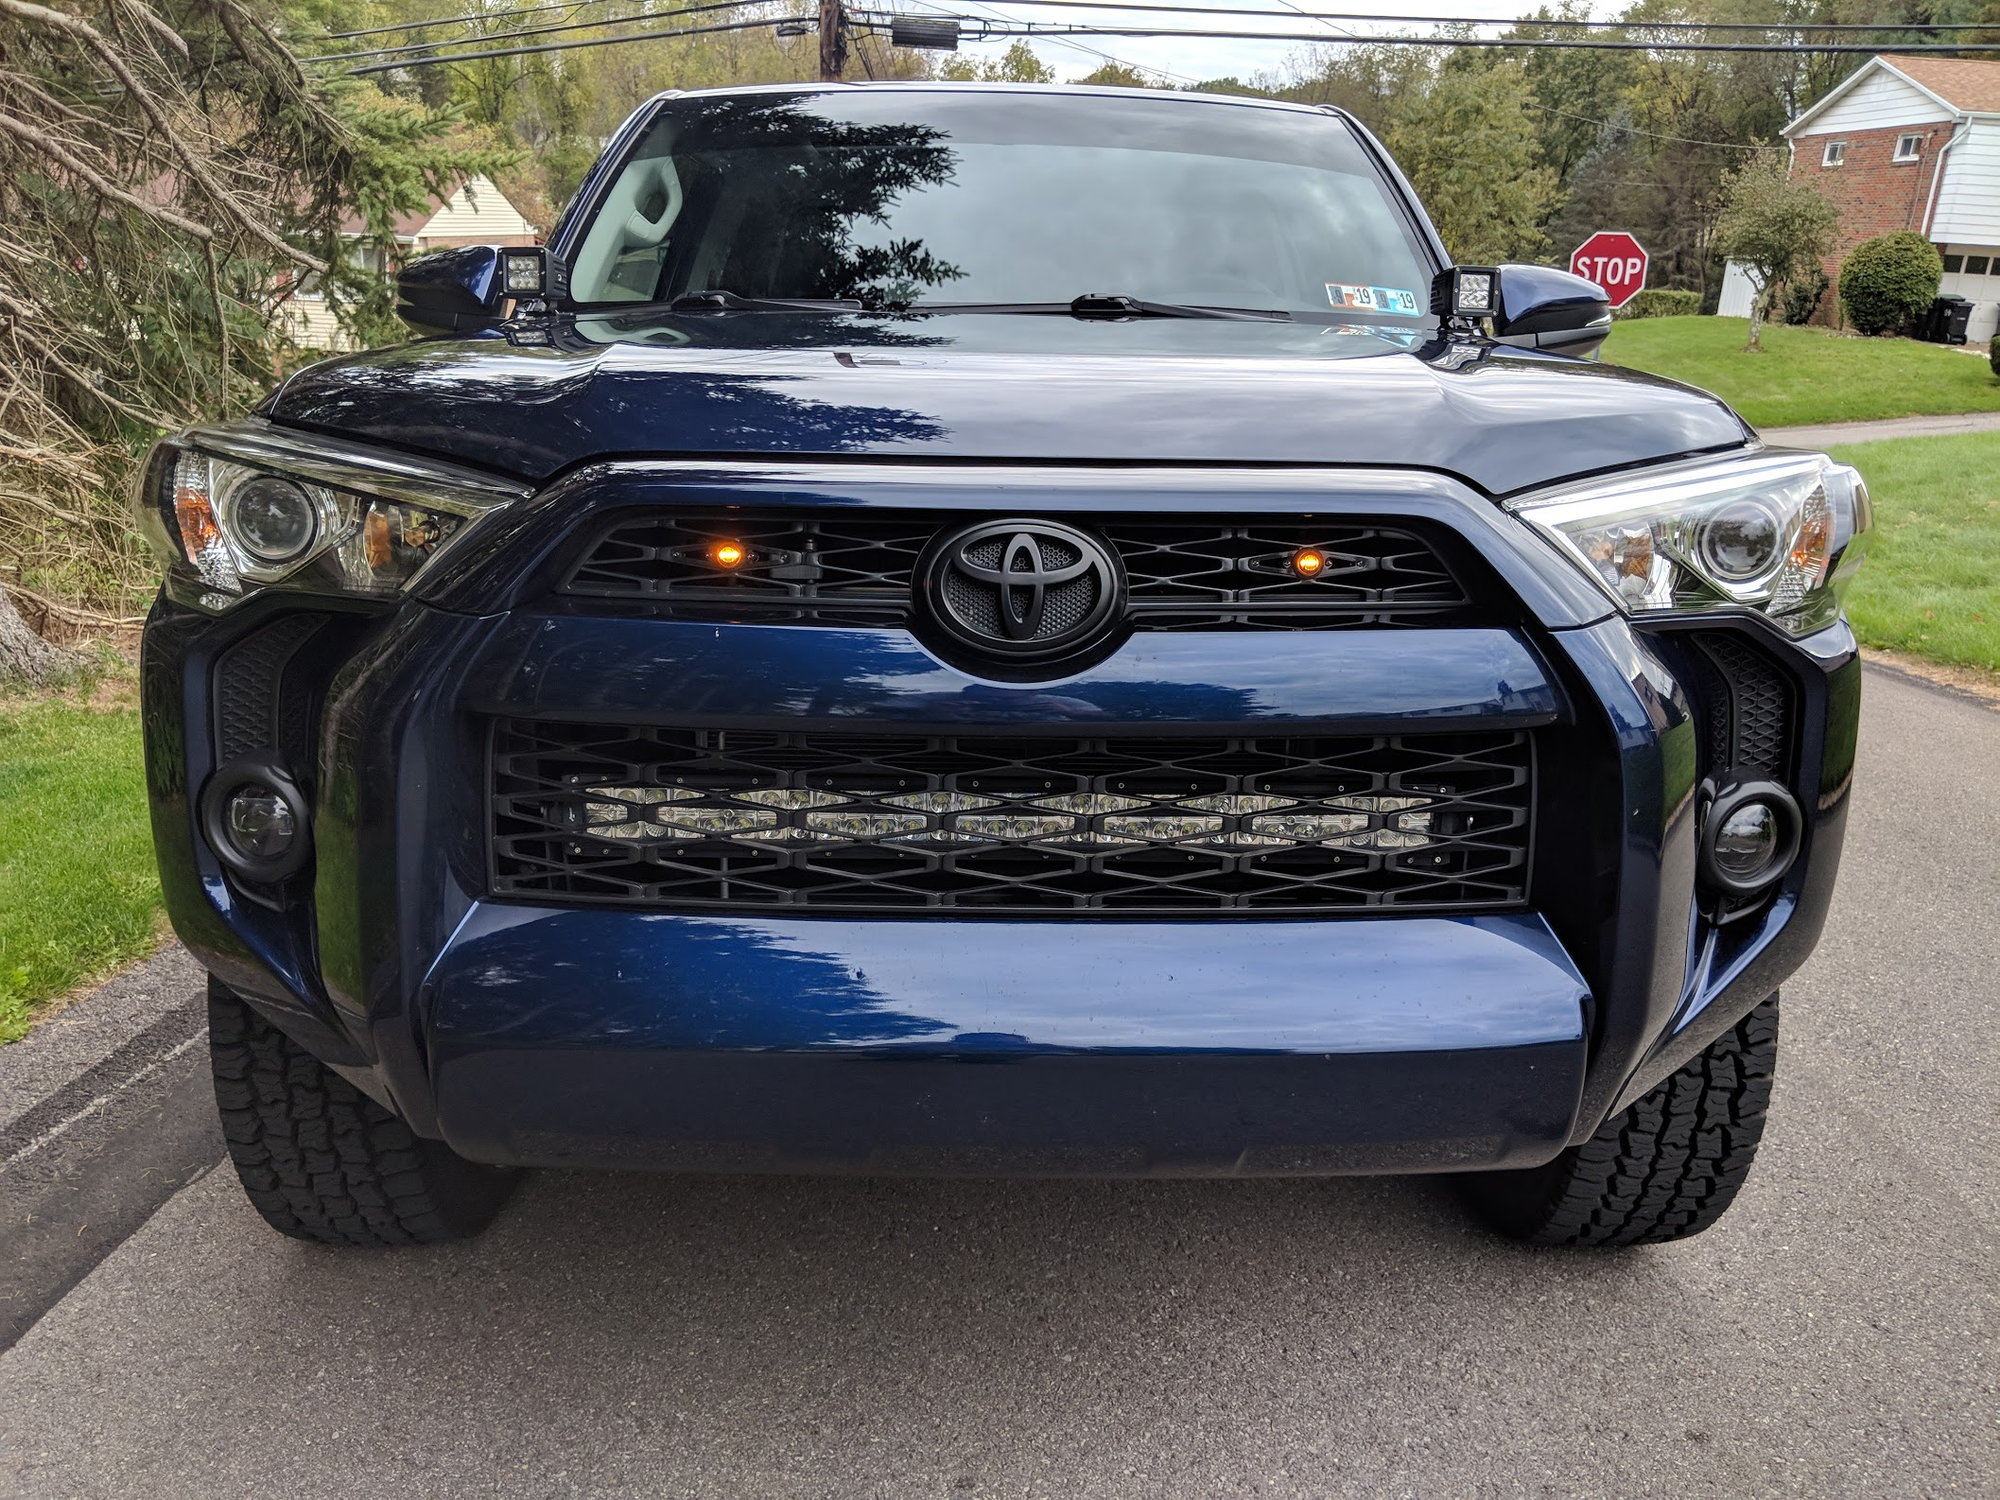
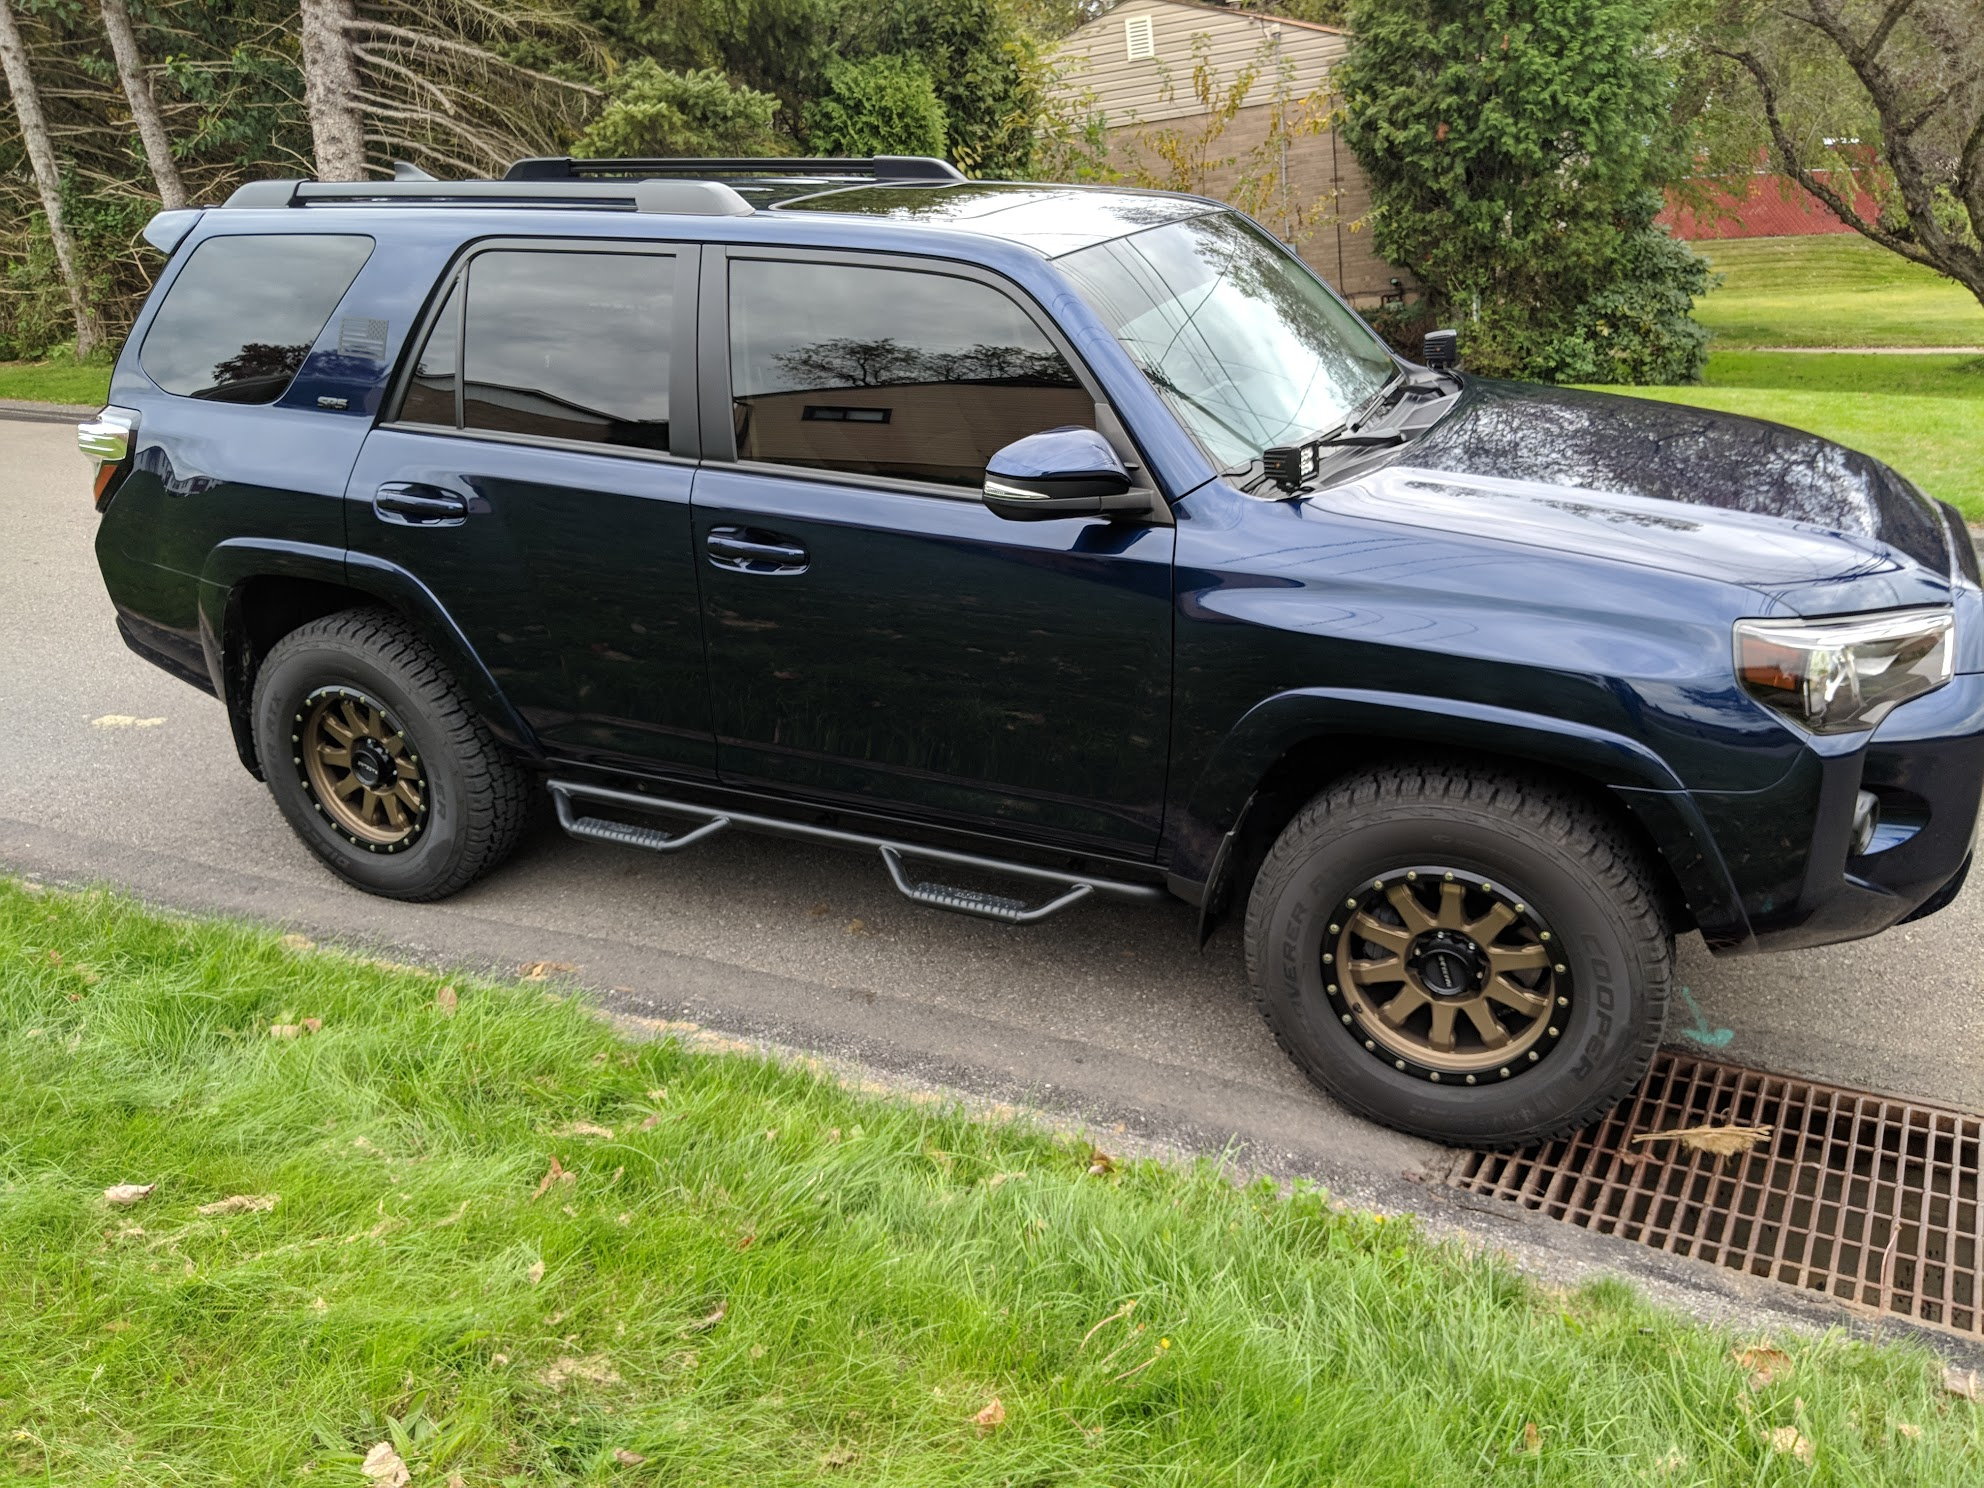
Washed the truck up and took some better shots, loving the ongoing transformation that this truck has continued on through, love this front end so much

img_20181019_165719_e53ca050f7ea2784d3a0fe23393f678ea9f54120.jpg


img_20181019_165732_6c7837c5e34f43e89e7e37d8083a70eb84c7c7ca.jpg


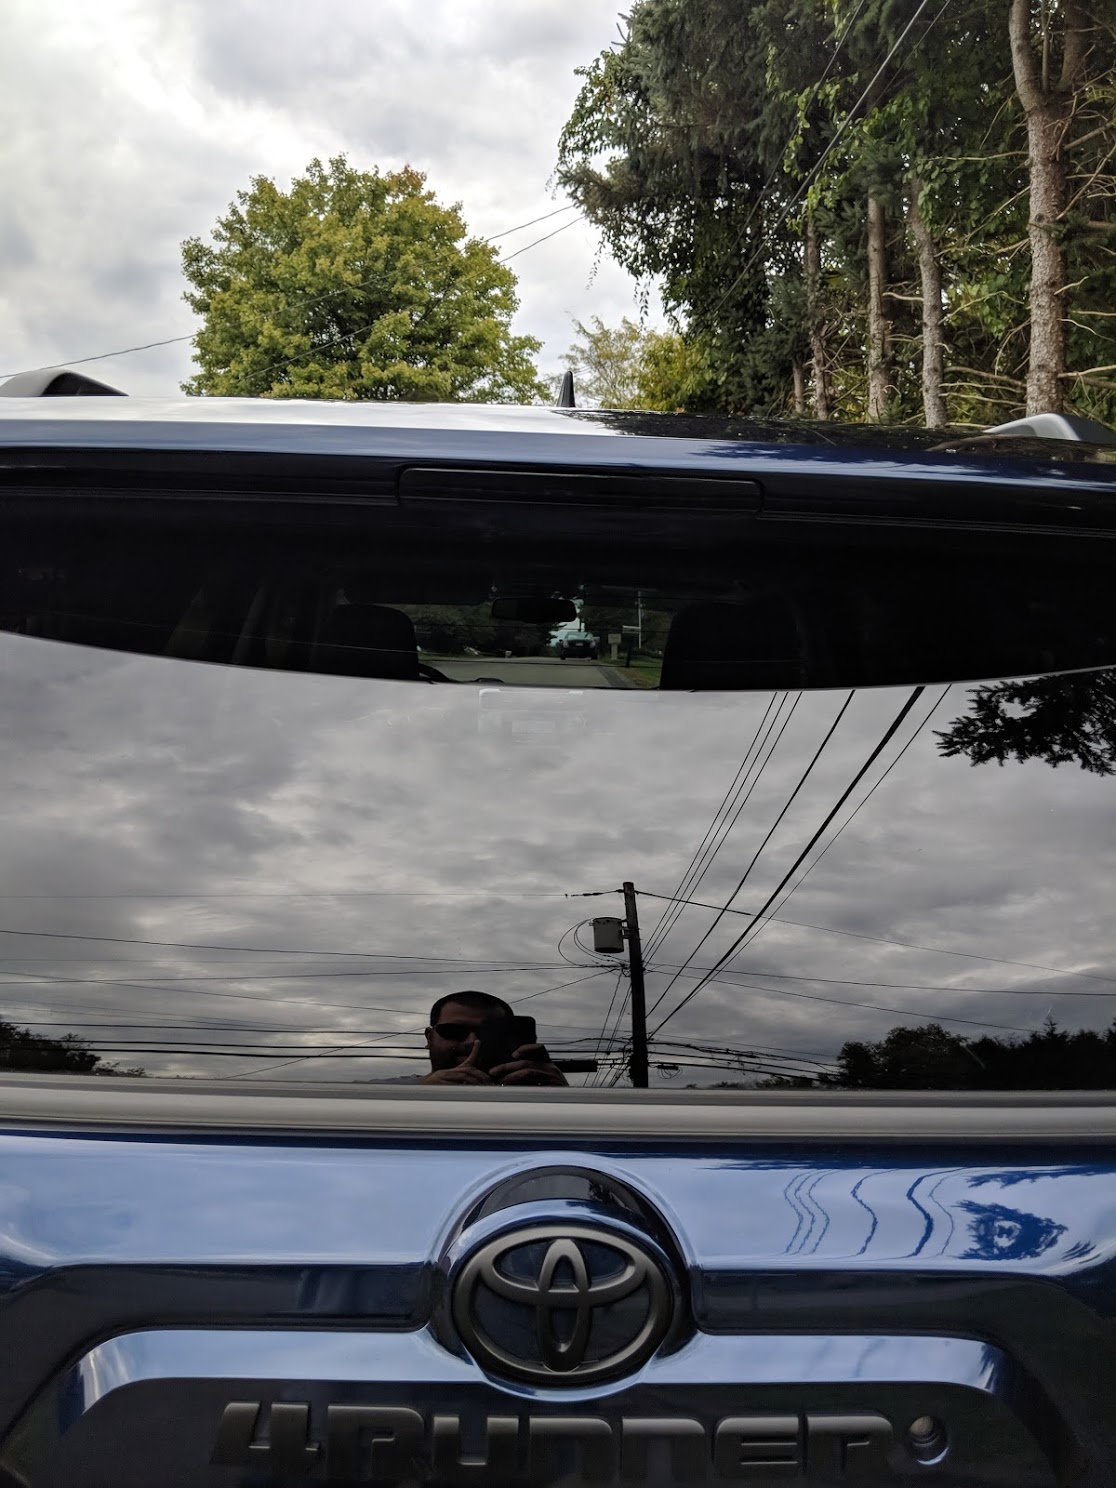
Black emblems with smoked black third brake light

img_20181019_165756_549114d527038059ccc30ca451625961c6a540e8.jpg


img_20181019_170439_a5cd6f0333aca68a80b81964baf76109e0211fc3.jpg
 

Members online
Forum statistics

Threads
278,307
Messages
3,554,050
Members
248,016
Latest member
Advally Service

Trending content

Back
Top