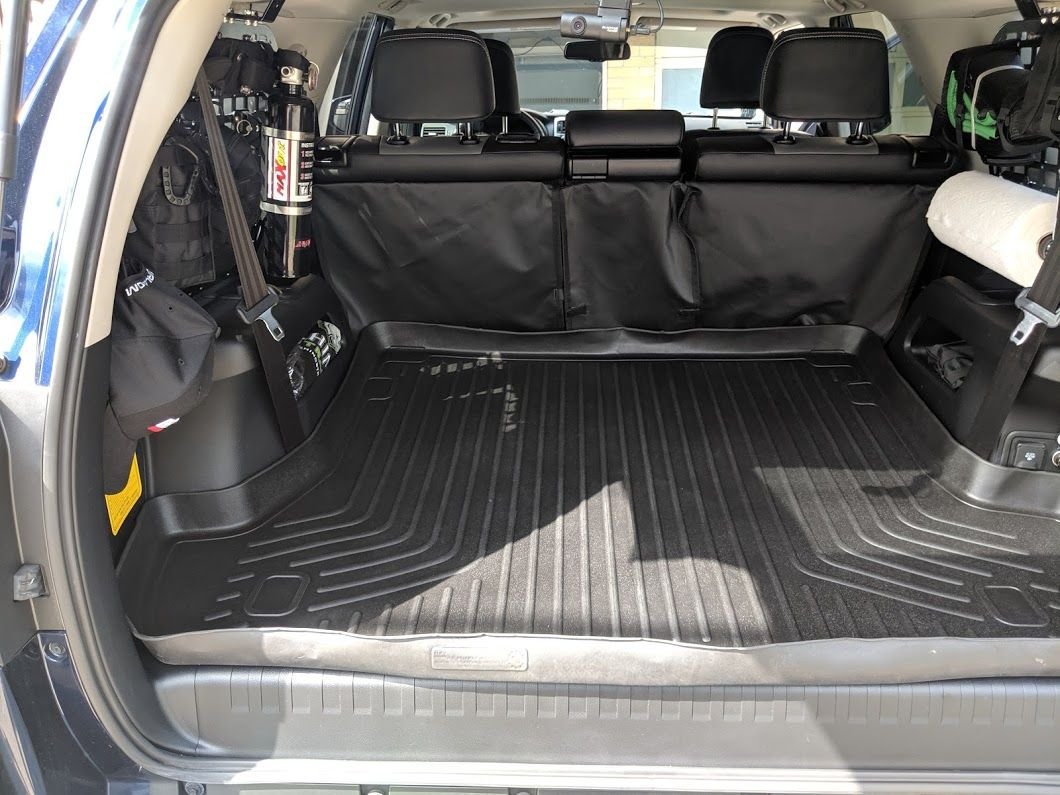
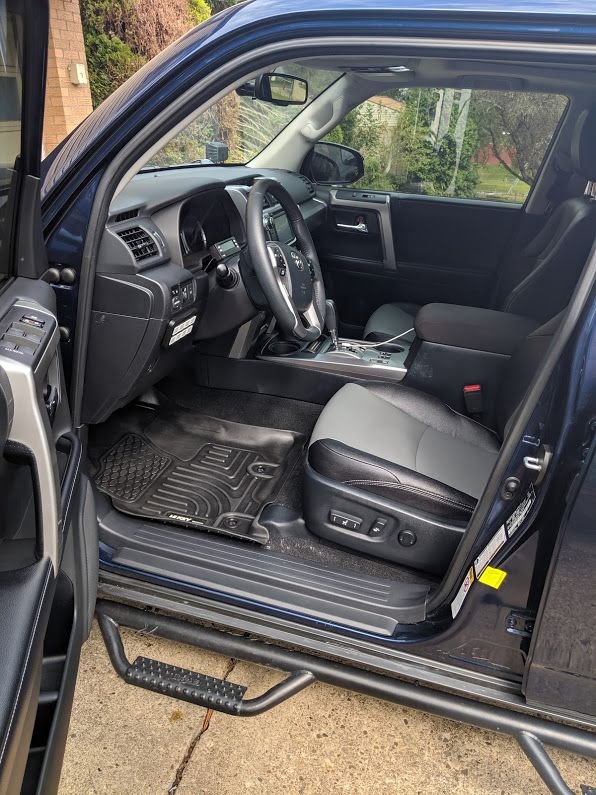
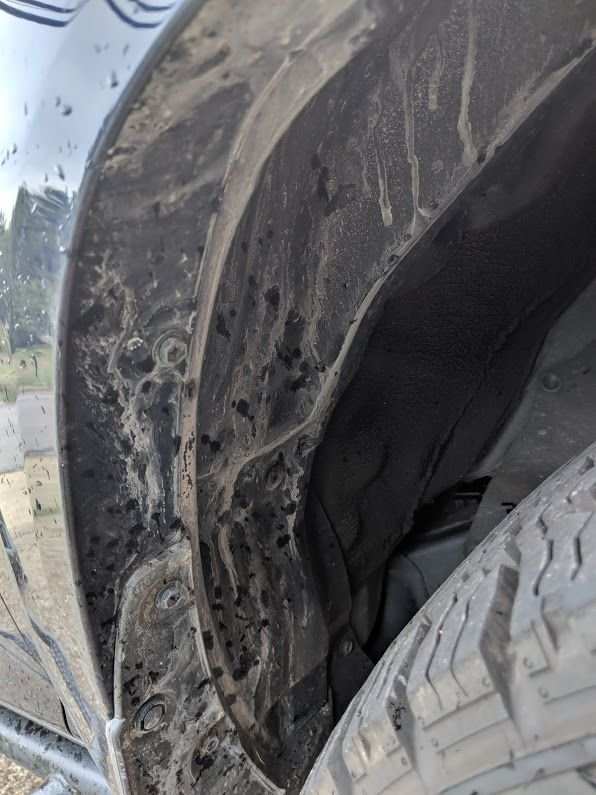
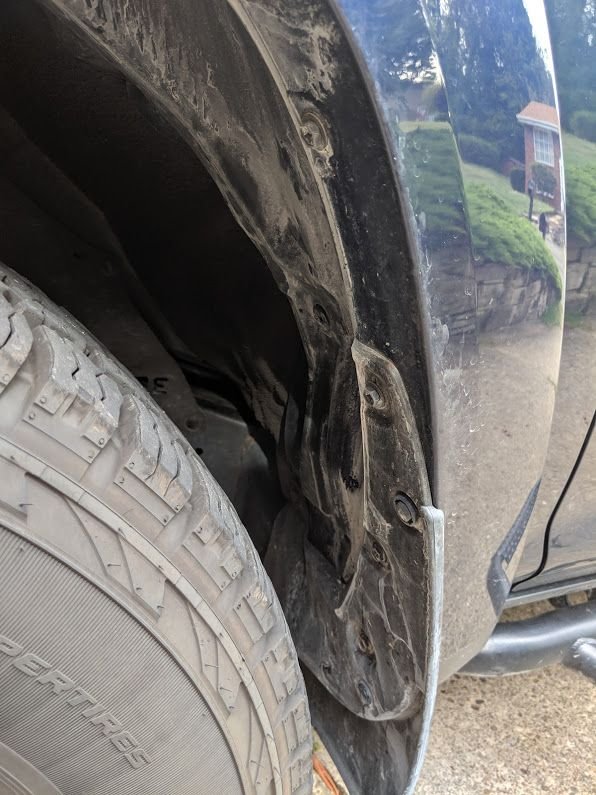
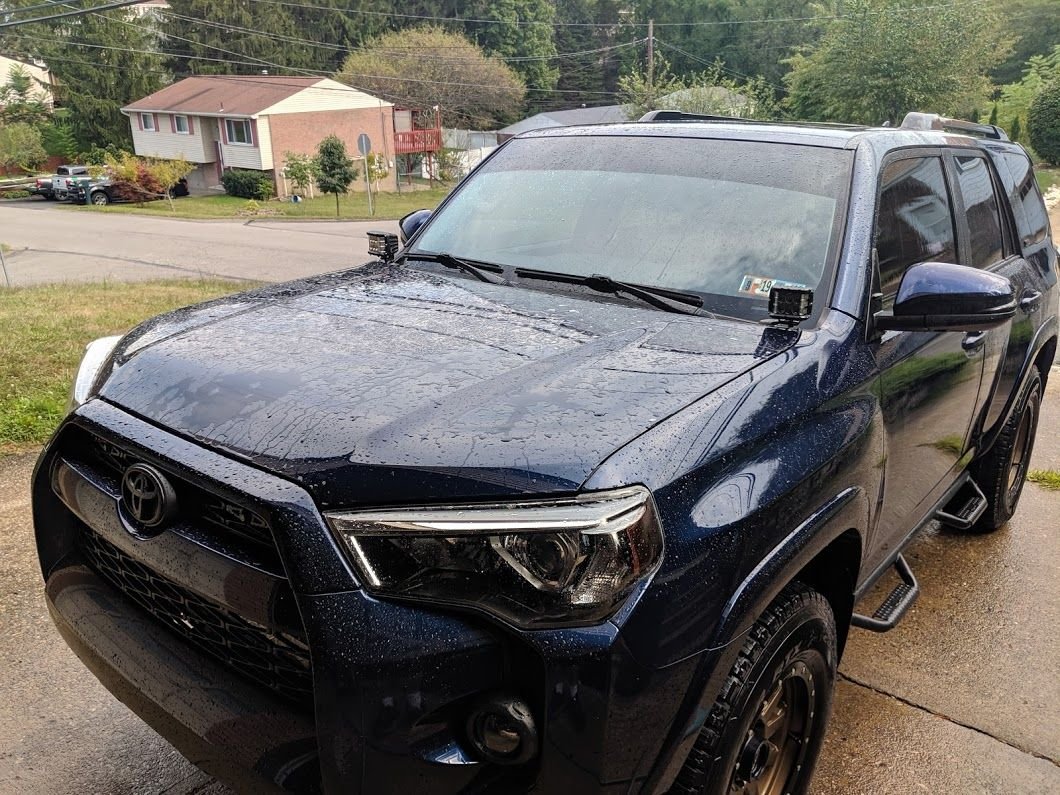
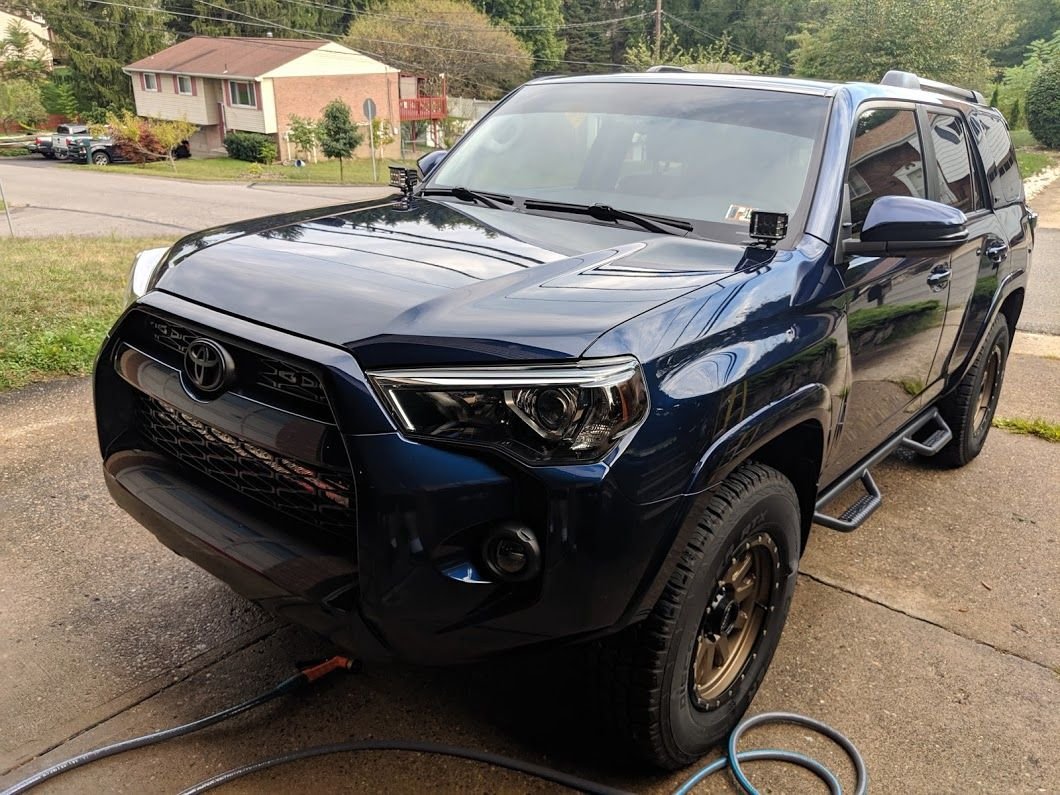
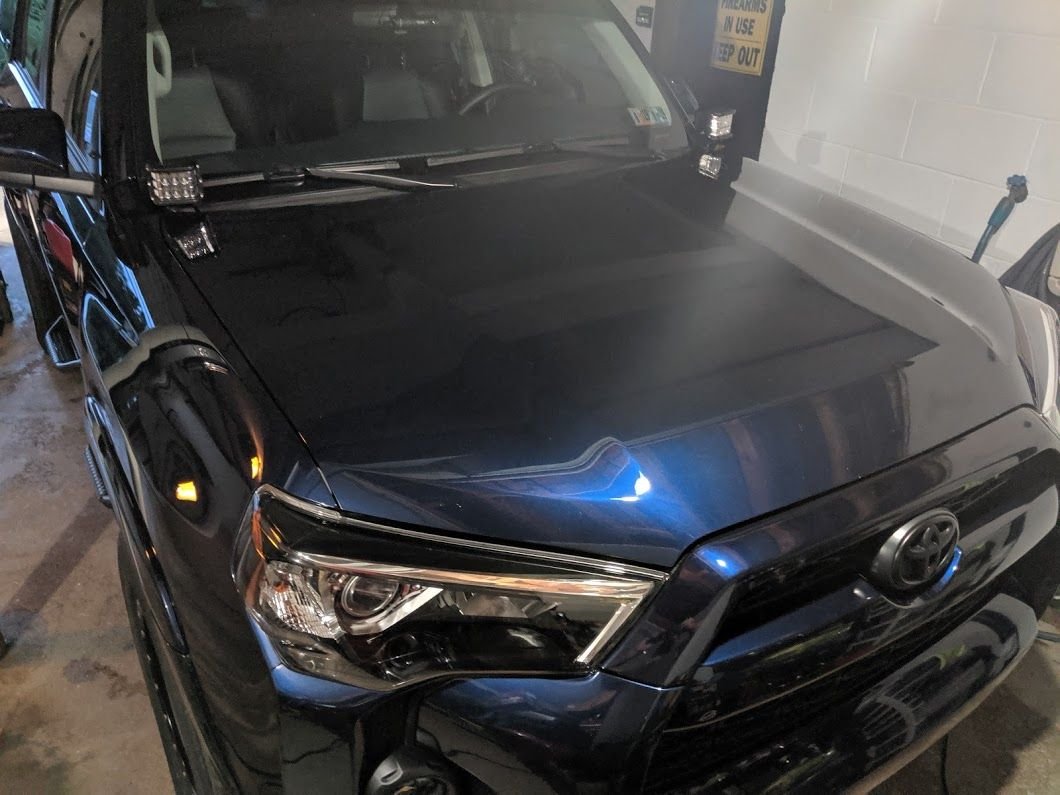
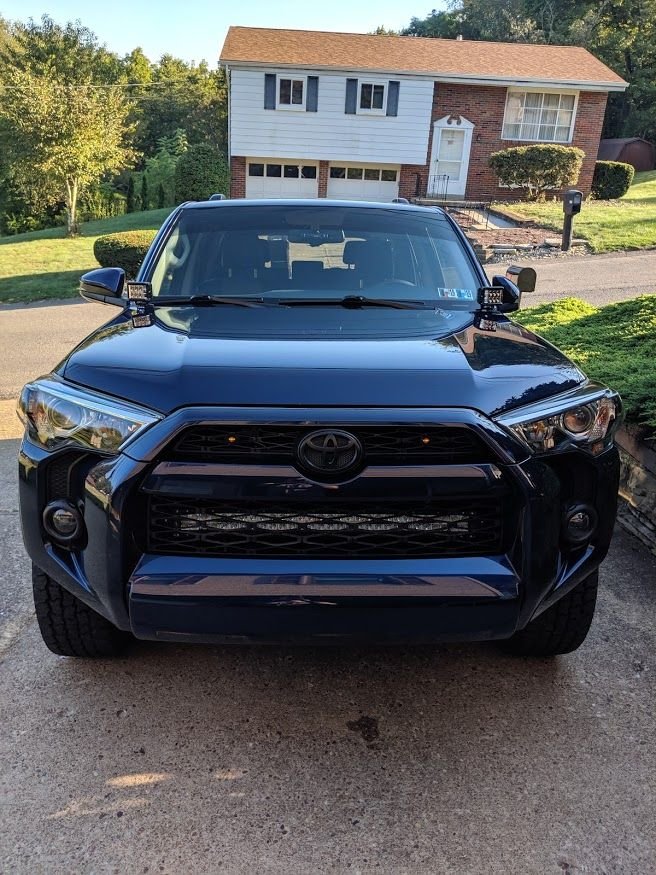
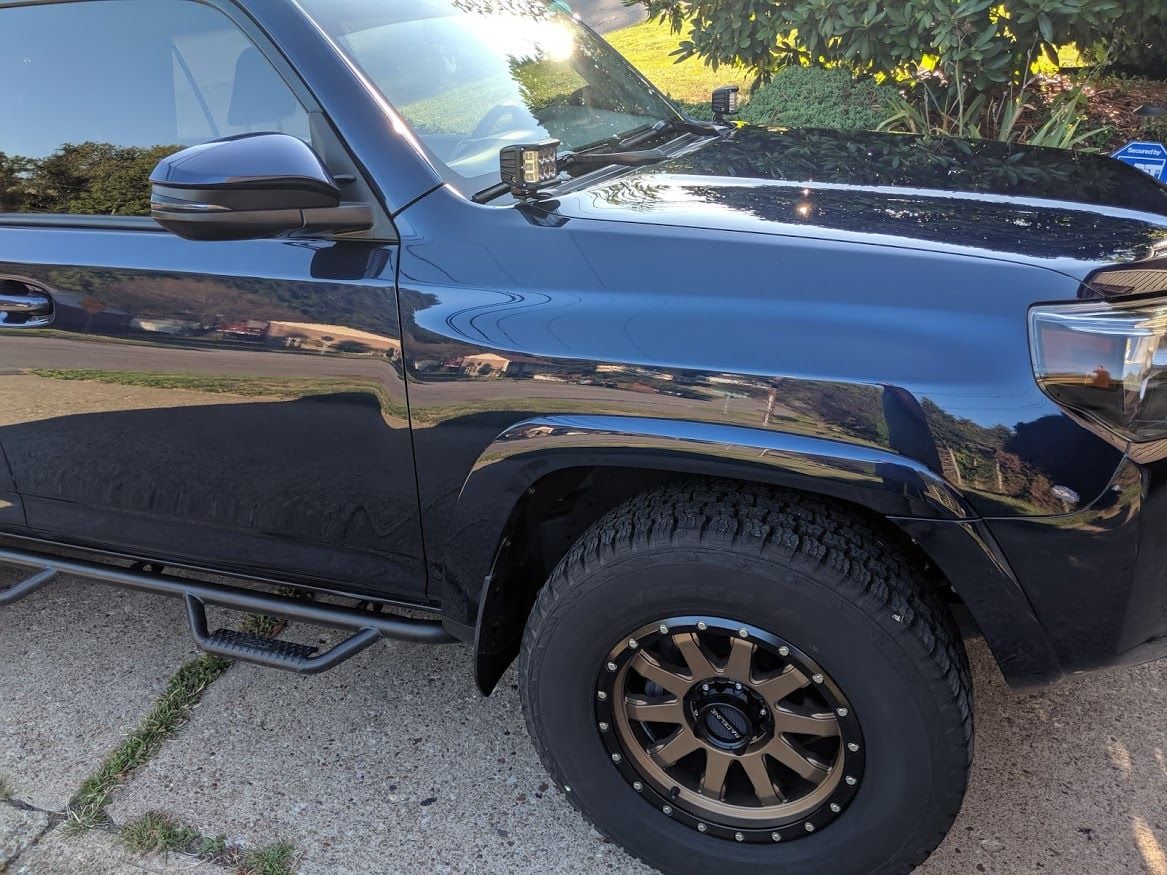
BlackAck's 5th Gen 4Runner thread

Dude URD aFe tune maf cal I heard is one of the best of the 3 pretuned units. So far I had the stock then to went to TRD. After my Y pipe install I just stuck with the TRD tune, Gadget said I don't to change anything for the additional Y. so I'm at 15.6 mpg on 87 octane but I do drive aggressively and cruise 80 on the tollways around Houston.
 
Dude URD aFe tune maf cal I heard is one of the best of the 3 pretuned units. So far I had the stock then to went to TRD. After my Y pipe install I just stuck with the TRD tune, Gadget said I don't to change anything for the additional Y. so I'm at 15.6 mpg on 87 octane but I do drive aggressively and cruise 80 on the tollways around Houston.

Yeah, the URD MAF unit is definitely on my short list of mods, I wasn't sure if it would be worth it when I bought the intake, but after reading up on it I definitely want one
 
Nice setup [MENTION=51033]97BlackAckCL[/MENTION]

I first noticed this intake yesterday when we installed it on a friend's LC200.. in his case, you could also could a front pipe that attaches to the intake box in place where the plug goes. That looked sweet.

I'm considering changing from the TRD intake to this. How is it holding so far? Can you get the front pipe for it as well?
 
Nice setup [MENTION=51033]97BlackAckCL[/MENTION]

I first noticed this intake yesterday when we installed it on a friend's LC200.. in his case, you could also could a front pipe that attaches to the intake box in place where the plug goes. That looked sweet.

I'm considering changing from the TRD intake to this. How is it holding so far? Can you get the front pipe for it as well?

They don't make one for the 4Runner, I looked into trying to use the Tacoma one but it has a different tube and would not work. If they ever come out with one I definitely will buy one, but honestly I'm happy with it the way it is
 
do these really work?

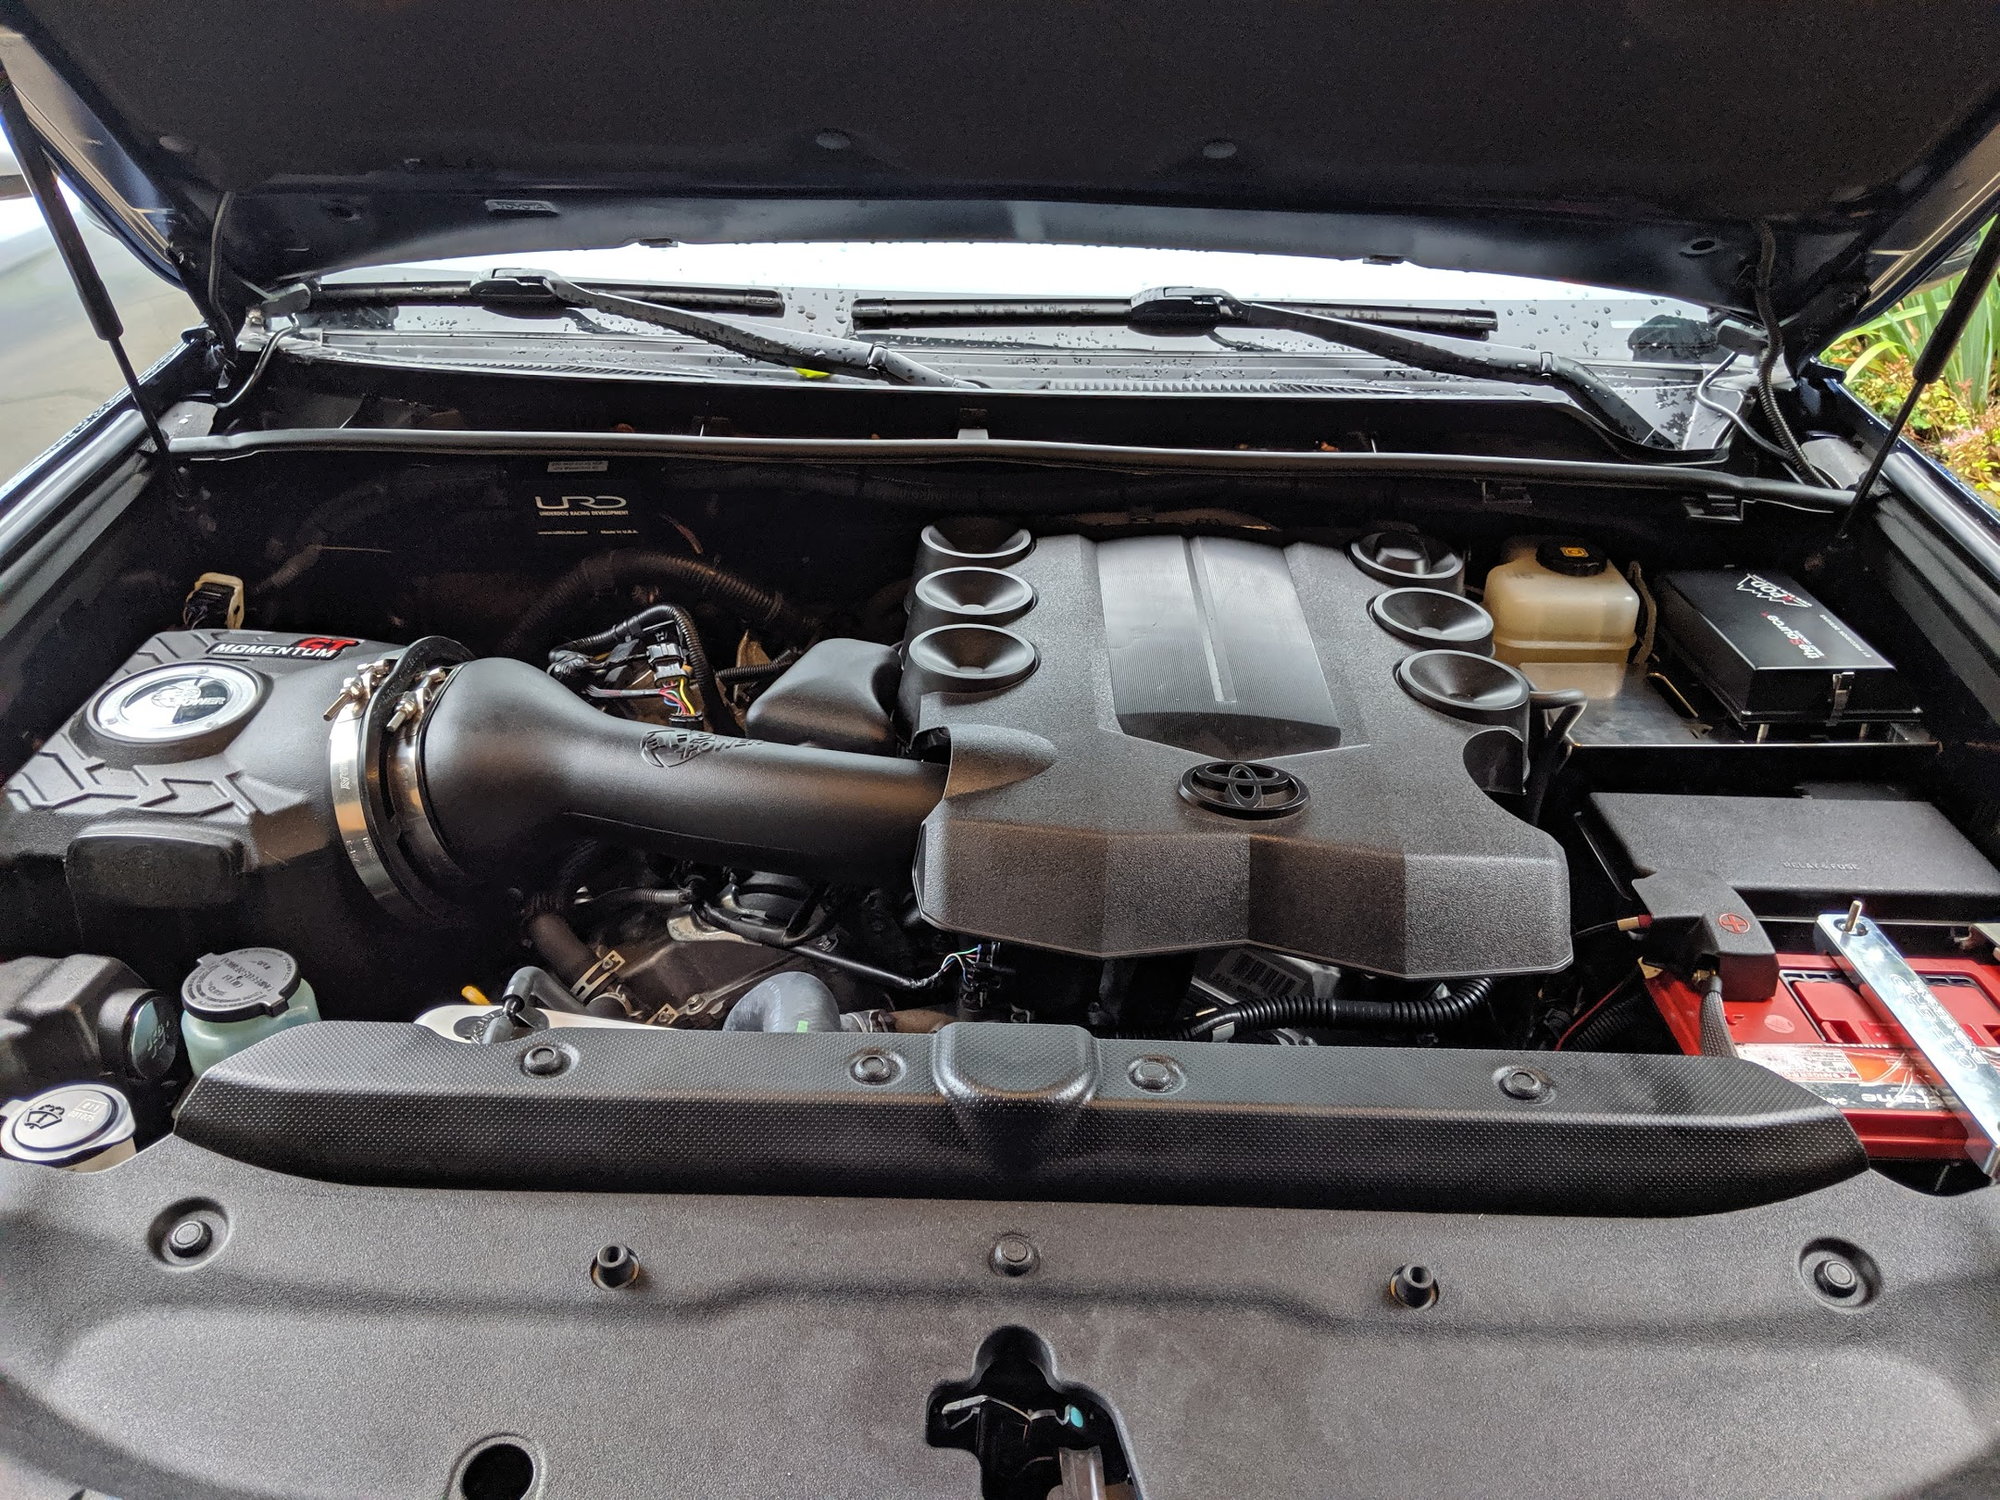
It's an intake, it helps the engine breathe better. It definitely gives a noticeable throttle response. I was happy with my K&N drop in filter, but this intake definitely made a noticeable improvement. Do I think I gained the advertised 29 HP? Hell no, but I definitely feel like it added something if only allowing the engine to breathe better. I'm very happy with it and impressed with the quality of the intake. I also paid 40% off on black friday so I'm probably happier than someone who dropped 500 bucks on it
 
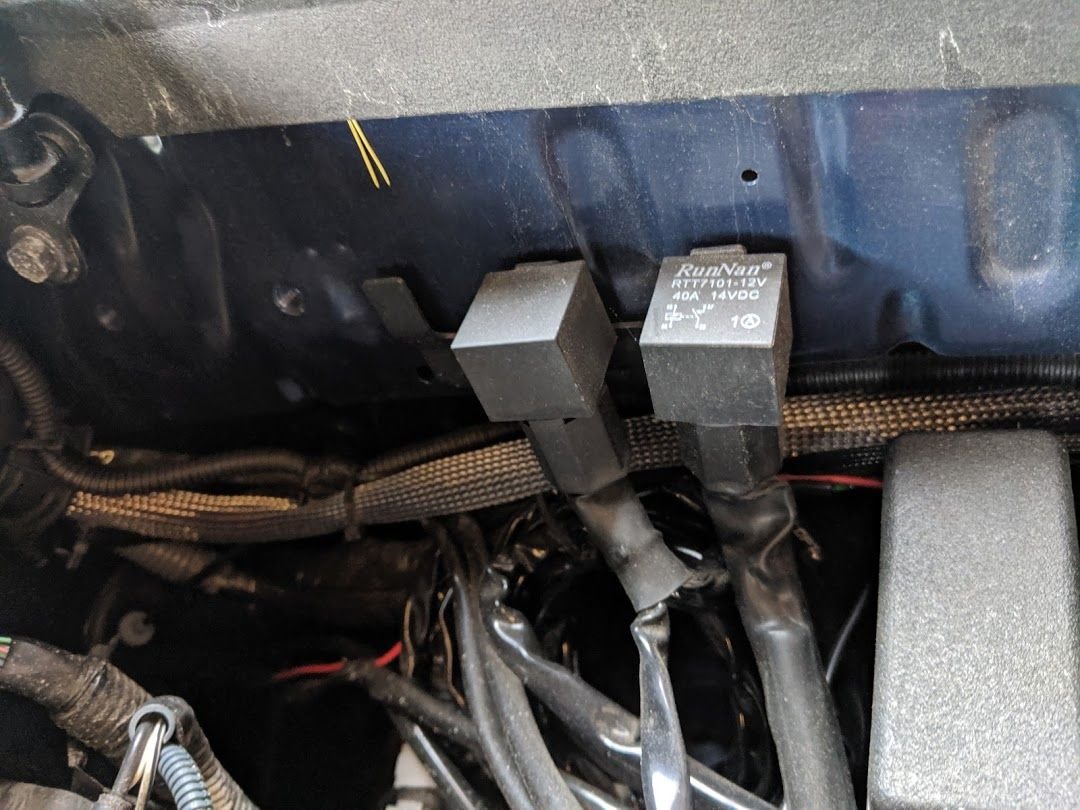
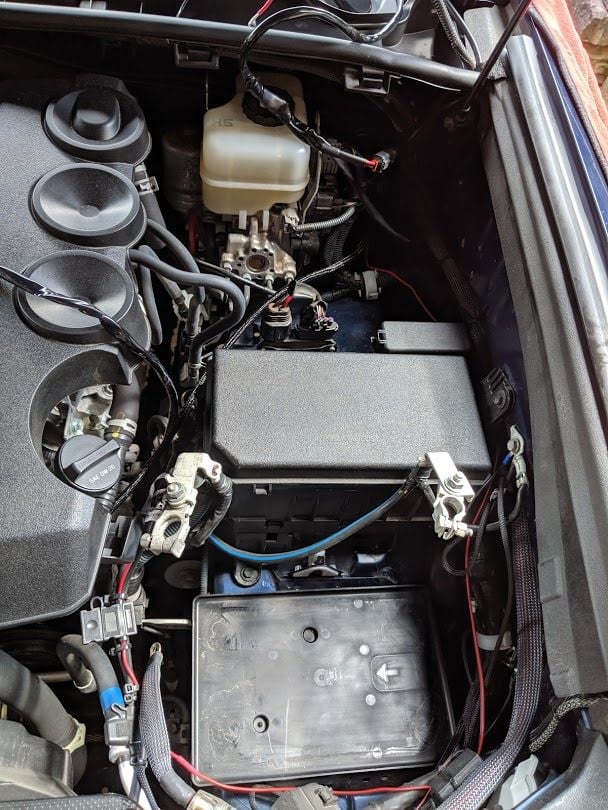
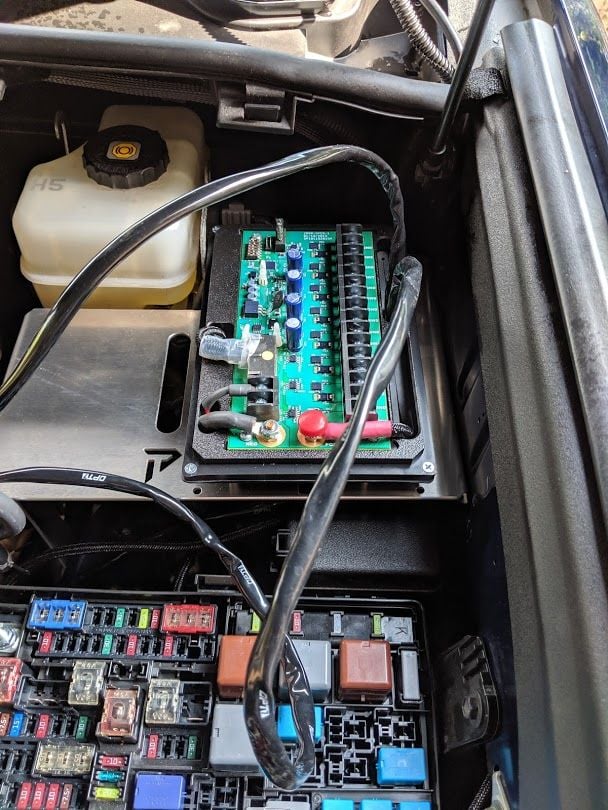
Busy couple days... The heat index was over 100 which didn't help, plus since I can't use my garage I was battling the rain off and on as well. But here's some before pics of the engine bay. Here's the old relays and the relay holder, this is where the sPod will be mounted replacing all of this clutter.

img_20190703_112629_d144489bddbfd93f5c0726d7d18cff4144f01dc3.jpg


Here's the bundles of extra wires coiled up, all of this will be going away. This is one of the main reasons I wanted an sPod, was to clean up and simplify all this mess

img_20190703_112632_f896af41cfb8484bf063634373c59c5bb8586fa4.jpg


And here's the positive battery terminal that has all the accessory wires running off of it.

img_20190703_113024_d375c516d65f54b989568376acb448be38d66407.jpg


After a lot of prep work, here is some (not all) of the wires and relays that I removed in preparation for the sPod unit, the picture doesn't do this pile justice

img_20190703_115750_4159cf15a48d3f249bcebe5d0dcd607e715cbfc4.jpg


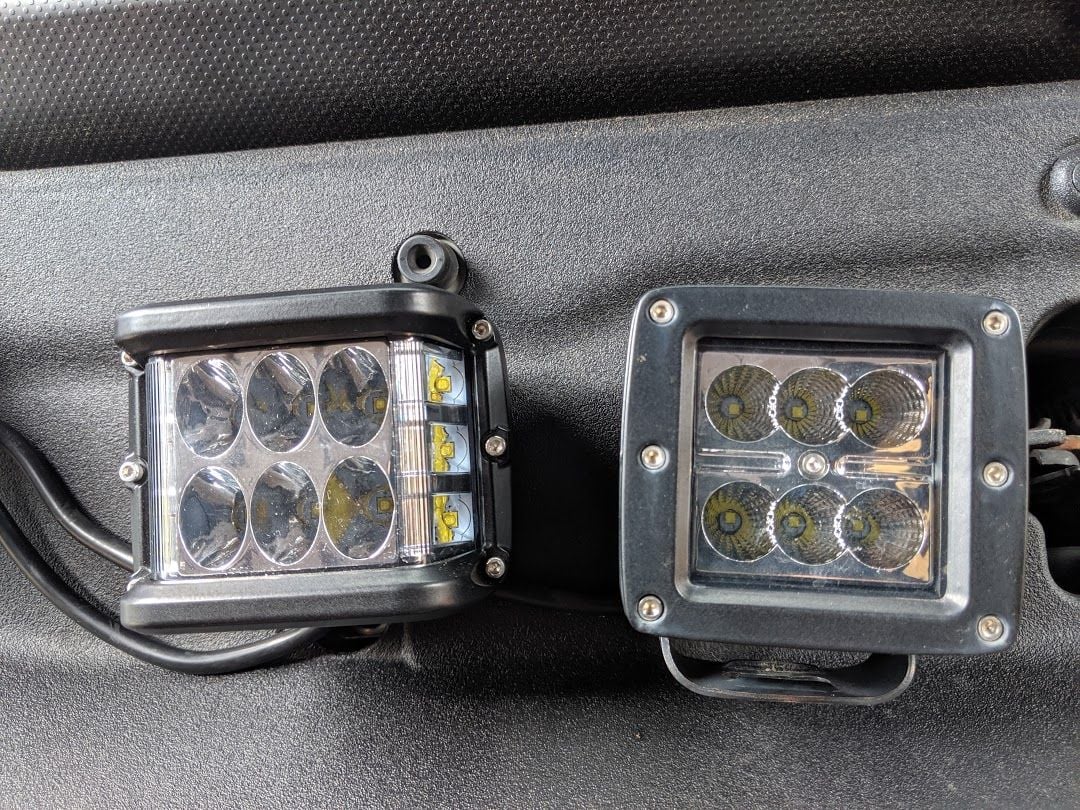
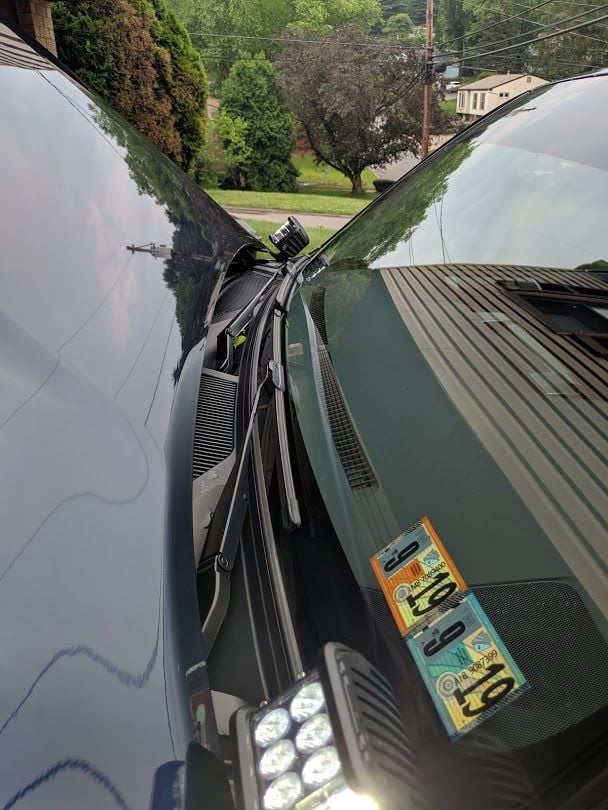
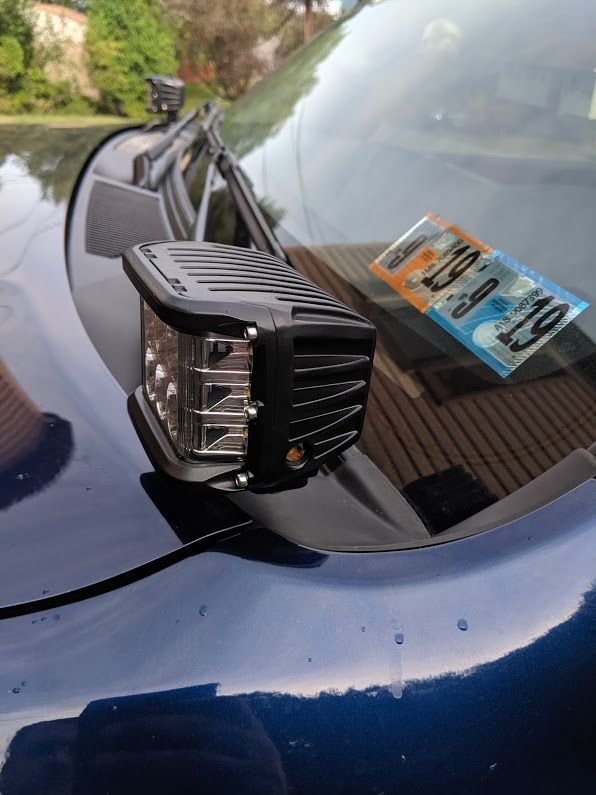
Another piece of this install was to swap out the old rusty (yes rust har har) Chinese 6 LED pods that I was running on the hood. I replaced them with a brand new set of side shooter LED pods

img_20190703_122654_dd3d6095eb64eca4fb011010be7c3714c7110018.jpg


And here's the first LED pod installed

img_20190703_124502_fdf816429bbabbc962b4bed662925677487aa143.jpg


And here's a couple of side by sides of the old vs the new LED pods, I have had these sitting around for months and figured they would go in when I had to rewire everything anyway.

img_20190703_124552_f71893b54898dbe5cbf0e2f1d7c5b74cada153af.jpg


Another side by side, I like how these sit lower and are a bit lower profile than the last set.

img_20190703_124556_b8f2491960261d4347a64fdde22882f2cce91326.jpg


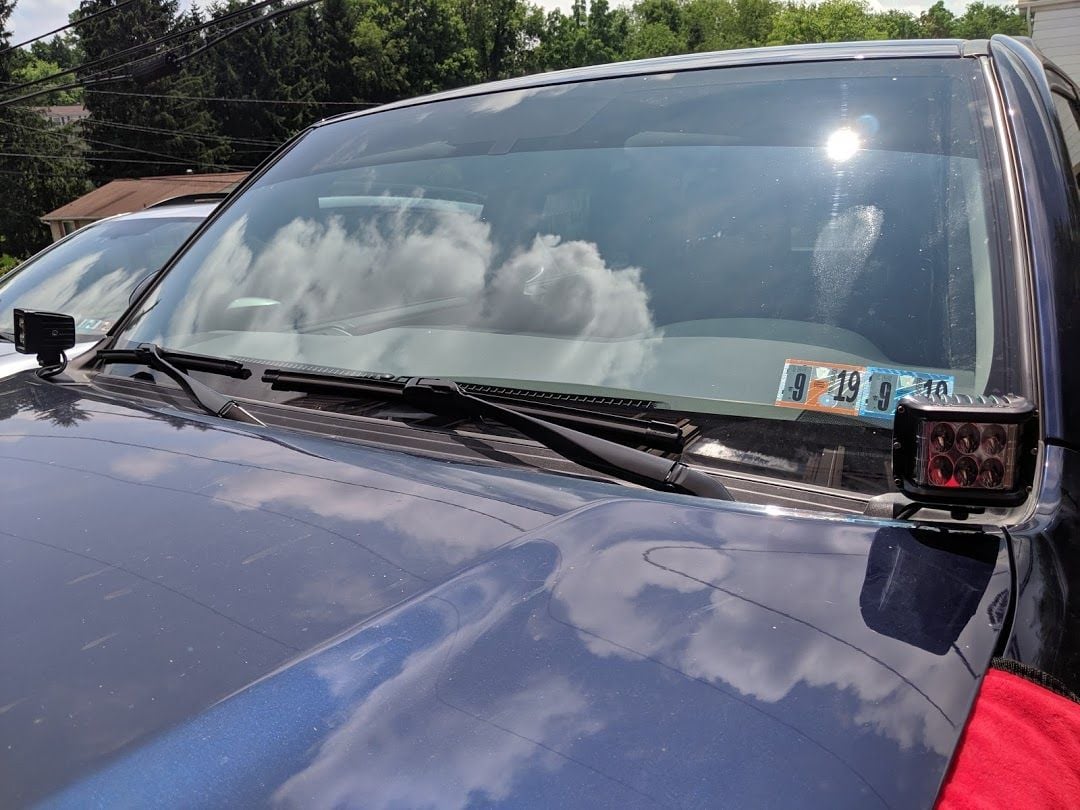
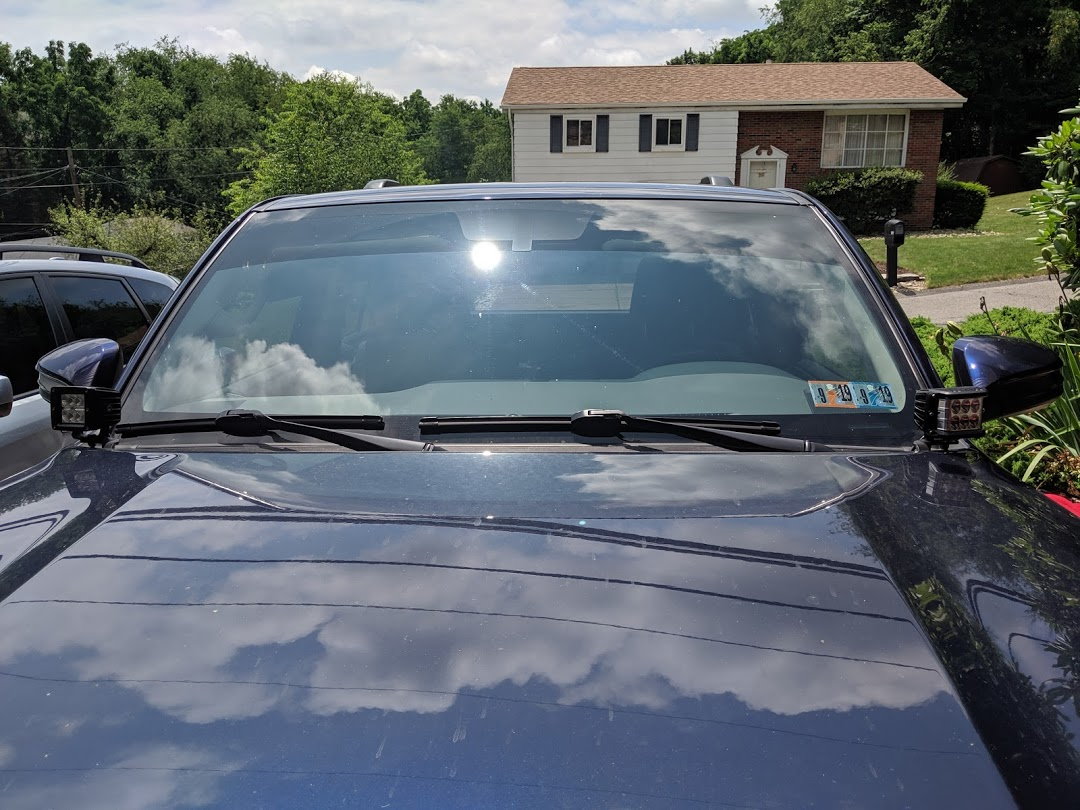
And here is both pods installed, overall I love the look and I love how they offer a wider coverage of light which is one of the main reasons I bought them.

img_20190703_184451_d657d09e857aeb13f486d44e2918e7a550a4119e.jpg


Another nice benefit of these pods was that they came with waterproof plug connectors, so I definitely wanted to use them.

img_20190703_183119_1497266e0728e7ce61c2c144d1b665a50280fbf2.jpg


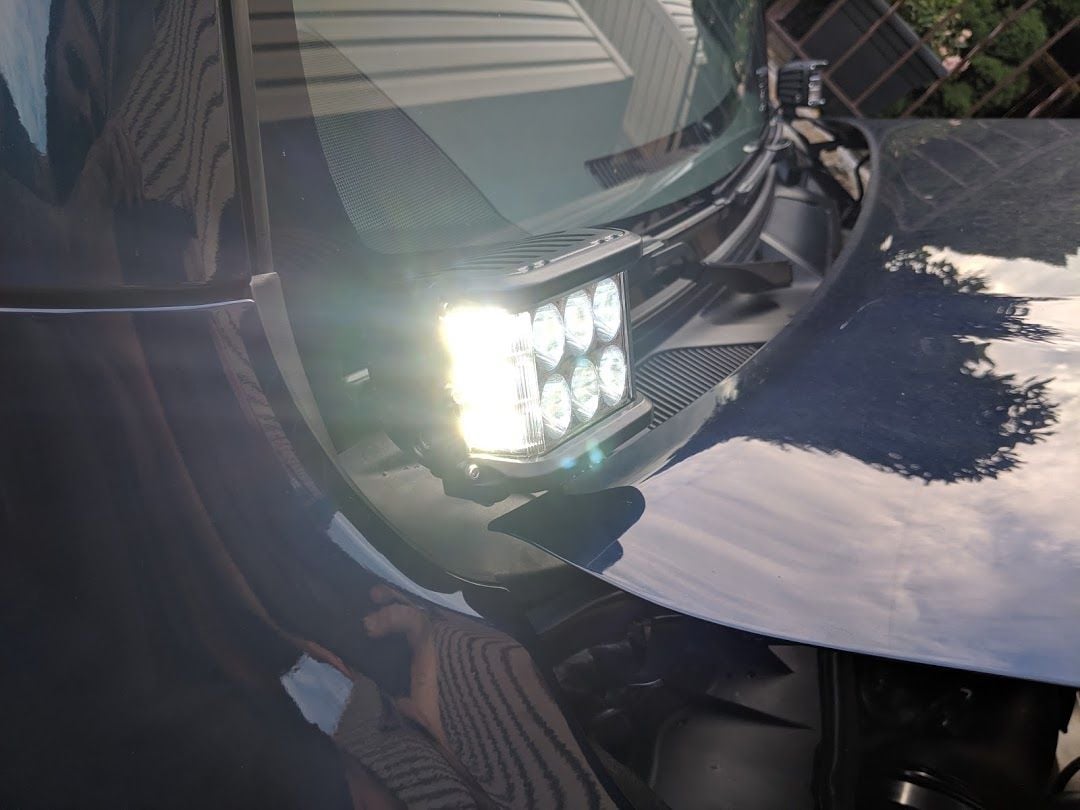
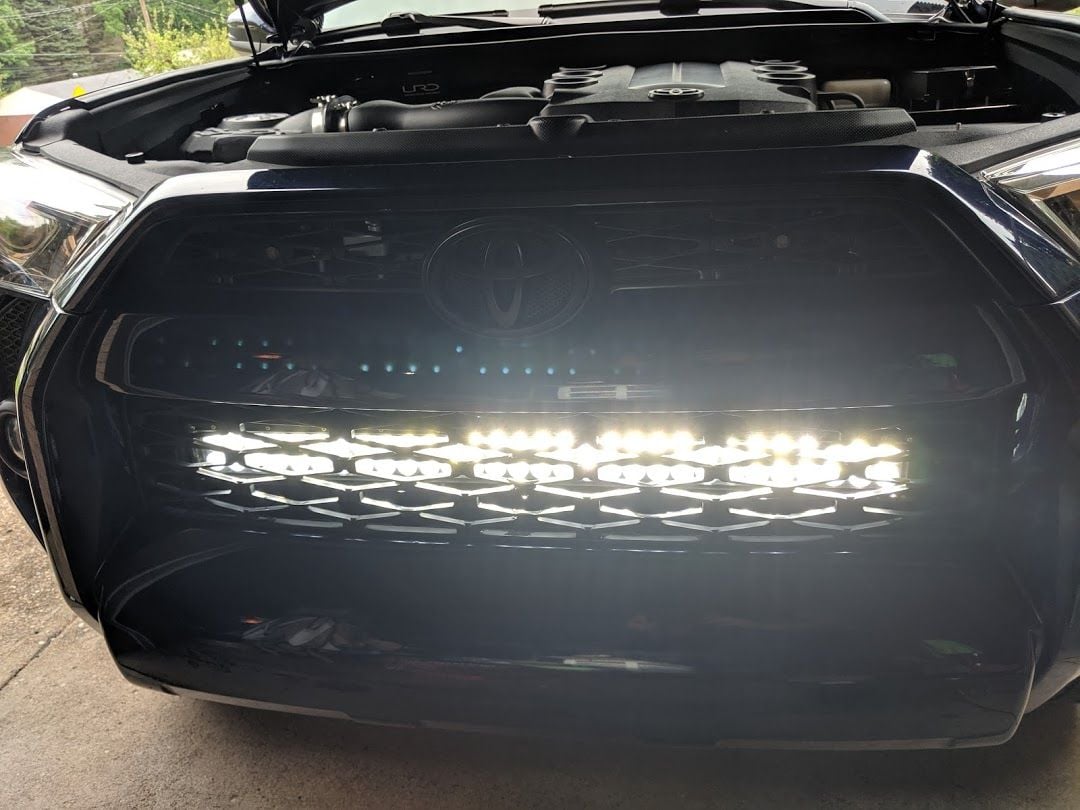
And of course I had to test out my pods and wiring, this was ran just off the battery, but you can see the side shooting LEDs as well which cover way more of the side of the road.

img_20190703_183805_9995be4fcd6b91090cd605bad179edb6c4aa93f3.jpg


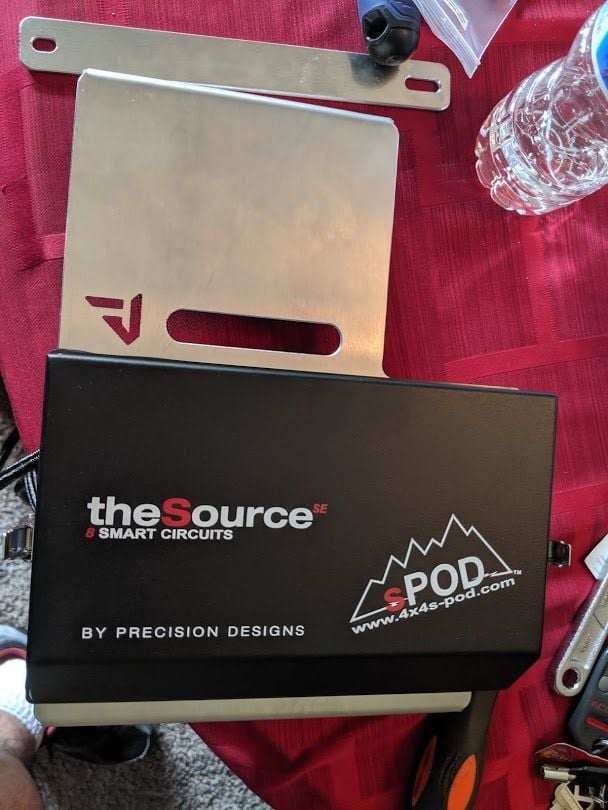
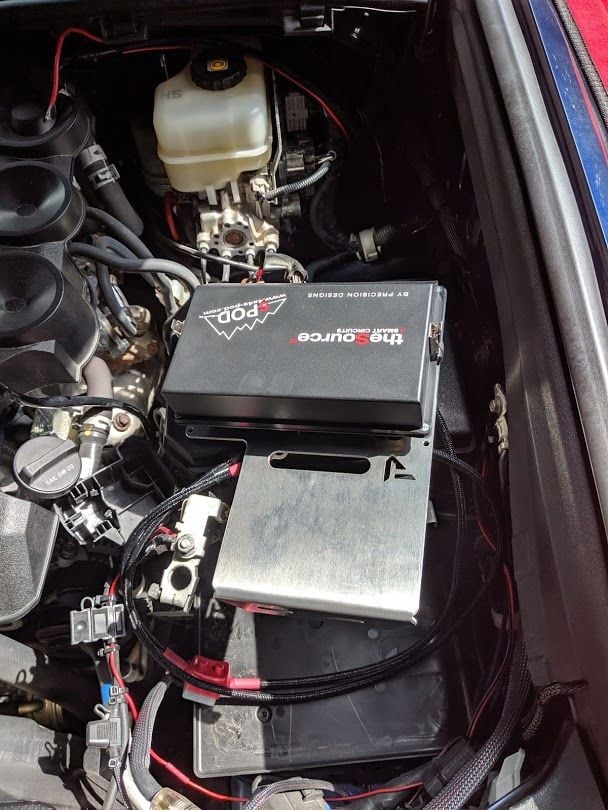
While it was raining I also got the sPod out and mounted to the PowerTray and ready for install.

img_20190703_163846_95a9aa2b42540f11c1a3b5fce816798f9813768c.jpg


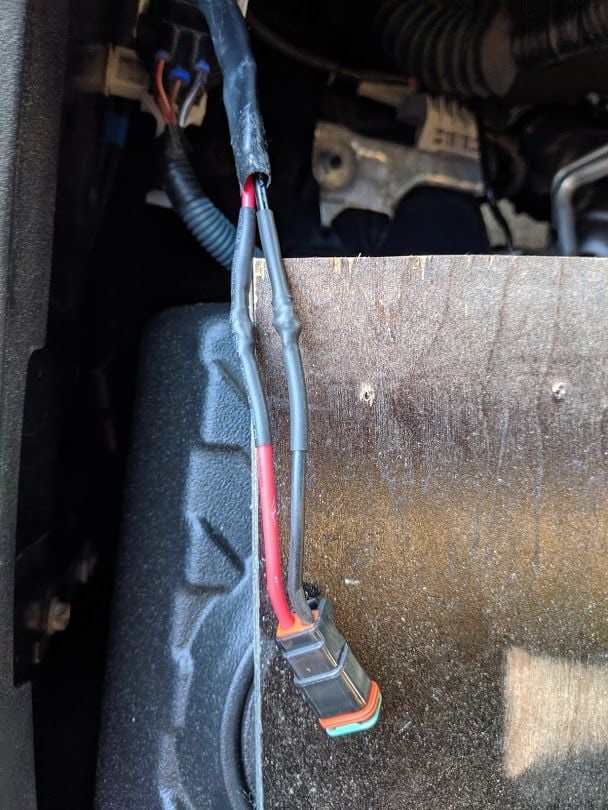
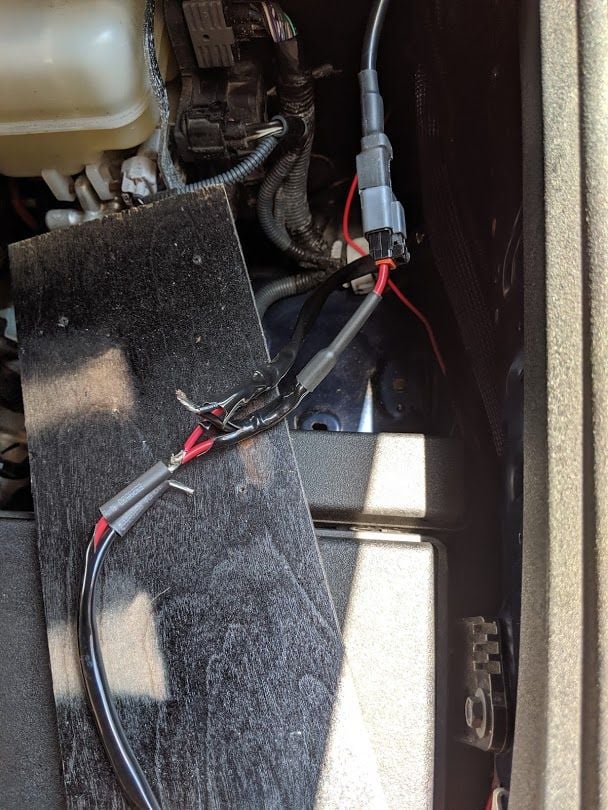
All that work was done on the third, I had hoped to work on the second and third, however with the heat index over 100 on the second I didn't do any work until the third. On the third I think I sweated through 3 shirts. GF took me out to dinner for my bday on the third, so I picked back up on the 4th, nice to have another day off. First task was to finish the wiring and splicing the 2 LED pod wires together.

img_20190704_140809_fac0efd31137faef838633672b350ce9e3f51131.jpg


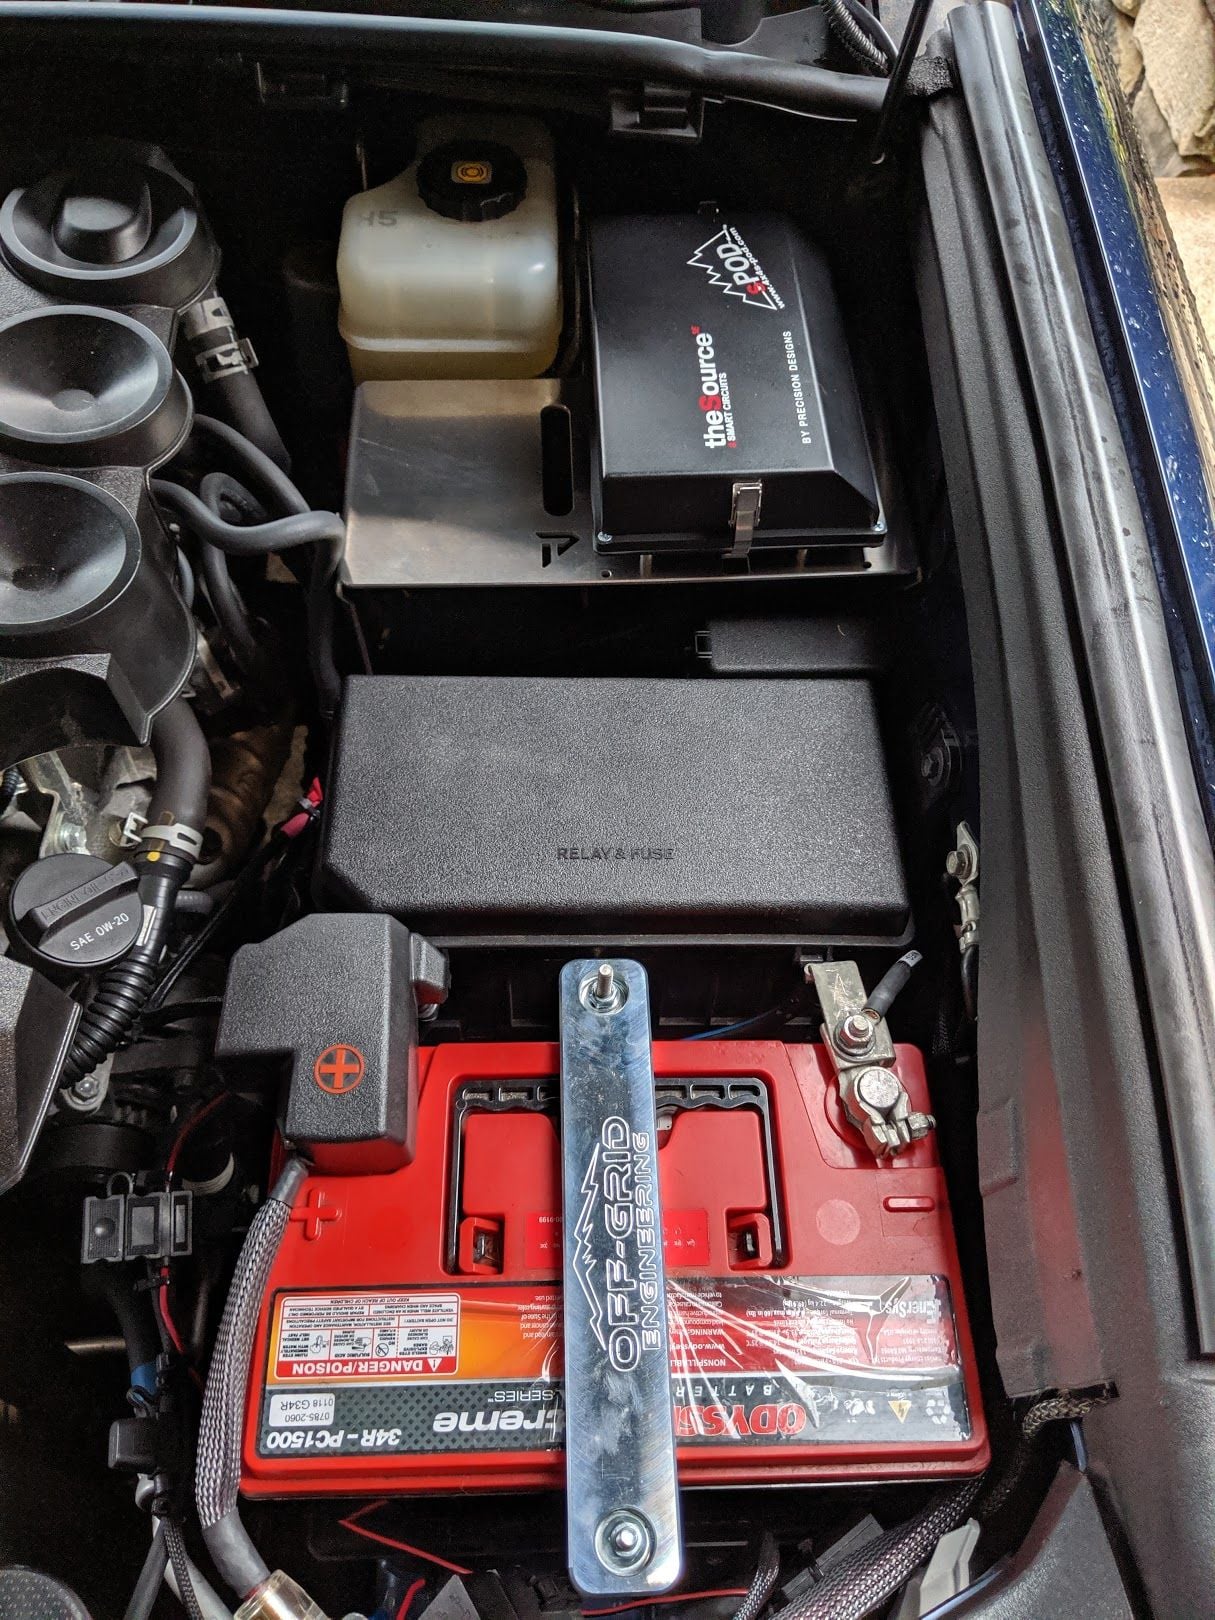
In order to get the PowerTray installed and get all my wires routed correctly I had to remove the battery to have more room to work with.

img_20190704_153623_4ccd12f27d228f1b7377701b20cc2dacc46fbc63.jpg


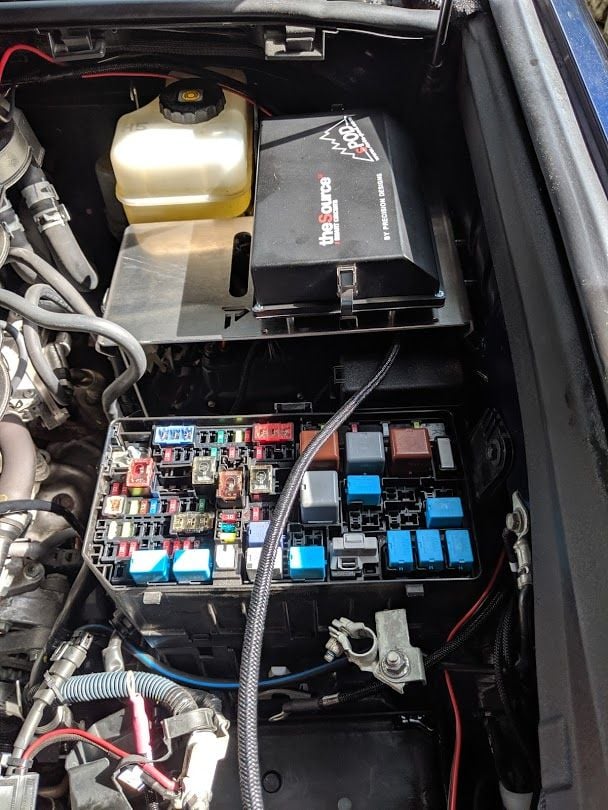
I also had to remove the fuse box lid in order to get more room to bolt down the PowerTray. Here it is, first time inside the car. The nice thing about this solution is it's an alternative to drilling and mounting to the lid of the fuse box and a nice clean solution using the empty space where I had all the relays and wires.

img_20190704_155534_25d30db2b44d5be802f2cc03849b4adf3003bc10.jpg


I was able to get the PowerTray mounted and bolted in with all 3 bolts including the lower support leg

img_20190704_163909_58333b34fe1effdaccf4c08c92b51a0dfad9f0fb.jpg


Since I had the fuse box uncovered I had to close the hood and wait out the rain storms again... You can see all the water on the hood cowling. I actually toweled off the hood and fenders before opening the hood in order to not drip water on the fuse box or engine bay.

img_20190704_164648_2d6d440073c2227e970efe16aade695a134c25c5.jpg


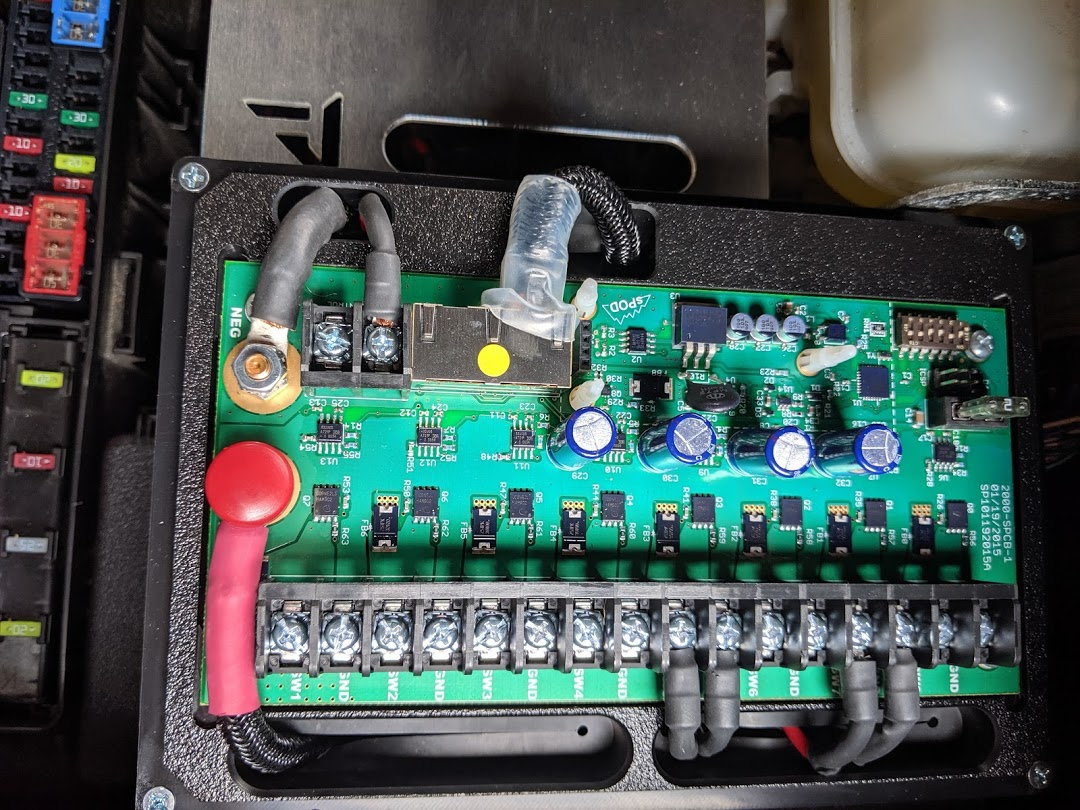
After I got all the bolts tightened, which was not easy with my big ass hands, I started cutting and fishing all the wires through to the sPod unit. It was a lot of frustrating work up to this point, but then I started to see the benefit that I expected with the nice clean install and wire management. Here I fished the wires for the LED bar and LED pods up into the sPod, I had an extra 3 ft of slack or so on each wire that was then cut down.

img_20190704_173701_d989edfade80ee5af3b7ab25a913aac44f2f80b2.jpg


I also will be using the 1 and 2 switches with the ignition control, so I cut my amber raptor light wire coming from the cabin and spliced it in for the ignition control. Here you can see the 2 LED wires all cut to length and installed to their switch positions, and the Cat5 cable installed as well.

img_20190704_174936_d76deb17267373d517bbb43c2a4c3b70fb99dd38.jpg


And here's the unit all buttoned up for the time being. We had to go to my soon to be in-laws house for dinner so I had to wrap up for the night at this point.

img_20190704_175003_0abef872374cfd3437f23f4189deebf5d22375bb.jpg


When we got home, I cleaned up more wiring in the dash and reinstalled the battery. I didn't take any pics since it was dark and getting late, but I will post more pics once I get more things wrapped up. So close, but I'm already really happy with the progress. Looking forward to adding more accessories to this thing as well. It was a long hot 2 days, but I'm excited to have so much progress

 
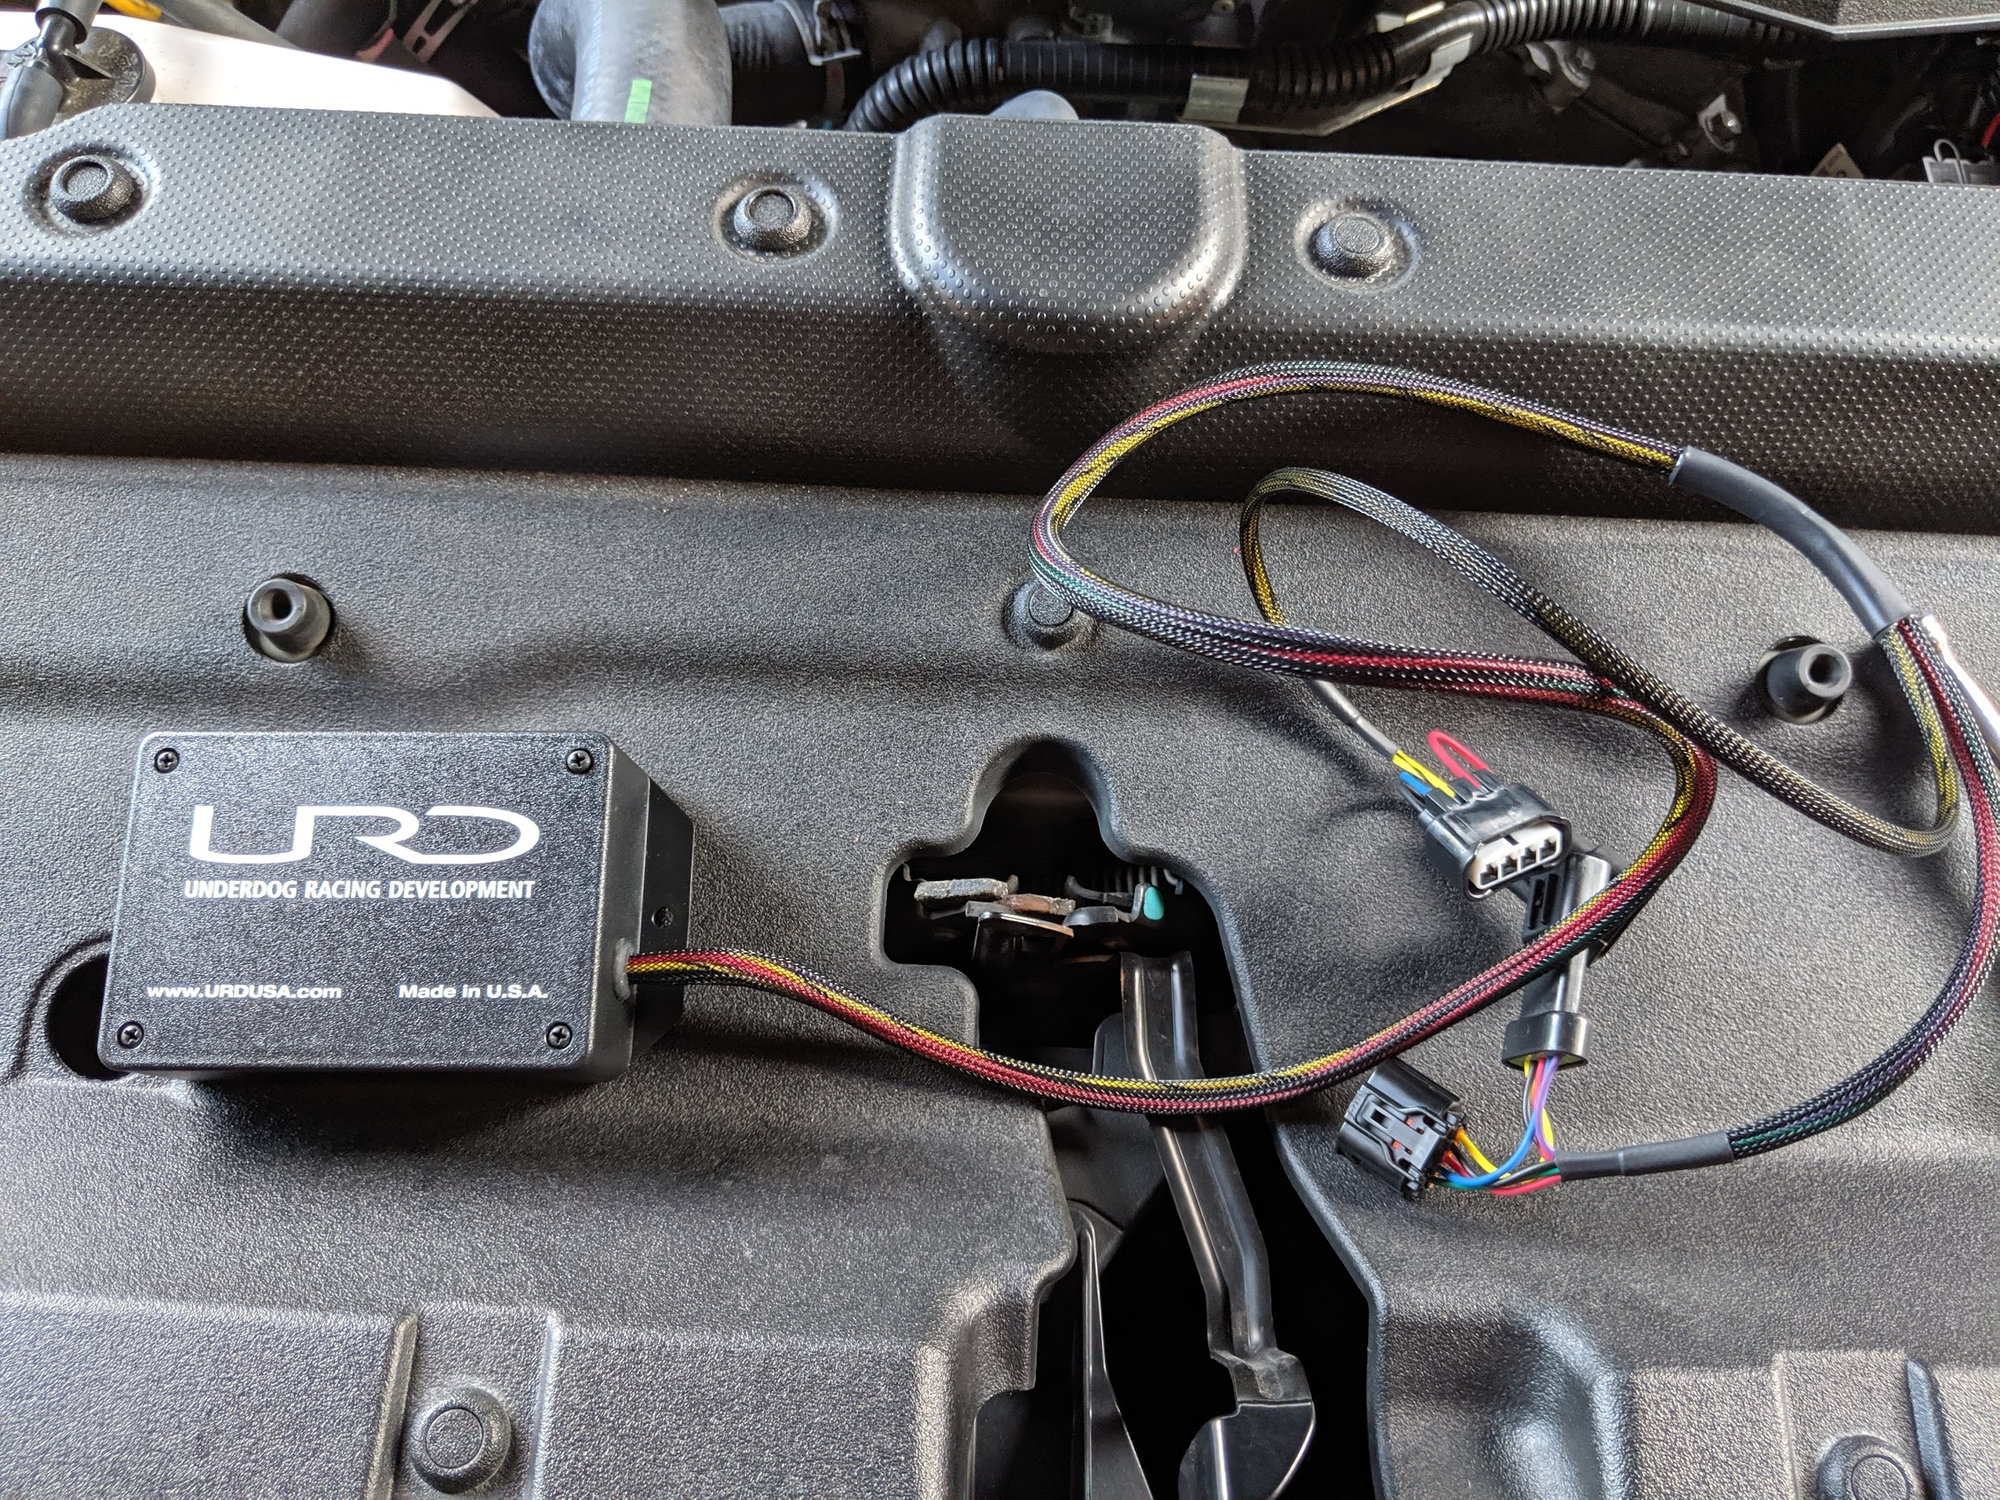
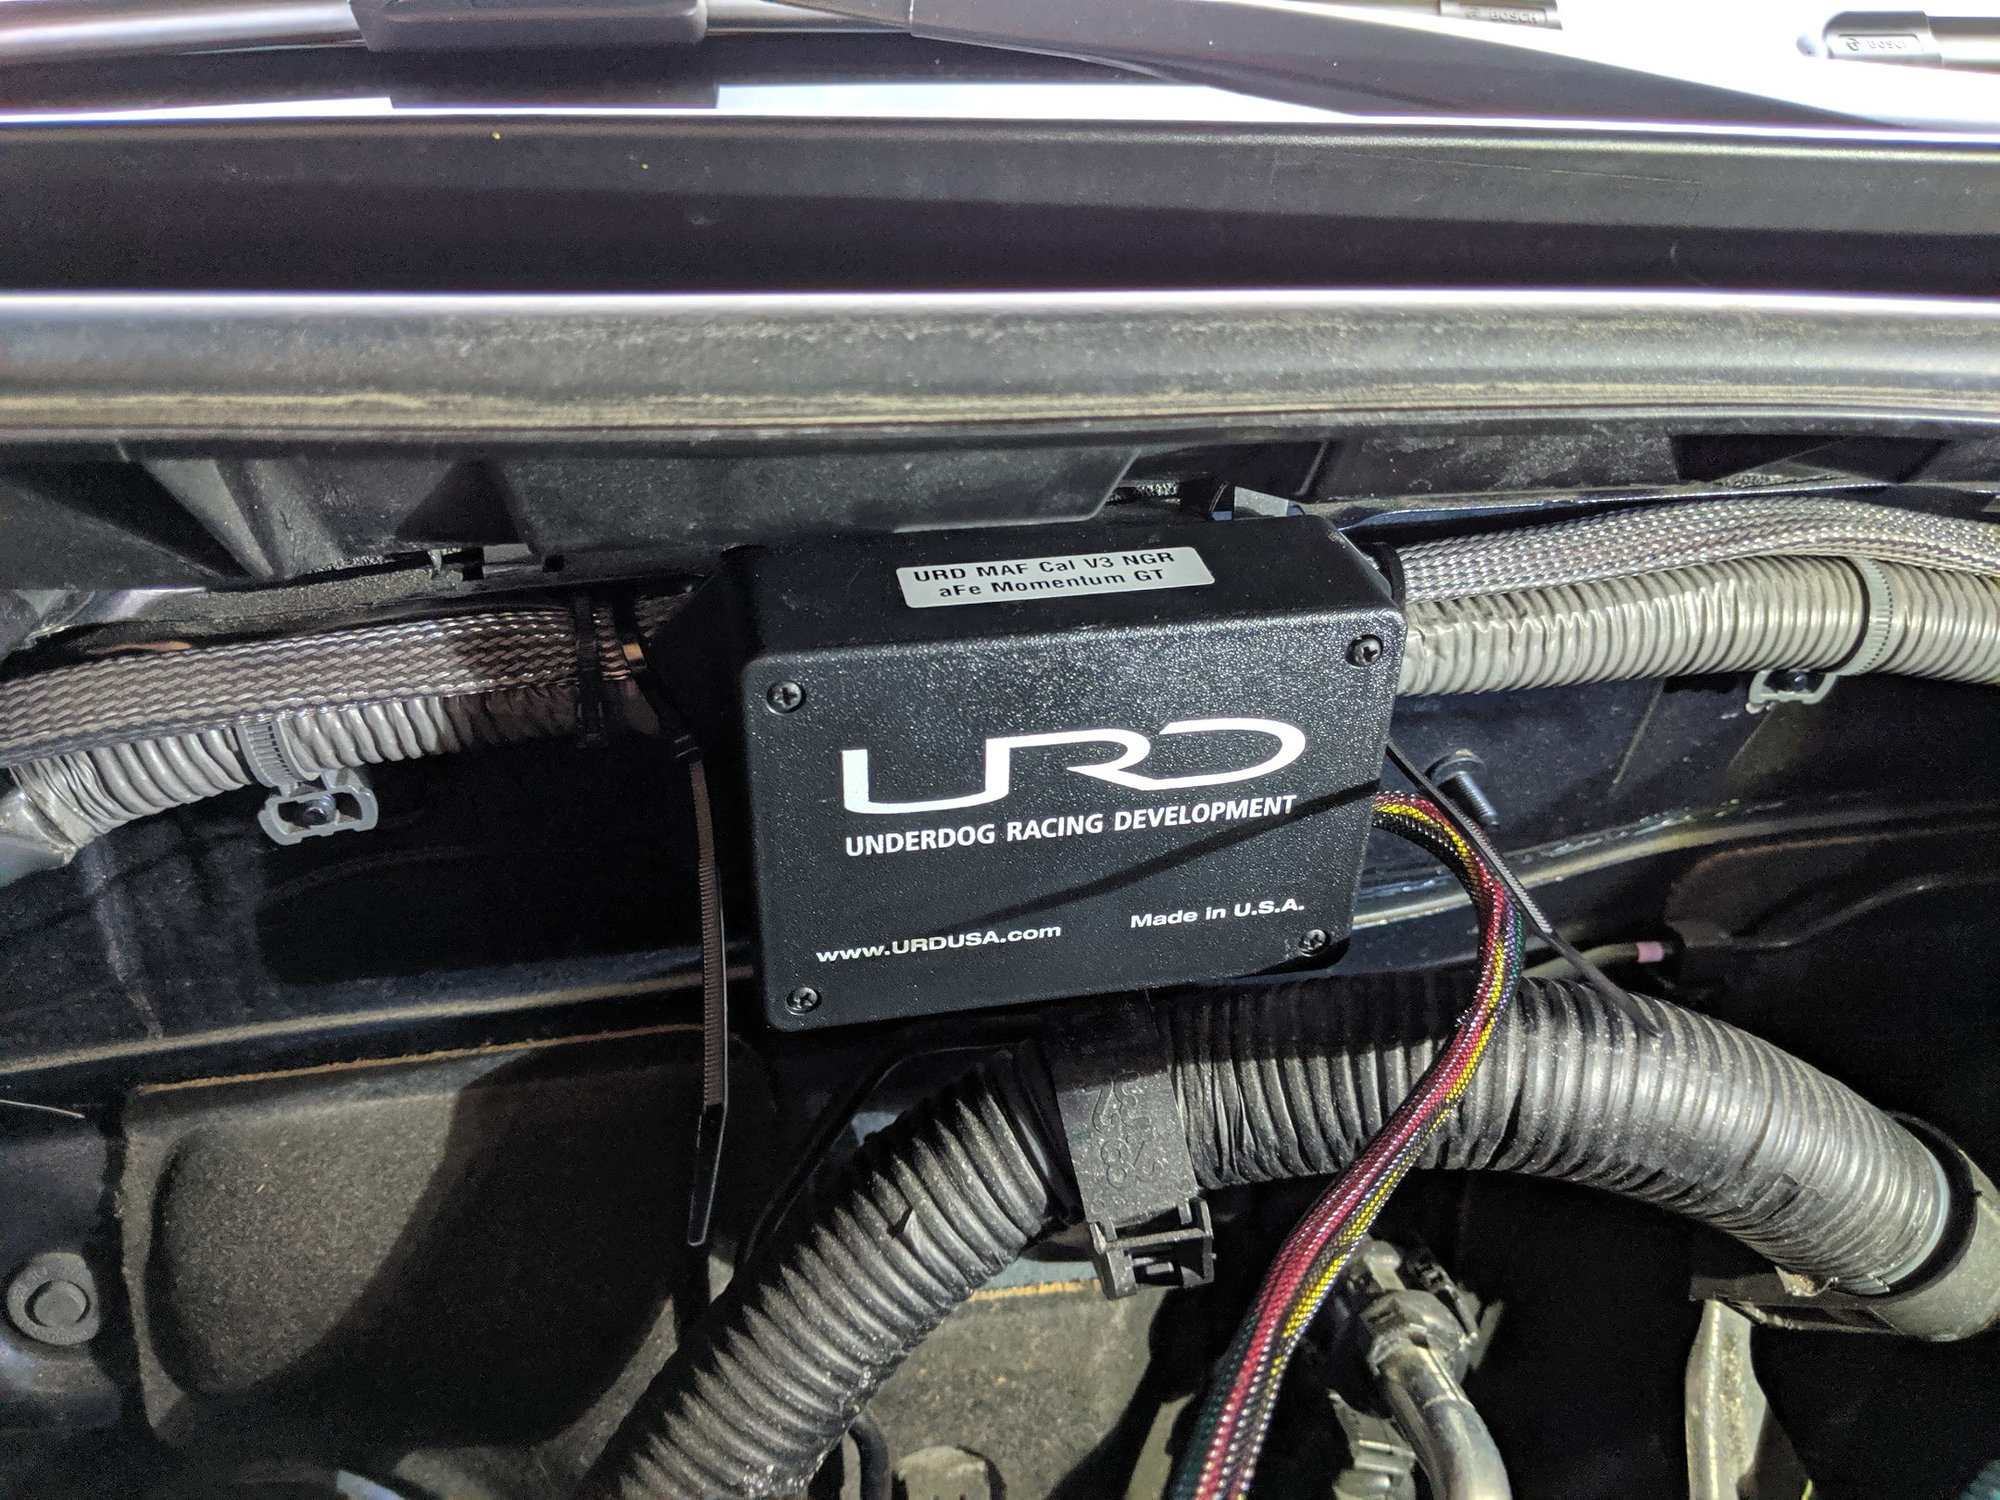
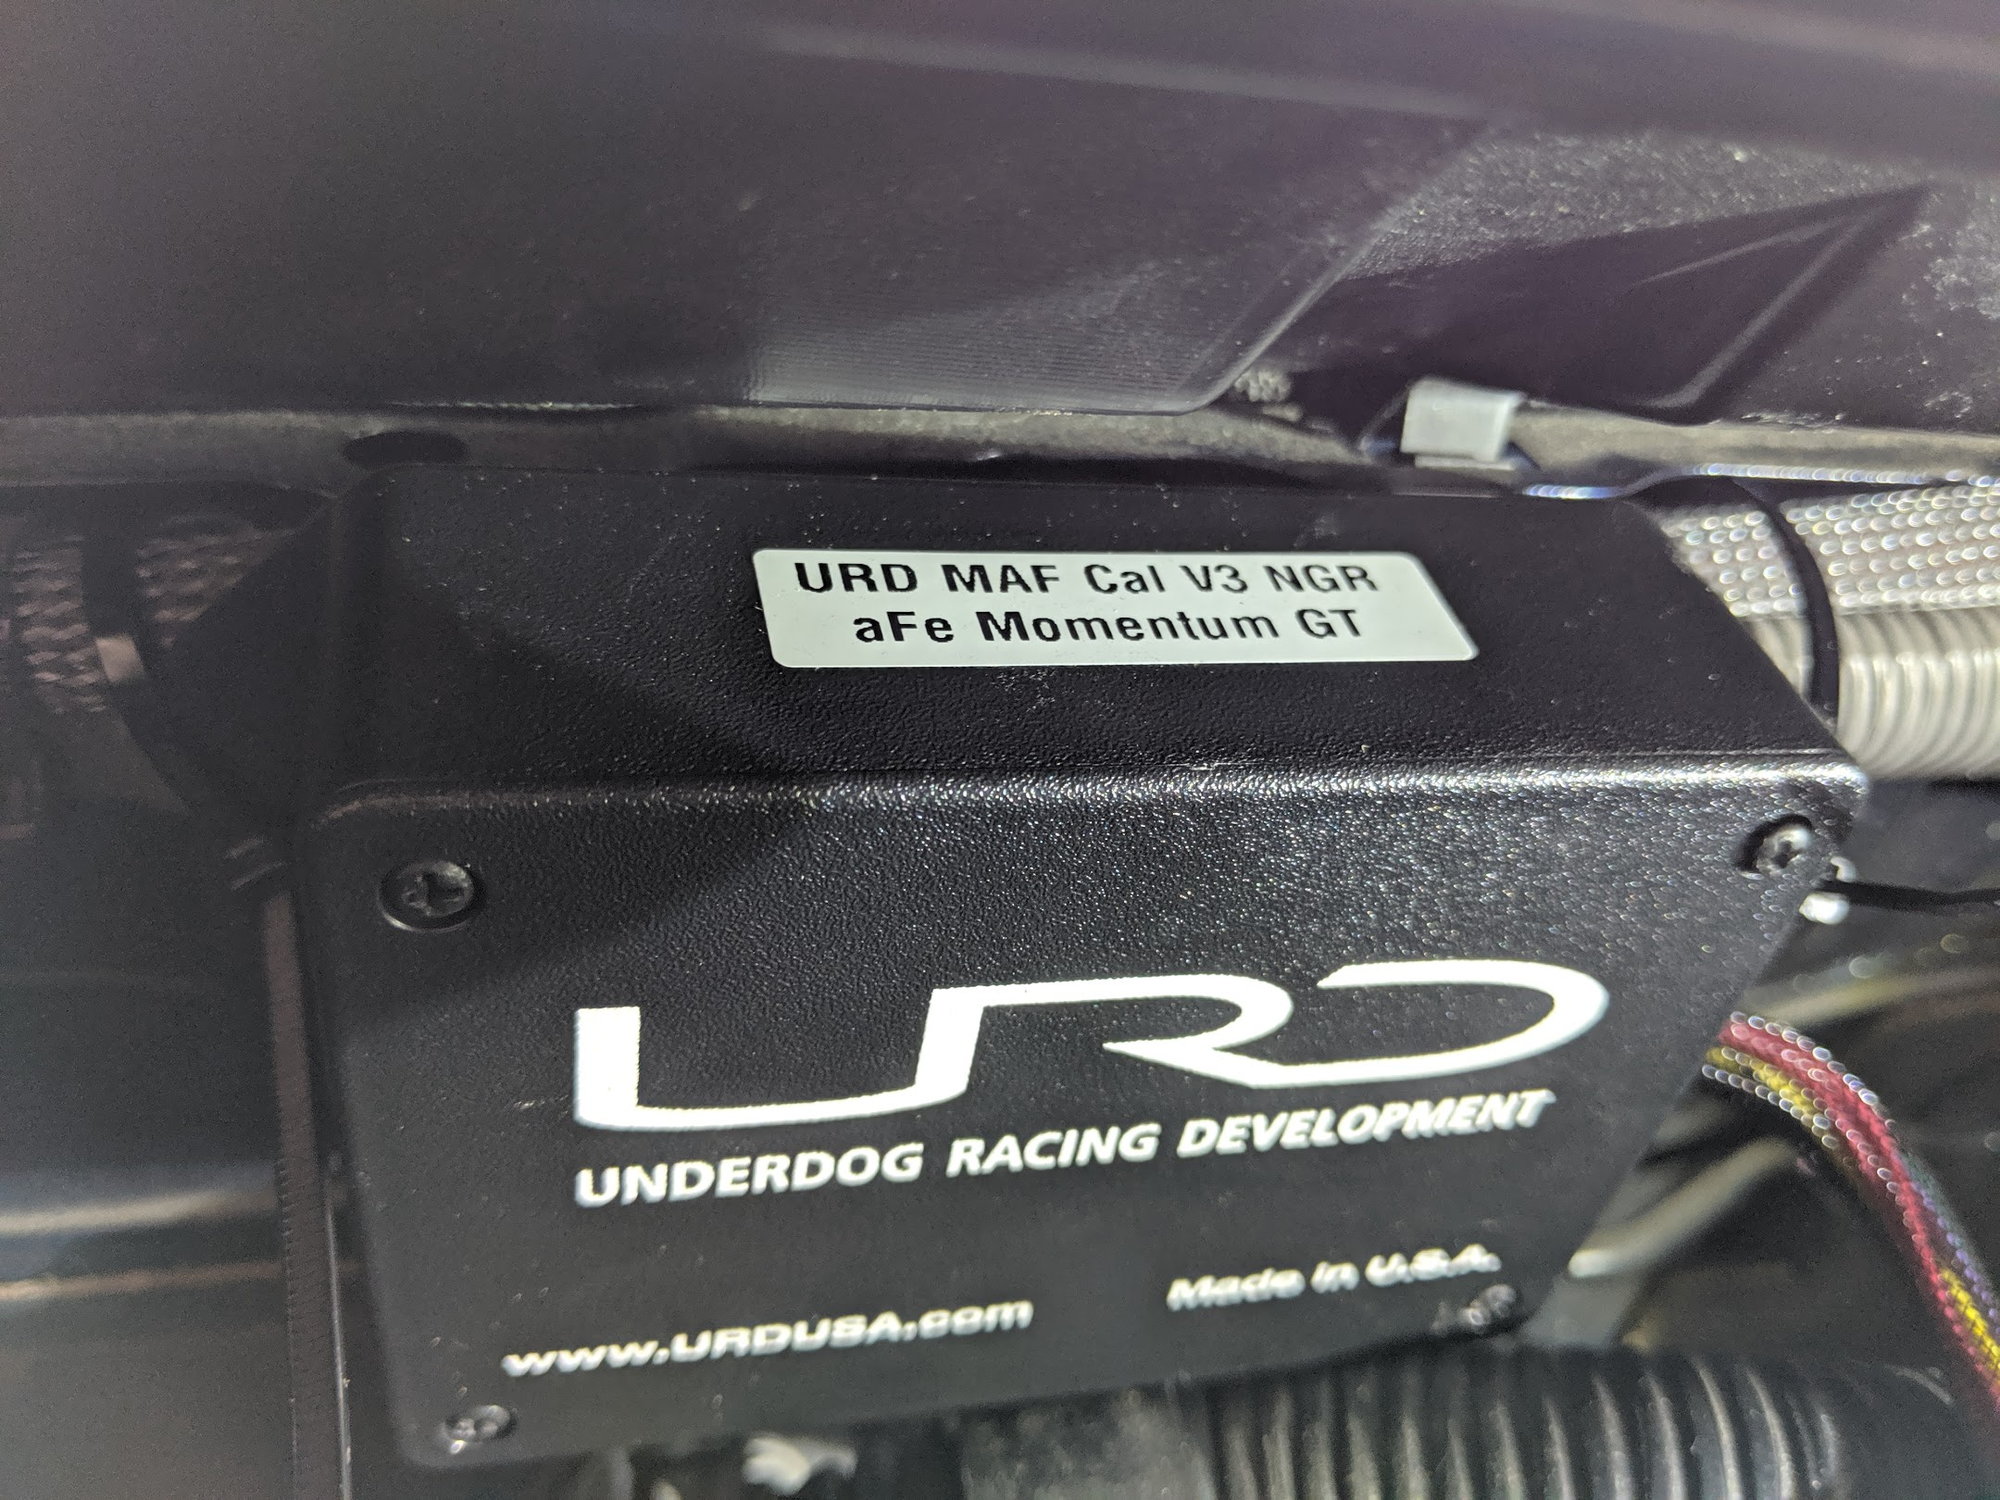
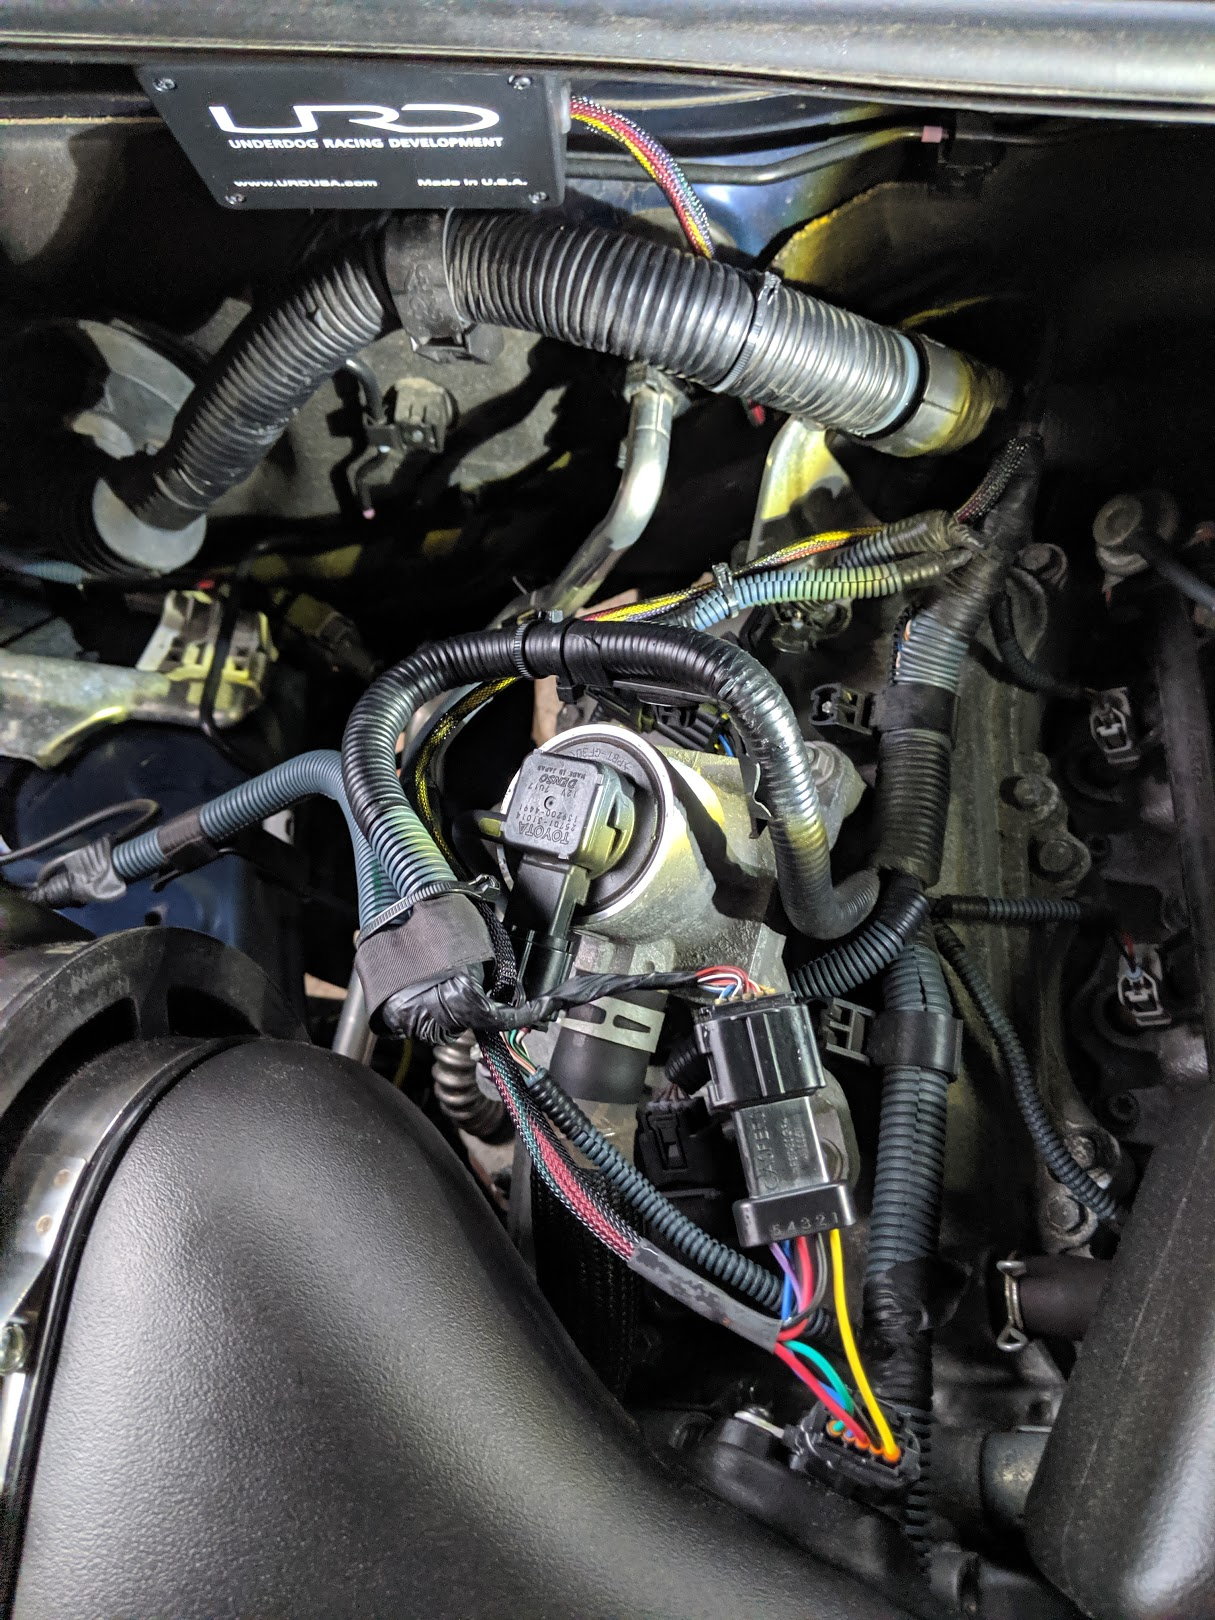
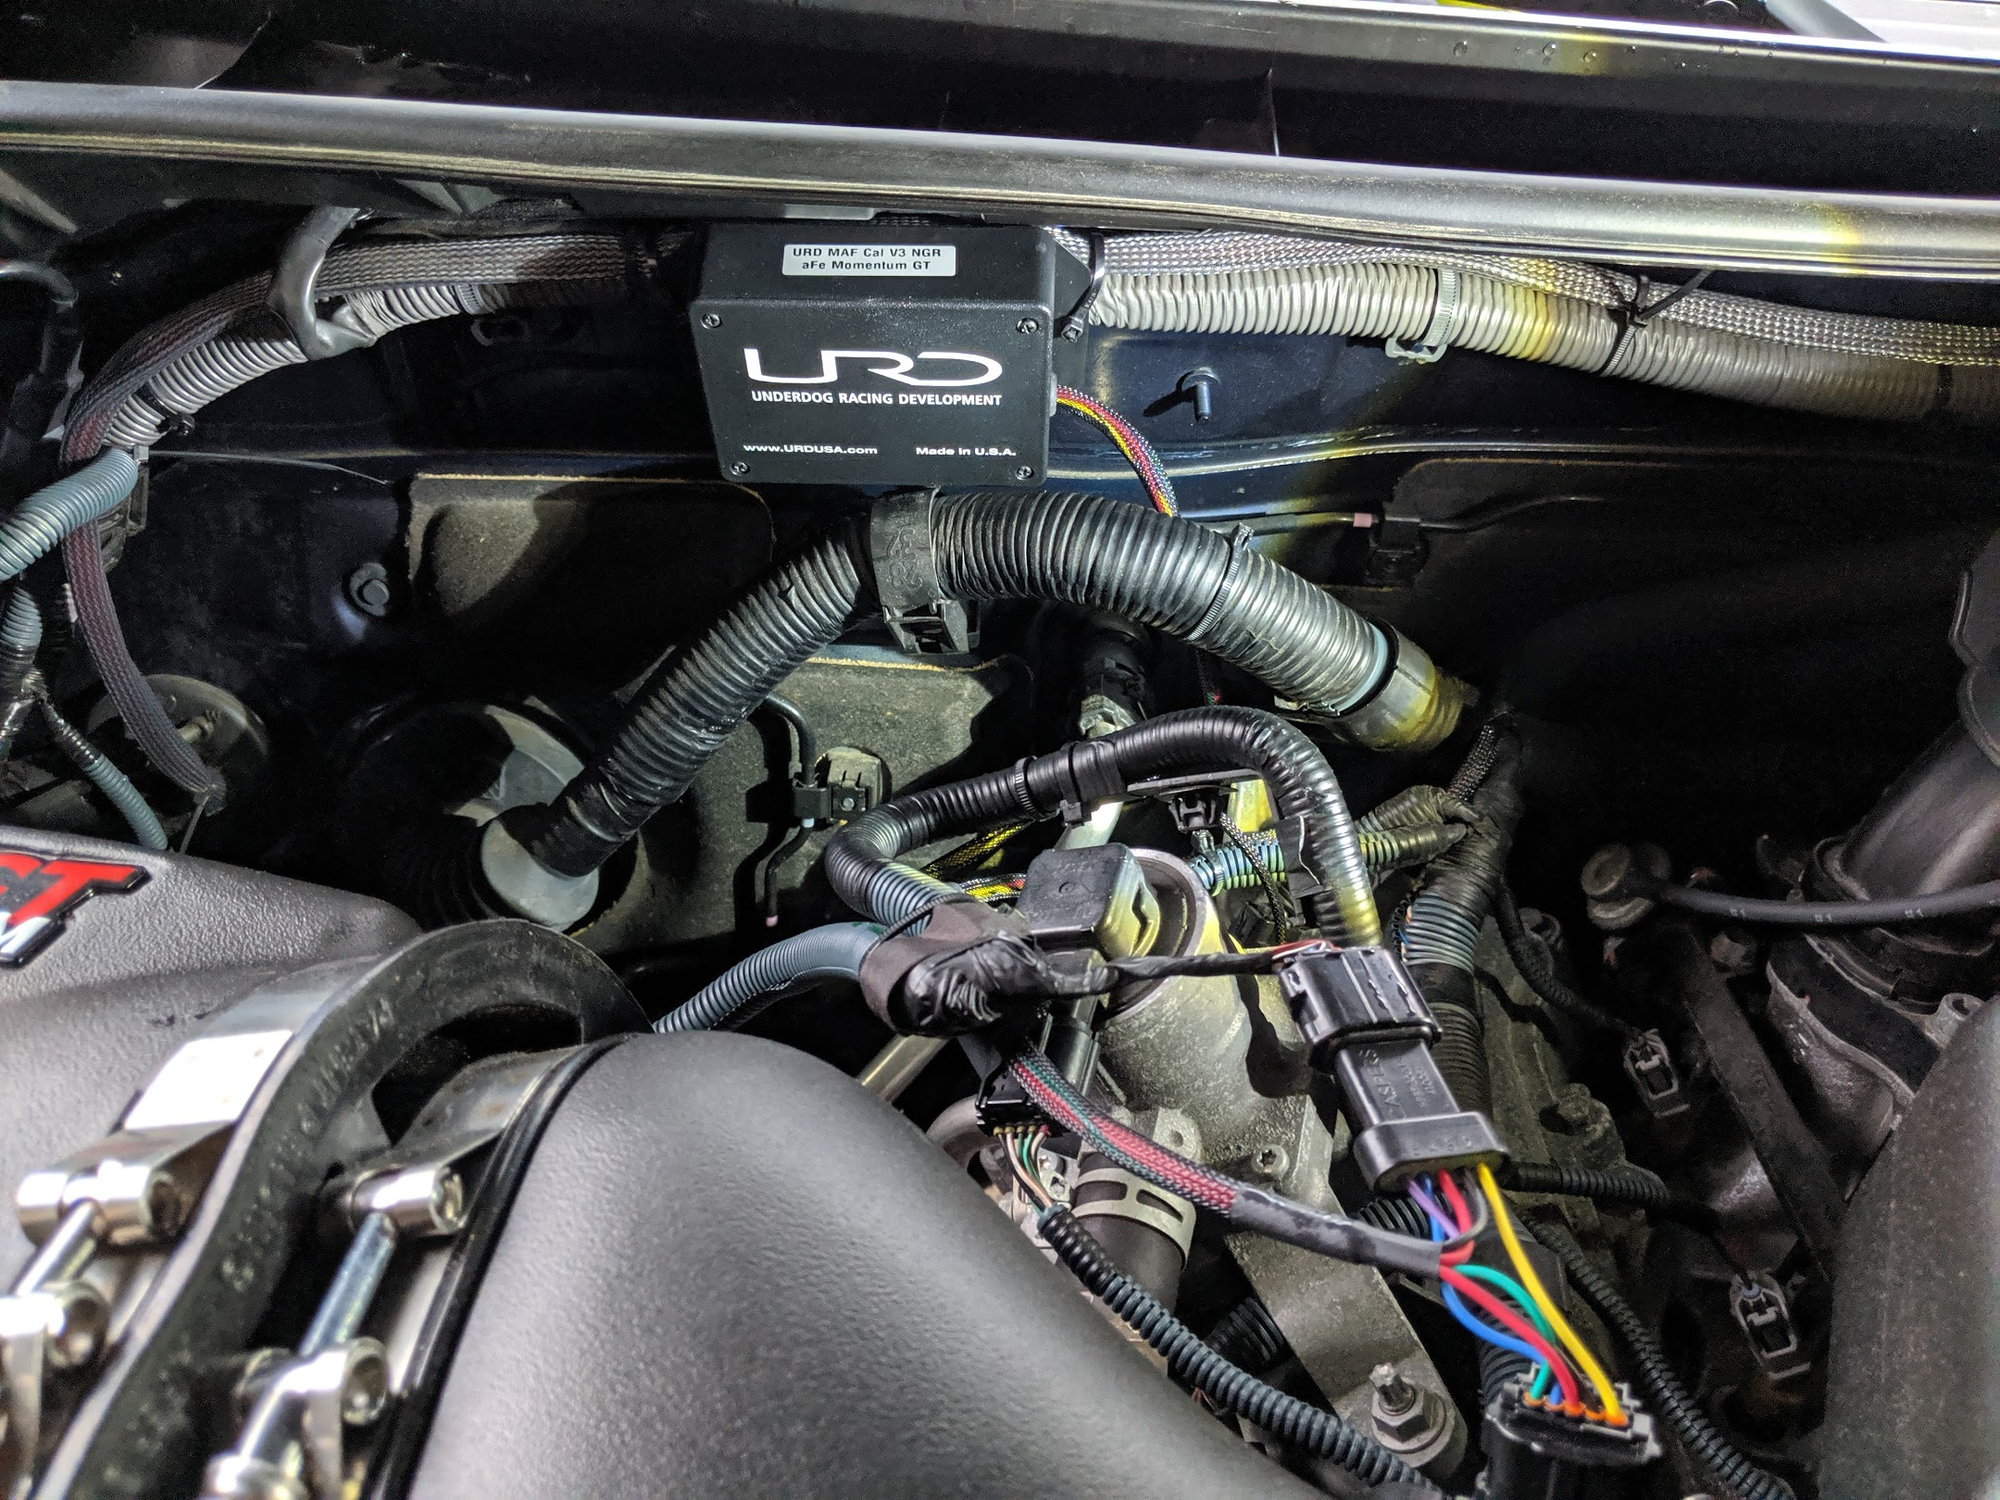
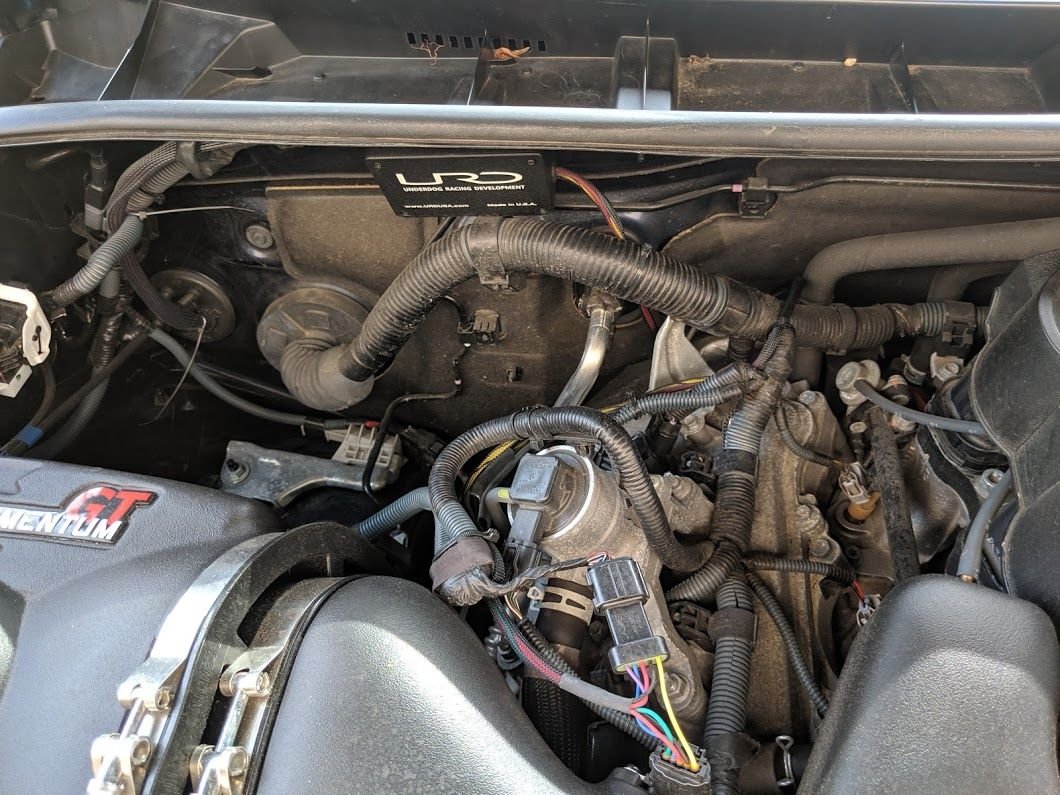
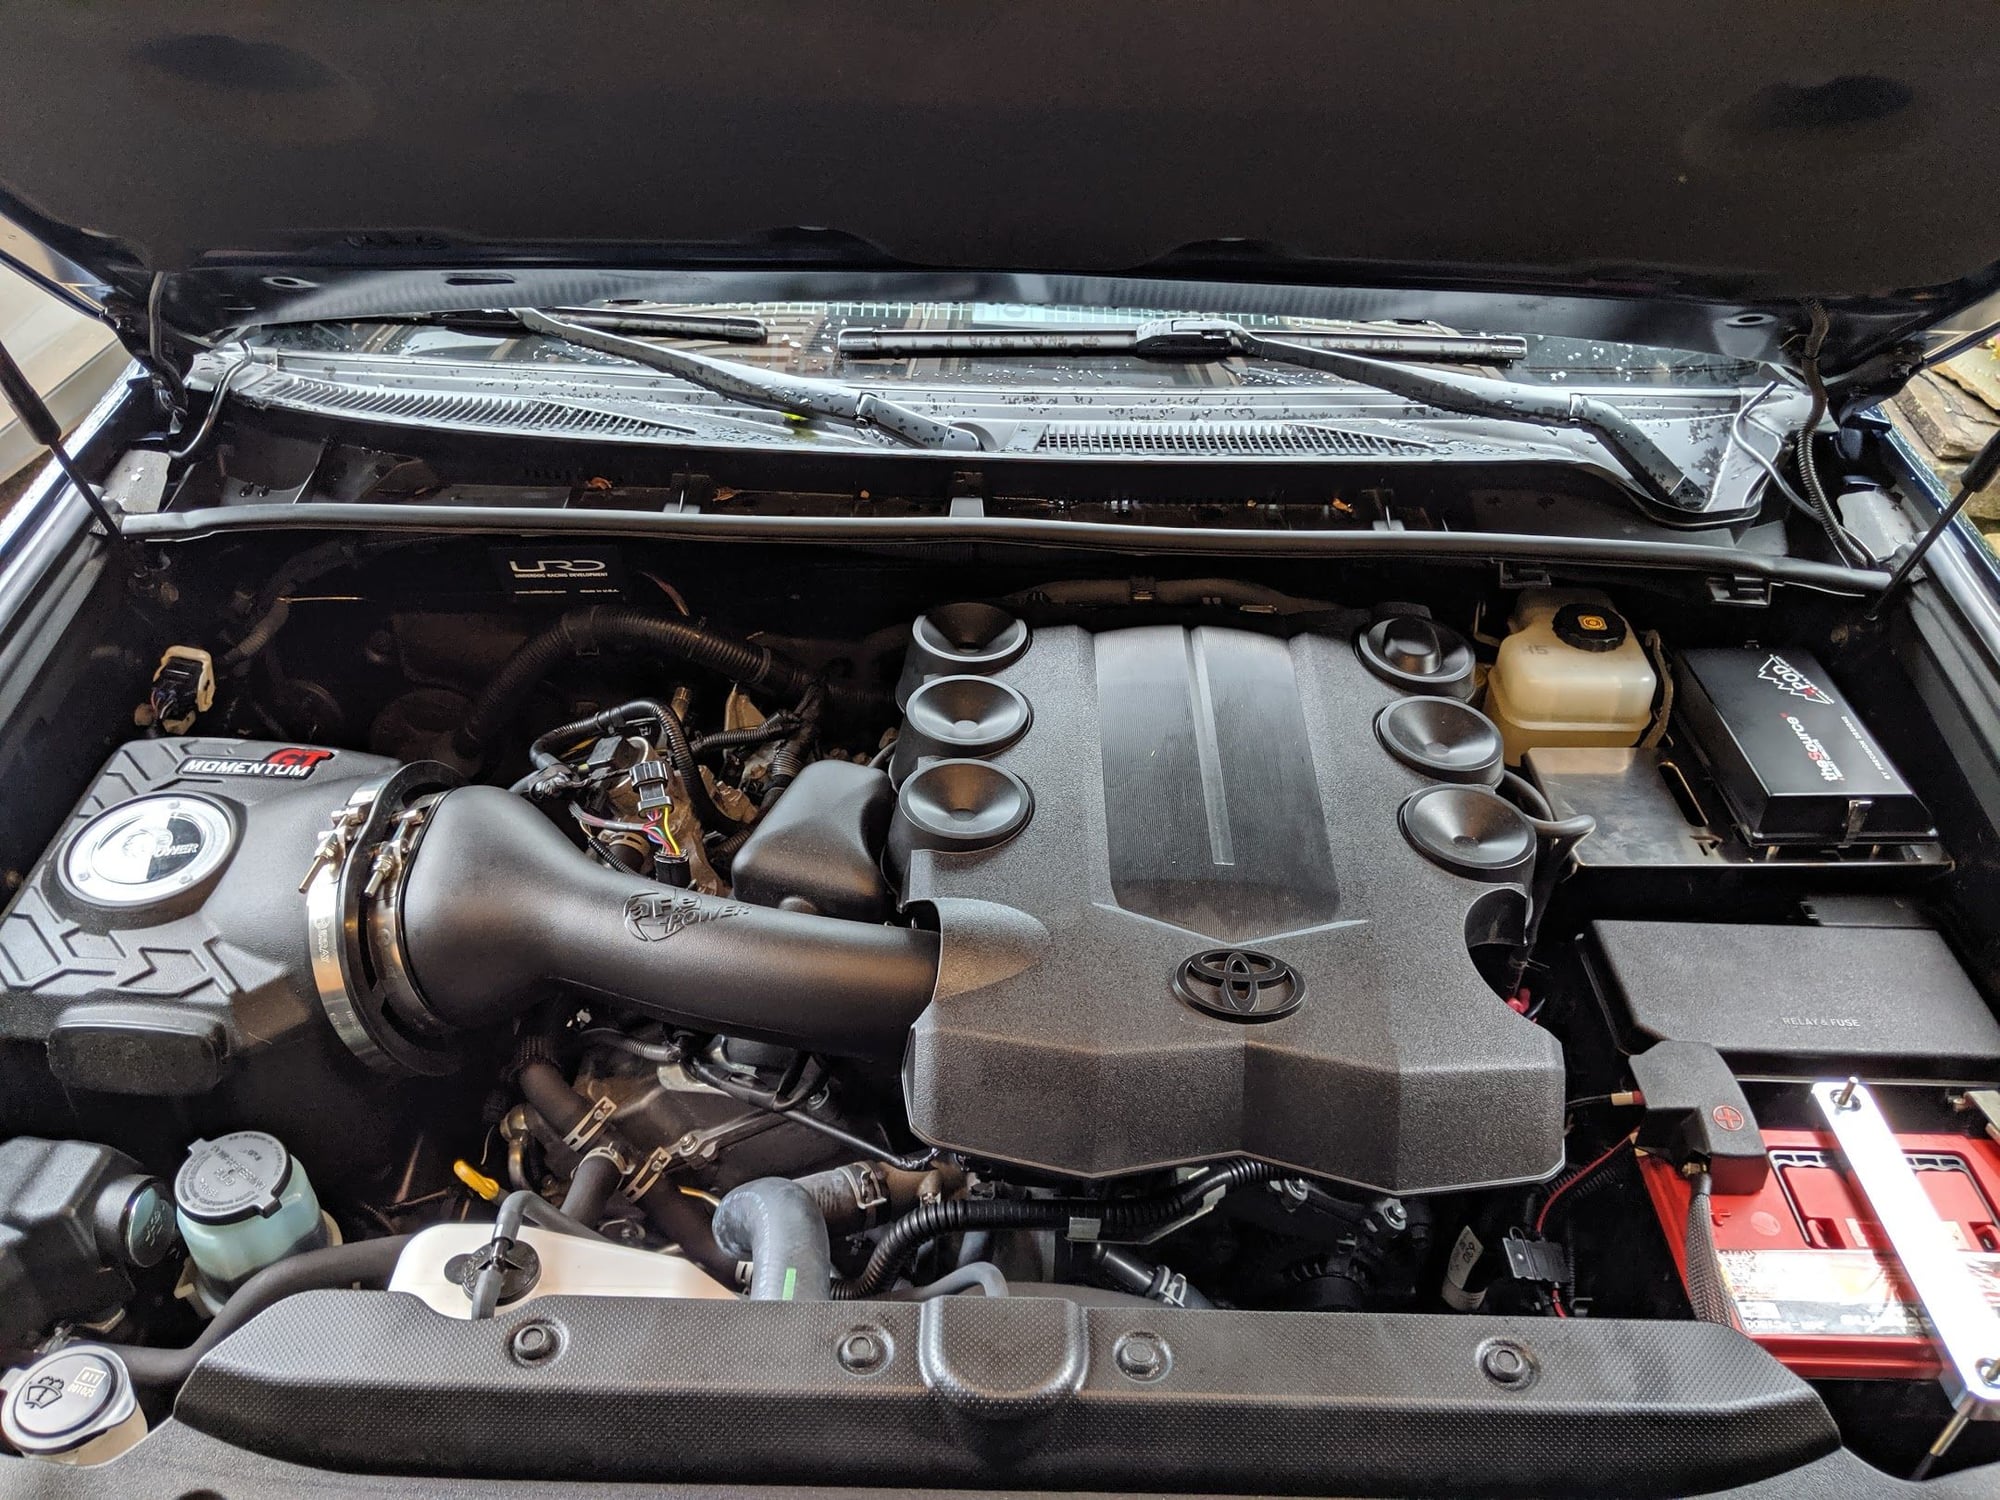
Got another little performance mod installed since I had the battery unhooked. I got a URD MAF Calibrator which helps recalibrate the MAF sensor for aftermarket intakes and exhausts.

img_20190705_190524_bfc1696a193845fd5d0253b4bcb3437c664aa199.jpg


I got the plug and play version which comes prewired for the MAF sensor and the spark plug coil

img_20190705_190625_266b7f975f98b8b69ac7dfef93b57fe3384cb2be.jpg


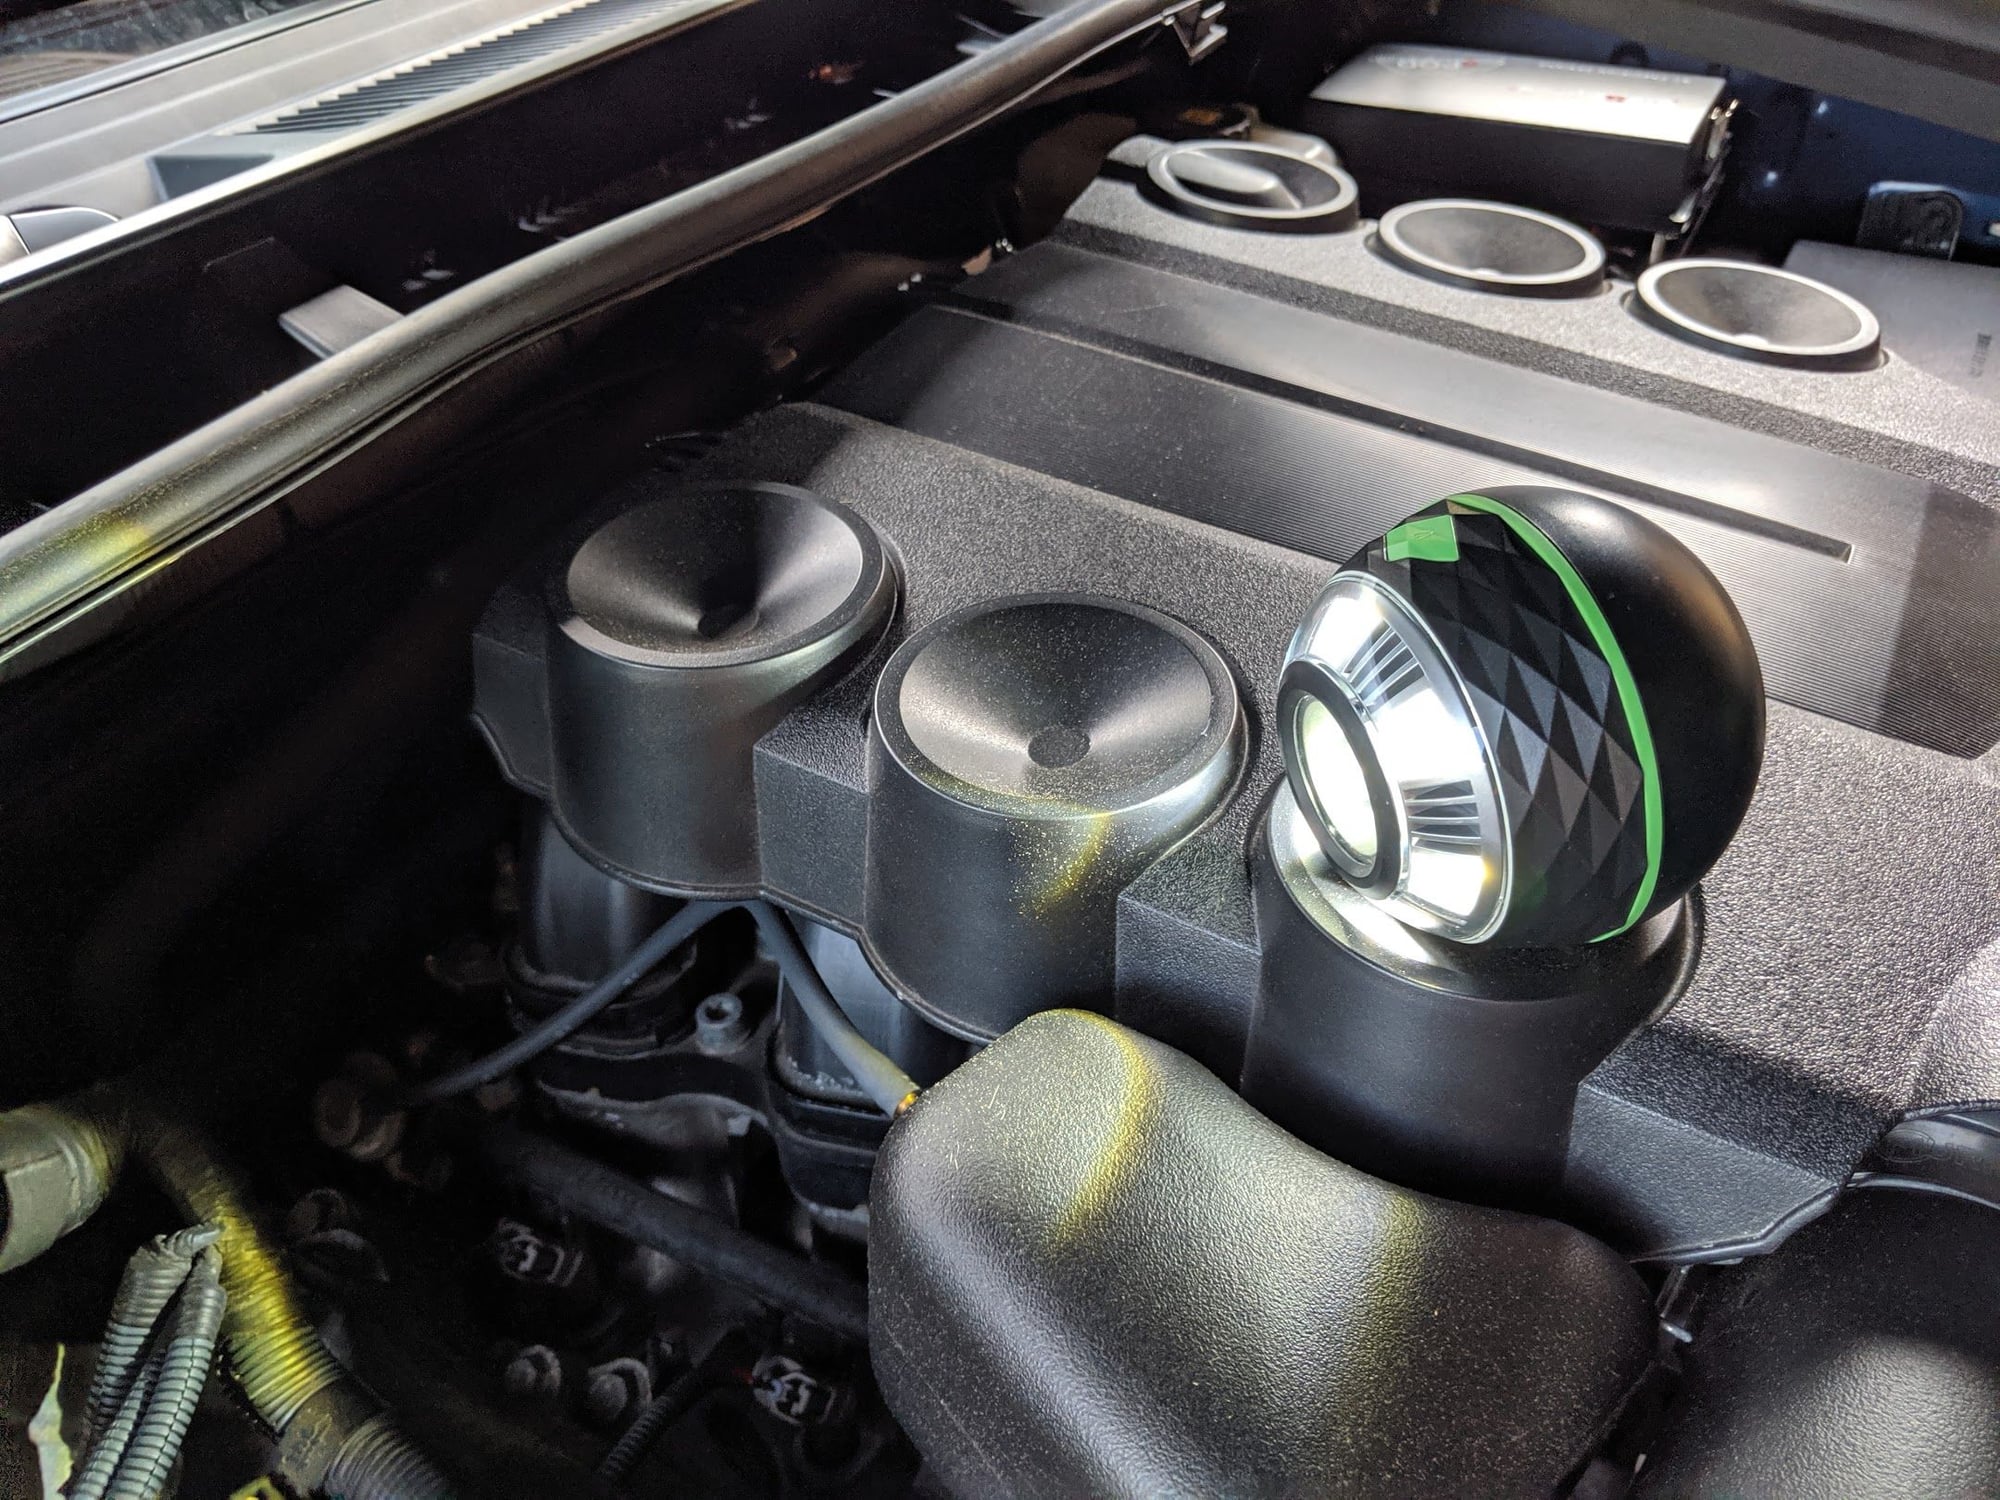
I finally found a good use for the engine cover divots, they hold my round LED pod perfectly

img_20190705_192321_9f924f6ee7ff1ef555cd1f03c8b017dffadd9eea.jpg


As for mounting, I went ahead and ziptied it the rear engine bay wire bundle.

img_20190705_192603_ecc17711f74f95f47e183fae821be028aeddccfc.jpg


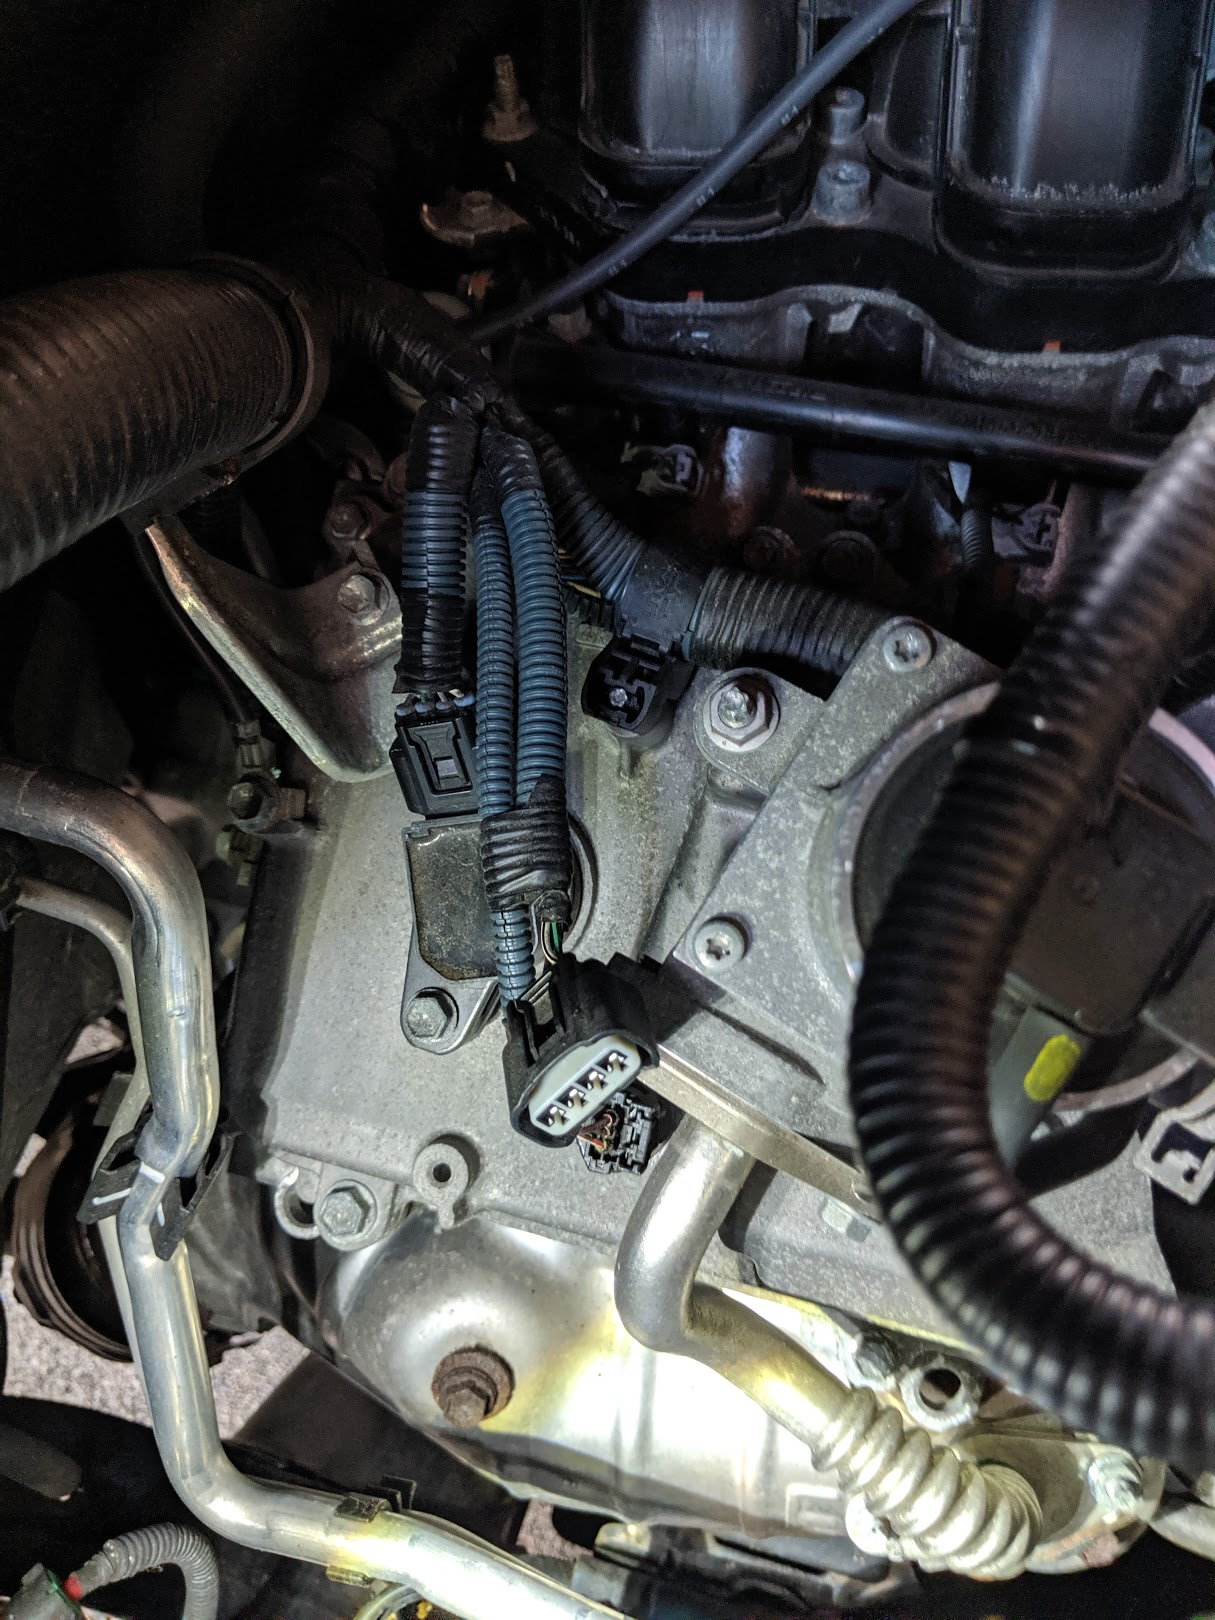
The second wire plugs into the middle cylinder ignition coil, I had trouble finding it at first because this big ass emissions sensor is over top of the middle coil.

img_20190705_191029_f2da9d5bd23437a46b3d797e9ef3751c586e988b.jpg


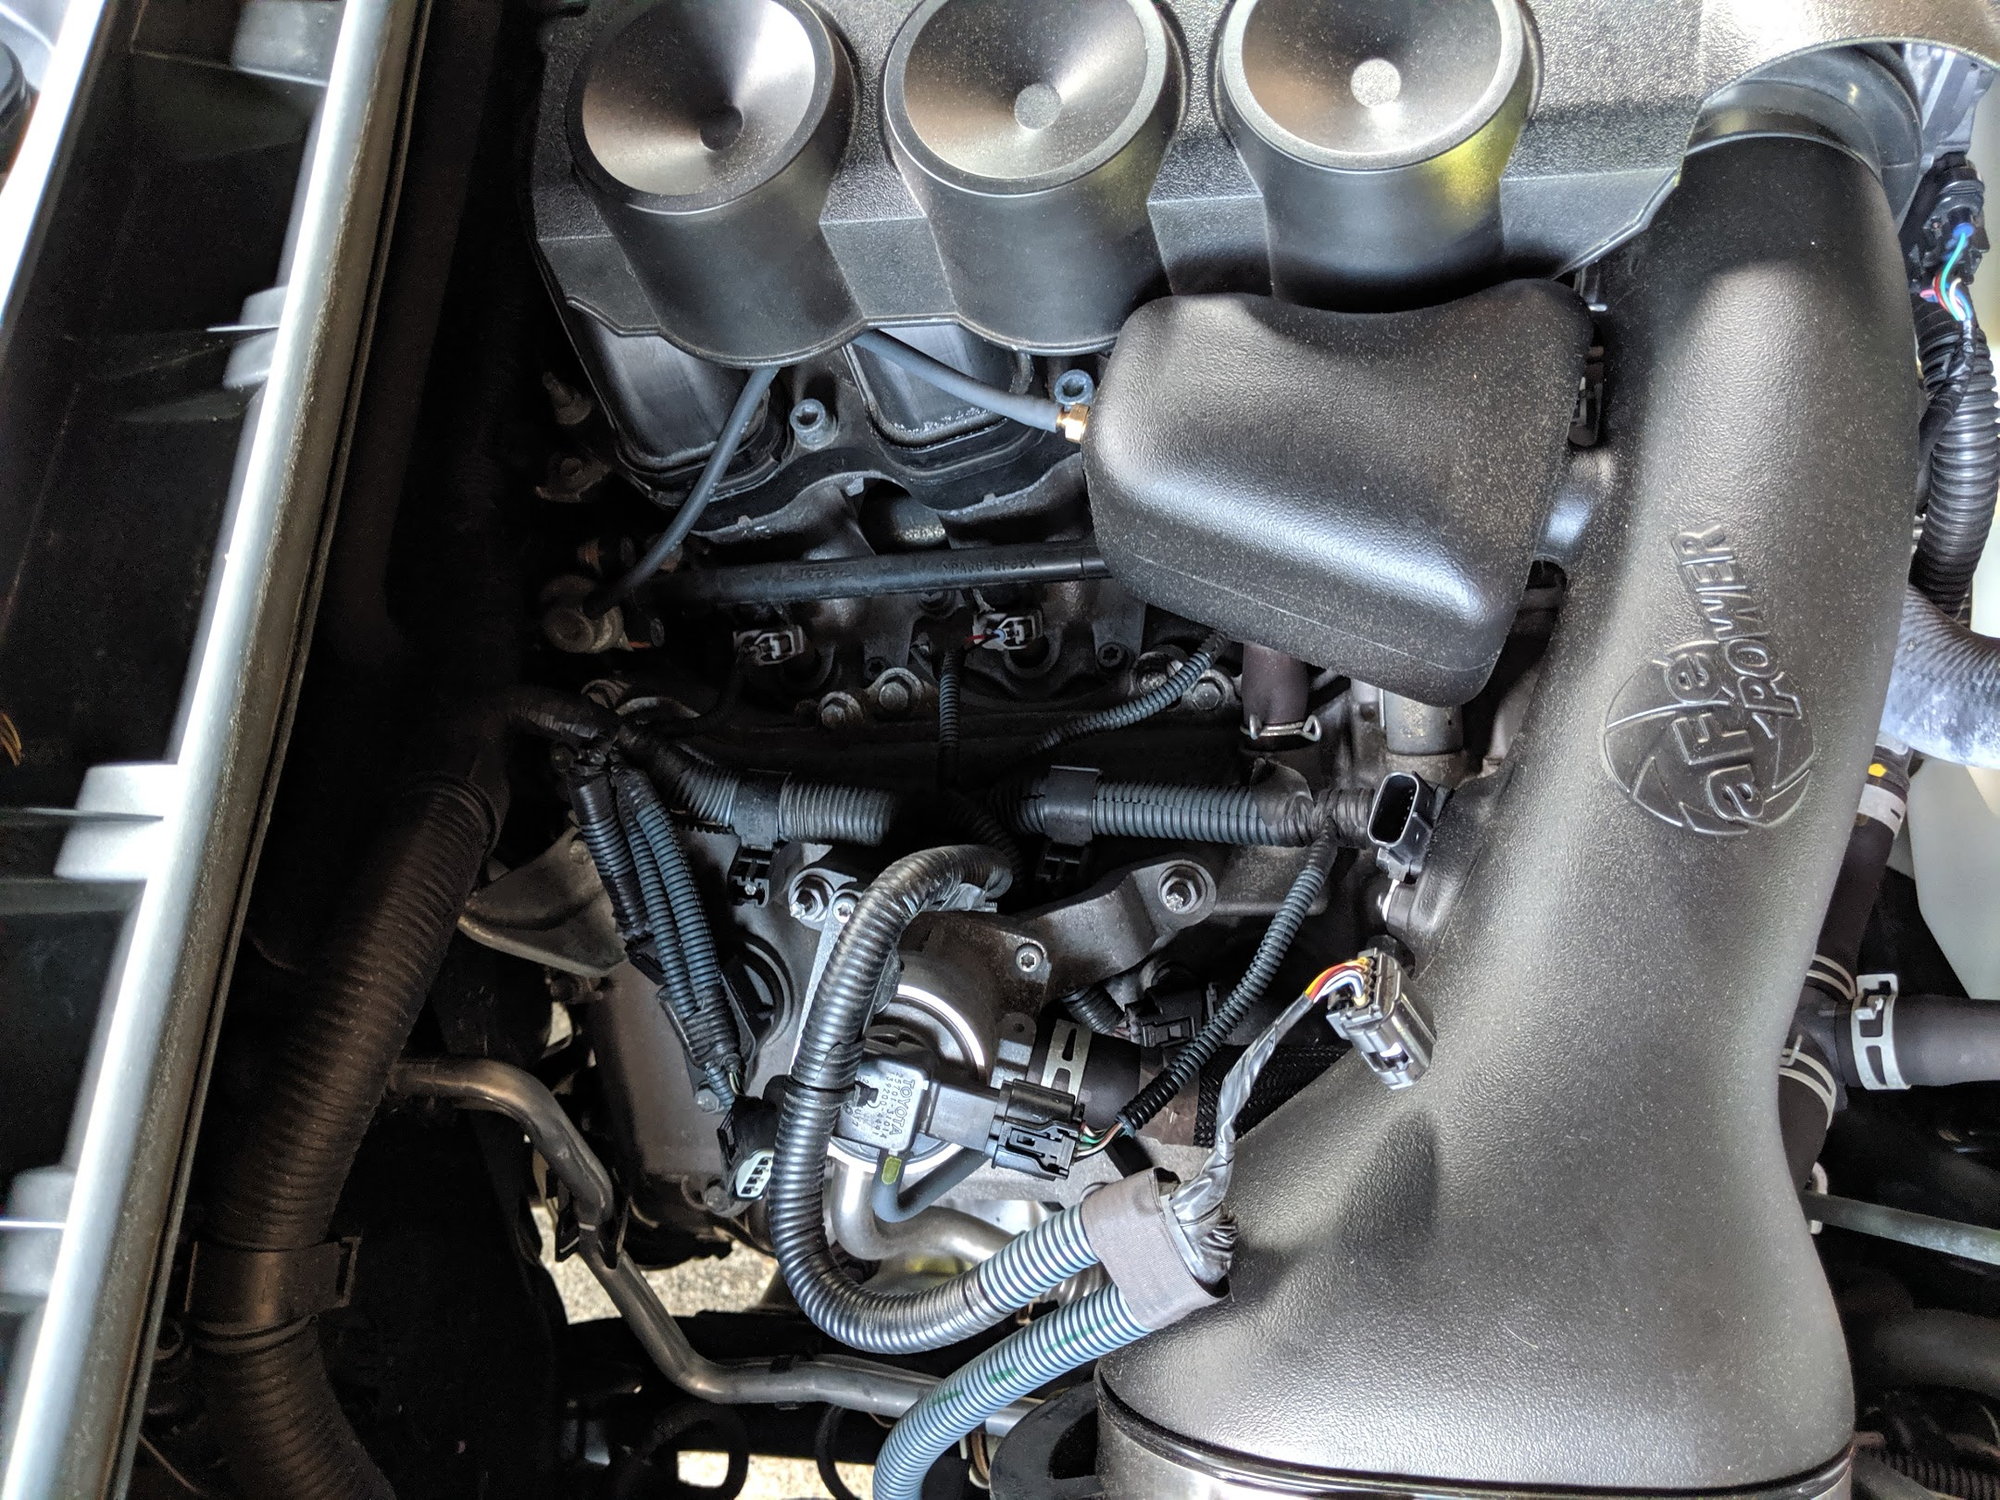
Here's a look where the wires are run, I had already unplugged the MAF sensor wire and ignition coil wire.

img_20190705_191703_e88ace0989fa0a97cd3dffdcfdb2c6620628cc84.jpg


Here's a better look at the ignition coil wire

img_20190705_191443_cbf954706f0723928196a07eb4b9dd4fcc5fcbaa.jpg


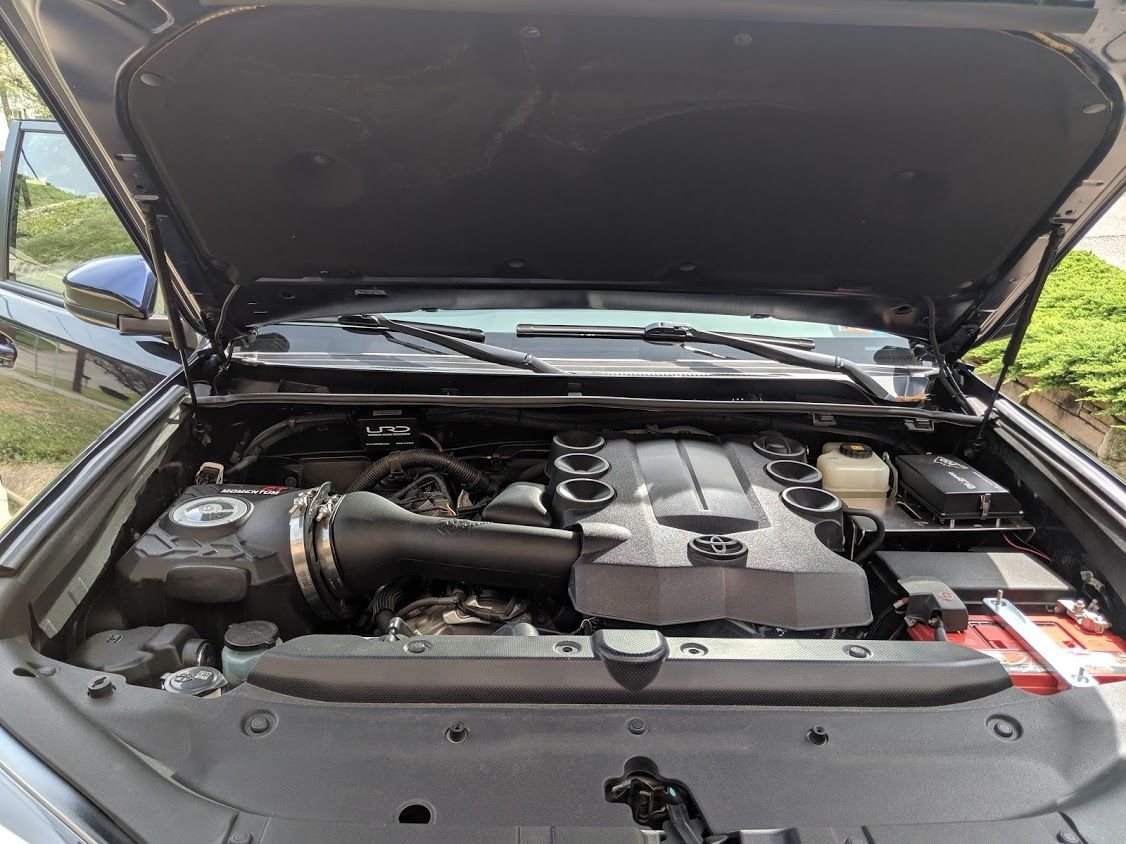
Here you can see that it's labeled and pre-tuned for my AFE Magnum GT Intake

img_20190705_192538_a241bc4ab779881abe25153fabf8ed6099055dba.jpg


And here's the wires all plugged in and tied down.

img_20190706_175943_699908acd38295b88dbd540f0134a151150529c7.jpg


Better look at the tied up wires, I made it as clean as I possibly could. Overall impressions so far are very good, it seems to have smoothed out the idle and the shifts. I only took 2 short drives so far, so I'm excited to see how it drives this week.

img_20190706_175935_c46617aa833055fe0b2ea9363612b66217daaca0.jpg


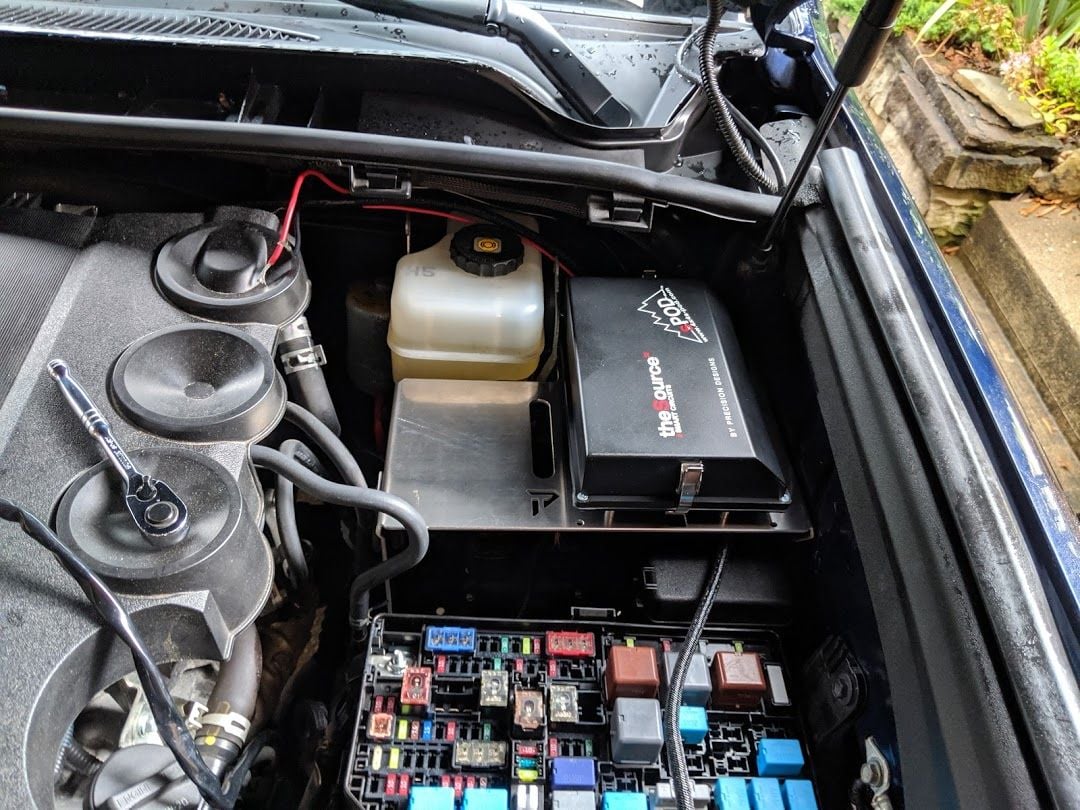
And here's the other side of the engine bay all buttoned up and clean.

img_20190706_193107_aa37ffed2ca6fdb3b395fe2b3912b1f9cd448d40.jpg


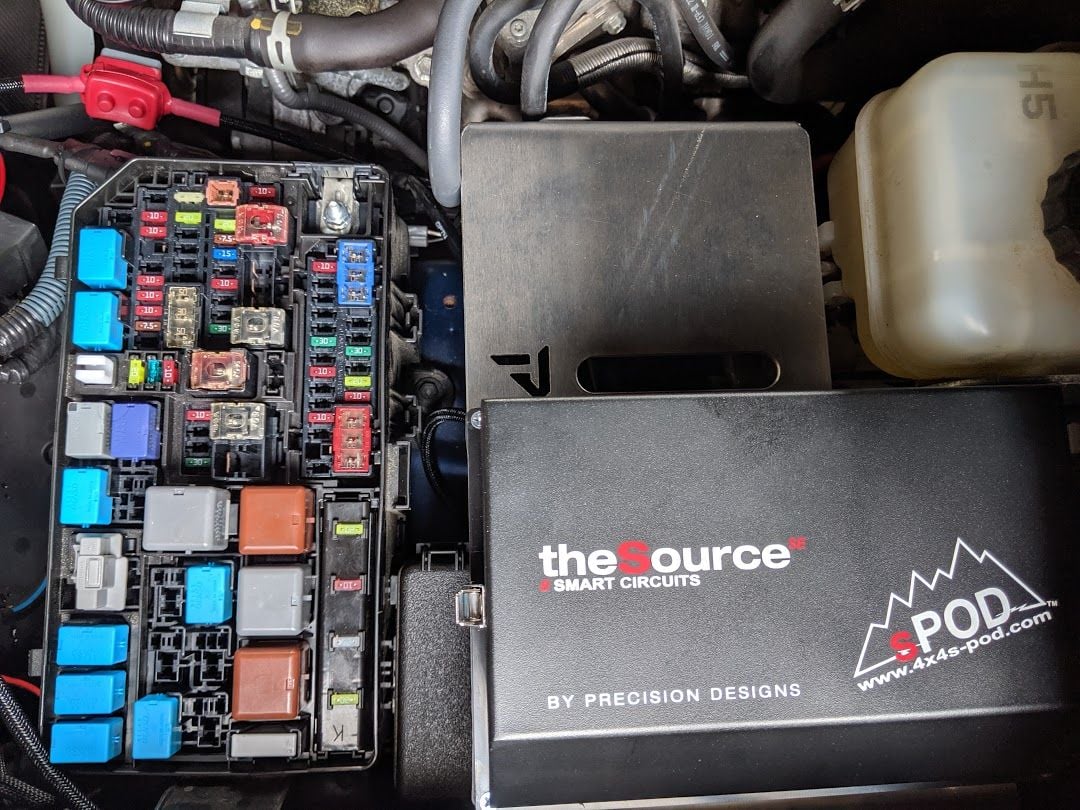
I'm really happy with the look of the PowerTray and the sPod. I had been trying to buy the smaller sPod unit for about 6 months, but it's been out of stock, the manufacturer couldn't tell me when it would even be back in stock, but I'm plenty happy with the larger sPod unit. I think it looks great and really cleans up the wires and mess.

img_20190706_193109_d43ec6c112979306f1f61ddc01022627dbe92dae.jpg


Here's the engine bay all cleaned up with everything tied up and buttoned down. Looking clean and tidy!

img_20190706_193121_349e4d9d659f592516b0b9552713973d03f5bef5.jpg


img_20190706_193128_77718ac2589cd985a88098399931b67c9b3b6117.jpg


More pics to come, I've been fighting the rain all day :whyme:
 
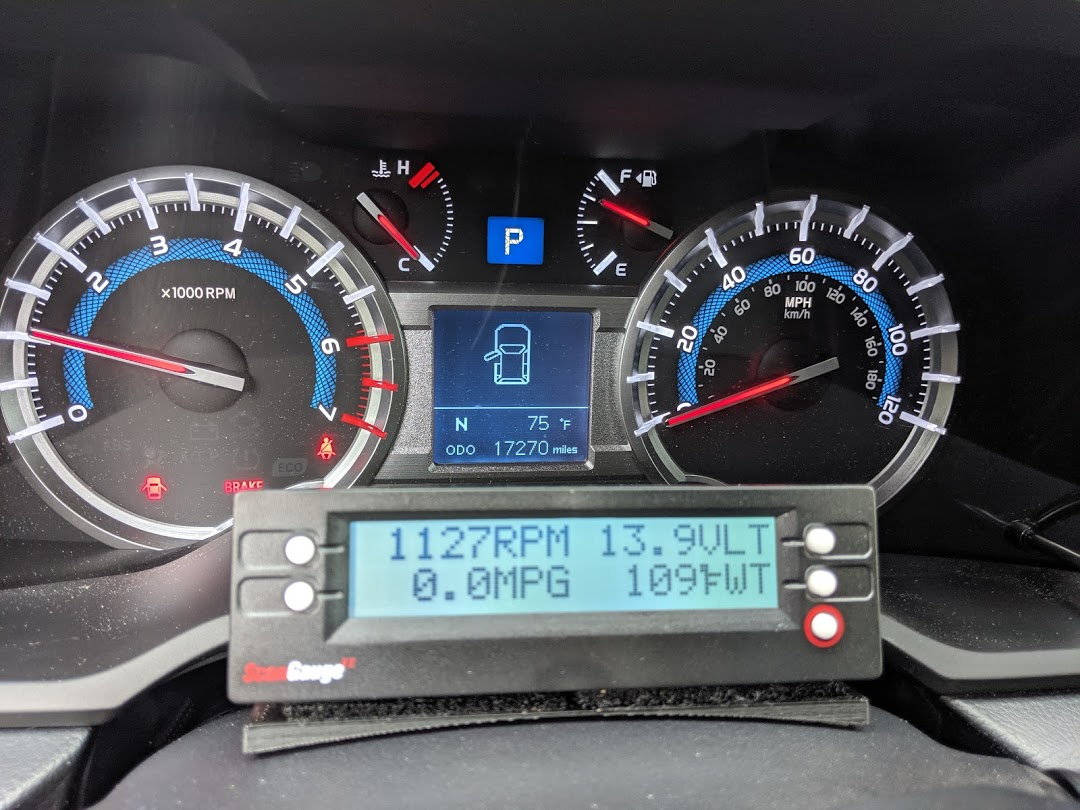
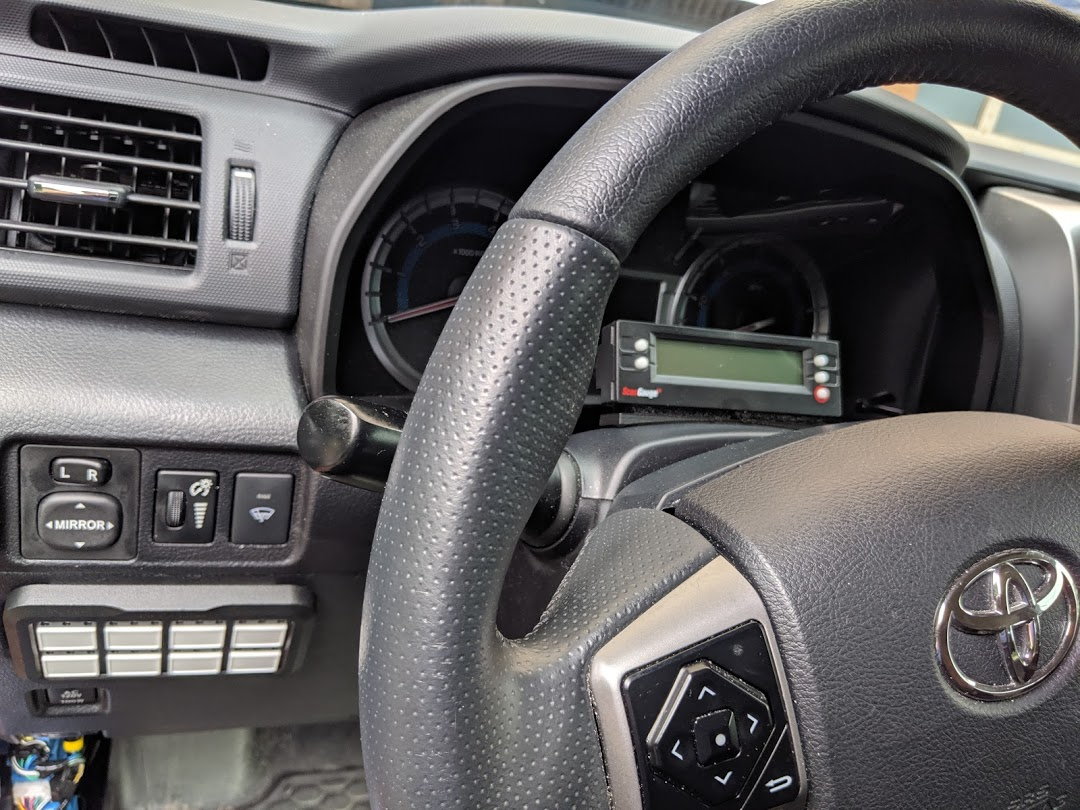
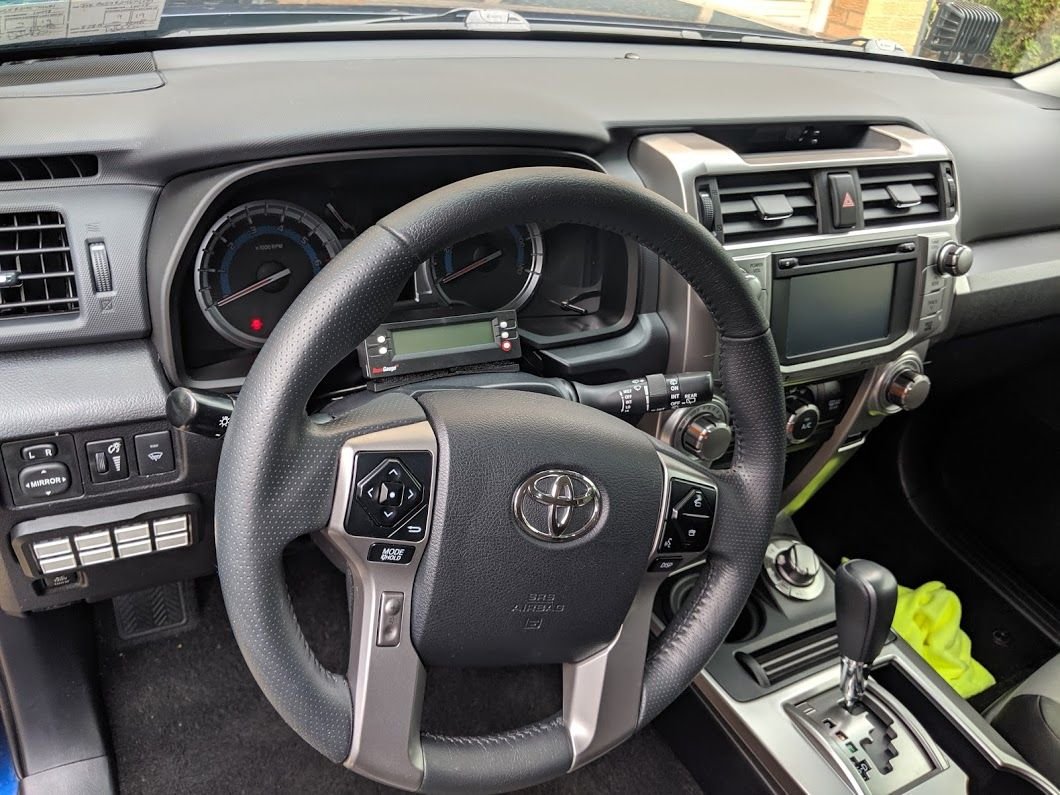
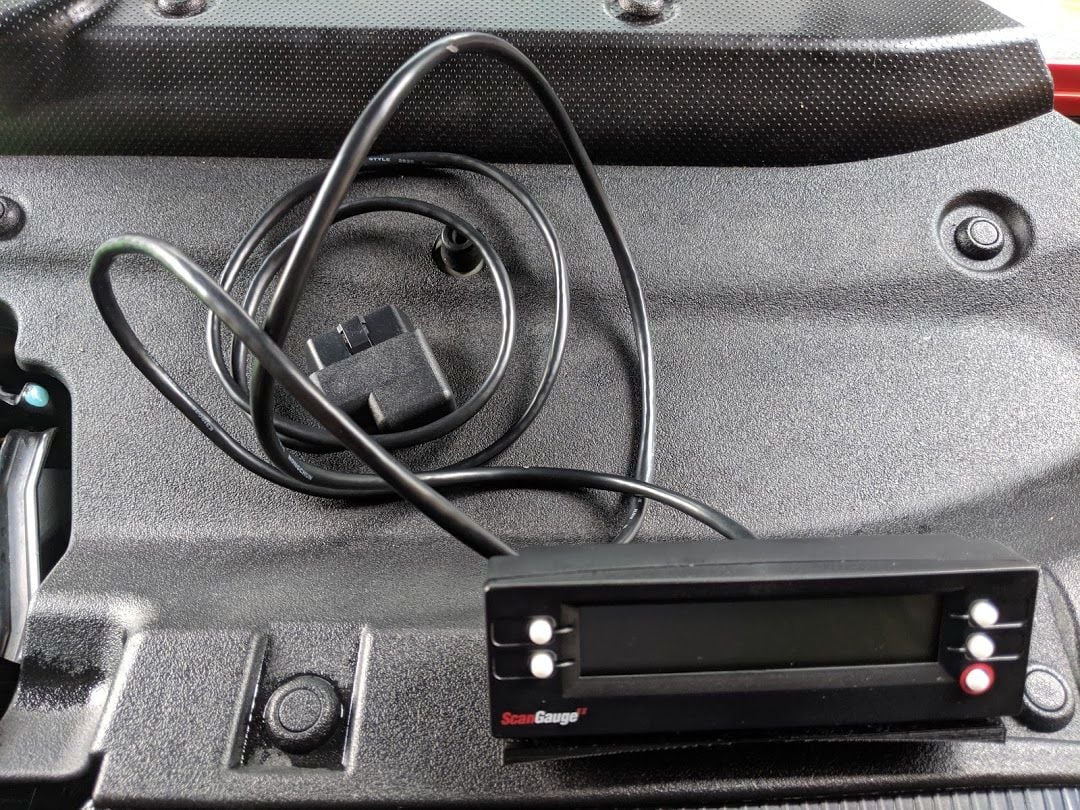
Since I had the dash torn out and have been adding new mods like crazy, I figured why not another one? I picked up a ScanGauge to better track my MPG's and various metrics better with all the changes I've been making.

img_20190707_142414_3f612a9ebaf23cb0e769ce16be229eb6bcb92bdf.jpg


I got a 3D Printed mount made so it mounted very nicely.

img_20190707_144010_8ce3c7d0bdeecb513de04593bc2acaae40e6a0ba.jpg


Plug and play and fired right up, super simple mod.

img_20190707_145644_18aba01fdbb3541188d5d8c72dfe375986b960be.jpg


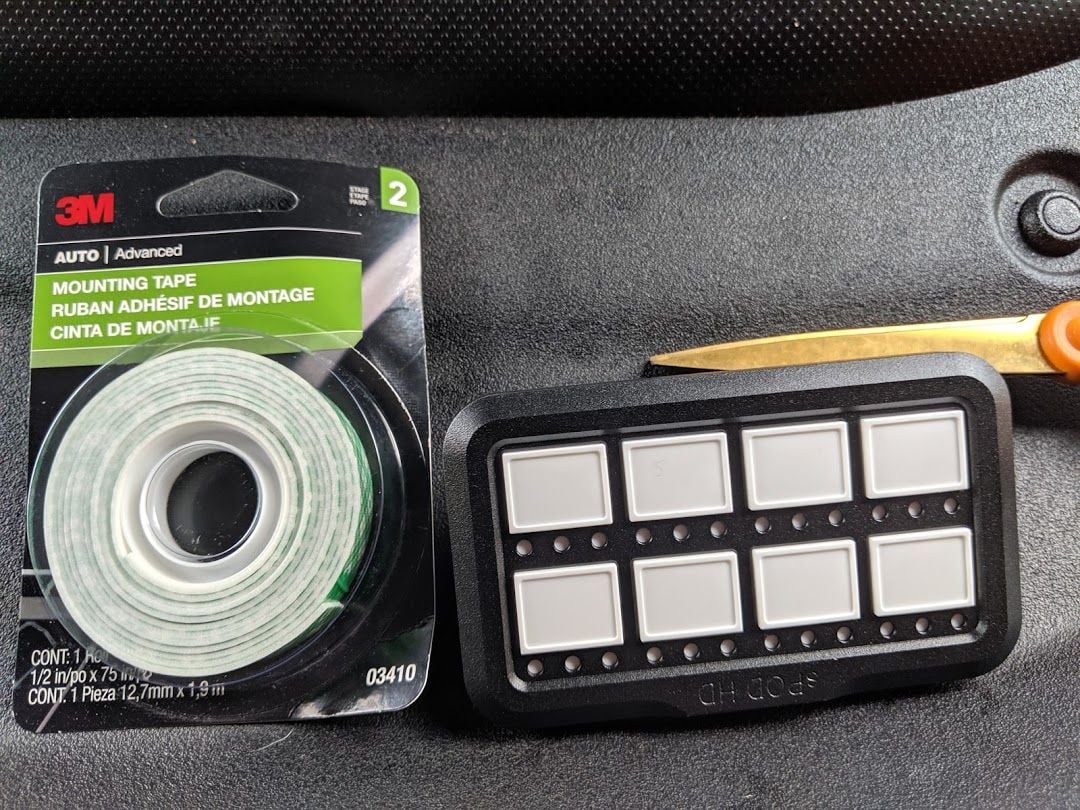
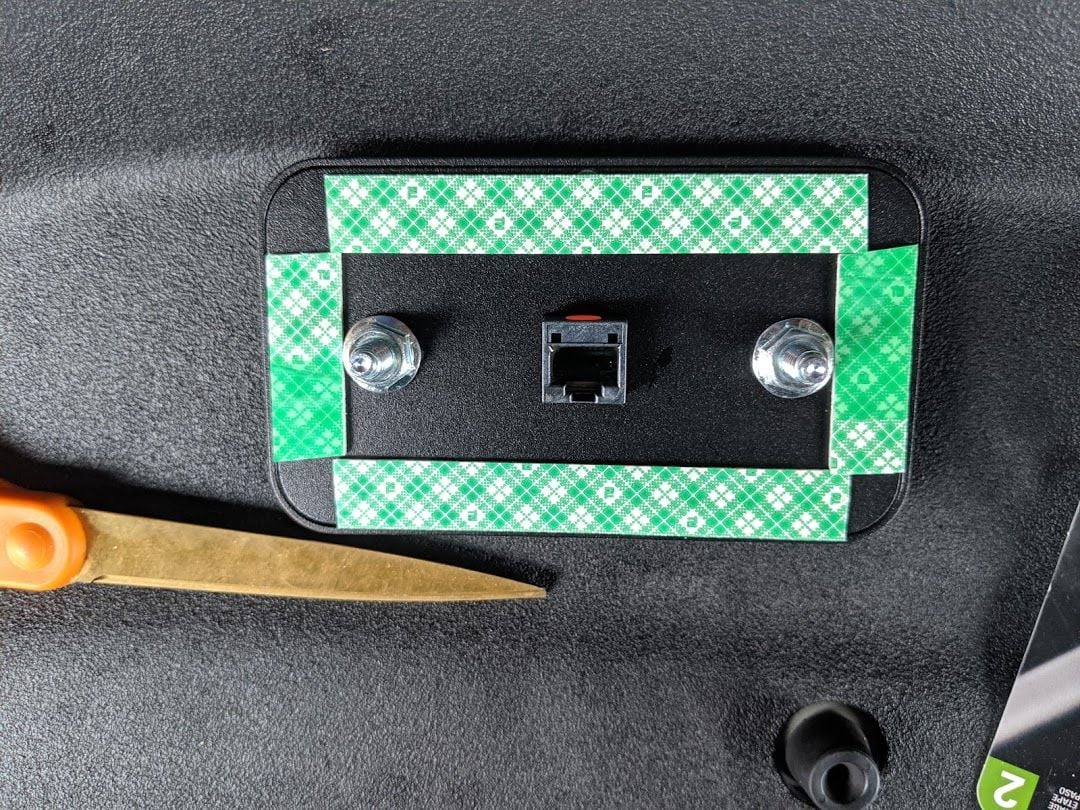
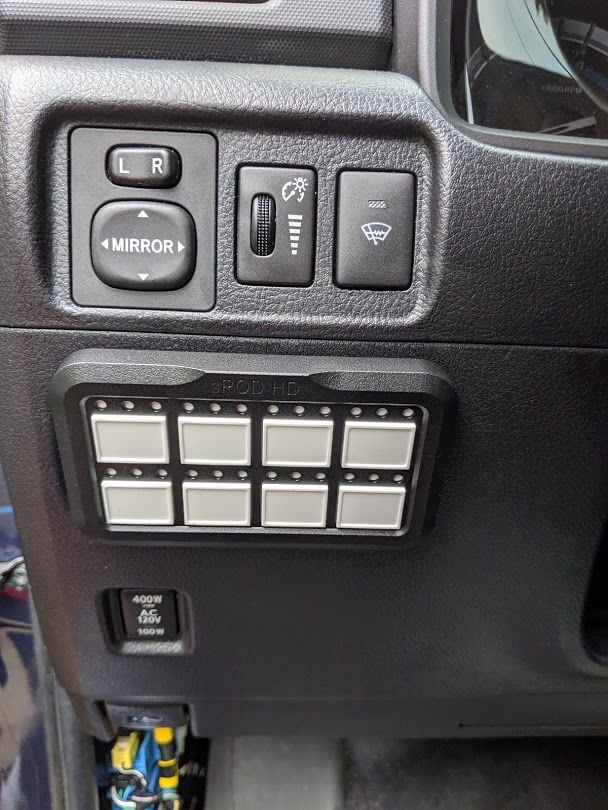
Next up was mounting the HD switch panel. I initially went with some 3M double sided tape, will probably upgrade to some stronger tape down the road.

img_20190707_144024_615f947f75dedf6abe4b7e938067ef99a20eba08.jpg


I had plans to build a custom bracket through the dash panel, however the screws that are on the back of the panel aren't long enough to reach through the switch tunnels.

img_20190707_144315_5a51795e2f18c29e3ab039a8596a9623ffbde3ae.jpg


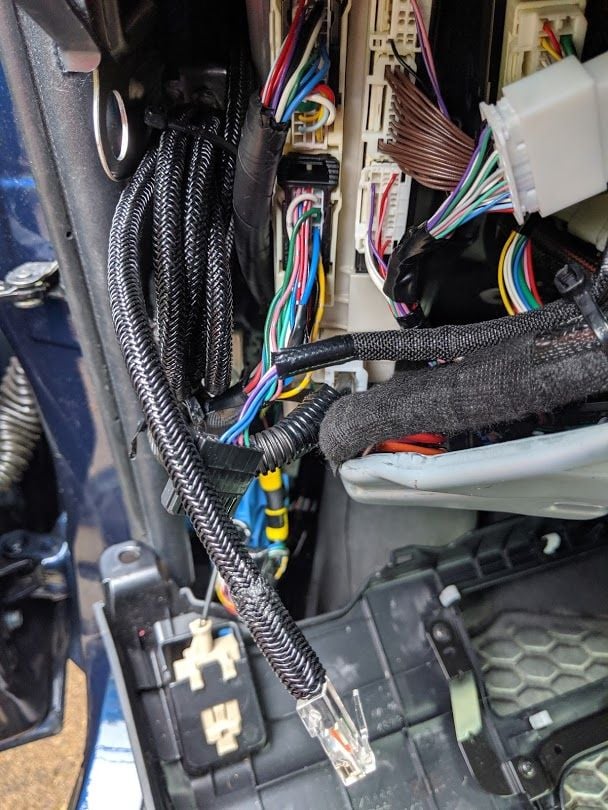
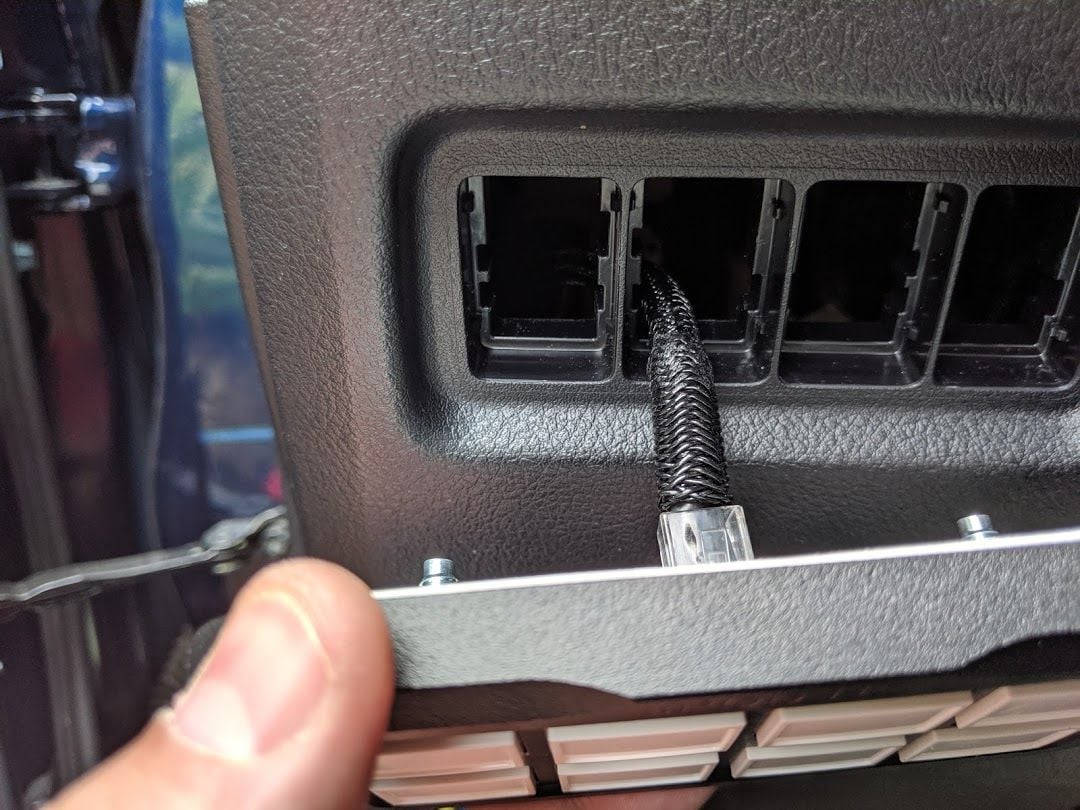
The cat 5 cable was way longer than I needed so I tied that up back behind the dash and out of the way of the BCM and remote start units.

img_20190707_144409_94339d96164194f0fa413e1fe39a6f2e2b3393aa.jpg


I ran the wire out of the switch ports, and ready for install.

img_20190707_144452_9c02391c19aa95db9f13fd1bdc707b1a6a53f3f5.jpg


And here's the switch pad all mounted up temporarily at least.

img_20190707_144720_de908c55231eaa8c2411189c21fd75d6725c2329.jpg


And here's my cabin upgrades together, looking nice and clean

img_20190707_144725_604aabf577cd10b3c5ddcc876b164a8e373ce48b.jpg


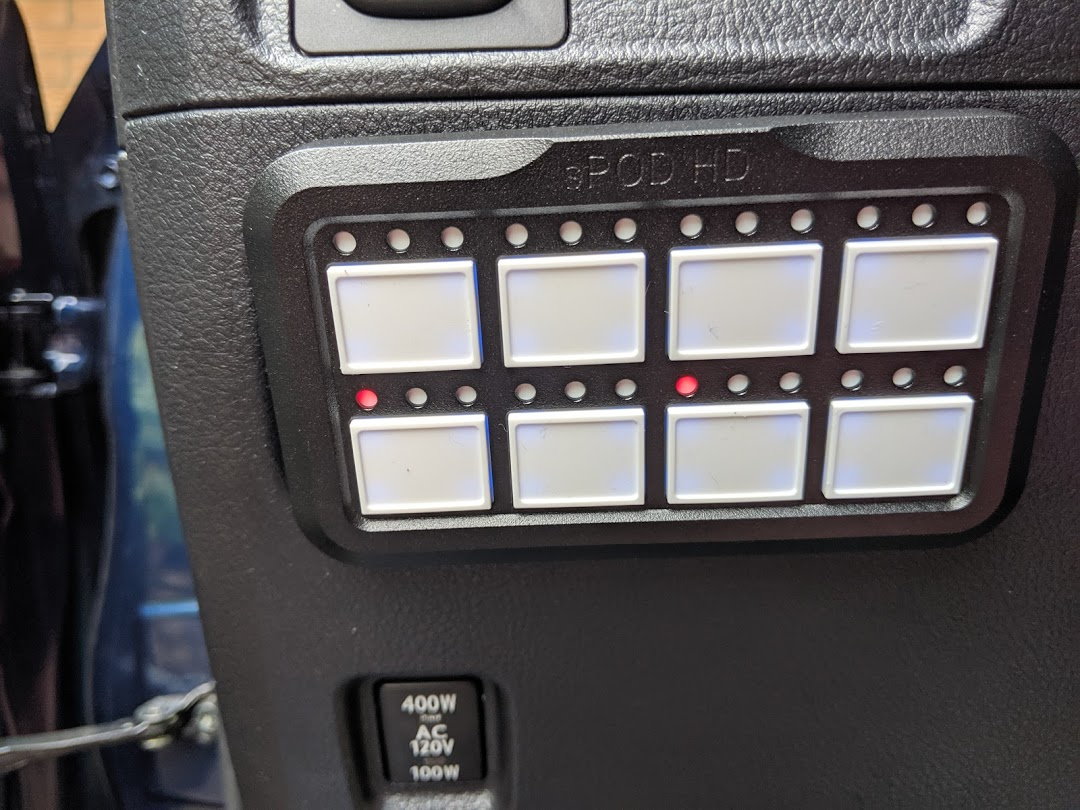
So you know I had to fire this thing up and see how it works. These 2 buttons are wired for my light bar and LED pods, ironically the same positions I had as my stock switches.

img_20190707_145541_3e0a2afd4446013dced456ab1b3b3fdfc983d246.jpg


And with the switches on, boom, let there be light! New light pods working

img_20190707_145550_b1d3845c174cd105ee85182acb391ffb12d0b657.jpg


The LED bar also fired right up as well!

img_20190707_145554_1b41f013c13e754a4667a1350975db95f7288549.jpg


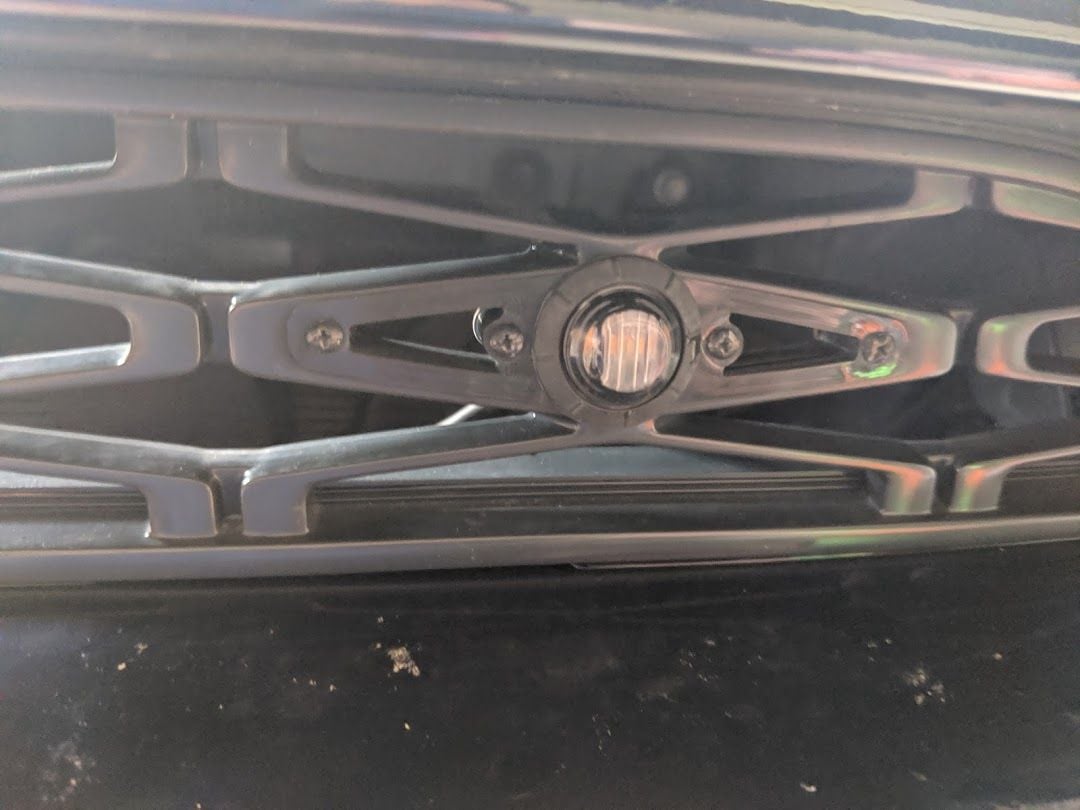
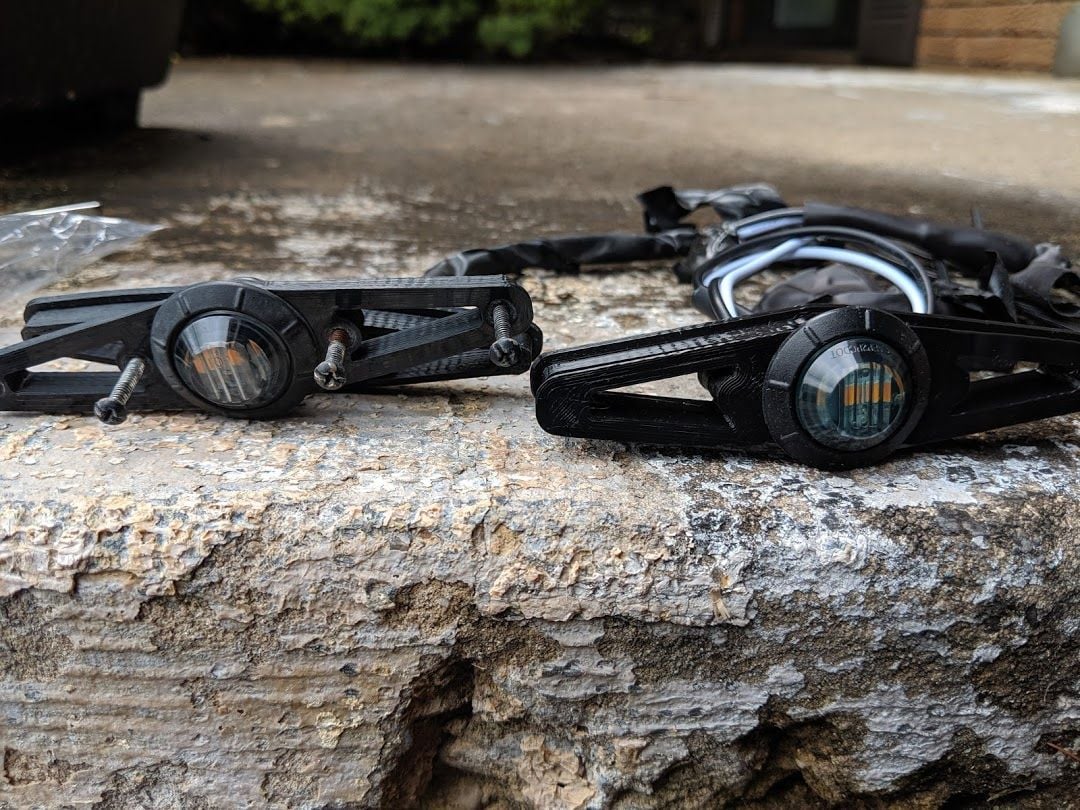
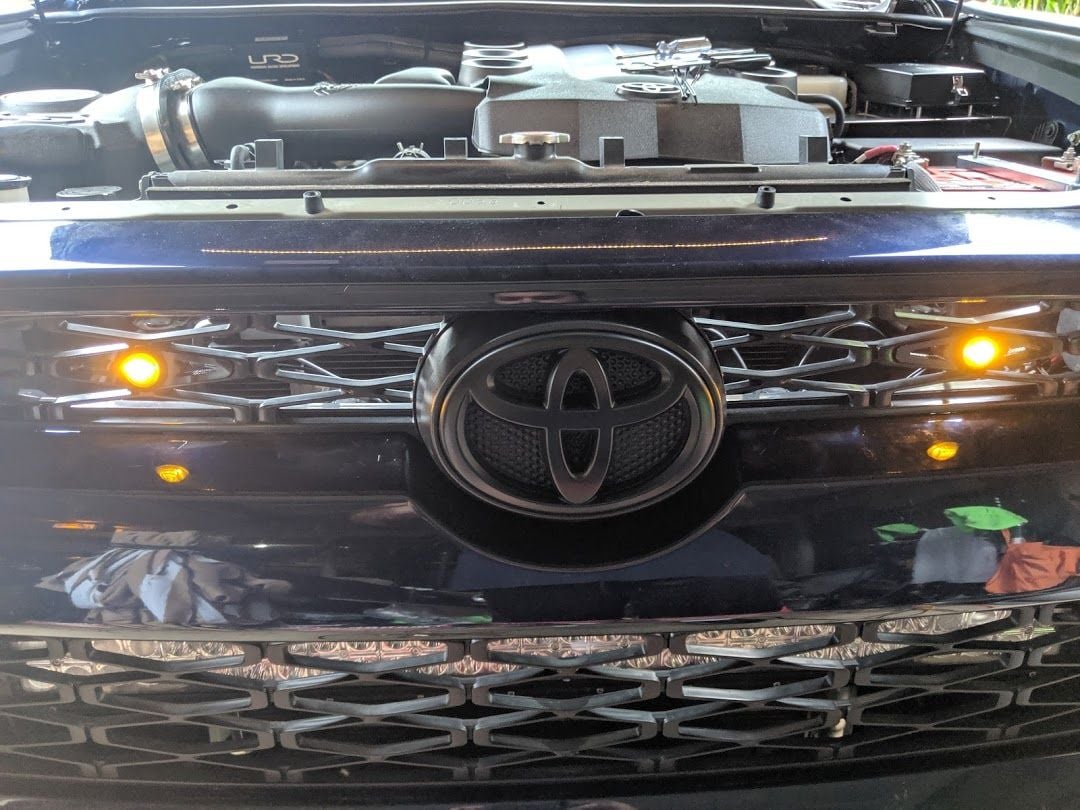
I still have some more work with the switch panel to do, but the rain kept starting up again so I had limited time. A while back, the guy who made these 3D printed amber lights came out with a version 2.0, and I bought them as soon as they became available. He had plastidipped the screws on the front black and I never was a big fan of the look. The 2.0 version have screws in the back and look way cleaner. Here's the old version 1.0 lights before I removed them, you can see the black finish on the screws is fading and peeling.

img_20190707_145944_f62868511a3bfac7eaa51bf2b4d9de825766e346.jpg


Here's a side by side of the old v1.0 on the left and new v2.0 version on the right, both with the smoked amber lights.

img_20190707_154914_418b3e17df5d8893d50cd92b91cddd8cfa48841d.jpg


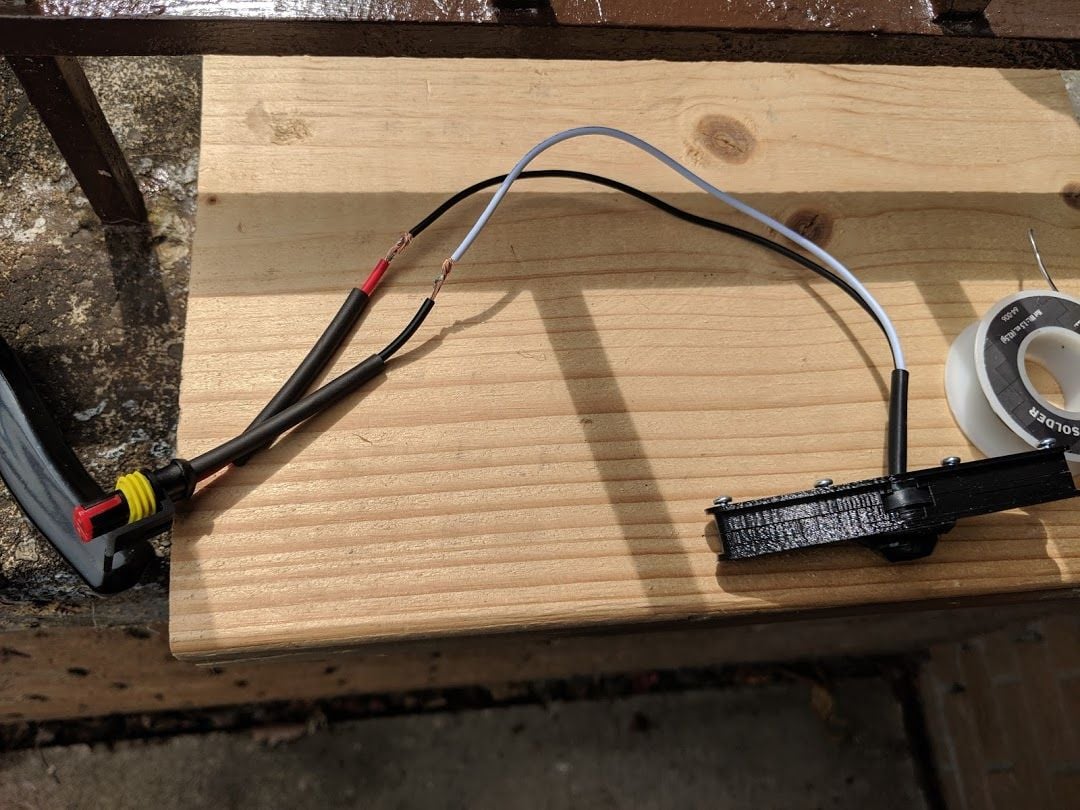
Something else I've wanted to do was add waterproof quick disconnects for when I need to remove the bumper, so I've had these laying around for a while to go with the new lights.

img_20190707_160118_7df522be22411811a9ab200e4cfbd374f0ac9462.jpg


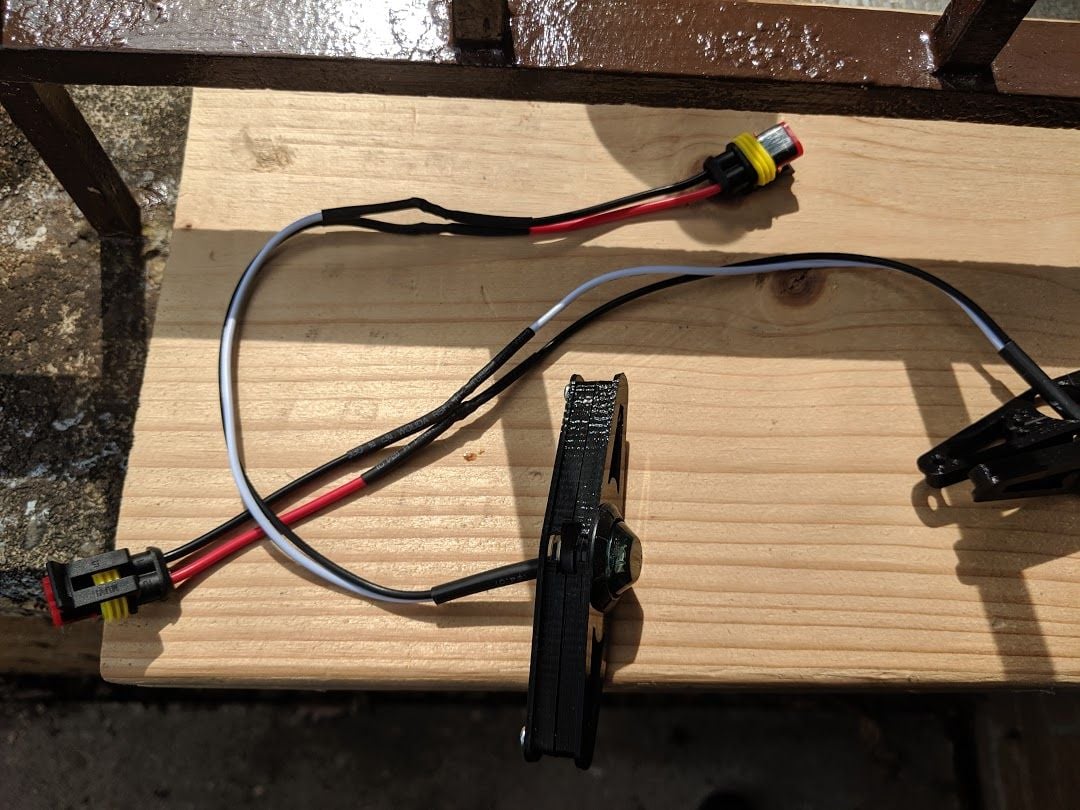
Here's the lights all soldered up and heat shrinked, ready to go. I used the male ends because they were small enough that I could slide the backing plate over the ends and screw them together.

img_20190707_161545_485414ffc30eb307948f531b847594feb7fc748b.jpg


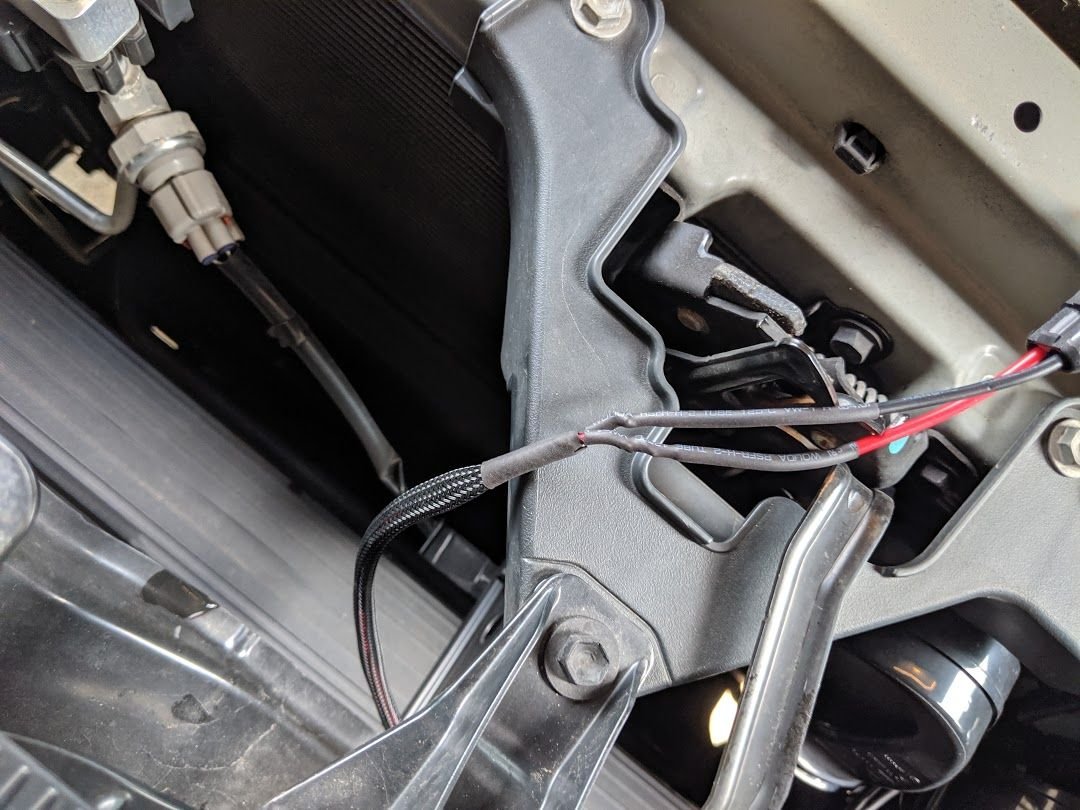
I chopped up my wiring harness and soldered in the new female quick connect sockets. This will hopefully be the last time I have to modify this harness.

img_20190707_161549_cd21621d0282935bb1ef27ab81d938cb988c951d.jpg


And here's the female ends all soldered in.

img_20190707_161602_1_0c62dbe67d7a6f04ffa7c1e613a2e40340ac2d63.jpg


I wired these into the sPod, I didn't get any pictures because it was raining and I had to hurry up and get them crimped and screwed down without getting water on the circuit board. I wasn't able to get the ignition control working so these come on when the ignition is on yet, but that will come after some more research.

img_20190707_164848_a2822a947c3383b063e952a53108eea9e0a48bdf.jpg


Overall though, I'm very happy with the sPod and all the additions and modifications I made this past week. The URD MAF calibrator also makes a very noticeable improvement in throttle response and shifting, I'm excited to drive this thing for a few days and see how it drives under various conditions.
 
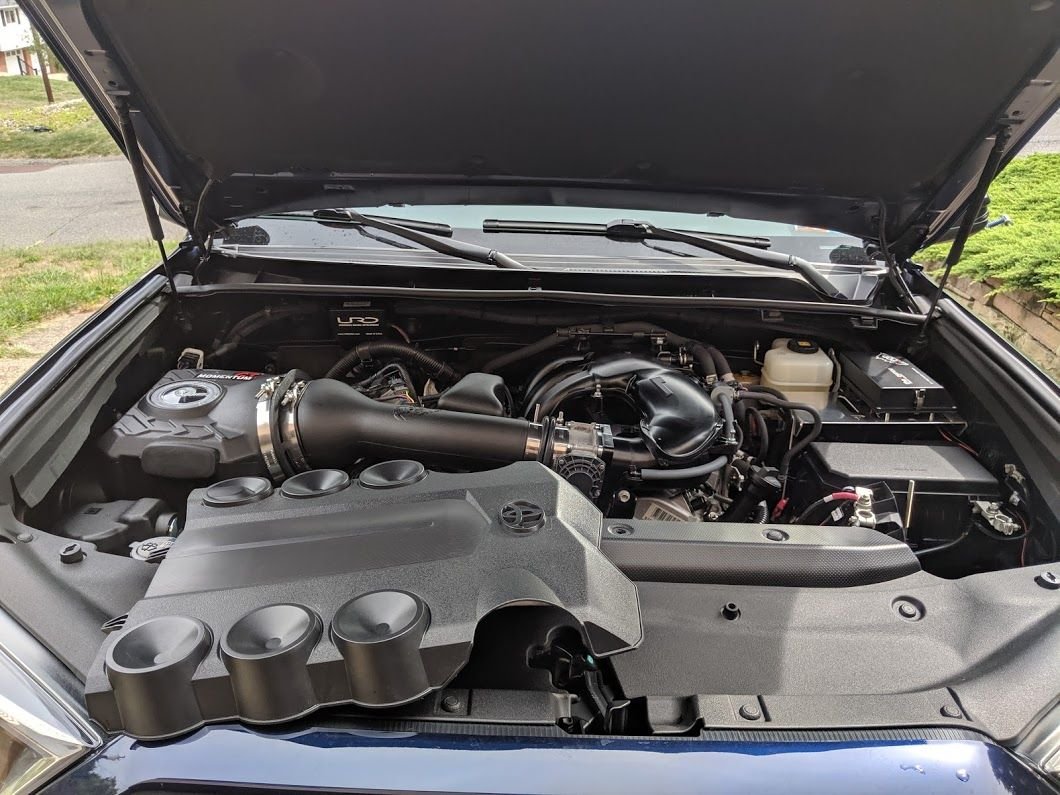
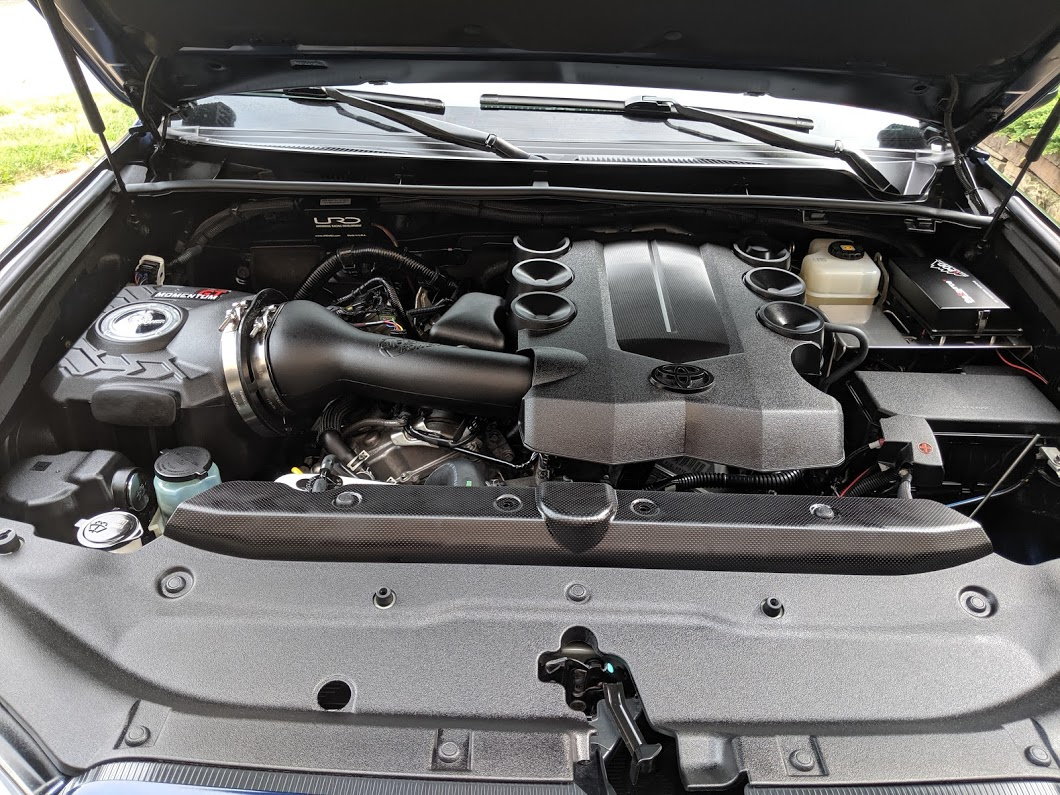
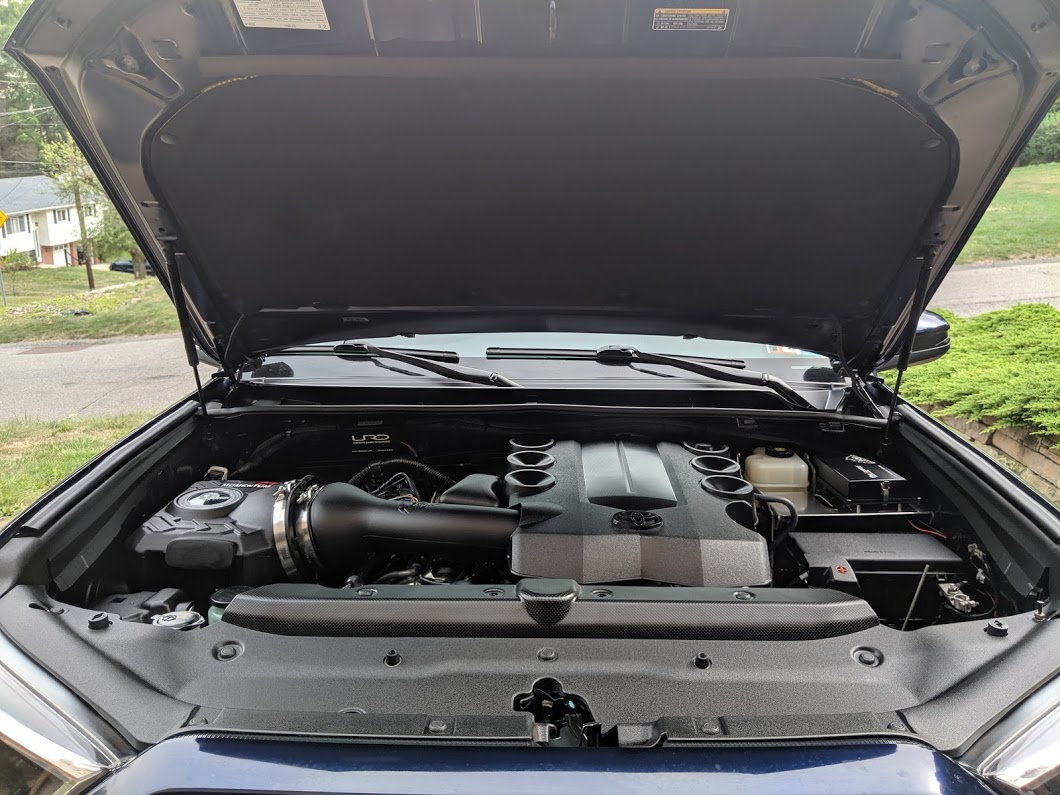
Got another big mod done last week, I got the AFE Momentum Intake and TB Spacer installed.

Hey [MENTION=51033]97BlackAckCL[/MENTION]

Wondering if you could do me a solid. Can you post a top-down pick of the area just above the afe intake box? See circled area.
YtNIwuM


I've got a thread here about how the S&B intake doesn't fit on a 2018 sr5 4x2. Need to determine if the Afe momentum GT will fit or not. Tiss my backup CAI.

Thanks

EDIT: Can't embed imgur links for some reason. Here is a link to the area I am talking about. this area here - Album on Imgur
 
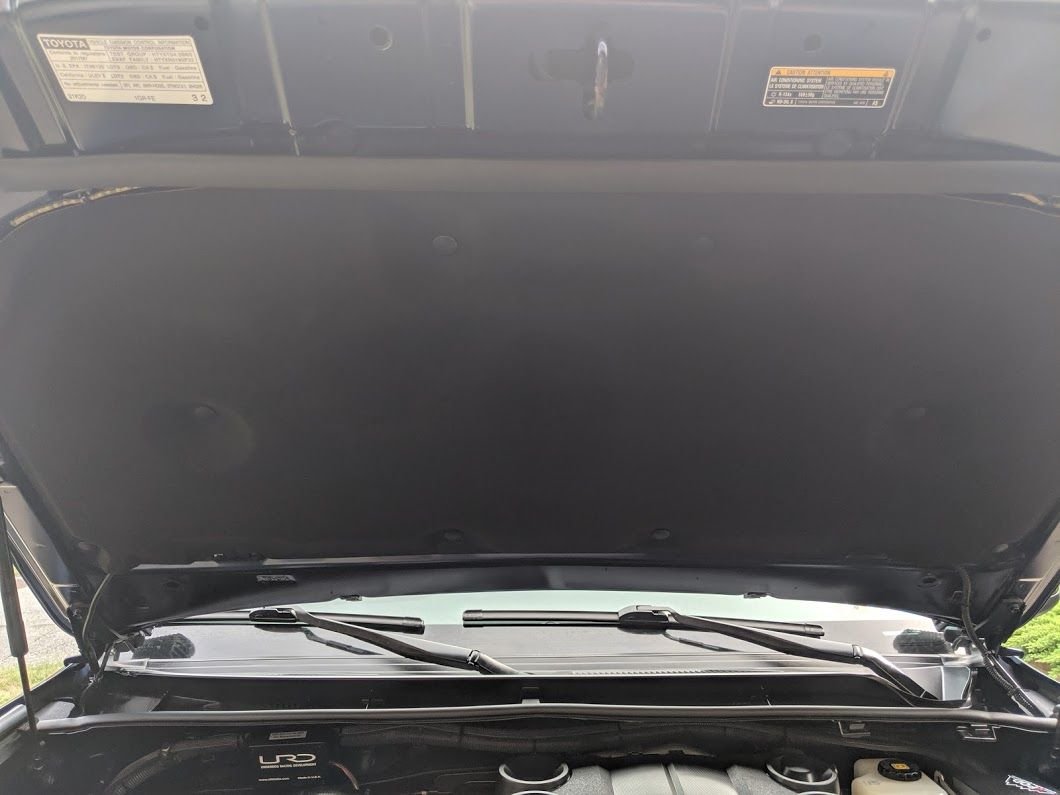
Lots of updates from this weekend, lots of detailing work, I'm sore AF, but it was so worth it. First was a quick and easy cleaning of the engine bay. For a 2 year old car it wasn't too dirty, but didn't meet the BlackAck standards. Also the salt stain on the hood liner had been driving me crazy for a while.

img_20190831_141726_5ead09d116d9b4ec81726ab518dee26288c1c9f7.jpg


Here you can see how dirty it was getting.

img_20190831_141753_ec9cd8f75181d7afa9df2690b249000c7e751688.jpg


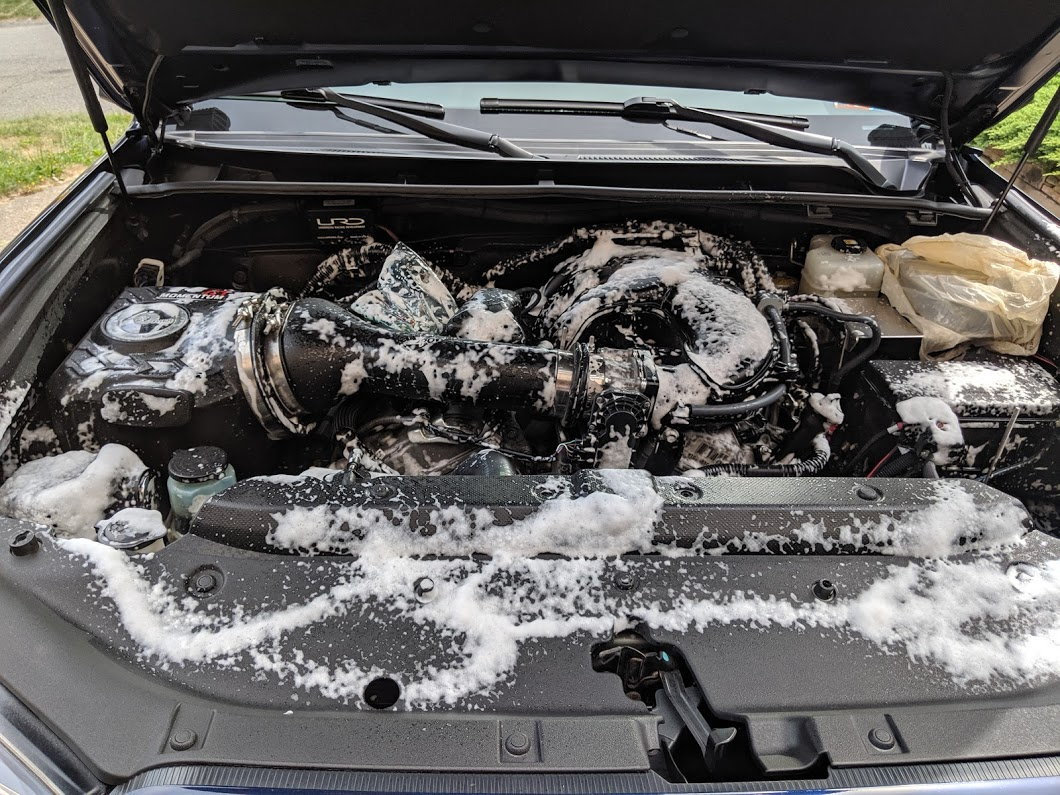
So I did a degreaser engine cleaner foam and scrubbed the hoses and nooks and crannys

img_20190831_144851_5af9ddc70df524b2e5a3b3a649a07862c15f7055.jpg


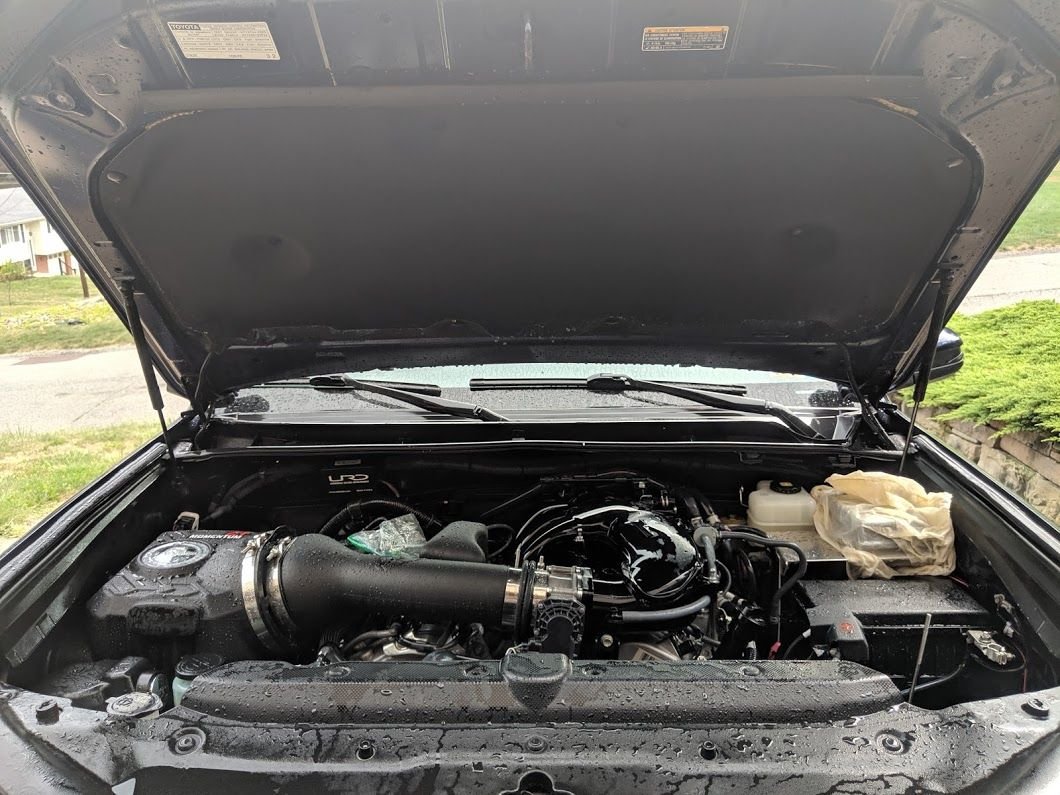
Here is the bay all sprayed down, including the cleaned hood liner

img_20190831_150010_d135e77039167773344ff40265cdba197803231b.jpg


Here's everything dried and ready to be shiny

img_20190831_151458_206b3420b7efe9454e1e7482f33eb10524c0c0a0.jpg


And here's the finished product, sorry for the glare but the sun was right overhead when I took these. Here's the clean hood

img_20190831_162555_16b83284b569cdc93ebfa115ab95a84afa649f03.jpg


And here's the engine all dressed and shiny :toocool:

img_20190831_162311_2a234e8971439baf61a574db6f64843df0db3c48.jpg


Looking good!

img_20190831_162557_ca1f75f10f51e9f56ba5dab35a6774c909b8dbb5.jpg


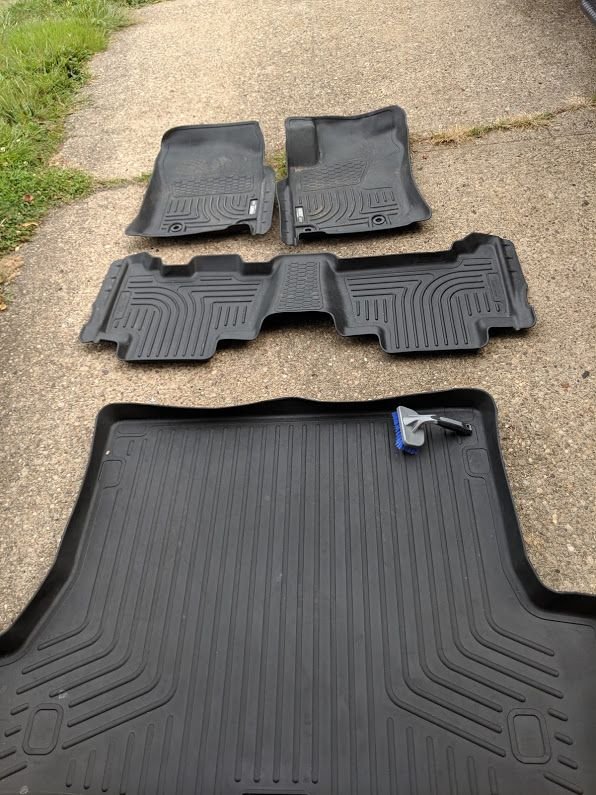
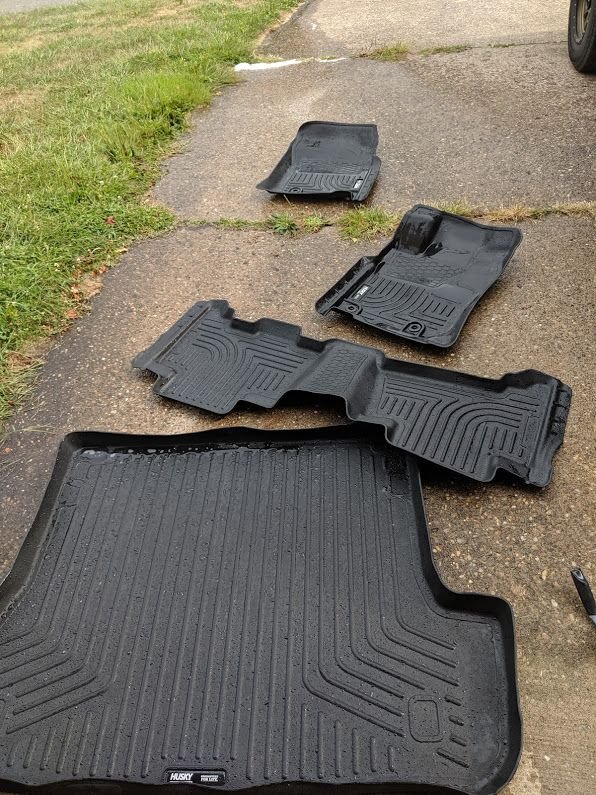
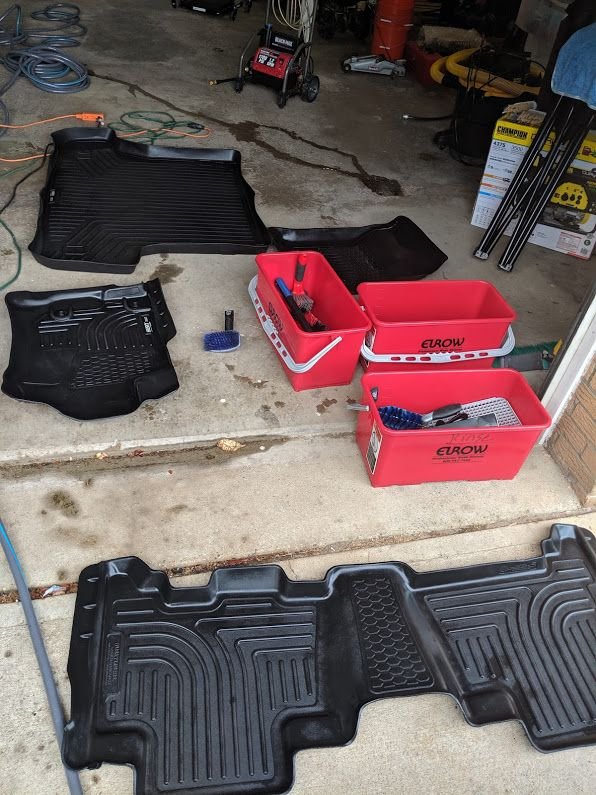
I also detailed the interior thoroughly. I had a shit ton of dog hair that needed sucked out, and the interior trim needed some love as well. Didn't take very good befores, but here's the floor mats

img_20190831_164311_aa41190684a16281dffbba0b84b0805a218f8c5b.jpg


Washed

img_20190831_165008_fe5d6536dbd5edf3d20610c403a4a9735ebe9d54.jpg


And treated with some trim shine

img_20190831_182631_e2f89e700f68807a72dfc6358e22a0689c216970.jpg


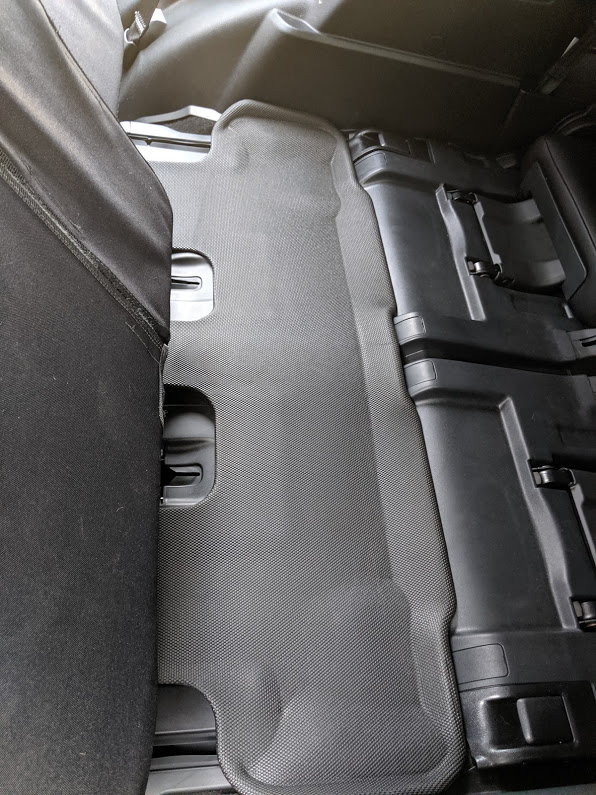
I also spent a lot of time cleaning out the area between the second and third row seats because it's a giant dog hair trap. I put this floor mat down to hopefully help trap some of the dog hair and make it easier to clean in the future.

img_20190831_184215_3928ccd8cbe6383a2a62b5e4b2086f5a8a7a328e.jpg


I did all the interior glass to get rid of dog drool marks, and wiped down and protected all of the interior plastics. Here's a finished shot of the dash.

img_20190901_142752_a994d1226151ff6c330444197a48c95767df0e33.jpg


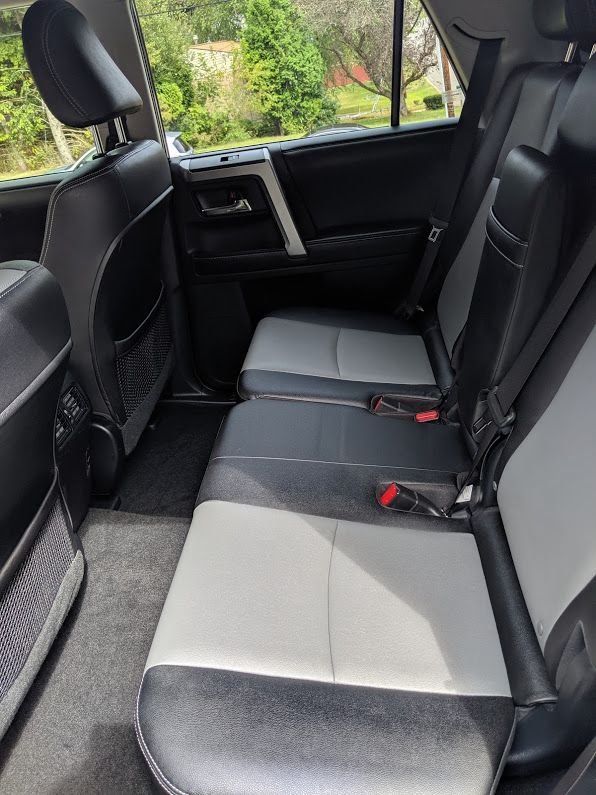
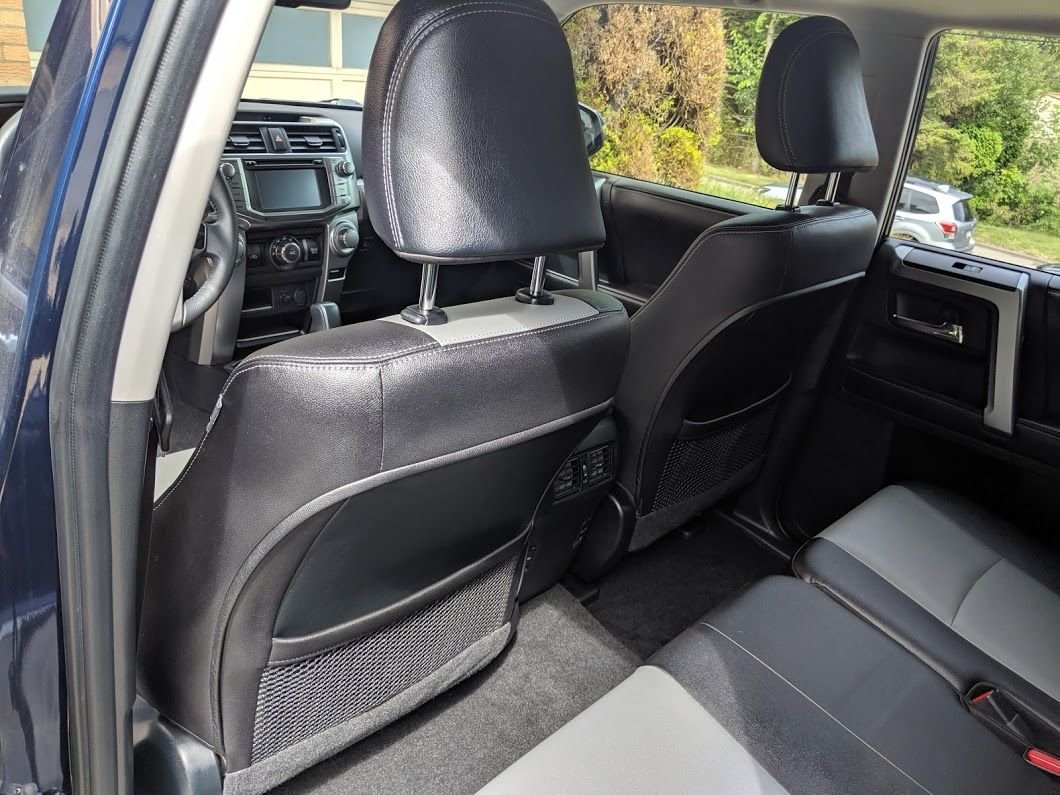
I also vacuumed and wiped down all the leather and added some protectant to the leather, it looks brand new

img_20190901_151523_54fa509be6b9a4f0232d6a1ad88b008db4facecf.jpg


The fiancee was impressed that I did the rears of the seats as well, of course I did!

img_20190901_151527_c4645eb37b10ca2e83e8d9cb466f8ad7b910f0aa.jpg


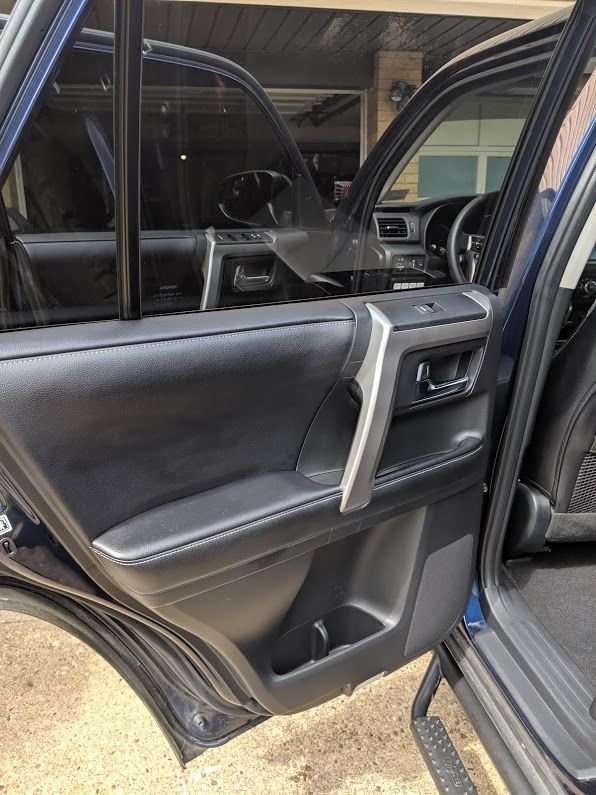
I did all the door trims and leather inserts as well.

img_20190901_151532_6ee3cc5b565da69a1ad3dc69d5555510a6dbd515.jpg


Here's a shot of the rear all cleaned up

img_20190901_152540_b6c06606d688498f345d089954554d0df64c656d.jpg


And here's a shot of the cabin all finished. I have some salt stains that I need to address further, some interior cloth cleaner didn't get it all, need to go after it with vinegar, but it was clean enough for the time being.

img_20190901_153242_fbfcf51ad346187223f476afc6dbd5cbd79e0cd4.jpg
 
Alright, onto the main part of my 4 day weekend... One issue that I had to deal with was that I ran over cement cutting water on the highway and it not only got all down the side rocker panels of the car, but it got all over the wheel wells and all over my side steps

img_20190831_165013_52cfed4a2a5fa934dace93b7ac5271ebff49adb5.jpg


It was all over the place.

img_20190831_165020_7c8fc1d1a58a7dae117466eca53a07b047f8c0ce.jpg


Here's a before

img_20190831_170340_4bbc1cc89a8bd4c070b5005277caa569e424e426.jpg


After dealing with all the cement bs, I started with washing the wheels and tires.

img_20190831_173748_f3bbf184fe03f0da93a35ff8e674c41bc46496d1.jpg


This pic is for Colts, RUST! :whyme:

img_20190831_170357_ce53105a49e9ca4f90f184d9654f9c3742db96bb.jpg


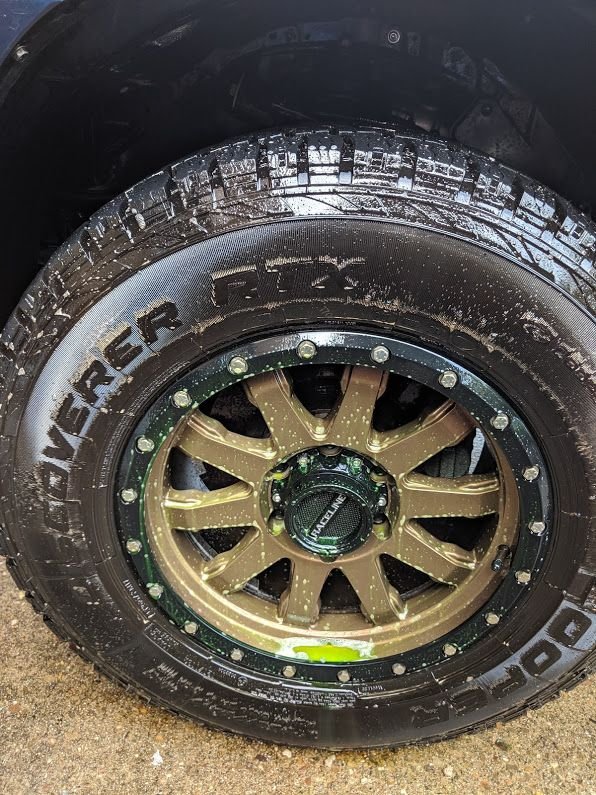
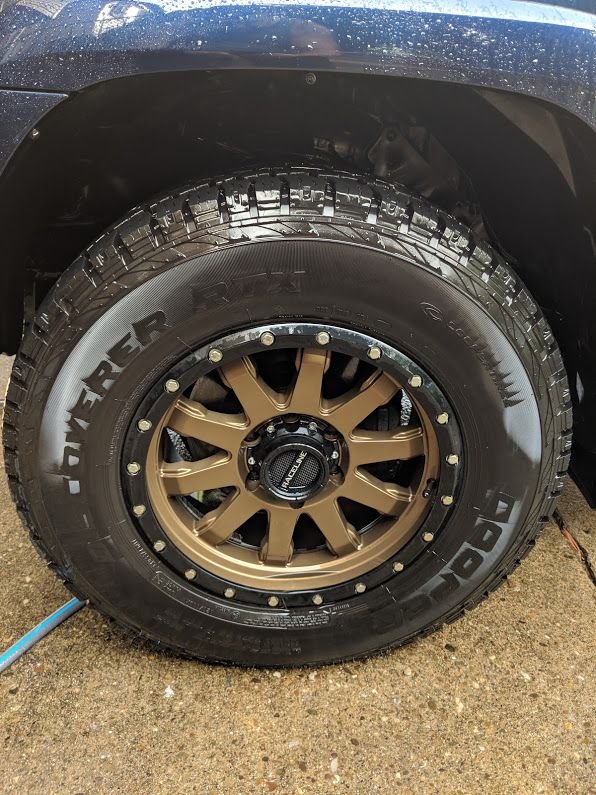
And here's the wheels and tires all clean and shiny. :yum: The tires needed some love, there was definite oxidation, I did 3 rounds of Adam's Tire Rubber Cleaner on each wheel to get them clean.m

img_20190831_170351_b554d0ef0806eca2a1585b50cbd1771d3e0492da.jpg


img_20190831_170347_4284e8b488a0c1f94555021d8e6cdbcfc590bd55.jpg


Wheels all done, the Ack watching me from afar...

img_20190831_180706_291852080d8e7efda3fe4c9cfd576c649a420b7d.jpg


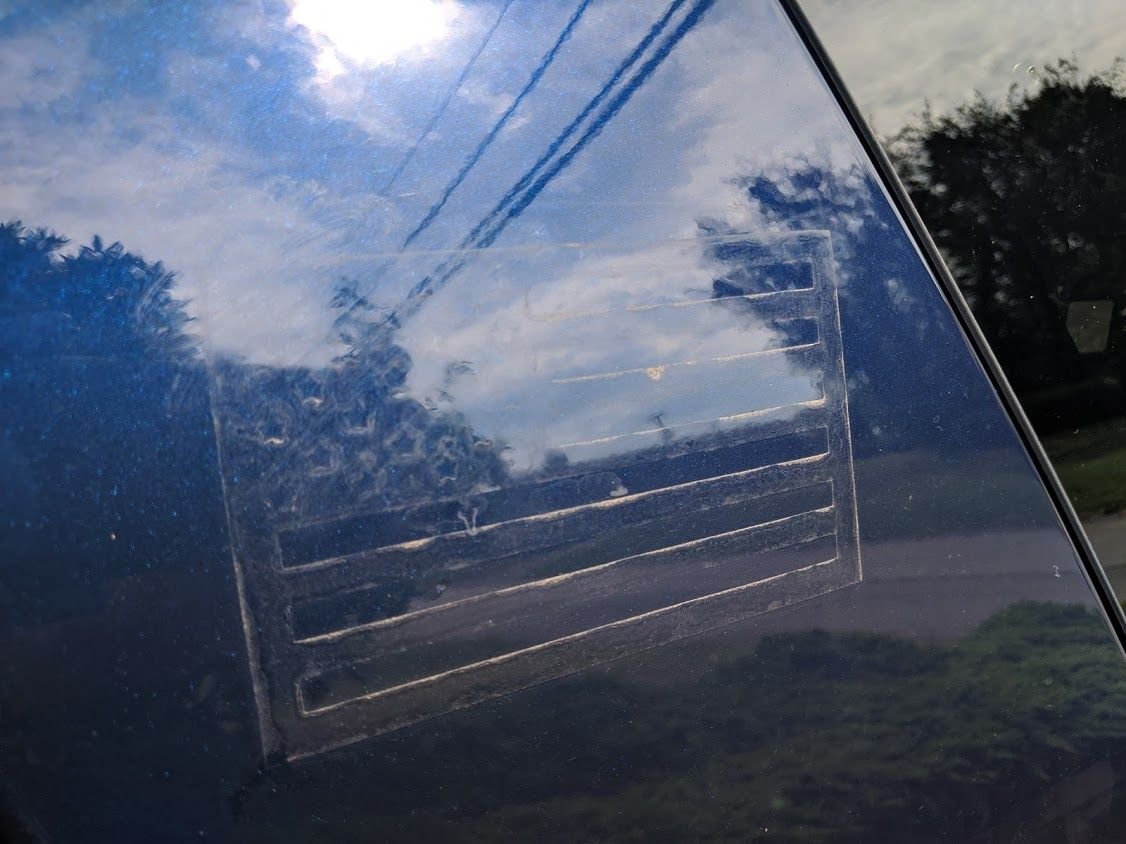
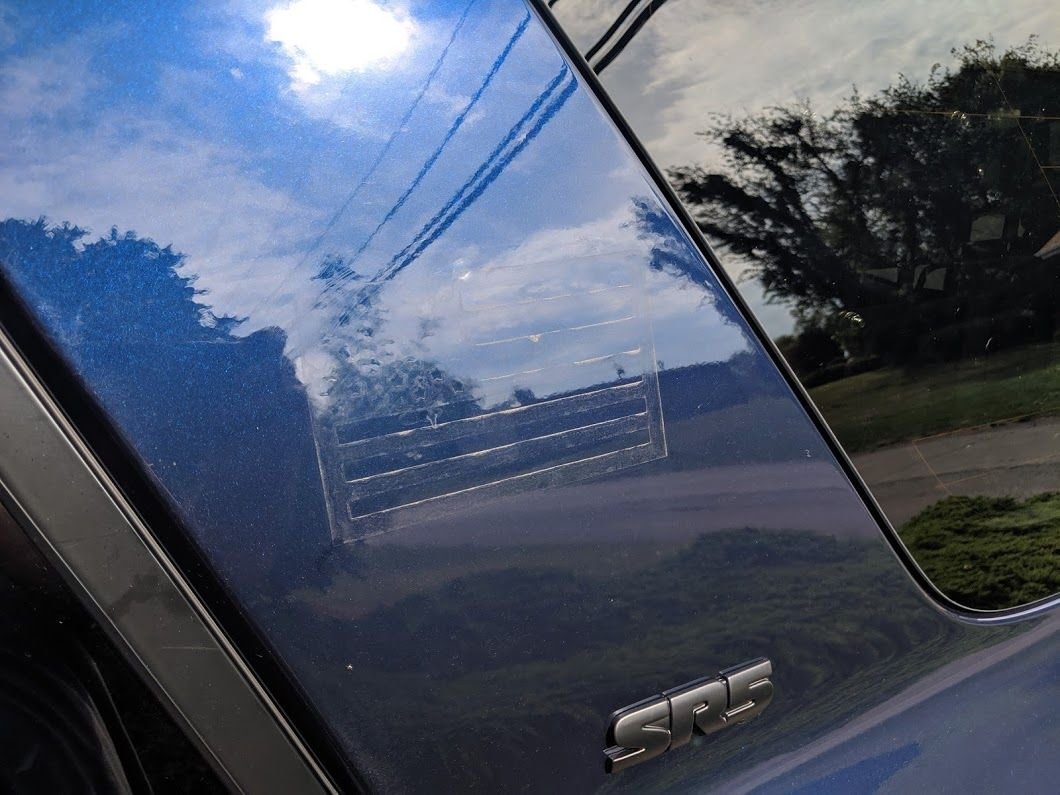
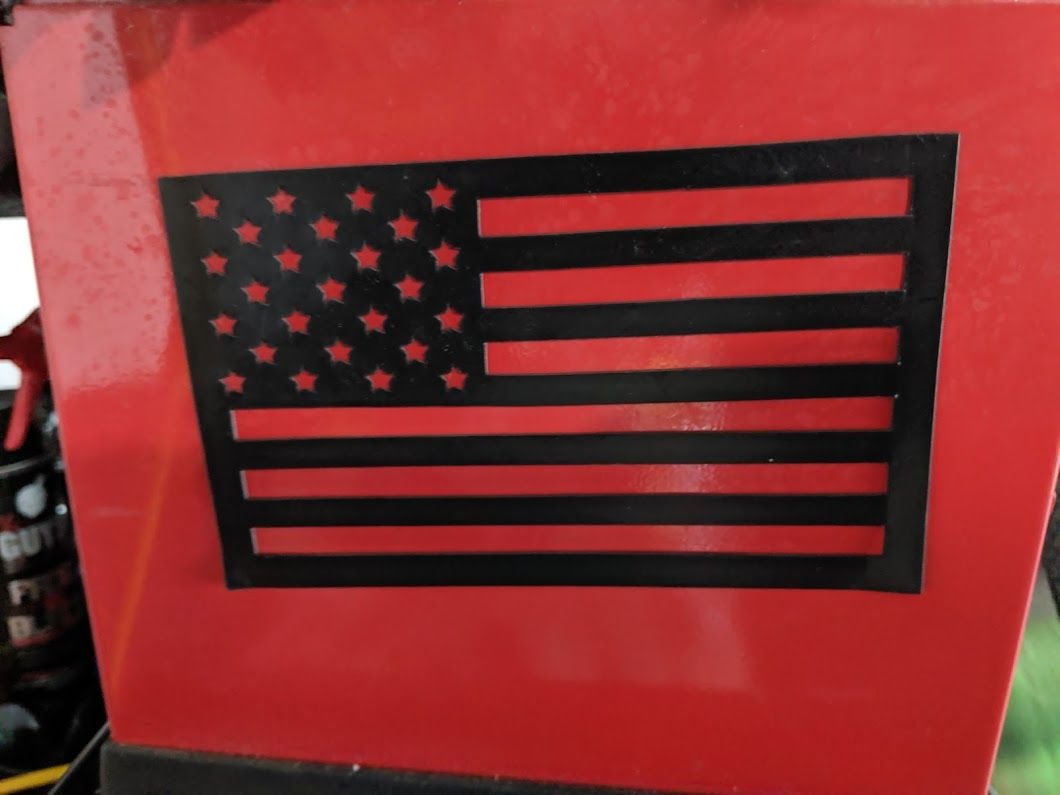
Here's a couple befores of the car washing. I hadn't taken these flag magnets off since I put them on last July 4th, so needless to say I was expecting some ghosting. The pollen under here was crazy! Even washing and clay baring did not remove the ghosting.
img_20190901_155255_5639cc1d498753d1973a020e6bffea95b806bbc0.jpg


Definitely ugly, not as bad as I feared though.

img_20190901_155257_e90ea0fa5858dbf3a942a5675bc39346fdbc51f0.jpg


And since I don't plan to reinstall the flag magnets, they found a new home on my tool box.

img_20190901_155244_407004d5e0ce634a9d3a6c9ff7ca6bc5b5bc6e54.jpg


Here you can see some of the surface scratches that I was addressing

img_20190901_155315_880599c3f73883a0ea231708dcaa78fb509dd58f.jpg


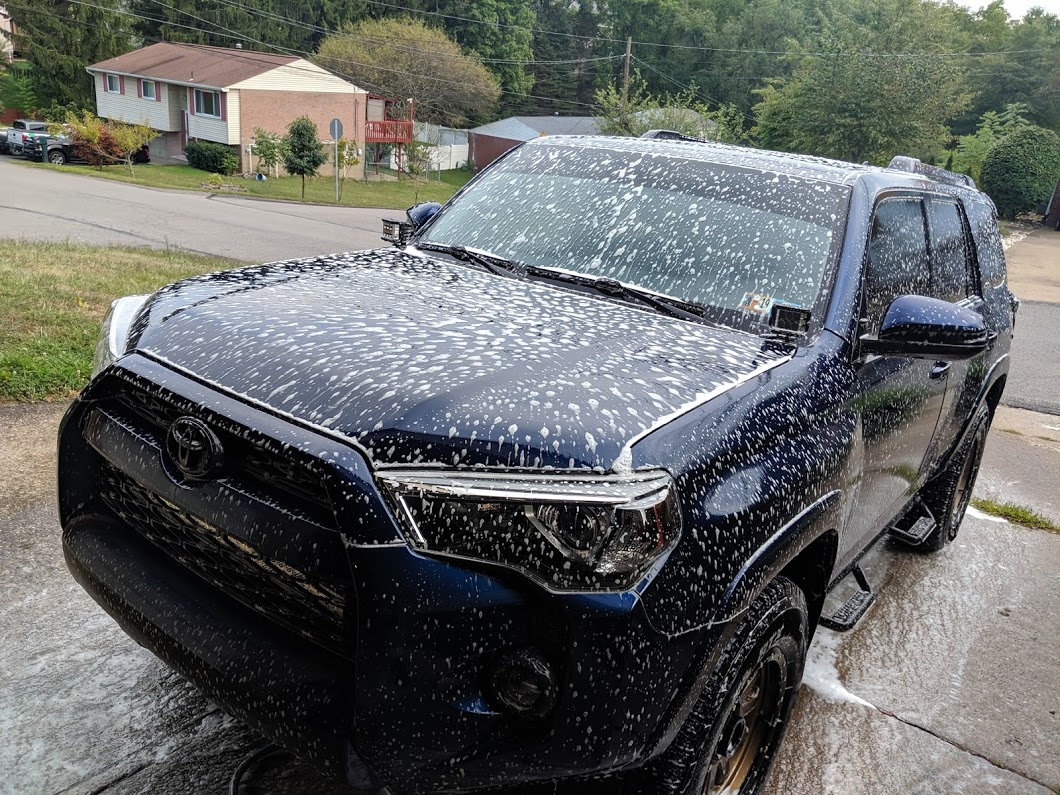
I did 2 pre-washes, this is the first round

img_20190901_163120_37d4ed496c54e604ef28e74697f6aa3ef0e11cee.jpg


This is after the 2nd prewash

img_20190901_164139_27f4bbddff0549ad28451d1327bf68a92a2682aa.jpg


This is after 3 washes, and a stripping of all the wax.

img_20190901_162609_47d00f9842592c11d987408c4a0a53c373a12e04.jpg


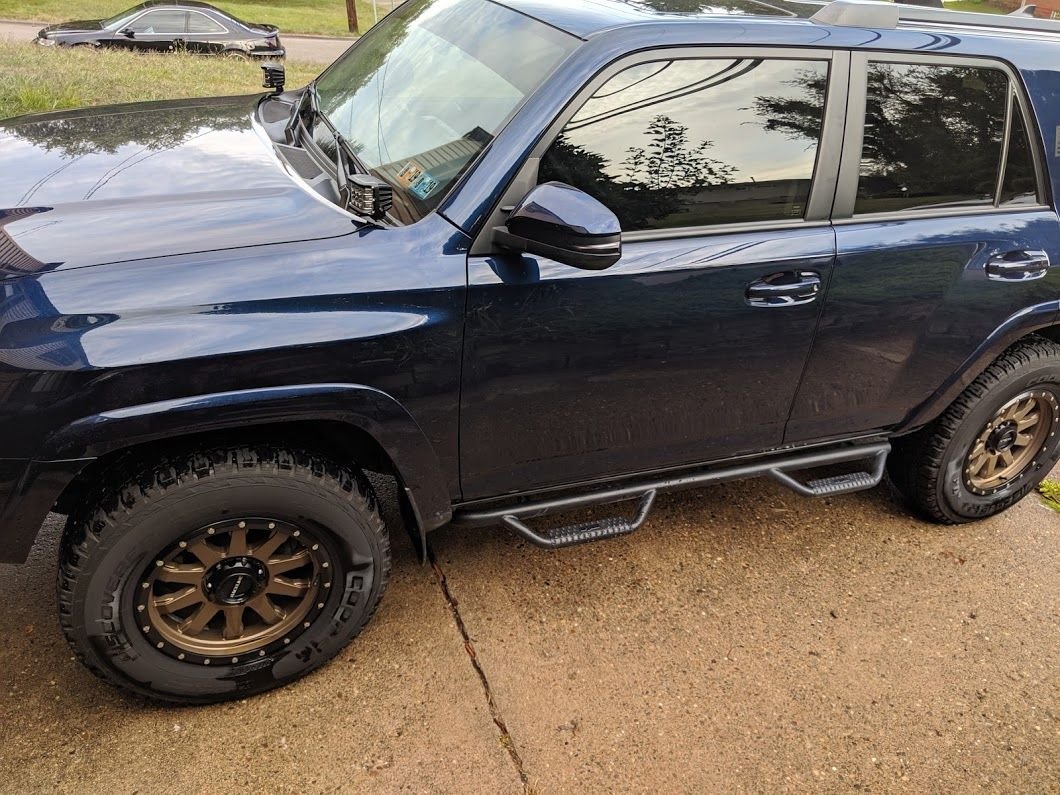
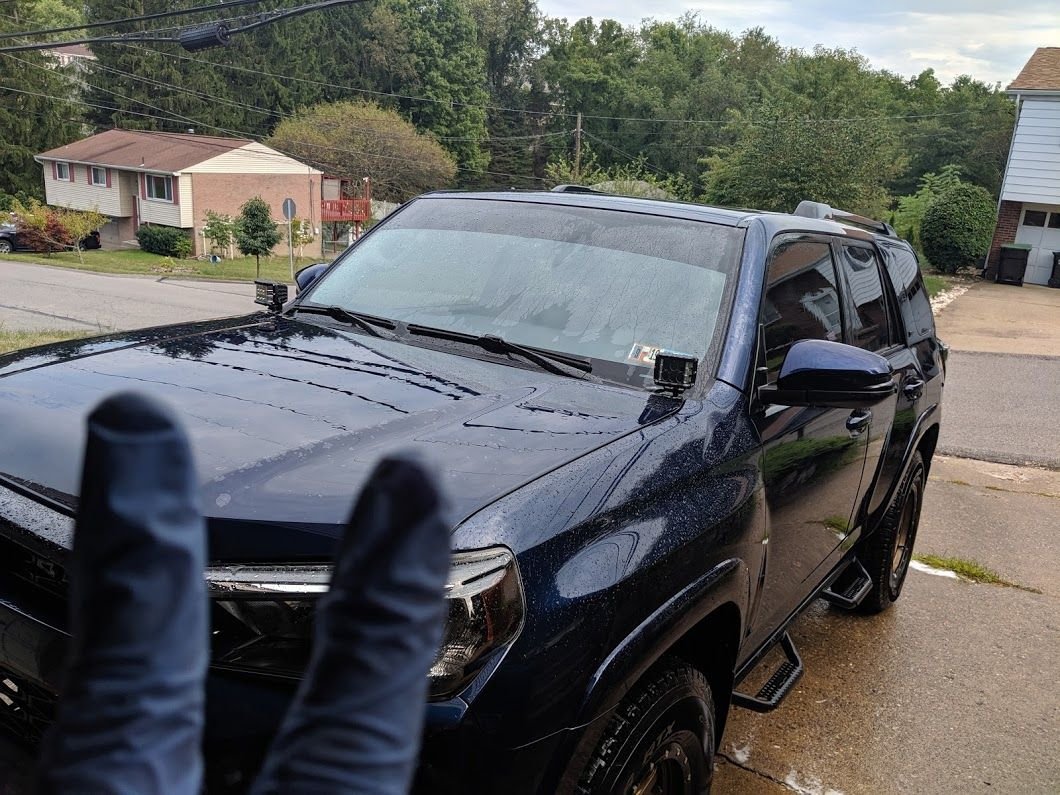
Here she is all dry
img_20190901_174955_fec10a69d15bc57f3b1609d29b7fc571edc4b6a0.jpg


And here's a before in the garage.

img_20190901_195014_ec22ef2b1df19b2b9b1c21c3533f1b59ce6859f1.jpg


Let the claying begin!

img_20190901_200048_d1e2b94ba1003cb23052ada1dce8eda96f8b1614.jpg
 
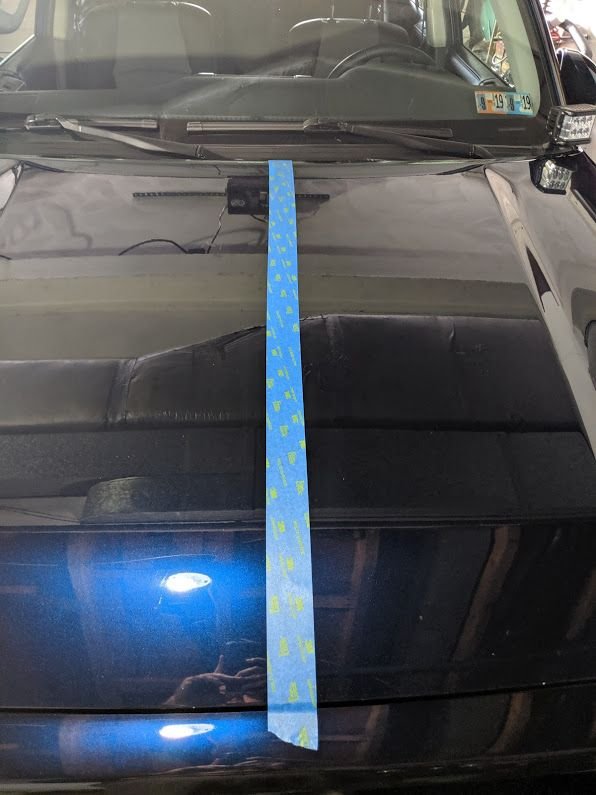
I spent late into Sunday night claying the truck top to bottom. Monday it was time for paint work. Here's a before

img_20190902_142813_8e83fedf865a8fcafff937f4434a00a184b23a83.jpg


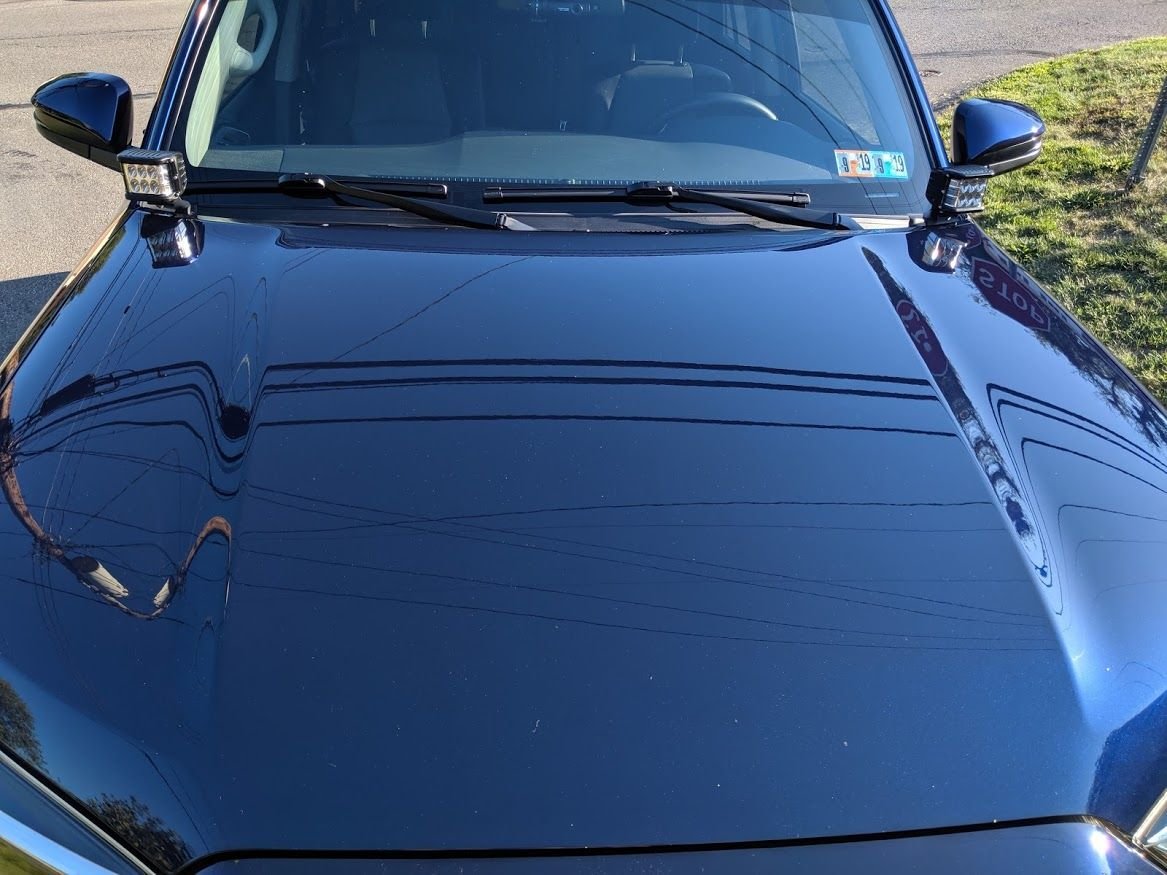
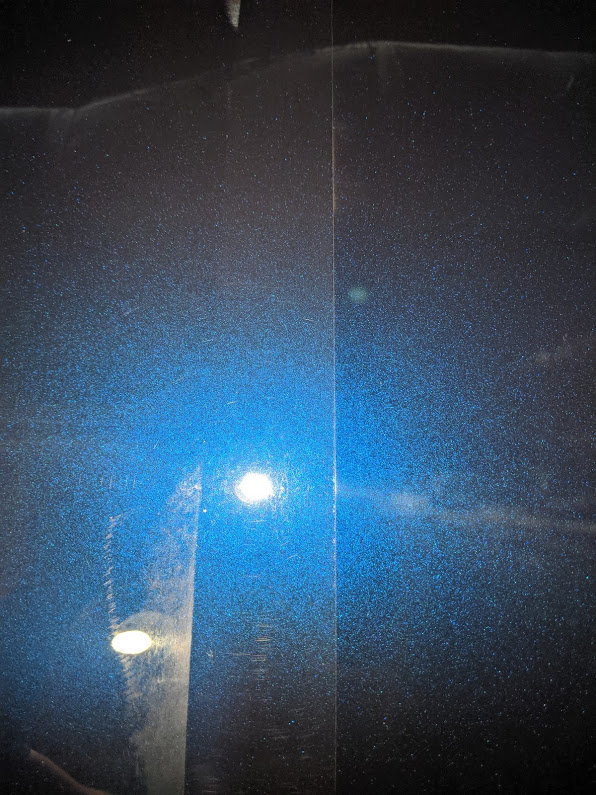
And here's the side by side of the polish on the hood. It's amazing how much shine and metal the paint has.

img_20190902_145025_44b435e9ba891044d0b2f3f58ee3391b6b11e0a2.jpg


Here's an after of where the American Flag magnets were, as you can see, there is no more ghosting.

img_20190902_172312_923c44a62ce33cfe2b5fa03007a2de50c541e27b.jpg


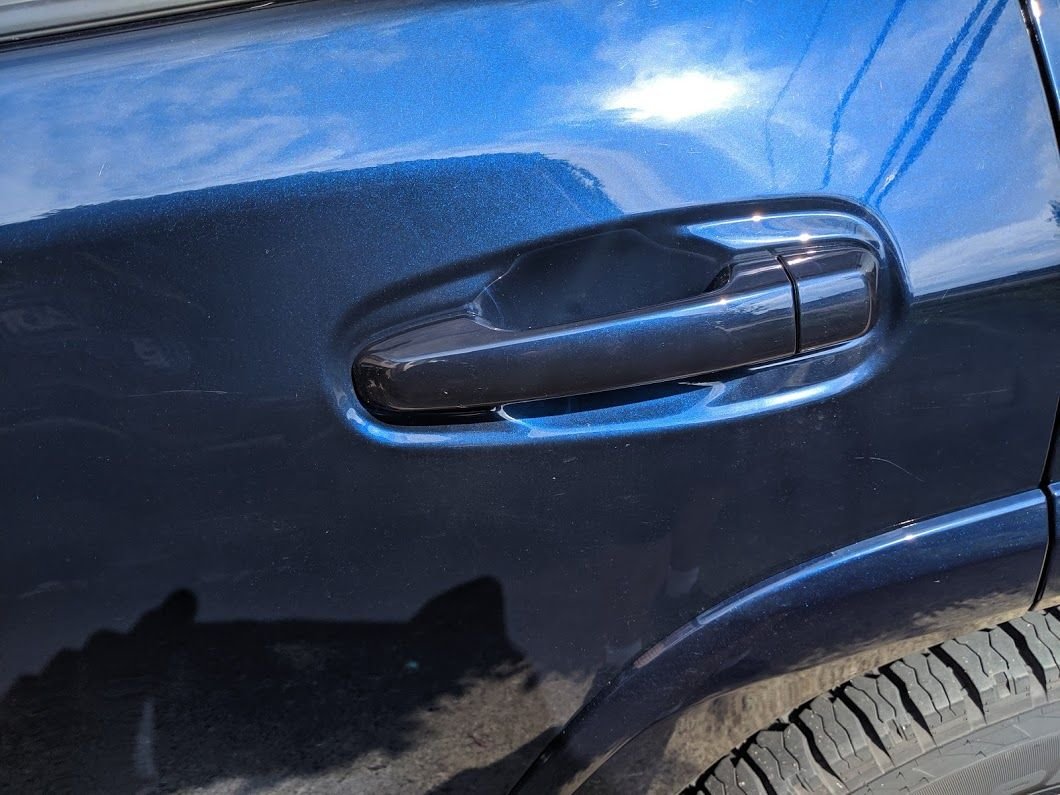
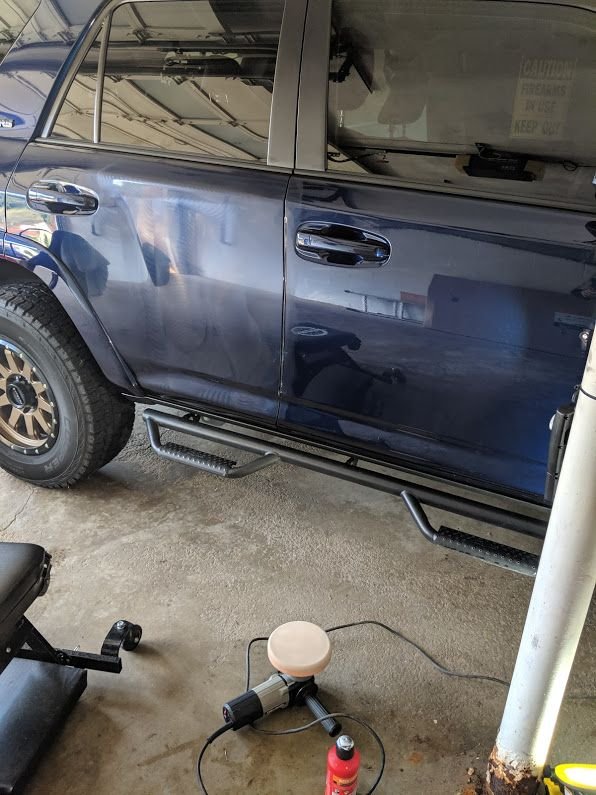
Most of you remember that some ******* keyed the passenger side of my truck, befores are a few pages back. I spent a lot of time on the passenger side getting rid of those scratches

img_20190902_163316_05a872bc0b8252d608e95c7a6e6454e88a424755.jpg


My arms loved all this work.

img_20190902_163321_8a604d268b668577cc0324b84acae72fa663d3fa.jpg


The hard work paid off, the key scratch is completely gone!

img_20190902_172259_36e4ea603d4d9794dba74a364ad3a12a1df8b74b.jpg


No more key scratch :)

img_20190902_172256_76b763c7f5cbb89c967f014f4870dd164a283ad1.jpg


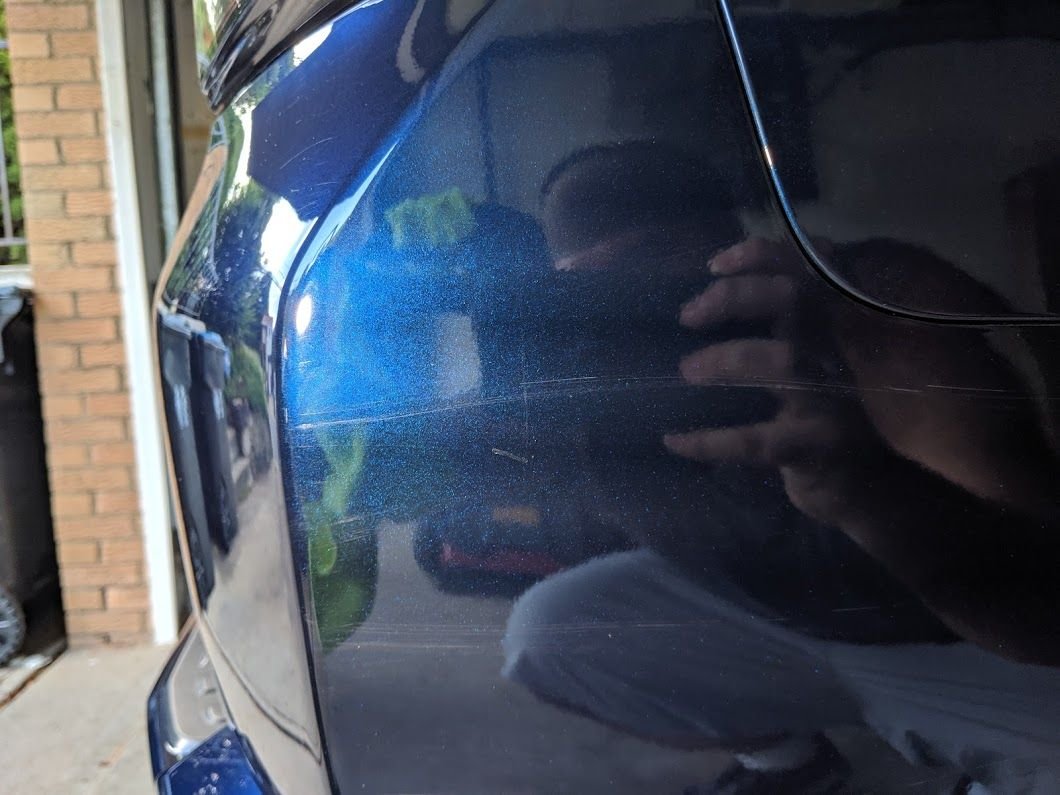
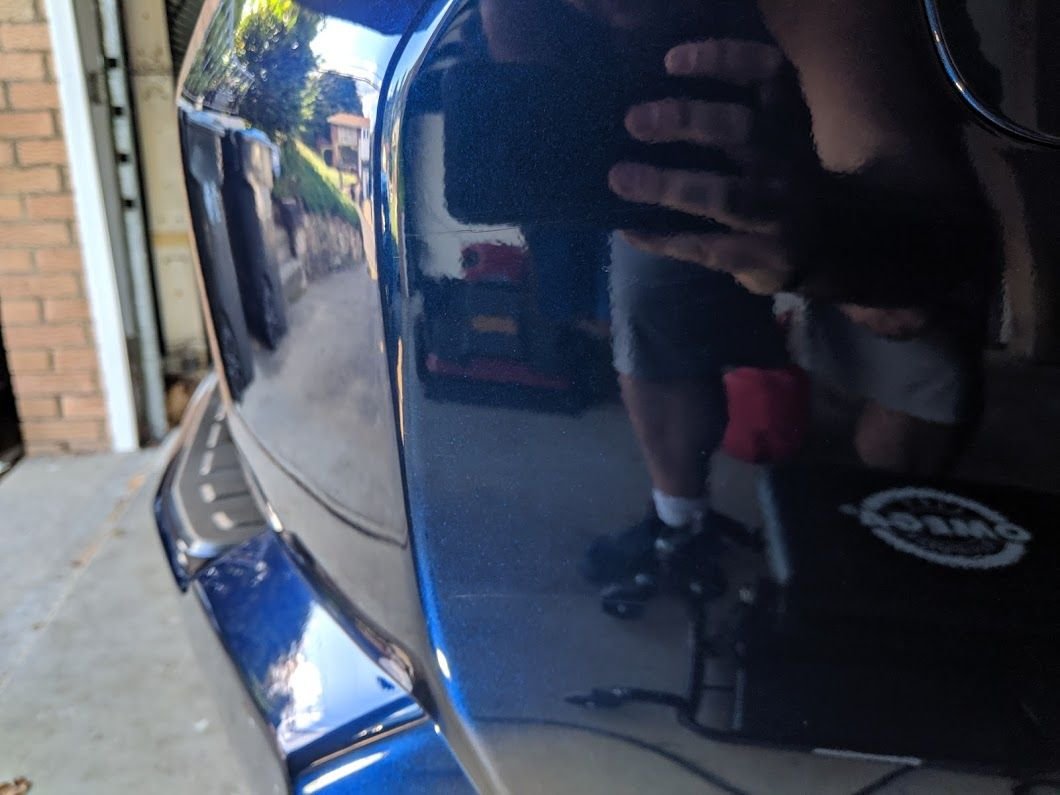
Another issue was that someone hit and ran my rear bumper, the scratches were pretty deep.

img_20190902_173109_8d876e348cab3f65cadbc587ac3022b5e646bca3.jpg


I did my best, not perfect, but so much better and less noticeable now.
img_20190902_174444_5aa1ec49a6ed3e943593886256a1a45442b97911.jpg


More pics to come
 
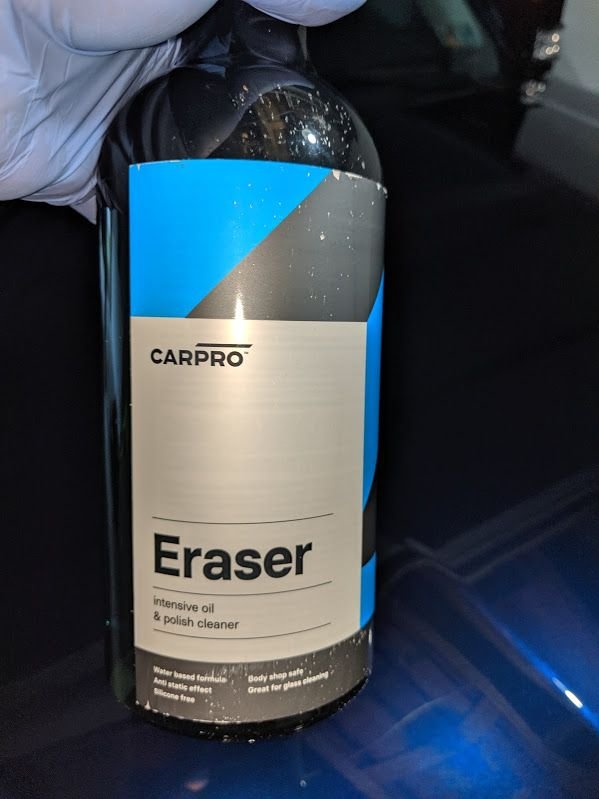
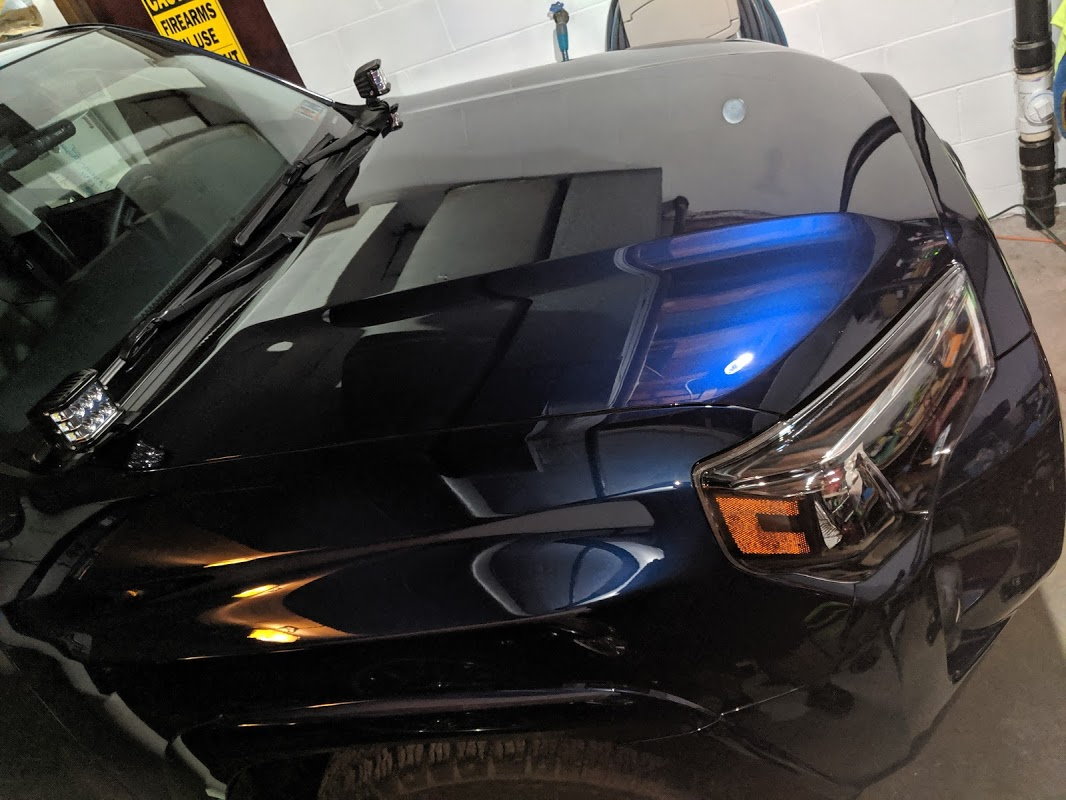
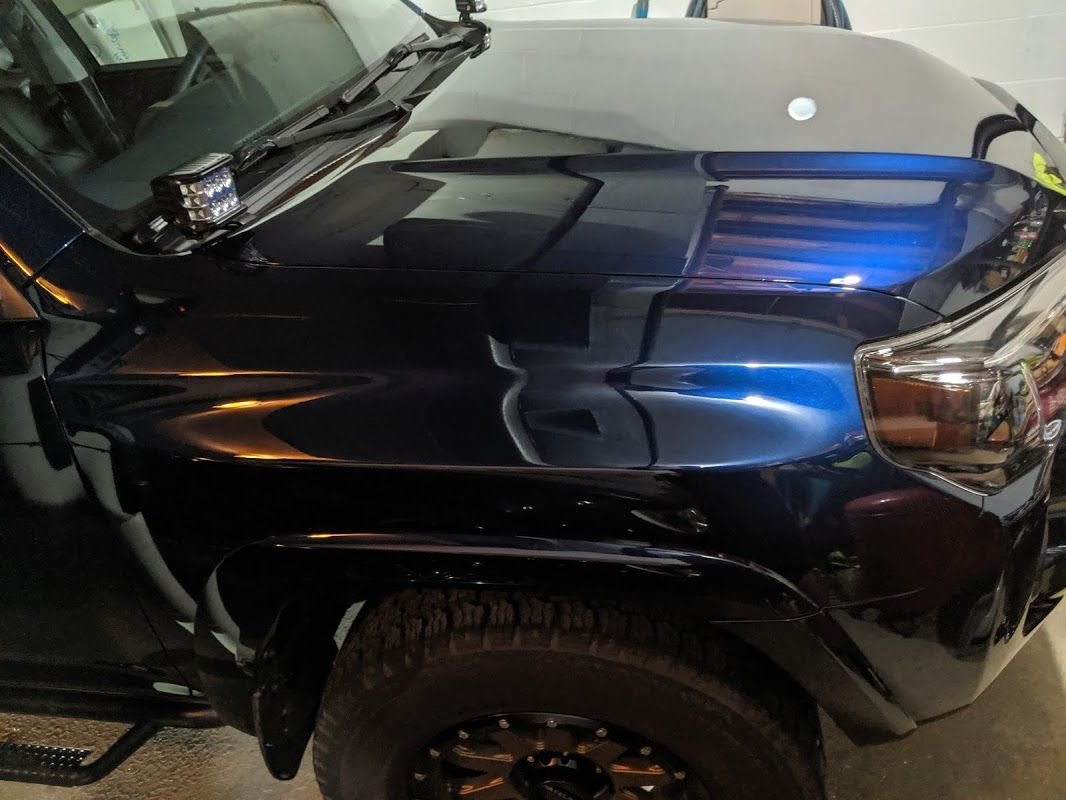
Well after nearly a week of work, I finally wrapped up the paint work on my 4Runner last night. Wednesday night I rebuffed the hood and the last bit of key scratch on the rear passenger door that I didn't get out completely. Last Night I wiped the whole truck down with an alcohol solution to remove any compound oils.

img_20190905_192101_7d73a12abbaabac24aaf45c12c75497775b0ad59.jpg


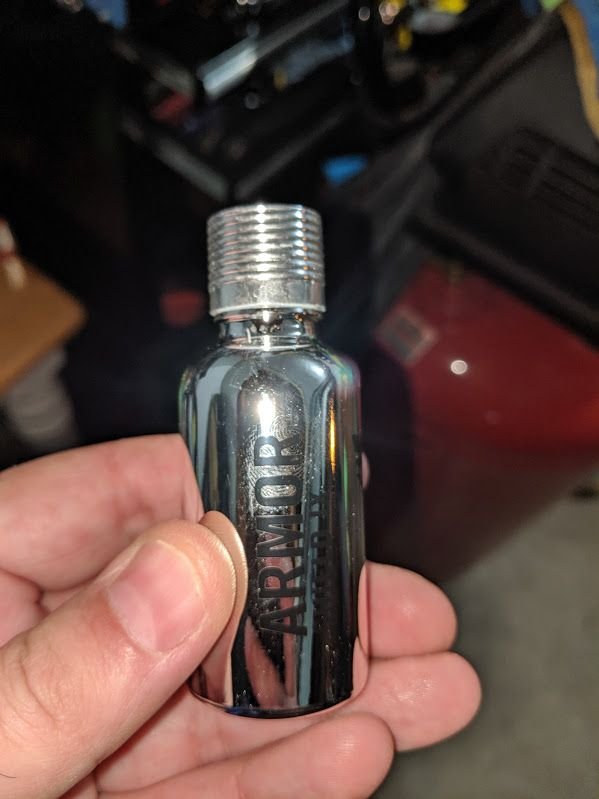
Then it was time for my first attempt at ceramic coating.

img_20190905_200504_2e7b48ebefe9cb786d2db635c55e86a69068a973.jpg


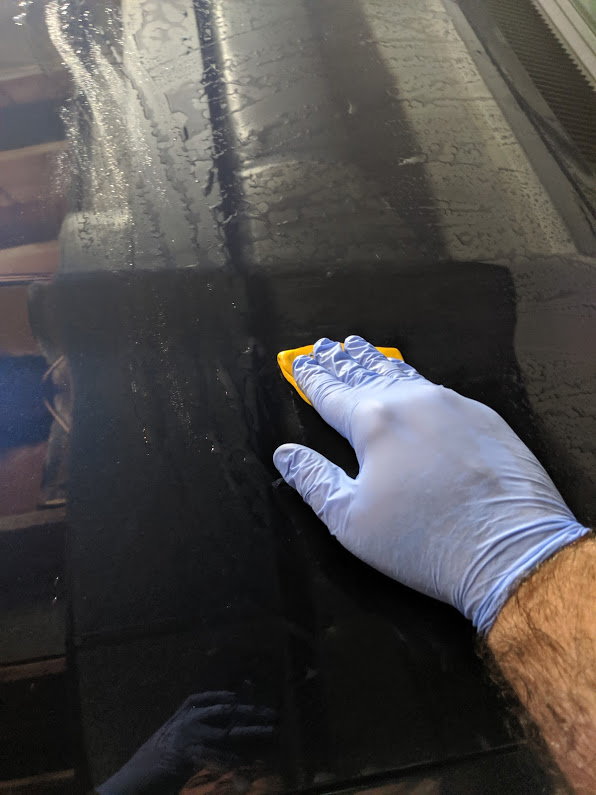
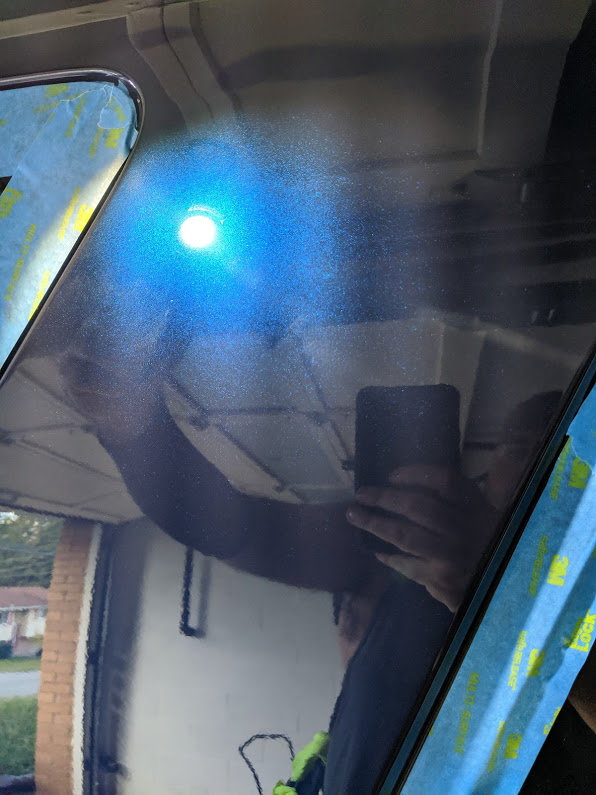
I started with the rear hatch and roof, then moved to the side of the truck. The process is pretty straight forward but VERY time consuming. After each application you have to wait 2 minutes for the product to cure before buffing it off.
img_20190905_205841_a2c510cf245d9583b773894df365423c89f92ca0.jpg


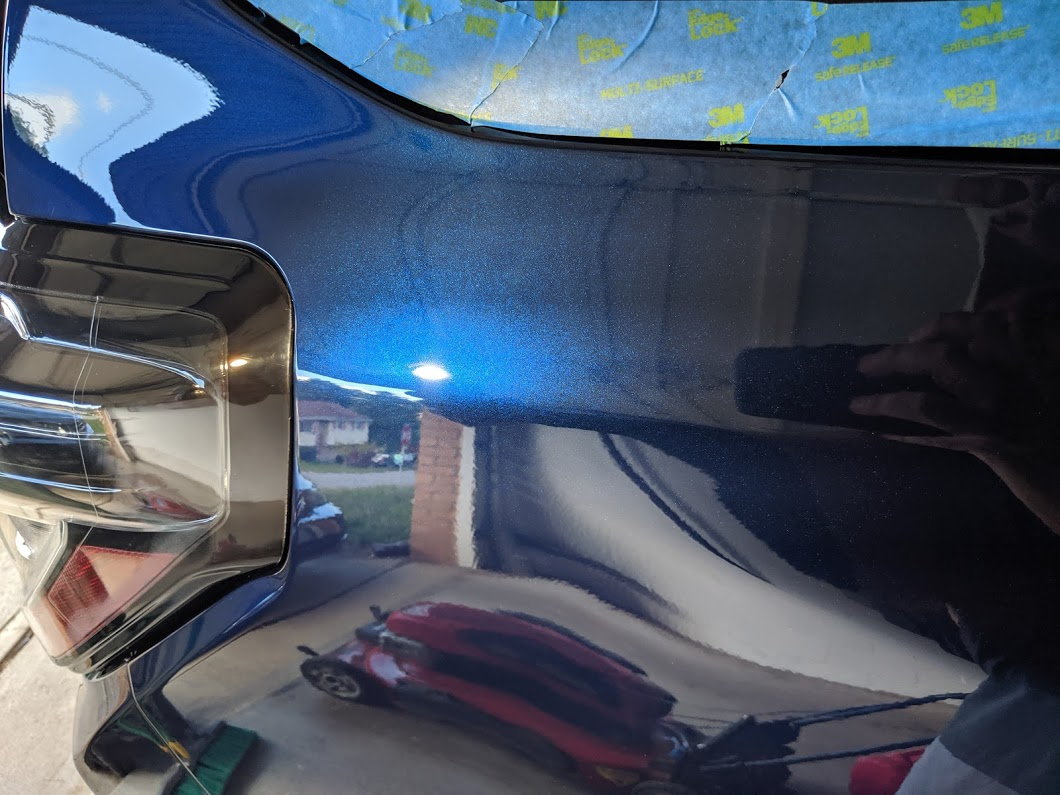
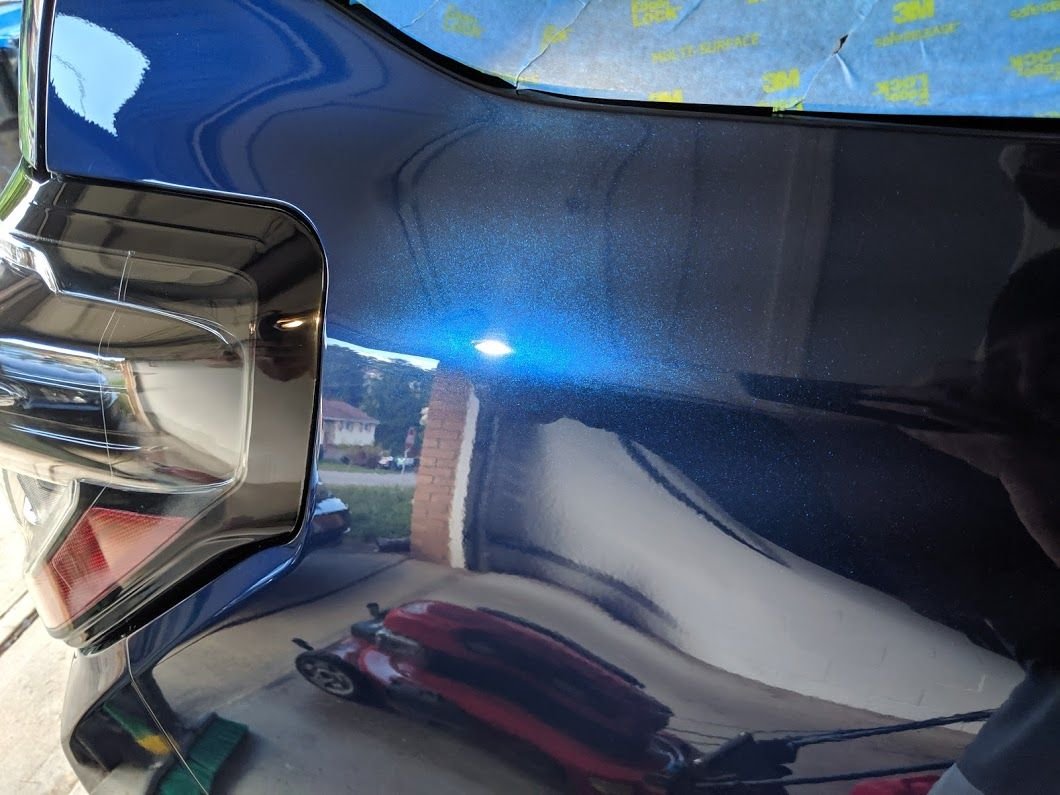
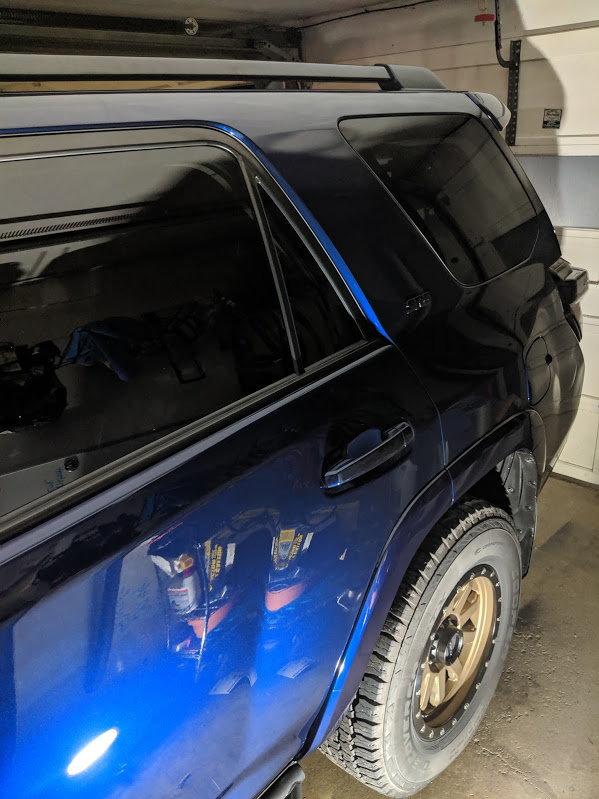
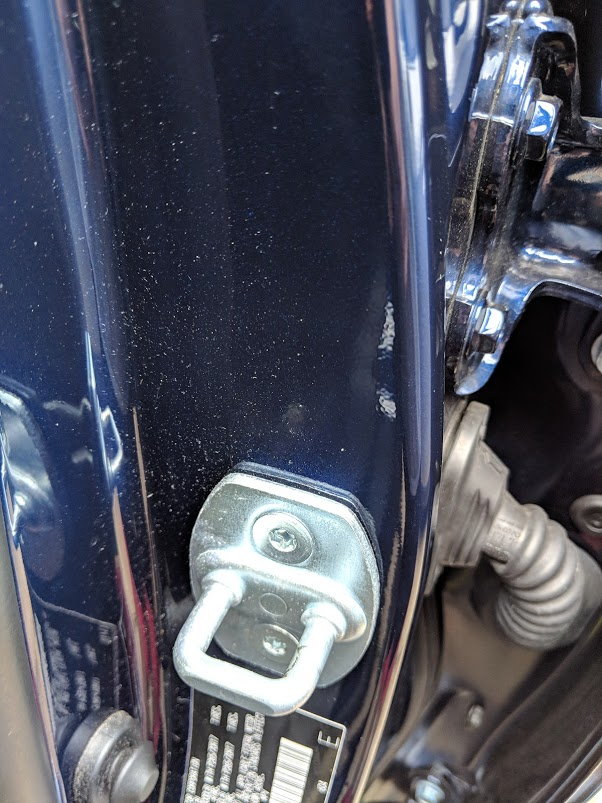
Here are some final pics of the finished product. I tried to get some reflection shots, but my lighting was bad and it was late so I did my best.

img_20190905_232317_bfb1ddd2e804209aa1f61b695d8dae782e257e29.jpg


img_20190905_232308_75f35d0c96c85a562dc3dbd5e90562840fbf494f.jpg


The circle is just the reflection of a metal cap on the wall, not on the paint

img_20190905_232301_4f630c8b947113a0f6c071fa760ae759f58cf710.jpg


img_20190905_232352_377a72f7ec03d5282dd634b95ecf8075b424cadb.jpg


On Wednesday I also retreated the wheels with matte finish wheel sealant.

img_20190905_232347_dd0c174842c3562440ff5a2e7a053ed4c882f8ed.jpg


Here's my attempt at reflection shots, like I said not great but you can see how great the finish looks

img_20190905_232333_f6803dc76cd515f51cece2884d9ced6876db54d9.jpg


img_20190905_232325_e40c952dbf6735cb1088a35d3c43c40d63098ef3.jpg
 
Beautiful work man. It is worth the outcome that is for sure. I actually ordered about $300 bucks worth of detailing stuff from adams polishes and chemical guys including Adams new Ceramic Paint protection kit and 3 stage paint swirl remover. I still have my porter cable from when I use to detail my Acuras, so it has been a while, but going to jump in and get it protected right!

Here was the kit I got.

Adam's Ceramic Paint Coating | 9H Ceramic Paint Coating Kit - Adam's Polishes

and the 3 stage kit

Adam's Polishes Complete Polish & Pad System 5.5" | Compound & Polish


Plus, Iron remover, strip wax, some more shampoo, and interior stuff from Chemical guys.

What ceramic did you get?
 
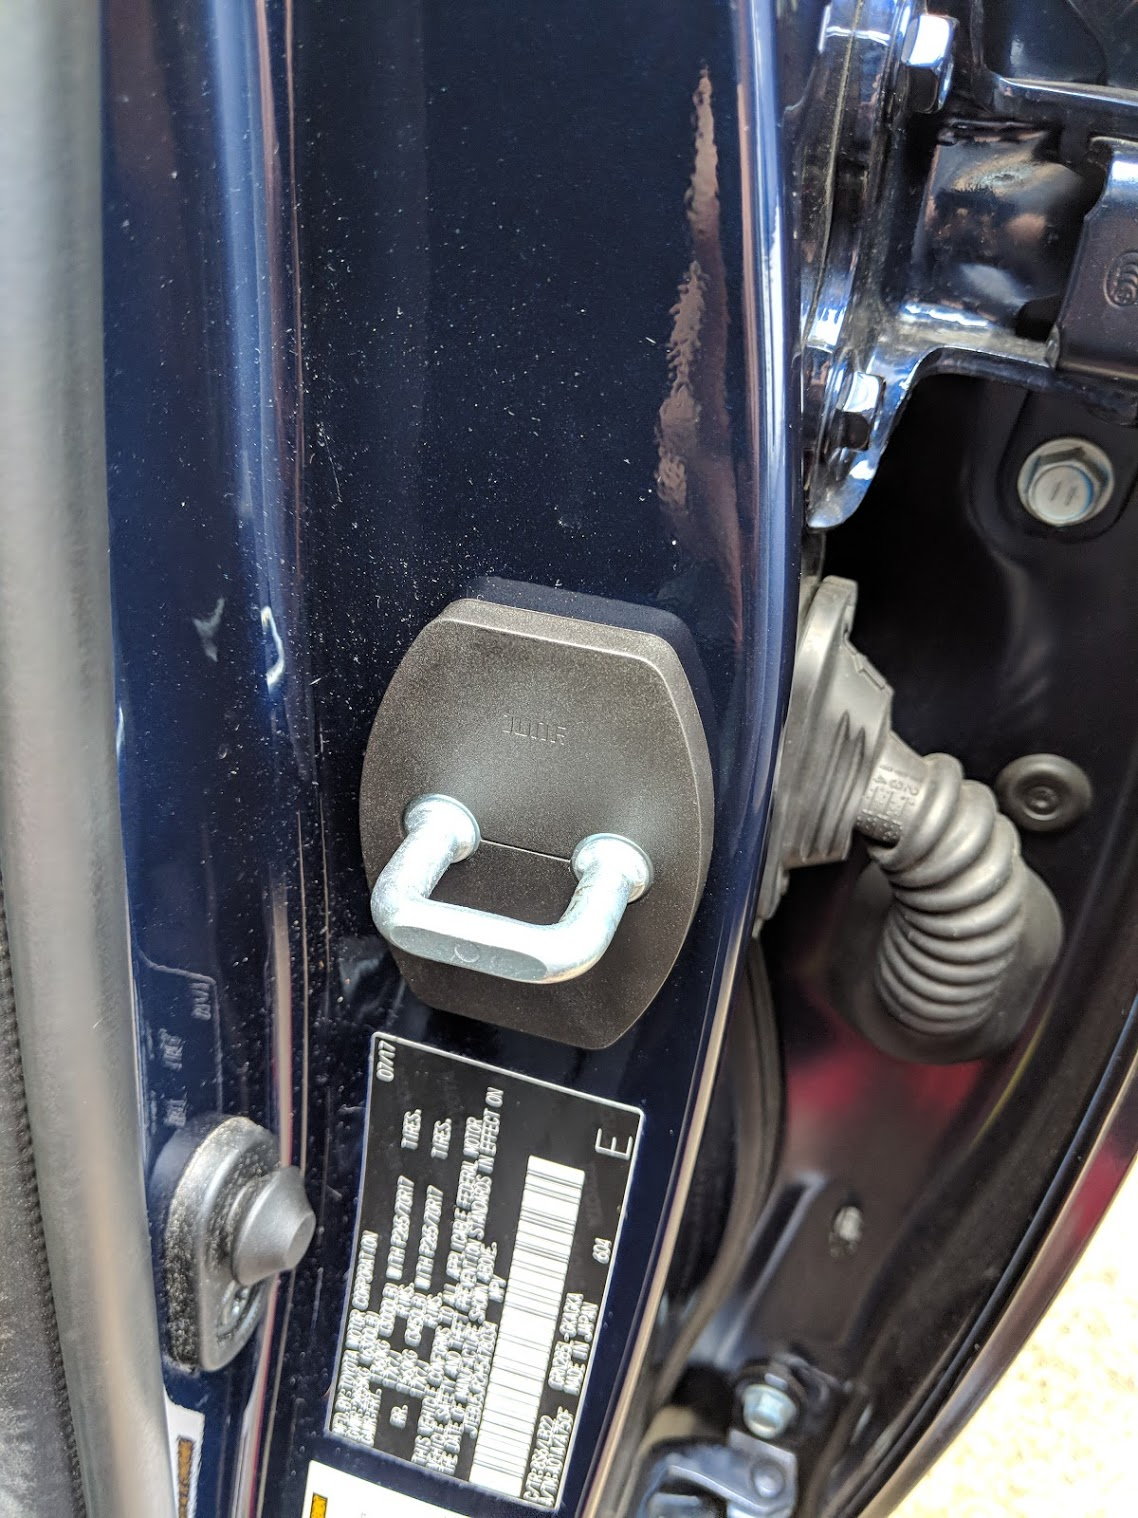
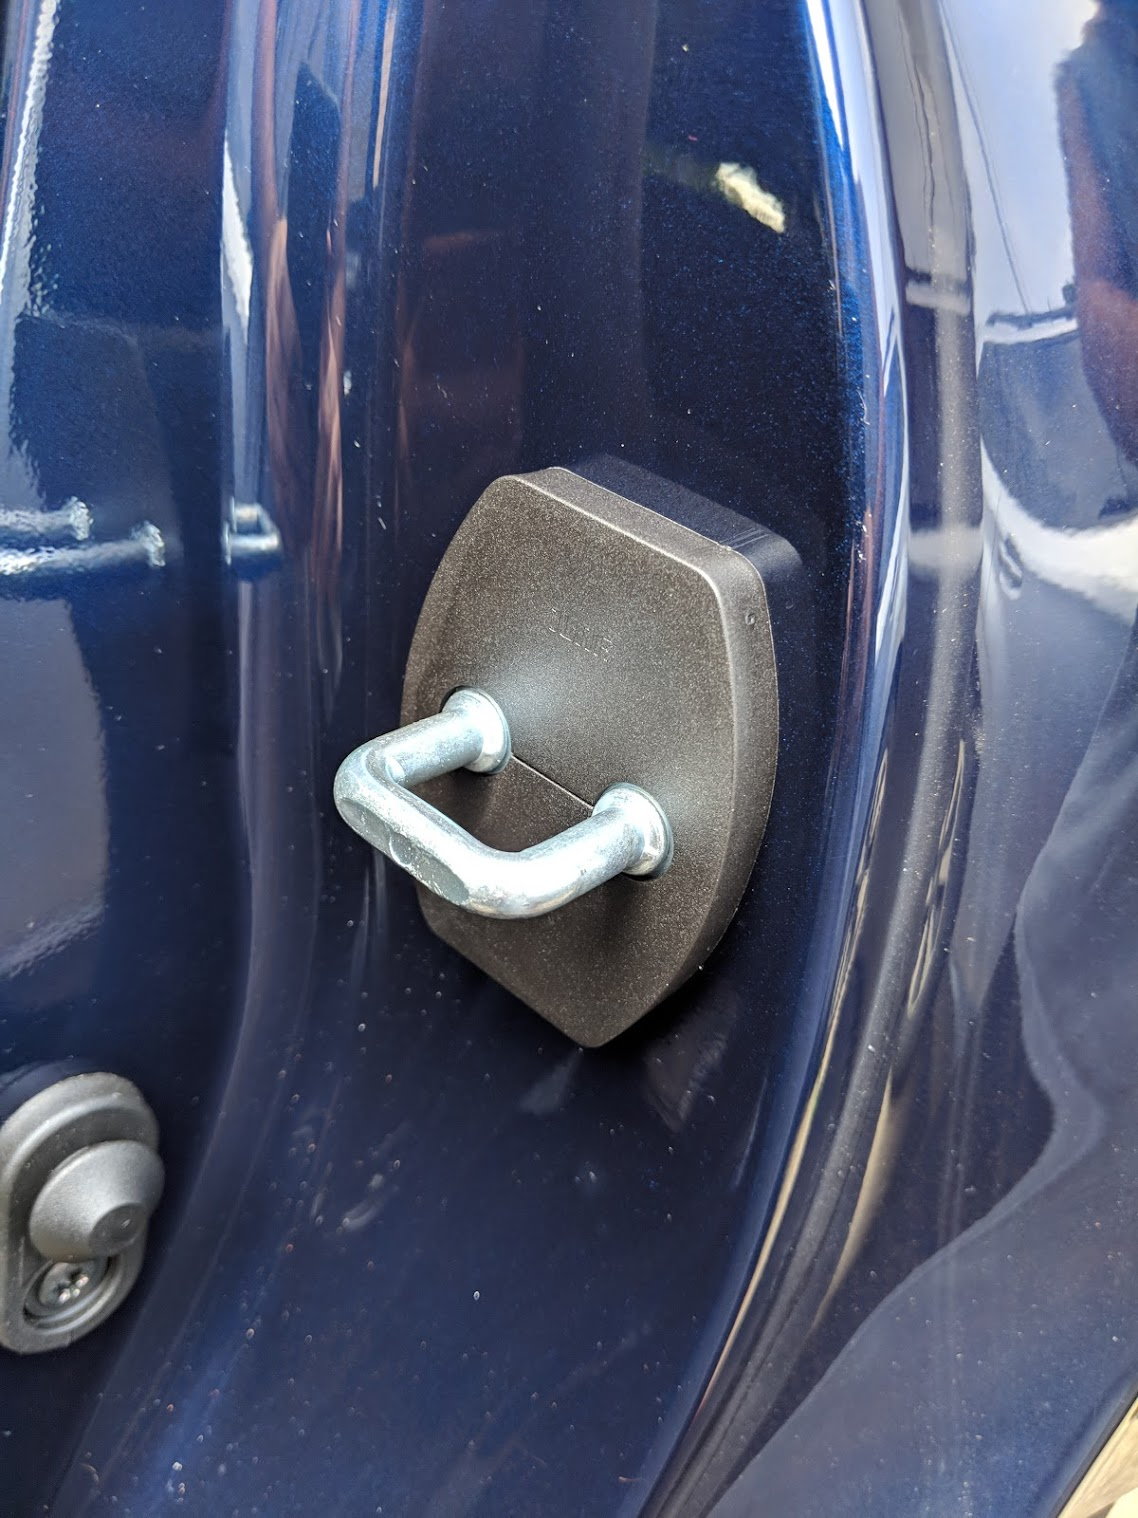
And here's a nice subtle $5 mod that I threw on, it helps with the black on blue theme and looks cool. A member posted these in the what did you do today thread. Doesn't serve much other purpose other than rust protection and appearance, but for 5 bucks wth

img_20181006_140435_89f3deeb2813a9ae48460ff9a2ad82611d668483.jpg


img_20181006_140457_8fa1a373ed0de20ea35ff9360d03be28d1e1108b.jpg


img_20181006_140533_d153bb3711d265213c46acff1b2a153b74386ef8.jpg

Where do I find these?
 
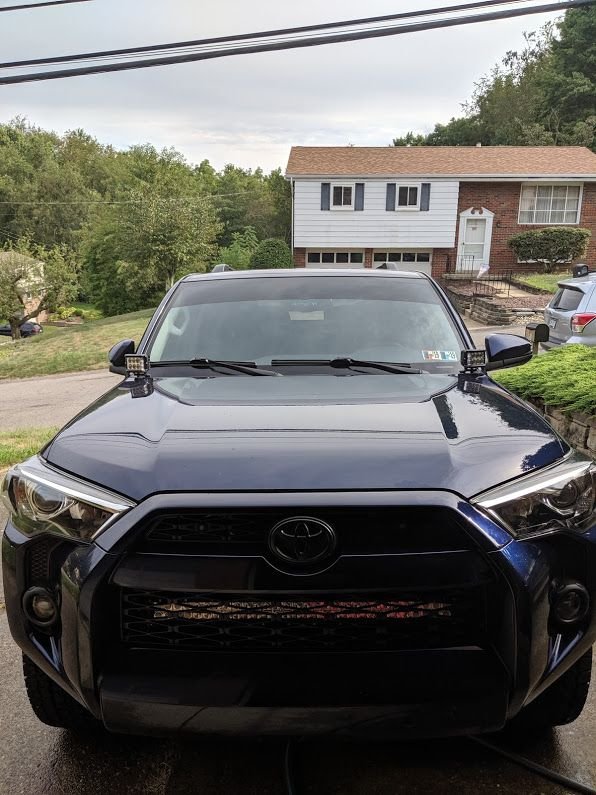
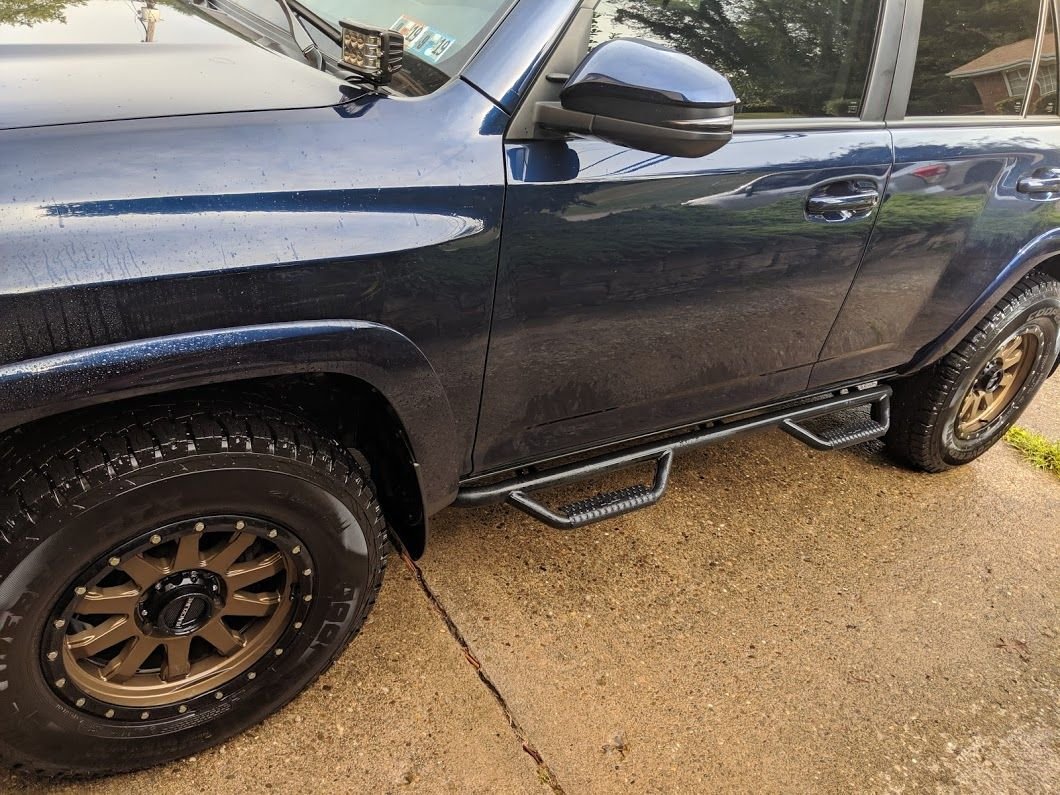
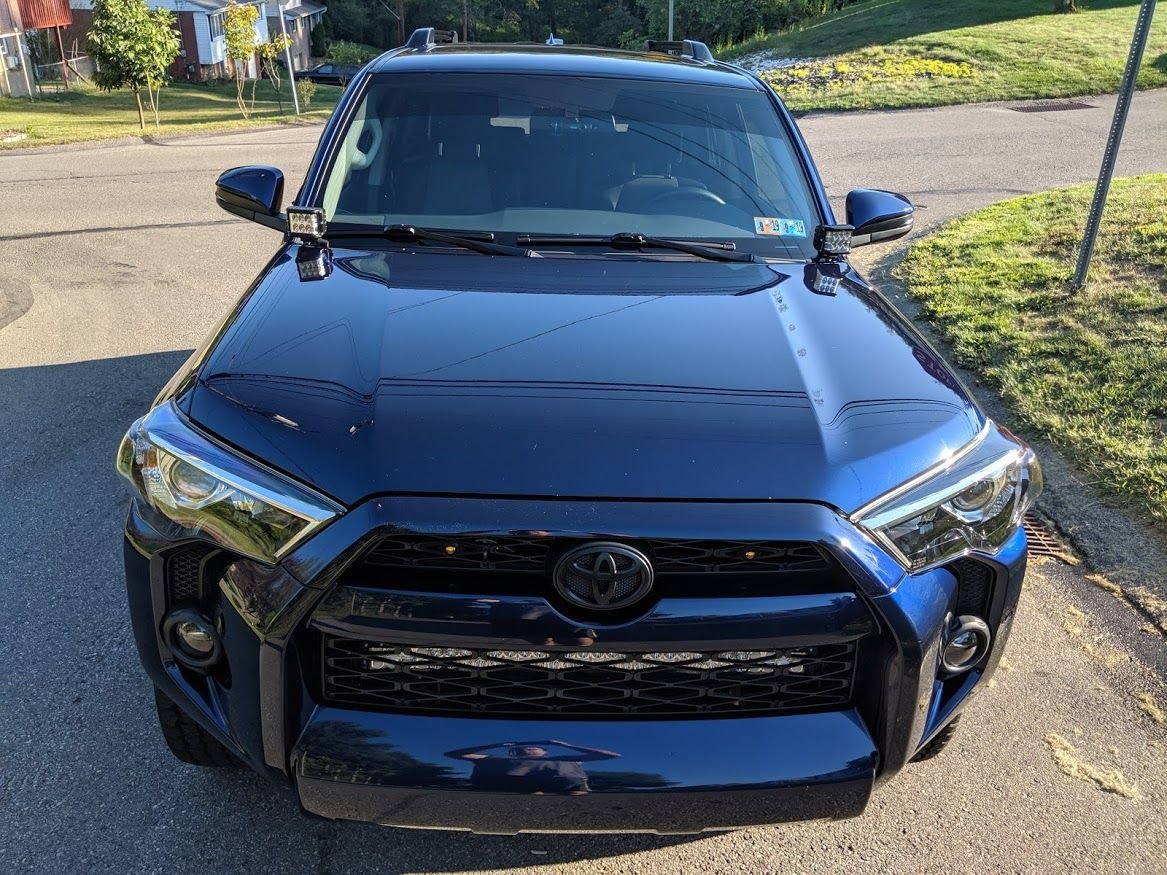
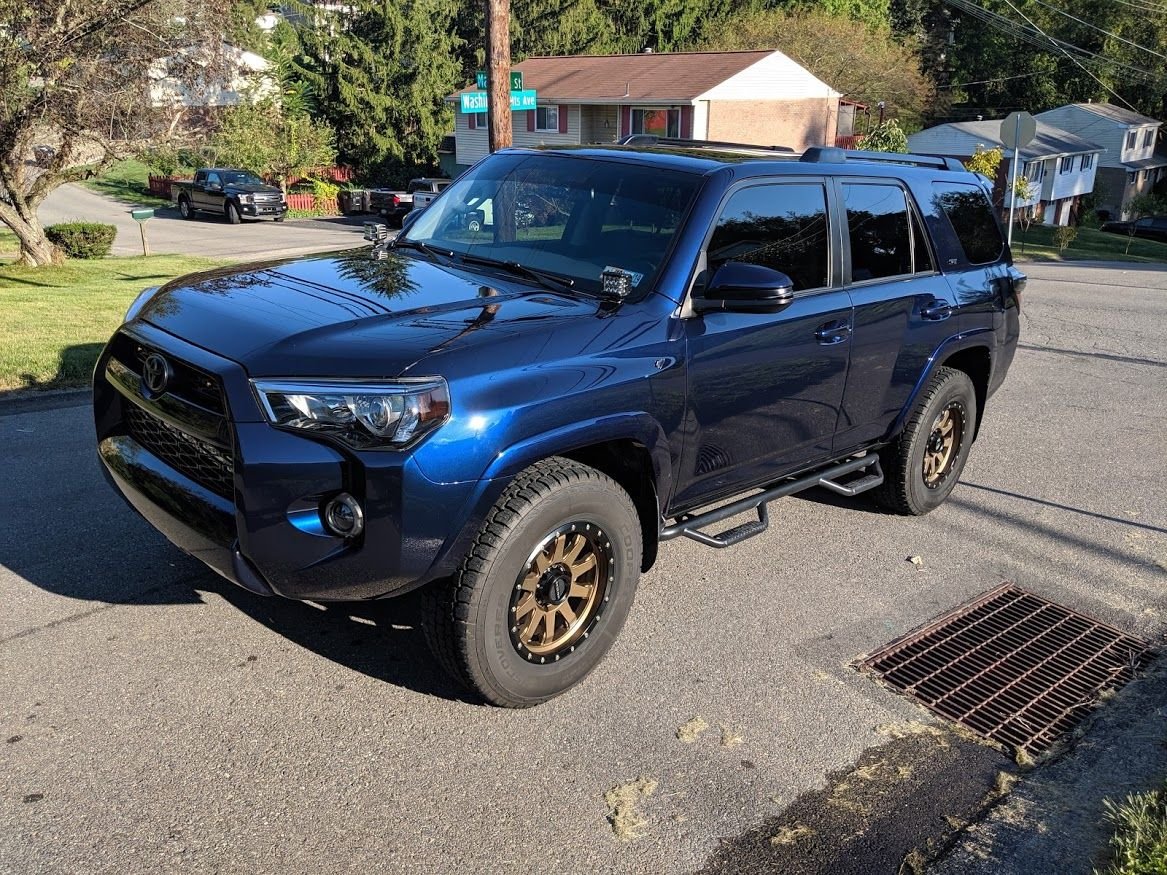
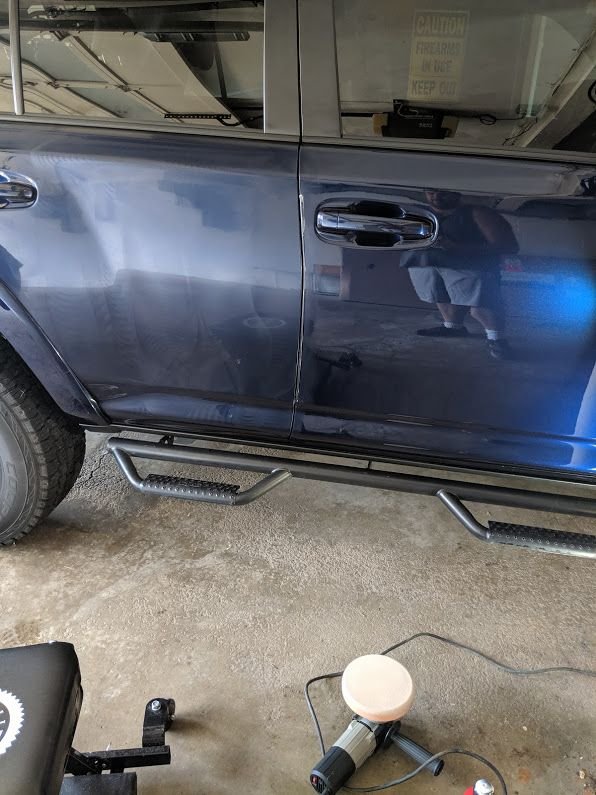
Finally pulled her out into the sun to get some sun pics. The sun was going down so the lighting's not the best, but still came out OK. [MENTION=2839]Akkording[/MENTION] said the pics "looked photoshopped" which was a great compliment since they obviously aren't and are just straight up camera pics.

img_20190909_174630_cb34b96c32044c310094ddae3d5ec5a8a6af628d.jpg


img_20190909_174707_4d0e9c584ec151a453e8dc7a1995bf70b2f92139.jpg


Reflection shot :biggrin2:

img_20190909_174729_66f2935cb5ead7ecce51b8babd47f3fb1758d6d2.jpg


img_20190909_174919_e73104e531d1e62539e4a4c78049adec4c599b1a.jpg


You can see the rock chips on the hood, but the paint looks amazing

img_20190909_174916_c15d9b38e3e4ed6cb0cd23f09988c22750c0a7af.jpg


That gloss is amazing!
img_20190909_174909_ab723b5913175871349895054cb591a243c08c4c.jpg


No photoshop or filters

img_20190909_174907_ce25f7ce8c028fcdc93c325be5d8957f706f5676.jpg
 

Members online

Forum statistics

Threads
278,309
Messages
3,554,065
Members
248,016
Latest member
Advally Service

Trending content

Back
Top