BlackAck's 5th Gen 4Runner thread

Small mod, but very much needed. One of my Black Friday purchases was a cellular module for my Accessorides remote start. I got a good deal on it and it was completely plug and play add-on to my current remote starter.
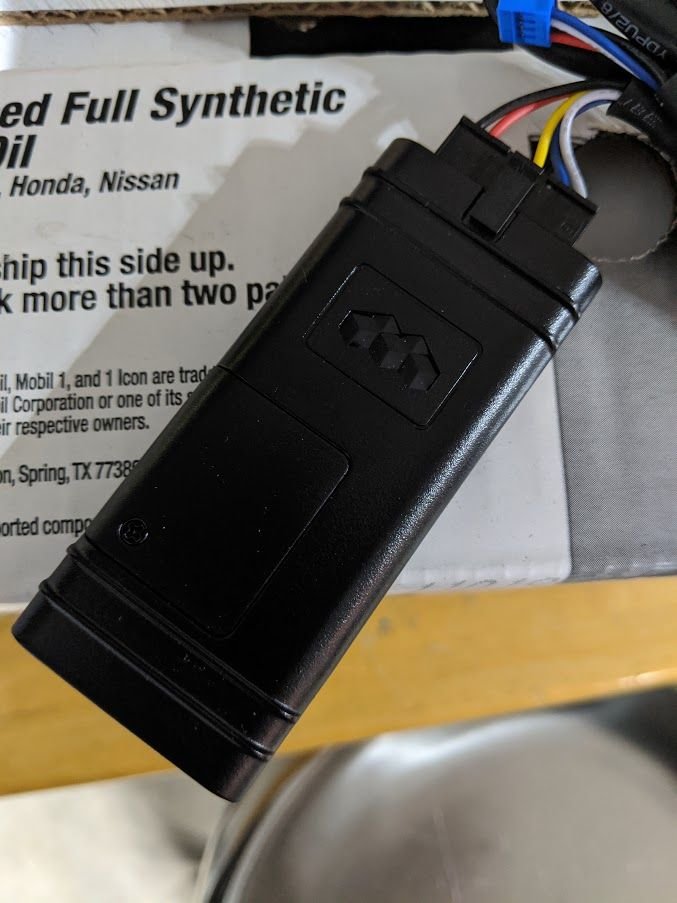
img_20191220_145437_22482718870989beb0dc5d8492a9db0083220d2b.jpg


I was surprised to find a perfect shelf in the top of the dash that looks like it was meant for this module. It needs to lay flat horizontally, and this little area was the perfect size for it to sit in. I secured it with zipties as well.
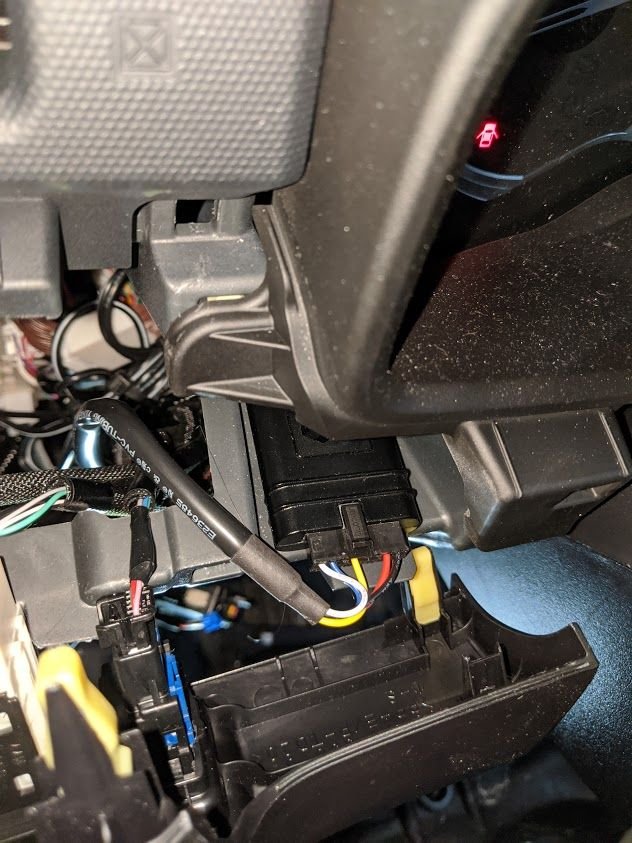
img_20191220_145825_fbbfa448814a3c46d8014be705933d647a25a82a.jpg


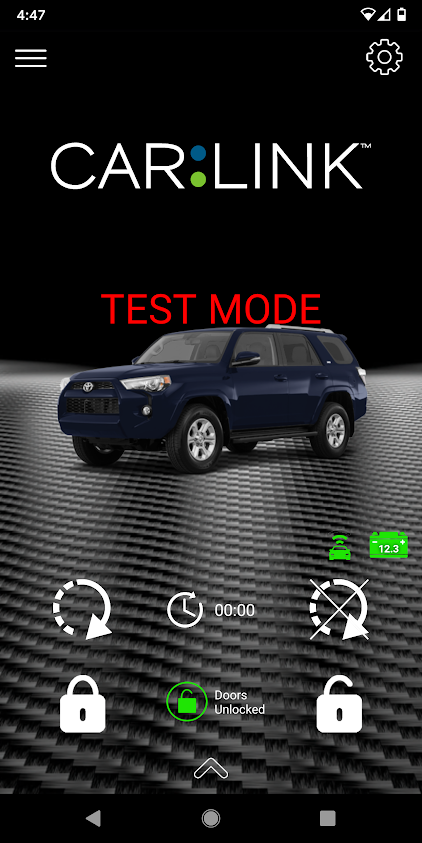
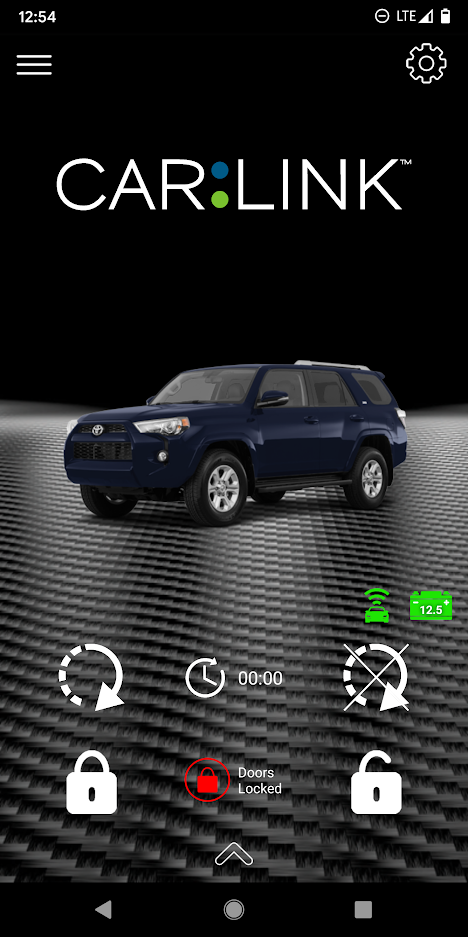
Now when I'm at work or out anywhere I can remote start the truck from my cell phone. I also can check to make sure that the doors are locked, check the battery voltage, and even lock and unlock the truck. It also has a GPS tracker so I can always locate it if needed. Very cool, and I literally just had to plug it in and set up the app. The remote start with the stock key is great, however at my new job I'm on the opposite end of the building from the parking lot, so line of sight is no good until I'm in the parking lot. With this I can start the truck and have it warmed up with the seat heater on before I even leave the building. Love it!
screenshot_20191220_164703_e8ea371fcfa4cb38ab8c2078d343596225fe04dd.png


I also like that I can check the status of the vehicle. What's the battery voltage? Did I lock the doors? It also gives you a countdown when the vehicle has been remote started (runs for 15 mins) and will countdown the amount of time you have to get in and drive before it shuts off. All very neat features;
screenshot_20191223_125406_191e94810395d98c1cc945c9e18132cf34ada289.png

Did you have the OEM Toyota remote start or aftermarket?
 
Yep, those are awesome. The other blacked out tails look pretty much the same as OEM to me.

Agreed, I liked the USR tails since they got rid of some of the chrome, but the clear turn signal taking up half the light still looked far too OEM for me. They were better than stock, but these are way more black out and my style
 
Agreed, I liked the USR tails since they got rid of some of the chrome, but the clear turn signal taking up half the light still looked far too OEM for me. They were better than stock, but these are way more black out and my style


So, do you have a link to them?

Sent from my iPhone using Tapatalk
 
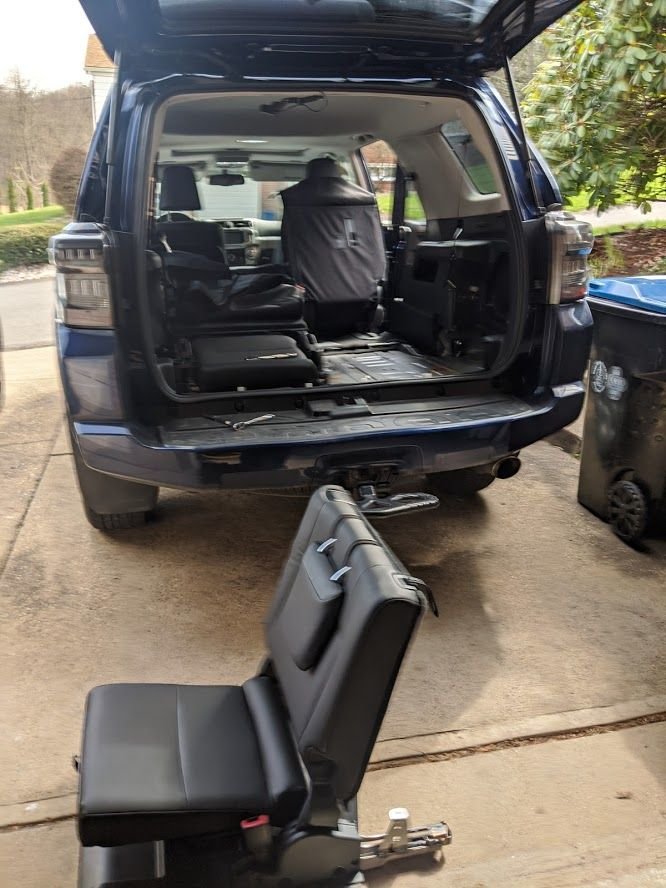
Small update, but a LOT of work to get it done. After about 2 years of searching I finally was able to source the stock JBL speaker cover for my retrofitted JL sub that I installed a year and a half ago. It's been sitting in my office for months waiting for me to get a warm day to rip the whole back out of my truck. I started out yesterday removing the rear deck lid, the third row seat and all the trim panels. Here's a little before, I am still loving the hell out of the new tail lights!

img_20200326_140235_2547ace889c770a16e7818a3c6e5c8b02ac20379.jpg


And here is after I removed the third row seat, in order to get to the screws holding in the trim panel.

img_20200326_151329_e0595d5ad9ad16a8394e63a35cd6c19f35d718db.jpg


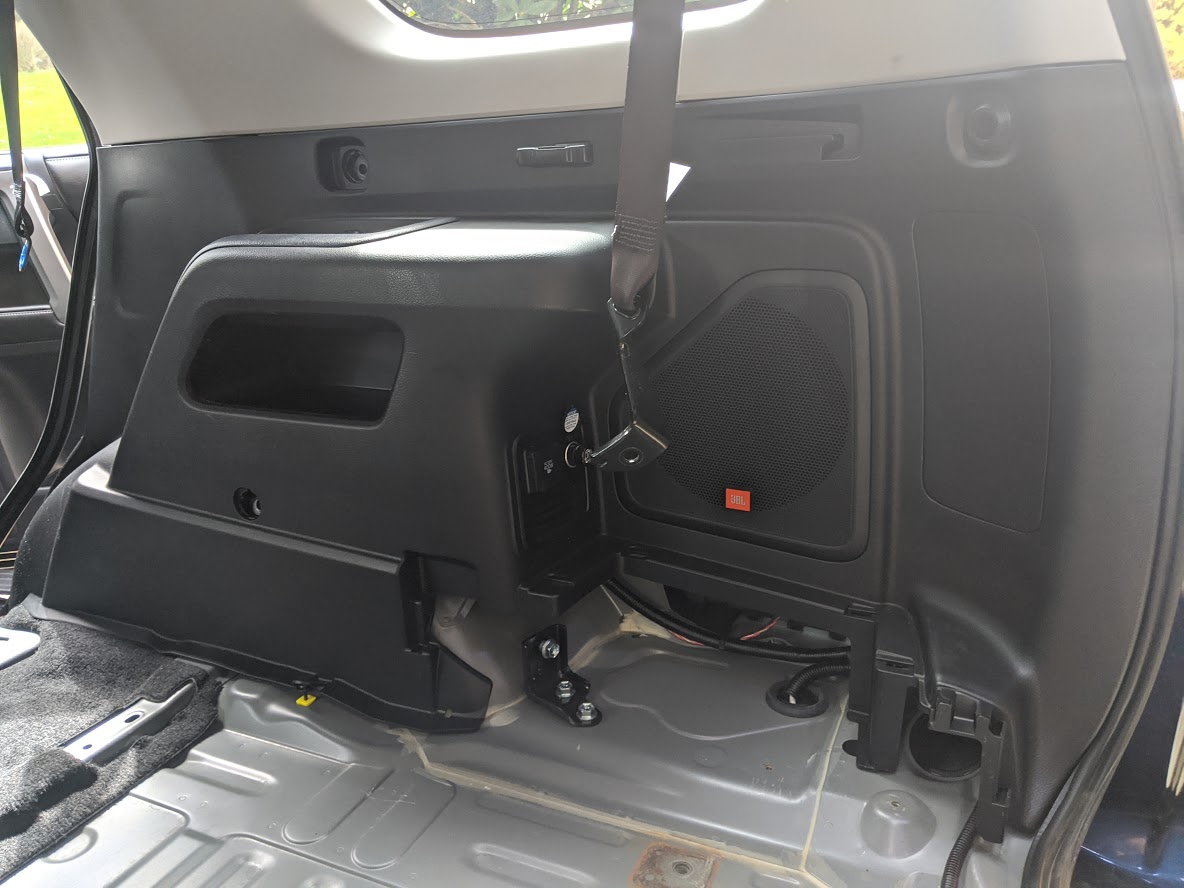
And here's a quick before of the JL speaker and how I've been rocking it for the last year and a half. Excuse the seat belt hanging in the middle I already unbolted it.

img_20200326_151336_5b90af2fc8259a8f70dd6accf475ff2aebdf483f.jpg


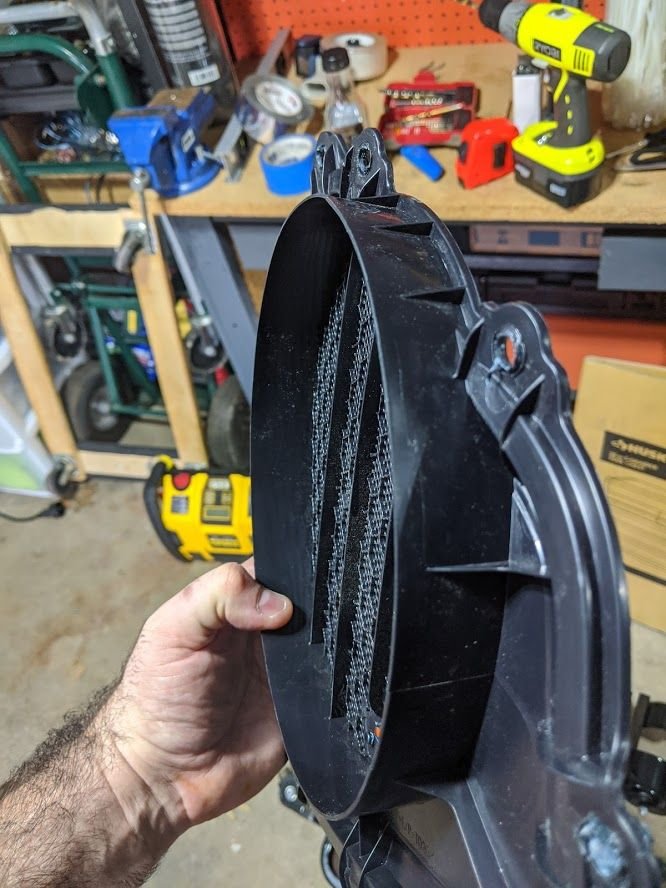
And here at long last is the stock panel, this is a before. This piece cannot be ordered separately (I had the same issue with my 4th gen speaker panel. The whole panel piece is $700 and you have to order the whole side not just this piece)

img_20200326_155618_1_063182a4b2cb6089403871279d889a7d978ba7ac.jpg


Probably overkill, but I wanted to trim all the excess plastic ring to ensure that it wouldn't touch or mess with my JL speaker.

img_20200326_155622_bcbd7bc2f47b40ec3f8100182a17898a9da2ec71.jpg


And here's an after with all the trim cut out

img_20200326_160739_62b149ddd24cb8d12af4c195d15011aafdcf0b22.jpg


And here's the ring and all the plastic that I removed

img_20200326_160925_e06a6a5c370d98b9ed51f79dab98d1a4a49f47df.jpg


I had to drill out and widen the holes in the trim piece in order for it to sit flush (no big deal and was expected). After I got it sitting flush I took some RTV Silicone and glued all the holes. I was going to use superglue but I figured silicone would be easier to remove if/when I ever go back to stock and reinstall the pocket that goes there. I used some 5 lb weights to hold the panel on it's mounts.

img_20200326_161935_4657b0e6b8cc7a23a87cc46307ea67e439676e95.jpg


I had originally intended to Dynamat the back side of this panel, but once I saw how rigid it was and how difficult it would be I decided against it. I have zero rattles with this setup so it just seemed like overkill.

img_20200326_163809_ff6b1858685bd0cd72de5906099a84dee7d03672.jpg
 
Most of the silicone dried within the first hour, but a couple still weren't dry so I ended up pulling the truck into the garage overnight and putting the panel on the trunk of the Acura with the weights to let it dry and cure overnight. Here is the finished product today. The silicone held up super well and the panel does not flex or move whatsoever, I'm very happy with the outcome.

img_20200327_144633_ab98f0524141ac573b344bb02cdd2df025c386b7.jpg


And here is the first test fit with the new trim piece. I was able to stick my hand up underneath and make sure that there were no clearance issues with the sub, and even with the JL dust cap grille cover that I had on, so I decided to leave it as an extra layer of protection.

img_20200327_145001_50f25b9eb1211d12f52f3b501bd5c5a2eb248889.jpg


And here's a wider look at the test fit. I was fighting glare the entire time, so I did my best.

img_20200327_145005_f92ddb867384d7002b526c4c1be57690b13bcc41.jpg


And here's the panel all installed and ready for the third row seat to be put back in.

img_20200327_150338_e5de963a85c01ea42888a9edbaa0eae43b3ab0fb.jpg


And here's the final result once the seat and all the trim panels are back in place.

img_20200327_154533_f6a69ed9733722b35b1b386e32e560b5e1448392.jpg


And a wider shot, trying to avoid the sun glare.

img_20200327_154541_f8a1102854dc29a496ac85a97cc28ba3644fc164.jpg


And here's with the CanvasBack liners reinstalled.

img_20200327_154817_9a1ce04f30550812b1a5cea26cfa55c822fe400e.jpg


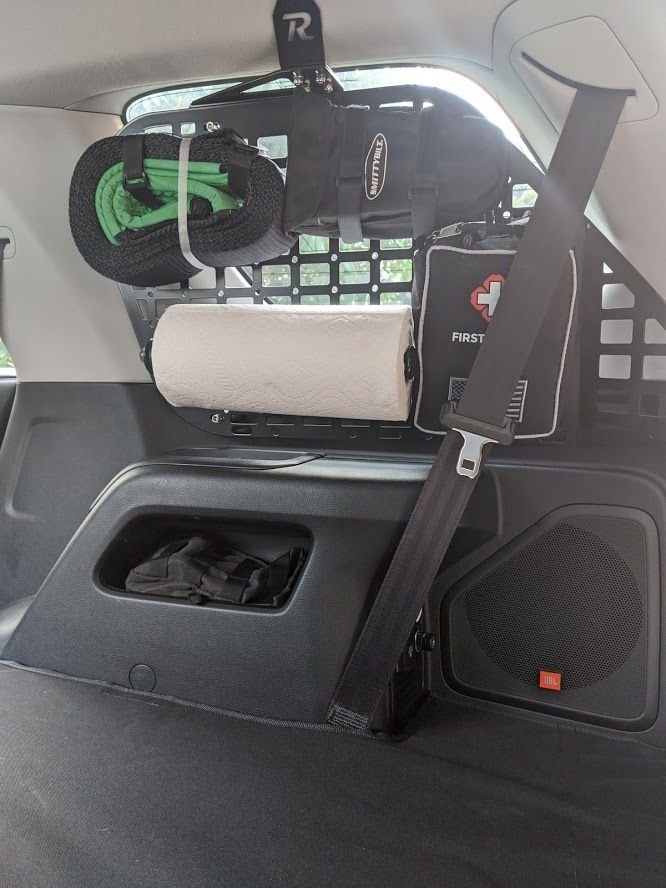
And the storage panel remounted and installed.

img_20200327_155553_60d98e04af5c8cd45cd2ce0b35b490a5a6b482f4.jpg


I'm really happy with the look and I feel like it completes the interior and the back of the truck. I didn't mind the speaker being exposed because with the grille cover it almost looked like it belonged there, but this is SO much cleaner. I hate that it has the orange JBL logo on it, but my rear Husky Trunk liner actually covers that, bonus!

img_20200327_155556_c3680541dabd1ca5e64ffa0831eb4e3f4036efdc.jpg
 
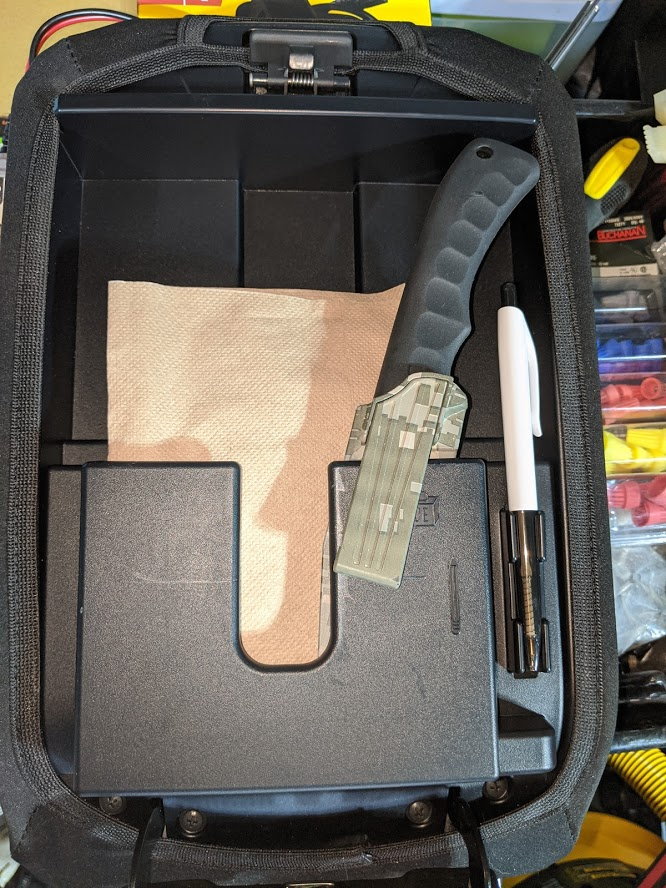
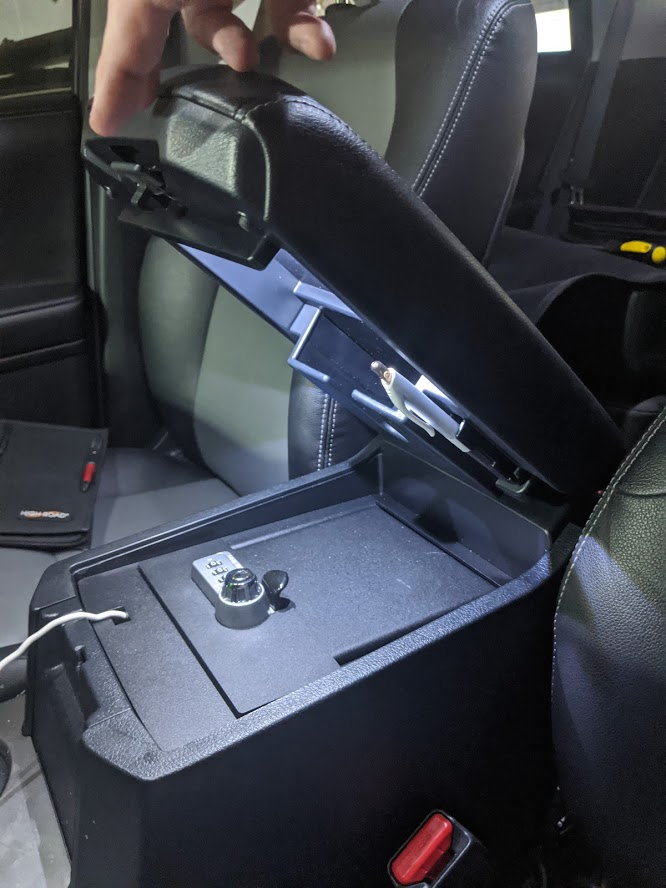
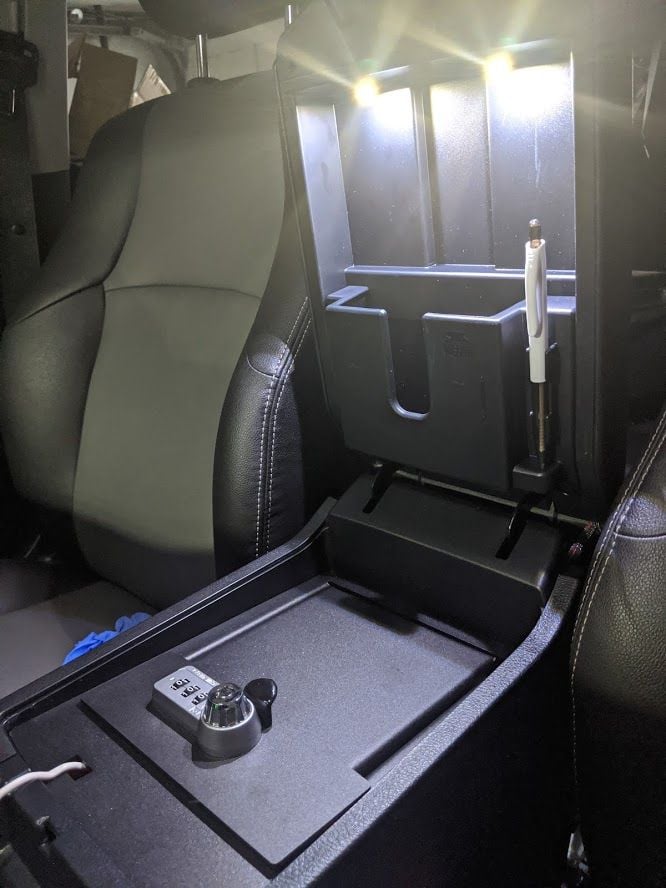
Been working on a few small mods on the truck, I just finished this one up yesterday. So I have the center console safe, and I want to keep a pistol in there, however I've never been able to really see the combination lock at night or have good visibility to it in the dark or when I go to concerts, etc. A few members on here posted this solution and I knew that I had to do it. I didn't even have to remove the safe, just pop off the rear panel on the console.

img_20200513_170718_a262d982e0c2ab92ba7292c4e17e2b6137b2ddac.jpg


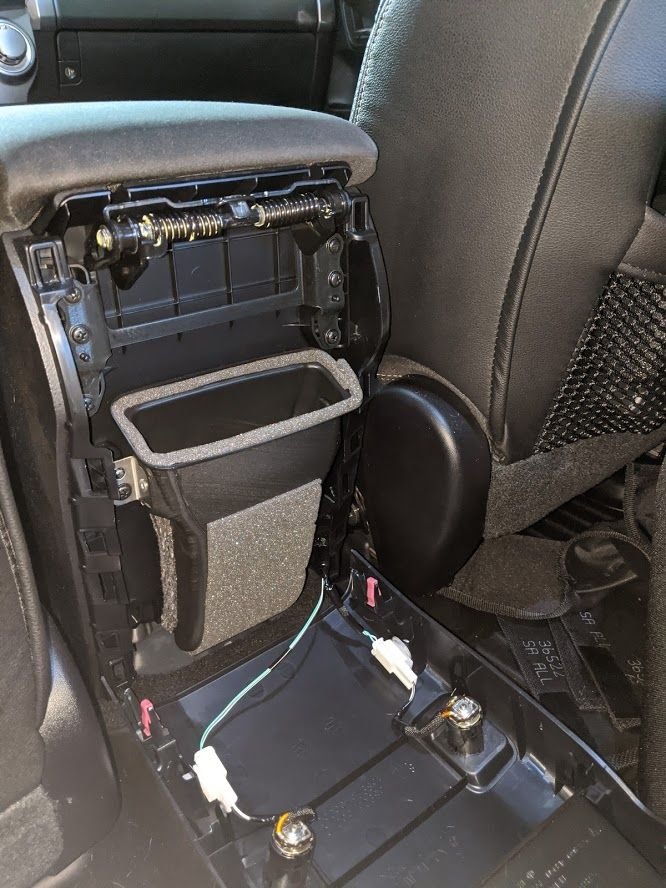
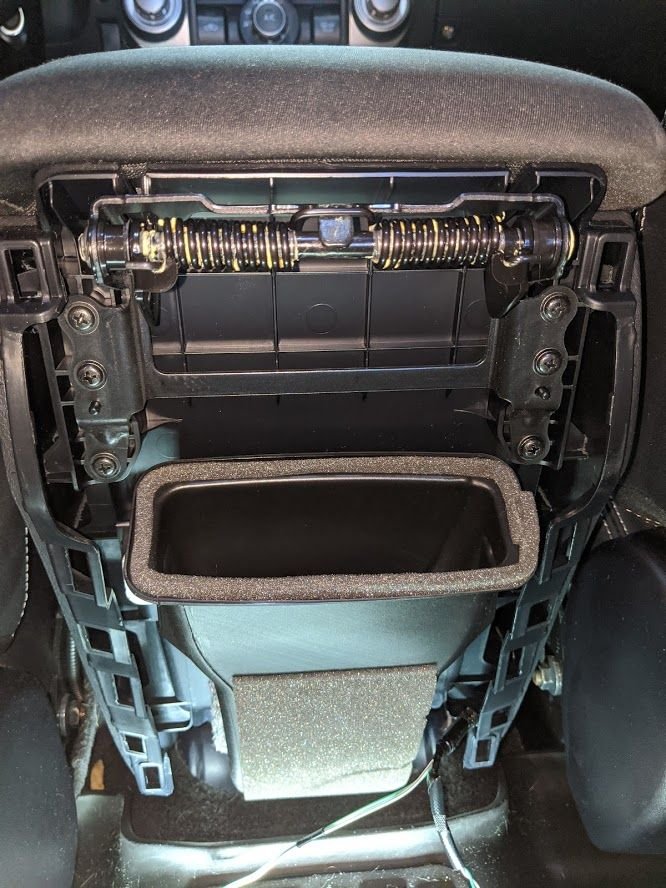
Then remove the 6 screws for the arm rest hinge

img_20200513_170804_8a7ad13c9d2f810f44e835725797a9bf8d21012a.jpg


Screws removed

img_20200513_171033_b8d49f42927635544163f6c3c219423783ad14dc.jpg


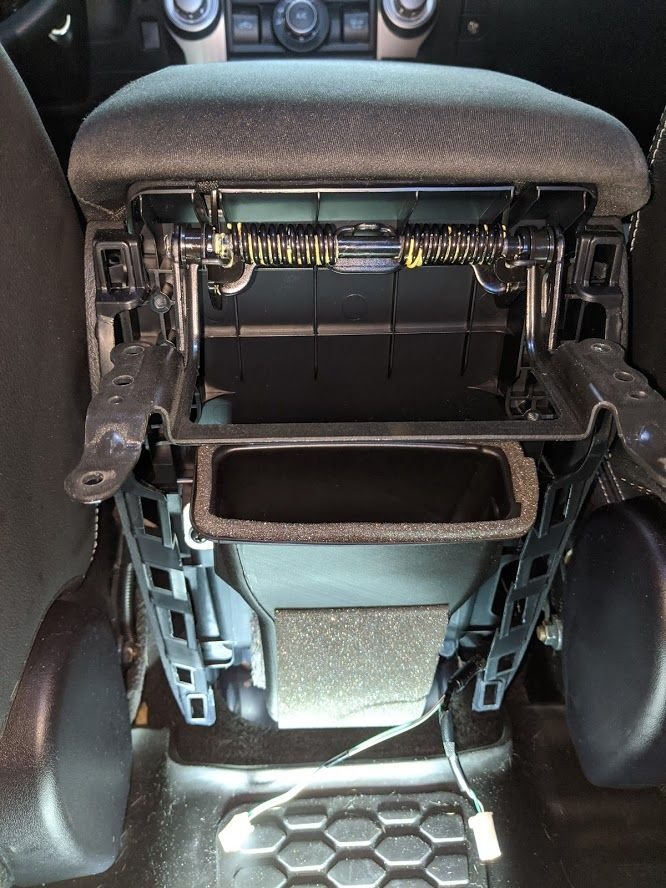
And here's my center console armrest before

img_20200513_171158_66a67f303409c671b848aafbe93a0e0bed1ae7d3.jpg


Quick tear down

img_20200513_171913_5db73801db5aff5fbdc09373f3b34e474f498c6f.jpg


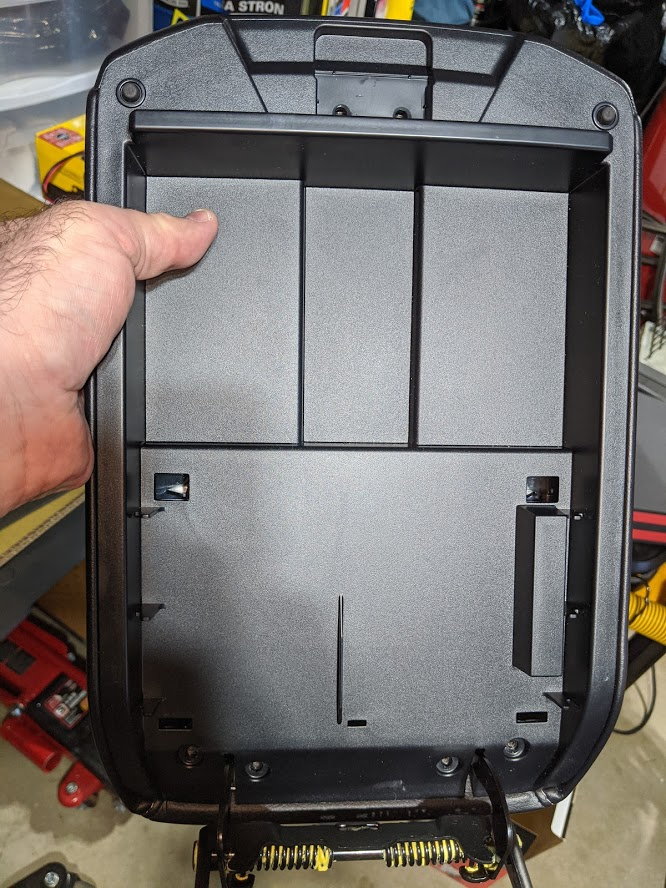
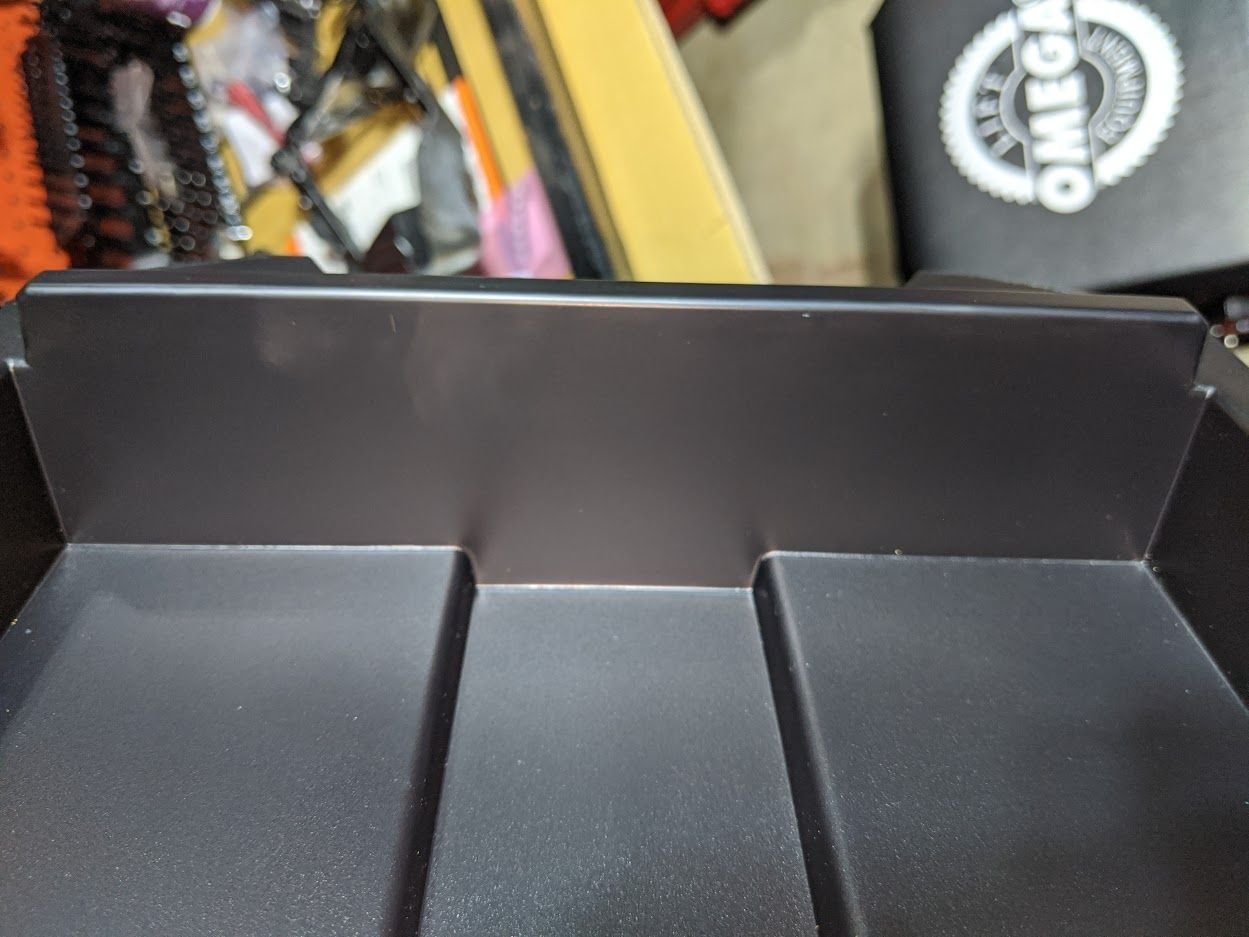
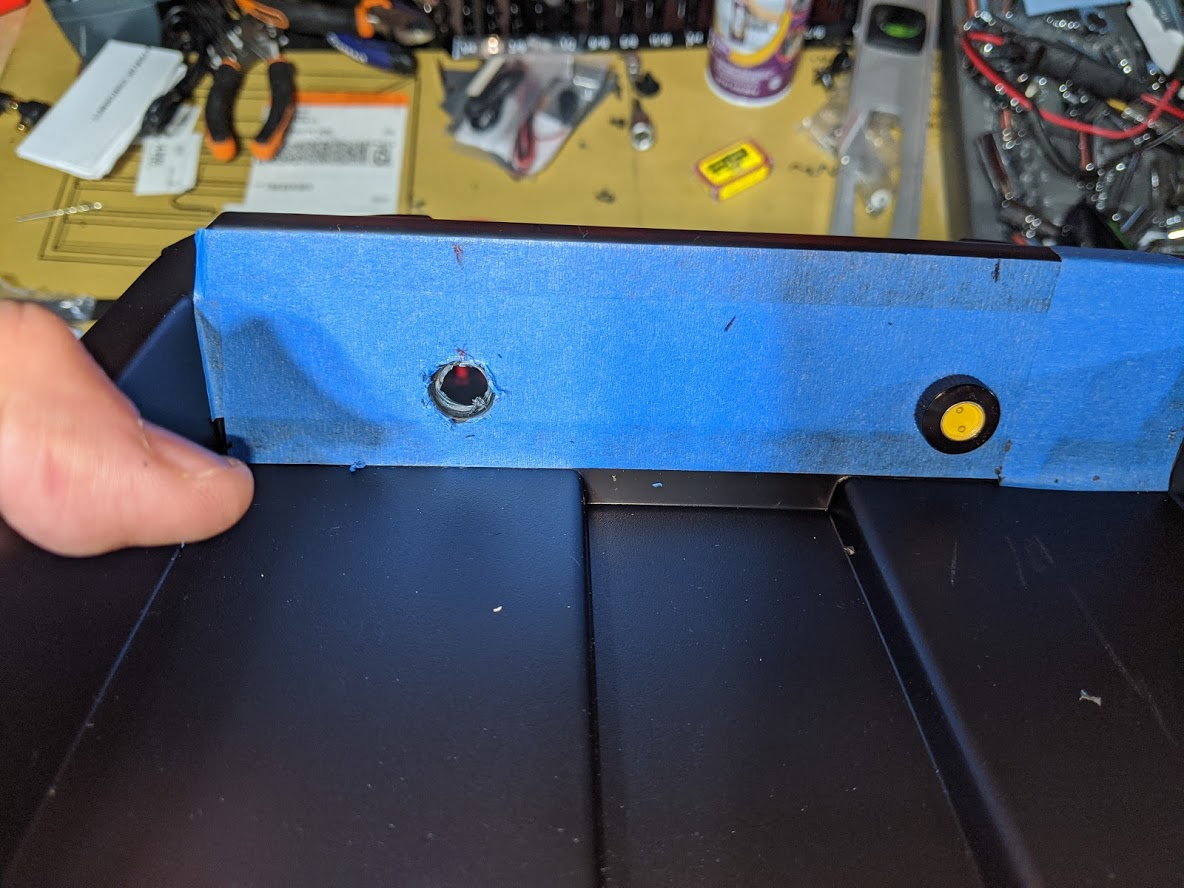
And here's a before of where I'll be mounting the lights

img_20200513_172121_96024b805b9f6252f838f9d284160c5a57c3f88f.jpg


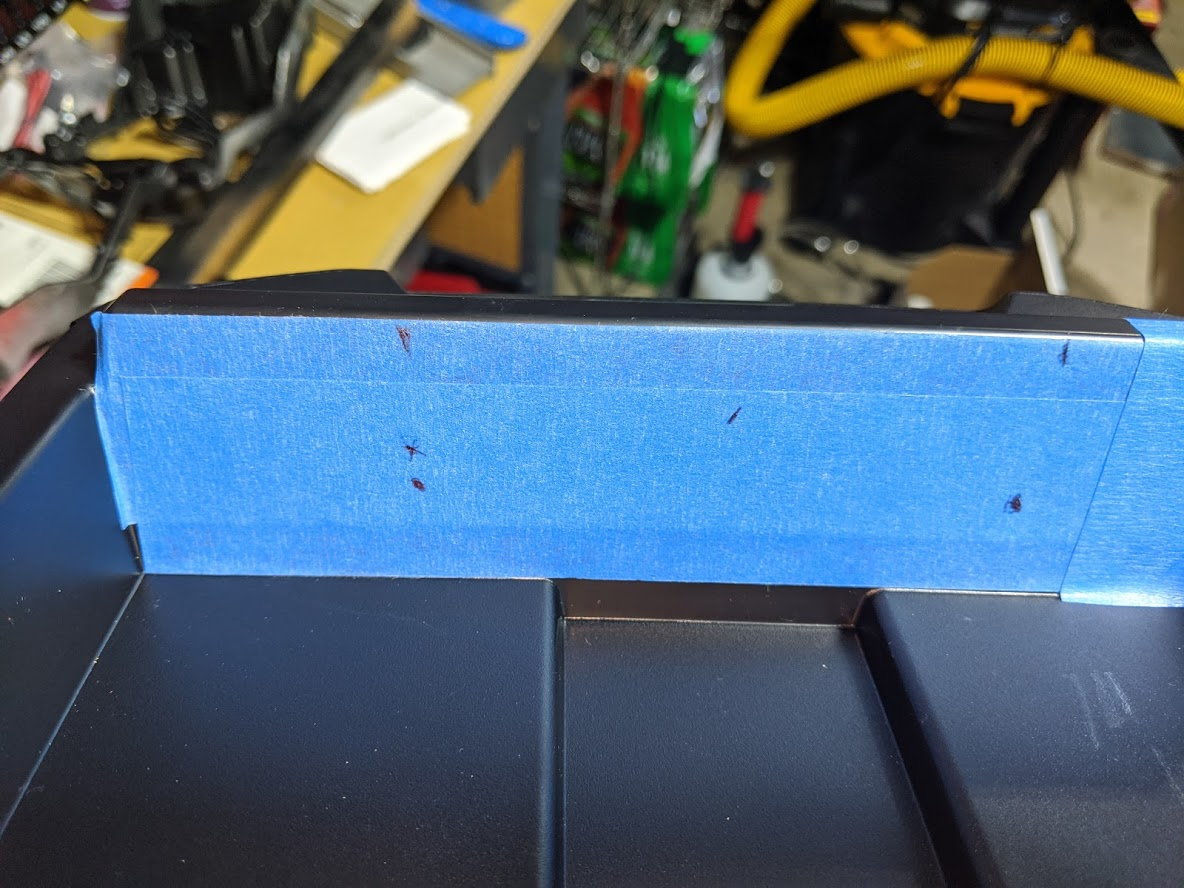
Finding center and marking my holes, I had to stagger them back a bit in order to clear the rear of the panel

img_20200513_173018_fadc773226fdec521e4e5c1886792d0da5c52a6c.jpg


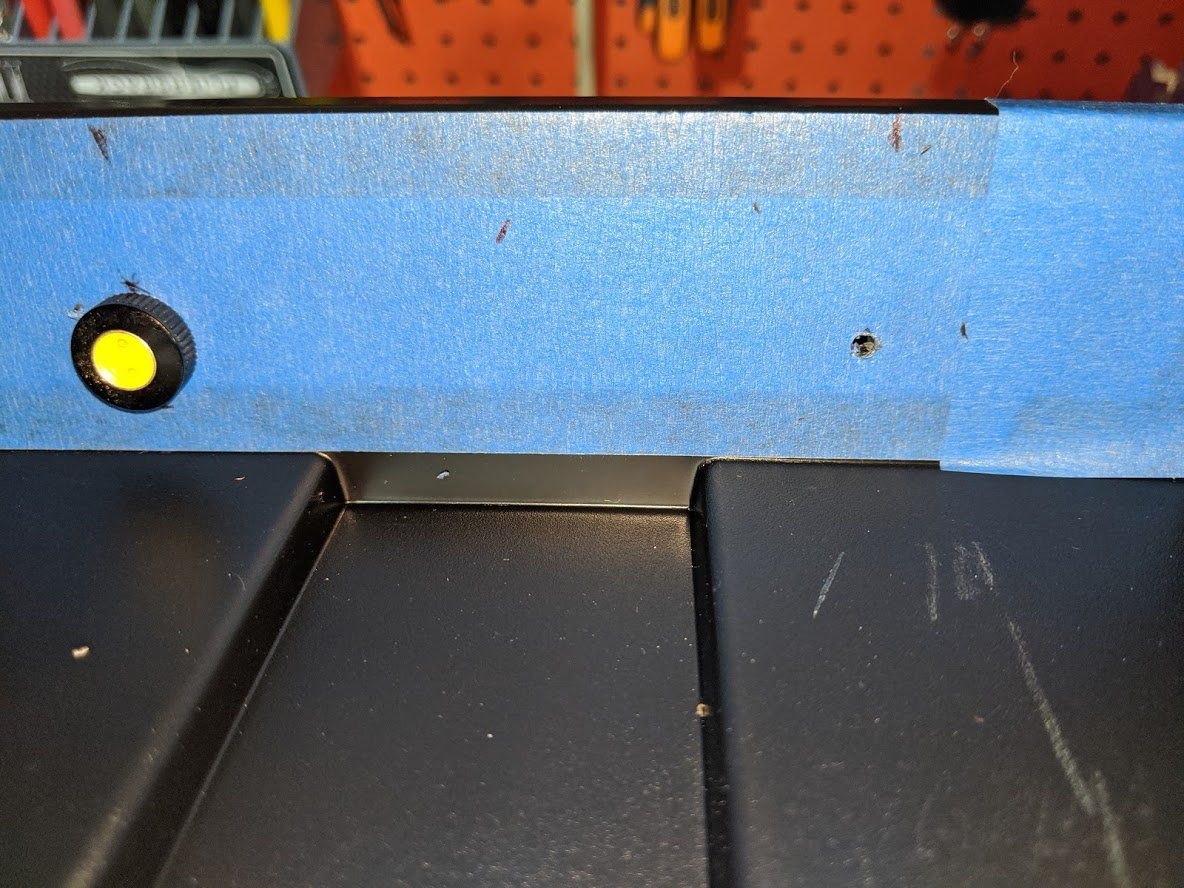
And here's 1 LED bolt light test fit

img_20200513_173843_2e221bbbc3c0b99b277c01cf344eef8799dbc408.jpg


And the other side

img_20200513_174239_da9f25c50f538237309460891379c332a9436bbd.jpg


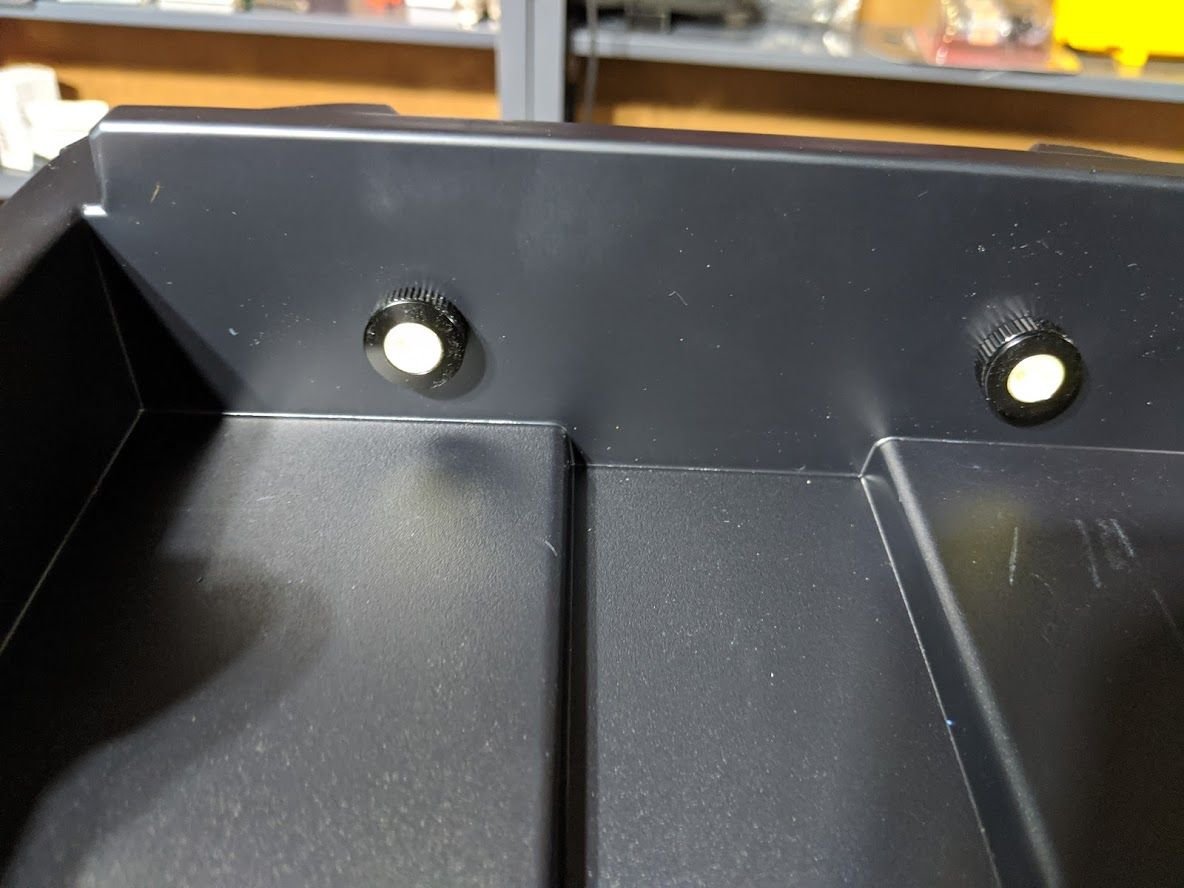
And here they are mounted and installed. I used Oznium 11 mm LED bolts with cool white LED's

img_20200513_174836_15b1616f396d12f75b2b560df32ad0599f169cd7.jpg


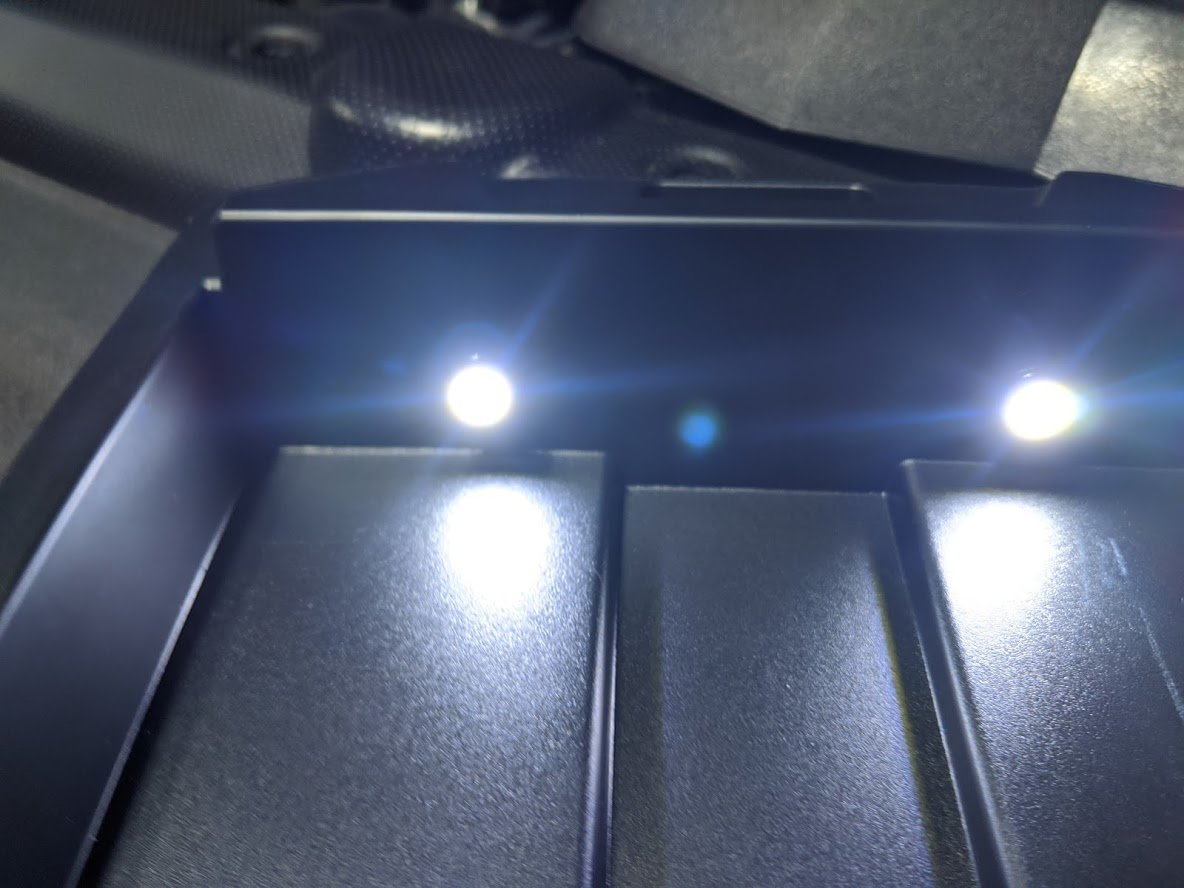
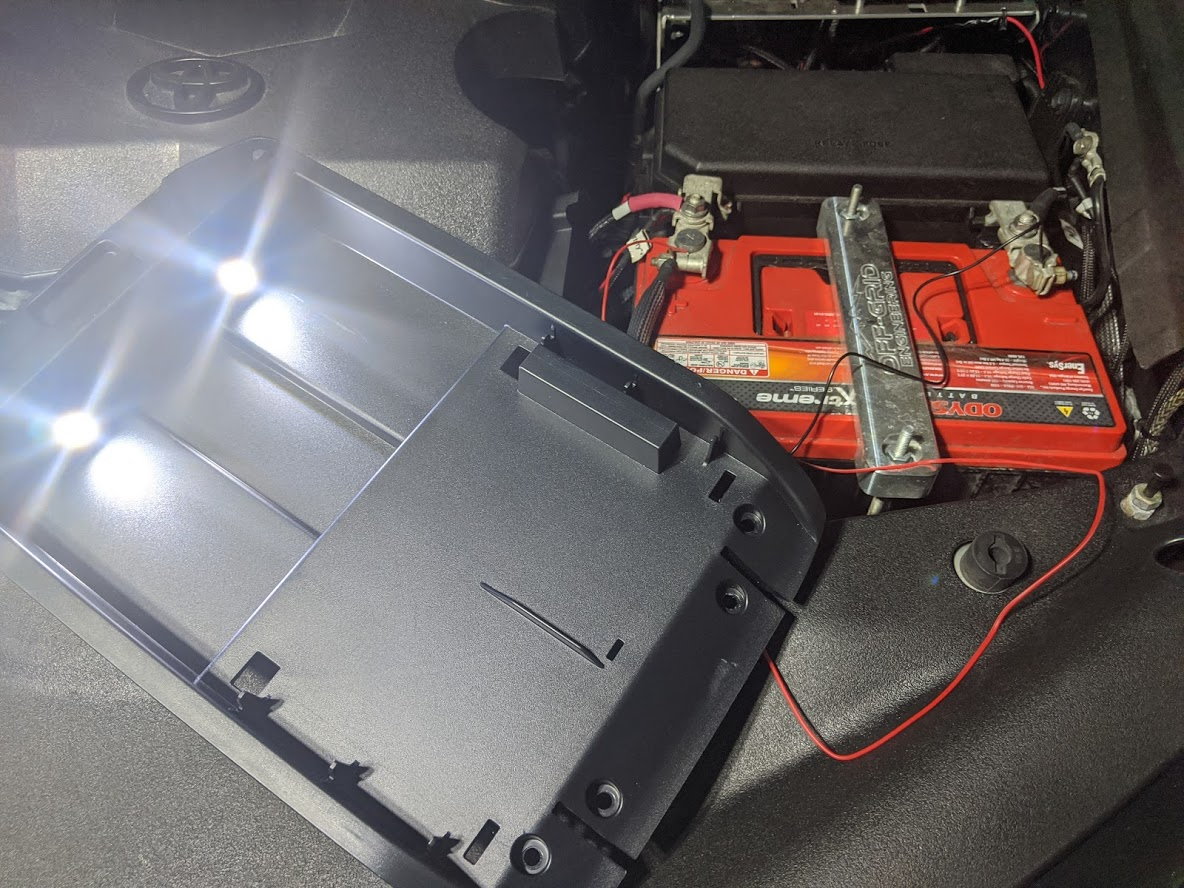
And testing on the battery to make sure they work

img_20200513_175245_65e002d48c1cbf6e33ceaa436a5b4ee2e6a604a4.jpg


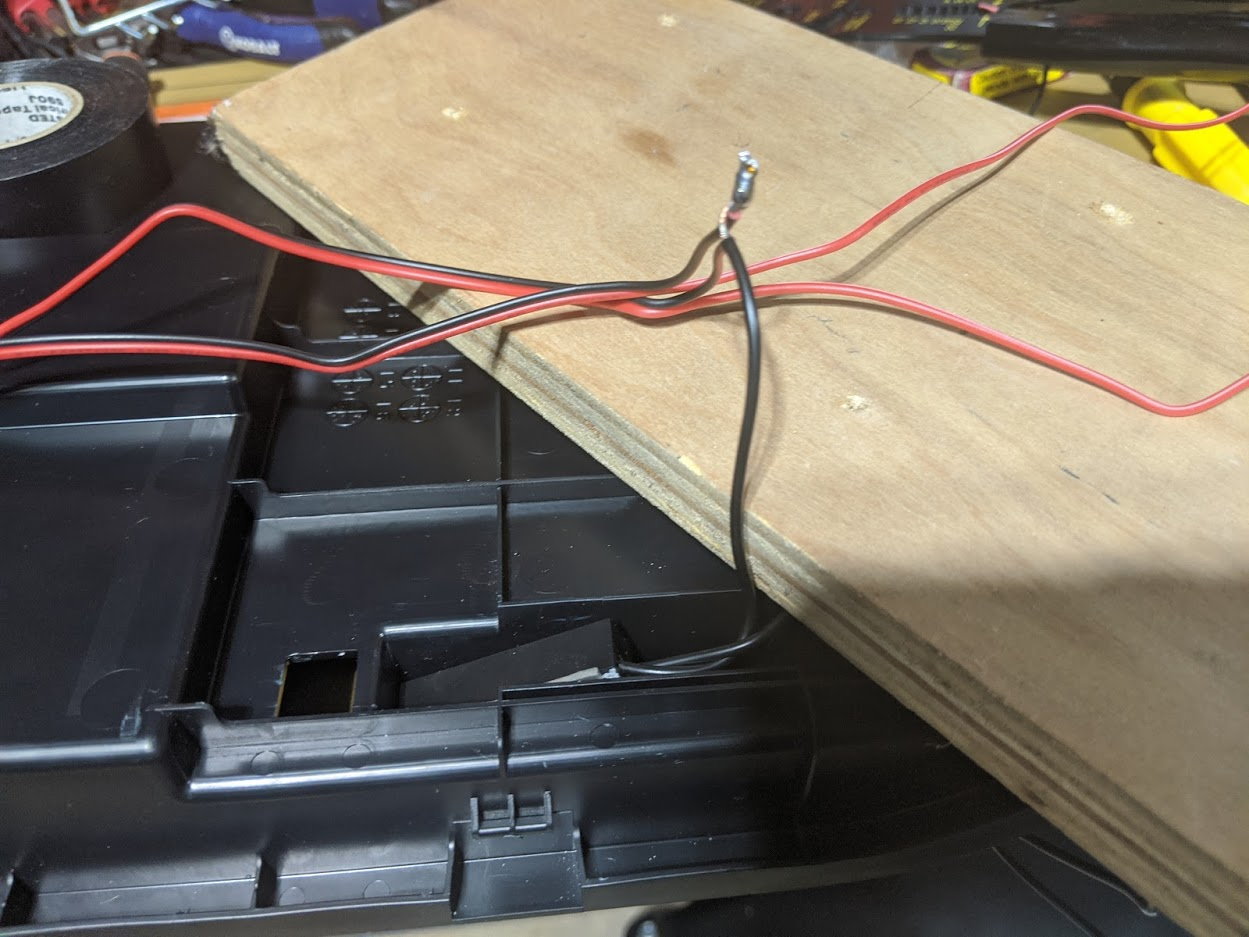
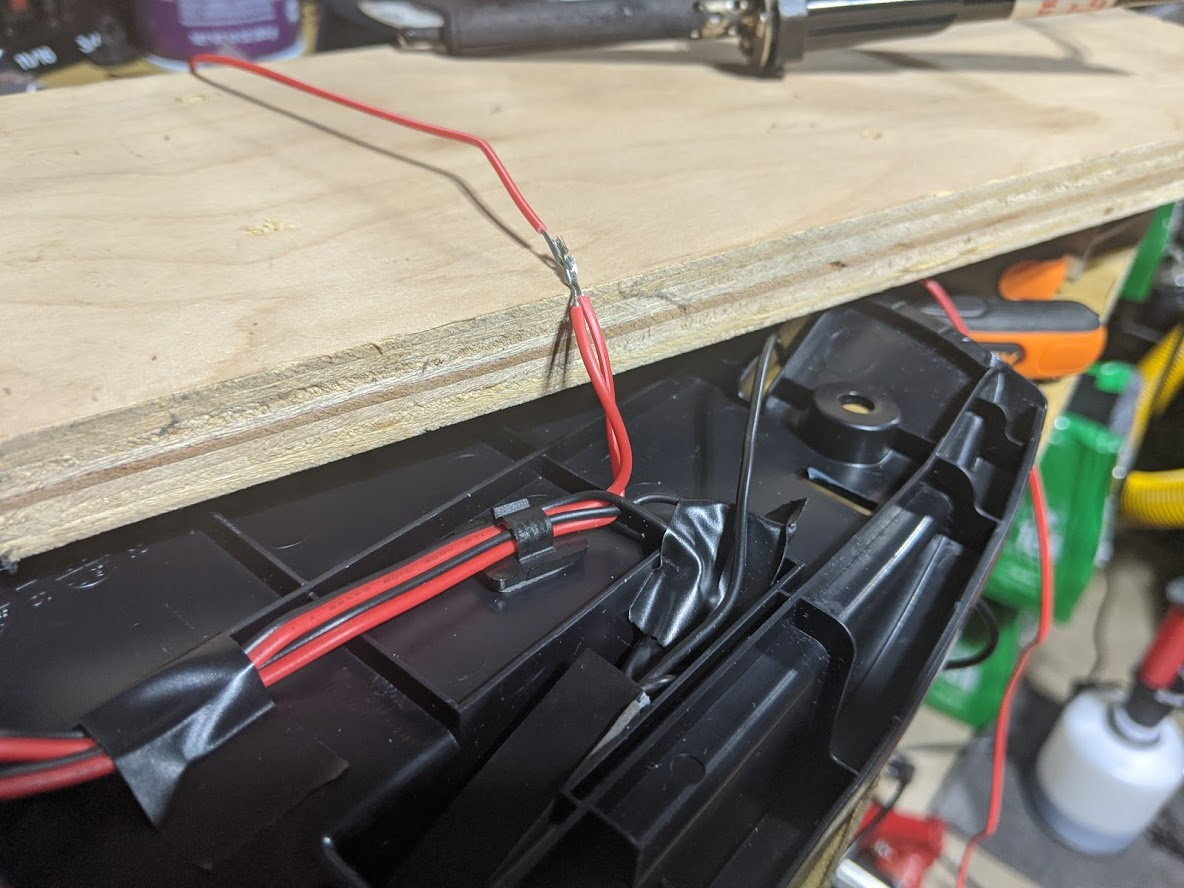
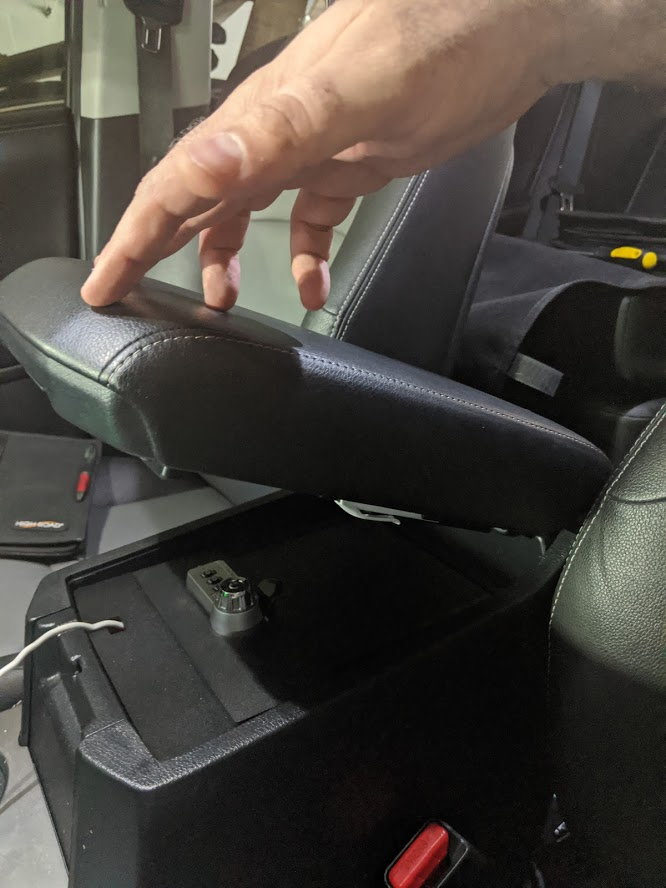
The cool part about this mod is the use of a mercury switch, so it only turns on the light after raising 45 deg or higher, I also mounted it at about 15 deg so that normal driving won't trigger the switch. I decided to wire the switch into the ground.

img_20200514_153309_ddf92cead54f2aed8f2e74ab88c2f1d8500fa14b.jpg


I only wanted to send down 1 set of wires so I wired the 2 LED's in parallel

img_20200514_155245_a7723cf14ecd14d66aa58f256bddd587b9775038.jpg


And here's my final test of the wiring with the switch as the ground, everything works!

img_20200514_155727_da465cd4c86734b0a0424a0e10a31c33e3d764b4.jpg


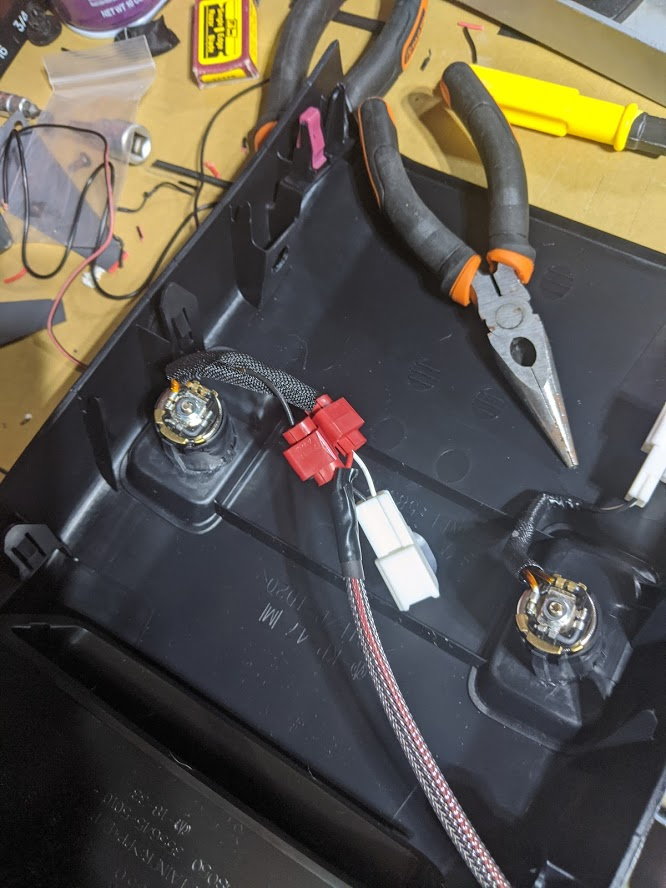
For power I only want this light to be able to come on when the truck is running or the key is in the on position, so I tapped off of one of the 12 volt outlets in the back of the center console. I'm not a big fan of wire taps, but for this application and the fact that I didn't want to cut the stock wires, it was perfect.

img_20200514_163506_0e1647941c92dfad072852816946b6036fc4f621.jpg

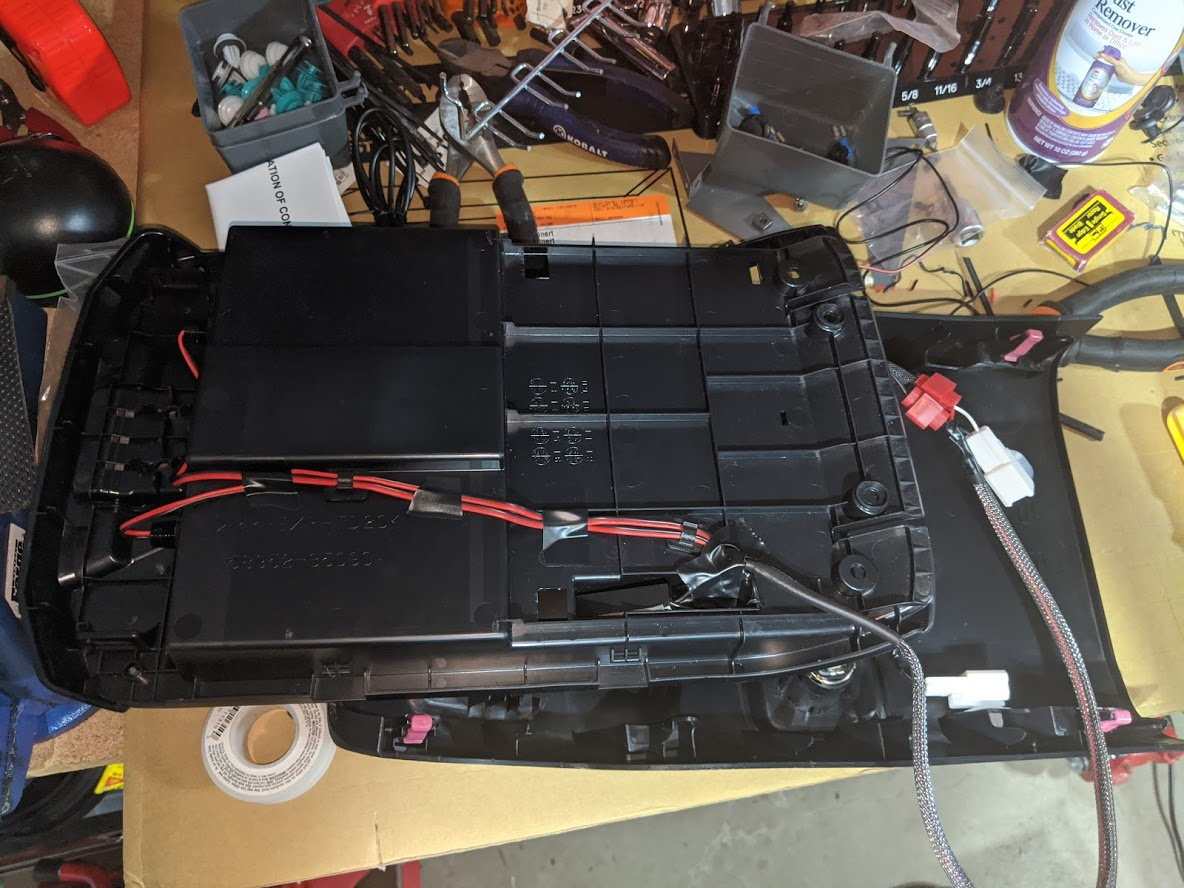
And here's the final product, all wired up and ready to go into the truck.

img_20200514_163805_1bbb4e106f47092bcad9054f34916e8c94d320ba.jpg


Here you can see that the light isn't on, this is right before the switch triggers at 45 deg

img_20200514_174205_eb252c8d4d97c5444438c201aa3fe98b687914d9.jpg


And here is the light on, with the switch triggering

img_20200514_174207_77aa9694b1000dfd51fc2f74b257e4d42005286b.jpg


And the finished product. Looks like it belongs there and it's almost OEM in appearance.

img_20200514_174211_81a46ed4cbe505cdef9b86a360369f655c02a1bc.jpg


I'm very happy with this mod, and only cost about 20 bucks. Pretty cool, and now I can actually use my console safe at night! :toocool:
 
looking good. btw, you don't need the front lock nut. the led has a bezel. i put both of the lock nuts on the back side :)

img_20200513_174836_15b1616f396d12f75b2b560df32ad0599f169cd7.jpg


here's mine for comparison :)

d3e2c7fef1295ecfeb895e6aa9b70560.jpg
 
Last edited:
looking good. btw, you don't need the front lock nut. the led has a bezel. i put both of the lock nuts on the back side :)

img_20200513_174836_15b1616f396d12f75b2b560df32ad0599f169cd7.jpg


here's mine for comparison :)

d3e2c7fef1295ecfeb895e6aa9b70560.jpg

Ah crap, now he tells me! lol. I would take it all back apart to mount them more flush, but then I'd have to undo all my wiring and soldering, so I guess I'll just be stuck knowing that I could have mounted them more flush lol. Thanks Fernando!
 
Ah crap, now he tells me! lol. I would take it all back apart to mount them more flush, but then I'd have to undo all my wiring and soldering, so I guess I'll just be stuck knowing that I could have mounted them more flush lol. Thanks Fernando!

well looks good either way :rockon:
 
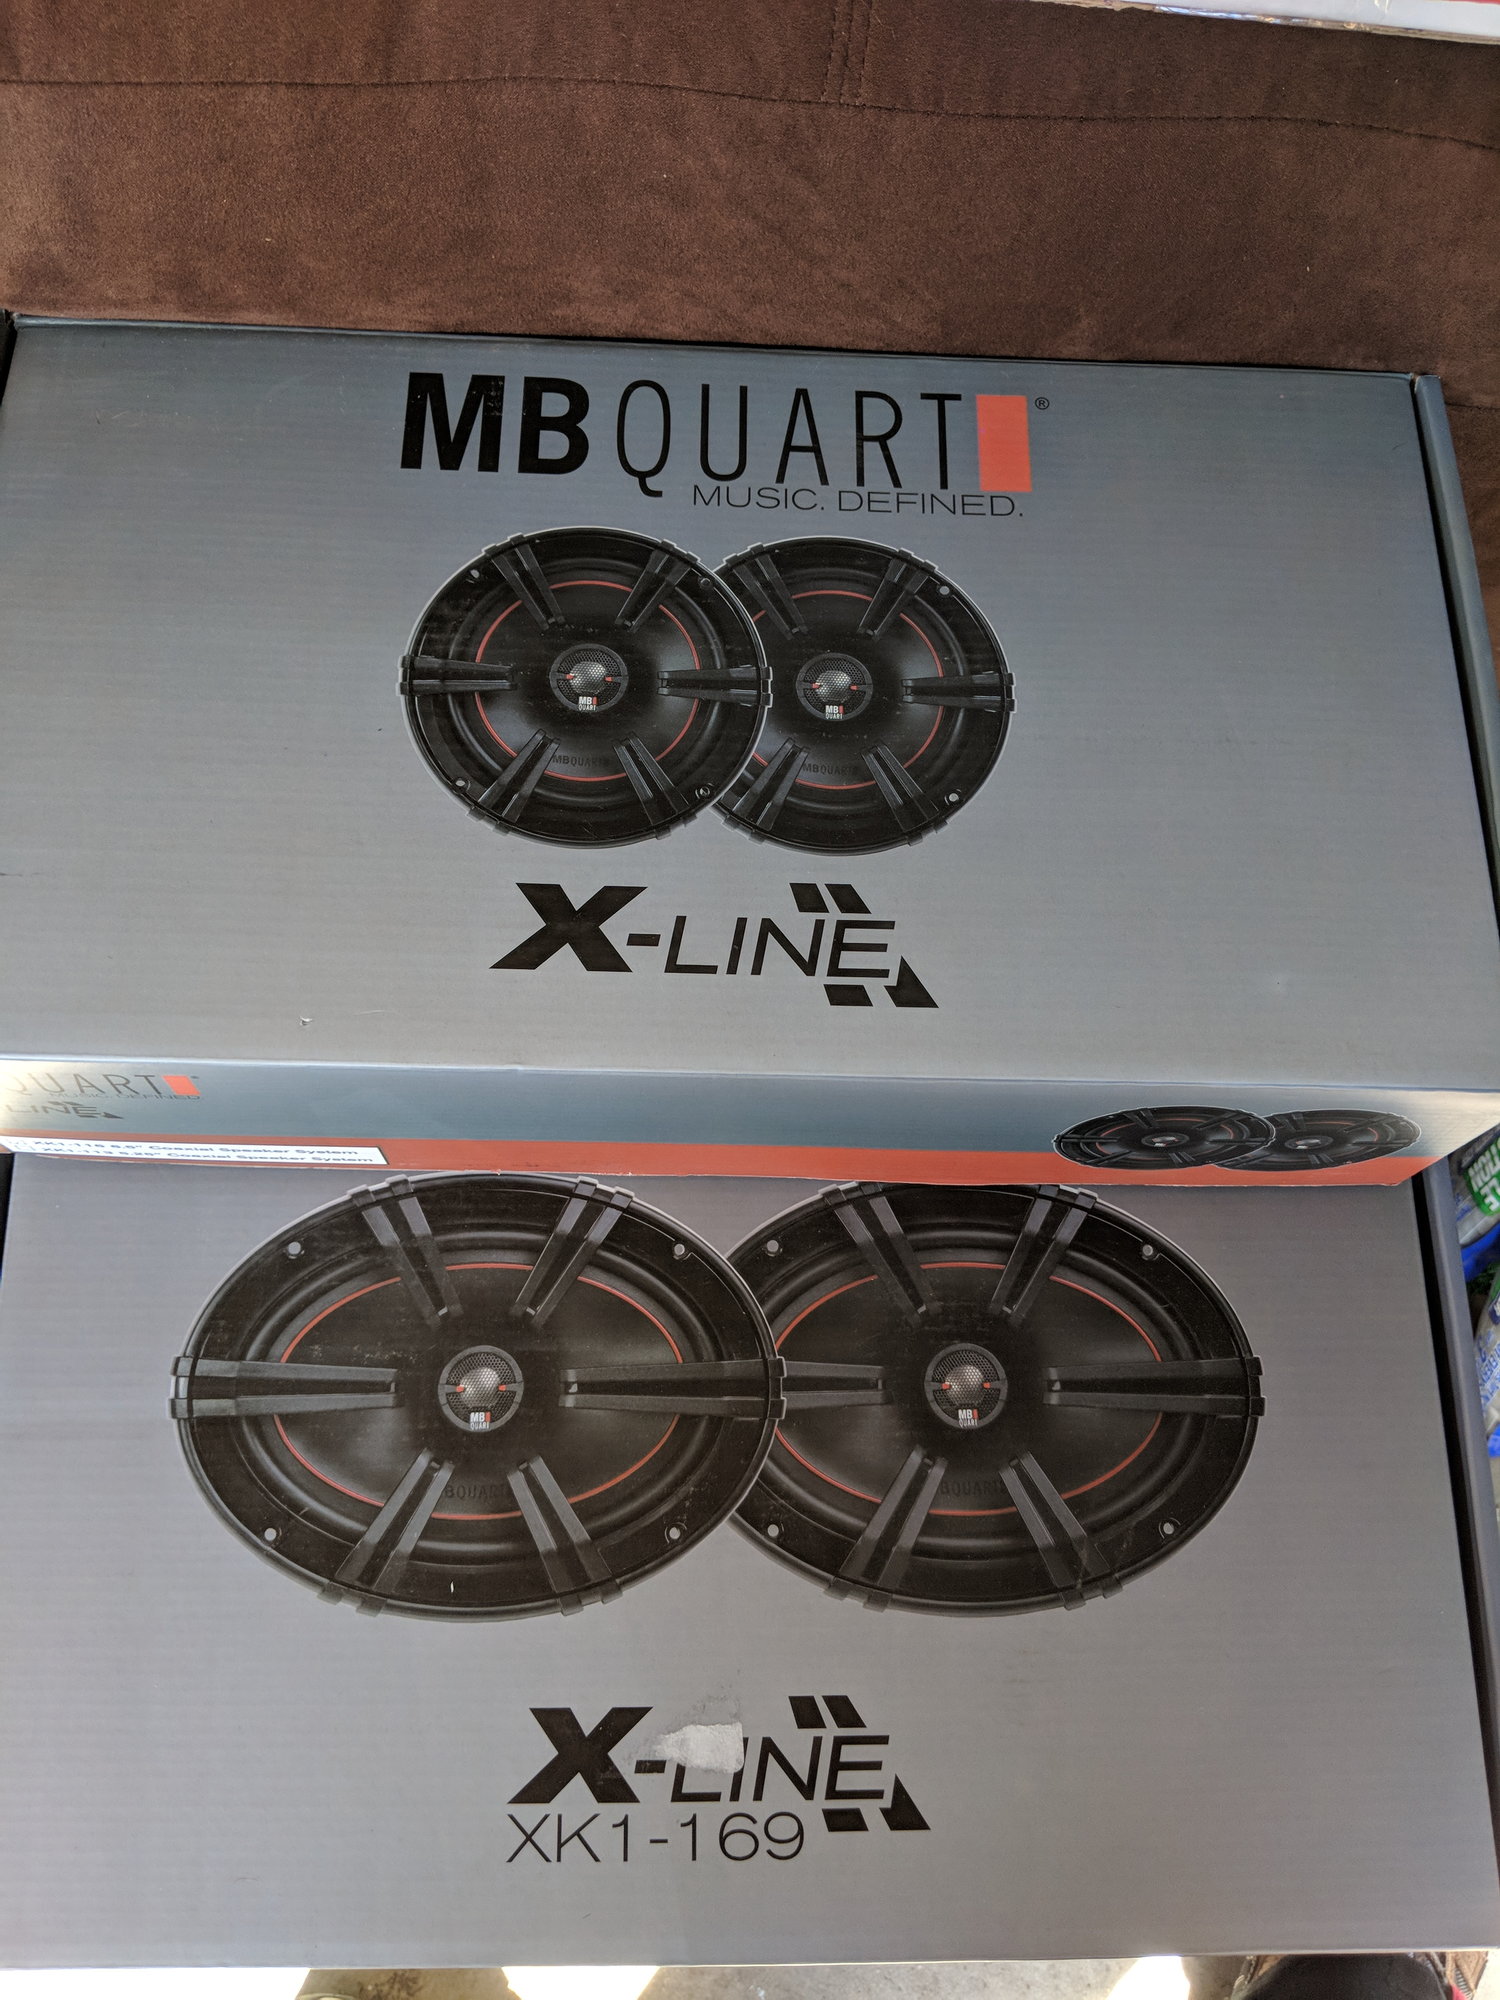
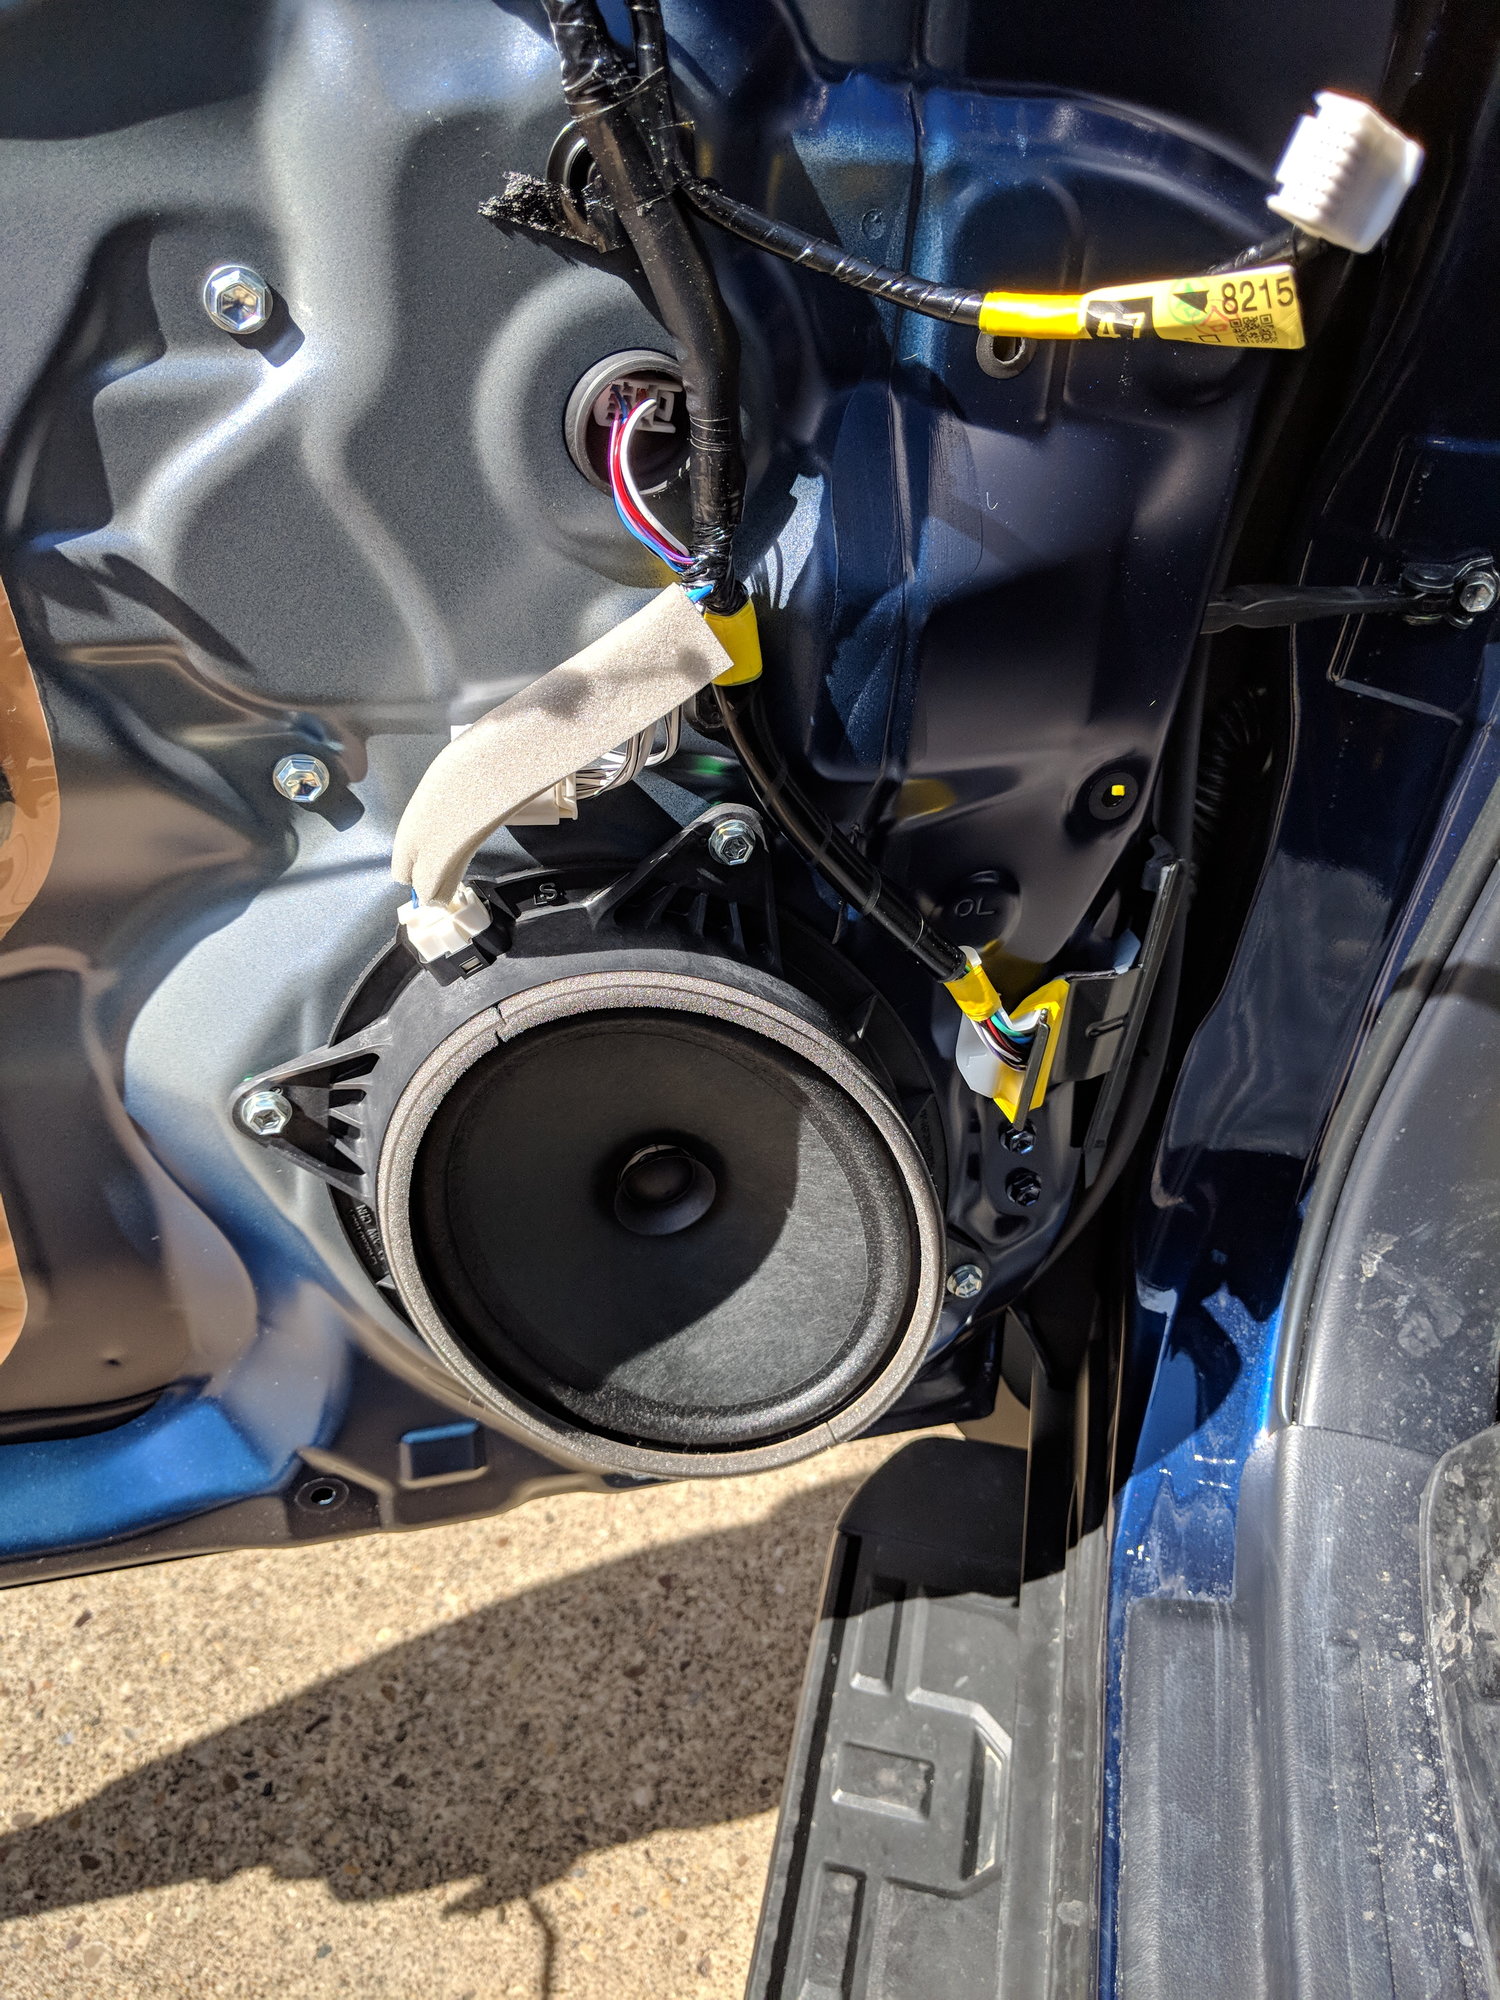
Finally got a nice spring day and was able to get my door speakers all replaced. The speakers that I took out of my old truck had rusty contacts so I splurged and bought all new speakers for the front and rear doors as well as the back hatch.

img_20180326_153255_0c111b32be8302500757896472a0ad2bf204fc13.jpg


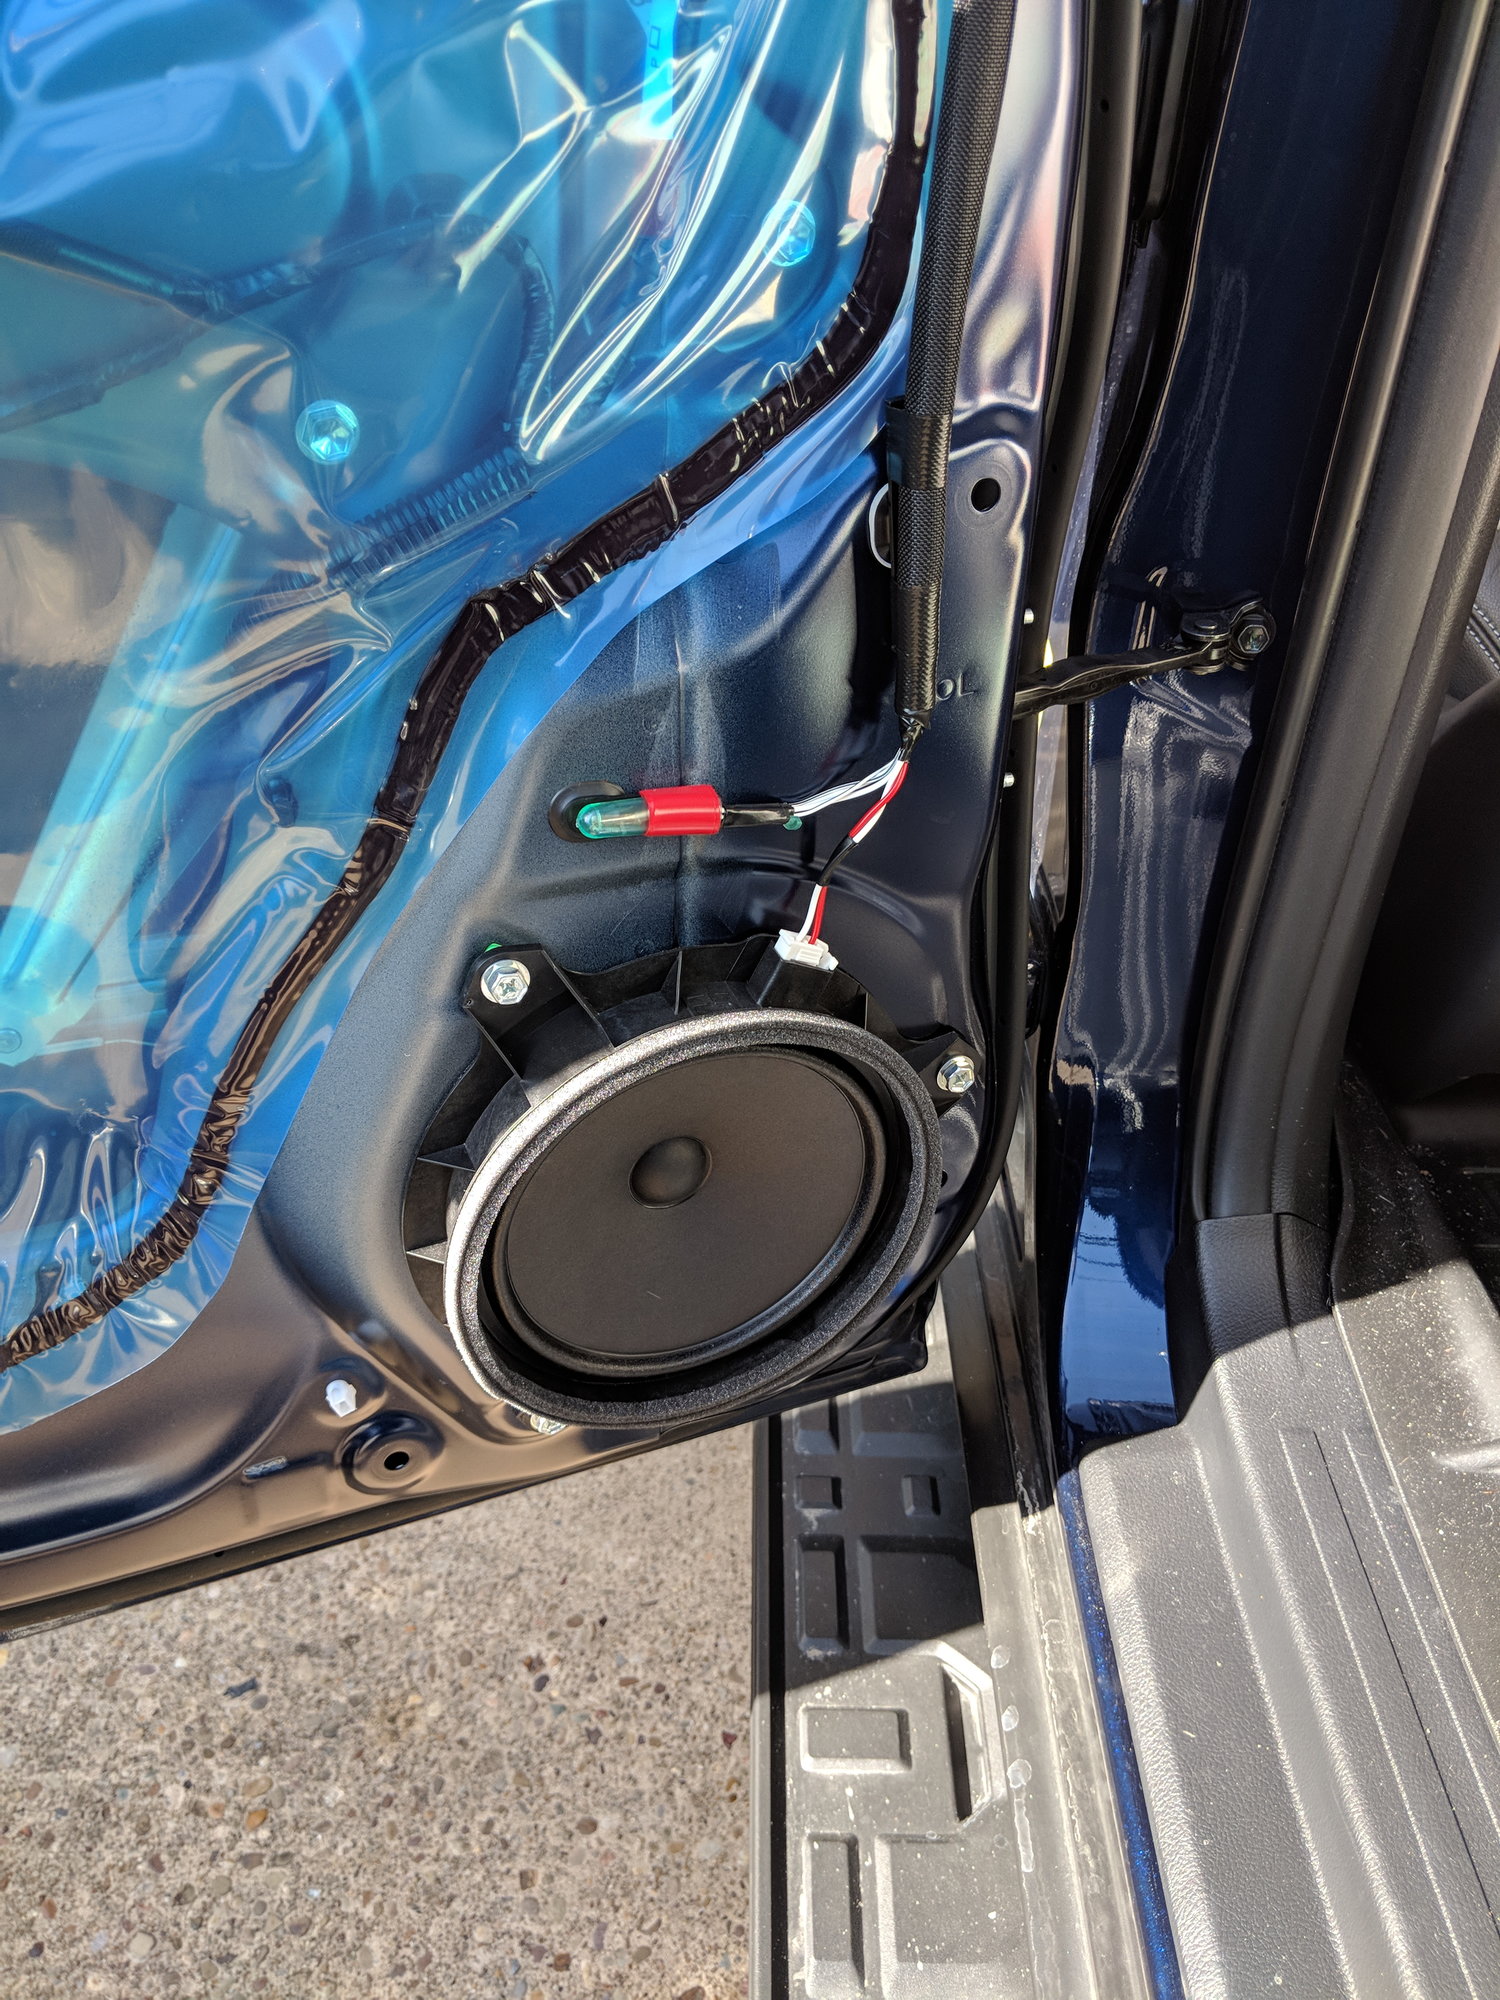
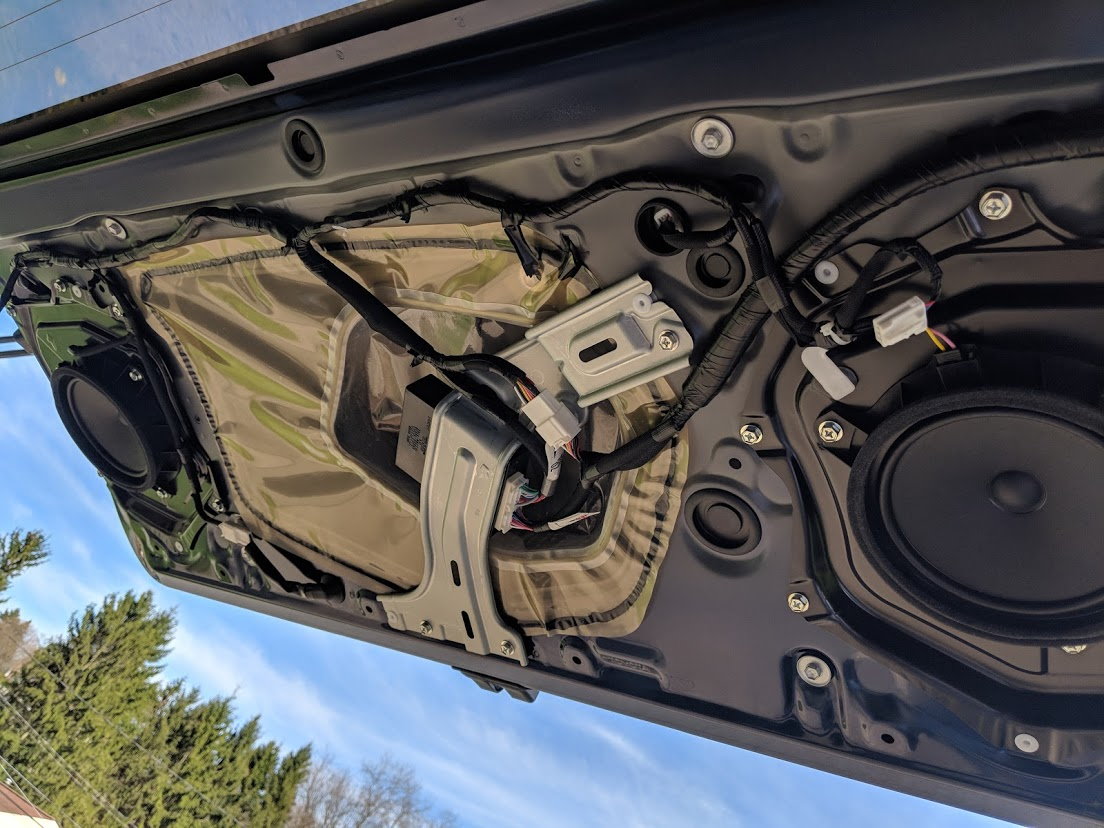
Of course I had to get a before of the crappy paper cone speakers with no magnets

img_20180326_153044_69dbbc11755ede07436044059af3a2fdb900bf8b.jpg


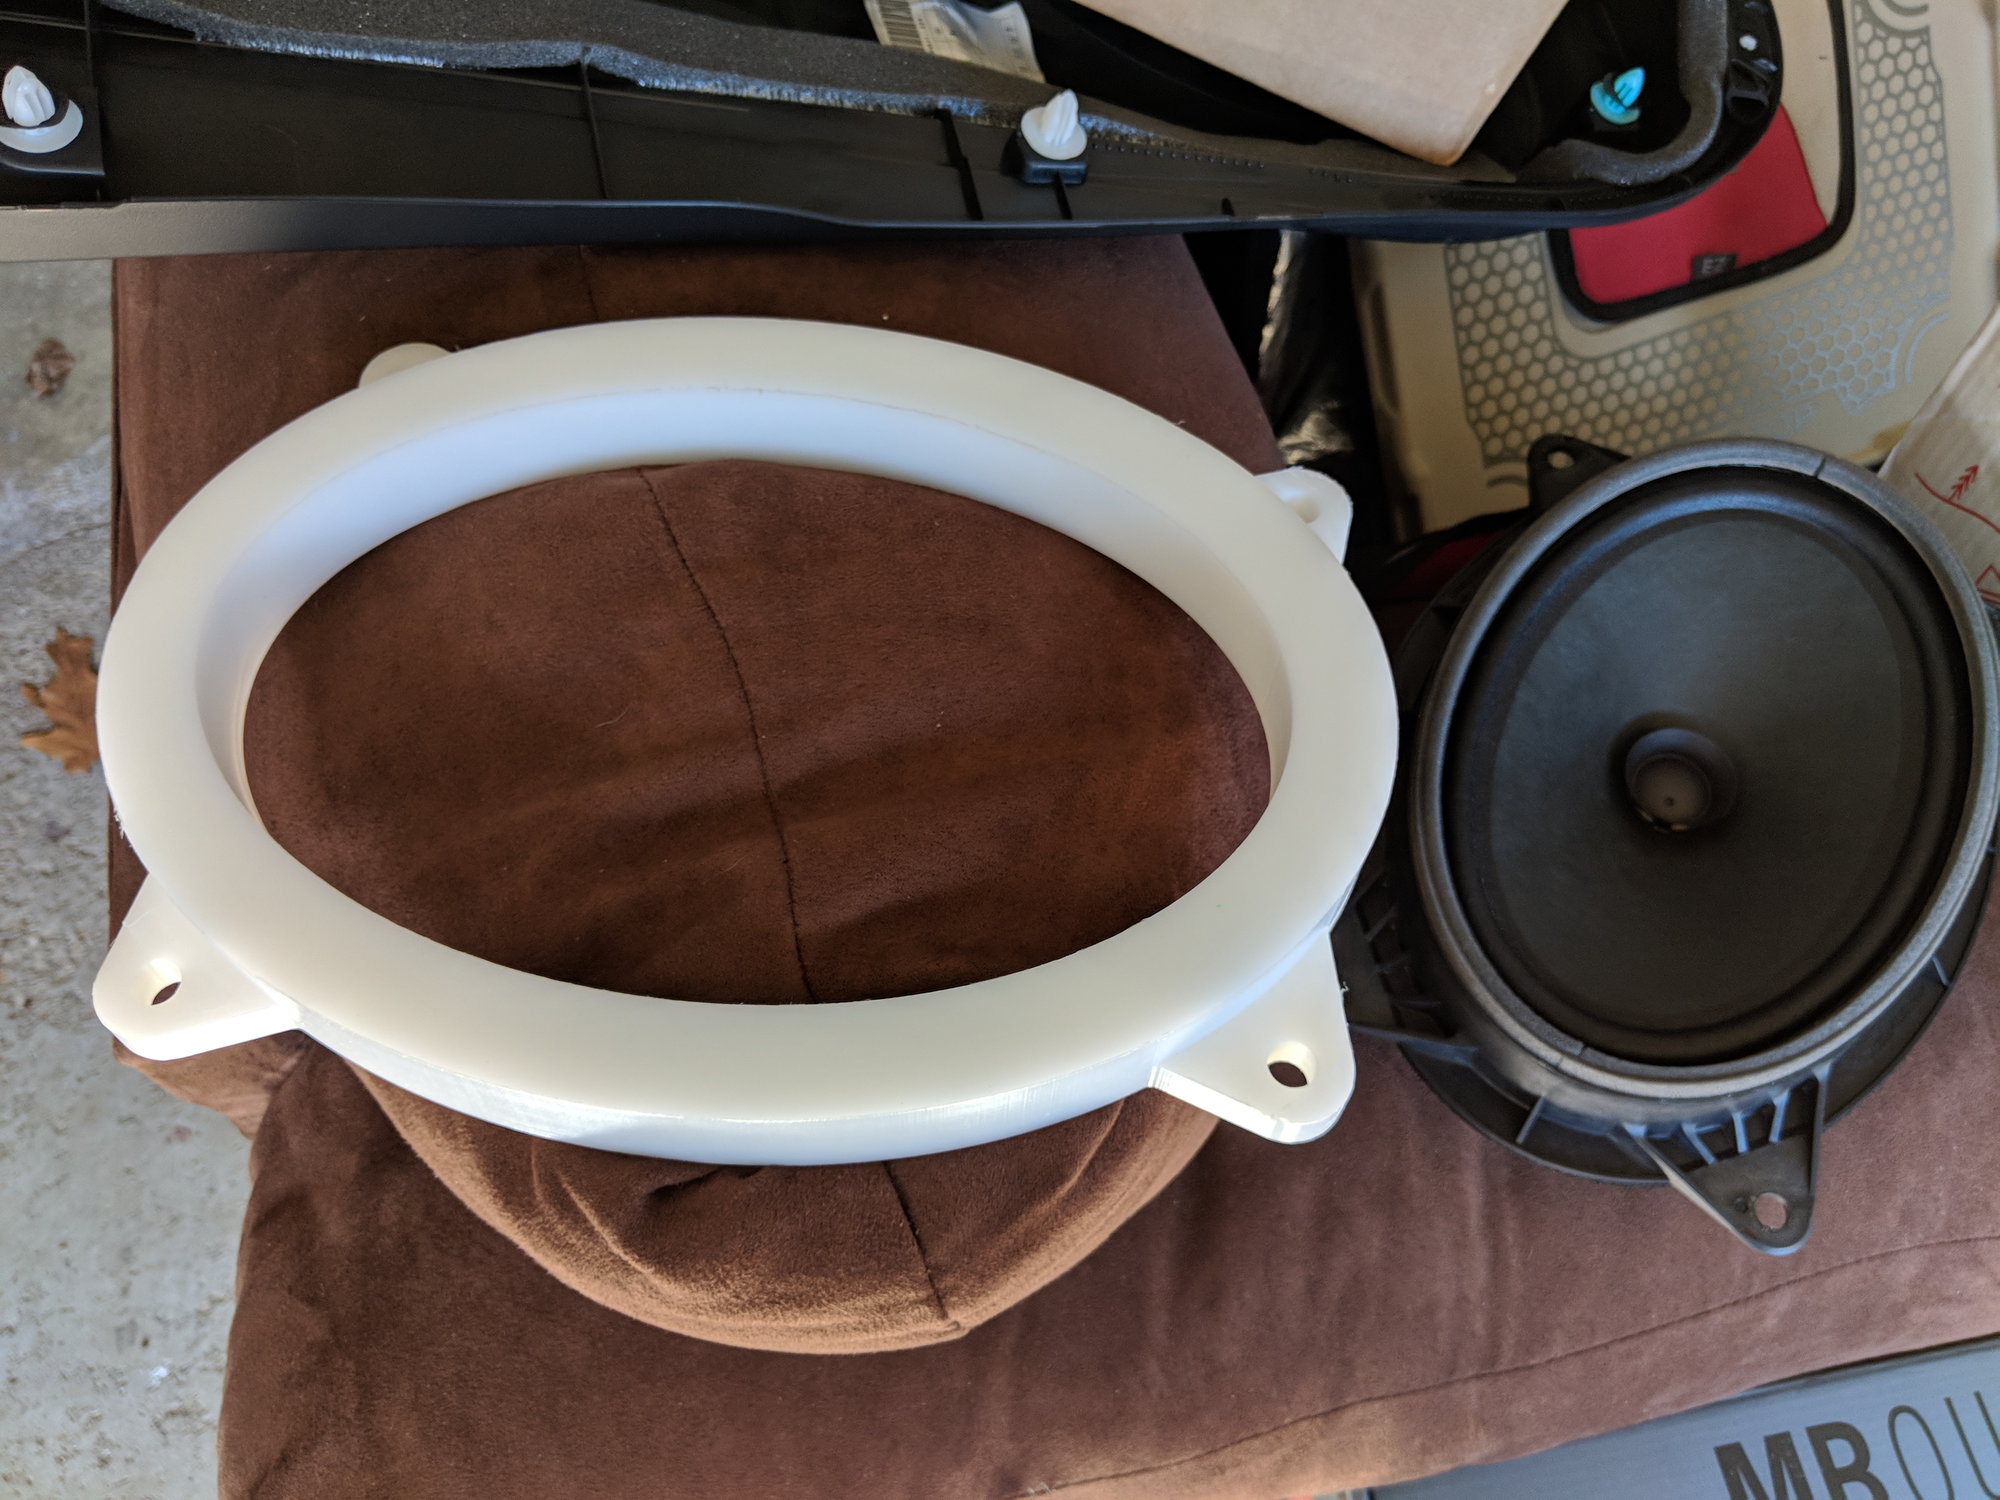
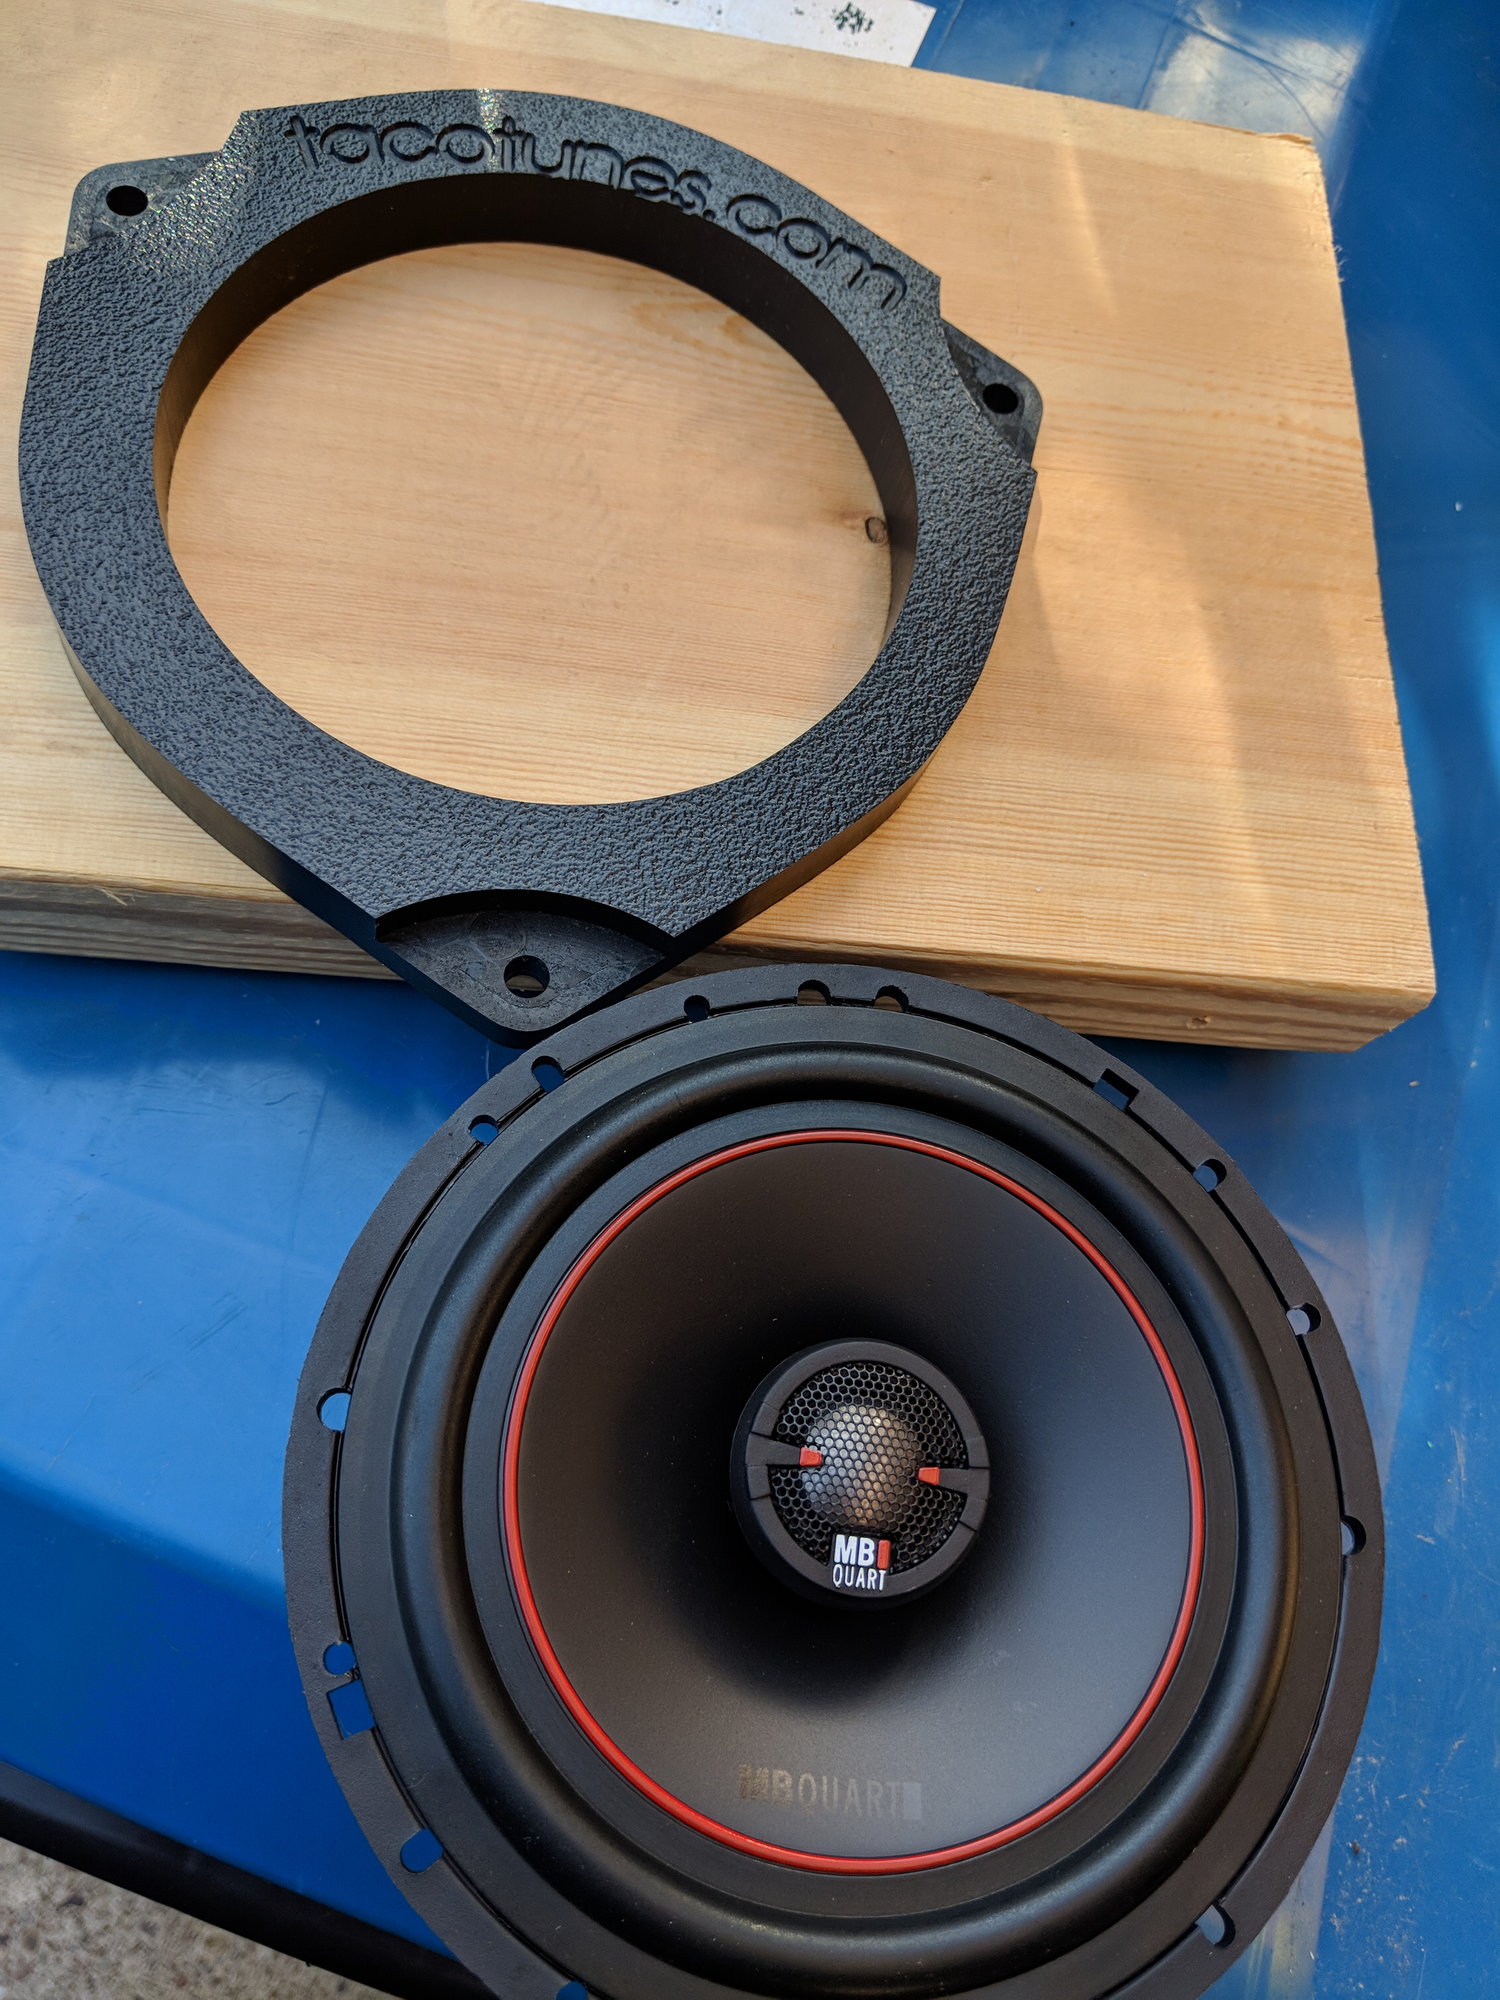
And since I had to buy all new TacoTunes adapters since the ones from my 4th gen didn't fit, I finally had all the right pieces to install
img_20180326_153300_36ba8c845e9b99545b5d88b6bb565ec31ff3d1c8.jpg


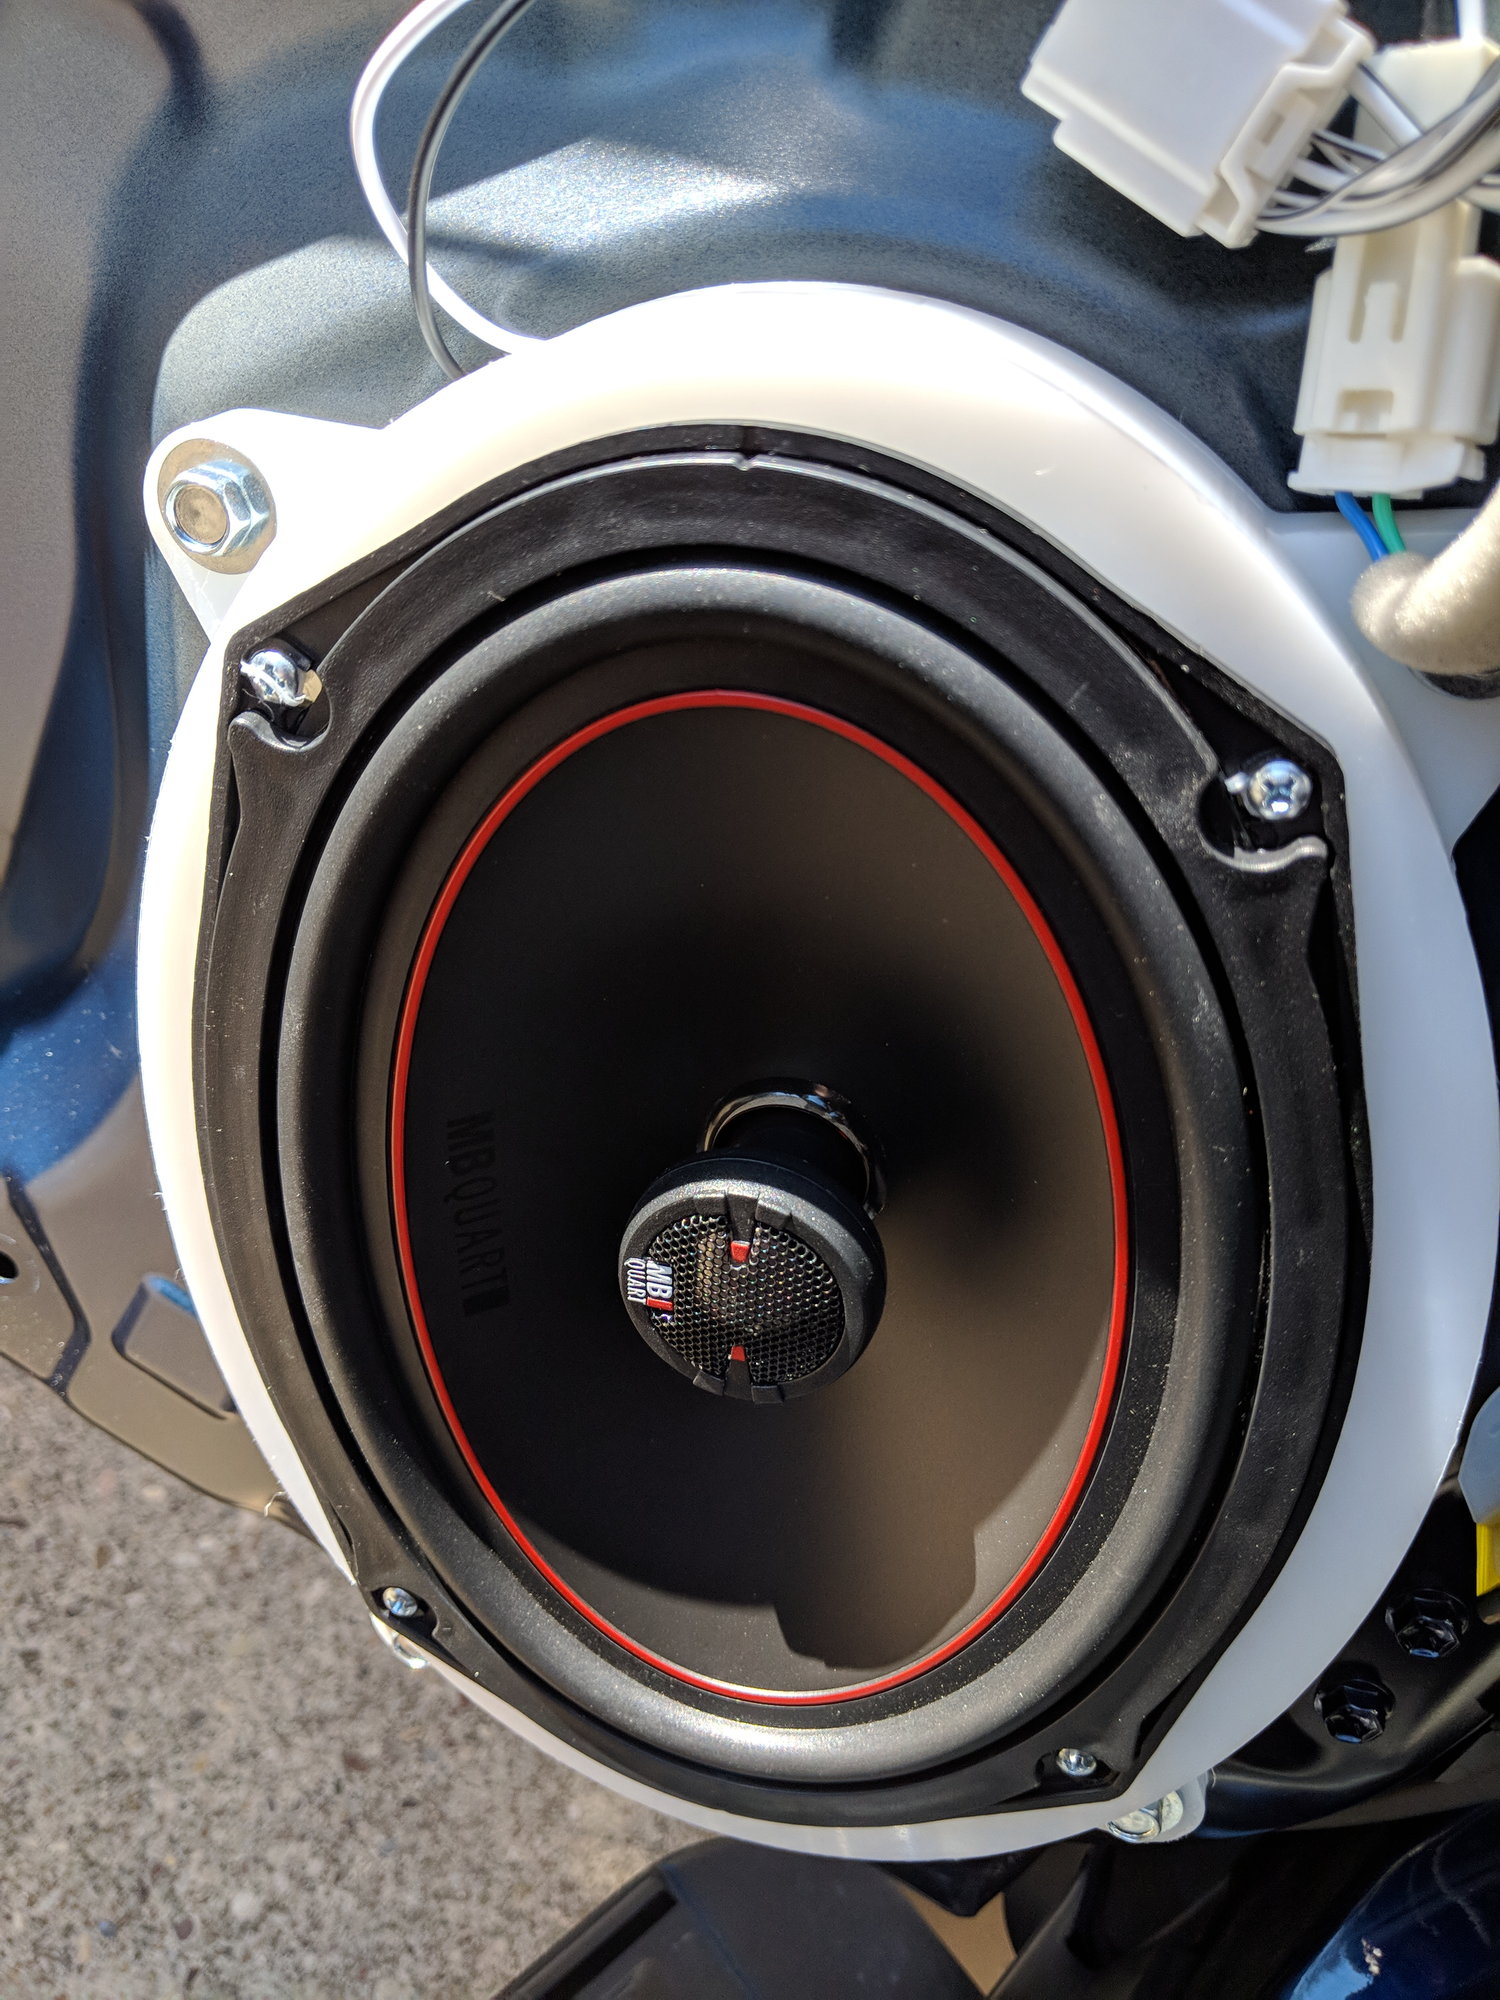
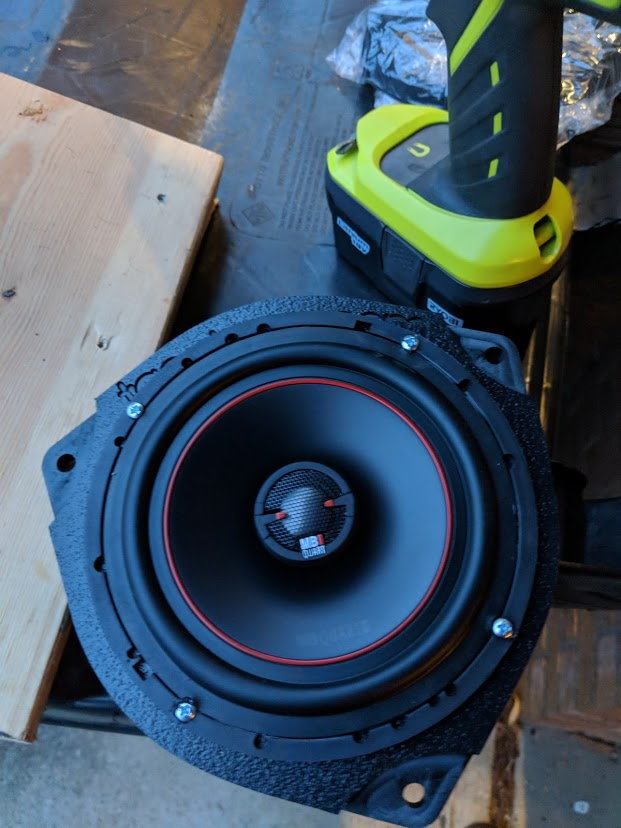
All ready to go in the doors!
img_20180326_155640_324c80a638f4cbd2ccb7f4f3a95ddcceddadab49.jpg


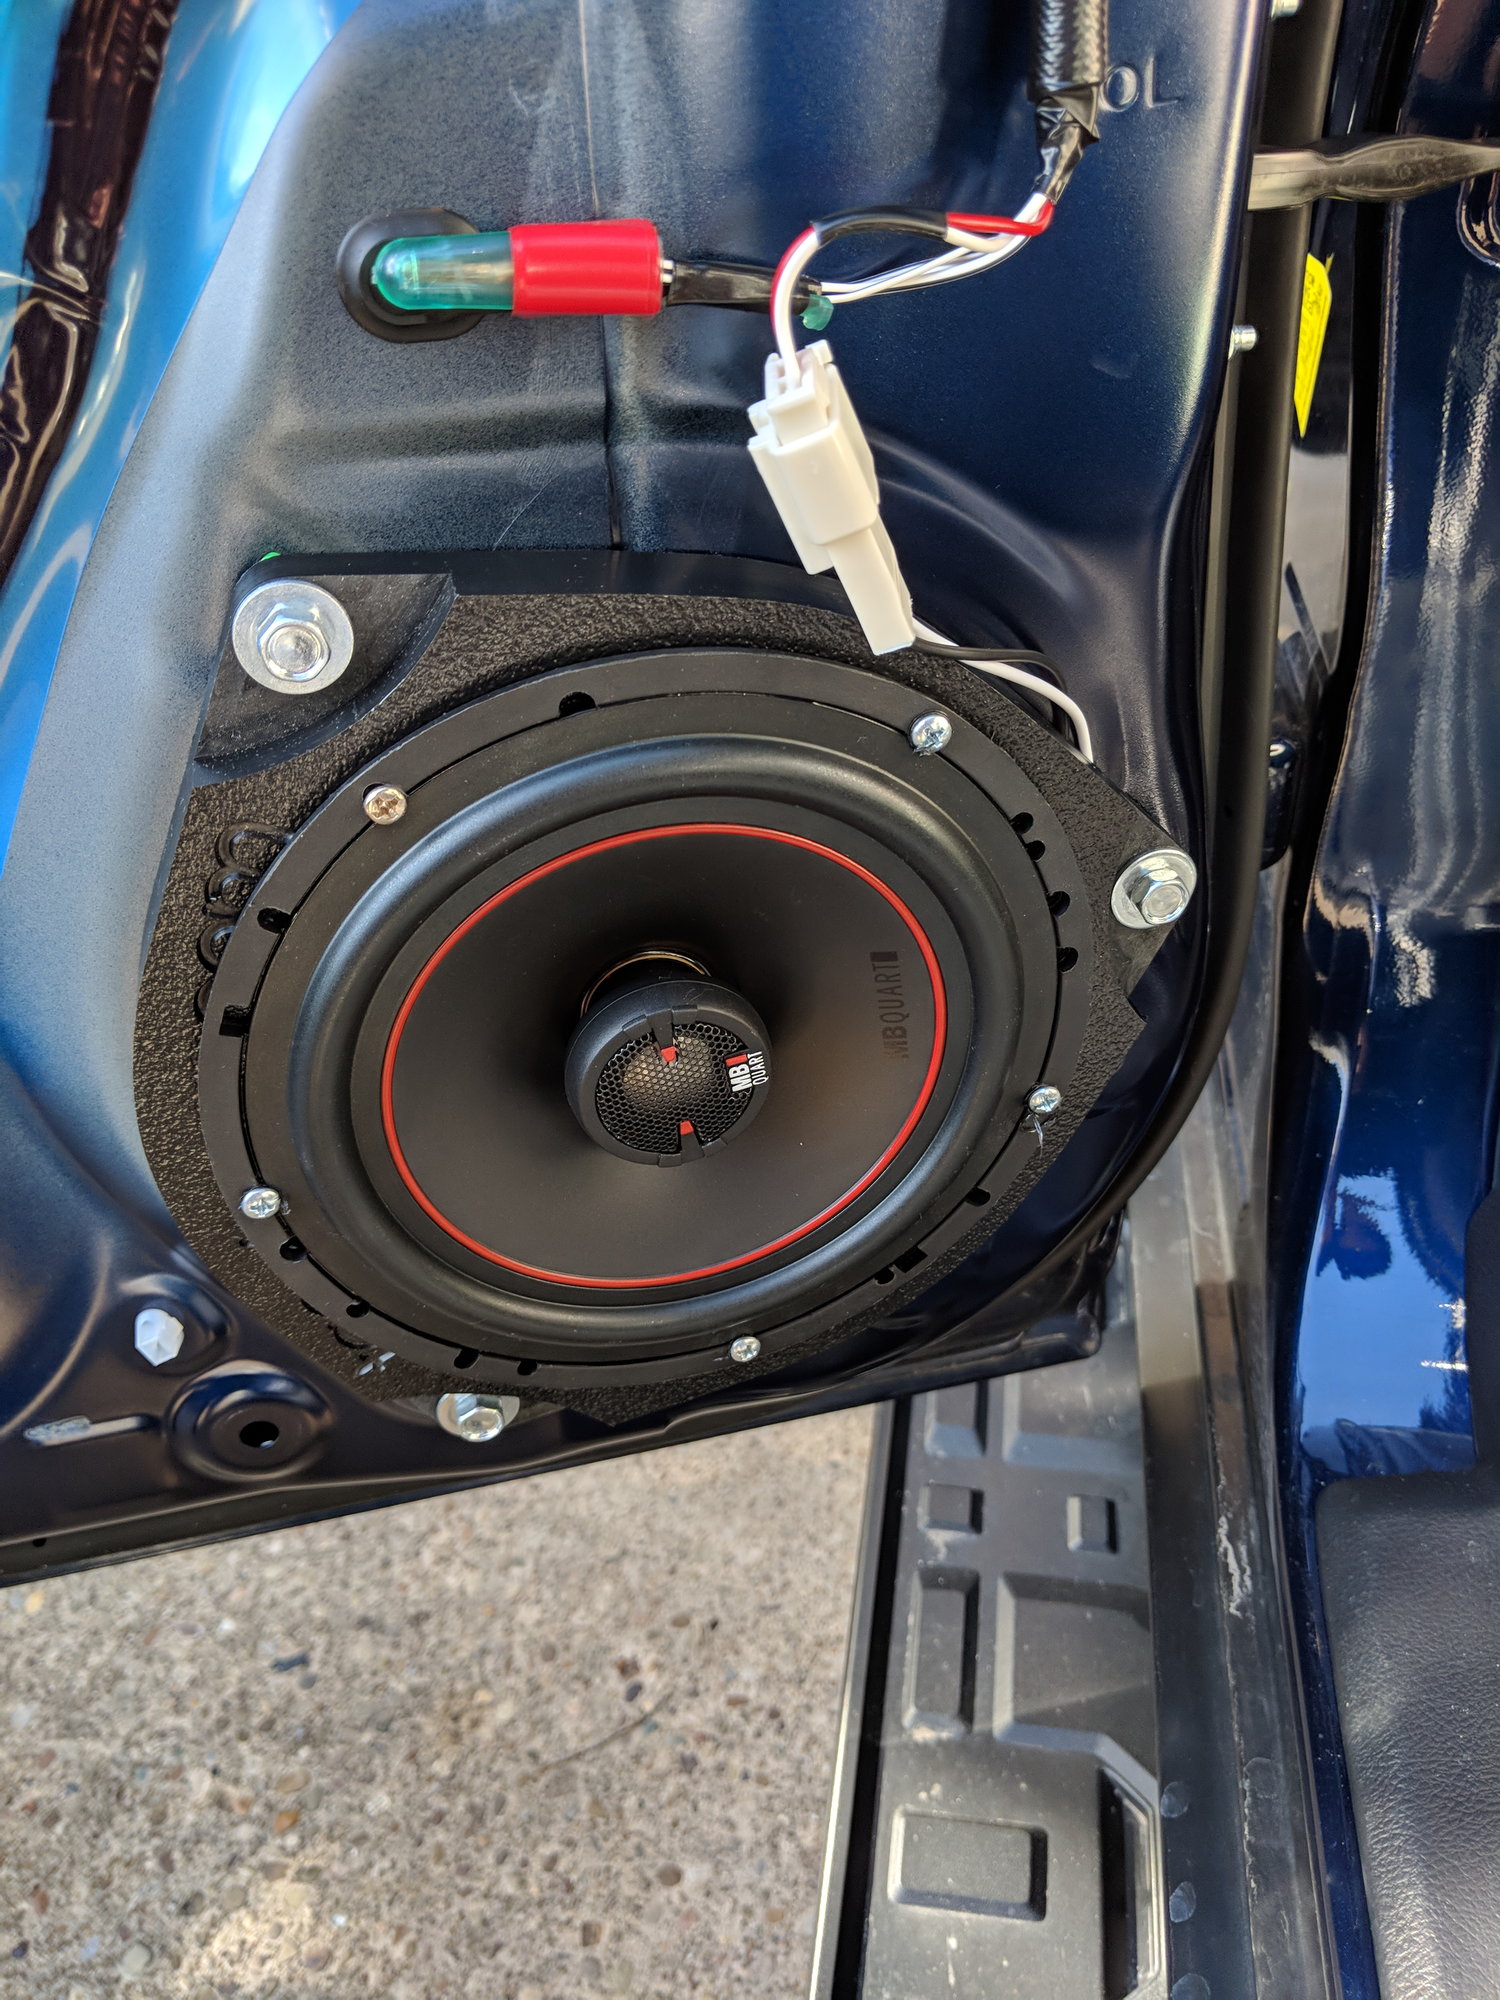
And installed!
mvimg_20180326_160125_7188ec3b45b2f6749e2a4e2a01470c2378d58257.jpg


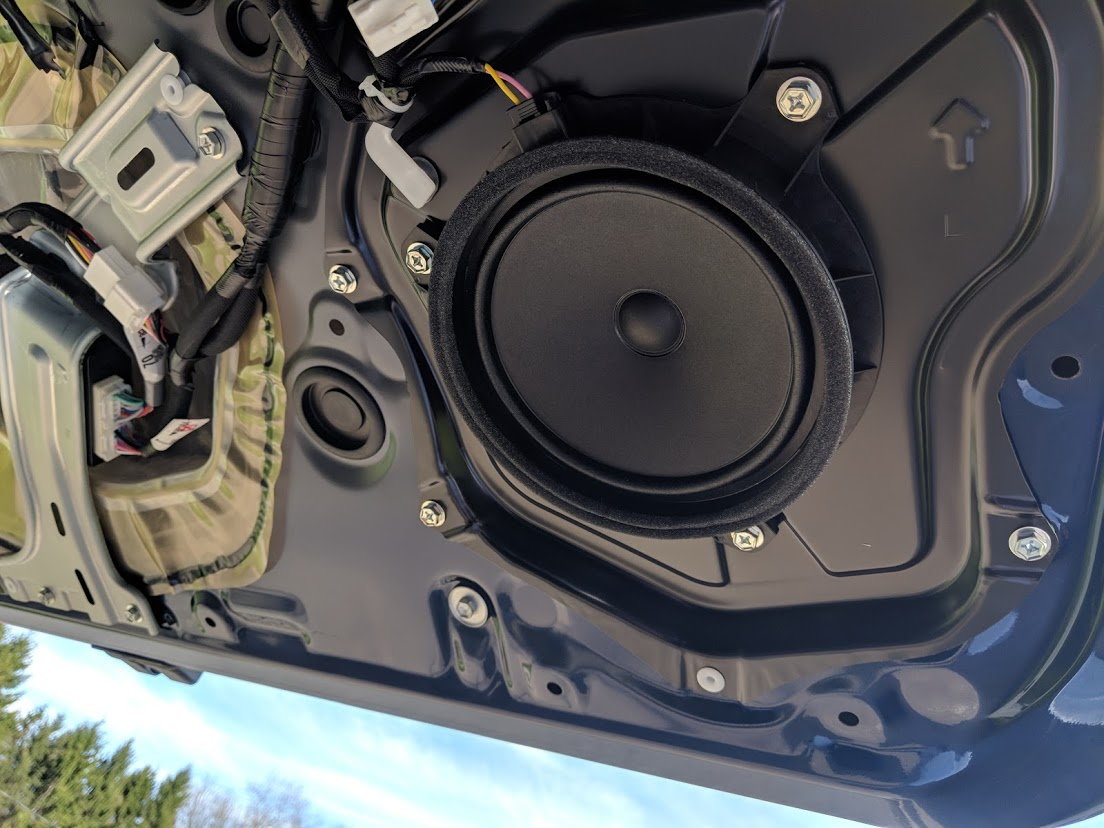
Before of the rears

img_20180326_163542_4d6942458746d39af188776acea7aaeb4d1a8532.jpg


Getting ready to mount
mvimg_20180326_163815_f5afc2fae912ba8b482b9e6d2f0fd6ed3c9dfd73.jpg

And installed!
mvimg_20180326_165257_1a8095c94f8d74364933bd3ebed67ff86c83fc72.jpg


I was able to get all 4 doors replaced before the sun and temperature started dropping, so I got 4 of the 8 crappy stock speakers replaced so far.

After having to order more adapters from TacoTunes because the ones I had from my 08 wouldn't fit the new speakers for the rear hatch I finally got them swapped out, current count is 6 of 8 replaced.

img_20180426_171702_b5d17c8556ca3d887187dbfde784df6d9fbfda11.jpg


Here's a before of the crappy paper cone garbage

img_20180426_171658_8a12e906942e4737514a3f2a8262e5011daddf37.jpg


And all mounted up and ready to go

img_20180505_201743_2a9bfe9d5f18c069a6f06bed89f3a1398cc94e23.jpg


I go to a lot of concerts and do a lot of tailgating, so these will definitely get some good use, had to flip around a bit to get the holes lined up, no biggie

img_20180506_144108_fa087ef6b75b5d9a4fda3f7449522572a0637fcc.jpg


And got them both installed, took about 10 minutes once I had the right brackets lol

img_20180506_150036_859f025d45fbbaa7a7a5dbde26c2a6bd8b899af6.jpg

how was the sound after the speaker upgrade ??? for some reason I thought you could run 6x9's in the front and rear passenger doors and 6x5's on the rear hatch...
 
how was the sound after the speaker upgrade ??? for some reason I thought you could run 6x9's in the front and rear passenger doors and 6x5's on the rear hatch...

Sounds awesome, it's always been 6x9's in the front doors, 6.5's in the rear doors and rear hatch, they sound awesome
 
Sounds awesome, it's always been 6x9's in the front doors, 6.5's in the rear doors and rear hatch, they sound awesome

hhhmmm fun ... I thought that because crutchfield suggest 6x9 in the rear pasenger door when I was looking.

ps. so you didnt run a aftermarket amp to power these speakers???

what the specs on them ???
 
Last edited:

Members online

Forum statistics

Threads
278,309
Messages
3,554,063
Members
248,016
Latest member
Advally Service

Trending content

Back
Top