Bumper: what lessons did you learn?

mavrick1903

New member
Getting ready to pull the trigger on a Coastal Offroad DIY bumper. If you’ve done a DIY or any other bumper upgrade, what would you have done differently given the hindsight?

I’ll be adding a extra cutout pair for a third set of lights to accommodate fog lights (still need to choose those)

Planning on three hoop.

What else?


Sent from my iPhone using Tapatalk
 
Register to hide this ad
Getting ready to pull the trigger on a Coastal Offroad DIY bumper. If you’ve done a DIY or any other bumper upgrade, what would you have done differently given the hindsight?

I’ll be adding a extra cutout pair for a third set of lights to accommodate fog lights (still need to choose those)

Planning on three hoop.

What else?


Sent from my iPhone using Tapatalk


Check clearances on everything. The hoops have to be at a pretty steep angle to clear the hood when opening. Ask me how I know.....

It’s really not too hard honestly. It was my first welding project and hasn’t fallen apart lol.


Sent from my iPhone using Tapatalk
 
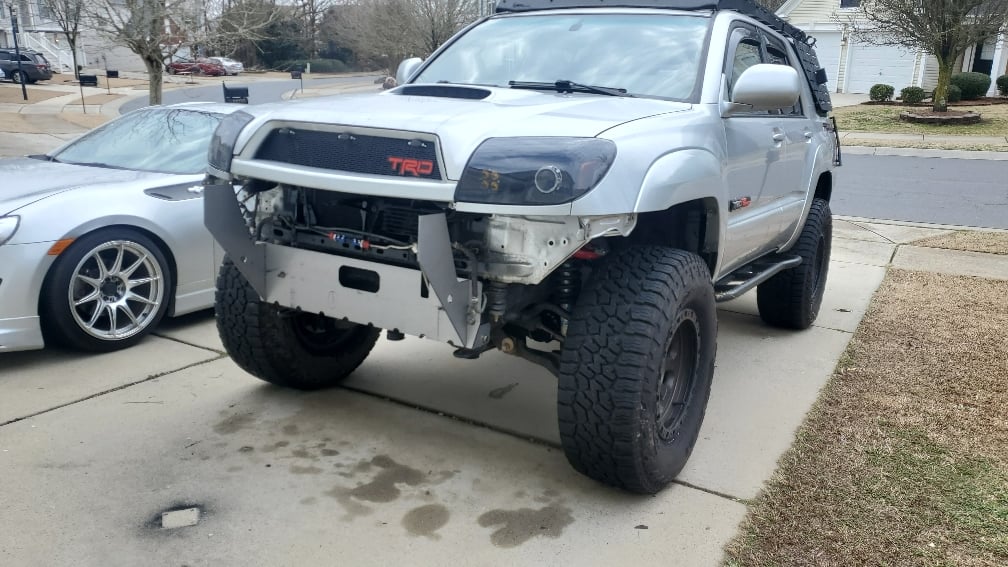
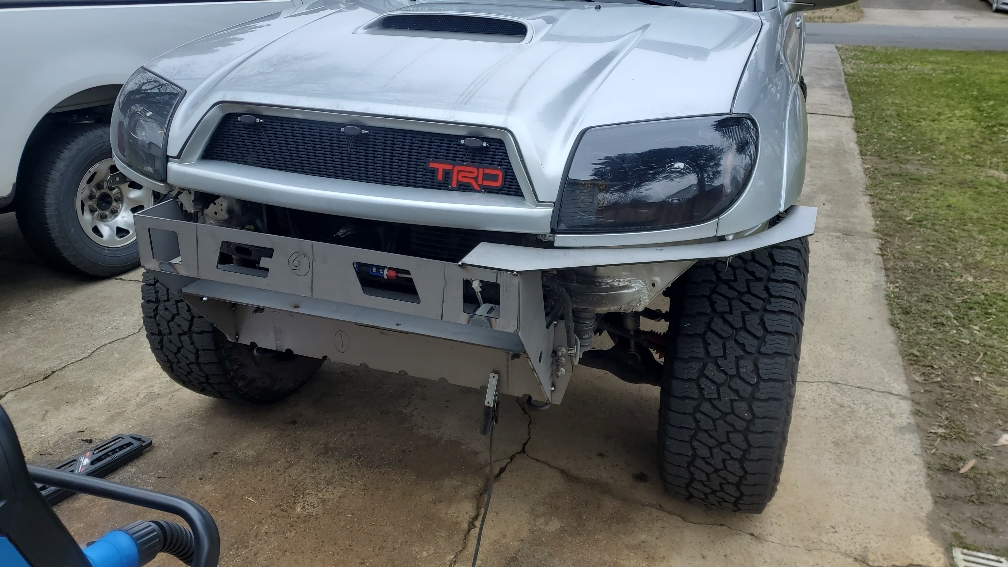
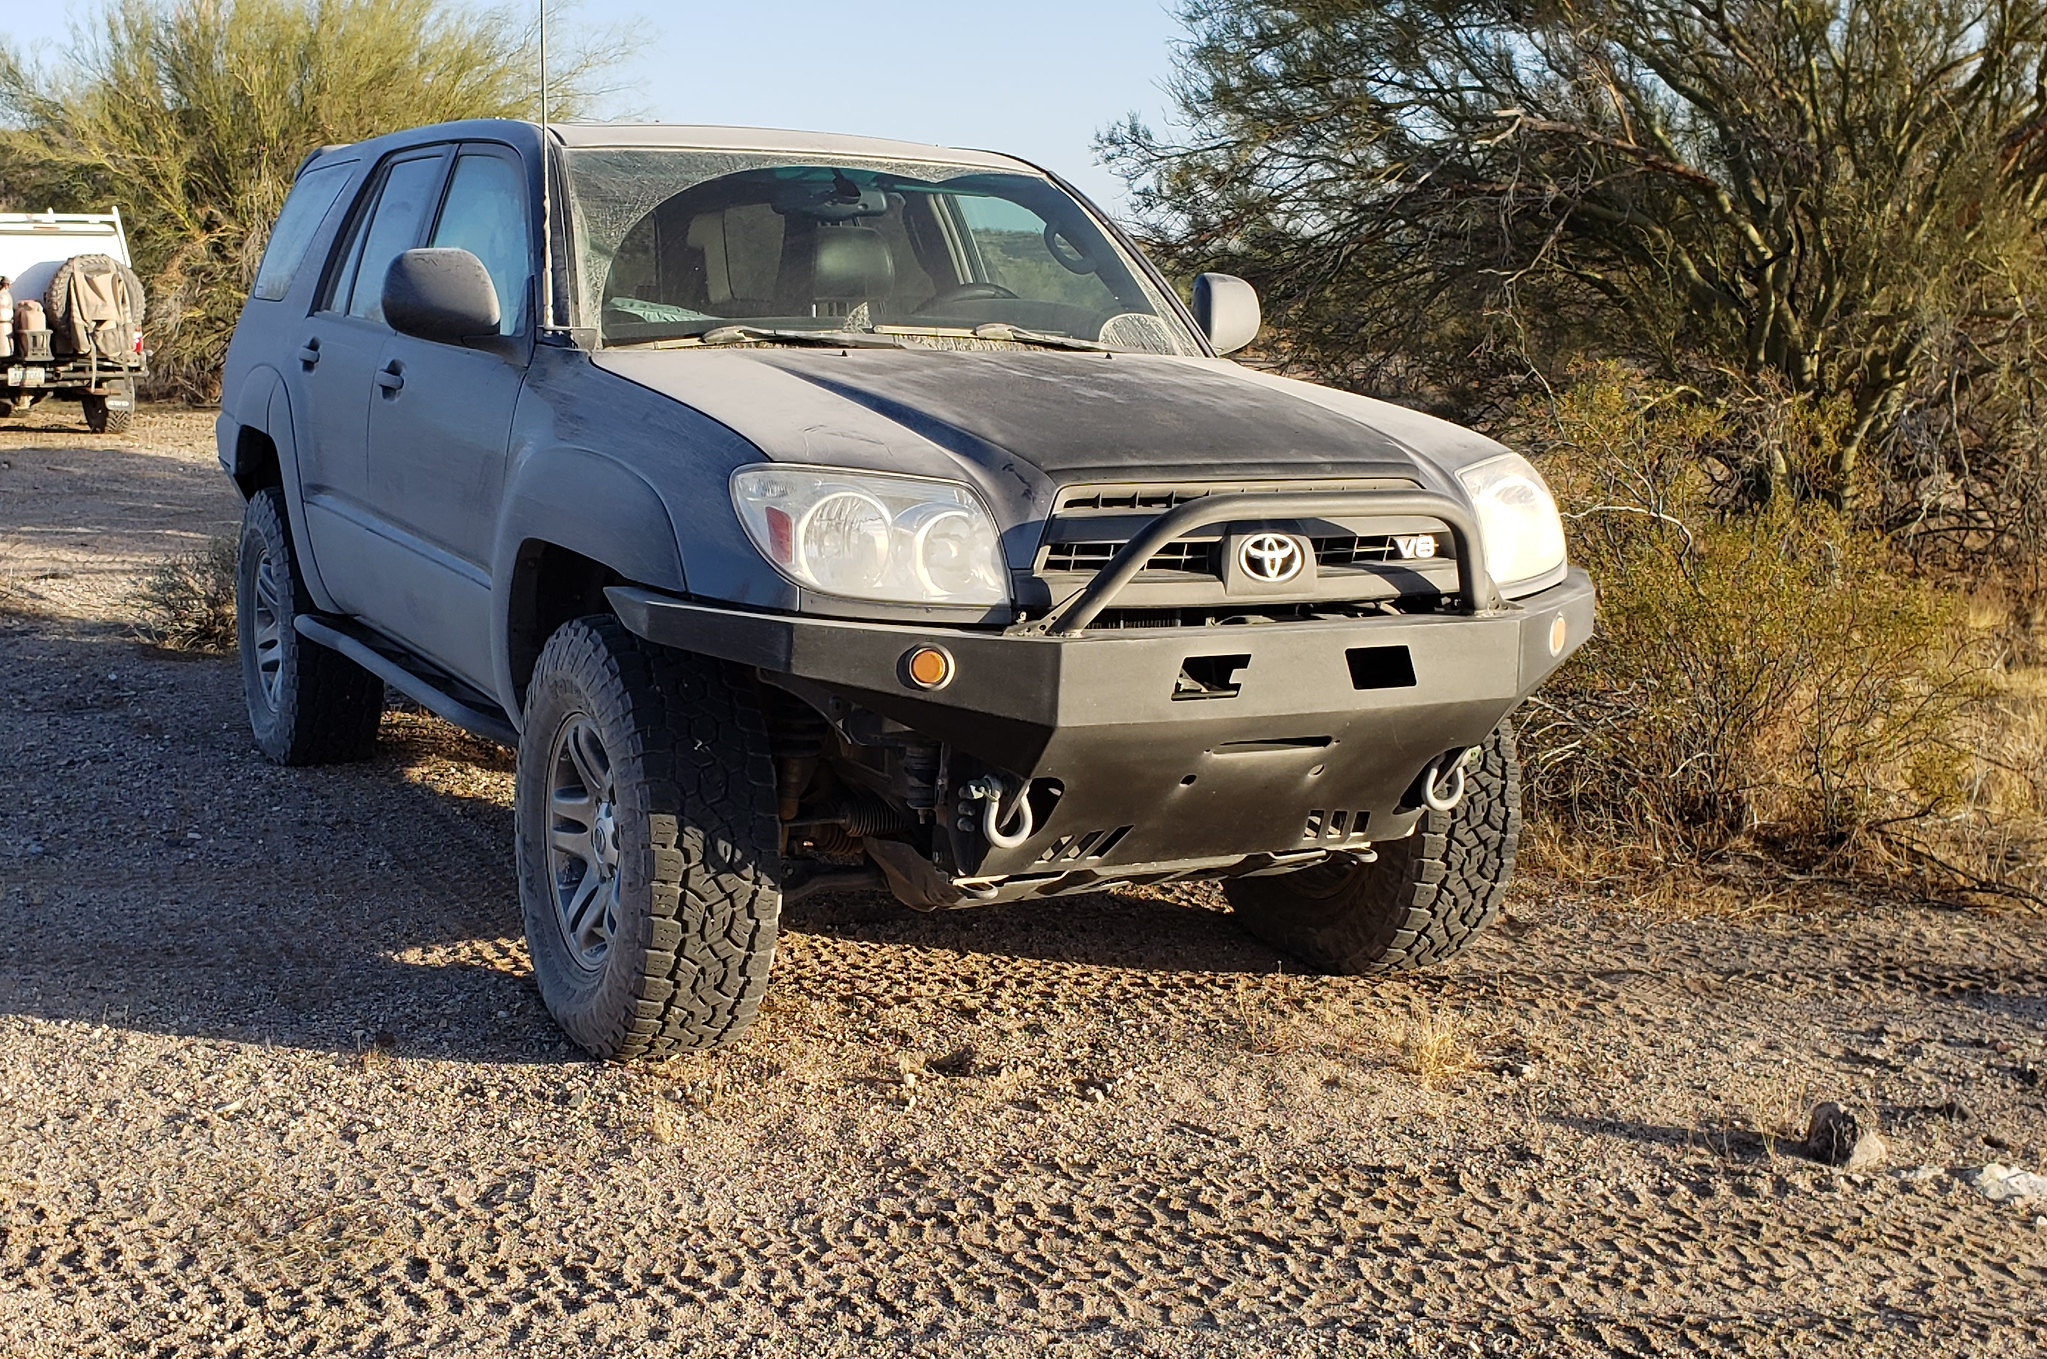
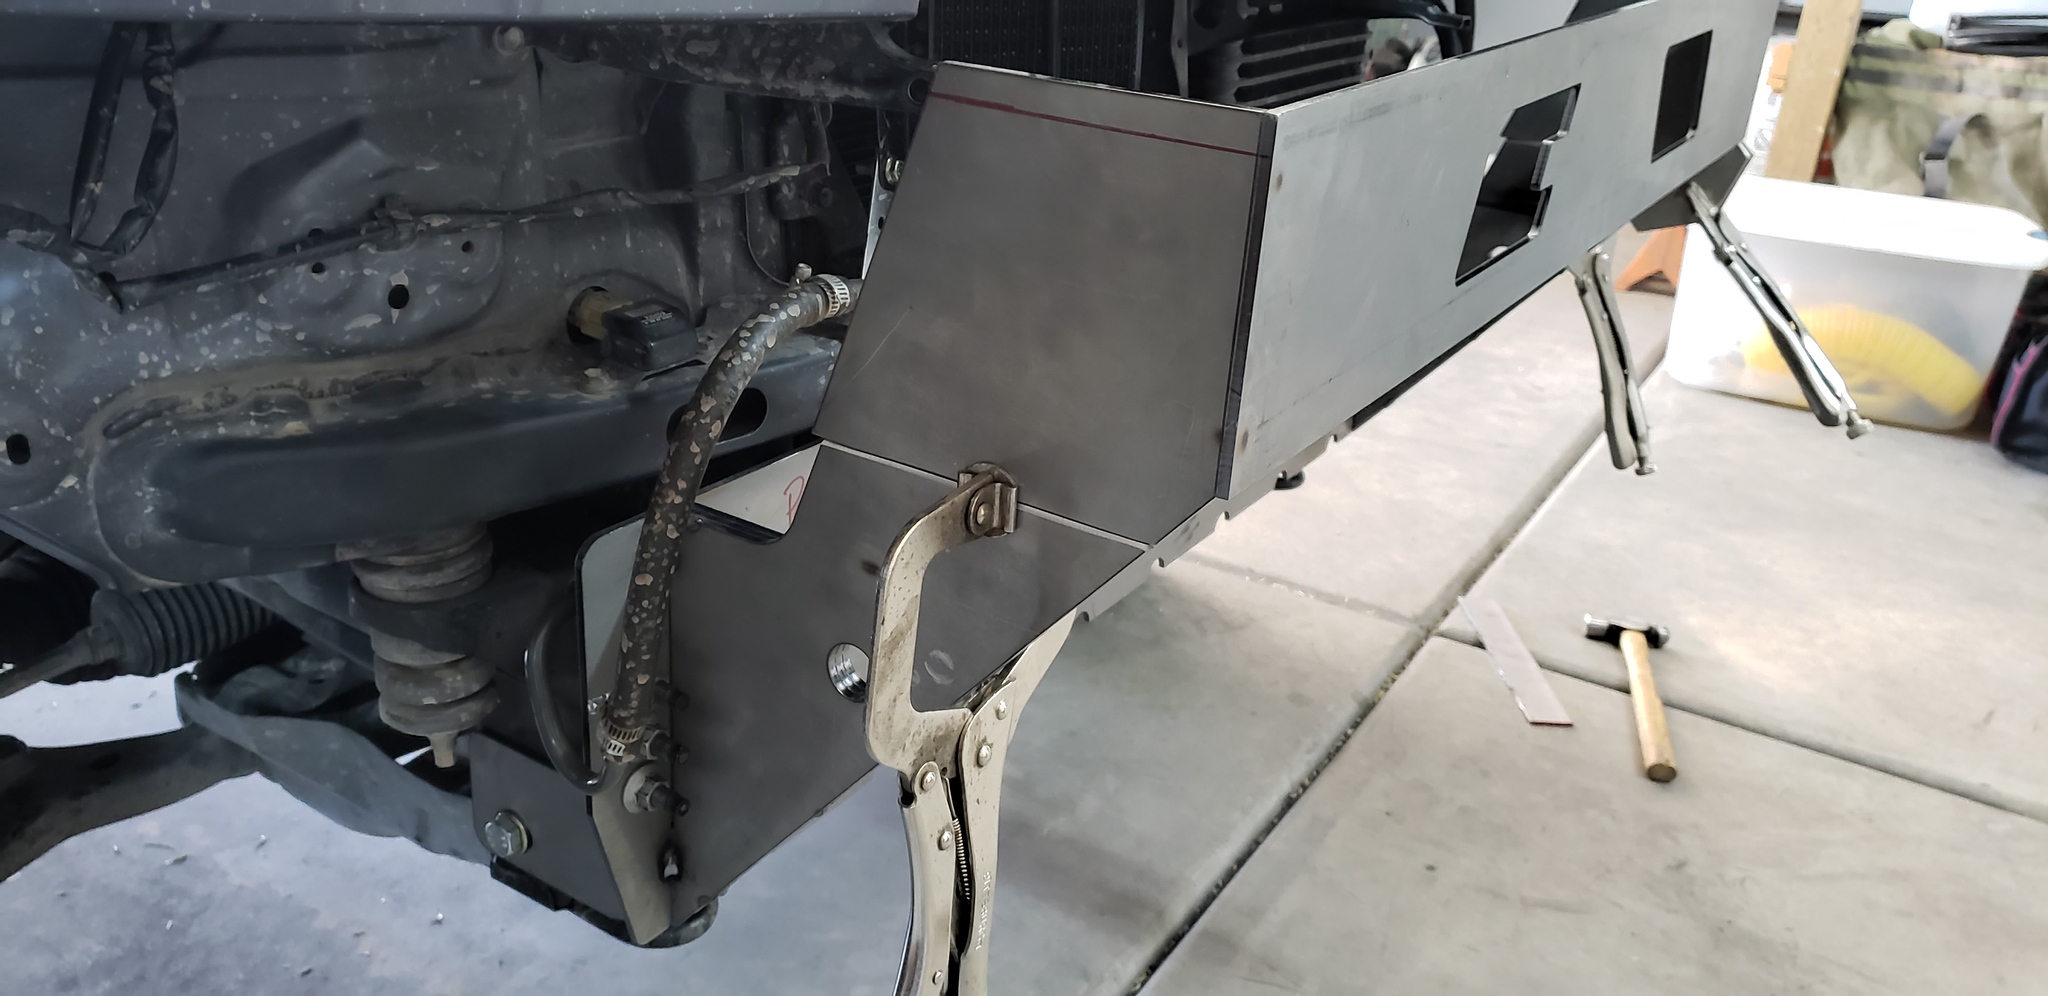
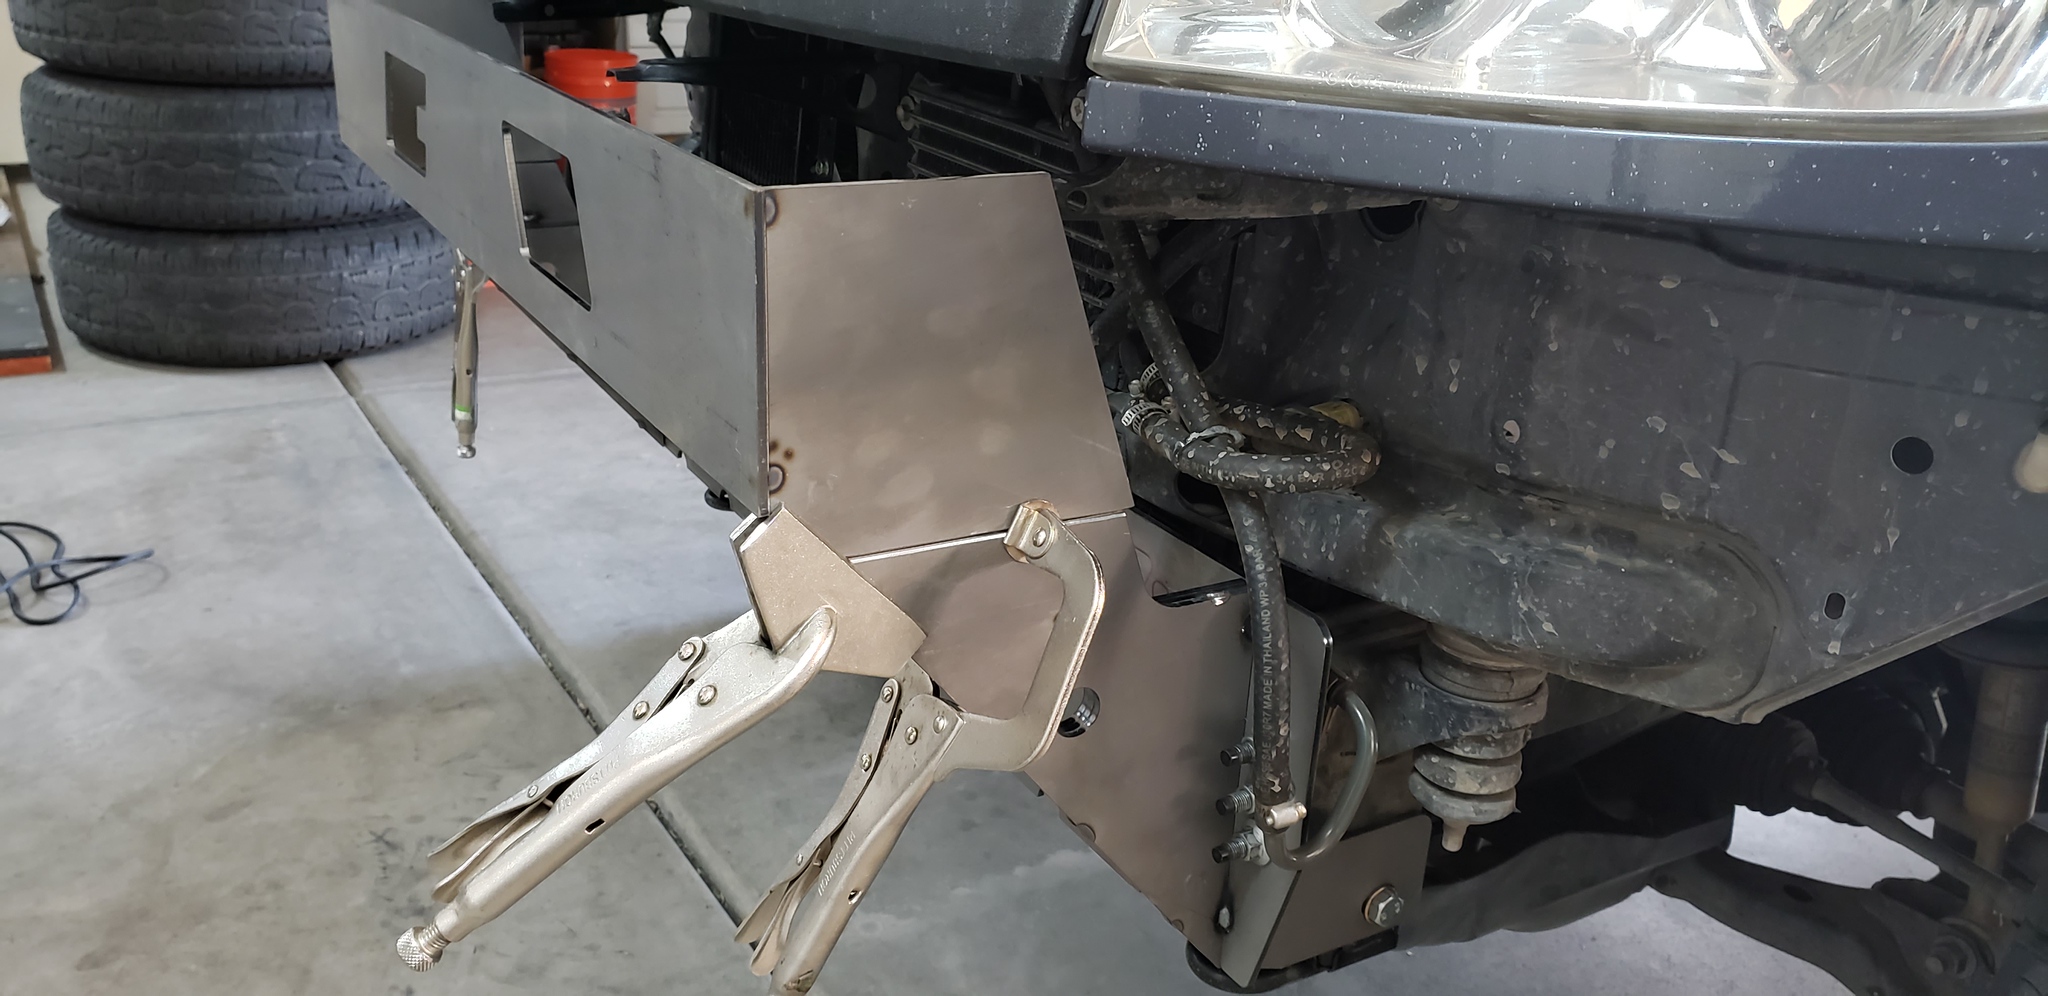
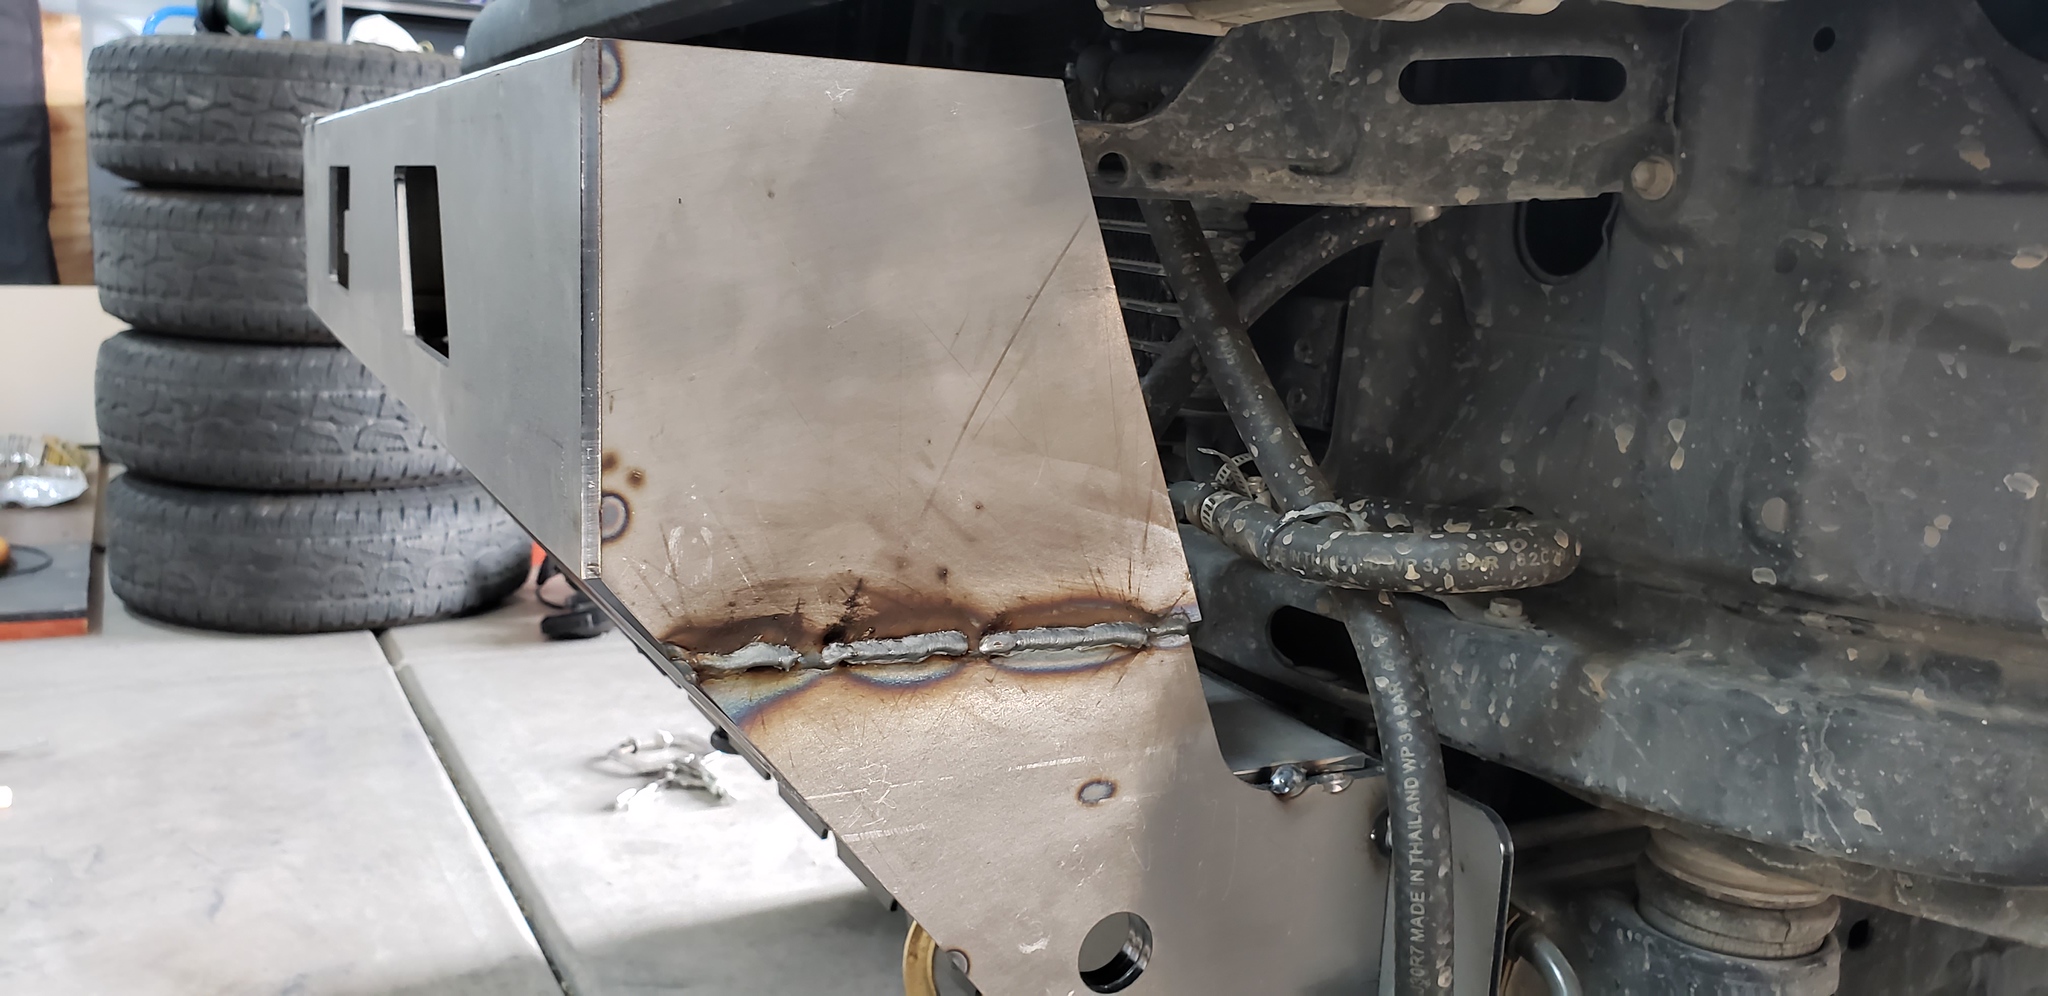
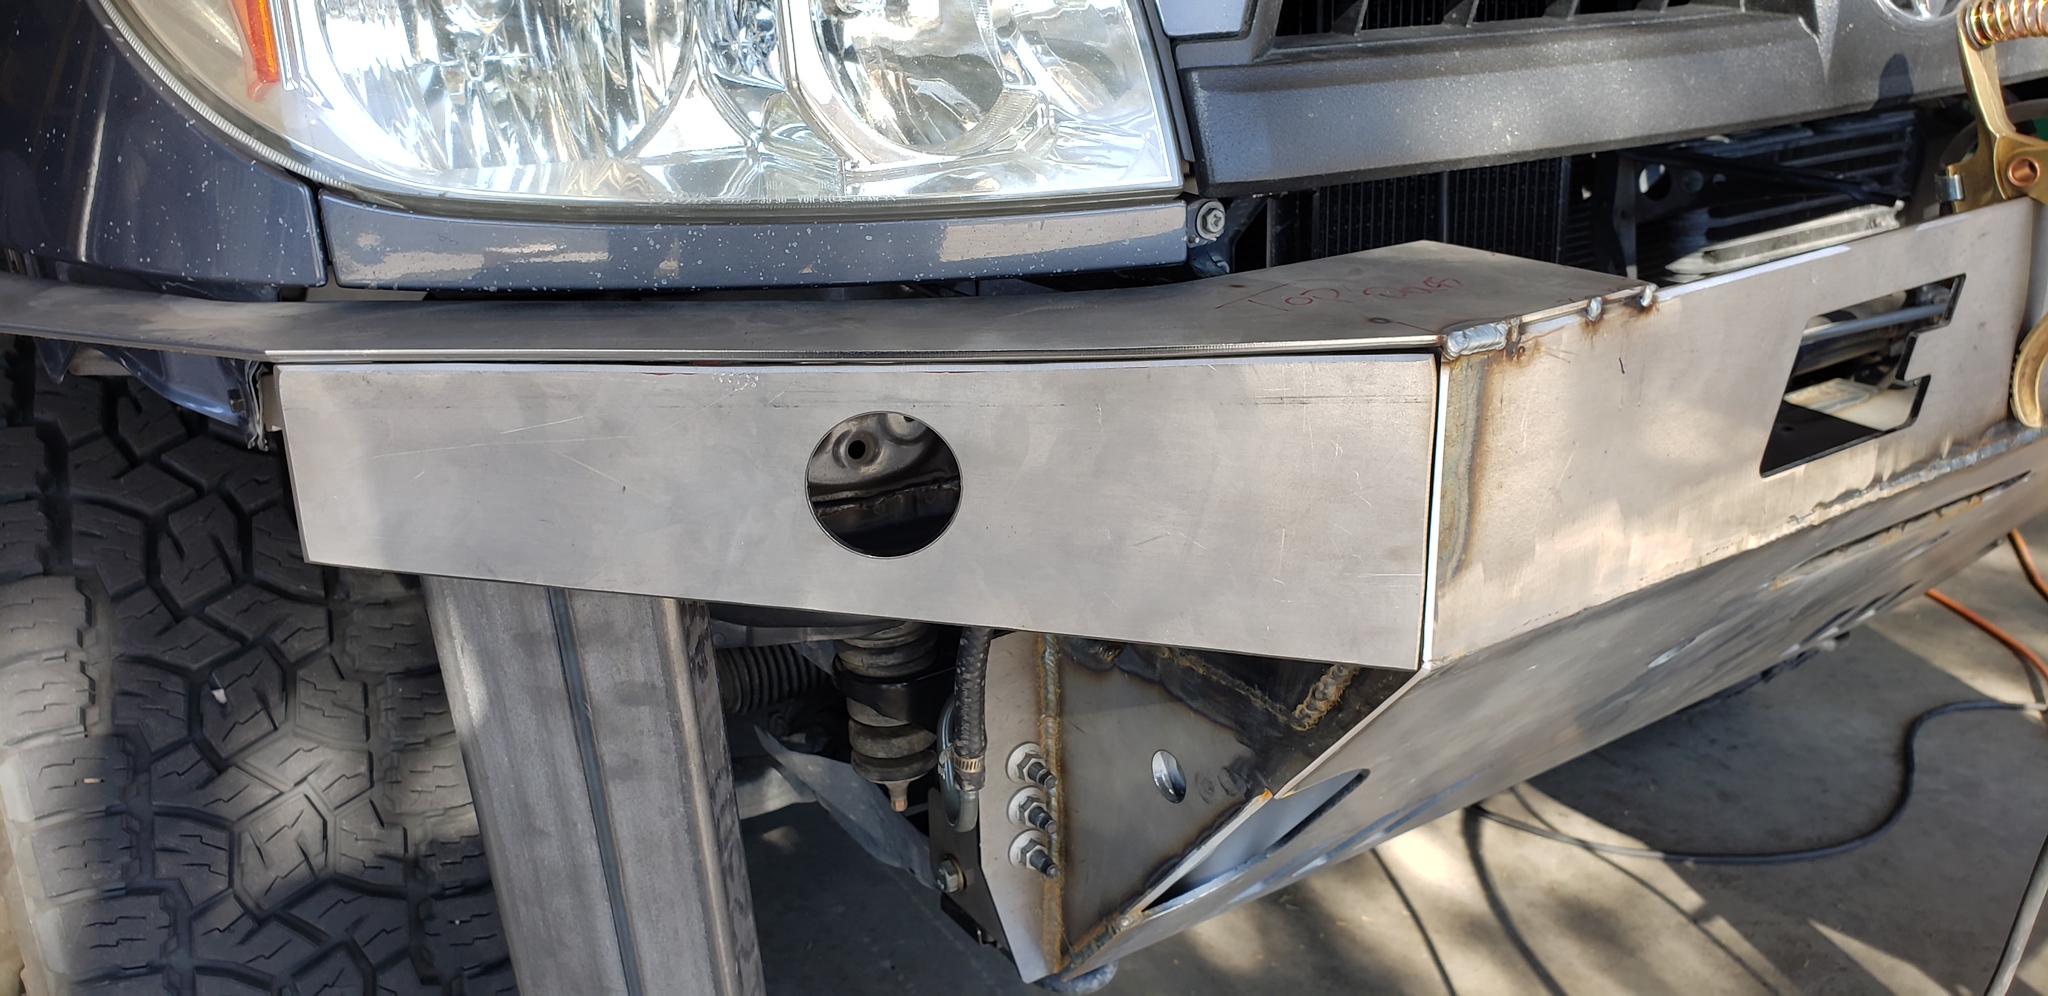
Have someone help you line the pieces up before tacking them in place. Overall it was super easy for me, but a couple of my pieces ended up not exactly flush with thr others. Didn't matter for me bc I'm going to end up doing body filler and painting to color match, but it will add some work for sure.

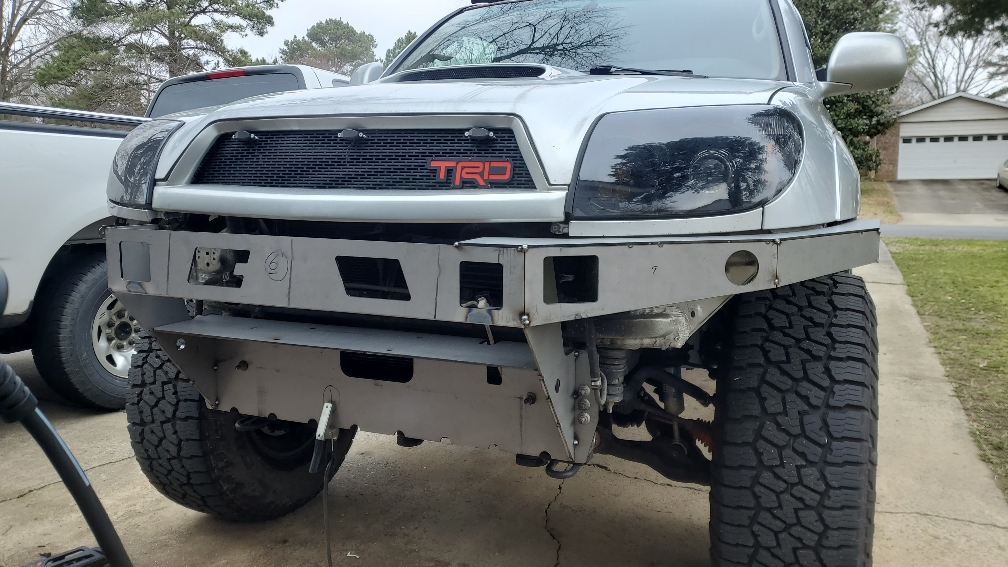
Also, before I got my bumper on I didn't realize that the two square light cutouts are offset height wise from each other. Knowing this I would have properly opted to not have one of them.

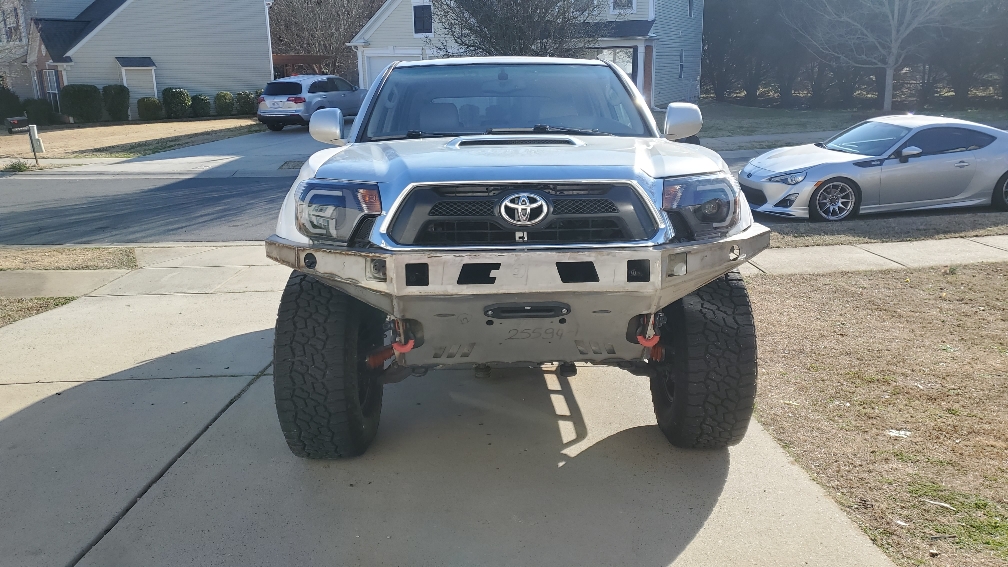
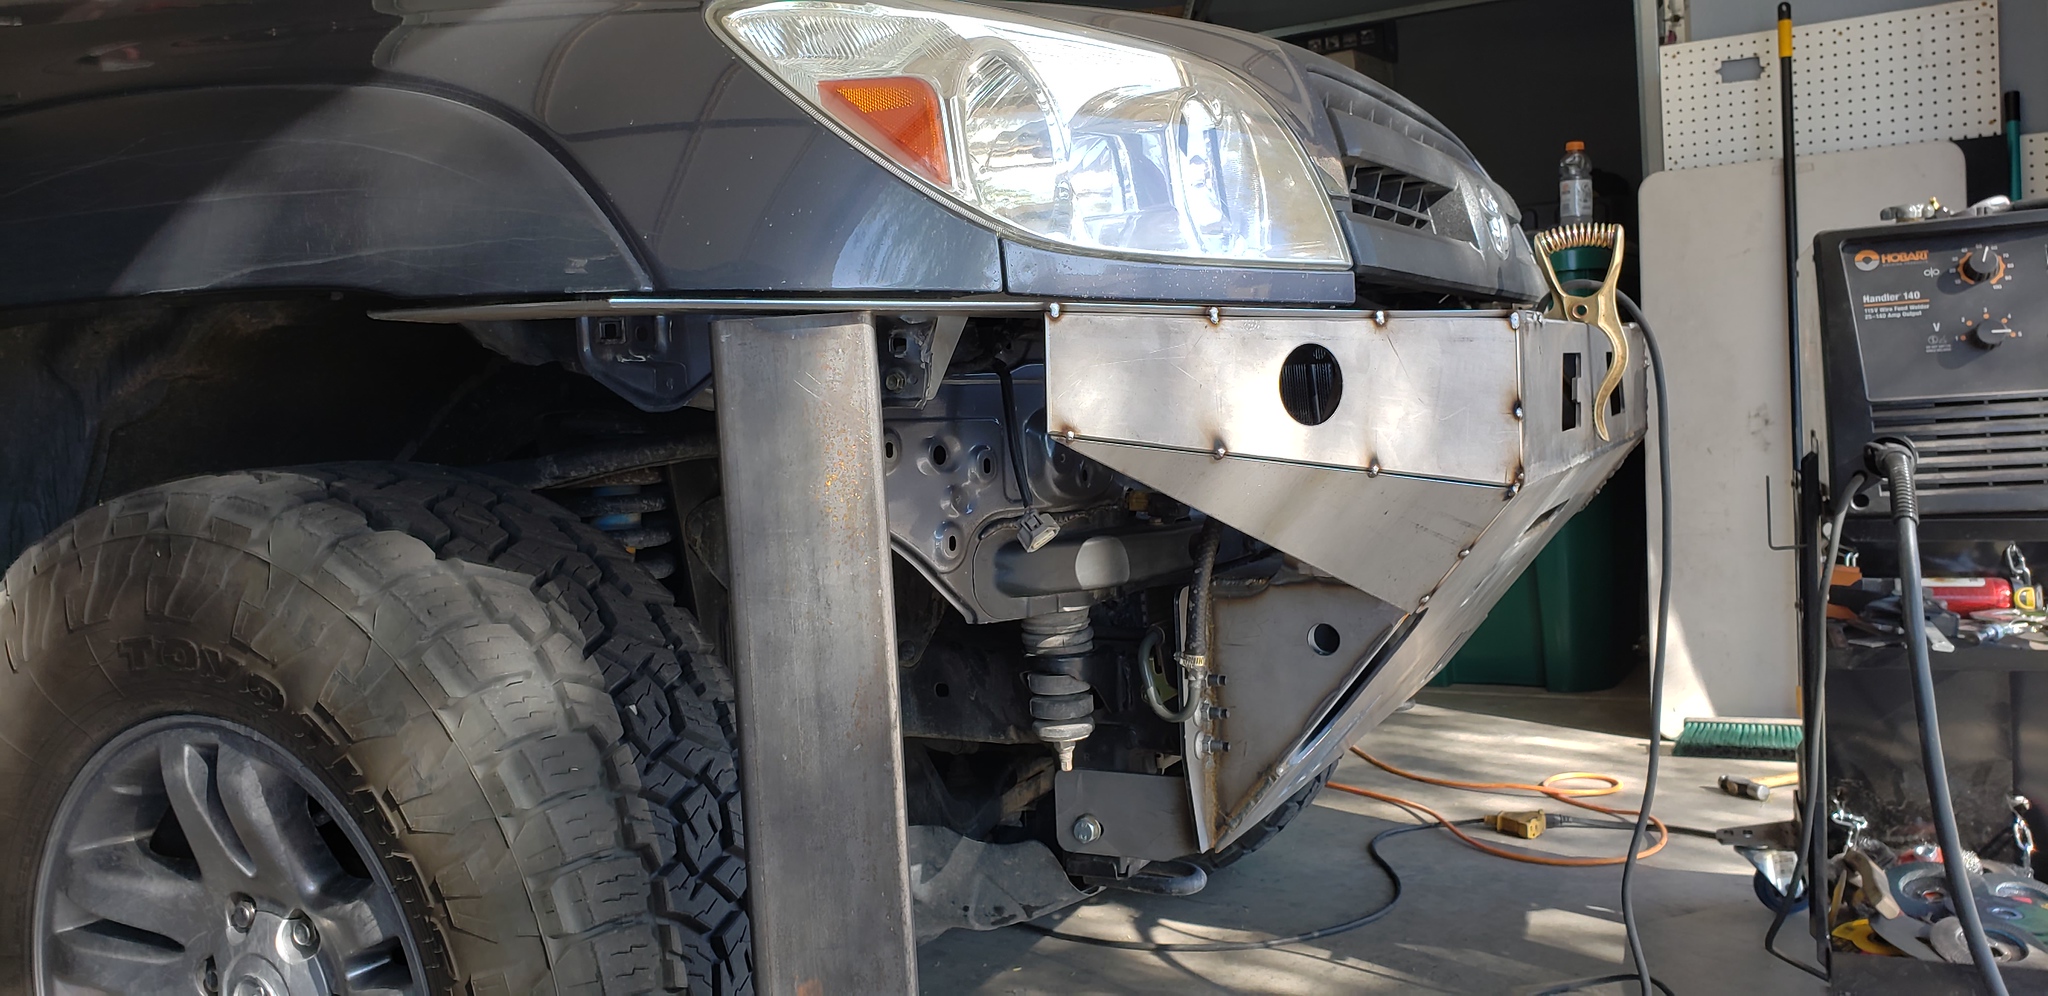
If you are on factory fenders you will have the wings of thr bumper stick out a little. If this isn't your cup of tea you can cut, trim and grind them the way you want before doing thr final weld. I think mine ended up so far out because I didn't force thr wings towards the car enough while tacking in place. I foced them up to follow the curved fender line with a jack, but not in. In my case it was perfect for the Tacoma swap. The bulge fenders now lime up beautifully.

Overall it wasn't bad at all, but plan on having to spend quite a bit of time welding and then grinding.
7e0d12a3e64da40ad5534fde3a97889a.jpg
2b7ddb1013673503e7cebad0e4468e2a.jpg
3fdb96b813abe8db40d47ad2bdc53c74.jpg
4602f59895561729e6a179cc7d8b3597.jpg


Sent from my SM-G970U using Tapatalk
 
Have someone help you line the pieces up before tacking them in place. Overall it was super easy for me, but a couple of my pieces ended up not exactly flush with thr others. Didn't matter for me bc I'm going to end up doing body filler and painting to color match, but it will add some work for sure.

Also, before I got my bumper on I didn't realize that the two square light cutouts are offset height wise from each other. Knowing this I would have properly opted to not have one of them.

If you are on factory fenders you will have the wings of thr bumper stick out a little. If this isn't your cup of tea you can cut, trim and grind them the way you want before doing thr final weld. I think mine ended up so far out because I didn't force thr wings towards the car enough while tacking in place. I foced them up to follow the curved fender line with a jack, but not in. In my case it was perfect for the Tacoma swap. The bulge fenders now lime up beautifully.

Overall it wasn't bad at all, but plan on having to spend quite a bit of time welding and then grinding.
4602f59895561729e6a179cc7d8b3597.jpg


Sent from my SM-G970U using Tapatalk

Sweet build but the tolerances between your bumper and fenders are nightmare fuel for my anxiety lol.

Not sure what level of flex you'll encounter but if that were my Shrockworks bumper, it would likely impact fenders the first time you stretch out one side.
 
Last edited:
Sweet build but the tolerances between your bumper and fenders are nightmare fuel for my anxiety lol.

Not sure what level of flex you'll encounter but if that were my Shrockworks bumper, it would likely impact fenders the first time you stretch out one side.
Thats just a dry fit lol, I'm not done trimming the Tacoma fenders yet. I'll end up with around a half inch gap fender to bumper.

Sent from my SM-G970U using Tapatalk
 
Leave plenty of gap between bumper and body, 1" is fine. (More important on the rear bumper though, I think it flexes more back there).

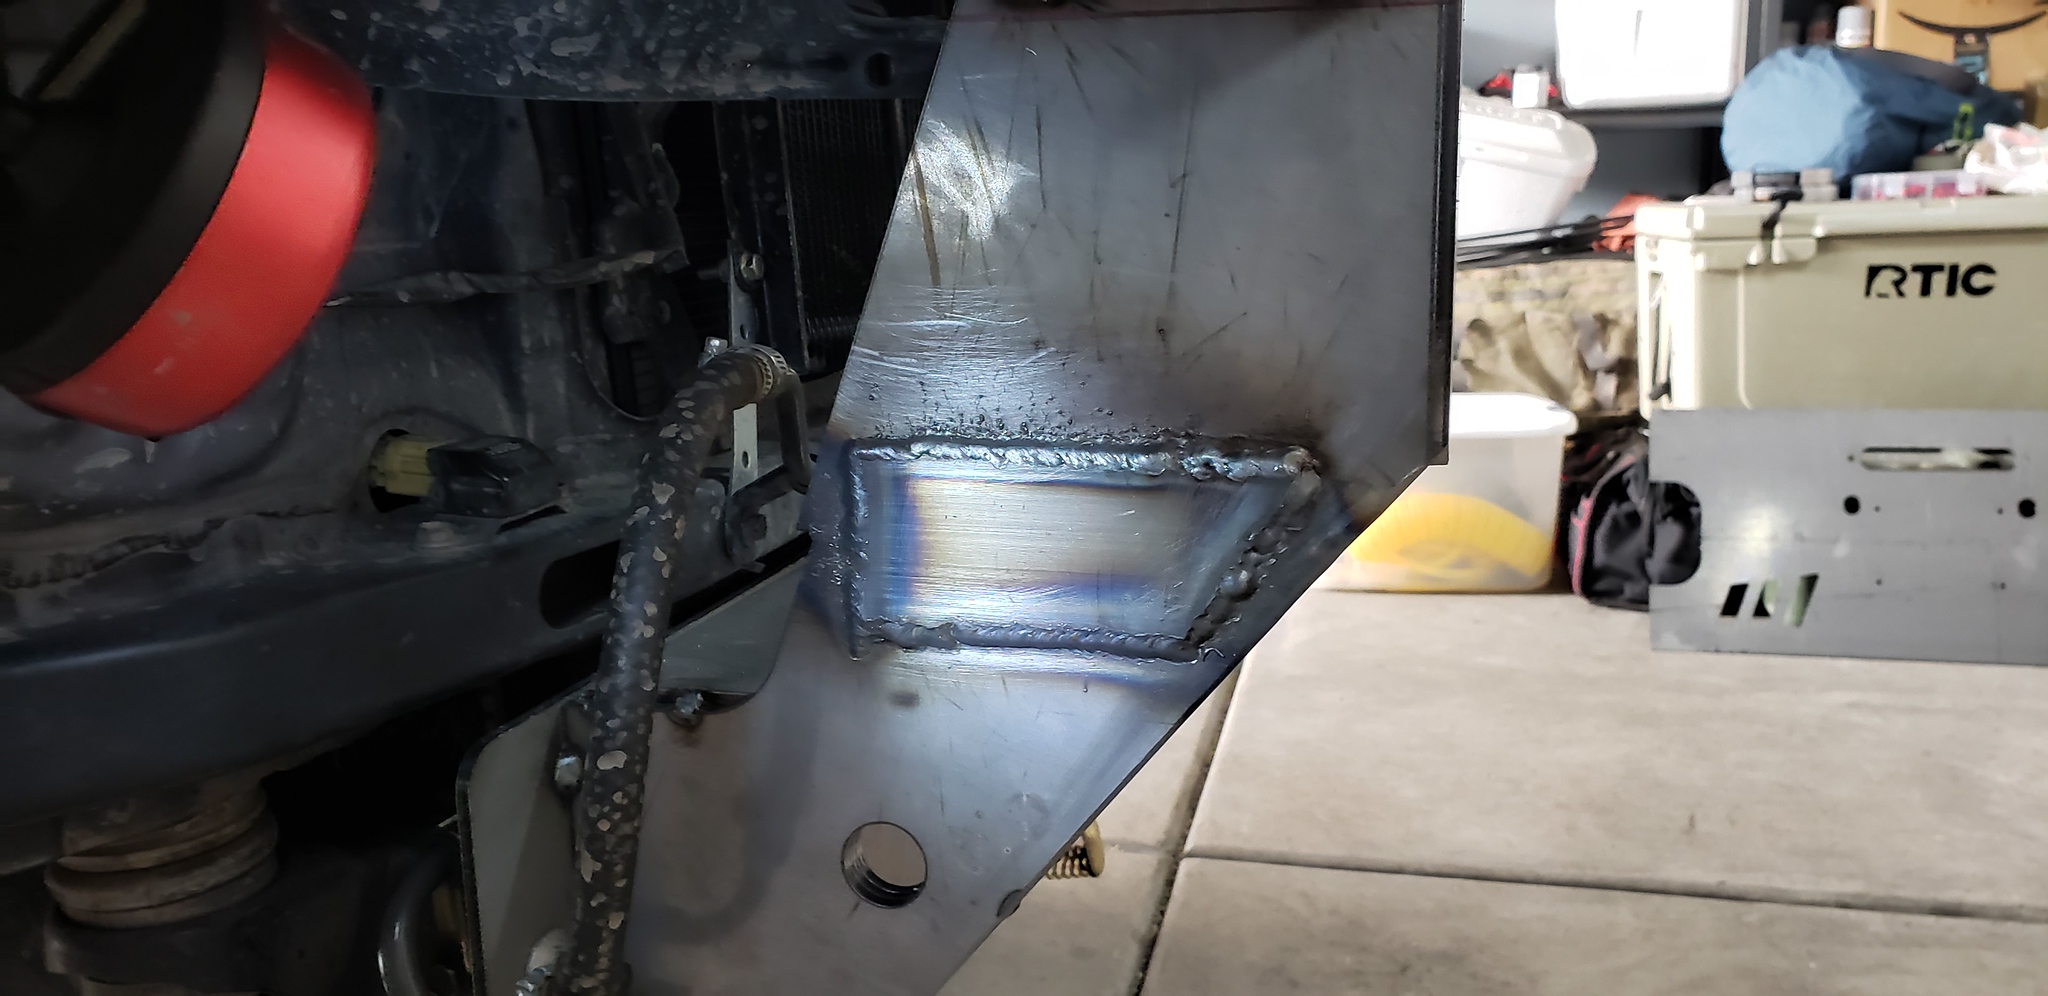
Don't go crazy with the angle grinder to grind all the outside welds flush. I ground mine down a little too much and now there is a divot where I shelled out too much before each weld seam.

I like using my random orbital palm sander to flatten everything and rough it up before painting. Leaves a nice uniform texture and blends in grind marks and rounds sharp corners just enough.

Some satin black spray paint looks amazing, and can be stripped off with the previously mentioned sander and resprayed to look brand new whenever you want for basically free.

Don't burn yourself welding. I was moving from each side welding the inside of the bumper and rest my arm on a hot spot setting up for another weld.

Safety glasses or better yet goggles when grinding. After seeing pics of an angle grinder wheel broken off and stuck in some dude's eye online, and having a spark hit my eye (while I was wearing safety glasses) then going to the ER where the doctor brushed my eye with a needle to see if there was any metal left in the crater, you don't want to take any chances.
 
Getting ready to pull the trigger on a Coastal Offroad DIY bumper. If you’ve done a DIY or any other bumper upgrade, what would you have done differently given the hindsight?

I’ll be adding a extra cutout pair for a third set of lights to accommodate fog lights (still need to choose those)

Planning on three hoop.

What else?

64XHAVN.jpg


I love my 3-hoop Coastal bumper!

I see a lot of people saying "don't powder coat your bumpers if you plan to actually use them" - but I disagree. A proper powder coat is highly durable. Unless you plan to rake the entire bumper on every rock you see while doing some extreme rock climbing, the powder coat should hold up just fine. From personal experience - my brother having two bumpers powder coated, and then mine being powder coated - and each bumper getting put to use (definitely not mall crawlers - as evident by our trucks' paint - but admittedly not rock crawlers) - and are just fine. If you somehow happen to get a small chip (say from a rock while going down the road or something), it can easily be fixed with black nail polish - yes, that's right, nail polish - works great, can be applied with high accuracy, and matches that gloss look of a flat black powder coat enough to be unnoticeable

It was my first weld job ever and wasn't terrible. I did have some help from my brother and dad, who have welded before, but I still did a lot of it on my own. In hindsight, I went too crazy on the grinder, and not crazy enough on the welder. There were a few spots I had to reweld because I took too much off with the flap disk and you could see the crack of the joint. Also, I got impatient and ground the outside welds before welding the inside - HUGE rookie mistake right there, led to a lot of heat warping and joint cracks on the outside. Overall though, it still looks great. Once it was powder coated and I got it muddy, the thing looks b-e-a-utiful

However - be prepared for a lot of work to get the hoops on. It took 1 extra tube, a tube notcher, more cuts than I can count, and even more grinding to get mine where they needed to be

The first tube we cut too short, so we ordered a new one from Coastal and bought a tube notcher. Part of our struggle was being inexperienced - we had never actually notched tubing before - but there's also just so many angles that have to be taken into account so it fits right

What everyone else has already said is great advice - minus the "leave a one inch gap" one, that's a little overkill - instructions say 1/2", and that should be plenty for the front

The only thing I would add is about the hoops - cut them long, and just grind the crap out of them. Cut it to be sorta close but still long > hold it on the bumper to see what touches > grind that part back some > hold it back up there and repeat. It can be really tedious work, but it's what worked best for me

Oh, and one more thing - LOTS and LOTS of practice welding tubes. I practiced before doing mine, but tube welds are hard to make look good. Mine are good enough to hold it together and be strong, but just don't look too close cause they kinda ugly

PLg4kVX.jpg
 
Last edited:
Personally, I went single hoop on mine. 3 hoops looks cool but if you do all or most of your own work on the vehicle under the hood, the hoops make it much more of a reach getting in there.

20210227_173731-X4.jpg


Like [MENTION=130999]Inv4drZm[/MENTION] said, use spray paint instead of powder coating it. Powder coat is nice for show trucks but if you actually take your truck offroad, you're gunna hate yourself the first scratch to bare metal you get with powder coat. It's NOT an easy fix. Spray paint, or in my case Harbor Freight spray can bedliner, is awesome, holds up excellent and is very easy to touch up. Bedliner will actually fill in the difference in level from paint to bare metal, so works better than regular paint IMO. As long as you want black.

Prep is key to a nice, finished product. Take your time fitting each piece and planning on how it's going to be welded. Flat butt joints need to have the butt edges ground at an angle to allow for good weld penetration. Even some angled joints will benefit from an angle being ground into each side of the joint first. Make each joint as tight as you can but if you do have a gap, try to fill it if it's a little big. Getting solid welding rod in varying sizes is an easy way to fill small gaps and avoid burning holes in the edges and having to fill those.

I also had some fitment issues with the main uprights. I have a 1" body lift and even tho I ordered the bumper accordingly, it ended up being about 1/2" taller at the center. So I had to make adjustments to make it fit by taking out about 1/2" from each upright and welding them back together. Then I reinforced the butt weld with a plate over each weld. This is why verifying fit as you go is so important.

20201231_091956-X4.jpg


20201231_091947-X4.jpg


20201231_103119-X4.jpg


20201231_103109-X4.jpg


Use a floor jack with a chunk of 2x4 to get the wings into the position you want after tacking them in place on the center section. That's what I did here with a chunk of metal 2x4 I have.

20210109_133725-X4.jpg


20210109_134323-X4.jpg


When you are finish grinding, don't be afraid to break out the welder again and go over any divots or missed spots or a spot you just don't like after grinding. I did lots of small fill welds when I was finish grinding to smooth a spot out better.

And like [MENTION=409236]P_nlsn[/MENTION] said, finish weld EVERYTHING before you start with the finish grinding. Inside and out.

Most important, have fun while you're doing it and make it a learning experience! This is the 3rd bumper I have built from Coastal and they are awesome.
 

Members online

Forum statistics

Threads
278,309
Messages
3,554,075
Members
248,016
Latest member
Advally Service

Trending content

Back
Top