Cargo LED Lighting Actually Done Right

mbumpus11

Member
Last night I made the decision to make the first move towards ripping out panels inside my new 4Runner...couldn't wait more than 2 months, so I decided it was time.

I installed some flush mount LEDs in the upper corners of my cargo area panels to give a little more light while still maintaining a professional appearance. This is not my first electrical modification to a vehicle, so I've done something like this before, but on a Civic. Moving on...

First, I apologize that I don't have a ton of pics, my hands were dirty and I was just wanted to get it done:

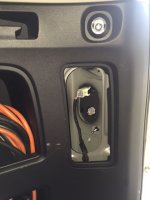
1) I popped out the panel covering the access to the taillights.
2) pulled out the hooks where you would attach the grocery net thing, then unscrewed the screw behind that "plug"
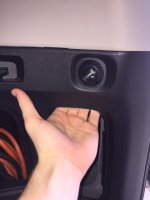
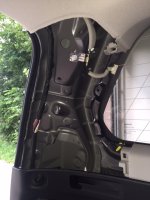
3) to get the upper panels off, you have to pull on the lower portion of the cargo paneling first. It is best to grab and pull hard where I am holding on in the picture. Will work for both sides.

This is where it gets tougher, and I don't have pictures...:
4) open the liftgate, remove the OEM hatch lights, then on the right side (as you look at the liftgate from the rear) is a slot designed for you to insert a panel tool or a flat screwdriver to begin the popping off of the panel. Don't be afraid here, PULL HARD to get it started. Then gradually work your way around and it will begin coming off.
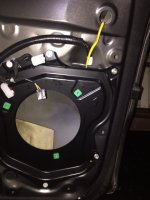
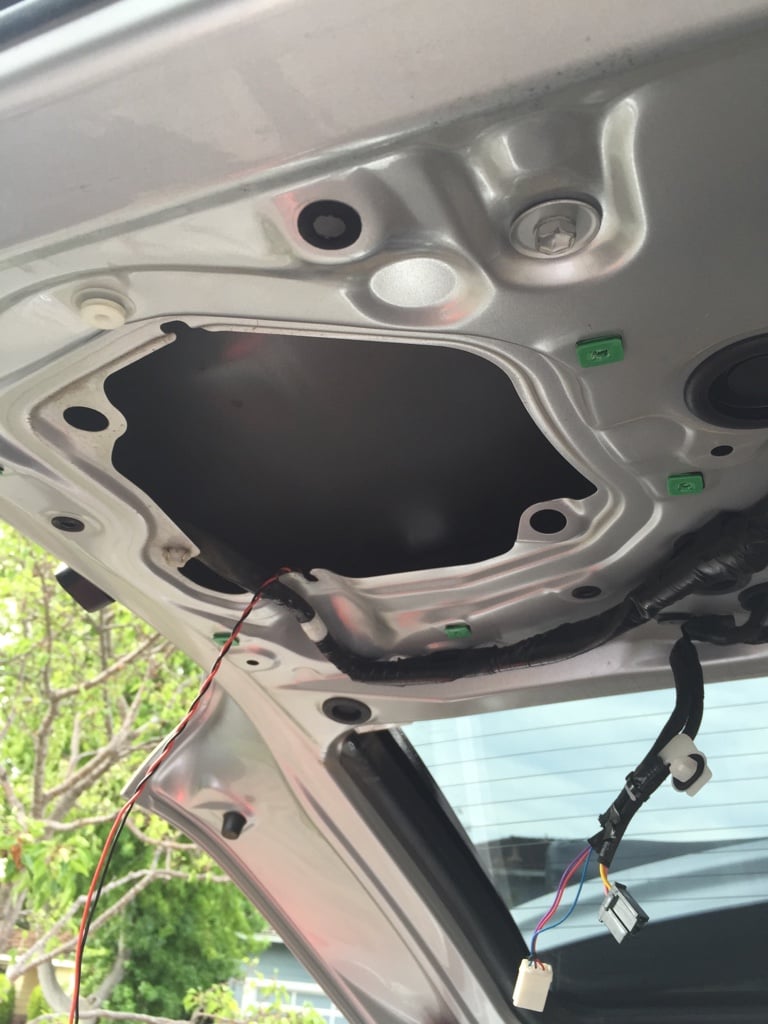
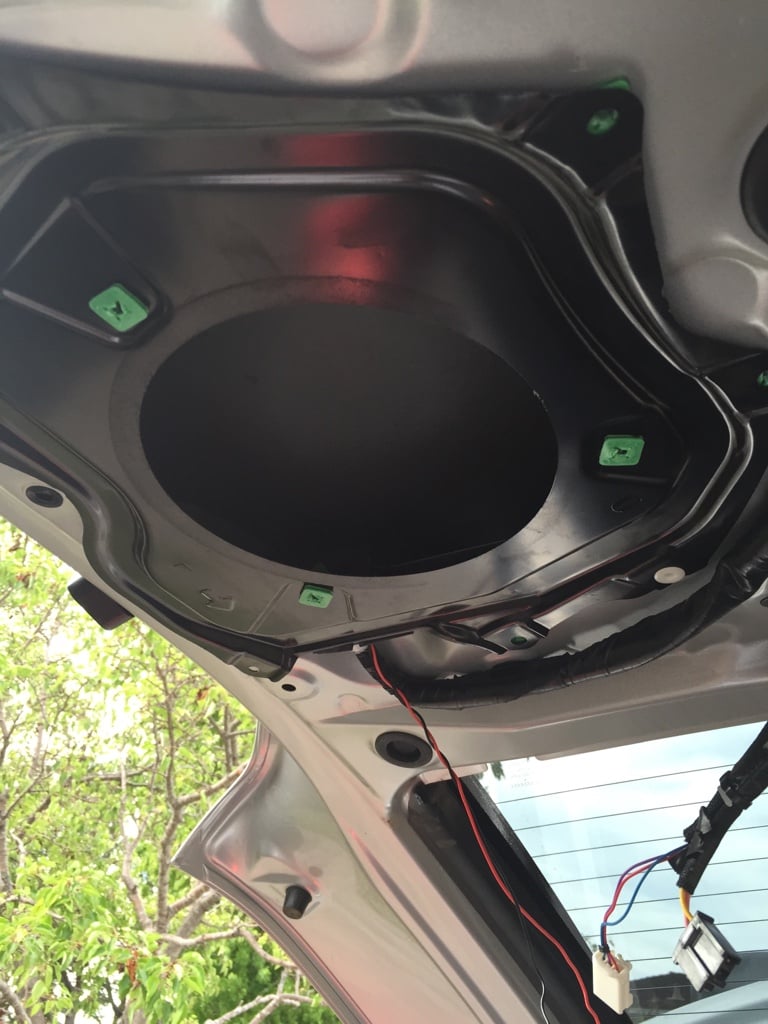
5) Once that is off, disconnect the clip for sound and remove the left rear speaker (as you look into the cargo area from the rear) by removing three screws holding it to the liftgate.
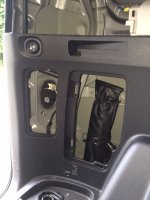
6) PRO TIP** - Remove the left hand grip on the bottom of the liftgate by reaching in through the speaker hole and squeezing on the inside of the grip. This will allow you to see directly into a critical area for the installation.
7) A previous post I read said to roll your window down before doing this install. I would recommend rolling the window down ONLY for the liftgate panel removal. After removing that if you roll up the rear window it drastically increases the area which you have to work in the liftgate.
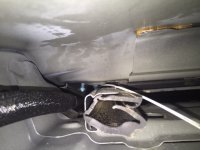
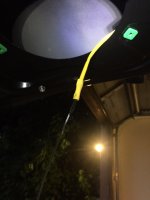
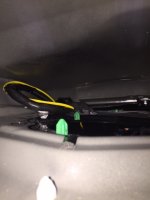
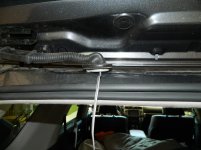
8) I used a normal wire coat hanger from the dry cleaners to fish through the wire channel. You can see the white wire curving into the abyss in one of the attached pictures. This took some time. To tell you how I got it through I reached one hand through the speaker hole (actually fit up to my elbow in the area), and the other hand in through the liftgate light hole to guide the wire. This is the most tricky part of the mod because you're pushing wire into the whole open area beside the window and aiming for a tiny hole at the top of the liftgate. Brutal...
9) Once that hanger was successfully fished through, I used a butt connector to crimp my connecting wire to the hanger to pull back through. Worked like a charm!

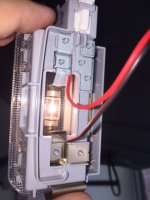
****Continuing below....
 

Attachments

  • LED1.jpg
    LED1.jpg
    45.7 KB · Views: 3,856
  • LED2.JPG
    LED2.JPG
    100.1 KB · Views: 3,970
  • LED3.JPG
    LED3.JPG
    105.1 KB · Views: 3,929
  • LED4.JPG
    LED4.JPG
    93.4 KB · Views: 3,927
  • LED5.JPG
    LED5.JPG
    112.2 KB · Views: 3,968
  • LED6.JPG
    LED6.JPG
    110.7 KB · Views: 3,998
  • LED7.JPG
    LED7.JPG
    94.1 KB · Views: 3,988
  • LED8.JPG
    LED8.JPG
    76.4 KB · Views: 3,931
Register to hide this ad
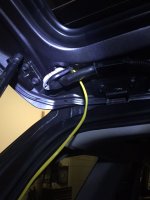
10) Once the connecting wire was through the proper channel, I curved it around the existing wire loom so that it wouldn't be in the way of the window when rolling up and down. I also took out the three retainer clips in the headliner so that I could access the inside of that area.
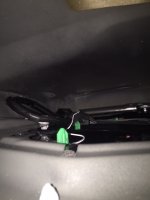
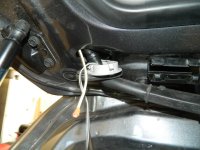
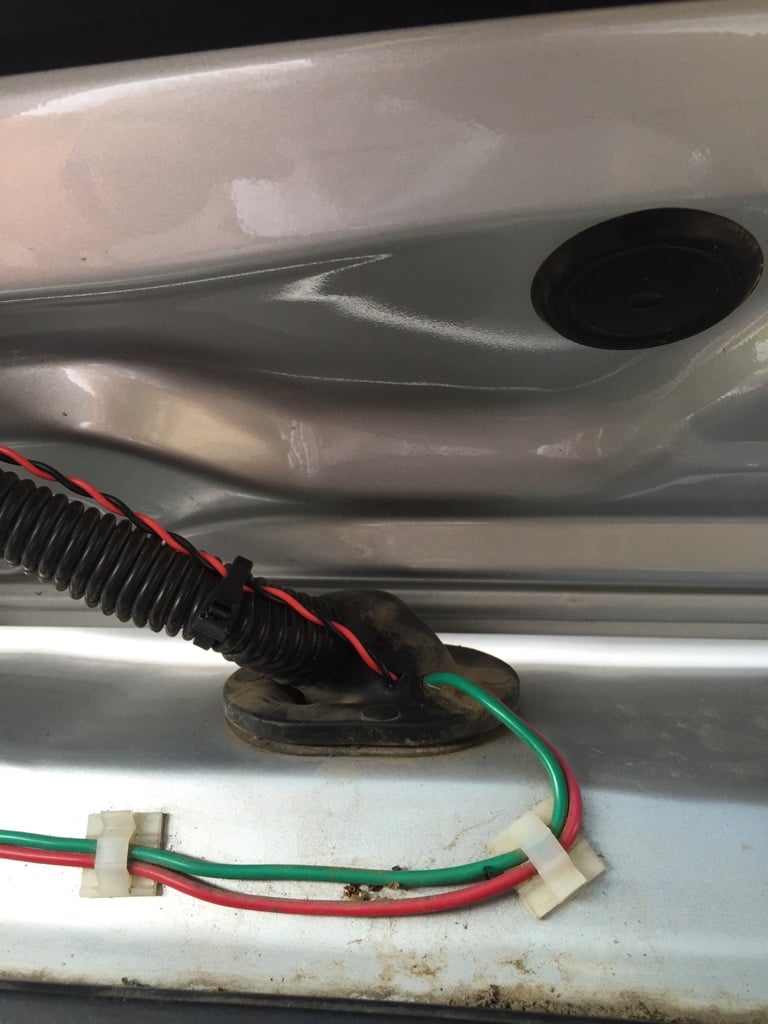
11) unscrewed the mounting plate for the rear speaker to access the rubber grommet instead of boring through the grommet. Folded my new wire into that grommet and reinstalled the mounting plate. You can see the wire coming out of the rubber grommet in an attached picture.
12) After this I connected male/female spade connectors to the ends of the wires and made it to where I can quick disconnect if I ever have to take these lights out/change them and prevent myself from having to redo the entire process.
13) Another tricky part: fishing the rest of the wire through the rubber tubing to allow the wire into the headliner area. You kind of have to wiggle it around to make it get through.
14) Connected male/female spade connectors to the wire, and twisted my wires together for each of the individual LEDs so that I have one main connection.
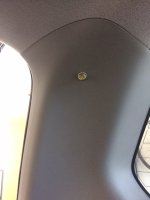
15) The flush mount LED bulbs are 11mm, so I drilled a 7/16" hole in my upper rear cargo paneling to hold the bulbs. I did have to detach one stock wire point on the passenger side to make the panel fit back in completely, but it was moving one set of three wires to the right about .5" and it was super easy.
16) When I had previously thought about this mod, I anticipated having to solder the connections onto the OEM liftgate contact points. However, there is room to take out the lightbulb, fit the wires under the contact points of the festoon bulb, and when you reinstall the festoon bulb it holds the wire very securely. SO securely that I actually had the light housing dangling by those wires for a moment as I reinstalled the liftgate paneling.
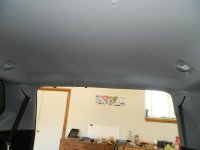
17) buttoned everything back up and took the final pics. You can see these pics attached as well.

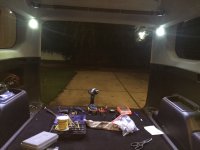
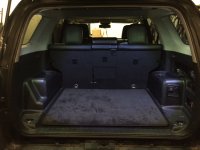
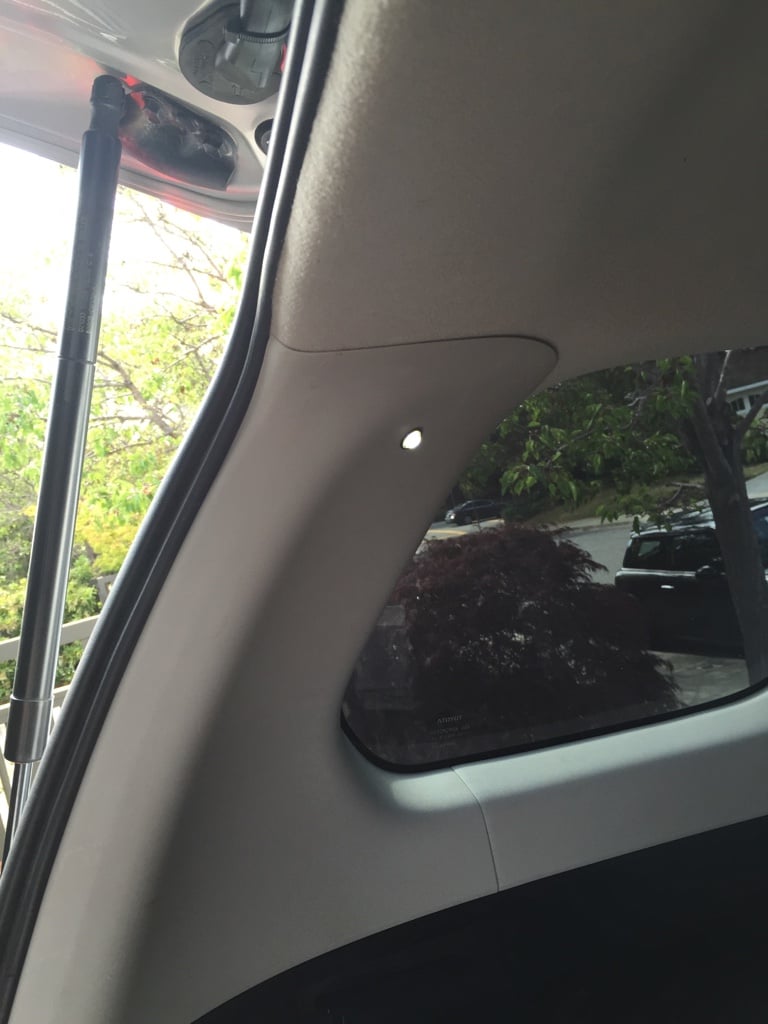
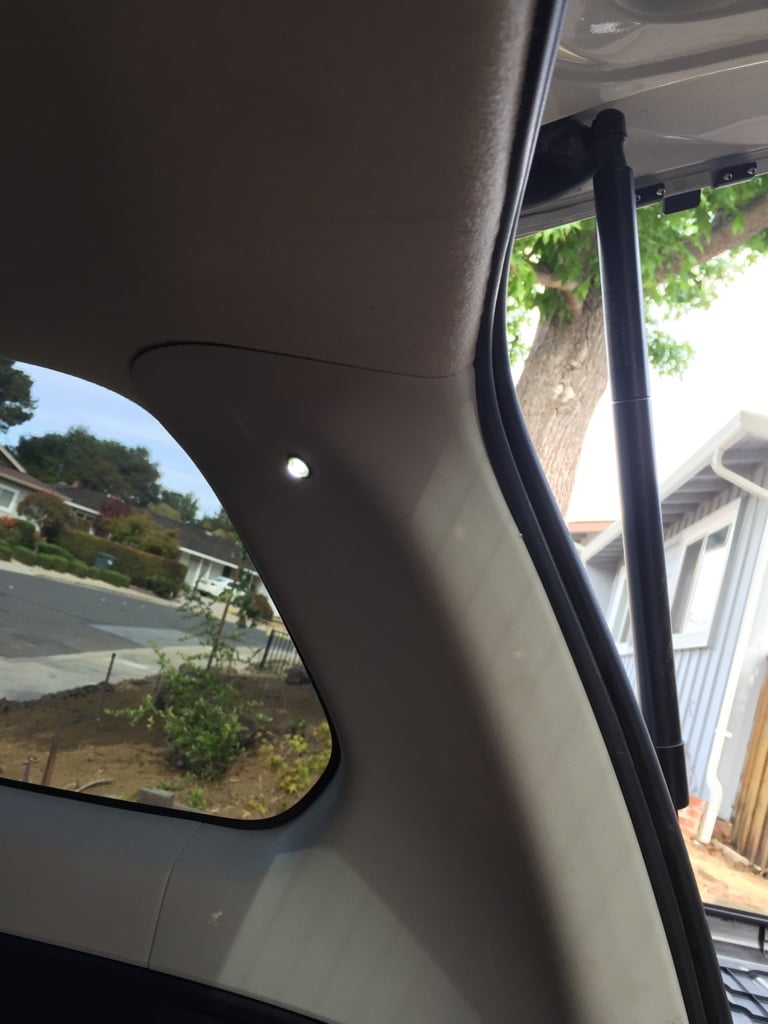
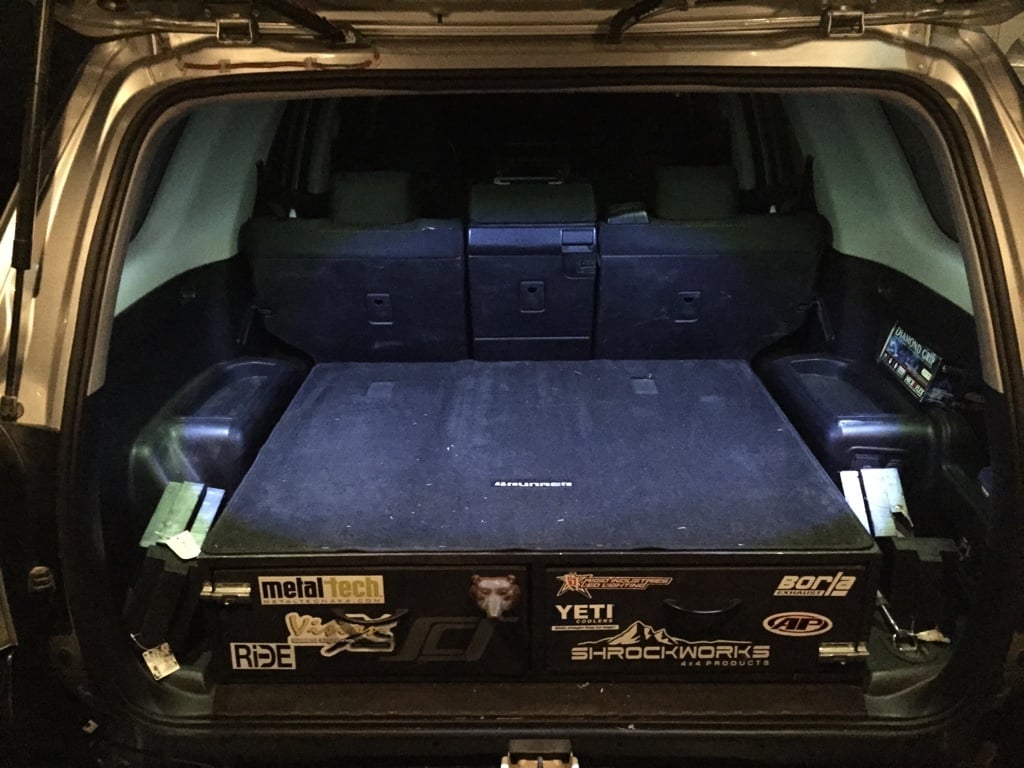
I believe this is a very clean way to install additional cargo lighting without sacrificing a clean look in the interior and there are absolutely zero wires exposed. Not only that, but it can all be operated by turning the driver's side liftgate light on/door/off and they behave accordingly.

I'm very pleased with how it all turned out, and hopefully it will help someone else in the future that doesn't want wires exposed/a temporary appearance.
 

Attachments

  • LED9.JPG
    LED9.JPG
    97.4 KB · Views: 3,933
  • LED10.JPG
    LED10.JPG
    80.7 KB · Views: 3,904
  • LED11.JPG
    LED11.JPG
    77.5 KB · Views: 3,897
  • LED12.JPG
    LED12.JPG
    104.6 KB · Views: 3,919
  • LED13.JPG
    LED13.JPG
    91 KB · Views: 3,931
  • LED14.JPG
    LED14.JPG
    85.7 KB · Views: 3,944
do you have a link for the lights you used? also can you post a pic up close of the lights but turned off? thanks!
 
I was skeptical at first but those look great!

Very nice. That's how it should be from the factory.

Thanks guys!

do you have a link for the lights you used? also can you post a pic up close of the lights but turned off? thanks!

Oznium is where I got the lights: Flush Mount LED Bolt

I've been an Oznium fan for years...Phil takes care of any question you have and is very quick to respond.

For the options of the exact LED bolt I chose: Cool White, Aluminum, 11mm, Silver, With Lens

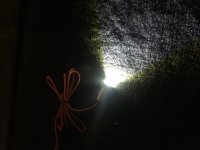
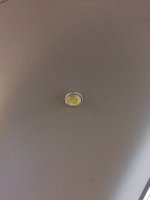
Pics are attached...sorry about the messy garage in the last one! But you can see that they are almost invisible, and look like a very small button. People never look back there anyway, but I really am pleased with how the whole project ended up!
 

Attachments

  • LED15.JPG
    LED15.JPG
    90.3 KB · Views: 3,654
  • LED16.JPG
    LED16.JPG
    86.6 KB · Views: 3,665
  • LED17.JPG
    LED17.JPG
    97.2 KB · Views: 3,665
Great job, i was thinking about doing the same but the lights i had replaced in the hatch illuminated way passed the cargo area.
 
Great job, i was thinking about doing the same but the lights i had replaced in the hatch illuminated way passed the cargo area.

I had a couple of ideas that would've done the same thing, but that's ultimately why I opted for the 1w LED bolt that I bought. Just bright enough, and and with the lens on it you can angle the beam a little better than just flooding the whole area if you were to not get the lens, that is.


I had also thought about adding another couple of lights just behind the rear seat along the wheel wells, but after seeing how these work I don't think I need to do those.

Even with the rear seats folded down it lights only the cargo area, which I am pleased. I can send pics of that tonight if you'd like to see what it looks like
 
Well done. The lighting in the back has been a big complaint of mine. Seeing how cheap these LEDs are, well, I have them on order.

Thanks for the write up.

:driving:
 
Well done. The lighting in the back has been a big complaint of mine. Seeing how cheap these LEDs are, well, I have them on order.

Thanks for the write up.

:driving:

When you get to installing if you have any questions feel free to PM me. It's reasonably straightforward, but I'm willing to help however I can. And as always, don't forget to share your finished product!
 
:driving:

Looking back through, I don't think I explained number 16) very well.

See attached picture for where I have the wire leads connecting to the stock light housing.

Better explanation:

1) remove the clear covering
2) remove bulb
3) feel slack in the metal contacts
4) where the contact bends as it meets the plastic, THAT is where I inserted the wire leads
5) set wires
6) reinstall bulb
7) your contact is secure and holds the wires via the pressure exerted from the bulb being installed

Good luck!
 

Attachments

  • LED18.JPG
    LED18.JPG
    104.4 KB · Views: 3,328
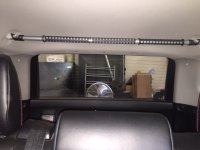
Finished this mod today. Due to my third row, and seatbelts in the pillars, I mounted the LED lights in the headliner. Easy to do. i ran the wire through the rubber wire bundle on the driver side of the hatch, using 16 ga. speaker wire. The toughest part was running the wire through the hatch. I used a wire tie, and wire tie mounting pad to secure the wire on the inside of the door frame to minimize the chance it might catch in the window. i did not remove the trim panels. I pulled the three clips holding the headliner up in the back and worked through there. I used a long straight pin, marked with the light body length, and poked through the headliner to ensure there would not be a clearance issue with the wires or connectors along the roofline. Then I drilled the holes. Used a metal plate up behind the headliner to ensure I didn't drill anything important.
 

Attachments

  • DSCN2244.jpg
    DSCN2244.jpg
    135.6 KB · Views: 3,181
  • DSCN2245.jpg
    DSCN2245.jpg
    136.9 KB · Views: 3,209
  • DSCN2247.jpg
    DSCN2247.jpg
    134.2 KB · Views: 3,193
Last edited:
Finished this mod today. Due to my third row, and seatbelts in the pillars, I mounted the LED lights in the headliner. Easy to do. i ran the wire through the rubber wire bundle on the driver side of the hatch, using 16 ga. speaker wire. The toughest part was running the wire through the hatch. I used a wire tie, and wire tie mounting pad to secure the wire on the inside of the door frame to minimize the chance it might catch in the window. i did not remove the trim panels. I pulled the three clips holding the headliner up in the back and worked through there. I used a long straight pin, marked with the light body length, and poked through the headliner to ensure there would not be a clearance issue with the wires or connectors along the roofline. Then I drilled the holes. Used a metal plate up behind the headliner to ensure I didn't drill anything important.


I was thinking of putting mine in the headliner too. We will see come the next few days when I get mine installed.
 
So I ordered four of the LEDs but only installed two as the OP did. I actually wired mine up to only come on with the opening of the hatch. Although I might change that (would be a one wire jumper).

e1241568f861c83d6311366bd34b3899.jpg

b3262f233bca3bf1ee7589c20e7a1f9d.jpg


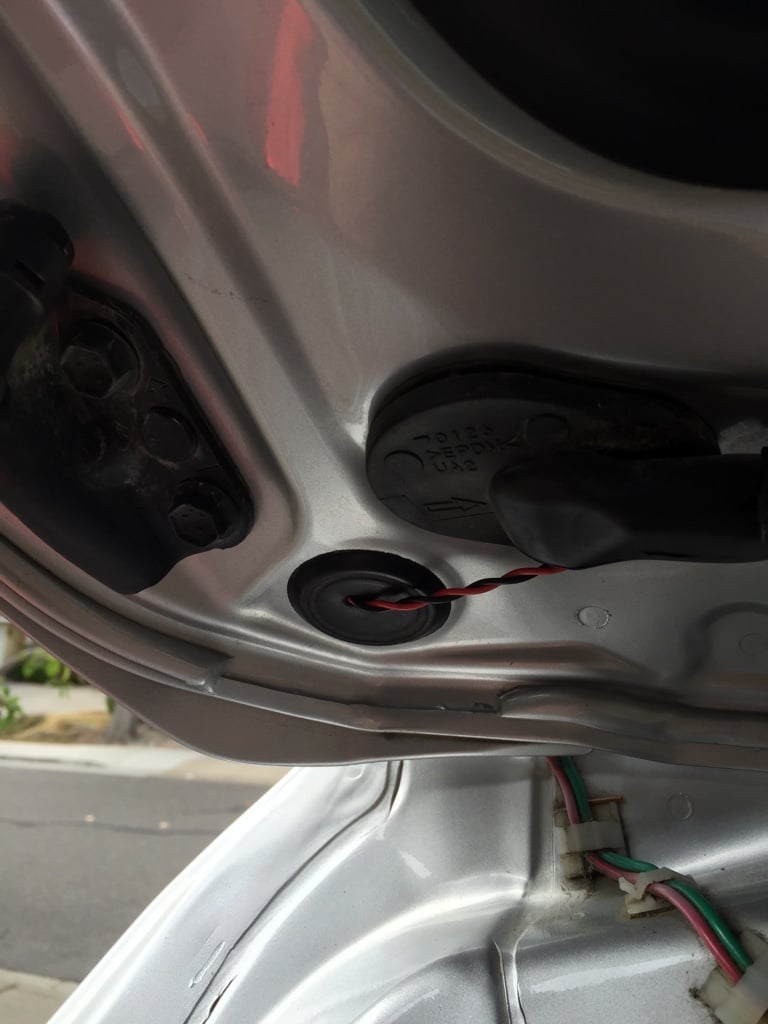
Pulled the wire out the grommet because I could not get the other side off.
eb945ec34a1a04c8f19d9e74f786187b.jpg


Then in through the small circle grommet which made pulling the wires through a breeze.
c053f273f705a701fe9cf8c300f1d50b.jpg

9c984e95e5b3ba8a91cbef4e8b8a1be8.jpg


The speaker plate has a pass through grommet which the wires easily go through. Then put it all back together.
71a24434b8f429f3a8f88d6ec4b728c2.jpg


Just need to figure out where to put the other two LEDs.

So much better then stock.
286296f17ba718dc0d5ebeaaf05ca7a3.jpg
 
Last edited:
I was thinkng abt this mod and i was curious why you guys ran a wire all the way to the hatch light instead of just tapping the entry point in the headliner. What i also would like to do is have a switch to turn the lights ad hoc in case i have to change my lil dude's diaper and not have to blind him...the joy of fatherhood
 
By running to the hatch light, you can turn the installed LEDs off and on with the hatch light switch. Not sure if that would work by tapping the feed in the headliner (I'm guessing not. Also, I didn't need to pull the headliner down. Just removed the three clips and worked in the small space which I was able to create by easing the back of the headliner down from the roof.
 
I thought abt tapping as the wire will be hot when the hatch is open and it would just be a matter of adding a switch for the cargo leds. I do appreciate your quick response abt this.
 

Members online

No members online now.

Forum statistics

Threads
278,309
Messages
3,554,071
Members
248,016
Latest member
Advally Service

Trending content

Back
Top