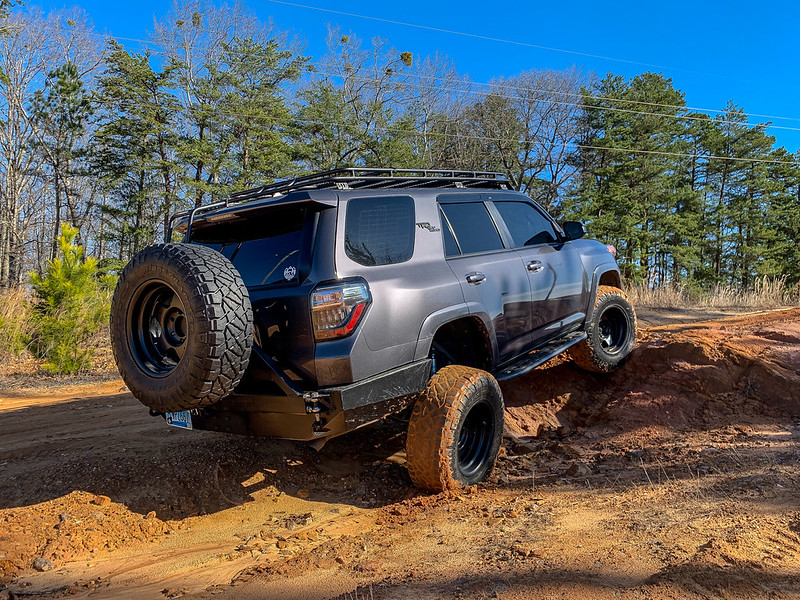
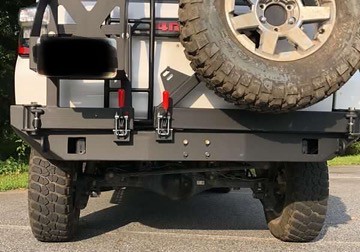
Coastal Offroad Rear Bumper Assembly/Install Write-Up

iRide4Runner

New member
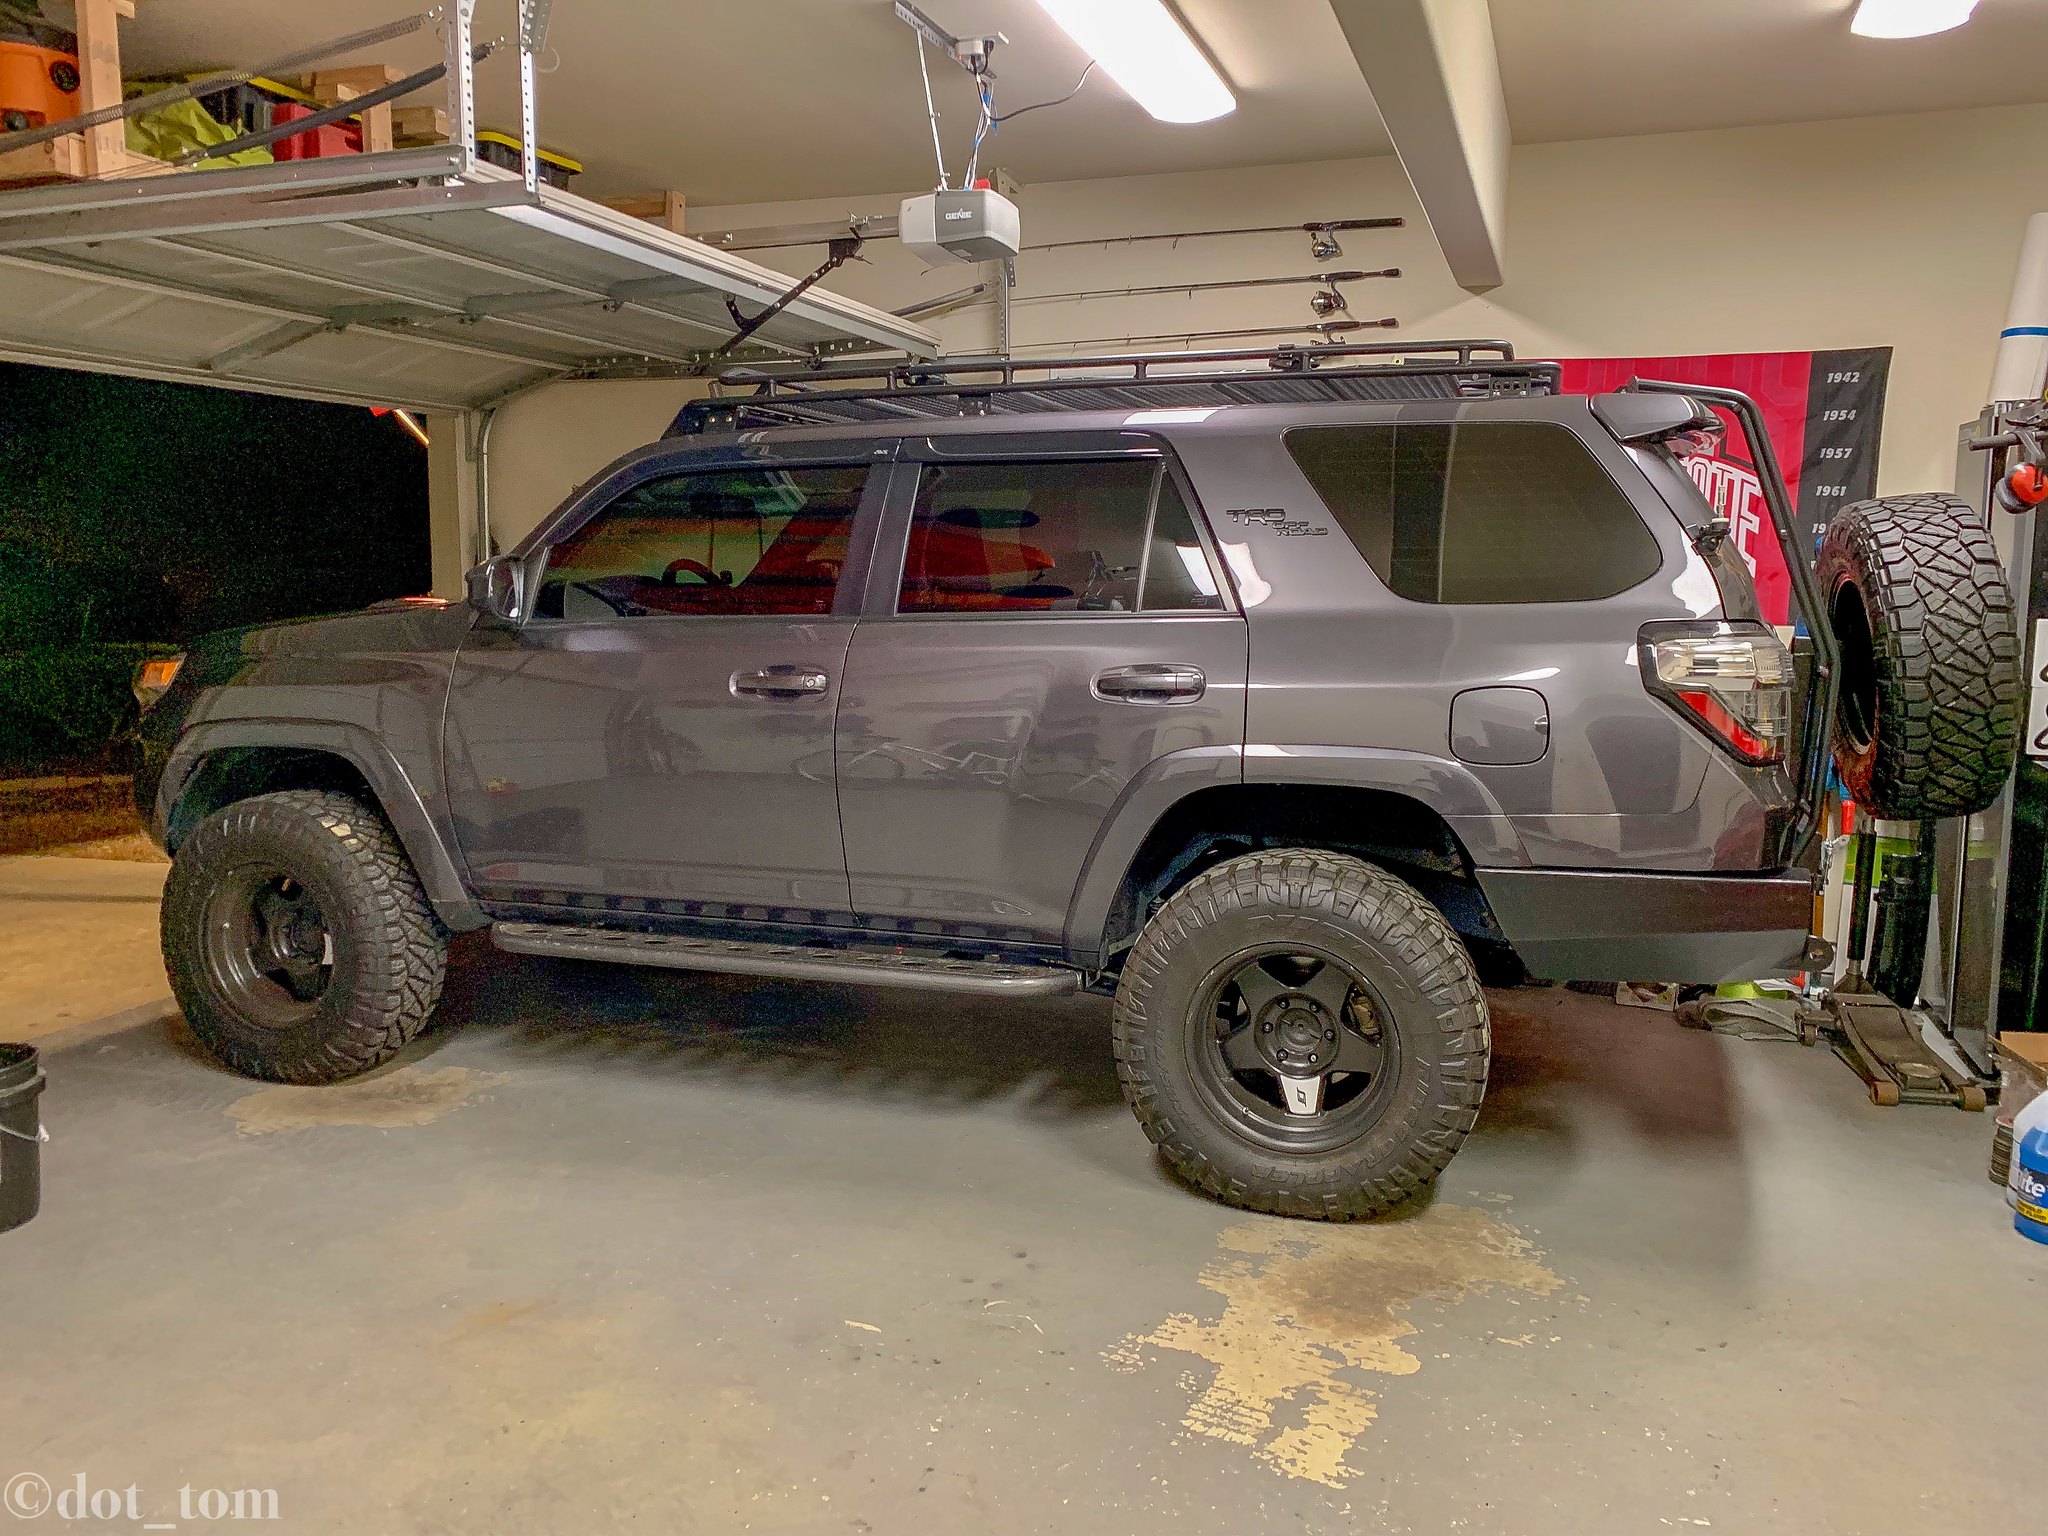
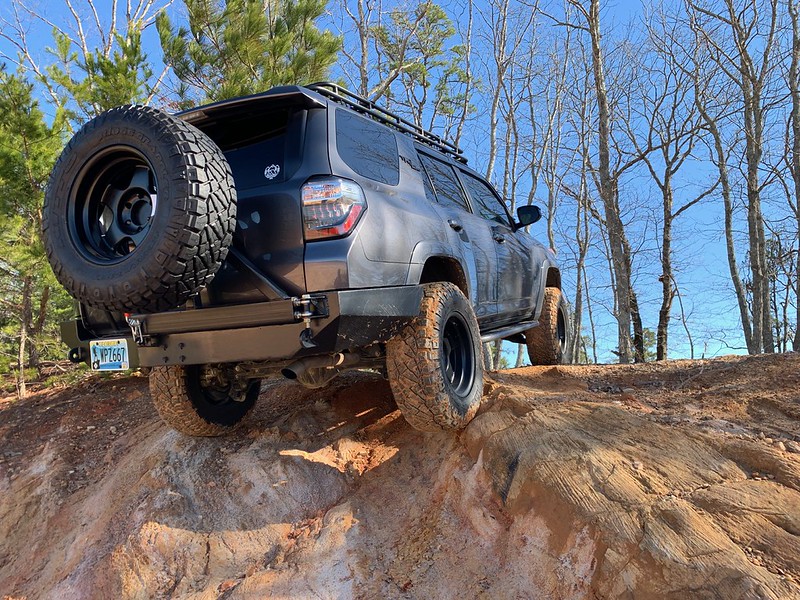
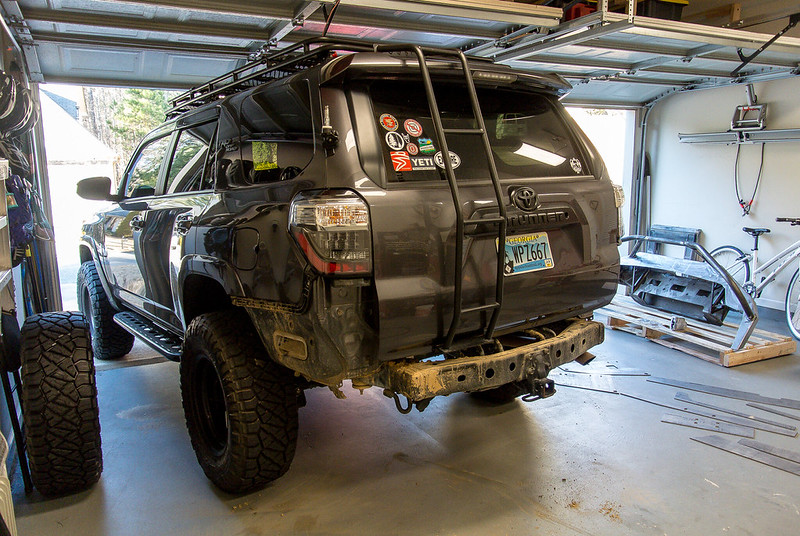
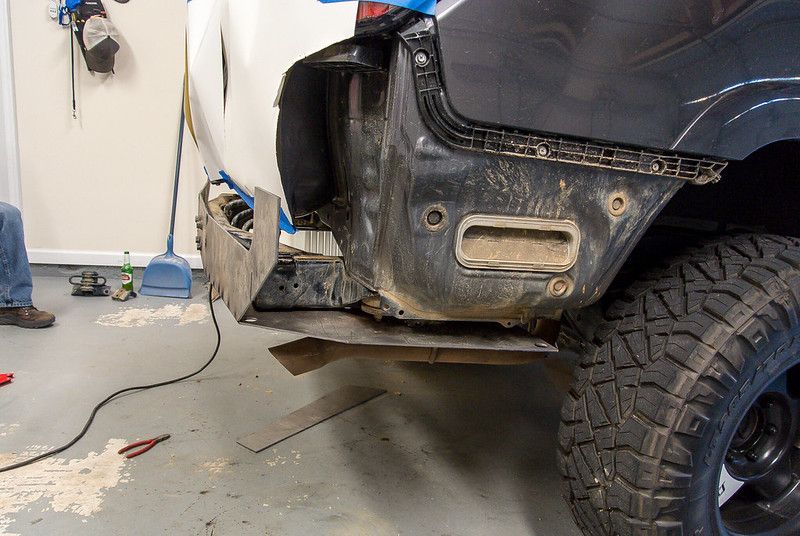
Hey guys, I recently ordered and installed a Coastal Offroad bumper kit and wanted to provide some feedback for those interested in one of their bumpers.

I ordered the bumper on September 24th and received my kit on October 12th. Well actually, I received the swing out bits on the 12th and the main package containing the bumper plates arrived the following day so don't be surprised if everything doesn't show up the same day. The main bumper comes in 25 different pieces and the swing out will vary depending on your choice of Dual/Single swing outs. I opted for just a single swing out for simplicity and to keep weight down as much as possible.

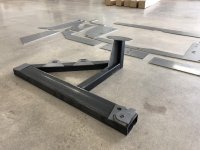
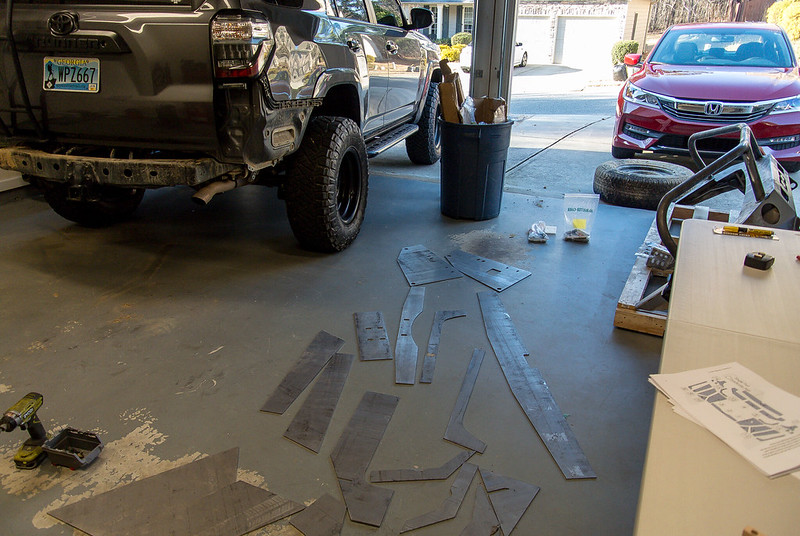
All of the pieces laid out and labeled per the instructions:
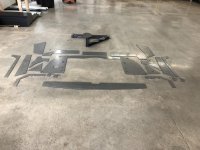
IMG_0170.jpg

IMG_0172.jpg
Tacking together the lower facing plate
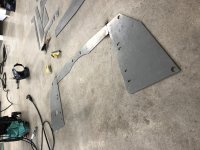
IMG_0174.jpg
Tacking together the rear facing plate
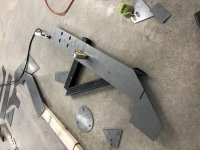
IMG_0176.jpg
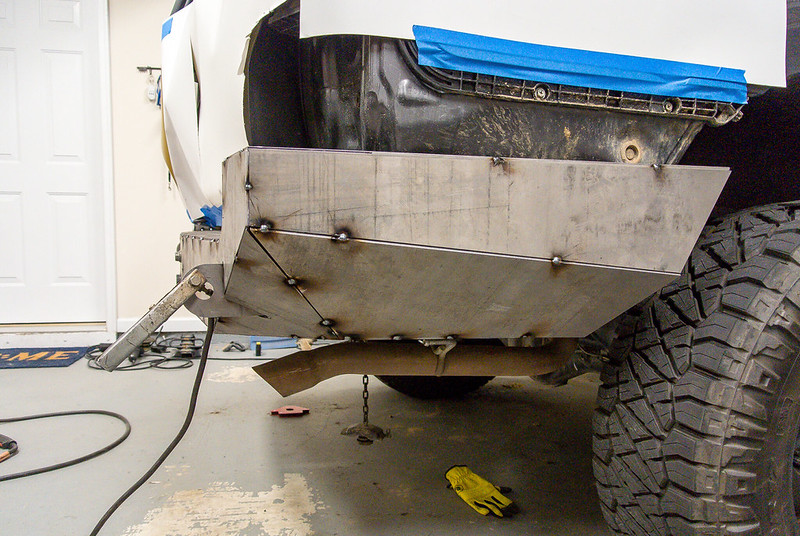
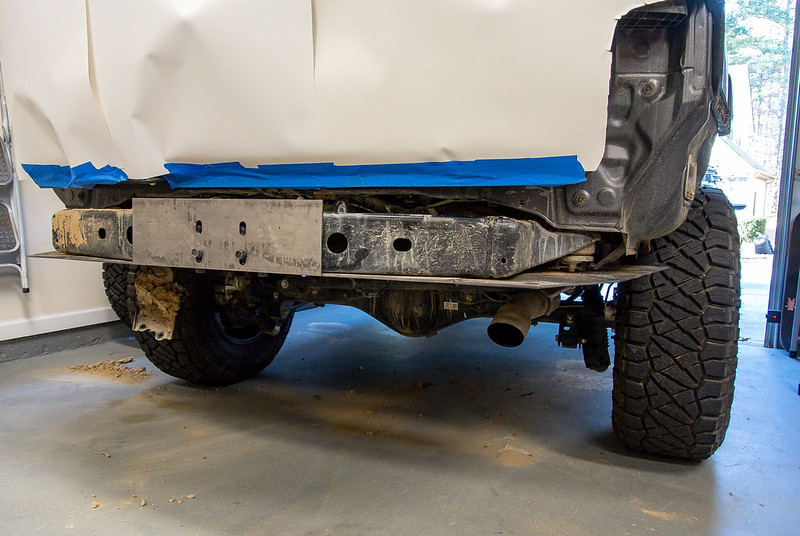
The factory rear crossmember serves as the jig for this project. After tacking together the two faces pictured above, you simply bolt them to the vehicle and tack away.
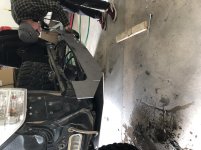
IMG_0177.jpg
Bottom and rear facing sections tacked together
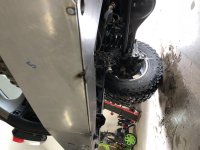
IMG_0178.jpg
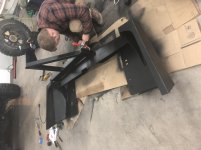
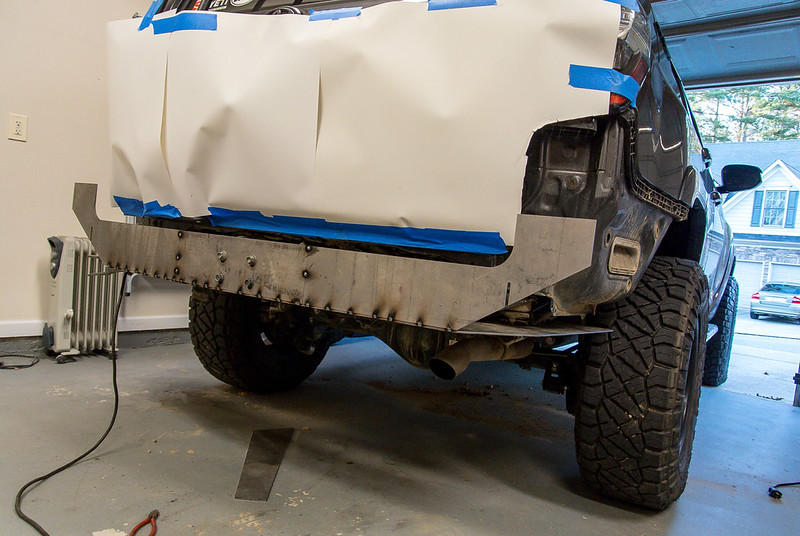
At this point, I we got so caught up in trying to finish this thing that I stopped taking as many photos. The next photo shows the passenger side wing tacked together. I did each side separately per the instructions.
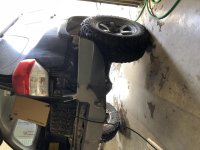
IMG_0181.jpg
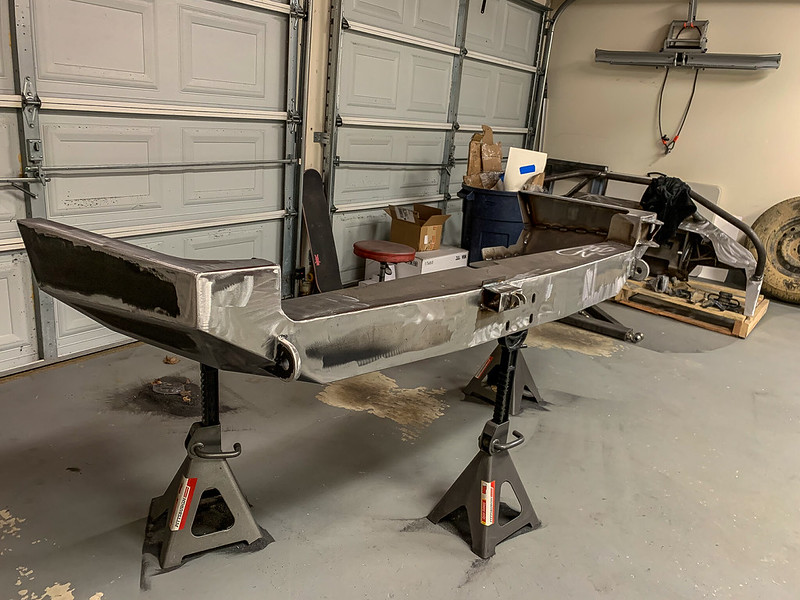
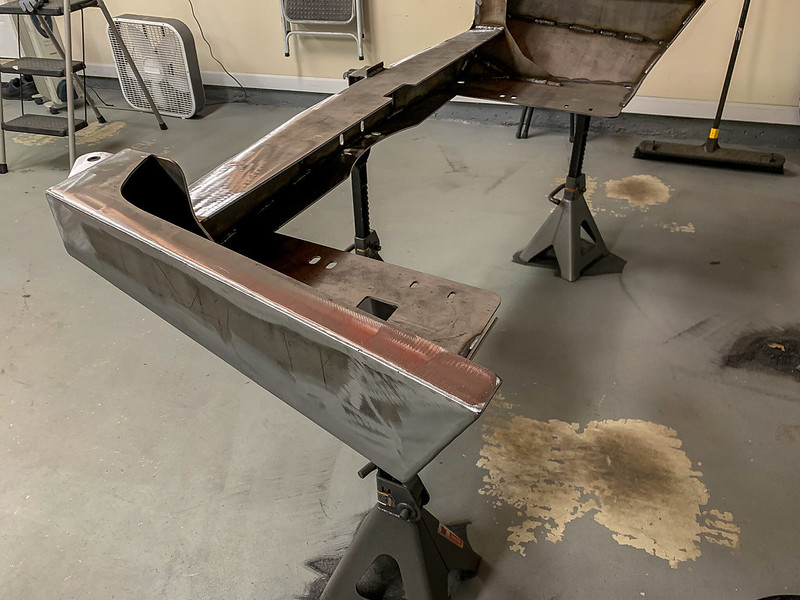
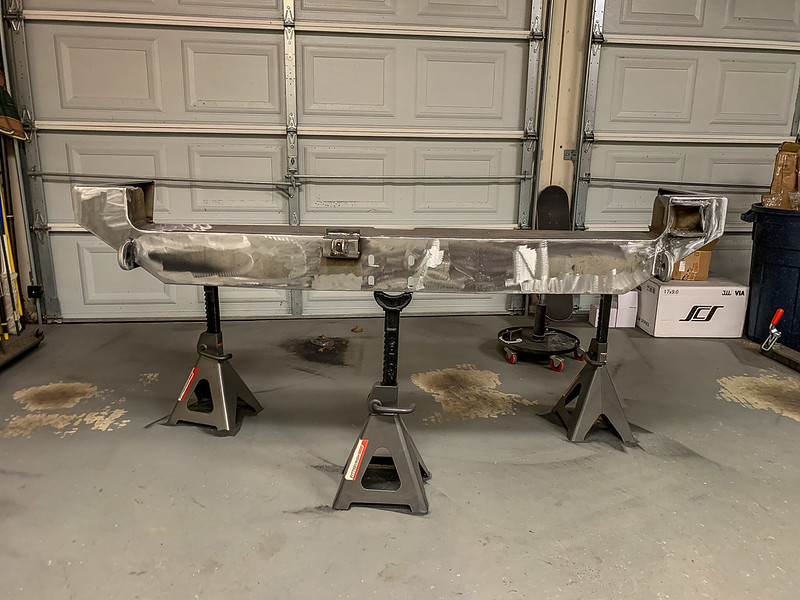
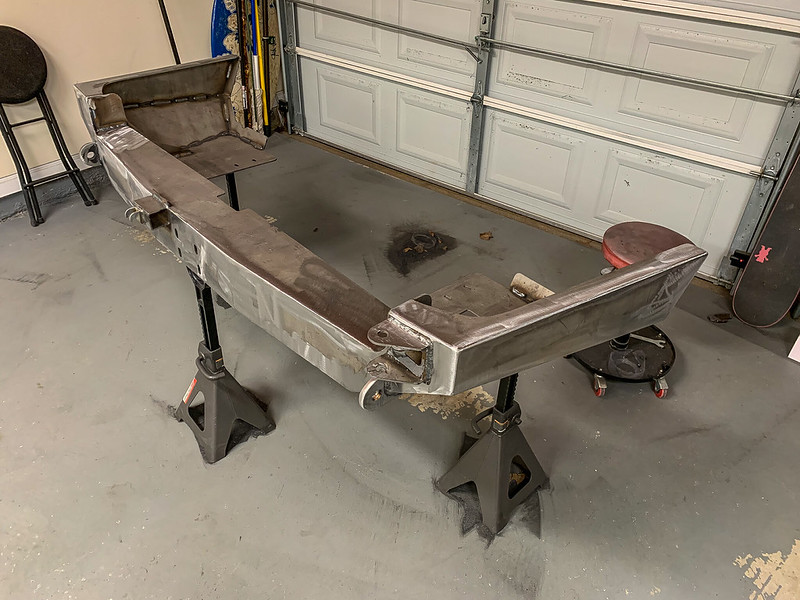
All tacked together and ready for final welding
IMG_0183.jpg
To be continued..
 

Attachments

  • IMG_0170.jpg
    IMG_0170.jpg
    133.3 KB · Views: 10,854
  • IMG_0172.jpg
    IMG_0172.jpg
    133.6 KB · Views: 9,152
  • IMG_0174.jpg
    IMG_0174.jpg
    135.3 KB · Views: 9,056
  • IMG_0176.jpg
    IMG_0176.jpg
    134.1 KB · Views: 9,054
  • IMG_0177.jpg
    IMG_0177.jpg
    132.5 KB · Views: 9,188
  • IMG_0178.jpg
    IMG_0178.jpg
    127 KB · Views: 9,010
  • IMG_0181.jpg
    IMG_0181.jpg
    128.1 KB · Views: 9,221
  • IMG_0183.jpg
    IMG_0183.jpg
    130.4 KB · Views: 8,870
Last edited:
Register to hide this ad
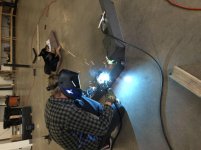
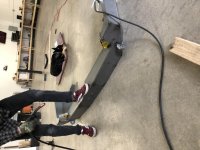
[MENTION=129084]Flemster[/MENTION] laying down the beads
IMG_0185.jpg
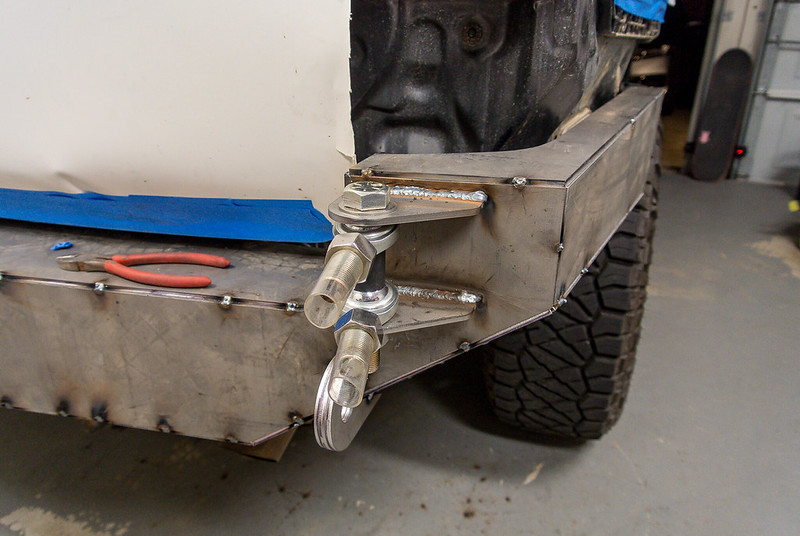
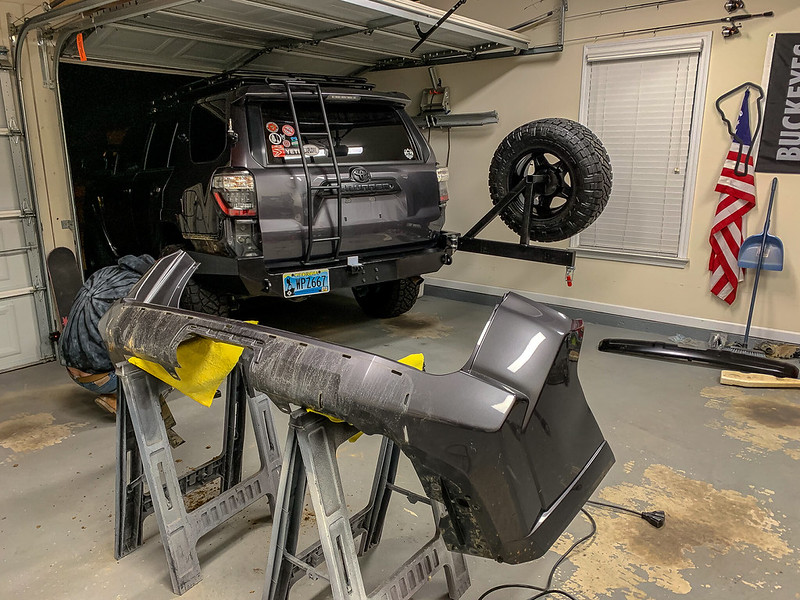
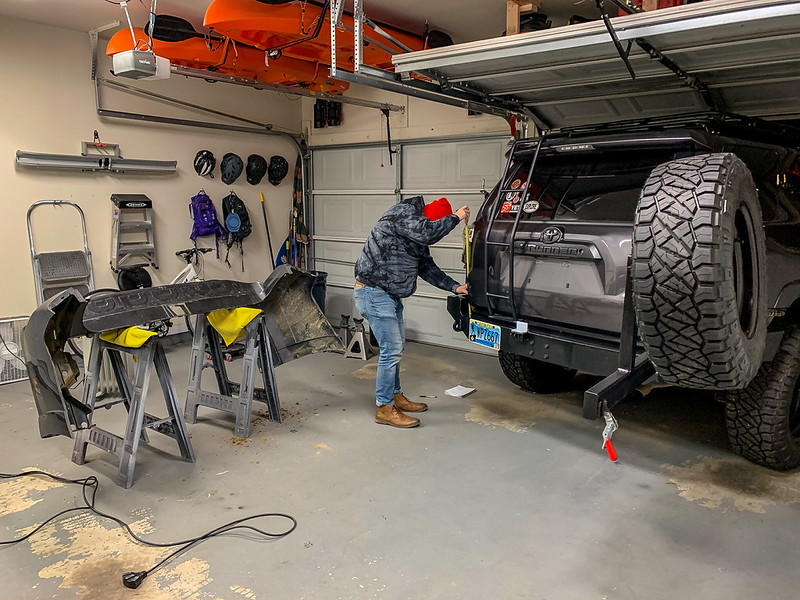
Again, I got consumed in the project and completely forgot to take photos of the swing out assembly. It's not hard per say but getting everything to line up correctly was a challenge for us. After 3 different attempts to get it right, I think everything is going to play.
IMG_0186.jpg
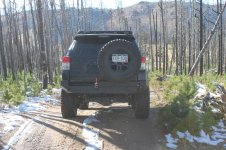
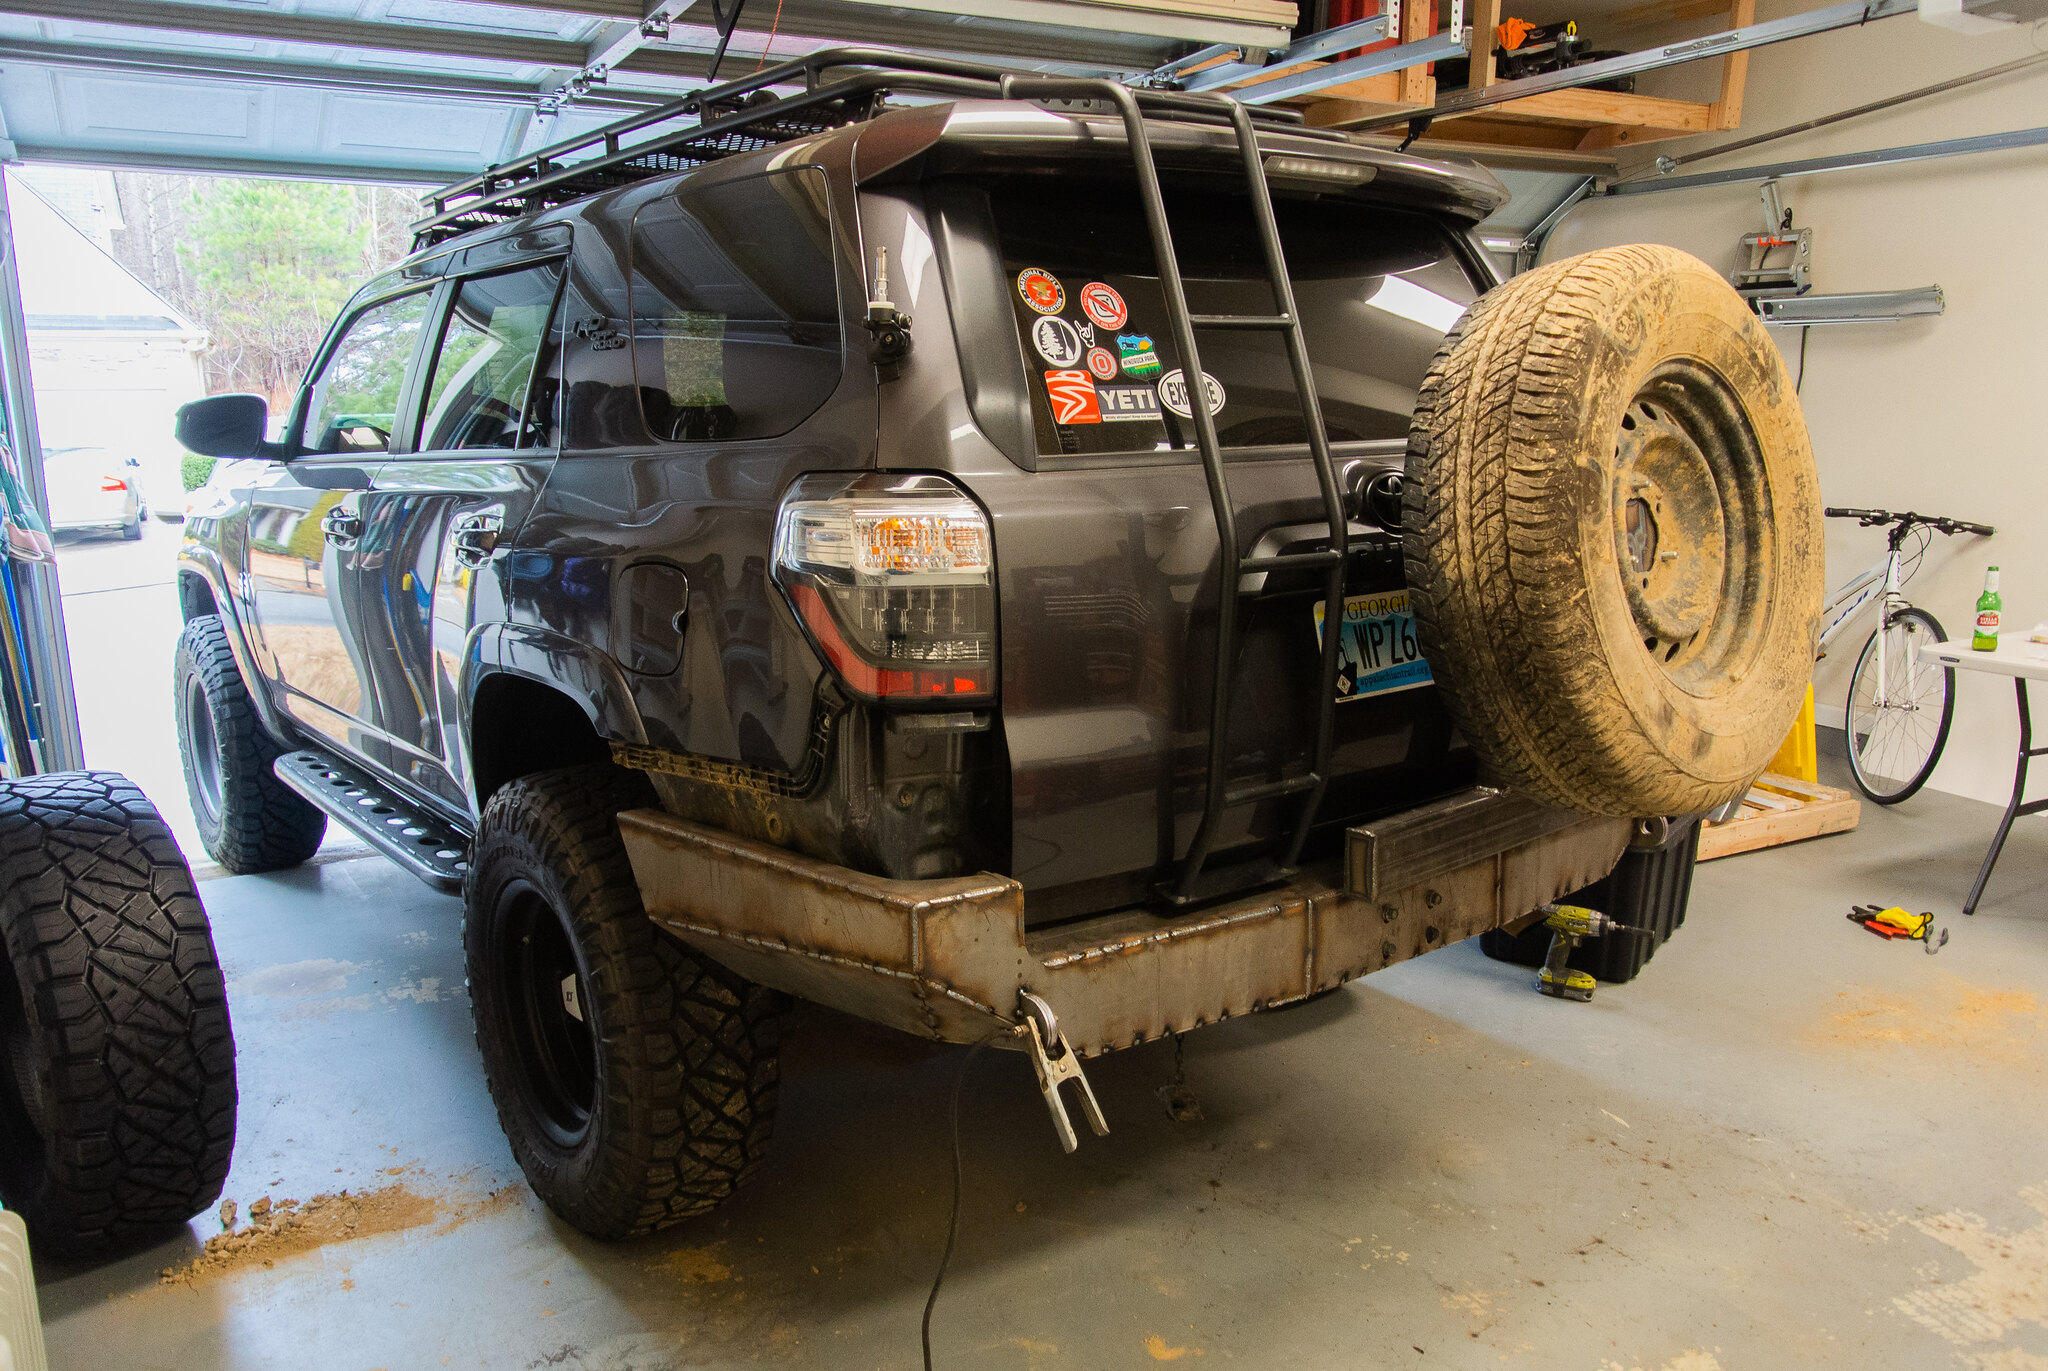
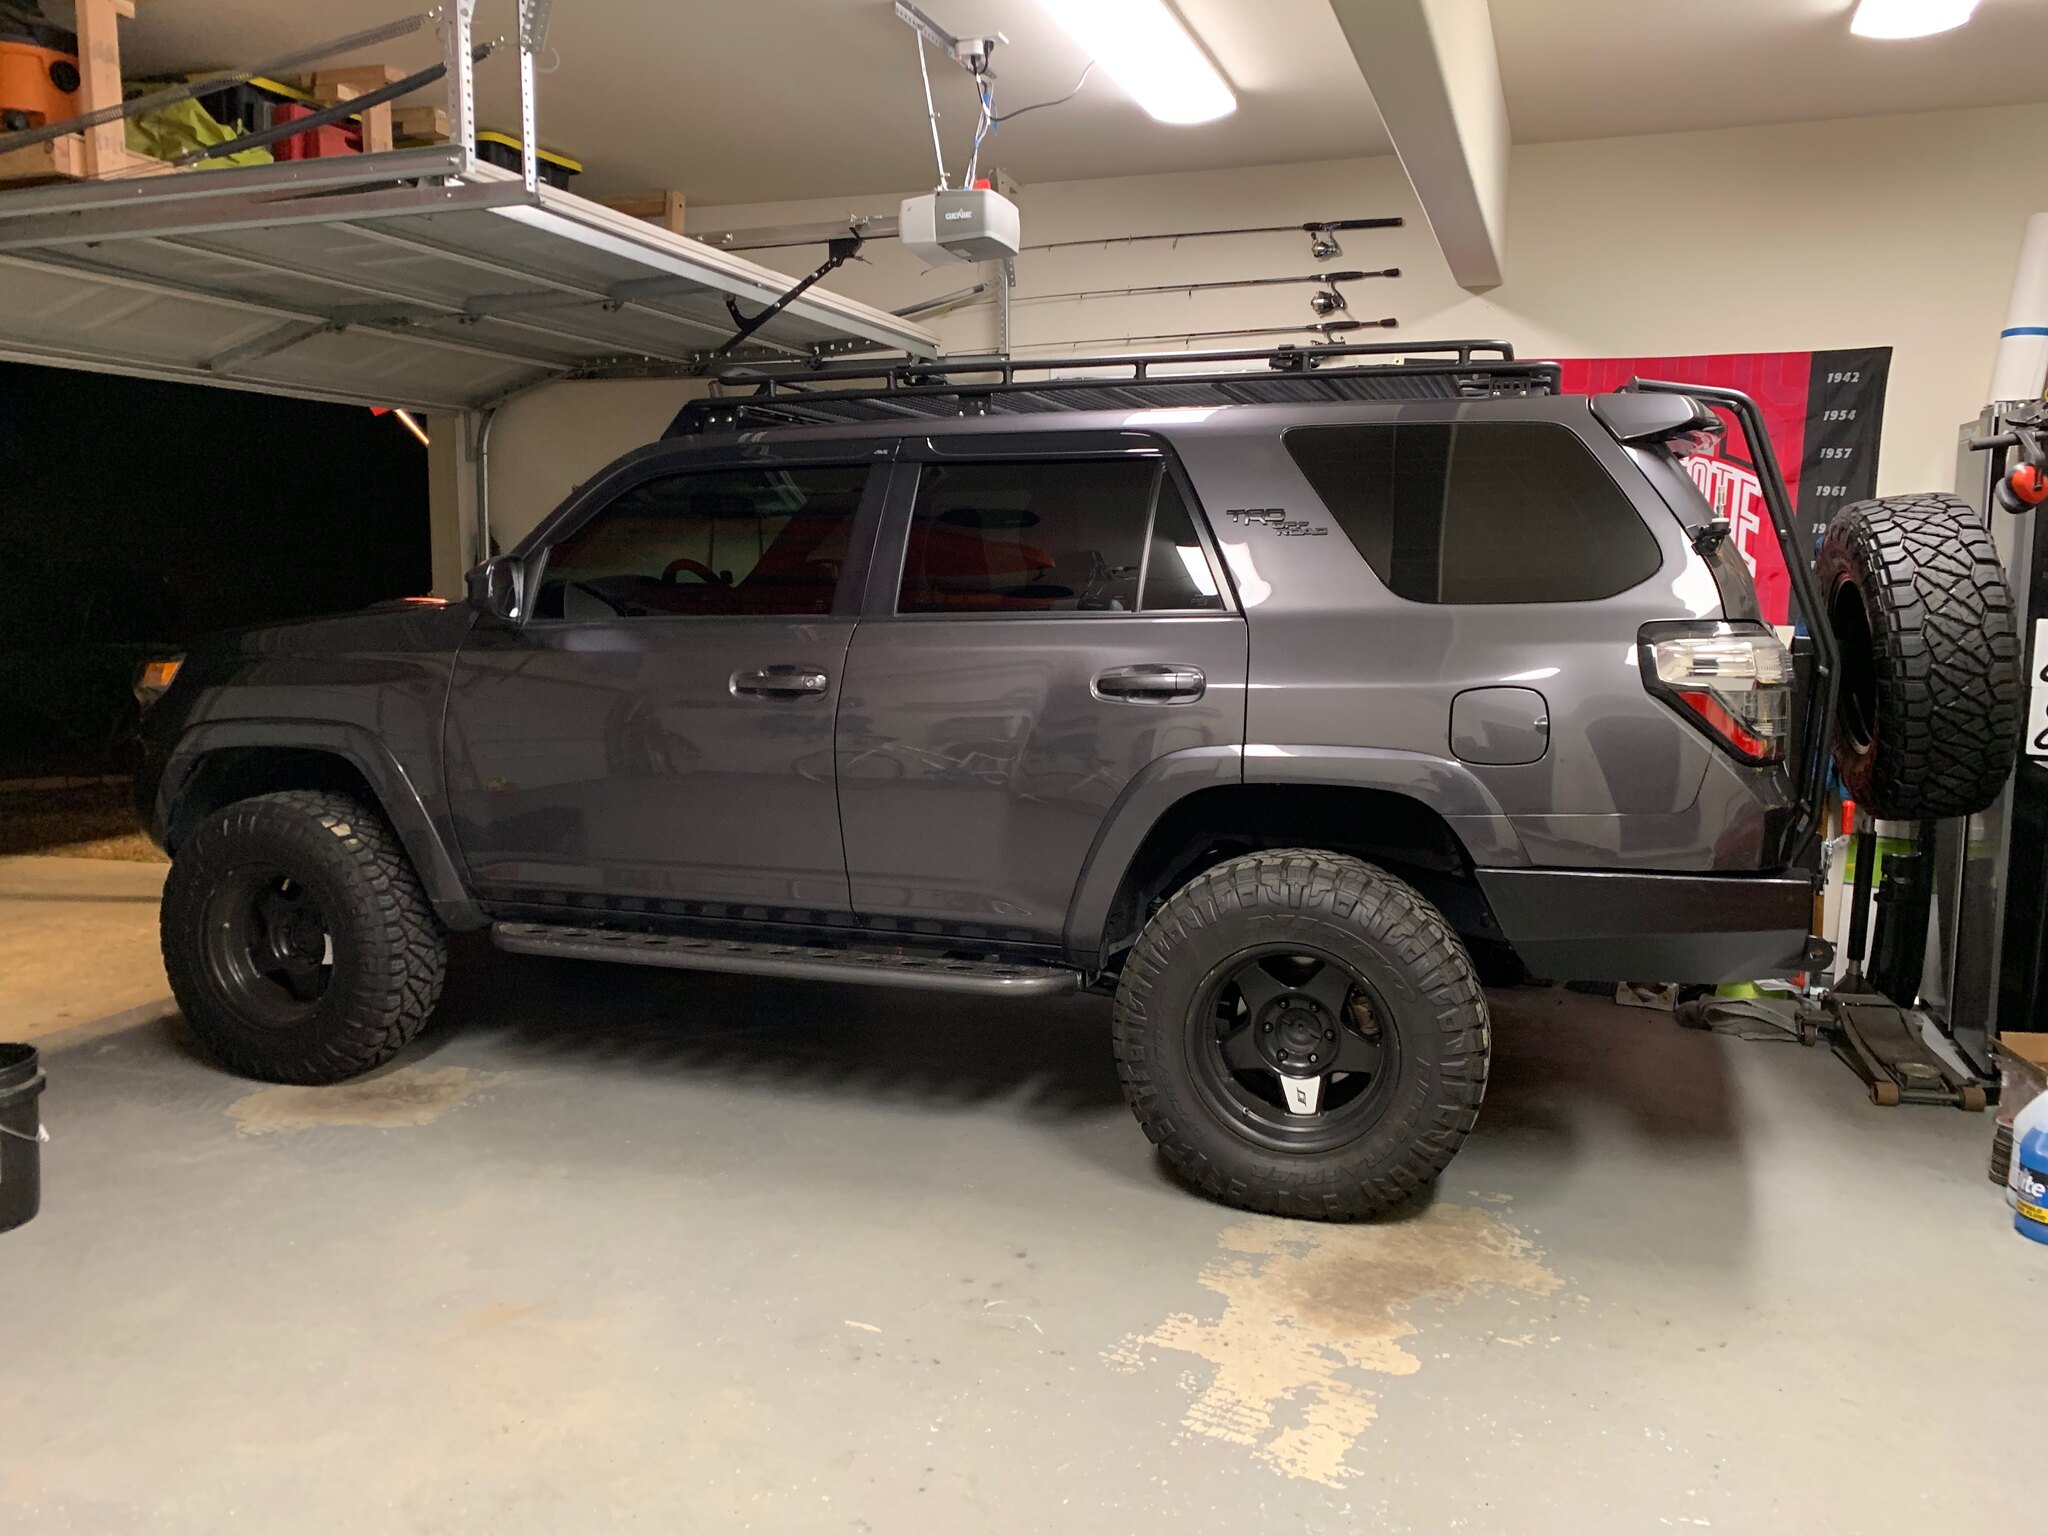
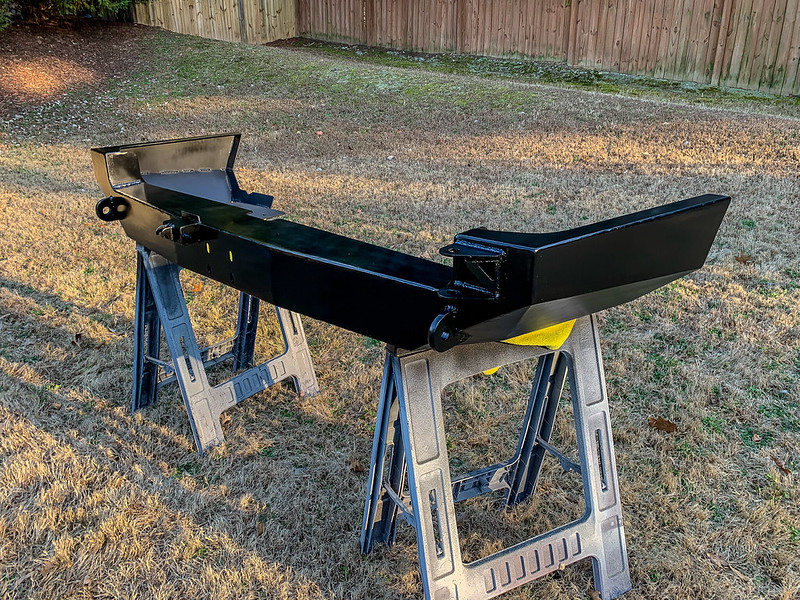
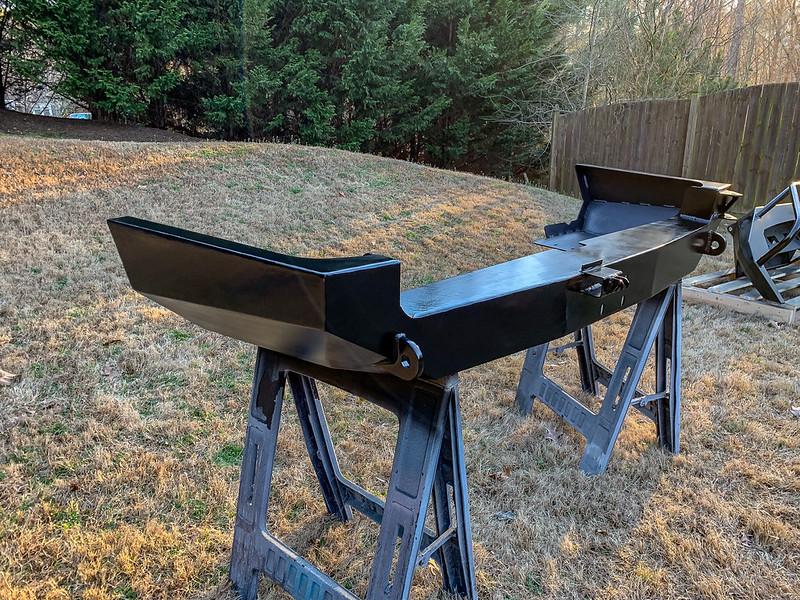
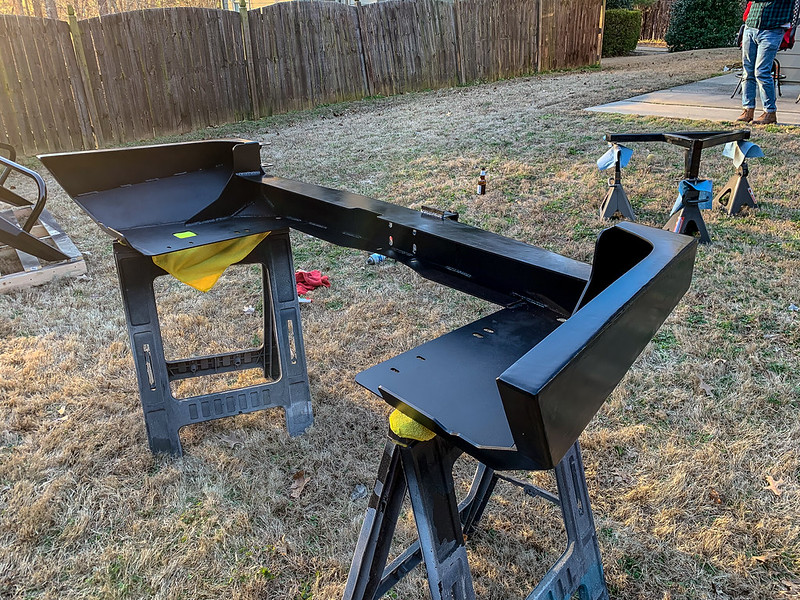
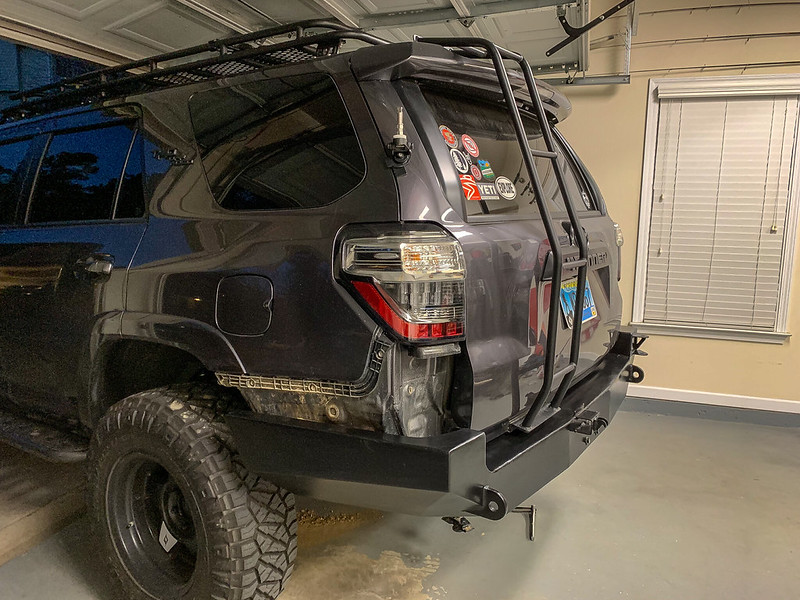
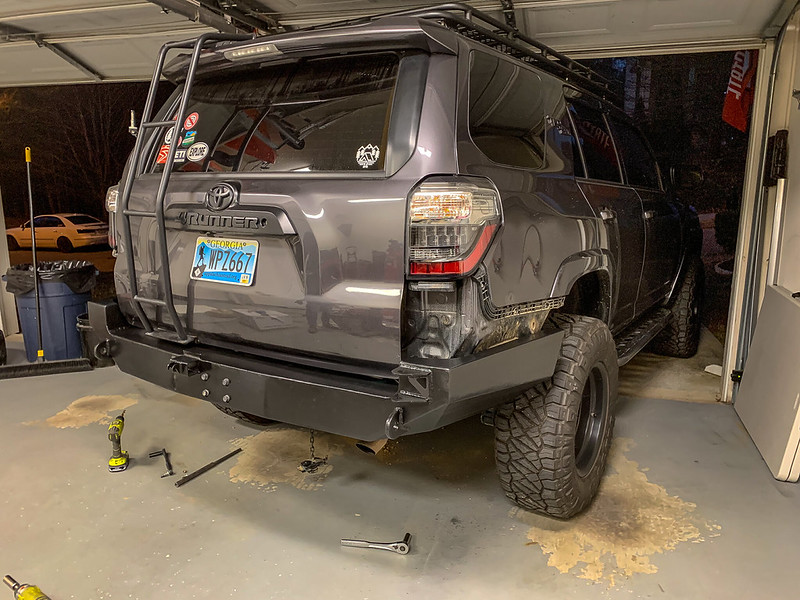
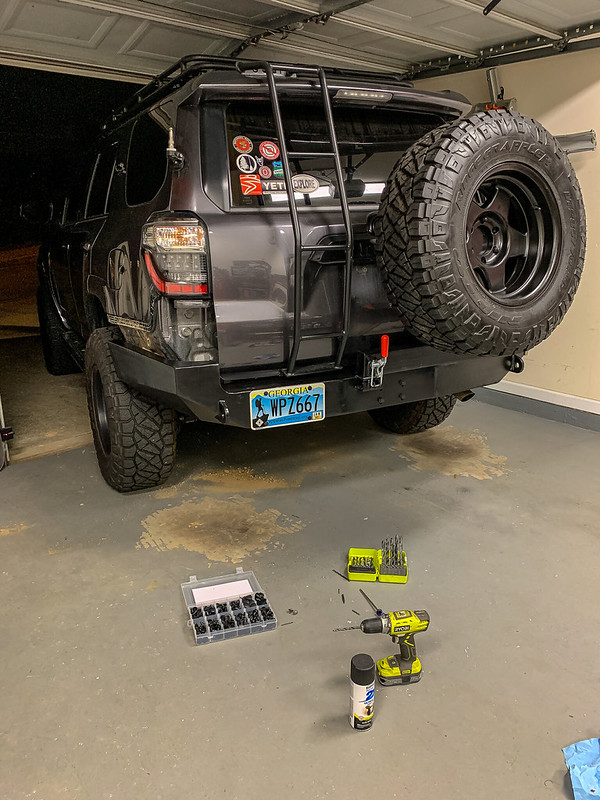
Completed photos
[/ATTACH]
IMG_3696.jpg

Huge thanks to everyone who helped out and Rock Mountain Racks for letting me take over their shop to build this thing! I am beyond thrilled with the outcome of the bumper and can't wait to properly break it in. If anyone has any questions feel free to post here or pm me!
 

Attachments

  • IMG_0185.jpg
    IMG_0185.jpg
    126.1 KB · Views: 8,937
  • IMG_0186.jpg
    IMG_0186.jpg
    121.4 KB · Views: 10,075
  • IMG_0234.jpg
    IMG_0234.jpg
    135.9 KB · Views: 9,348
  • IMG_0242.jpg
    IMG_0242.jpg
    134.7 KB · Views: 8,862
  • IMG_3696.jpg
    IMG_3696.jpg
    144.1 KB · Views: 9,121
Last edited:
Neice work, looks really good. Duration estimate start to finish? Is there a hitch that can pull upto 5000lbs.Also what are your impression of fit and finish and sturdiness. Is the cost saving worth it compared to say other fully build bumpers.
 
Neice work, looks really good. Duration estimate start to finish? Is there a hitch that can pull upto 5000lbs.Also what are your impression of fit and finish and sturdiness. Is the cost saving worth it compared to say other fully build bumpers.

Thank you! If we had gotten everything right the first time around, it would have taken about about 14 hours to complete. We ultimately spent close to 20 hours on it I think. There is a hitch option but I do not tow or carry anything so I did not get it. If I remember correctly the hitch is not rated to tow but [MENTION=77310]BrandonF[/MENTION] can elaborate on this.

The fit in finish is a lot up to the welder and how he/she builds it. I will say that everything fits together very nicely and if you take your time with the assembly and the finish work (grinding/flap discing etc.) the end product will be very nice. As for sturdiness, the bumper is extremely burly and well built in my opinion. I have no doubt it will take some serious abuse. For me, the cost savings are well worth it considering many other bumpers are in the $2.5-3k neighborhood. I believe I paid just under $1,100 for this kit delivered and spent another 200ish for gas, wire, and food for everyone helping out. And to be totally honest, this bumper was fun putting together. It's like a giant puzzle for big kids lol.
 
Thank you! If we had gotten everything right the first time around, it would have taken about about 14 hours to complete. We ultimately spent close to 20 hours on it I think. There is a hitch option but I do not tow or carry anything so I did not get it. If I remember correctly the hitch is not rated to tow but [MENTION=77310]BrandonF[/MENTION] can elaborate on this.


$1100 including the swing out is absolutlely great deal. I'll have to check out their site. thanks for the reply.
 
Thanks for the pictures! I’m thinking of going the same route. Wondering what I can put where the spare tire used to be. Would be cool to hear how big of a water or air tank you think would fit. If you have a picture from below that’d be much appreciated.
 
Great post. This helped me decide to order one as well. Great company and product. Quick shipping also.

40011601693_e1d9fea7ef_k.jpg


40100848643_75d3129bde_k.jpg
 
Last edited:
Great post. This helped me decide to order one as well. Great company and product. Quick shipping also.

40011601693_e1d9fea7ef_k.jpg


40100848643_75d3129bde_k.jpg

Both bumpers look awesome. 2 questions for you guys;
1. Did you both rattle can paint these after welding or have them professionally painted?

2. looks like you both chose the Low Profile kit versus the Full Height bumper. Any reason why? Seems like the Full Height would be easier since there is no cutting required.

Thanks
 
Both bumpers look awesome. 2 questions for you guys;
1. Did you both rattle can paint these after welding or have them professionally painted?

2. looks like you both chose the Low Profile kit versus the Full Height bumper. Any reason why? Seems like the Full Height would be easier since there is no cutting required.

Thanks

1. Yes, spray painted mine. used etching primer and then 4 coats of paint. Turned out great. Easy touch up on the future also when it does get scratched.

2. I've been following Coastal for a while and was never a fan of their full height kit. I like how the half size retains some of the oem bumper. Gives it a cleaner look IMO.
 
1. Yes, spray painted mine. used etching primer and then 4 coats of paint. Turned out great. Easy touch up on the future also when it does get scratched.

2. I've been following Coastal for a while and was never a fan of their full height kit. I like how the half size retains some of the oem bumper. Gives it a cleaner look IMO.


Great, thanks for the info. I plan to order one soon
 
looks dope tom, i agree with you. the partial plastics retained give it a nice edge whereas the full profile is very abrupt and kind of breaks the design flow

really wish i could get one of these, but the hitch is the most important part of the truck for me and i don't think i'd be able to load my motorcycle on the hitch rack anymore with a swingout
 
Last edited:
looks dope tom, i agree with you. the partial plastics retained give it a nice edge whereas the full profile is very abrupt and kind of breaks the design flow

really wish i could get one of these, but the hitch is the most important part of the truck for me and i don't think i'd be able to load my motorcycle on the hitch rack anymore with a swingout

Yea, I've seen a few people remove their aftermarket rear bumpers and go back to stock just so they can tow again. It's all about what fits your needs best.
 
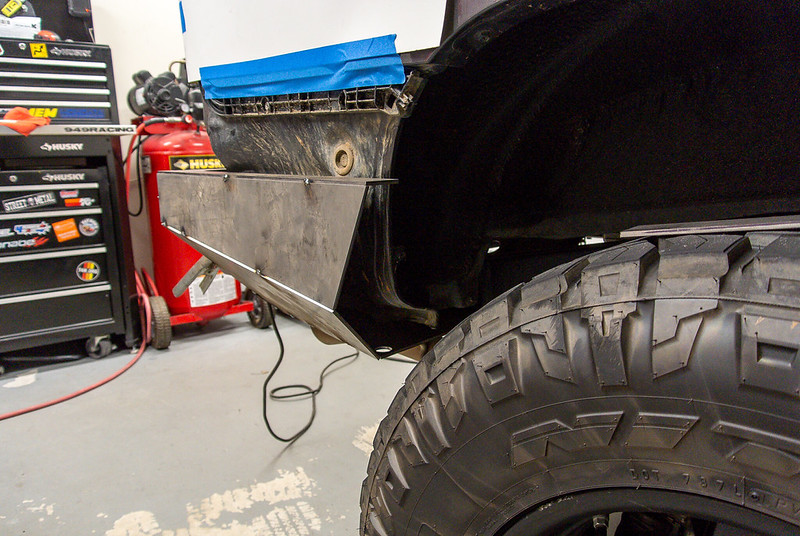
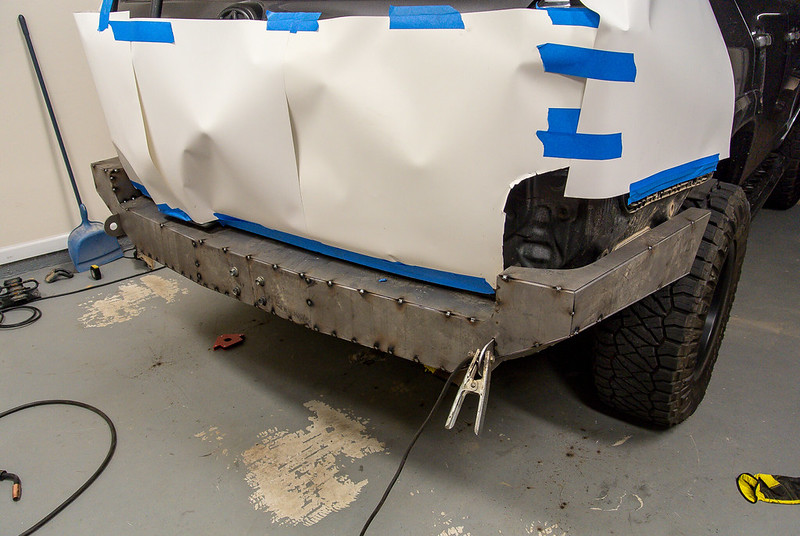
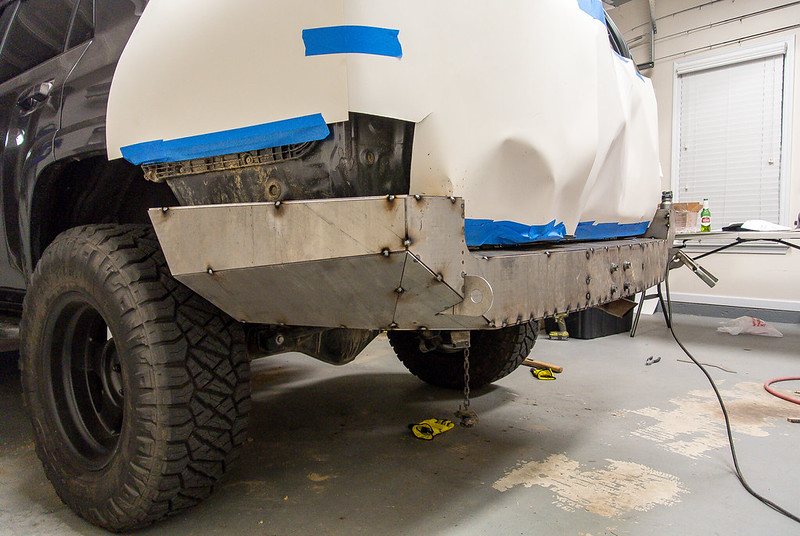
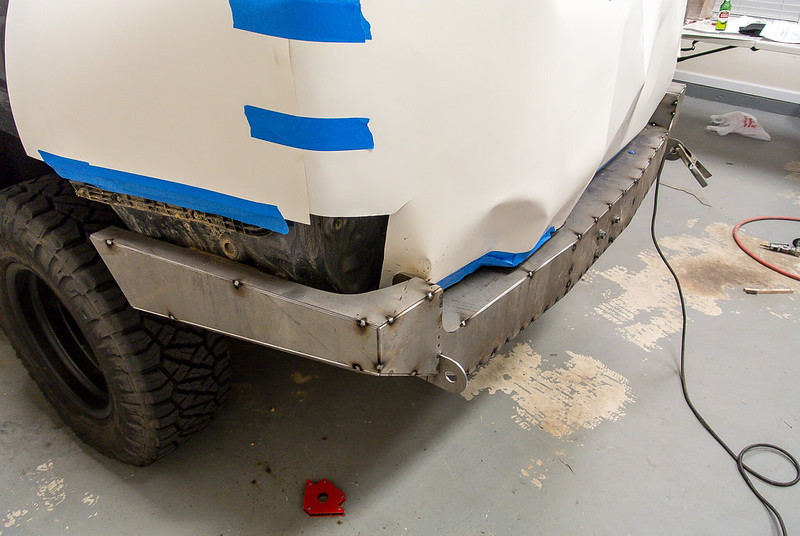
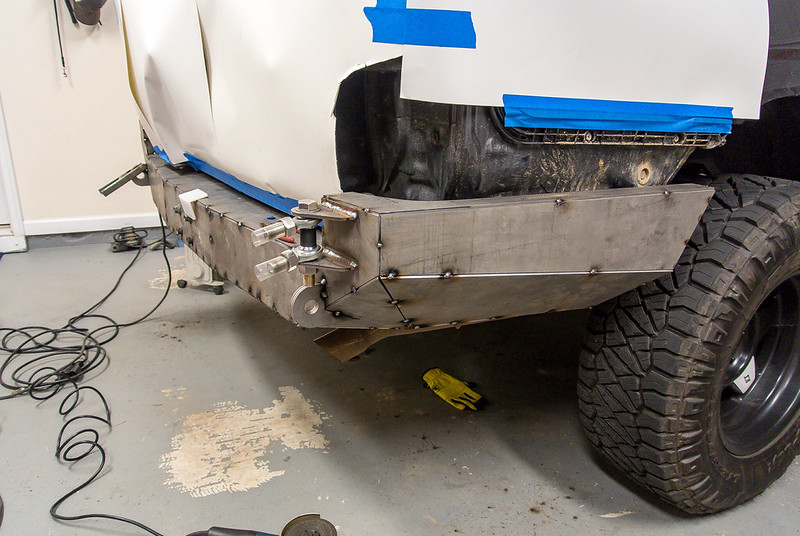
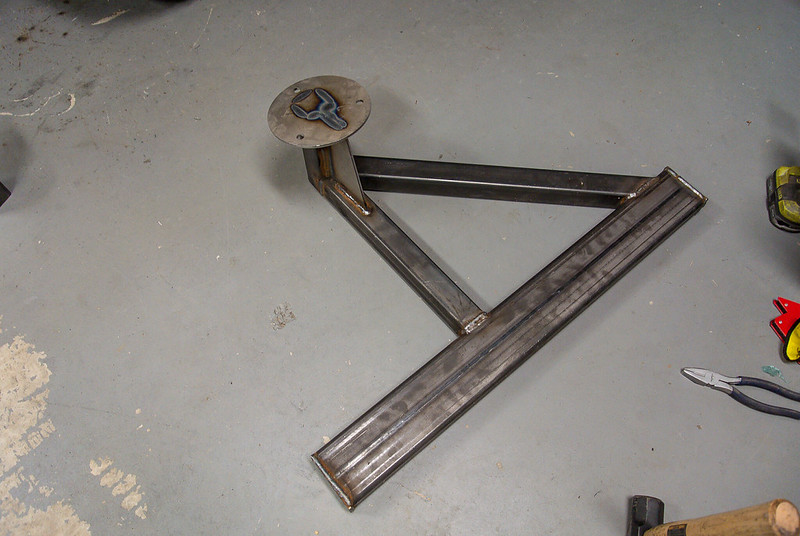
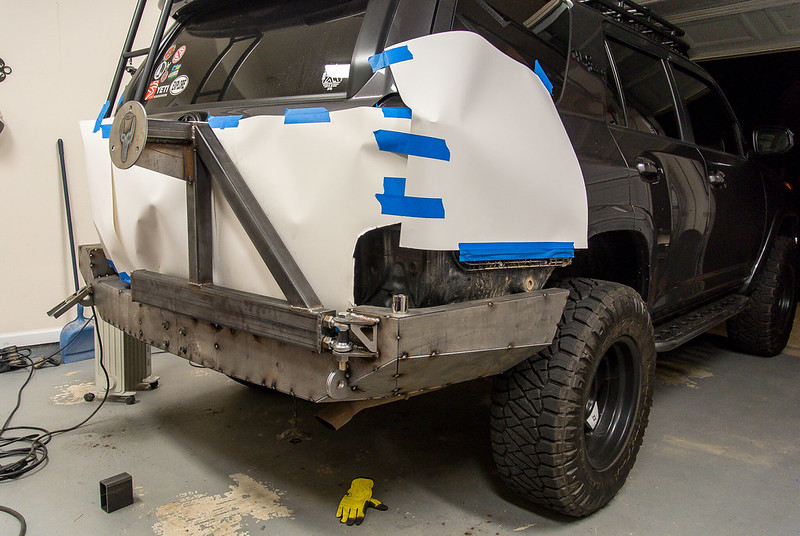
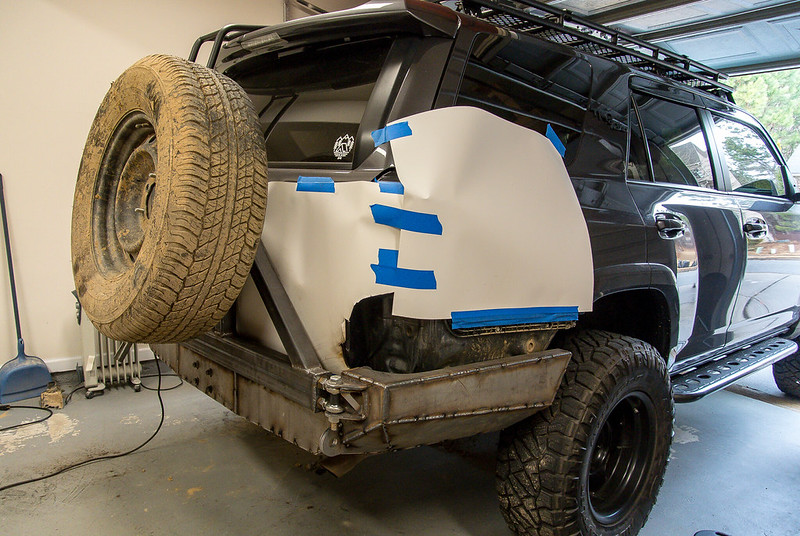
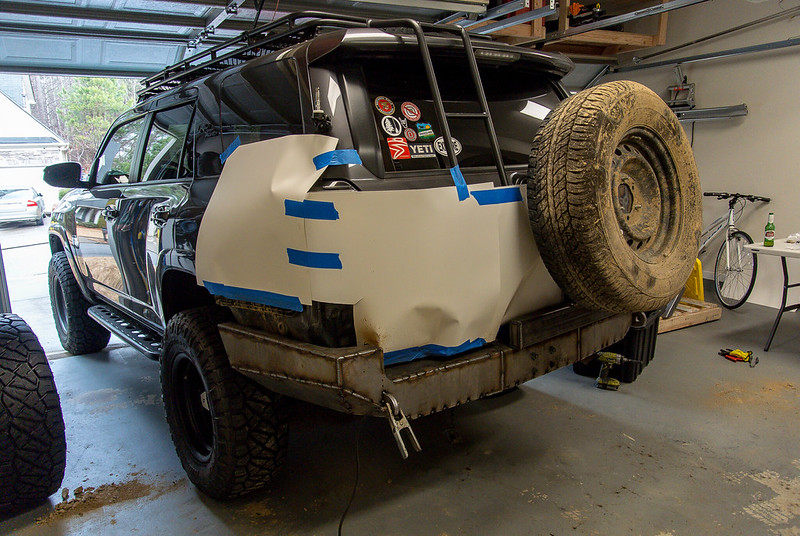
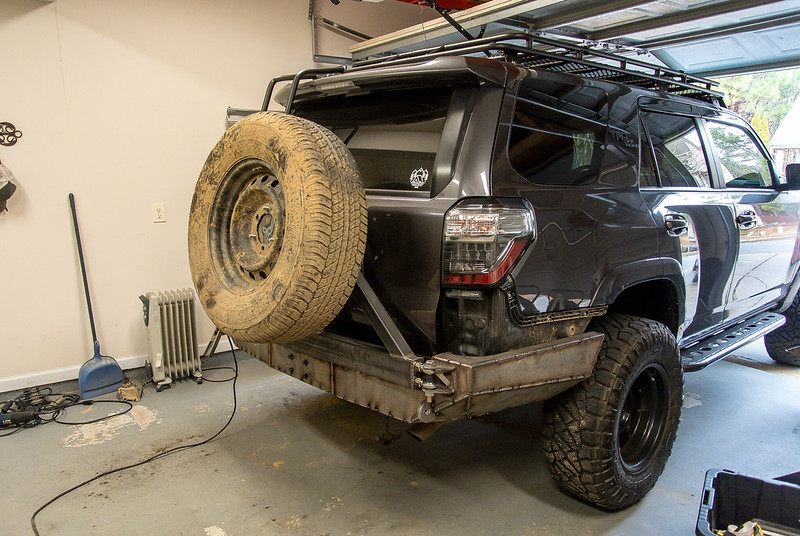
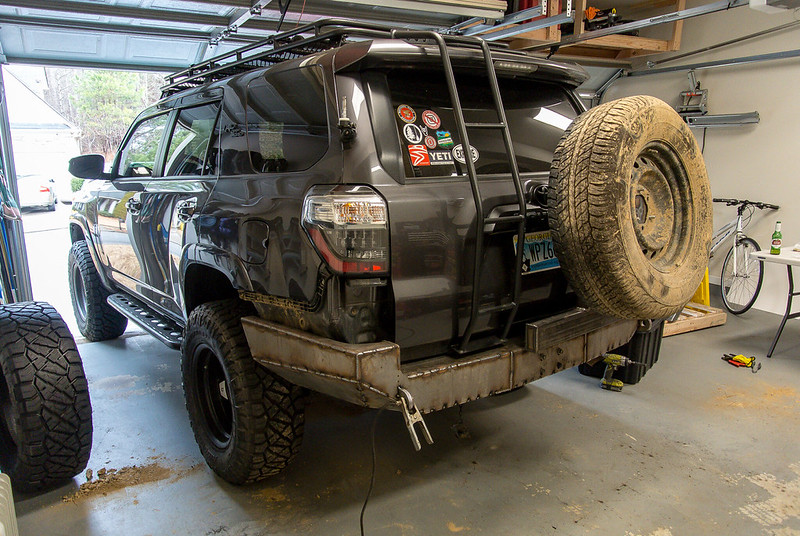
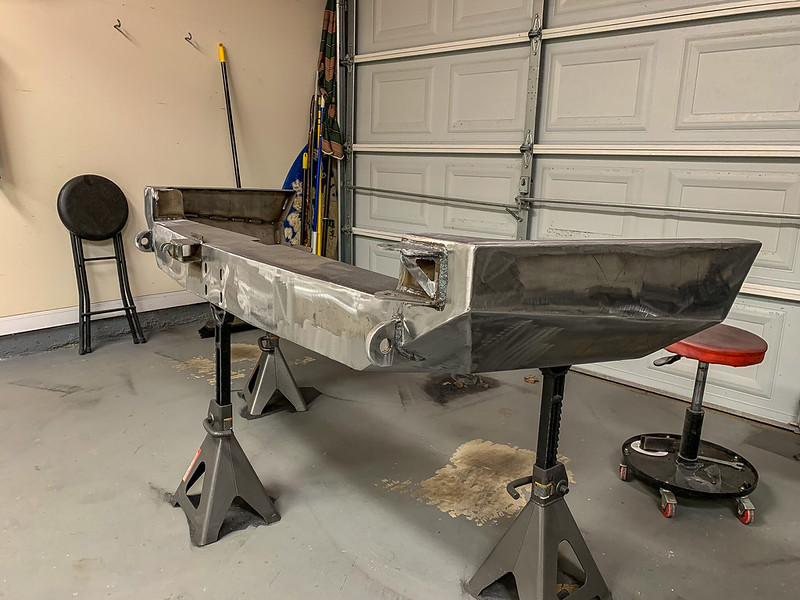
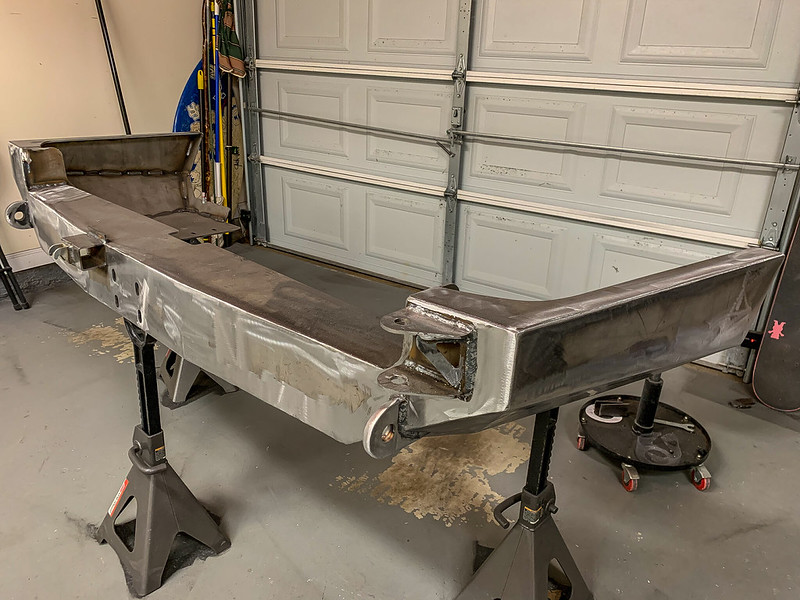
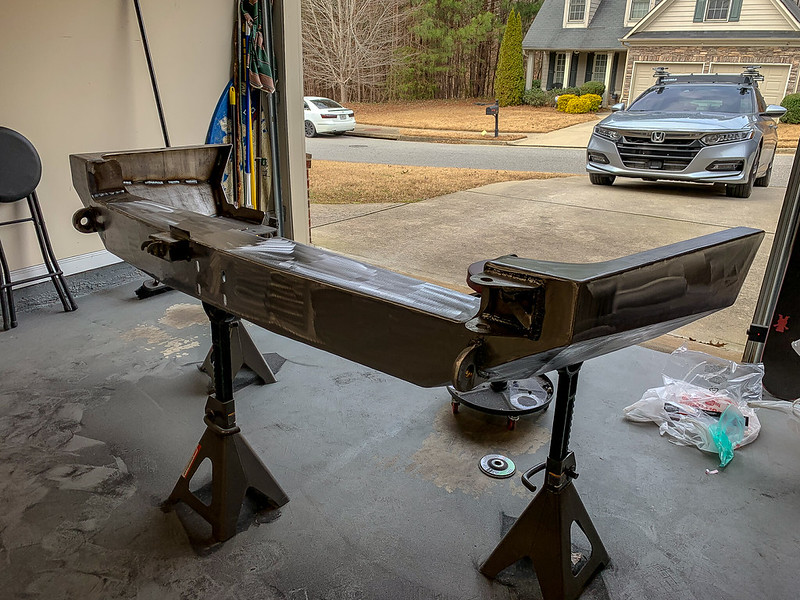
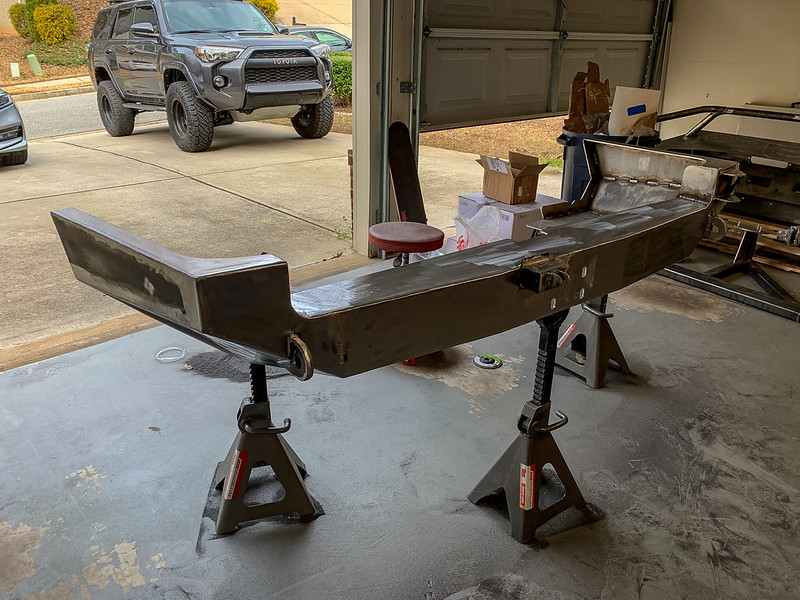
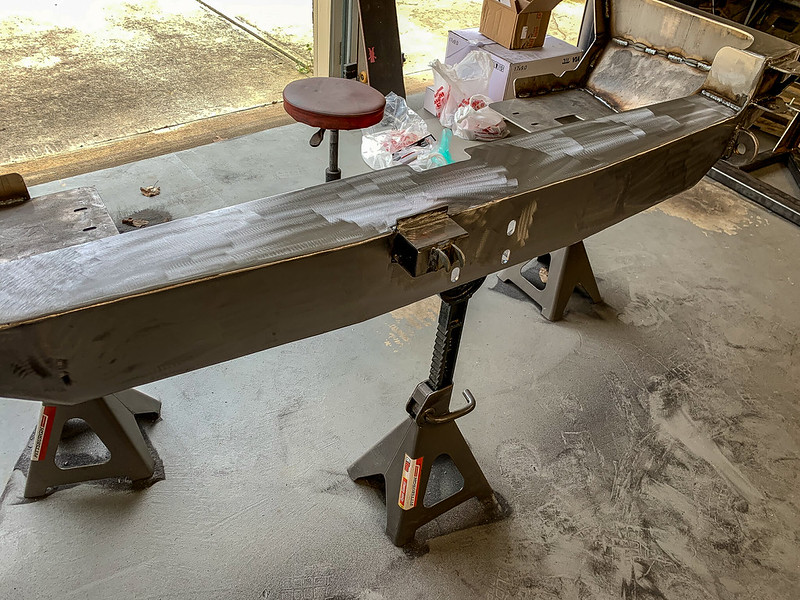
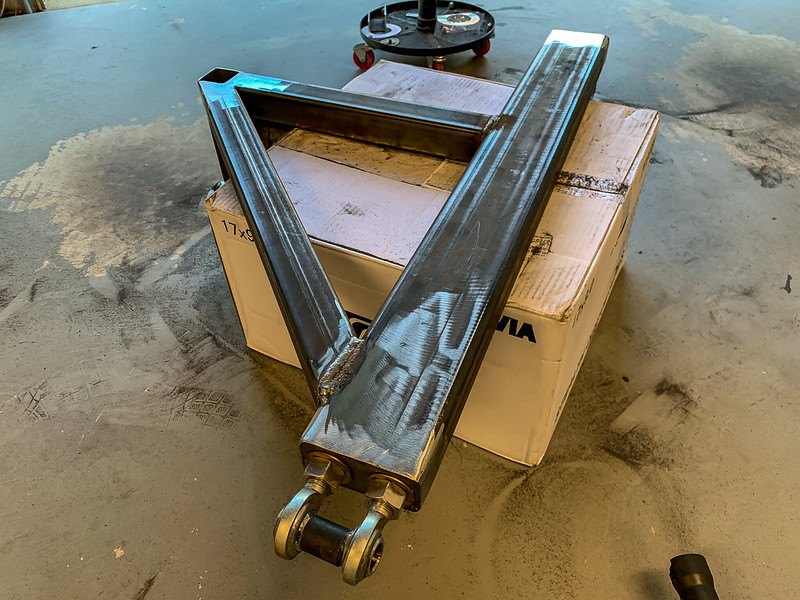
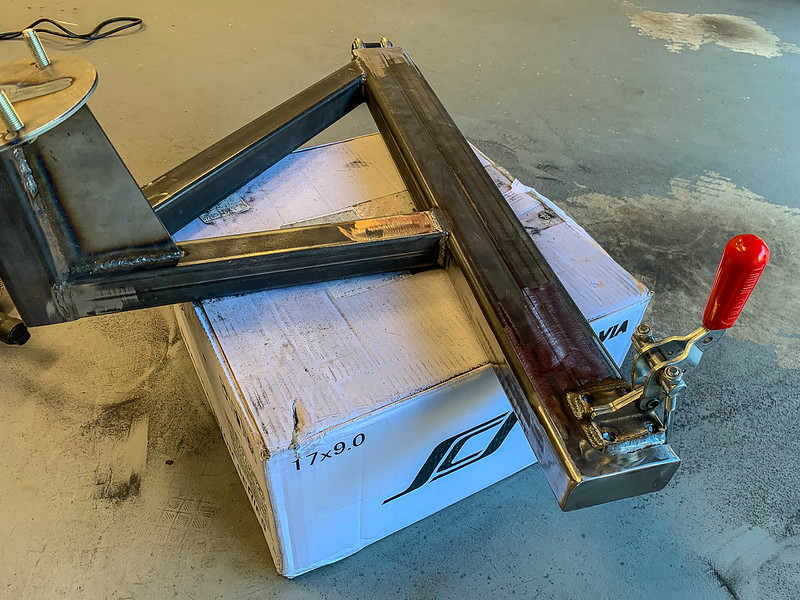
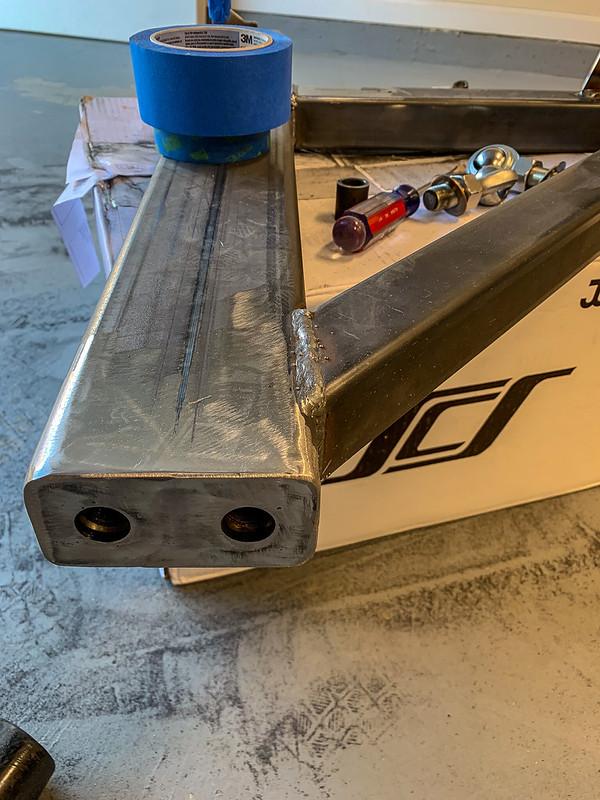
To build off of Nick's "write up thread" here are progress photos of the build process to give every an idea of how it goes.

46171511775_584bce8d68_c.jpg


33210039348_3bb1bc02c3_c.jpg


46361464464_5cef91401f_c.jpg


33210042798_f2a4ffc70b_c.jpg


46361469584_d52192626b_c.jpg


47084945841_1ef588af7f_c.jpg


46171520355_0f1c7ba80d_c.jpg


46171521385_e8bc7f9143_c.jpg


46171522155_9c05576e82_c.jpg


46171523115_91343d34fd_c.jpg


40120165633_328ce971a8_c.jpg


40120166623_a1857c0033_c.jpg


40120168403_254f8d8261_c.jpg


40120169263_52334dbef9_c.jpg


40120170813_000252c194_c.jpg


46361482374_a8f7a5393e_c.jpg


46361483354_58a669f3c1_c.jpg


46361484744_a8265173b0_c.jpg


40120175503_f6607a8268_c.jpg


40120176413_374887def8_c.jpg
 
Question

For the spare tire carrier, did you weld bolts to the circular plate that holes the spare tire? I got my kit and I’m working on it slowly.
 
hey there thanks for the play-by-play pics! do you think there's a way to cut a pair of holes to mount a pair of LED Pods down on the lower portion of the bumper. i am a non-welder w/ no experience but I have a couple local guys that can weld. do you think there is space between the crash bar and the bumper for a pair of pods flush mounted? and would a solid welder be able to cut the right holes for something like that? Tks in advance!
 
hey there thanks for the play-by-play pics! do you think there's a way to cut a pair of holes to mount a pair of LED Pods down on the lower portion of the bumper. i am a non-welder w/ no experience but I have a couple local guys that can weld. do you think there is space between the crash bar and the bumper for a pair of pods flush mounted? and would a solid welder be able to cut the right holes for something like that? Tks in advance!

I have built a few of these for customers and one of them took it upon himself to have someone cut 2 holes like you are requesting. The holes were not measured right and now you can see the frame. There is not enough room to mount the pods he has. It looks like you could cut the holes but they would need to be further out. Do a lot of measuring so you only cut once. Worse case, weld metal back in and grind down then cut again.

48480823776_60c1548984.jpg
 

Members online

Forum statistics

Threads
278,312
Messages
3,554,086
Members
248,016
Latest member
Advally Service

Trending content

Back
Top